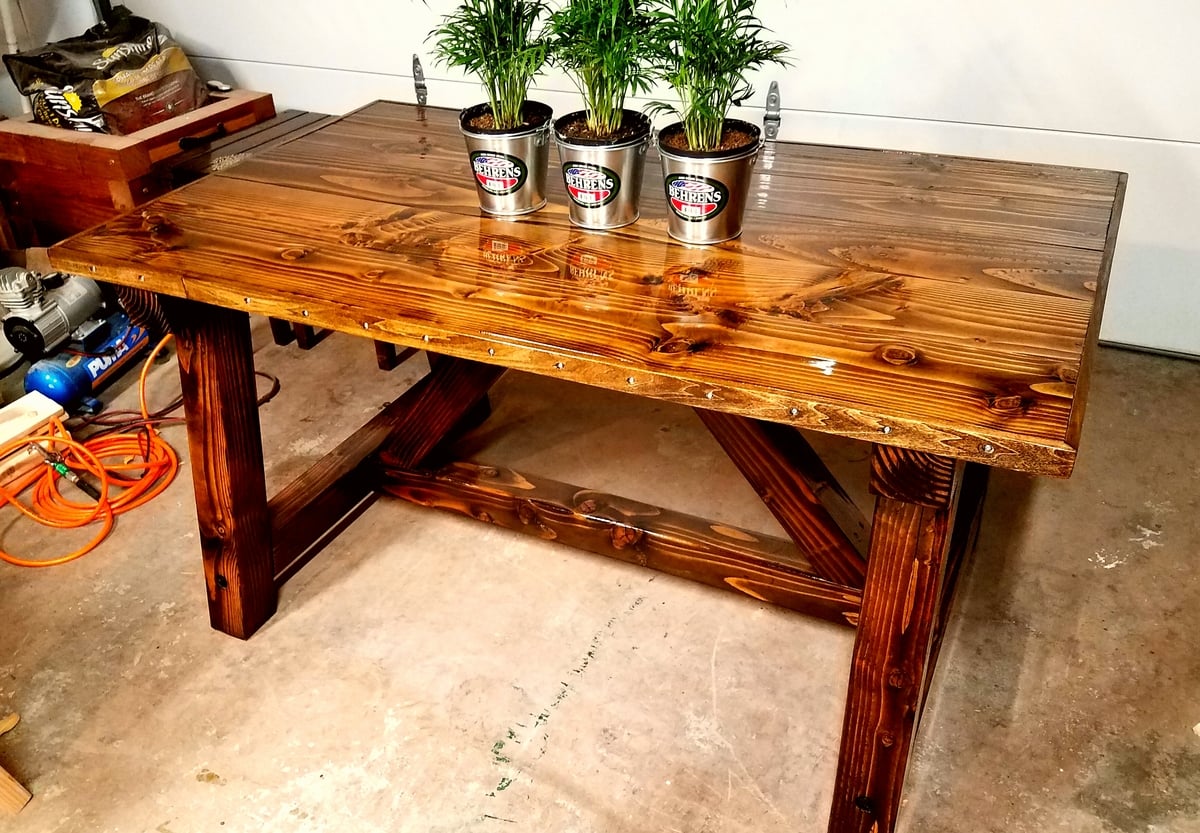
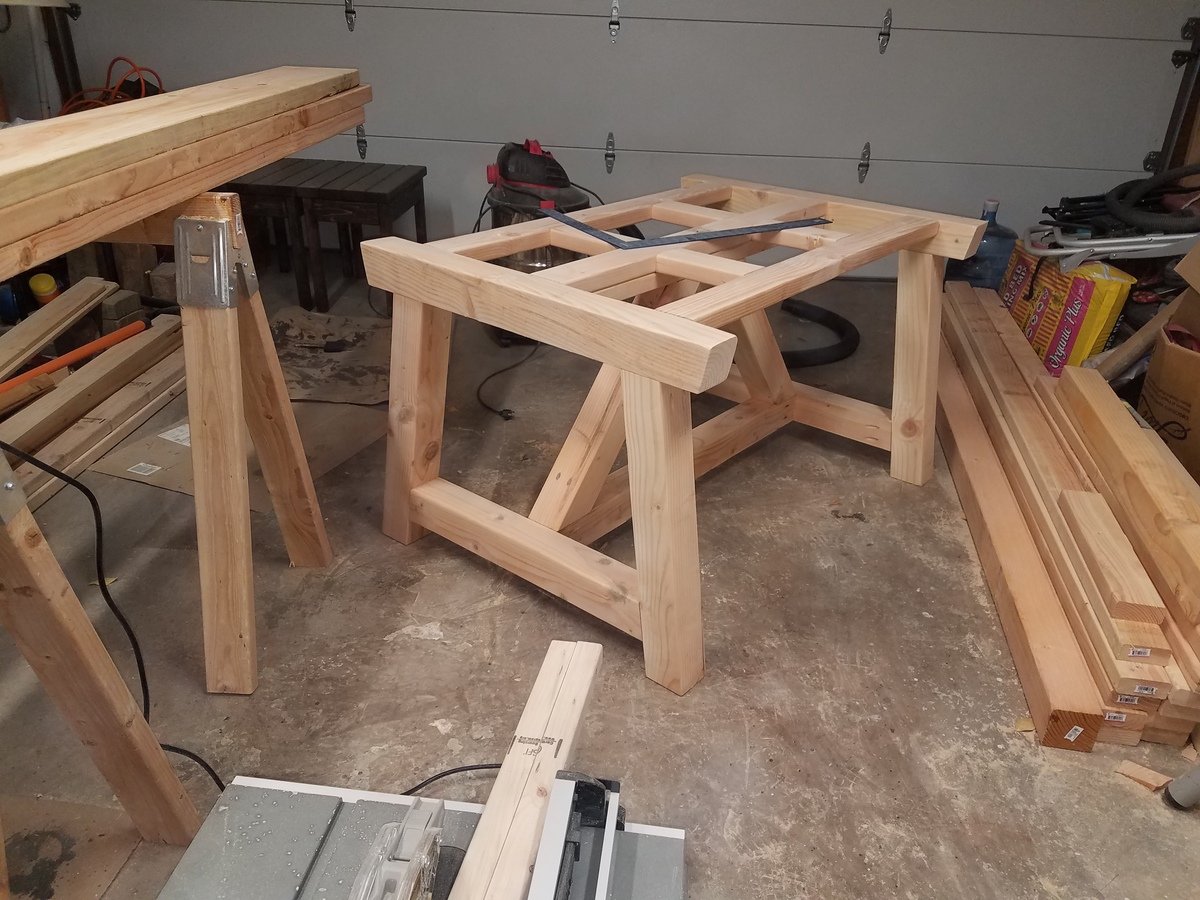
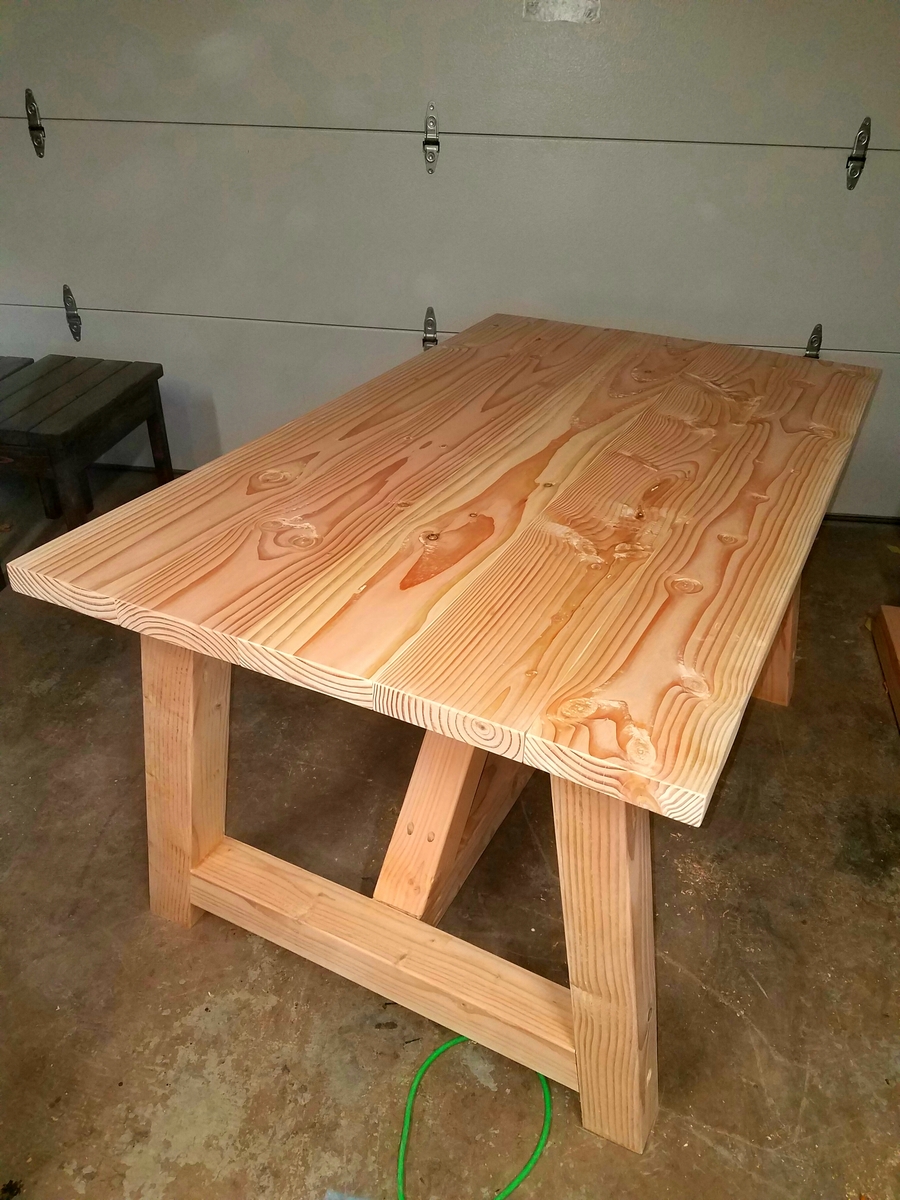
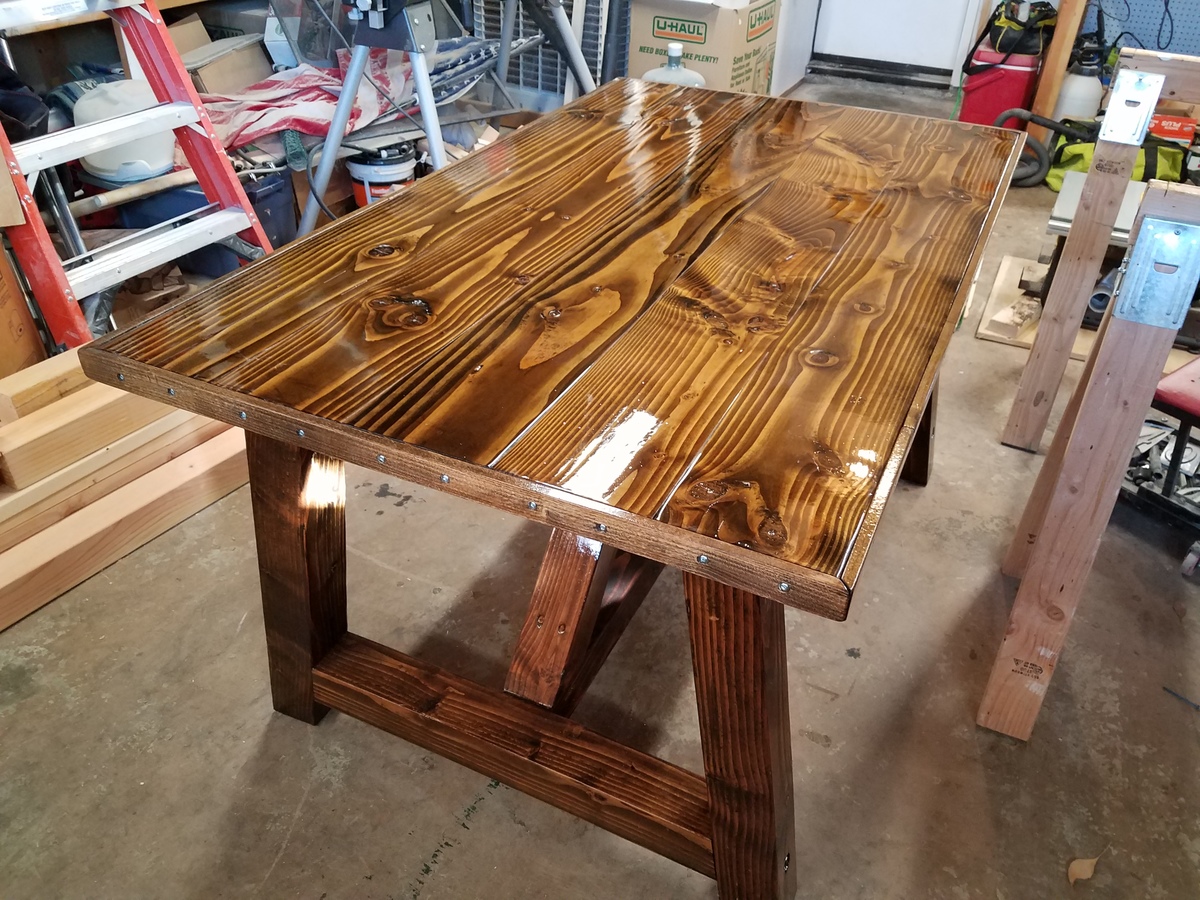
Milled Wood Custom Truss Table
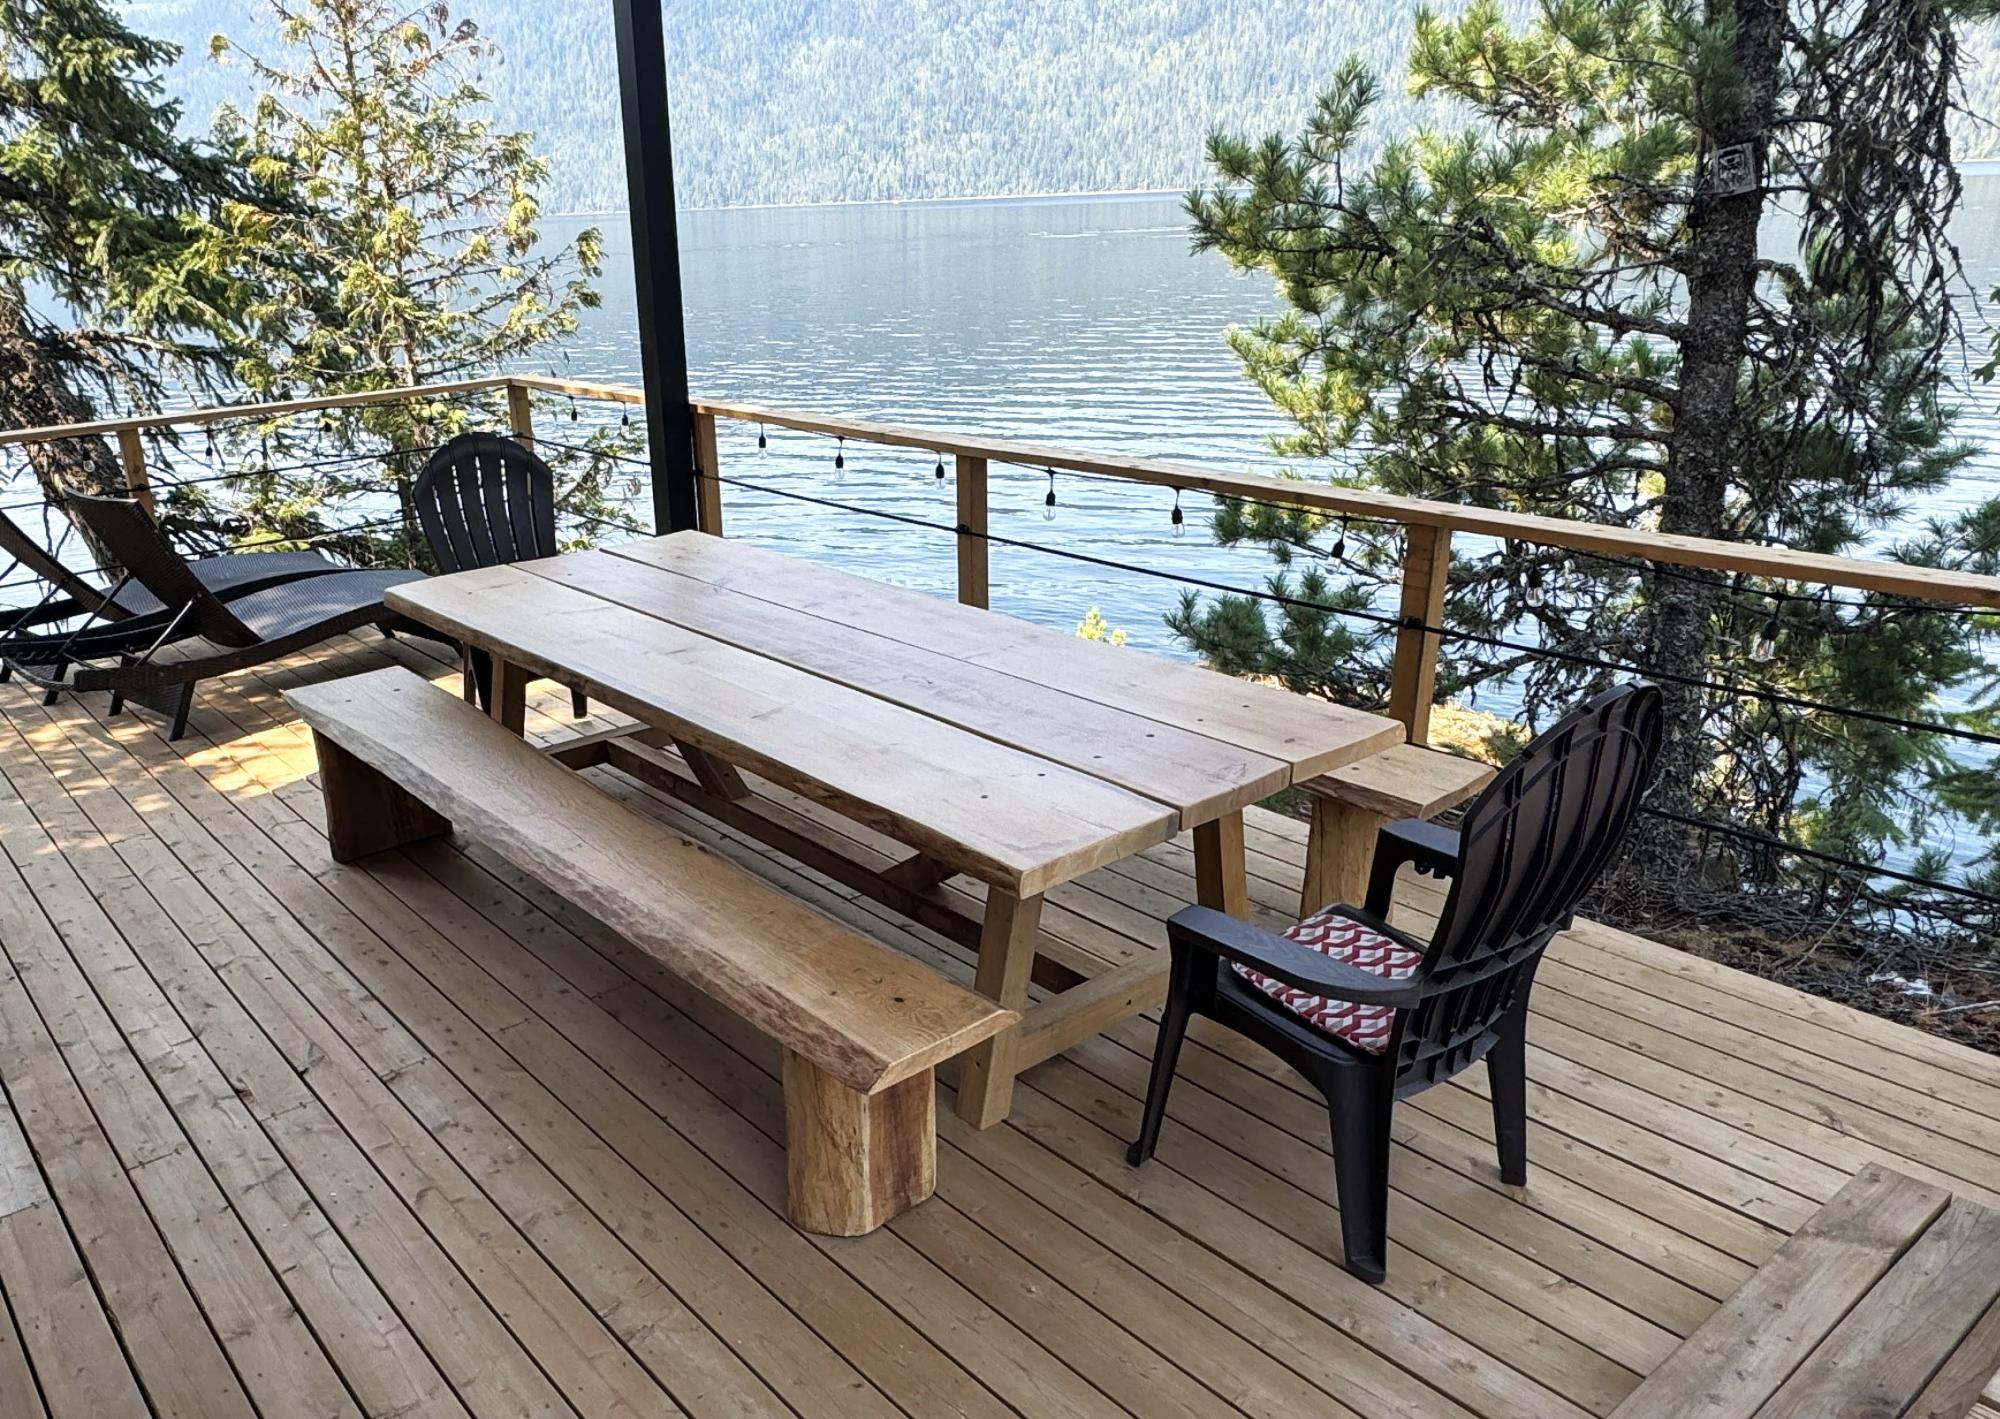
Thank you for the design. I modified this table is 4’ x 10’ made from wood at our cottage. harvested and milled here. British Columbia Mabel Lake.
Dave
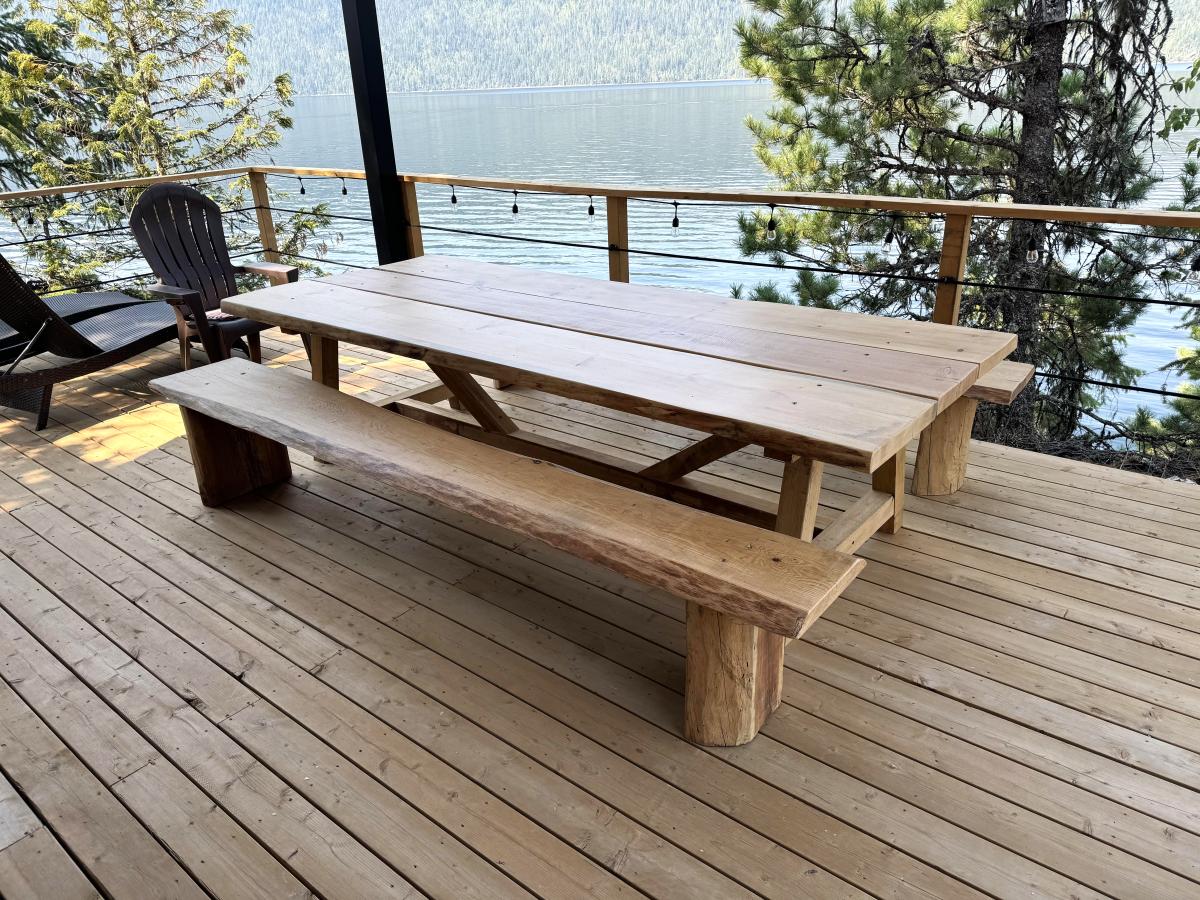
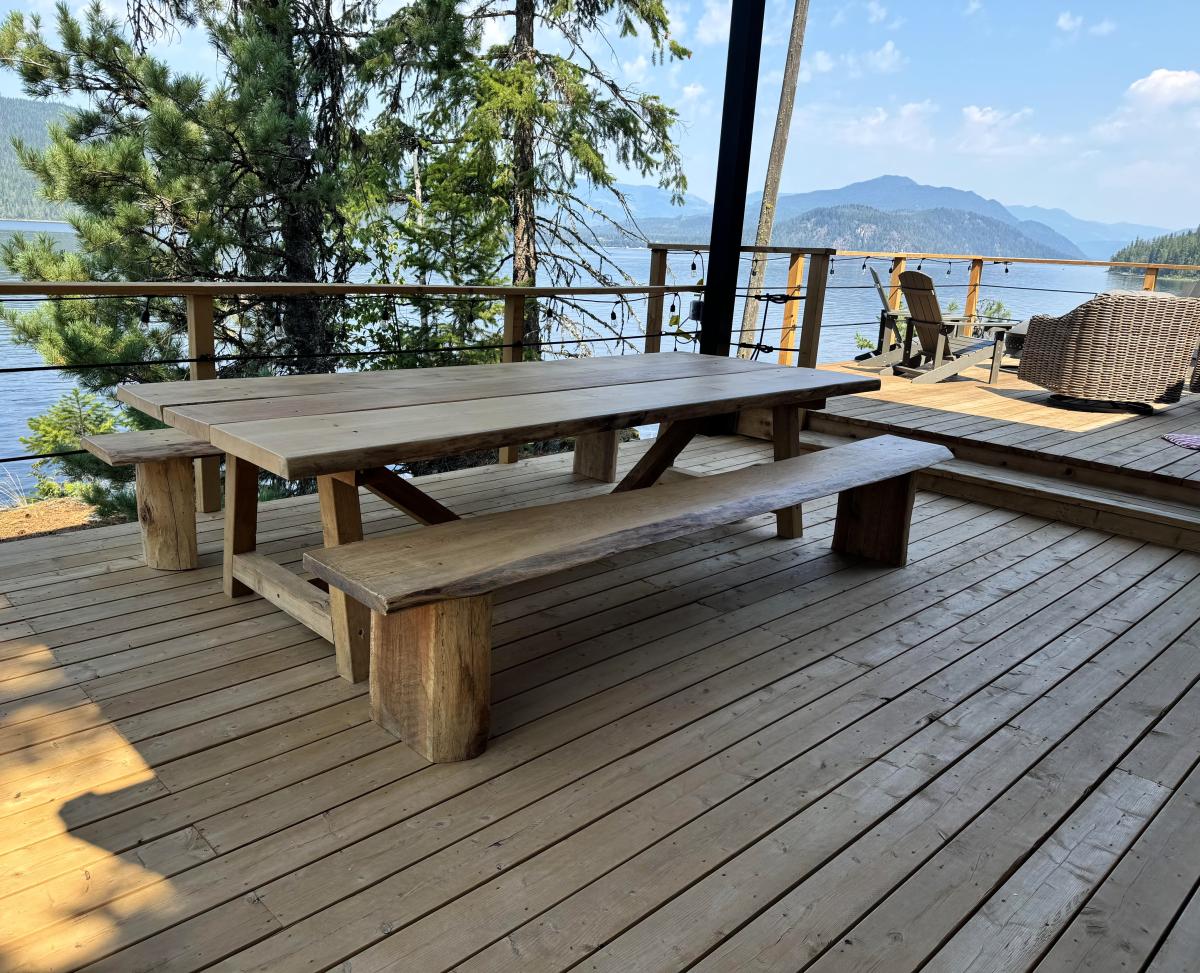

Thank you for the design. I modified this table is 4’ x 10’ made from wood at our cottage. harvested and milled here. British Columbia Mabel Lake.
Dave


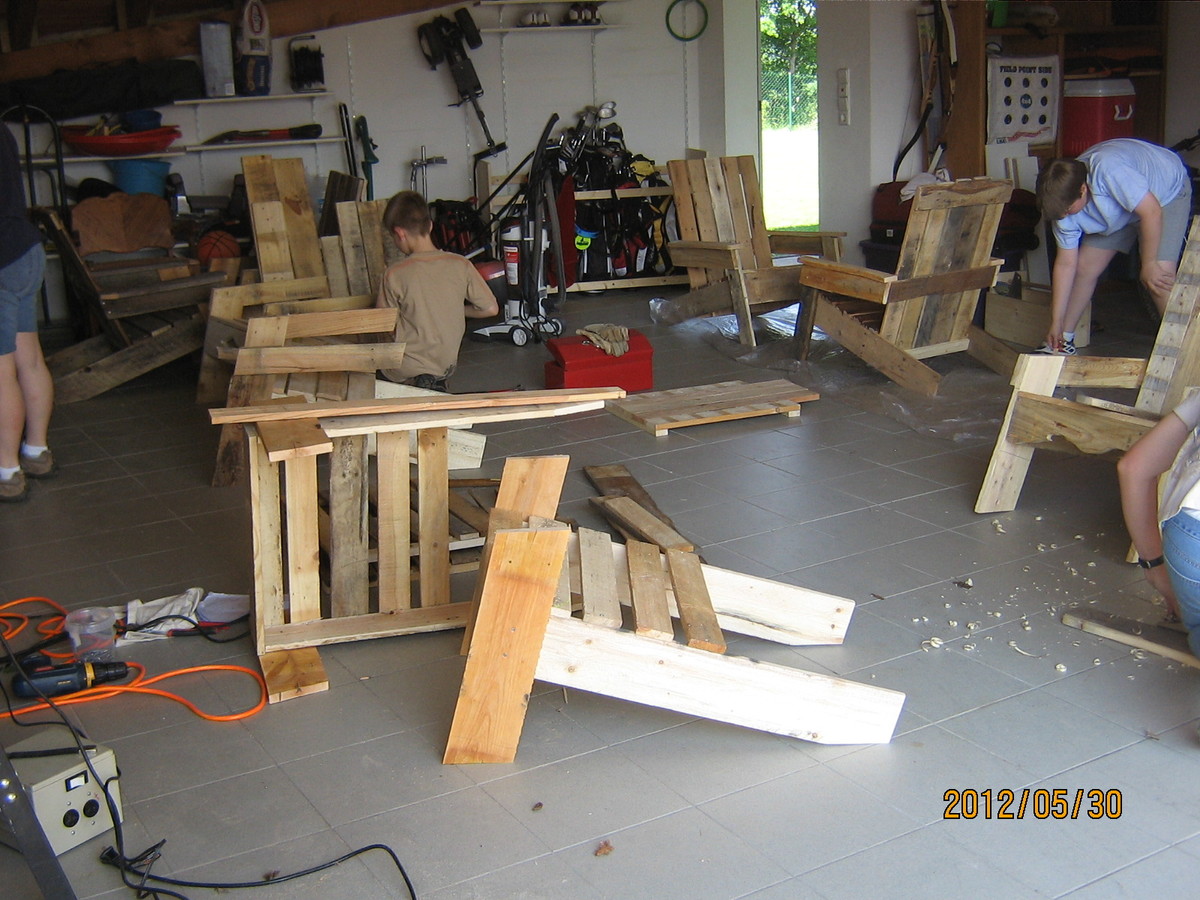
We were able to pick up pallets for free. There were 6 boys aged 10-13 years old. They each took apart 5 pallets. Their pallets with time and patience became two adirondack chairs each. We love the chairs and the boys learned quite a bit. The challenge was that the pallet peices differed in thickness and widths so the boys had to really focus on each piece and the overall look. They look fantastic. The finishes were all different. We are so thankful that Ana has put together such a wonderful website.
Thank you Ana! These boys learned that if they need something, they can make it themselves! They also learned that trash can be a treasure.
Thank you,
Amy
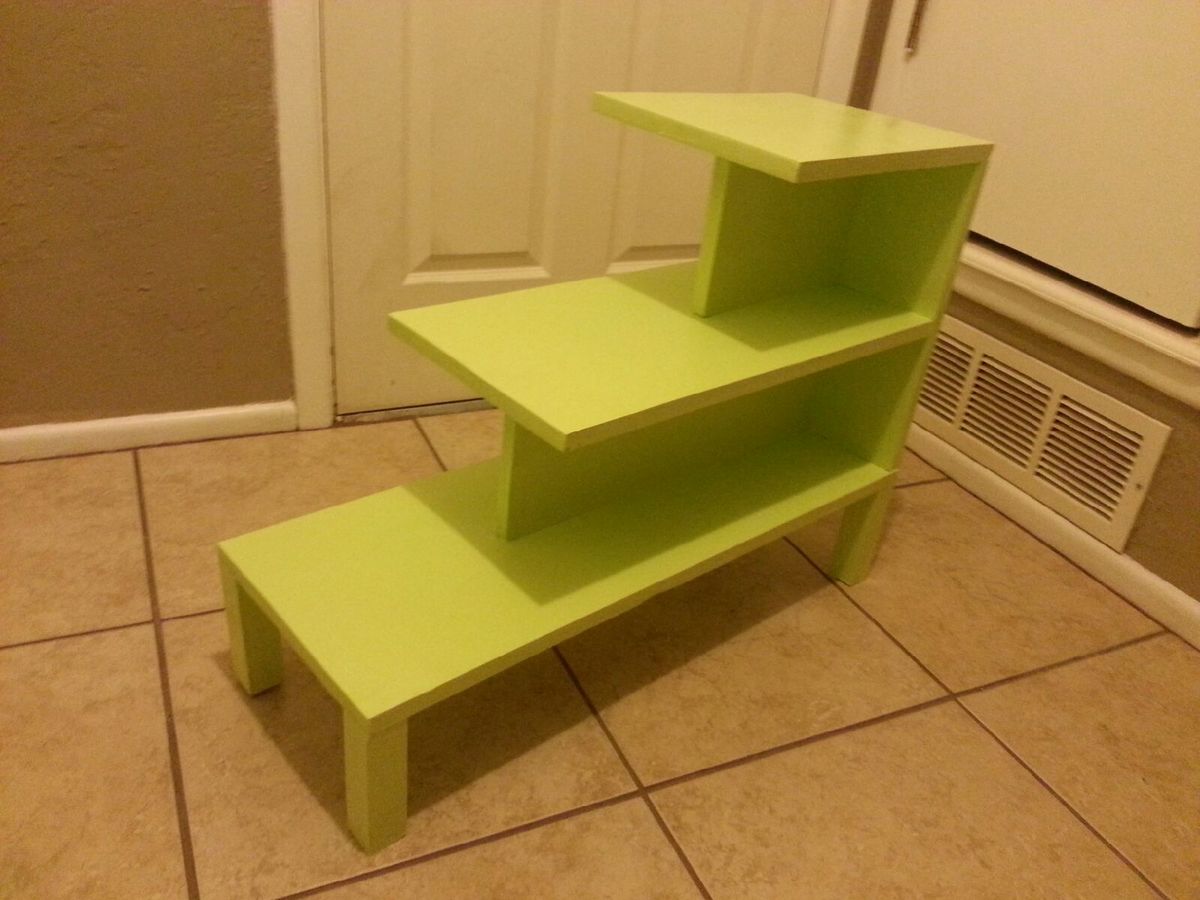
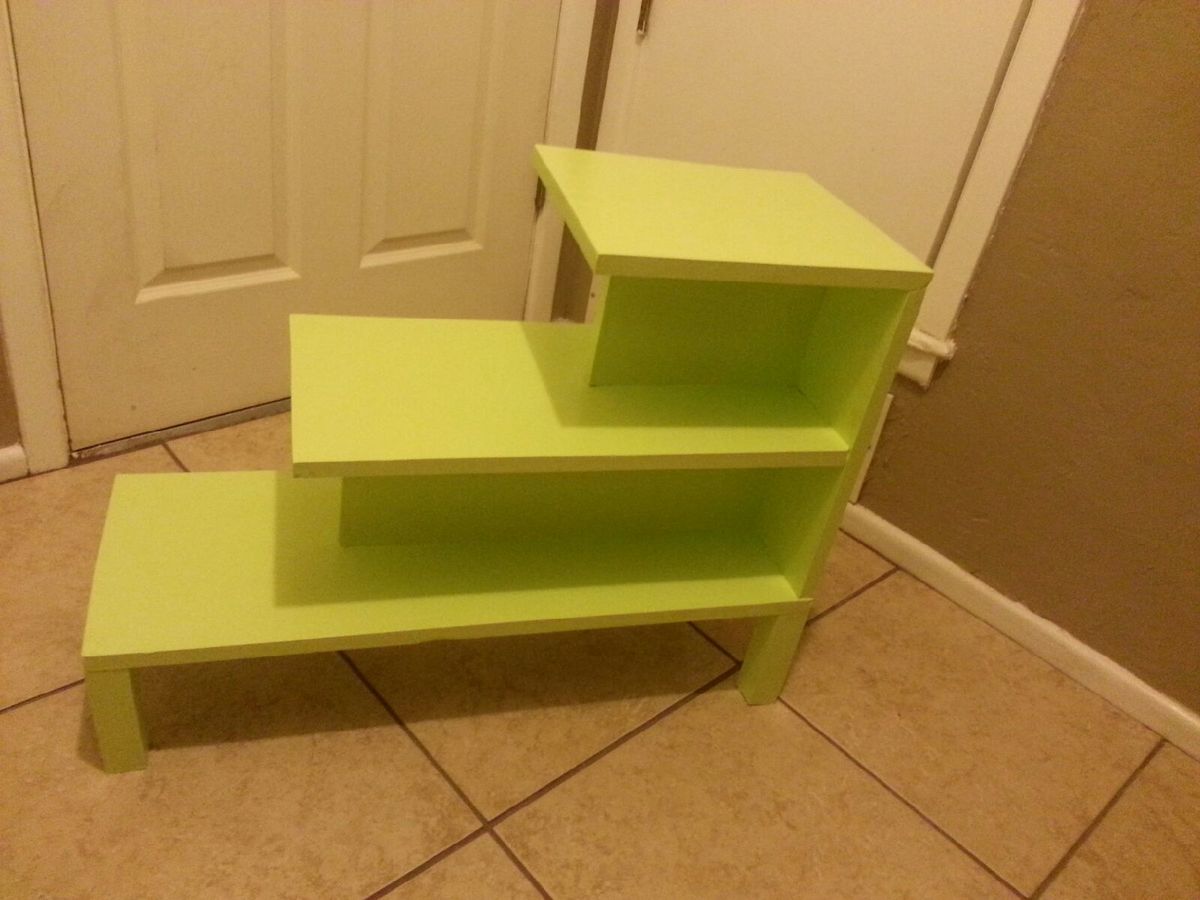
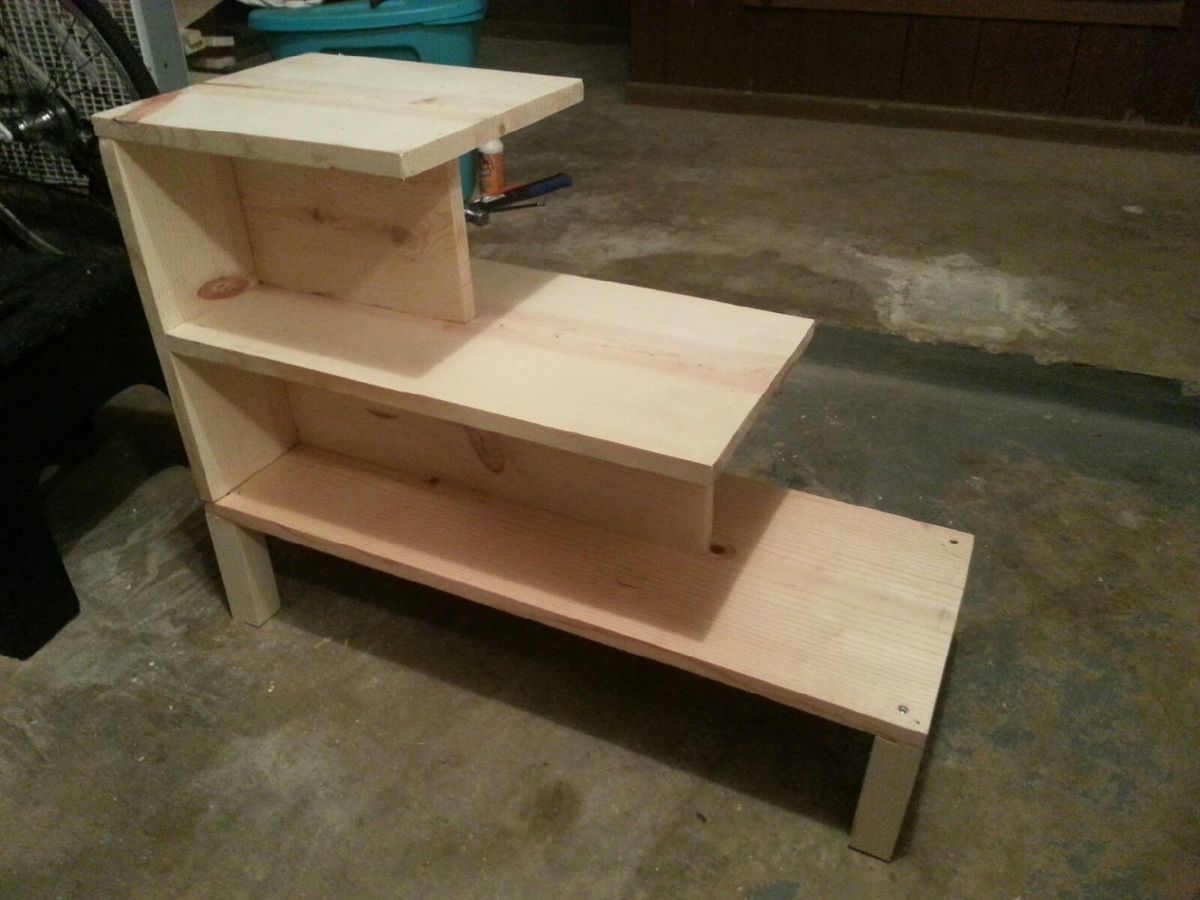
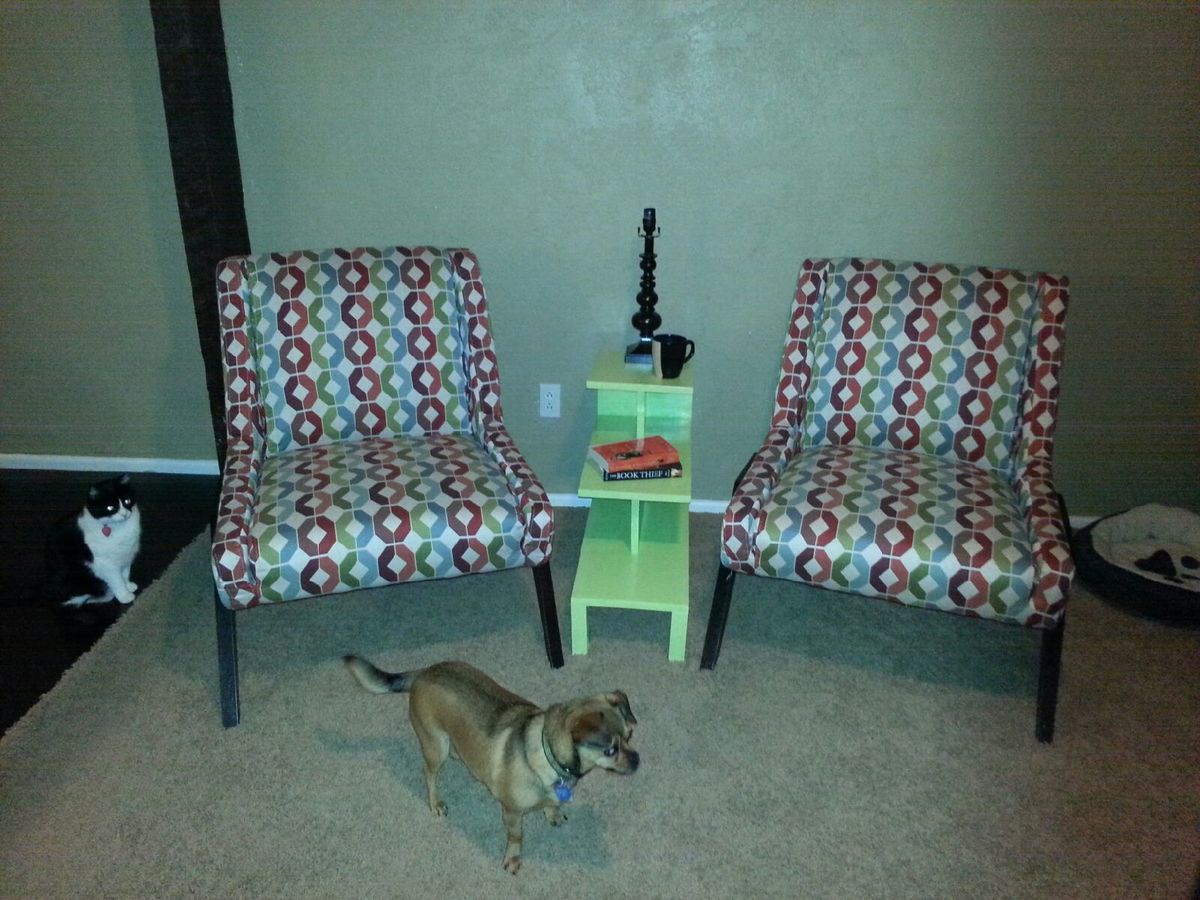
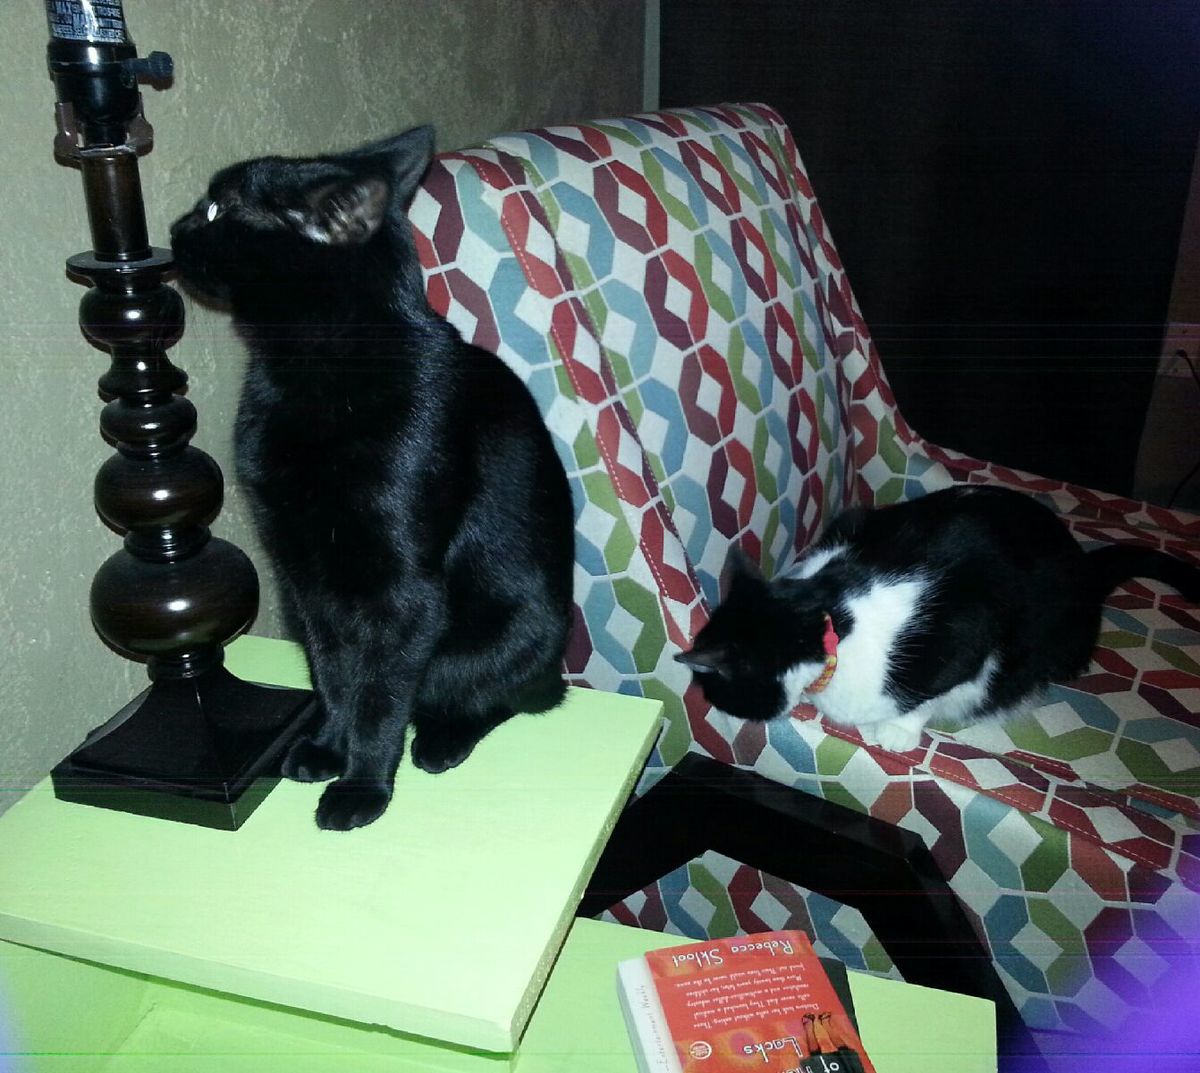
For my second-ever project, I built the step-up side table! It actually came together much faster than the "updated simplest console," which is listed as a starter project. However, I learned the importance of keeping square on this build!
I don't have a Kreg jig, so I followed the steps in a slightly different order since I couldn't do pocket holes. I also avoided ripping plywood to make 1x16s by using 1x12s instead. The dimensions fit my narrow space between two chairs better this way.
I LOVE this easy build and modern design. I'm pretty sure the cats are going to try to take it over, though. Thank you, Ana!
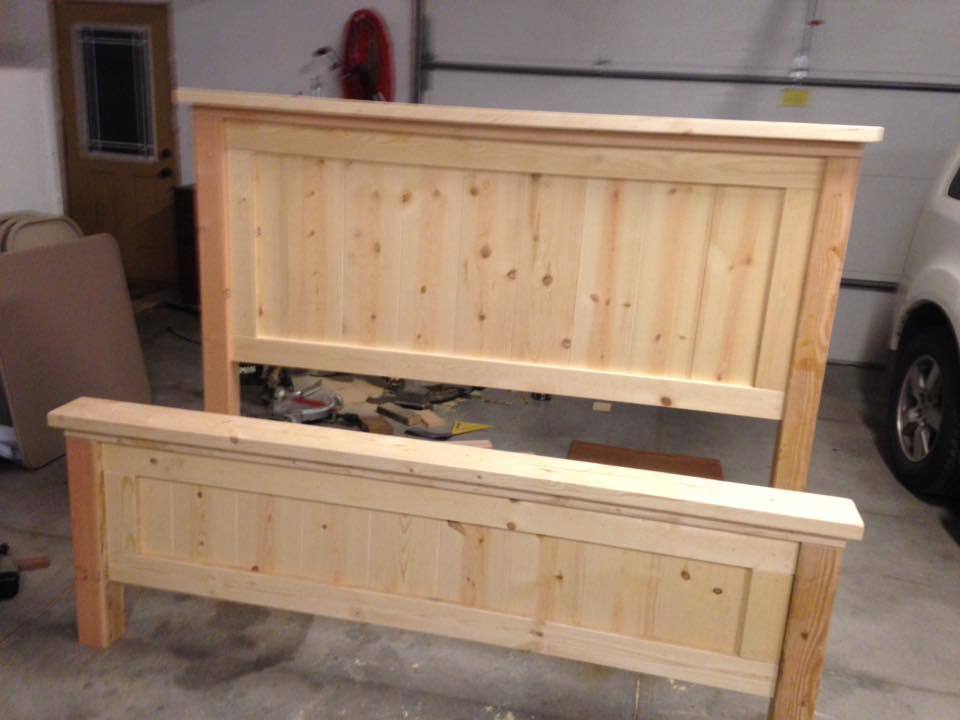
I have loved this bed since I first saw it probably 8 years ago. Hubby finally got it built for me. It took him one weekend day. I was able to get the finishing done in a couple of days with plenty of dry time between coats of finish. Thank you Ana for this amazing plan!
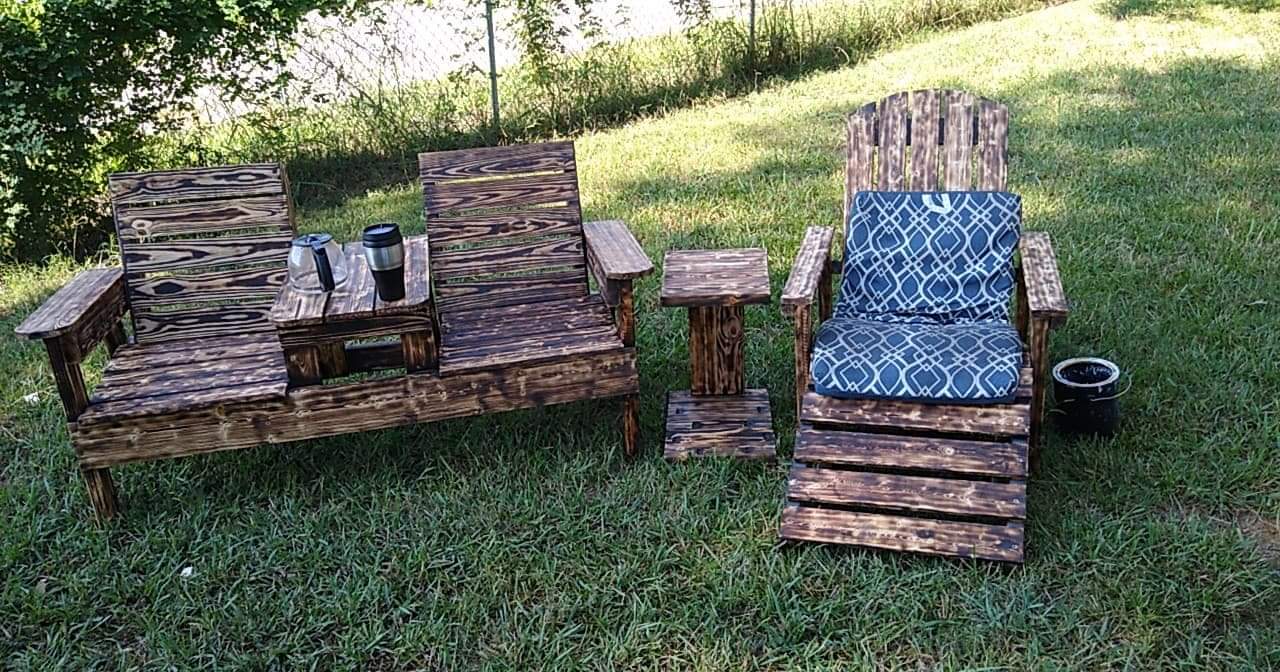
This was built for my wife's 50th birthday. We are going to add another single and side table to allow seating for 4, and I will probably do like a fire pit or something.
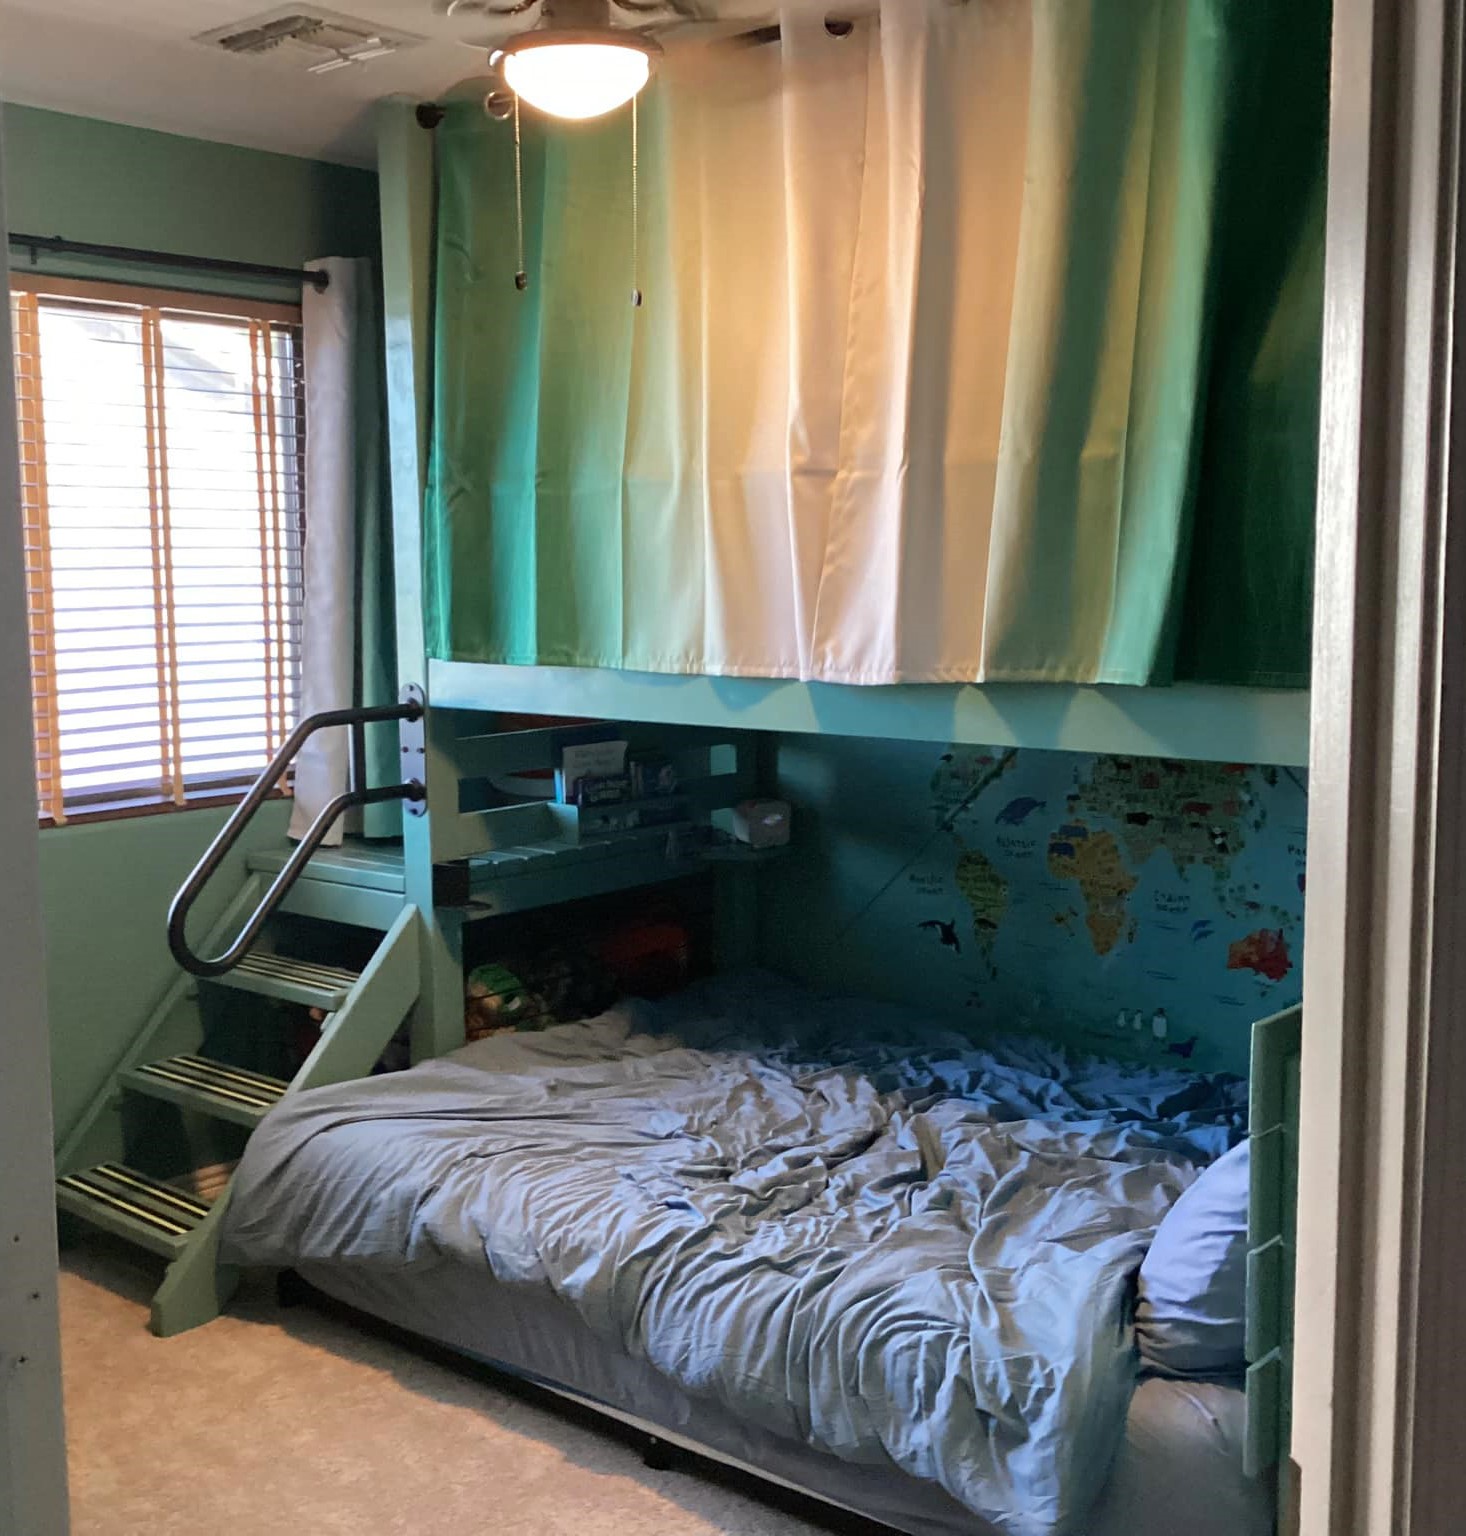
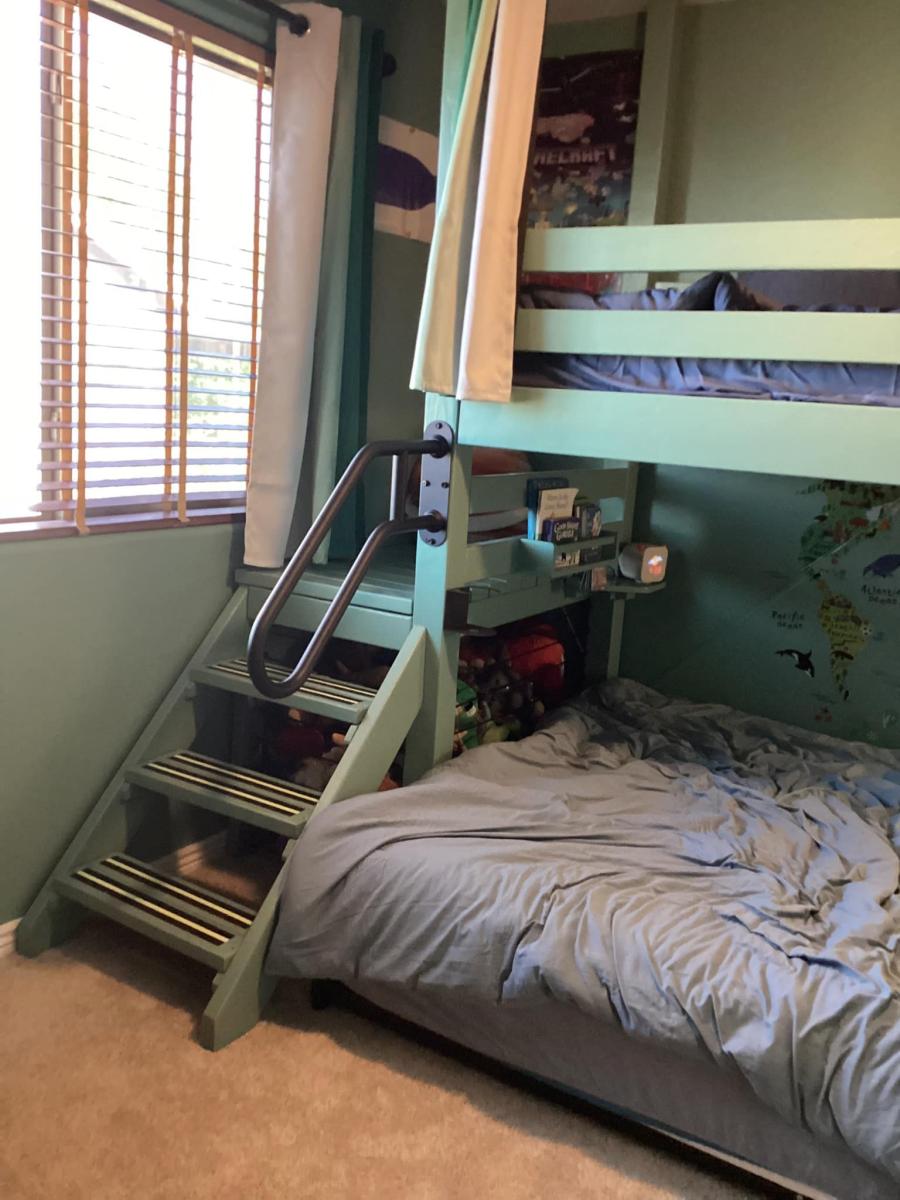
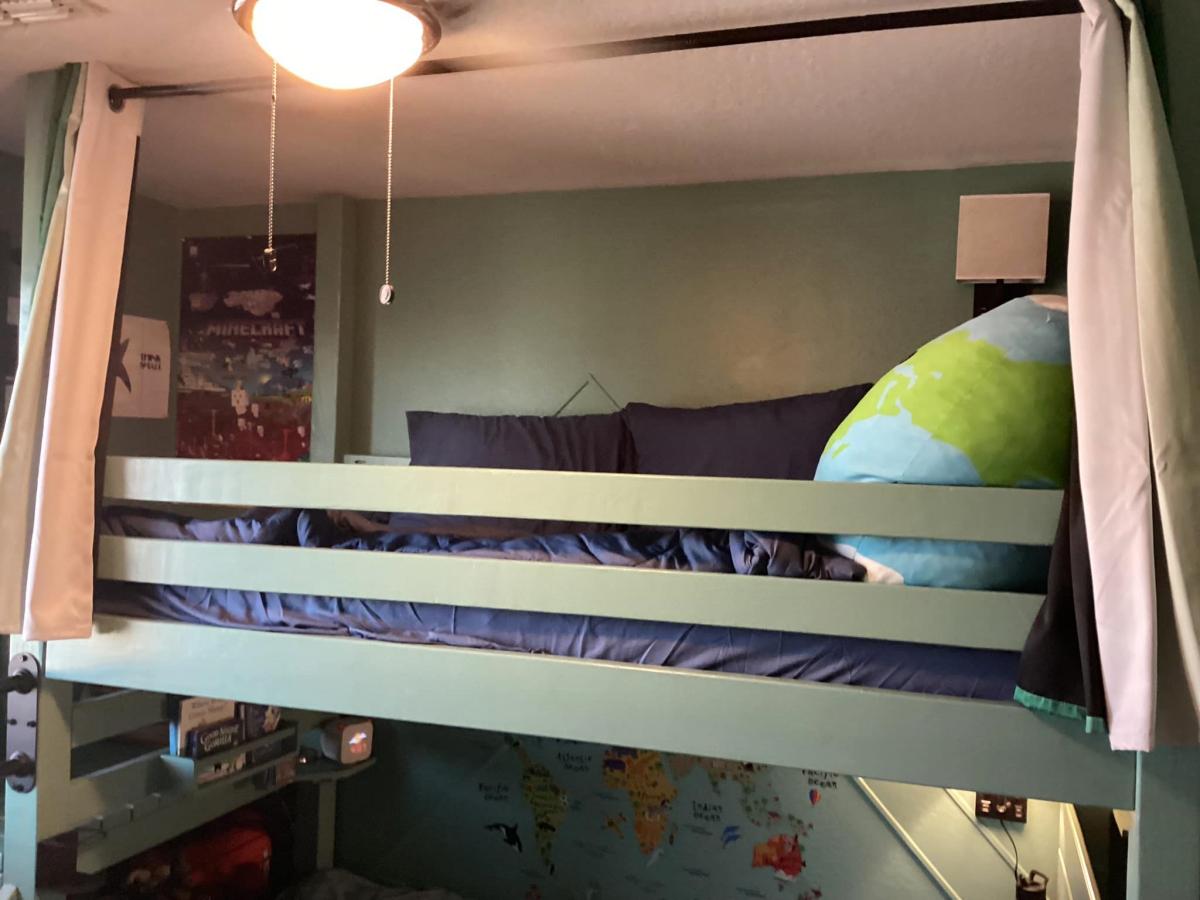
Camp Loft Bed with Stairs/Junior Height
We (hubby & myself) found these plans on your site and thought the bed would be perfect for our 13 year old son with special needs. He's been sleeping on a queen bed, but also had a privacy tent in our front room when he wanted to be alone. He never went into his bedroom unless he was sleeping for the night.
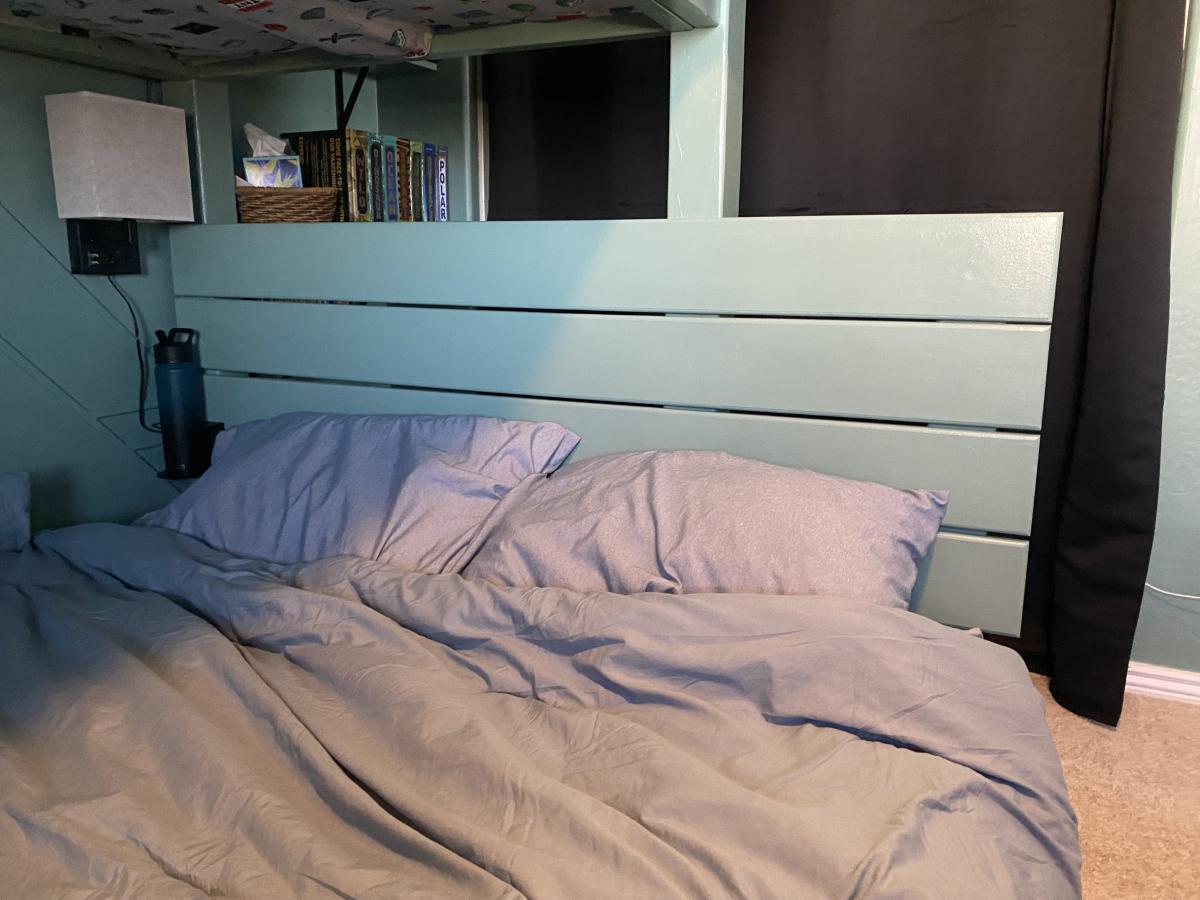
We decided to keep the queen mattress for him on the bottom, but wanted to save as much floor space as possible. We put a twin xl mattress on the top (added 5 inches to length), so the queen could fit underneath in the same direction. We built a headboard for the lower queen (1 x 6s) and added accessories like a light, cup holders, small shelf and a book holder to compensate for the nightstands we removed from his room. We decided to purchase a three inch bedframe for the queen in case the bottom space is used differently in the future.
Since our son needs extra stability, we added stair treads and a hand rail to the stair/platform area. We didn't want the space underneath the platform to go to waste. It is perfect for his stuffed animals. I used eye hooks and bungee cord to create a safe enclosure for them.
In order to provide him with the ultimate privacy, we used 4 x 4s for the bed posts and ran them up to the ceiling. This allowed us to run blackout curtains on the front and on one end of the upper structure. We also installed a light on the top level.
The instructions were great, especially the cut list. I can't give you a project time. Due to our schedules, we built it relay race style. My husband picked up the wood, and I cut it while he was working. He'd have some time to router the edges, and I would sand (80/150/220 grit), prime and paint all of the pieces. We worked together to assemble the bed in our son's room. I finished areas that needed filling/painting and added the accessories.
We are very happy with the results. This bed changed the whole dynamic of the room, and our son is finally hanging out in there.
This was our first project and I am VERY pleased! We modified Ana's plans to add a shelf... super easy to do. You do NOT have to have the Kreg-Jig to do this. We only have the basic tools (saws, drills and sanders) and didnt want to purchase another tool for our very first project, and it turned out fine. I painted directly on to the wood (no primer) with a semigloss paint and added floetrol paint conditioner and it turned out beautiful. You can still see the grain of the wood, which I like. I painted the table brown, except the tabletop and the backing is burgundy to match our decor. This is going to look GREAT once it is loaded with pictures and books and Im going to sit a couple of baskets beneath it. I estimated $45 for the cost assuming you already have paint & nails to use. You need the lumber, wood filler, sand paper and paint conditioner..

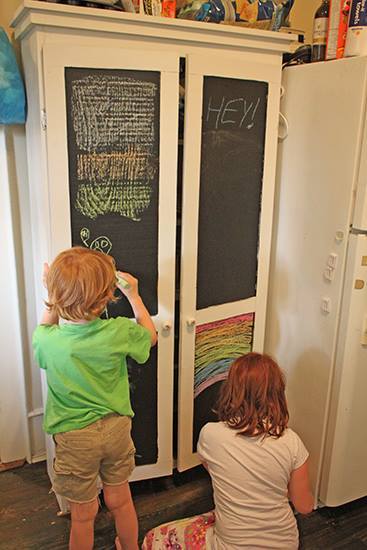
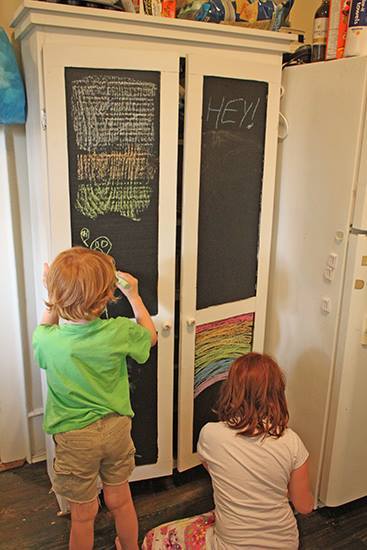
Used the simplest armoire plans -- great plans and relatively simple for a first-timer like me. Chalkboard paint on the doors made it fun for the kids!
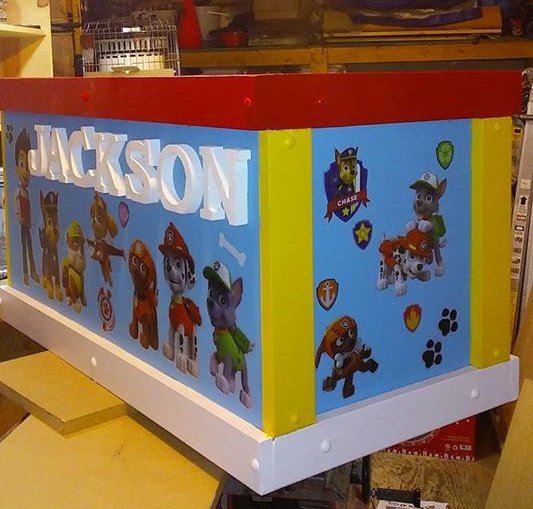
I used the plans from this site with just a couple changes but the idea came from this plan here
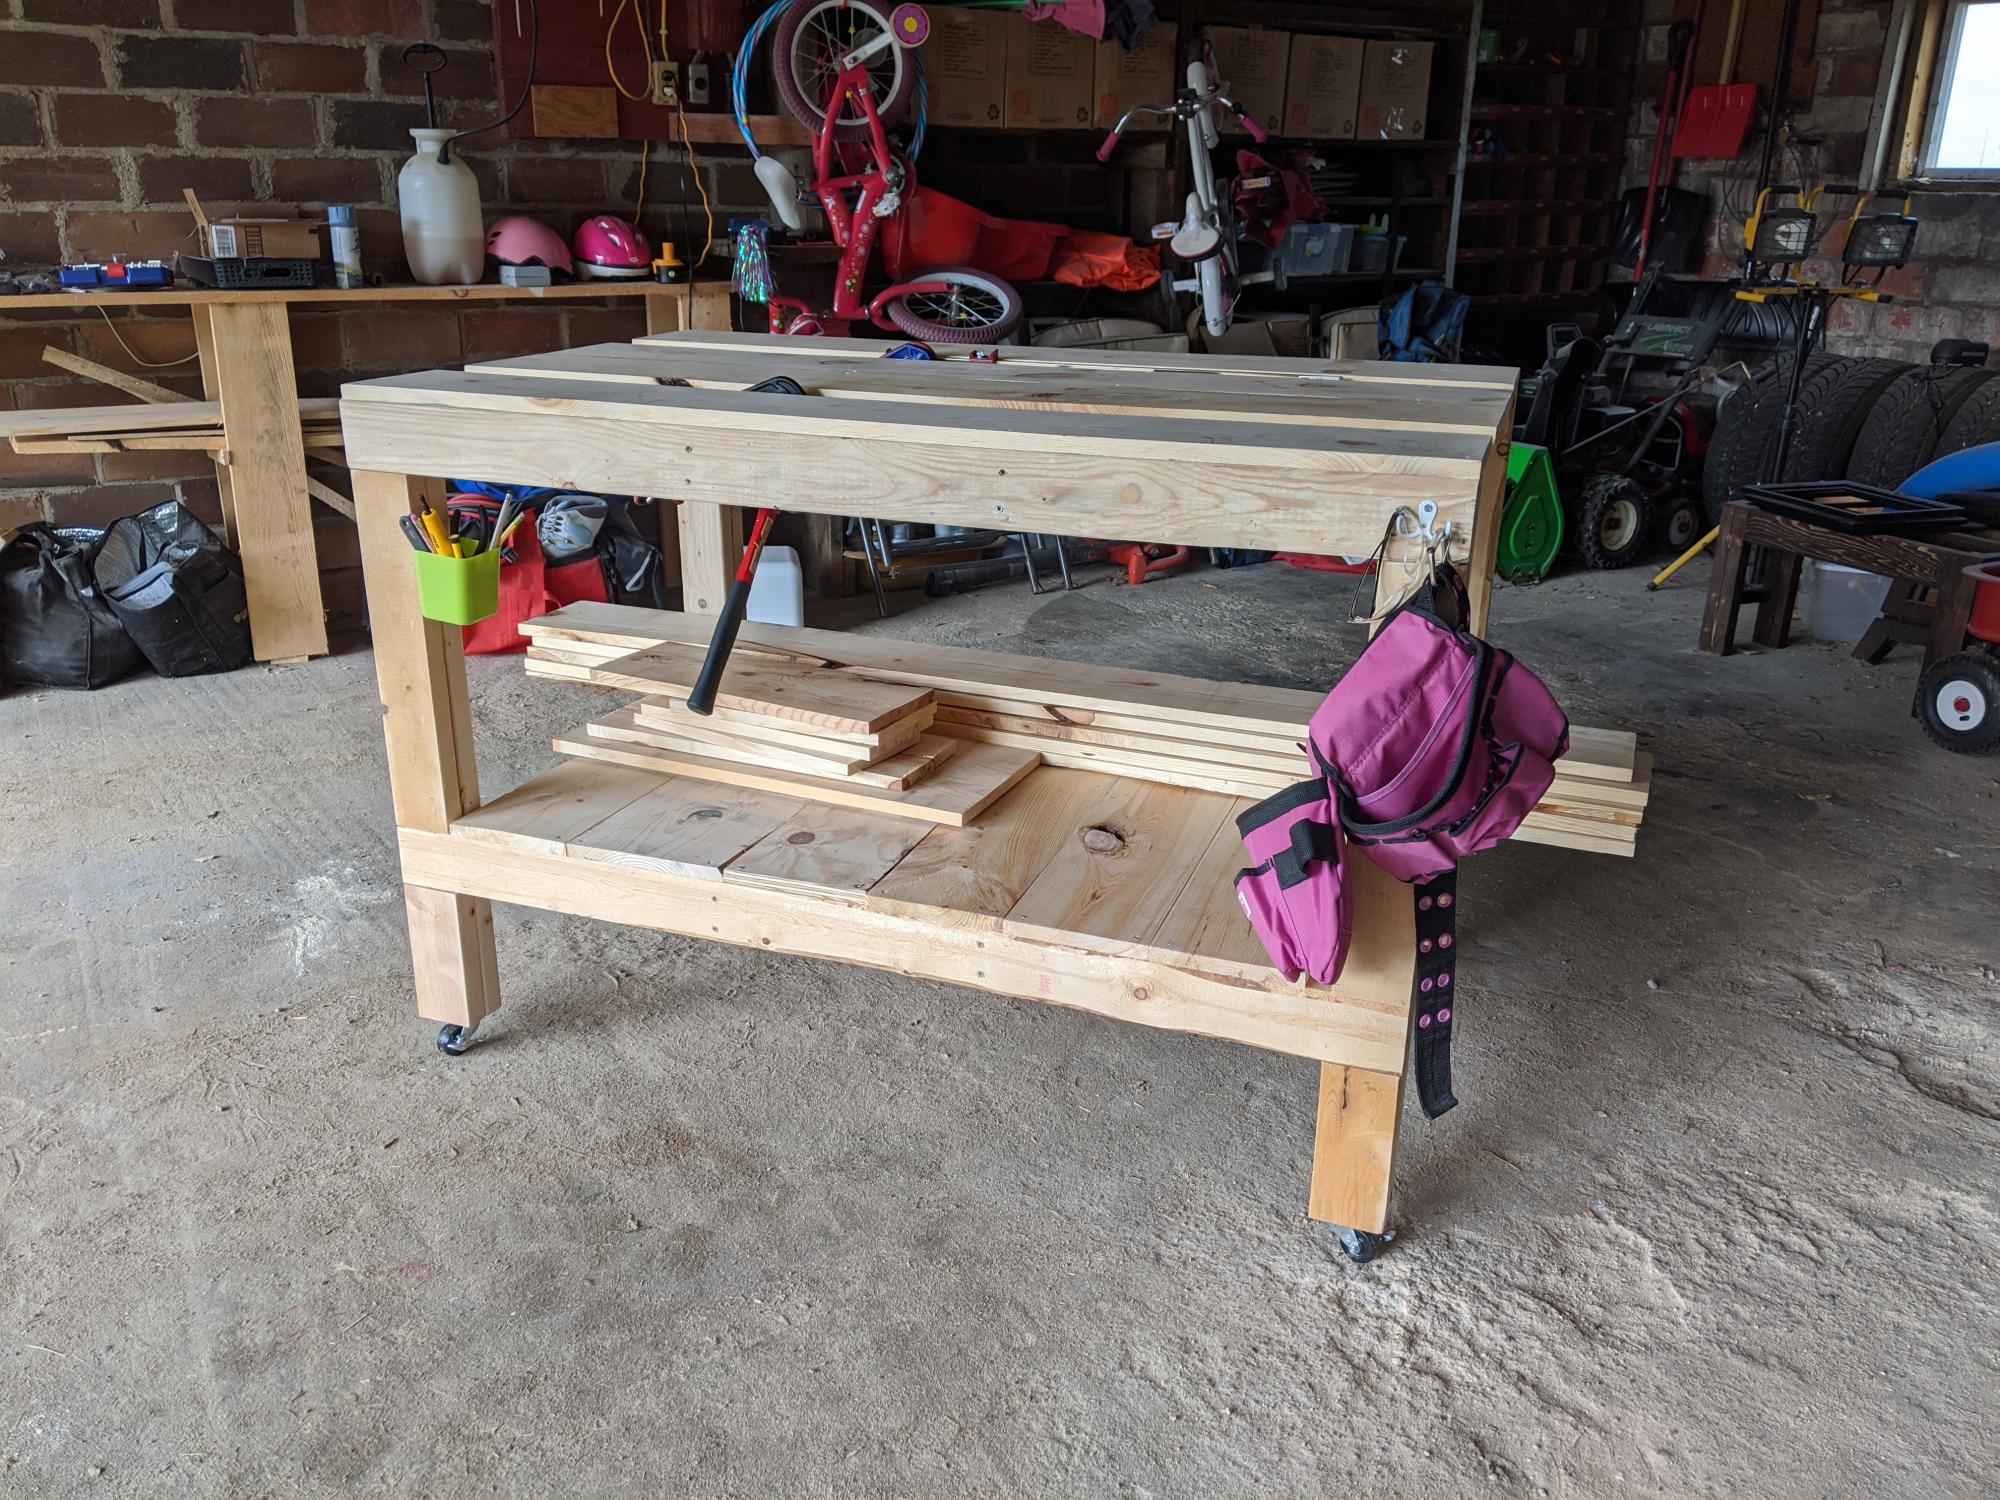
I needed a legit workbench and I had a bunch of wood to use up. I got a bunch of 1x8x6s from my local hardware store's scrap pile. There's a reason they were free... But I couldn't just toss them. I used all scrap, from the hardware store, my garage, and my brother-in-law's farm, except 3 2x4s that I bought new.
For this workbench, I used slats on the top and the bottom shelf. The frame is 2x4s. I had some idea I could use the space in between the slats to cut wood, but after adding 2in casters, it appears it might be a bit too tall. Even still, the spaces in between the slats make for excellent clamp storage.
And now I finally have a legit, mobile workbench to keep all my chaos somewhat contained.
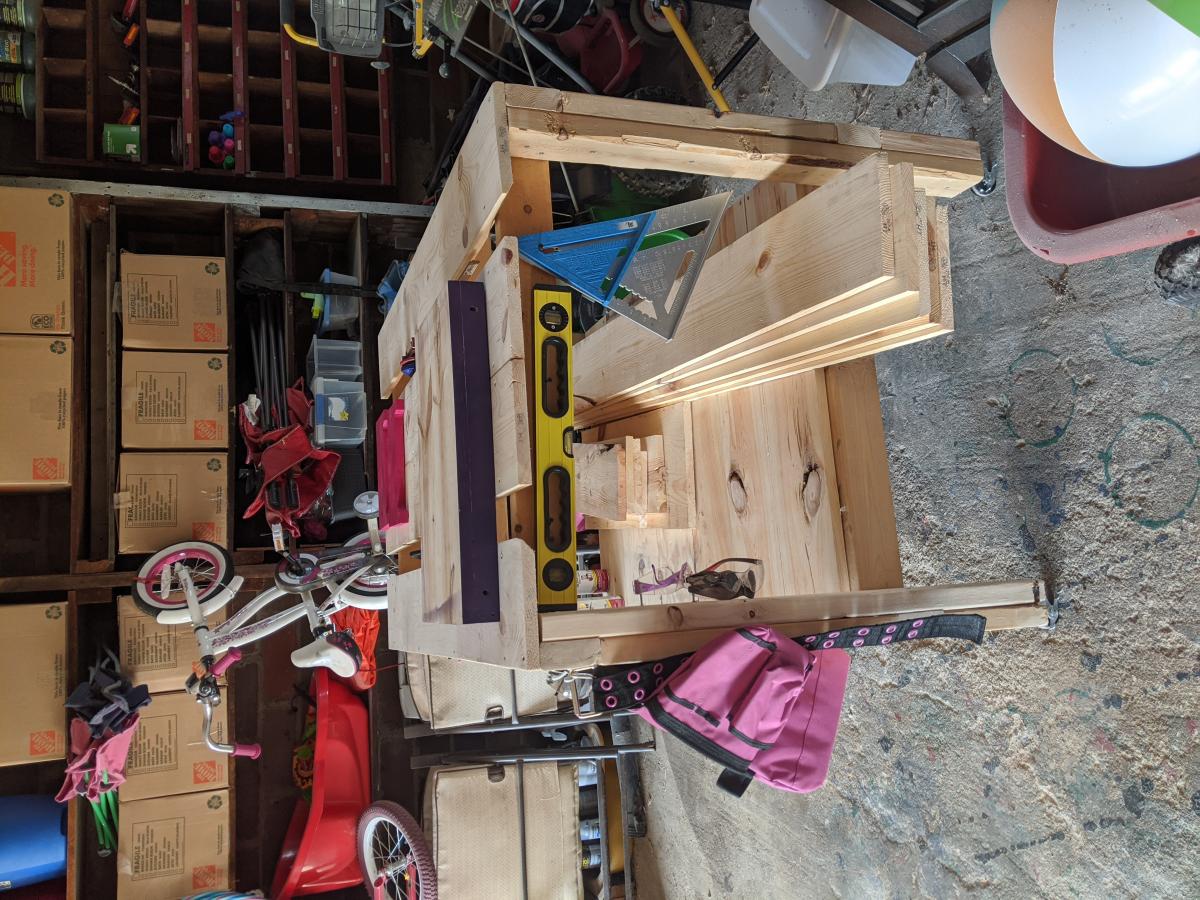
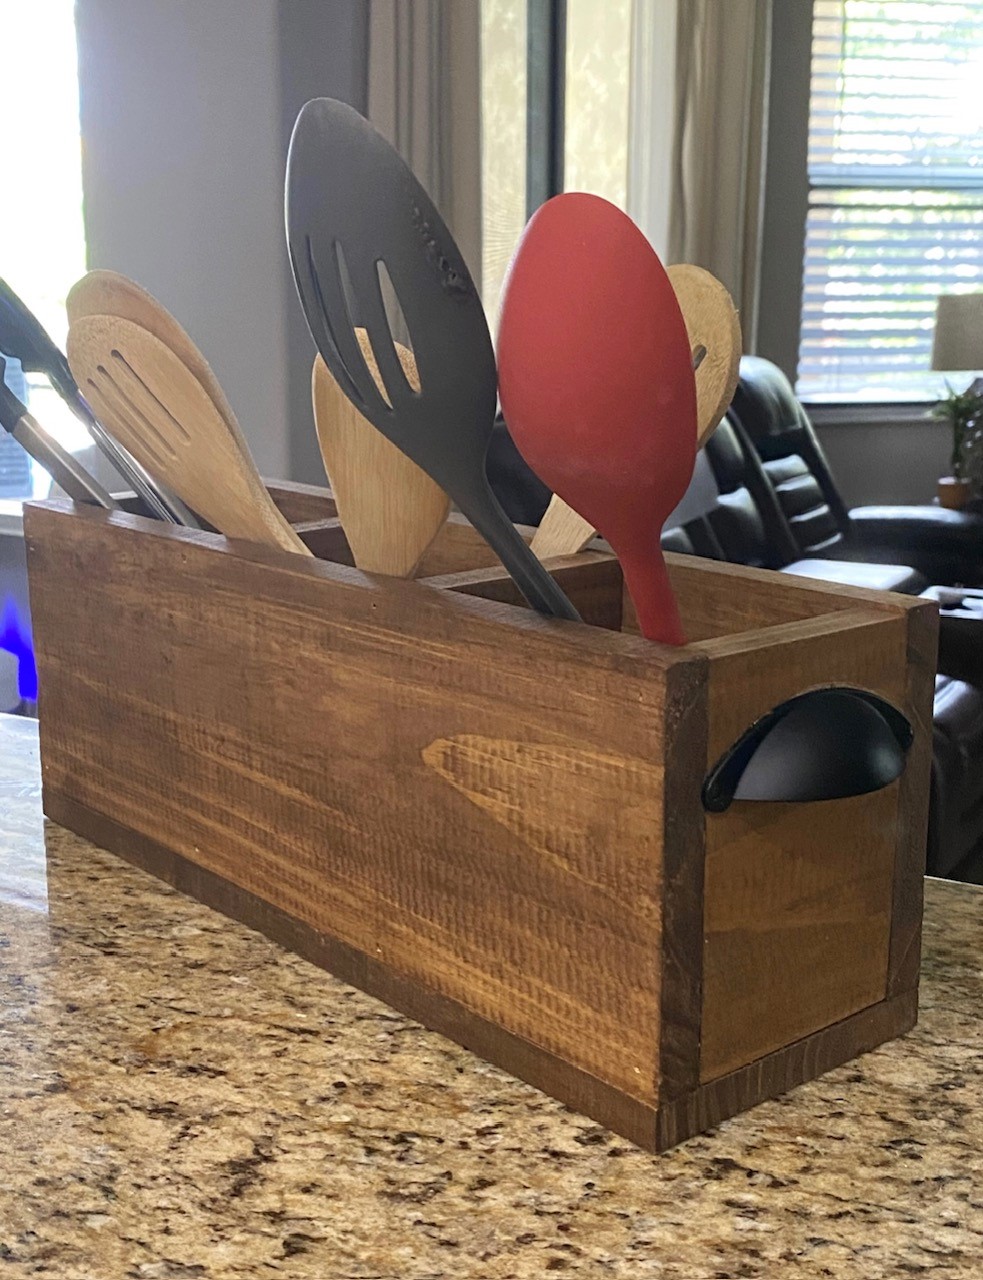
Easy project to make.
Tue, 08/20/2024 - 04:29
Thank you so much for sharing these amazing DIY projects! I'm especially excited about incorporating a *wooden world map* into my home decor. Your ideas have truly inspired me, and I can't wait to start my next project. Keep up the fantastic work!
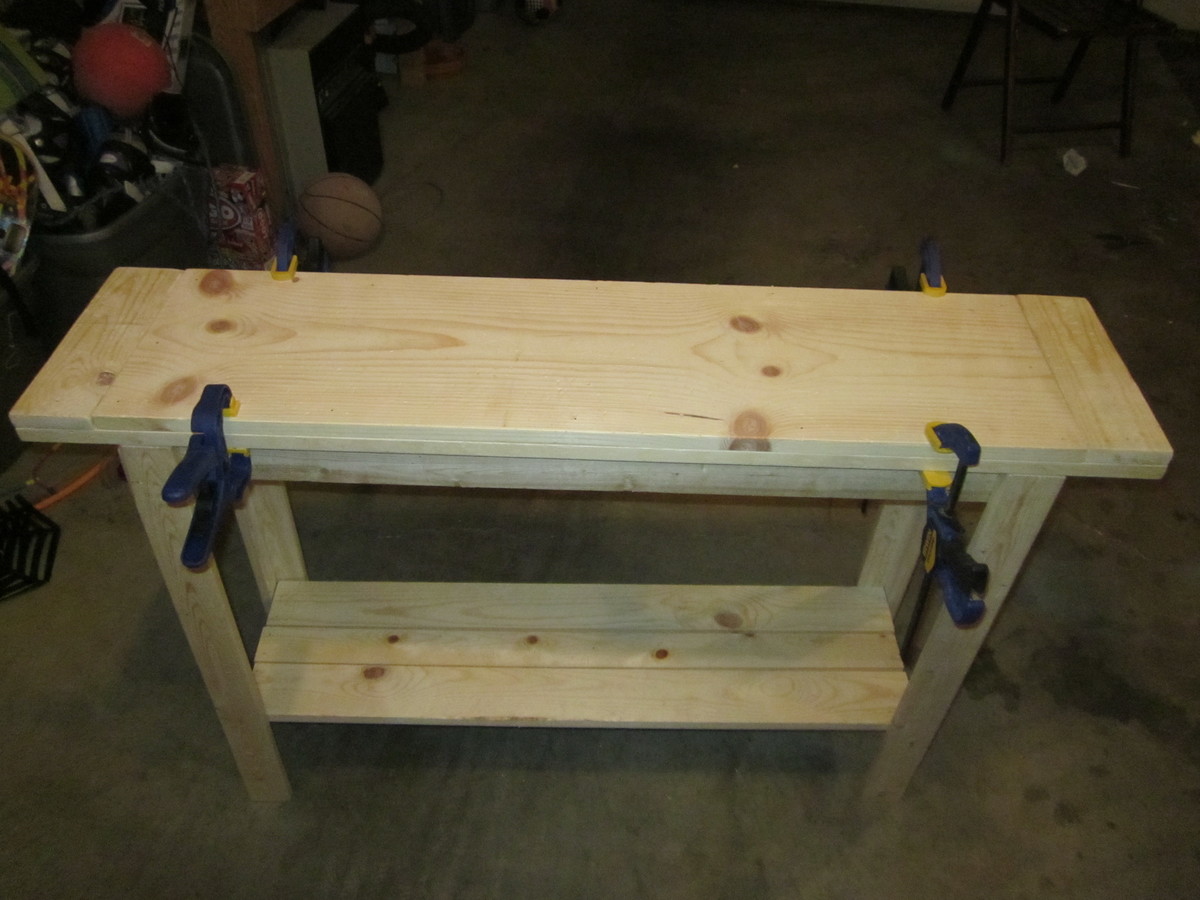
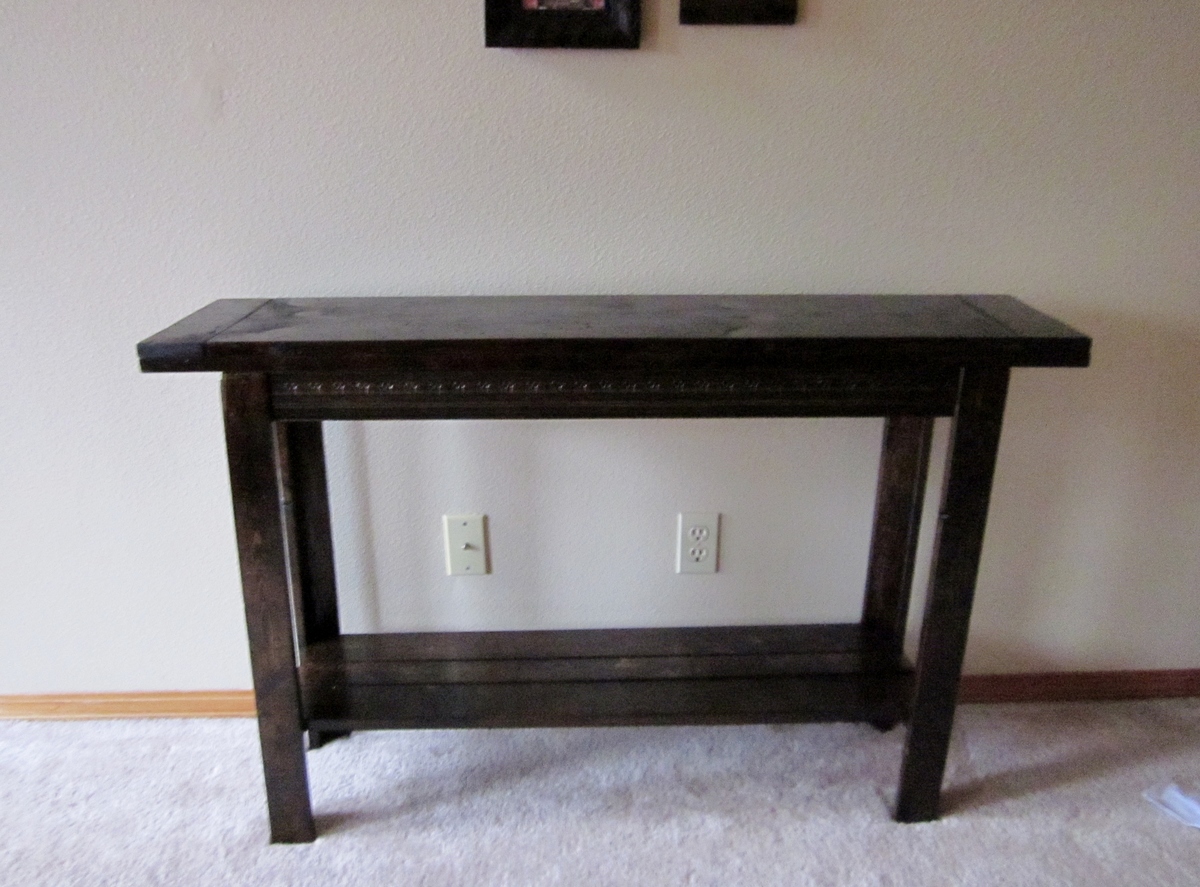
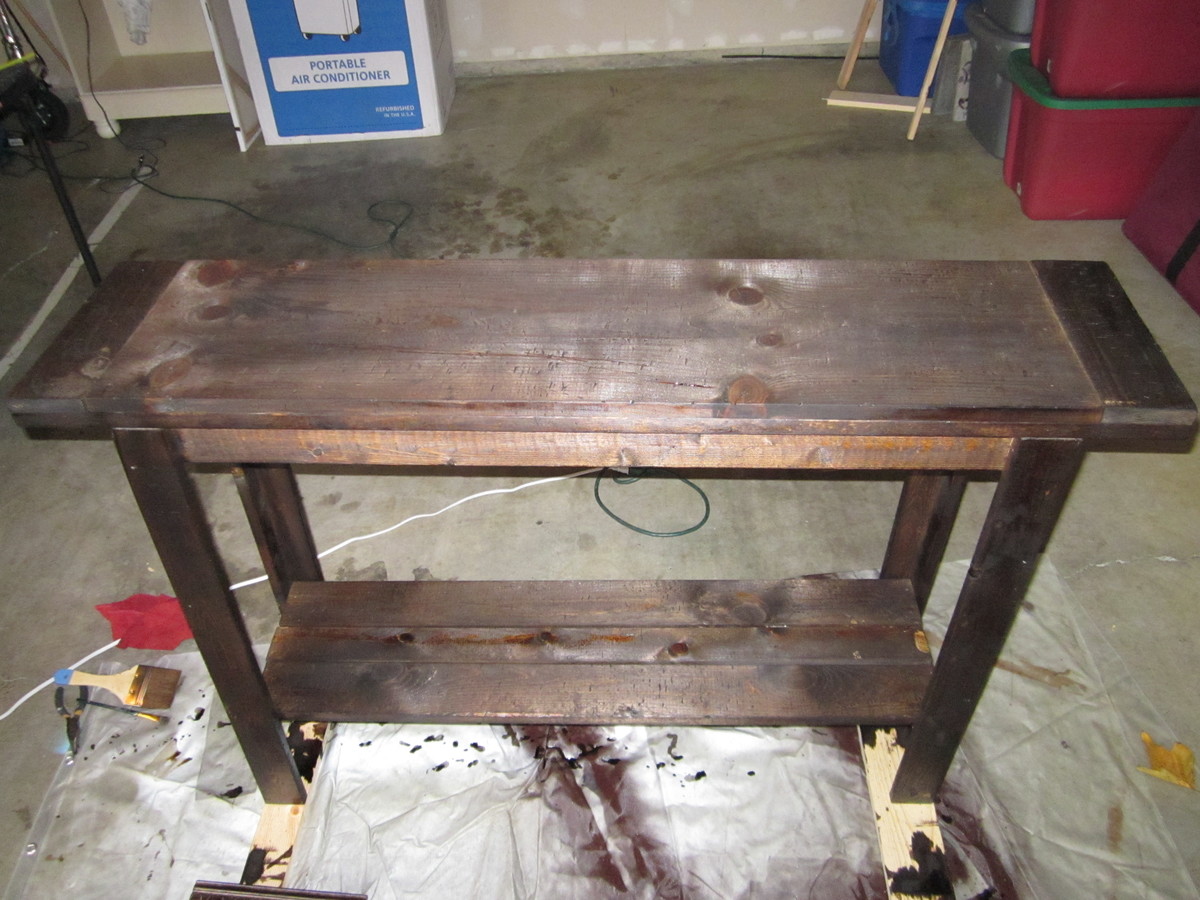
Here is my first woodworking project. I followed the plans (that were so user friendly) for the cheap and easy console table. I spent 40 in material only because I bought a 8 ft board of decorative molding for the aprons that cost 20 bucks. I used a circular saw (that was scary and fun) and I hand nailed everything. Ugh My hands are sore. I really am in love with Spanish Colonial furniture and really dont have 300-3000 dollars to spend on a piece.
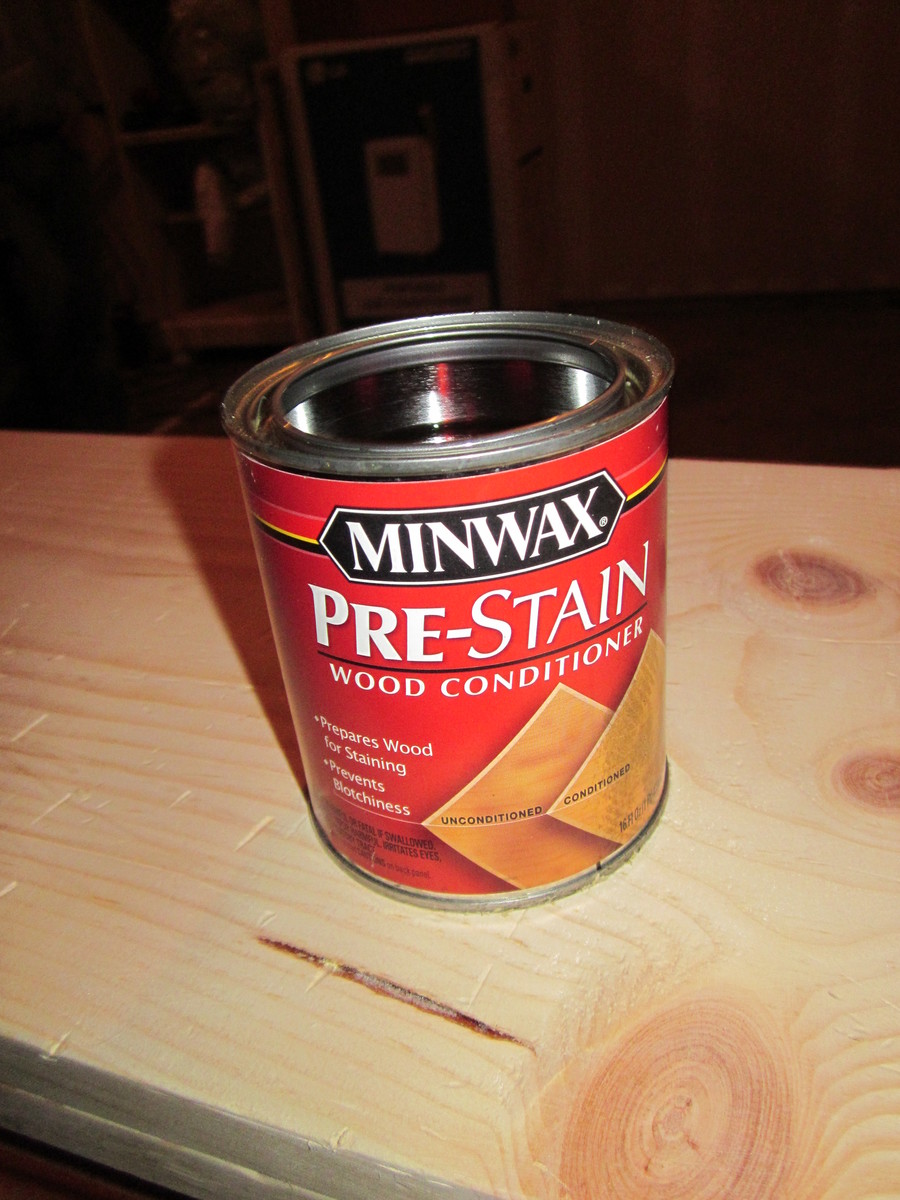
I beat the peices of wood with a metal chain and gouged it with the back side of a hammer. The kids had fun helping me with that! I also added more boards to the bottom shelf. Then used a wood conditioner. The stain i used is a dark walnut 2 coats and a satin poly on top.
This was the best web site for me!
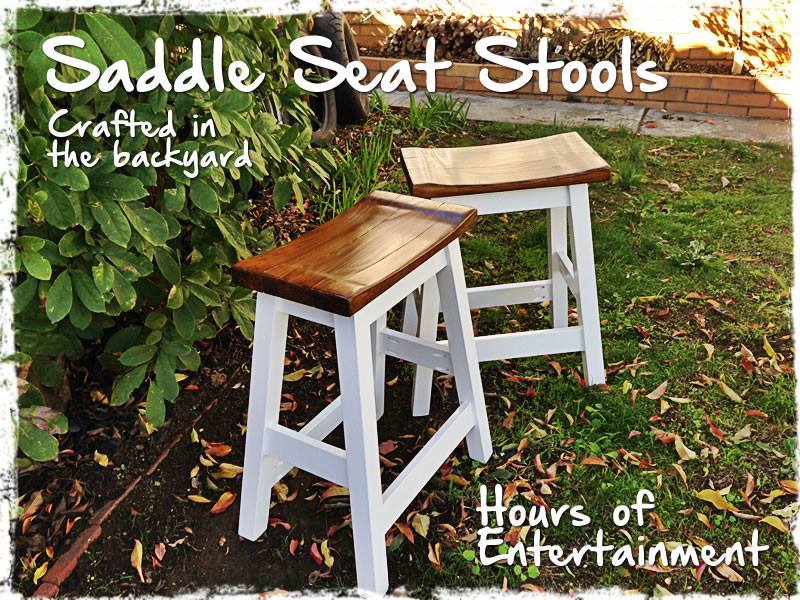
After a lot of cutting, screwing, chiseling and sanding... oh and a lick of paint! My new little Saddle Seat Stools are complete. Time will only tell whether they will hold up to the abuse the boys give them especially Brodie! These new stools only cost me $48 to make the pair and I got all the timber from Bunnings
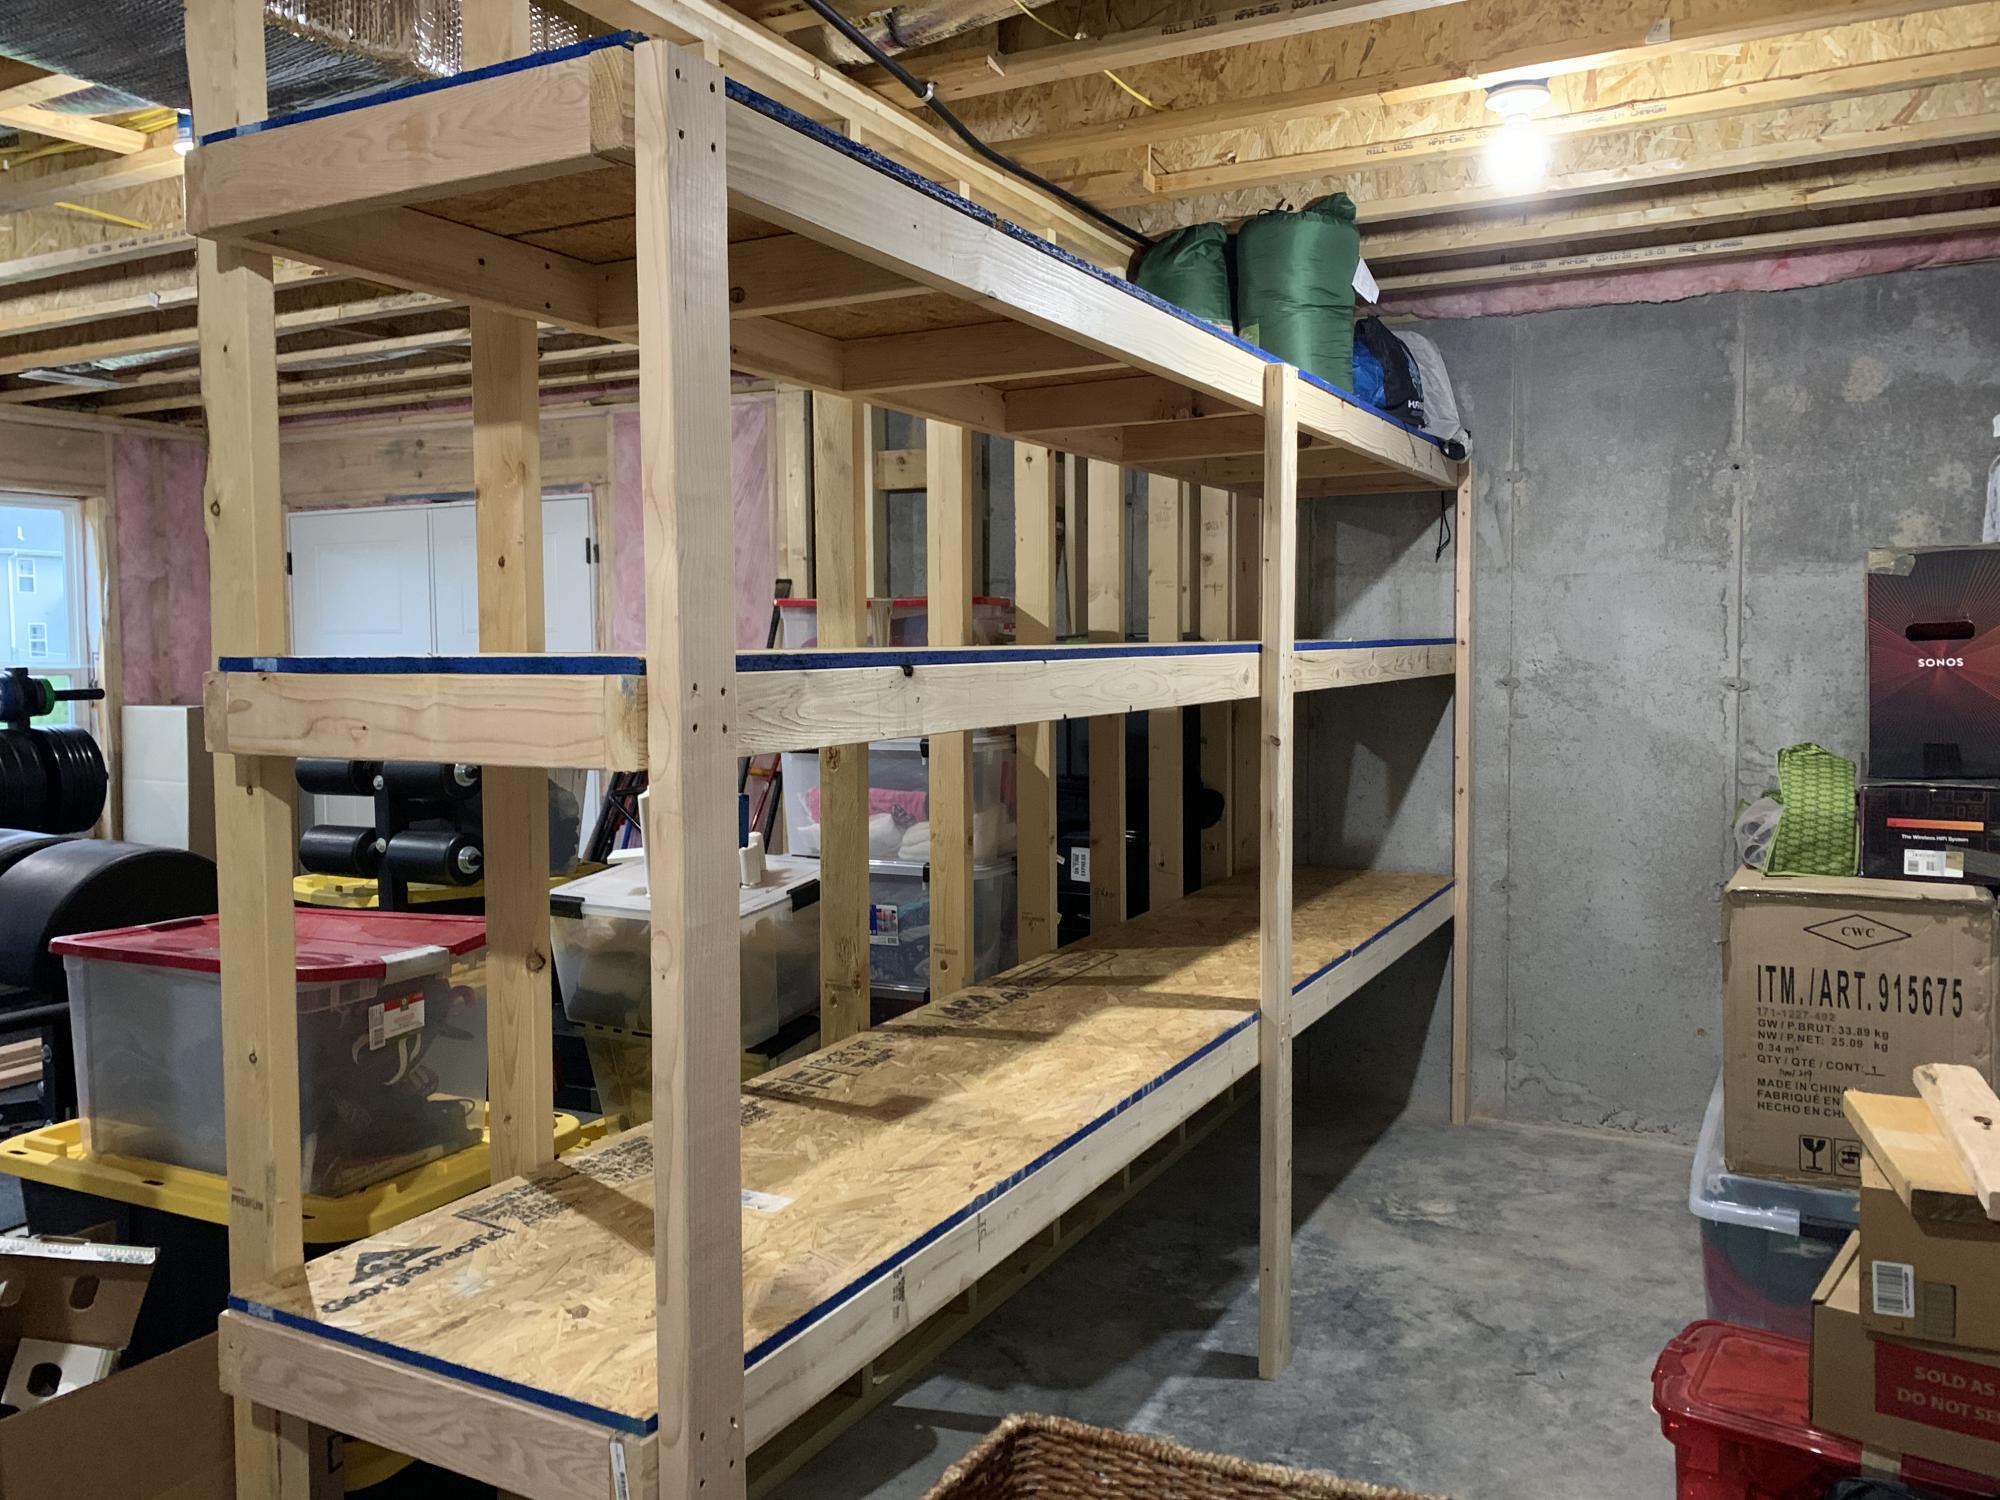
We just moved onto a new house with ample unused space I. The unfinished part of the basement so I decided to make a 12’ wall of storage shelves, altering Ana’s plans just a little bit. I did two 24” tall shelves on bottom and two 18” y’all shelves up top. It was a fun project and I got to use my Kreg HD Jig for the first time! These shelves are SOLID!
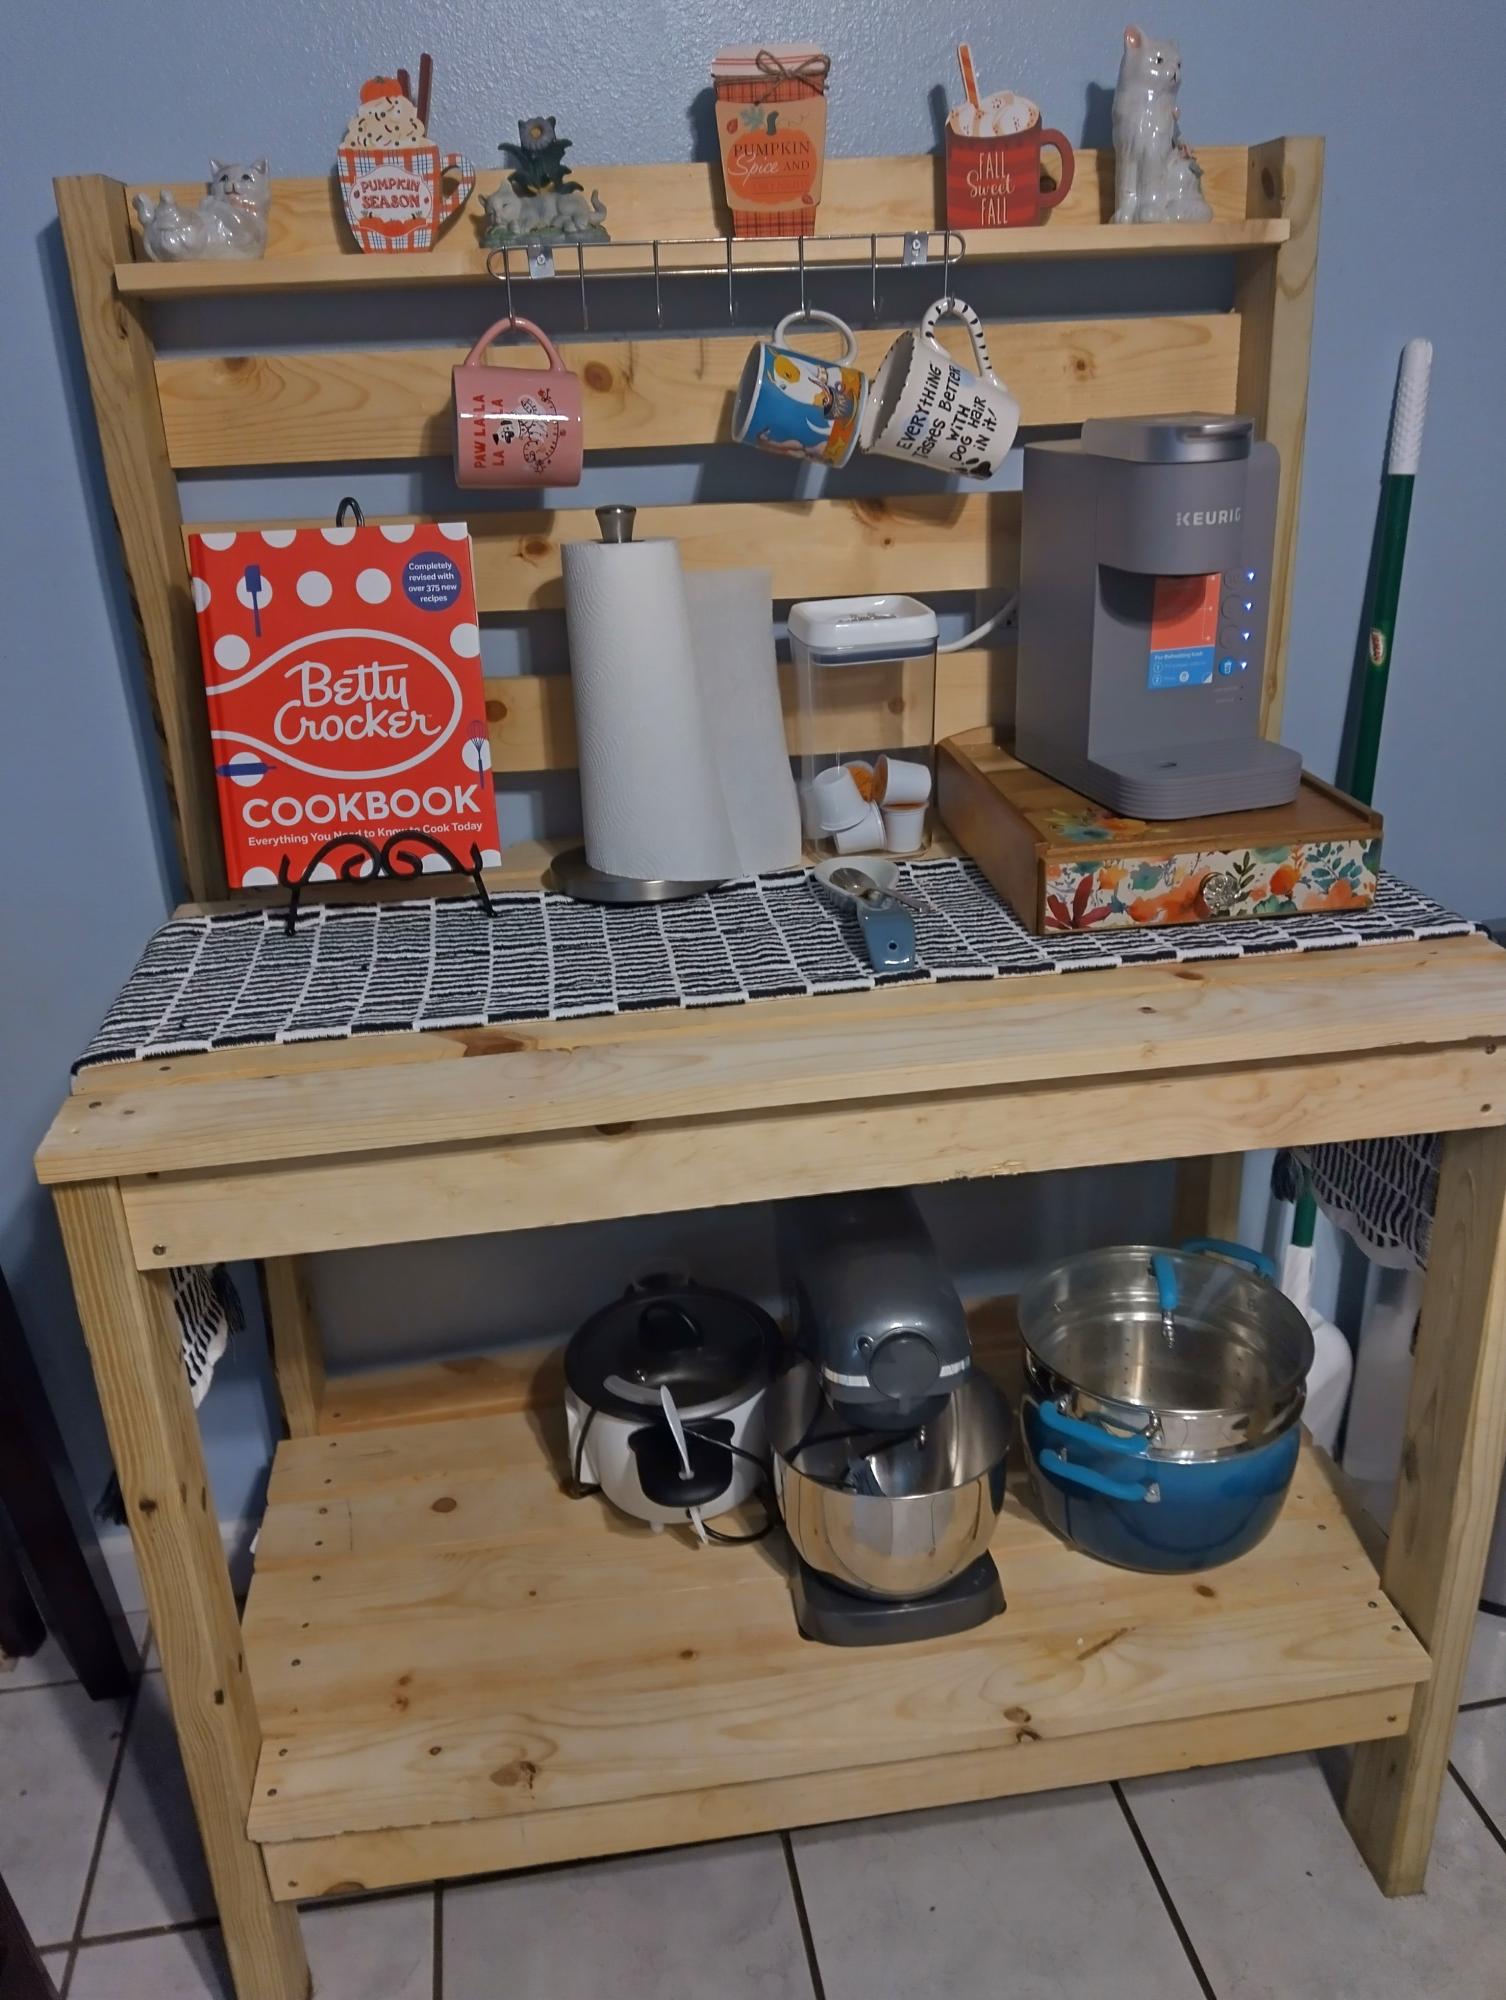
Using as a coffee bar.
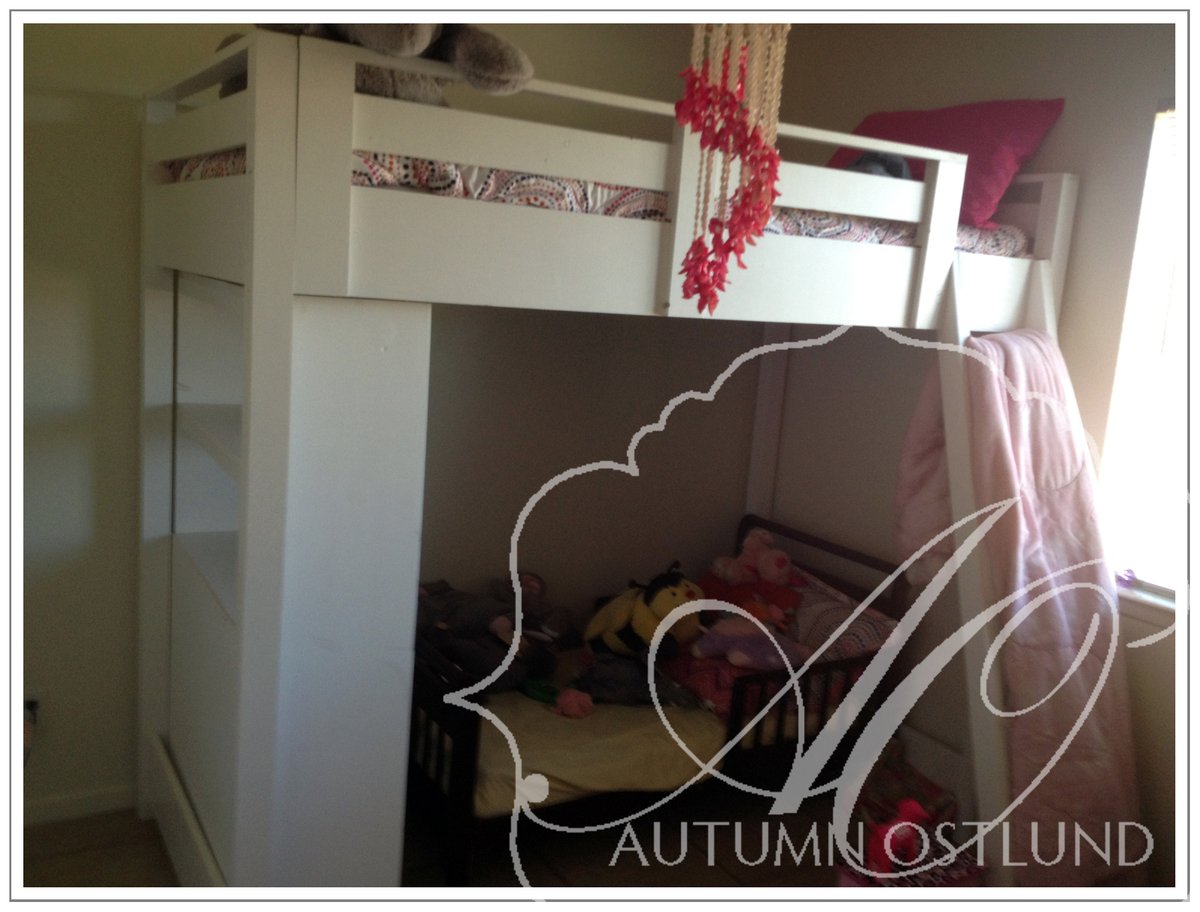
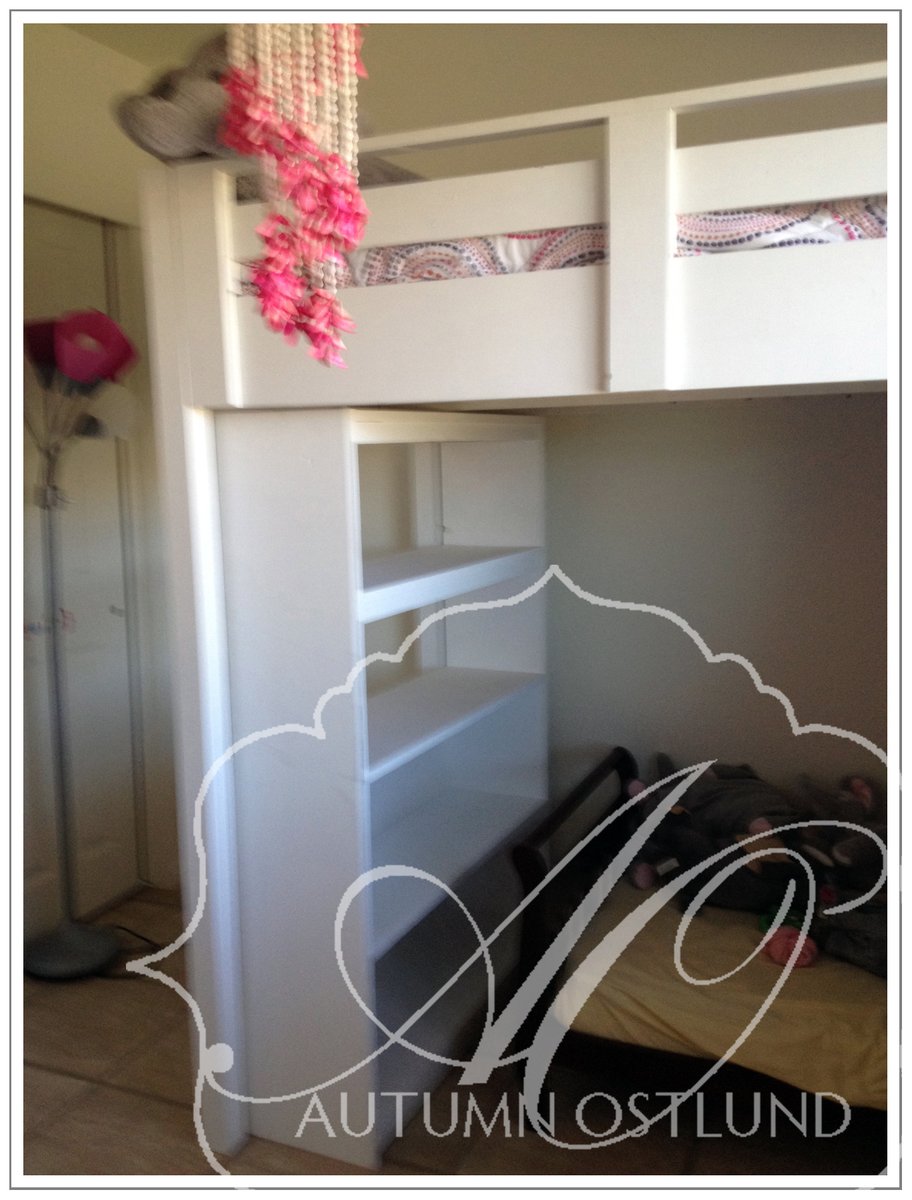
I built the loft bed and bookshelf for underneath.

This project was a challenge because of the instructions regarding the "recommended" pocket holes for the aprons. I soon realized you can't put a 3/4 pocket hole on a 45 degree mitred edge, and when I adjusted the depth of the pocket hole, I could not for the life of me screw it into the legs without the apron getting sucked past the edge of the legs. I ended up putting the pocket screws on the outside which I know is a major faux pas for wood workers, but because I used Kreg wood plugs and painted it, you can't see the little ovals where the screws are.
The photos are just for scale. The little girl is a big 2 1/2 year old, and the dog is not a St. Bernard.
We love the table and it works great for baby brother's room.
Thank you Ana for another great project!

Truss Beam Table size 35x60
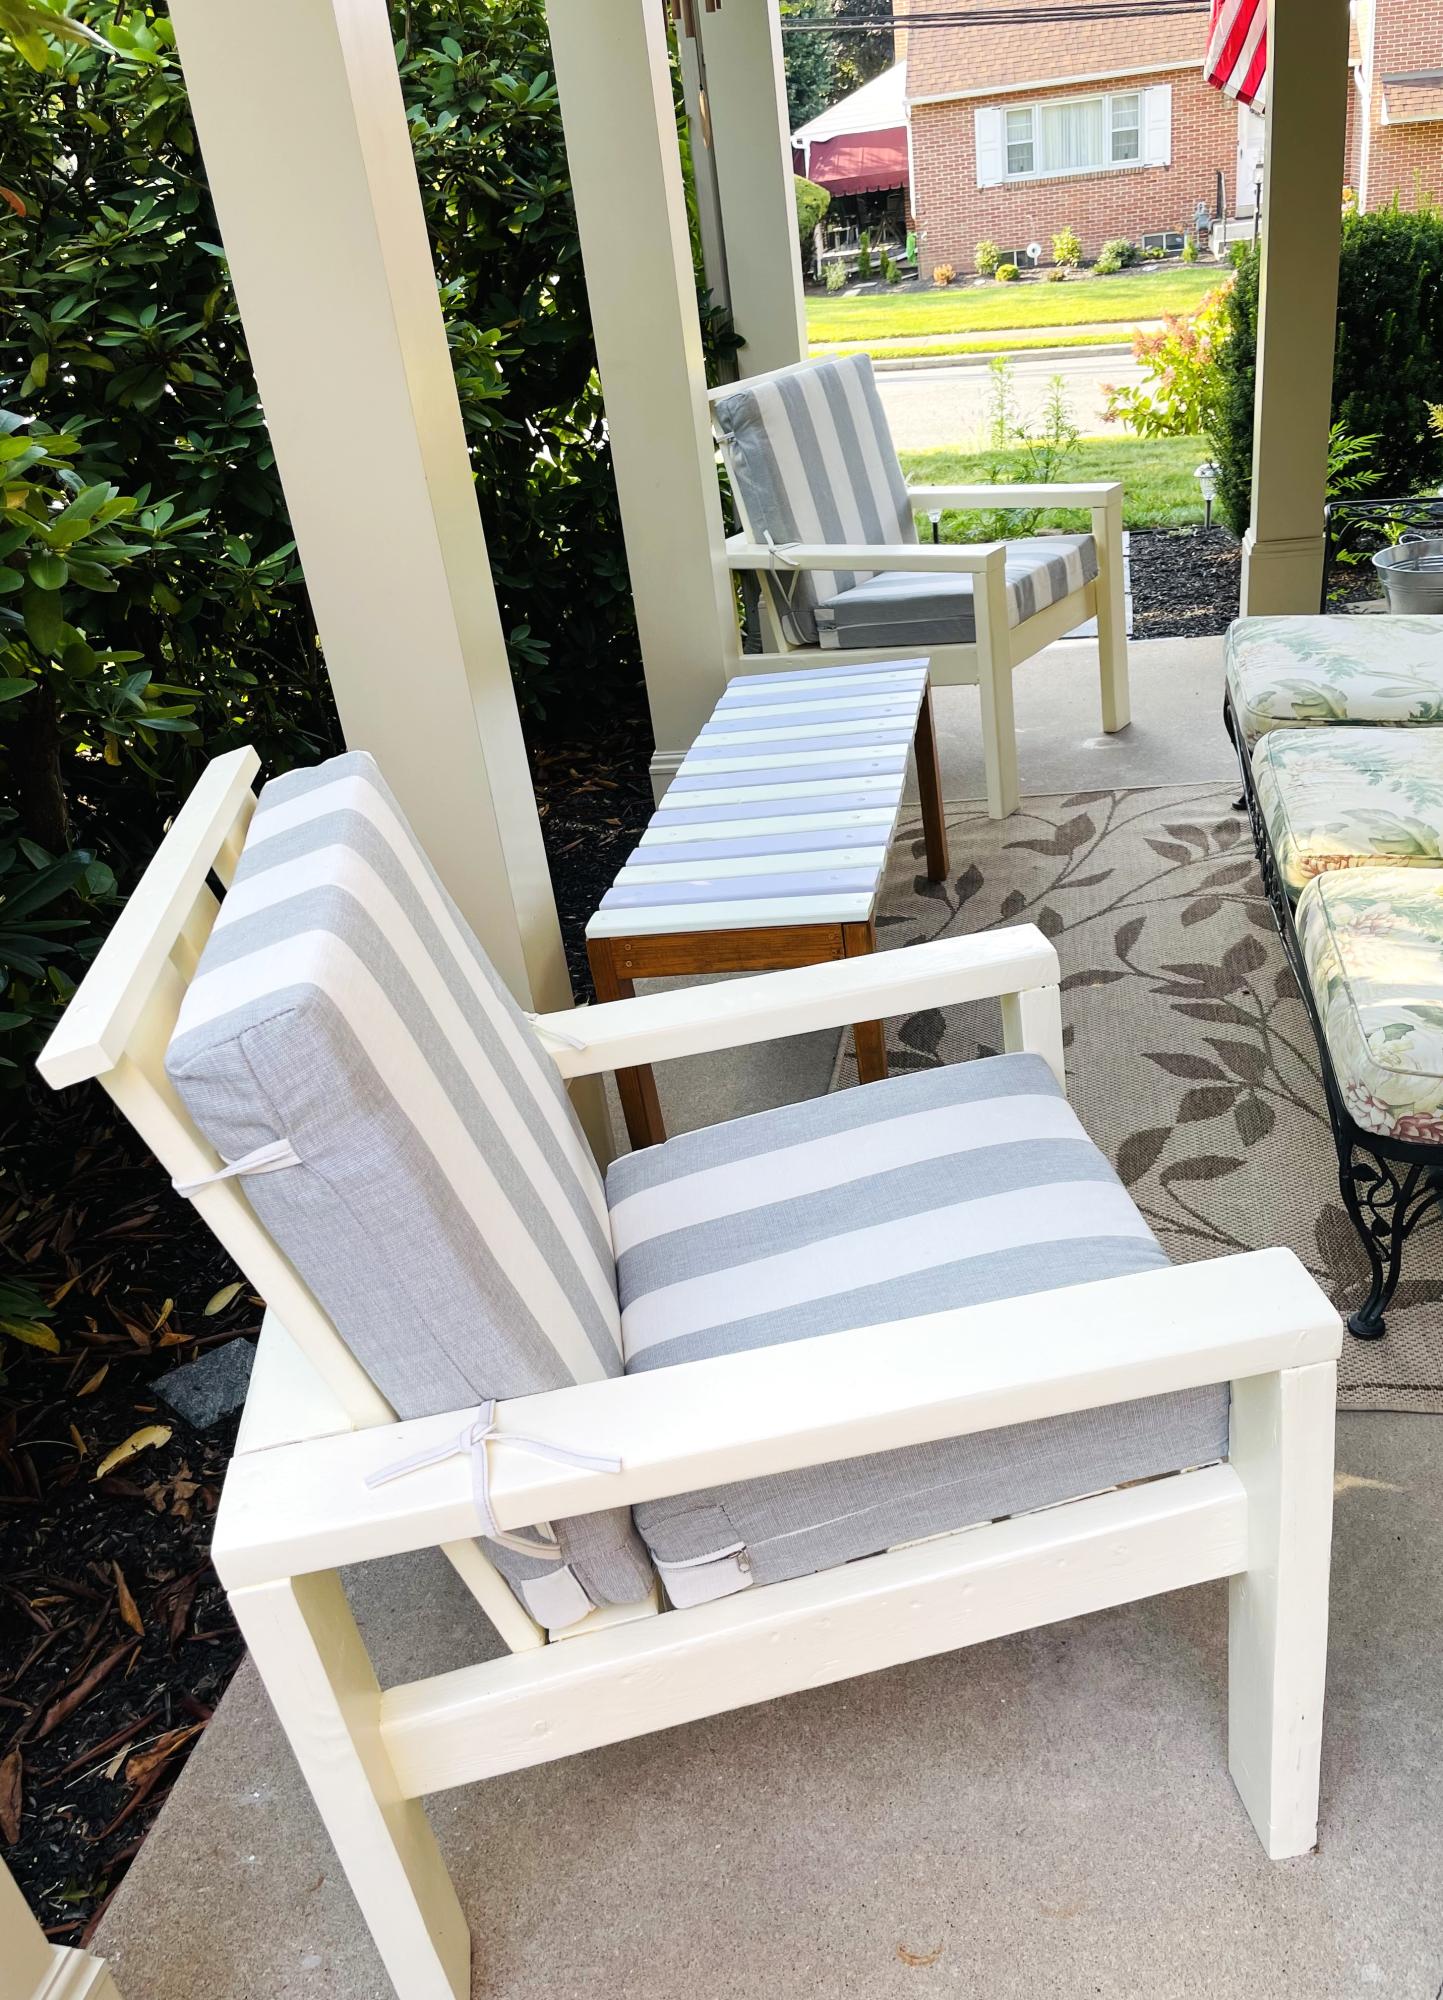
I made these chairs with 2x4s and some leftover decking for the back strips. I must say they turned out pretty good and it only cost me $17.00 to build. I followed Ana White’s plans. These chairs are very sturdy and comfortable. Thank you so much Ana for your free plans and video. I’m hooked! I also made the bench/table last year. Love it. - Maryann
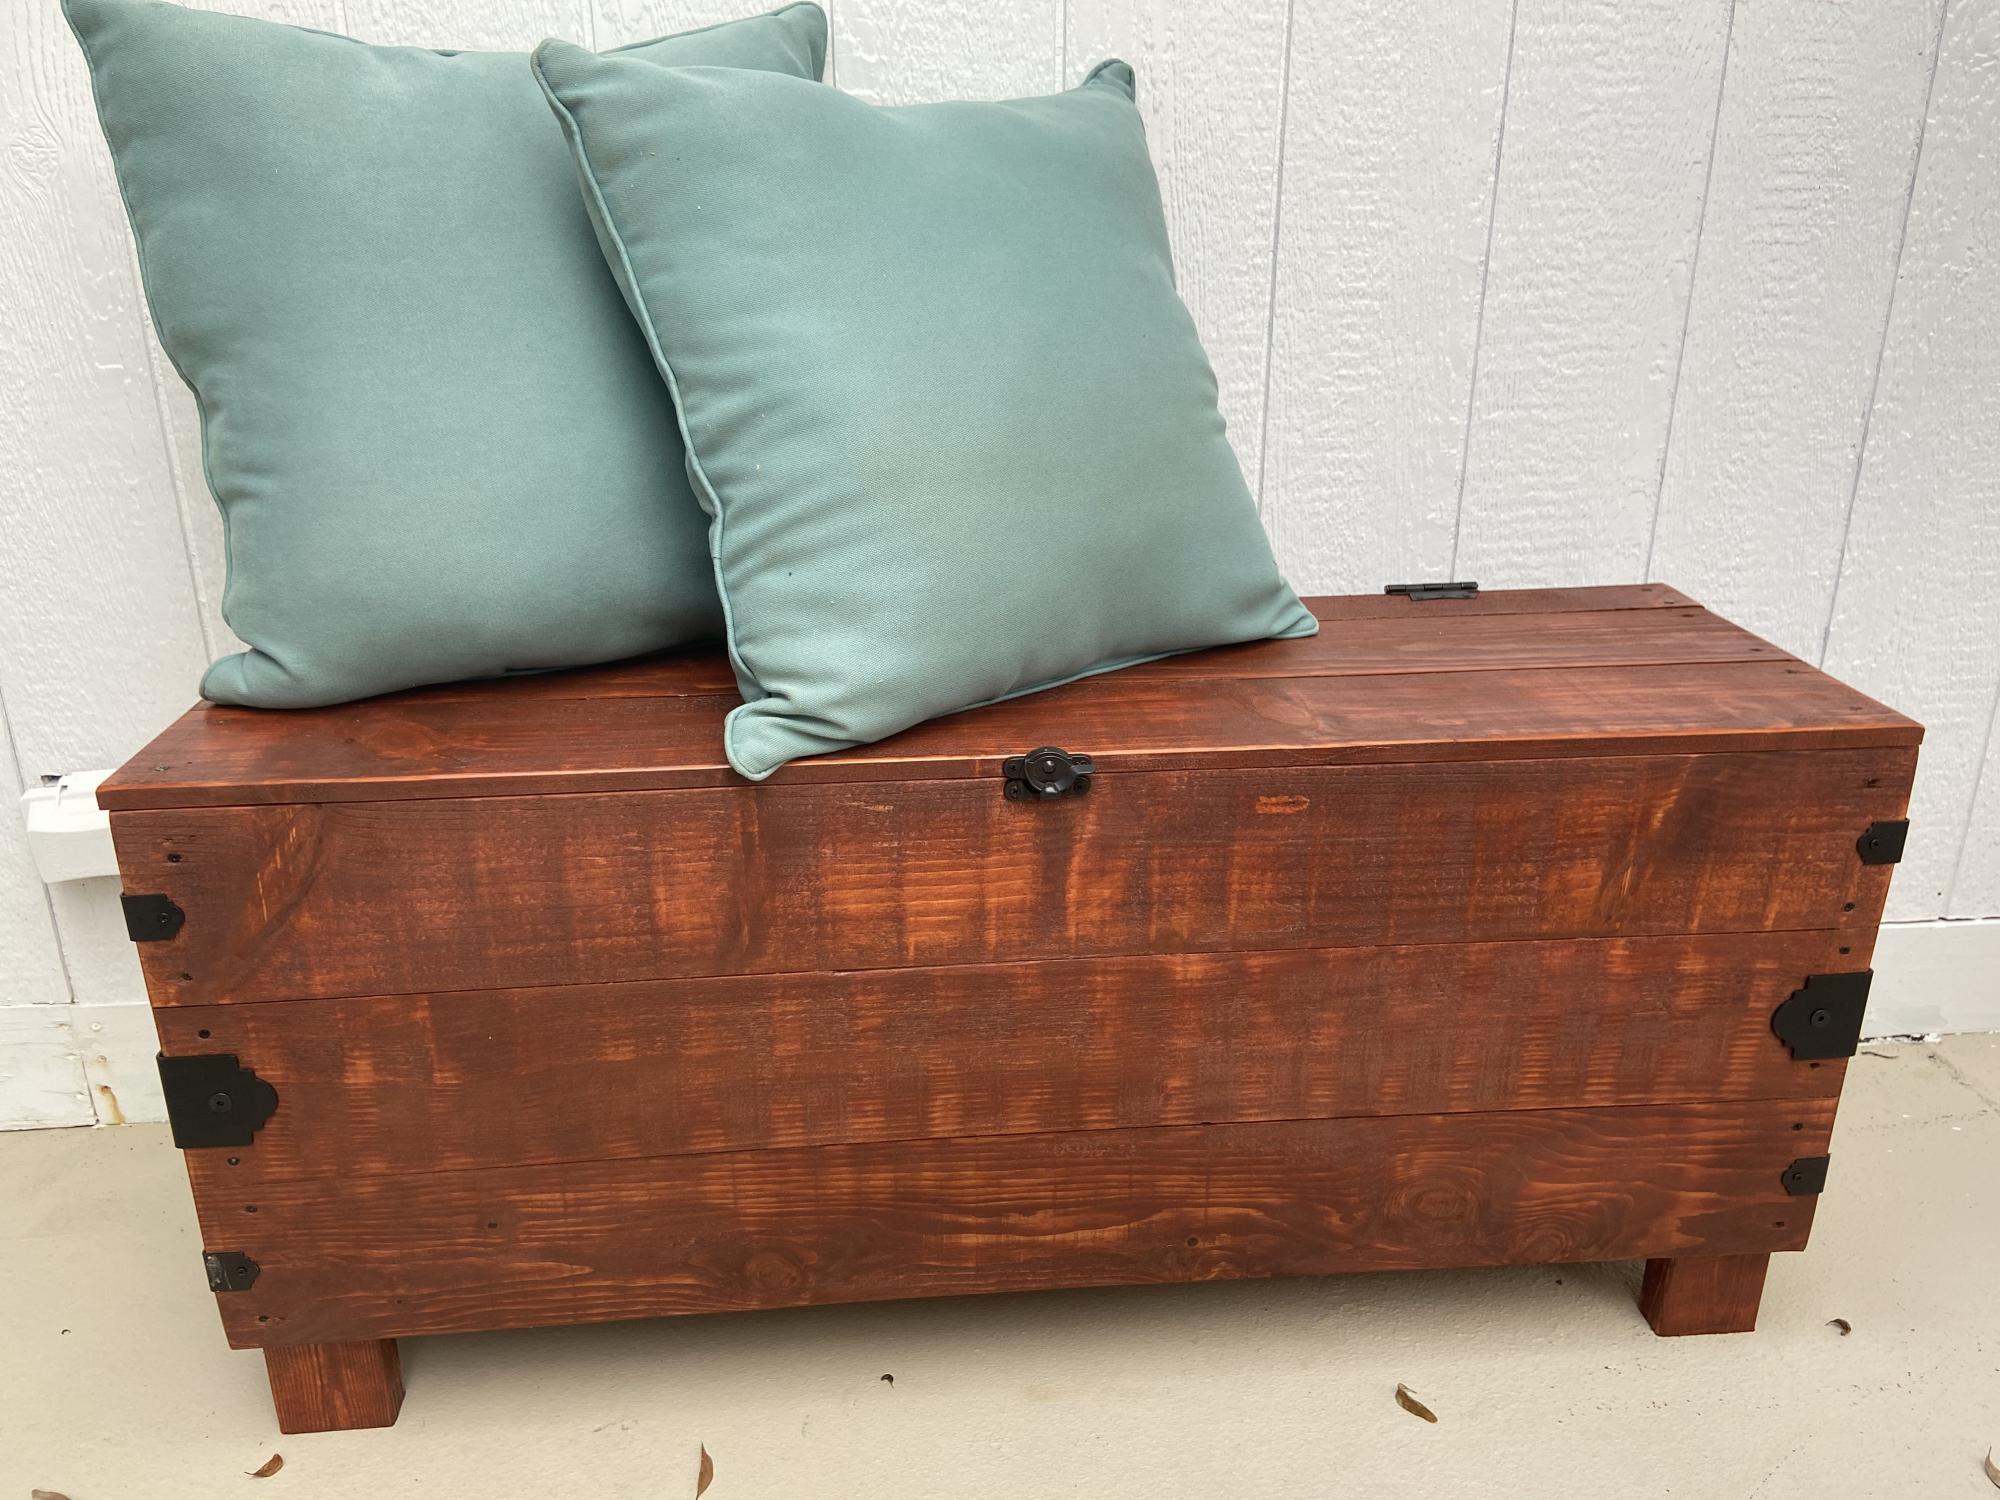
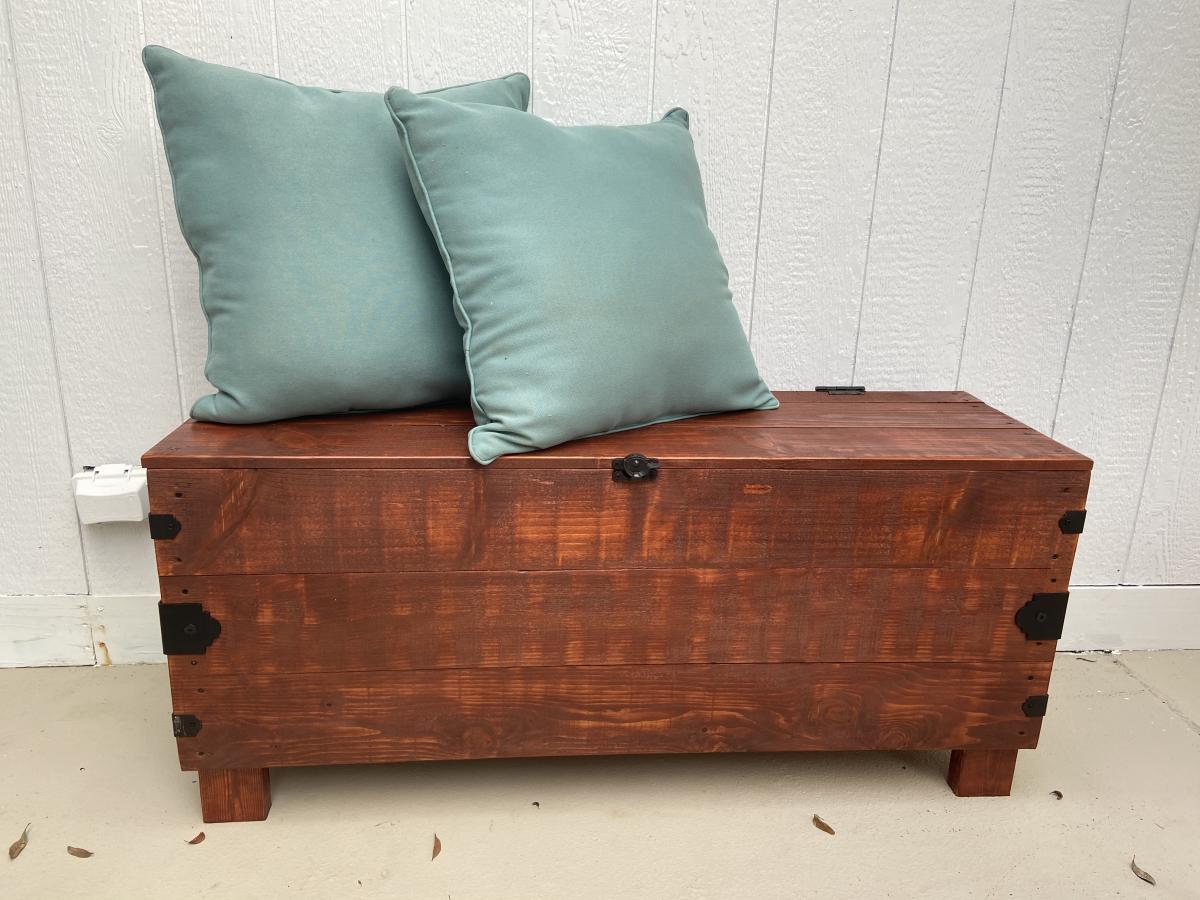
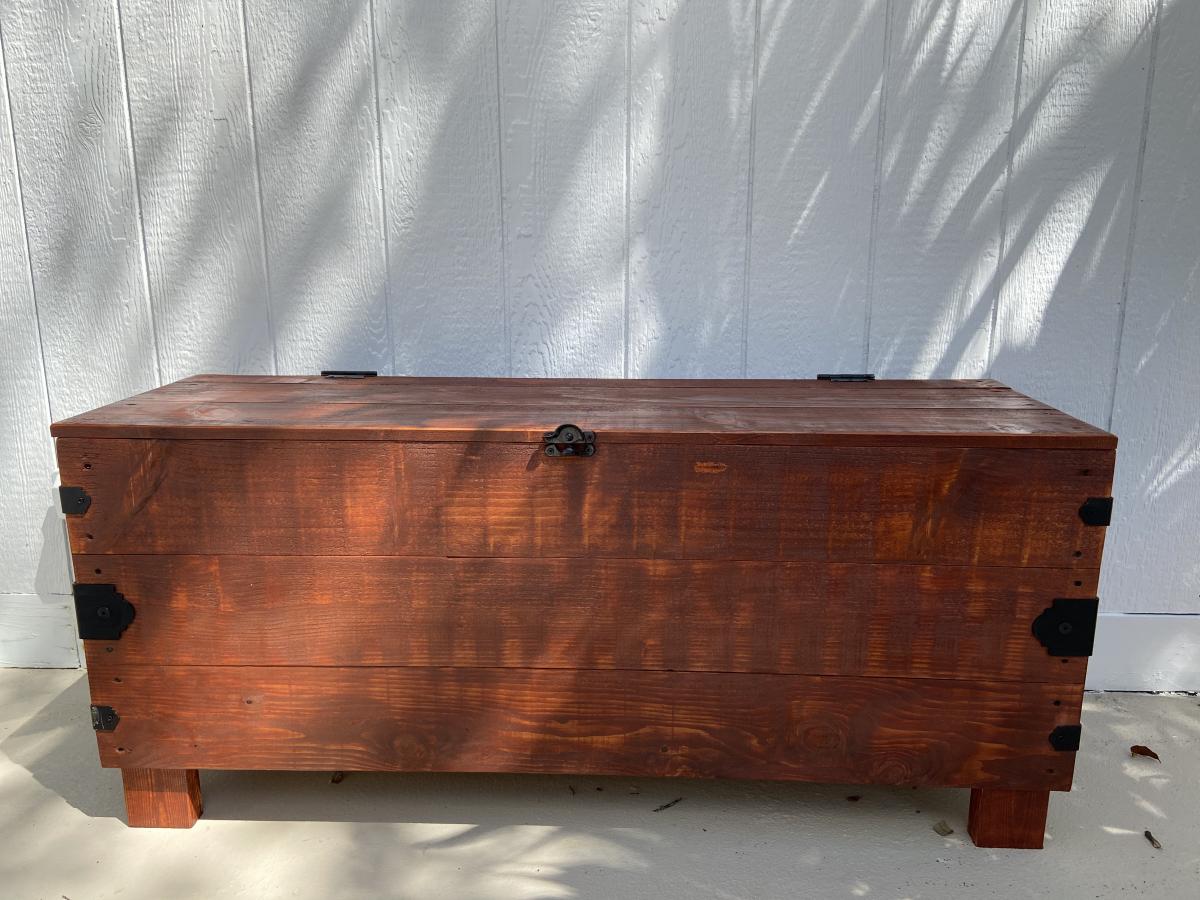
I used Ana Whites plan and modified to fit my our space and outdoor pillows.
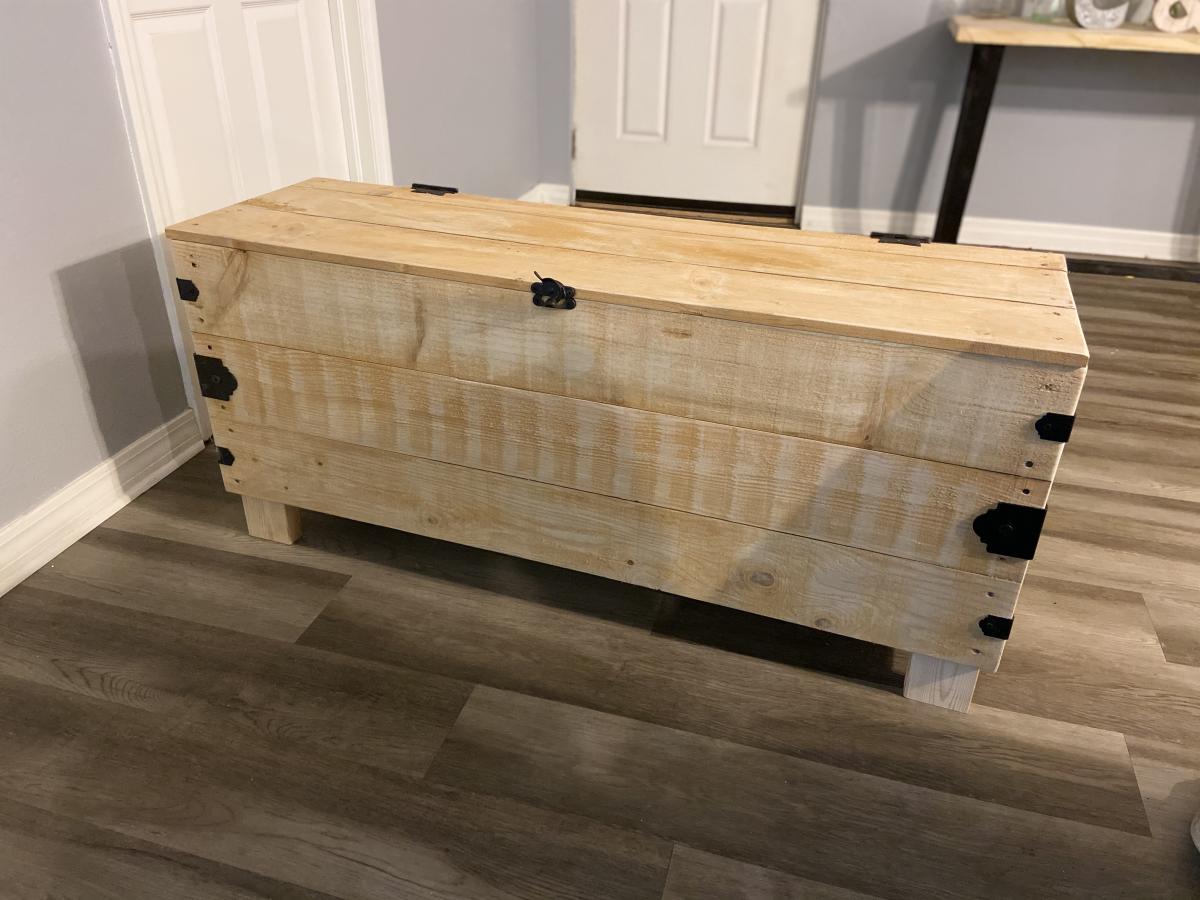
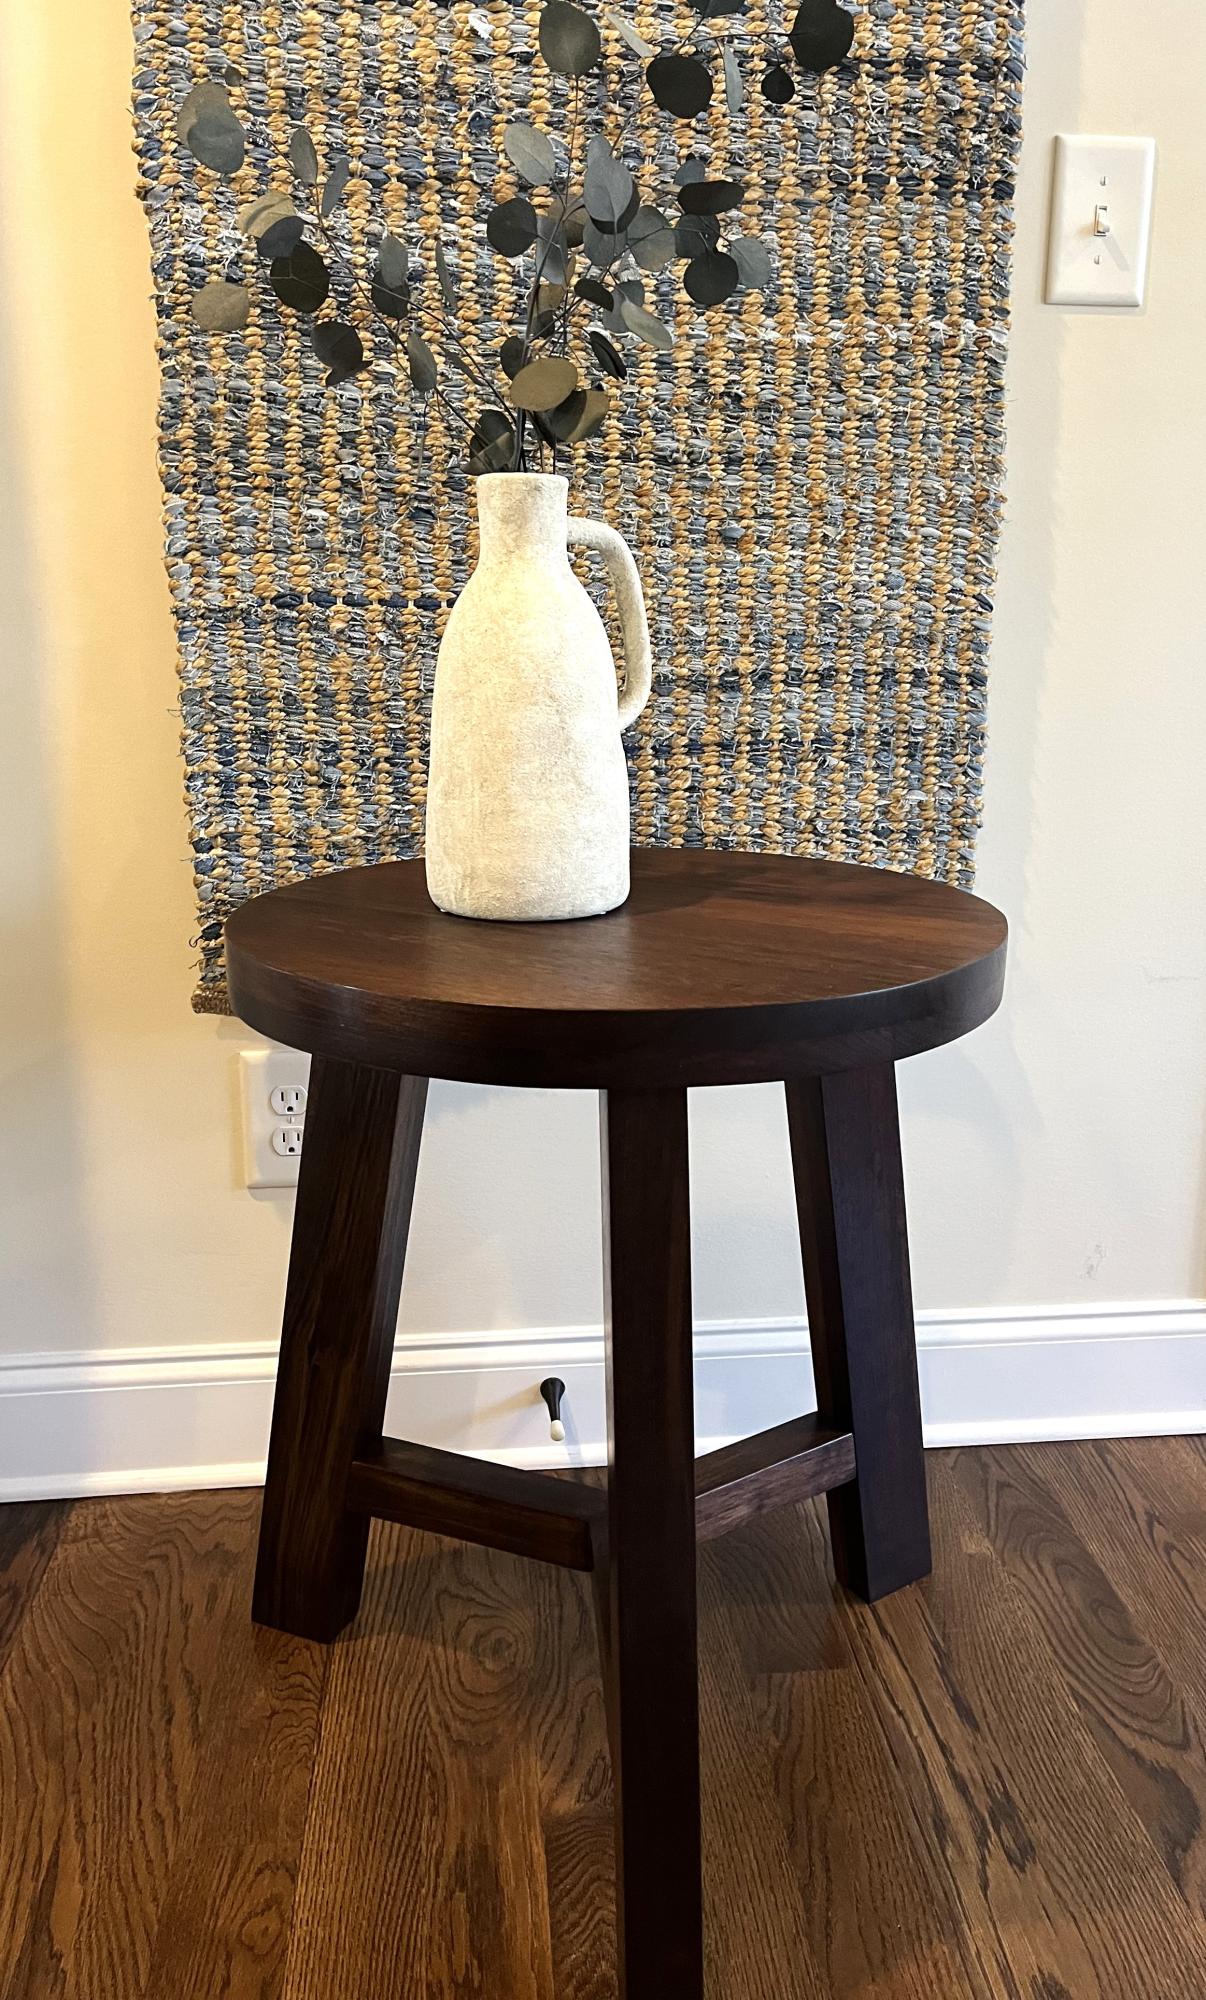
Made from Peruvian Walnut. Finish was wet sanded with danish oil, dewaxed shellac and then satin spray lacquer. - Deb S.