Under the Sink Storage
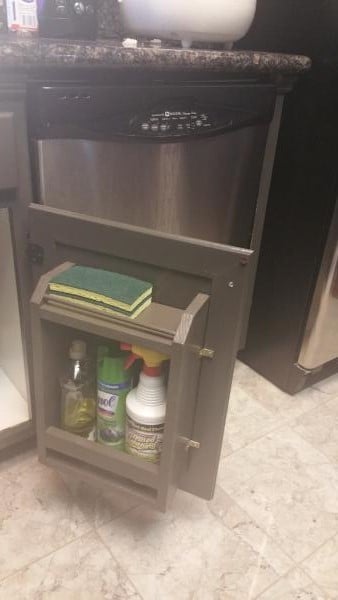
My under the sink door cabinet is smaller than what's on the plan so i had to improvise. A paper towel dispenser won't fit anymore so I just made another shelf. I love it. No clutter and everything is so organized. :)

My under the sink door cabinet is smaller than what's on the plan so i had to improvise. A paper towel dispenser won't fit anymore so I just made another shelf. I love it. No clutter and everything is so organized. :)

Thank you for these plans - they were great for a first time build. Definitley learned a lot building this...and now on to the next project!

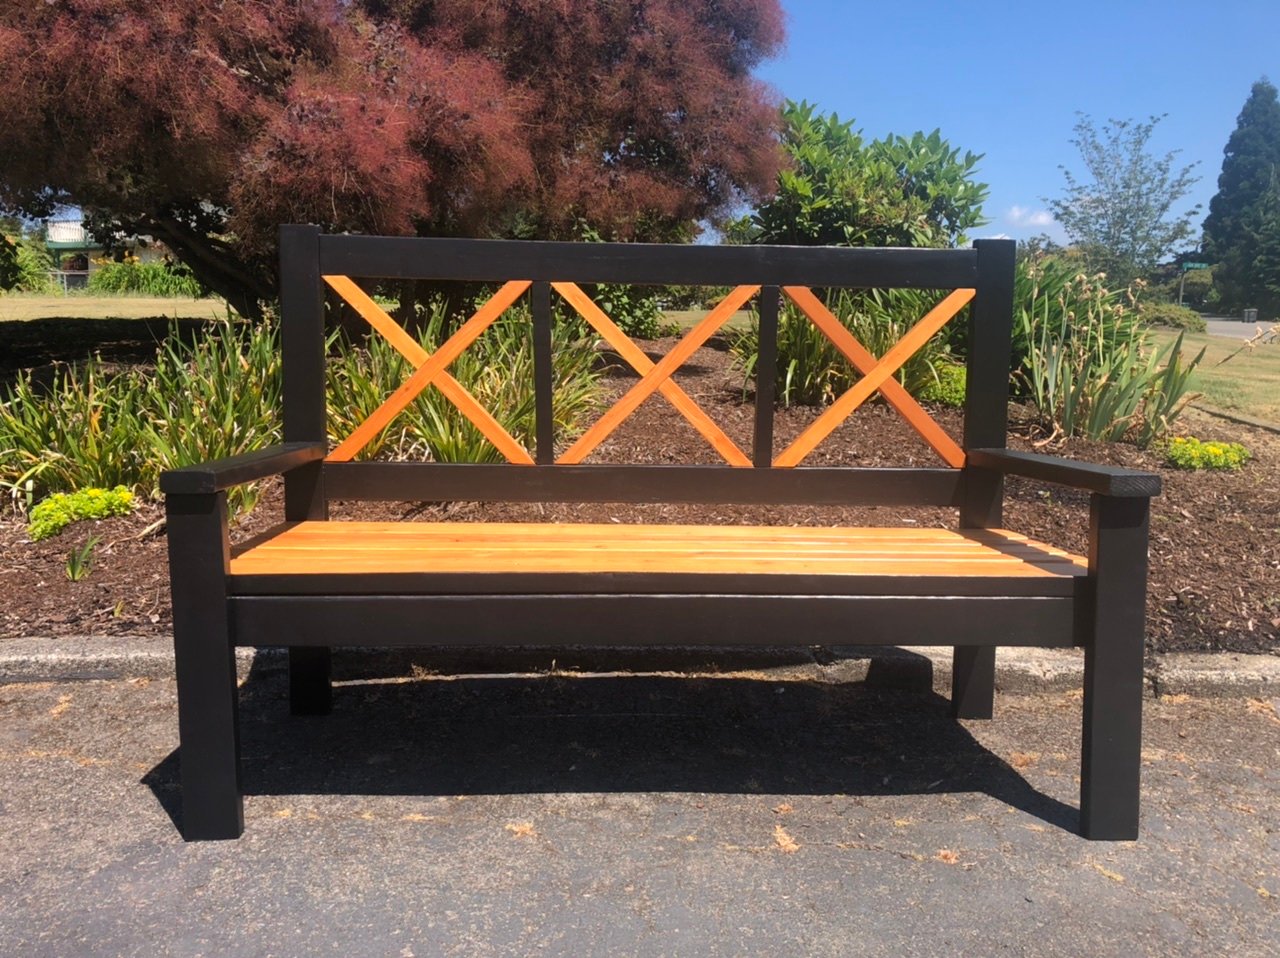
Really enjoyed making this bench. The X’s were a bit challenging but learned alot. Thanks for the plans Ana!
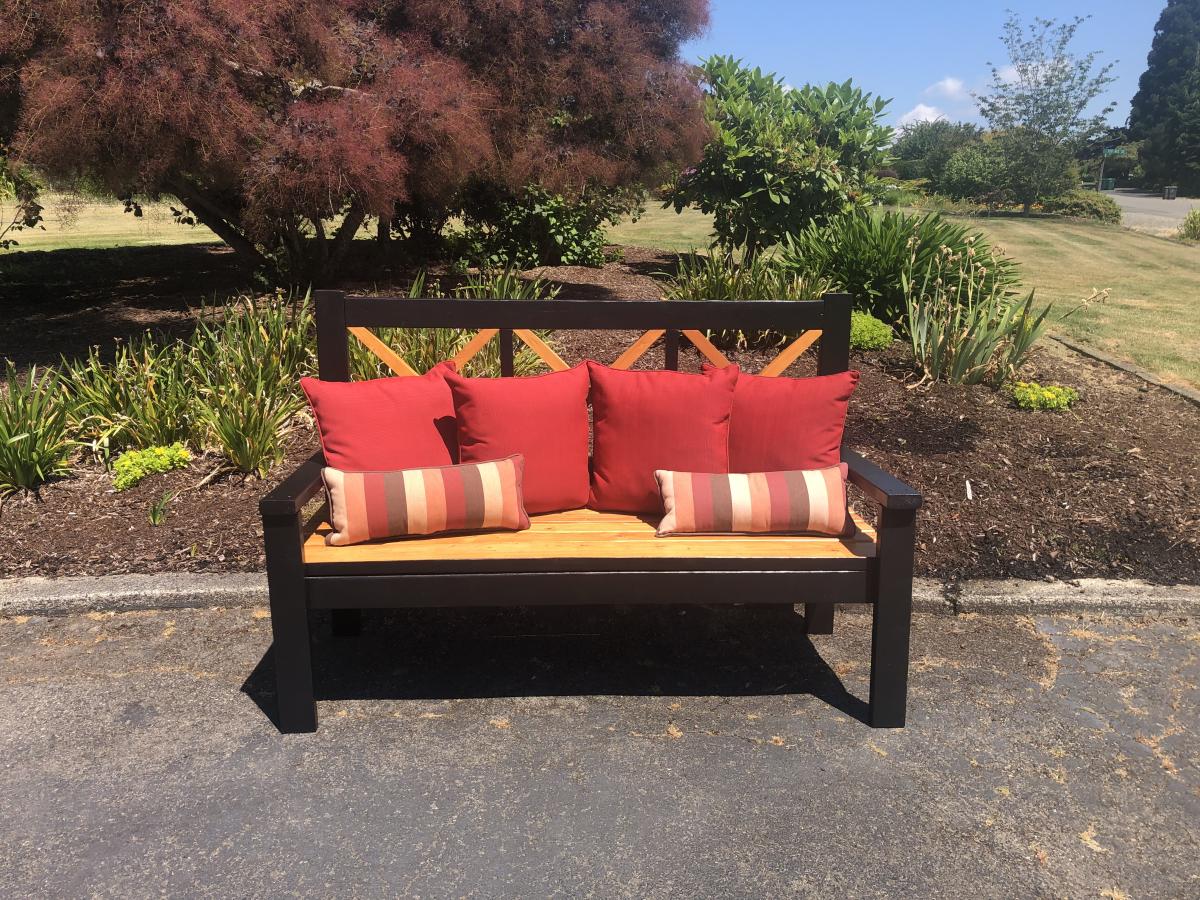
Our kitchen table buggered out so I decided to give making one a try. This was my first project. With seriously low funds available- I asked around to family for scrap lumber. Turns out the old lumber in the barn was black walnut! I had to plane and join it by hand so it took quite a bit longer to make.
I made the table one foot shorter and one foot wider. It seats 6 comfortably on the sides. Thank you so much for the plans!
This was my first major DIY build and I LOVED the way it turned out! I have wanted a large office desk for quite awhile, but never could find anything in a store that fit my needs and/or style. I modified the plans to fit what I wanted and it turned out great! The top is just a hollow-core door from Lowes ($19) that I stained with a Dark Walnut color. I added a file drawer to the right and just a hinged pull-down door on the left for more hidden storage. Purchased the baskets at Michael's for 50% off.
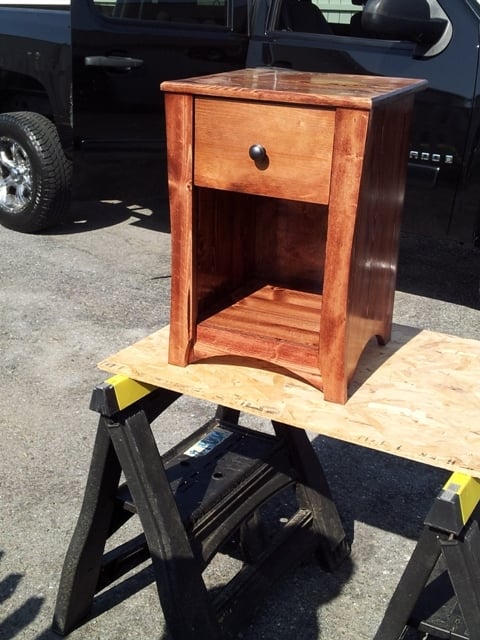
After I built the dresser for my son, he decided he needed a nightstand. This was his project, I only advised and offered assistance. He was 15 and he came up with the design and we glued up the panels. He cut, sanded and assembled himself. He stained and applied the shellac. I am very proud of him.
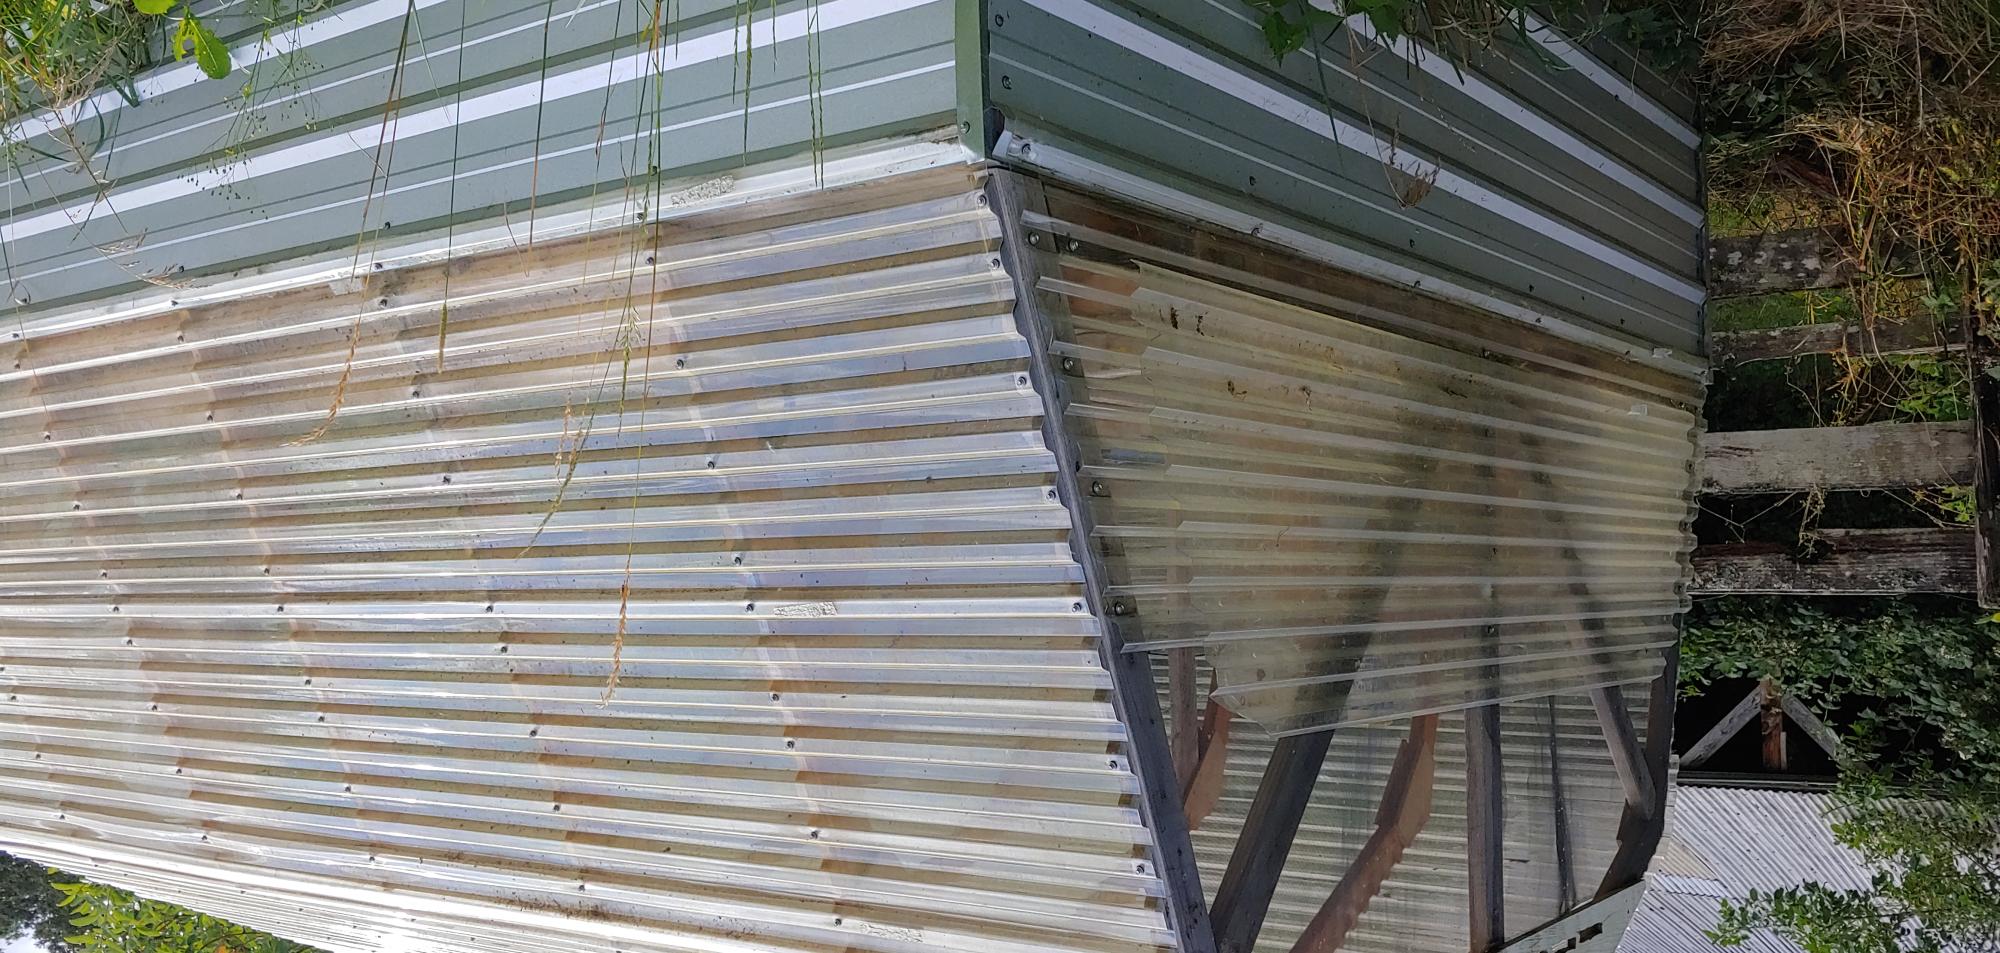
My first Ana White project, constructed in the first months after I retired. Well used now, a peaceful place to work.
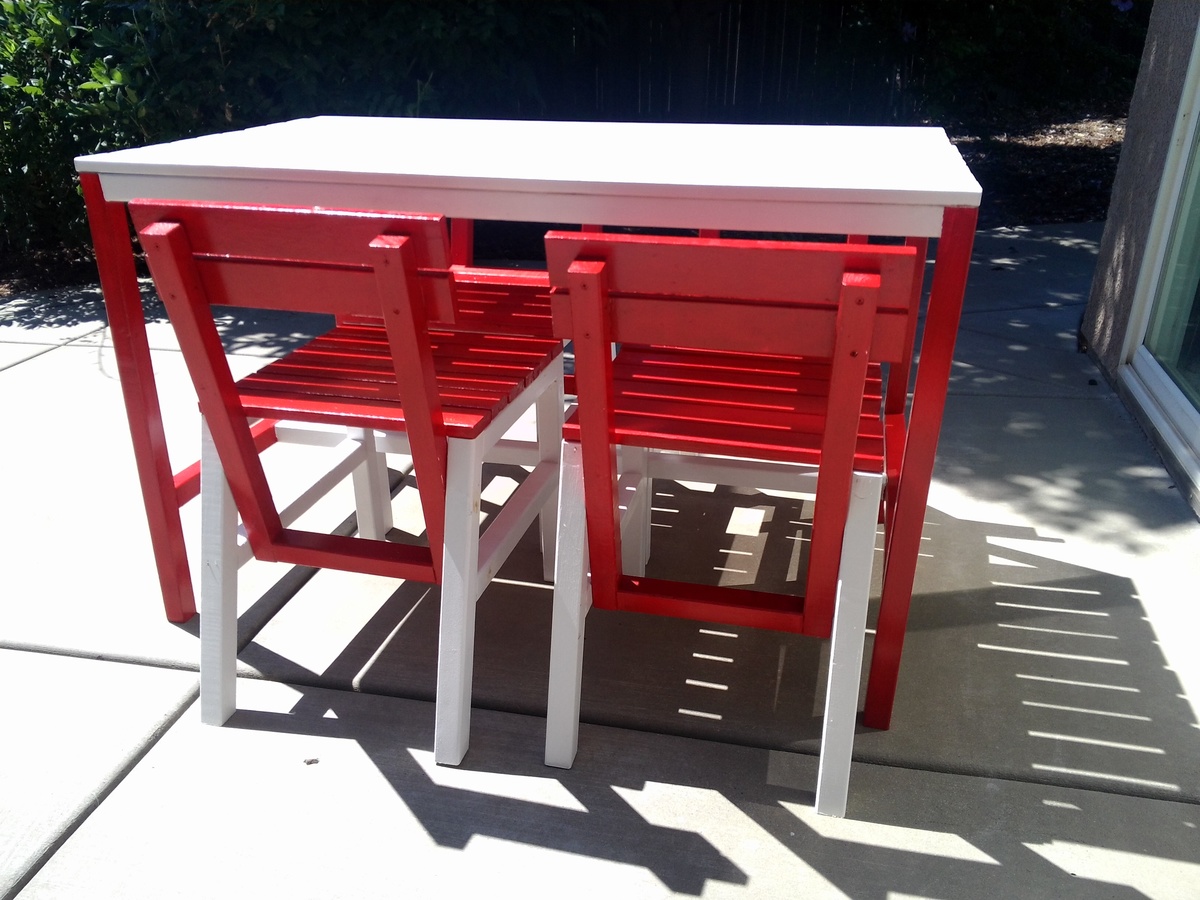
It took me a long time to finish the chairs, although the table was a snap. The time consuming thing was my desire for two paint colors. Painting is not my strong suit. But I got it done, just in time for our annual Labor Day house party.
I cut the lumber using our radial arm saw. I sanded with an random orbital sander, and used really great cordless drill and driver. My husband likes to buy good tools, but hardly ever uses them.
I had never used pocket screws before: I love them and found it very necessary to use the face clamp and right angle clamp Kreg sells to prevent splitting. My assortment of speedclamps were not getting the job done.
For the table, I tried masking off the white when I painted the red on the legs, which did not go so well as there was annoying paint-creep under the tape. I also decided that the red paint needed two coats to look good (it actually seemed to do better on bare wood then on primed wood.) So that took more time.
I finally bought a really good paint brush and that made a huge and positive difference.
I had intended to paint the chairs' slats red, but the back frame white, and the side supports red. To do this I intended to paint individual pieces and assemble the painted pieces, but the splitting (before I invested in the specialized clamps) was heartbreaking after all the sanding and painting. So I took a month off from the project, ordered clamps, recut a few pieces, and simplified my paint scheme. Much better!
I'm looking forward to starting my next project (NO paint!)
Tue, 08/27/2013 - 16:27
Awesome! Definitely dressed to impress! Love the colors and your chairs & table look beautiful! Great job!
Tue, 08/27/2013 - 17:32
Love it! That color combo is one of my favorites!
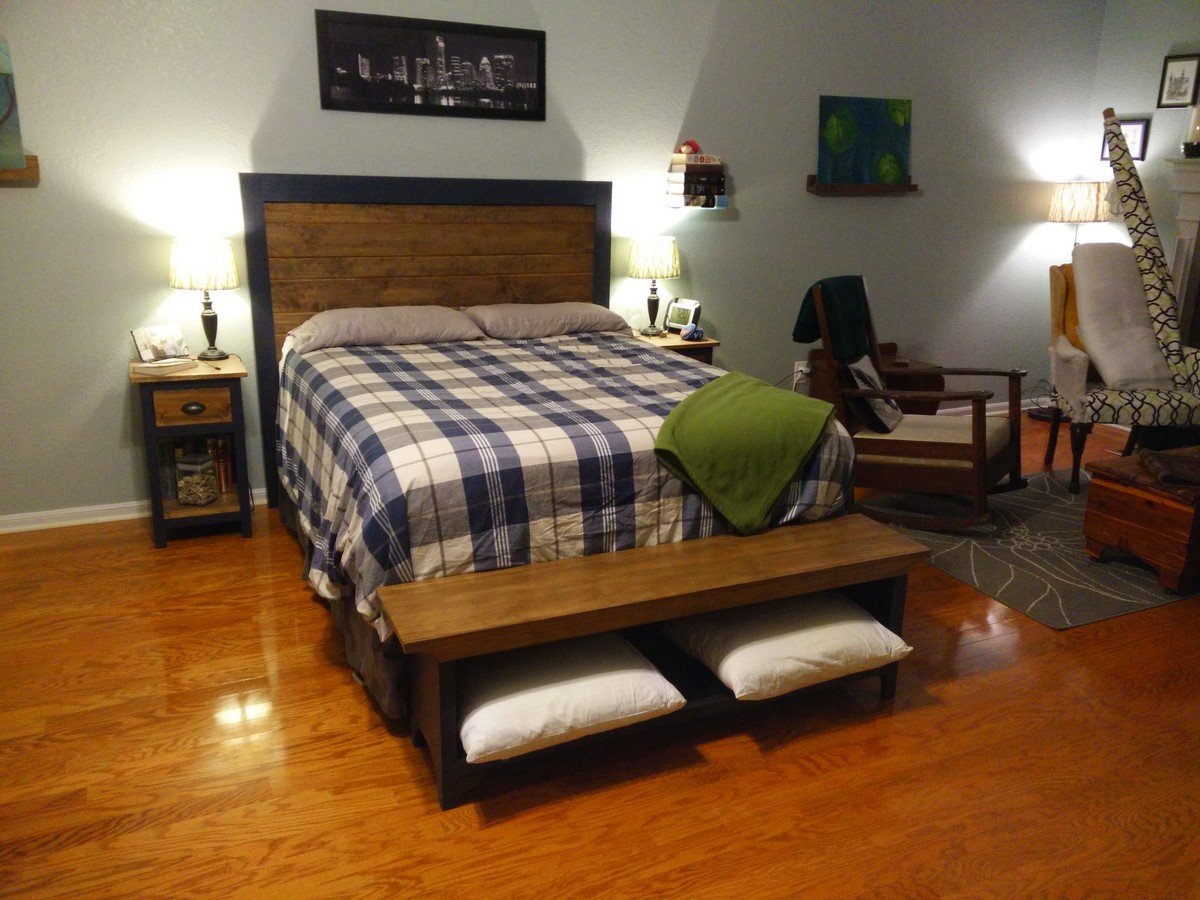
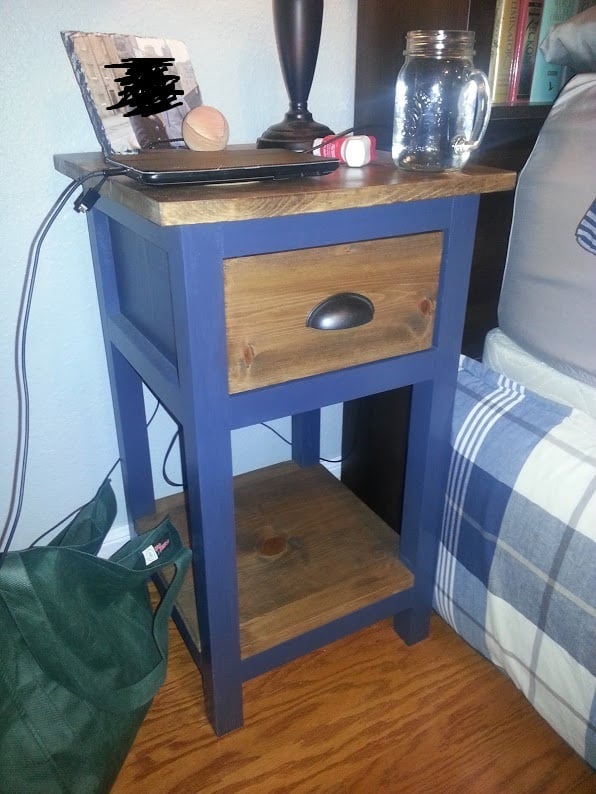
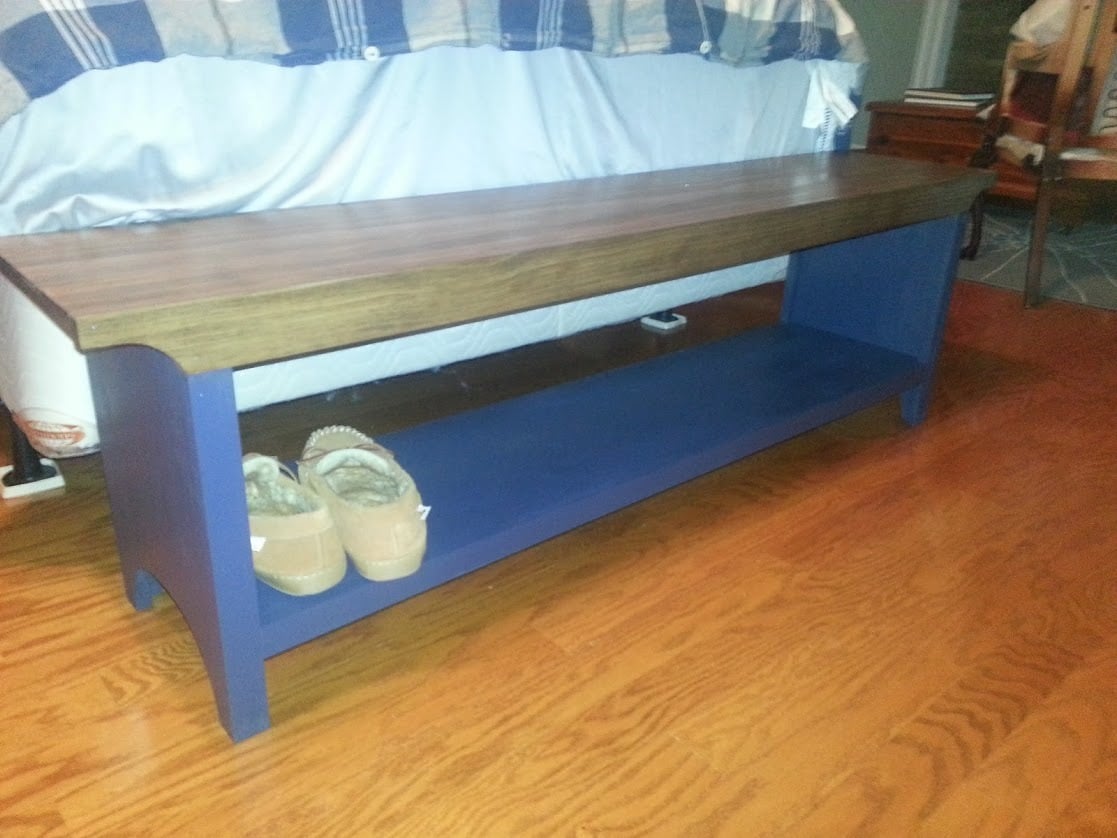
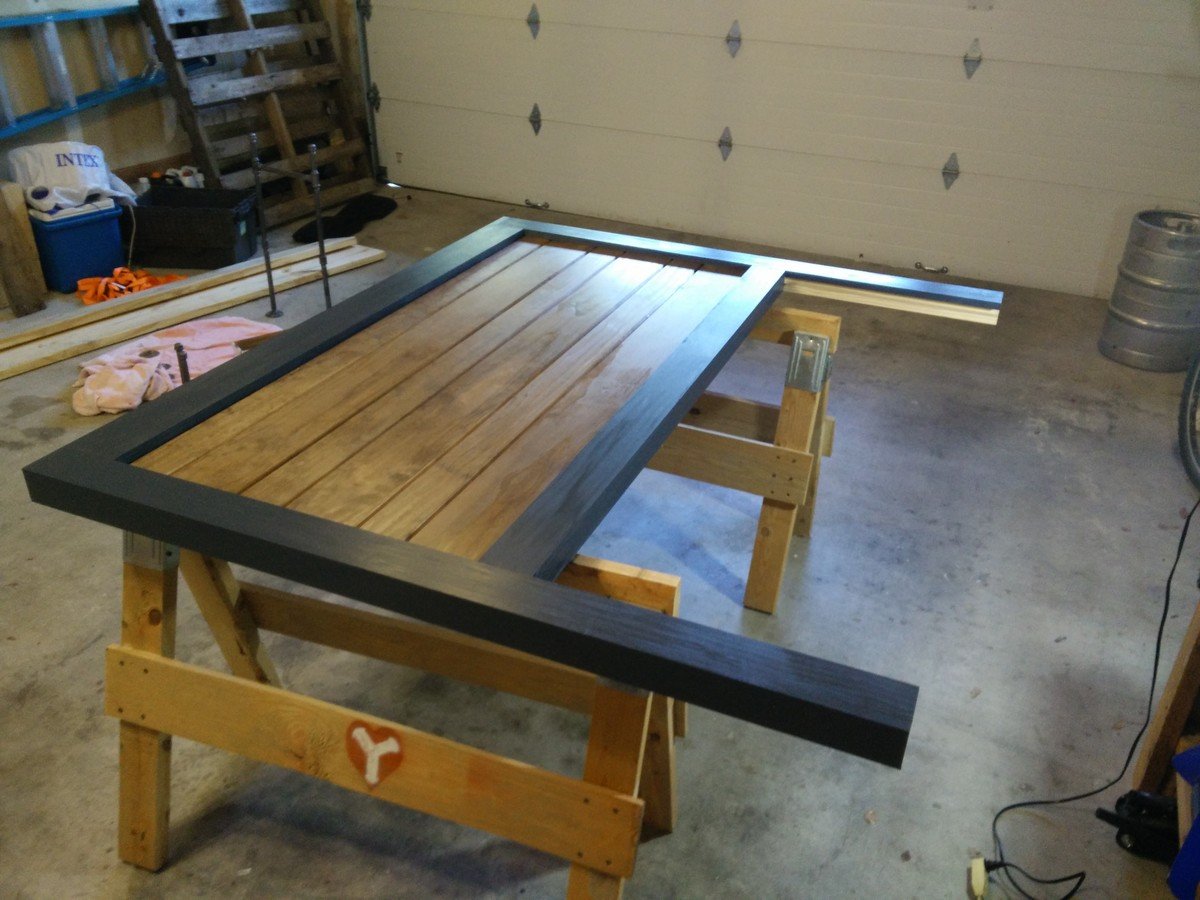
I started about 2 years ago by making one of the Mini Farmhouse Style bedside tables. My wife loved it so I made a second. Then I made the bench a year or so ago with plans from this site too. Unfortunately I can't find where those plans are now. Maybe in Ana's book (I have that at home too)? I just finished the Reclaimed Wood Headboard with wood I reclaimed from the big orange store :)
I put a 1/4" chamfer on the edges of the panels for the headboard, and had to add a brace in the back because none of them were perfectly flat. No one has seen the headboard yet, but I've had friends ask me where I bought the bedside tables and bench. I've never had a matched set before. This is a definite bedroom upgrade!
Stain is Minwax Special Walnut, paint is Gotham Grey from Behr.
Mon, 10/12/2015 - 11:03
All of your furniture looks amazing, I am really loving the finish! Thanks for sharing!
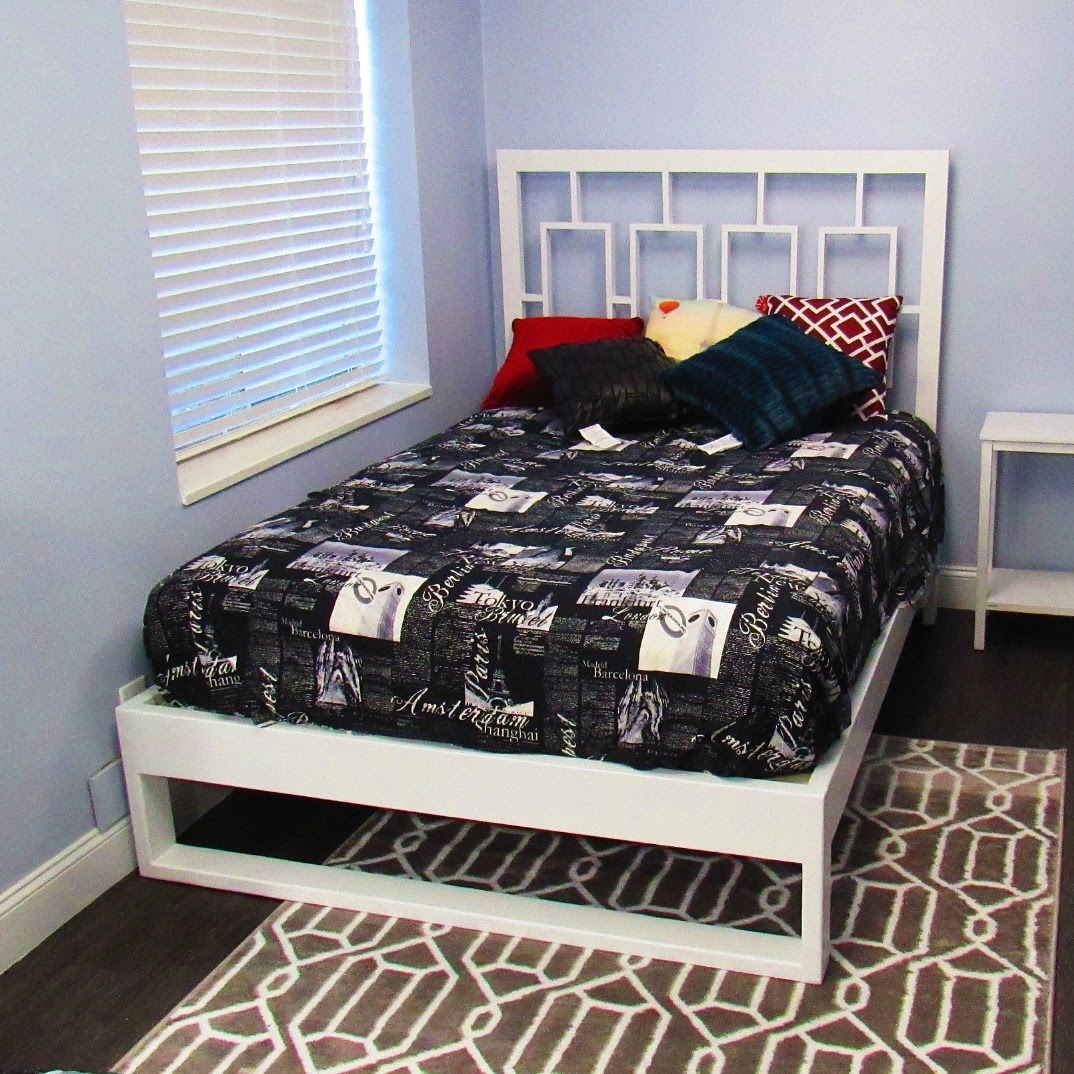
Modified to Full sized, my first bed!
Tue, 10/30/2018 - 11:00
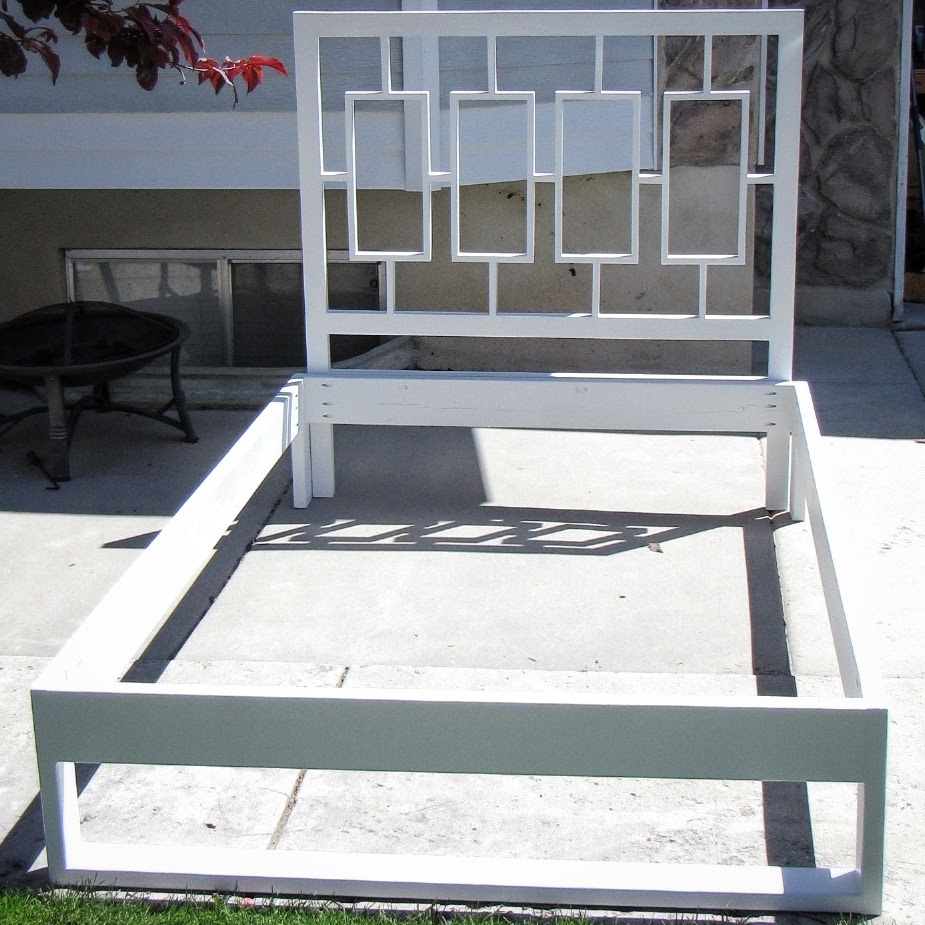
This is beautiful! Love what you did with the footboard!
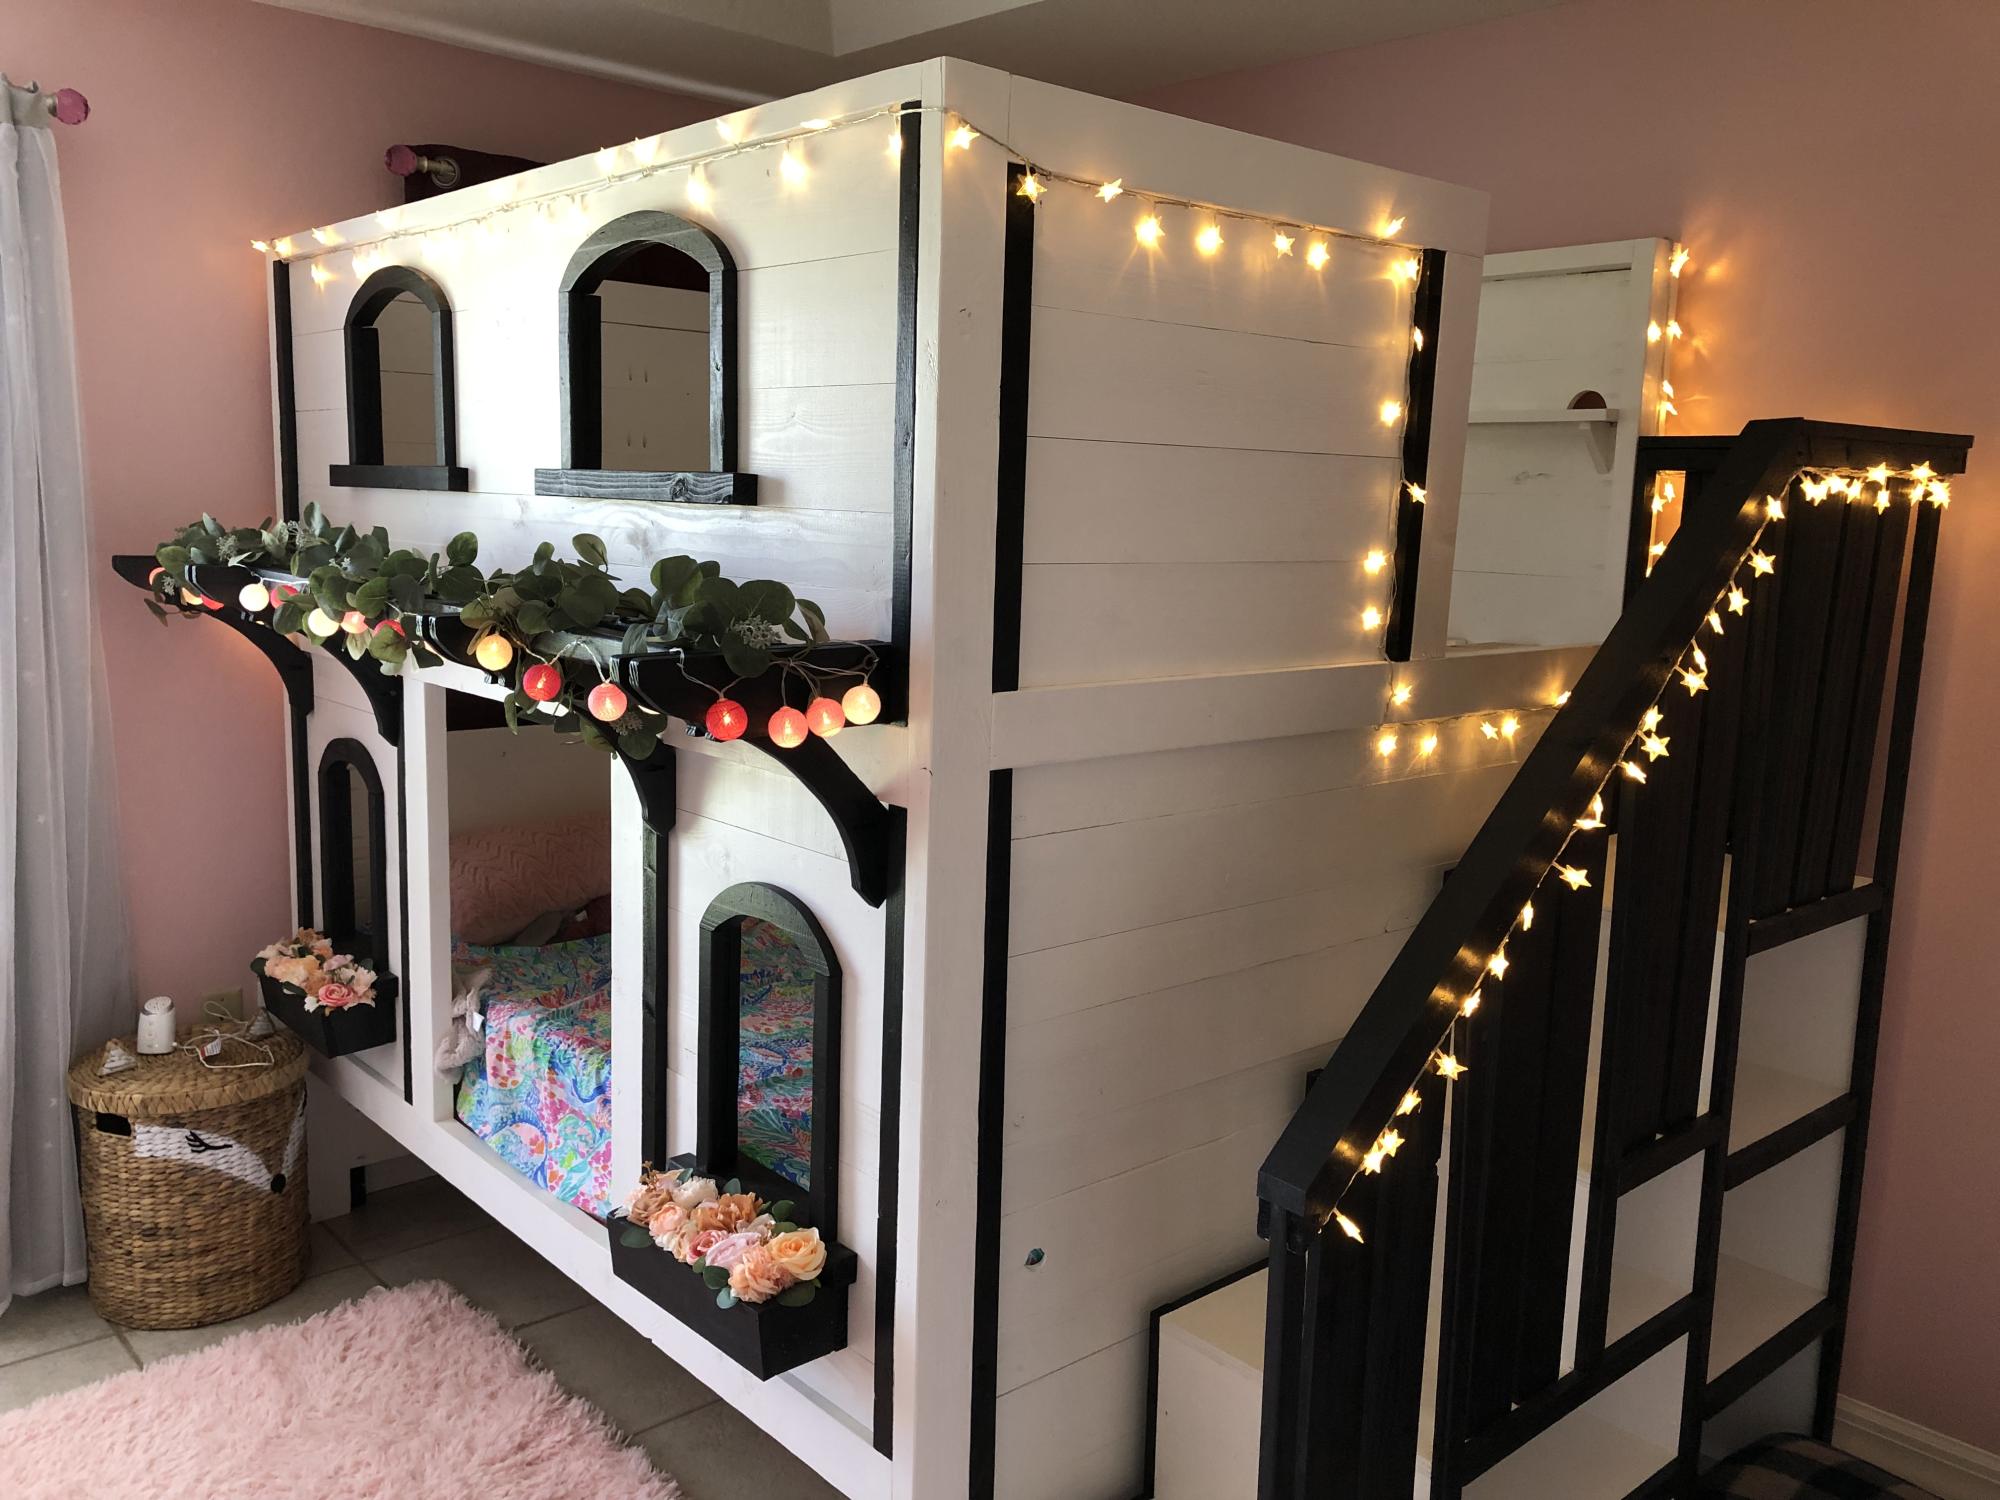
Modified the original plans to make the bed a full over full. Planning on adding a trundle underneath later in the summer. Thank you so much for the plans! It was a lot of work, I can’t imagine having to design it too.
Thu, 07/28/2022 - 11:01
Every last detail is darling, great work! Thank you so much for sharing.
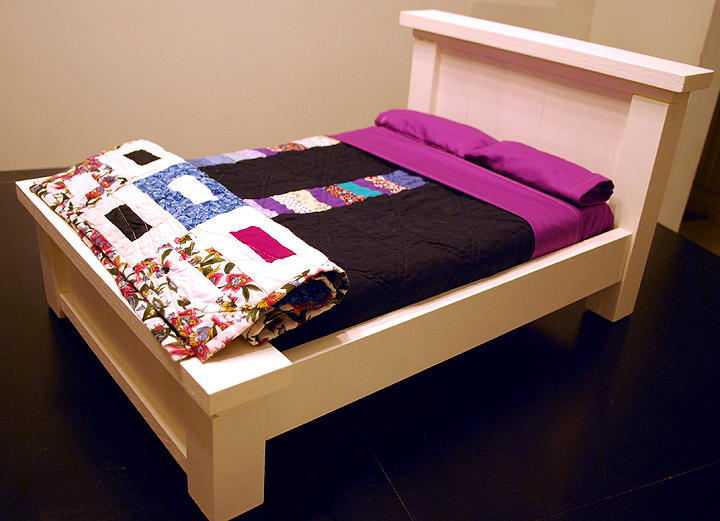
Really simple and quick plan, great for a first timer. I oughta know. This was the first piece of wooden furniture I've ever built. Thank you so much Ana!
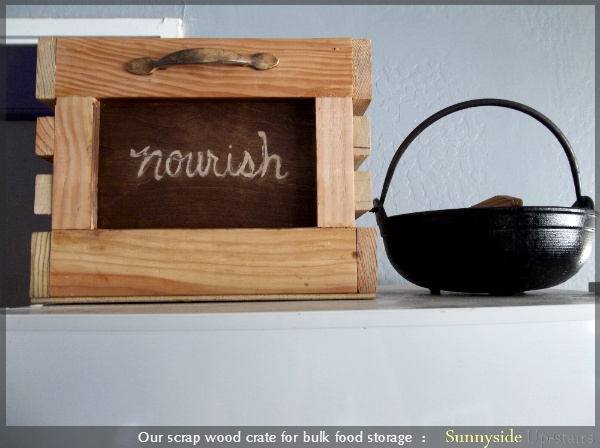
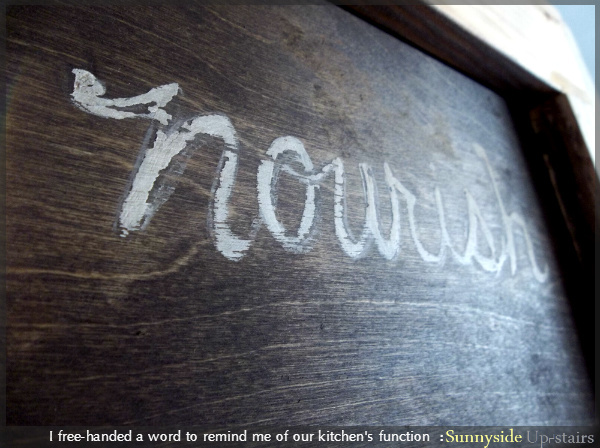
I made a version of this crate for the top of my family's refrigerator. I didn't have enough scrap 1x3s, so I used 1x2s as well. Instead of using chalkboard paint, I stained the 1/4" front and painted "nourish" with white paint. I also used old drawer pulls I saved instead of cutting out handles.
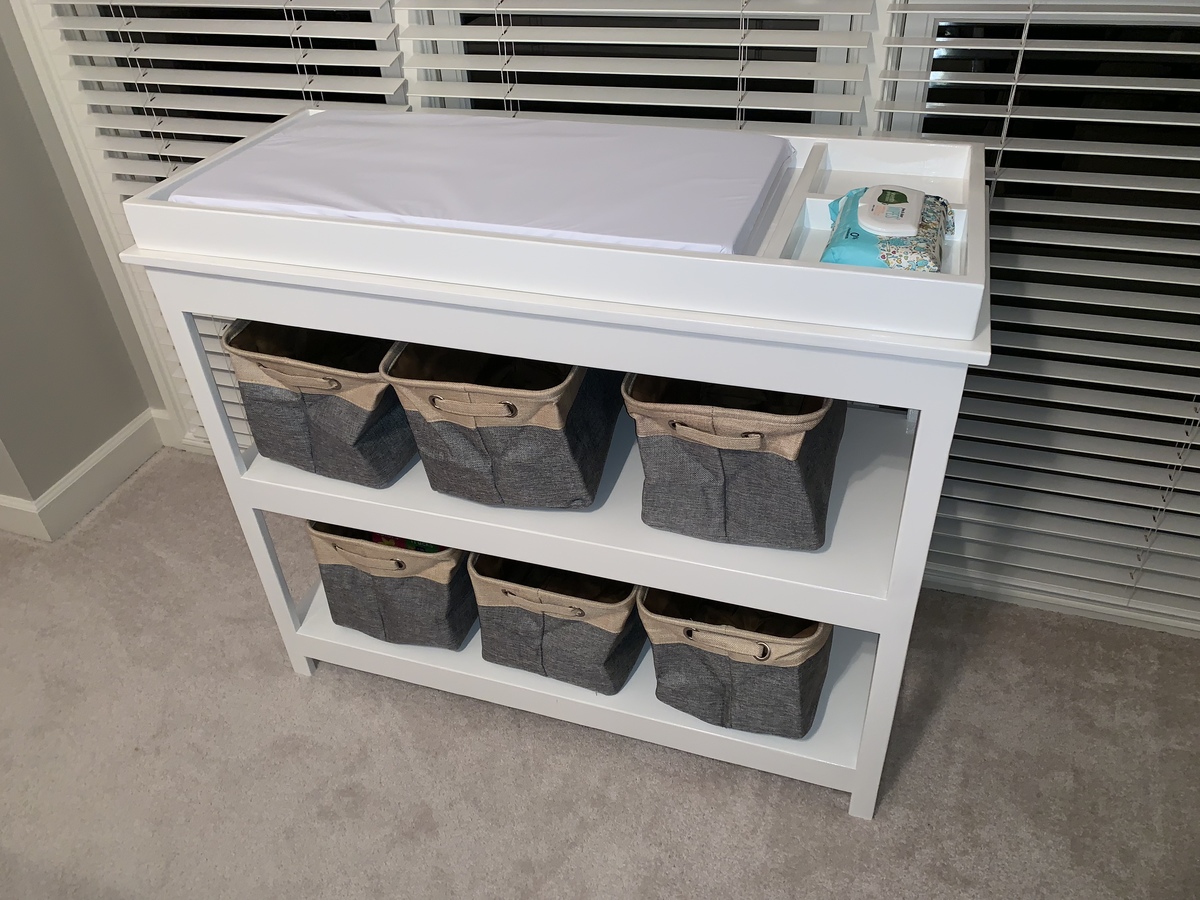
Changing table built for my first grandchild!

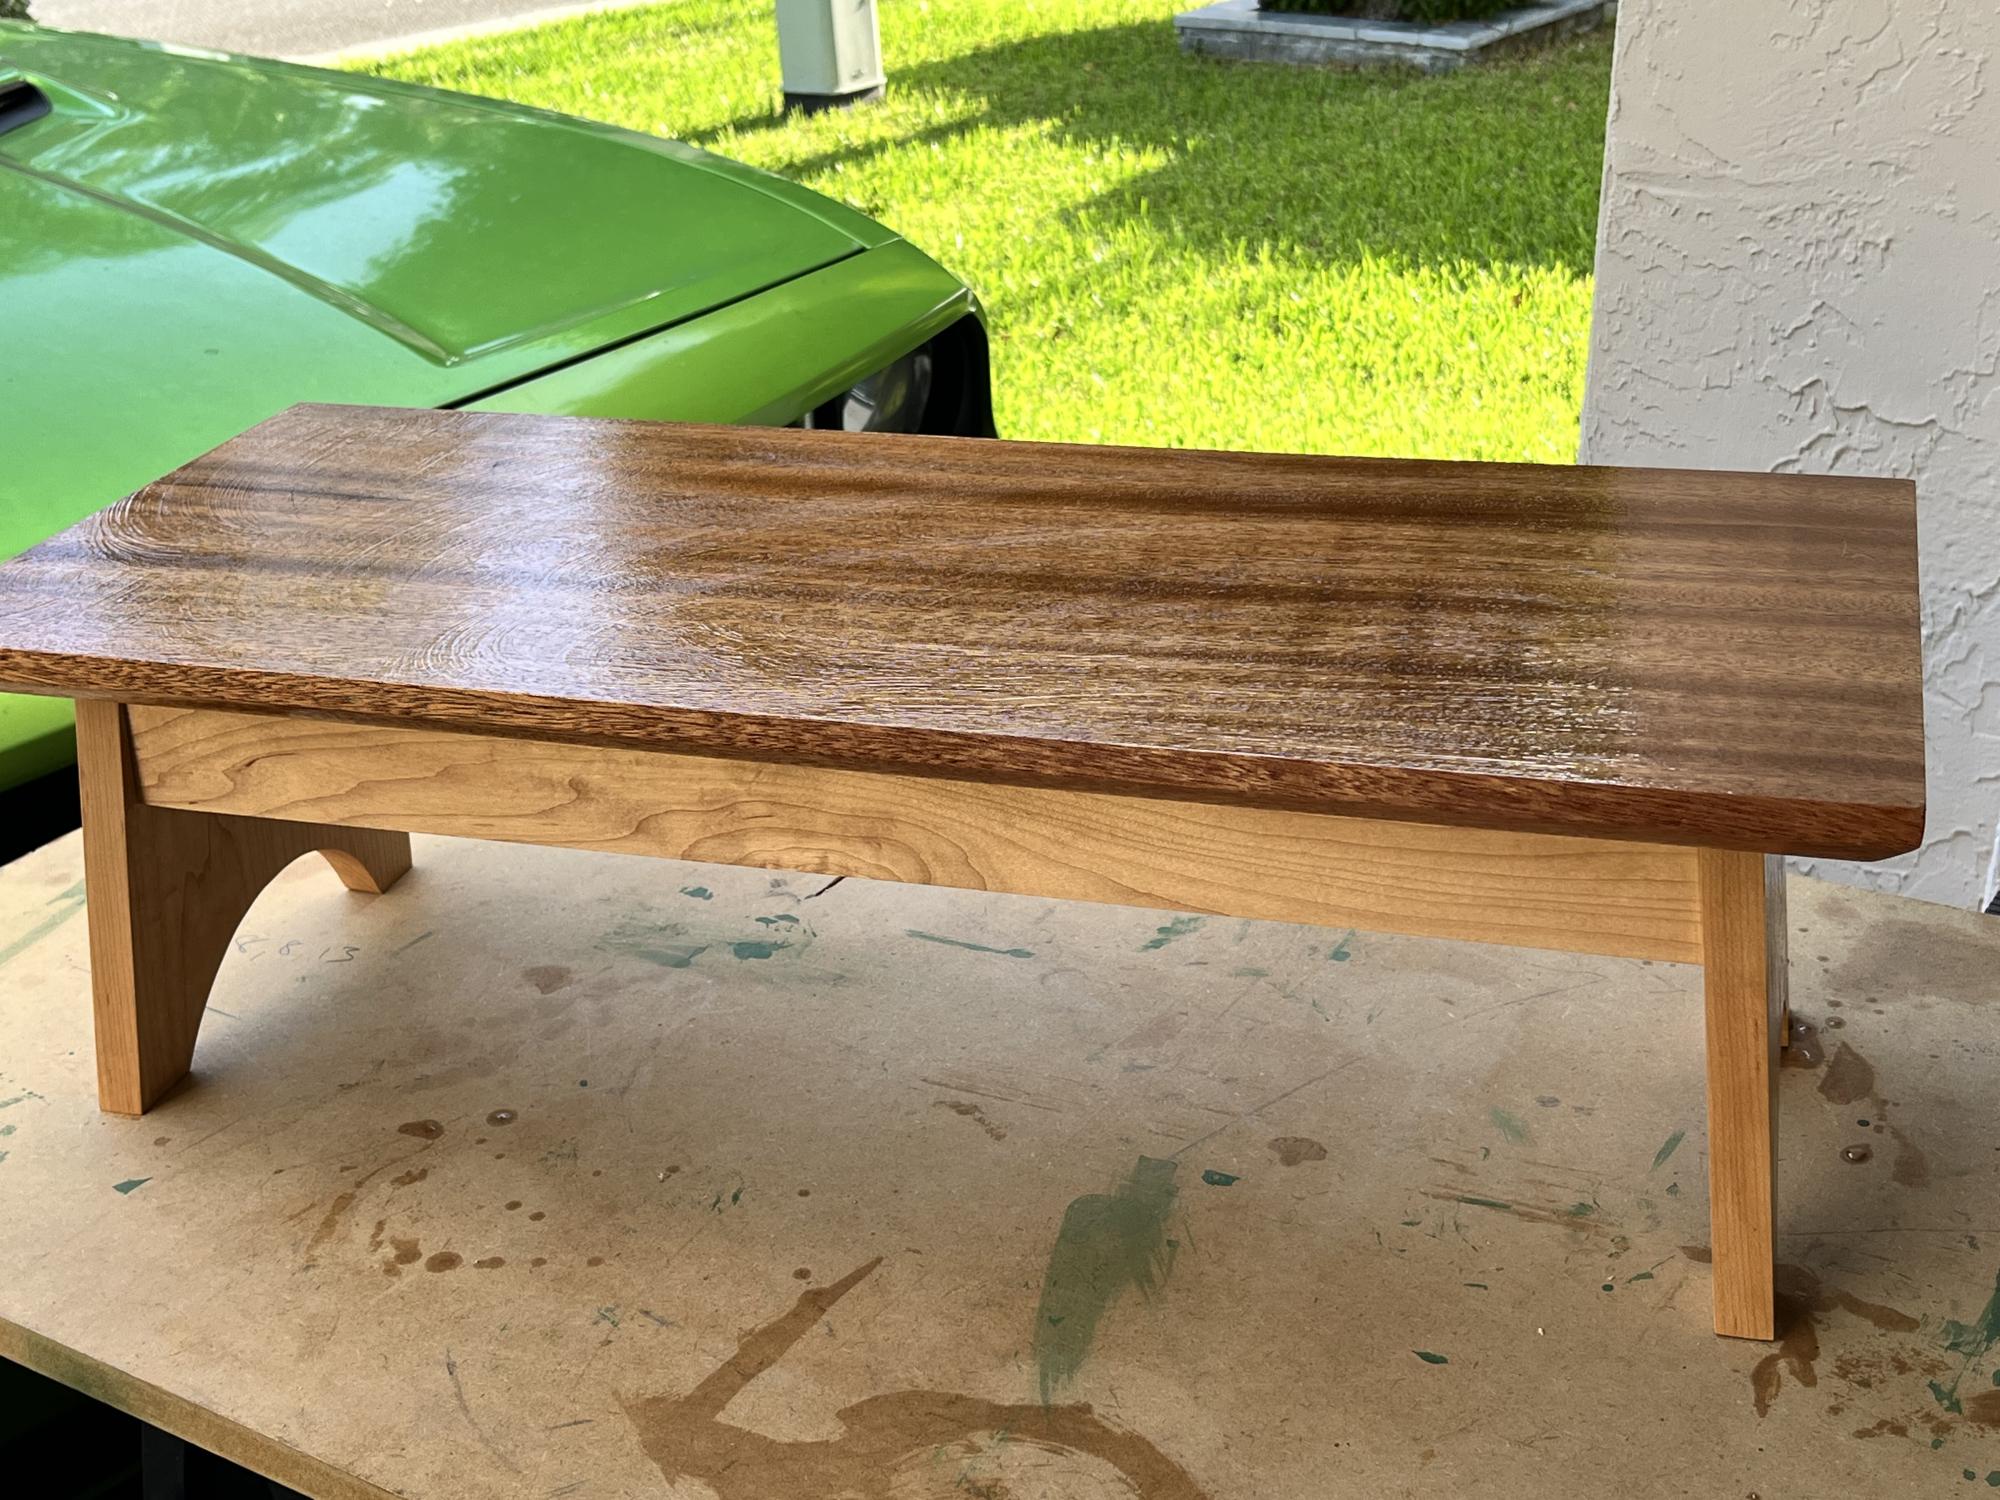
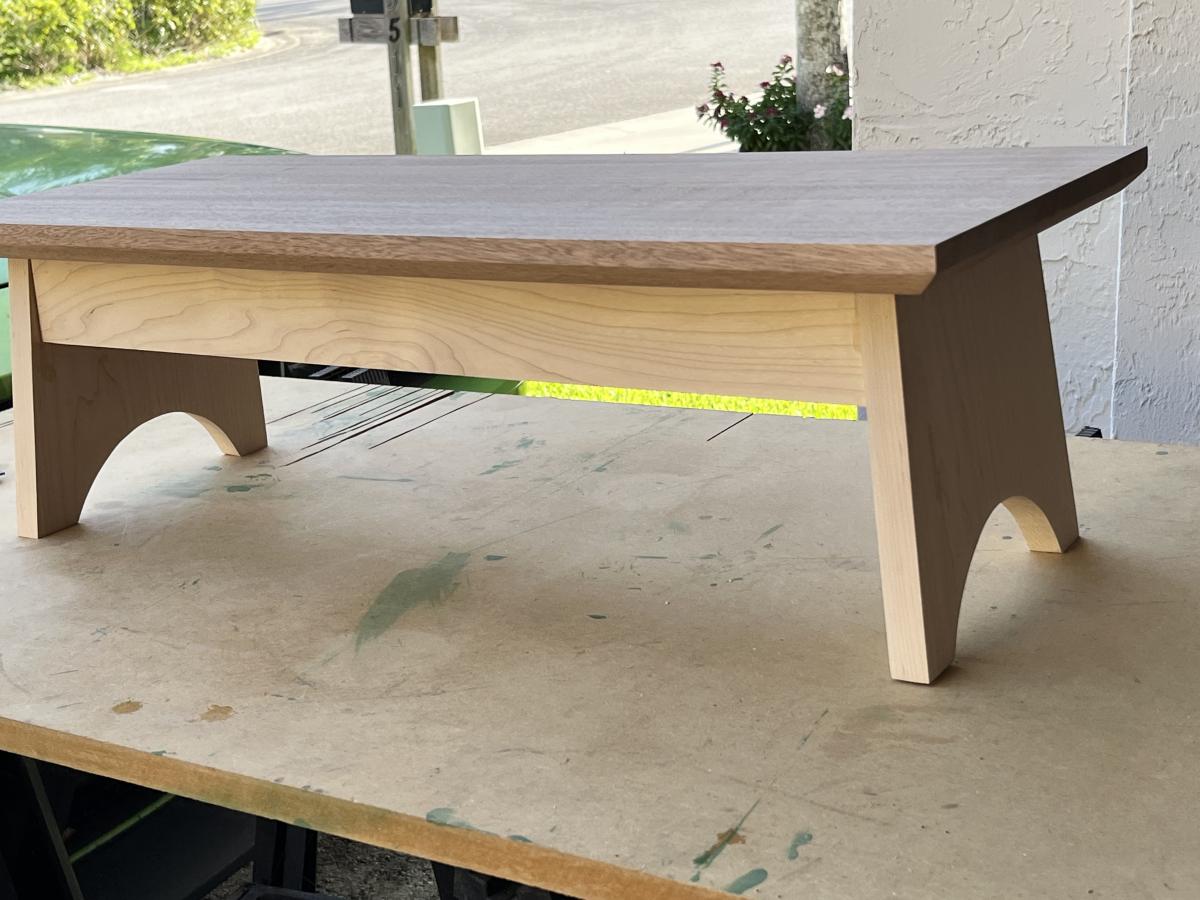
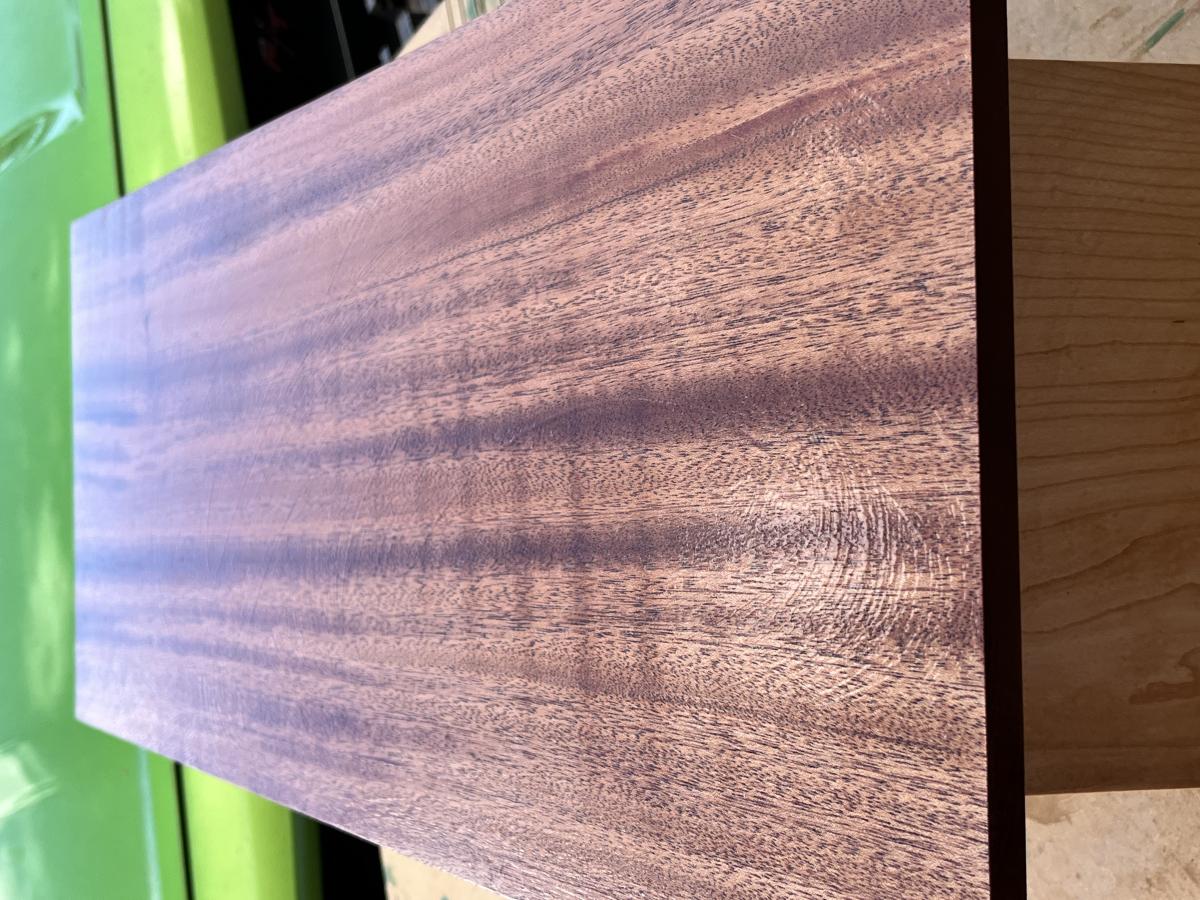
Fun and quick build. Made this one out of maple and African mahogany (khaya) for the laundry area of the garage.
This was an extremely quick and easy project to complete. I really love how the ledges tie my dining room together and display all the great pictures of our family. Now I just need to get some more pictures and frames...
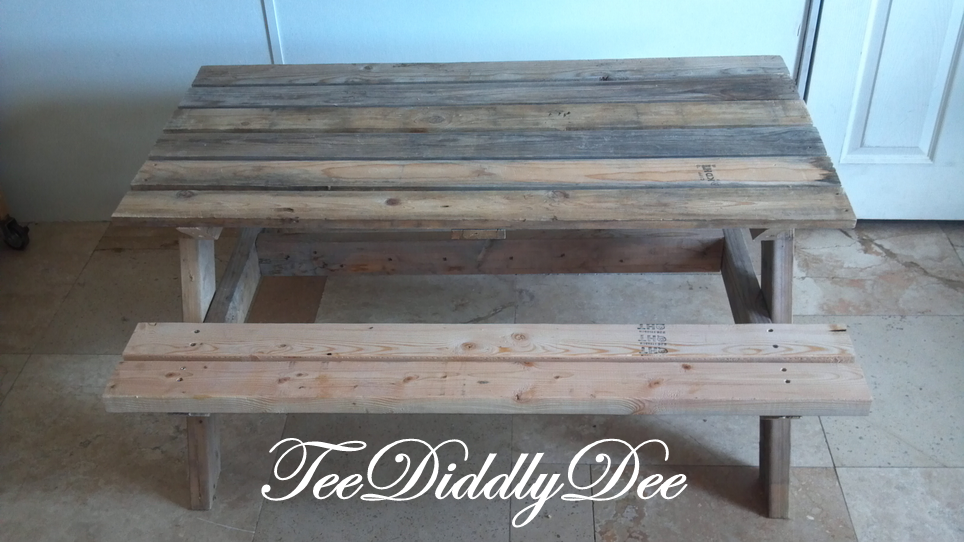
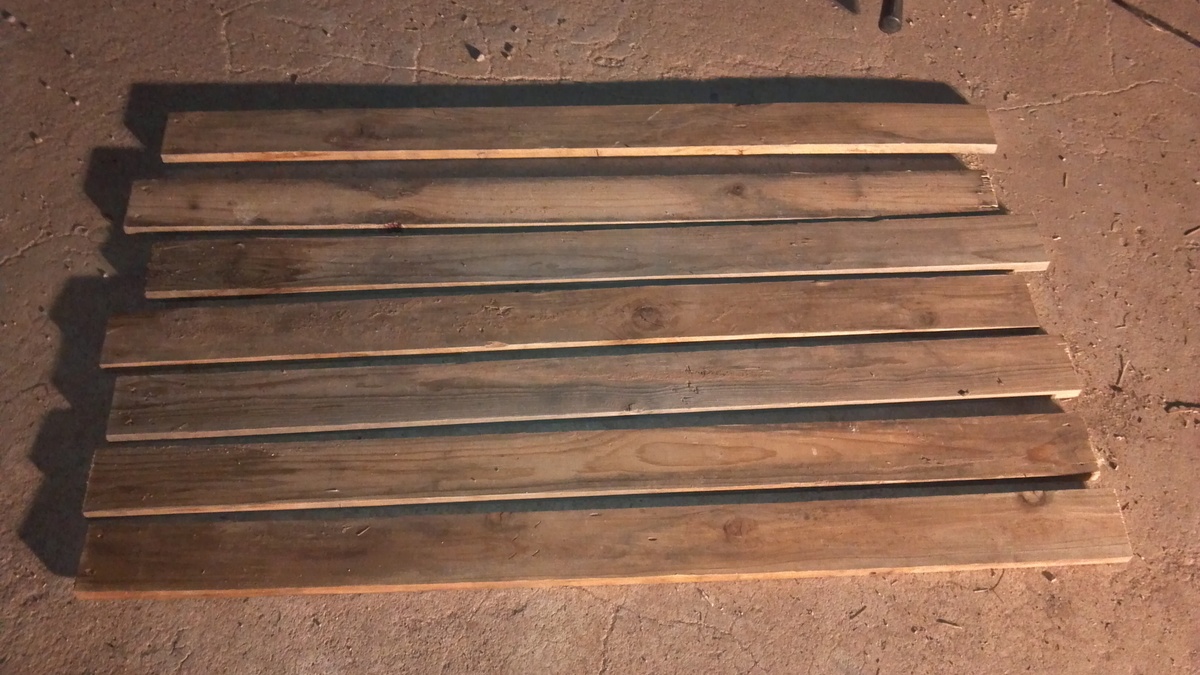
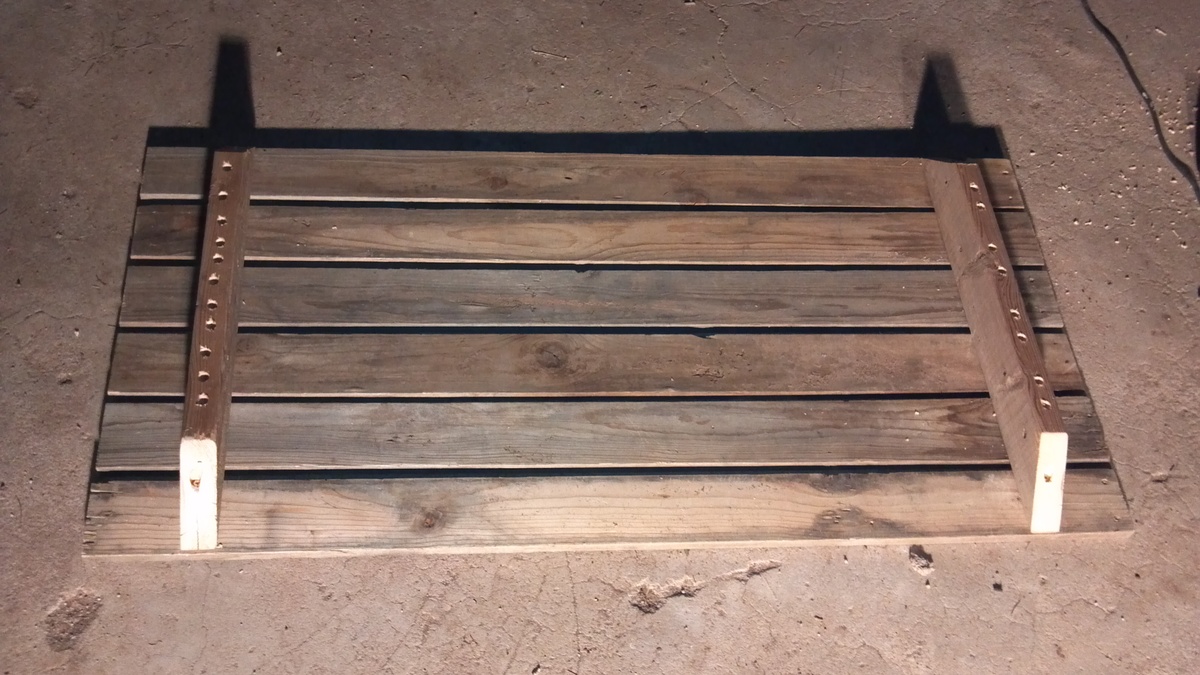
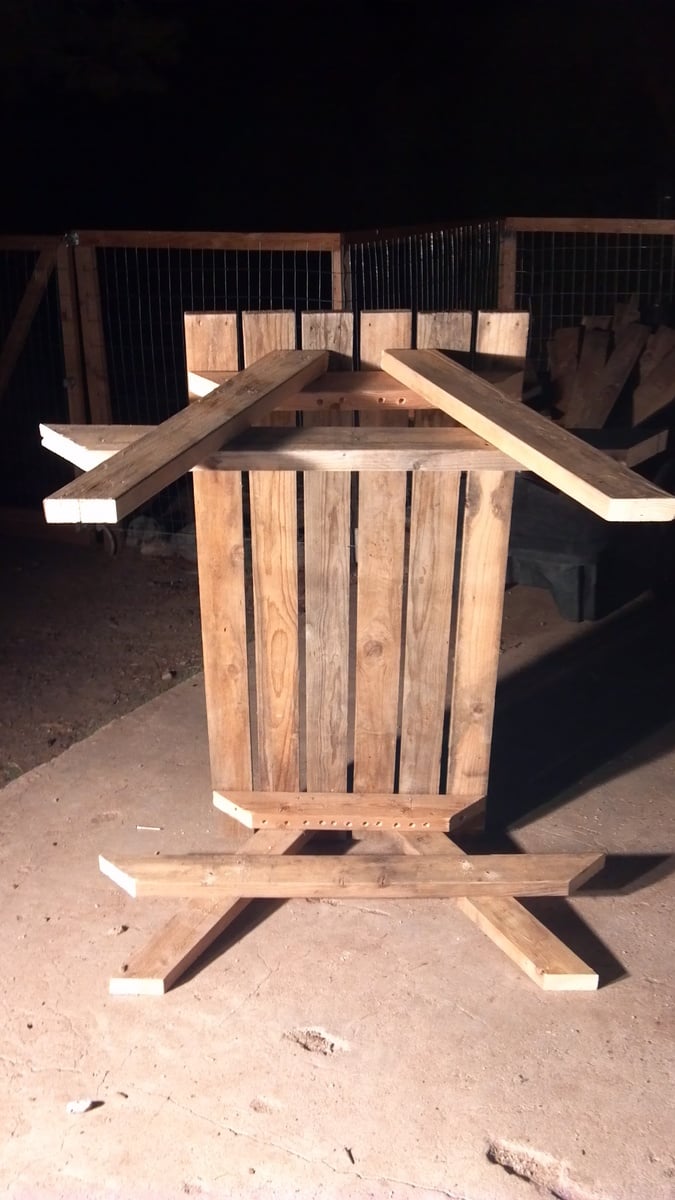
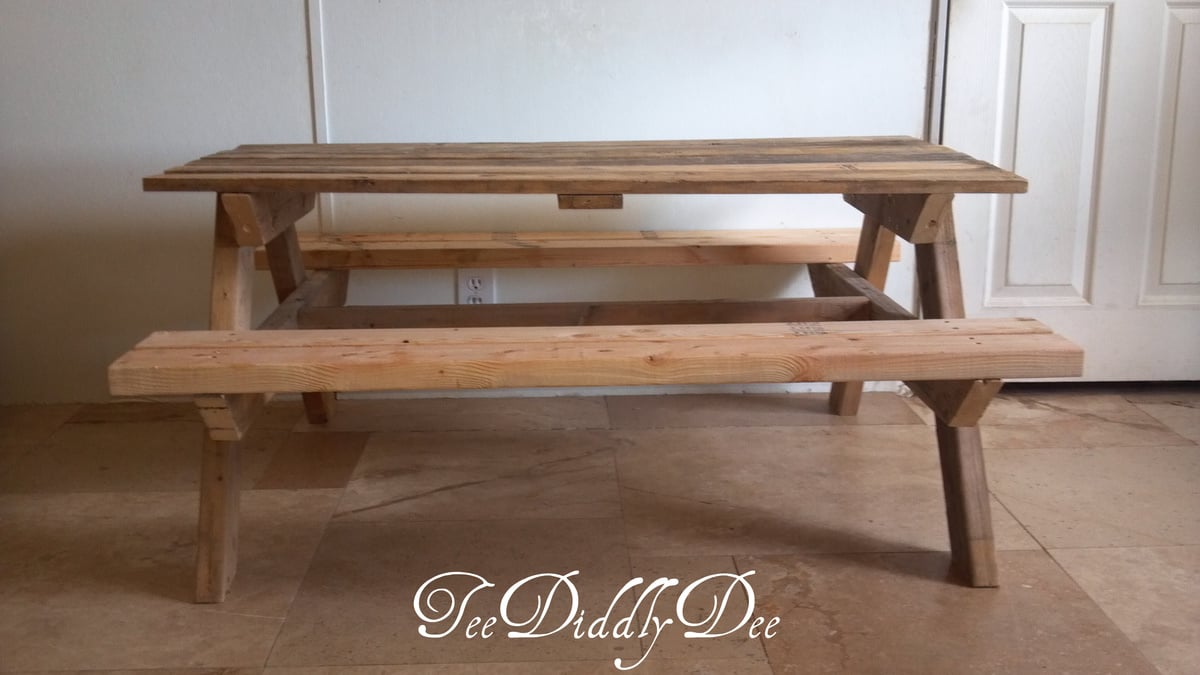
I needed a place for my daycare kids to sit and eat at lunchtime. I stumbled upon the bigger kids picnic table on Ana White, so I just had to build this!
Since I am on a tight budget, I once again searched my ol’ pile of wood outside and found most everything I needed except the tabletop pieces in which I found an old pallet and used pallet planks instead for the top. Since the pallet planks are a lot thinner than 2x4s, I put a brace underneath the tabletop which made it very sturdy.
I have the whole tutorial with lots of pics at http://teediddlydee.com/how-to-build-kid-size-picnic-table-out-of-old-r….
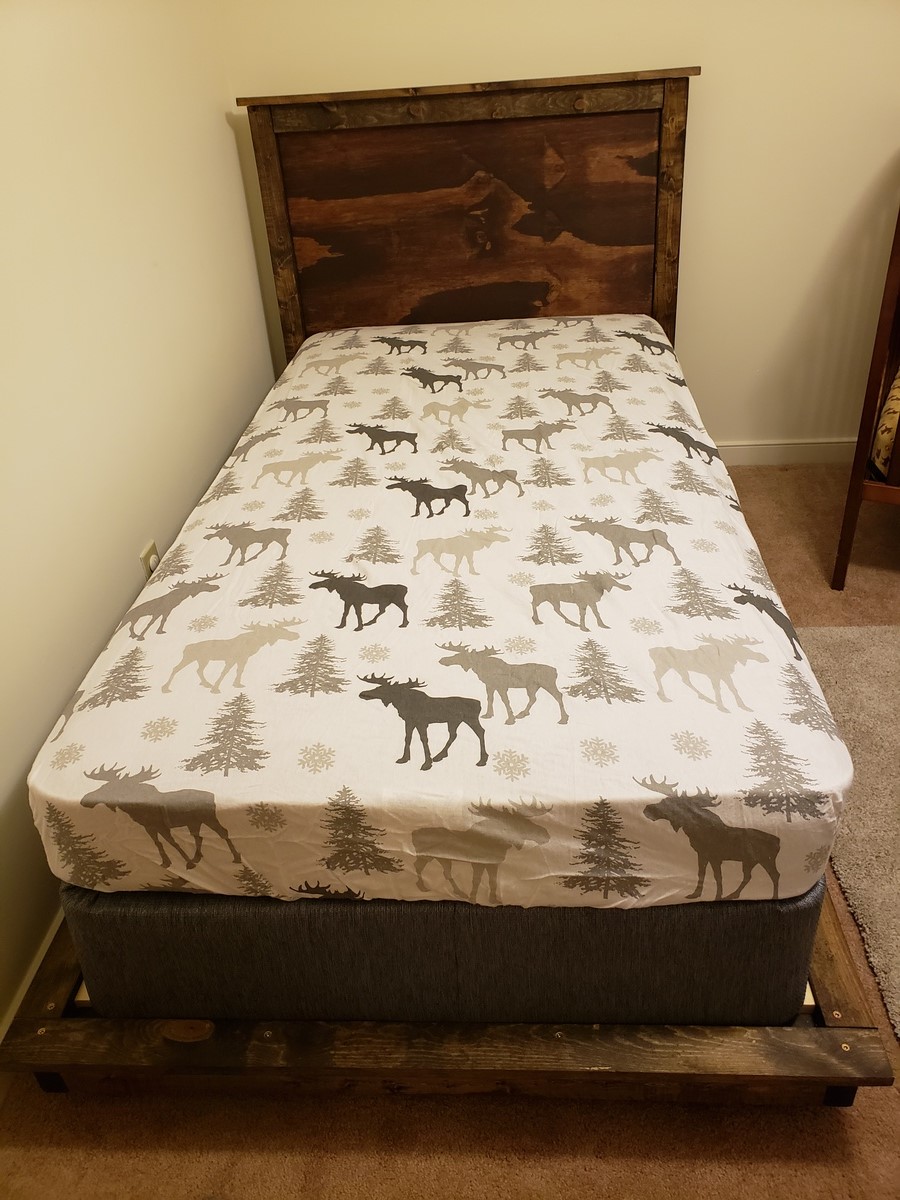
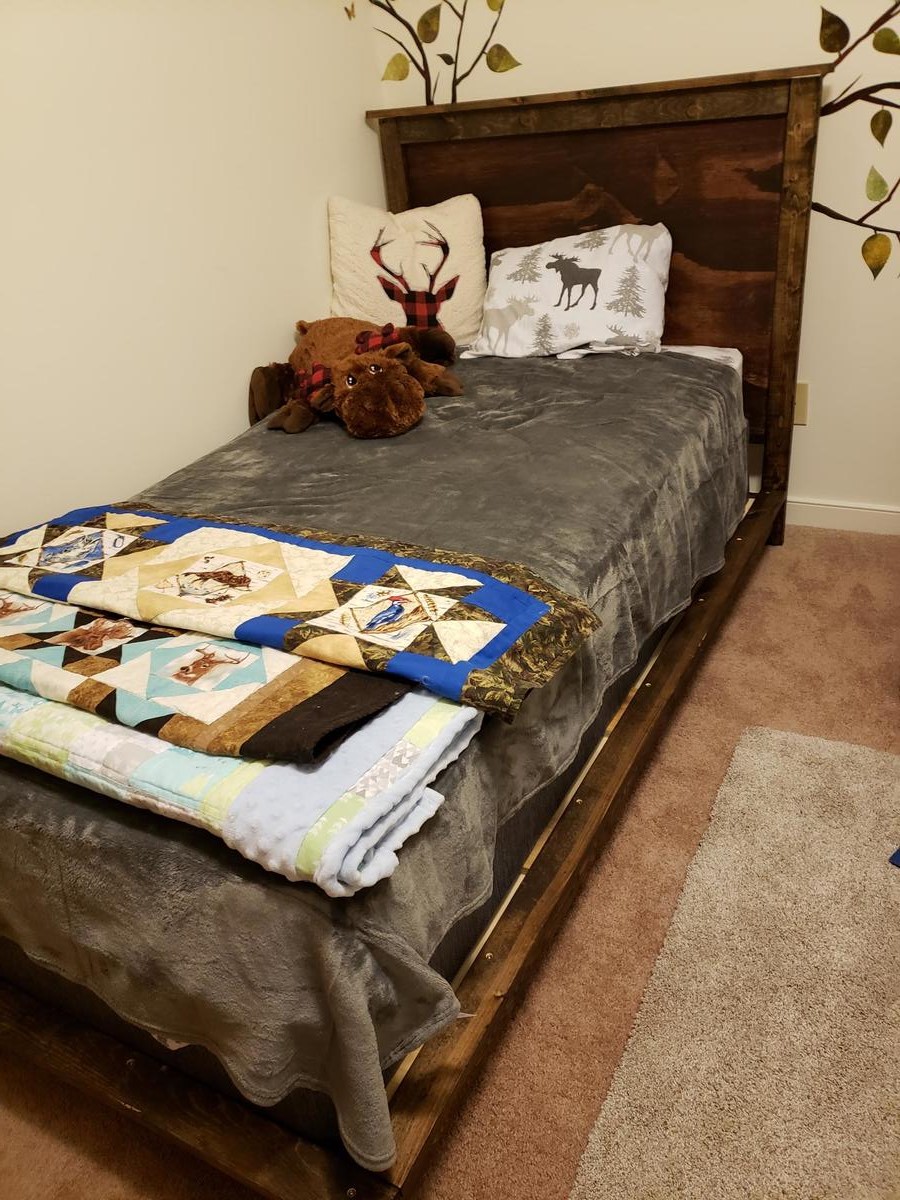
Our little guy decided at about 2 years old that his crib just wasnt going to cut it anymore. My wife and I had a blast throwing this together. A good tip is to use leftover pieces from the headboard to cut slats. We love our wood projects, check out our facebook page. Wyvace woodworking.
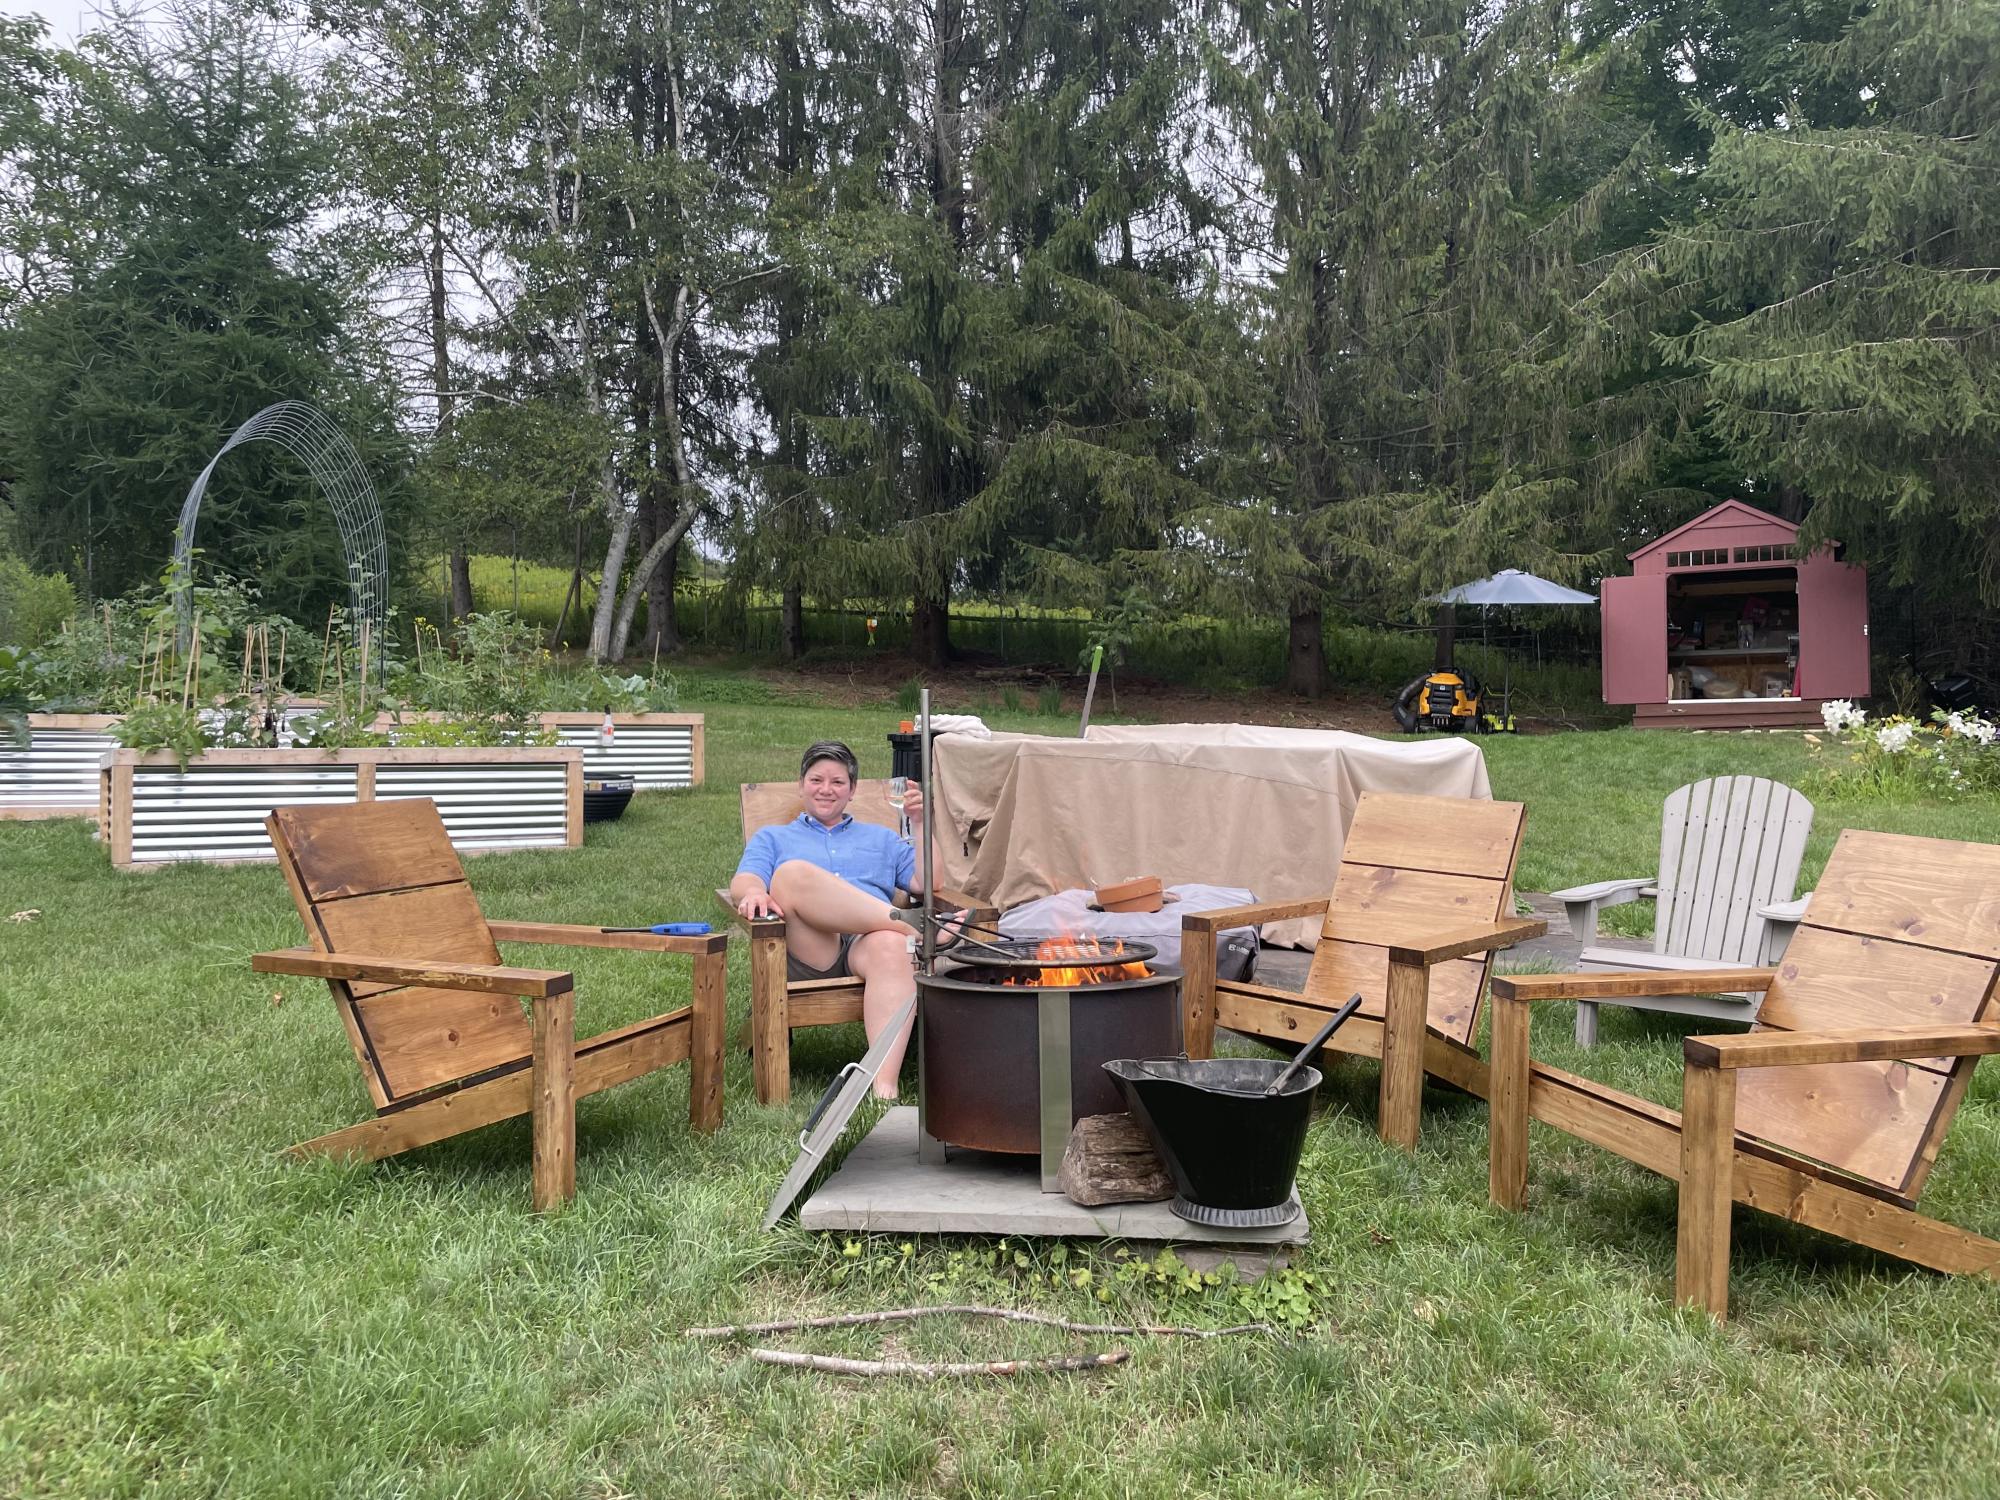
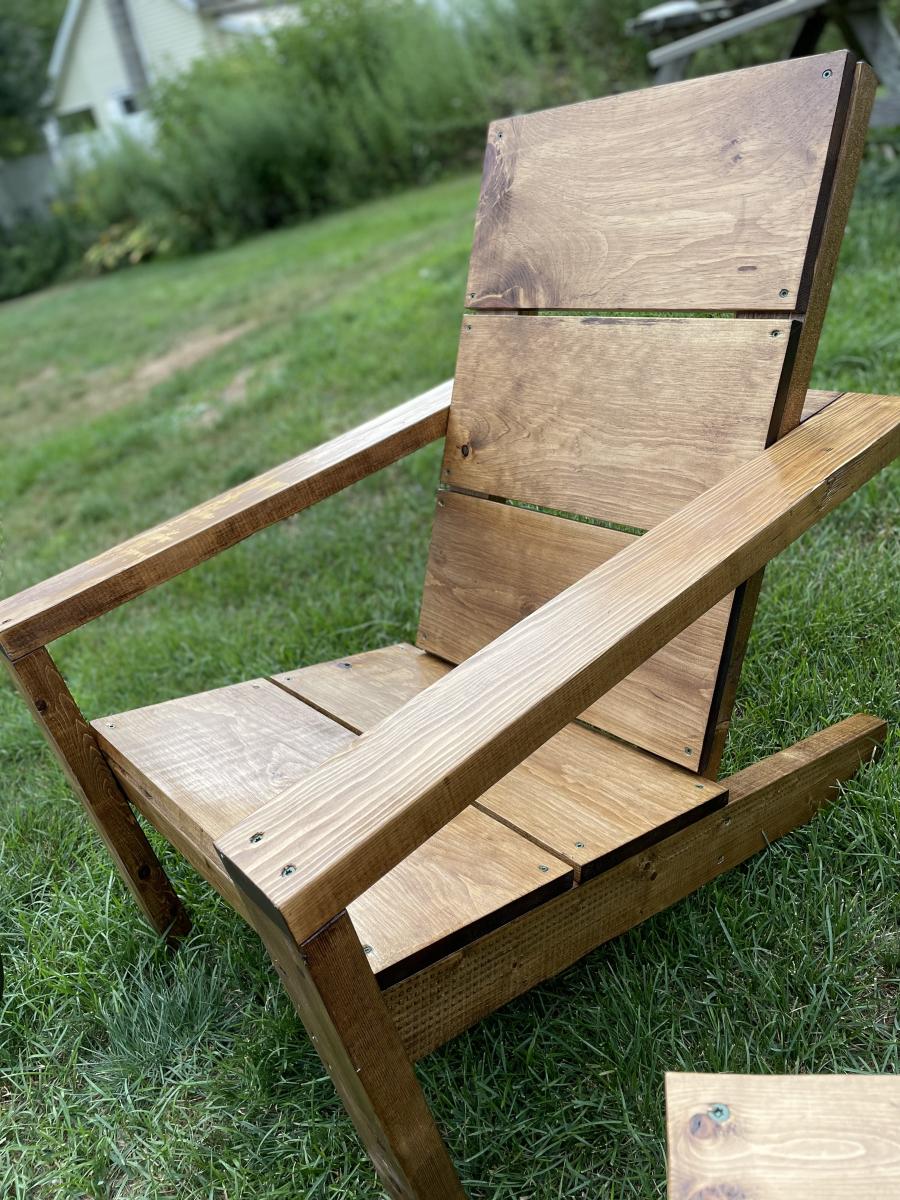
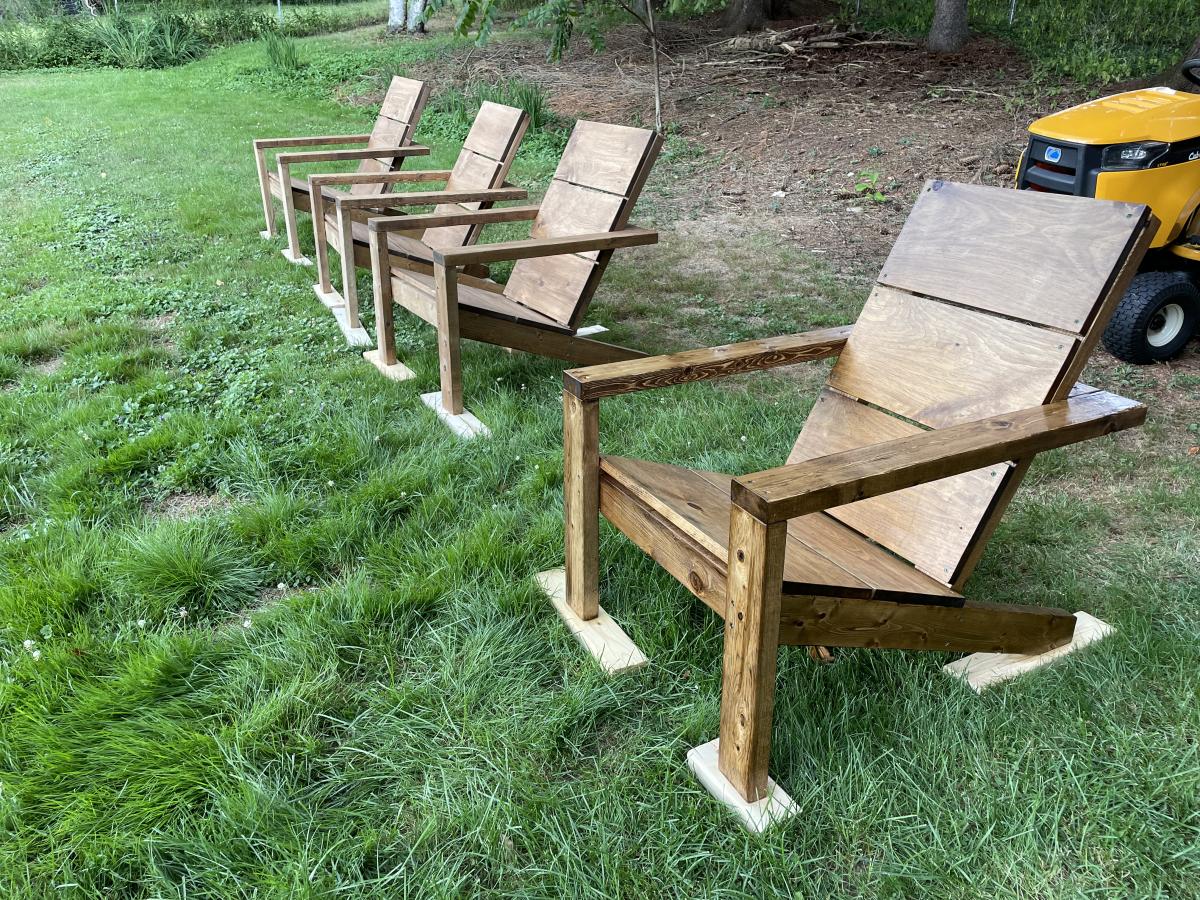
We had some very old Adirondack chairs that just broke on us (in the middle of summer, no doubt) so I went looking for some new ones. They were so expensive I thought I’d make some but I have limited tools (circular saw, drills, etc. but no band saw or mitre saw or table saw). Found these because they were fairly simple and didn’t require fancy tools.
It took me a couple of weekends to build four of them, and they still need another coat of sealer, but I’m stoked with the results, and they're SUOER comfortable too!
Thanks Ana for these awesome plans!
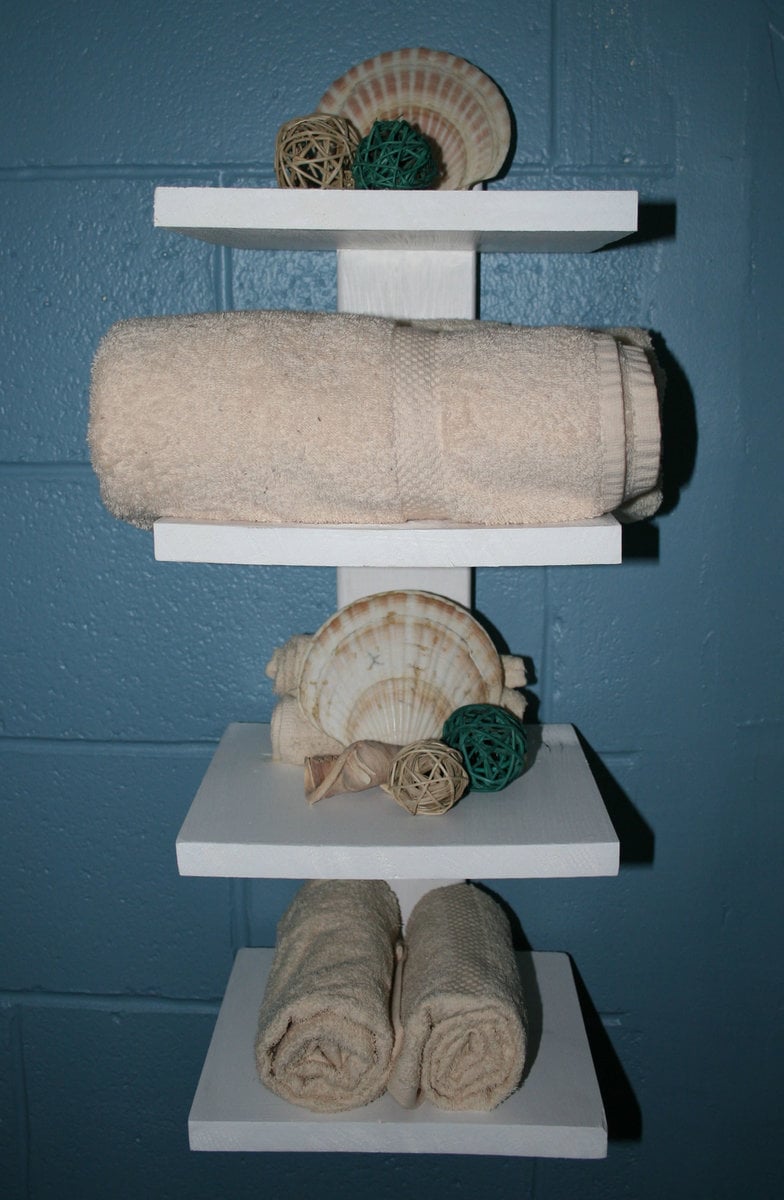
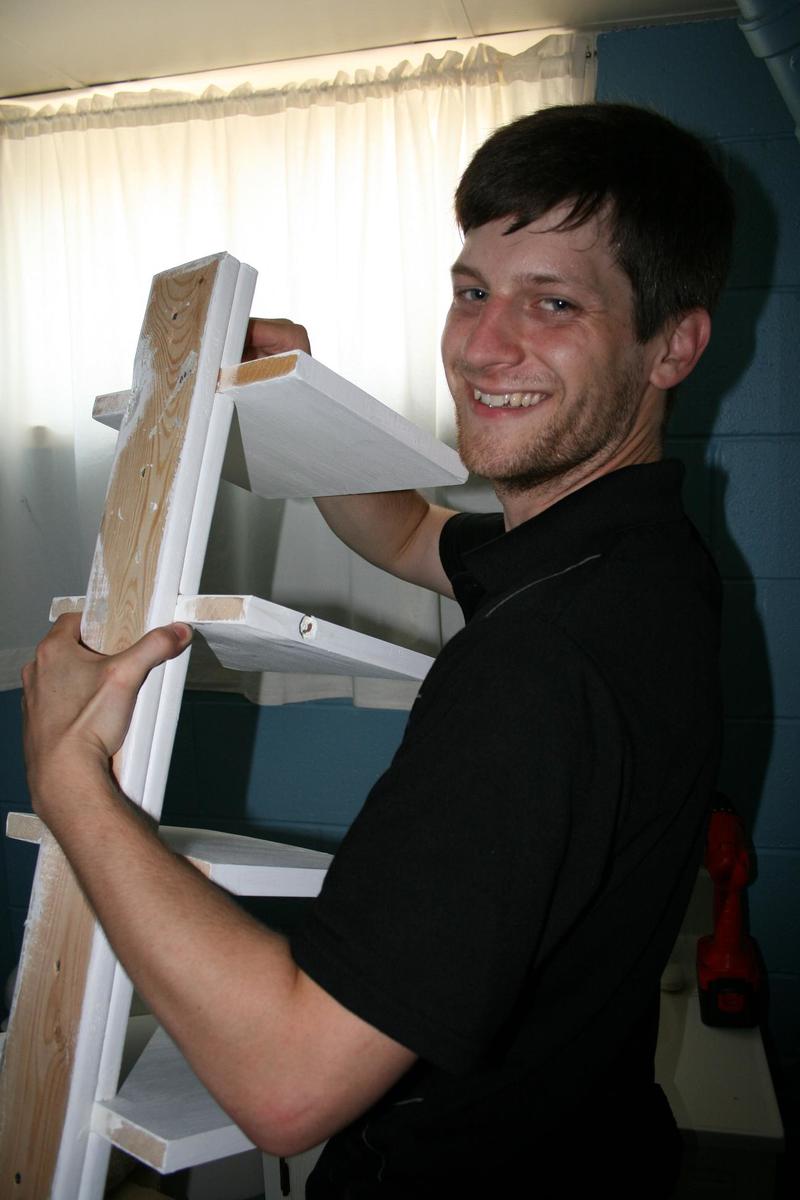
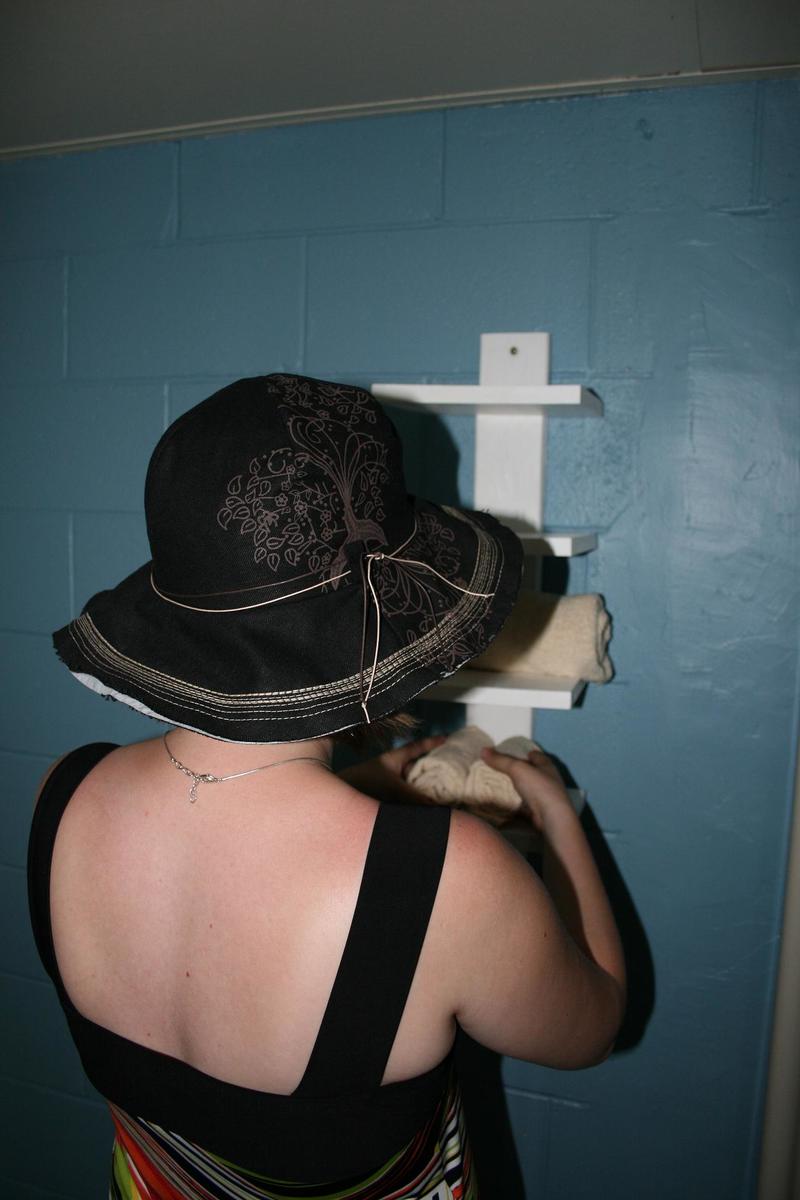
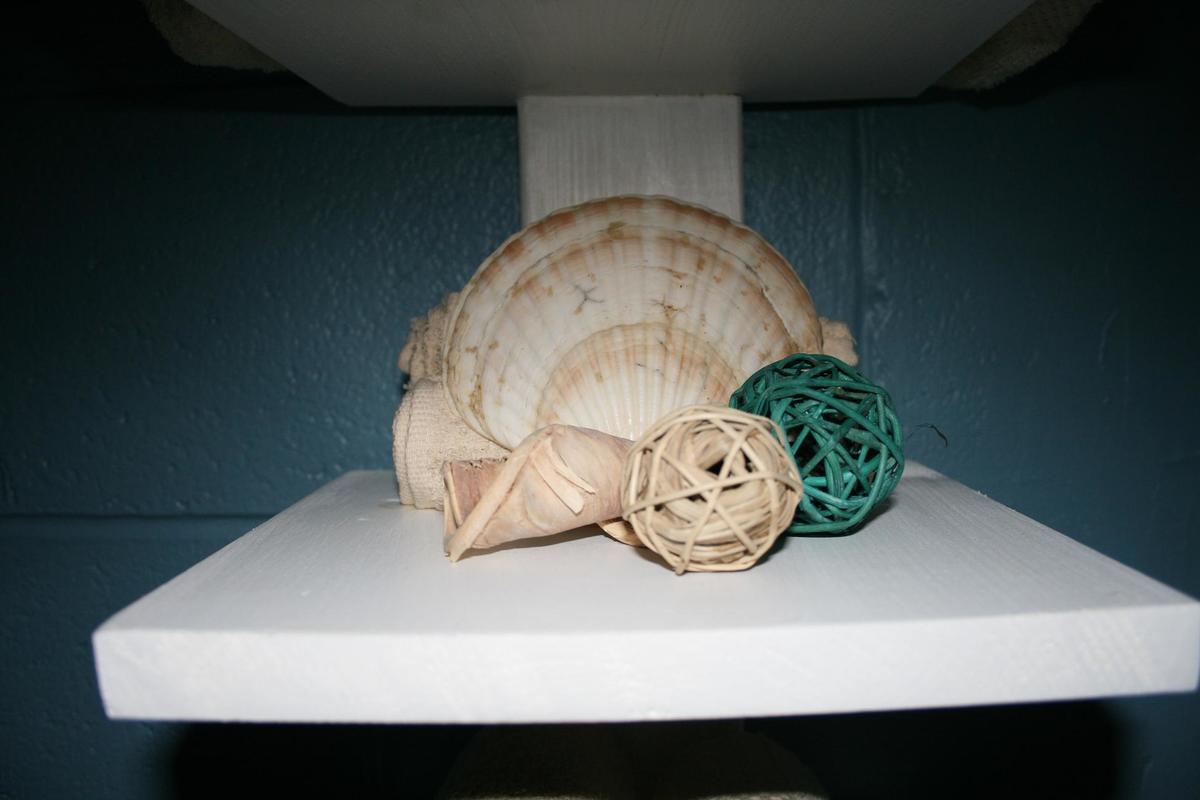
Another perfect shelf to decorate my little basement bathroom. Plans were so easy to follow! A little help from my hubby with this one... We had to drill into concrete to hang it. I love the end result!
