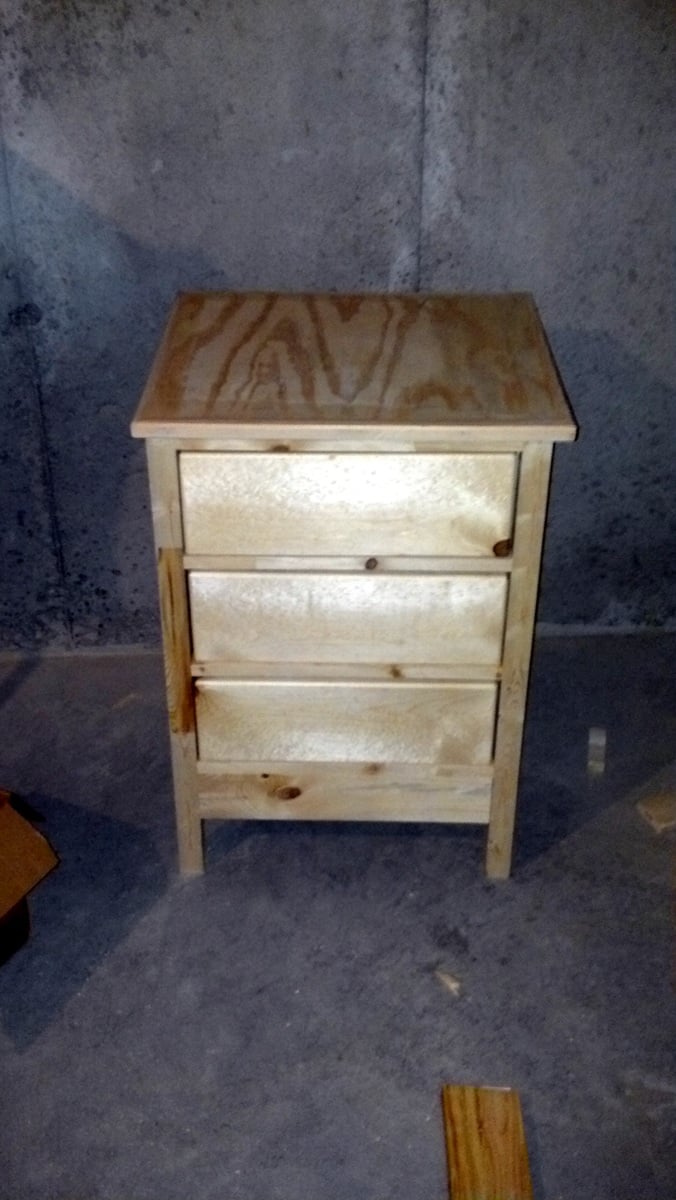
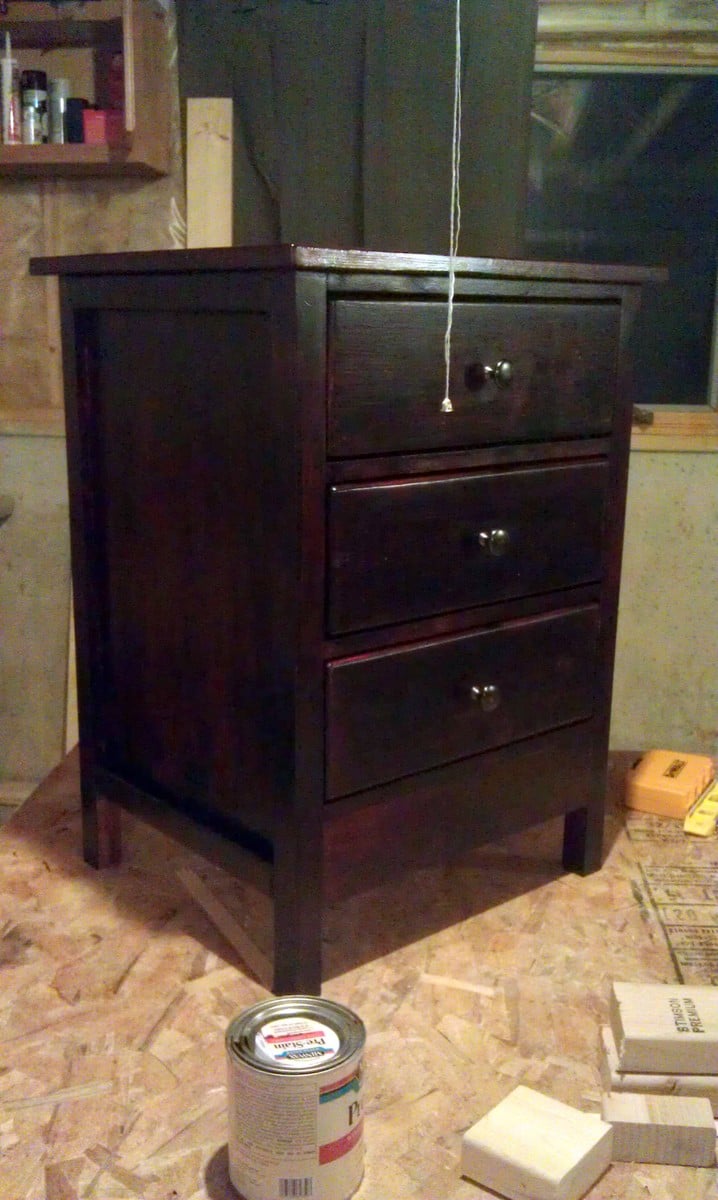
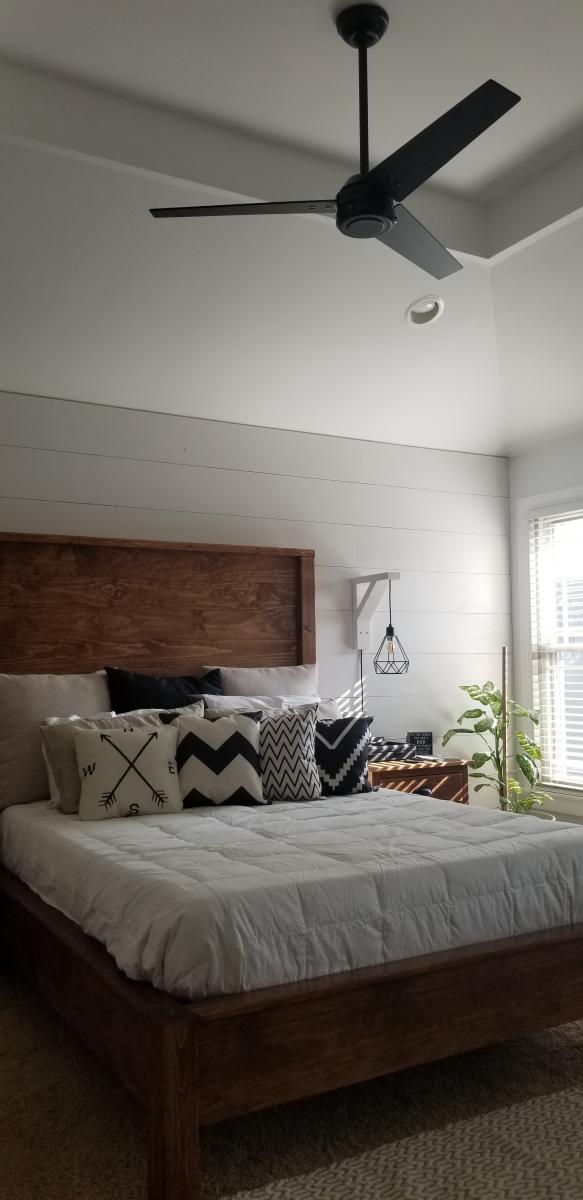
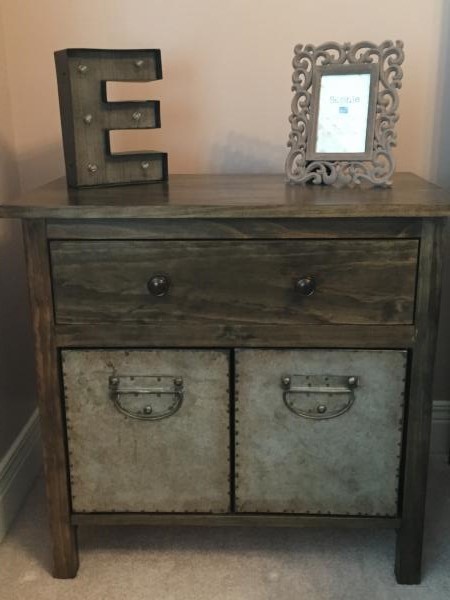
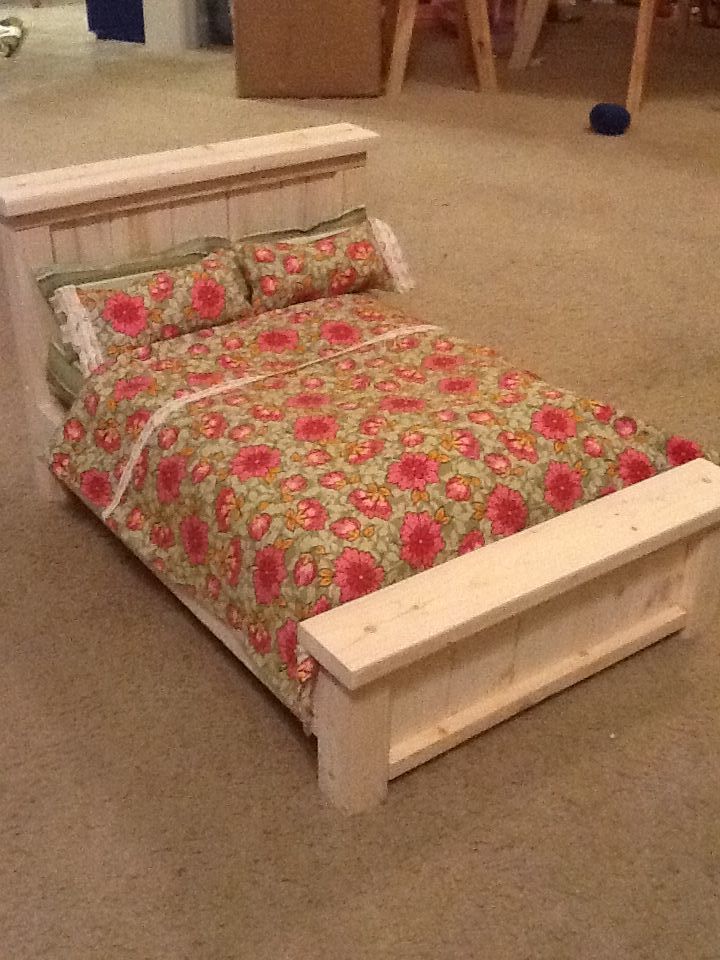
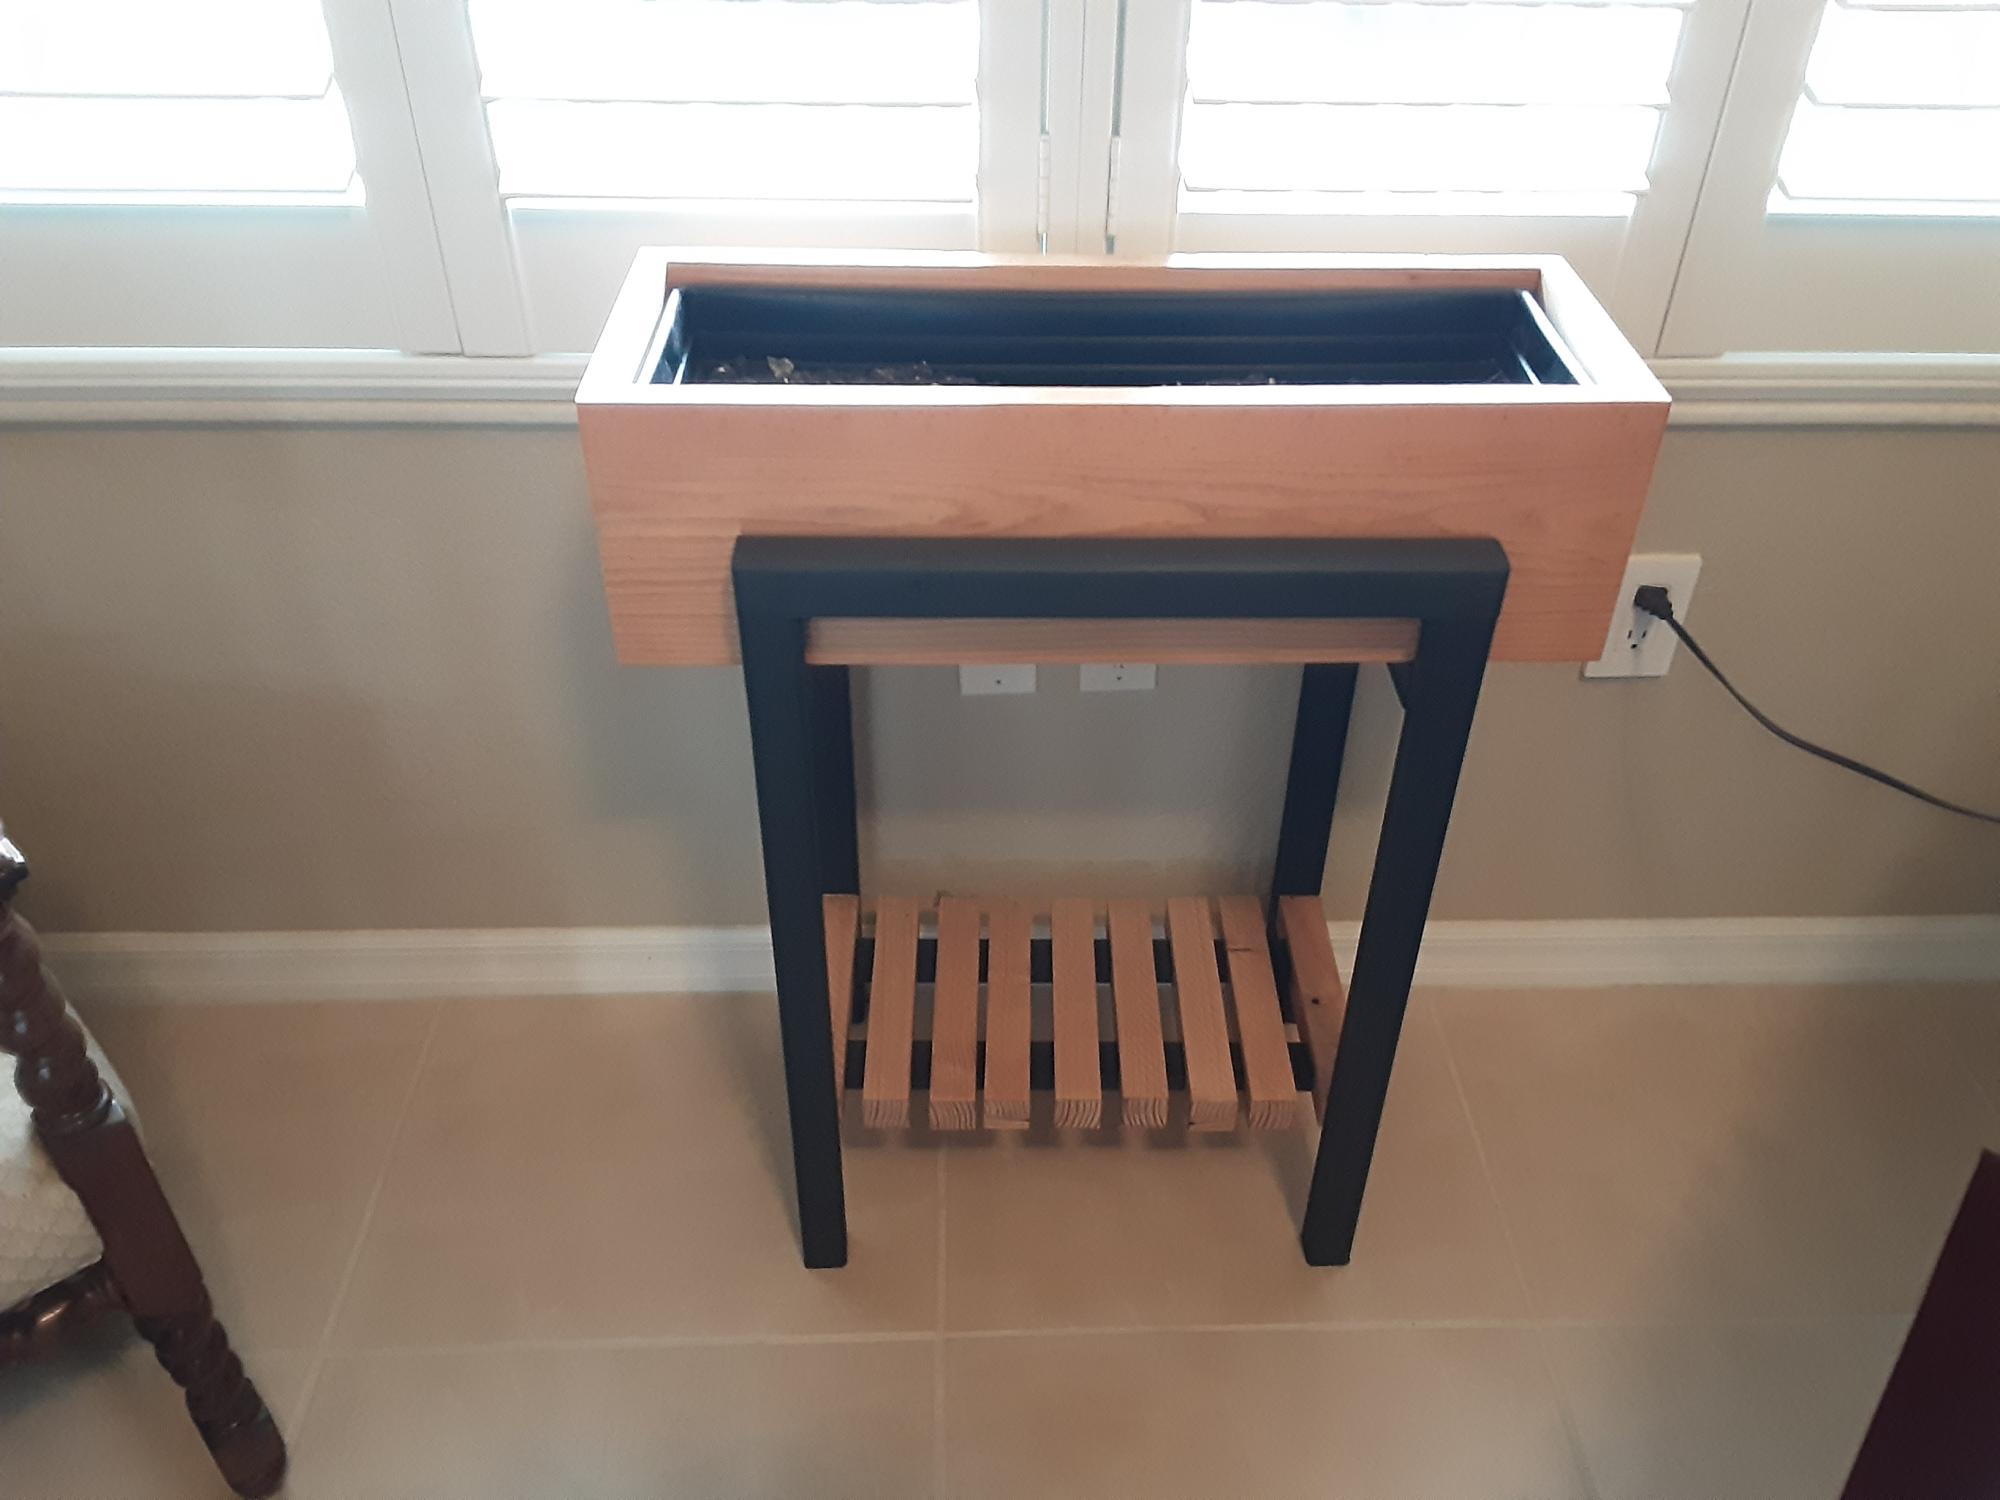
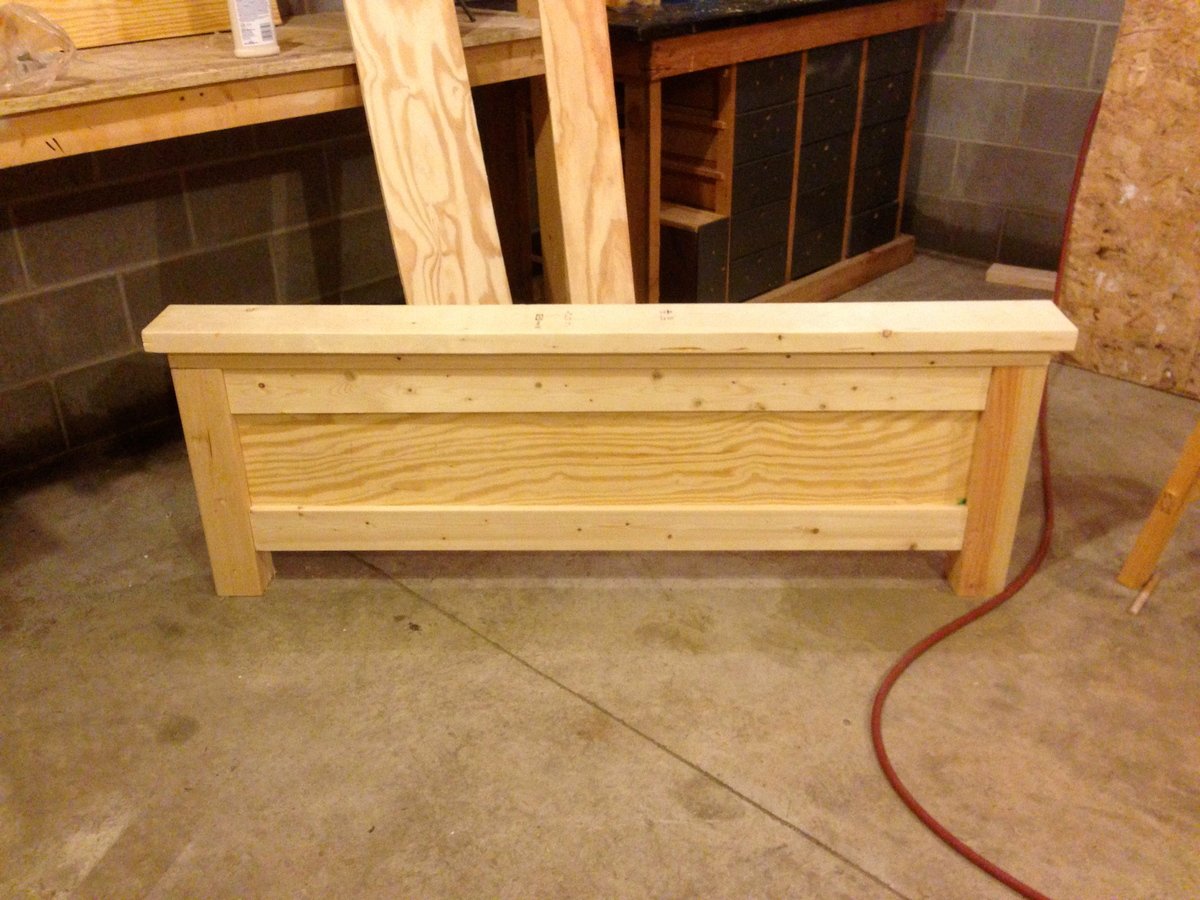
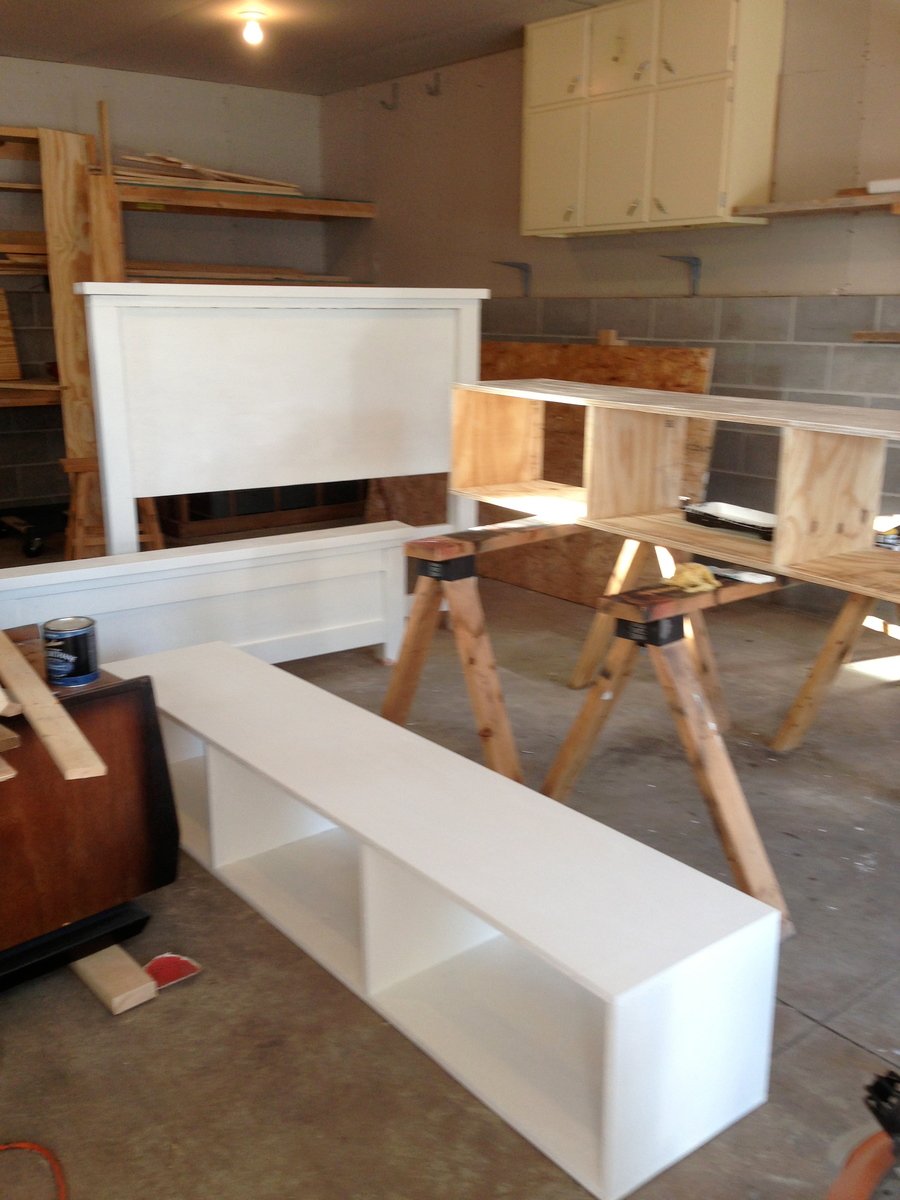
Nightstand
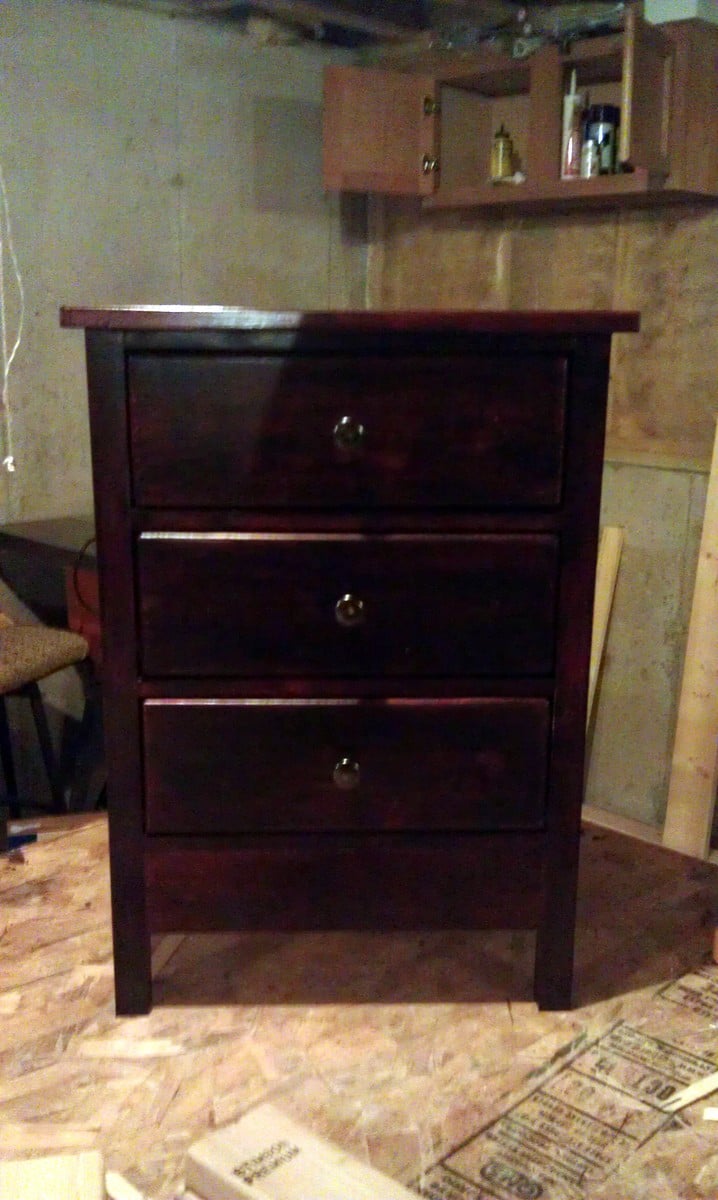
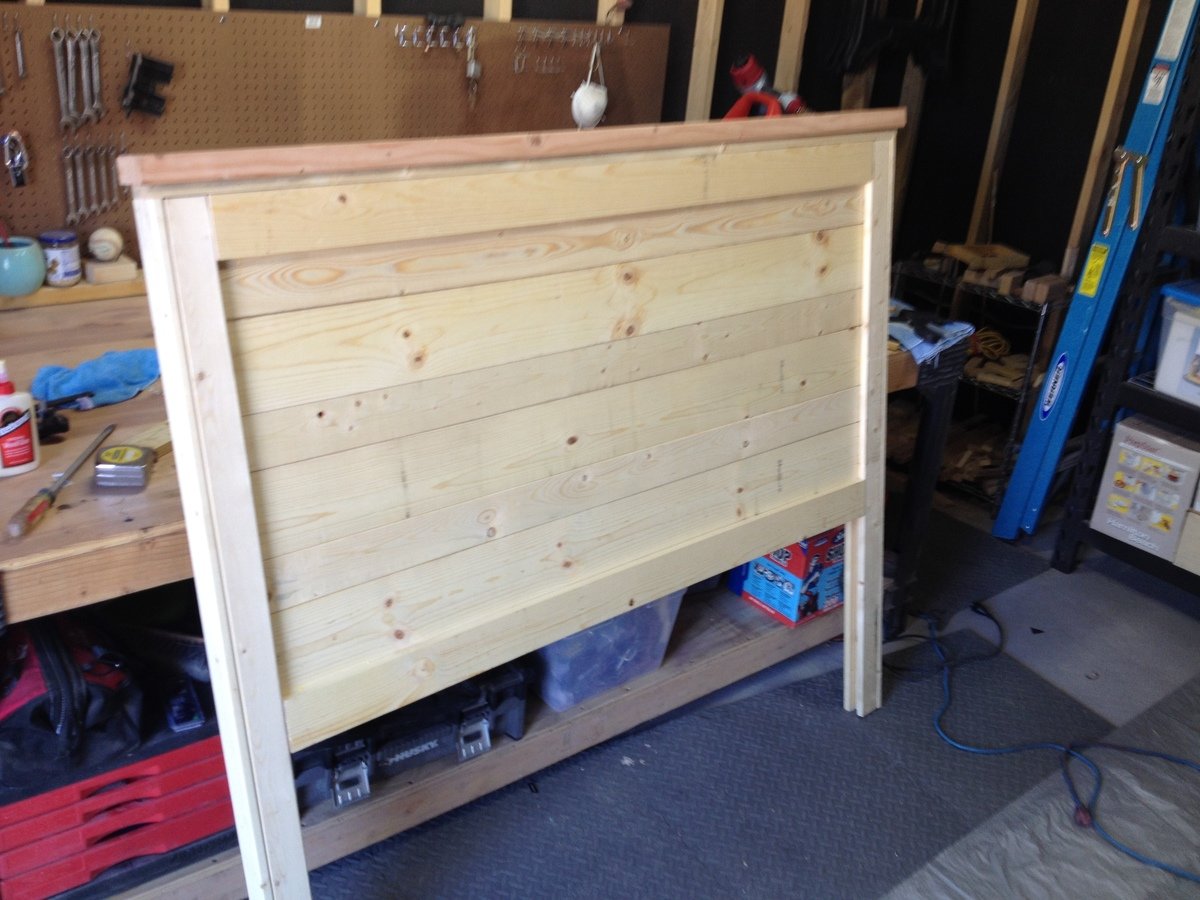
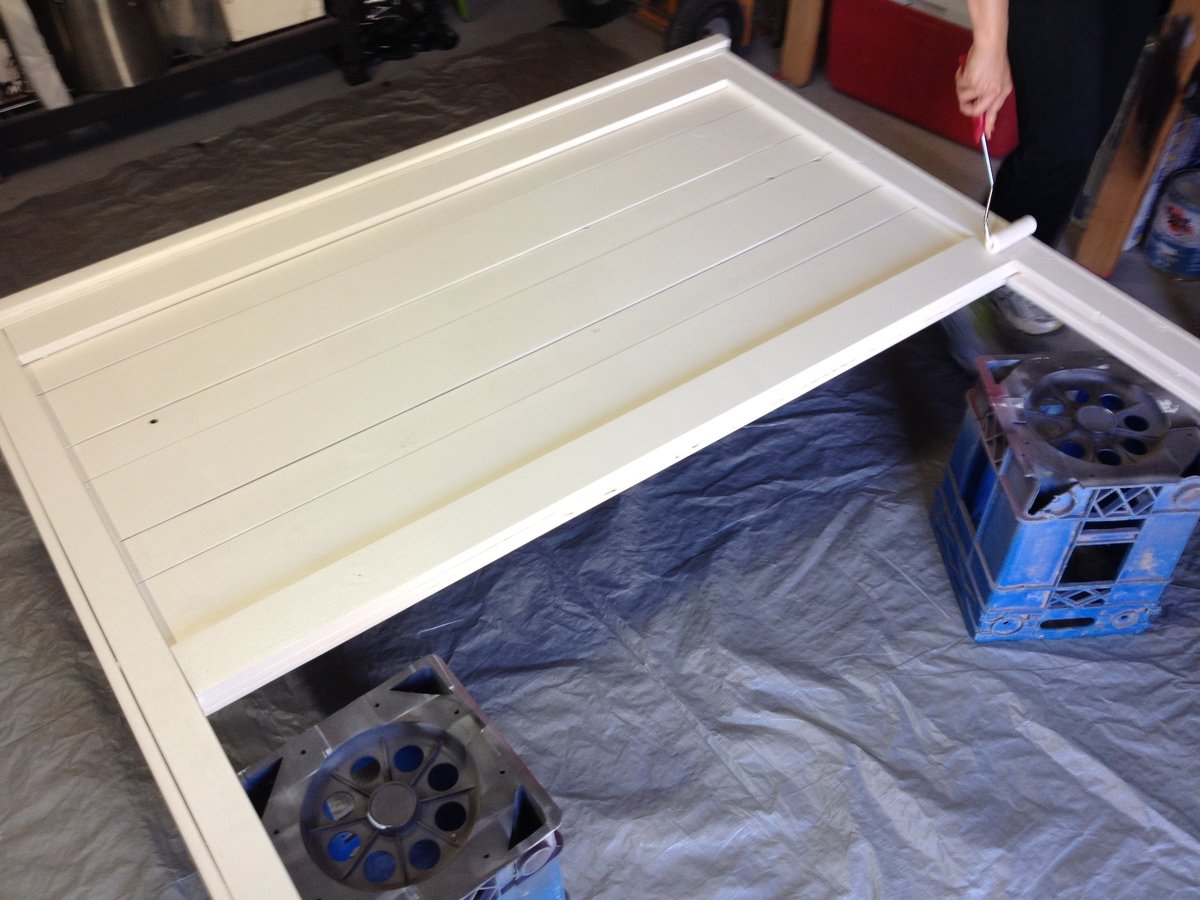
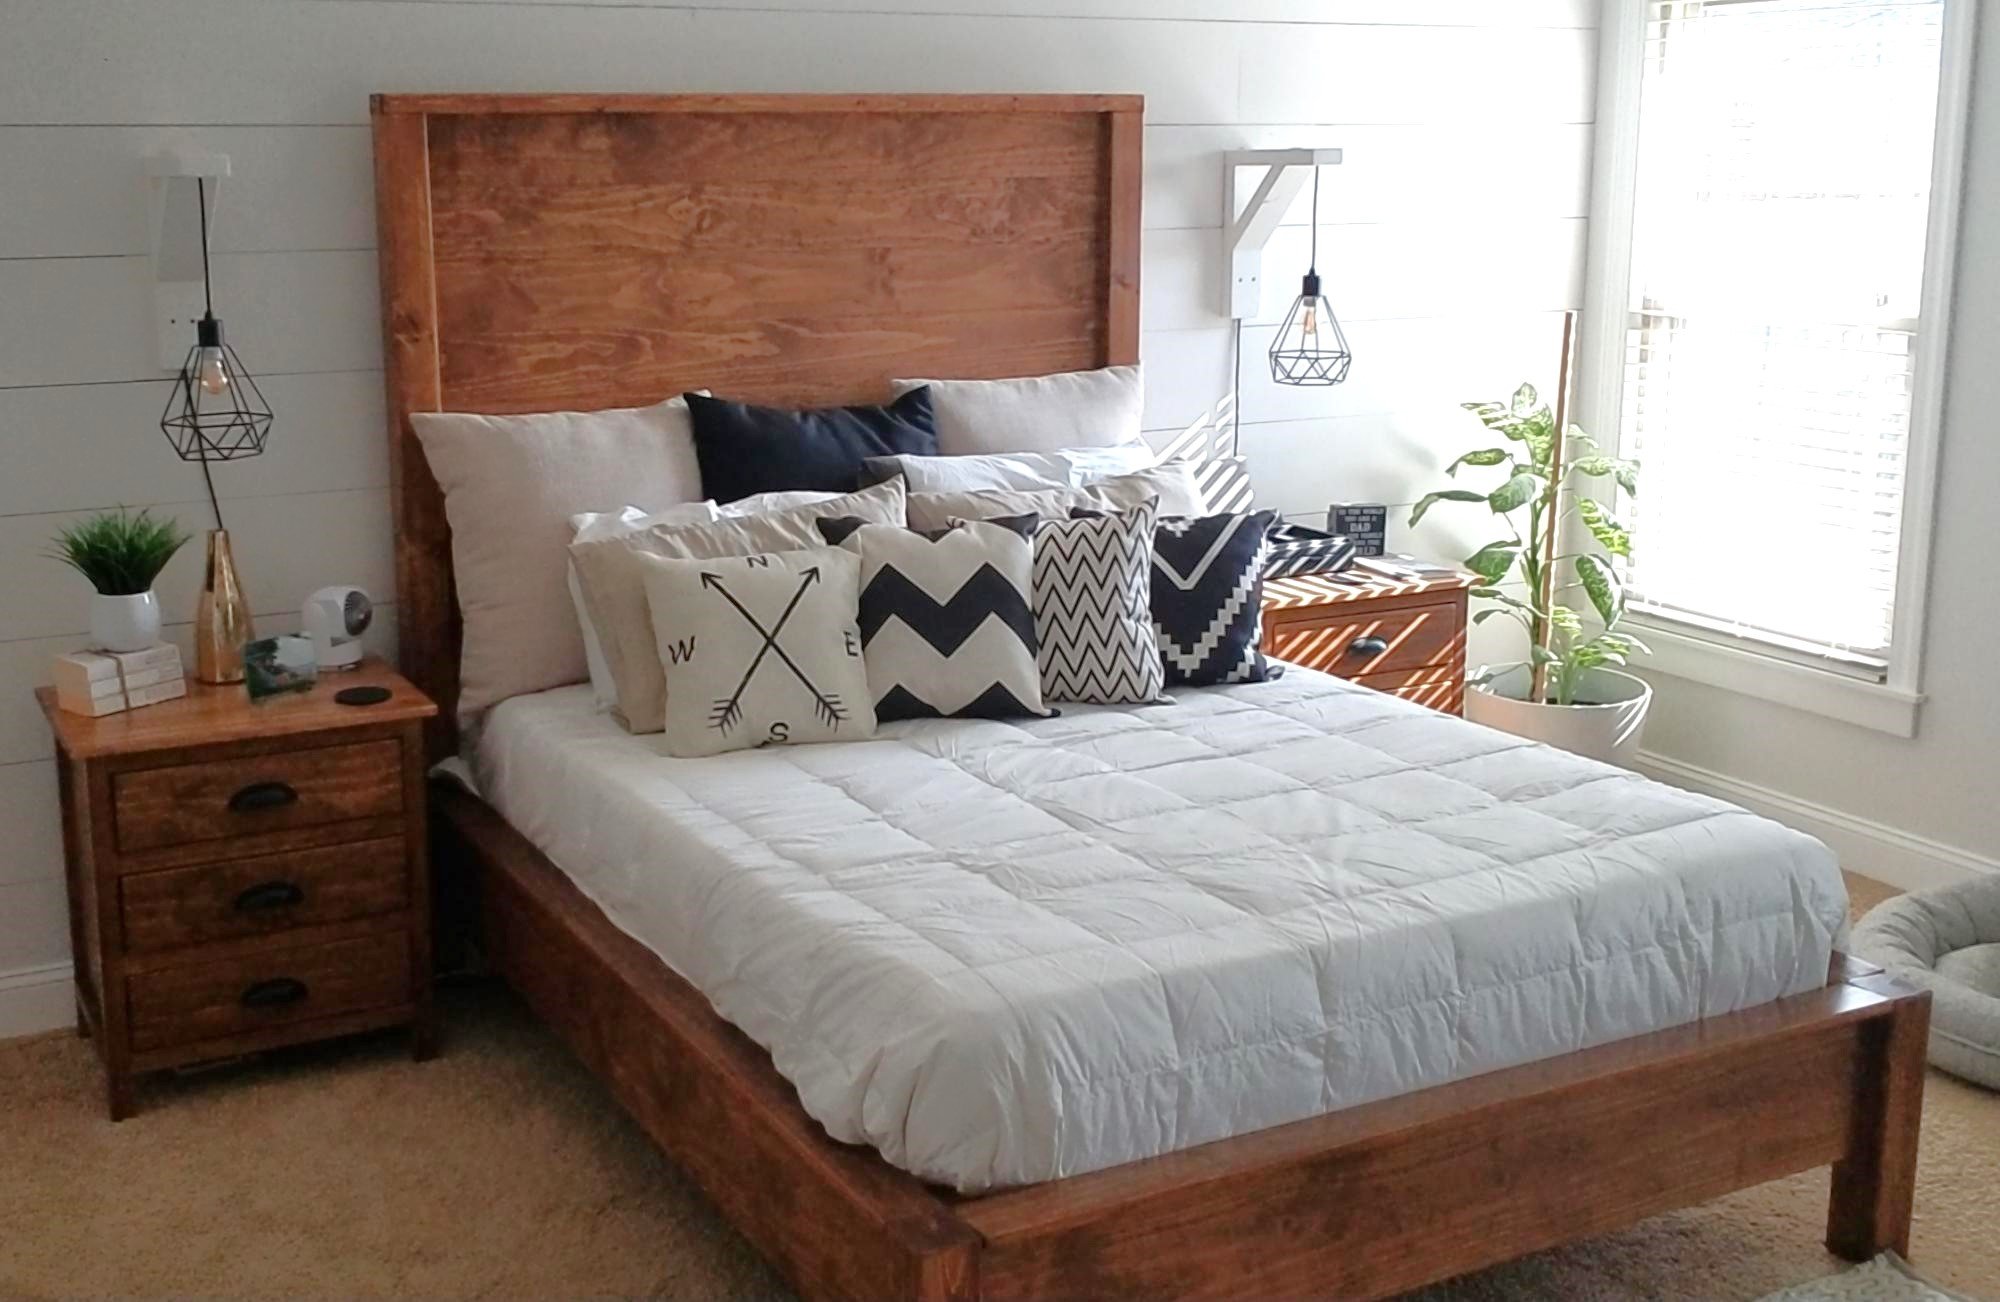
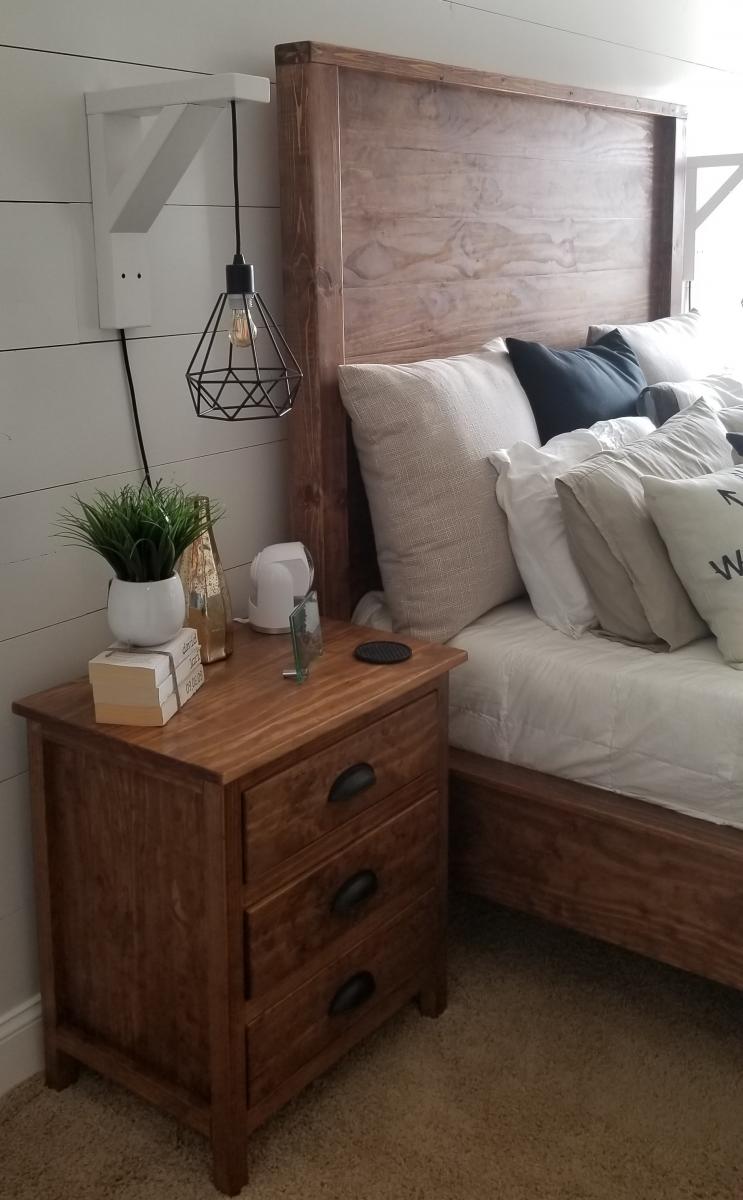
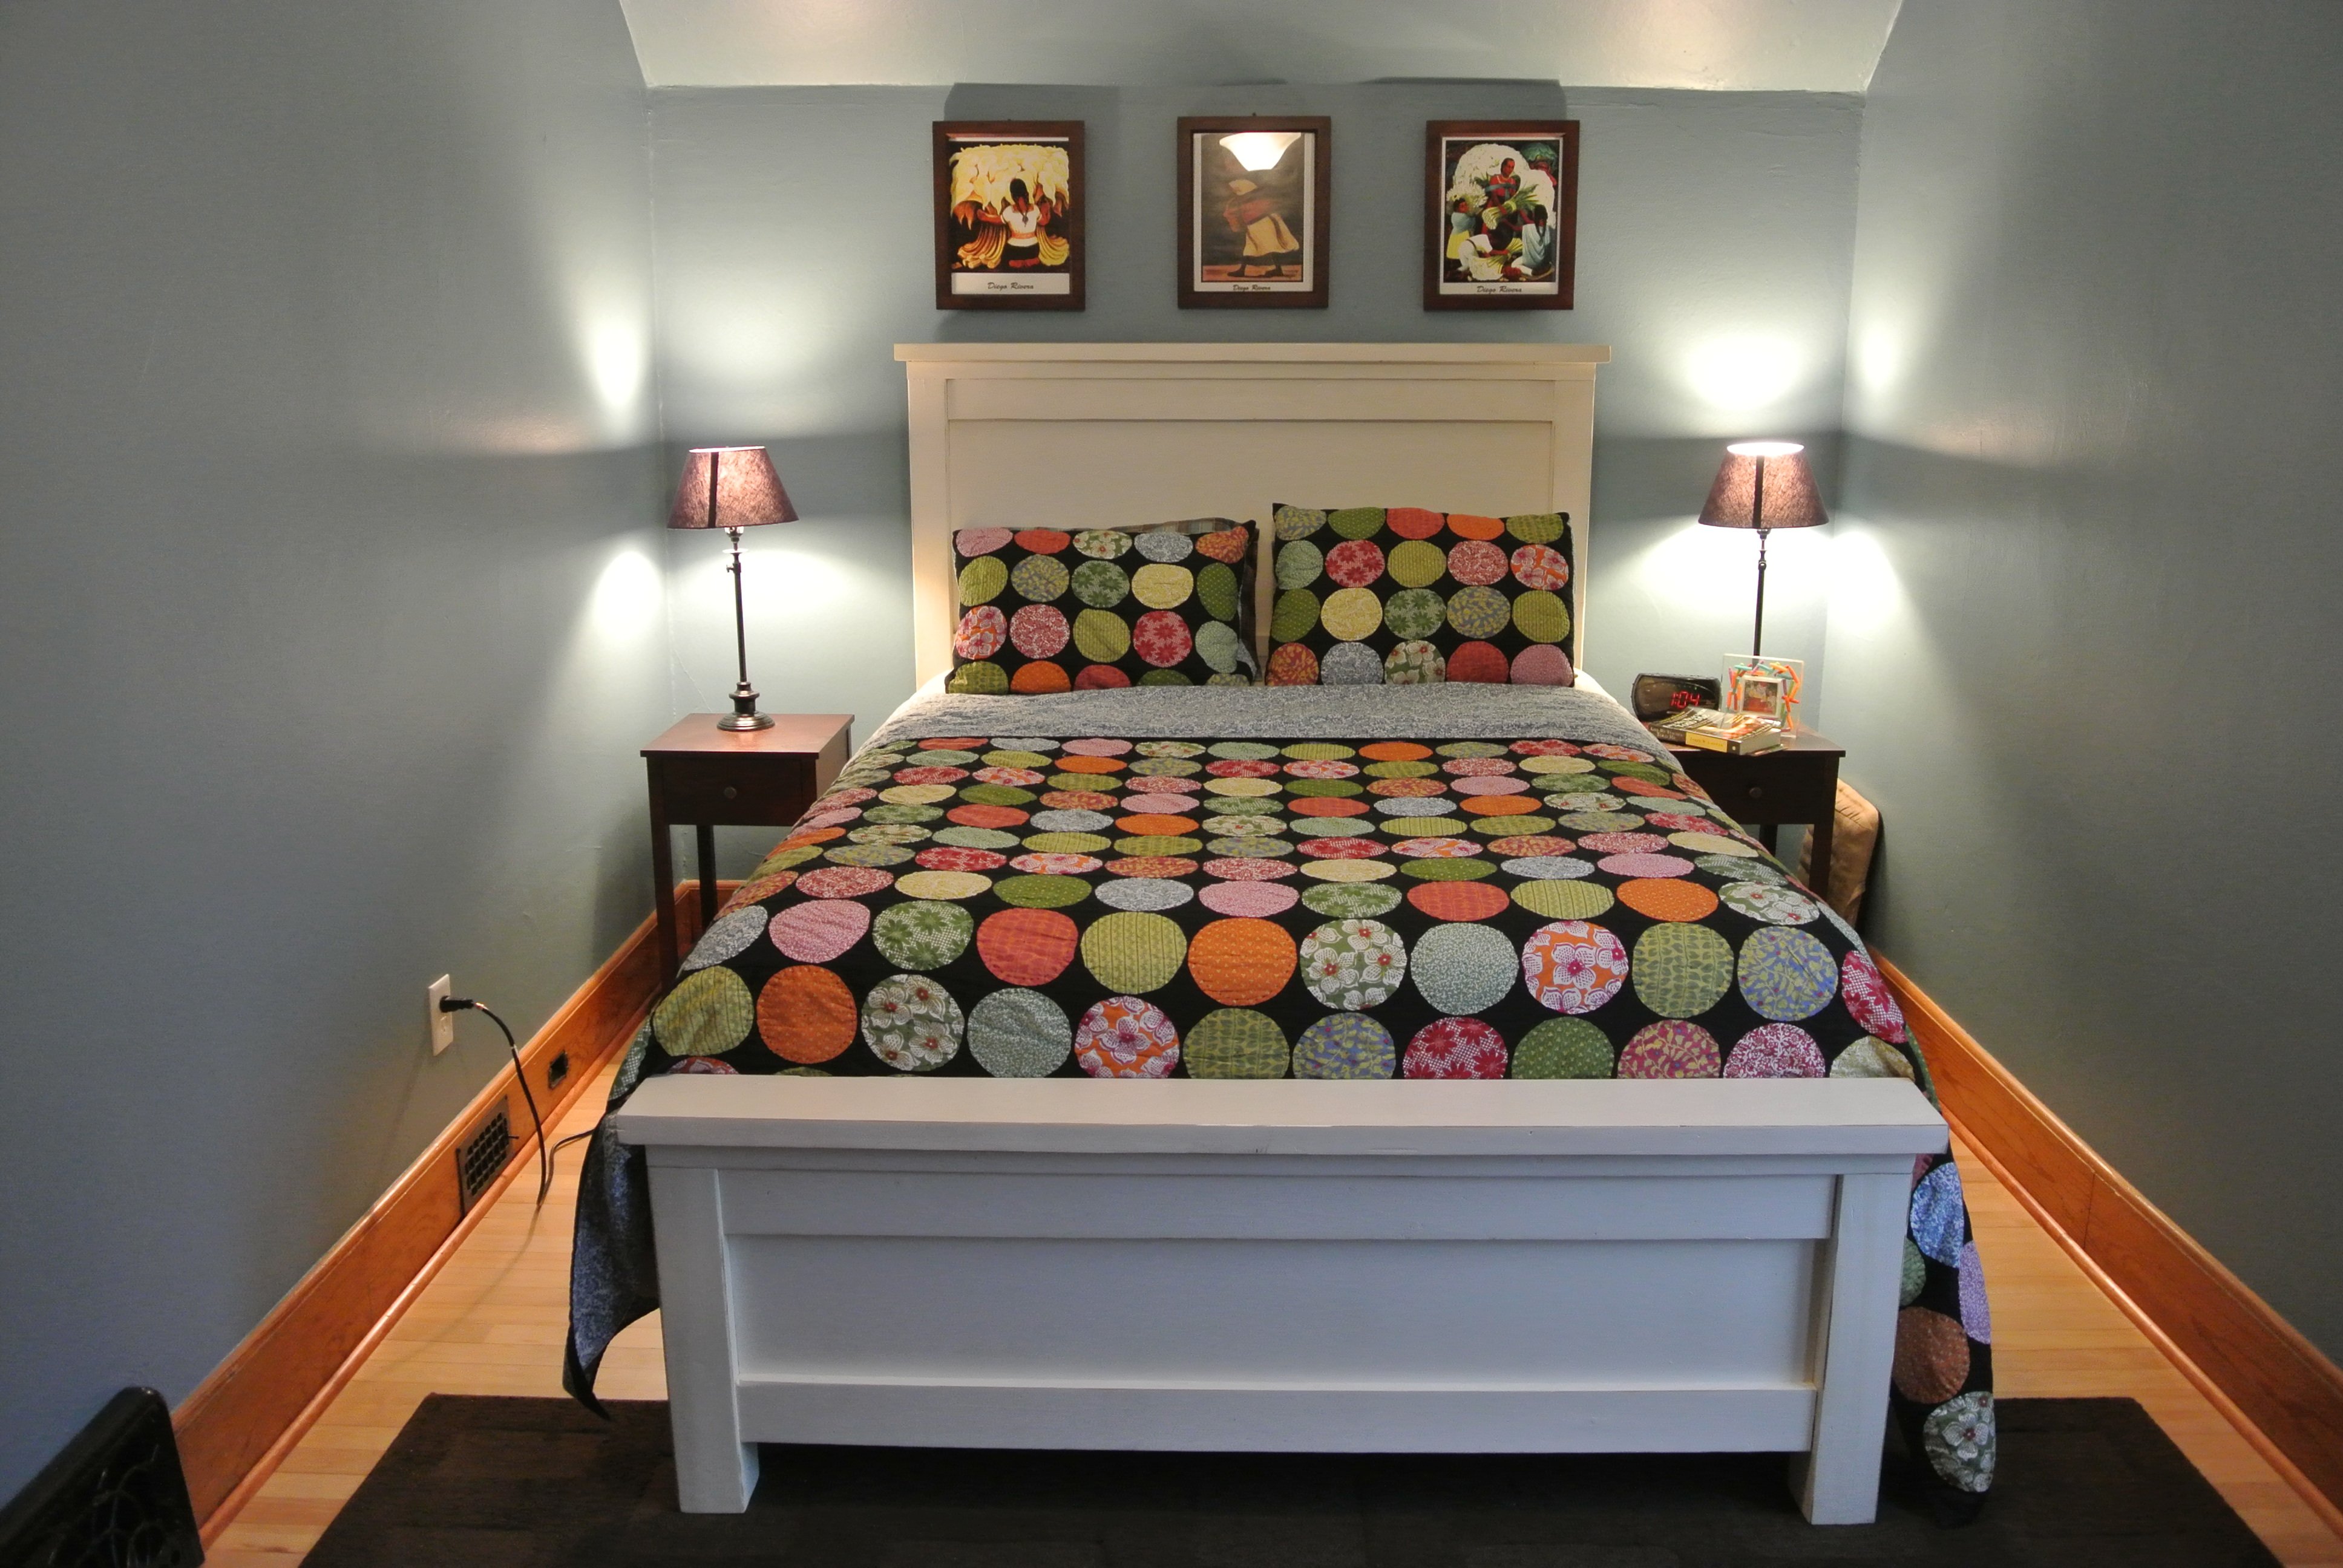
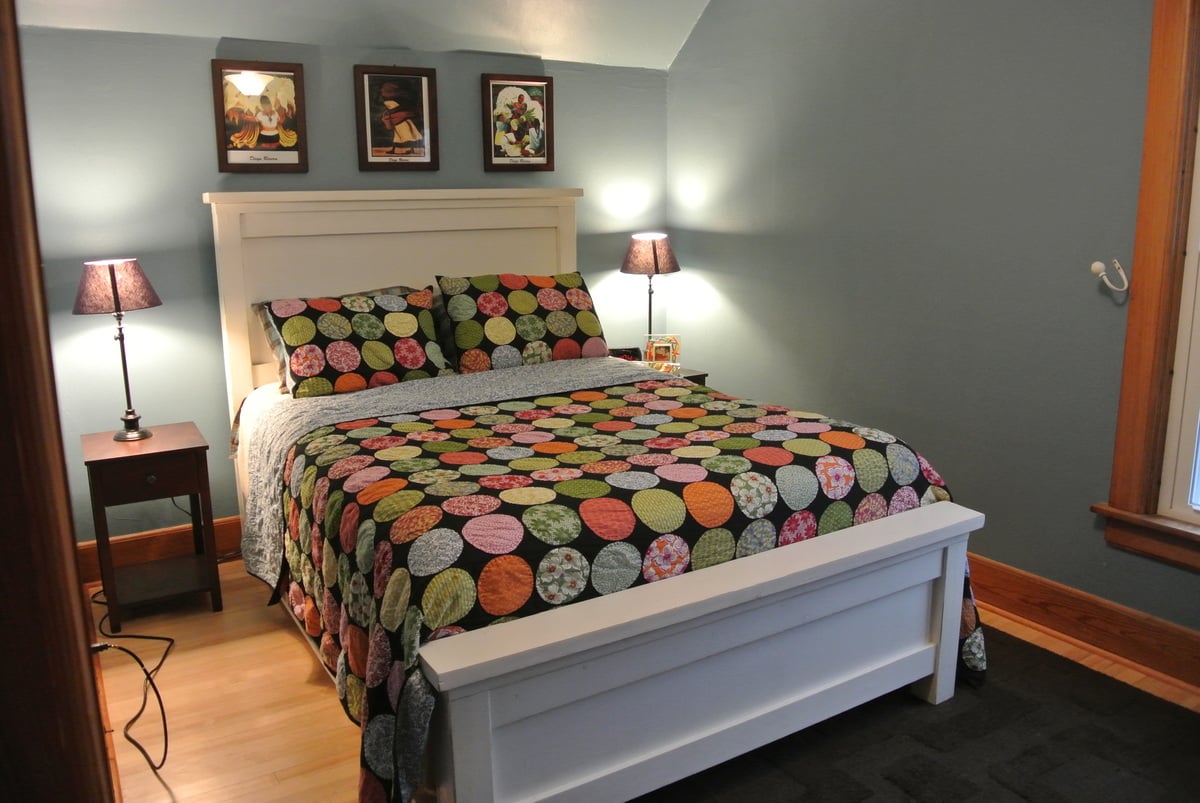
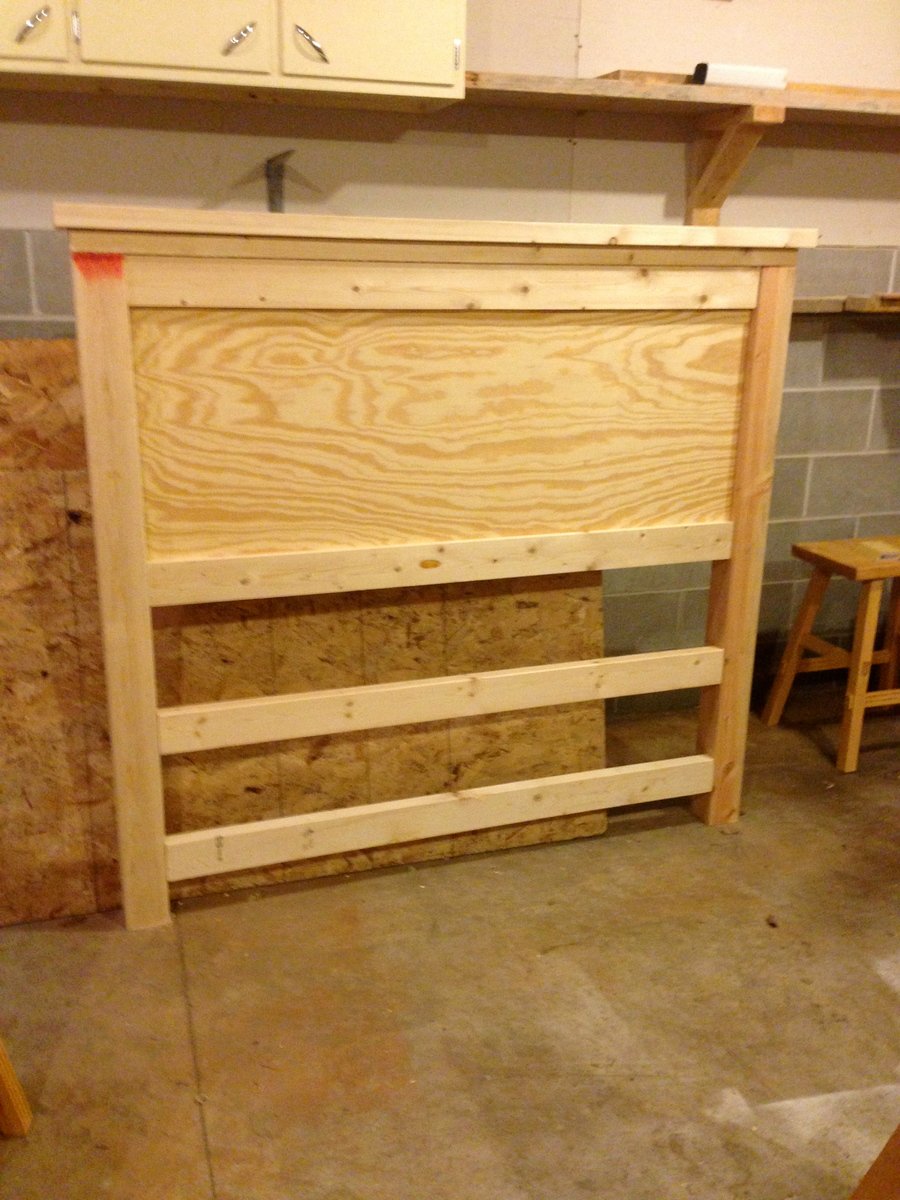
Another project my husband worked diligently on! It took him forever because he's a perfectionist, but he finally got one done. He used a piece of 3/4" plywood framed with mitered wood instead of the planks for the top. Now, on to the other one.

Built from Plan(s)
Estimated Cost
20.00 each
Estimated Time Investment
Week Long Project (20 Hours or More)
Finish Used
Minwax Poly Shades Bombay Mahogany
Recommended Skill Level
Beginner


Comments
Pam the Goatherd
Mon, 12/19/2011 - 06:30
gorgeous!
gorgeous!
spiceylg
Mon, 12/19/2011 - 06:46
Beautiful
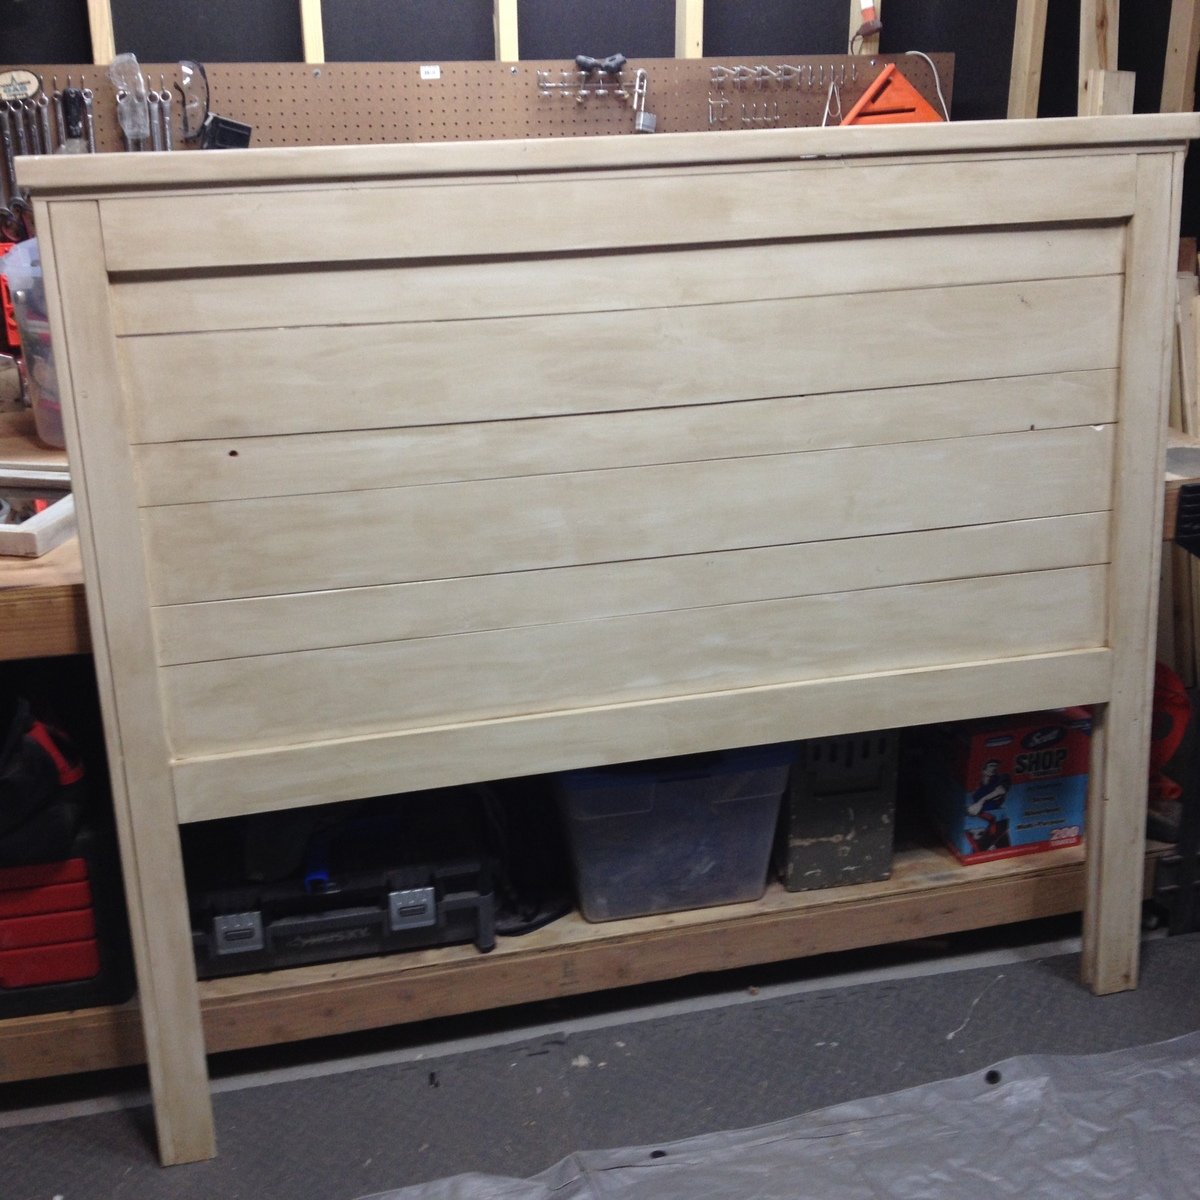
It was well worth the wait, wasn't it? It came out beautiful!
Ana White
Mon, 12/19/2011 - 15:56
Stunning! What an amazing
Stunning! What an amazing finish!
Klem413
Mon, 12/19/2011 - 16:37
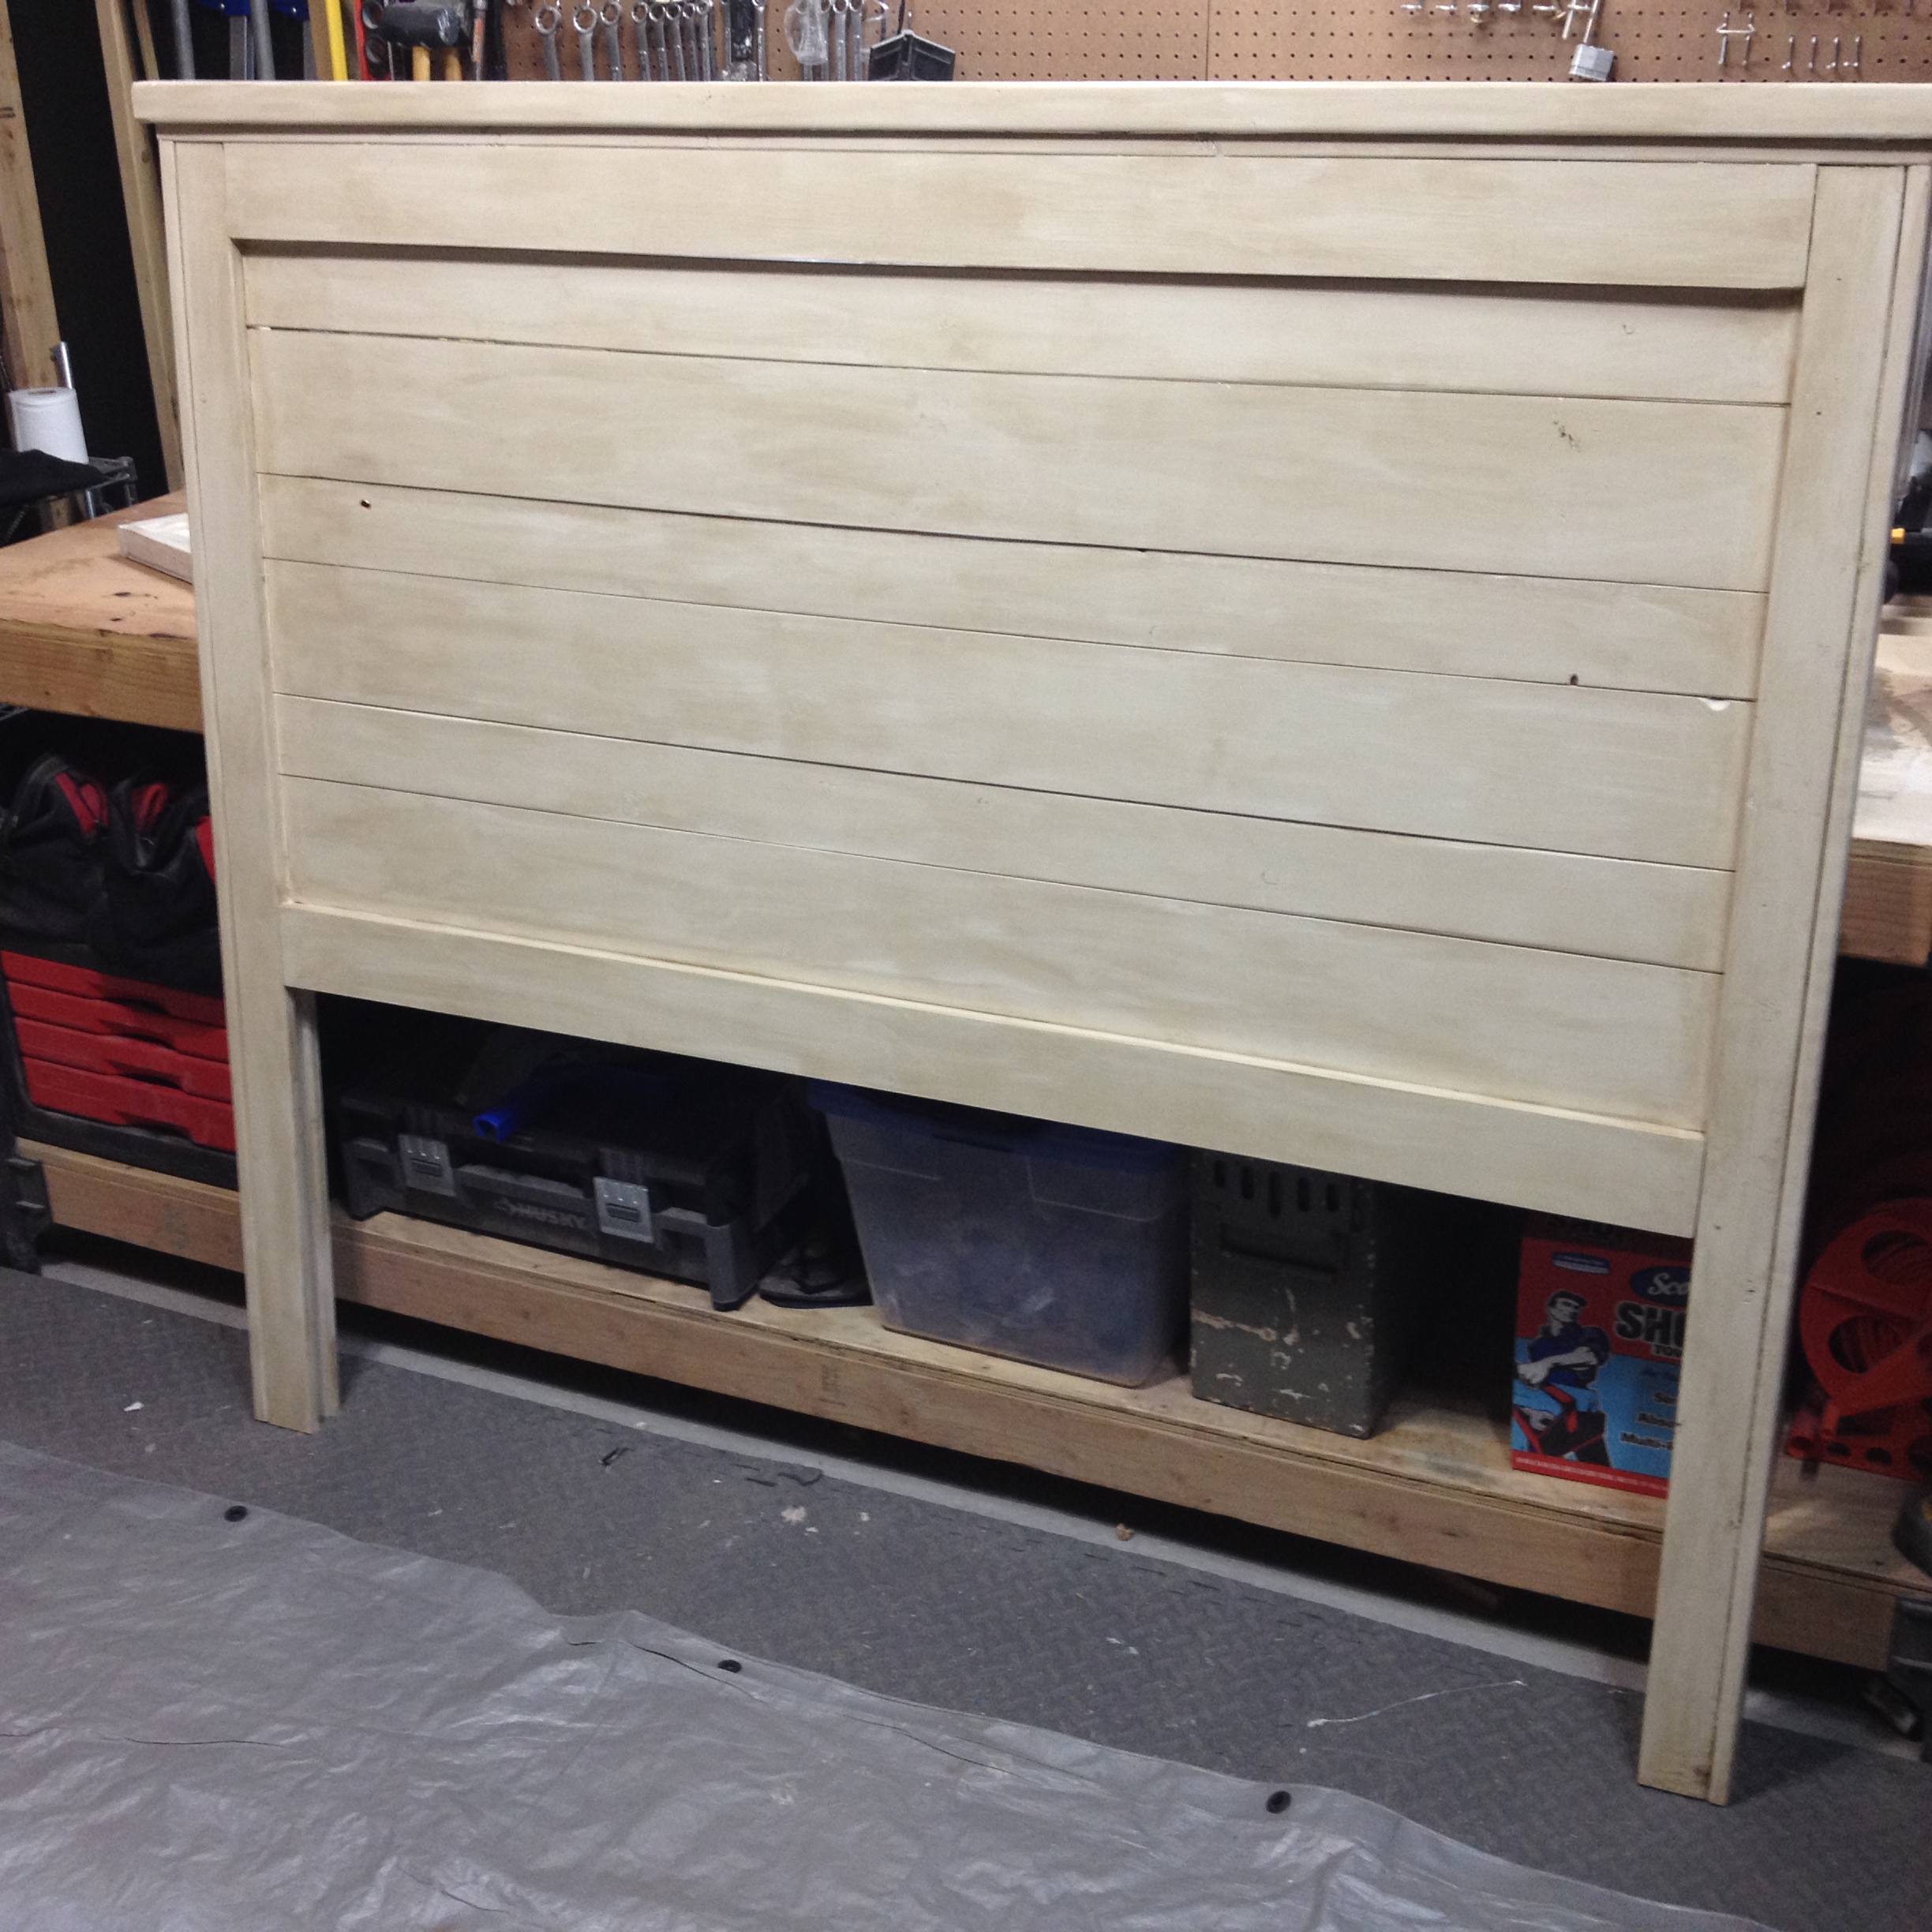
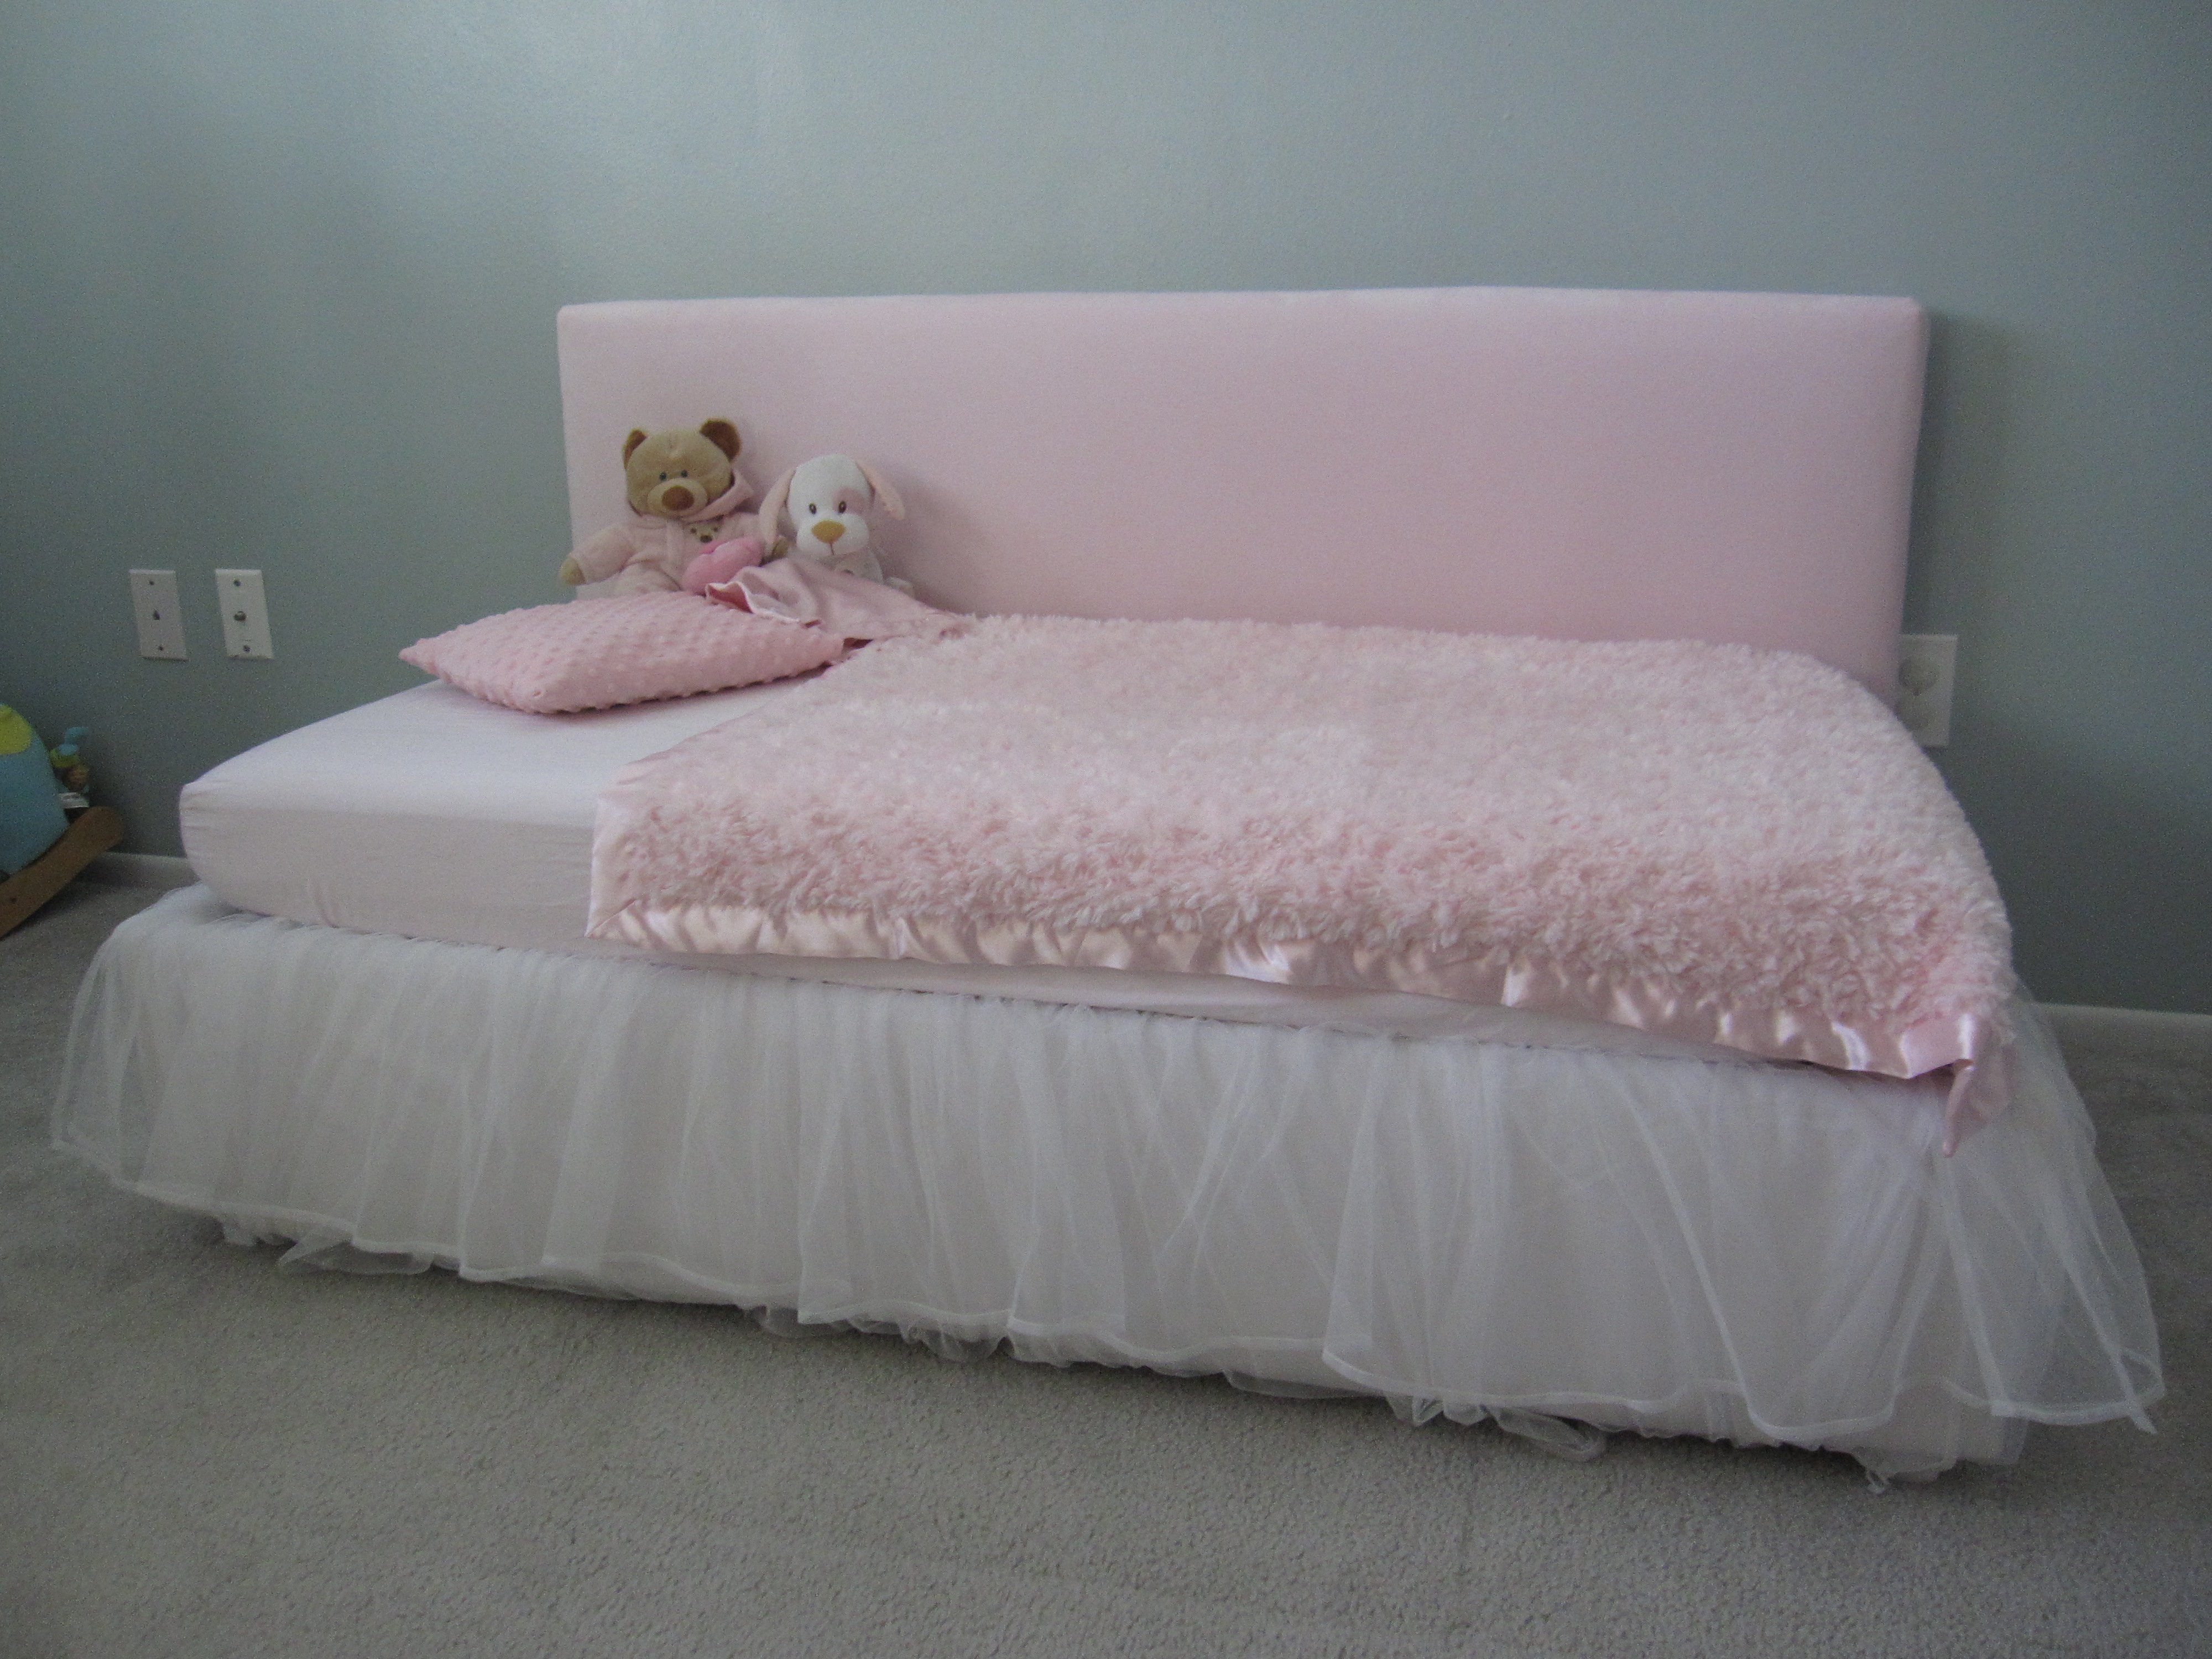
Yes, and it matches our
Yes, and it matches our headboard (that he also made) perfectly! I'm excited to eventually have a matching set!
Debbie440
Wed, 01/22/2014 - 07:51
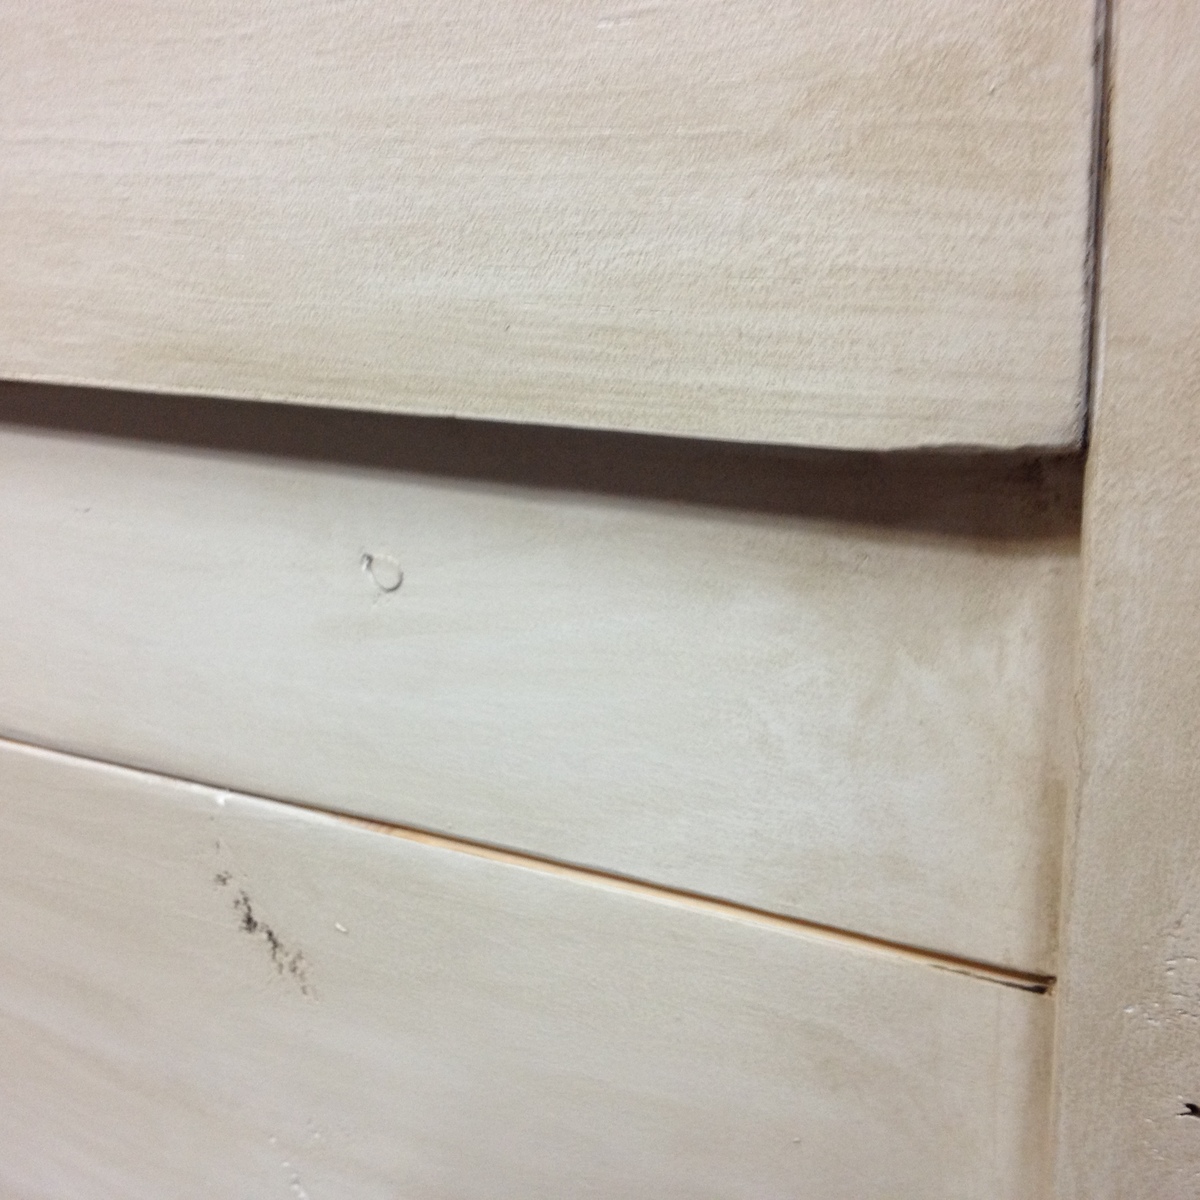
I love the way the top is
I love the way the top is done.......... I made a bed and stained it with the same stain as you used. I'm hoping my nightstand turns out like yours.