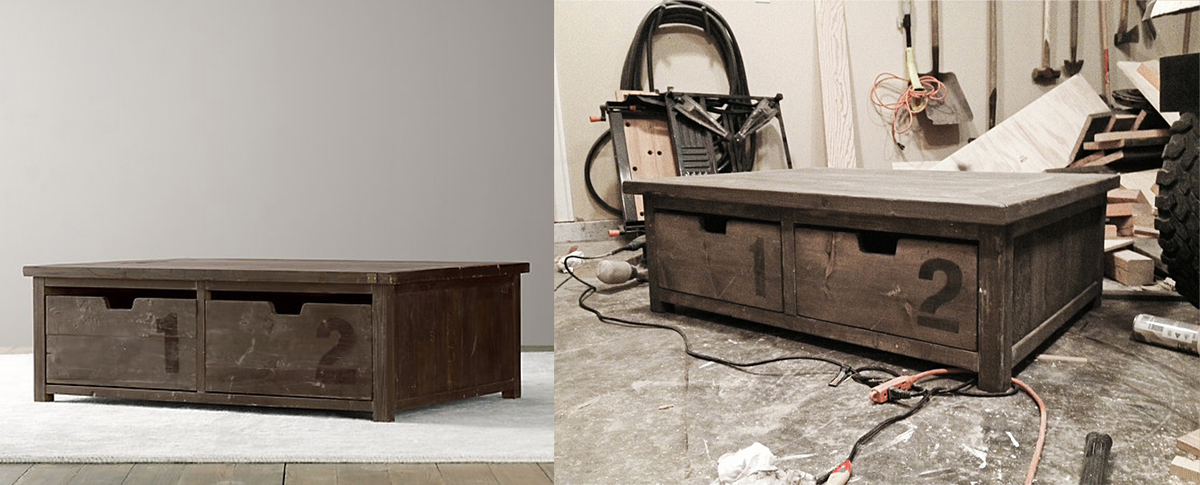
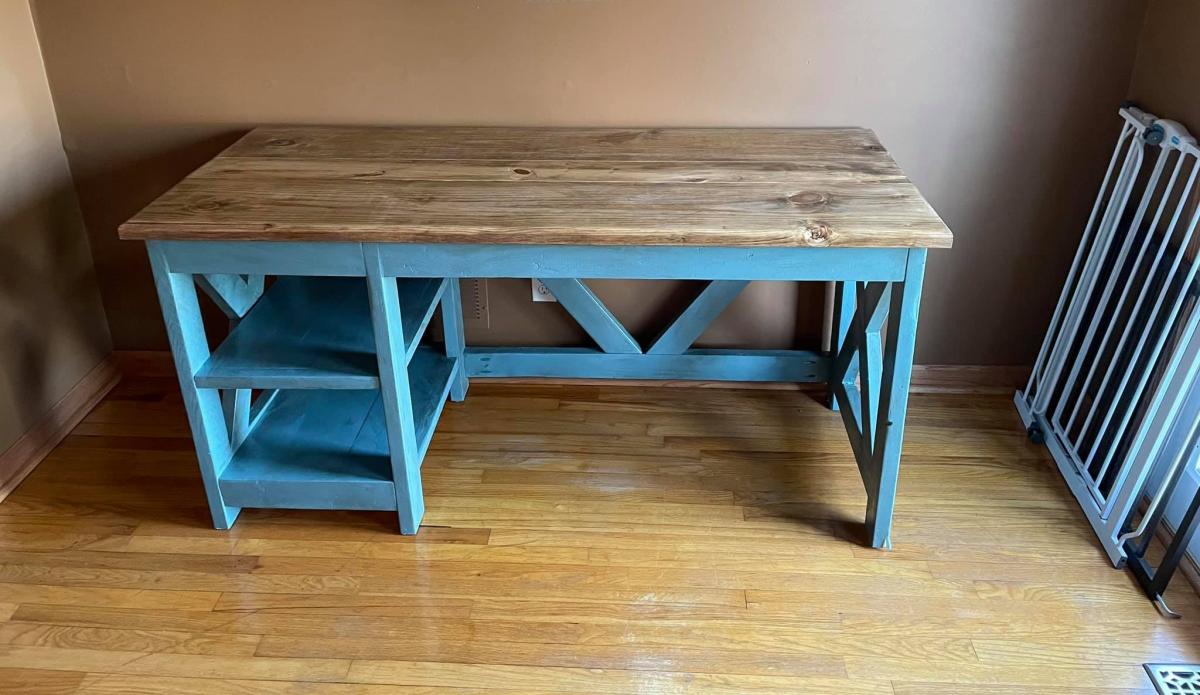
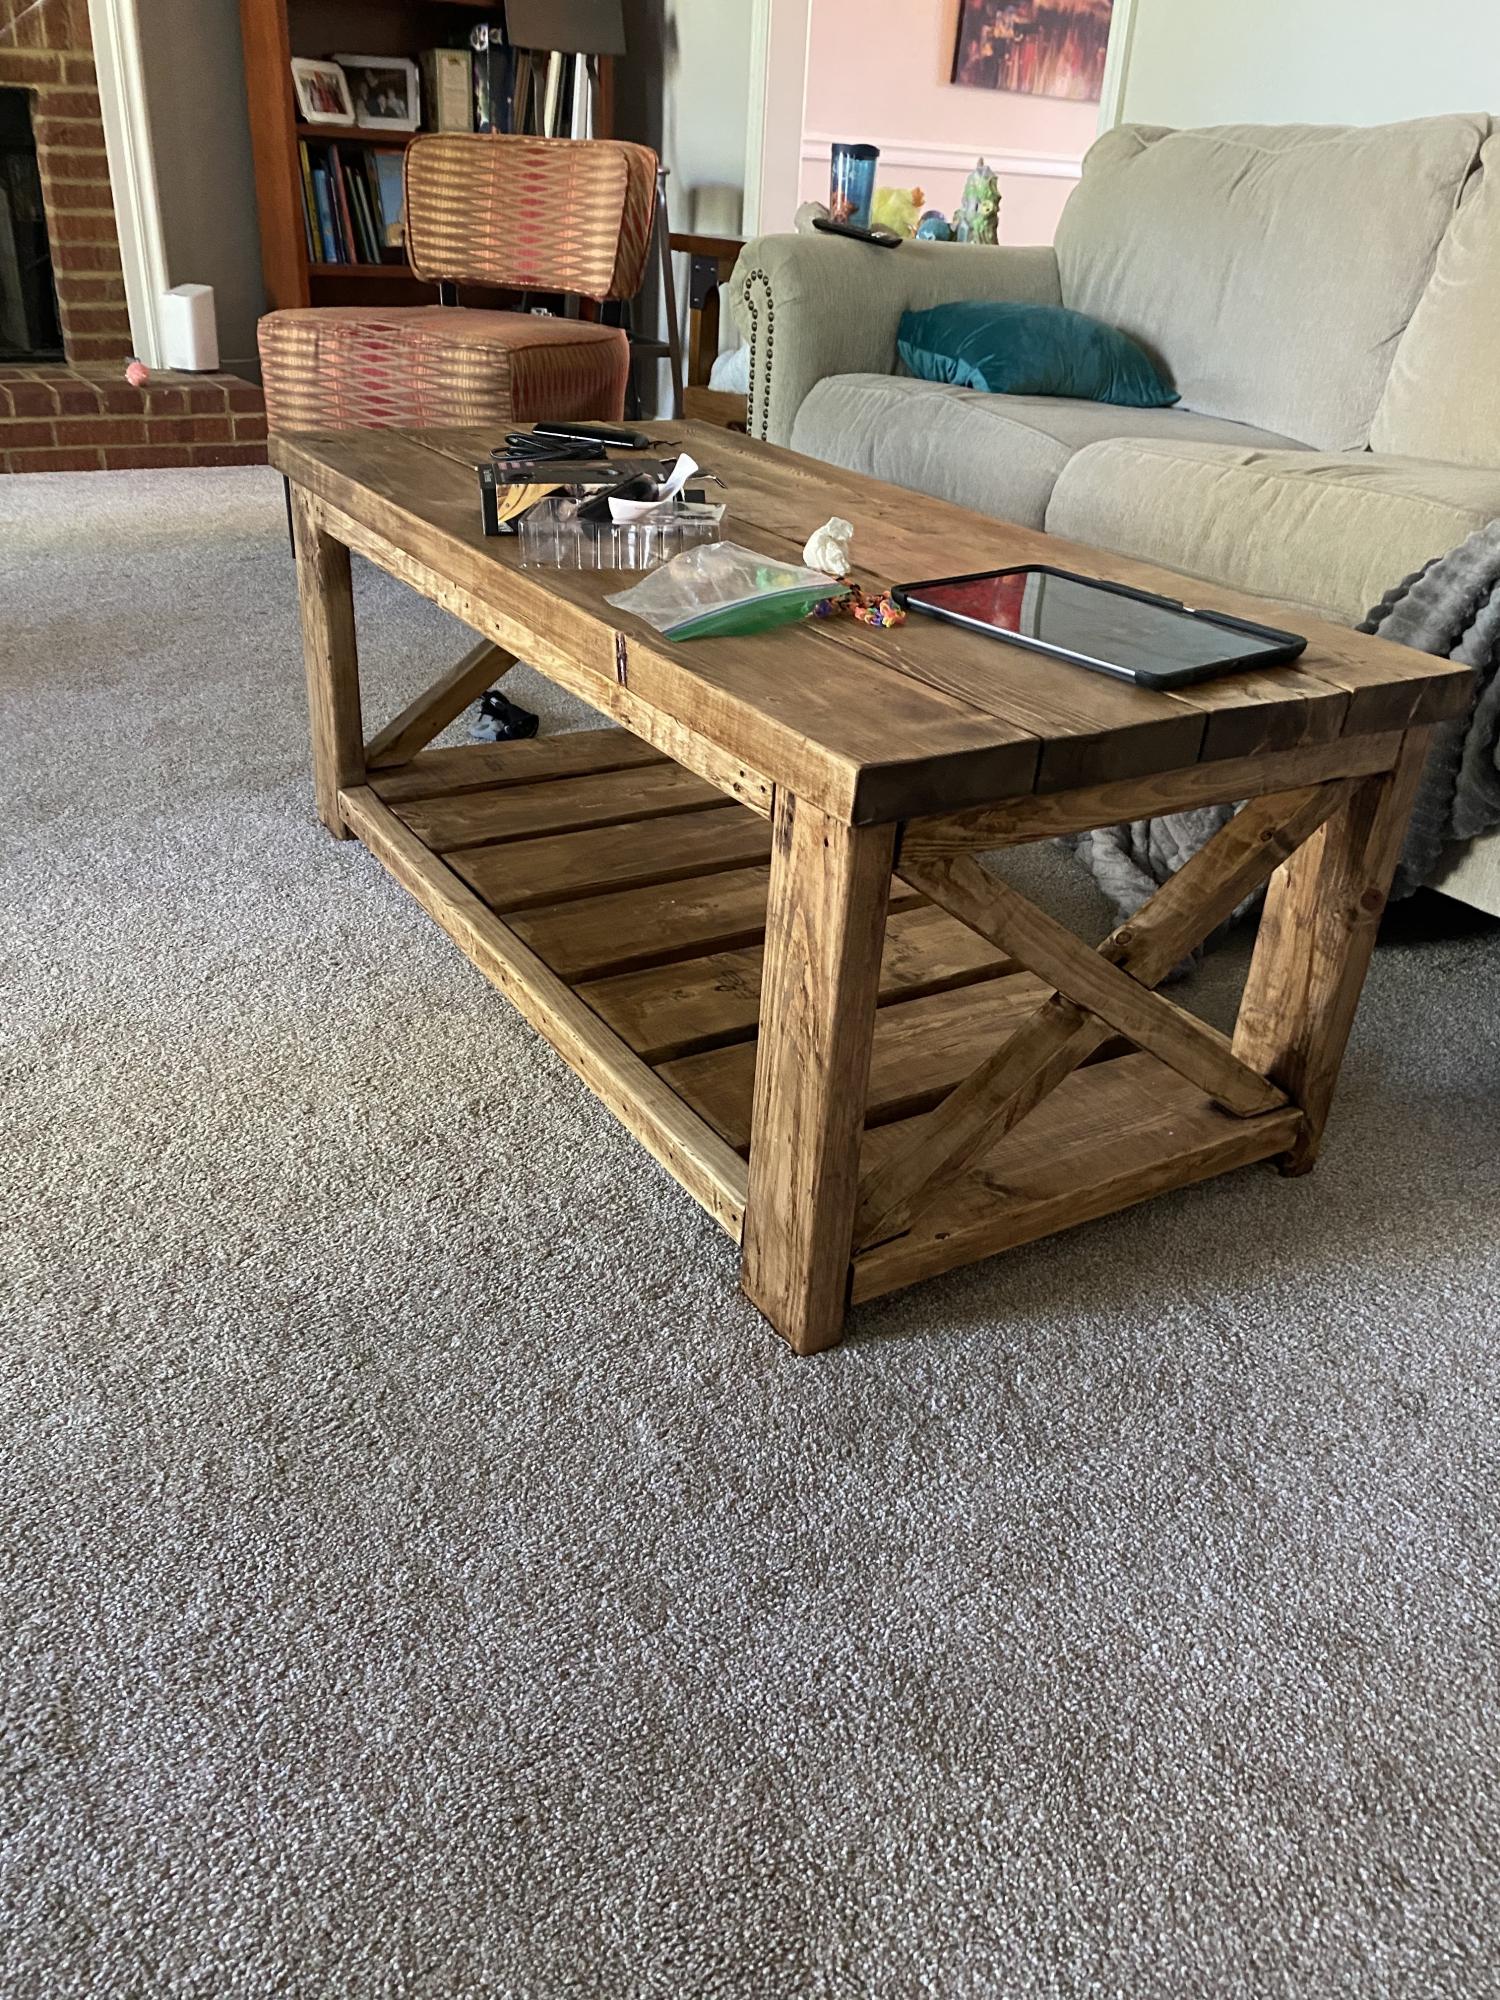
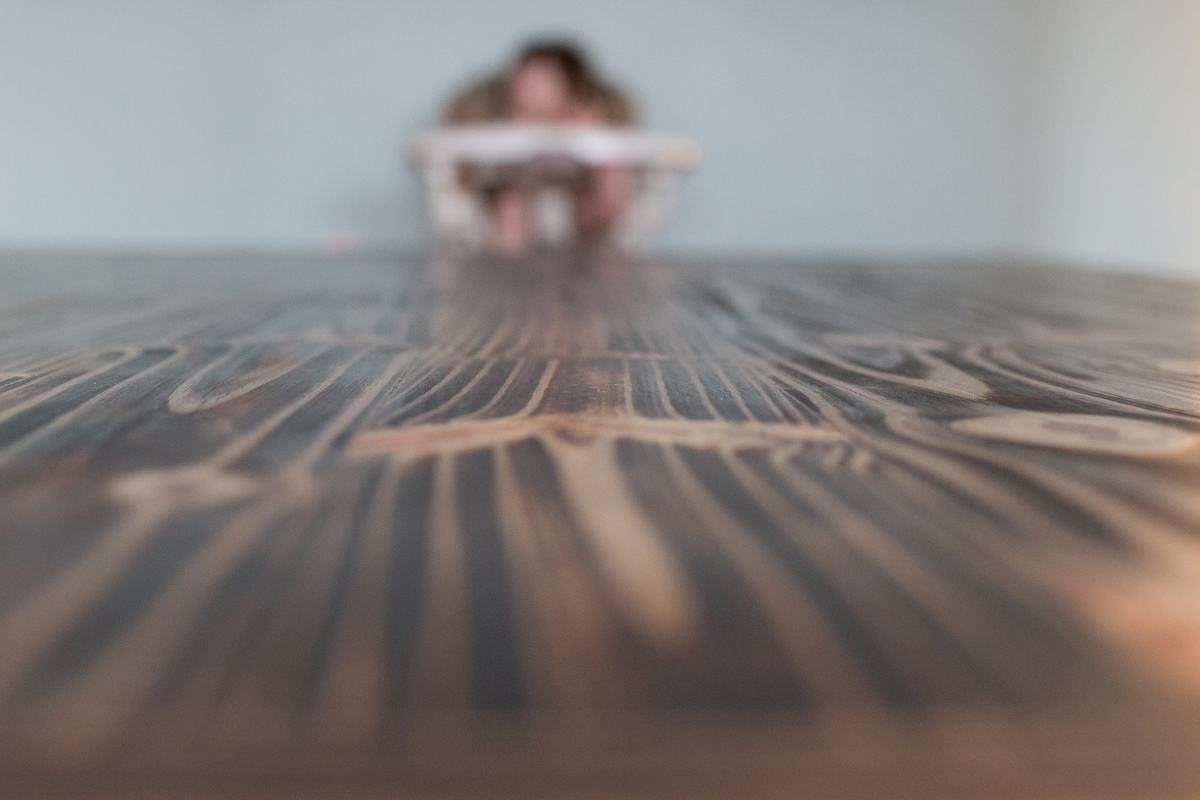
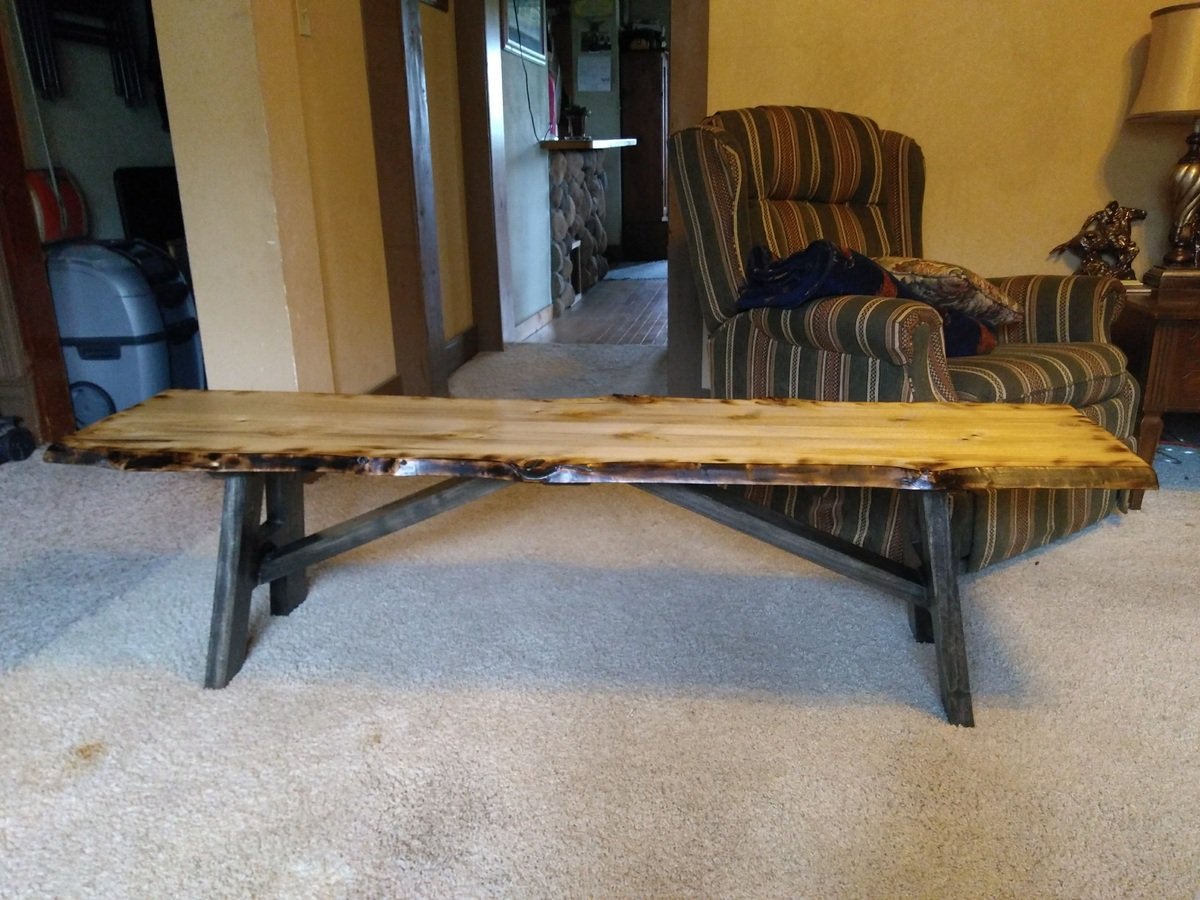
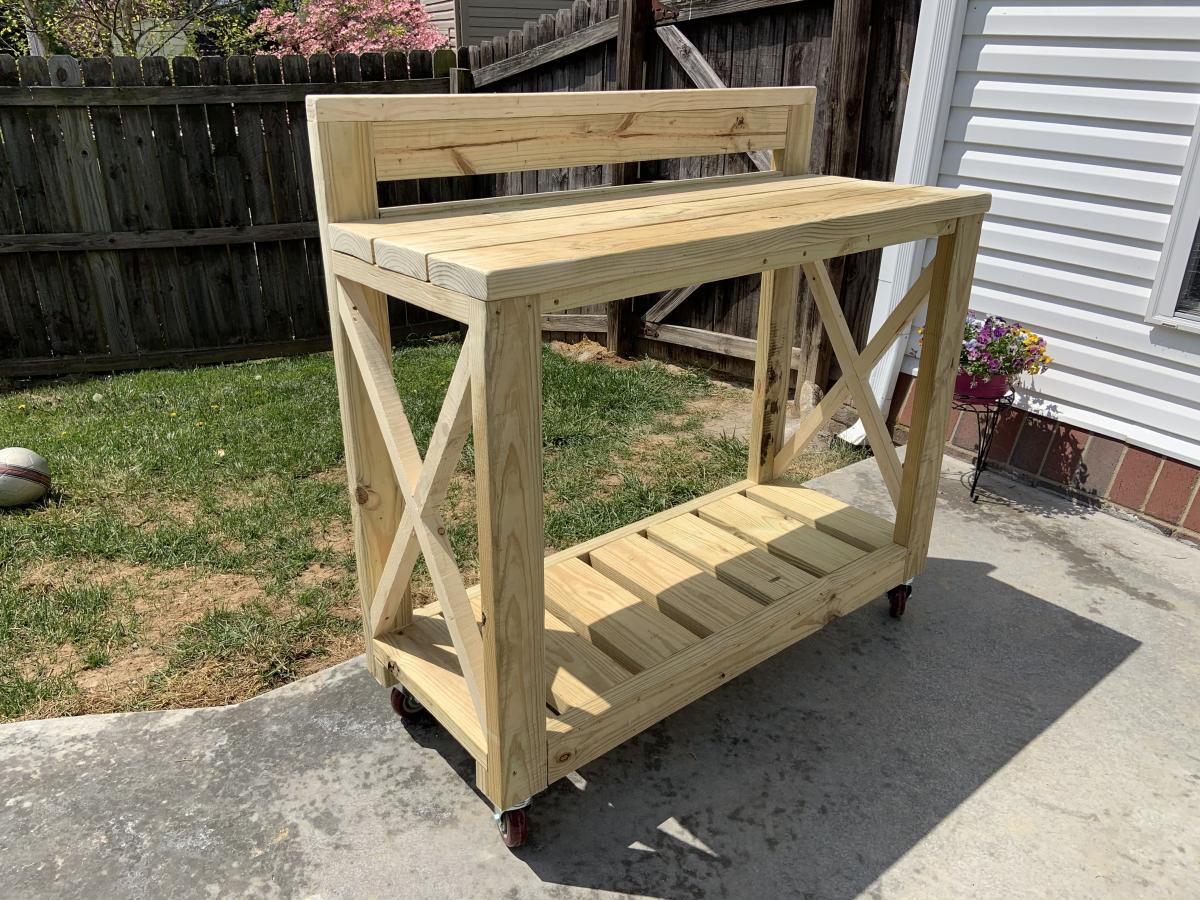
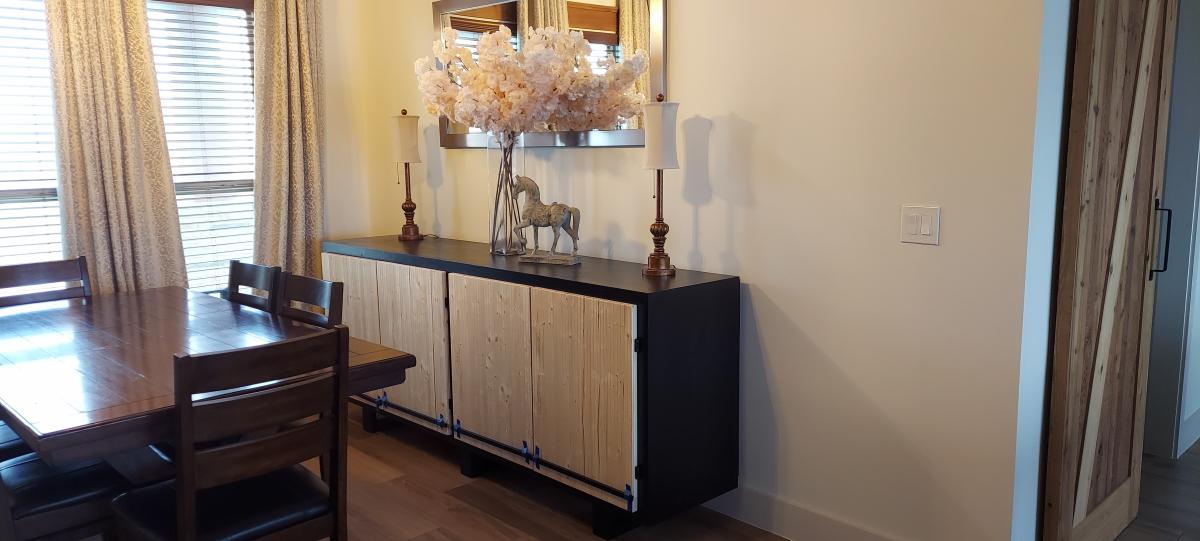
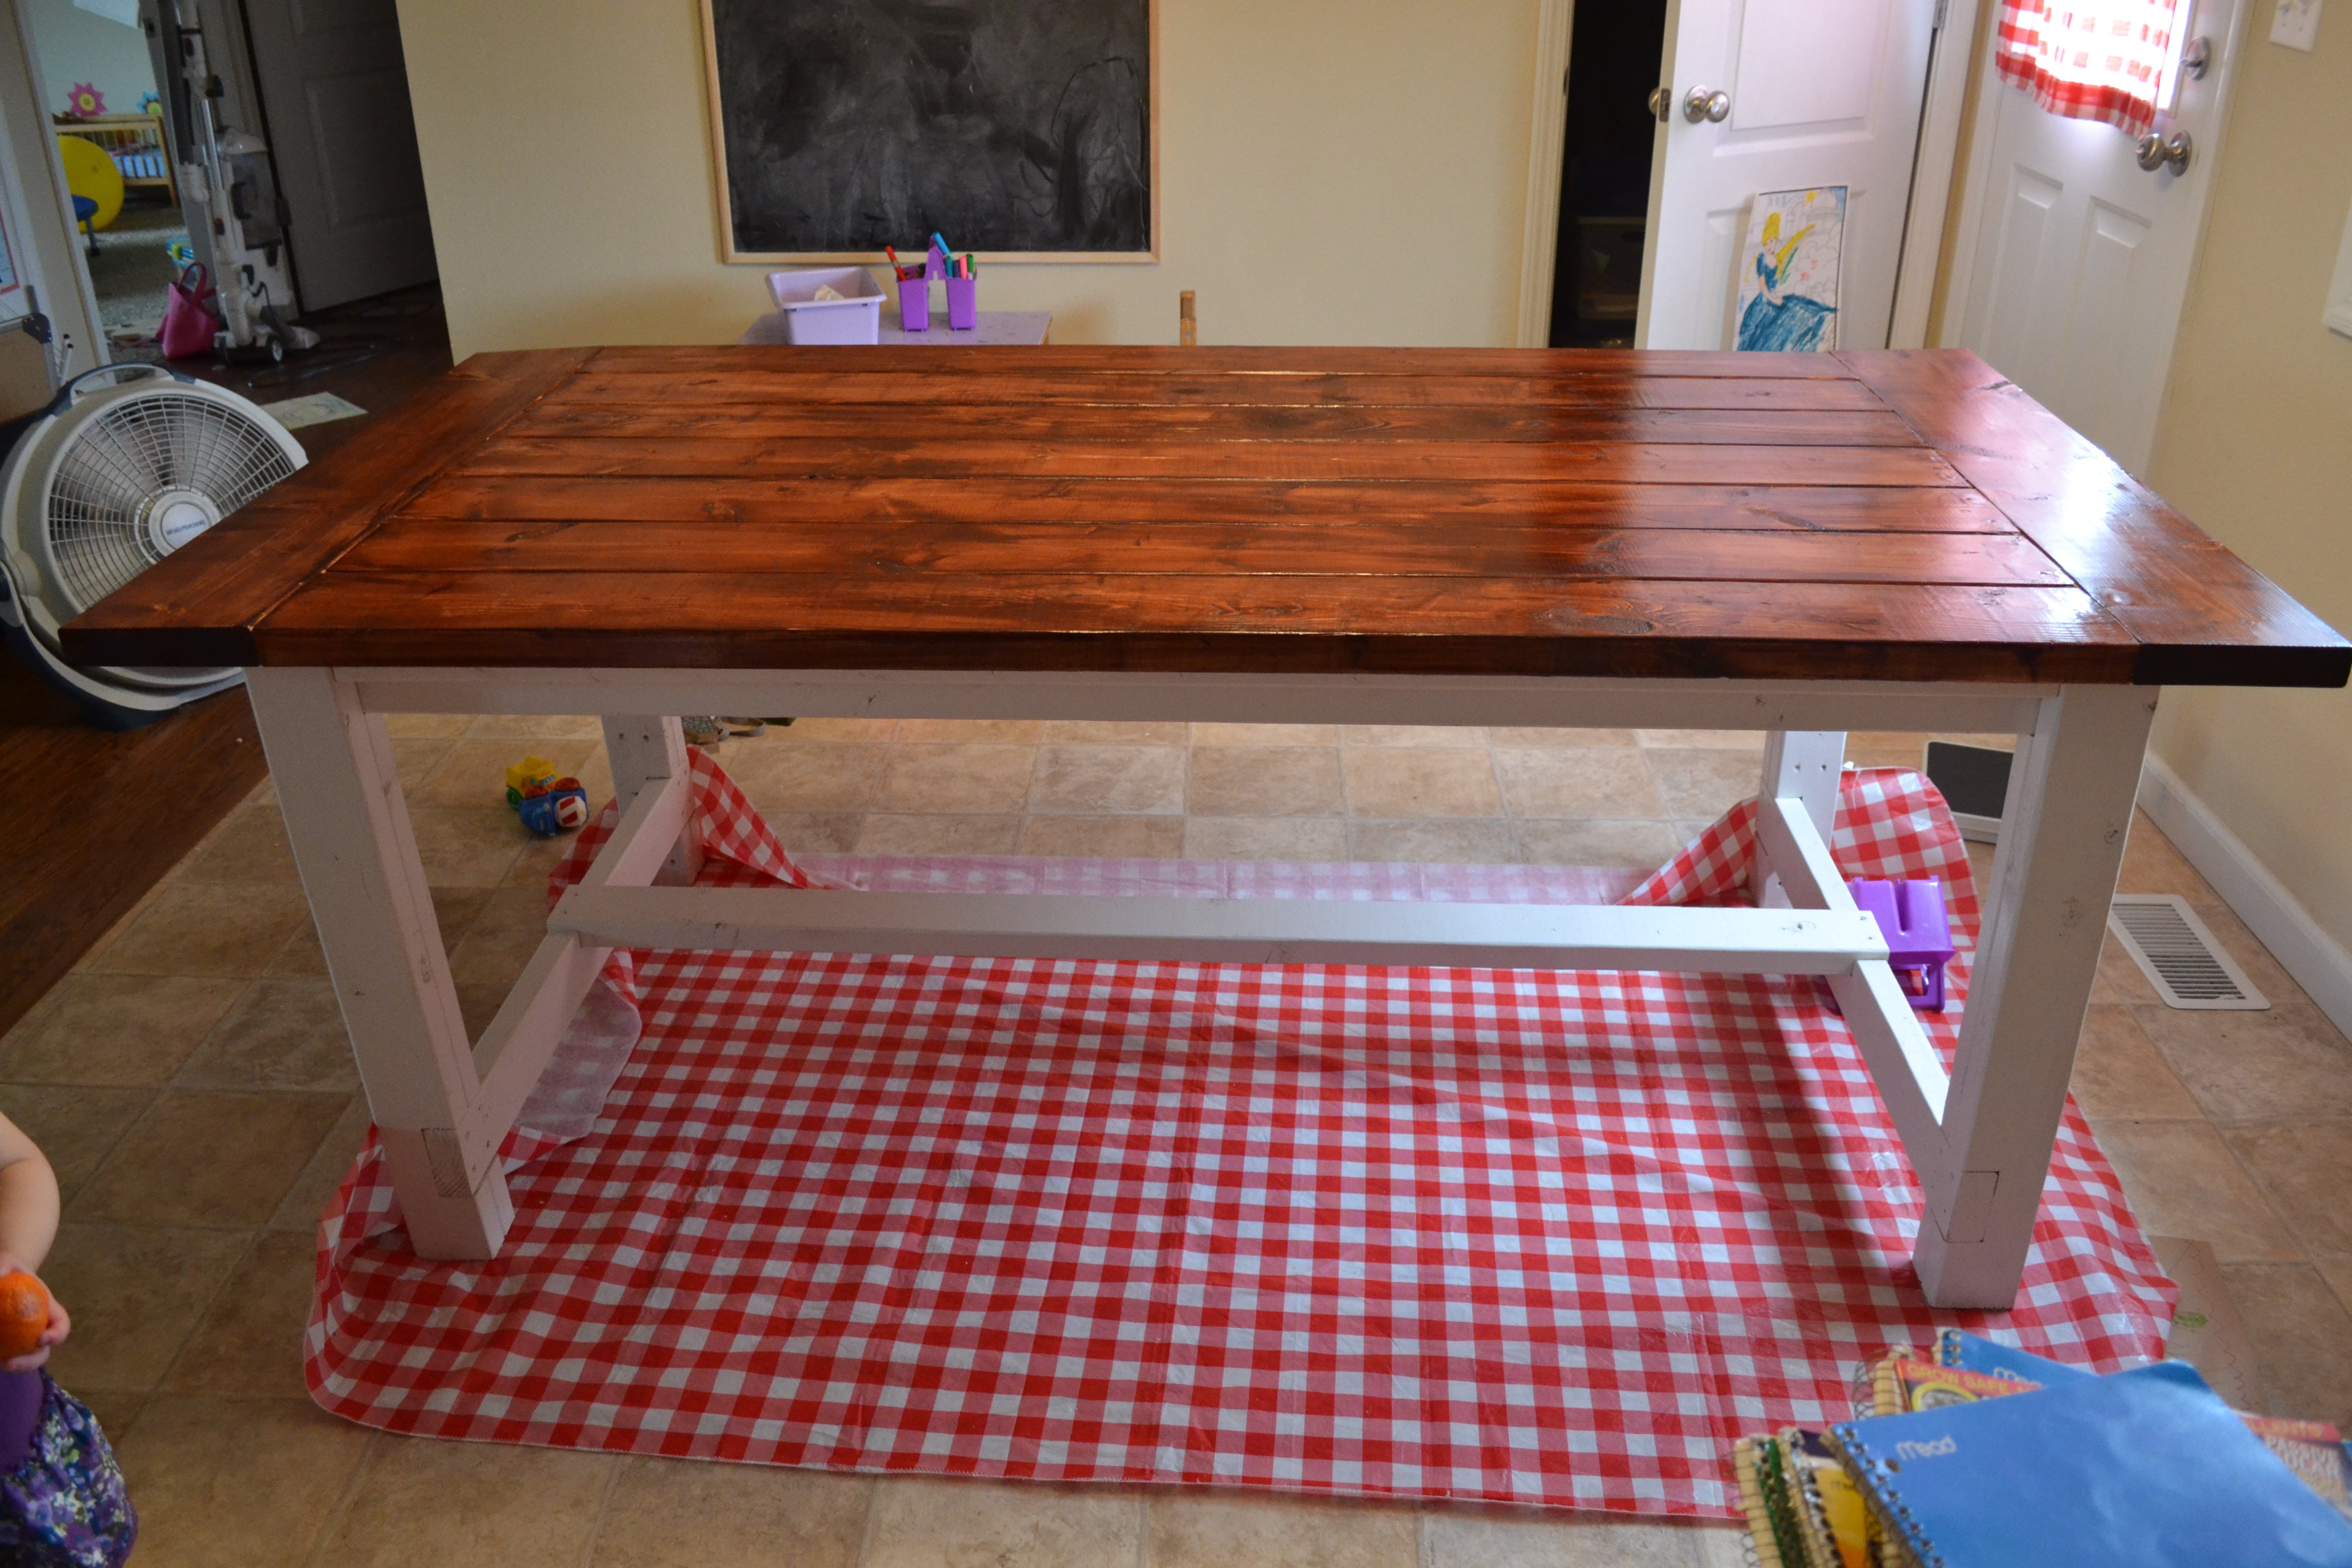
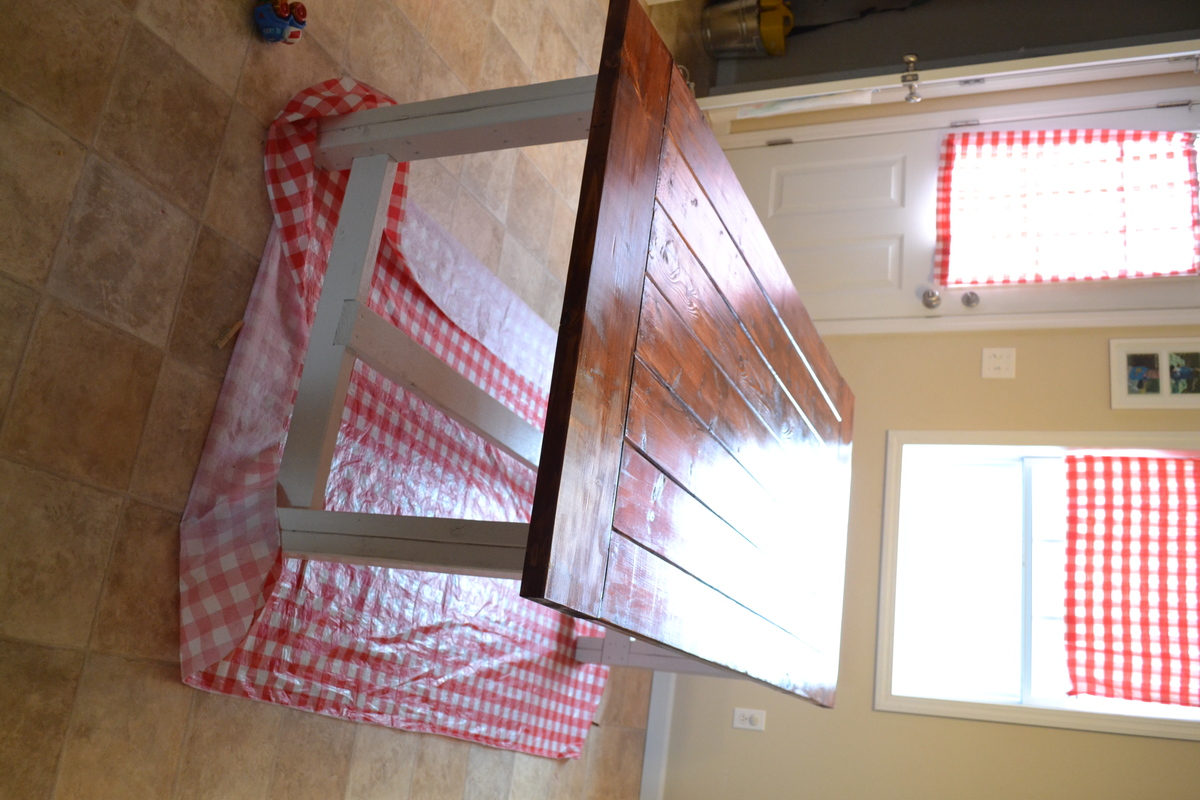
RH Inspired Mason Activity Table
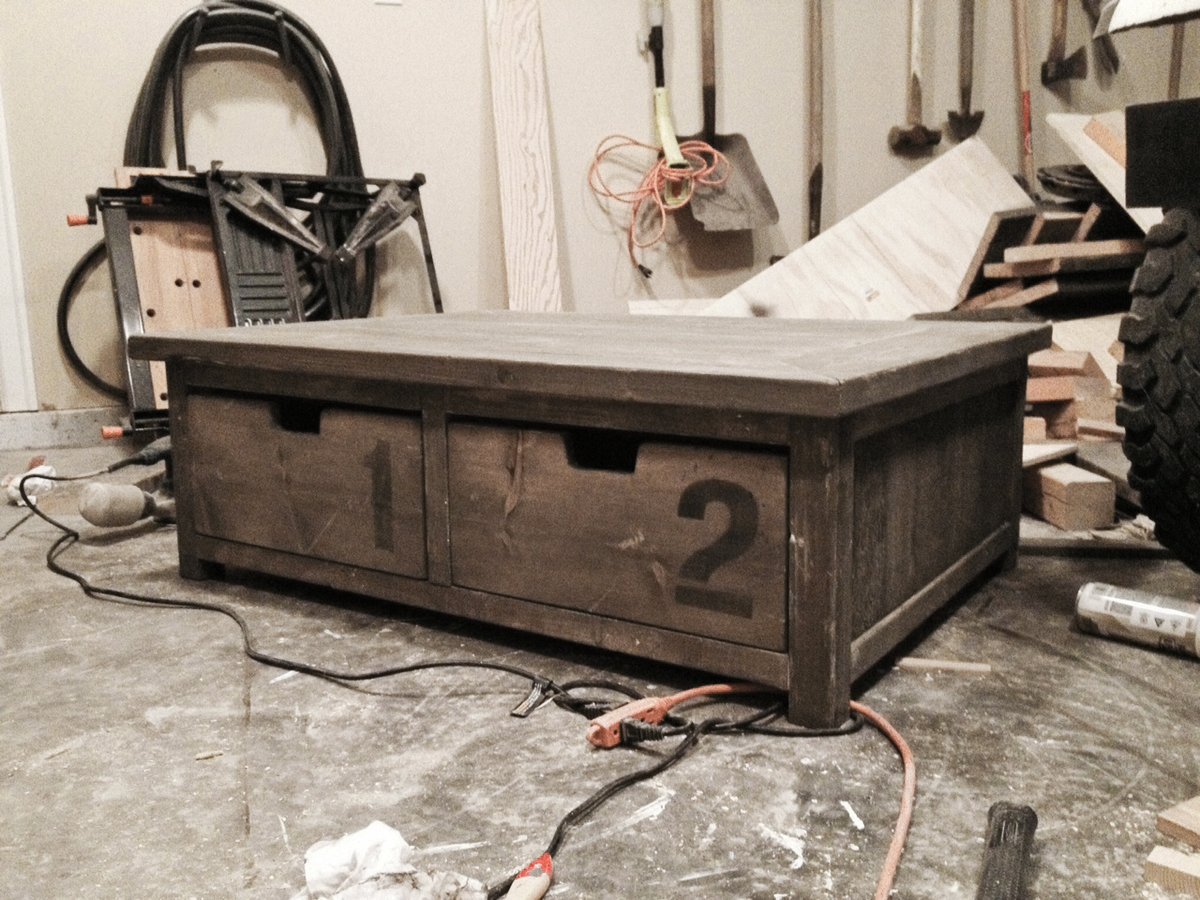
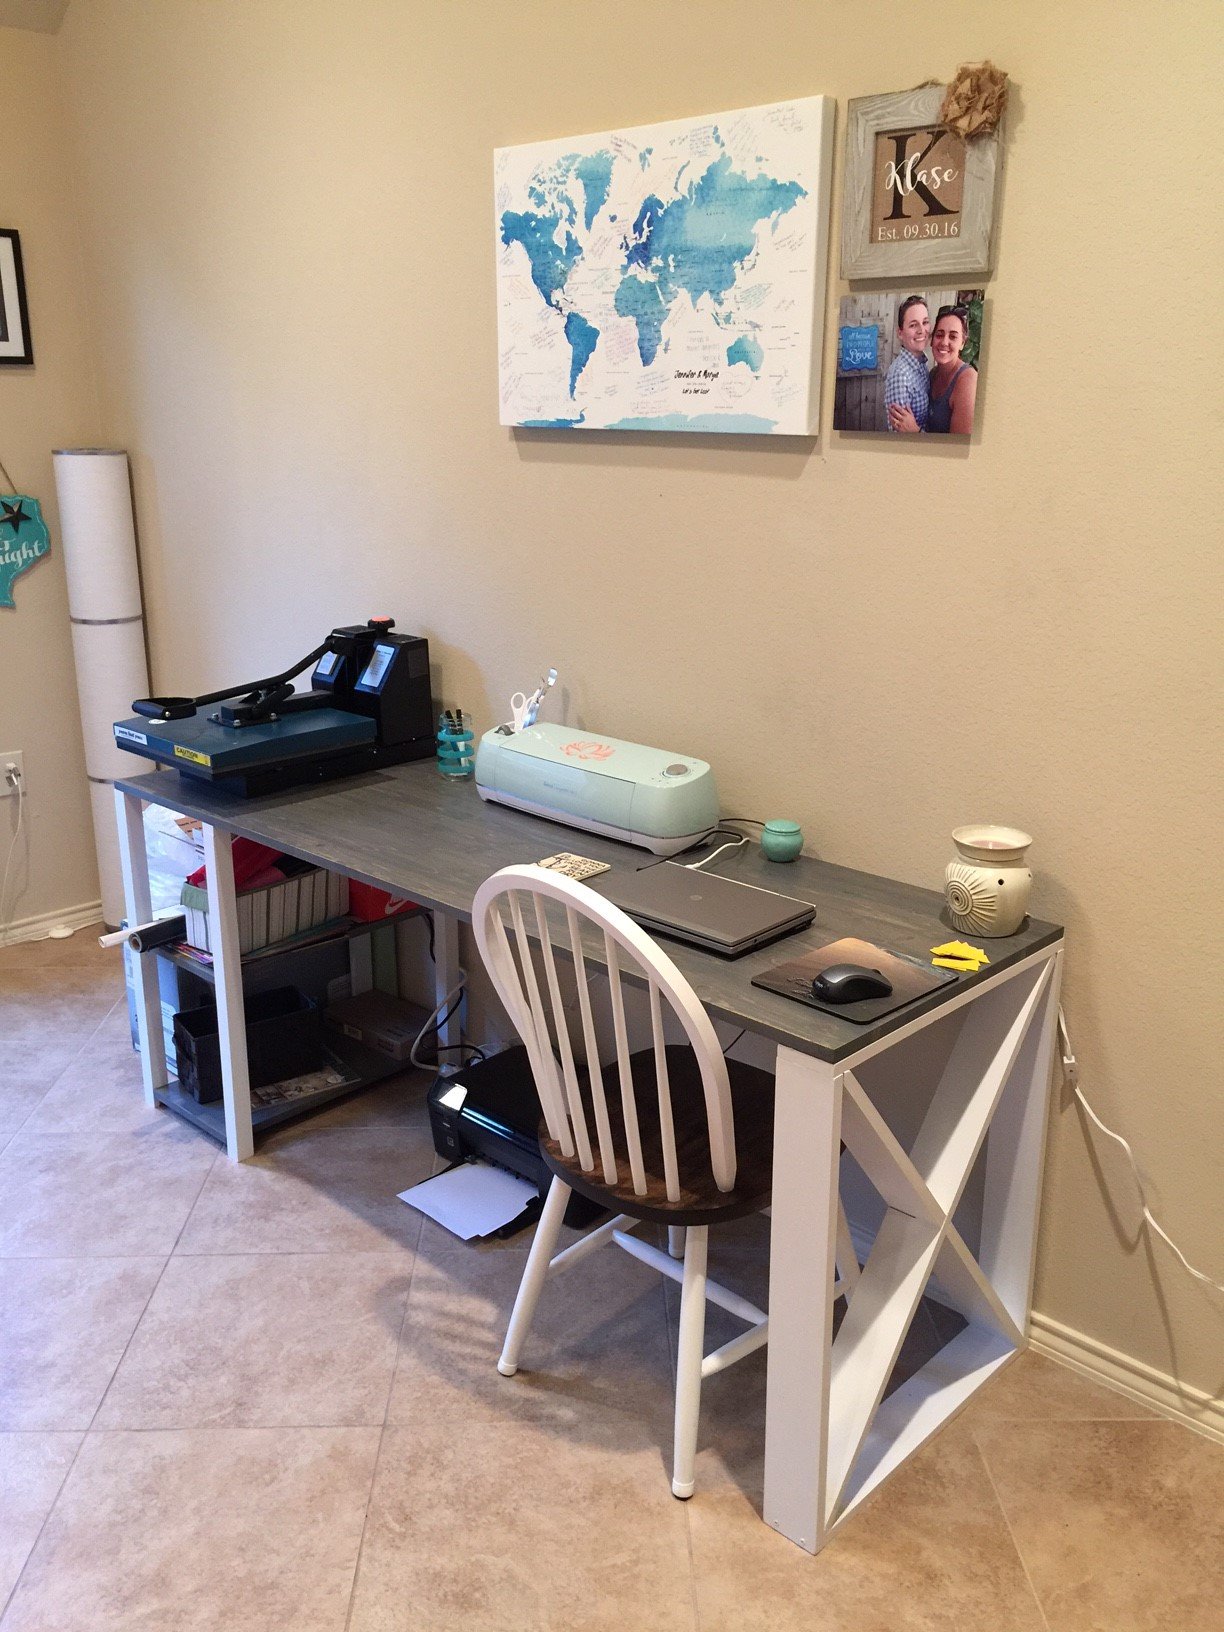
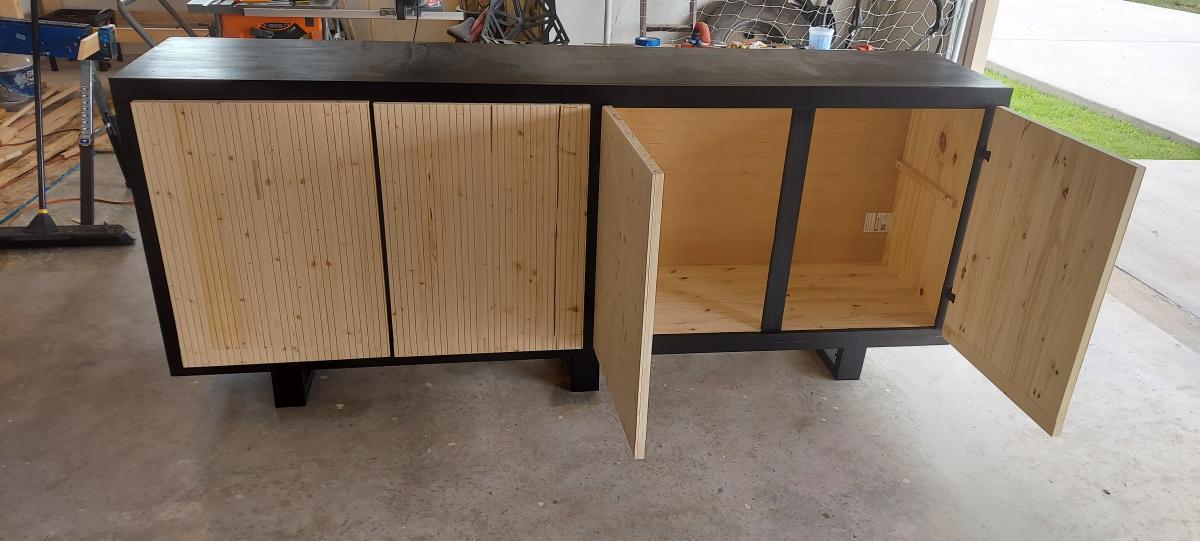
Really liked Ana's 20 second tidy up table, and wanted to try to have something like this for my son. Then saw the activity table at RH and tried to replicate it down to the exact same finish. Made small changes here and there such as adding 4 individual drawers, different wood dimensions, etc. He loves it and uses it lots for his Thomas the Train Set. Thank you again Ana.
Built from Plan(s)
Estimated Cost
$100 for wood, screws, stain, clear coat.
Estimated Time Investment
Day Project (6-9 Hours)
Finish Used
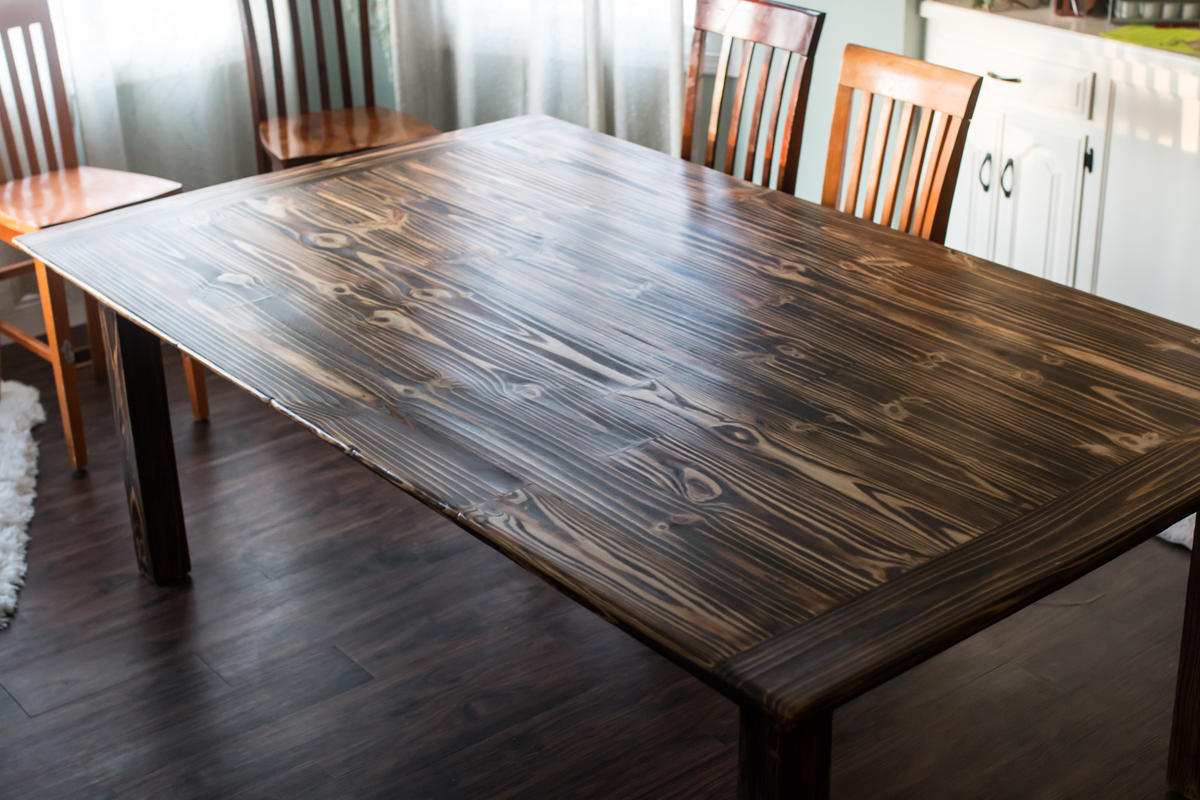
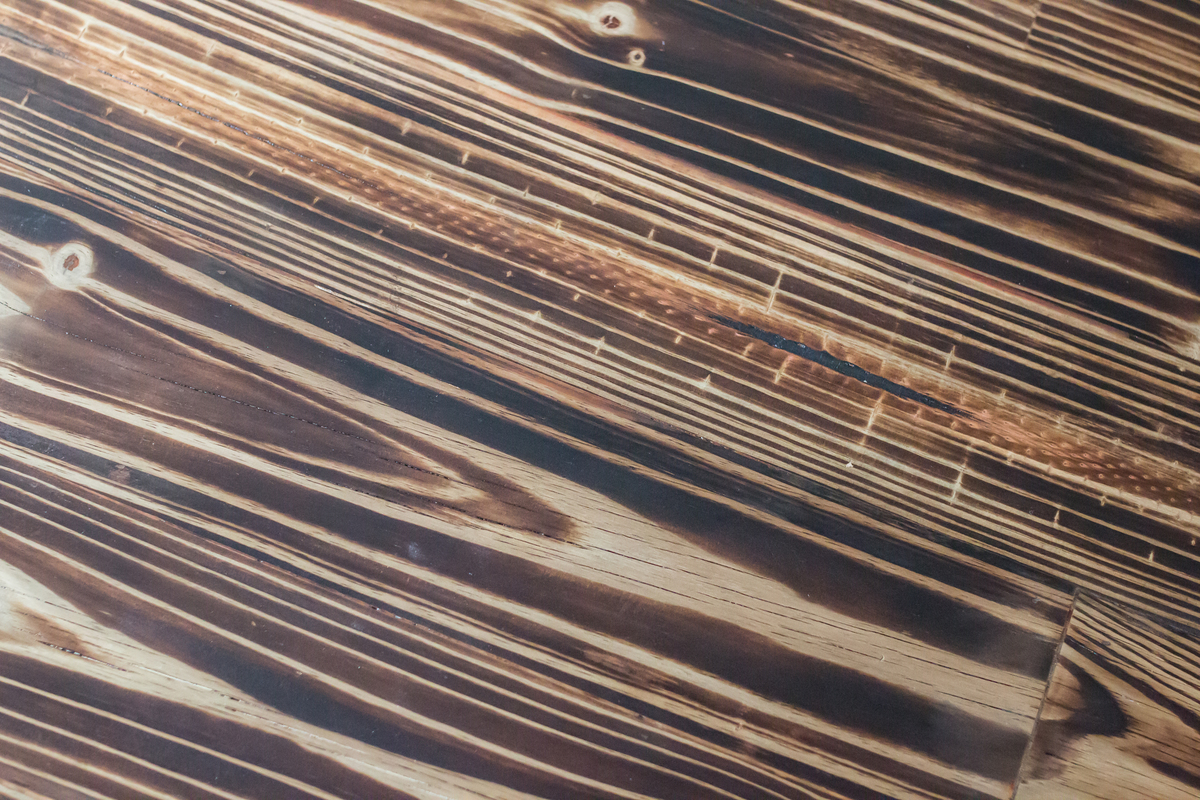
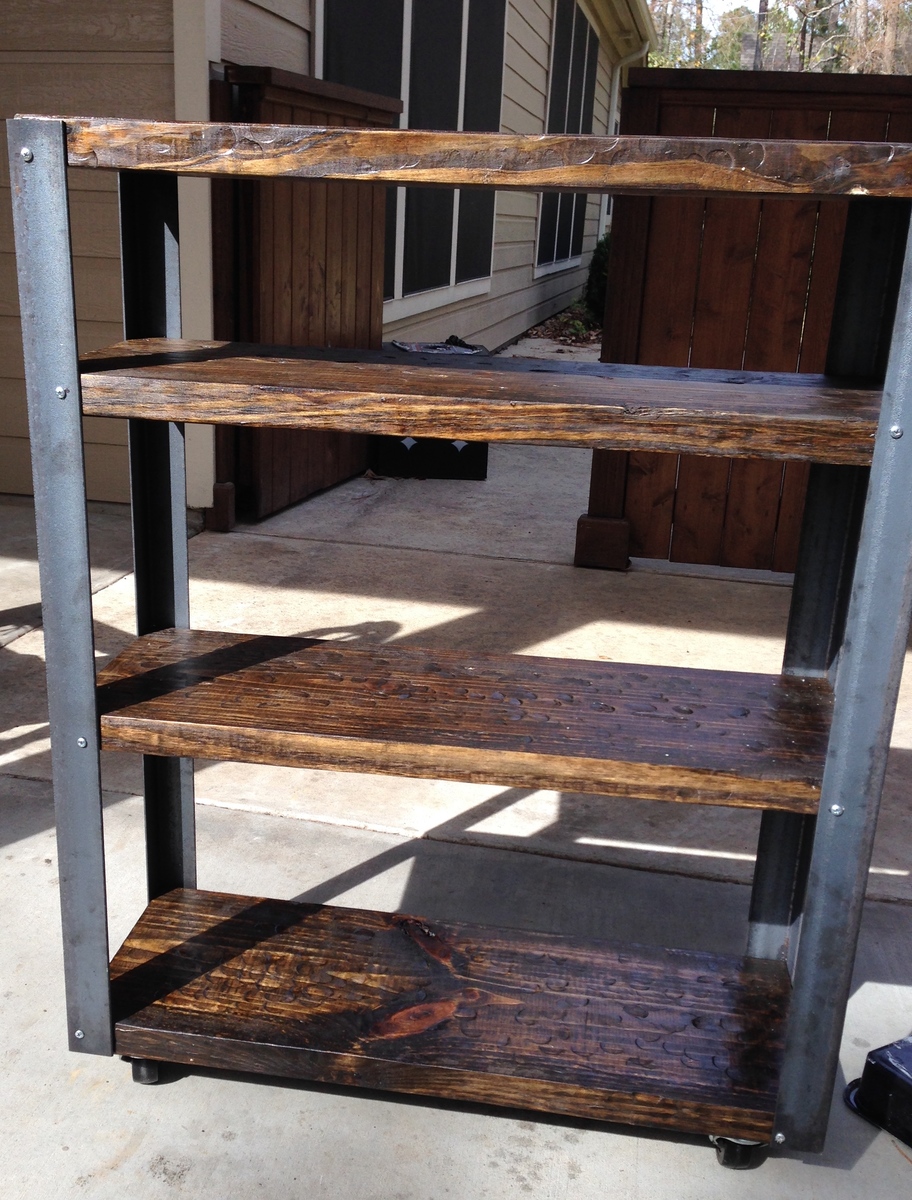
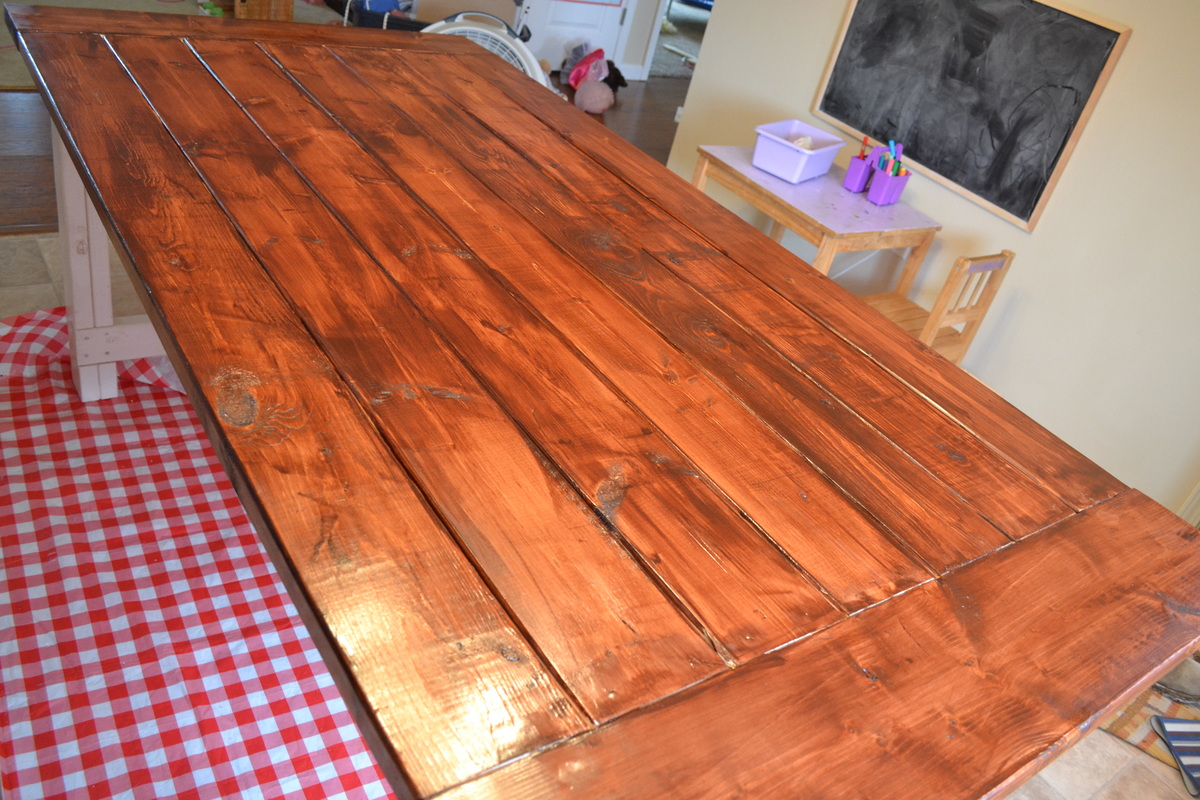
First time using water based stains. I dont remember the names of the stain colours used but they were Minwax. The finish was a lot work actually but cant really be seen in the photo. I saw
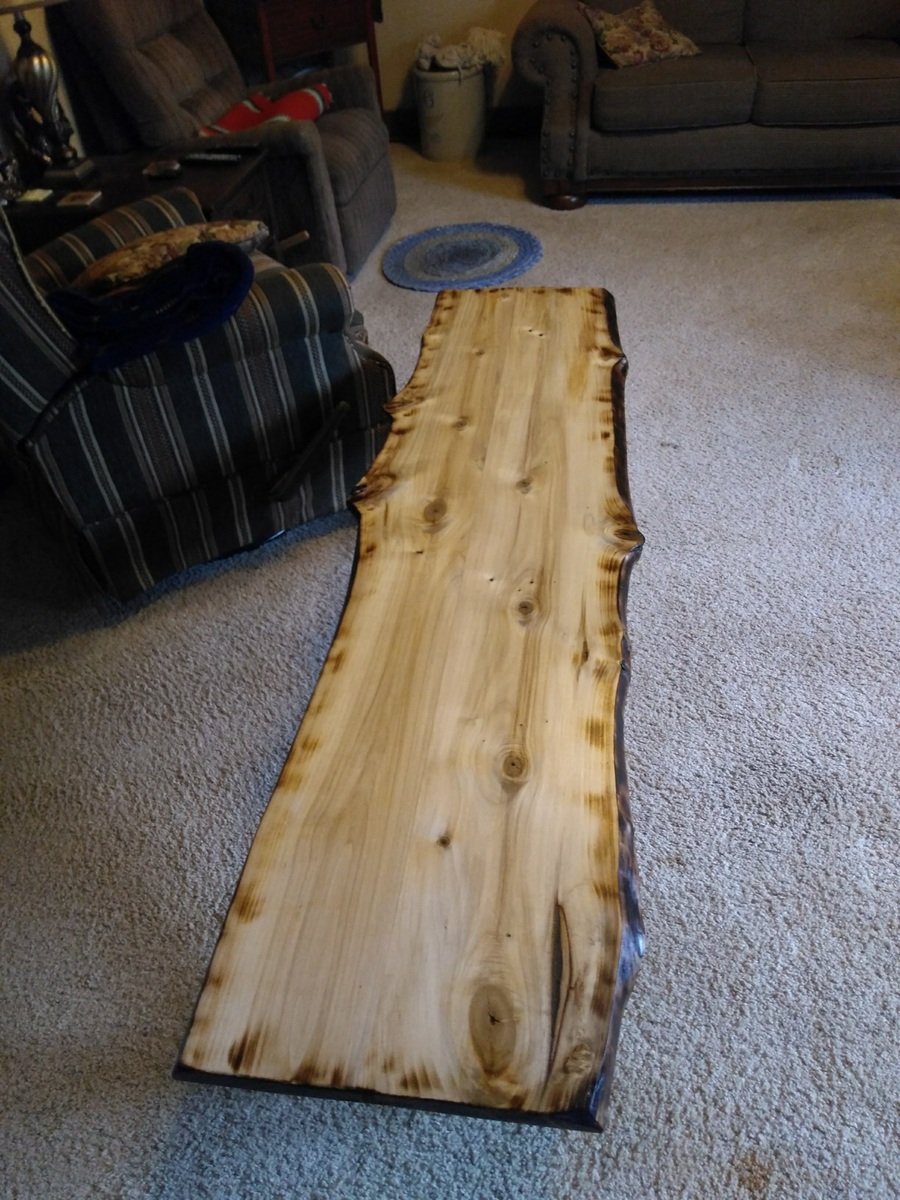
1. I started by beating up the wood with nails, hammer, chains, broken wood, anything you can find!
2. I did a white wash over the bare wood. 1:1 water and white paint.
3. Sanded the paint off. where the wood was beat up the paint would stay white.
4. Did water based wood conditioner.
5. 1 coat of a gray stain (sorry I cant remember name) wiped off.
6. 1 coat of brown stain. (again sorry! wiped off.
7. finished with a water based matte clear coat.
Recommended Skill Level
Beginner


Comments
timberandsoul
Sat, 01/24/2015 - 22:47
The finish
I love the finish you do on this table. Looks great. I wish you could share the exact names of those stains :(
In reply to The finish by timberandsoul
jhavinga
Fri, 02/06/2015 - 09:08
just remembered!
just remembered!
it was minwax water based slate, and water based american walnut.
Ana White Admin
Sun, 01/25/2015 - 10:58
Nice Work!
This looks amazing, thanks for sharing!
In reply to Nice Work! by Ana White Admin
jhavinga
Fri, 02/06/2015 - 09:10
Thank you Ana White Admin.
Thank you Ana White Admin.