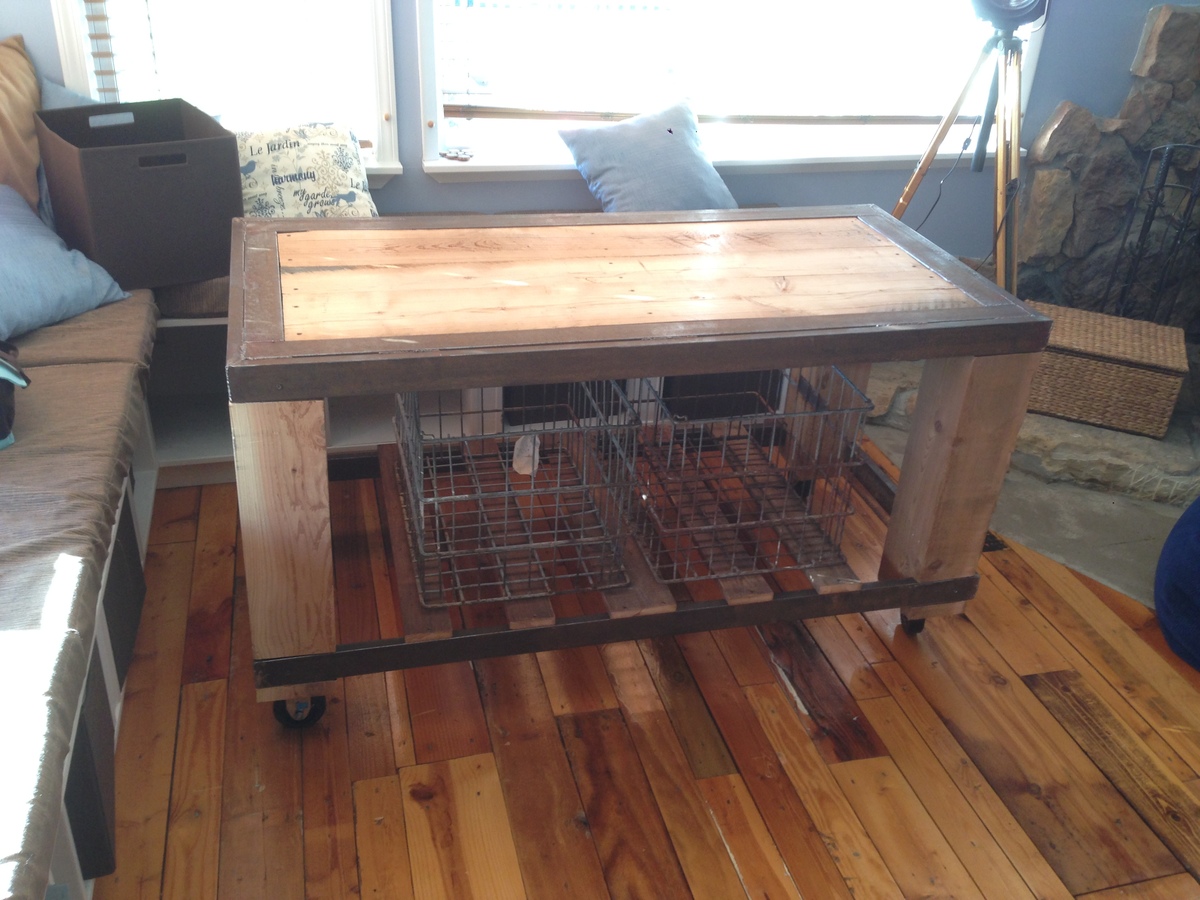
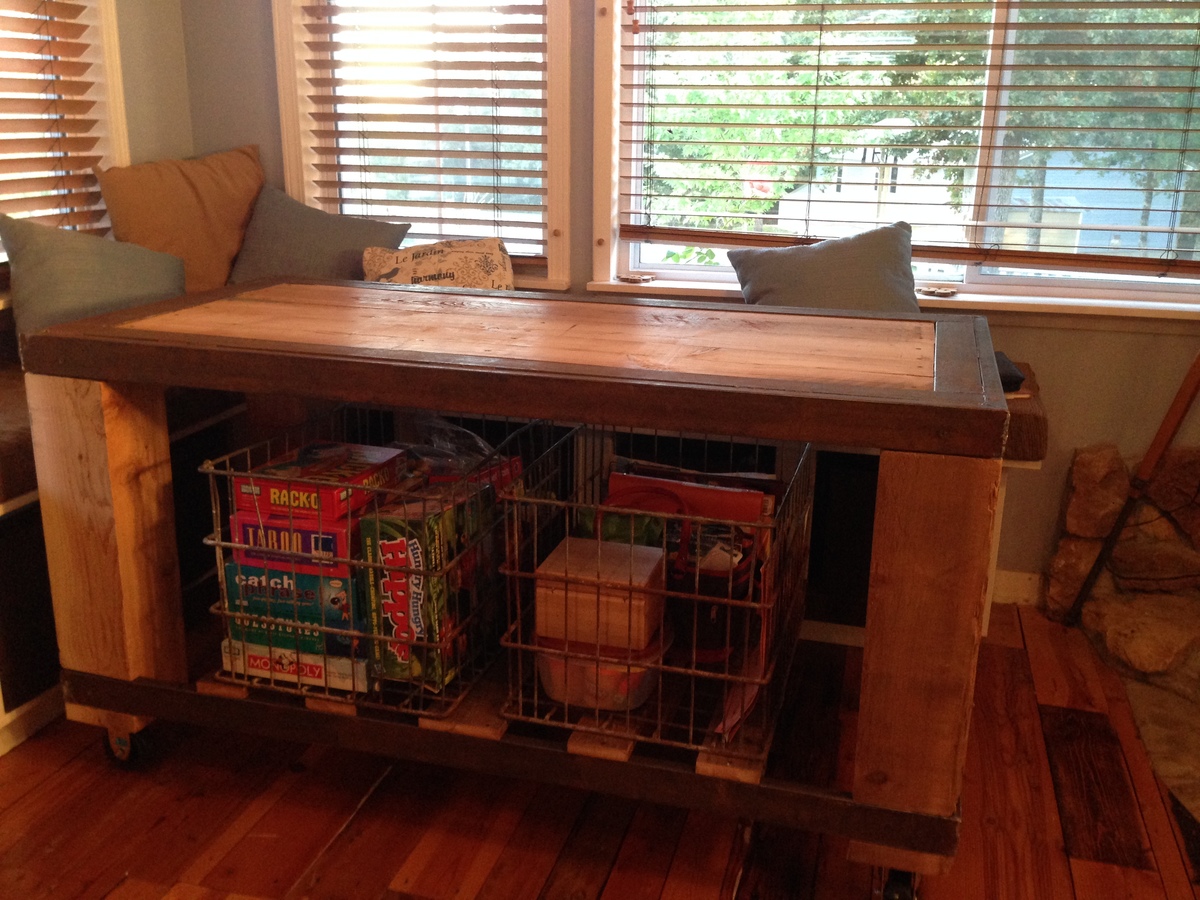
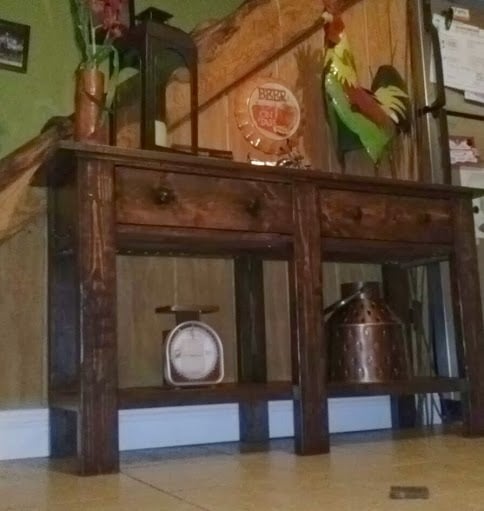
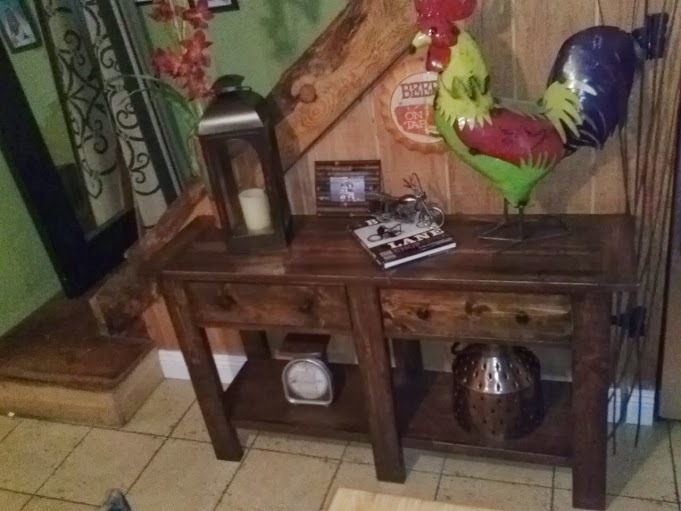
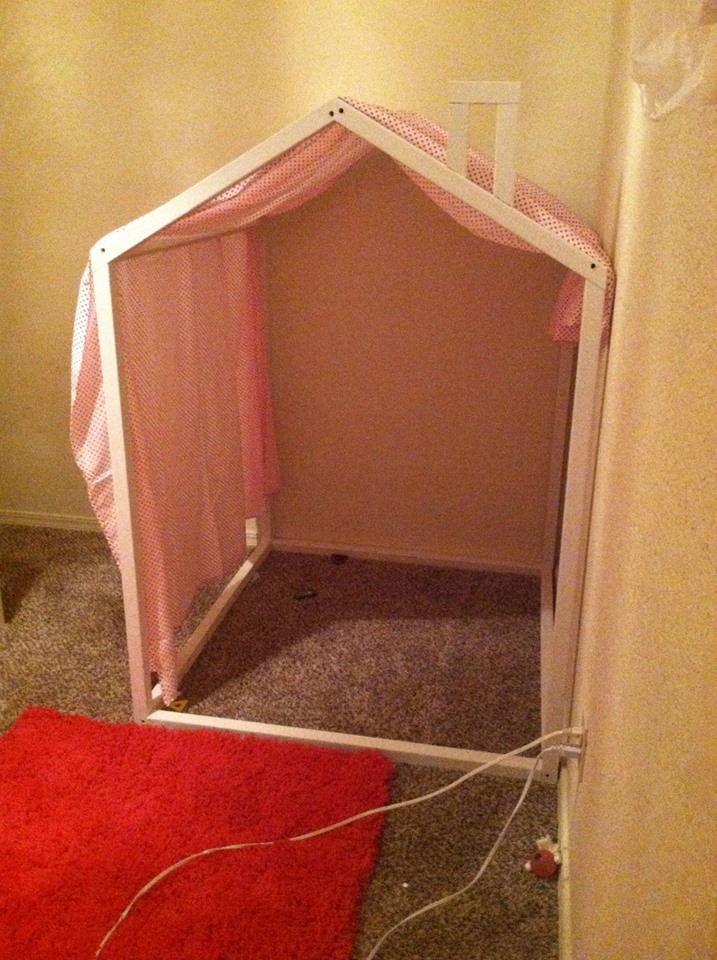
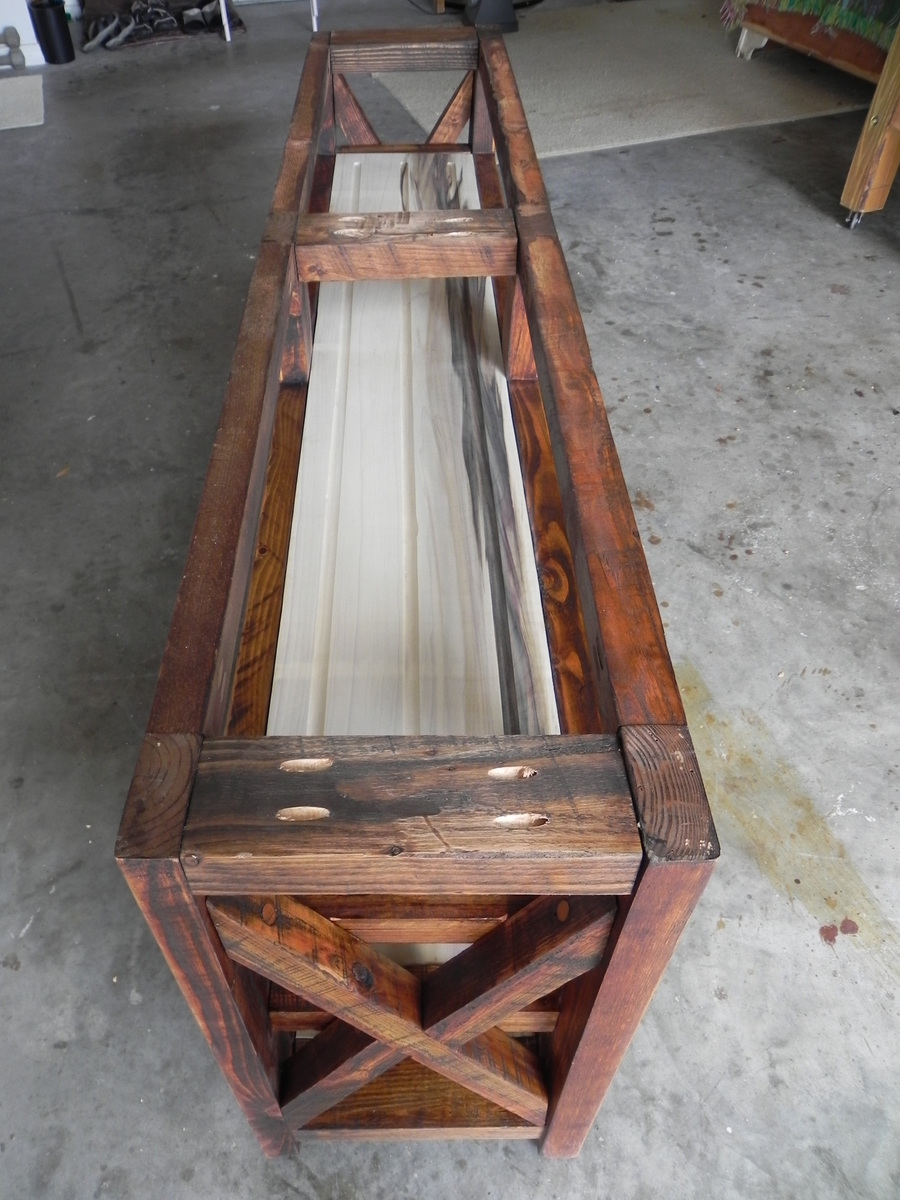
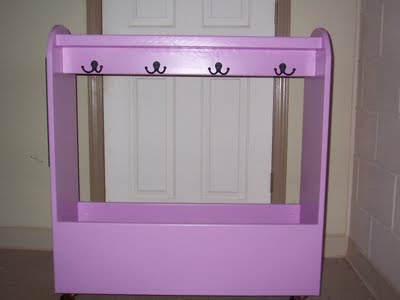
Coffee Table
![](/sites/default/files/Coffee%20table.jpeg)
For my daughter's birthday, I used the plan from your site, but I substituted 1x6 poplar for the top, rather than the 2x6's. Turned out so well that my other daughter wants one as well.
This was a fun cute project to start with. My husband assembled it (though I wanted to do it he didn't let me). I used spray paint. Though I wish I had made it with a bit sturdier wood or maybe used wider sizes. but overall this turned out well and the kids LOVE IT! thanks Ana!
When I presented my husband with the plans for this piece that is inspired by "Restoration Hardware Printmaker’s Sideboard," I thought he would tell me I was crazy! But he looked over the well-written and thought out plans Ana provides and set out to tackle this cabinet. It turned out BEAUTIFUL! We are so happy with it and can't wait to decorate around it now.
Sun, 10/06/2013 - 17:31
Lovely! I want so badly to make this! But I've got a line of projects that must be done first. So I must be patient...
Thu, 10/10/2013 - 10:45
I know what you mean about line of projects! This one got bumped to the front:) And now lots of little things to do. Finding this website was a blessing (for me!) and a curse (to my husband). haha! I told him I get to build the next project!
Modified the plans to make smaller and shorter to use as a flatscreen tv stand to fit up to a 60 inch tv. It has room on each side for baskets that I will put in later!
I slightly modified the plans on your site and built this bed for my daughter last year and it is holding up great.
I took the basic idea of the Rustic X Console. Raised it to countertop height so I could use it for three stools. I also added a shelf so people sitting on the sectional could put drinks right behind them. Added a charging station to that shelf as well. Topped it with a live edge black walnut slab. Finally, I didn't use the X because the table was too high and the base was too narrow to make the X work. I used a tablesaw to cut a grove in the legs and then put a 1/4 plywood panel.
We modified our plan by use a router on the edges and stenciling the top. We used pine. We left our wheels the original industrial metal .
**This is one sturdy table and easily serves as an ottoman with large groups .
This was my first project ever! I was very happy with the way it came out! I just did a little adjusting to get it the size I wanted =) Cushions for a decent price was very hard to find, I ended up going to walmart and I actually really like them.
It took me a while to complete as I have a little one (turned a yr the wknd I finished) and only worked at night and during naps!
Tue, 10/08/2013 - 19:12
This looks really nice, good job. Isn't it fun to build just what you want!
My first woodworking project ! Already planning others from the ana white site.
This King Size Farmhouse Bed turned out better than I could've imagined! It did take a lot of patience, time, and even left a few bruises but, a few months out, I think I would do it all over again!
We chose the Farmhouse King Bed Plans by Ana White and I read everything I could about it. This would be the biggest project I'd ever done. Through reading comments, I found the DIY Farmhouse Bed - King Version by Ed Hart. He had a few modifications I liked so I bought his plan.
Then, I set to work!
We have a Naturepedic mattress and built this bed to its specifications, including bed slats no more than two inches apart.
Check out this post to see the modifications we made to the Ana White Farmhouse Bed: https://sunshineandrainydays.com/king-size-farmhouse-bed/
Thank you, Ana, for the inspiration to build!
This was a fun easy to do project that can be done in a day.
My husband and I redid my Aunt's kitchen. She has no storage, hardly any counter space and her kitchen was cluttered. So we painted, put up beadboard and trim, plus added storage. We took the console table plan and modified it to fit what she needed. We raised the height to 39" tall and made two tables for the "L" shape storage. She absolutely loves her kitchen!
Built-ins coming next! Such a great build!
Thu, 02/02/2023 - 15:45
Oh my goodness, this looks amazing! Thank you for sharing, can't wait to see the built-ins included.
We love our new coffee table! Thanks for the idea!!
I wanted to make something for my daughter Jaclyn and her significant other Sam for their new condo that would bring memories to the table each and every time they sat at it with memories that would last a lifetime. This was perfect. I made it in a week and was ready just before they moved into their new condo. The top is a slab of maple and the frame is pine 2x4's. I deviated by using a 4x4 center post on each side of the pedestal. I used my keg jig to hide the hole in various places. I used chains, a hammer and nails to distress the top.
This was my first project. I already had a large ottoman, but it didn't hold anything. So I broke it apart for the box frame, added a bottom and hinged the lid. I was able to reuse the padding and upholster the pieces with sale fabric from Joann Fab ( love that store). Than I attached the fabric with a staple gun. Since it's in my bedroom, I like to keep wedding photos and such inside. Plus my 2 year old cannot open it!
First project for upcoming annual craft show. Guessed on cost as we bought 2x6s and 2x12s on clearance and ripped them down ourselves for a cost savings. Used beadboard for the chalkboard because I got a slightly damaged 4'x8' sheet for just $3.95. Have to say that it's not the smoothest so I'd definitely go with something like luann next time. Still cute!
That last picture shows the second batch I made for the following year. I modified the plan to simplify it for me and use less materials by making it just one-sided.
I made this nightstand and one other for my bedroom. I used 1x2's for the door and diamond willow for the handles. :)
I absolutely love how this coffee and end table set have completed my living room. Each one took me about a day to complete and $80 or less!! Excellent, detailed plans resulting in a gorgeous piece. Thank you!
Thu, 02/20/2020 - 11:28
I love these! Plan to build coffee table, end table and console! Ana, any chance you have or could provide adapted plans for a square 44-inch rustic x coffee table? THANK YOU! :)