Photo Ledges
This was an extremely quick and easy project to complete. I really love how the ledges tie my dining room together and display all the great pictures of our family. Now I just need to get some more pictures and frames...
This was an extremely quick and easy project to complete. I really love how the ledges tie my dining room together and display all the great pictures of our family. Now I just need to get some more pictures and frames...
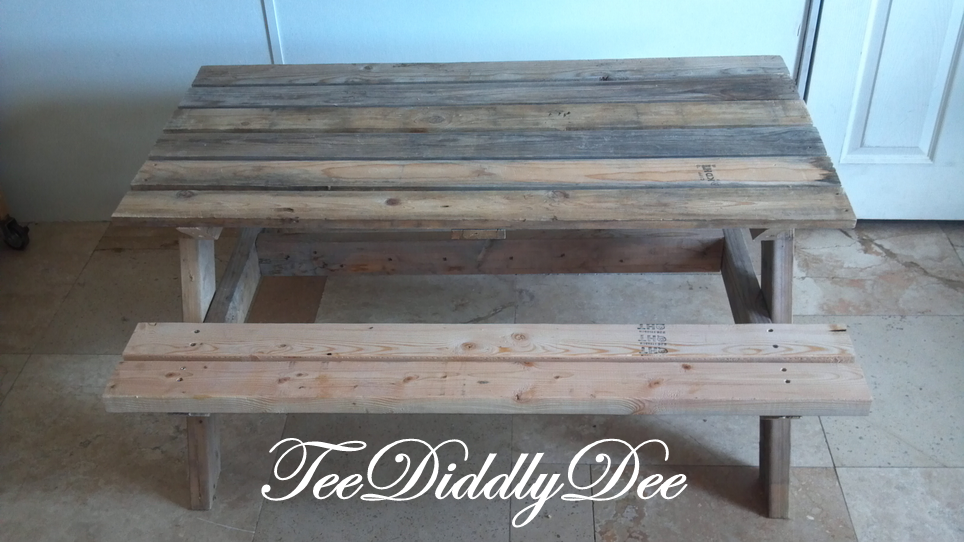
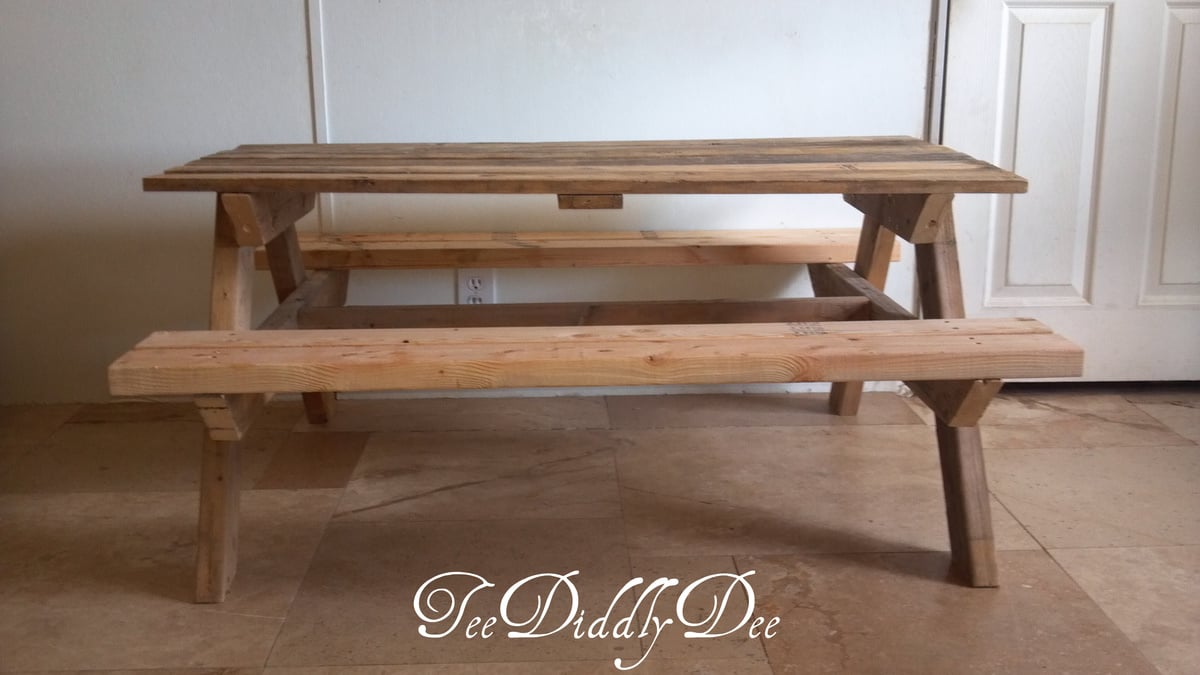
I needed a place for my daycare kids to sit and eat at lunchtime. I stumbled upon the bigger kids picnic table on Ana White, so I just had to build this!
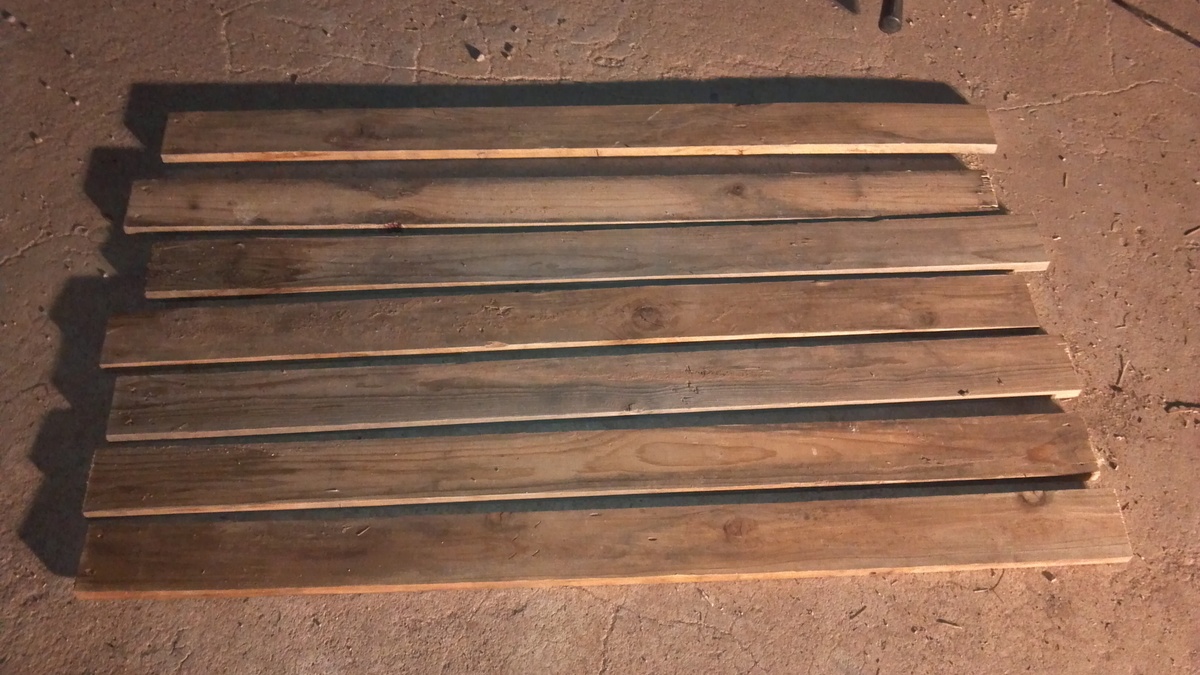
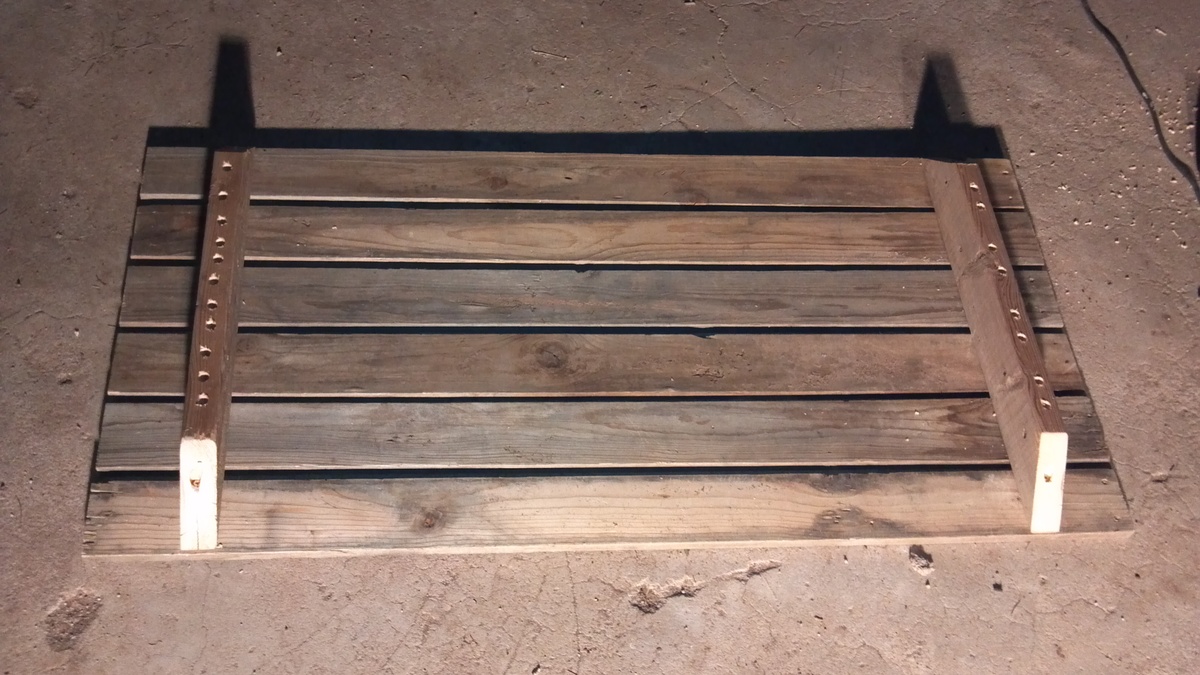
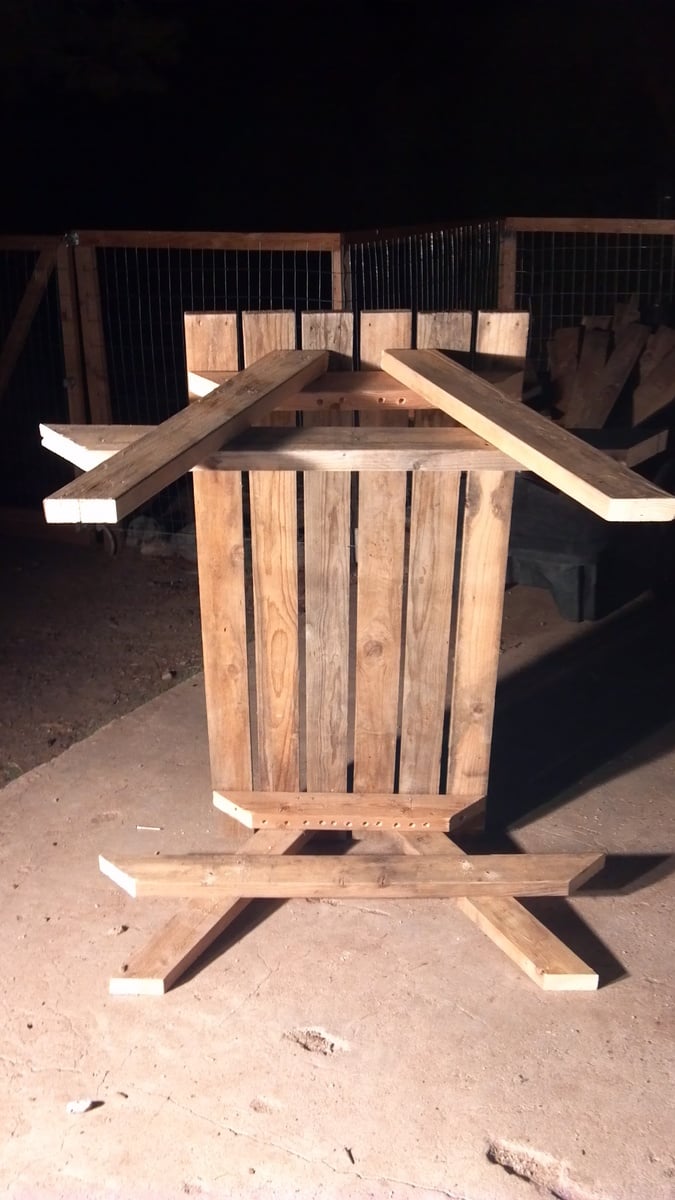
Since I am on a tight budget, I once again searched my ol’ pile of wood outside and found most everything I needed except the tabletop pieces in which I found an old pallet and used pallet planks instead for the top. Since the pallet planks are a lot thinner than 2x4s, I put a brace underneath the tabletop which made it very sturdy.
I have the whole tutorial with lots of pics at http://teediddlydee.com/how-to-build-kid-size-picnic-table-out-of-old-r….
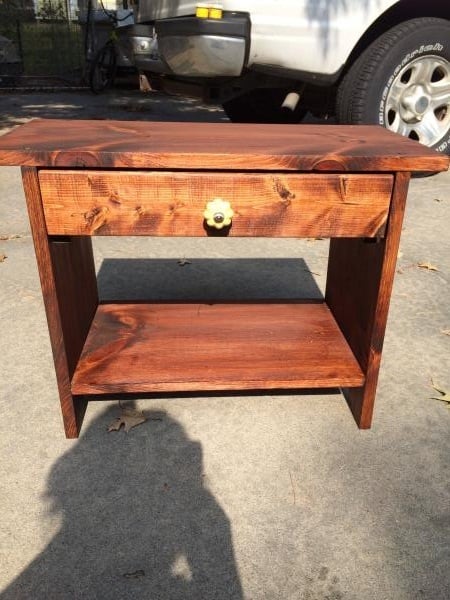
I followed the plan but added a drawer. I had a drawer that I had previously built but it didn't fit that project. It just happened to be the right width for this, I had to cut off some on the length, and that turned out to be easier than I thought it would be. I used wooden slides.
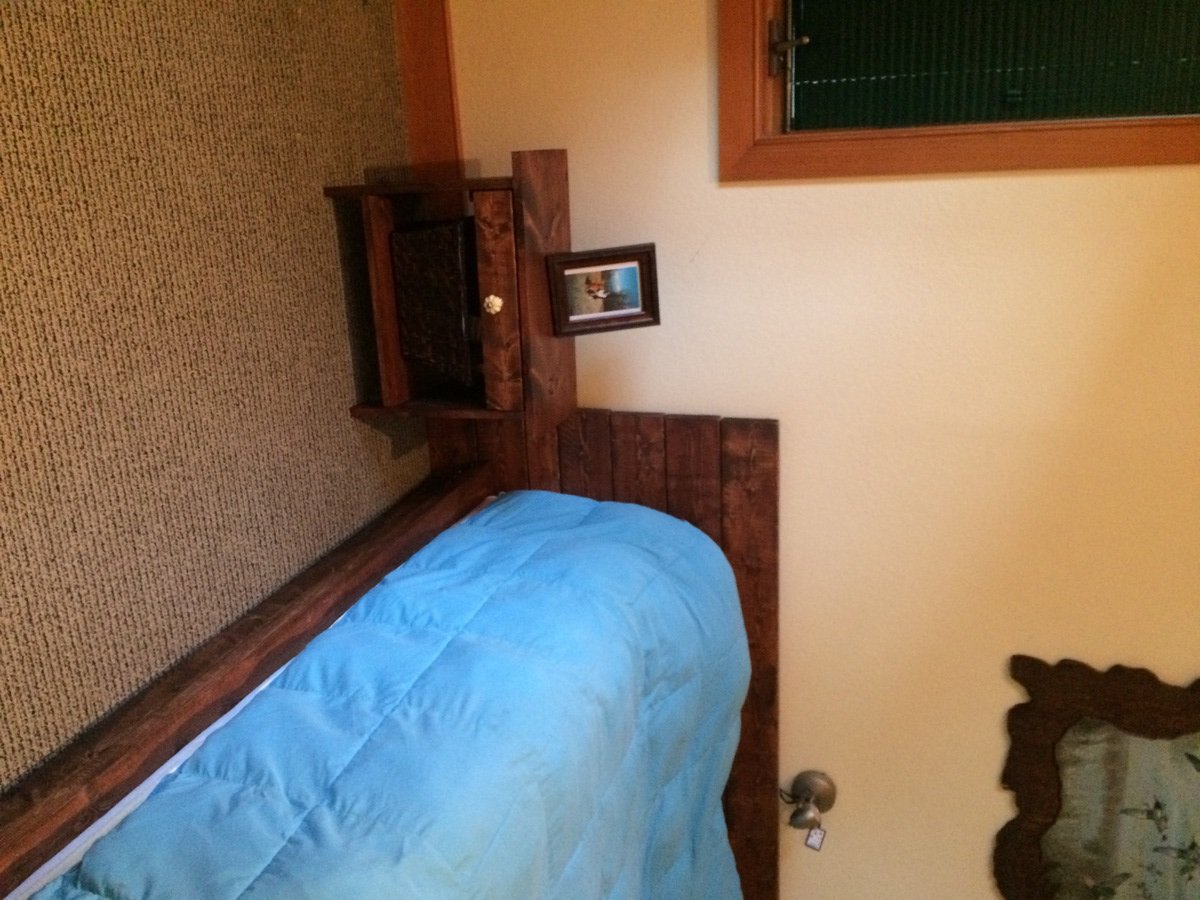
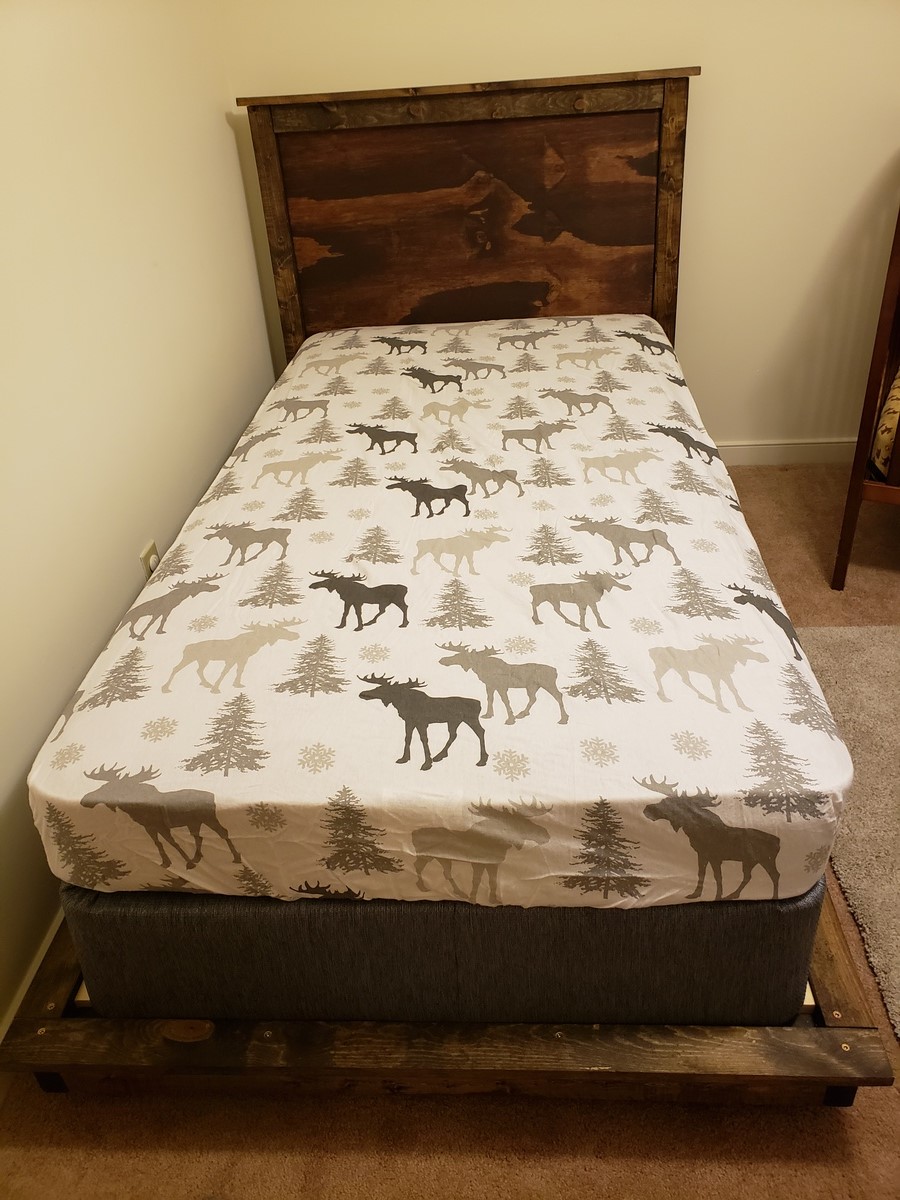
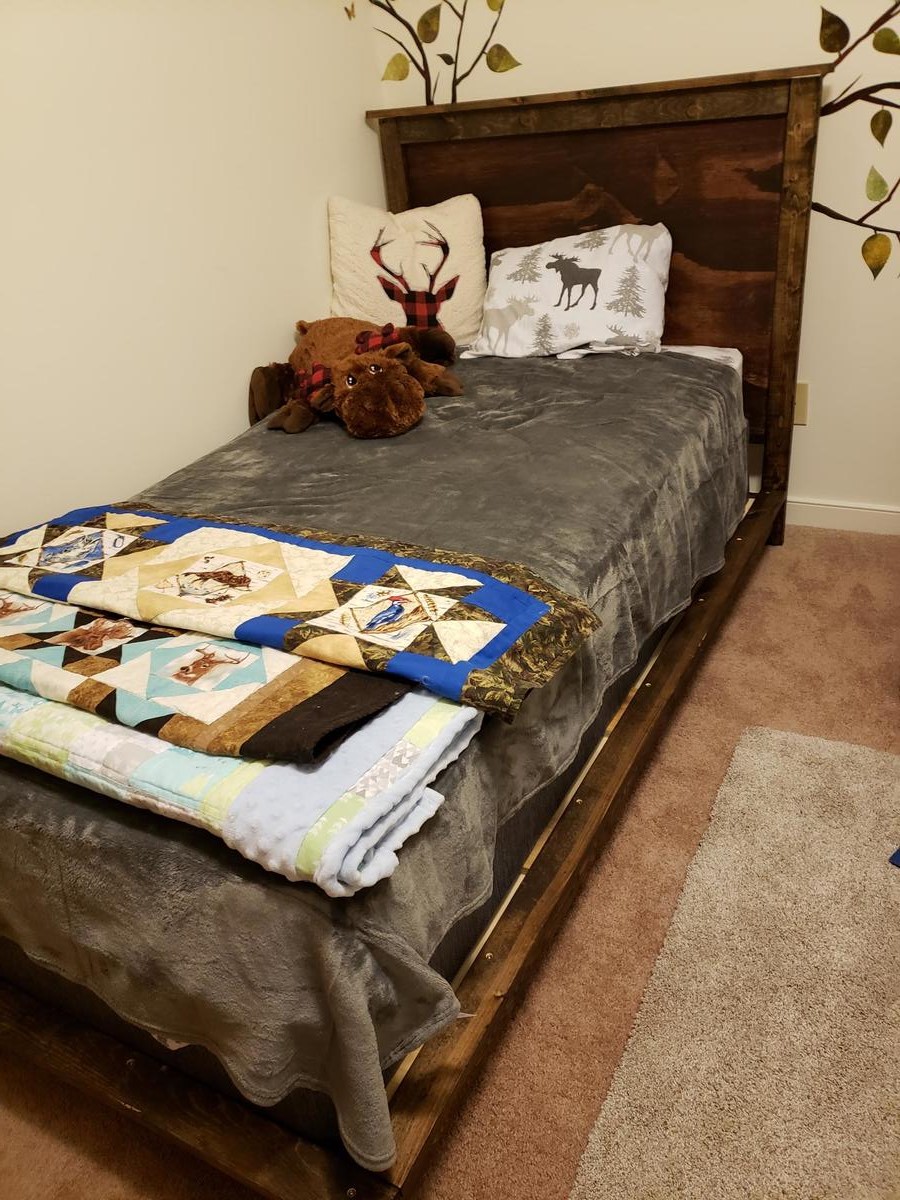
Our little guy decided at about 2 years old that his crib just wasnt going to cut it anymore. My wife and I had a blast throwing this together. A good tip is to use leftover pieces from the headboard to cut slats. We love our wood projects, check out our facebook page. Wyvace woodworking.
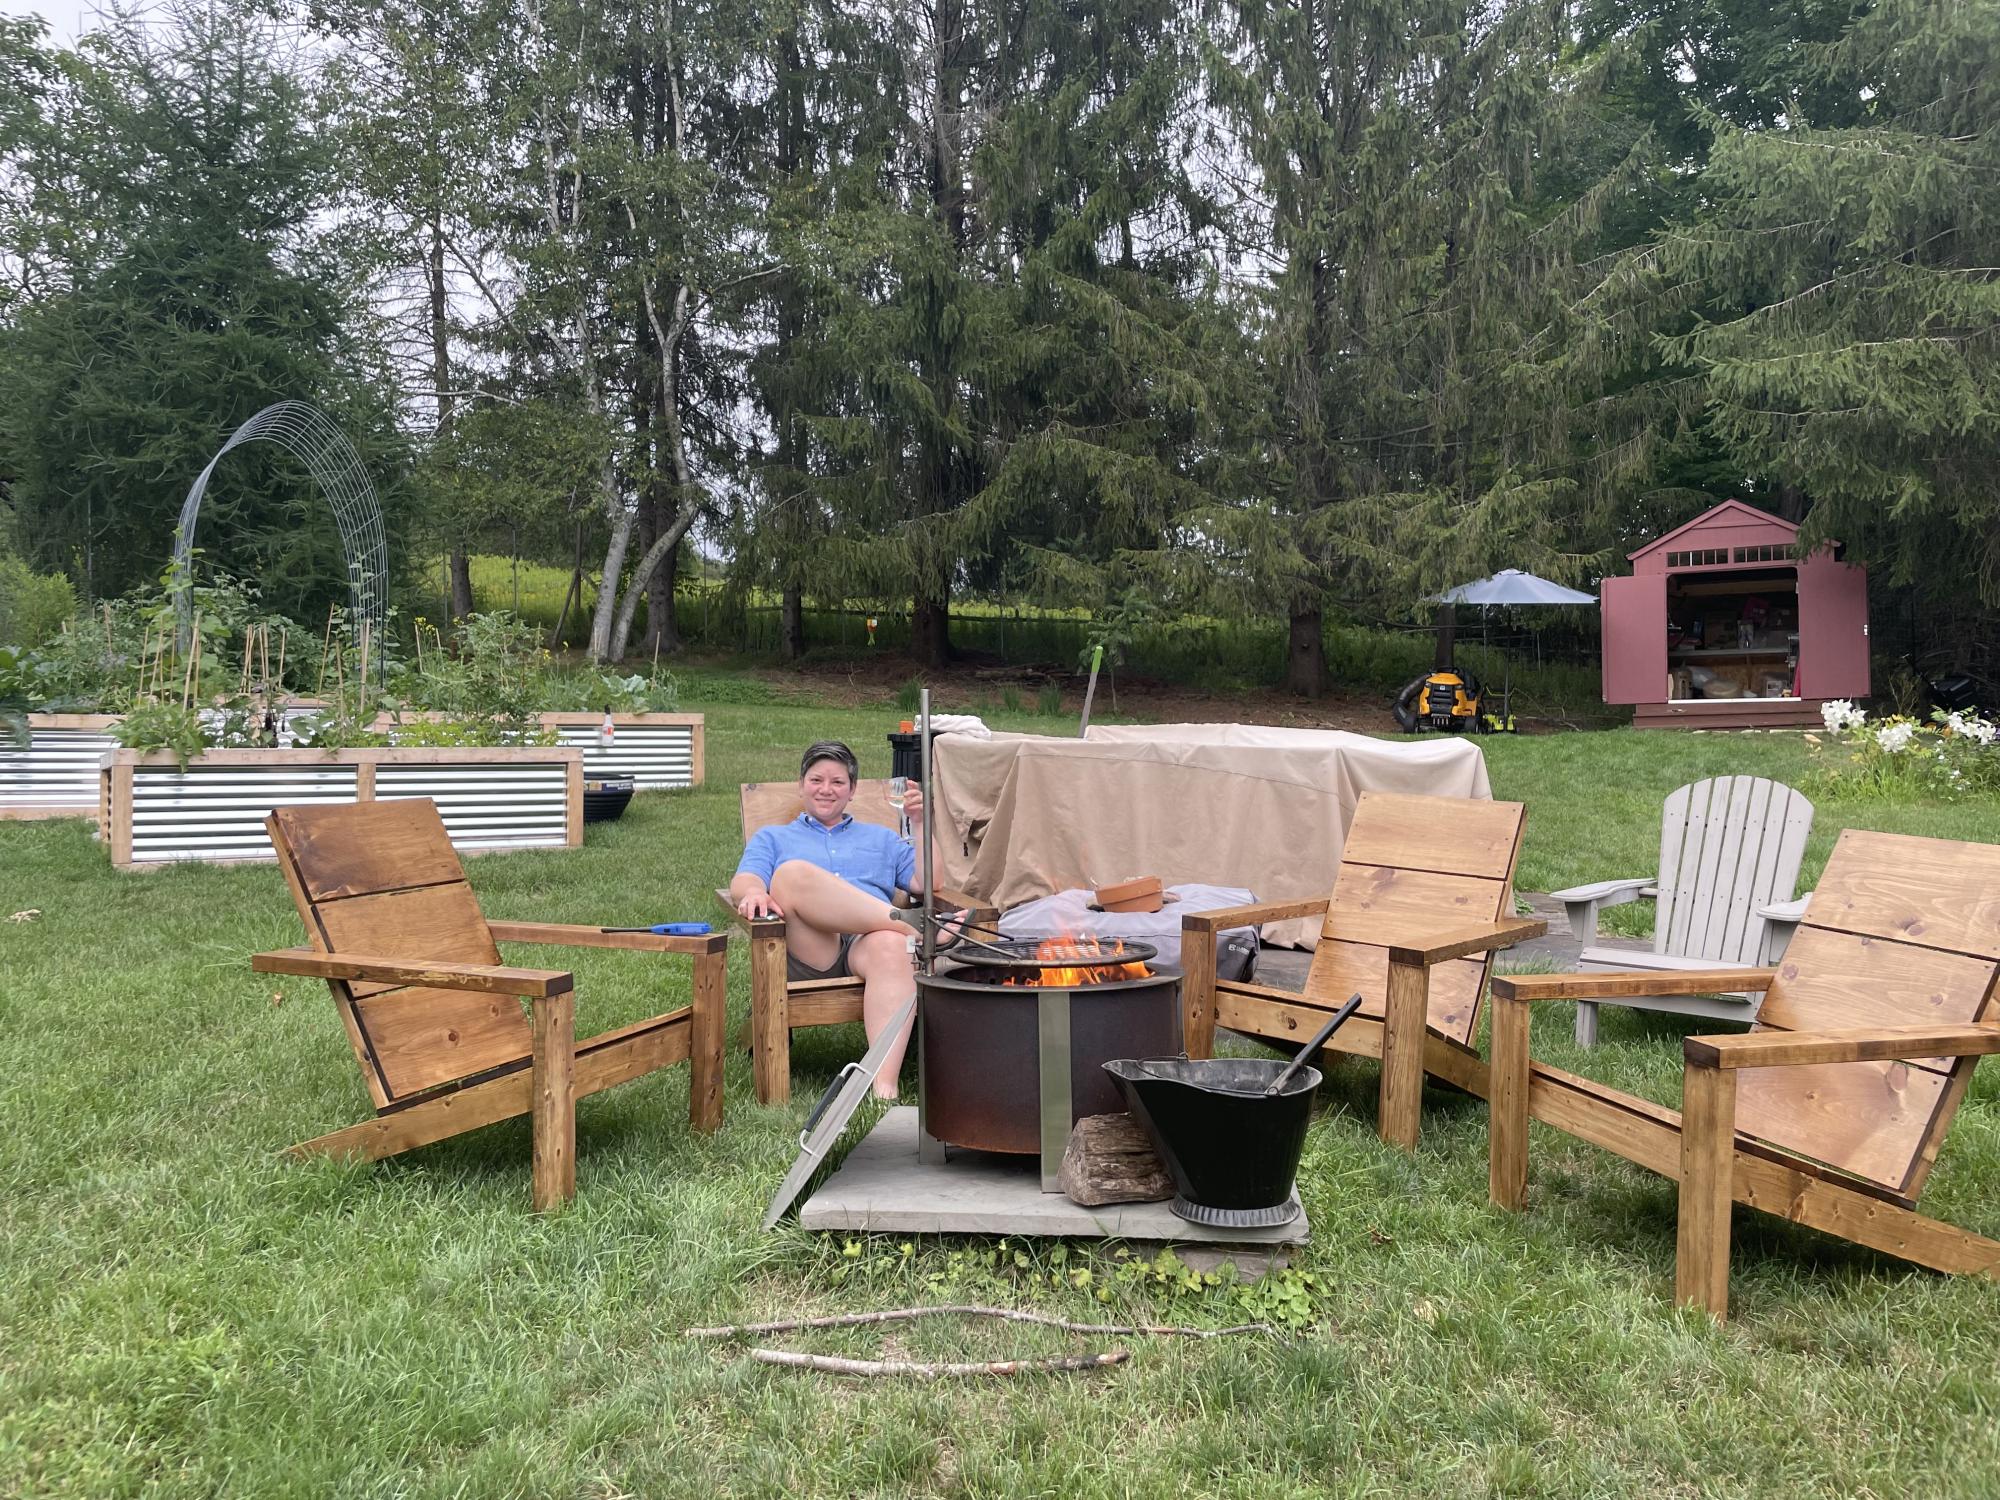
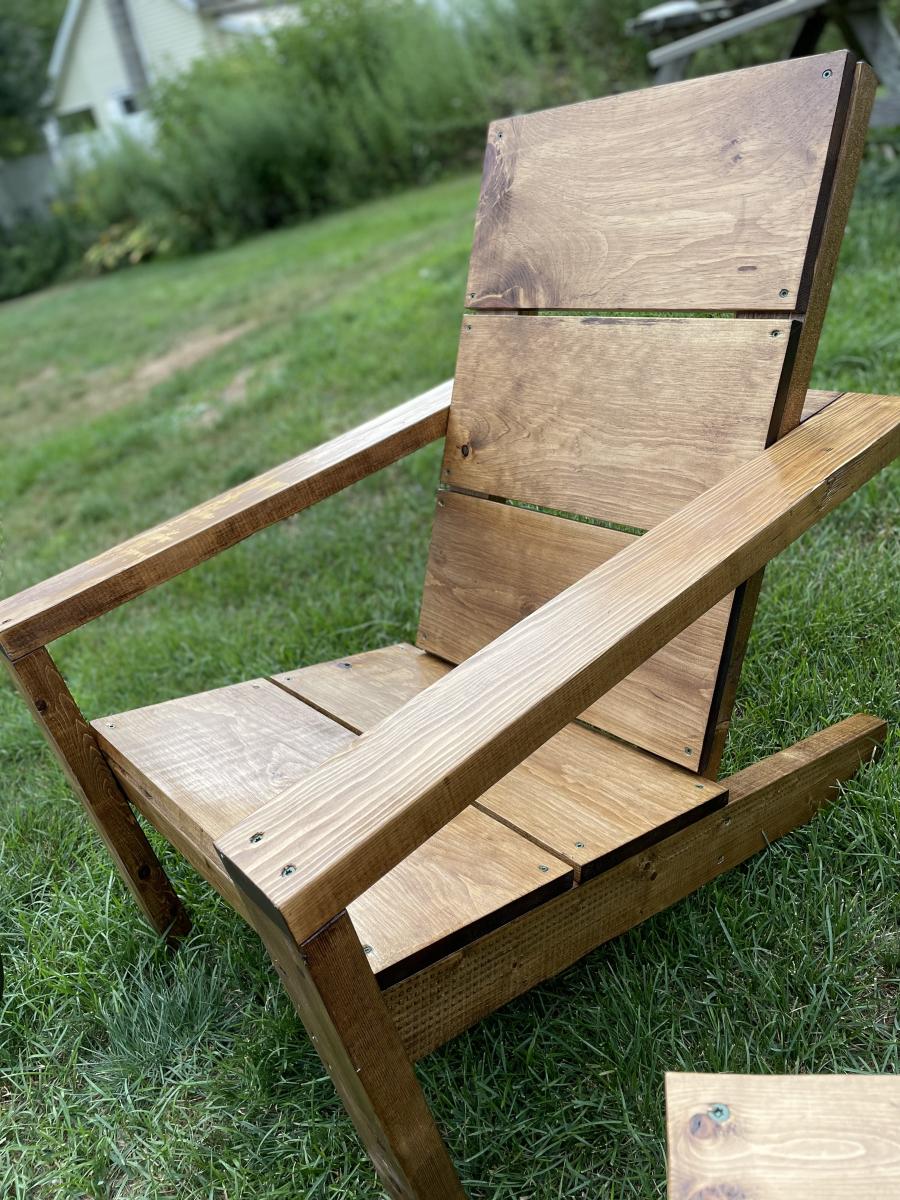
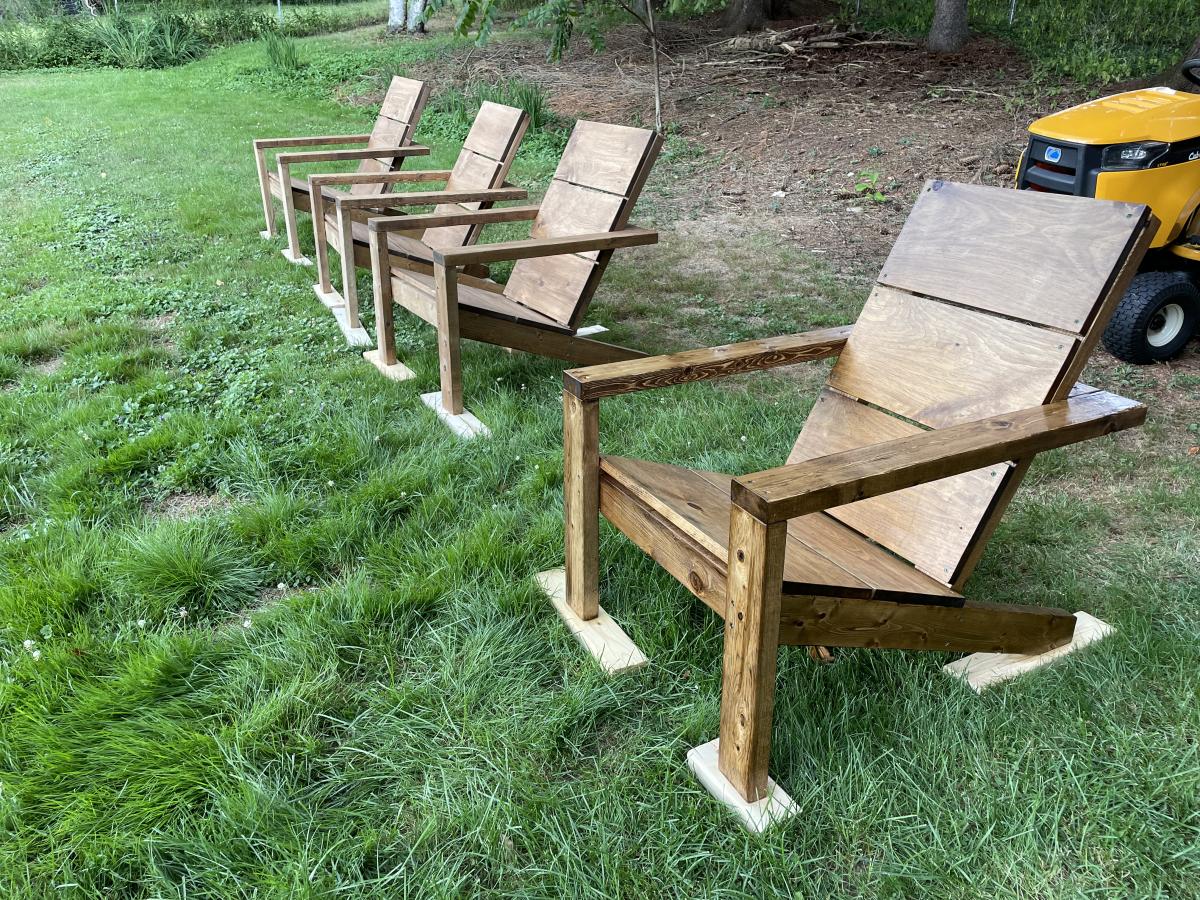
We had some very old Adirondack chairs that just broke on us (in the middle of summer, no doubt) so I went looking for some new ones. They were so expensive I thought I’d make some but I have limited tools (circular saw, drills, etc. but no band saw or mitre saw or table saw). Found these because they were fairly simple and didn’t require fancy tools.
It took me a couple of weekends to build four of them, and they still need another coat of sealer, but I’m stoked with the results, and they're SUOER comfortable too!
Thanks Ana for these awesome plans!
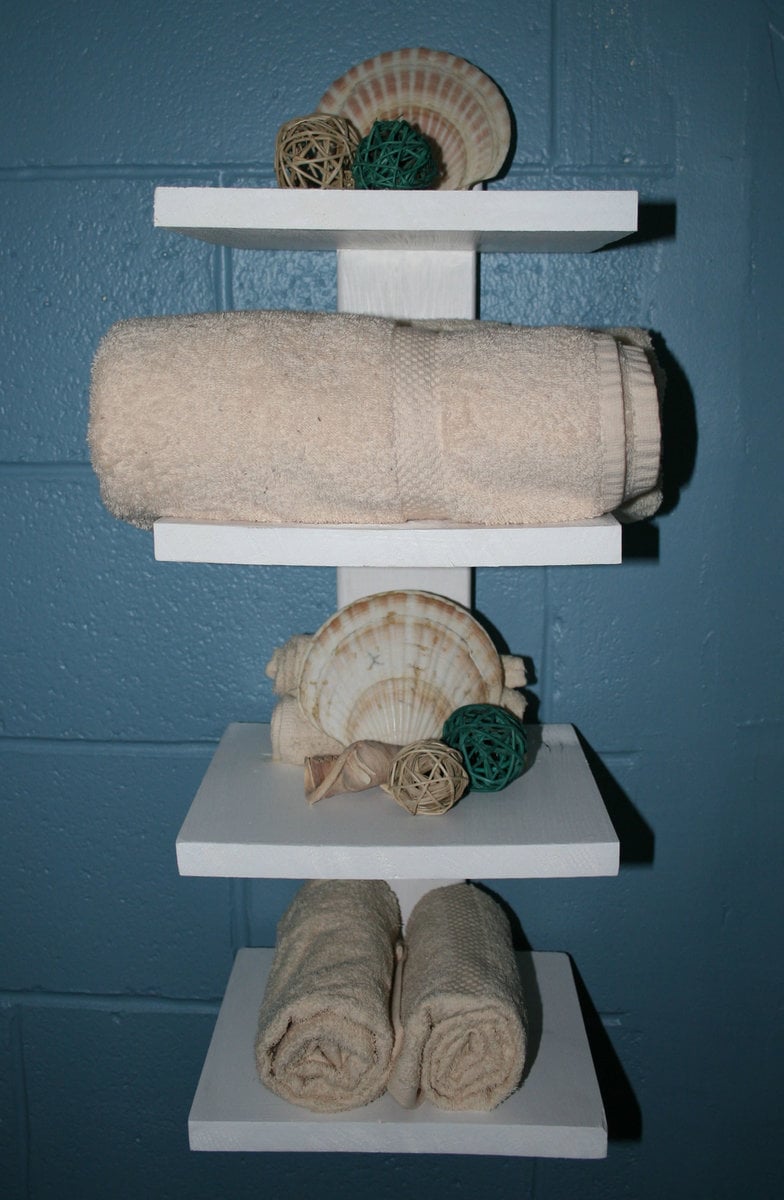
Another perfect shelf to decorate my little basement bathroom. Plans were so easy to follow! A little help from my hubby with this one... We had to drill into concrete to hang it. I love the end result!
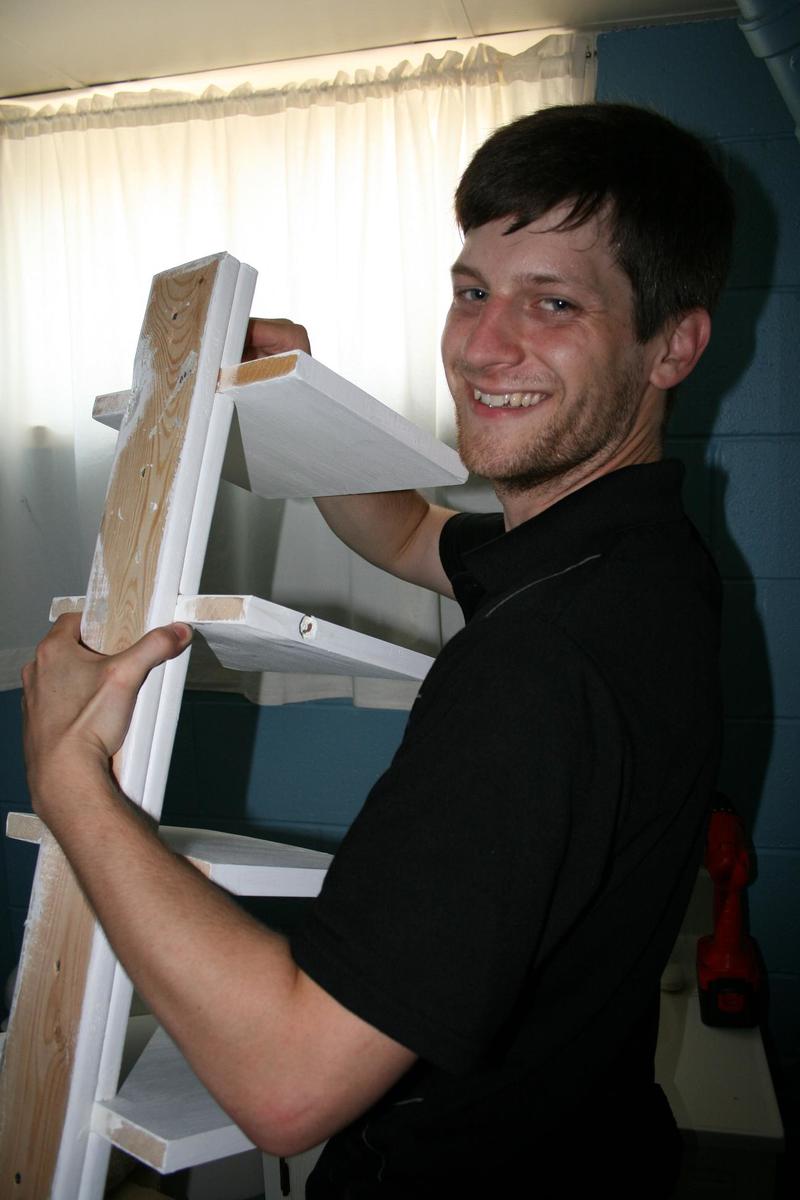
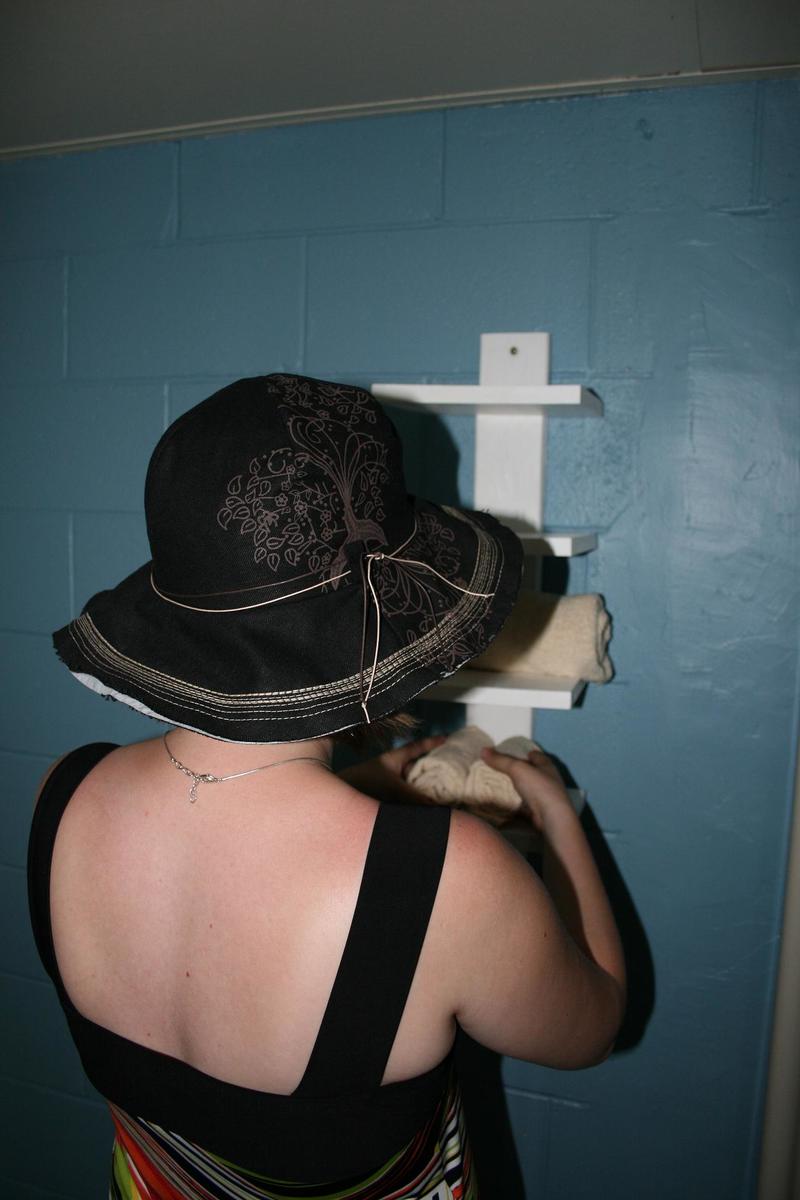
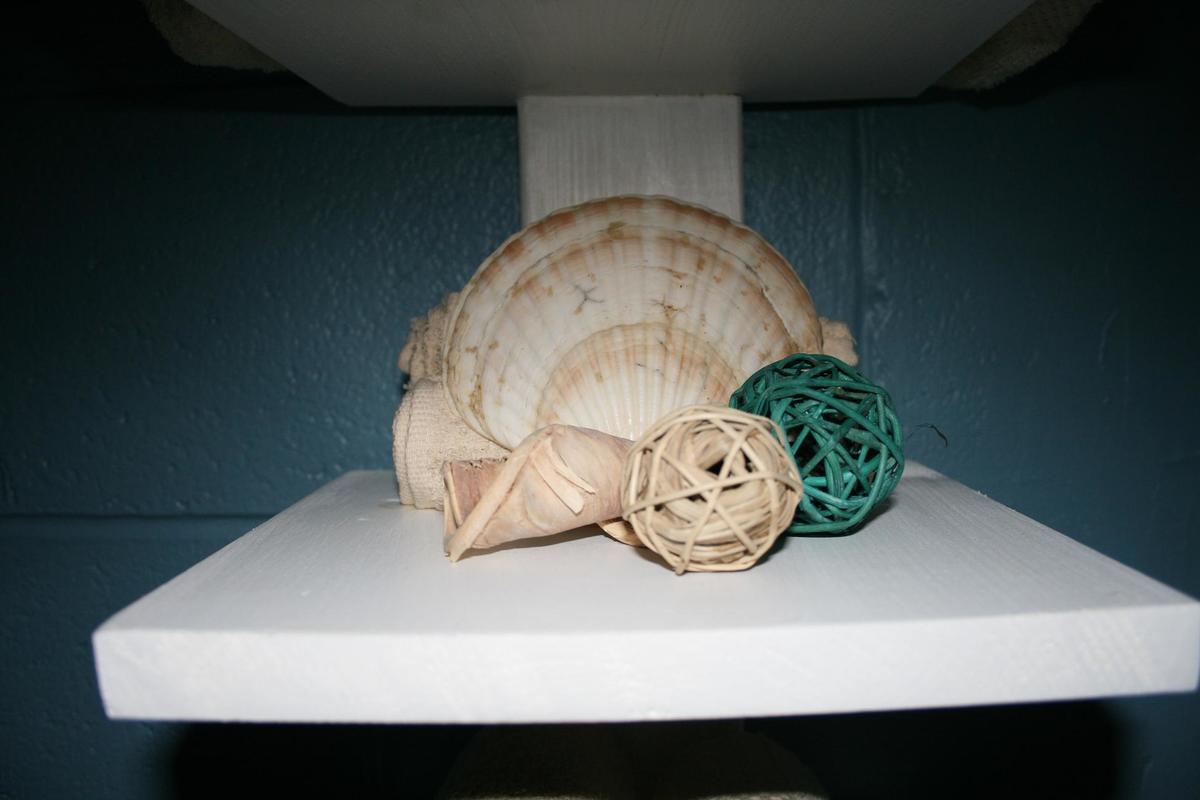
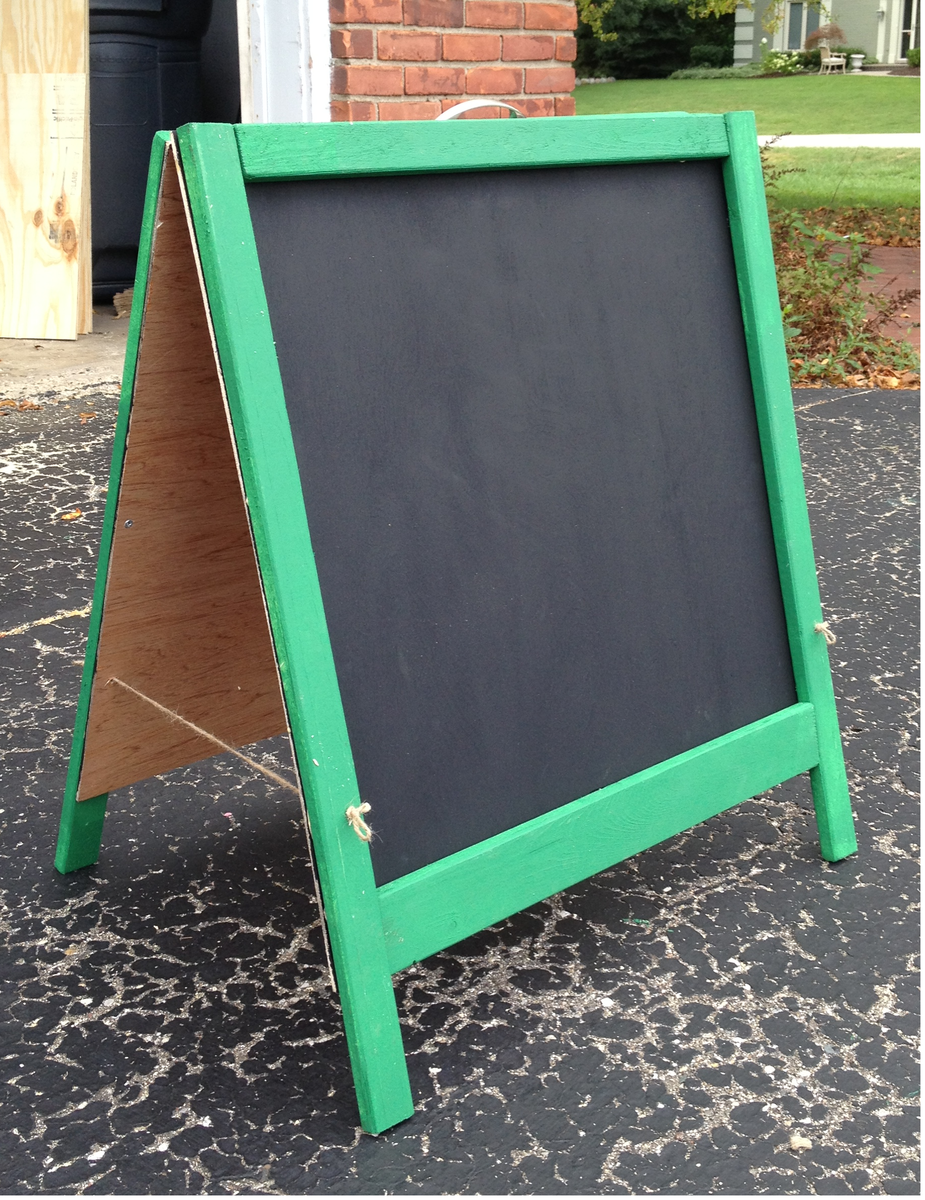
I bought two pre-cut 1/4 inch panels and adjusted the dimensions of the trim to fit the panels, using 1x2's and 1x3's. I painted before I assembled, which was where the most time was spent. Thanks Ana for another great project!
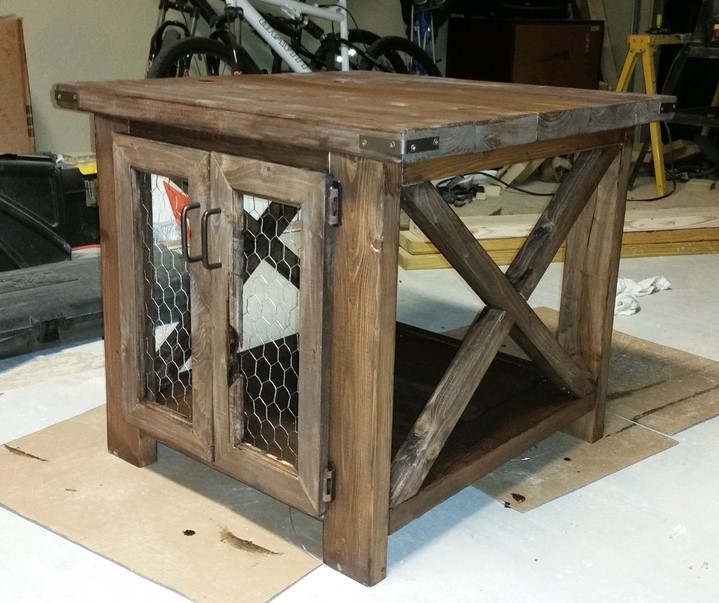
Built using Rustic x plans. Made the doors from scratch using some scrap 2x6's I had laying around. Stained with espresso, one coat. Needs another and maybe a gloss coat.
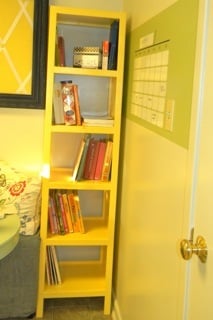
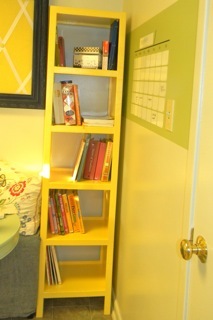
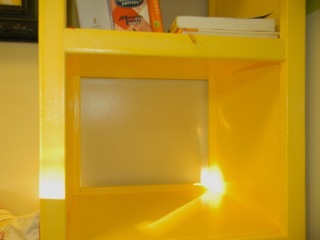
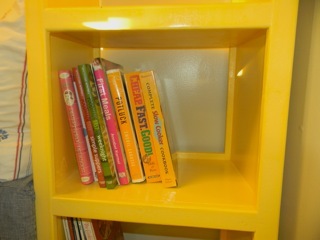
This narrow cube bookshelf is a very handy addition to my kitchen! I use this shelf to store cookbooks, our iPod speakers, and some other utilitarian odds and ends. I'm particularly a fan of how to facing on the front and back acts as a stopper to keep your items in the bookshelf. It did not specify in the plans but we chose to align the back facing piece flush with the bottom of the shelf and the front facing piece flush with the top of the shelf. You can see what I'm describing in the pictures.
This piece was fast and easy. I think there is a time when finish work is faster to be done once a piece is finished but this not one of those projects. This shelf would benefit from finish before assembly.
Finally, a place to corral all of the stuff on the patio!
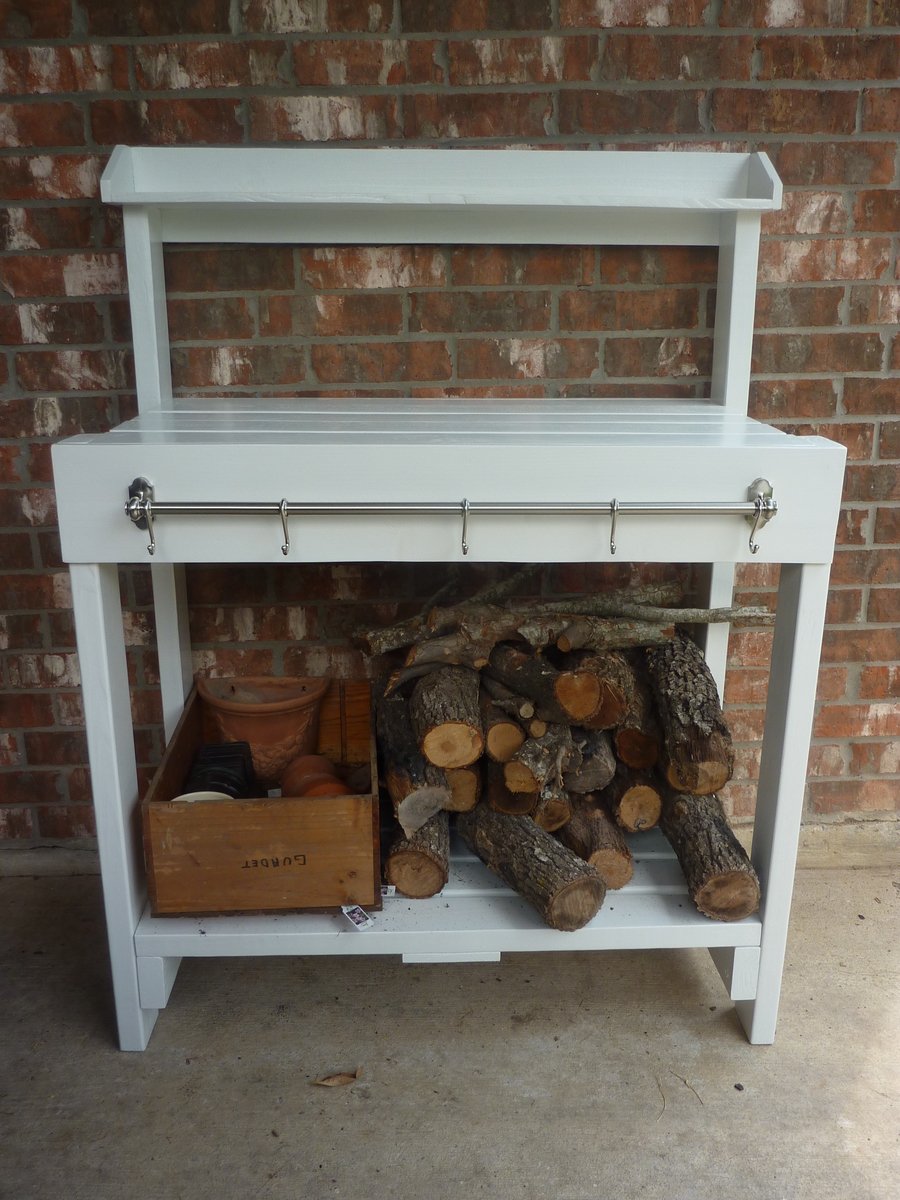
What we really needed was a wood rack and buffet/usable surface for the patio, but this potting bench fit the bill perfectly because:
1. It's sturdy enough to hold all that firewood
2. I had all of the supplies already (2x4 scraps, leftover paint, screws, etc)
Free and easy? Yes, please!
Only real change is that I added an apron to the front of the top shelf, and used well-sanded fence slats for the top shelf instead of a regular 1x6 (it's what was in the garage already).
The towel bar is from Ikea. That was also an extra that was already on hand.
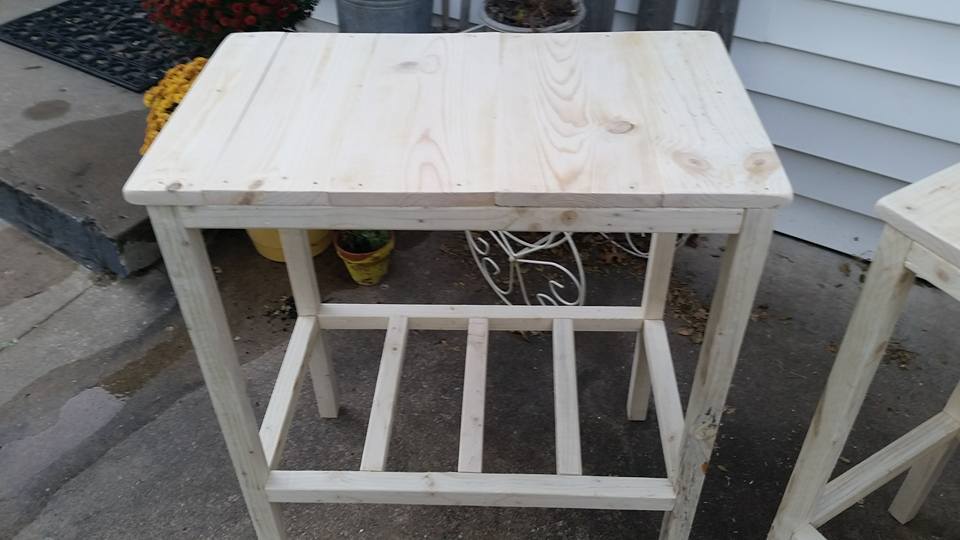
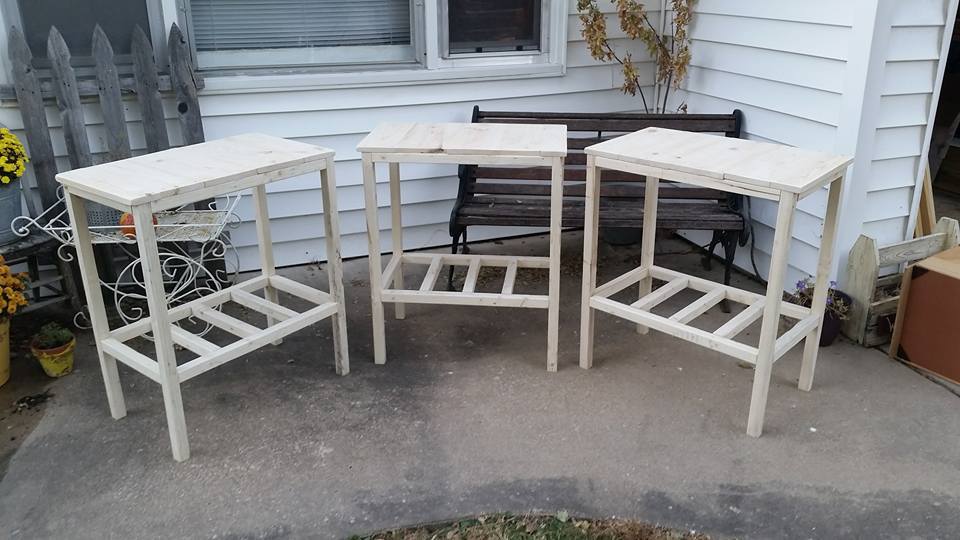
I built these three tables for my aunt. She had specific dimensions that I had to alter the plans to fit. All in all it was a pretty easy project.
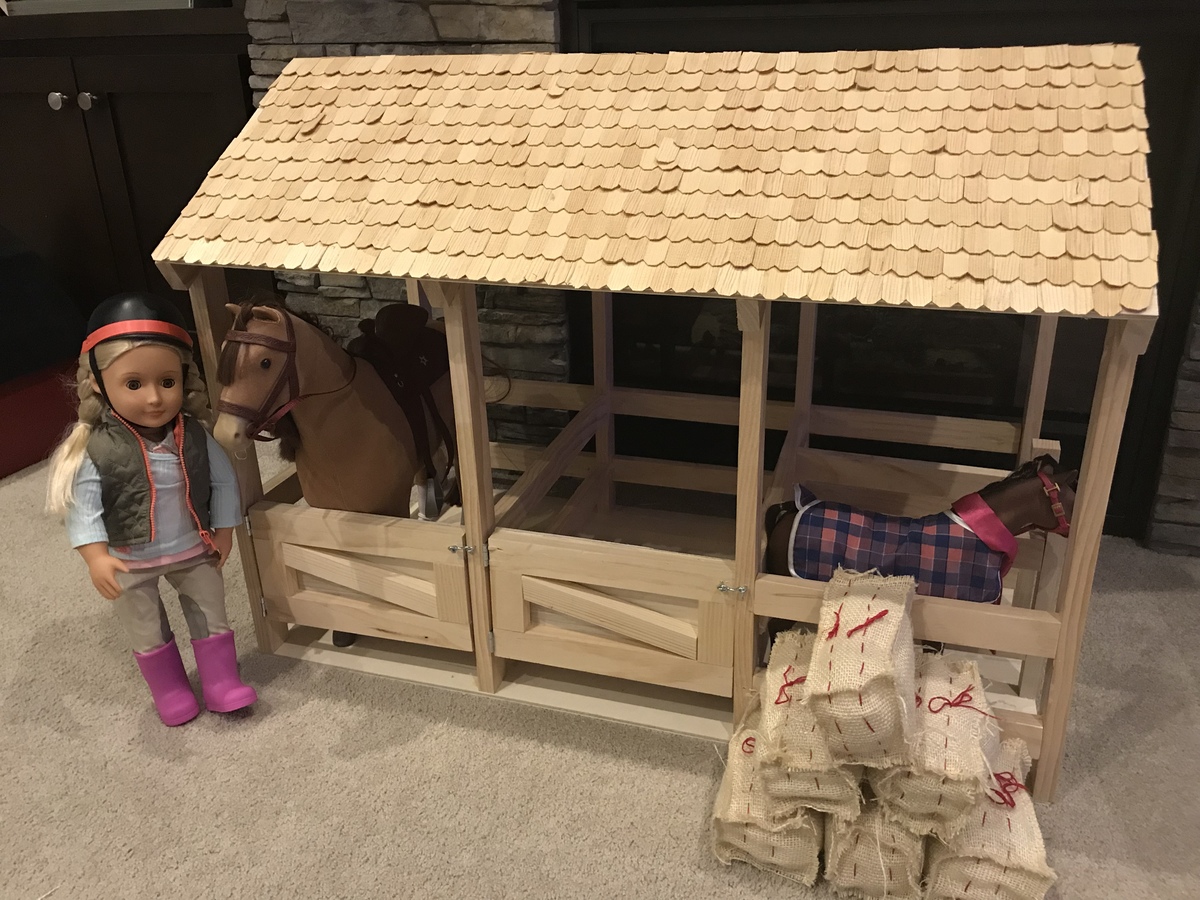
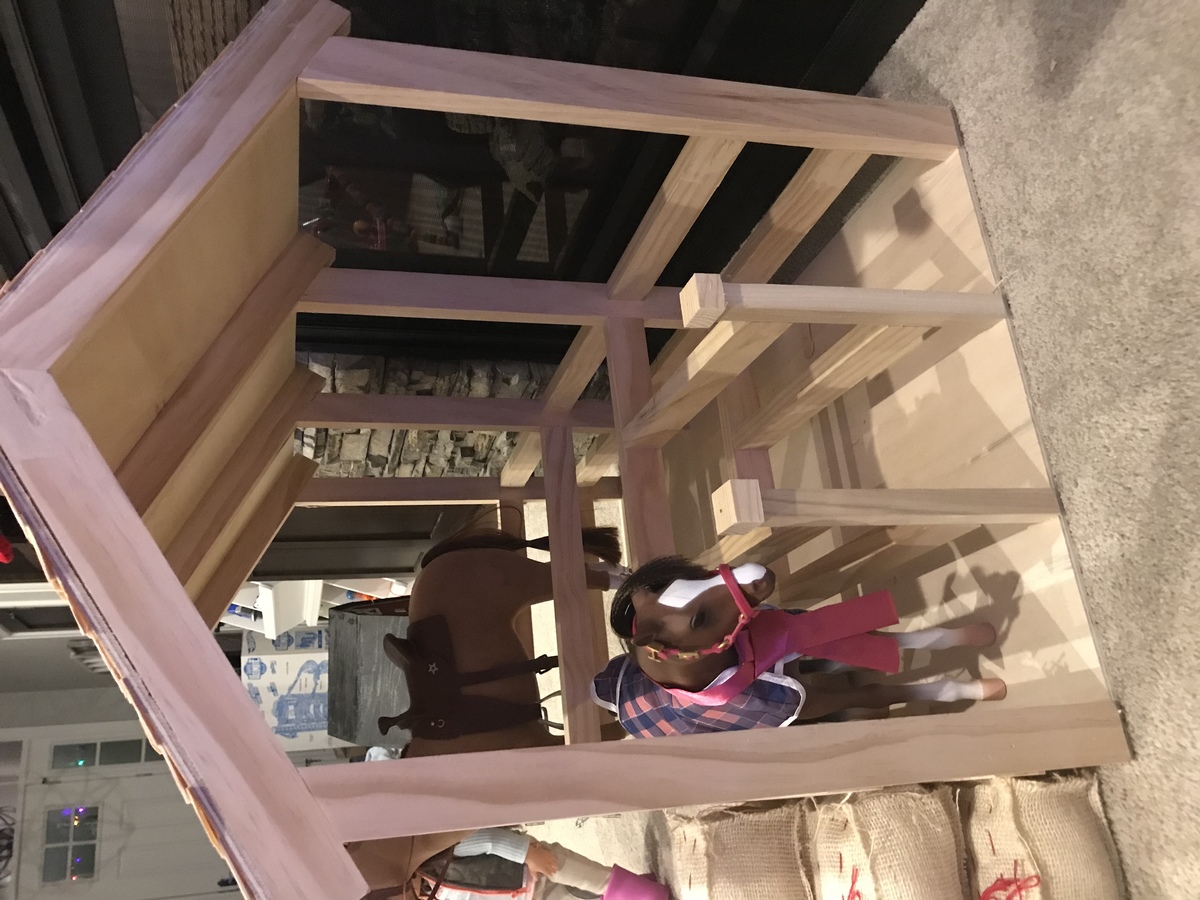
18” Doll horse stable modified with a third stall turned sideways to house smaller horses for 12” dolls. Added shingles to the roof since I didn’t like how the plain plywood ended up looking. I kept the finish plain, but I may paint the base white and stain the shingles darker at some point. To add the third stall I just extended the base to 36”, built an extra truss but left off the bottom rails and added rails to both sides a instead of 1. I then added two posts with rails extending sideways to create the smaller stalls
Wed, 06/19/2019 - 20:35
What did you use for the shingles? I love the way yours turned out.
Mon, 04/20/2020 - 14:11
Sorry for the late reply! I used wood chips sold at hobby Lobby meant for doll houses.
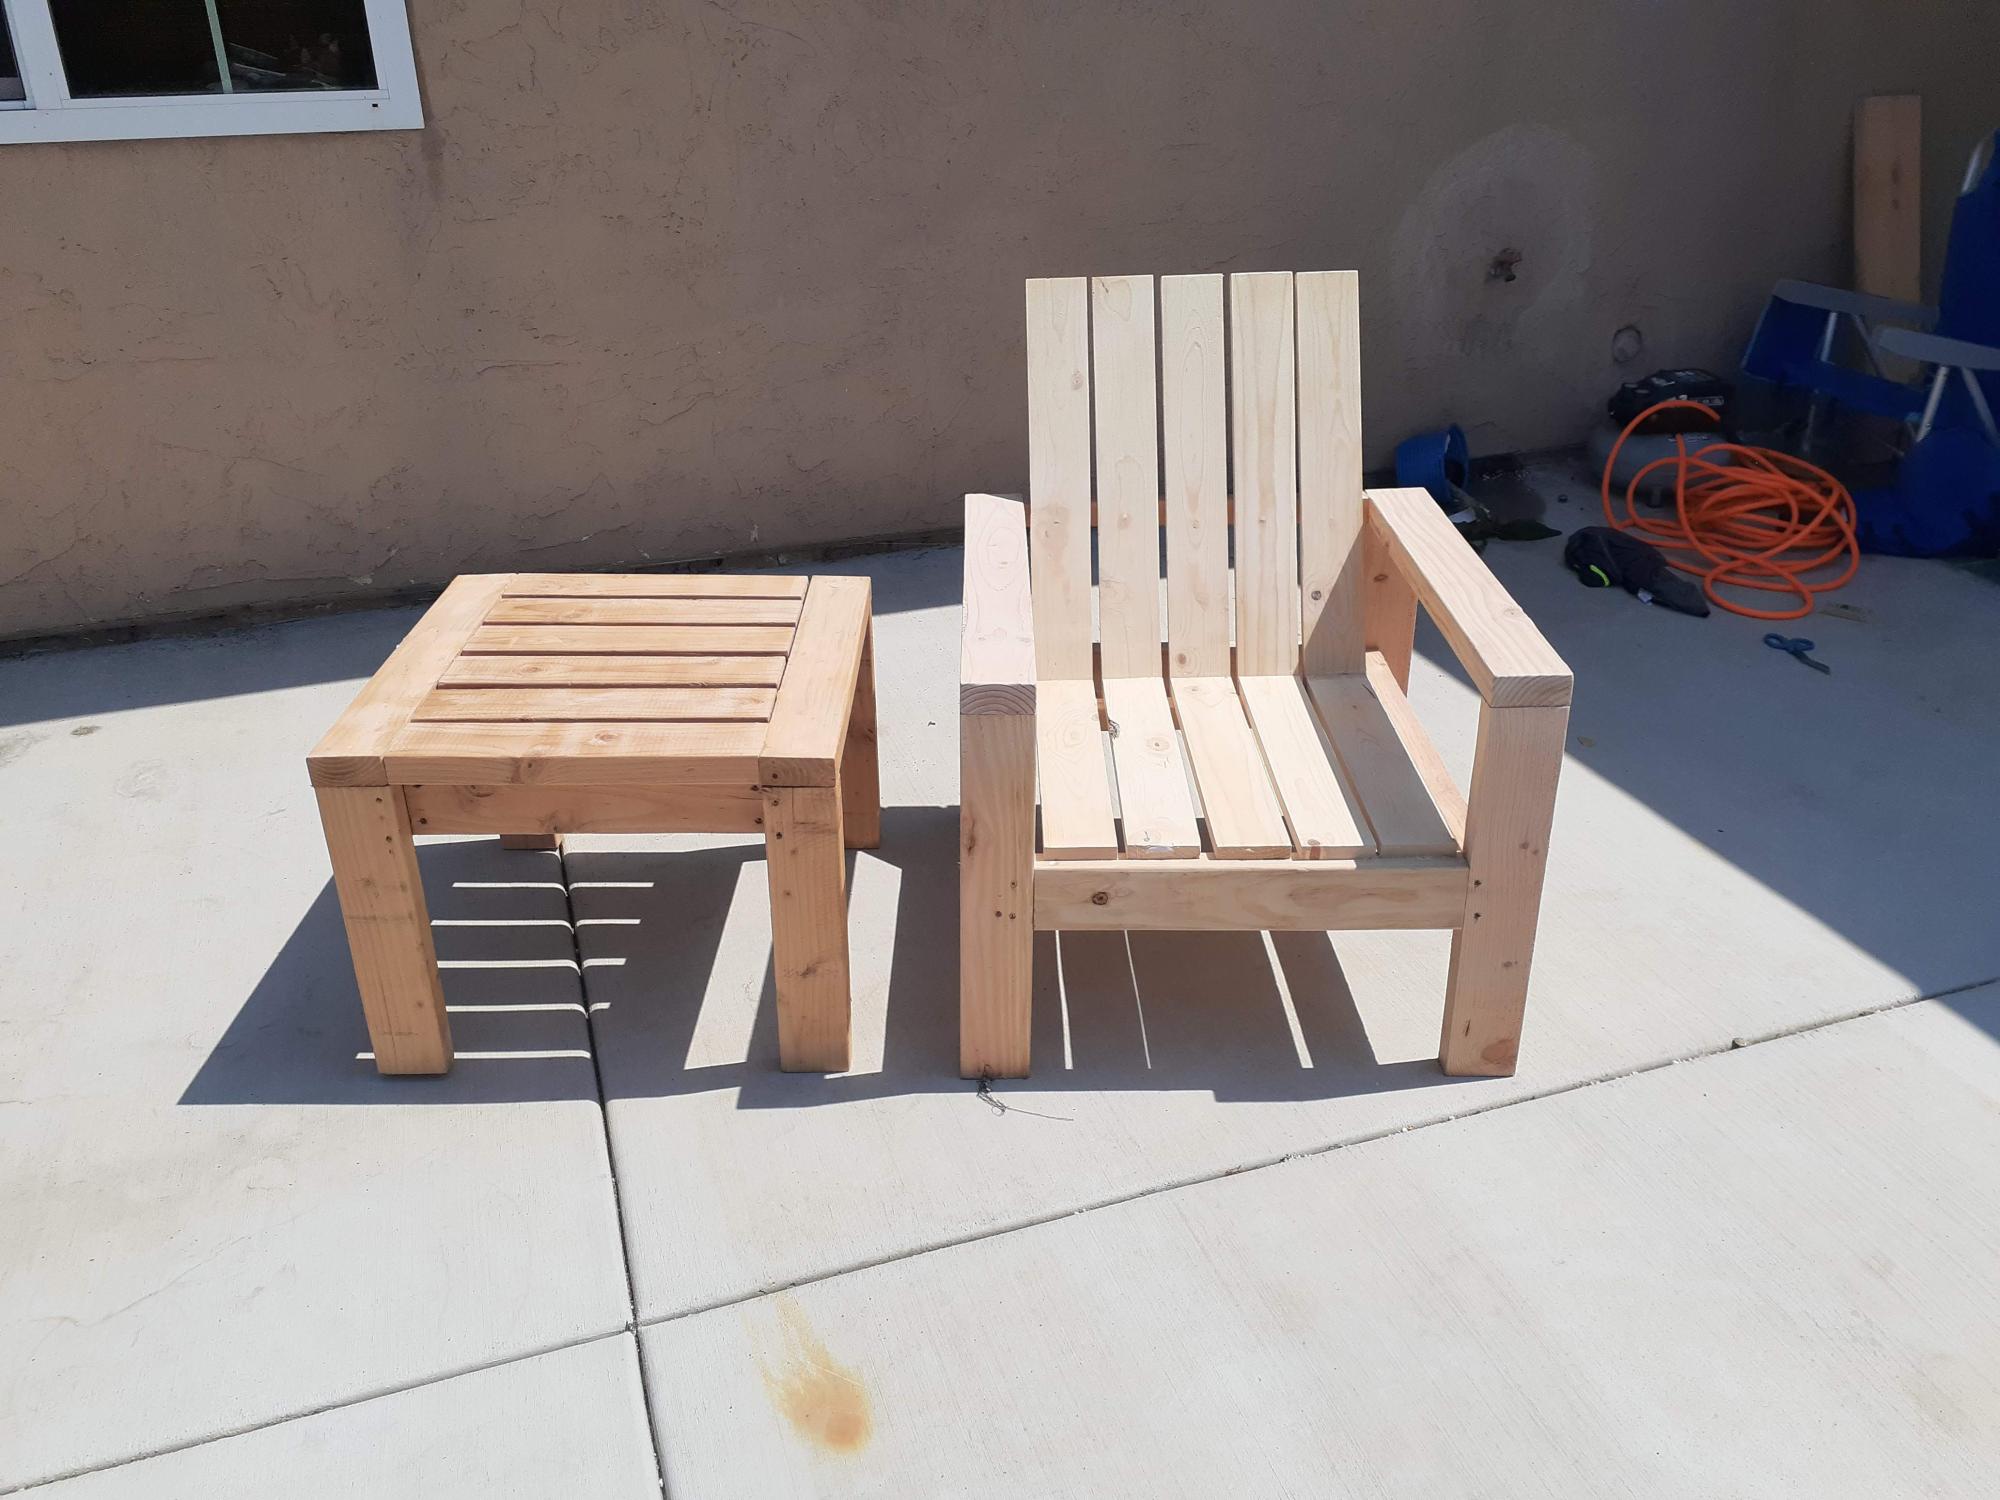
Loved building this and especially love that those who have seen them in person are asking me to build one for them. Thank you Ana White for making your plans easily available.
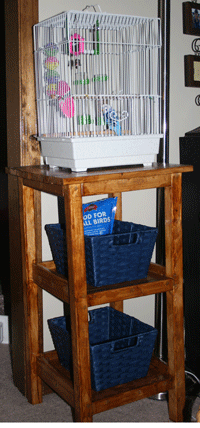
I just recently decided to try my hand at woodworking. This was my second project, first one from Ana, super easy instructions. I hadn't gotten the straightest 2x2s, since I had done my shopping with a two year old in tow, but I got it to work. After I completed it, my husband tells me it actually looked good--he seemed surprised. Anyway, I built this tower so that our new parakeet will have somewhere to live and I can conceal his food and other supplies in the baskets underneath. Without making any adjustments to Ana's plan with the exception that out 1x12s are only 11 1/4 it is the perfect size for our little bird cage. Thanks Ana for the design and inspiration to do it myself!
I built this table a year ago just never got the chance to post pics. It was an easy build.
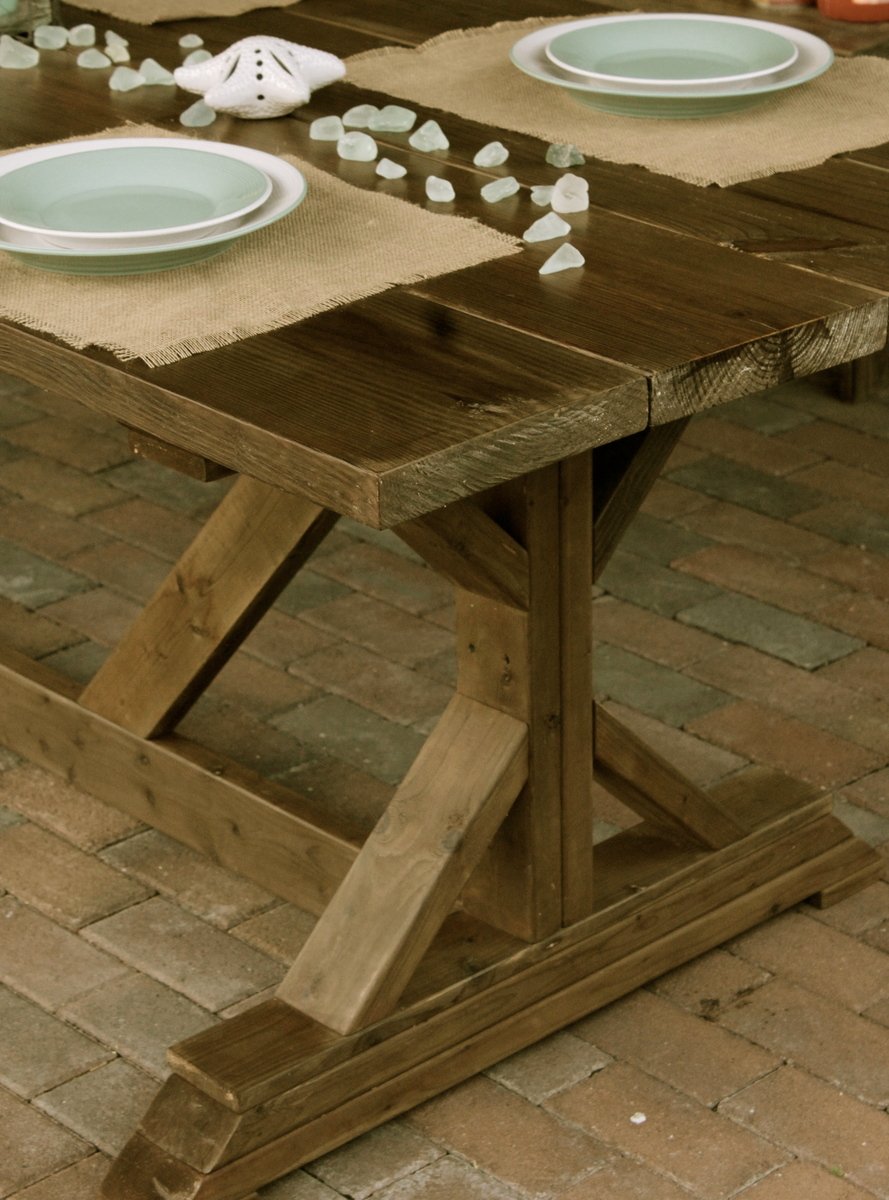
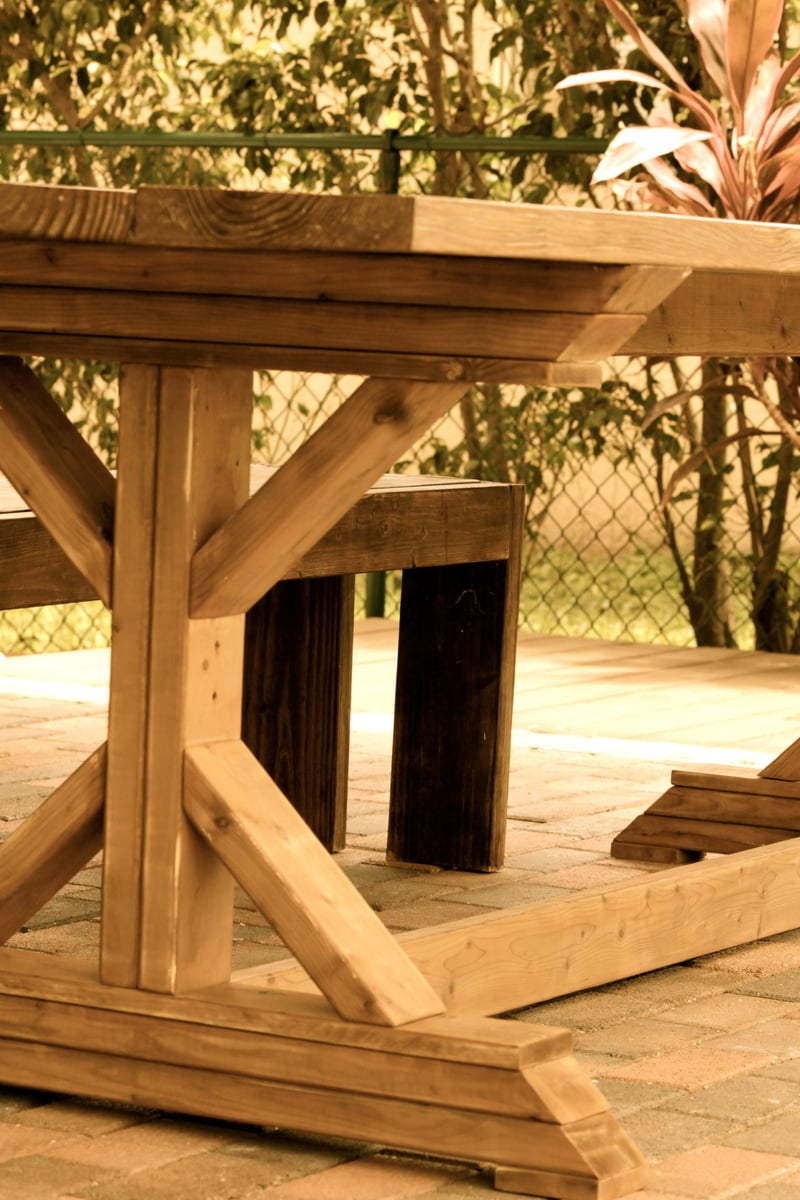
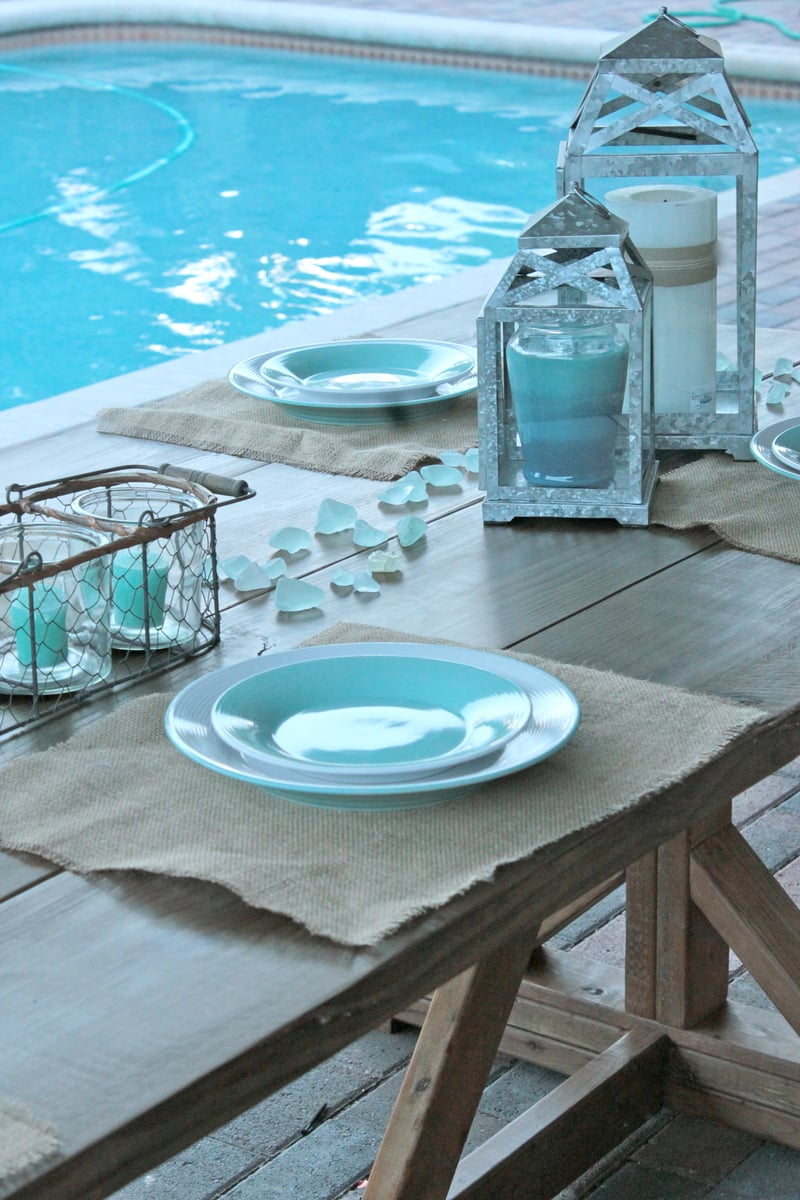
Sat, 09/07/2013 - 17:16
Your table looks beautiful! Love the finish, and the way you arranged and photographed it is wonderful, great job!
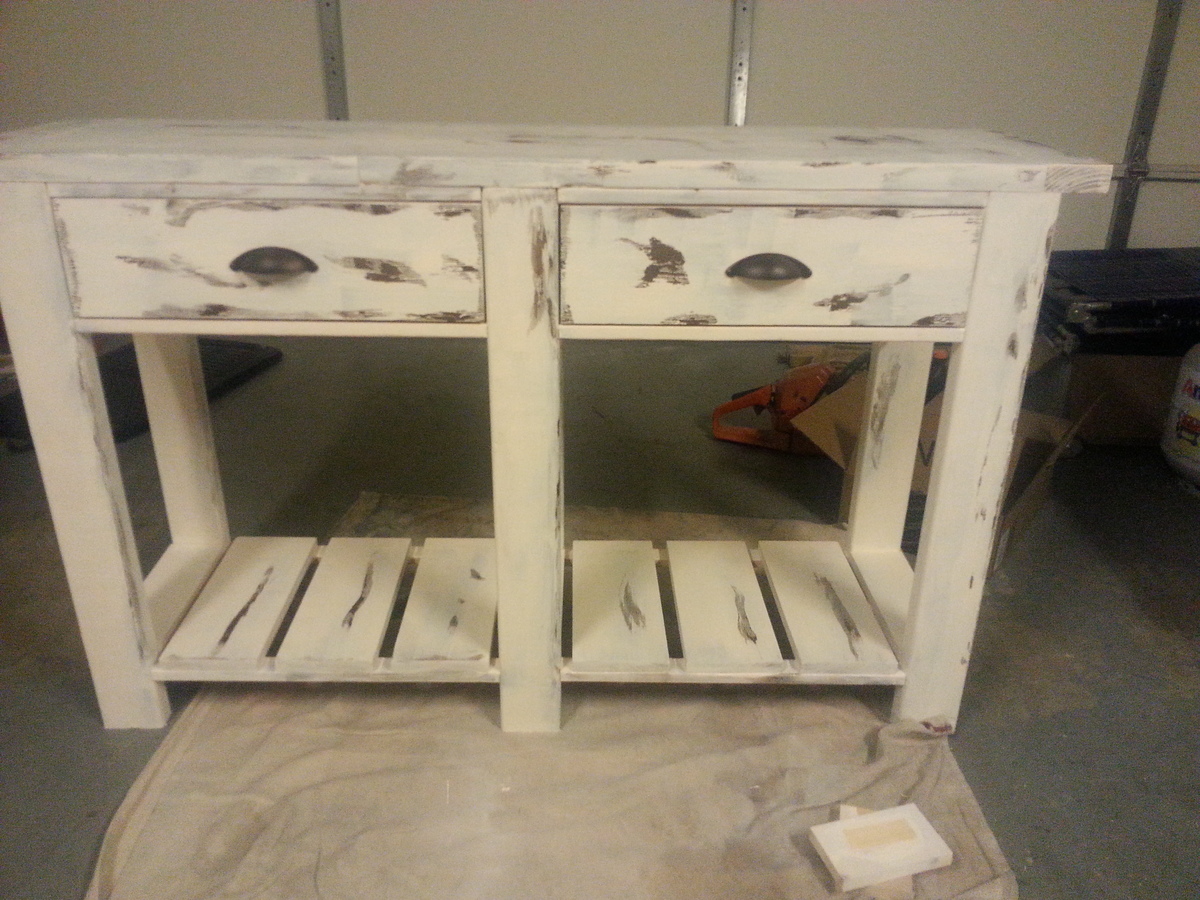
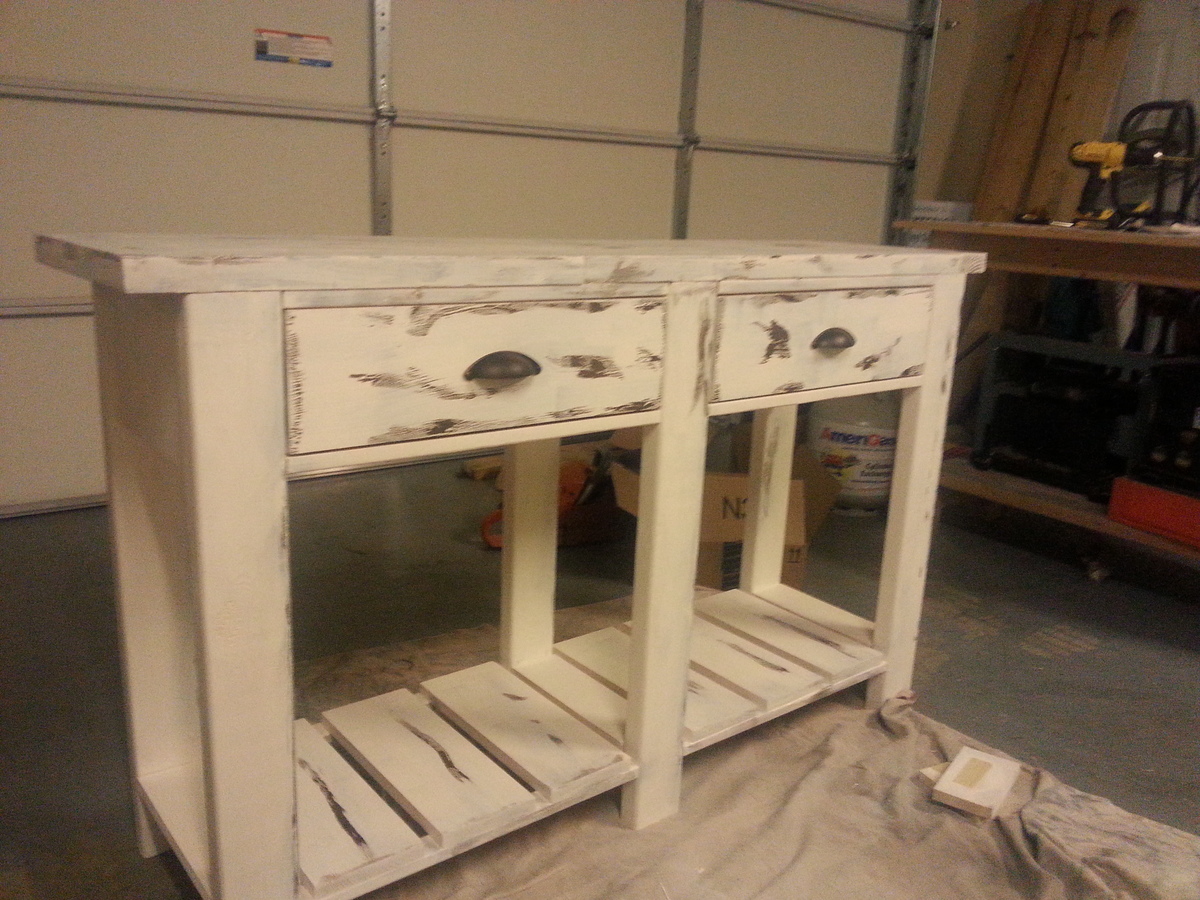
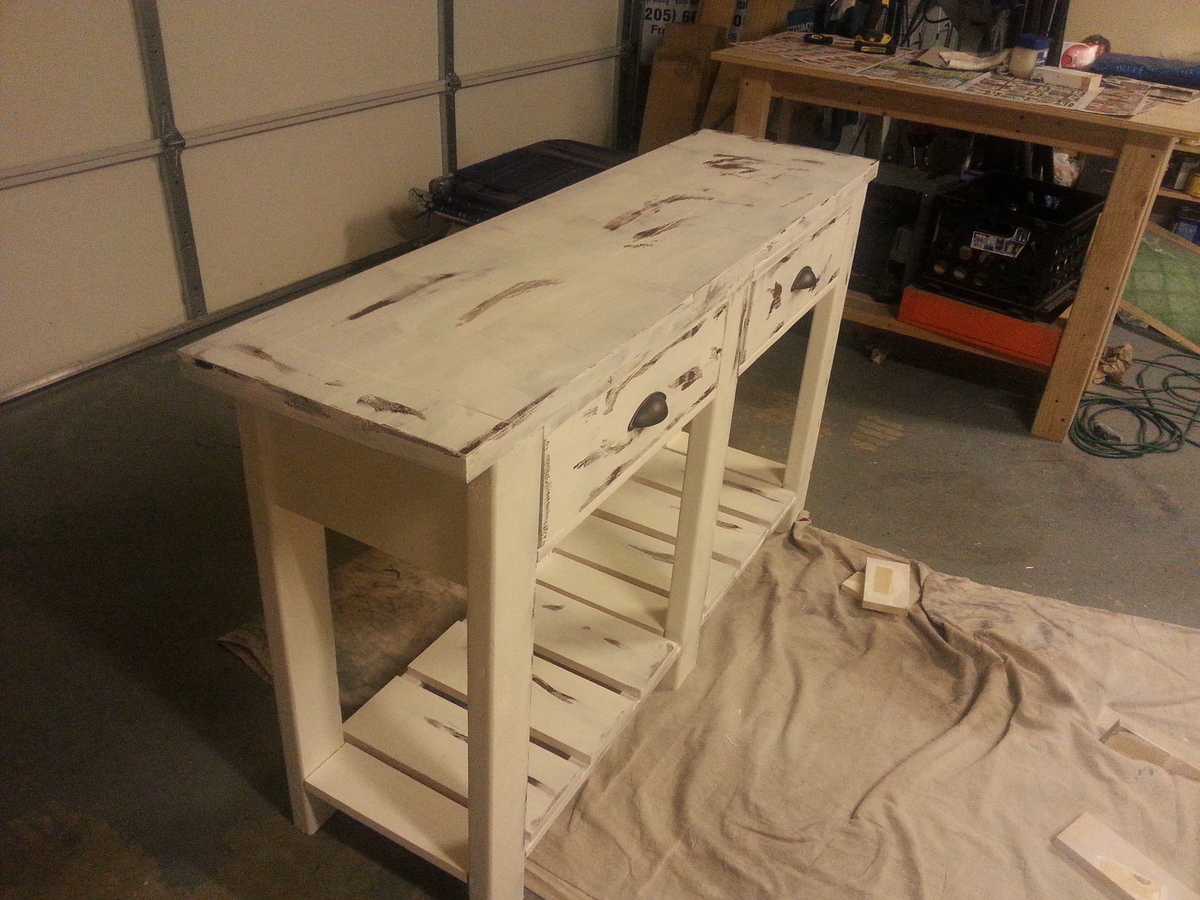
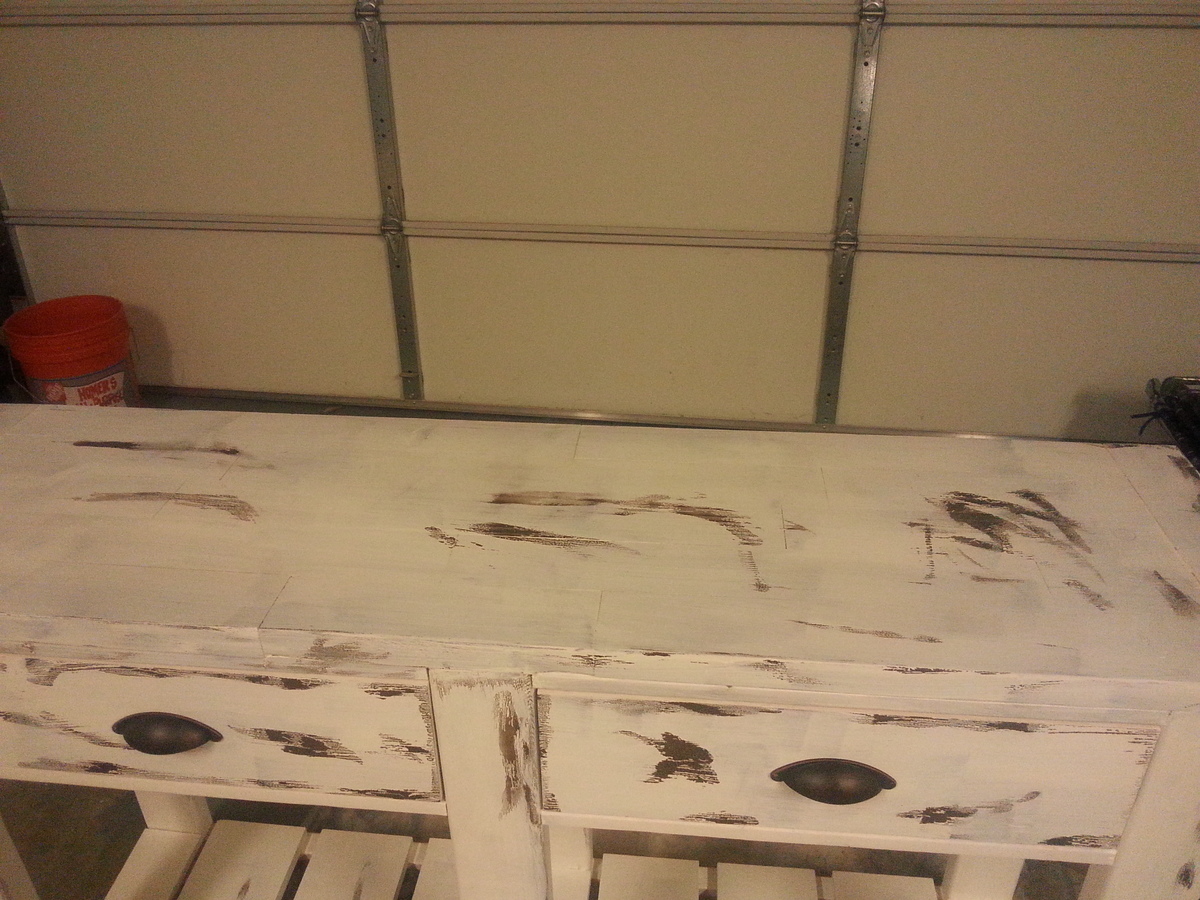
This was the first attempt at using the vaseline method to distress furniture and my wife loves it. I made the table top out of scrap 2x4's.
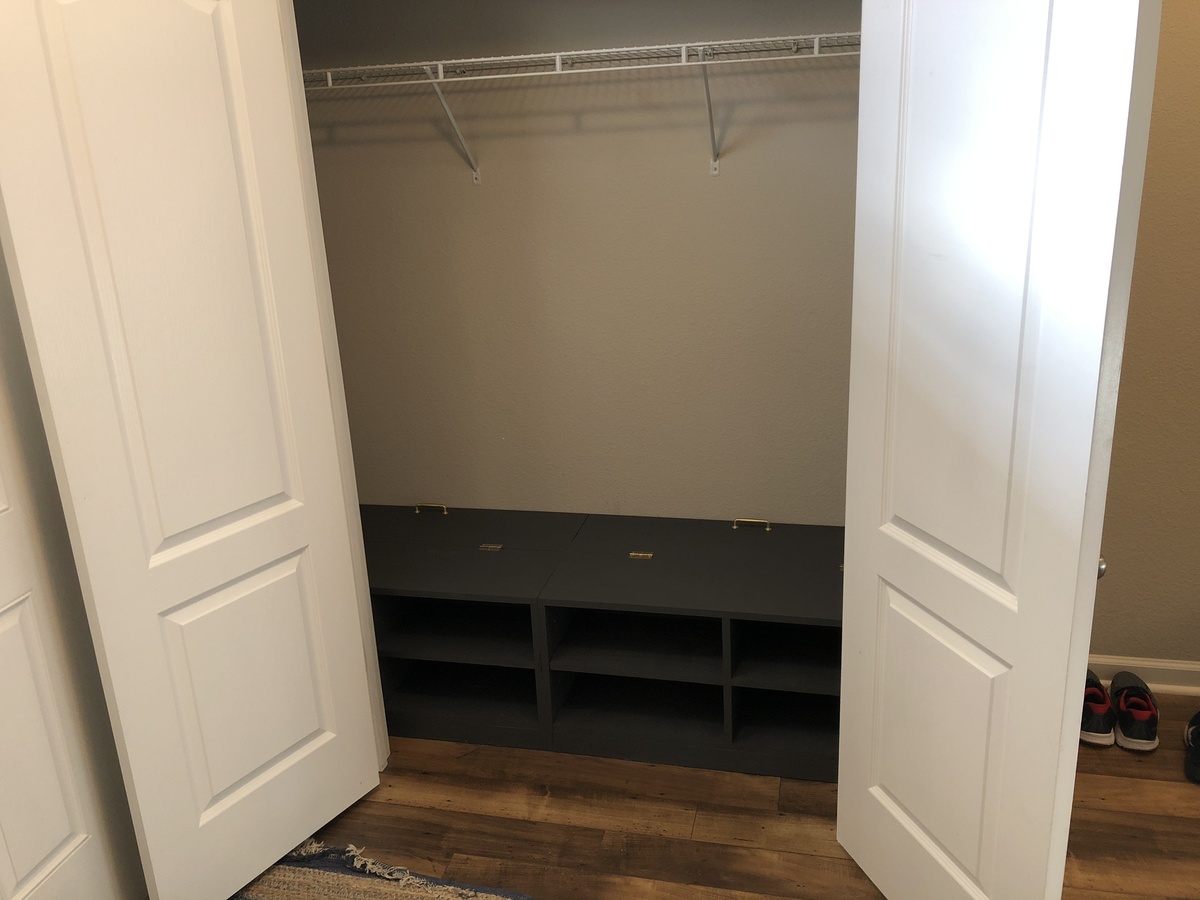
I just wanted better organization and shoe racks up close to the front of the closet instead of in the back but I also didn’t want them too deep. These plans fixed that.
Wed, 01/02/2019 - 12:14
This is awesome!!!! I'm so excited to see the closet built and to read that it is working well for you! Share some more pics sometime!
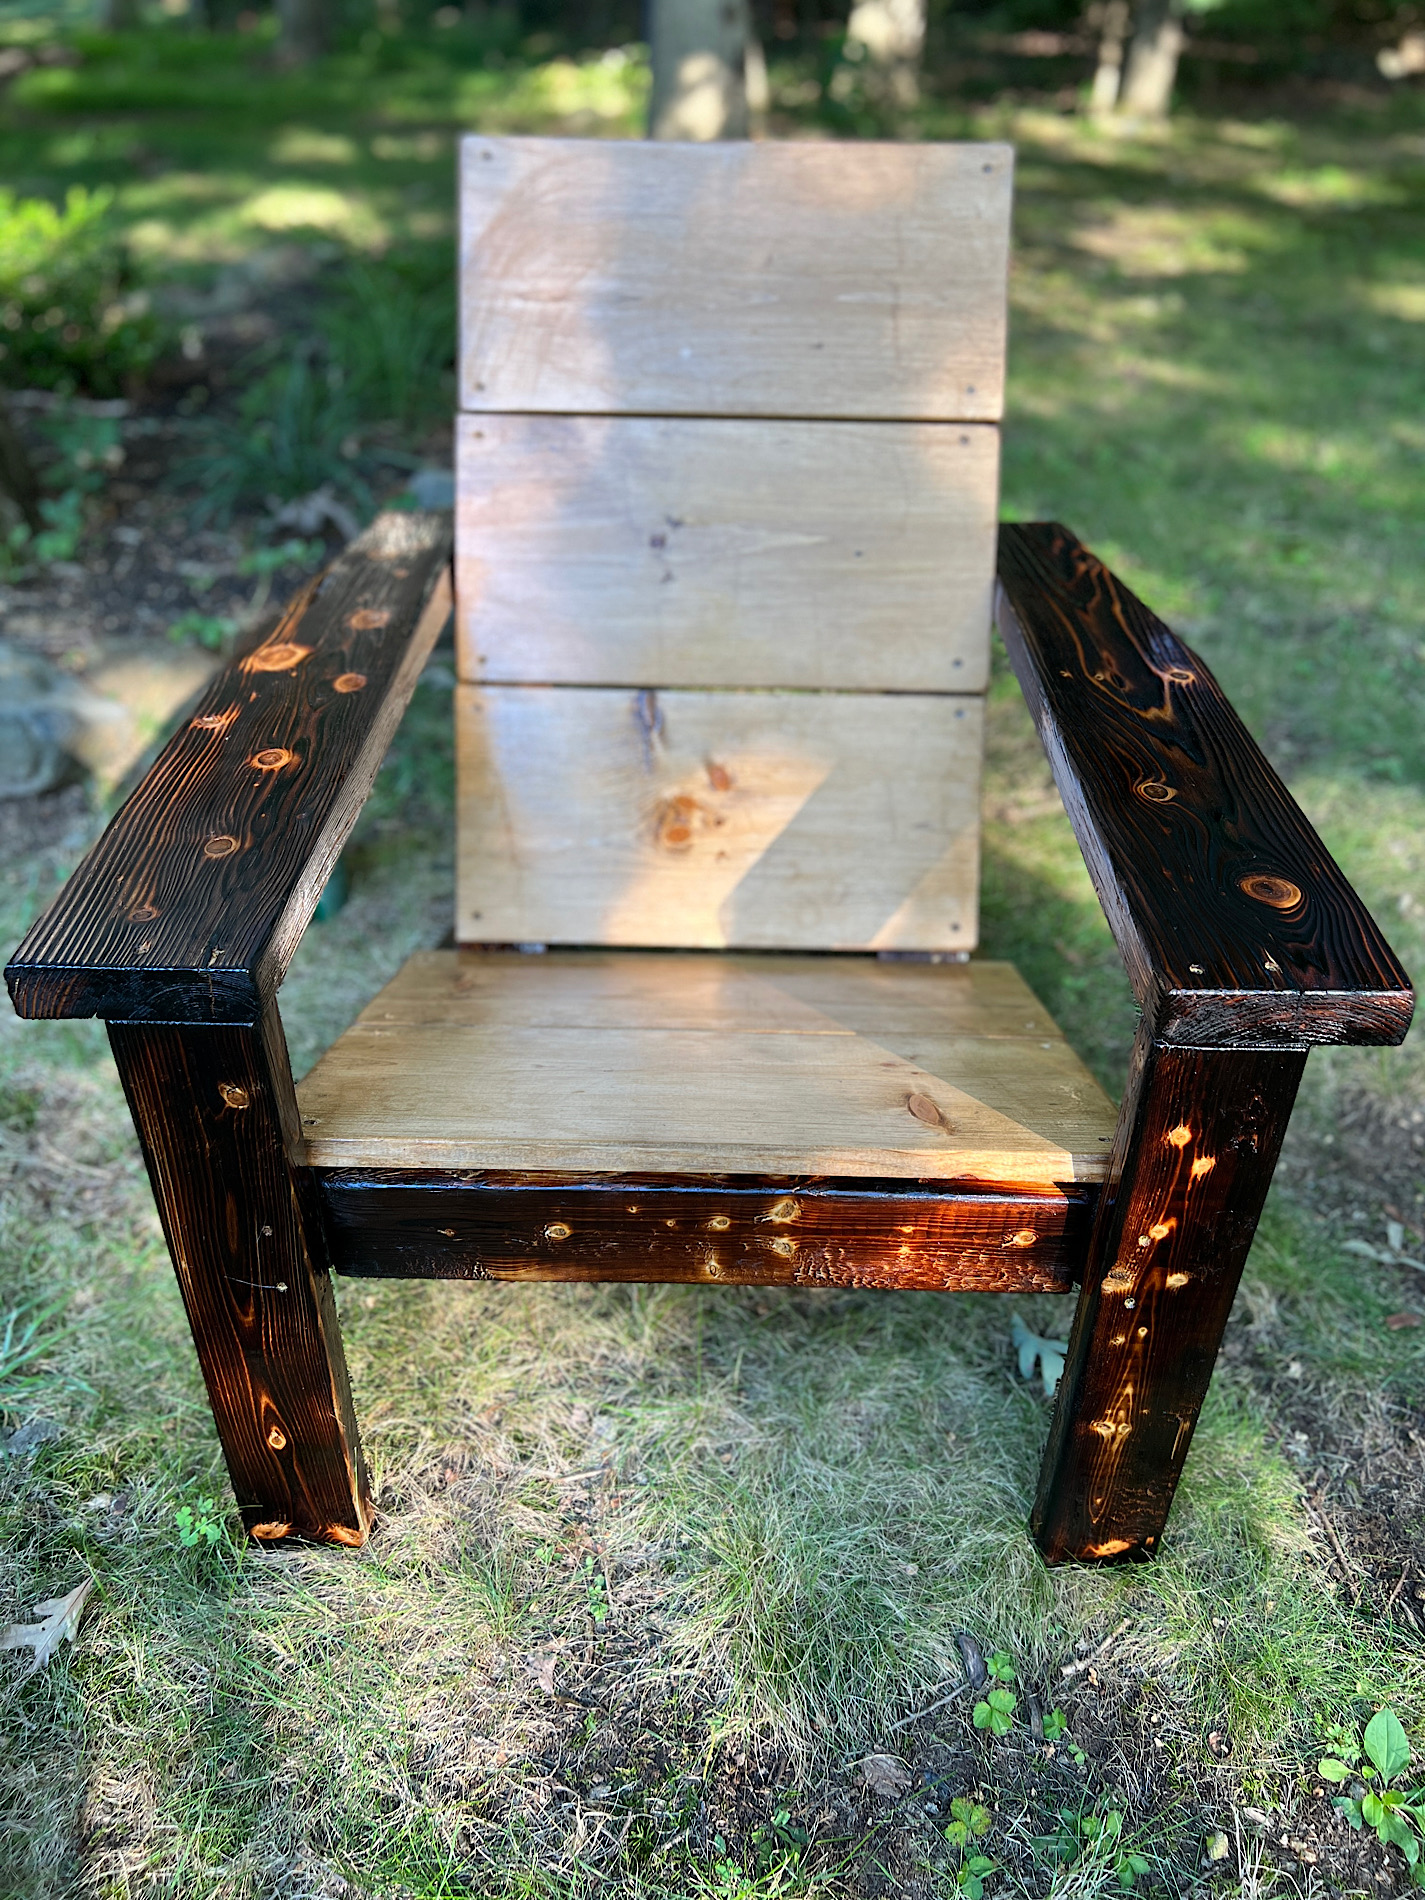
Made one change to plans. I used 2x6s for the arms. I used the Shou Sugi Ban burning technique to finish the 2x4s and 2x6s. I stained the back and set and the applied a couple coats of poly. Love the chairs! Building a couple more sets for around the fire pit. Thanks!
Thu, 09/15/2022 - 08:25
Love the wider arms and the finish is beautiful! Thanks for sharing.
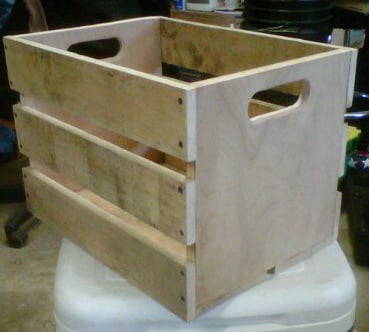
I decided to not paint it, but we sanded it REALLY well. I also decided to forgo the caster wheels just so it would fit under an entryway table. Right now I'm using it for dog toys!
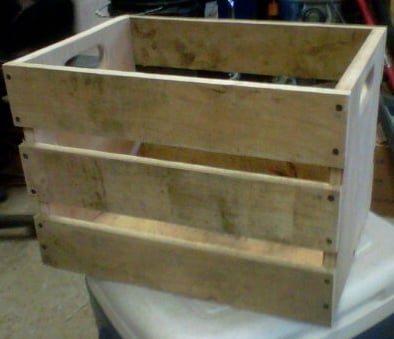
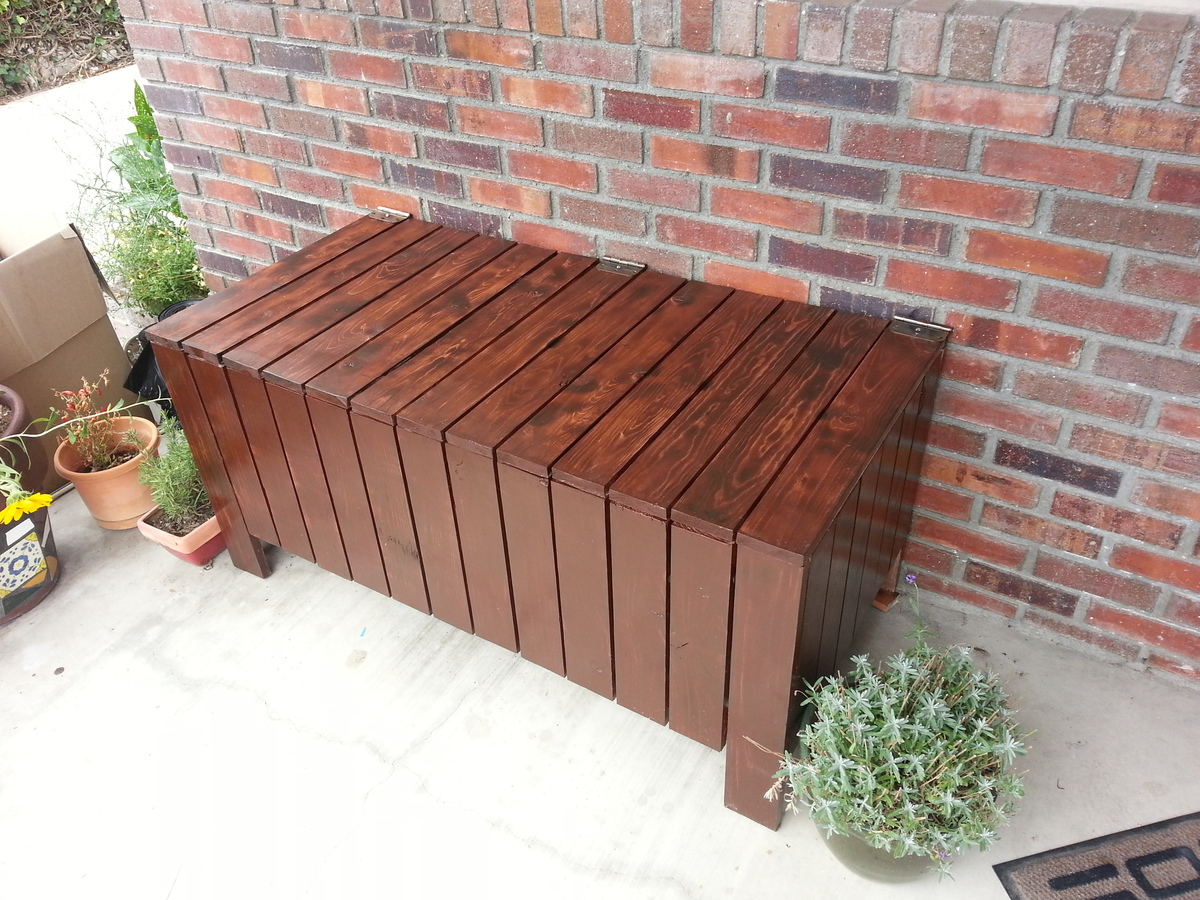
Burnt the wood with a torch before staining and used really cheapo pine.
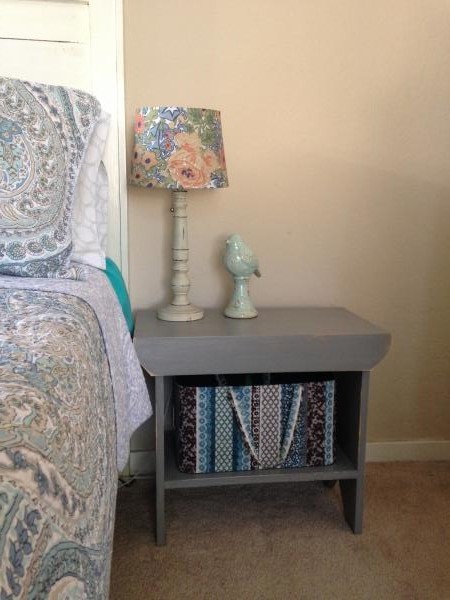
I loved the country gray paint, so stayed with that. But my bed is one of the farmhouse beds and needed it to be a little taller. It turned out beautiful and have already made a second to match!