Loving These Shelves
I changed the plans a little bit to add on the extra shelf on top as well as making the shelves an inch narrower than the plans. The project was actually pretty easy and really only took me about a days worth of work.
I changed the plans a little bit to add on the extra shelf on top as well as making the shelves an inch narrower than the plans. The project was actually pretty easy and really only took me about a days worth of work.
My husband and I built this together. It was a fun project!
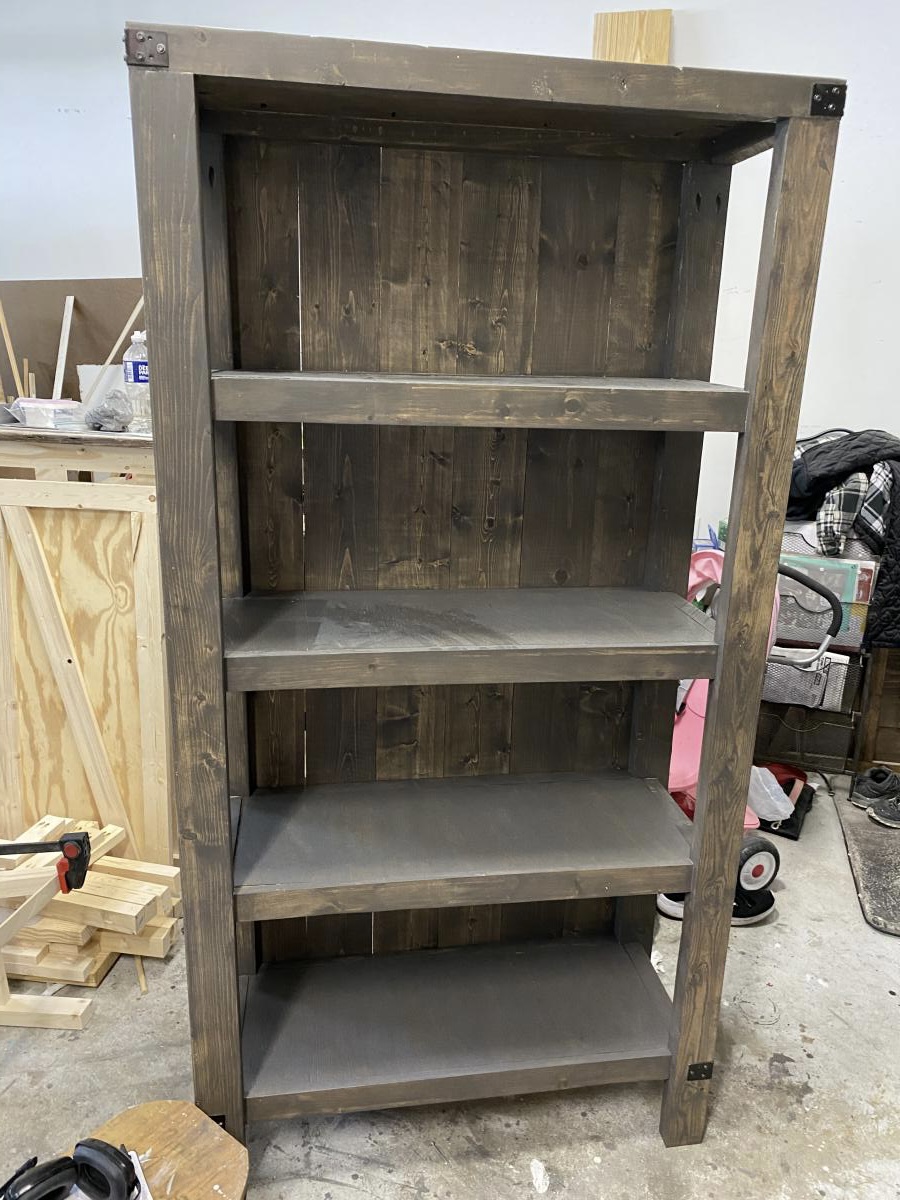
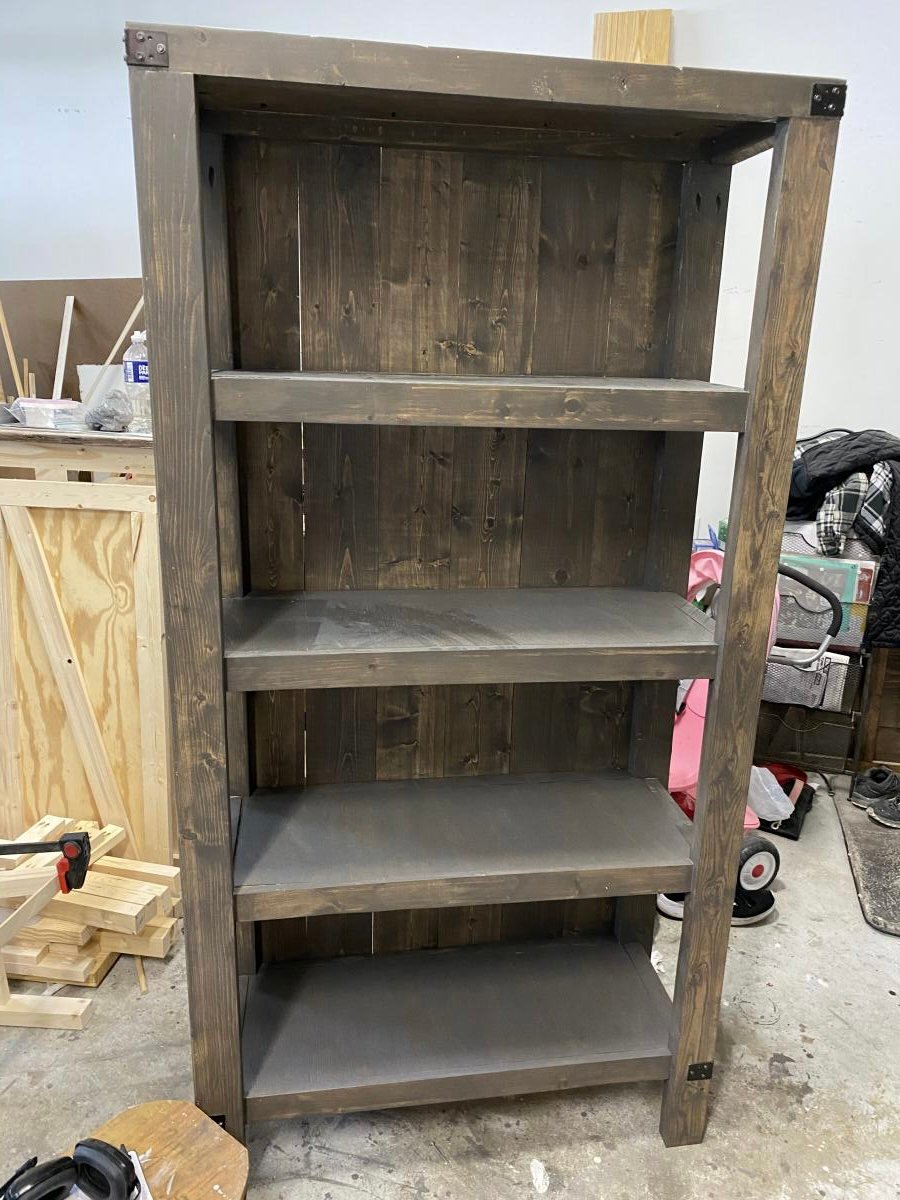
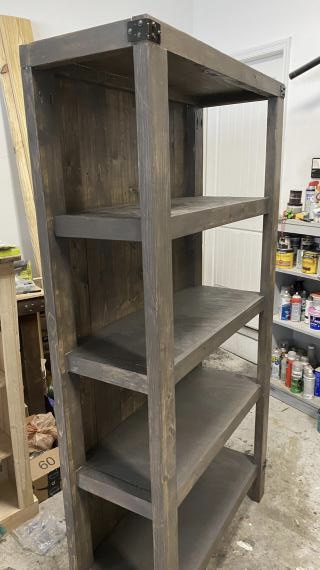
My husband has been hounding me to build him a bookshelf for his office. I actually used wood that I already had in my garage. The next time I build it, I will follow it exactly... I used plywood on the shelves and planks on the back... next time, I will do the opposite, but I really love it!!
Fri, 03/19/2021 - 09:31
The brackets add that farmhouse industrial feel, great job!
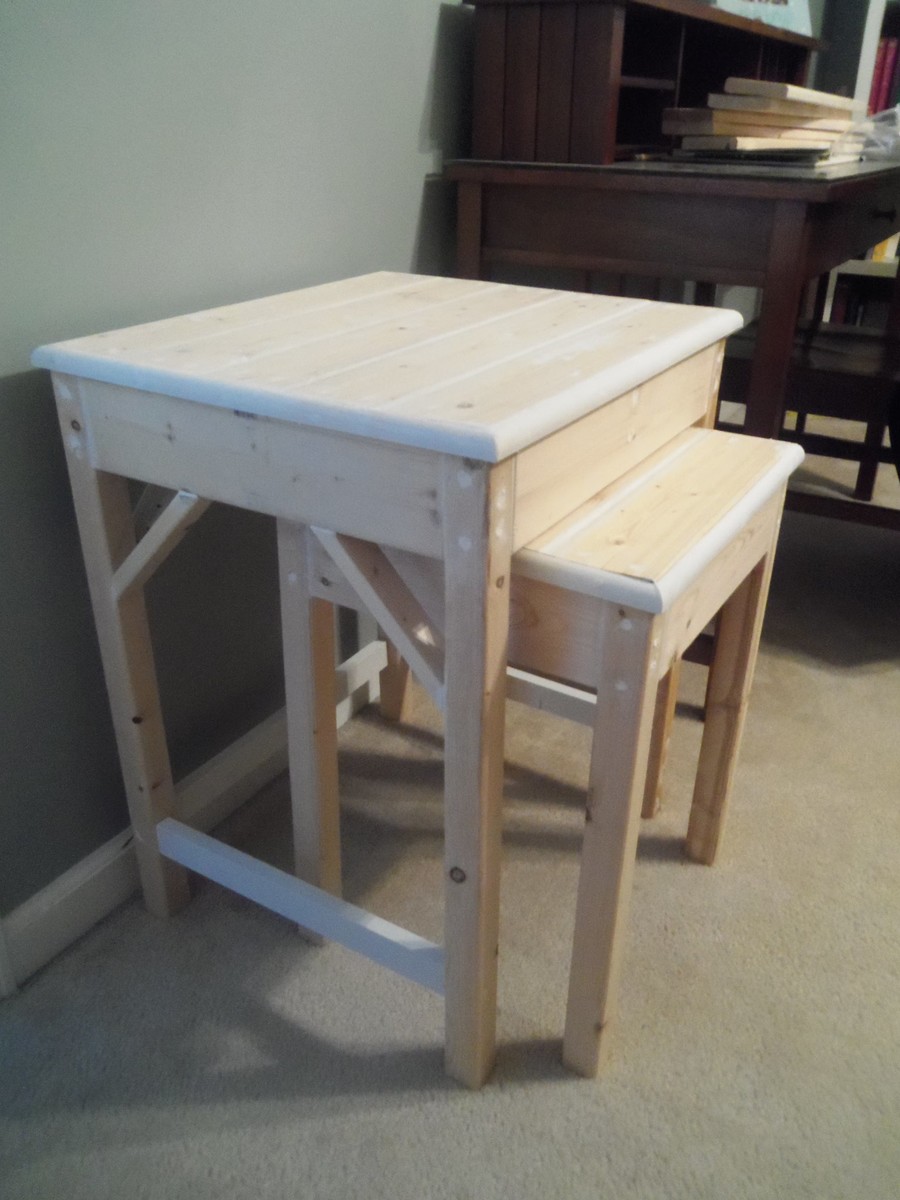
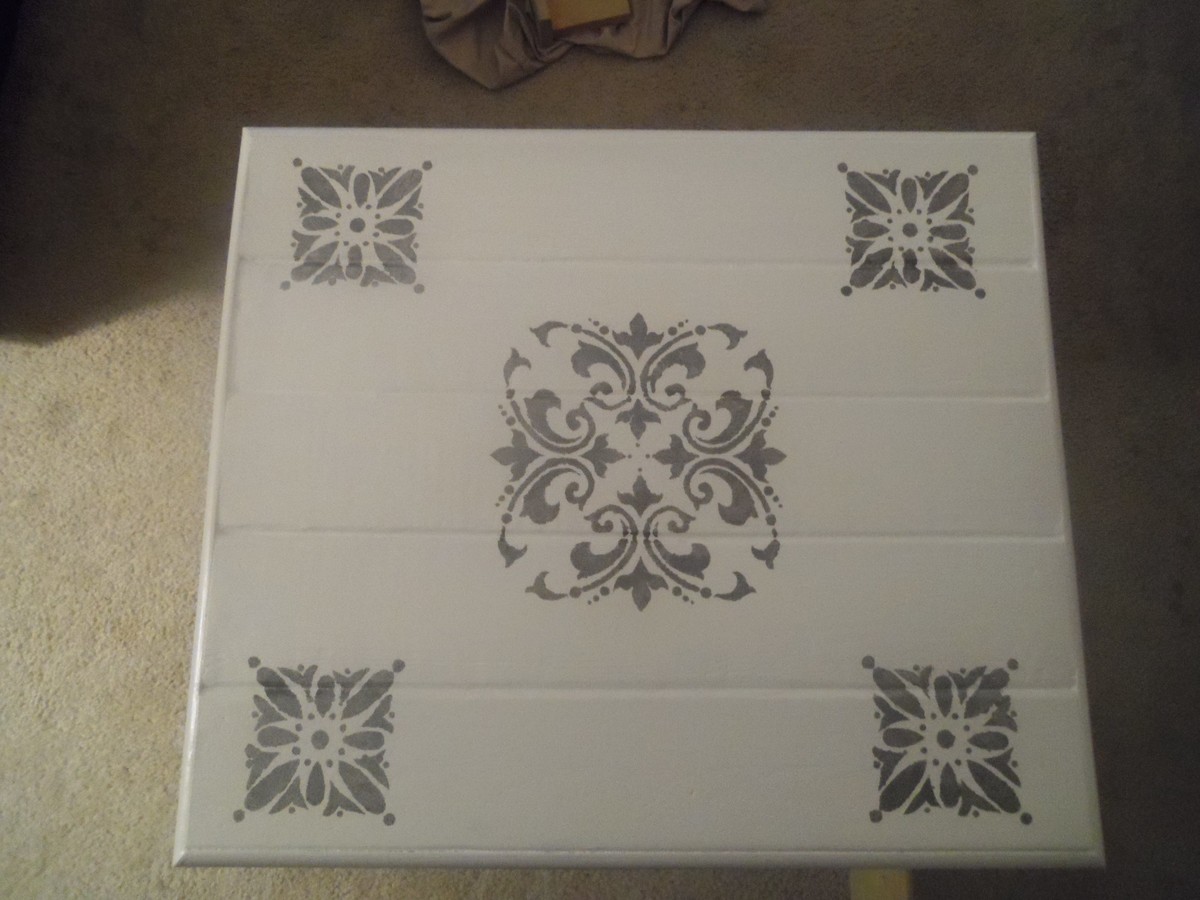
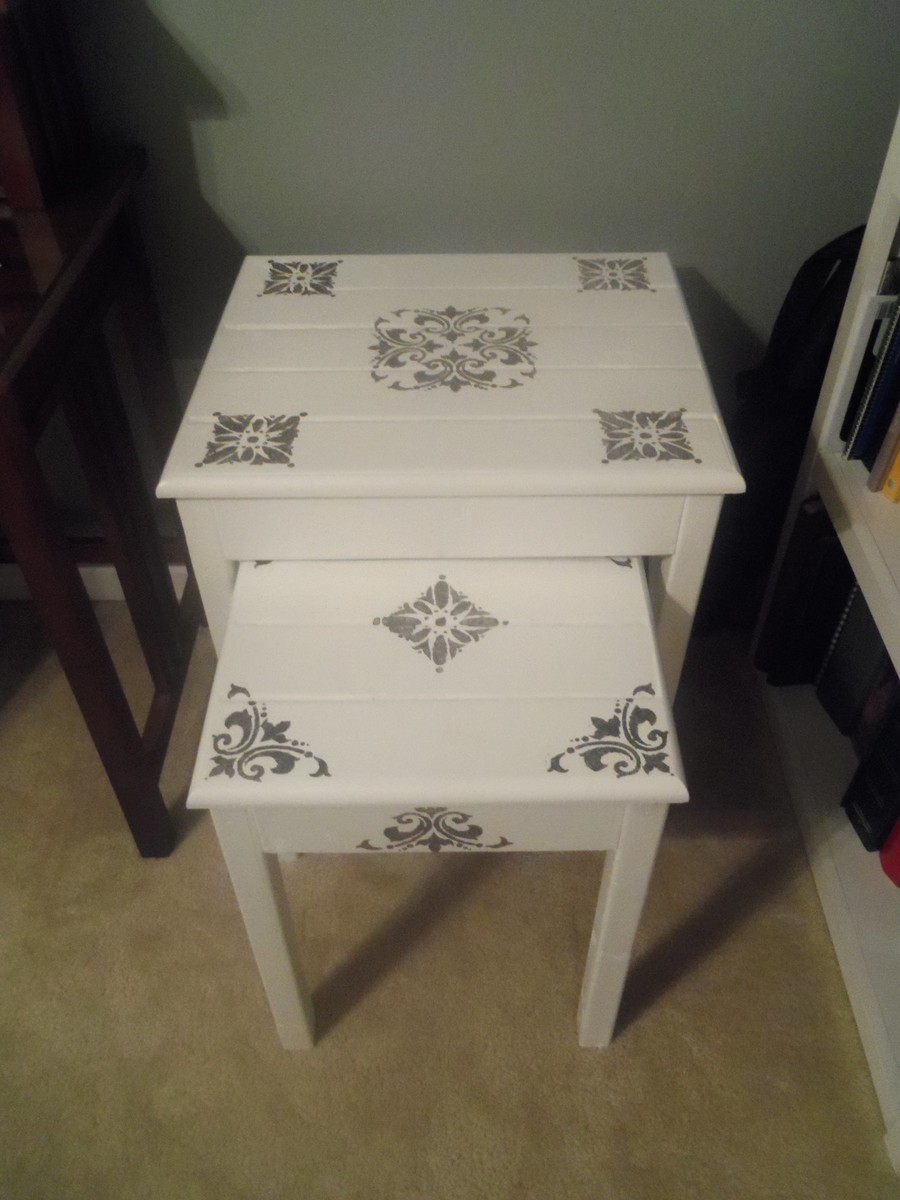
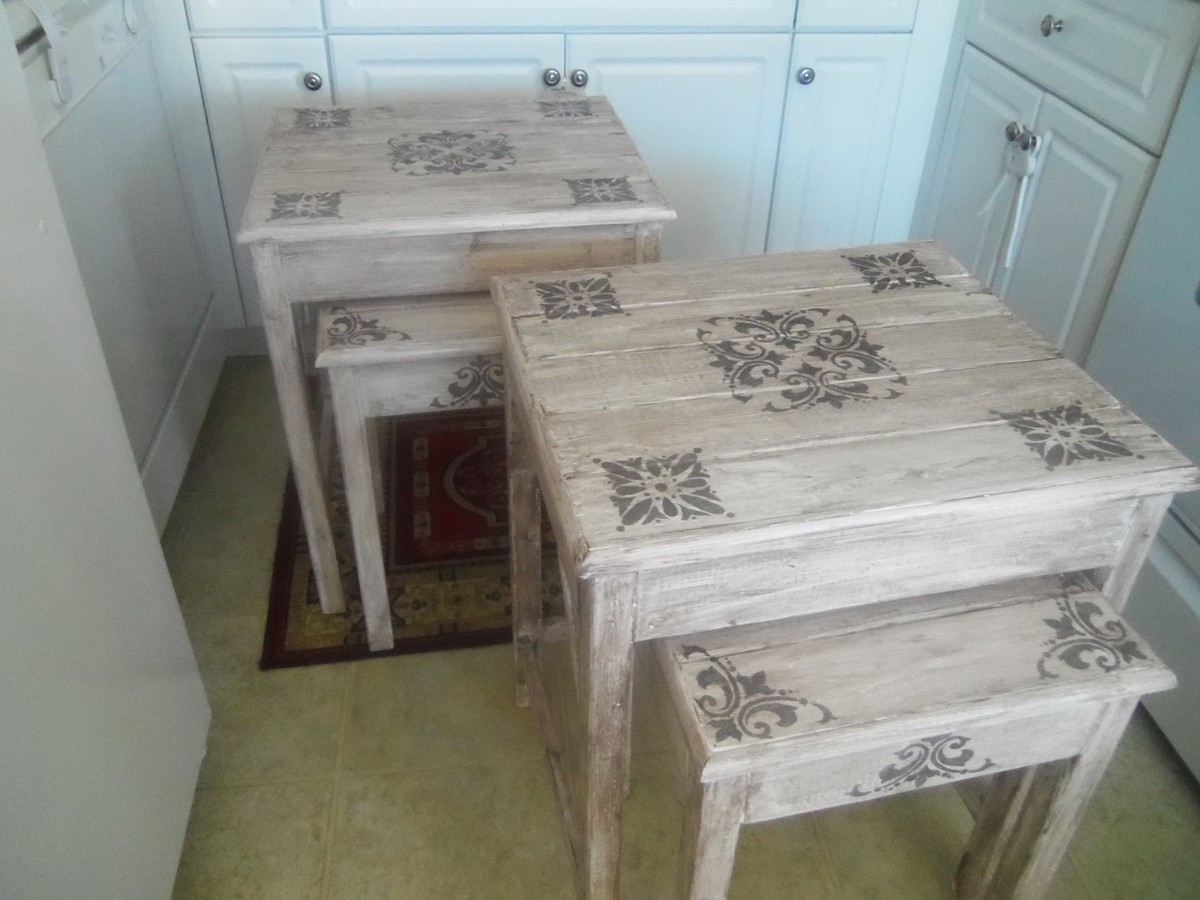
We needed some sturdy side tables since we have 3 boys who like to climb. I saw these and thought they'd do well at our house. I will say that next time I make any sort of table I will invest in some better wood. I got the cheaper wood and found out that getting it to be square was a problem. But I made it work. I would have liked to stain them but I ended up having to paint them because there were some gaps on the top I had to fill.
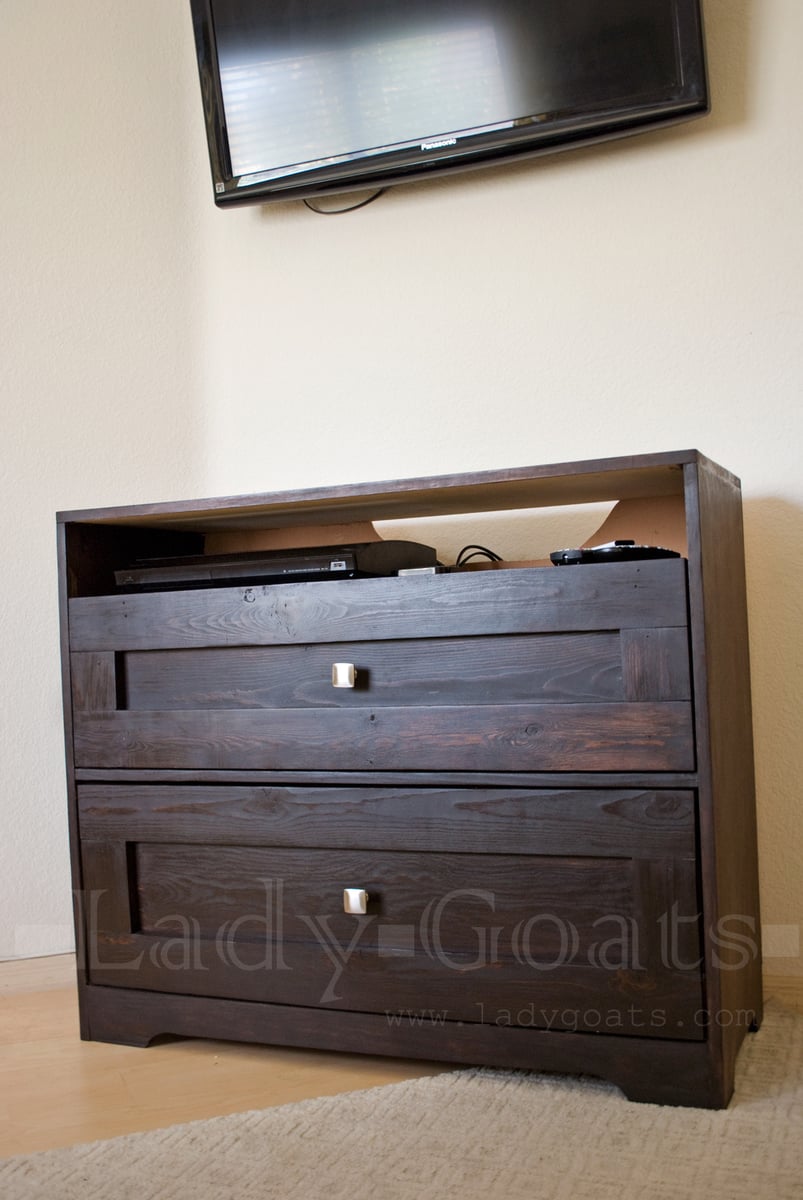
Spent forever building this modified version because I couldn't figure out what kind of drawer faces I wanted. Finished with General Finishes gel stain and Minwax Paste Finishing wax.
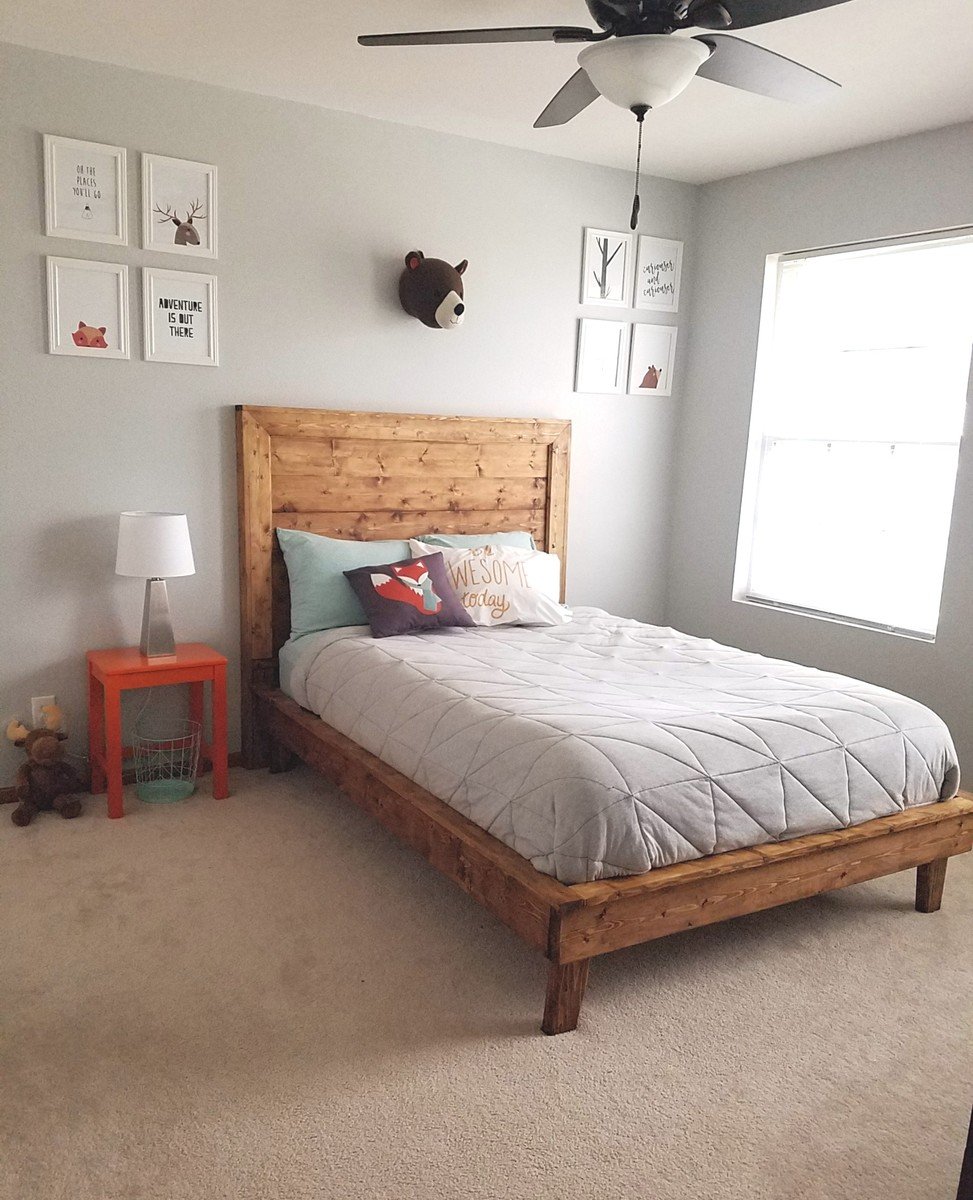
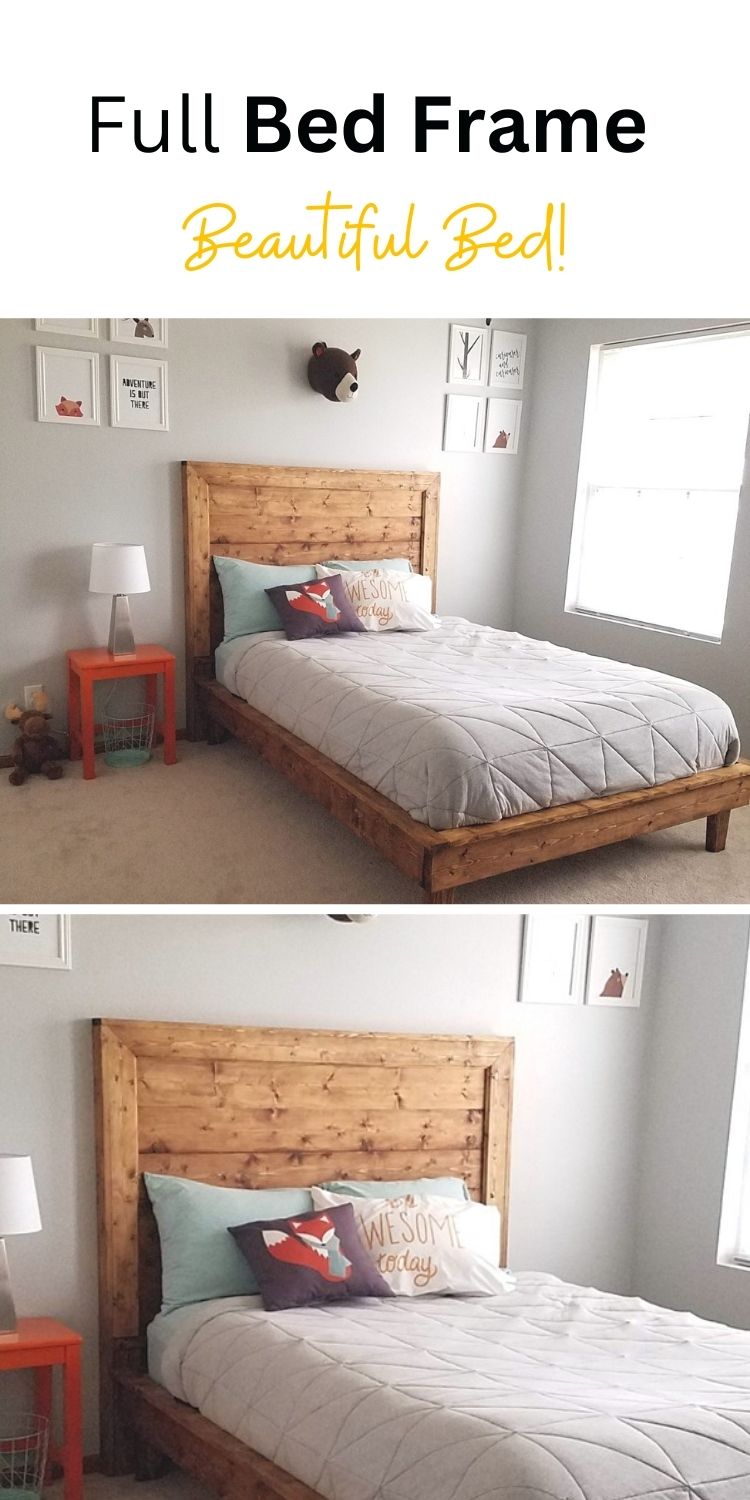
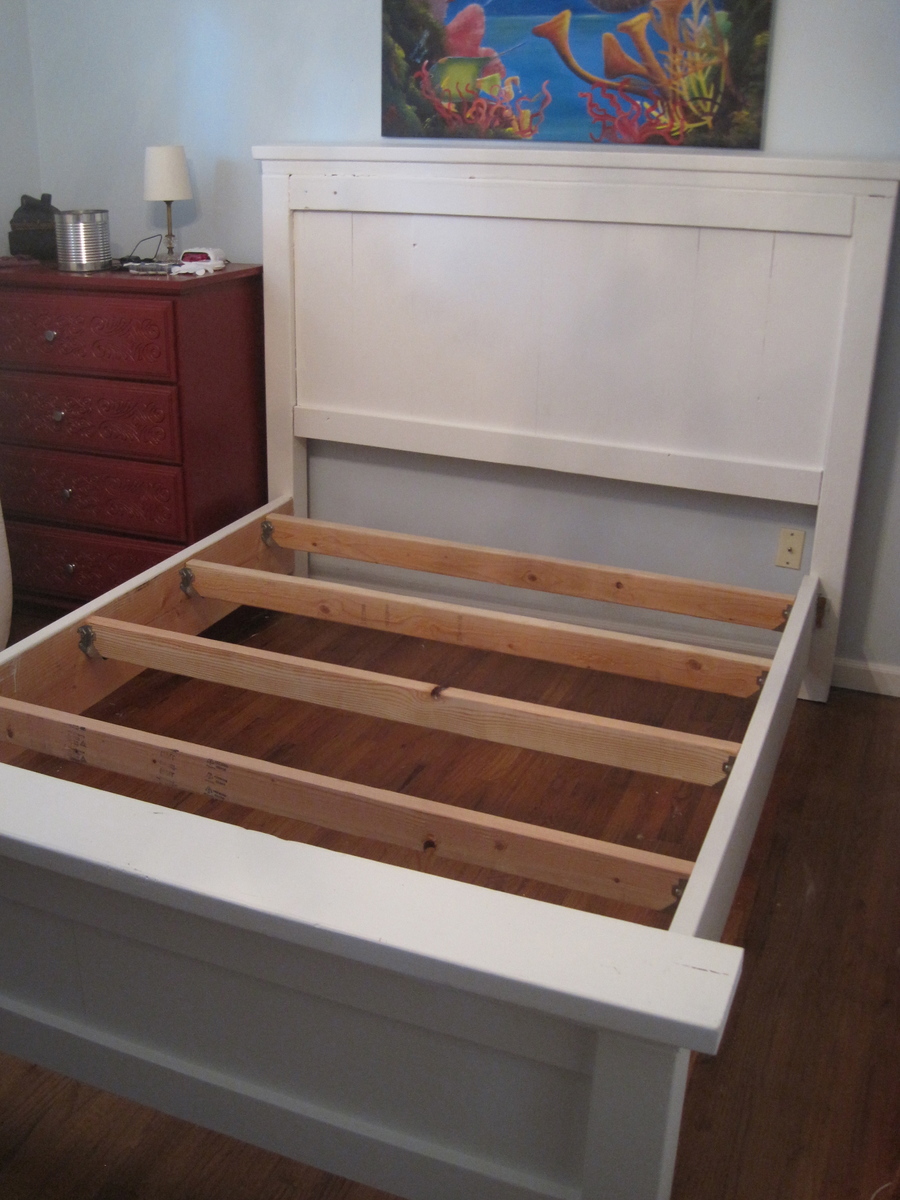
This bed is gorgeous and the plans are perfectly laid out for even a beginner to use. We were making a full bedframe, so we used the exact measurements given in the cut list and it fit the mattress just right. We made the accompanying headboard with a few changes. We were using pine and wanted the headboard casing to match, so we just used 1x4's and routed the edge with an ogee bit we had on hand. We also wanted the platform just a tad bit higher and made the legs 10 inches instead of 7. We also ended up making the platform slats out of 1x4's instead of 1x3's as they were cheaper.
Pin For Later!
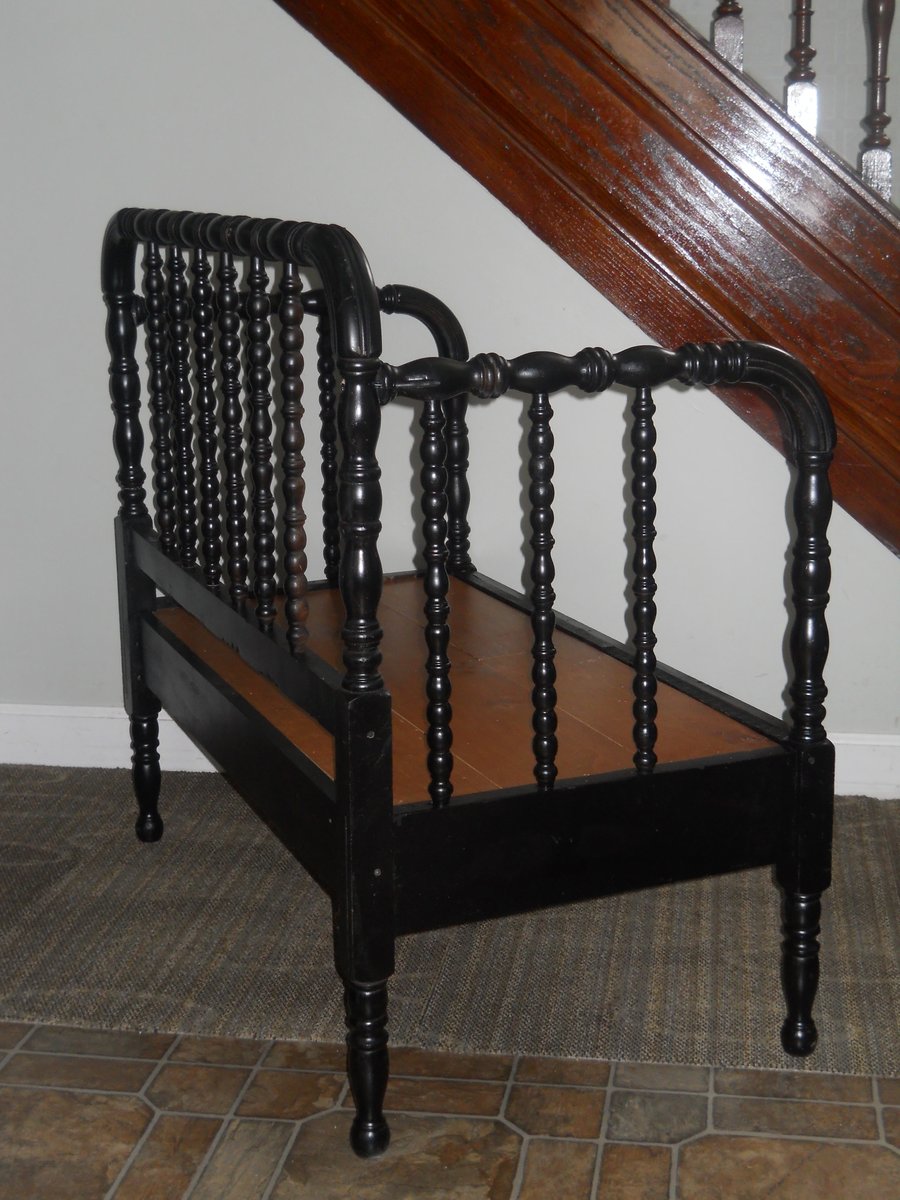
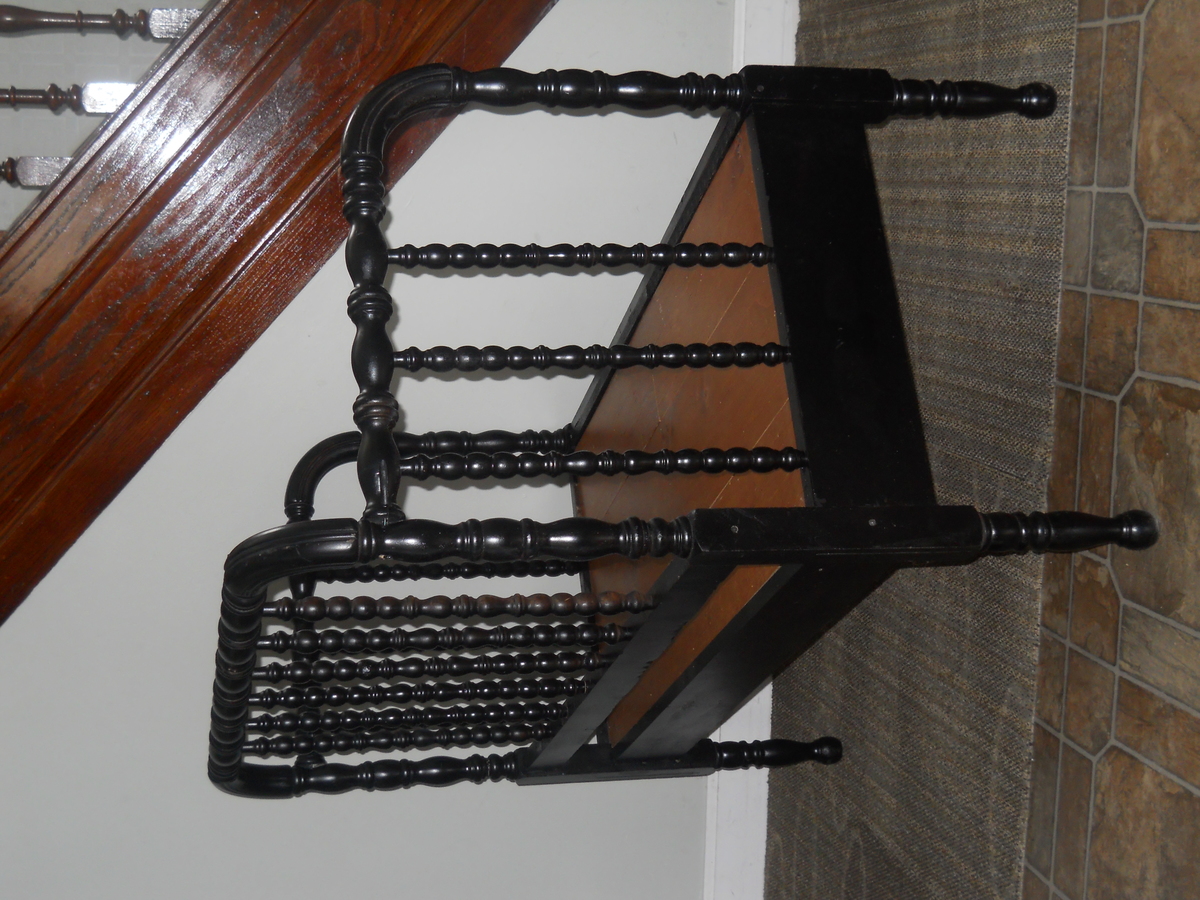
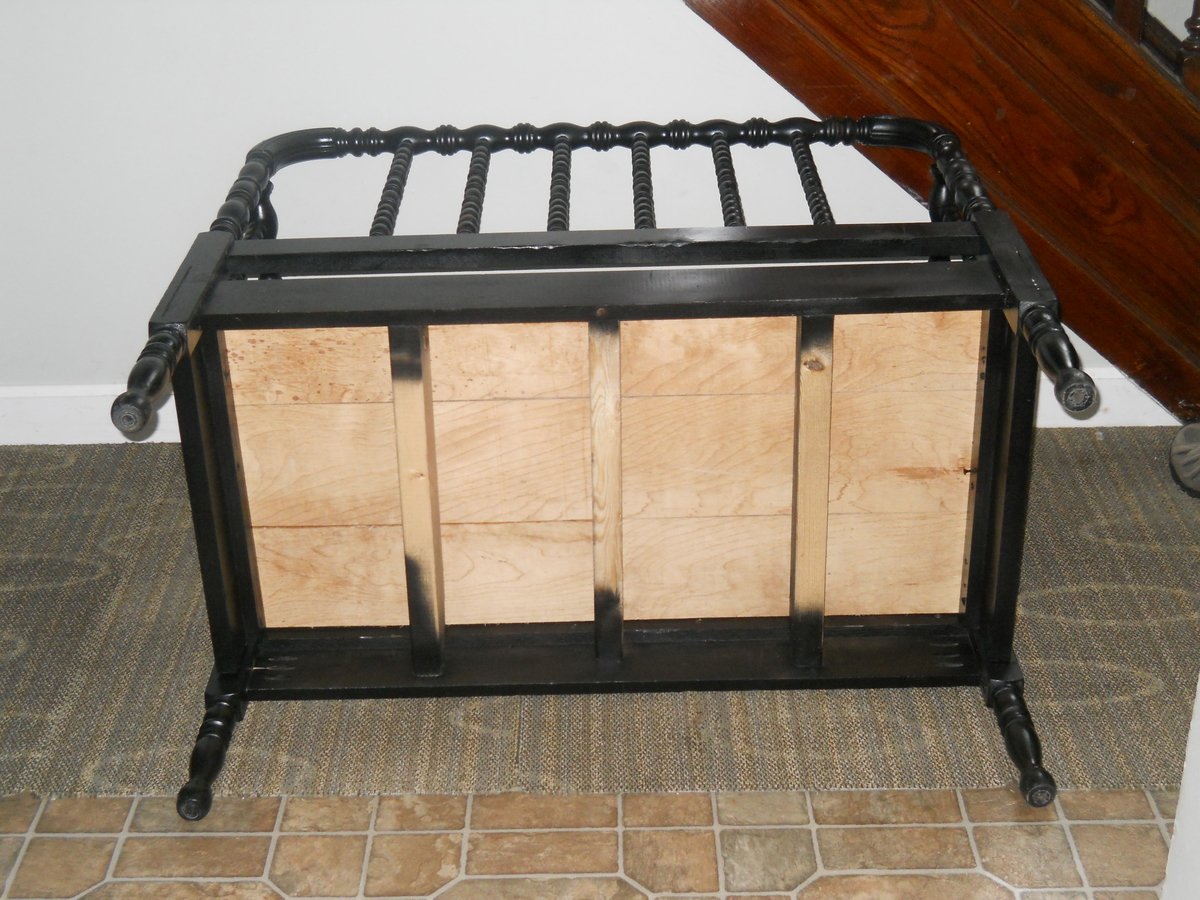
This was my bed handed down by two other siblings growing up a number of years ago. It is a Jenny Lind which I cut the foot board in half, attached to the head board, used the side rails for the frame on the front and sides and attached with my Kreg Jig. The underside frame was from left over pine trim from a window project and the seat was from leftover paneling from a bathroom remodel. I painted the bed with a satin black spray paint and left the seat as is.
Thu, 03/14/2013 - 10:47
I have a twin head and foot board I got at Savers (thrift store) a few months ago to do just this. Just have to get my other projects out of the way (and out of the hubby's way as well) first. Great job!
Thu, 03/14/2013 - 13:28
I also have this type of project on my TTB list, using an old waterfall style bed frame. I already cut it apart and everything. Seeing how well your's turned out might just give me that little push I need to get mine finished. Thanks for sharing!
Sat, 03/16/2013 - 16:51
This turned out great. I did my first curbside stop and pulled an old crib out of someone's trash pile last summer. I just happened to be borrowing my mom's truck at the time...If I owned a truck, there would be no stopping my hoarding! Your bench turned out excellent. I plan on making mine a bench too. My husband has been complaining about the old crib leaning against the house in the driveway for a while now. Yep, better get started.
I love this plan. I made this for my toddler and he loves it! My daughter is too small to climb on but she's always trying. She loves it too.
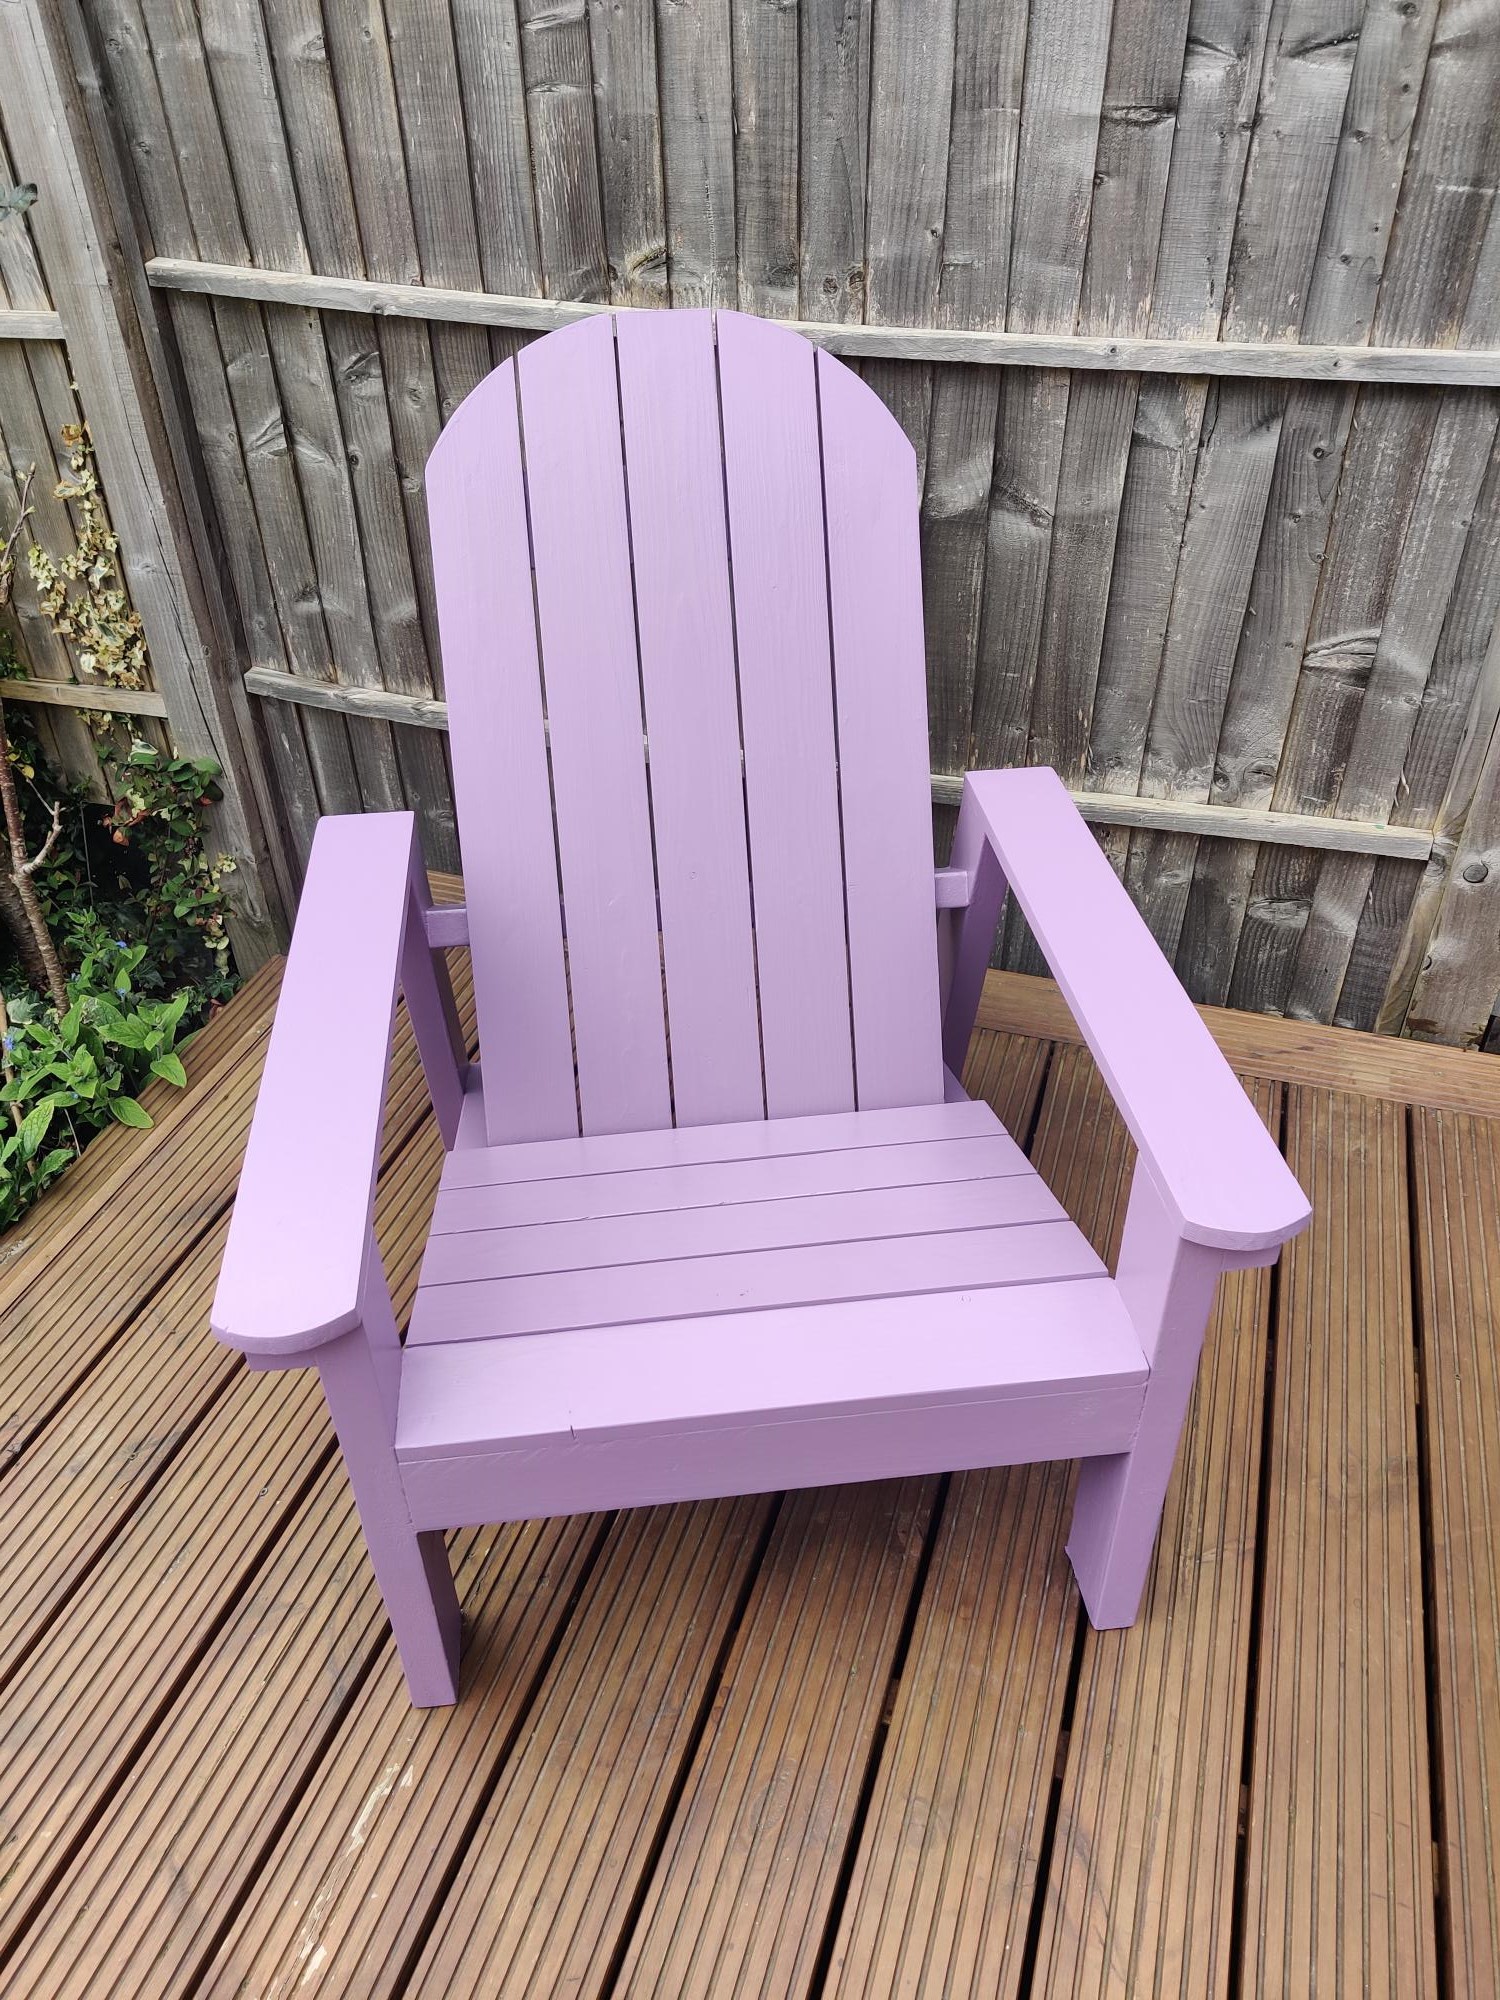
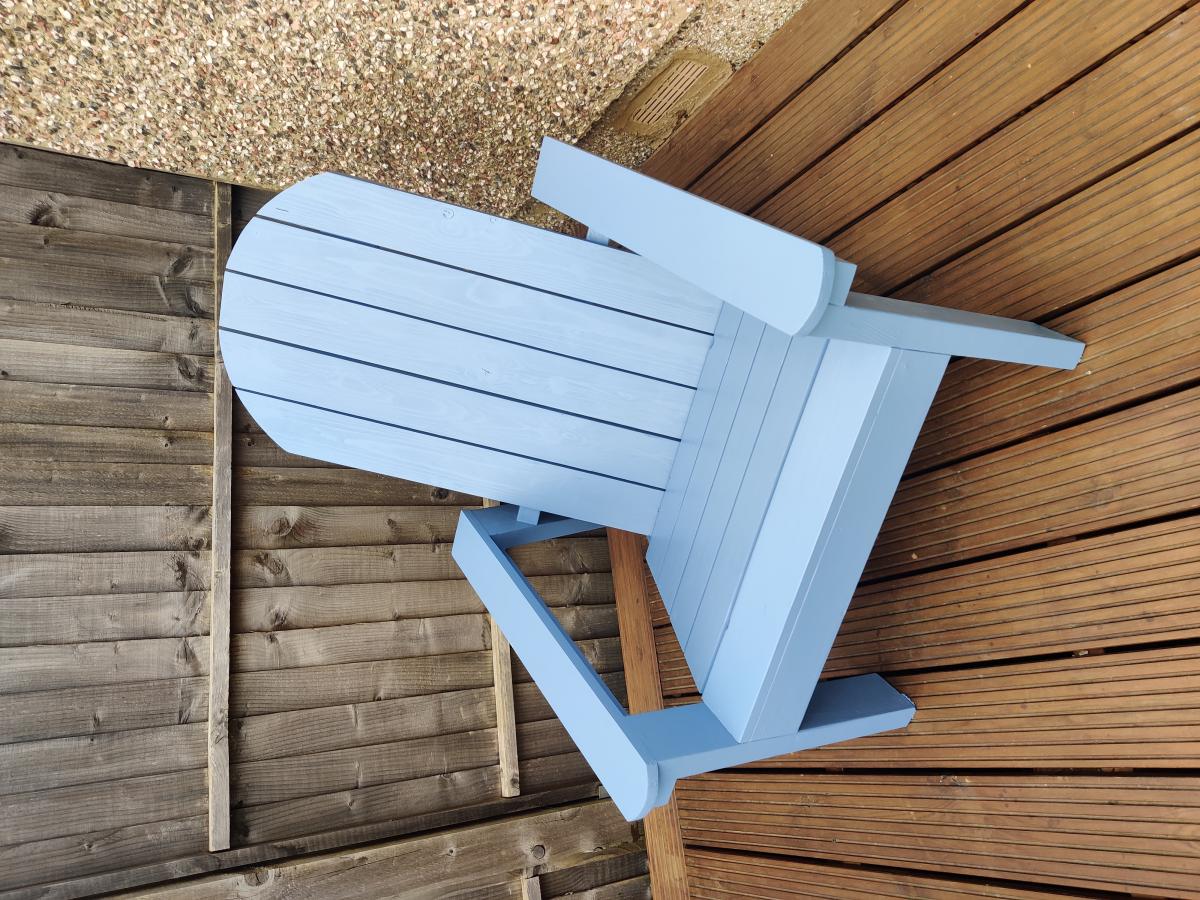
These are my second ever project. The plans were really clear to follow so thank you for sharing them. The spacing between the seat and back slabs is a bit less than what it says in the plan because I live in the UK and the dimensions I could find were a bit different. Overall assembly didn't take too long, maybe 10-15 hours for both. Finishing seemed to take ages between filling the screw holes, sanding etc. Really happy with the end result!
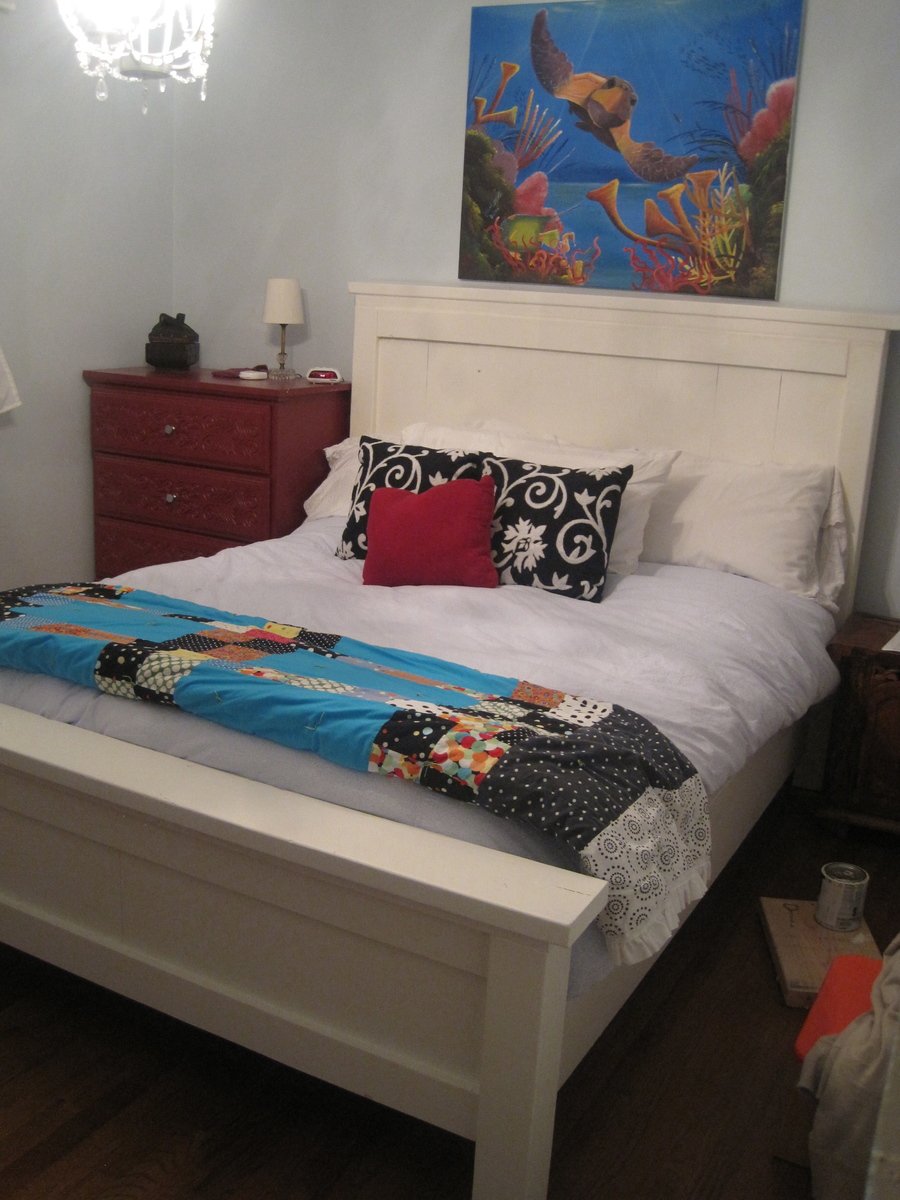
This is my first ever build using Ana White's awesome plans! I stuck to the plan mostly, but used 4.5 lag screws and joist hangers like others had suggested. Oh, I also used a 2 inch board in the middle of the headboard and footboard, since my HD only carried 7.25" 2 X 8's. I had a couple of hiccups.....the headboard fell down in my garage and some boards got tweaked out of place, but I think I was able to sufficiently cover up the aftermath with wood filler and paint :D I really wanted to do this project by myself (sort of a "I am woman, hear me roar!" kind of thing, but it would've been a lot easier to have a helper.....just some advice :)
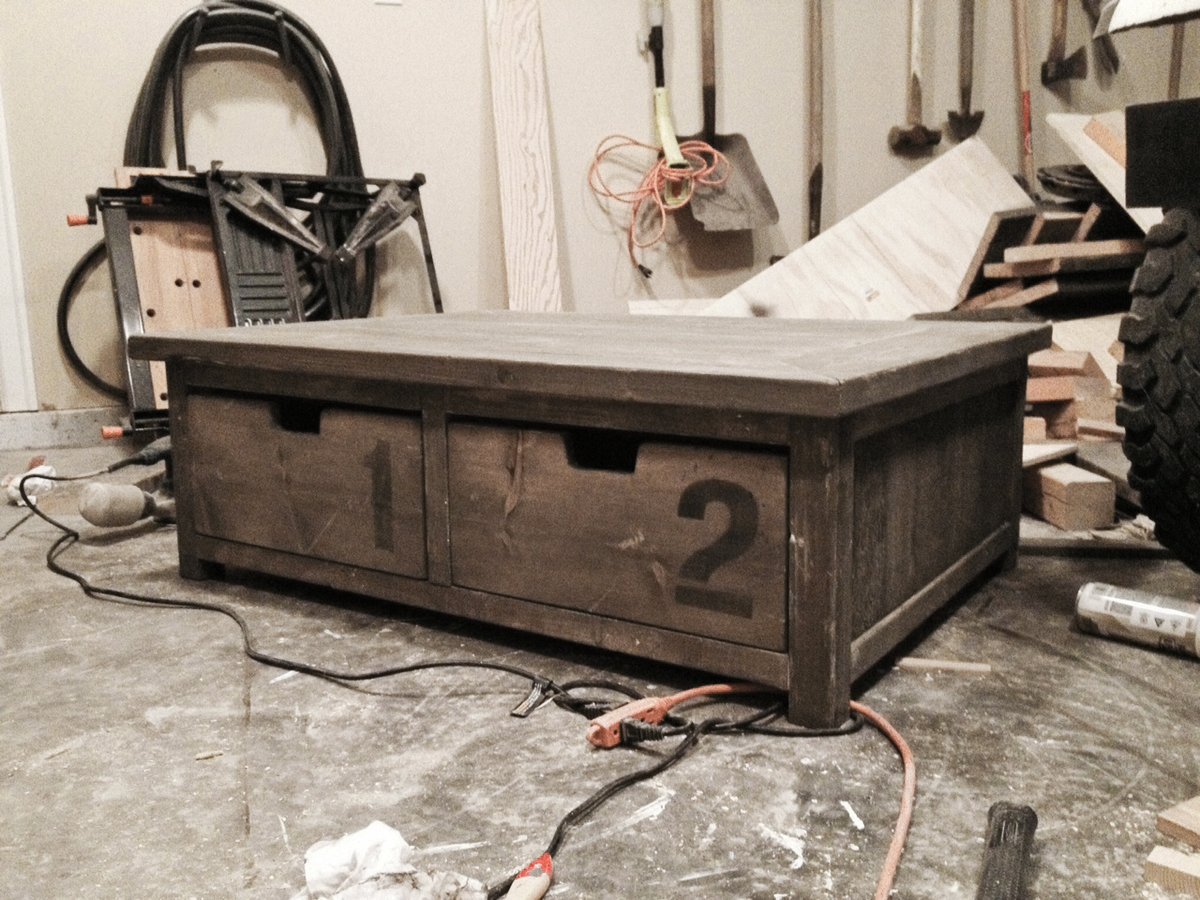
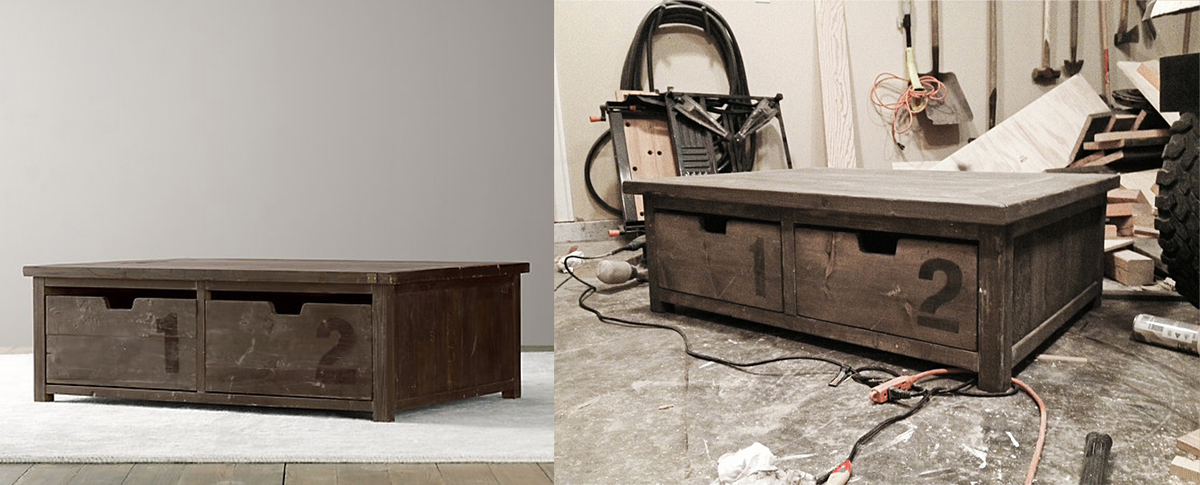
Really liked Ana's 20 second tidy up table, and wanted to try to have something like this for my son. Then saw the activity table at RH and tried to replicate it down to the exact same finish. Made small changes here and there such as adding 4 individual drawers, different wood dimensions, etc. He loves it and uses it lots for his Thomas the Train Set. Thank you again Ana.
Sat, 01/24/2015 - 22:47
I love the finish you do on this table. Looks great. I wish you could share the exact names of those stains :(
In reply to The finish by timberandsoul
Fri, 02/06/2015 - 09:08
just remembered!
it was minwax water based slate, and water based american walnut.
In reply to Nice Work! by Ana White Admin
Fri, 02/06/2015 - 09:10
Thank you Ana White Admin.
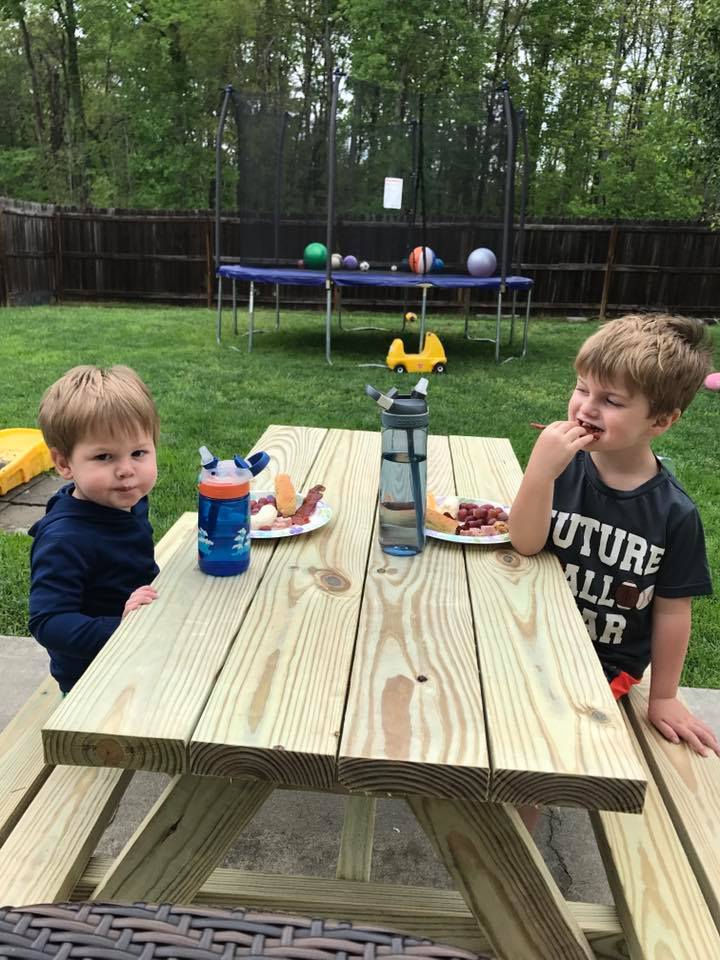
My son and I made this table this weekend in just a couple of hours with no problems. The directions were clear and easy to follow. Thank you for sharing them with us.
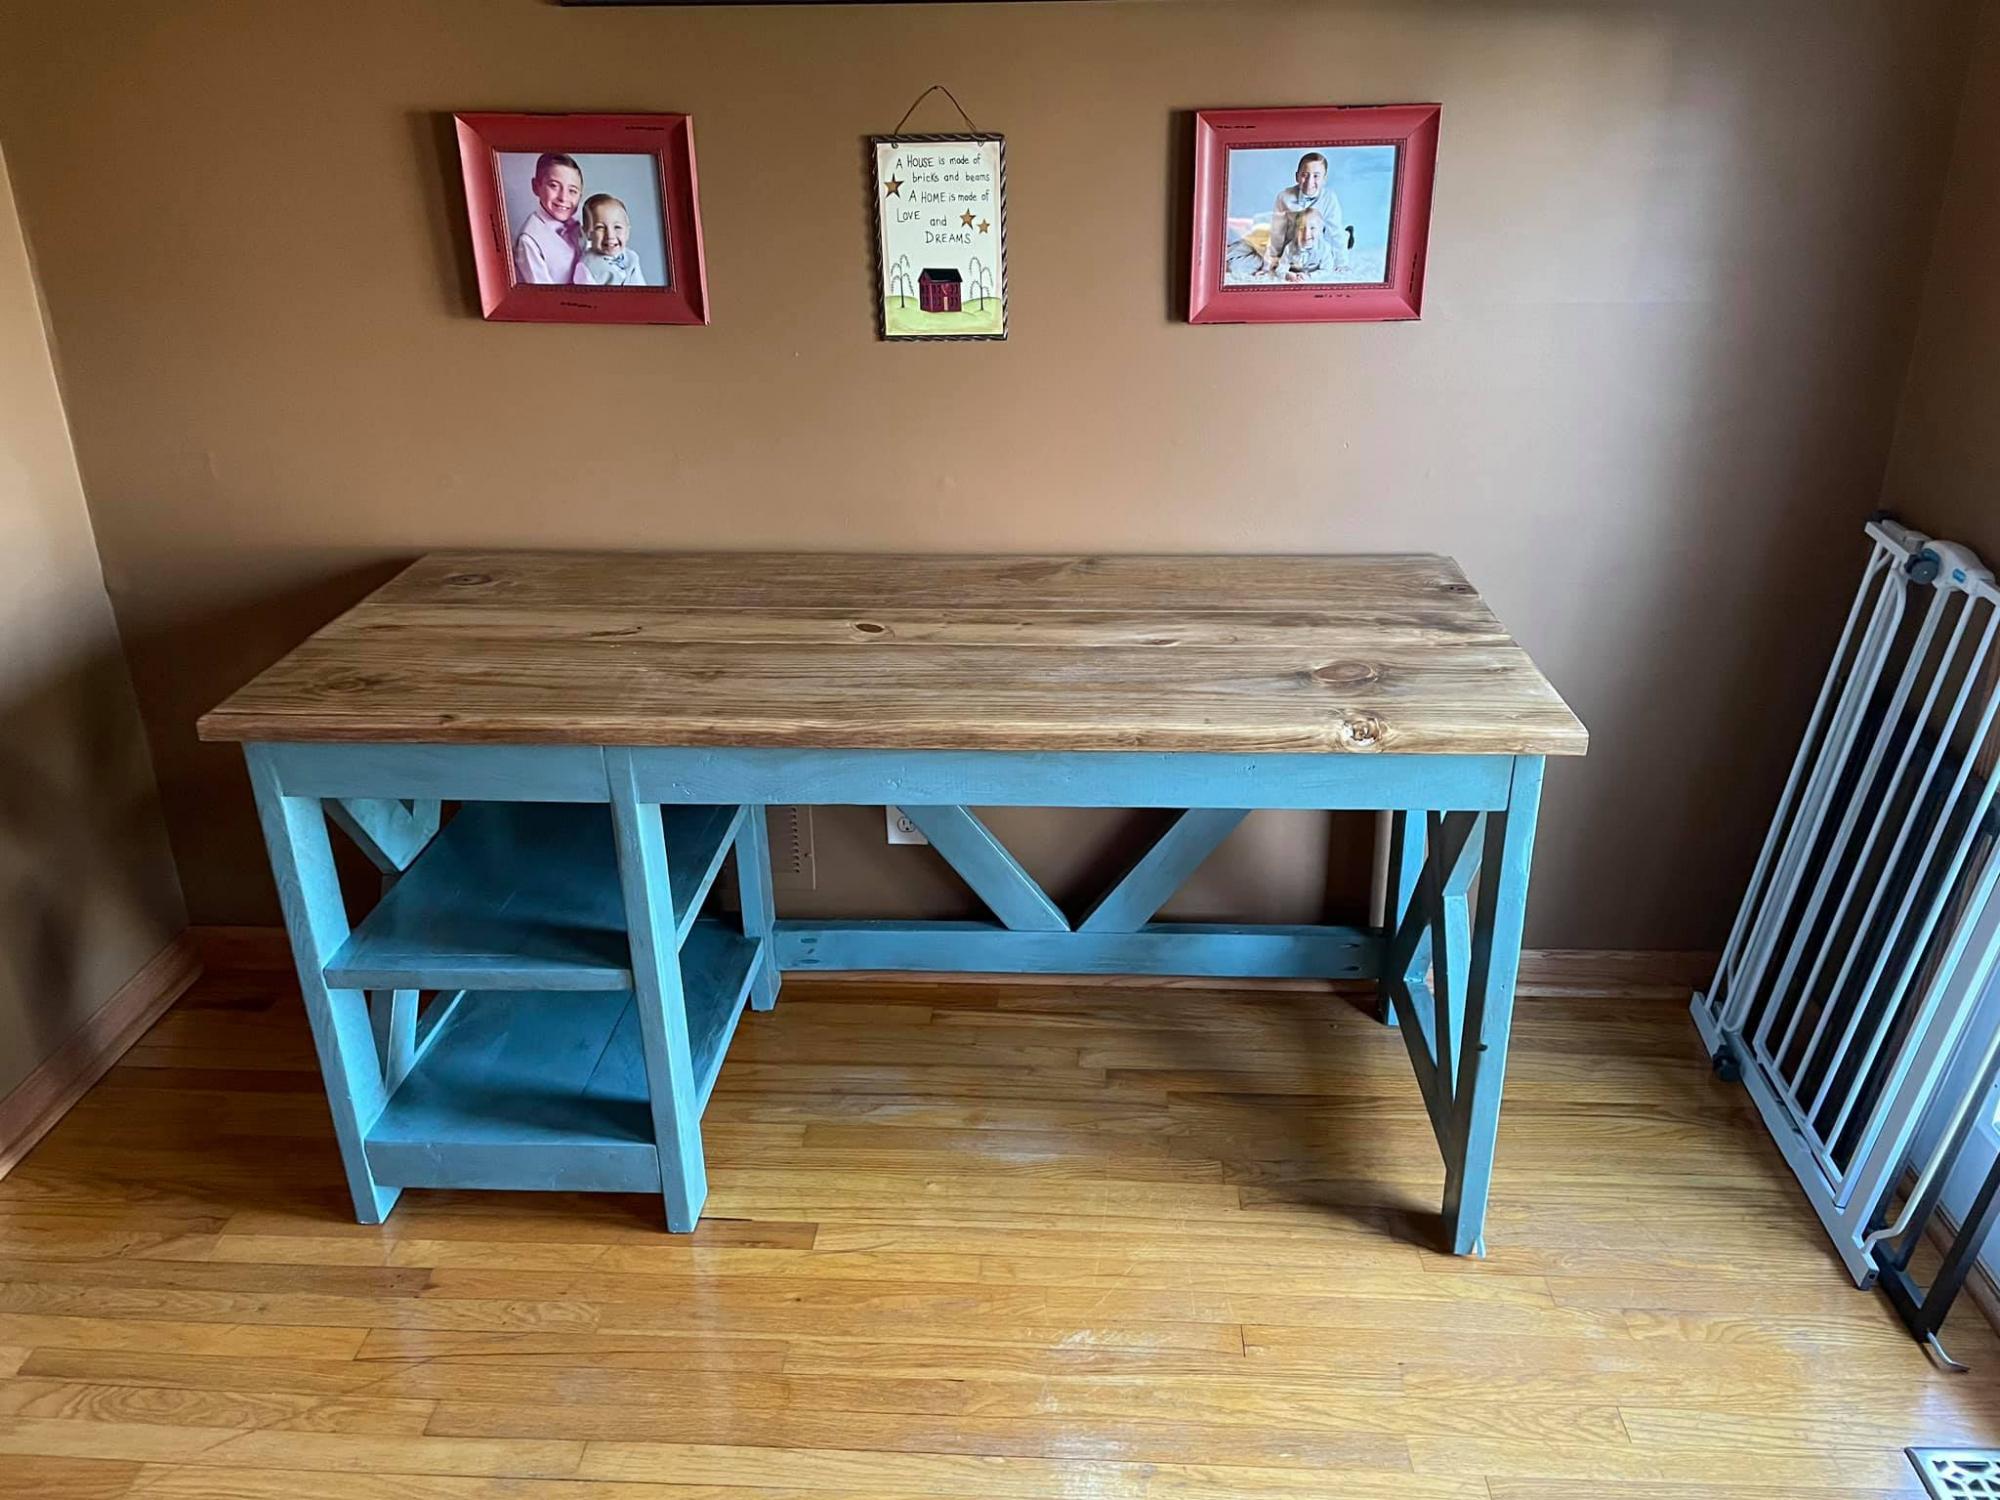
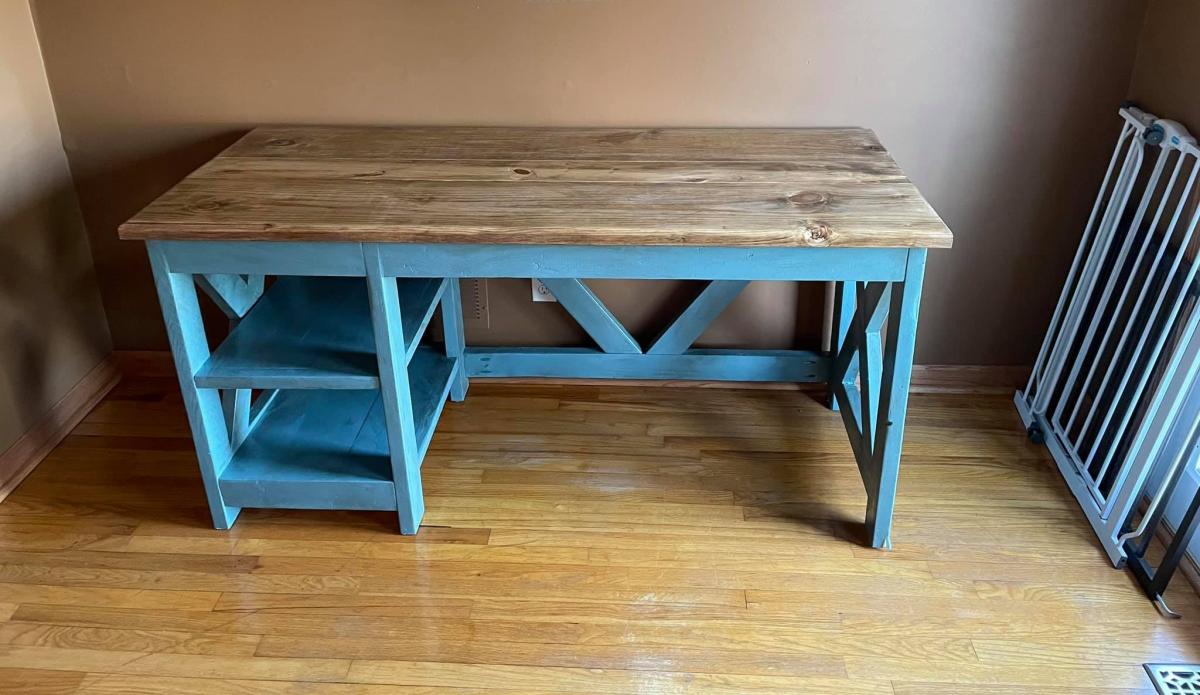
Desk made with Farmhouse Desk modified with 2x6 top
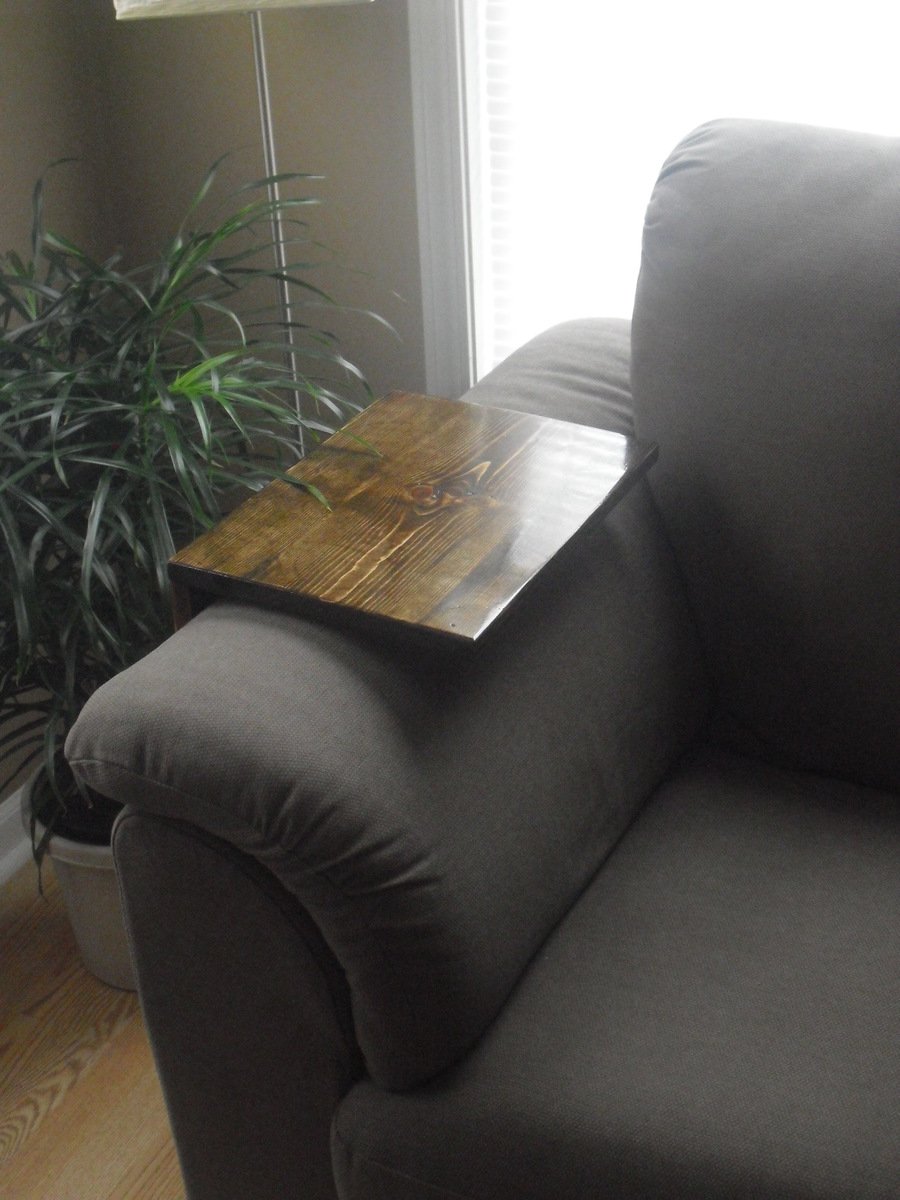
I built this as a side table to eat tv dinners on. I put felt on the bottom instead of wheels.
Mon, 12/26/2016 - 11:05
Without a center support, how did you re-enforce the top?
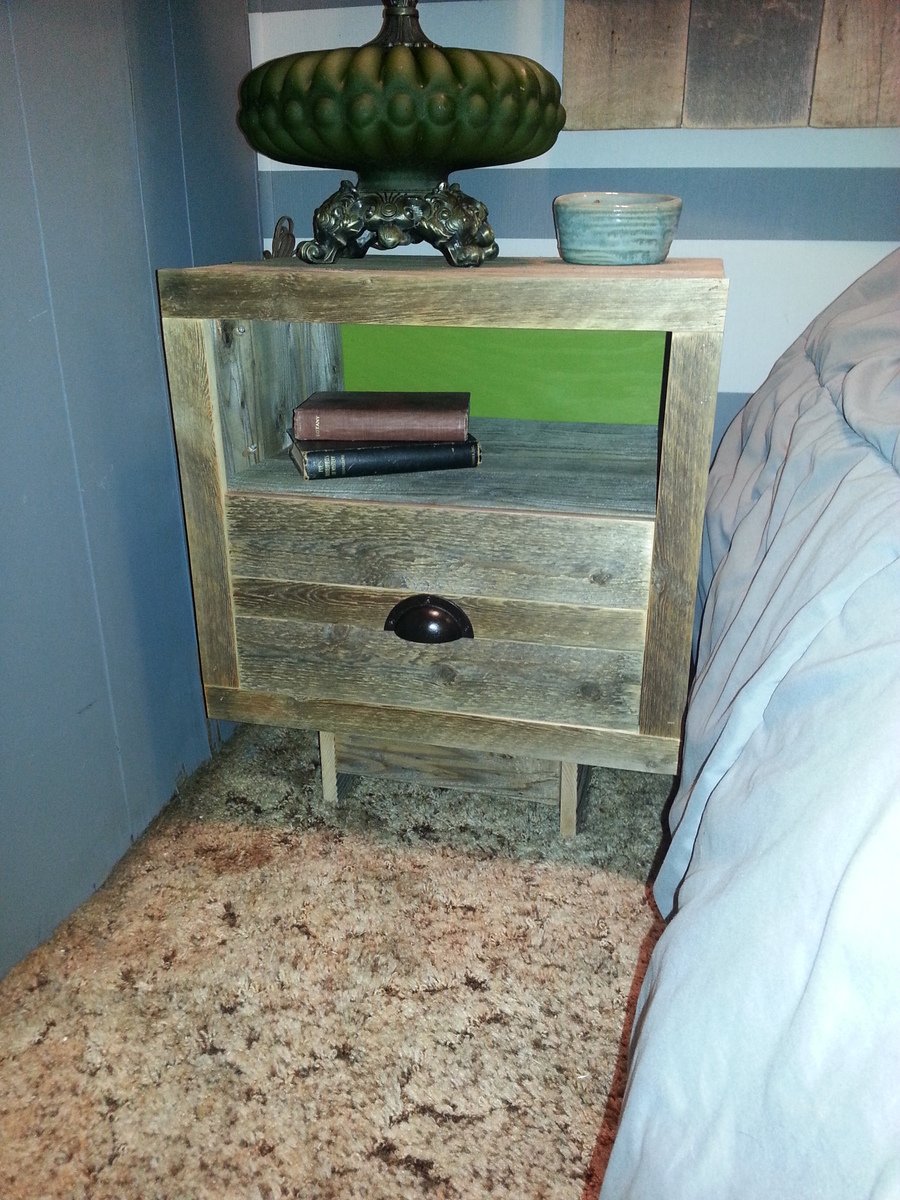
I used reclaimed fence wood instead of plywood. Just put together three planks to make the side/top/bottom pieces. I adjusted the size a bit since I had limited space for it to fit into. This was my first ever furniture project and my first use of my new kreg jig.
Love, love, love our king bed I build based on an adaptation of Ana's design. I did the slats a little different, and used 1"x 2"'s and cut them in order to make a slot for the slat. i also used non-mortise bed rail fasteners (from Amazon) so the bed could be taken apart easily. This was my first wood working project and now I am hooked! I am also a quilter and made the quilt for it too! I did it on a long weekend by myself. I was probably a bit slower than most folks considering it was my first woodworking project, so I was constantly looking up how to do things on Youtube.
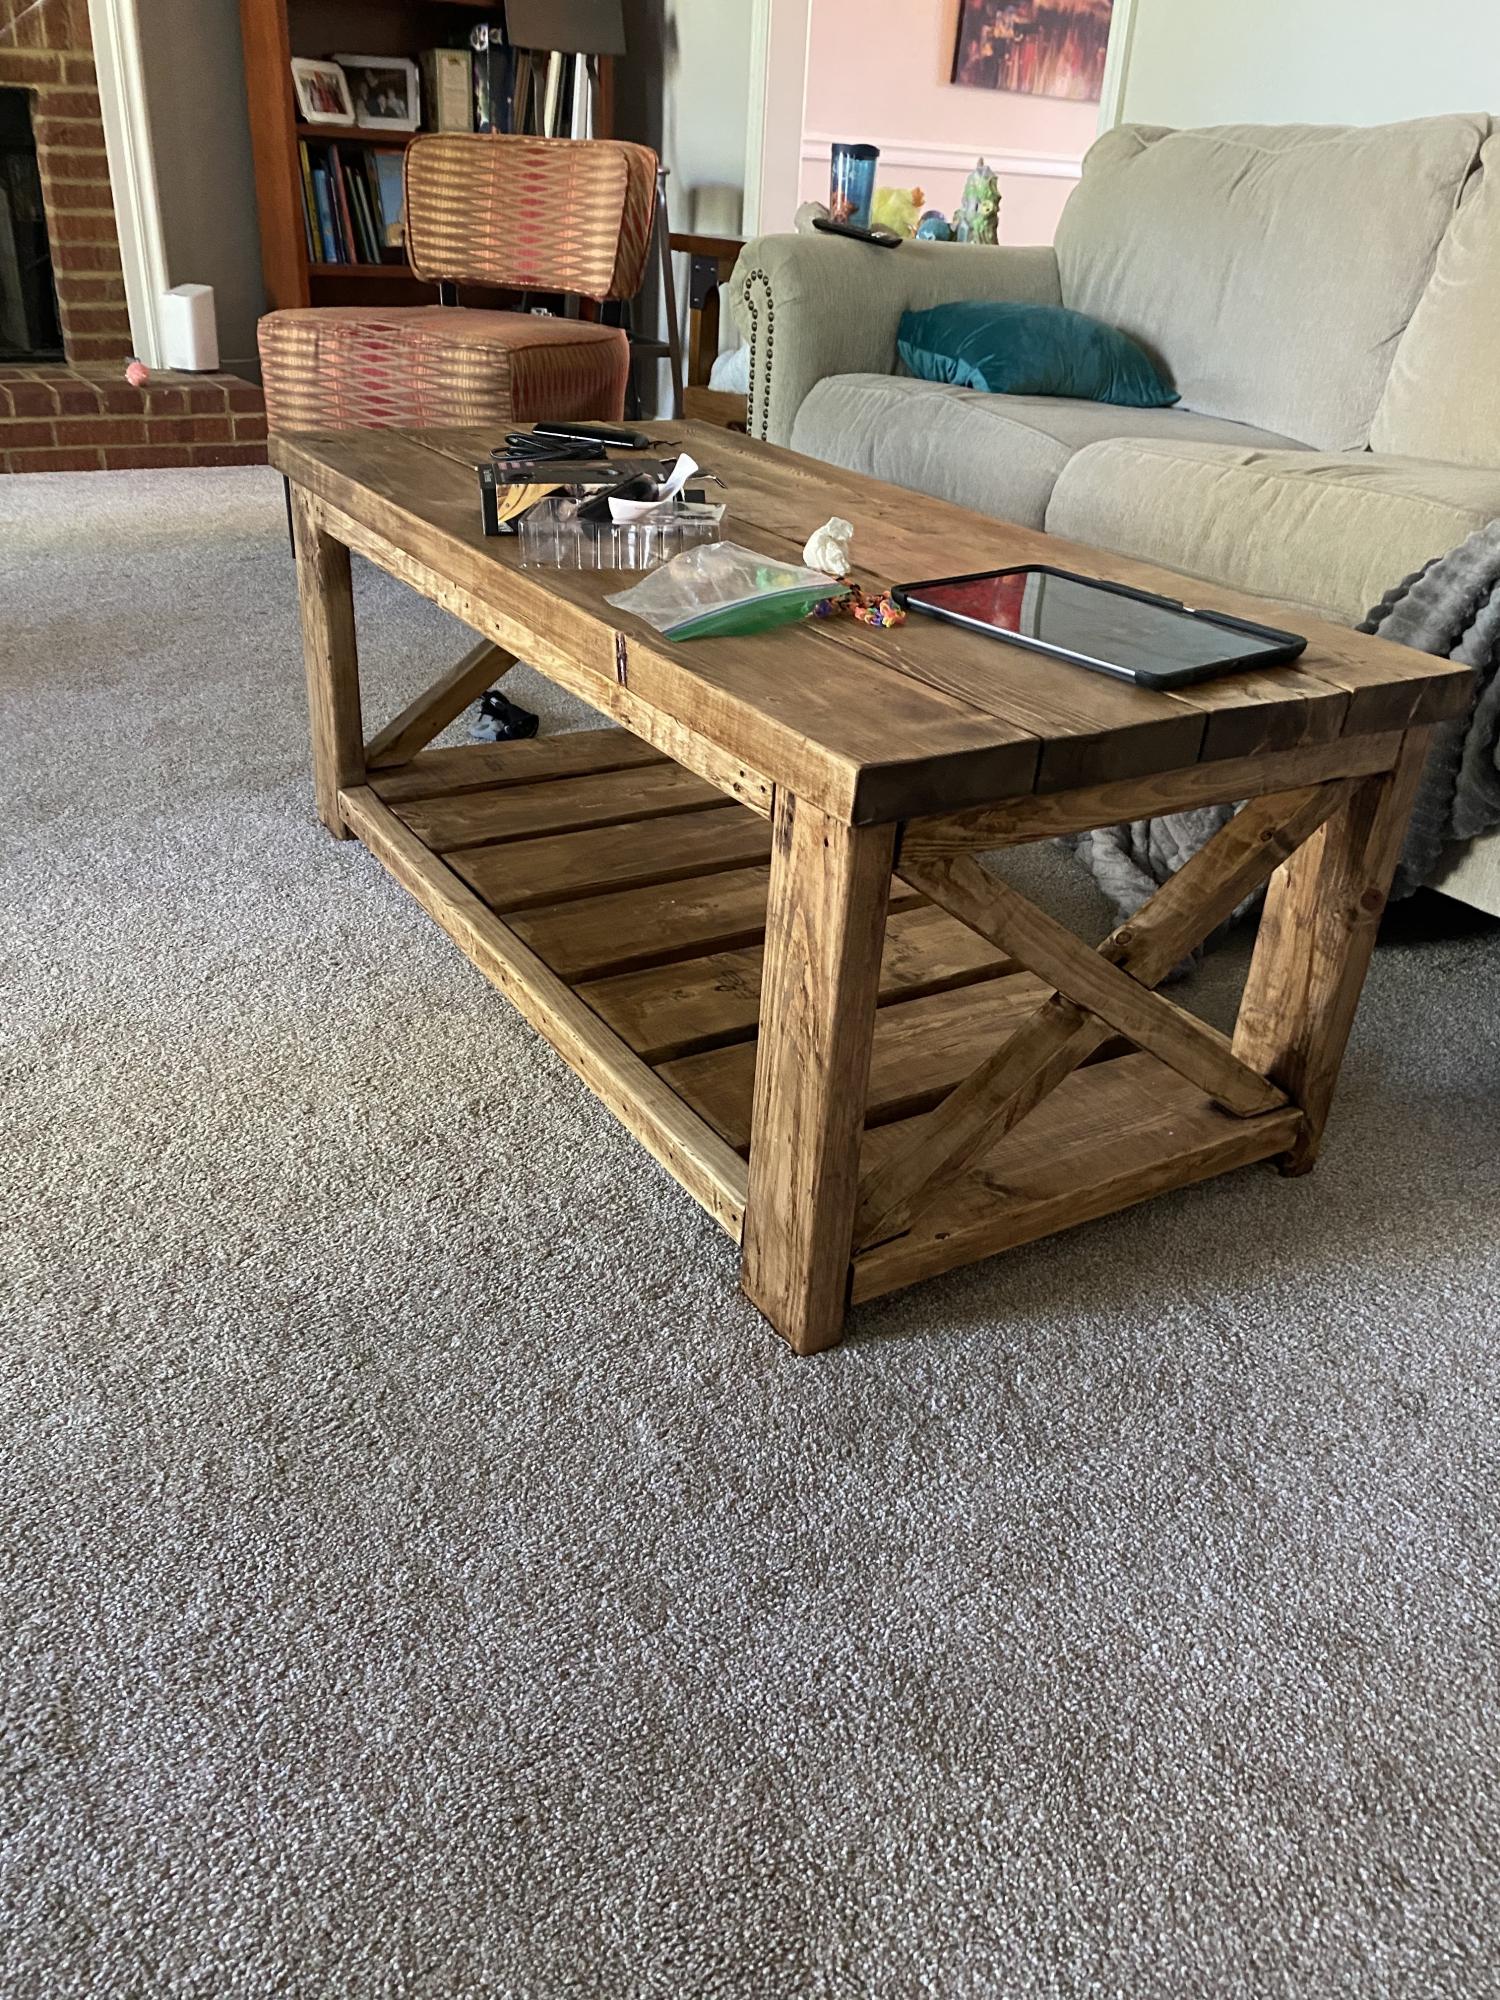
This is my 2nd project (first was the open shelves), but my first "bigger" project. Lovethe plans, the X crosses were tricky with just a circular saw. I am investing in a miter and looking to get into some tougher projects as I just purchased a home.
We just did a little stain to keep that natural wood look.
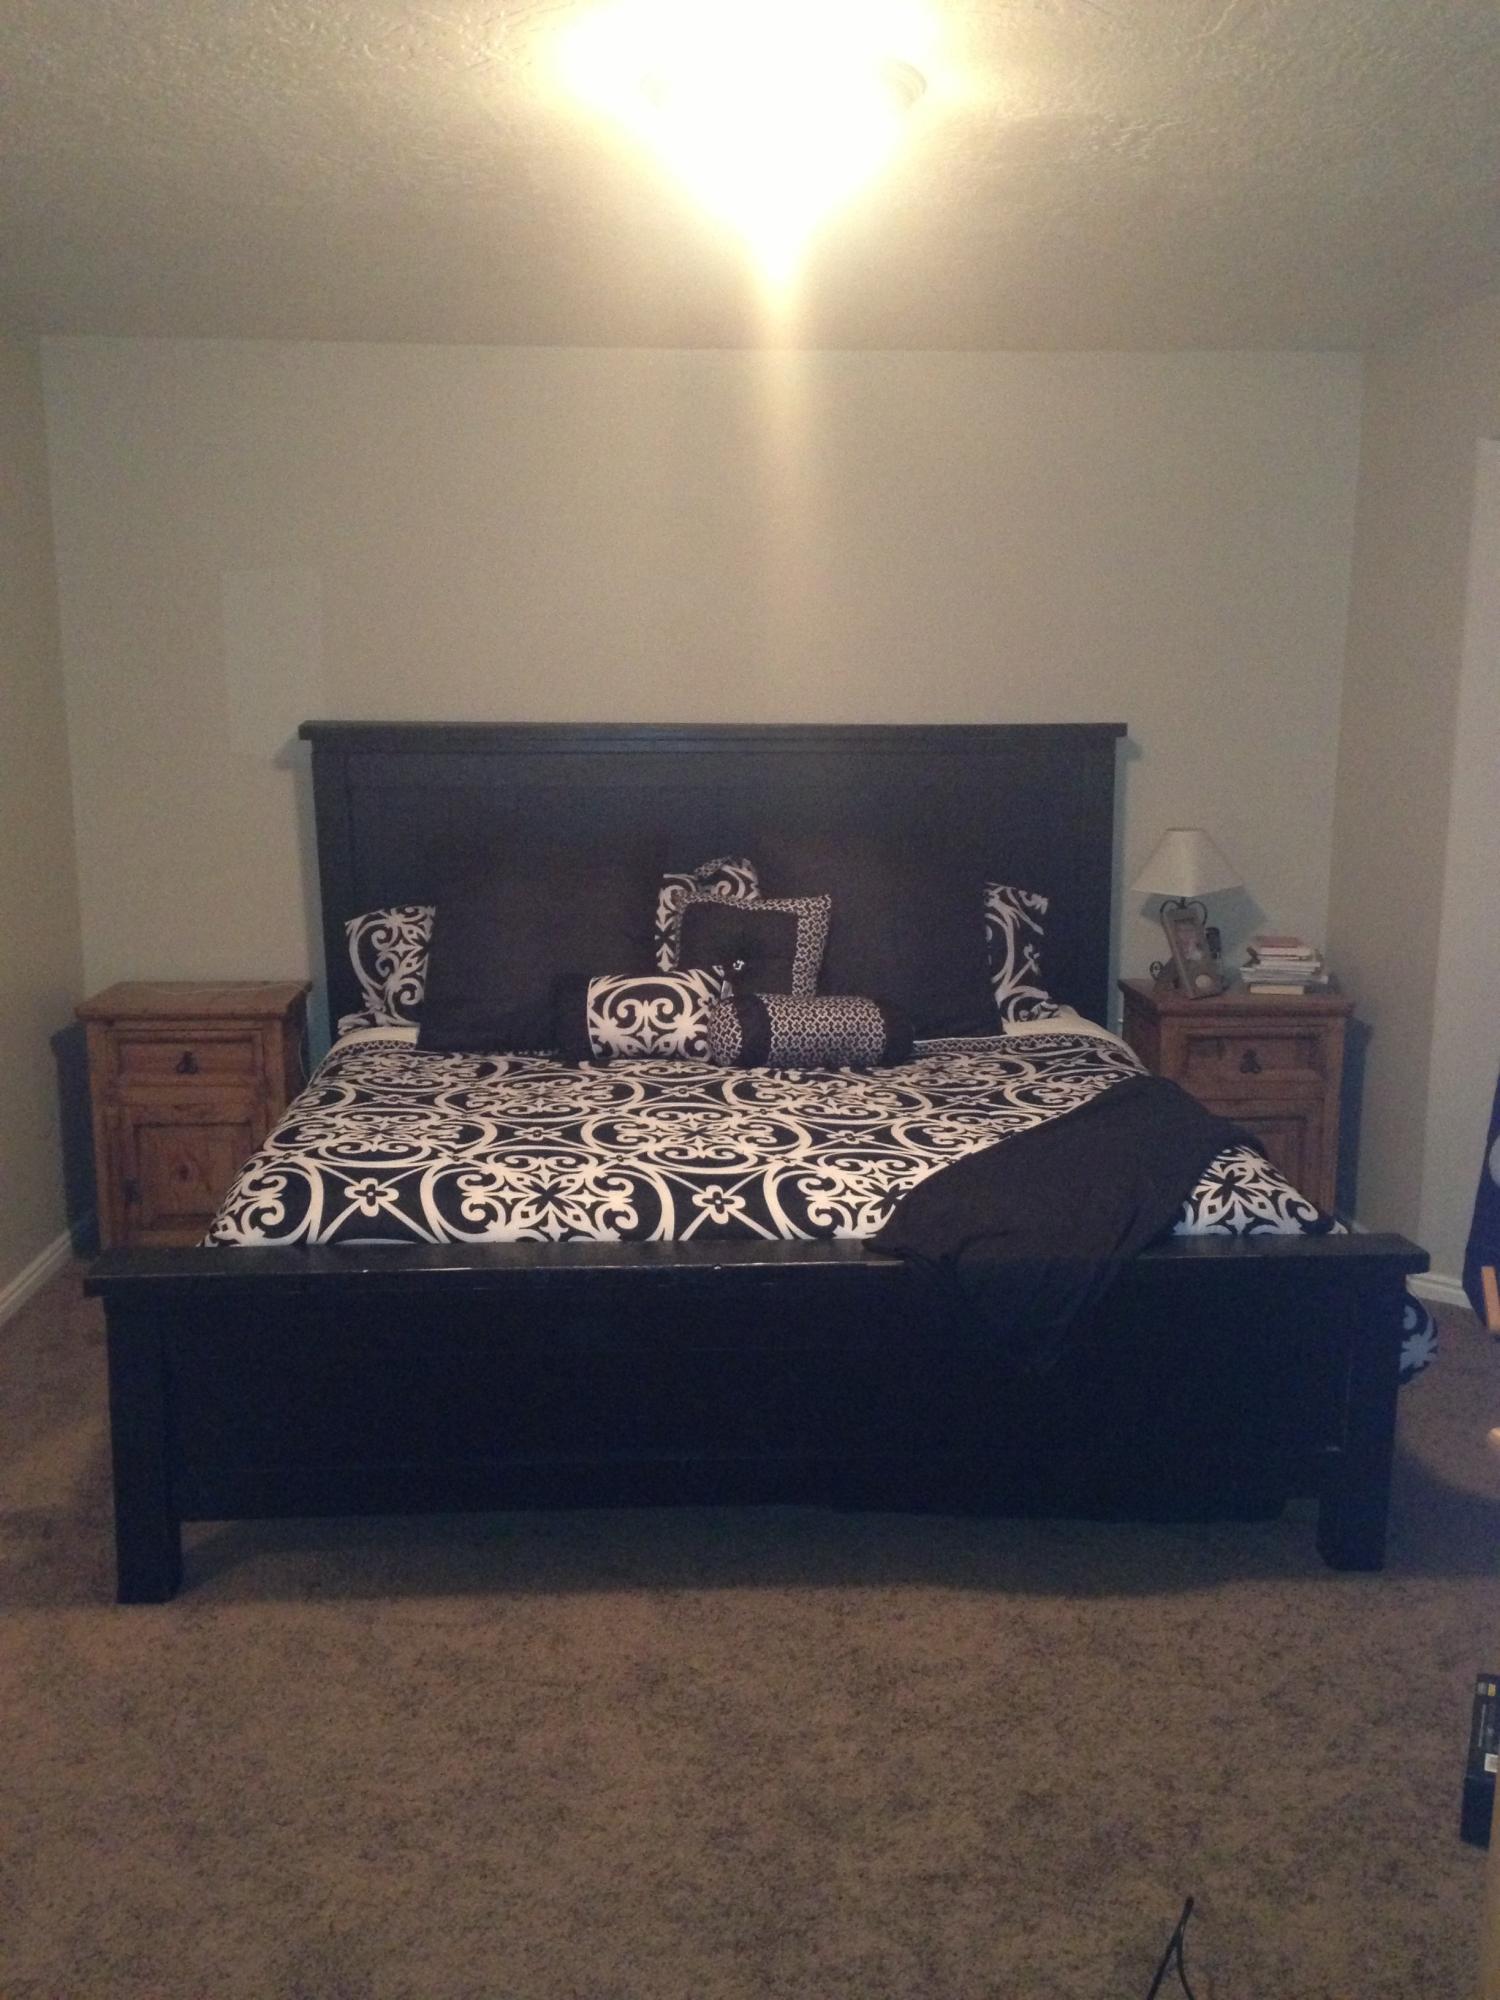
This was a christmas gift for my wife.
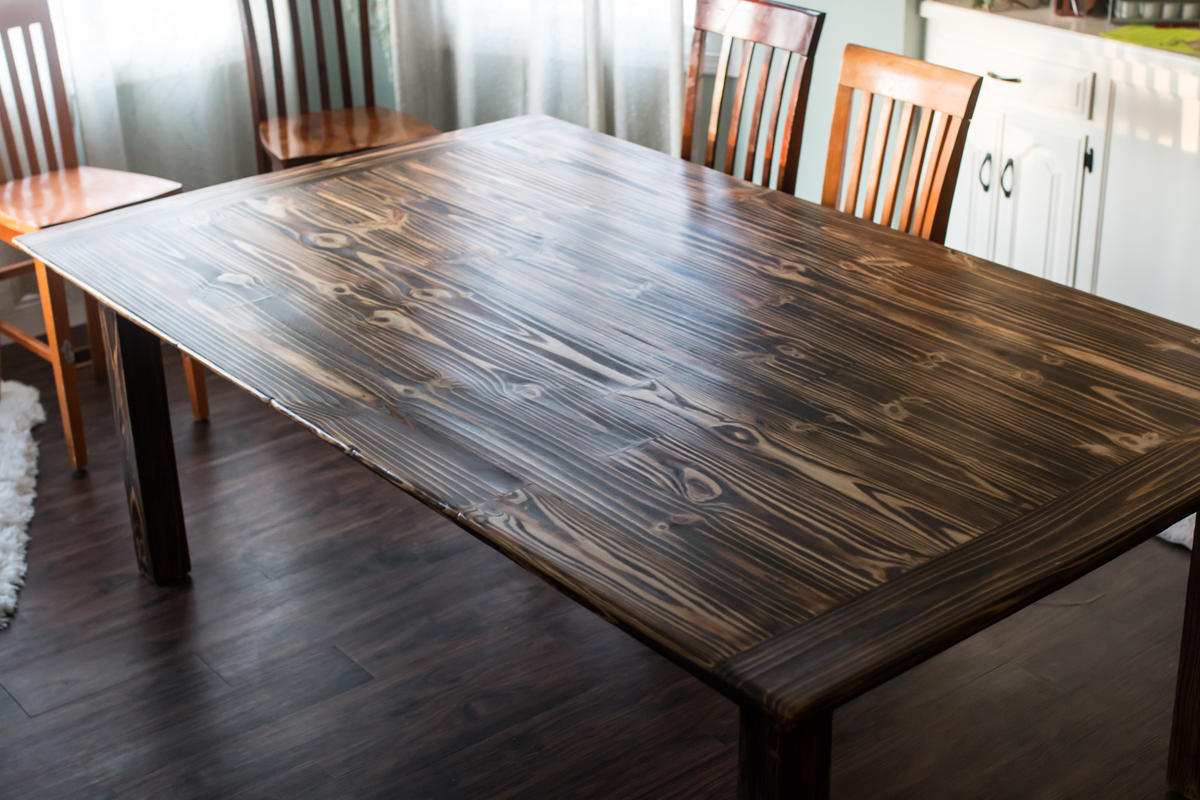
My wife and I saw a large table and chairs at a local antique store priced at $1000...
It was nice and probably worth what they were asking, but after a failed attempt to negotiate the price down to a more reasonable number, I decided to build a table. I was in the thinking stage when it hit. I've been wanting to tear down this random privacy fence in the back yard ever since we moved in a few years ago and so...... a table was born from an old fence..
You cant tell in the pictures but this table seats 12 comfortably. ( 4 on each side and 2 on each end). it is 7' by 4'
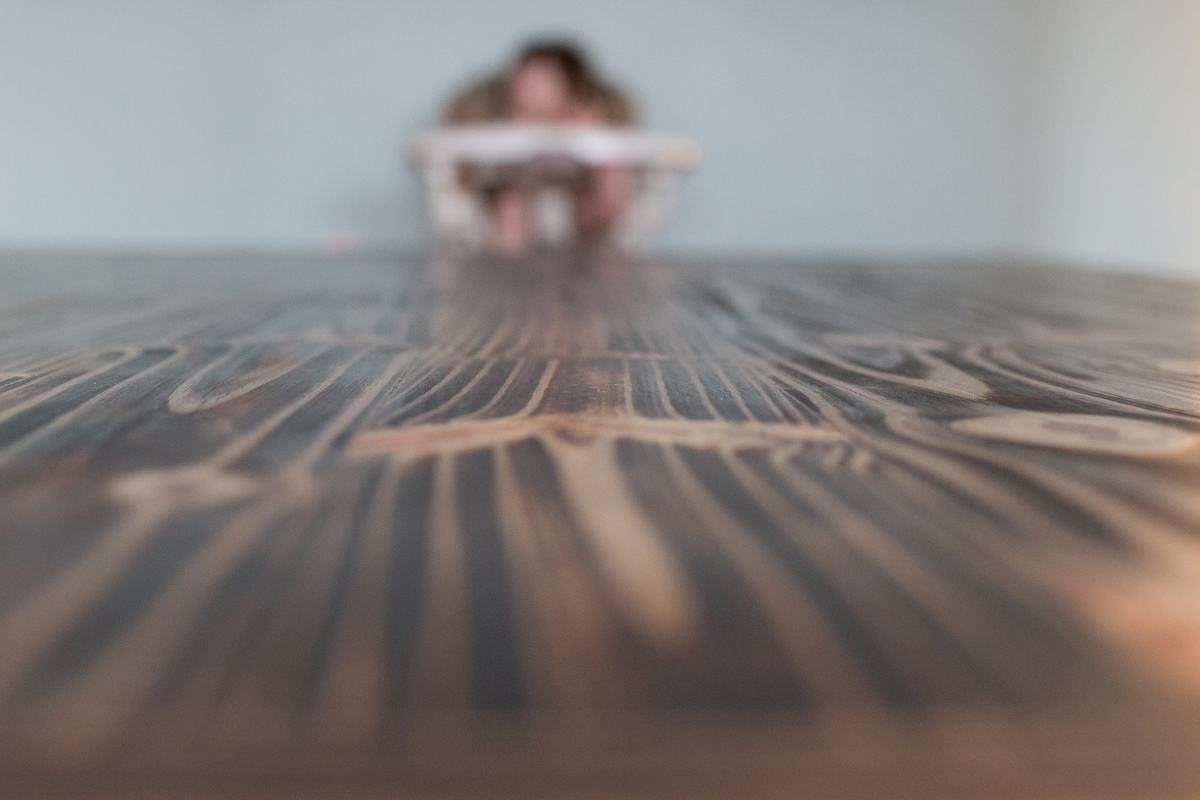
Mon, 02/02/2015 - 04:49
4x4 fence post legs notched to hold 2x4 frame topped with a 3/4 in plywood. ( necessary since many boards were cupped or bowed, needed to have something to glue to.)
fence boards werent long enough for length of table so they were staggered as pictured. I had to do alot of planing and run all the fence planks though a table saw to square them as much as I could. ( also not as necessary if you buy wood from your local hardware store.)
The frame has 3 cross braces, and corner braces all the way around. plywood screwed to bracing/frame
planks laid out on plywood and glued plus brad nailed to hold them while glue dried.
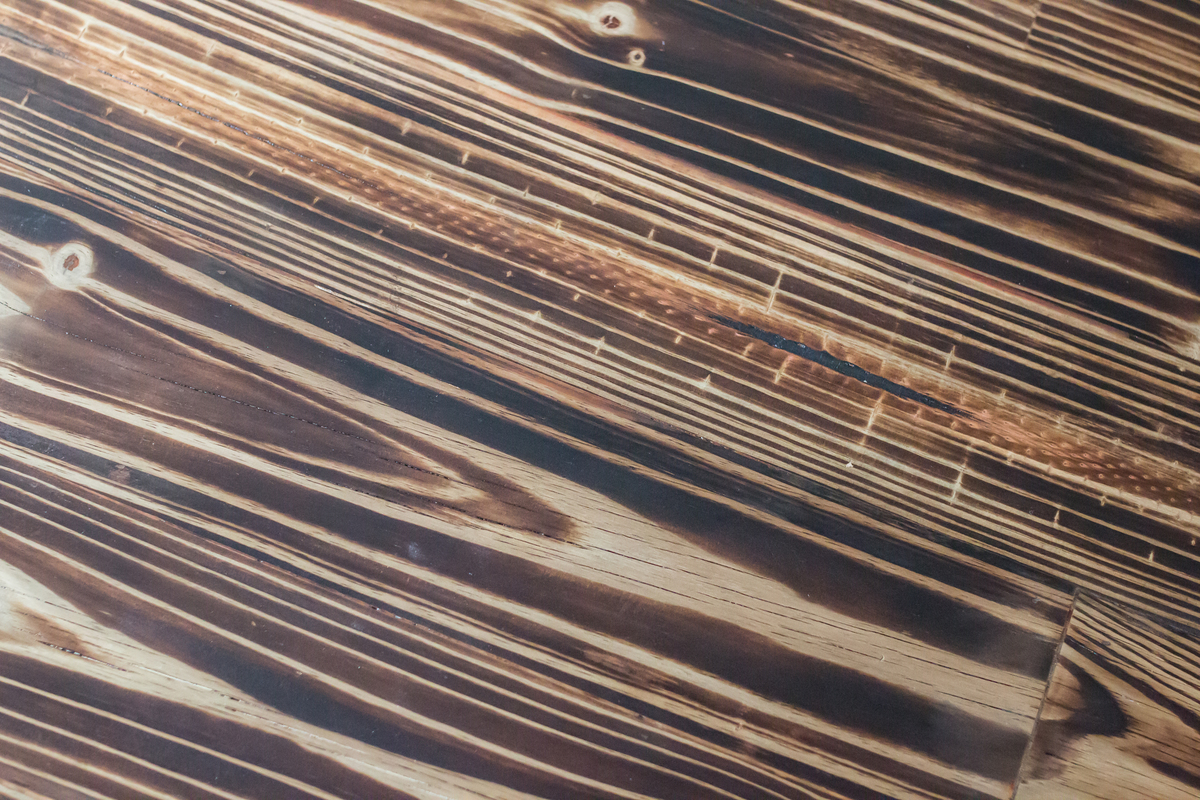
routered edges of table top and started sanding, LOts of sanding , belt sanding with 80 grit then orbital sander stepping up to eventual 400 grit. I then cut skirts for the top of the legs 3 and 1/2 in skirts to cover screw holes. and a 1 in skirt to cover the rough edge of the plywood, ( both plywood and table top have a 2 in and 3in overhang respectively. Once everything was sanded to suit. I torched it and hit it with poly..
Mon, 02/02/2015 - 11:07
Love that is was repurposed from an old fence and the finish is amazing! Thanks for sharing!
Tue, 02/03/2015 - 08:34
This table is absolutely beautiful!! I am thinking of doing something similar but on a slightly smaller scale. Would you be able to post your plans? I'd love to see the brace work on the bottom/sides of the piece.
Also, how difficult was it to work the blowtorch? Any tips on what I should do (or not do) when trying it out on my own?
Thanks for the post!
Tue, 02/03/2015 - 15:21
Your project came out great! The wood grain is so prominent. My guess is that torching accentuates the wood grain so that it stands out more. Excellent stuff.
Tue, 02/10/2015 - 21:10
just try torching on a test piece first, it was suprisingly easy to do.
Plans...... I didn't make any. ( booo ) I used a 2x4 frame and 45 degree corner braces with 3 cross members. since most of the wood was extremely weathered, there was a lot of planing and sanding to do. Even then I put down a piece of plywood as an underlay for the planks to glue to. I punched the planks down with brad nails to allow the glue to dry because the planks took some effort to keep them flat. I have since built a matching coffee table 4' by 4' with yellow pine from the lumber yard, Not nearly as much work to put together since all the boards were reasonable straight/flat.
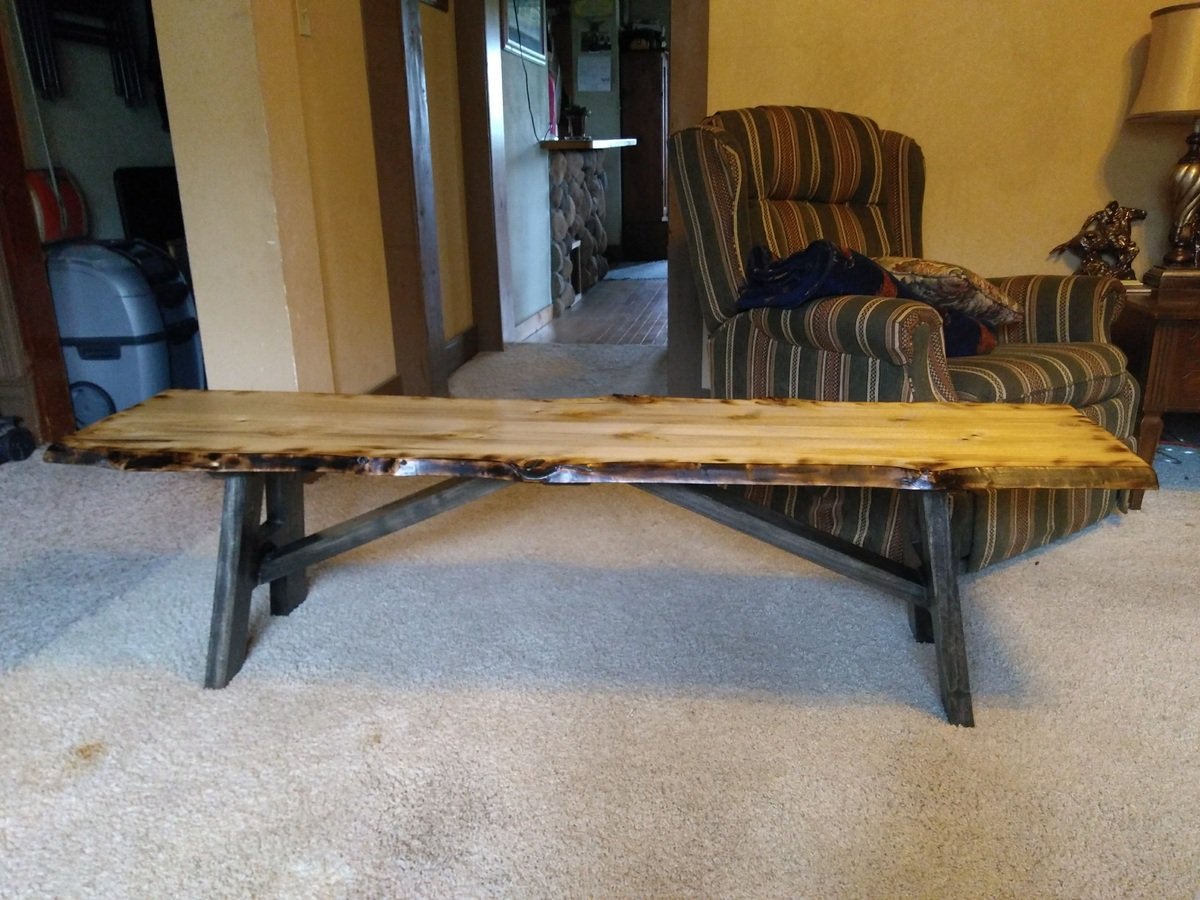
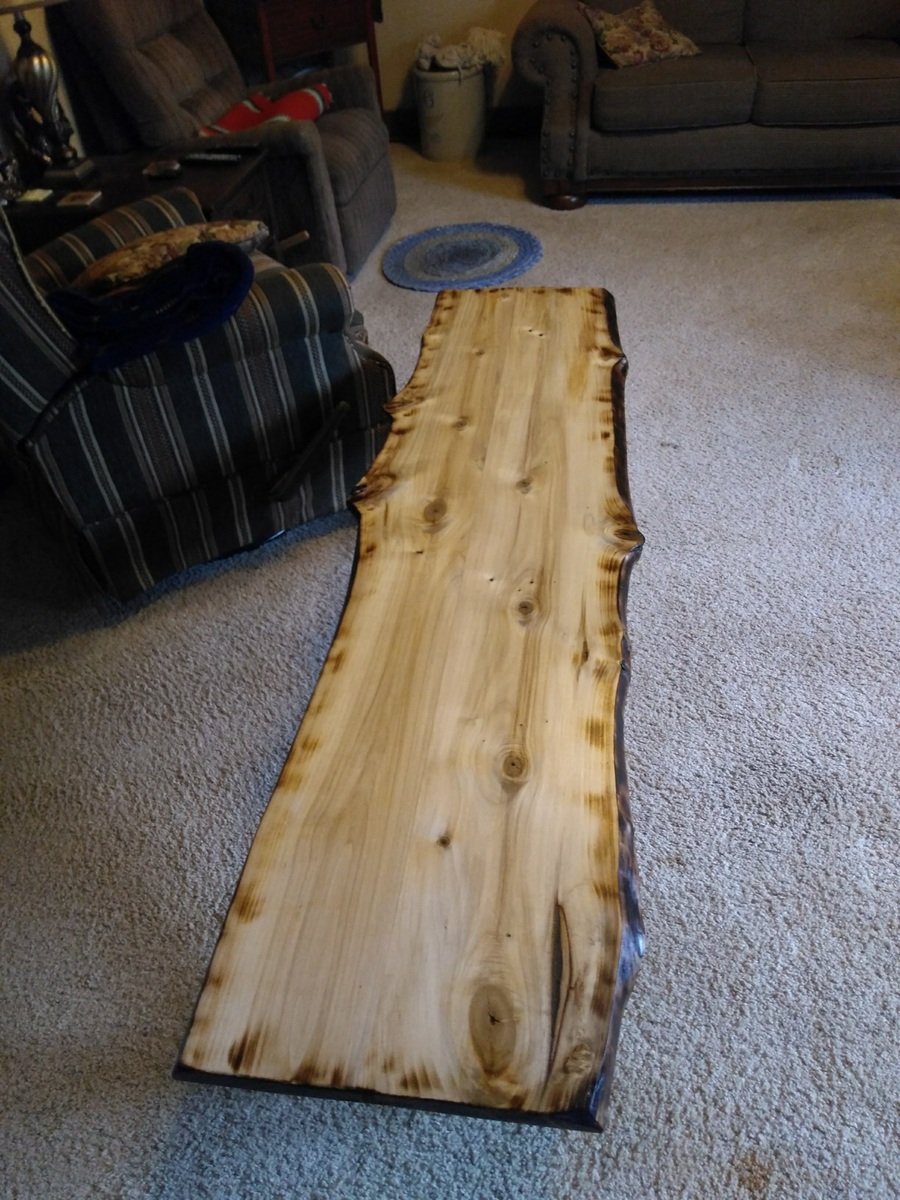
Great project with super clear instructions! Love the look of the sawhorse legs and had just completed a live edge table top, so merged the two for this coffee table.
Comments
Ana White Admin
Fri, 01/16/2015 - 11:02
So much storage!
Totally awesome, great job!