Plane Shelf
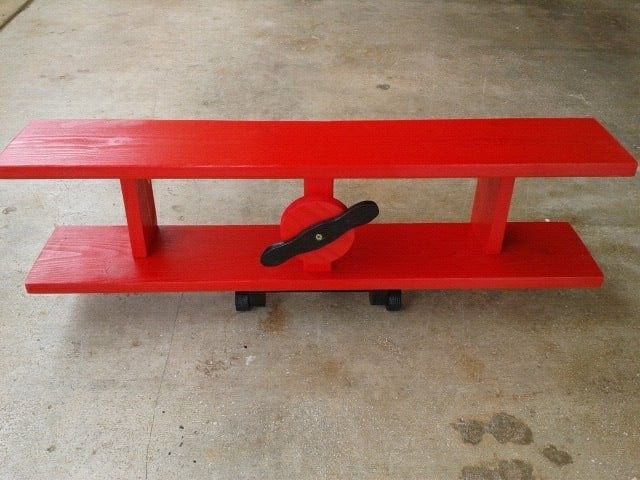
Had to build this when I saw it. My coworker just had their first newborn baby boy and wanted hanging shelf's so I built one out of some scrap wood.

Had to build this when I saw it. My coworker just had their first newborn baby boy and wanted hanging shelf's so I built one out of some scrap wood.

First of your plans I followed and already have two more projects on the go for different tables. Great plans and ideas!!!

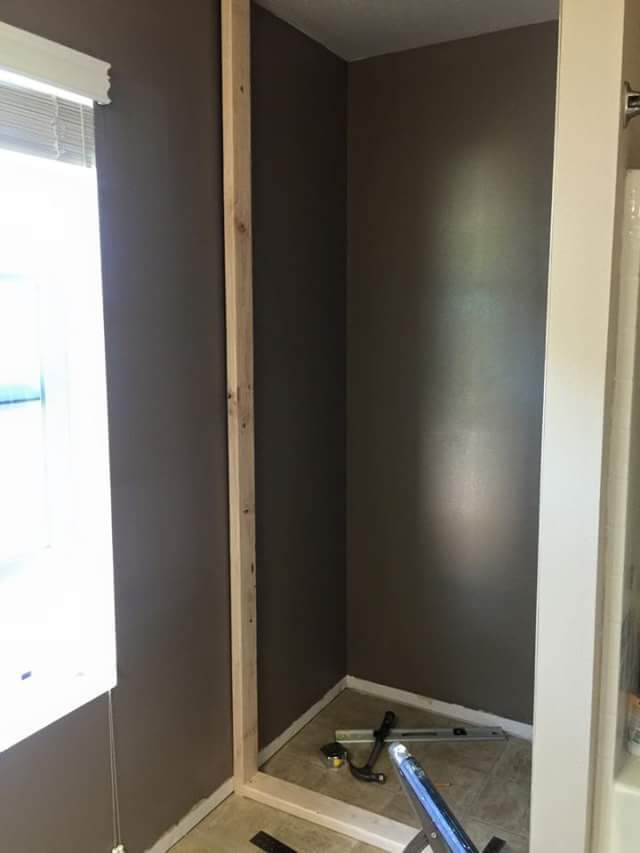
My niece had an area in her master bathroom that she wanted to make into a closet. Since she is very interested in woodworking I was happy to assist her on her first project. It was a challenge as one wall was out of plum by 1.5 inches but we managed to successfully address the problem.
The project turned out very nice and now my niece has a large closet with lots of storage space. But we also created a monster as she has definitely caught the woodworking bug! Her birthday is coming up soon and all she wants are tools!
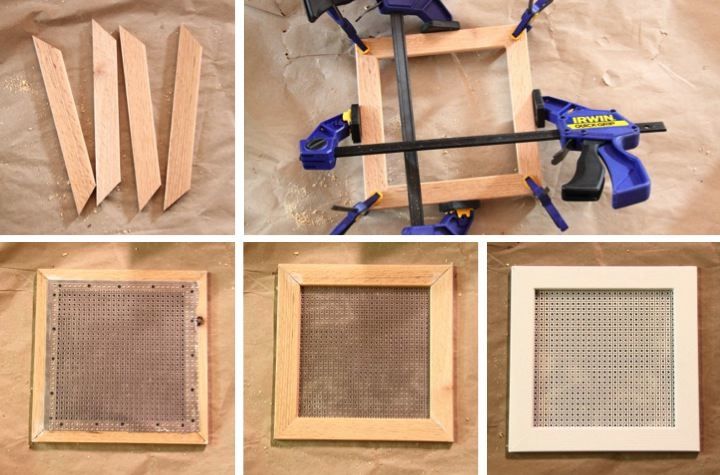
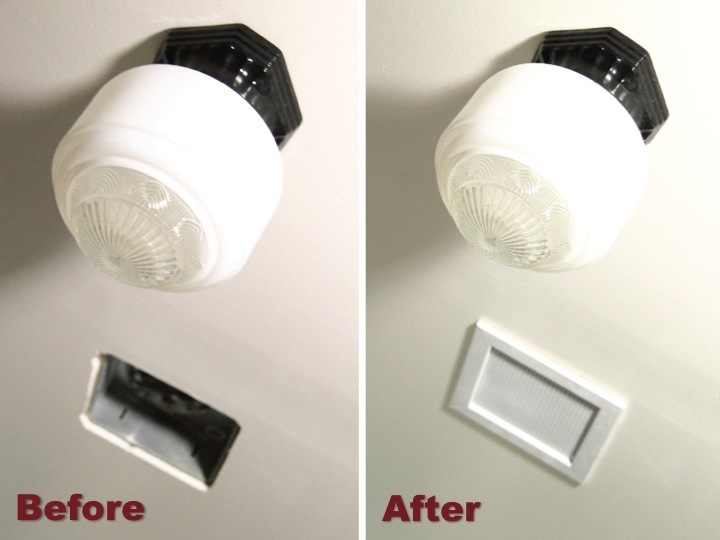
The plastic cover that came with the fan looked cheap and flimsy and really didn't fit in with the vintage style of my bathroom. I searched around to try and find something else that would work but was unsuccessful so I decided that I needed to make something myself.
For details on how to build it: http://www.homeandawaywithlisa.com/blog/2012/2/28/diy-bathroom-fan-vent…
Tue, 02/28/2012 - 06:38
Thanks lbrown, you just gave me an idea. We are painting our entire upstairs and hate those industrial looking air return vents. This would be a great replacement for them. Thanks for the inspiration.
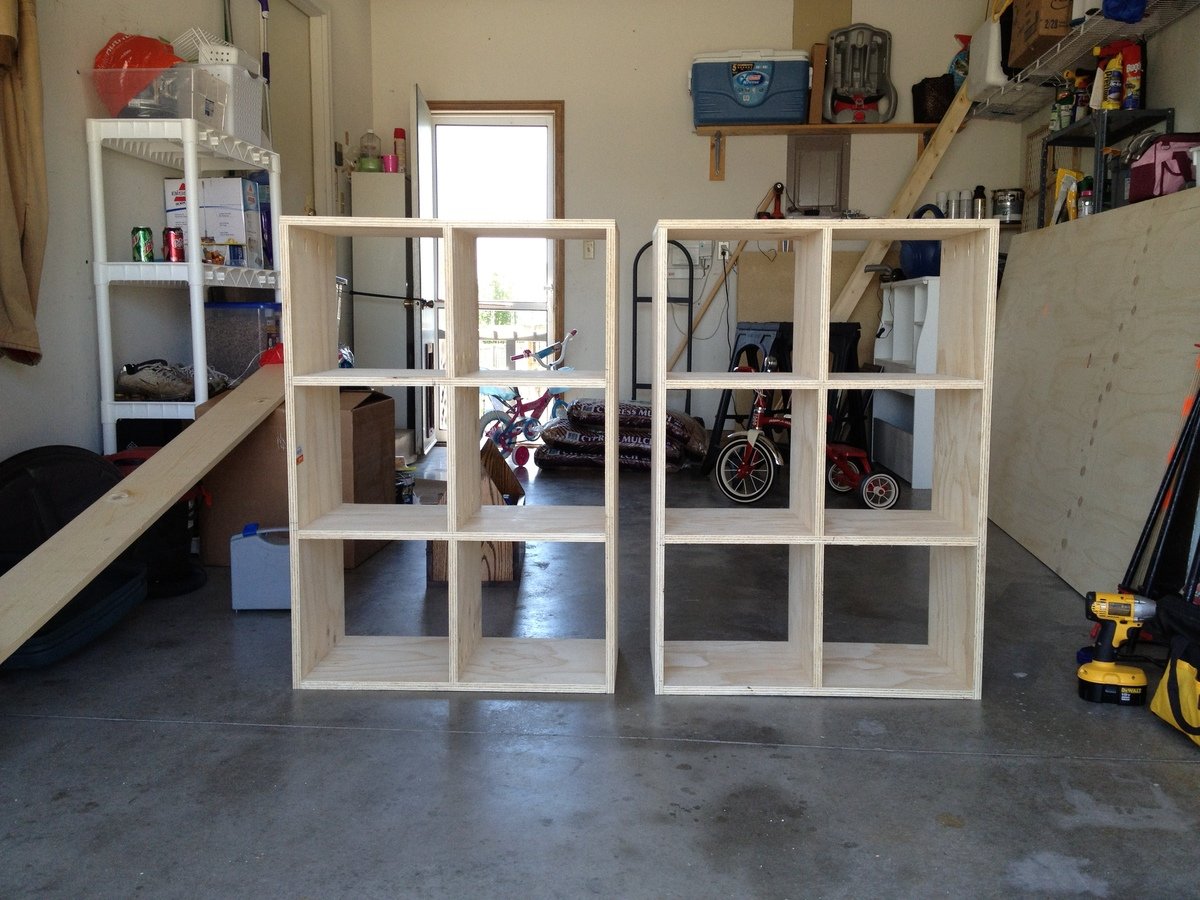
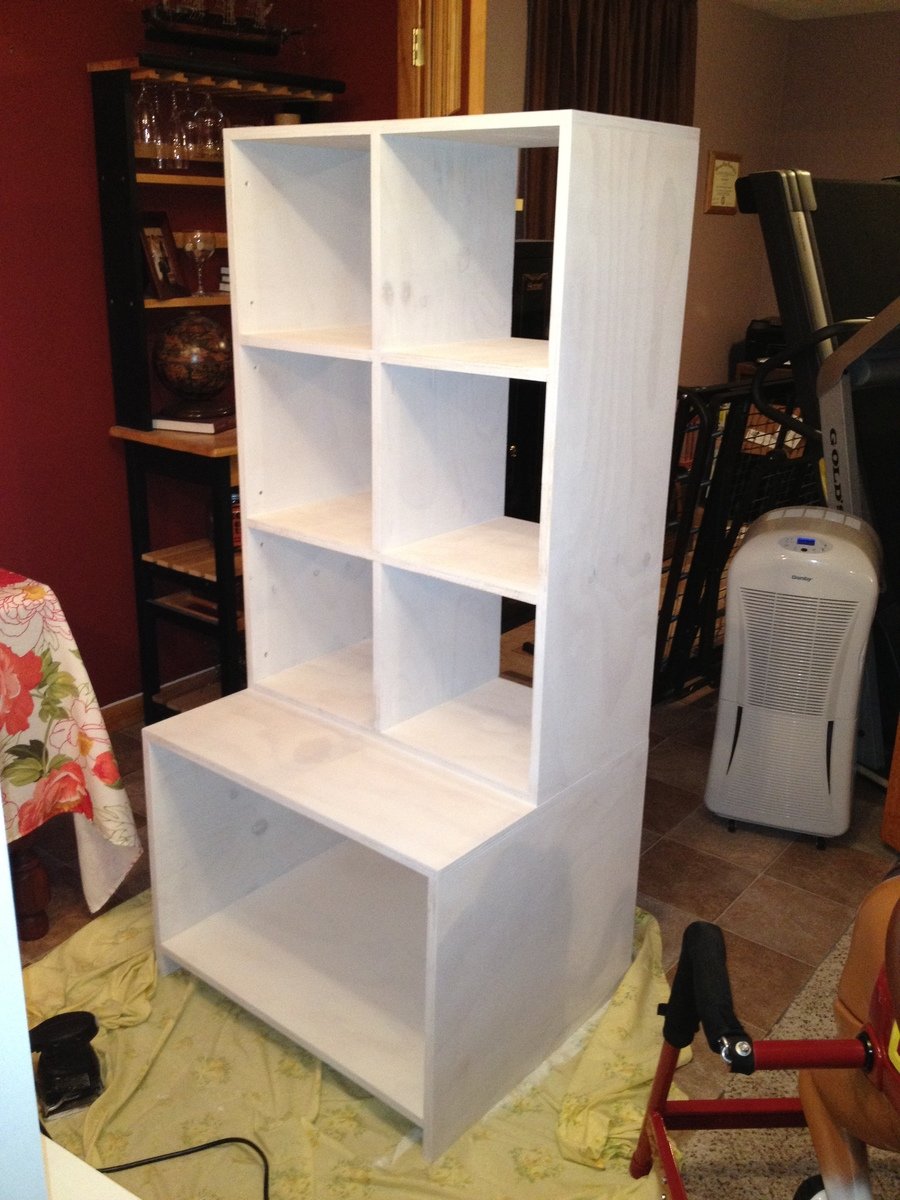
Half of the spare bedroom in our basement is our toy room and I wanted to be able to host visitors without them being overwhelmed by our toys. The units on top are three separate units. We didn't divide the middle unit so we could use as book shelves. The open units on the bottom are tall enough for car elevators, etc. I like the half units on top for the plastic storage boxes where I have craft/art supplies (I don't want my kids getting that when I'm not in the room!). We used white paneling on the back of the shelving. We used a piece of trim on the bottom to cover up the legs, but I wanted to show you that the entire unit does not sit on the carpet. The totes are Martha Stewart brand from Home Depot. (I apologize for the blurriness of the last photo.)
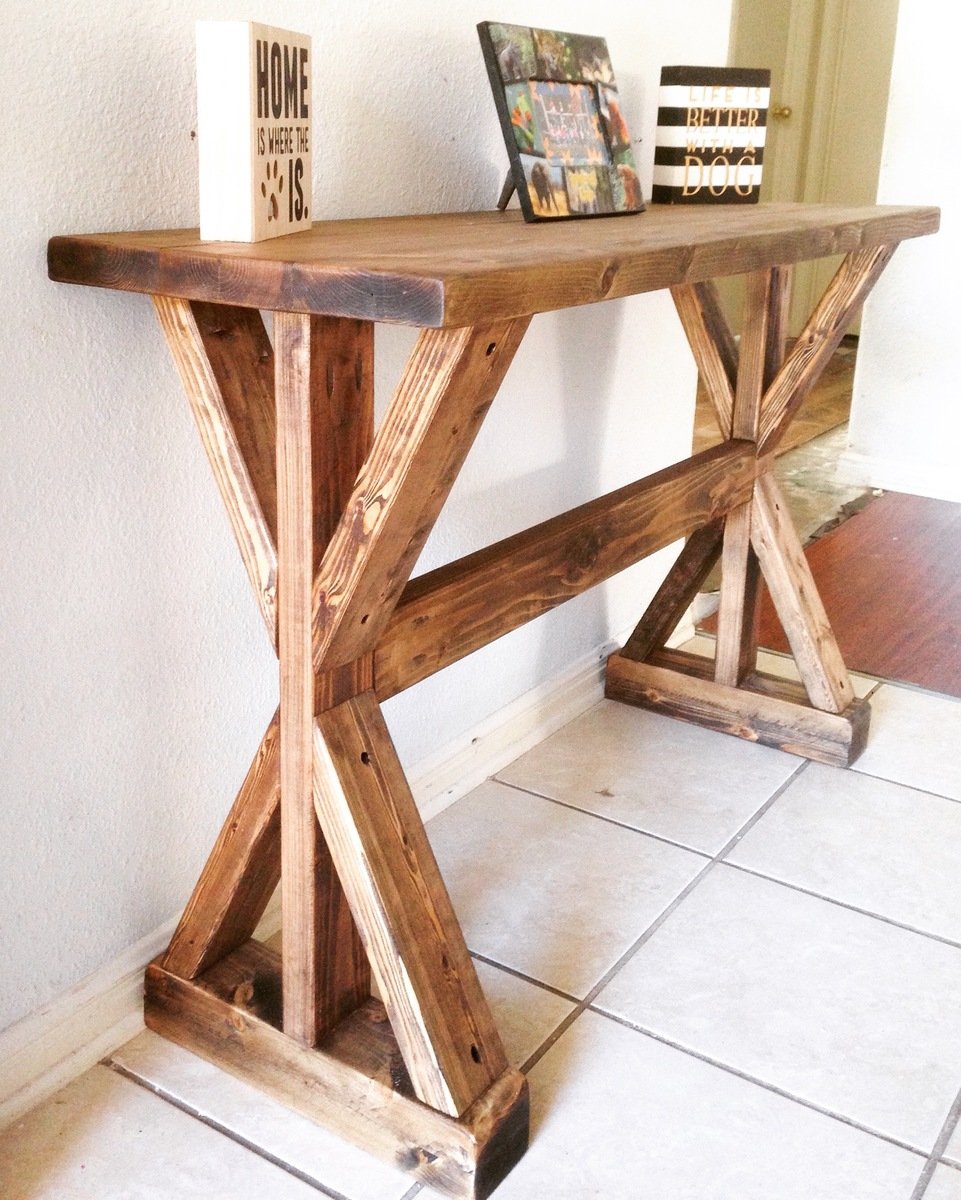
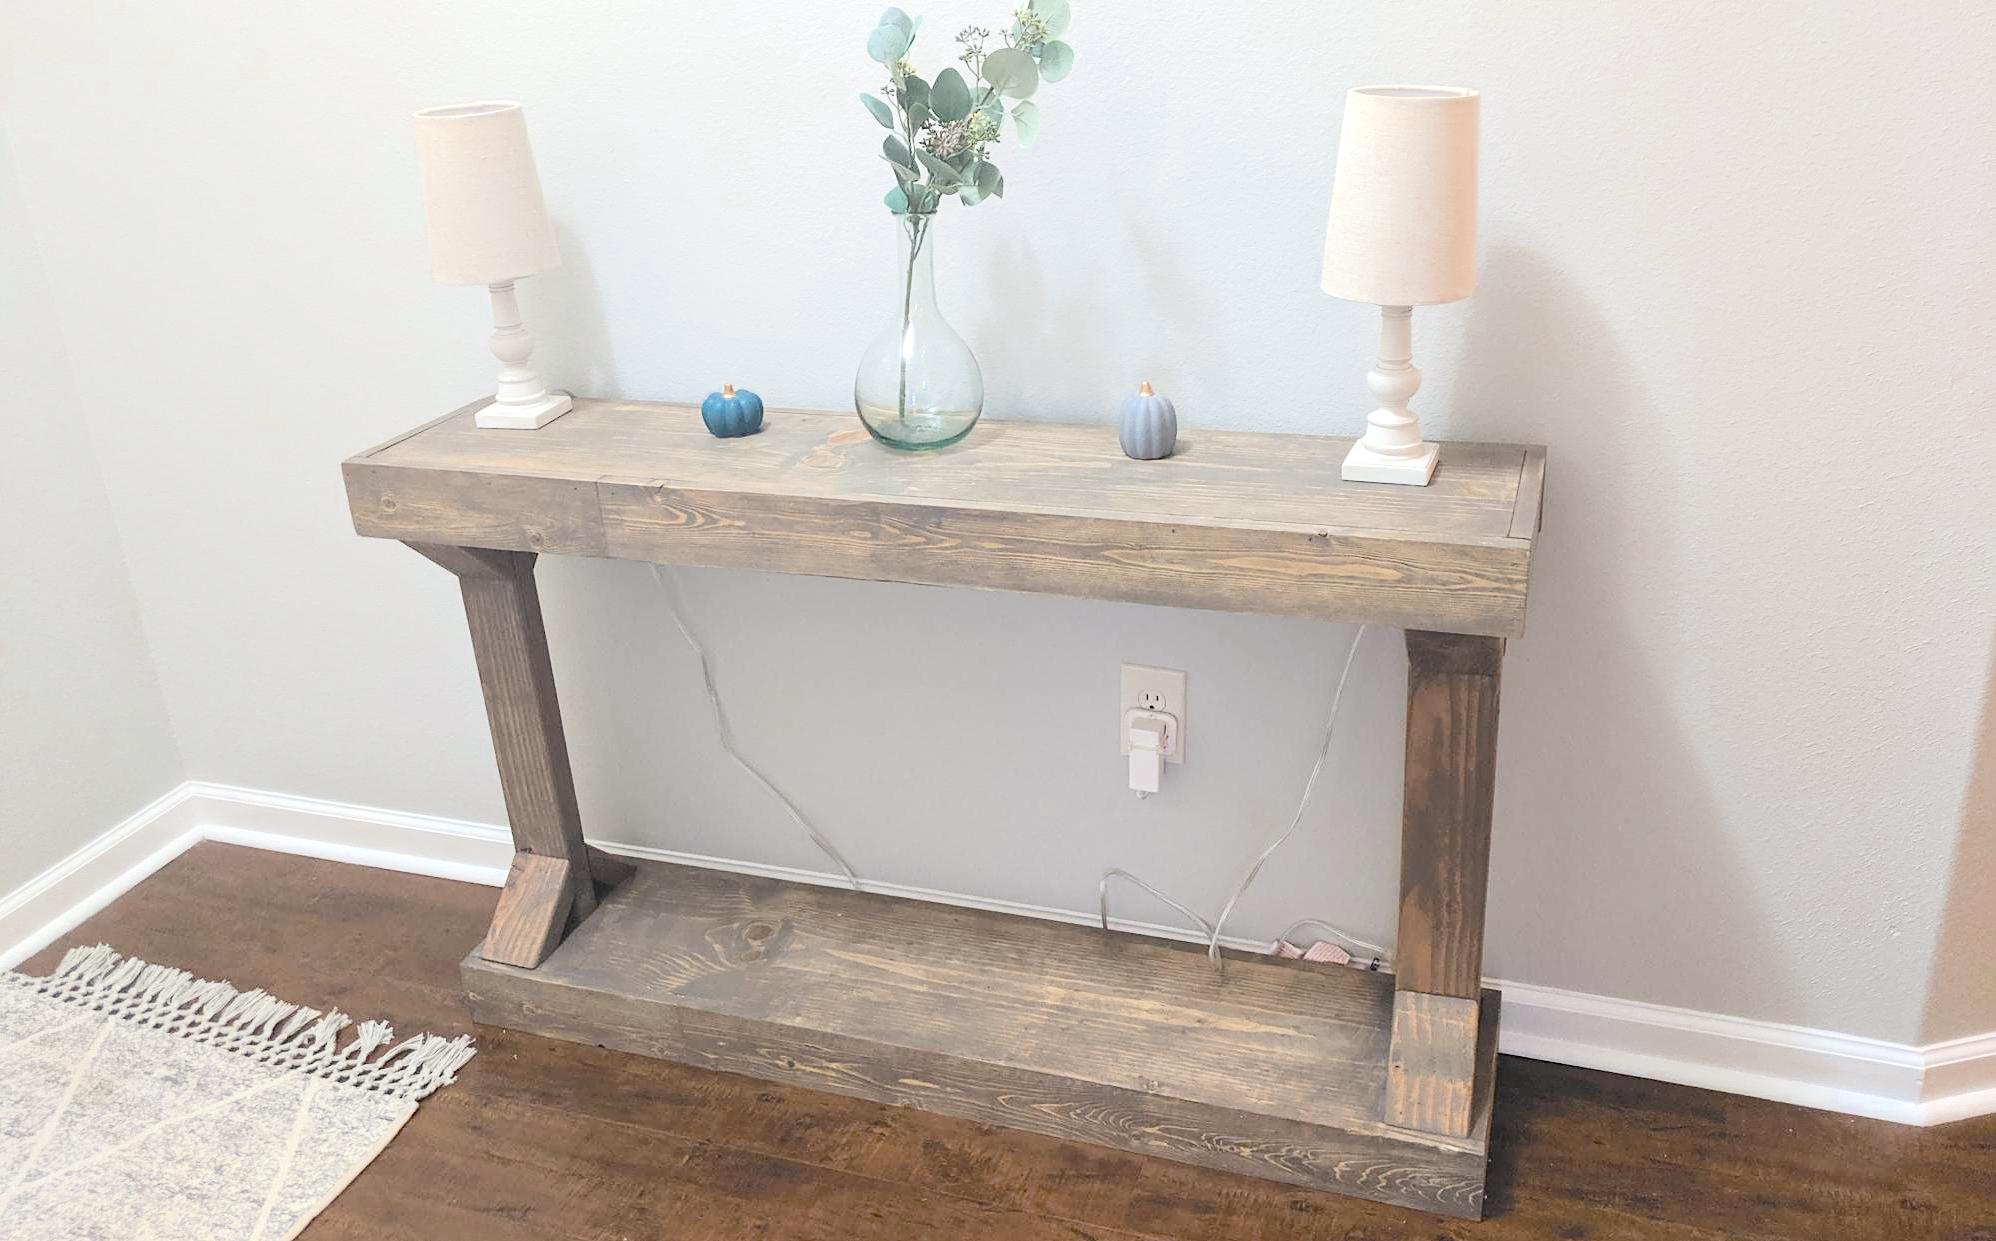
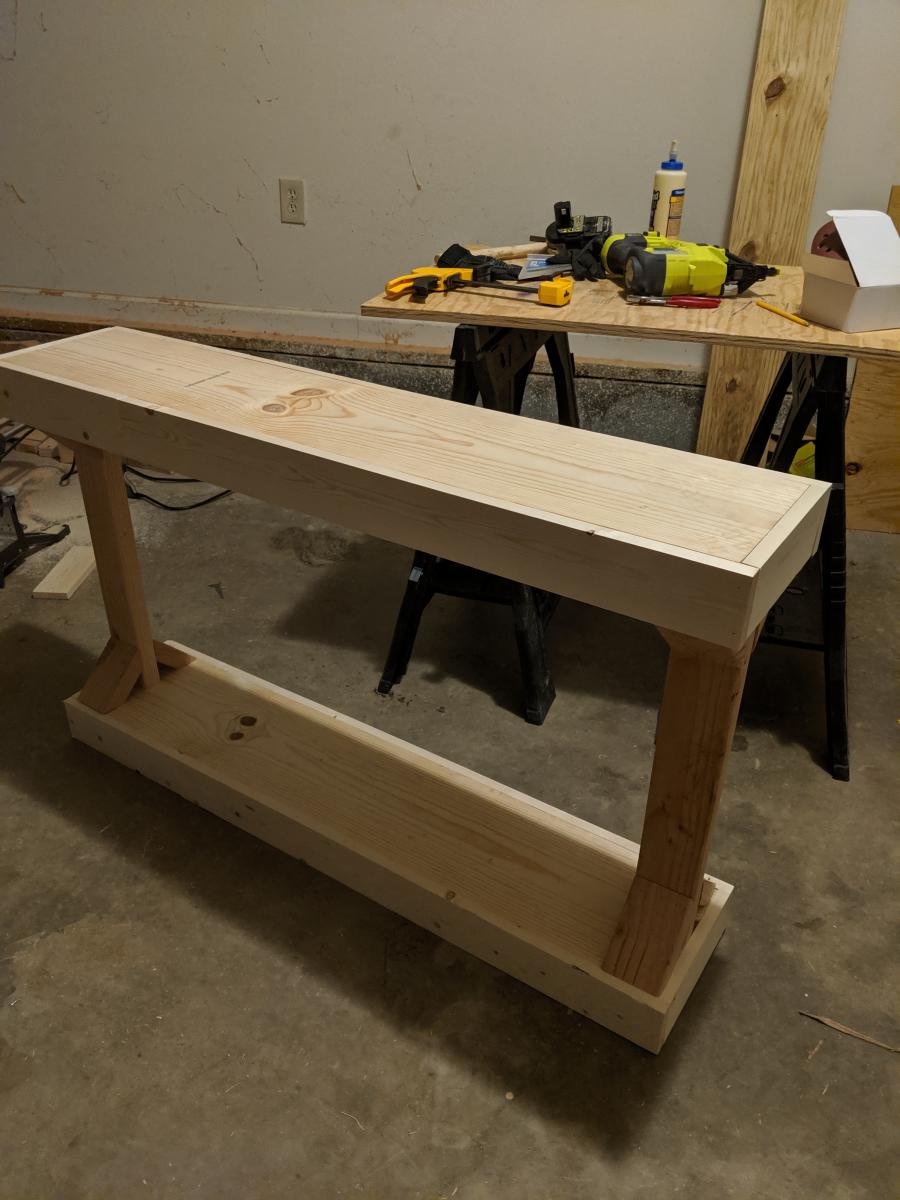
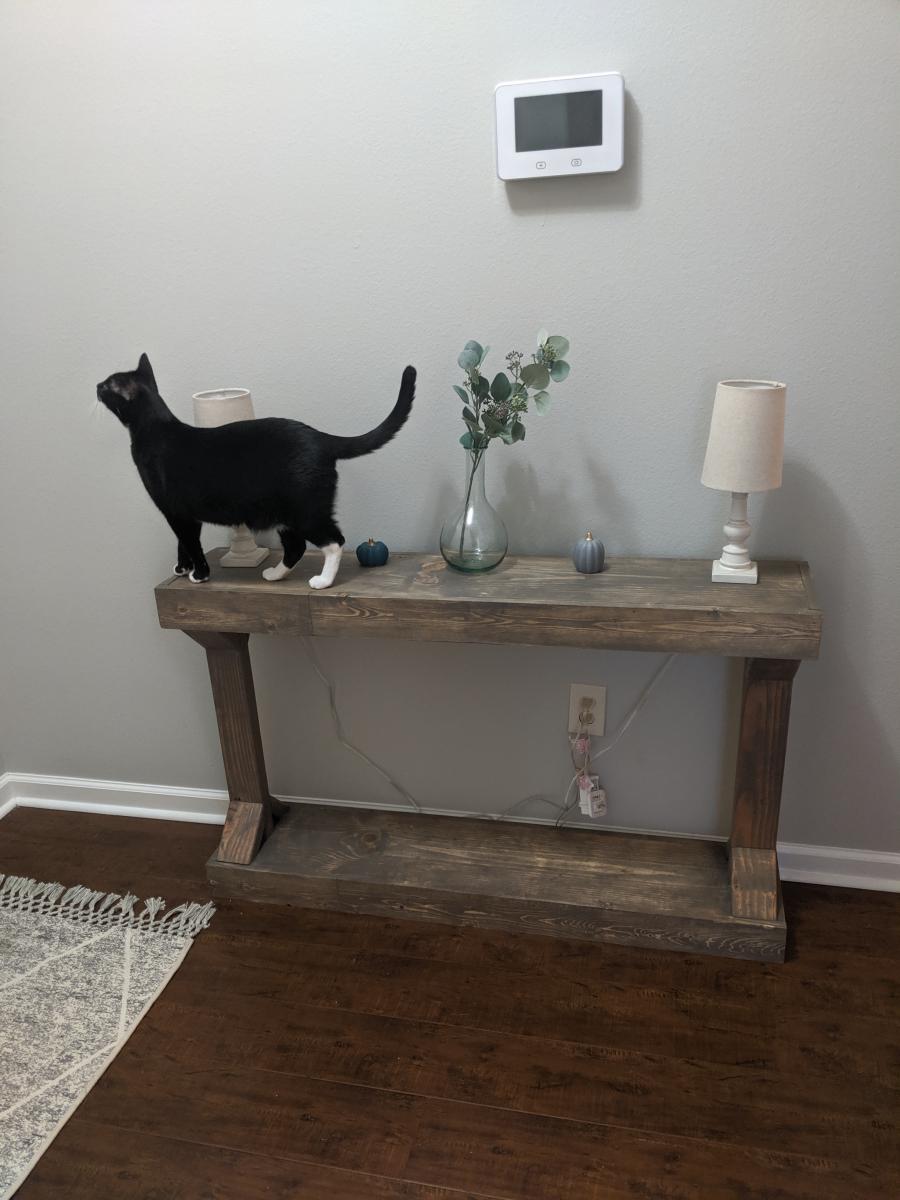
Handmade rustic entryway table. Stained with Varathane Stain and made from 2x4s & 2x6s Canadian white pine
Mon, 04/11/2016 - 05:30
Hi,
I really love your entryway table. Do you have a plan that we can use with dimensions and cut list?
Thank you
Tue, 05/17/2016 - 20:33
Hello can you provide us with plans for this? What saw(s) did you use?
Sun, 08/21/2016 - 08:18
Do you have plans for this entry table?! I love it but can't seem to find the plans?
Thank you!
In reply to Are there plans for this ? by Jatin2286
Fri, 03/16/2018 - 10:49
If you are OK with waiting a few days, I could draw you plans based off of the images.
In reply to Are there plans for this ? by Jatin2286
Sat, 03/17/2018 - 19:38
I modified the design slightly, by adding feet and a 1x4 board accent (that makes it easier to build). I'm assuming the overall height is 29.5" and the length is 48". If you want these to be different, feel free to reach out to me and I can help you adjust.
You can find the plans here: http://famousartisan.com/diy-x-base-sofa-table-plans-or-entry-table/
In reply to Are there plans for this ? by Jatin2286
Sat, 03/17/2018 - 19:39
I modified the design slightly, by adding feet and a 1x4 board accent (that makes it easier to build). I'm assuming the overall height is 29.5" and the length is 48". If you want these to be different, feel free to reach out to me and I can help you adjust.
You can find the plans here: http://famousartisan.com/diy-x-base-sofa-table-plans-or-entry-table/
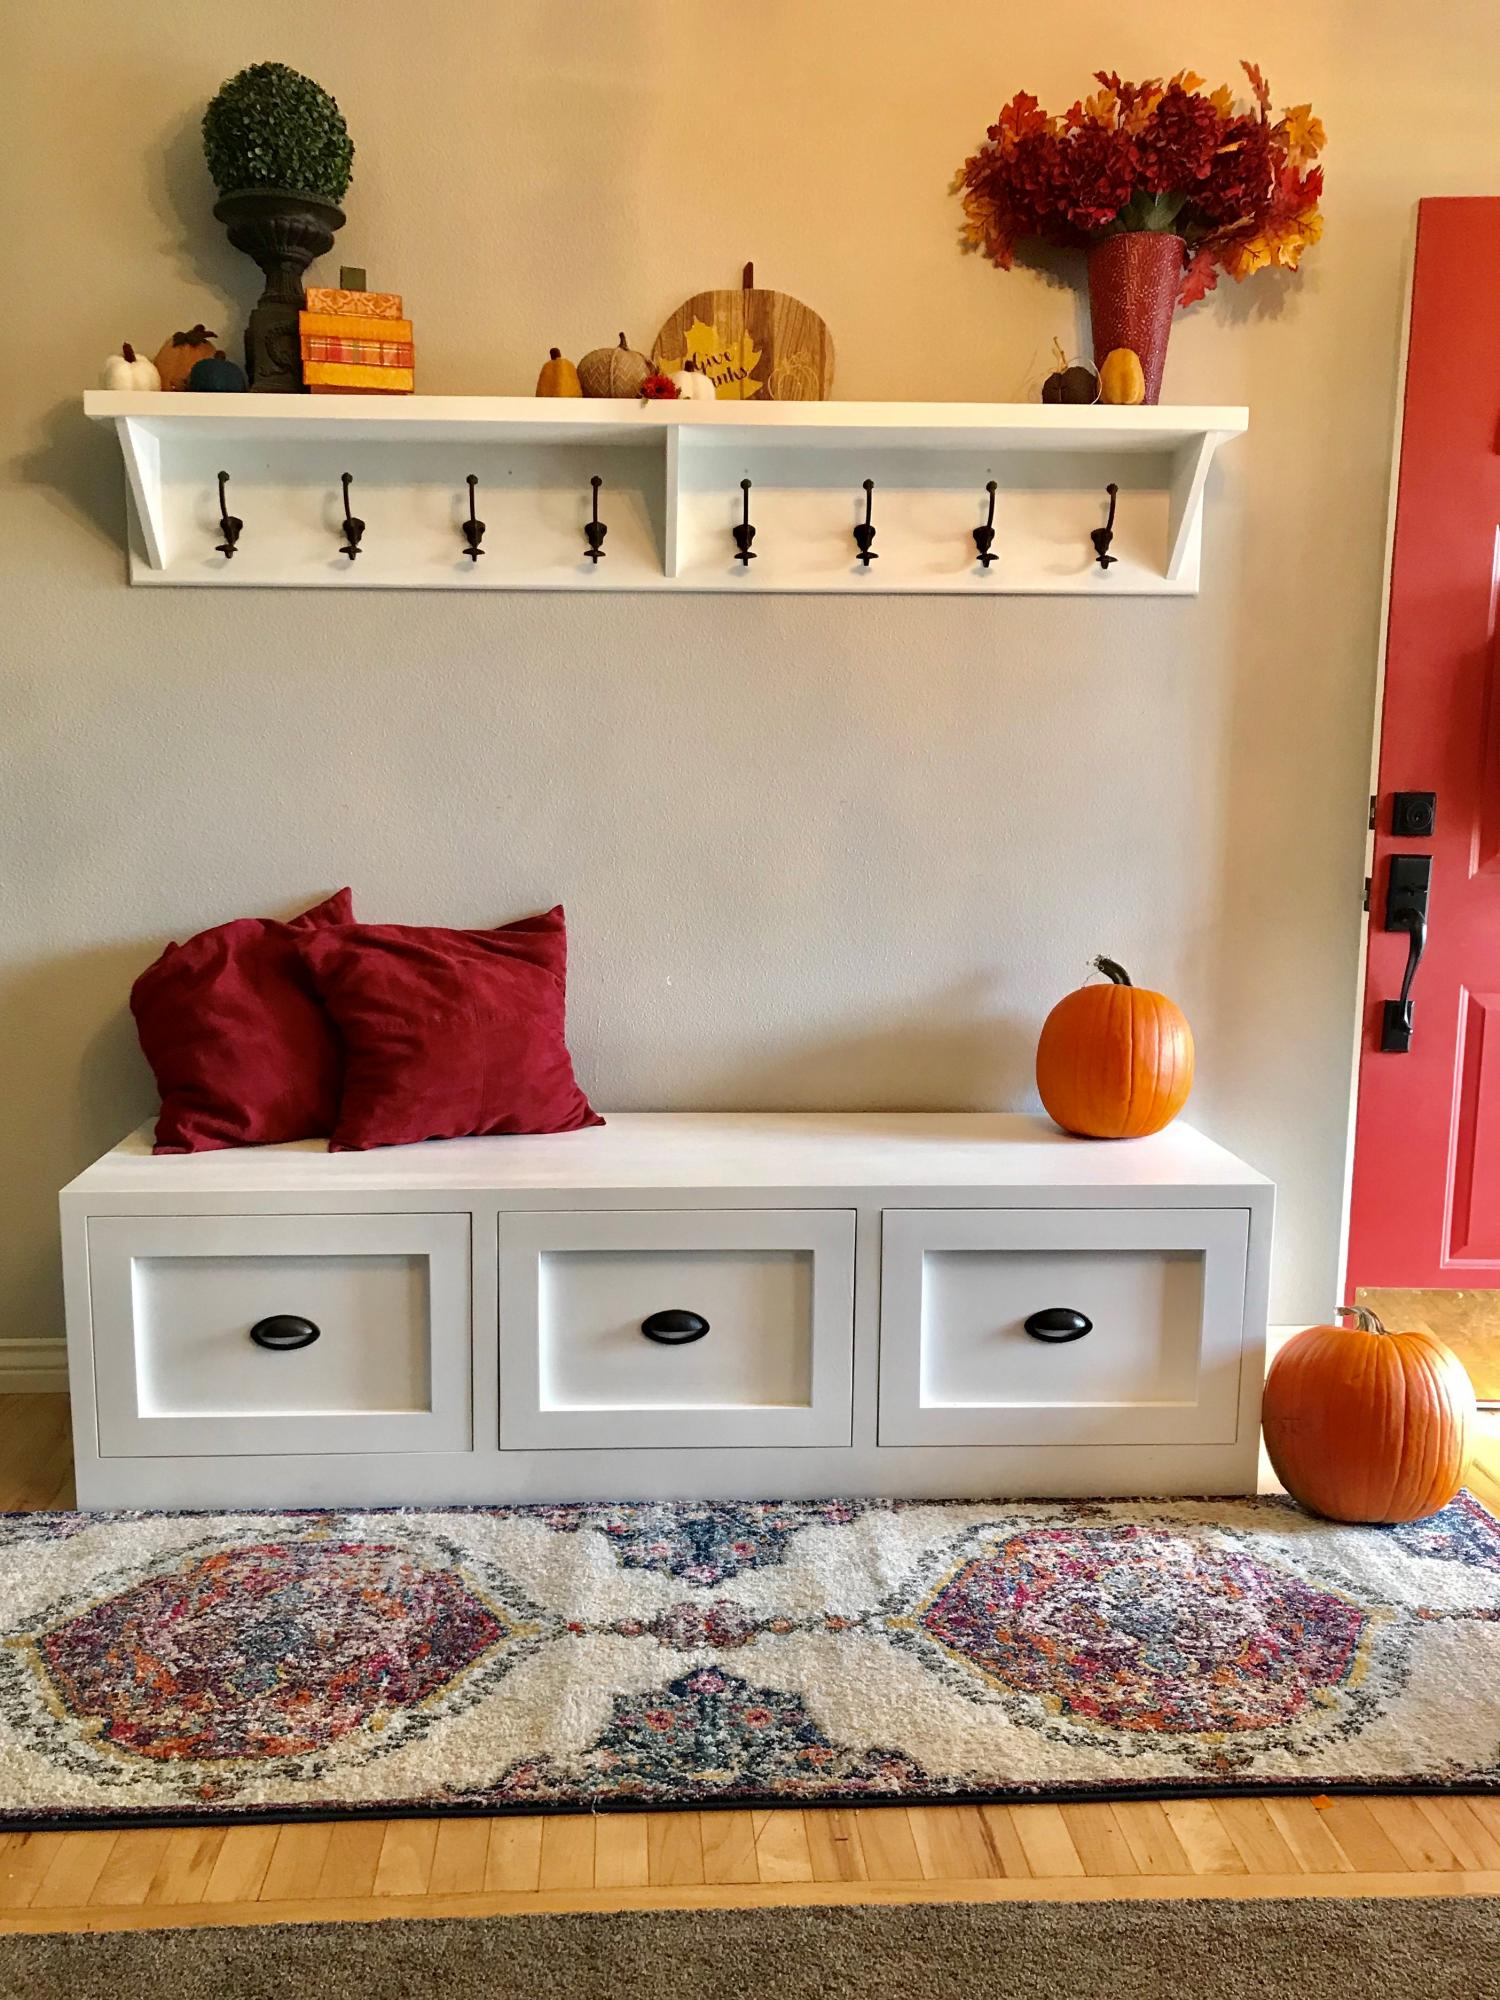
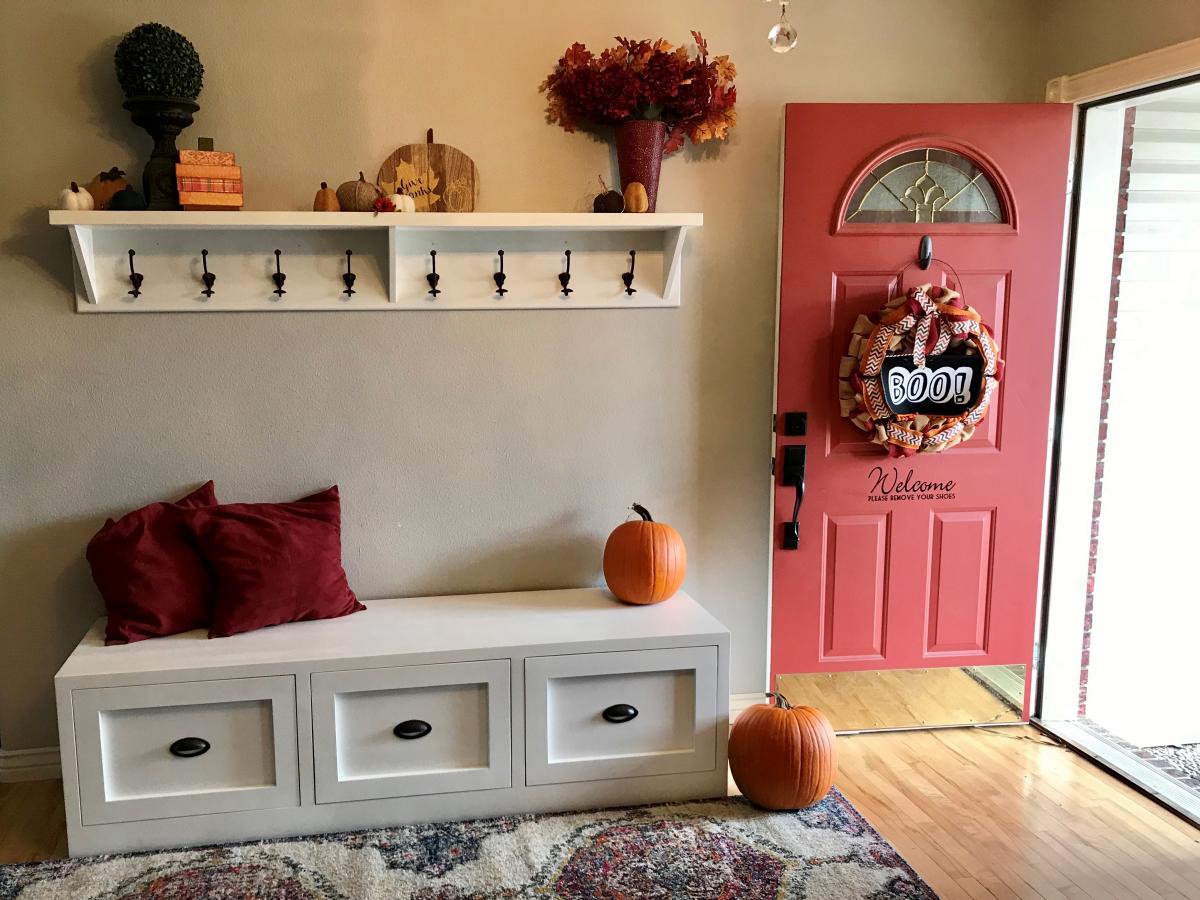
We needed a better solution for our entry way where kids tended to drop their backpacks and clutter the room. We used the "Mudroom Bench with easy drawers" plans and modified it to be just a little taller for our space. Adding a simply shelf above gave a space to hang up coats and backpacks while shoes and umbrellas can fit in the deep drawers.
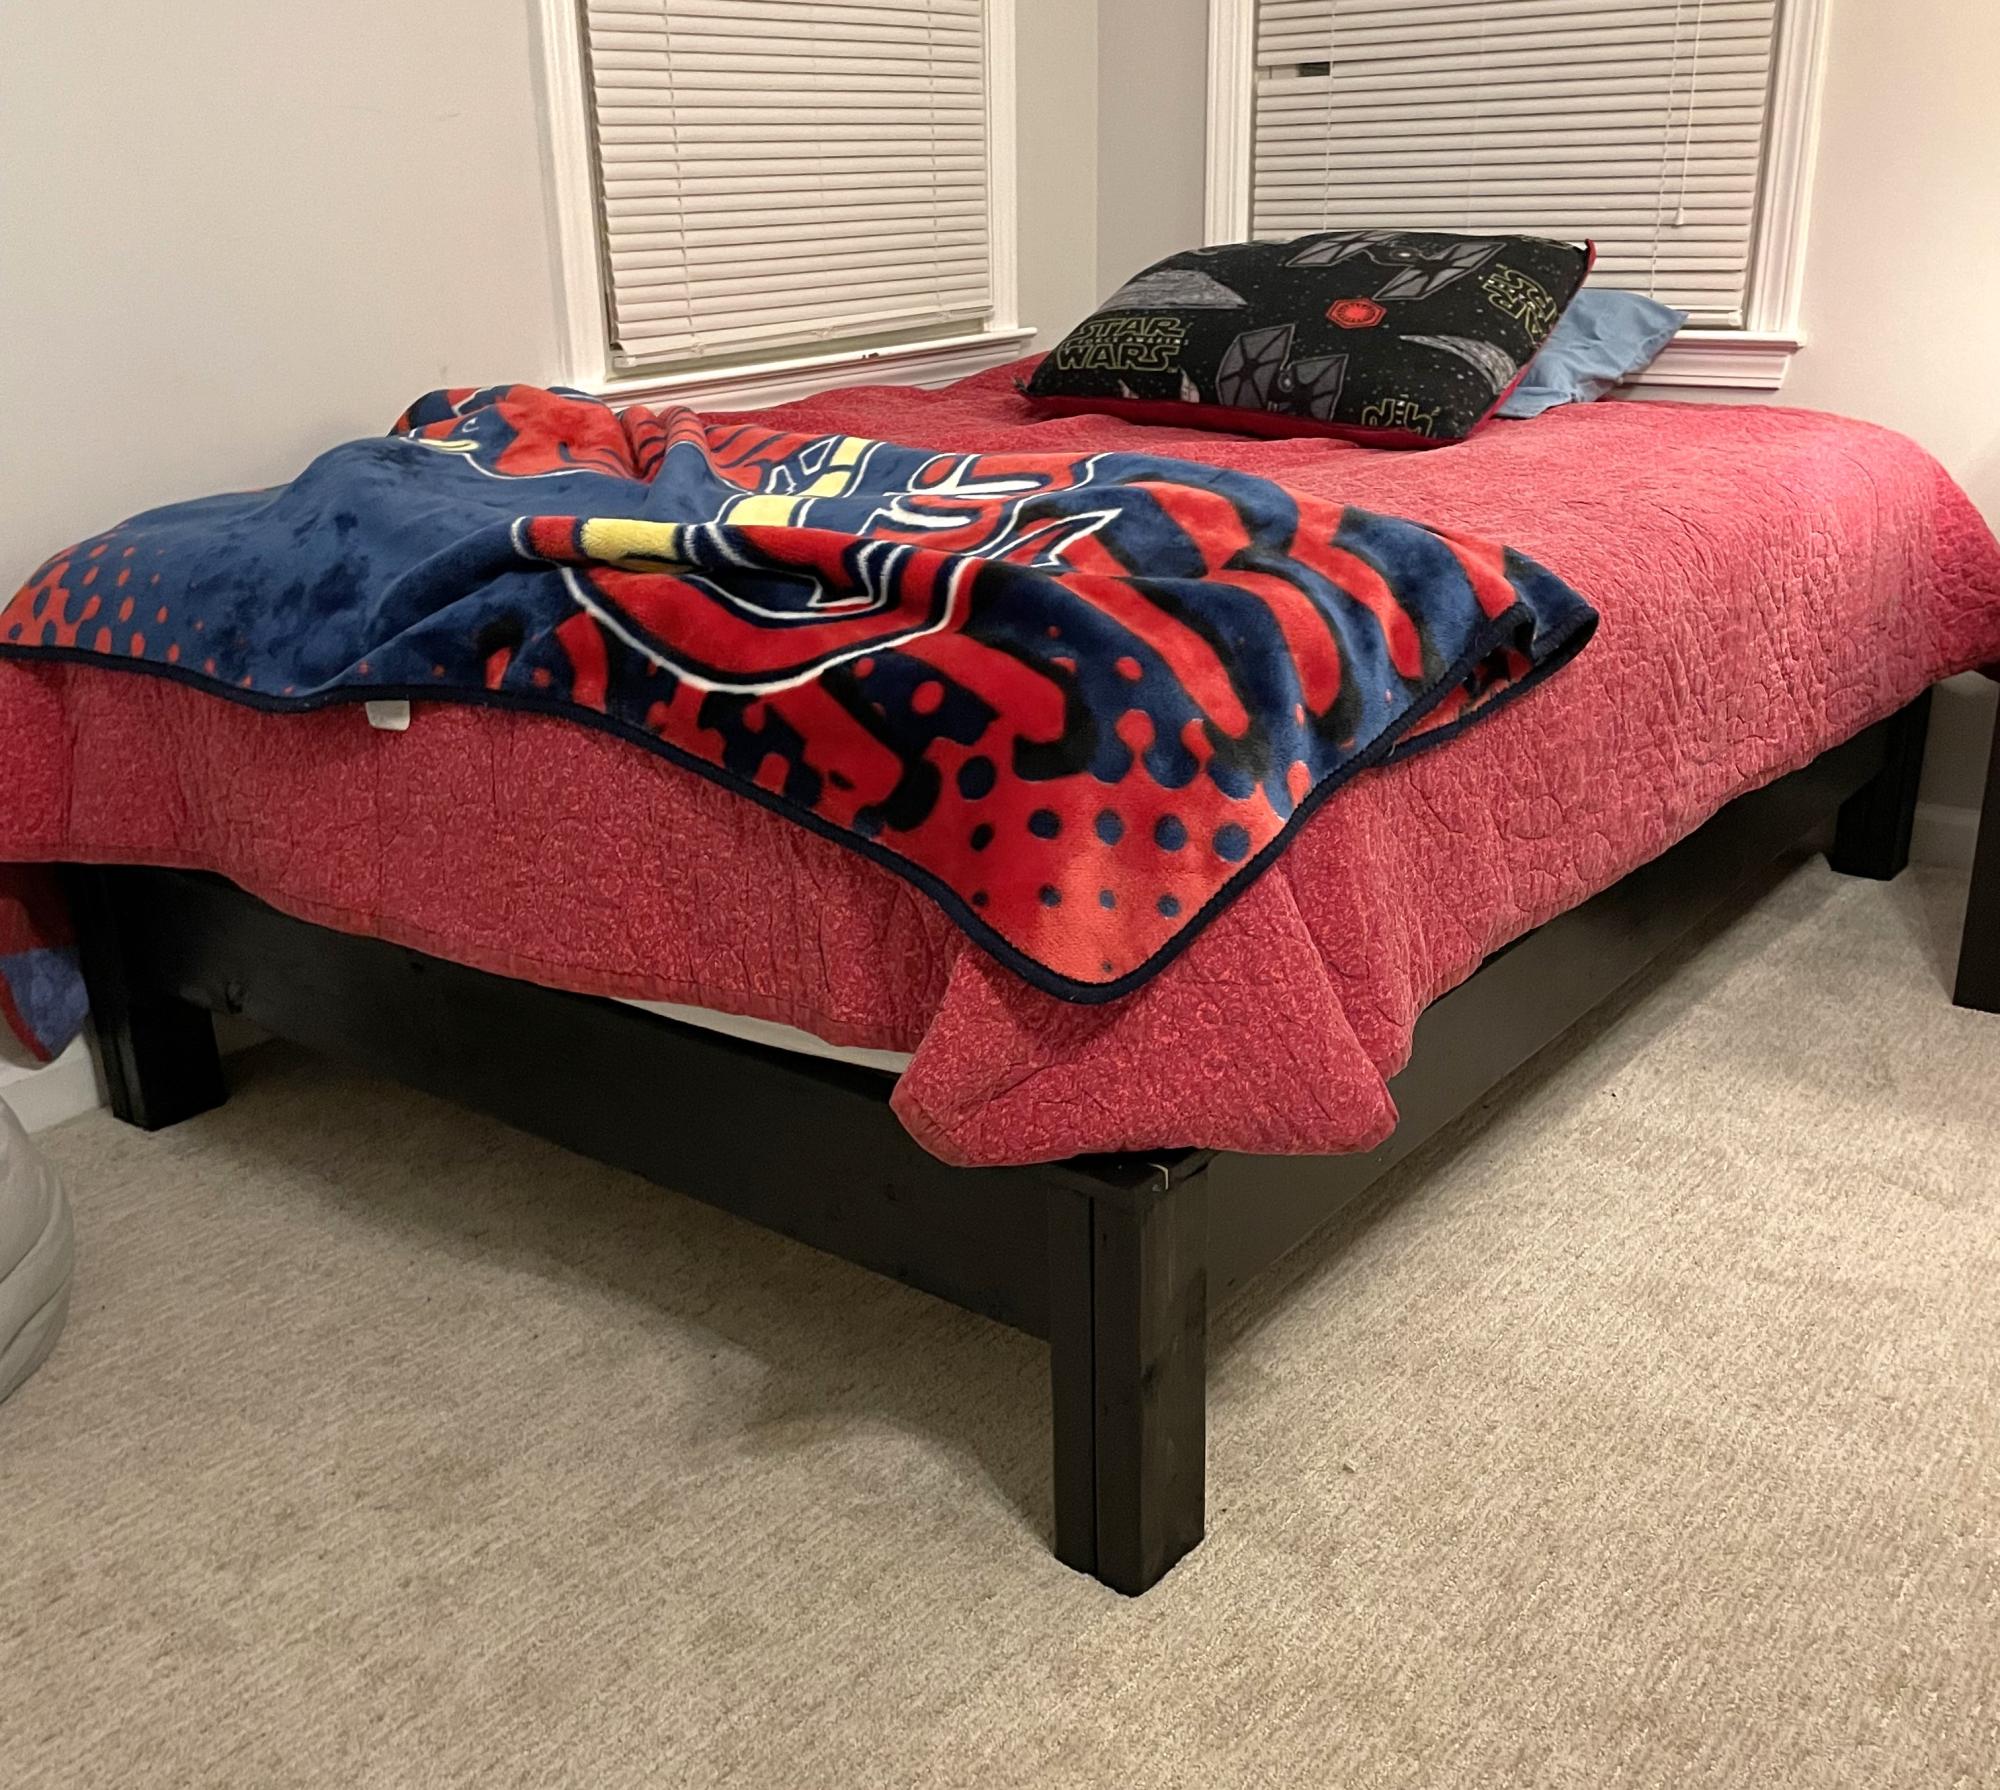
Great plans for a platform bed. My son loves it!
Jmimms
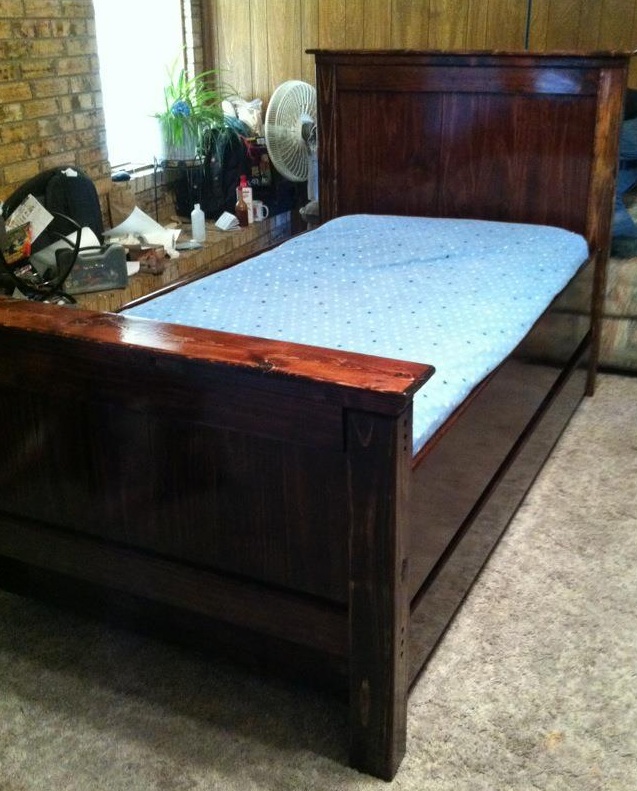
Twin farmhouse bed with trundle. Slightly modified to make foot board a bit taller.
Wed, 03/14/2012 - 07:44
Where can I locate plans for the trundle?
Thanks!
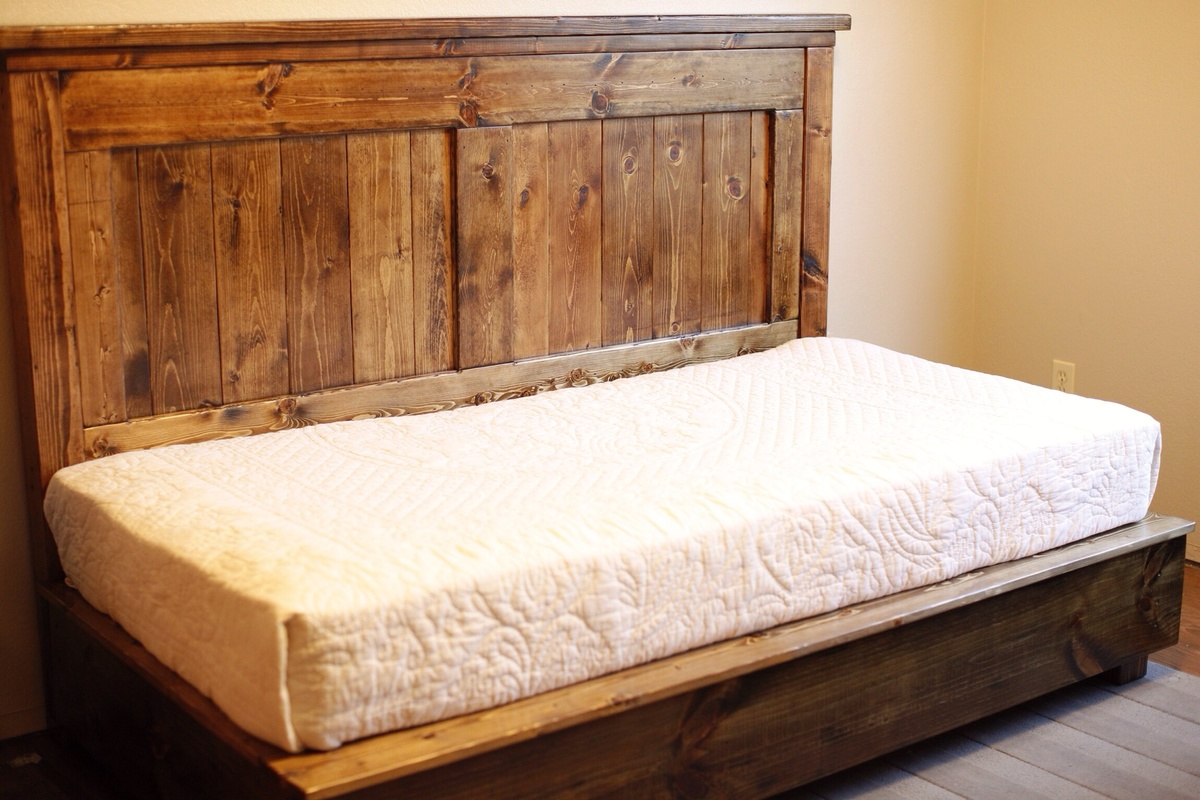
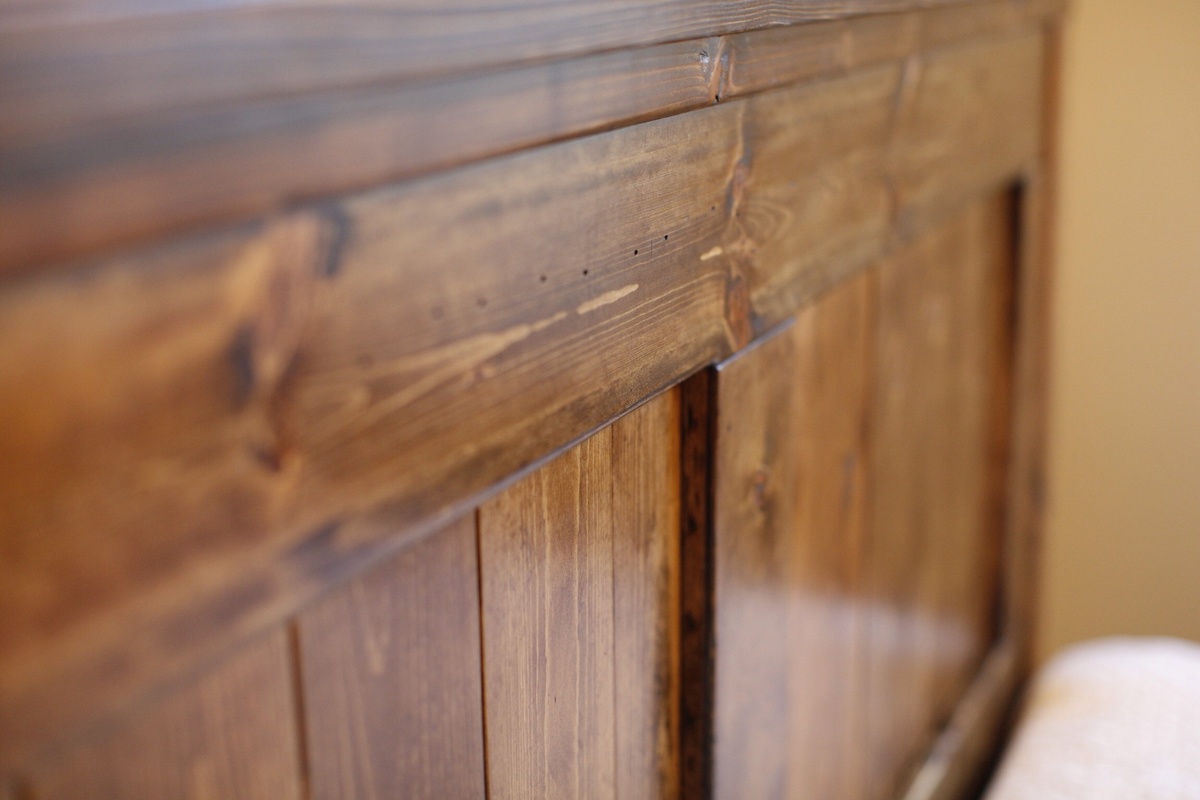
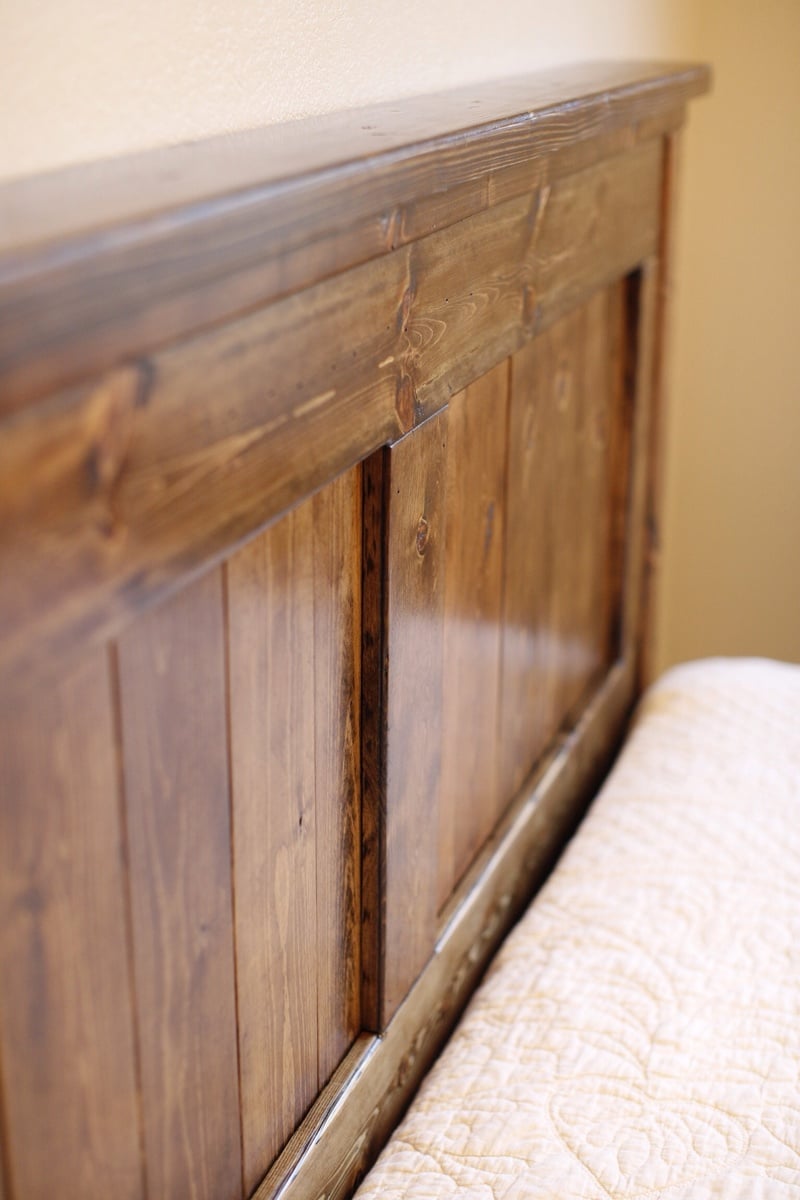
My son plays games while sitting on his bed, we love the farmhouse style, but for room sake and looks, making it this way turned out perfect. Took the basic layout added some thicker boards top and bottom and additional surface boards to give it depth. Since there was no footboard I built a free standing frame, and attached it to the headboard.
Tue, 12/22/2015 - 07:42
This is the perfect playroom bed for a boy! I'm looking to build two of them. Every other bed I've searched that is farmhouse style is boarded on three sides. I LOVE this playform style for the same reason you mentioned....they can sit all around on the bed and it's much easier for kids to change bed linens. I love the "chunkyness" and masculine appeal of this bed! You mentioned using thicker boards on the top. Would you mind shag what yo used? Also, what did you use to make your "feet" on the bottom? I would appreciate any tips
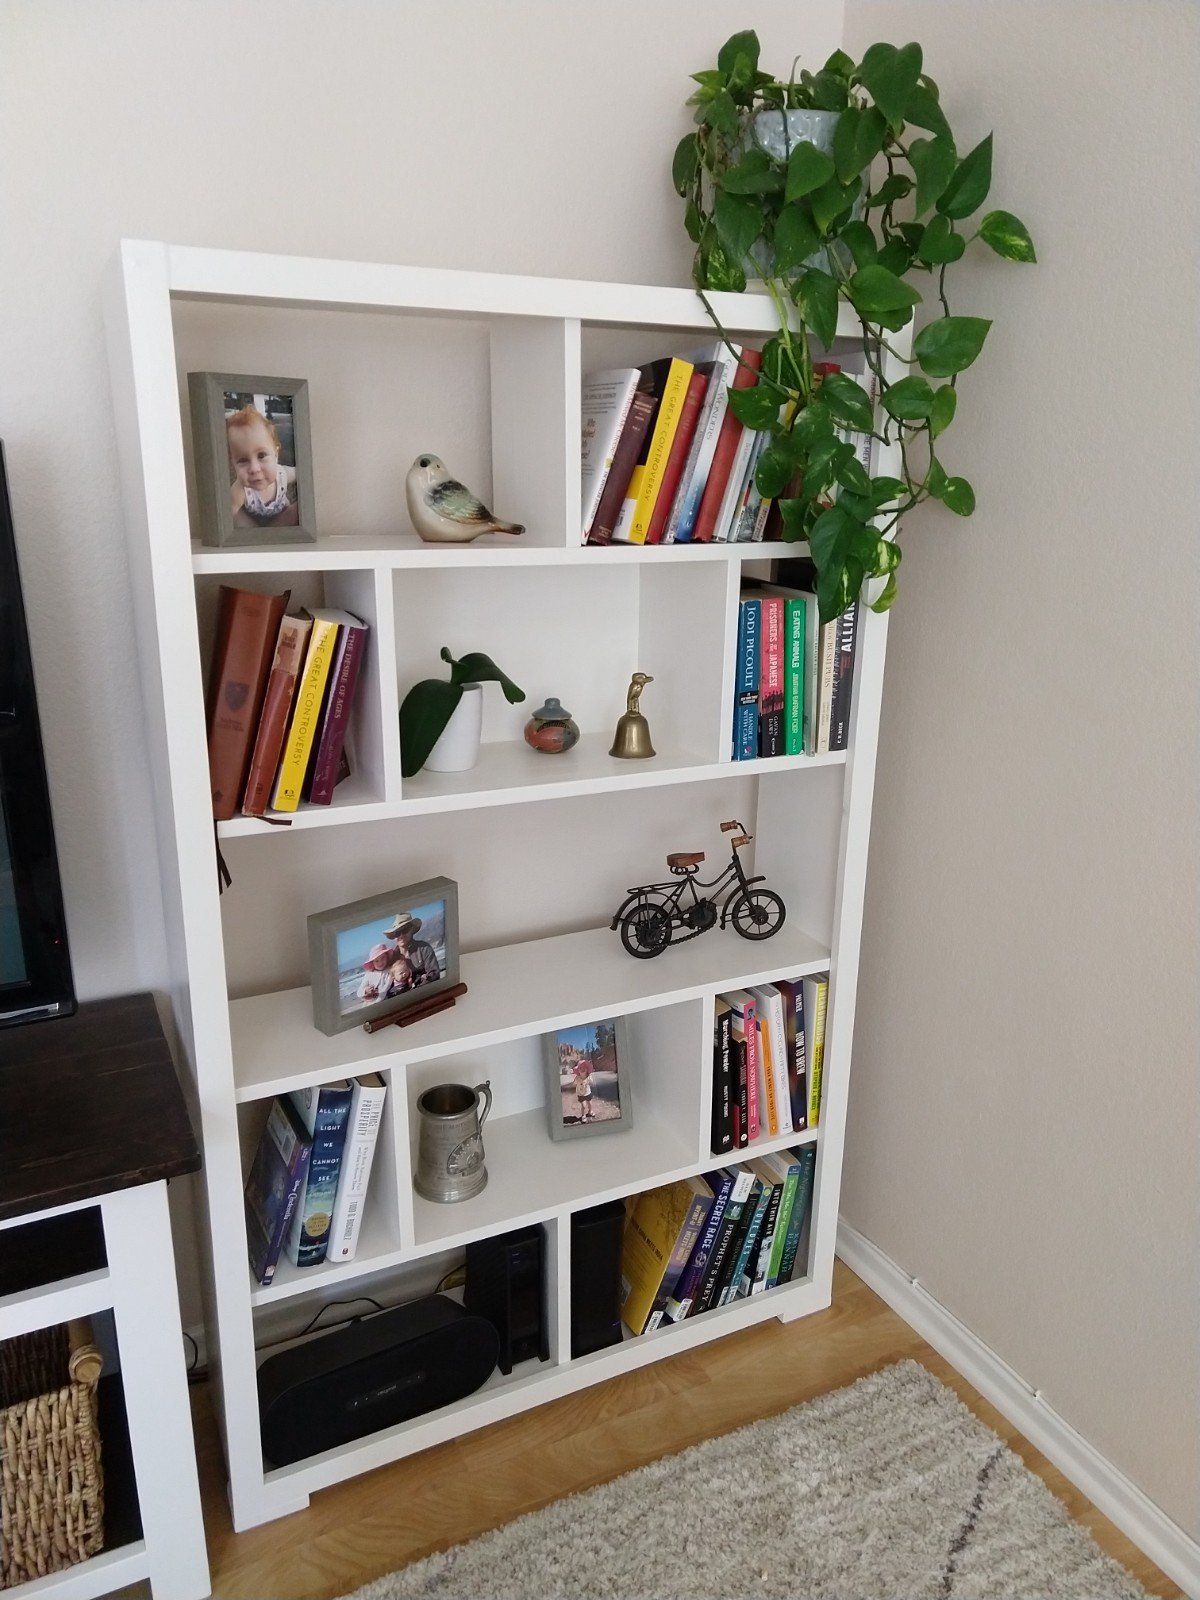
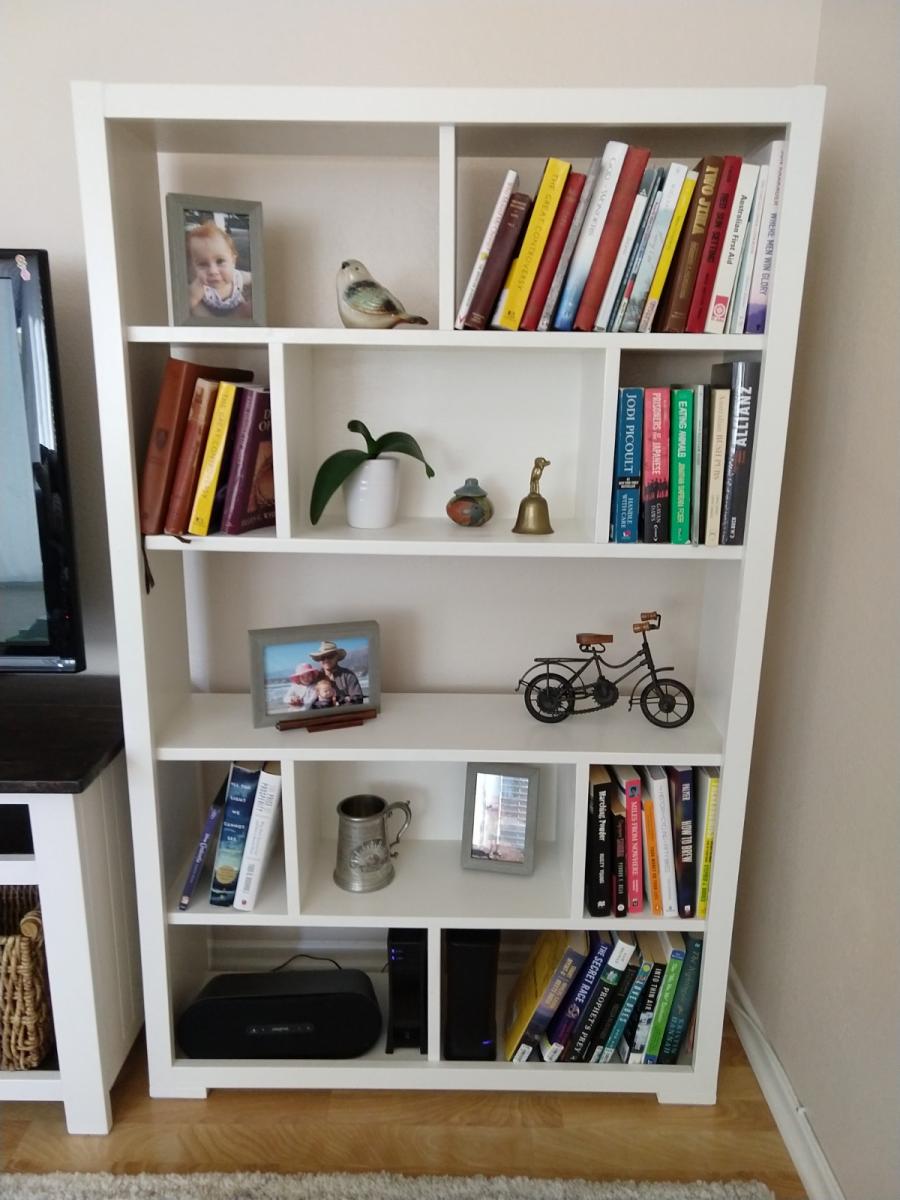
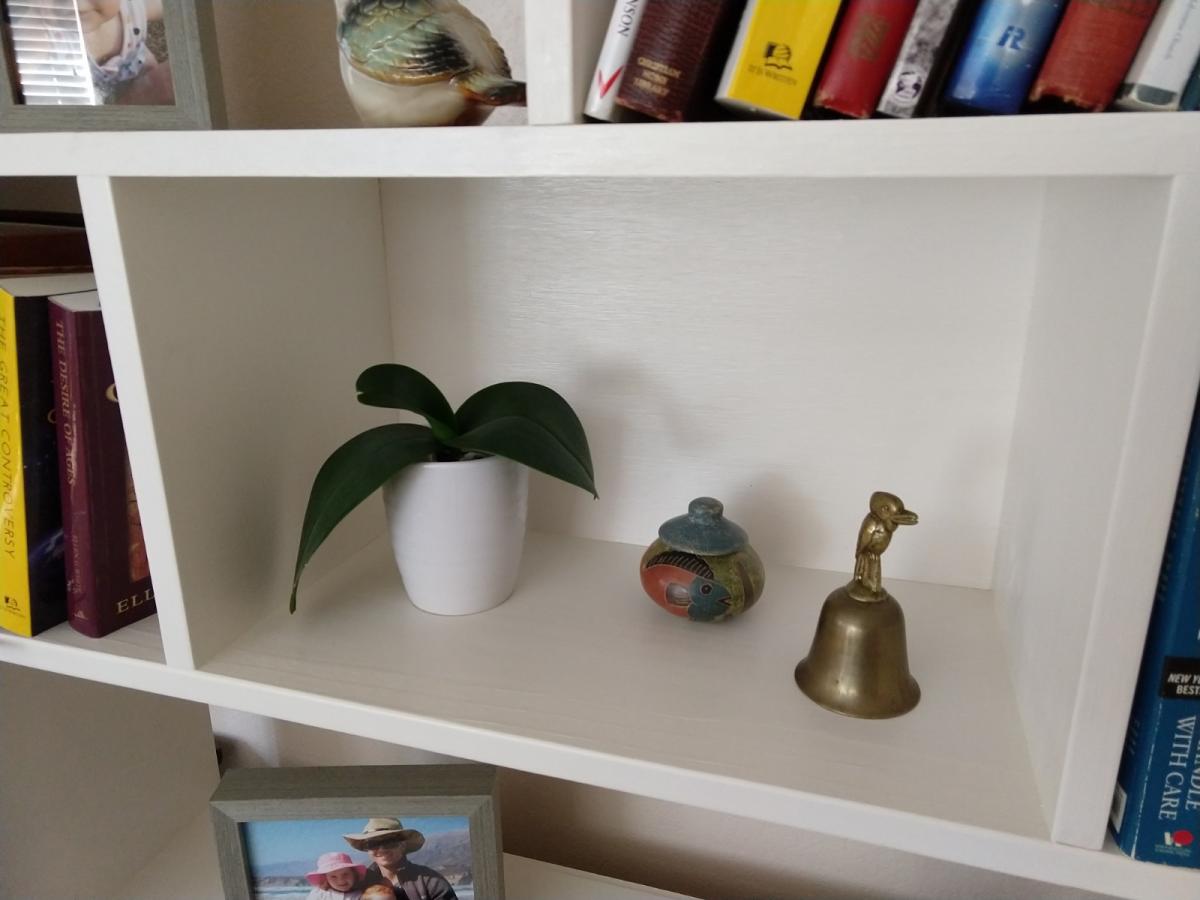
Followed Ana's plans pretty closely. I changed a few of the dimensions and did not include the middle shelf divider. I also added feet to the bottom rather than extend the sides to make those the feet.
I used 1x10s for the shelves, dividers, and exterior, 1x2s for the trim, and scrap 1x3s for the feet.
This was my first woodwork building project and while it took me a long time, I learned a lot in the process. I quickly realized the advantage of pocket holes as I was patching my countersink screws!
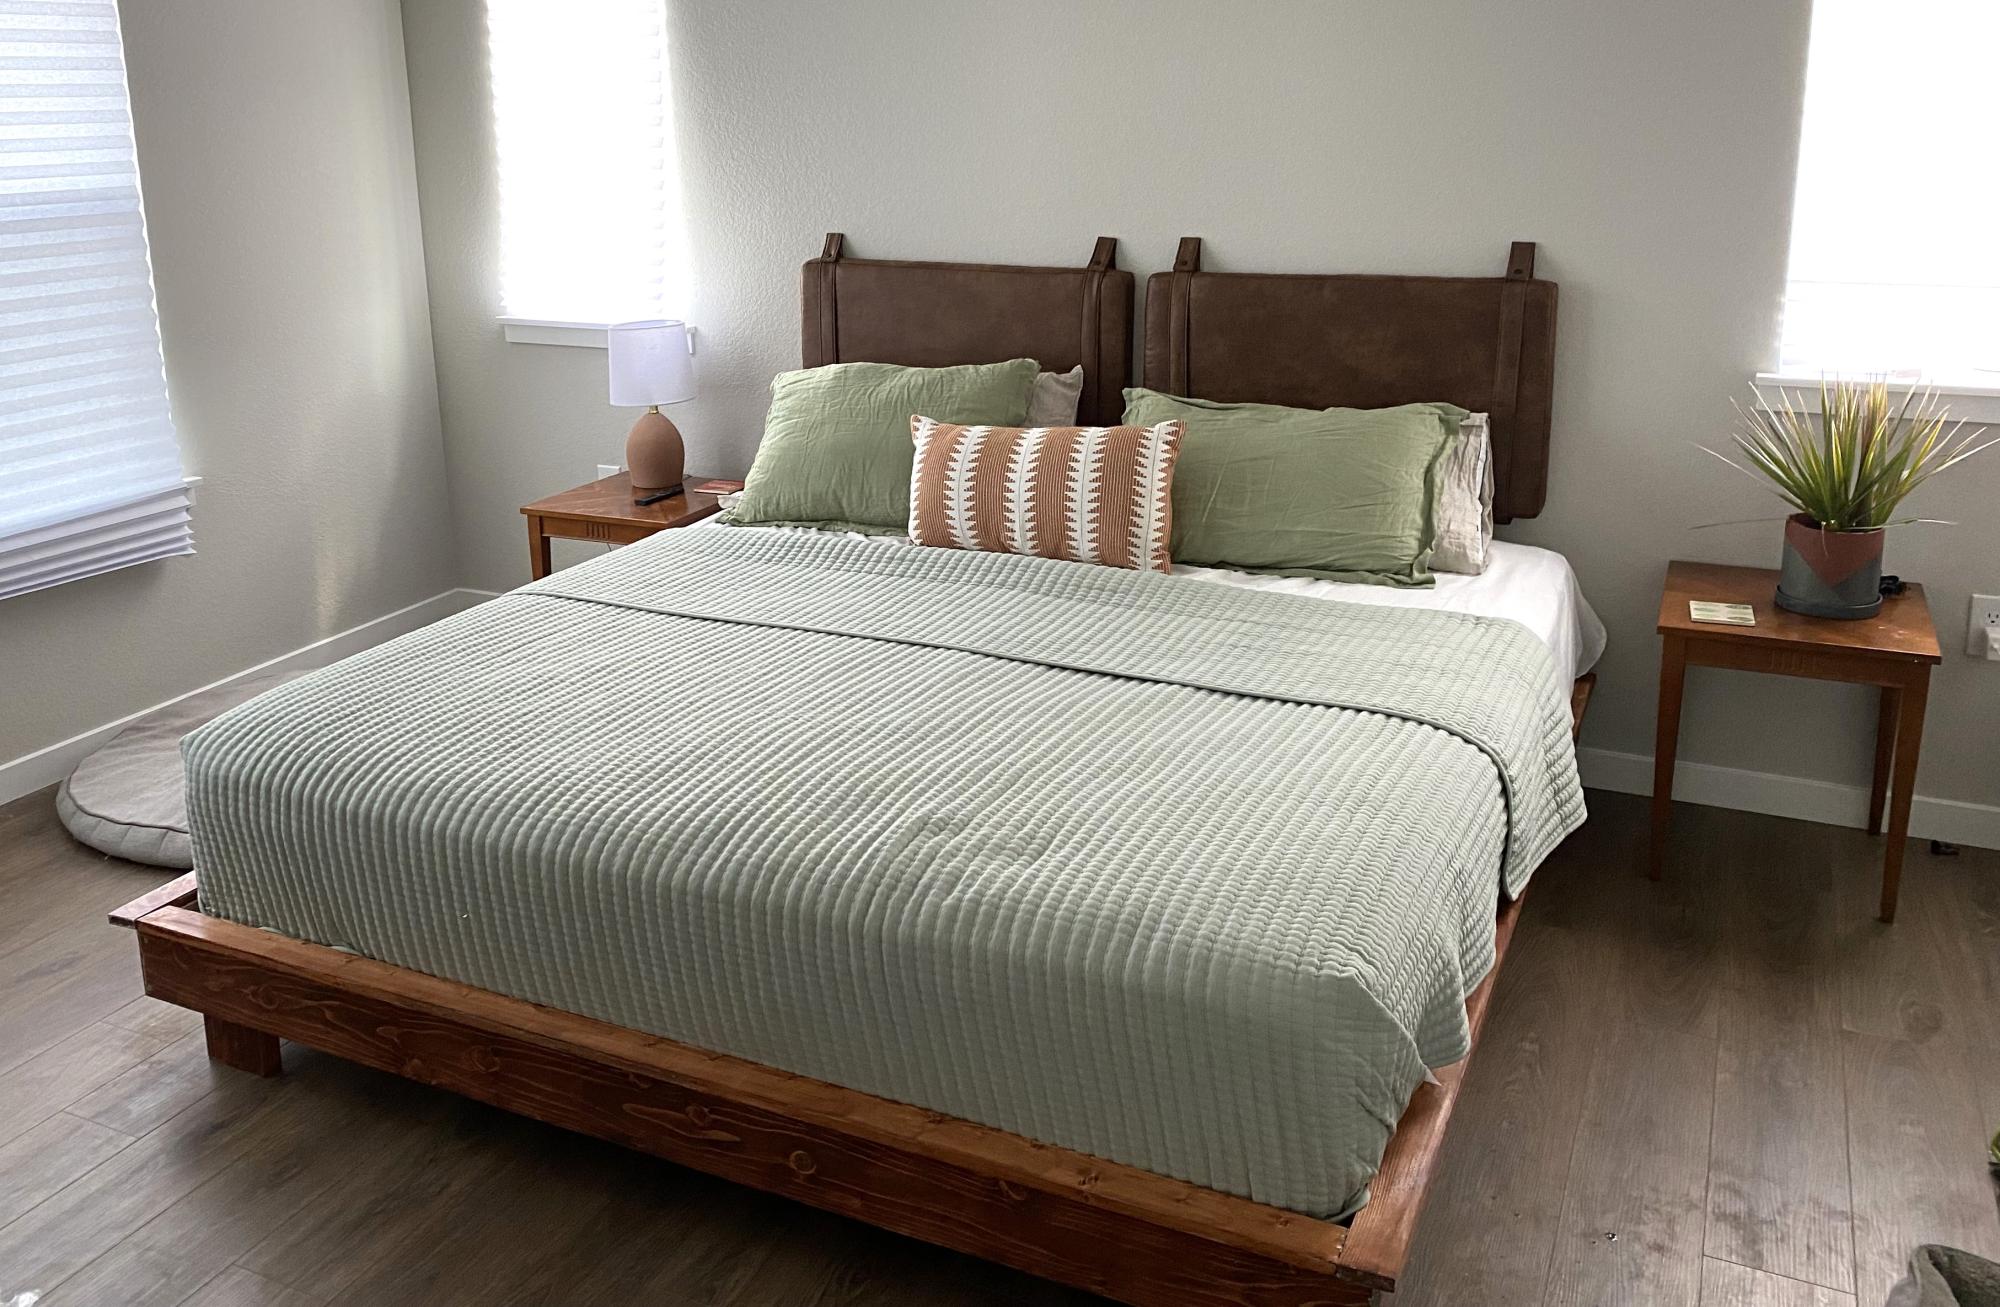
We paired this bed frame with Nathan James upholstered headboard to replicate our favorite Airbnb we stayed at in Telluride. That bed was a $1300 from West Elm. Minus the tools, this bed came in around $500 for everything (including bedding).
Wood: Douglas Fir
Stain: American Walnut
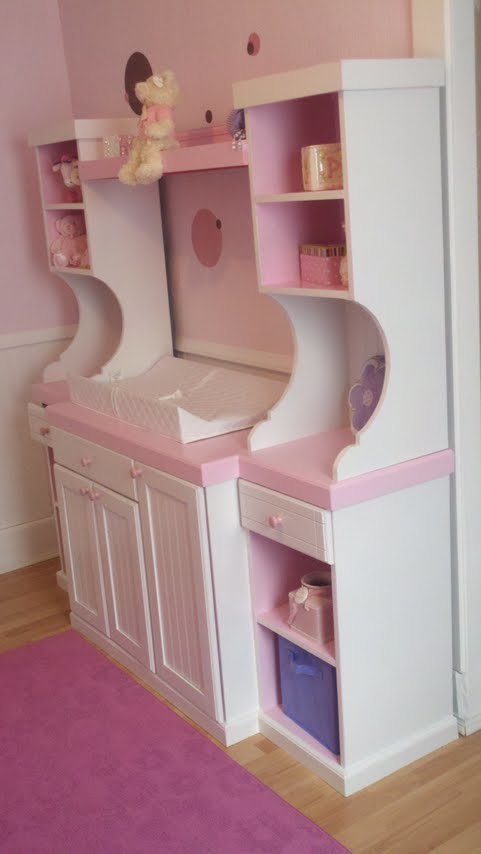
Thx for the plan Ana. I modified it slightly to make it a bit different but realy loved you plans.
Thu, 03/08/2012 - 20:53
Thank you all for the kind words. This was a fun project for a worthy lil person :)
Tue, 08/14/2012 - 16:29
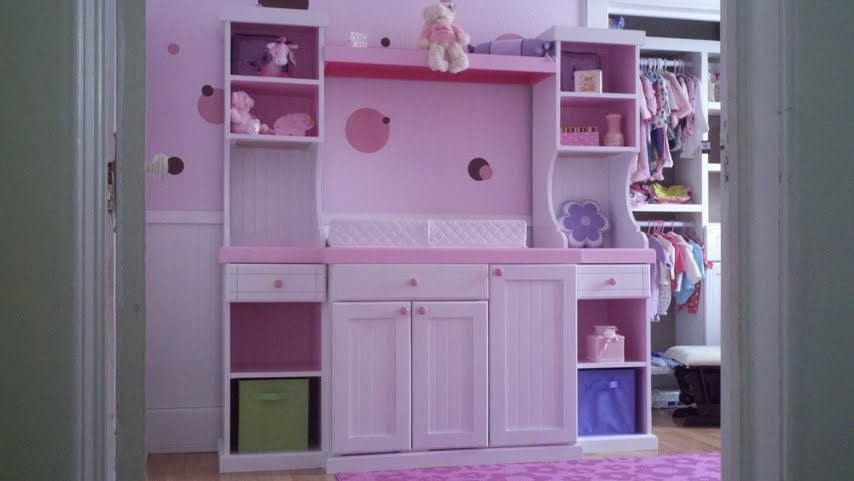
I would like to know where did you get the instructions for the HUTCH on the Madeline changing table plan I can not find it on Ana Whites plans
Ana sized her plan for 2-6 year olds, but a friend asked me to build this for her 9-year-old granddaughter as an art table that would live outside, on their covered patio. I made the table top 28x48, and set the top at 28 inches off the ground. The bookcase part is 42 inches tall, in keeping with the "rule of thirds."
In light of the larger size, I decided the legs needed some braces, so I added a cross brace at the bottom and some curvy side braces.
I considered adding some cupboard doors to keep the dust out, but decided to leave it open so it wouldn't become a haven for spiders. Doors don't really keep dust out anyway, the way the wind blows around here.
As shown, the birch ply top has natural stain on it. I'm going to finish the top with spar varnish. For the rest, I'm going to primer it, and deliver it with a few pint cans of water-based outdoor paint in basic colors so the girl can paint the rest of it herself.
Thank you, Ana, for another enjoyable project!
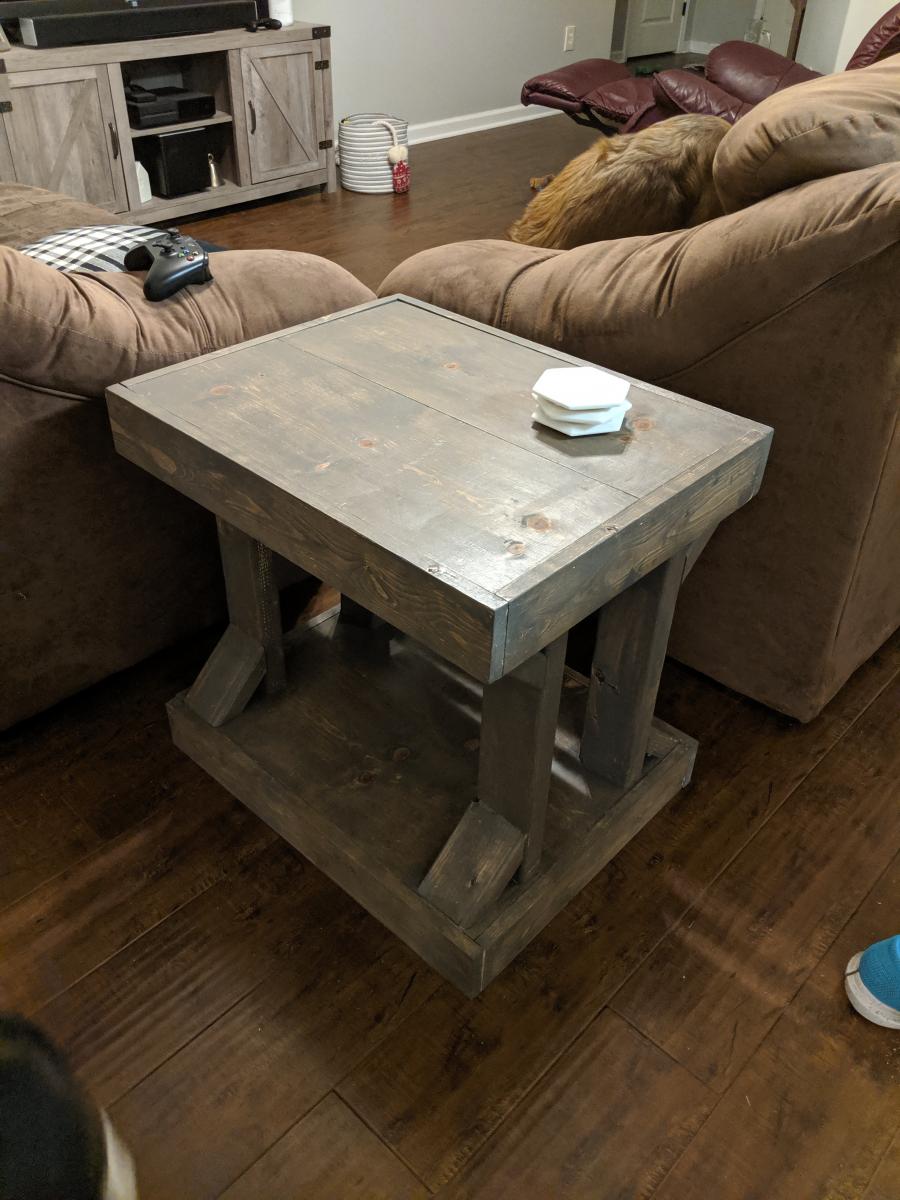
Made my table 4 feet on accident (forgot to cut the 1x10 boards down to 36" before attaching everything) but I kinda like the extra length. I also ended up making the matching side table.
Fri, 04/10/2020 - 21:07
If I wanted to make this taller like 3×6ft what size wood would do I need? I want to make this stand for my daughters urn area. She passed away last month and I'm trying to make this perfect. The sooner the better.. Thanks! Love all your work..
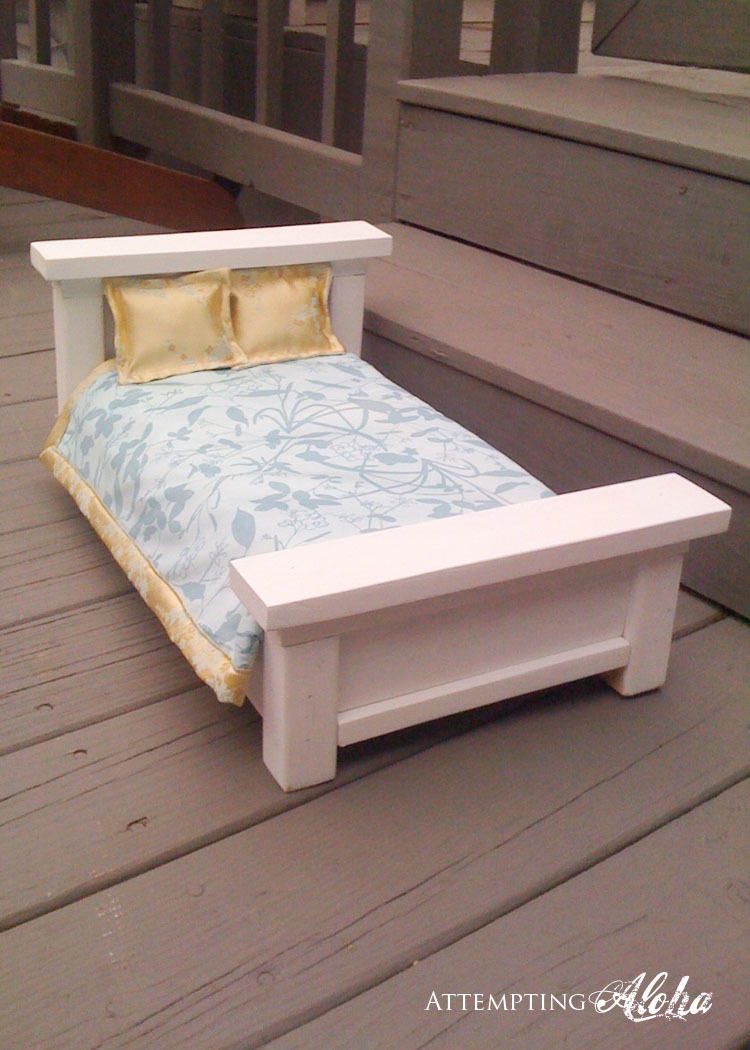
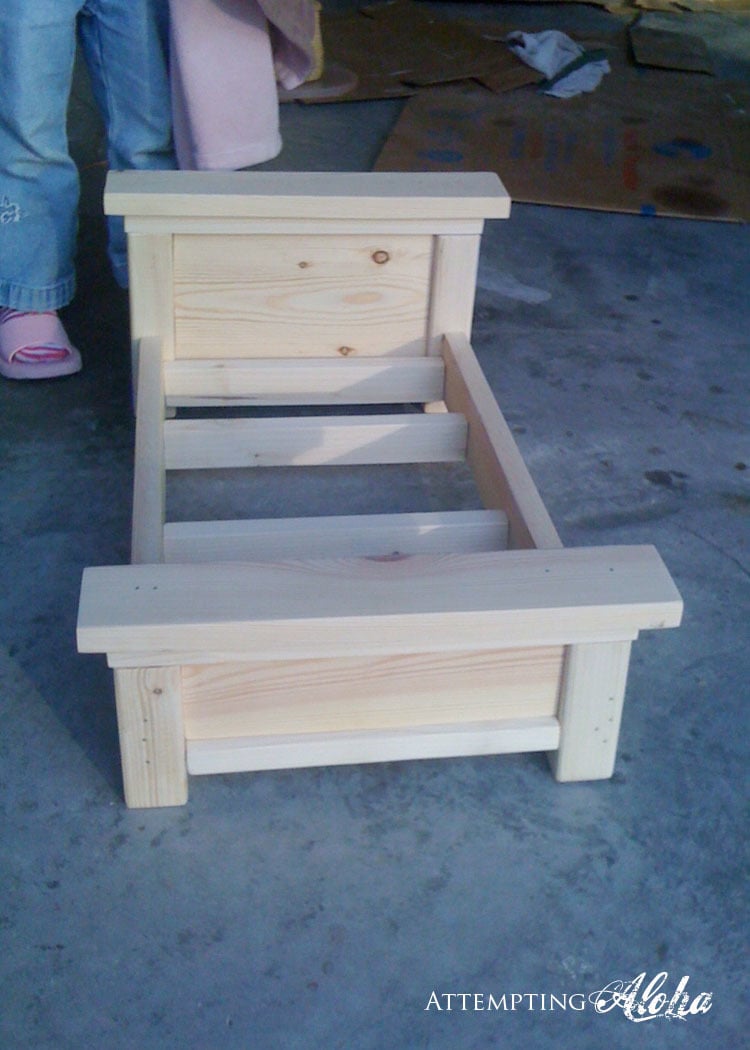
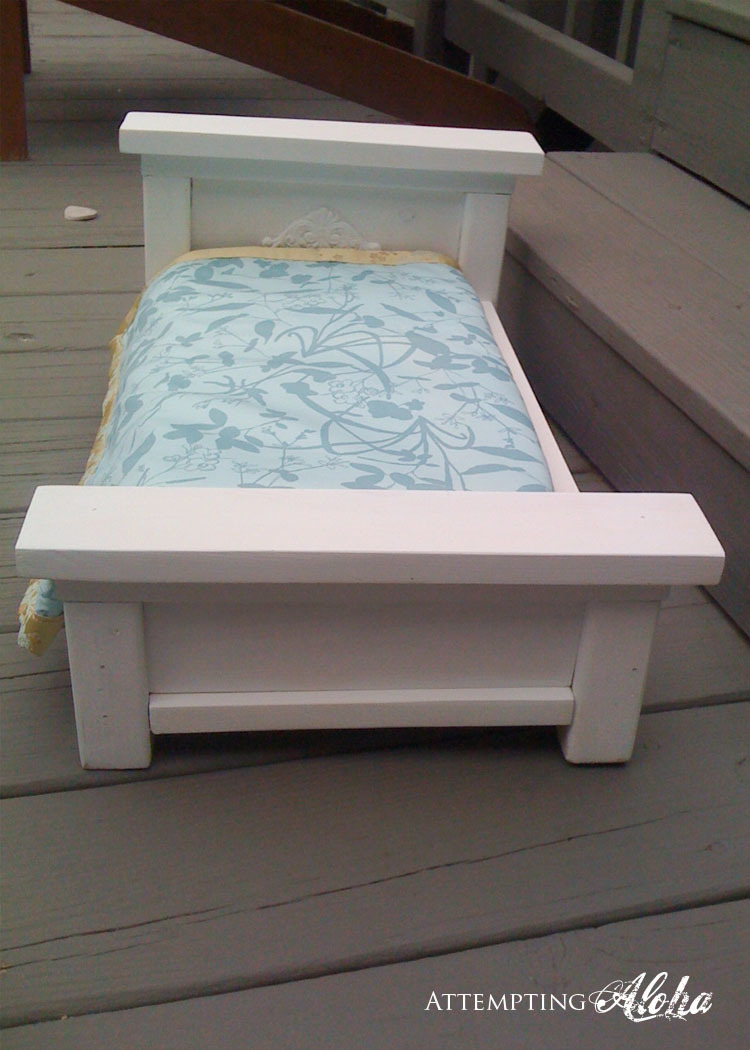
I love Ana's farmhouse doll bed. But I've made a couple beds/cribs, and I know how tedious it can be to make the slats, so I cheated and used a 1x6 across the headboard instead of the slats and a 1x3 (turned lengthwise) for the footboard. :) It was a gift for my daughter's friend who is using it for a stuffed animal, so we made it more narrow as well. Details on the changed dimensions can be found on my blog.
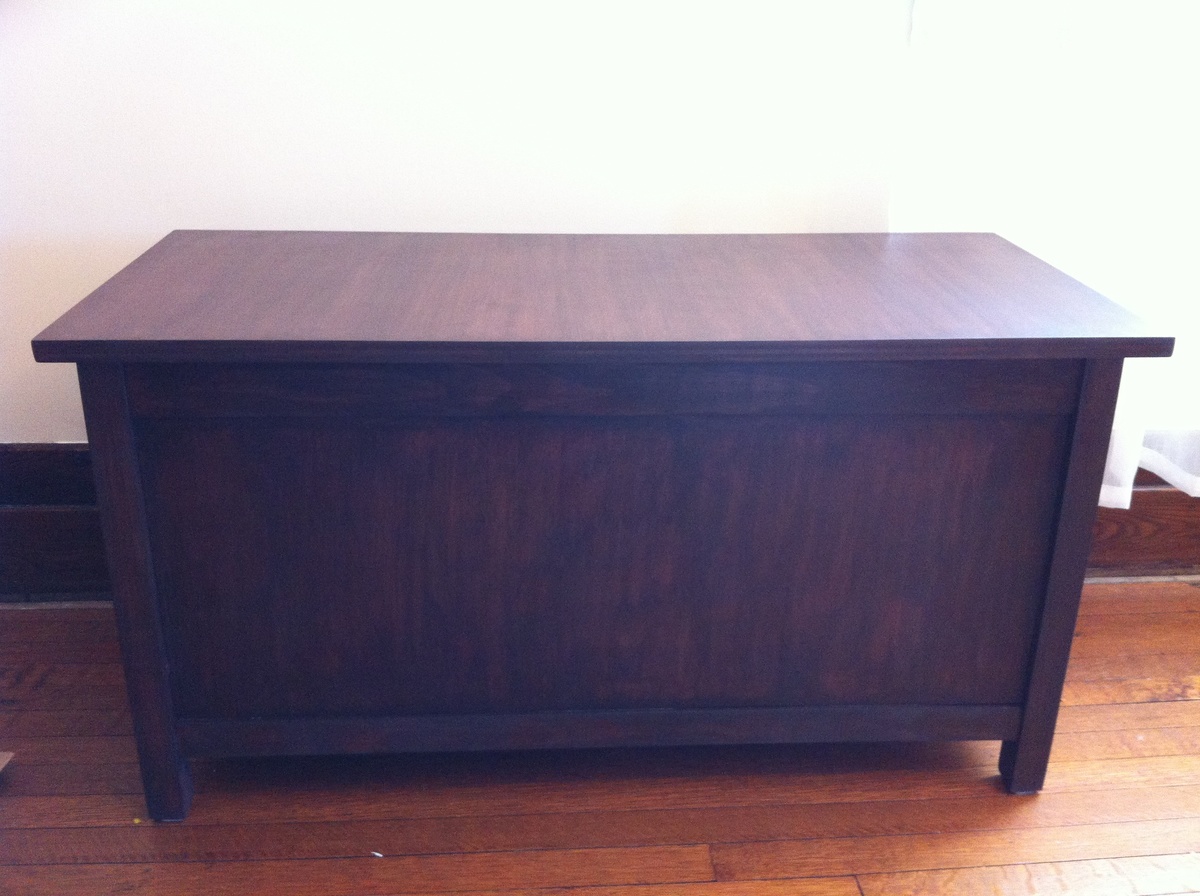
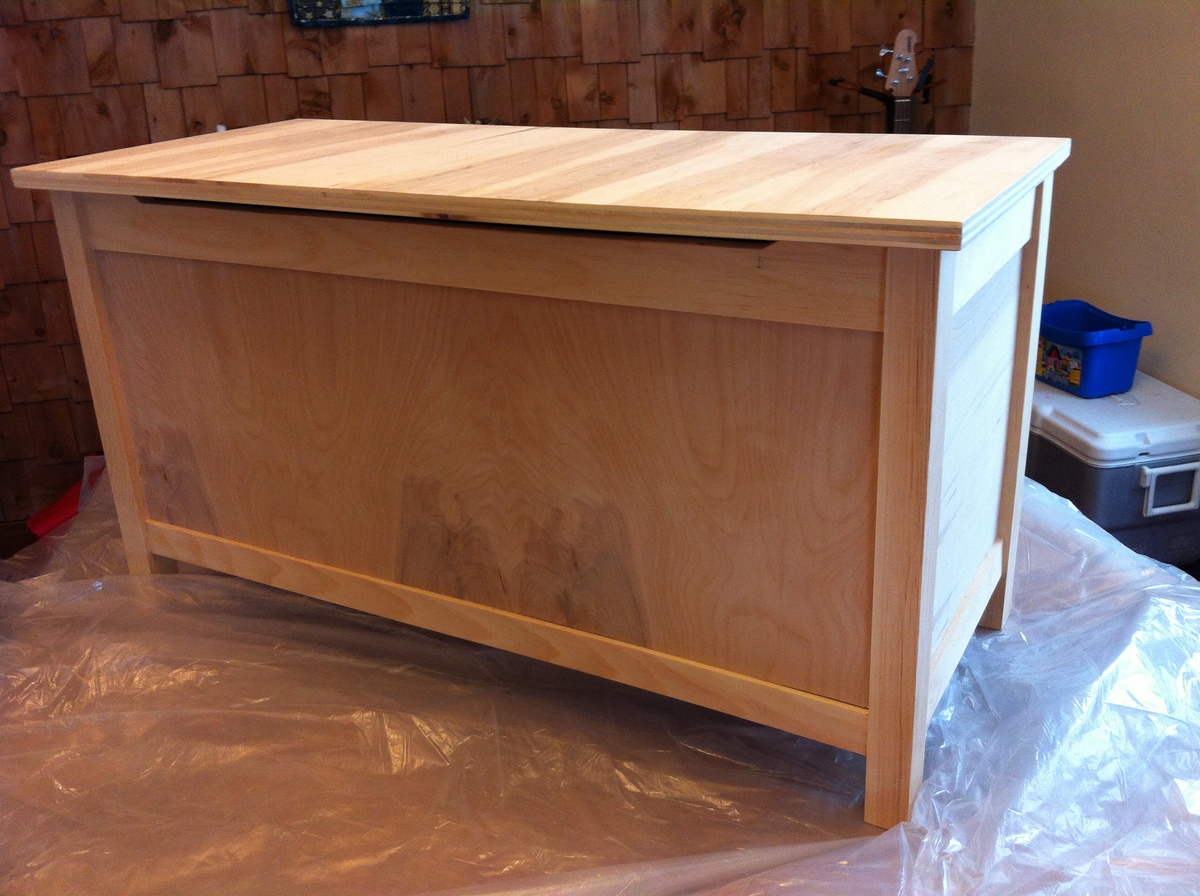
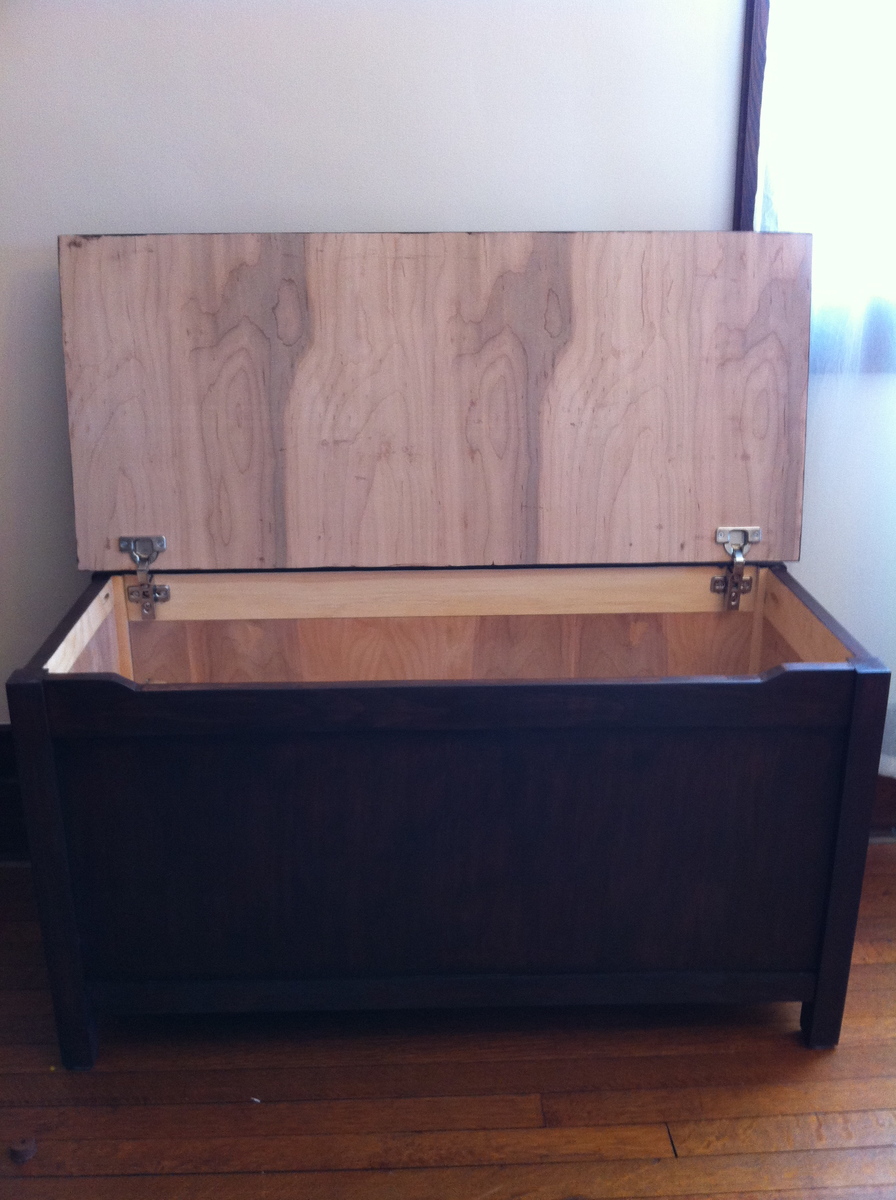
I made this for our kids for Christmas. It was originally meant for their costumes but we loved the size, so we decided to use it for toys and a bench for meals at family gatherings. We're so happy with how it turned out!
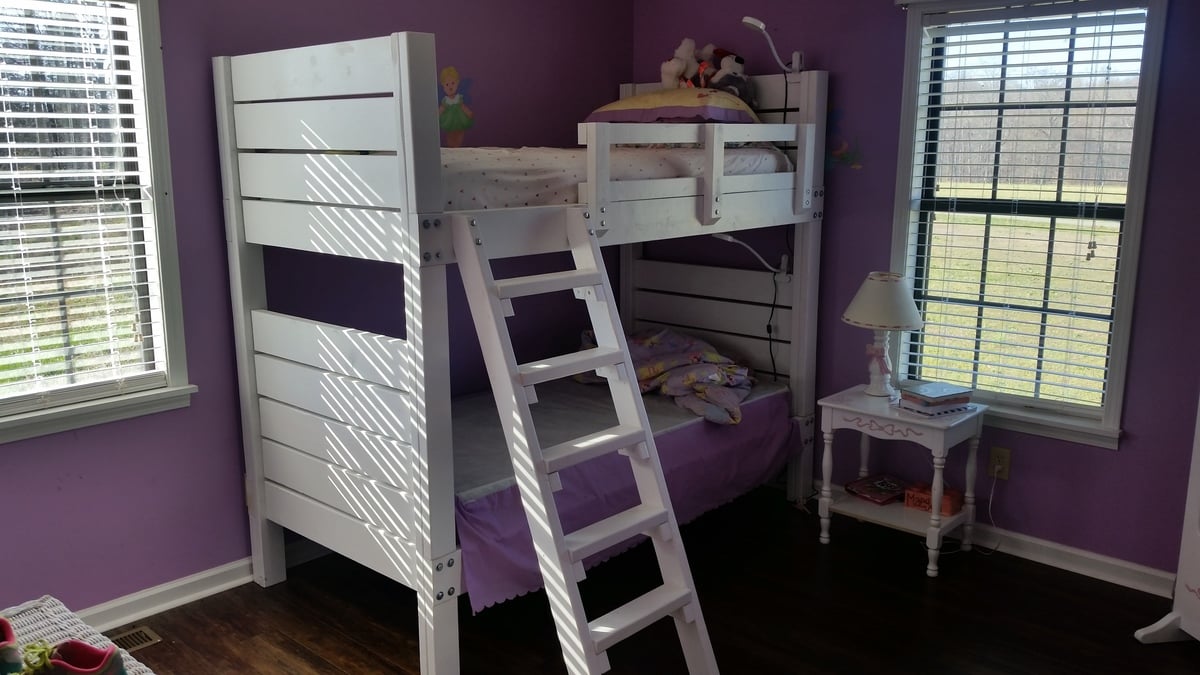
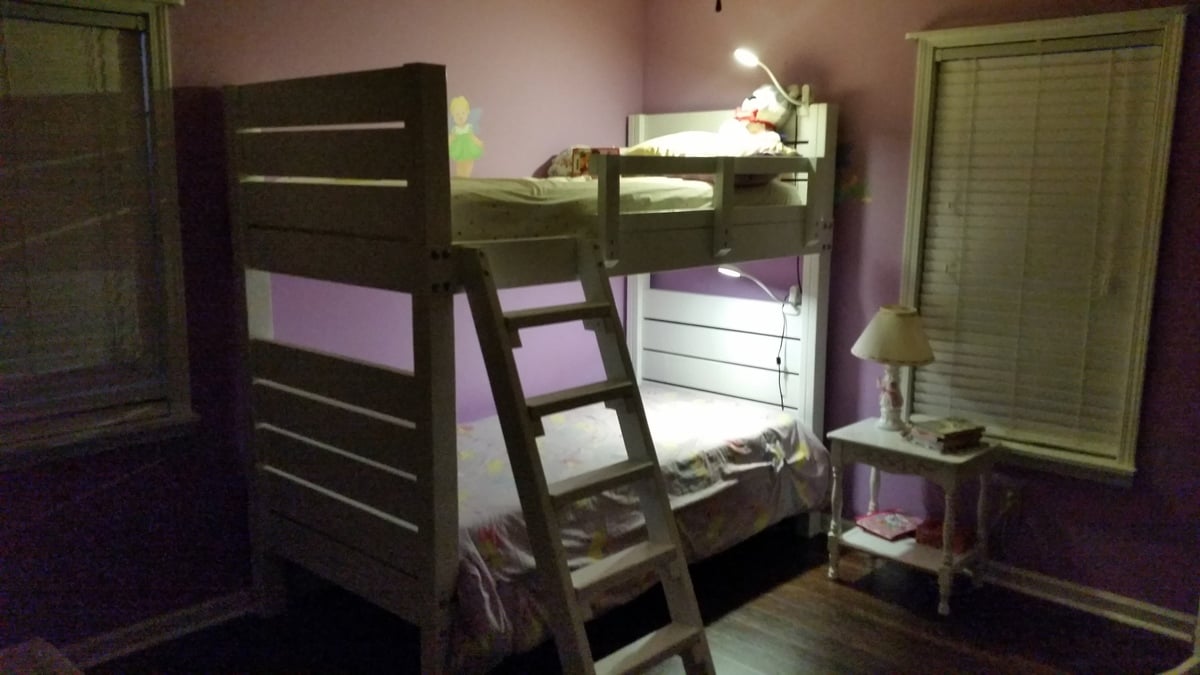
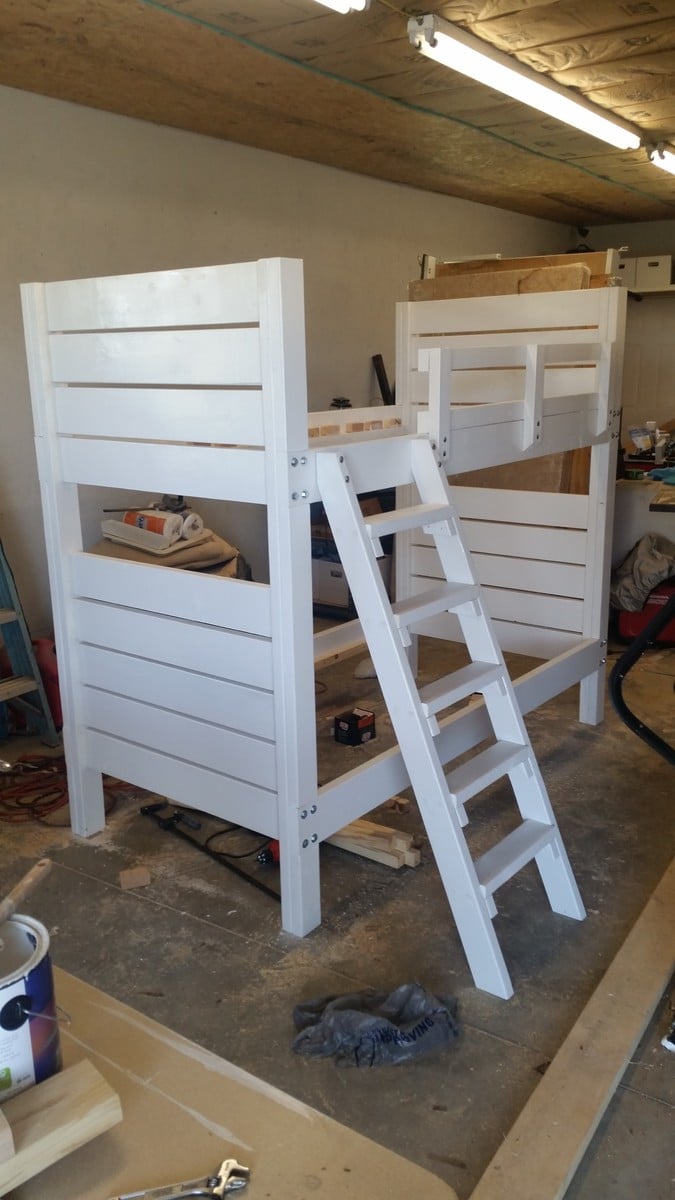
Followed the plans exactly and all worked out perfectly. I designed my own ladder and rails. Kids love this bed. Took about 1 gallon of valspare 2000 paint to paint everything.
Finished our tidy up table! A couple of tweaks: I didn't want to kreg jig the boards together because I have a tendency to split 1x's when using a lot of joins. I tried drilling from below, but the 2x2 furring strips were so soft that I couldn't get my warped 1x6's to suck down without the screws popping through, even when changing to 1 1/4" ones. So, I countersunk two holes on each end of each board, and used 3/8" buttons to fill them to provide a decorative element. I LOVE THEM! Not only are all my boards flush, but the top is now so pretty. I secured the middle by screwing in from below with 2" screws, but since I didn't need to make them so tight to get my boards flush they no longer popped out. I hope that makes sense.
Also, the sides are pretty wobbly without the trundle in there, so my husband suggested adding L brackets to each corner. Success! It's now solid as a rock. We screwed in from the outside and filled with more buttons. For those of you who don't like the raised look, they also have flat button hole plugs. They take stain so much better than wood putty.
Lastly, I chose 1 5/8" casters that move in all directions. Bad idea. It gives the proper 2" height, but makes the trundle difficult to maneuver. Going to try and find some fixed-side one-way casters to replace them. Other than that, it's fantastic!
Tue, 03/13/2012 - 15:11
Here's the link to the product: http://www.homedepot.com/buy/paint/paint-sprayers/husky/gravity-feed-hv… . It's $50, and comes with 2 sprayers and 4 tanks (2 large, 2 small). You can use paint or stain. The coverage is nice and even. It was so much more fun to stain that way than with rags and brushes!
Comments
babysteps
Sat, 03/03/2012 - 17:51
love it!
love it!