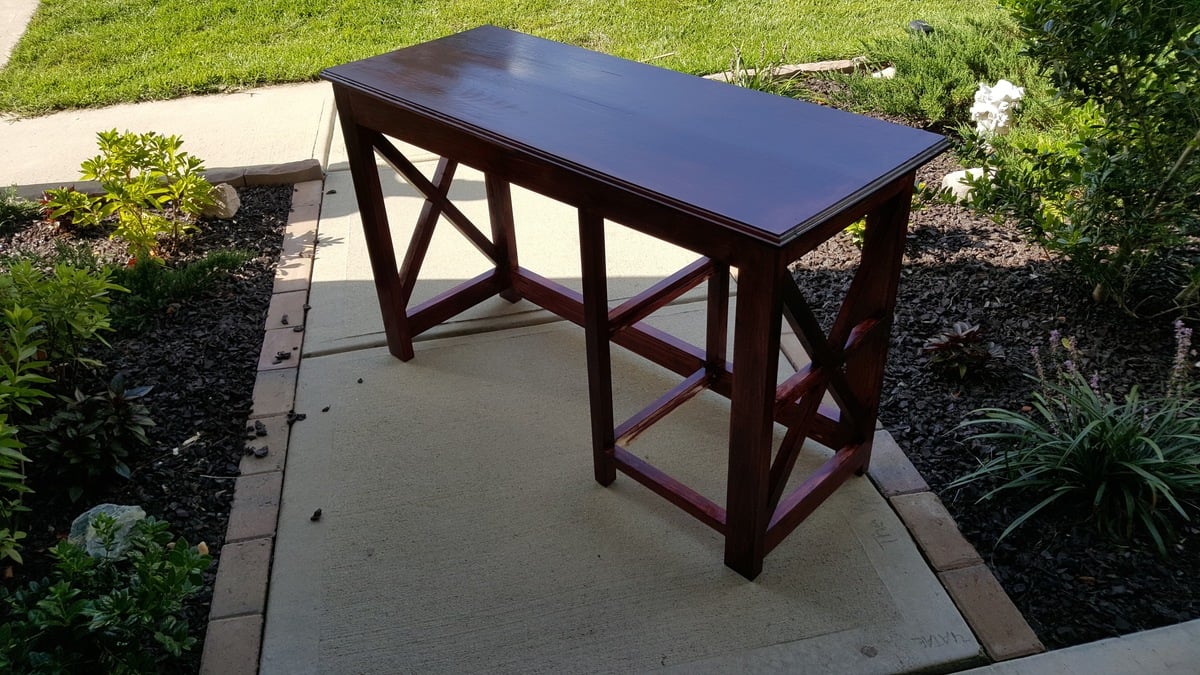
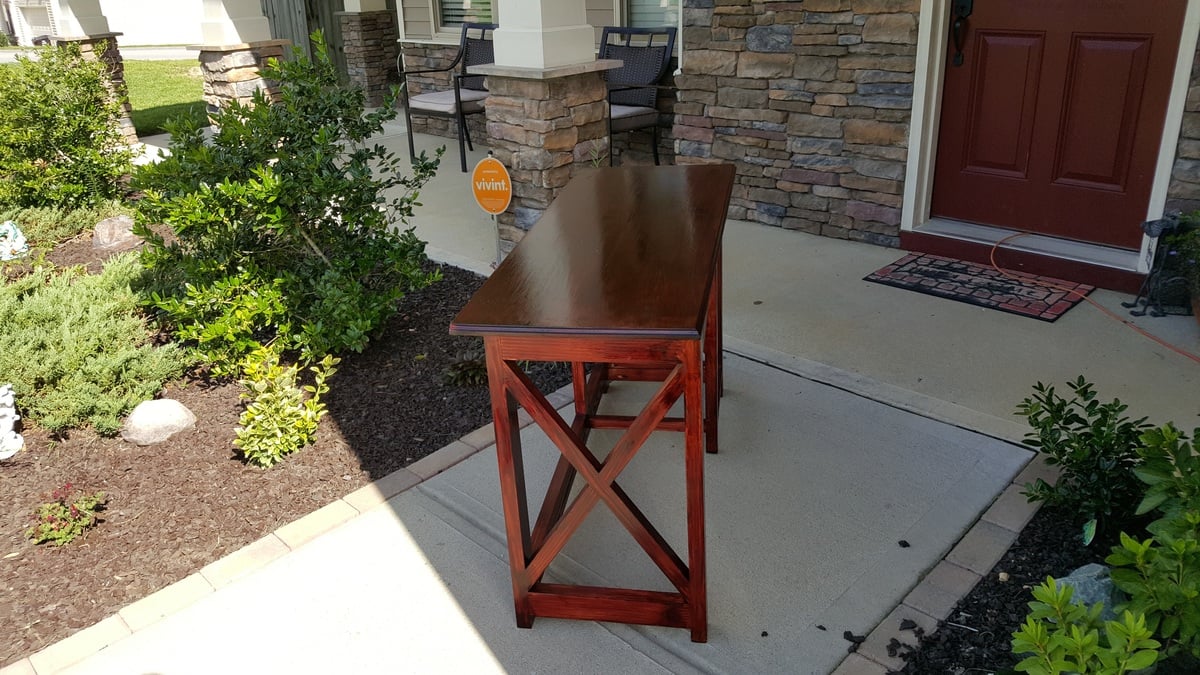
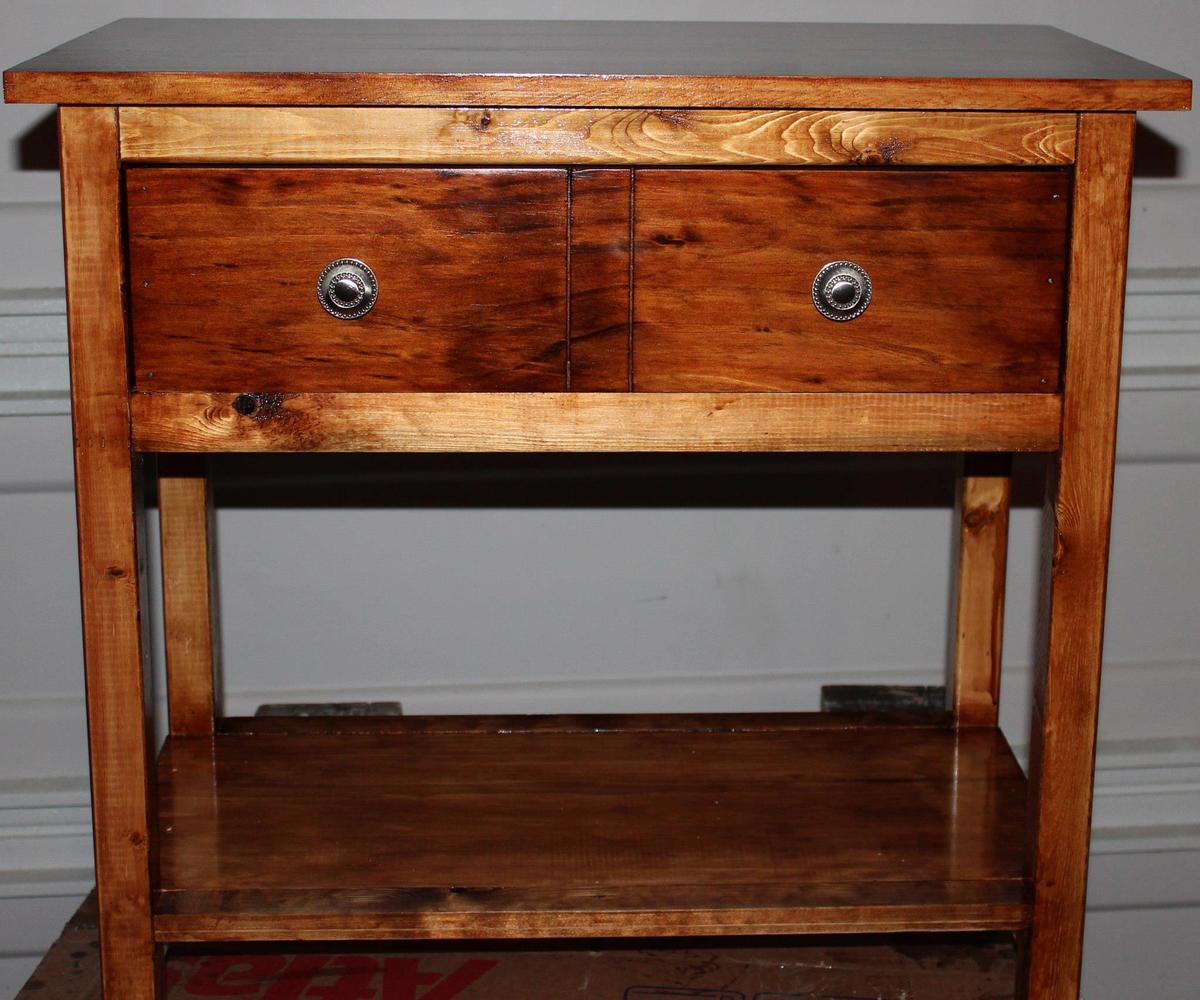
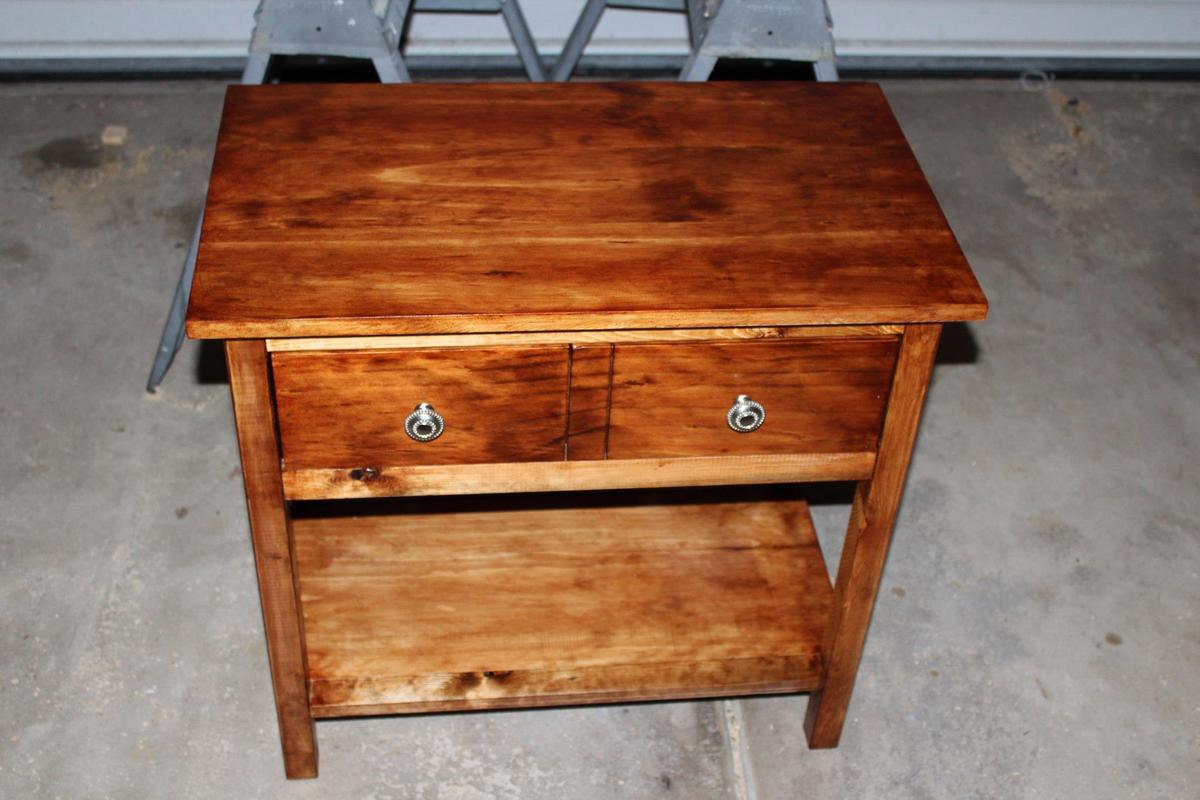
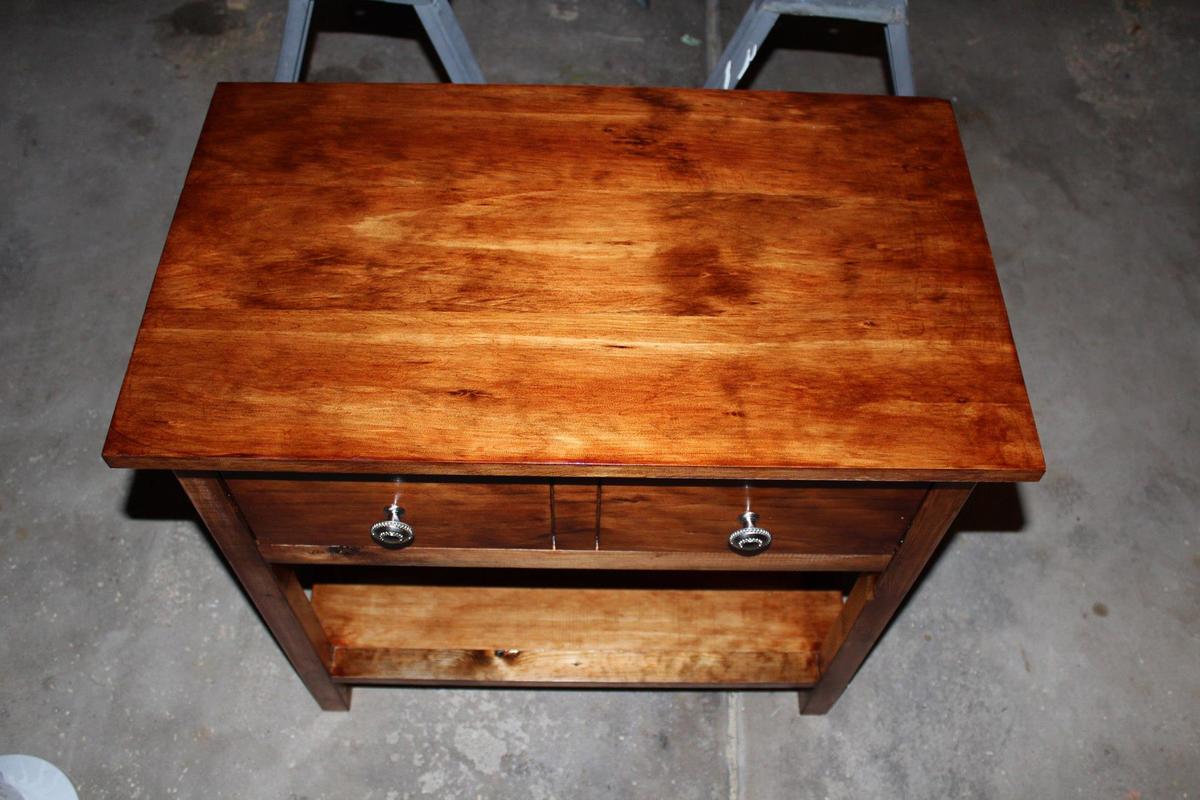
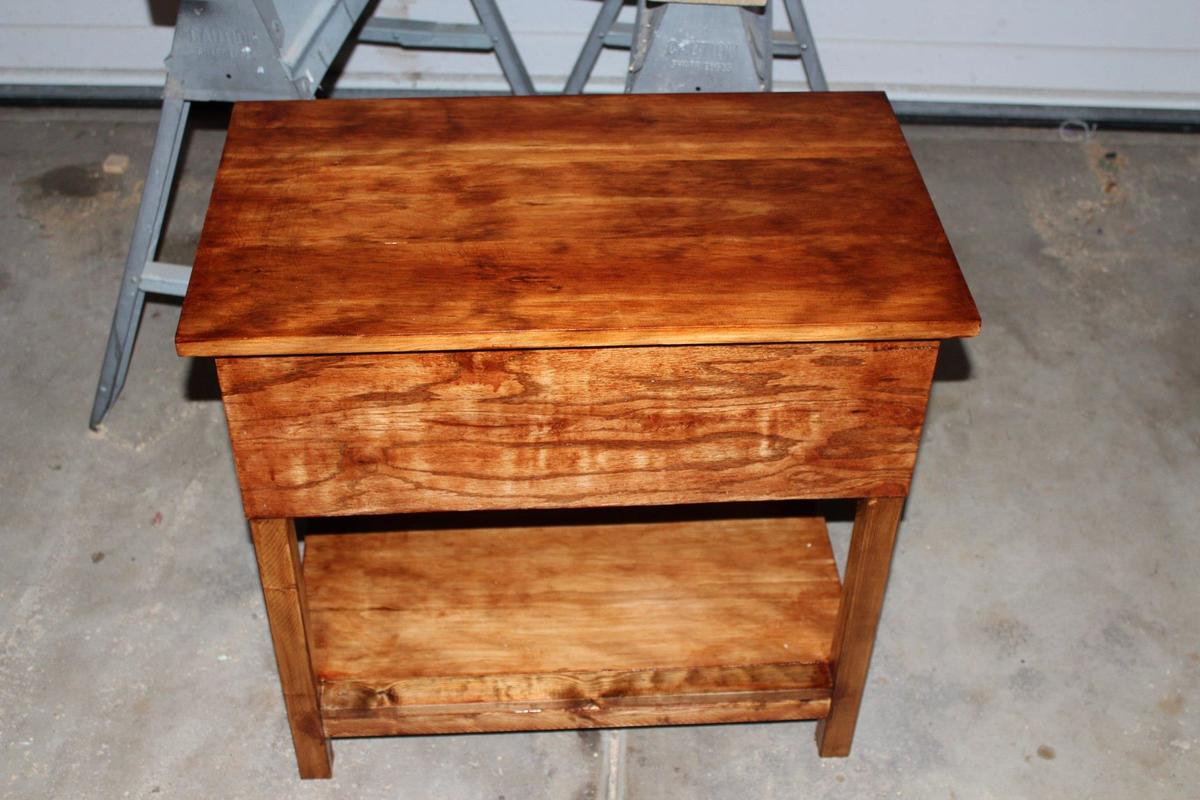
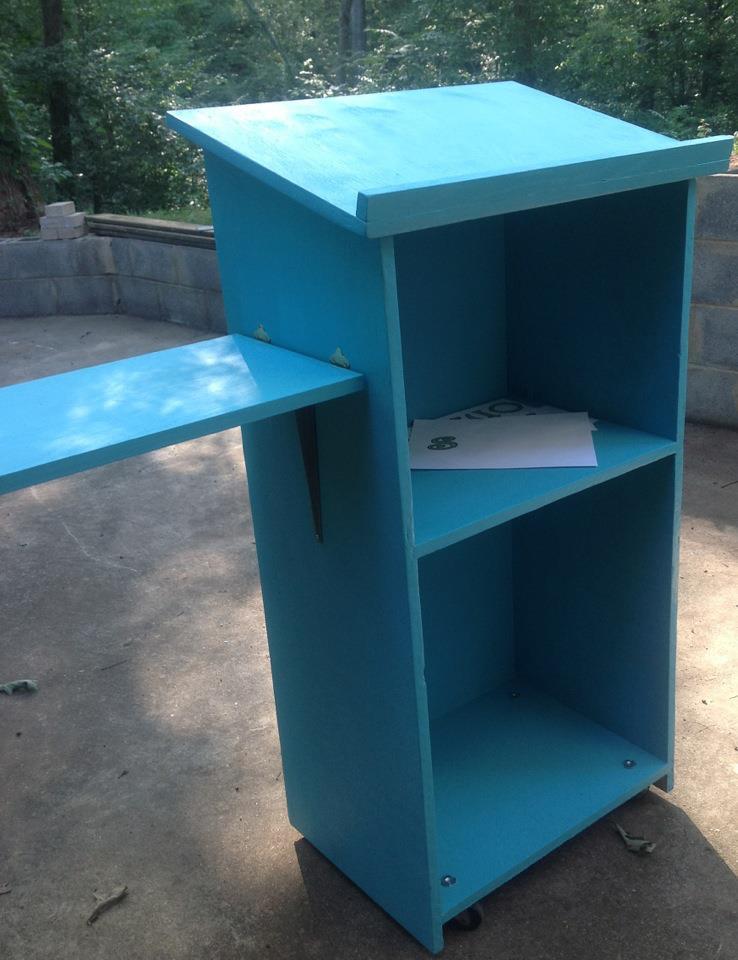
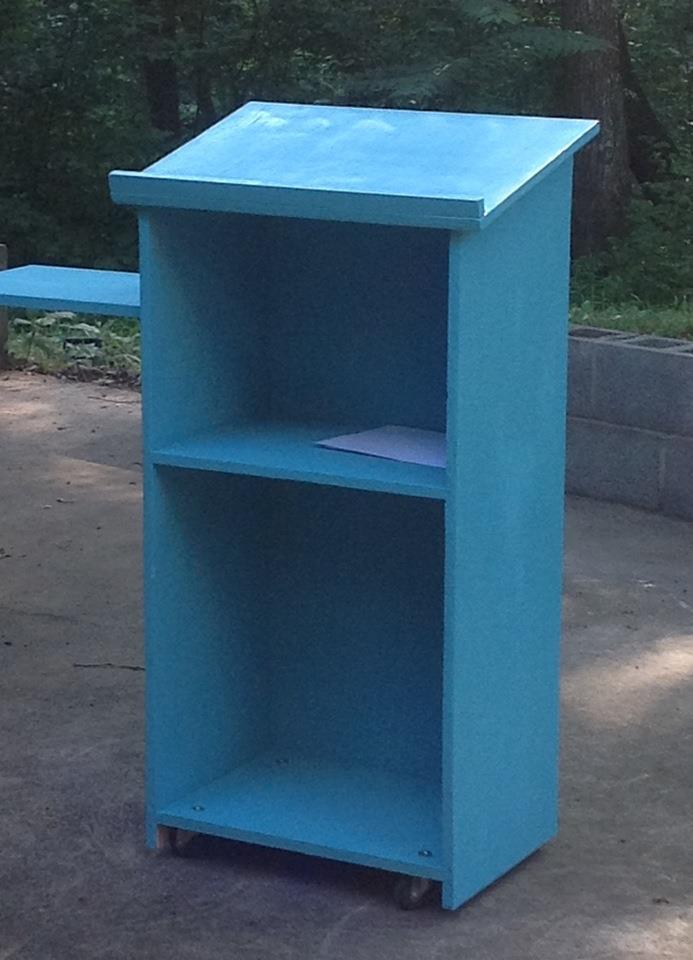
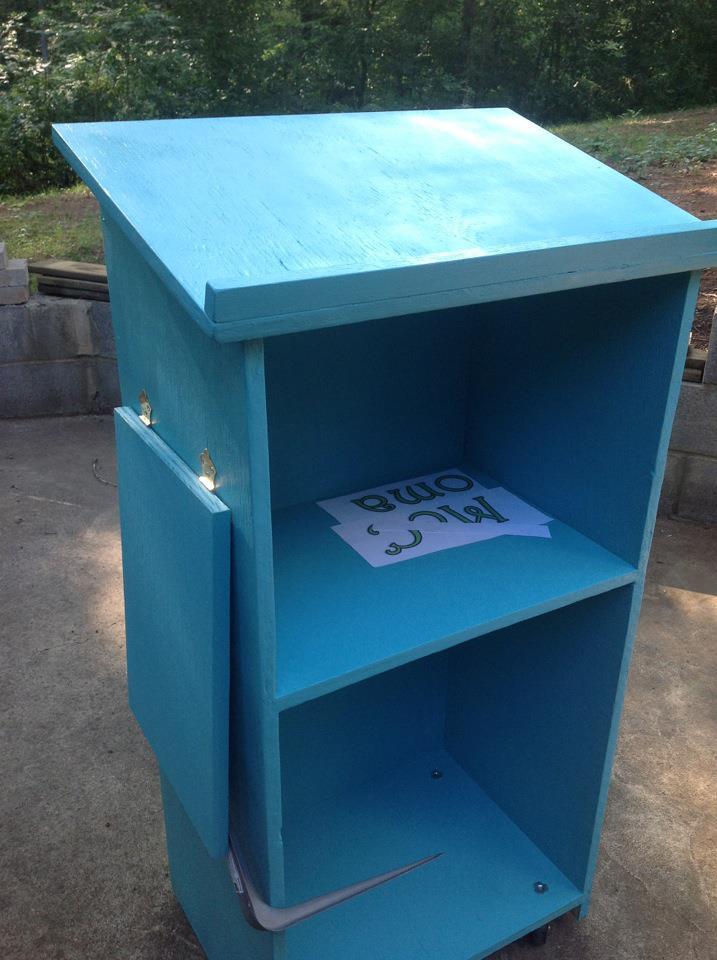
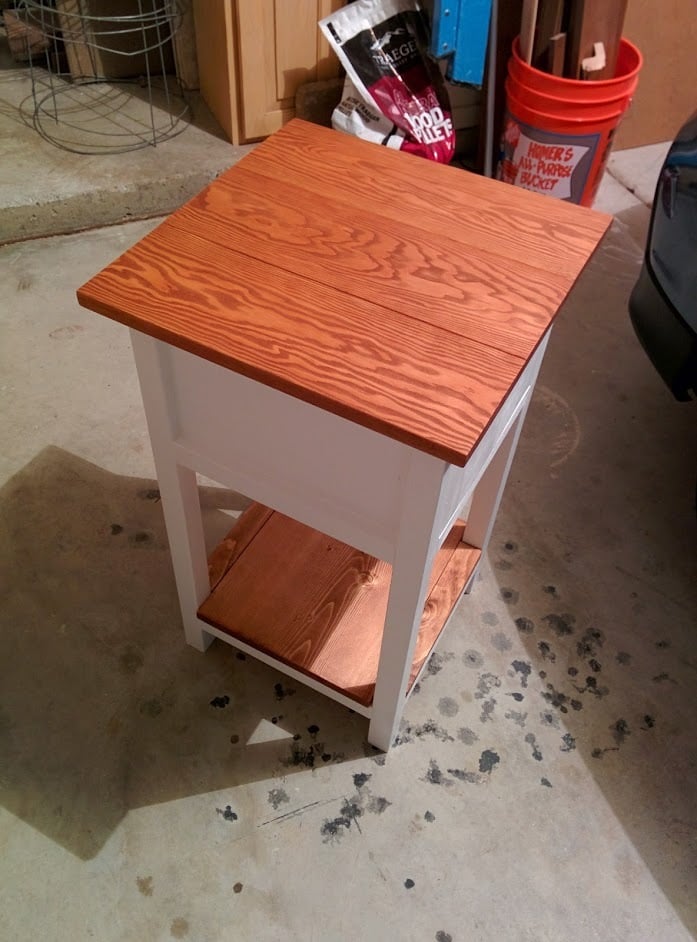
Mom's Day side table

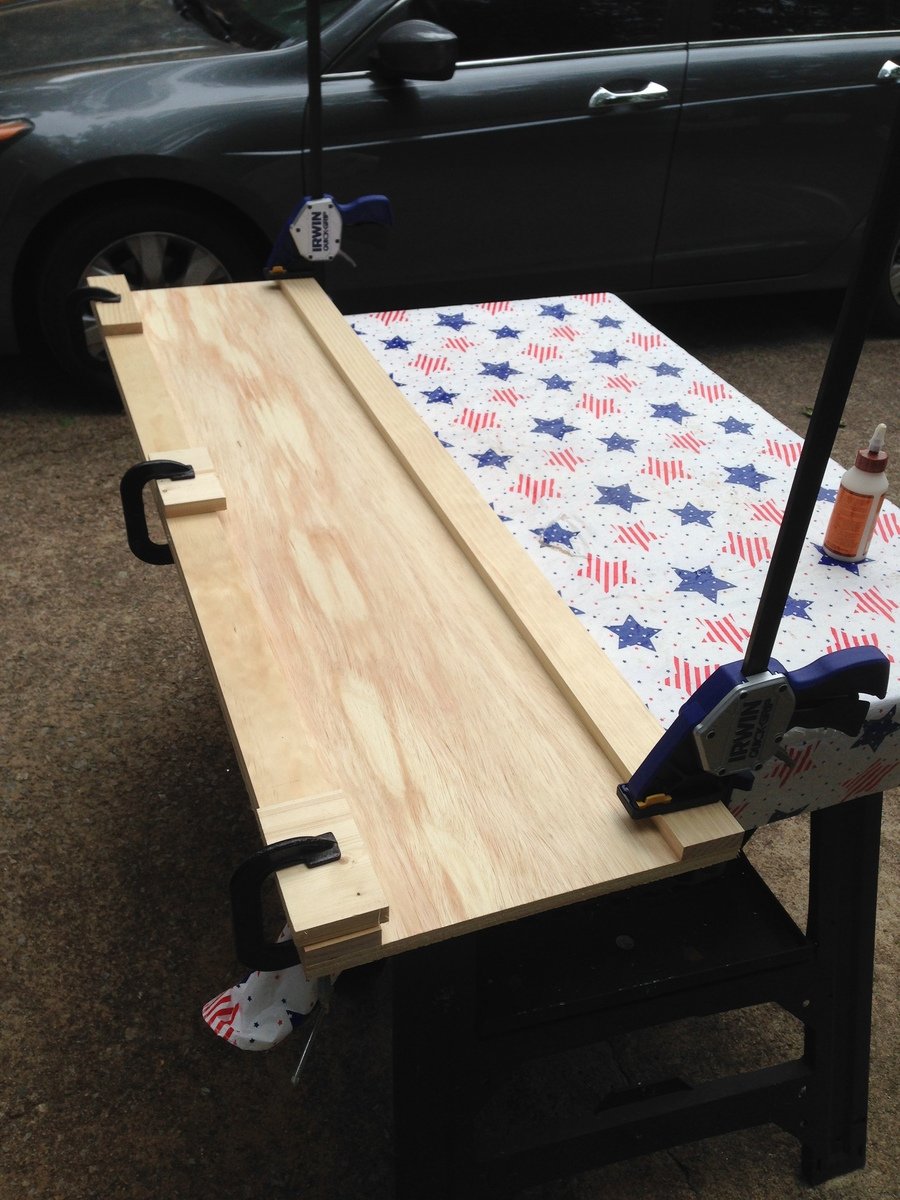
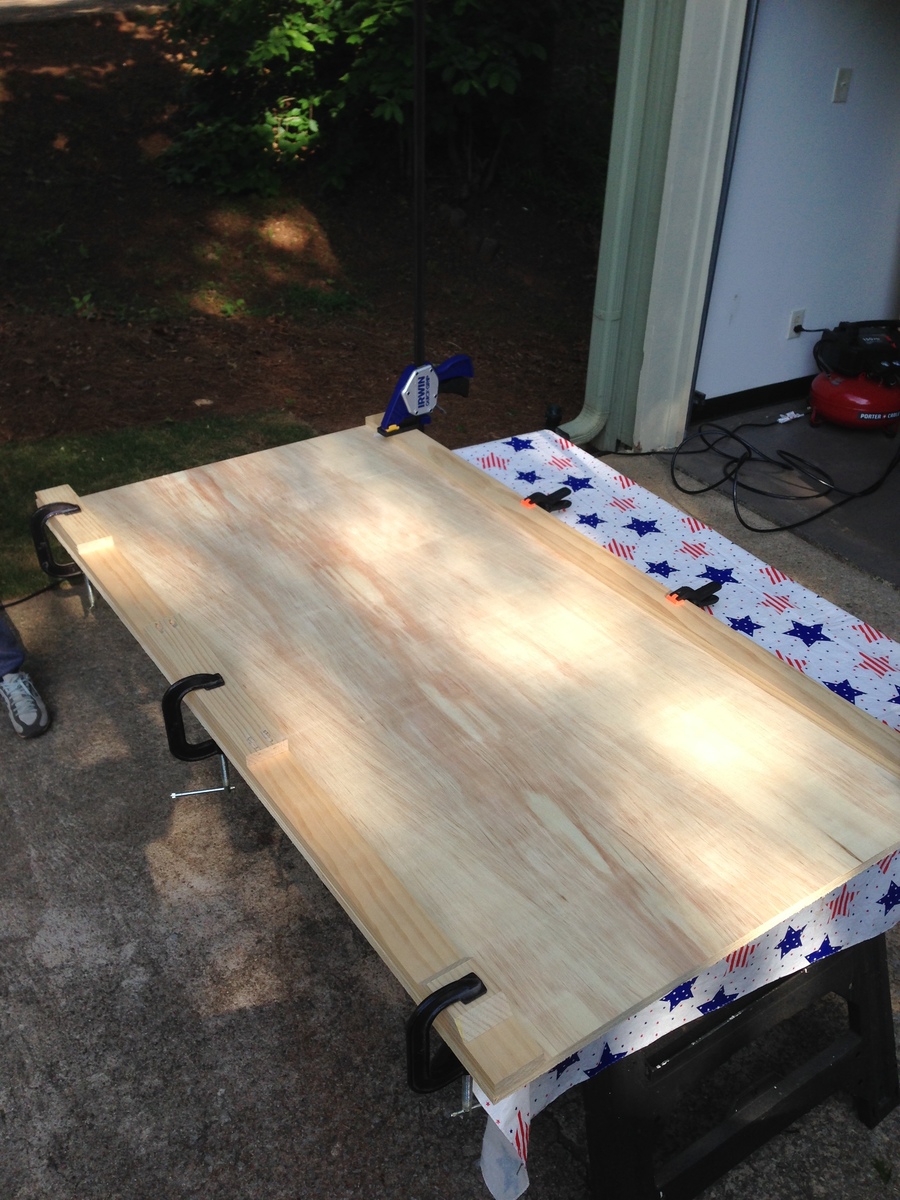
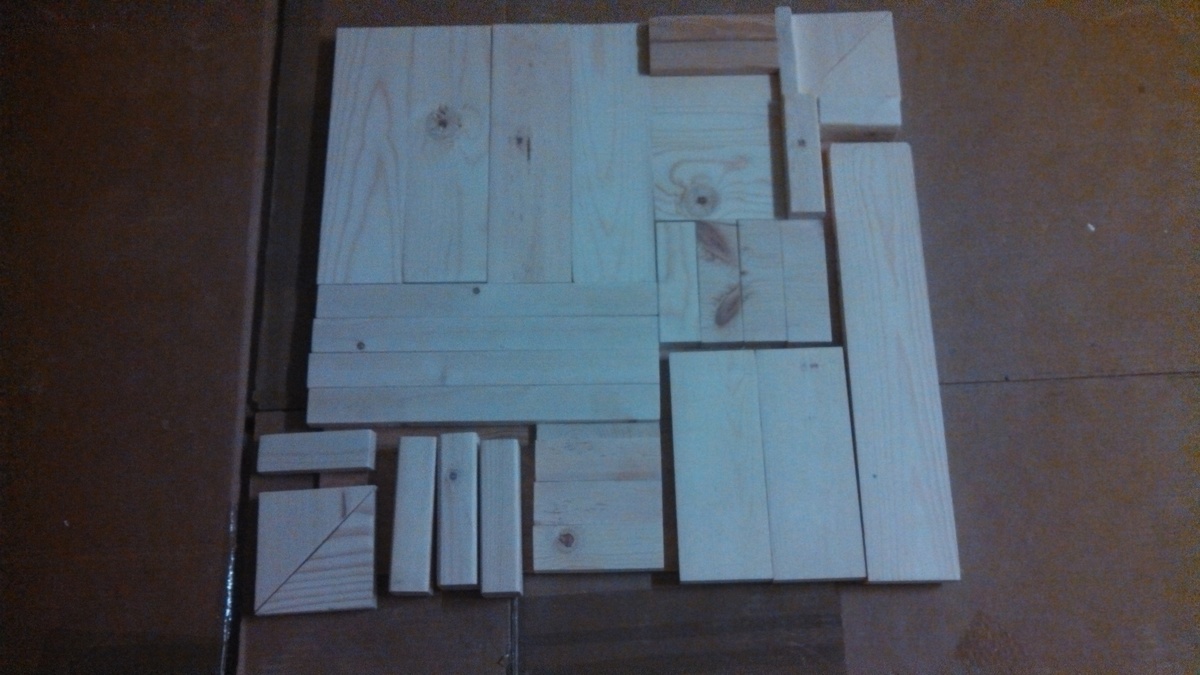
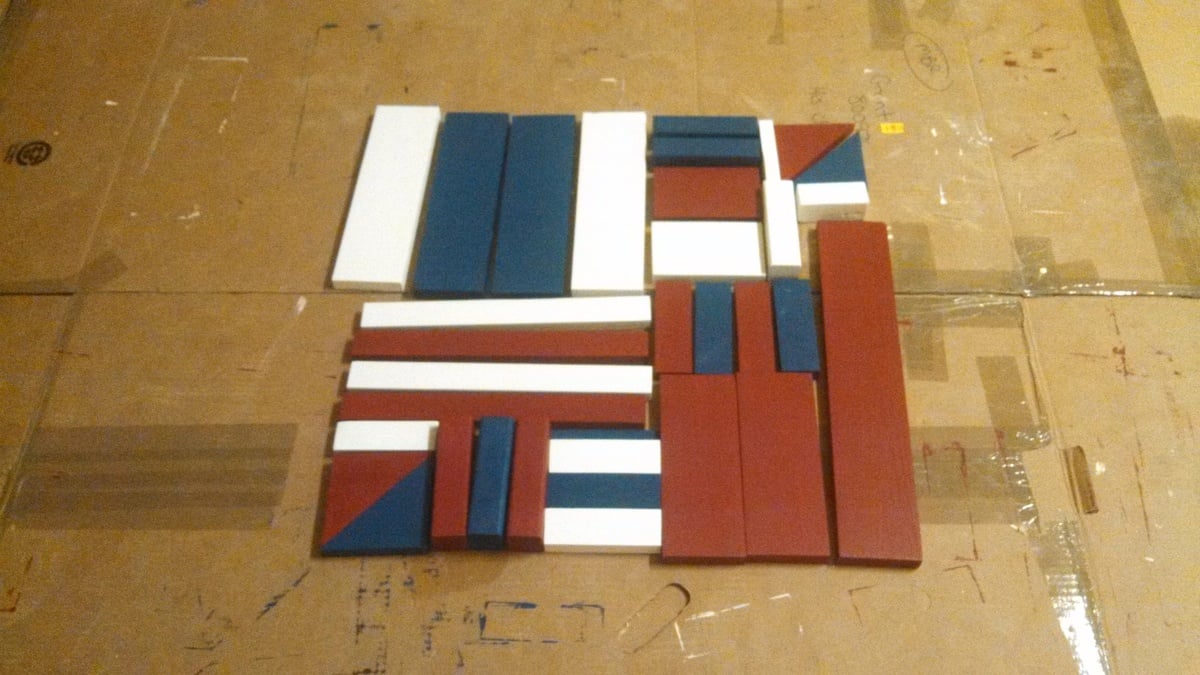
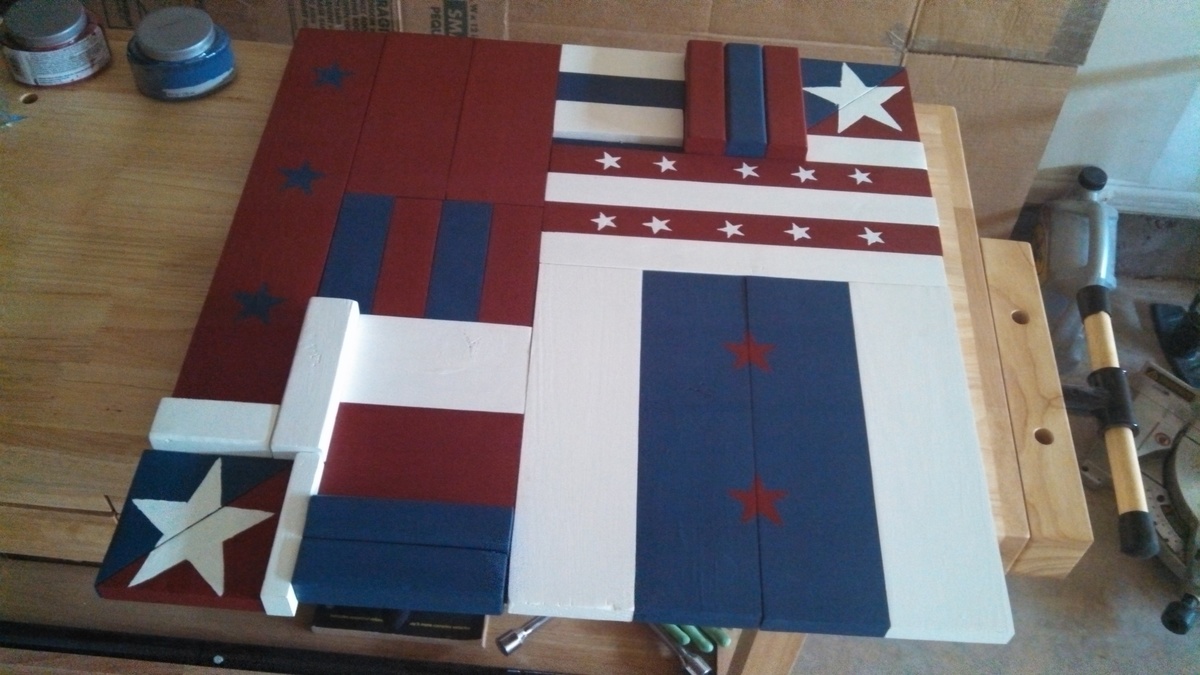
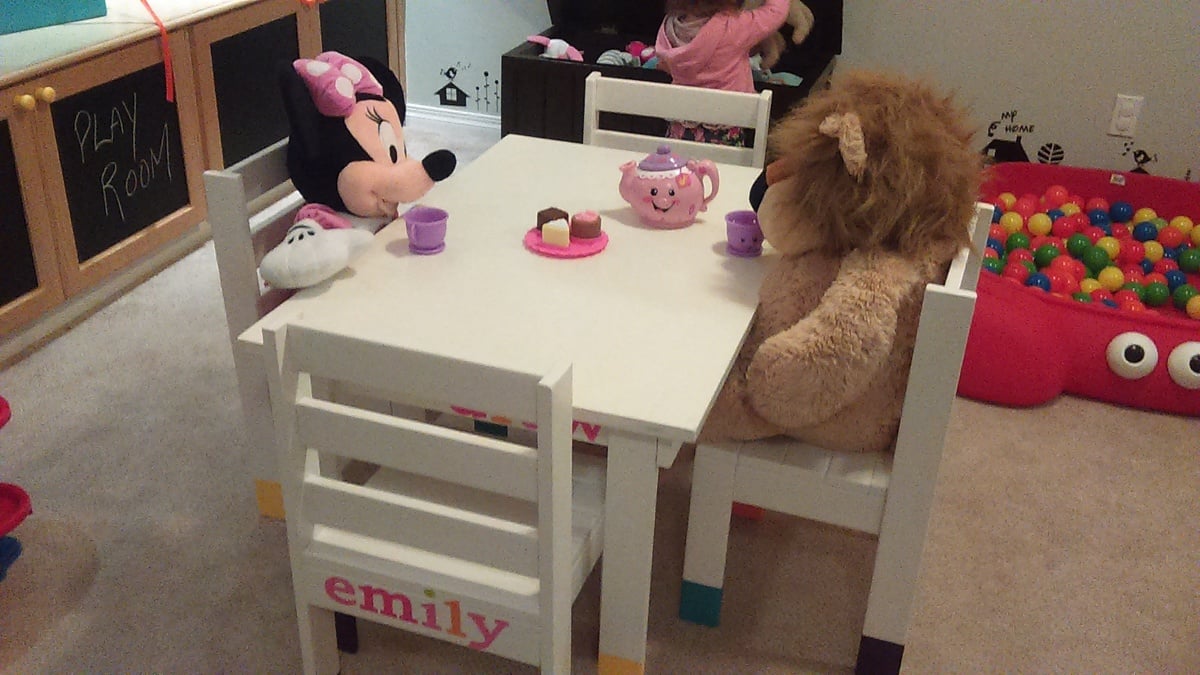
I made this for my Mom for Mother's Day. She has been wanting a little table to put next to her recliner (where she knits, reads and watches TV). For the top and drawer, I used Douglas Fir from Lowes. The rest is whitewood and redwood (legs). Overall the wood cost me about $50. I painted the body with high-gloss white paint and the stain on the wood is a mixture of min-wax Golden Pecan and English Chestnut. The finishing took the longest, but the build went very quickly.
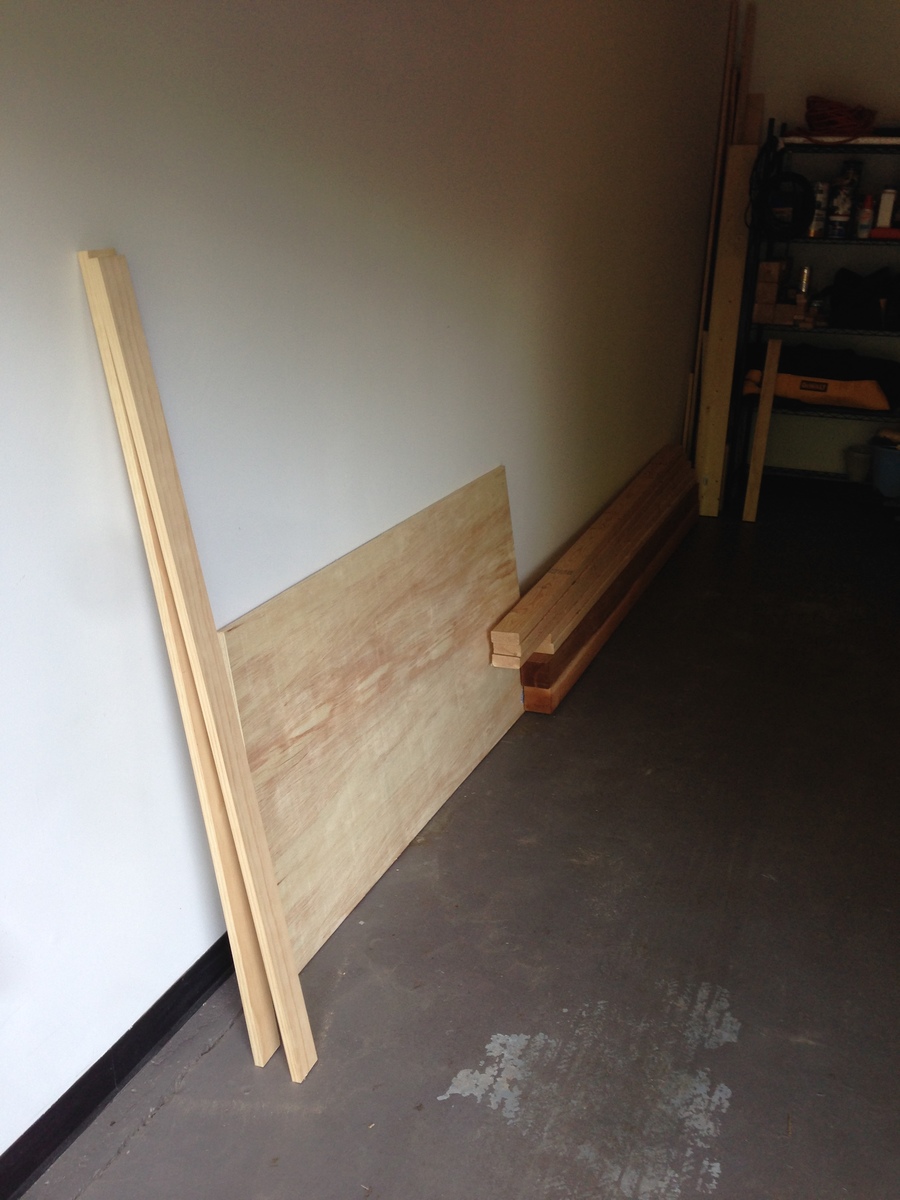
I did notice that the cut list is a little off. You need 4 of the 1x2 pieces for the sides, not just two.
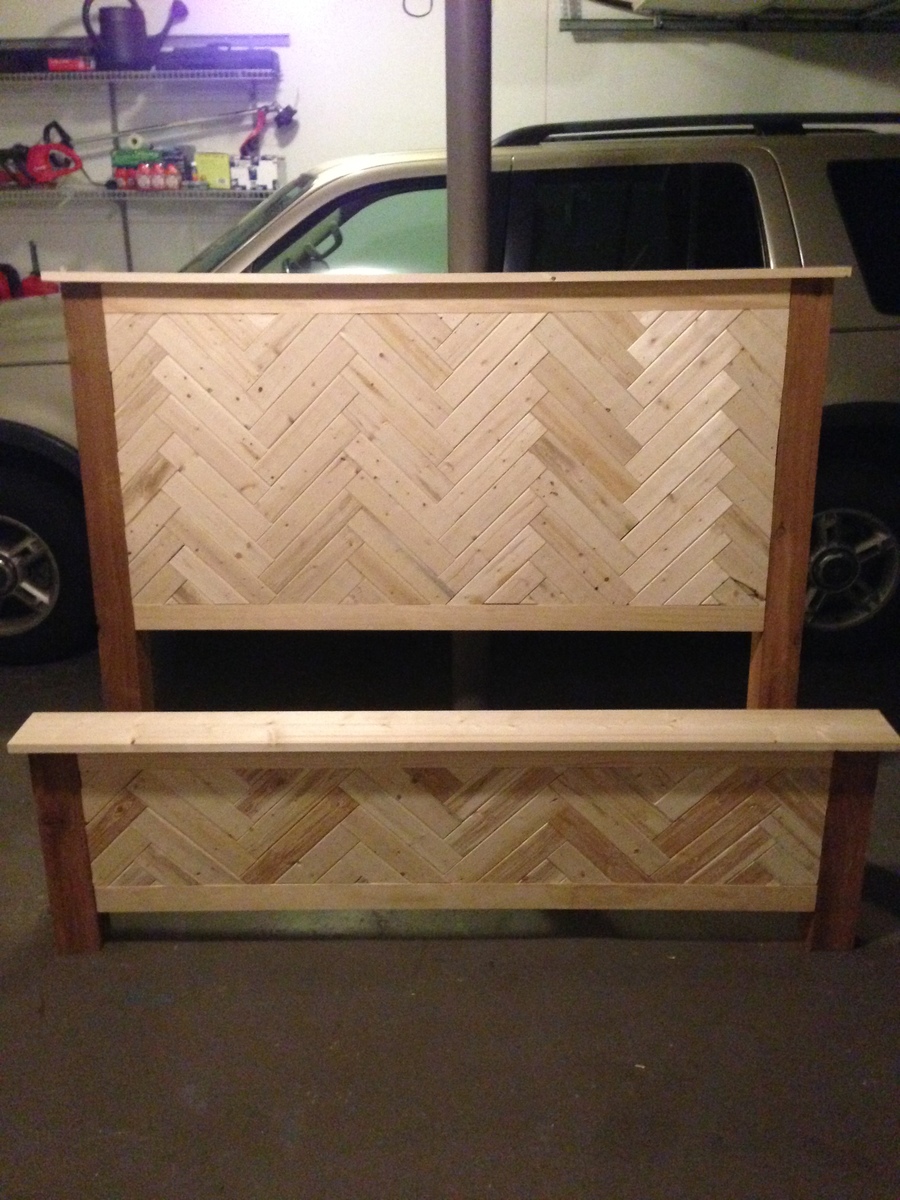
I may put a layer of varnish on it, but as of now it is not varnished.

Built from Plan(s)
Estimated Cost
$50
Estimated Time Investment
Weekend Project (10-20 Hours)
Finish Used
White high-gloss paint on legs and body. Golden pecan stain overlapped with English Chestnut stain.
Recommended Skill Level
Beginner