Benchwright Console Table
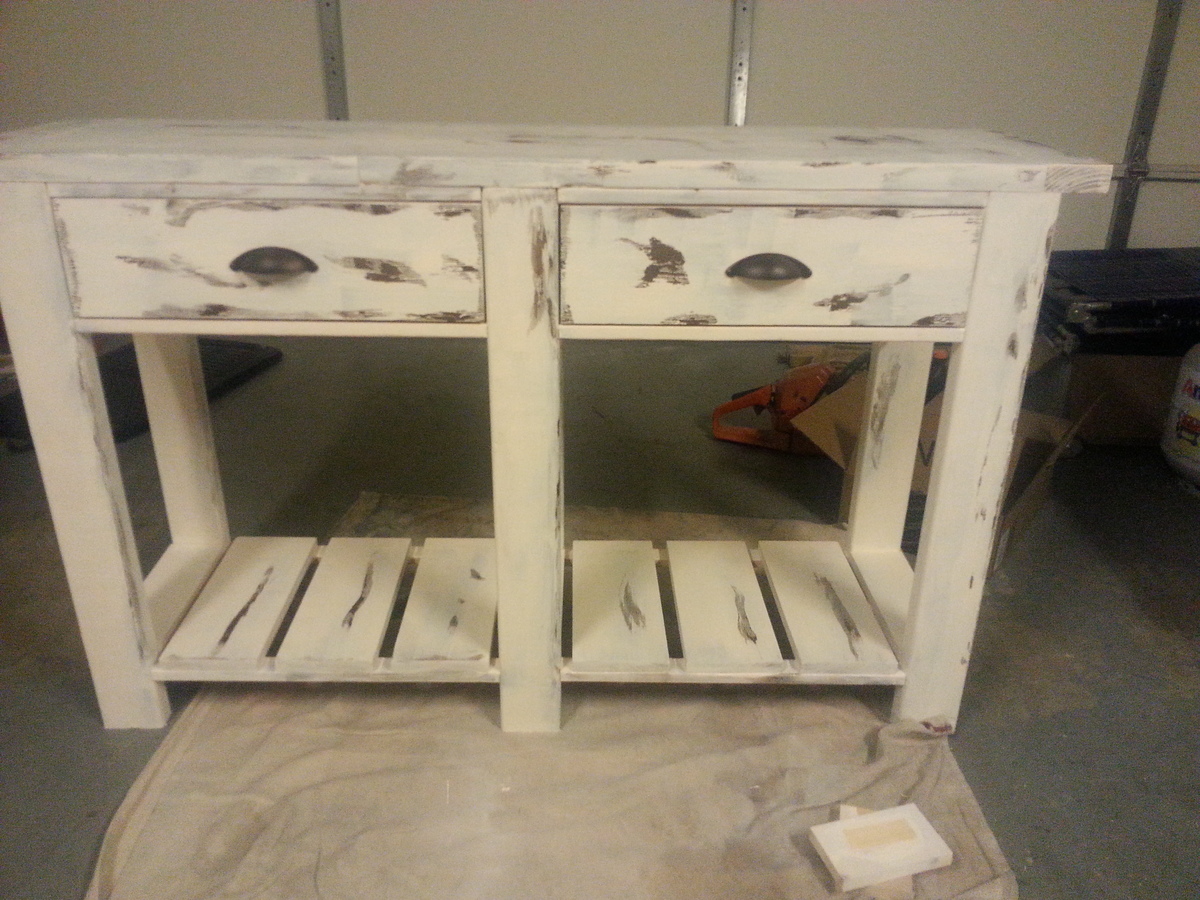
This was the first attempt at using the vaseline method to distress furniture and my wife loves it. I made the table top out of scrap 2x4's.
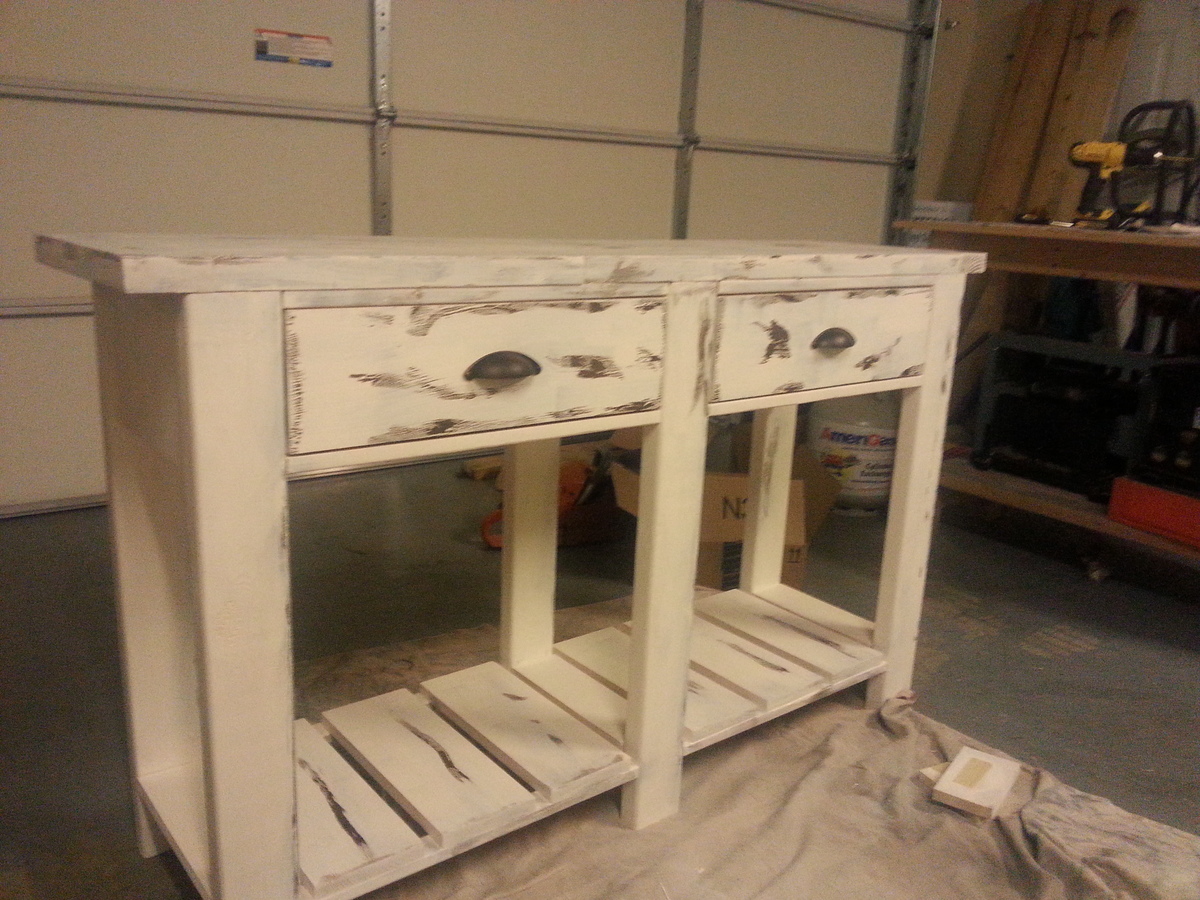
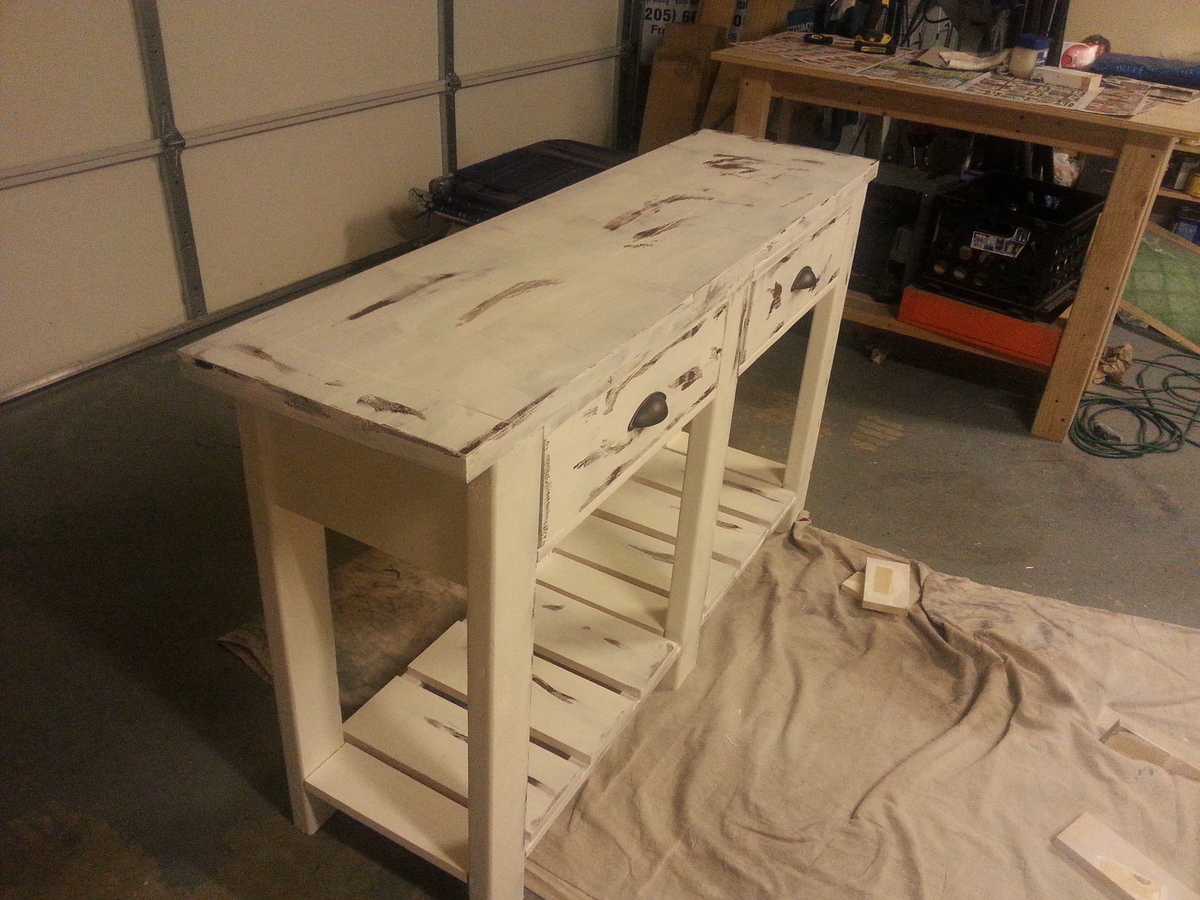
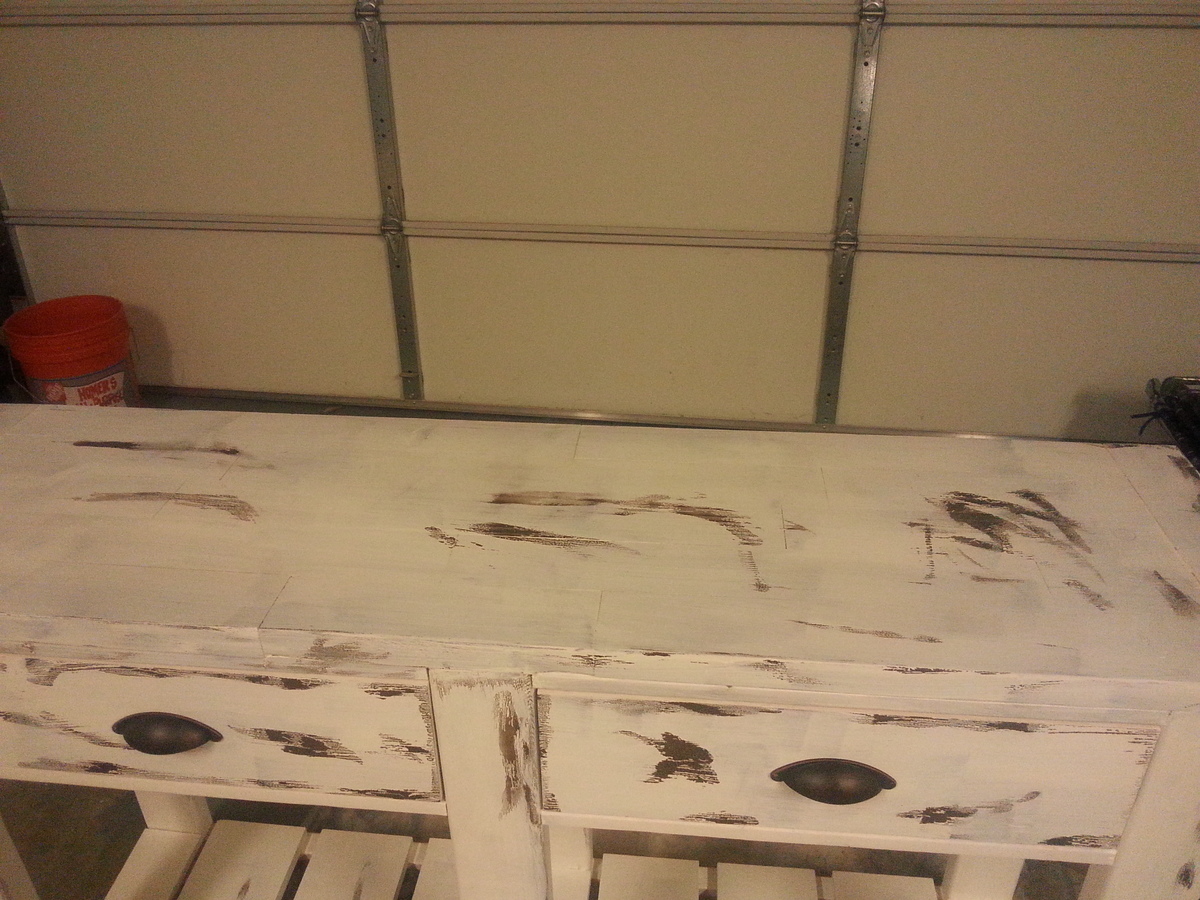

This was the first attempt at using the vaseline method to distress furniture and my wife loves it. I made the table top out of scrap 2x4's.


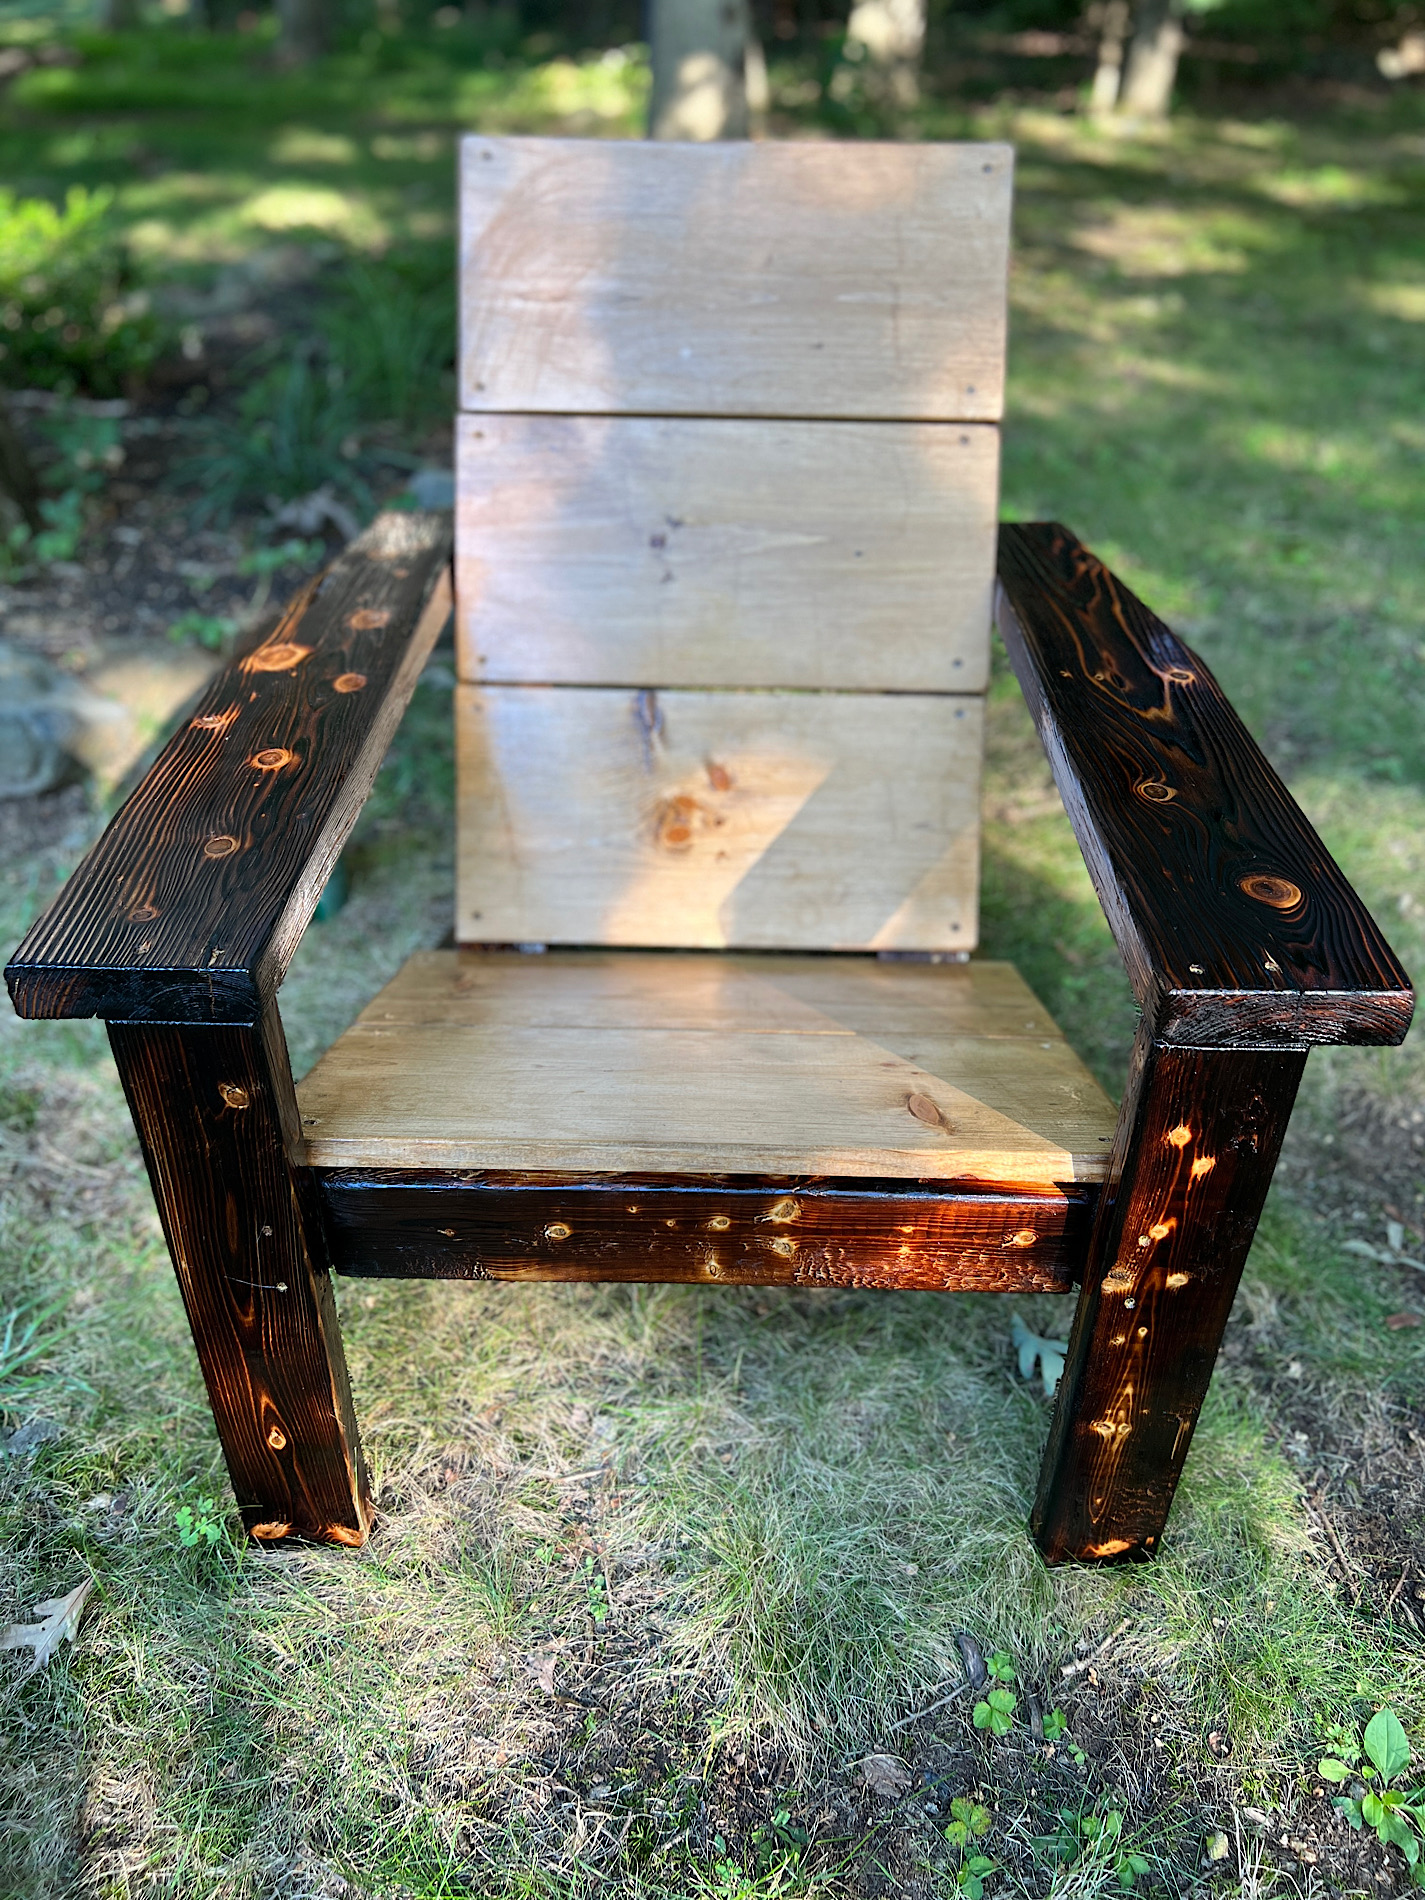
Made one change to plans. I used 2x6s for the arms. I used the Shou Sugi Ban burning technique to finish the 2x4s and 2x6s. I stained the back and set and the applied a couple coats of poly. Love the chairs! Building a couple more sets for around the fire pit. Thanks!
Thu, 09/15/2022 - 08:25
Love the wider arms and the finish is beautiful! Thanks for sharing.
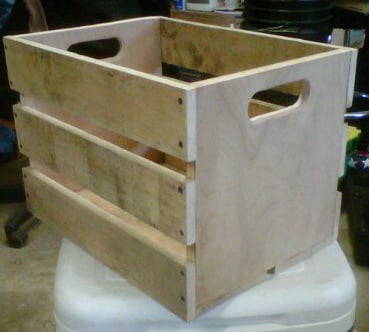
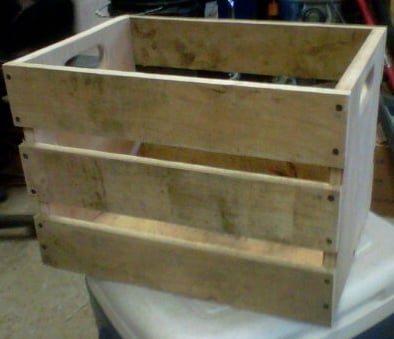
I decided to not paint it, but we sanded it REALLY well. I also decided to forgo the caster wheels just so it would fit under an entryway table. Right now I'm using it for dog toys!
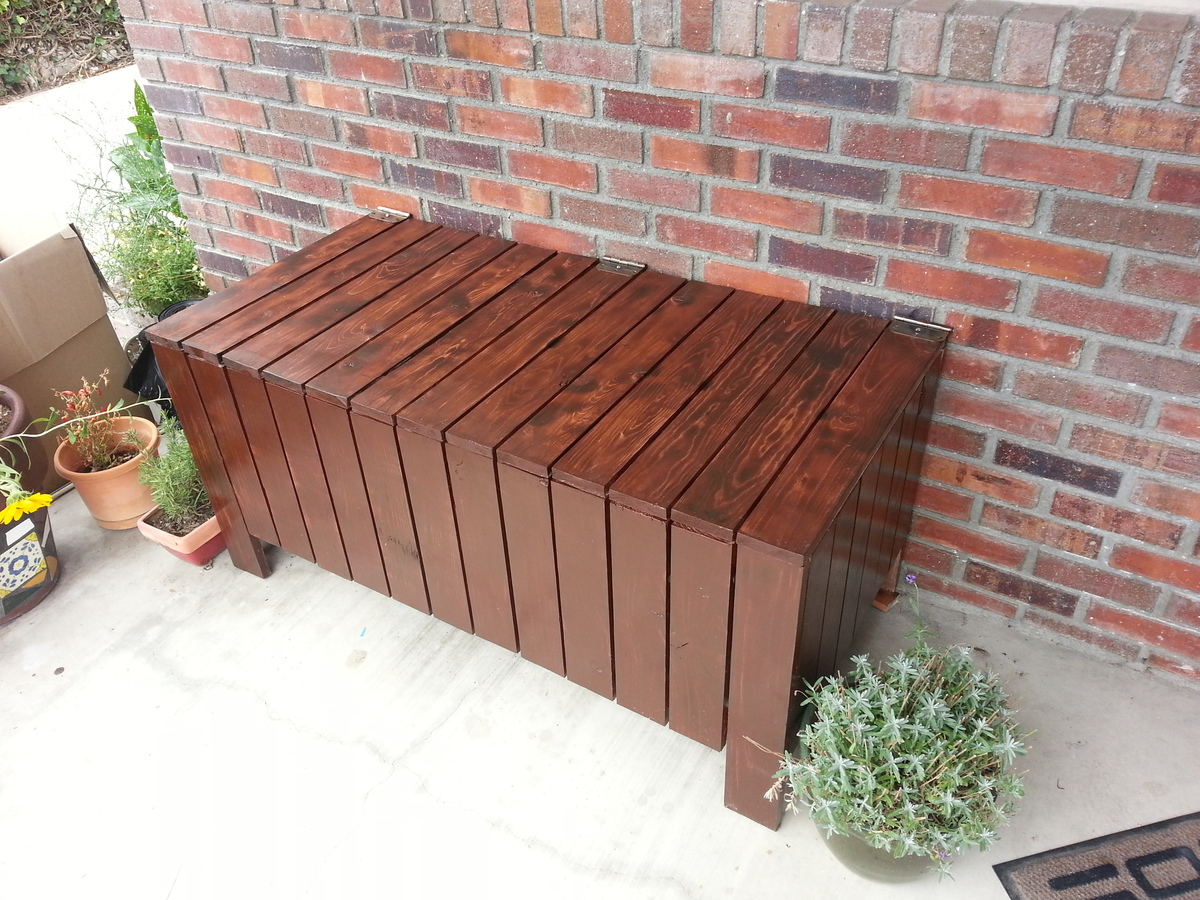
Burnt the wood with a torch before staining and used really cheapo pine.
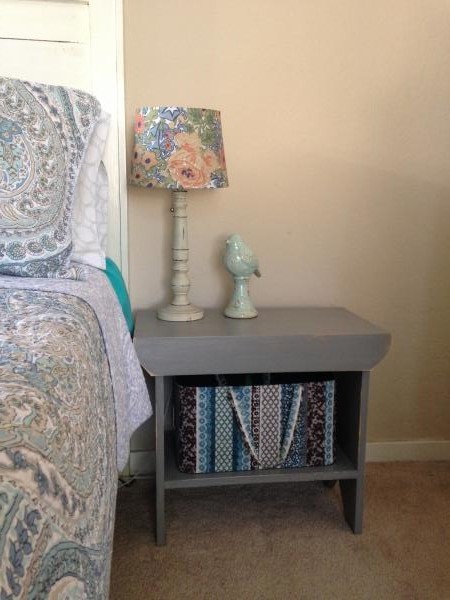
I loved the country gray paint, so stayed with that. But my bed is one of the farmhouse beds and needed it to be a little taller. It turned out beautiful and have already made a second to match!
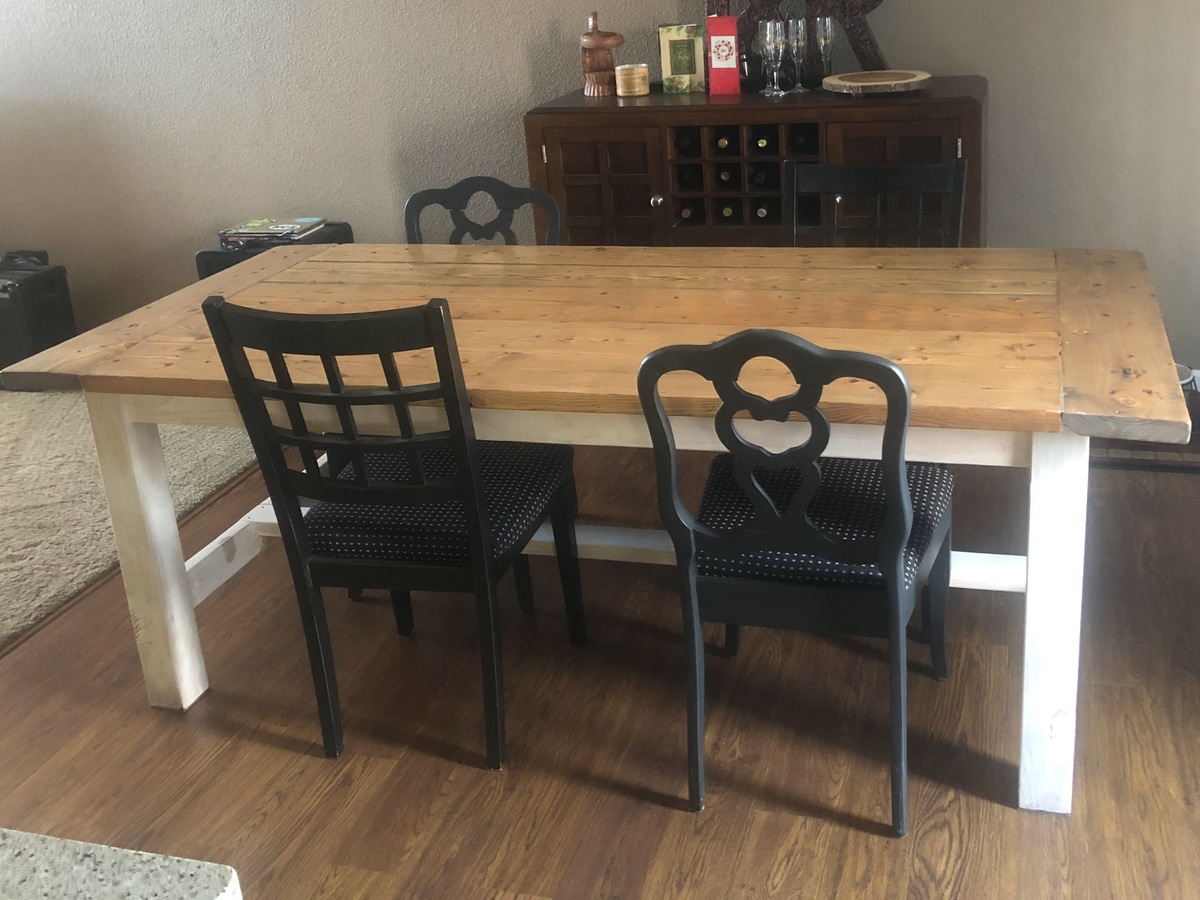
I built this table for my wife as Christmas gift. I love how it turned out. I used a wood burner to write on the bottom some lyrics from our song from our wedding. It’s humbling to know we will sit and have dinner at a table I made. Thanks Ana for the great plans.
Fri, 01/04/2019 - 13:38
This is an absolutely gorgeous table! It is so stunning! Thank you so much for sharing! Ana
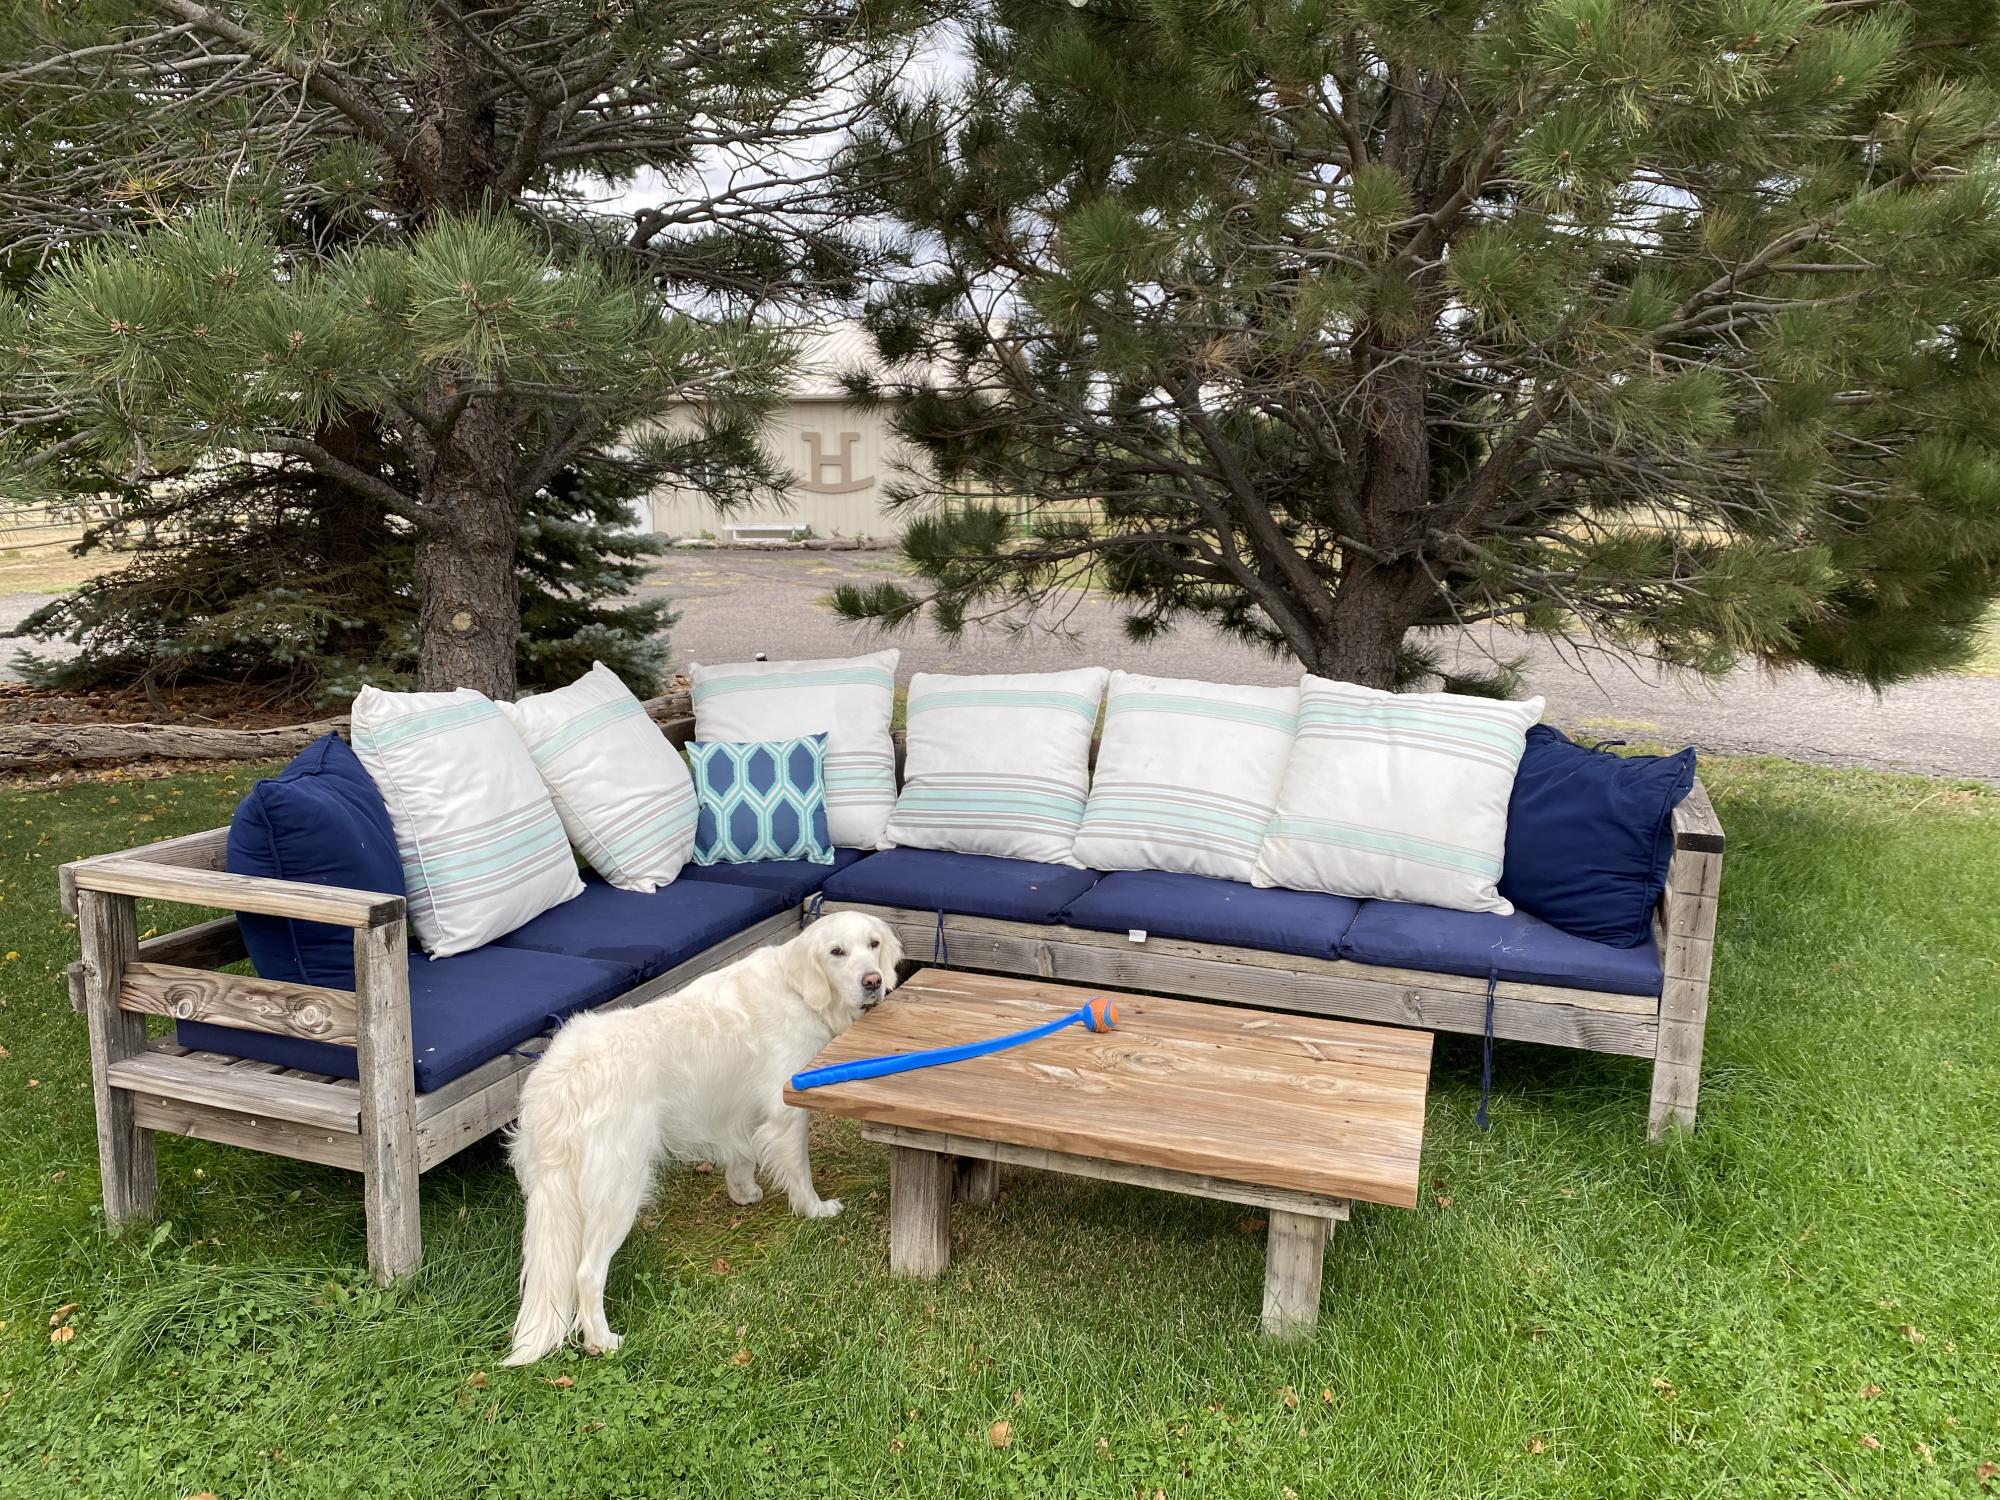
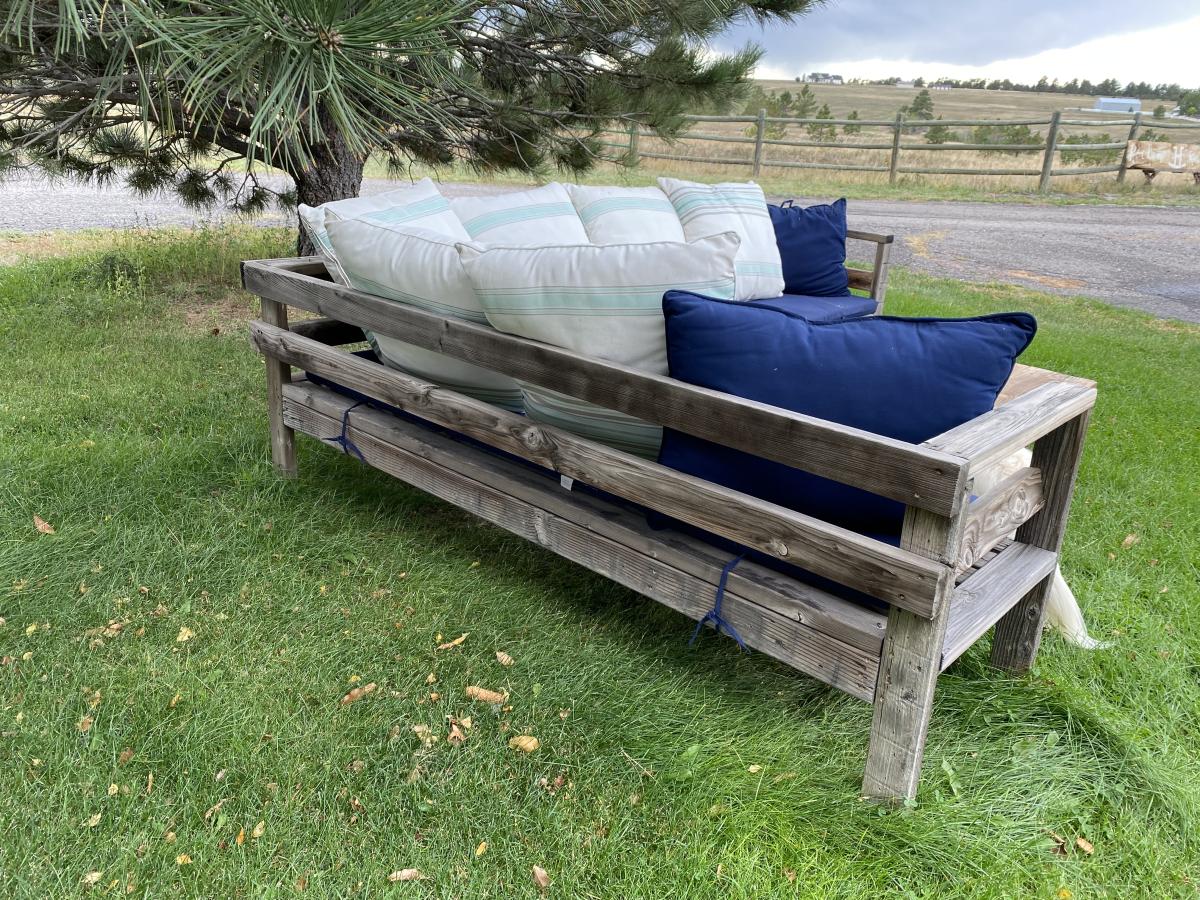
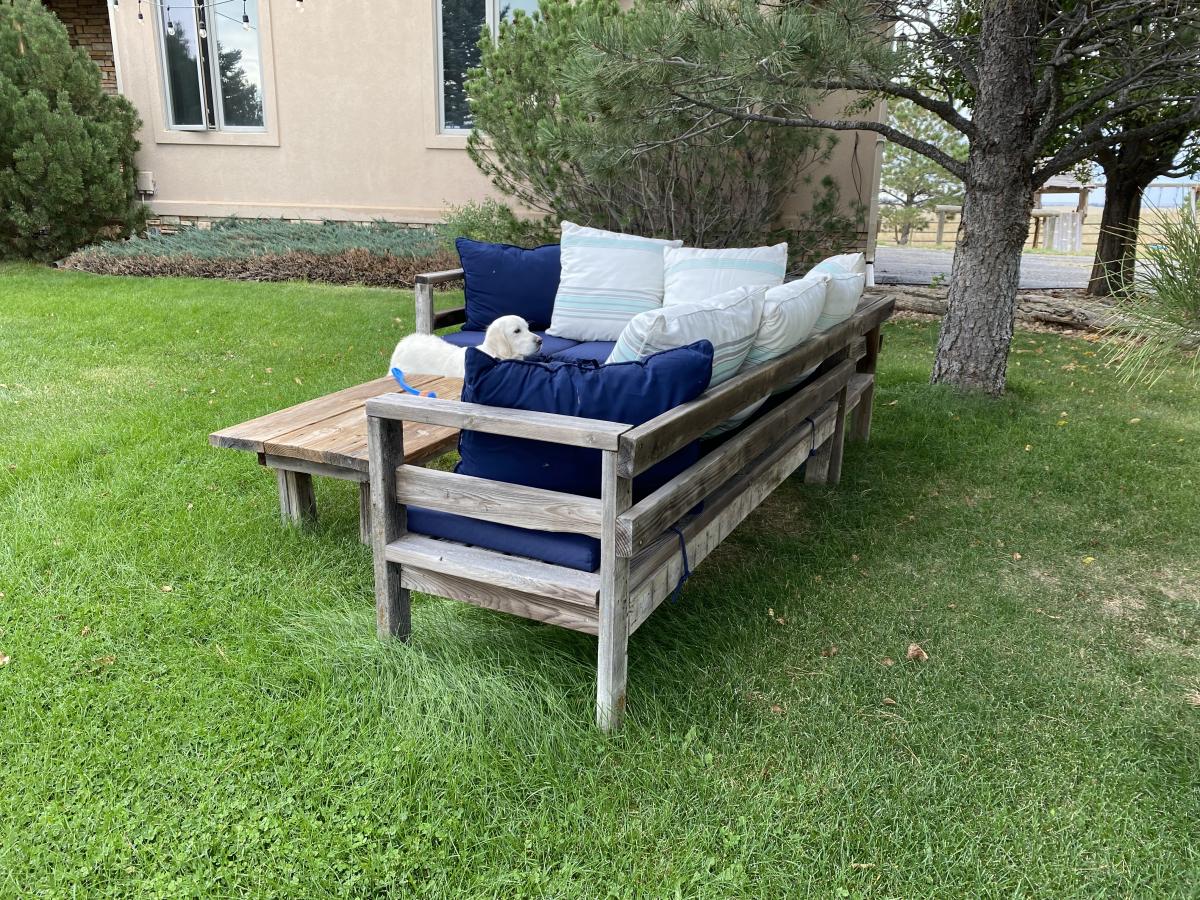
This sectional was made by my daughter @bluebellesdesign for my husband and me about 6 years ago. She used the 2x4s from a torn down fence. As you can see, it has aged well and the cushions are needing some love but it has been a tremendous addition to our outdoor living.
Wed, 09/28/2022 - 10:37
That is awesome, so happy you've been enjoying it for all these years!
I wanted a simple table to highlight this retro sewing machine I inherited from my grandma. I had to modify a few of the dimensions of this table and add a different trim up top, but I really like the results!
I've been looking for a corner unit for my kitchen for a couple of years, but couldn't find anything that I liked that fit my budget. This corner cupboard was exactly what I've been looking for. My husband and I built this together and I've definately discovered a new hobby!
Sat, 09/14/2013 - 23:27
This looks fantastic! Great job and the color looks great!
Mon, 09/16/2013 - 15:04
Feature Brag Post Notification
Just wanted to tell you thank you for contributing to the site. Your build was selected to be featured as the brag post today on our facebook page. If you wish to check it out here's the link https://www.facebook.com/knockoffwood
Great job, keep up the good work!
Tue, 09/17/2013 - 06:40
Thank you for choosing my corner cupboard as your featured brag post! I was so excited to see it on your facebook page last night :) I enjoy this website so much and can't thank you enough for sharing all these free and easy to follow plans! I love that reader's can share their builds and give tips and advice! Thank you for inspiring me to be creative!
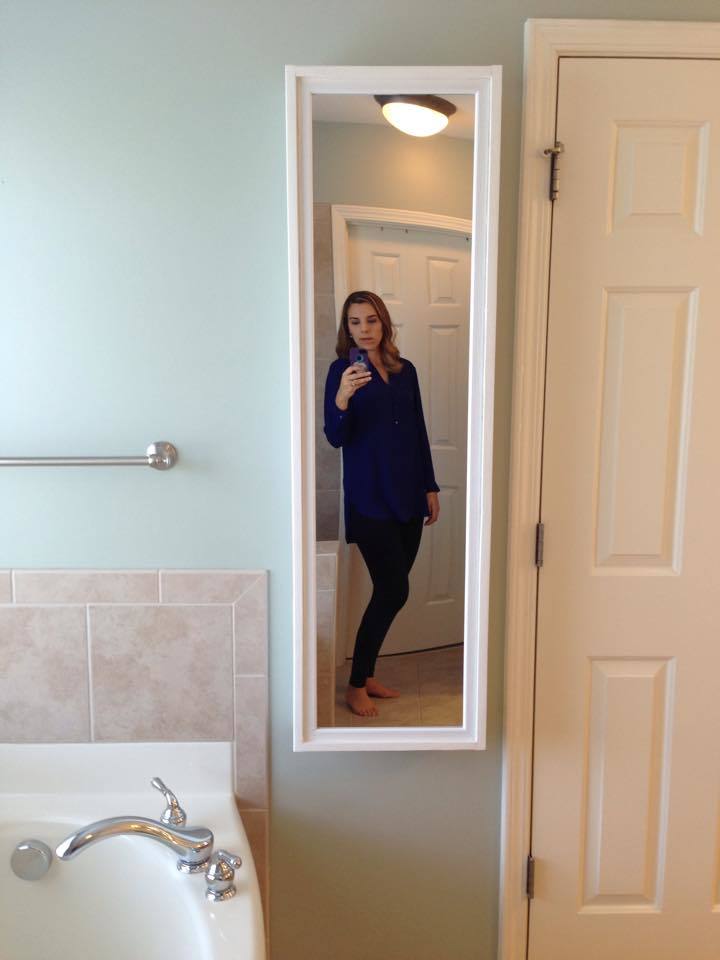
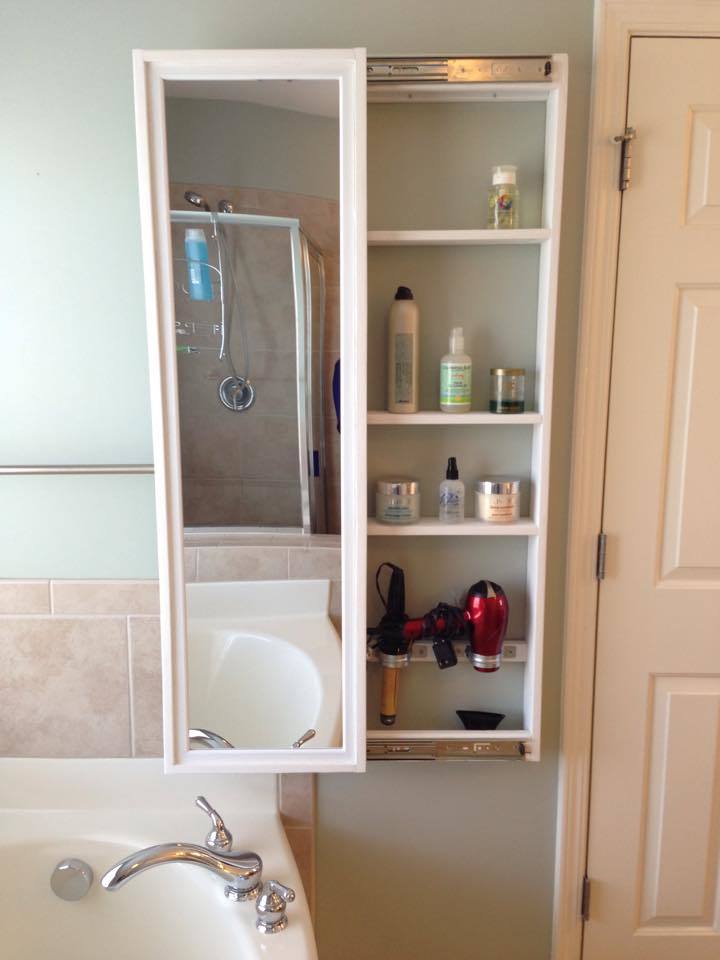
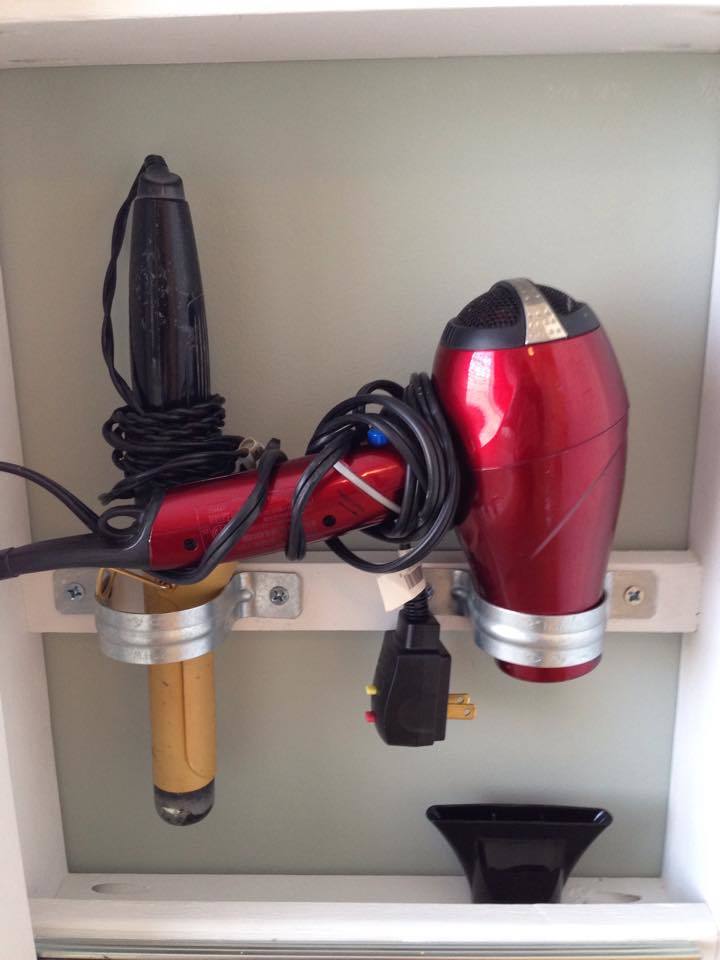
I built the beauty storage cabinet with sliding mirror door from Ana White's website.
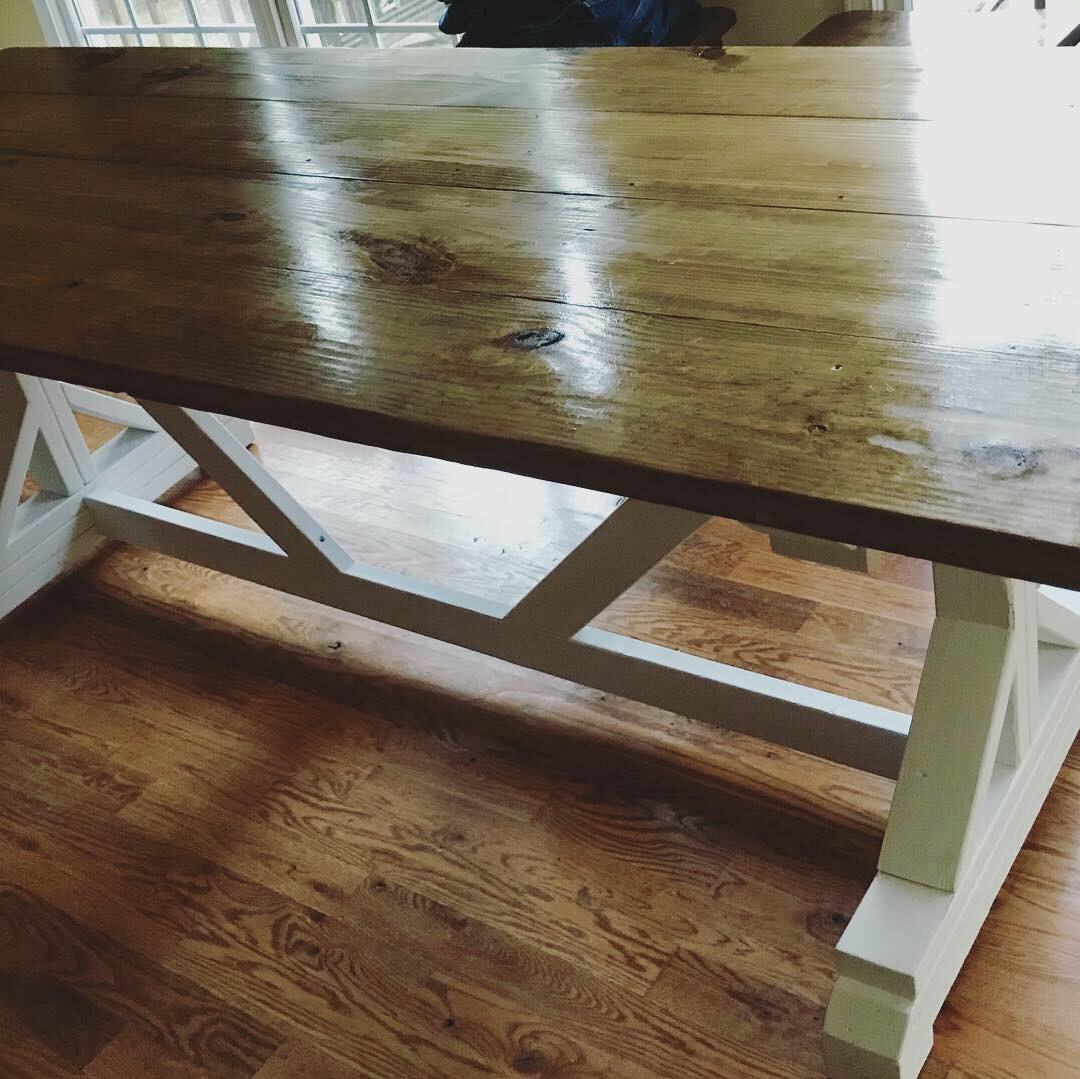
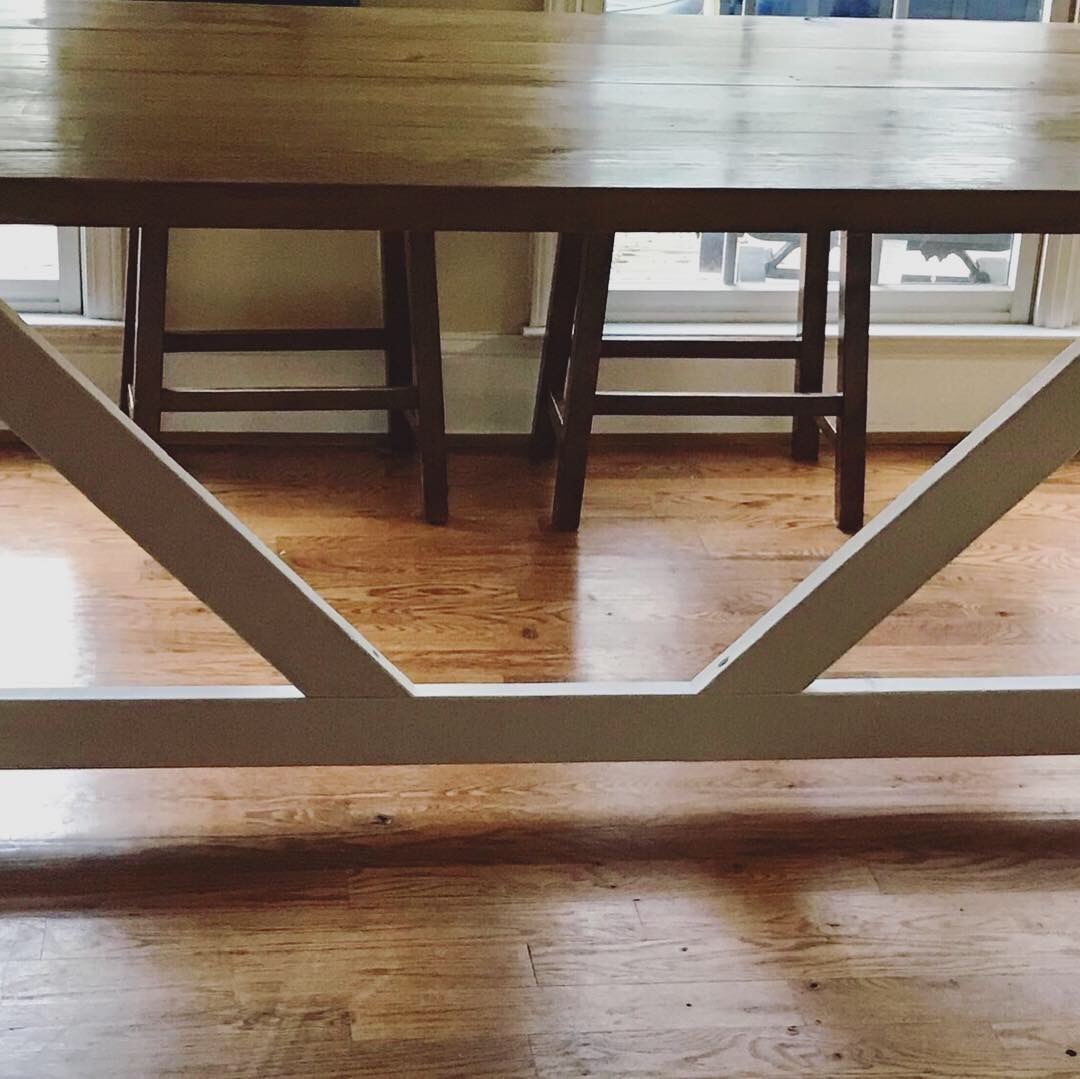
We just got the table up into the kitchen area today! (1/5/19) So glad he finished this! Next will be a bench or maybe two. Thank you Ana for the plans to make this! It came out very nice and everyone who I’ve sent the pics to have given my husband praise! (I also included the photos and the link to this site in my blog! Whoo! Positive vibes!)
The project took him a little bit since he works FT
Sun, 01/06/2019 - 16:49
This is just beautiful! And only $77!!!
Thanks so much for sharing a pic!
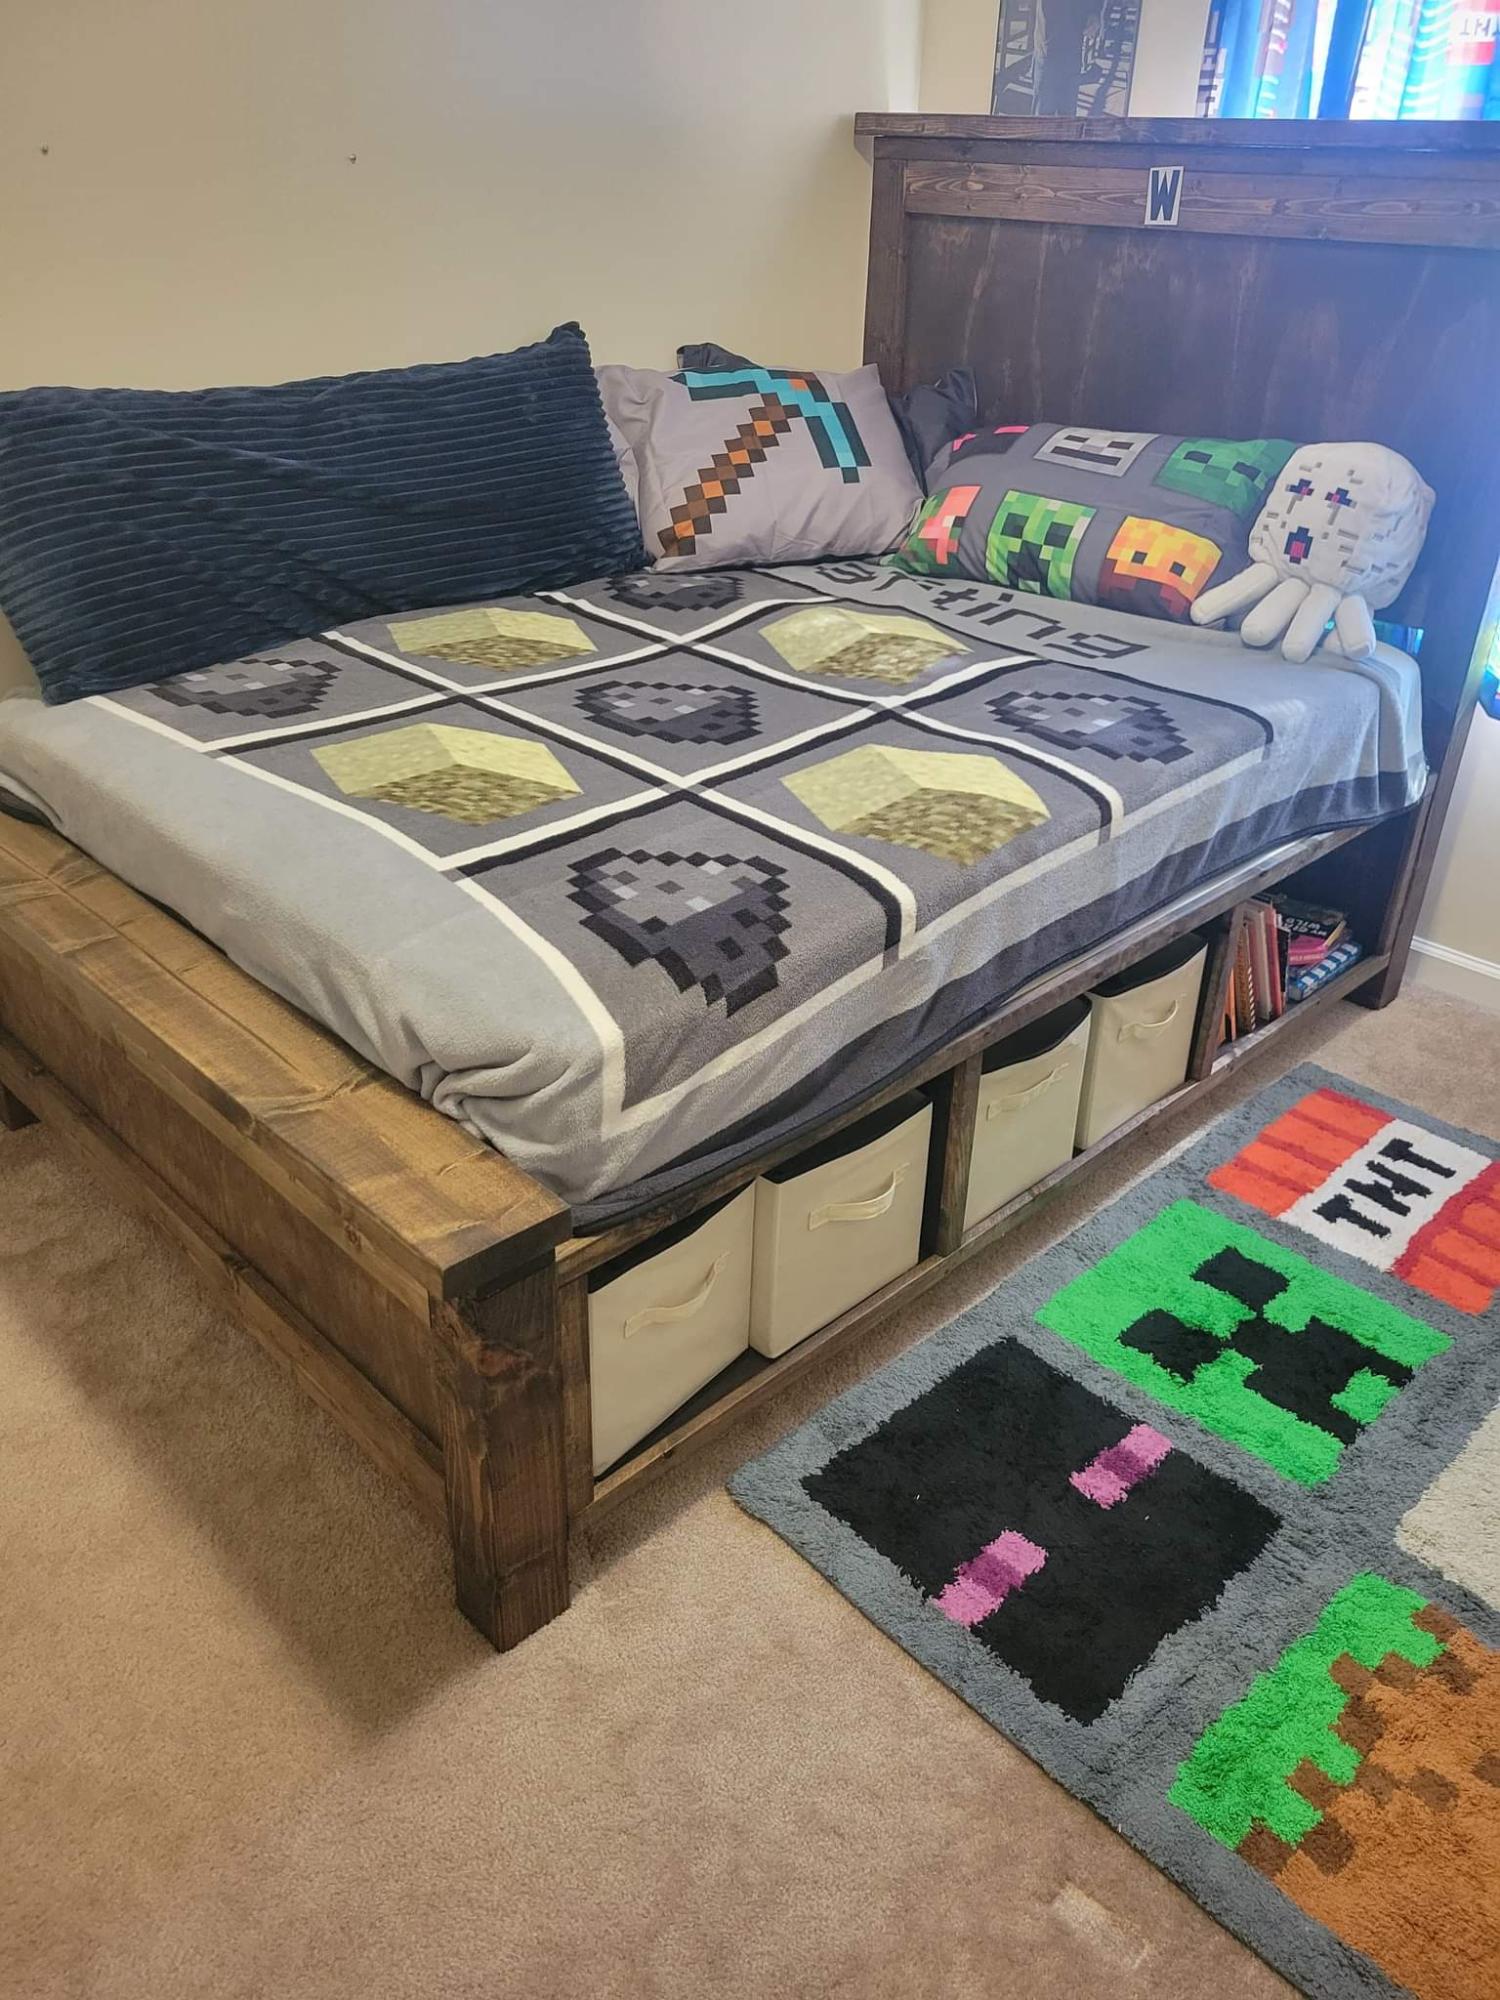
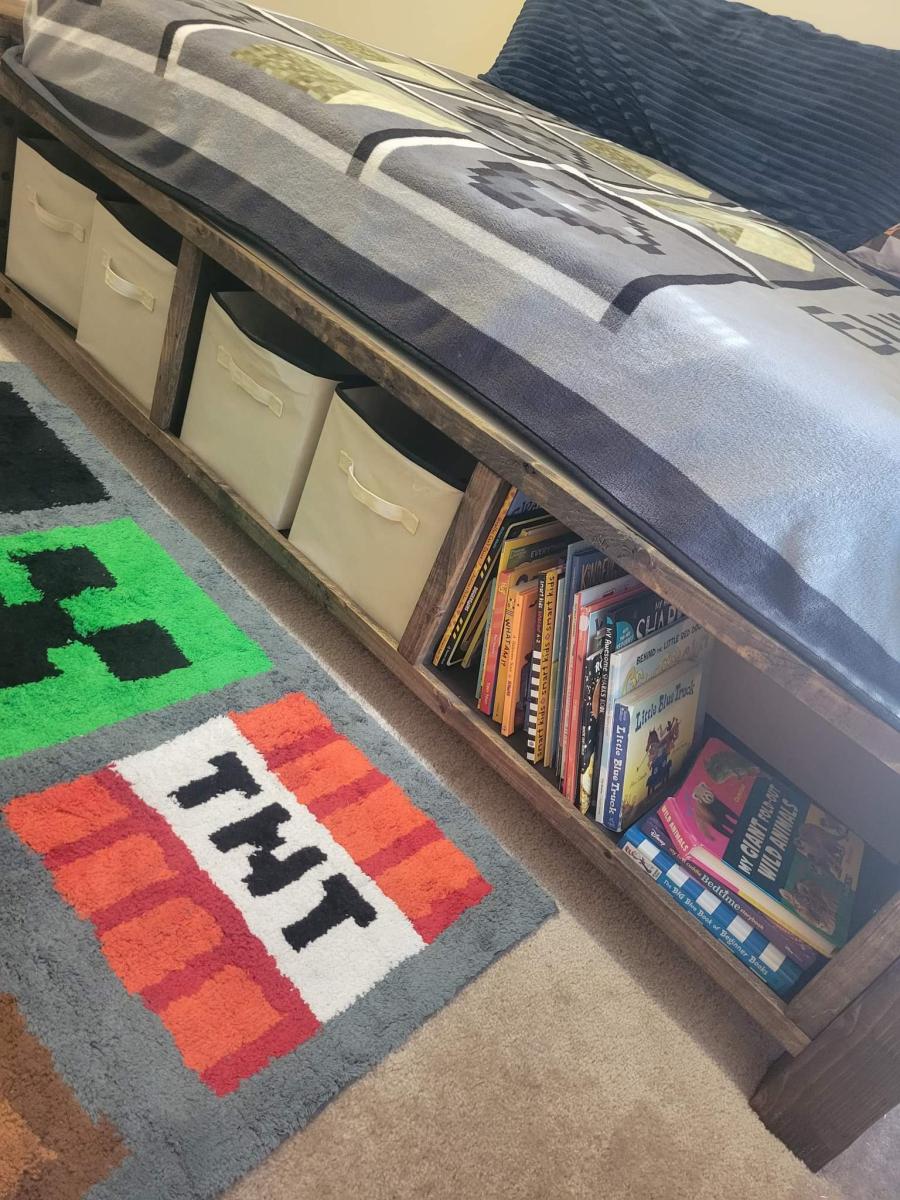
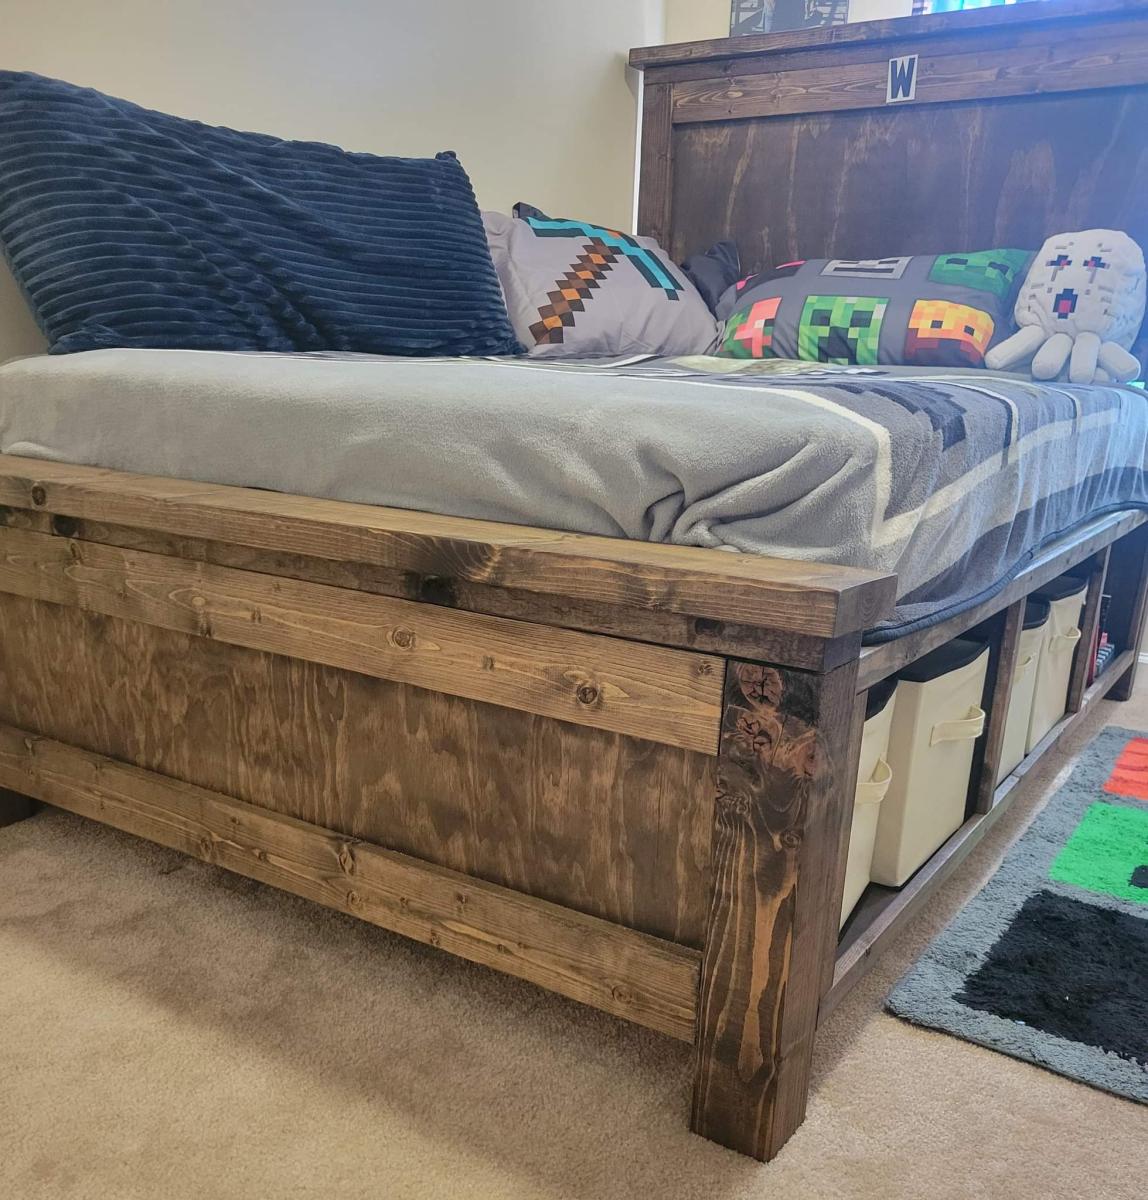
We built our little guy a twin bed when he was 1. 4 years later, he's outgrown it, and Ana White to the rescue! Not only were we able to upgrade the size to a full mattress, but the storage cubbies are a huge plus as well. Very easy to follow plans, took us about 3 days to knock it out.
Minwax Jacobean finish.
Sat, 10/08/2022 - 07:59
Love the look of this, awesome job! Thank you so much for sharing.

I have always loved apothecary consoles! Then my grandmother gave me her huge collection of pottery, which I have admired since I was a kid. I had nowhere to put it, so it was a perfect excuse to build this.
I used MDF for the cabinet and pine for the top. I did a thick top, I stacked two 1x6s on top of each other, giving me 1.5" thick top. I also distressed in and filled in with Ebony Wood filler. I absolutely love how it turned out. I hadn't used pine before, I always use poplar. This project made me love pine!
I modified the plan slightly...I made 4 doors instead of drawers. I also made the top cubbies 2" taller, just to add extra height. I still need baskets for the cubbies, though!


Fri, 08/26/2011 - 08:29
You did an amazing job! This piece has been on my to-do list for awhile now. I think that's the beauty of Ana's site, seeing the wonderful finished projects of other amateur builders gives us all the confidence to tackle things we'd never otherwise dare. I hope when I finally get around to building this, it will turn out as lovely as yours has, thanks for sharing.
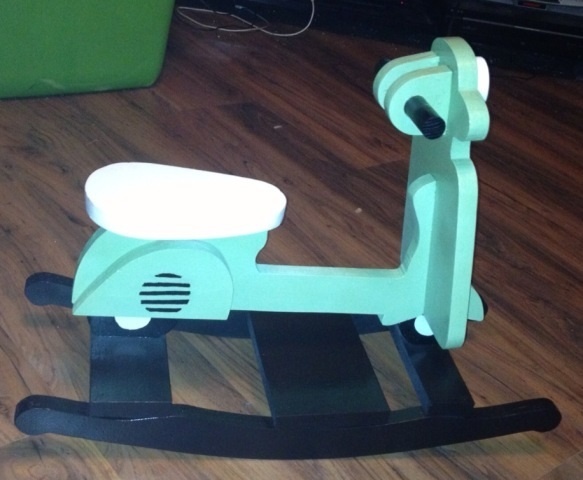
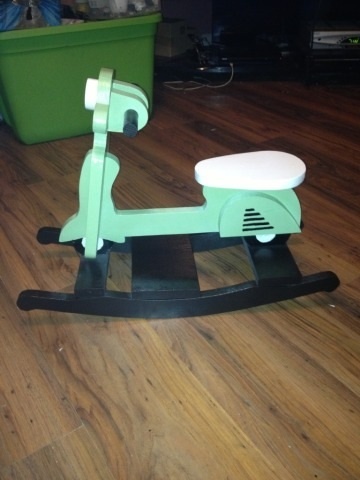
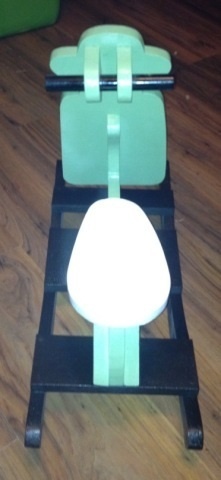
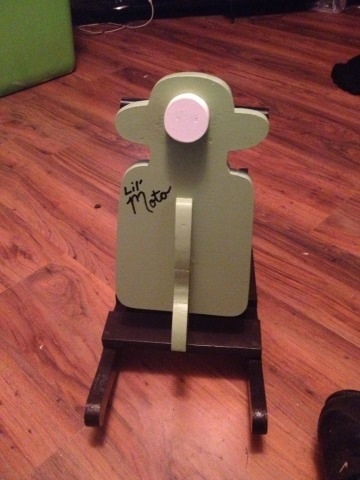
I've built 6 of these so far. They are fun to build. The # 1 request is for one that is bigger so I'm working on that next. A couple of things I changed iS the dowel rod from 1/2" to 7/8" and the body I thought wasn't rigid enough being cut from 1"x 10"x 10' and there wasn't sufficient room for screws and glue so I'm now using 2"x10"x10" it's working a lot better and is a lot more sturdy and easier to assemble. Another thing I have done is once assembled the the plans is I transcribed them to rigid cardboard so can use them over and over cuts the time down considerably. I'll post more pictures soon. I have named mine Lil' Moto
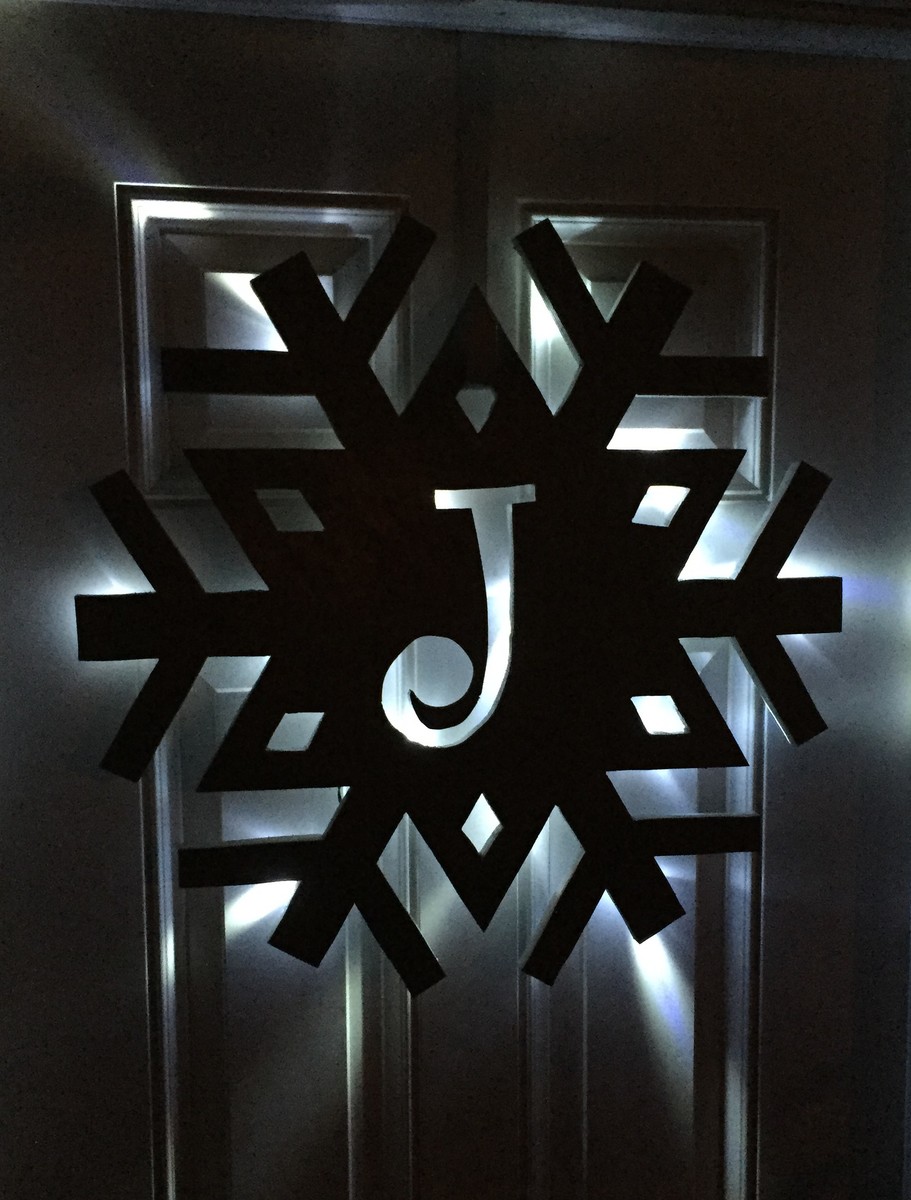
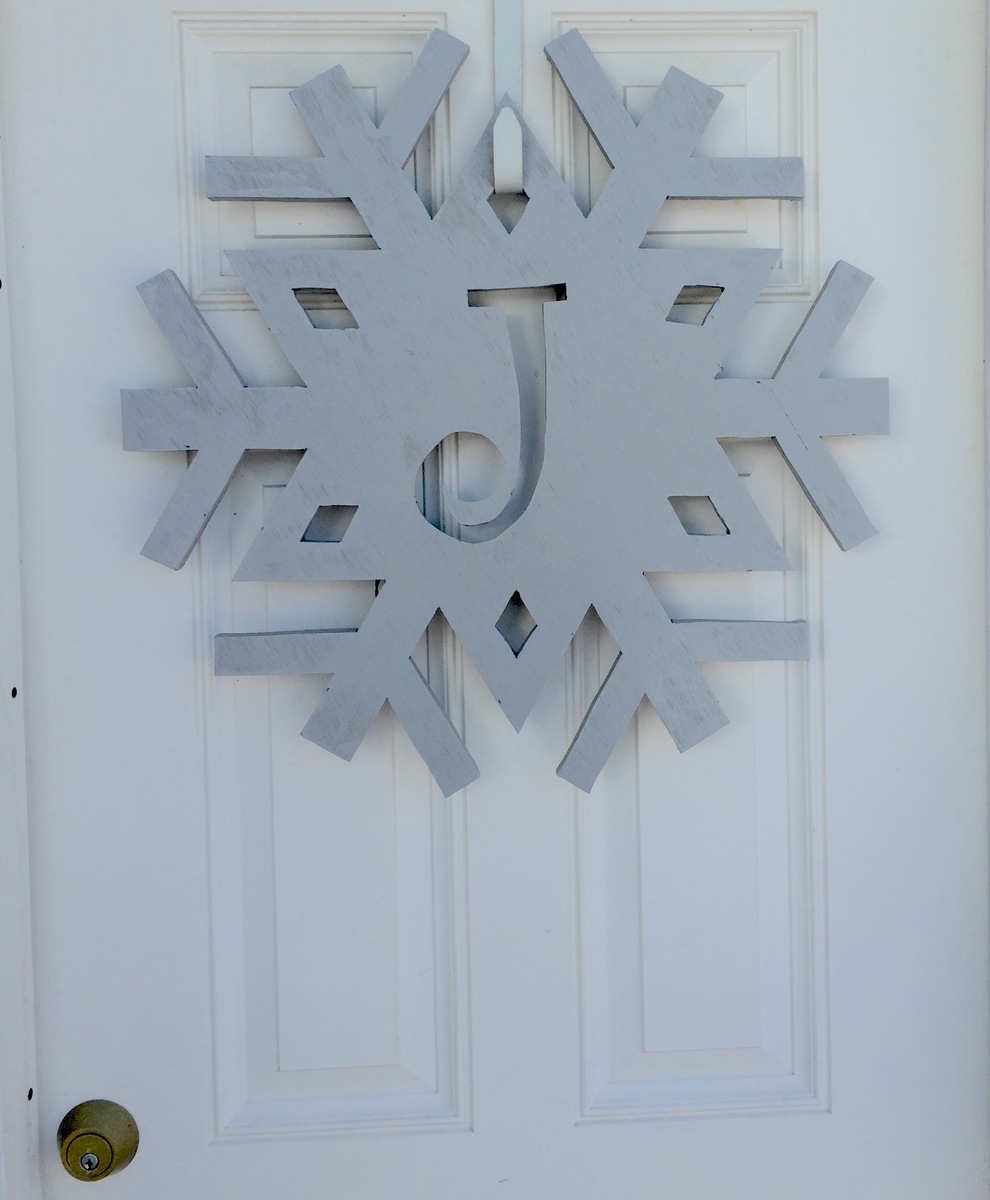
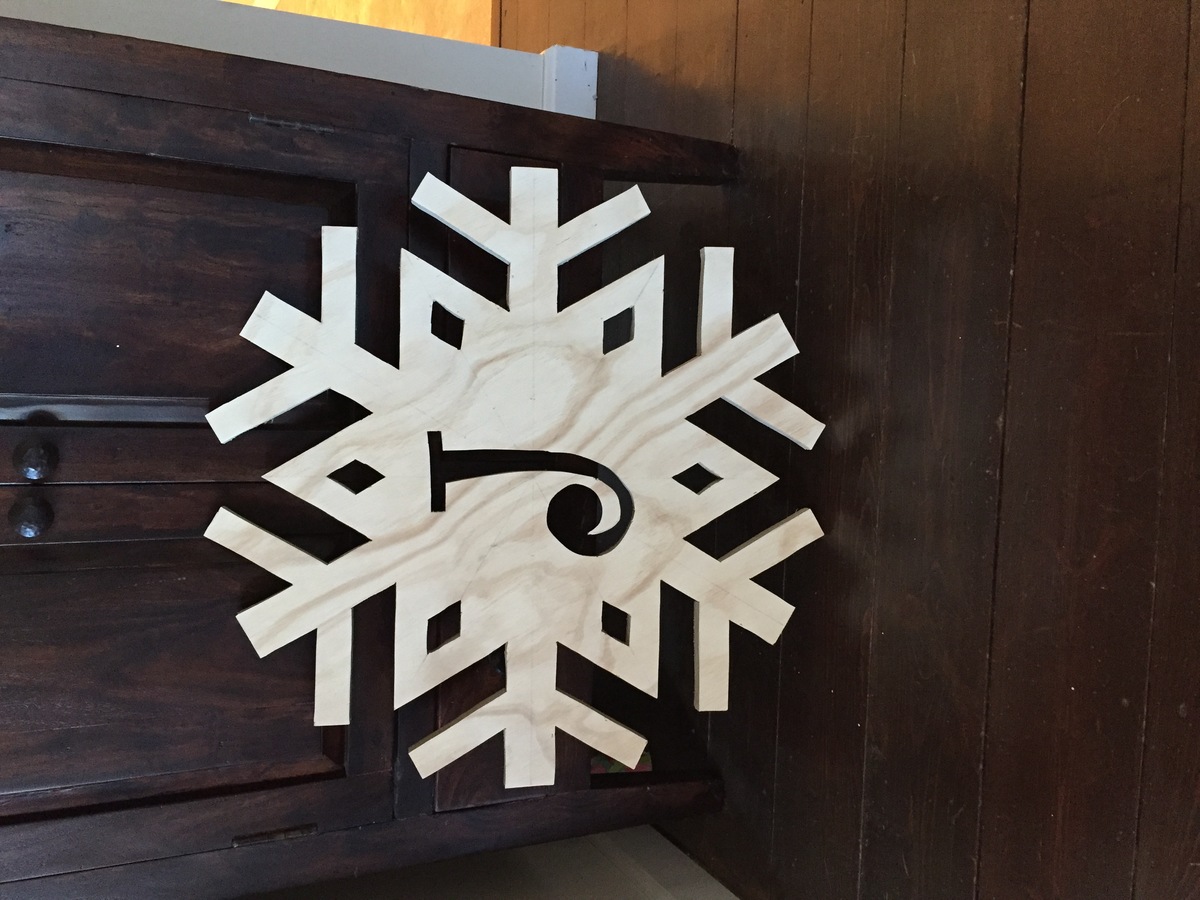
Followed the plans for the Easy monogram snowflake, painted it with pewter gray, and added a set of battery powered led lights to the back. Thanks for the plans Ana fun build and now everyone wants one.
Mon, 11/23/2015 - 07:21
What a great idea! How are you hanging this? It looks like it is floating.
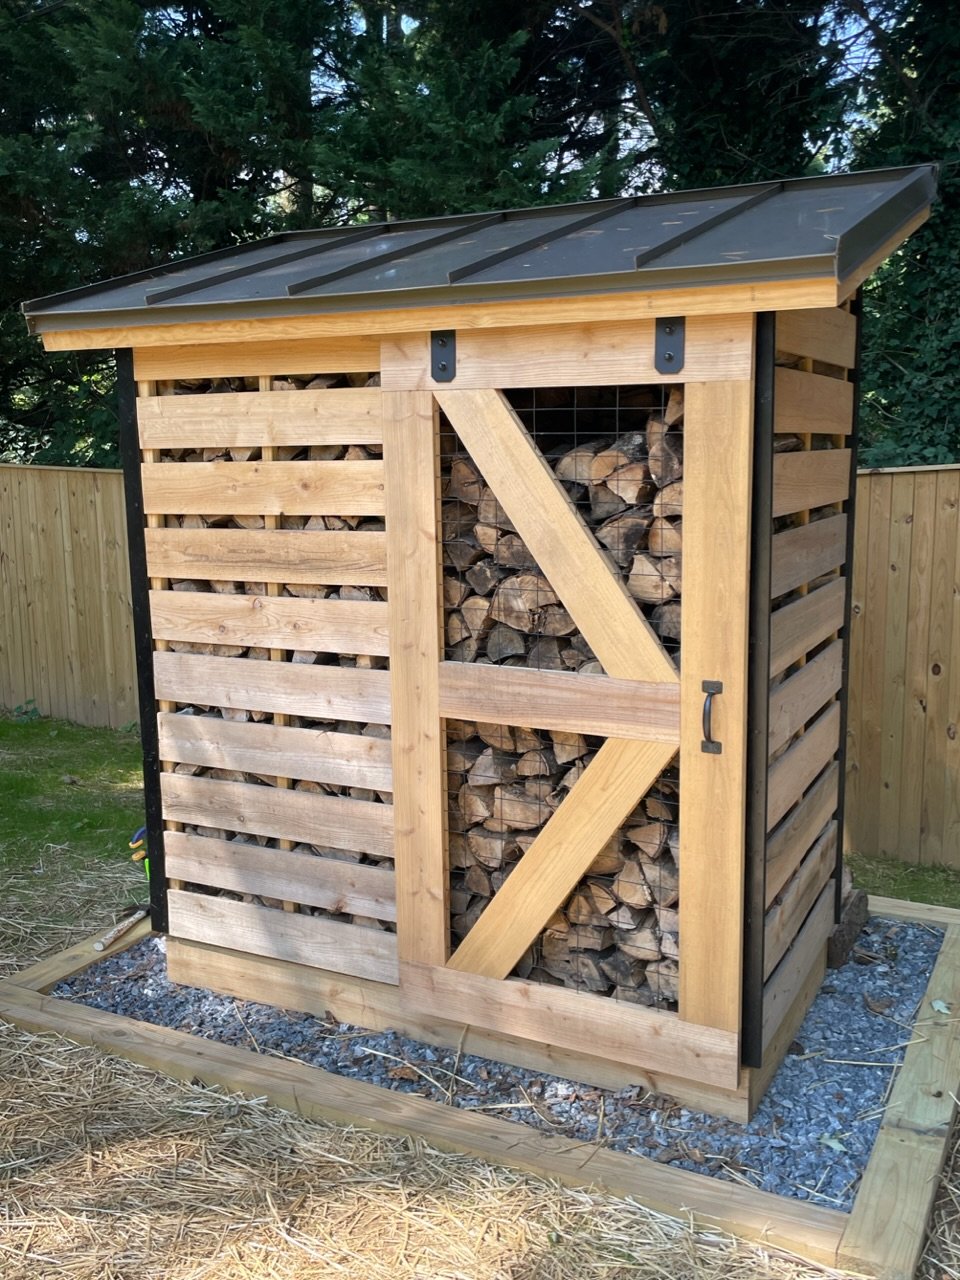
Spaced out the boards to allow airflow; did a sliding barn door and metal roof. Thanks for the plans!
Wed, 10/19/2022 - 08:23
This is totally awesome, way to think outside the box! Thanks for sharing.
We desperately needed something next to the door to put shoes in. I didn't quite yet have the courage to attempt the shoe dresser (http://ana-white.com/2011/01/shoe-dresser) and there are lots of scraps in our shop from my husbands projects. I tried these crates out and they were super easy and super fast to throw together during nap time. I primed and painted because I used plywood instead of 1x12.
Fri, 09/09/2011 - 08:54
I loved the vintage crate plans but hadn't thought of a good use. We have a shoe problem in our house too. With 3 kids, they all get mixed up and it drives me crazy! We've tried an over the door shoe organizer; but that hasn't been especially helpful because the 2 youngest would need a stool to reach anything about the bottom 2 rows. I think I just found my weekend project - one for them each in a different color should do the trick. Thanks for sharing
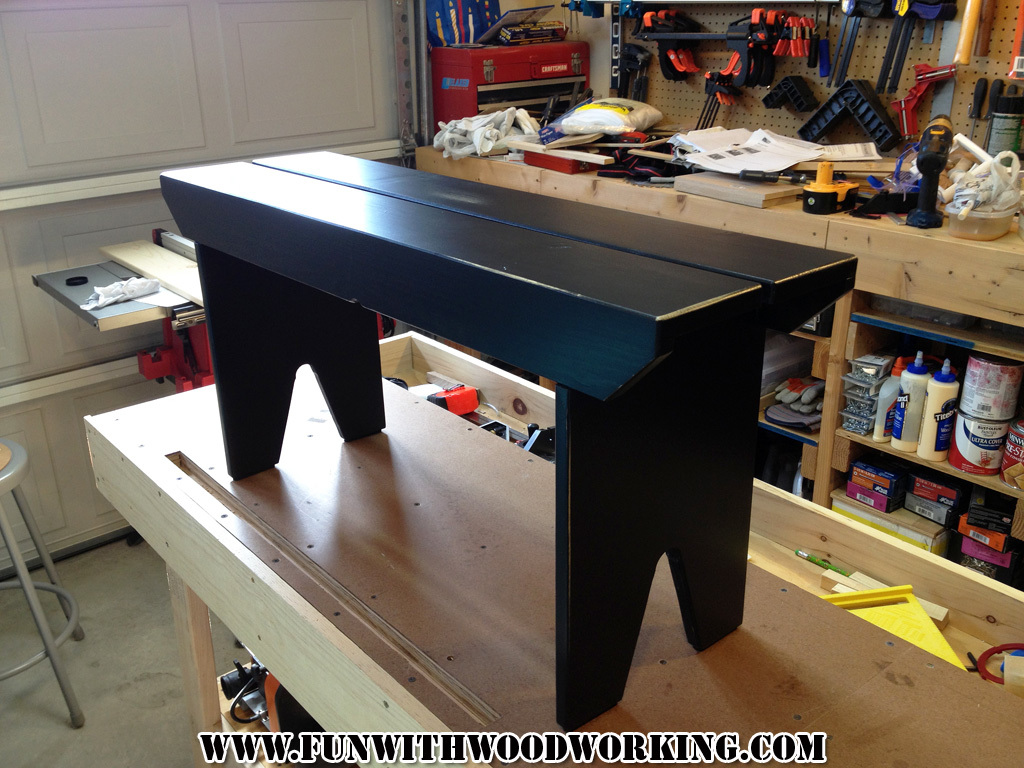
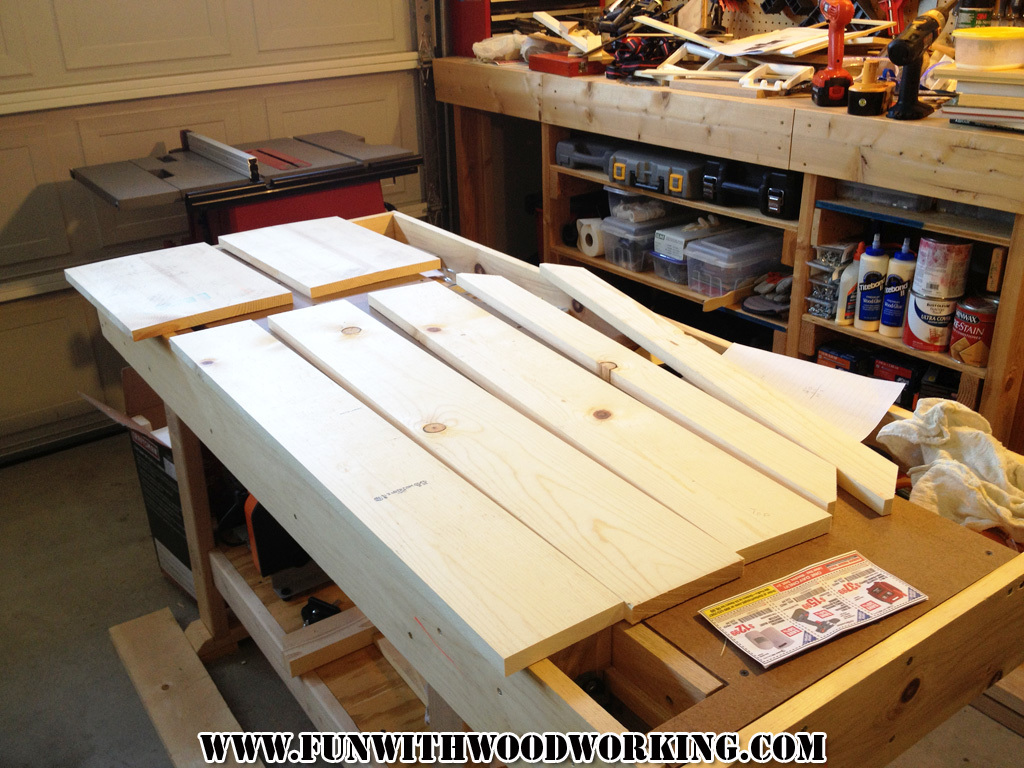
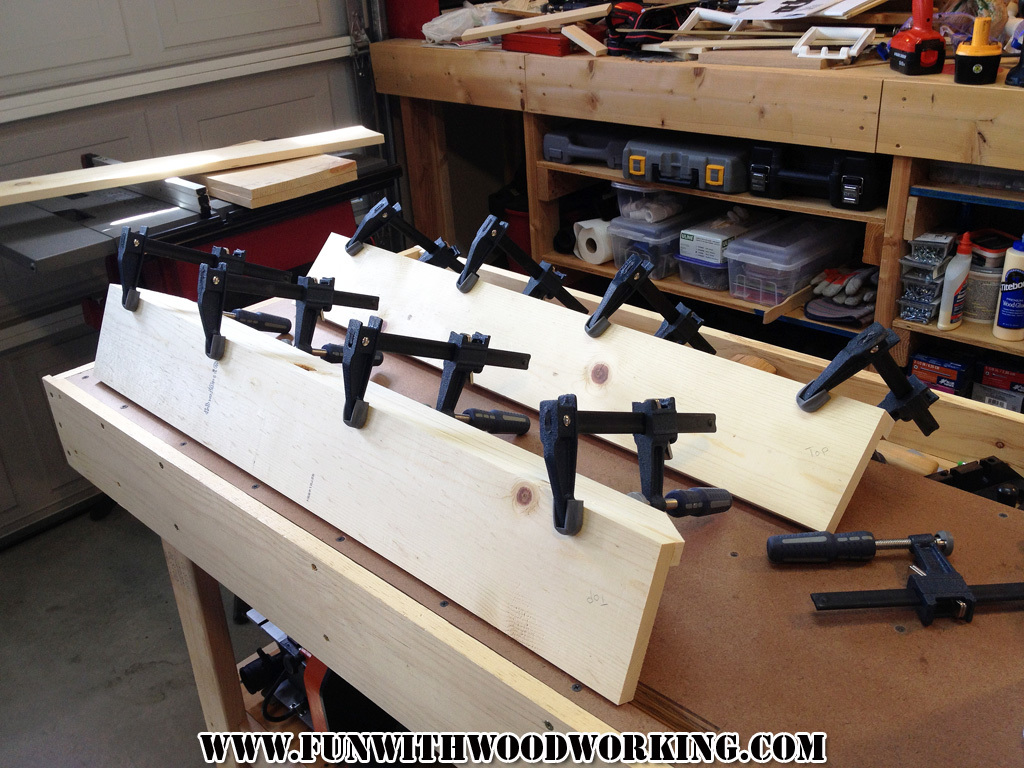
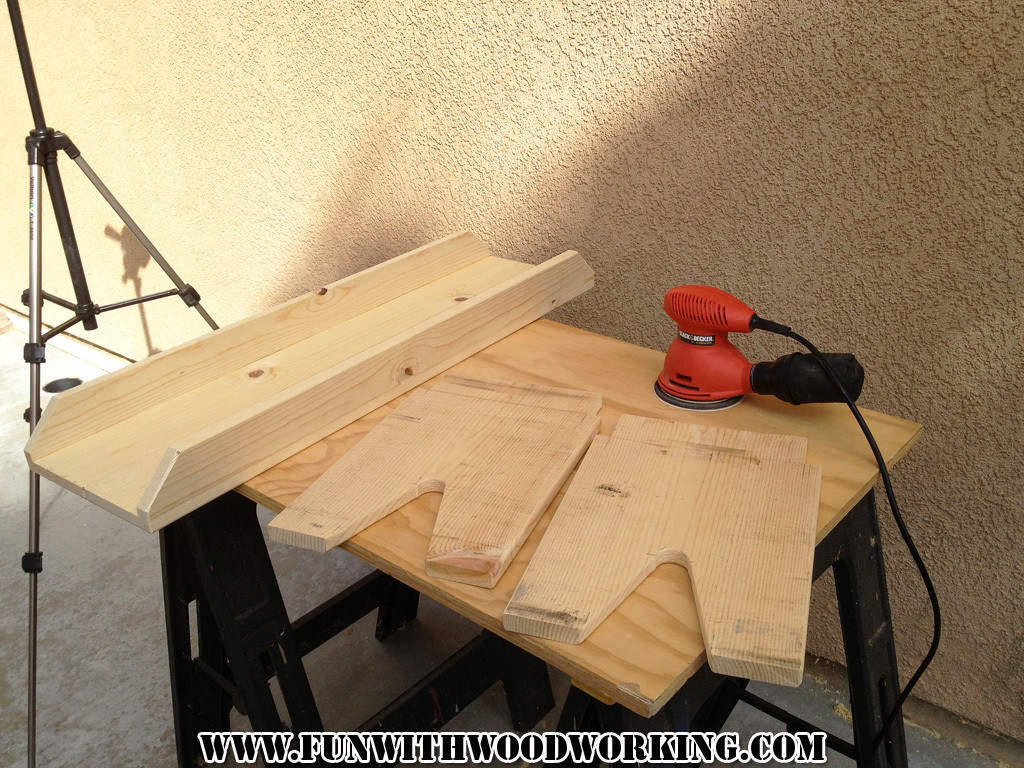
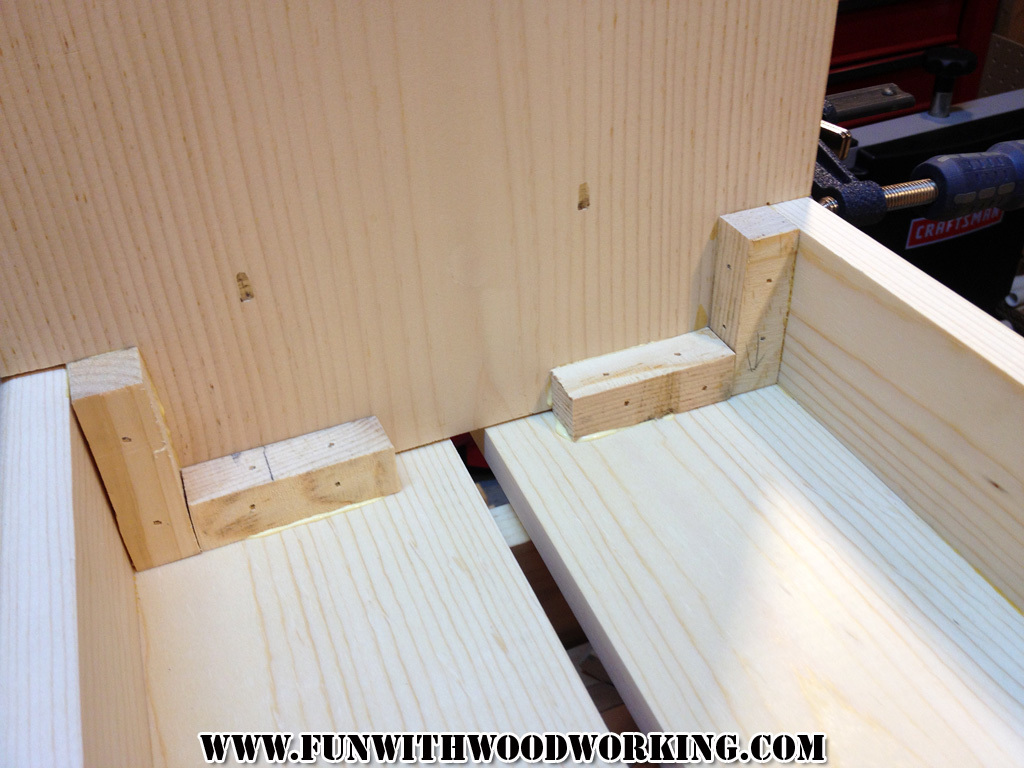
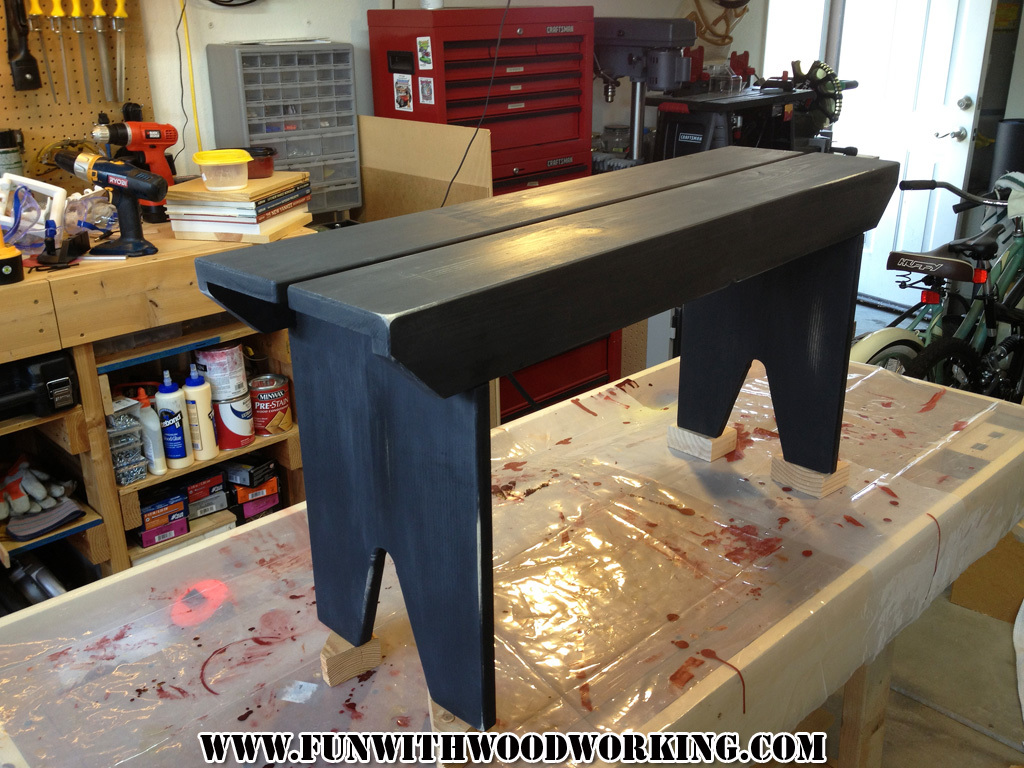
I was looking for a plan for a 5 board bench so naturally I came to your site. I made your basic design but made it a little bit smaller in all dimensions and I put a half inch split down the middle of the top. I built it out of pine and painted it flat black. I gave the legs and underneath 3 coats of satin polyurethane and the top and sides received 5.
You can follow the build on my blog at :
http://funwithwoodworkingtoo.blogspot.com/2013/09/project-how-to-build-…
You can also watch a video of the build on my YouTube page at:
http://youtu.be/1_hz2n7v9ss
Thanks for the free plans!
This project was made from Ana White's apothecary media console plan. The finish is Minwax Special Walnut on the drawers and top. On the sides is a finish technique I found on thehouseofsmiths.com - Faux Barn Wood Painting Tutorial.
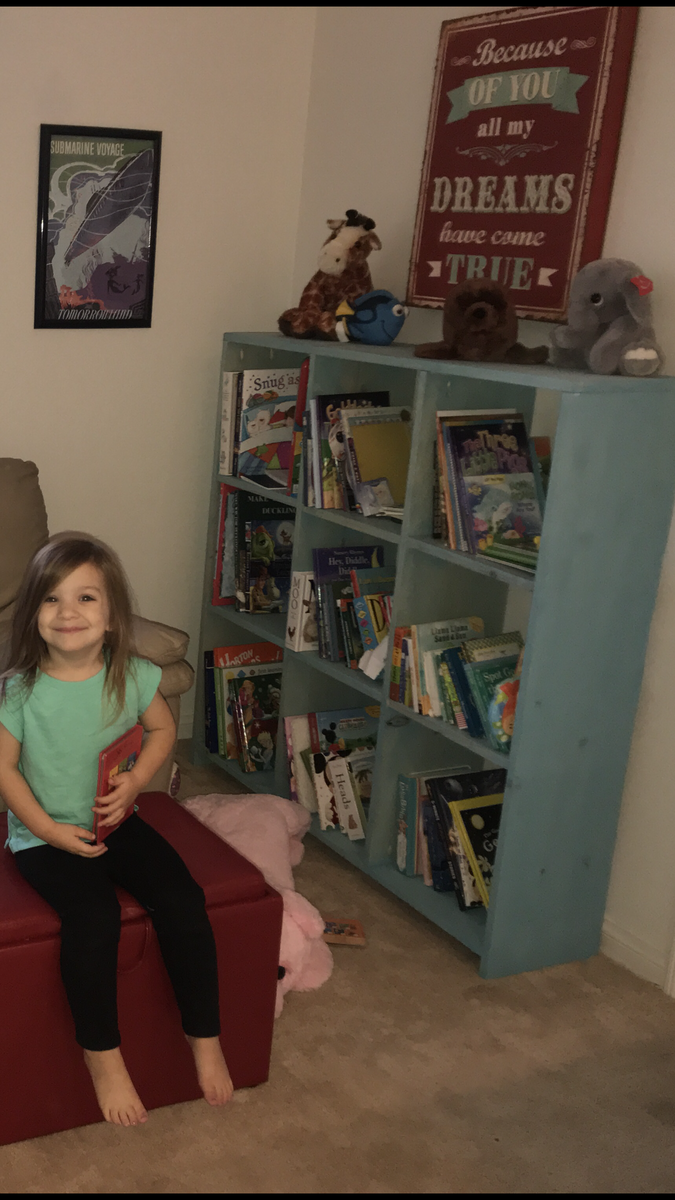
To be honest, not my favorite build but my daughter loves it. Just one of those projects plagued with problems
Comments
handmadewithash
Mon, 11/09/2015 - 14:58
I really like the distressed
I really like the distressed finish!
trojan24man
Tue, 11/10/2015 - 06:05
Thanks!
Thanks!