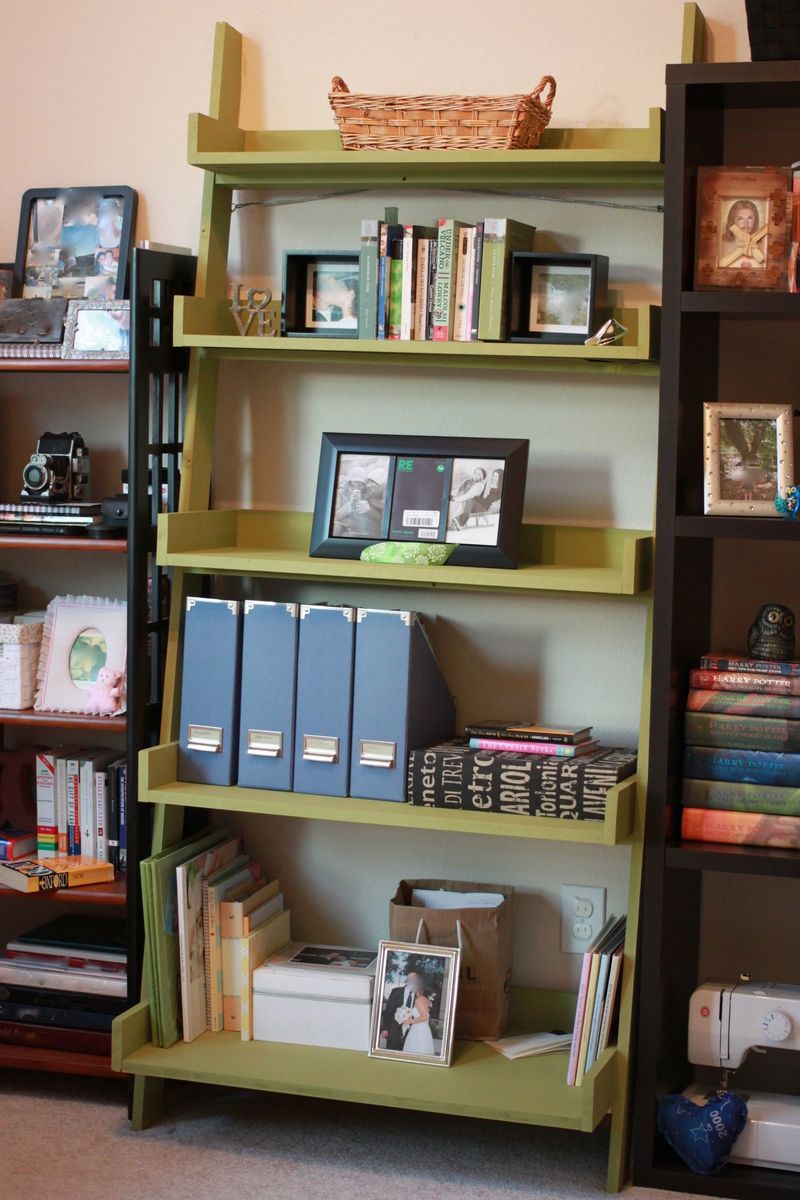
Rocket Ship Bookcase
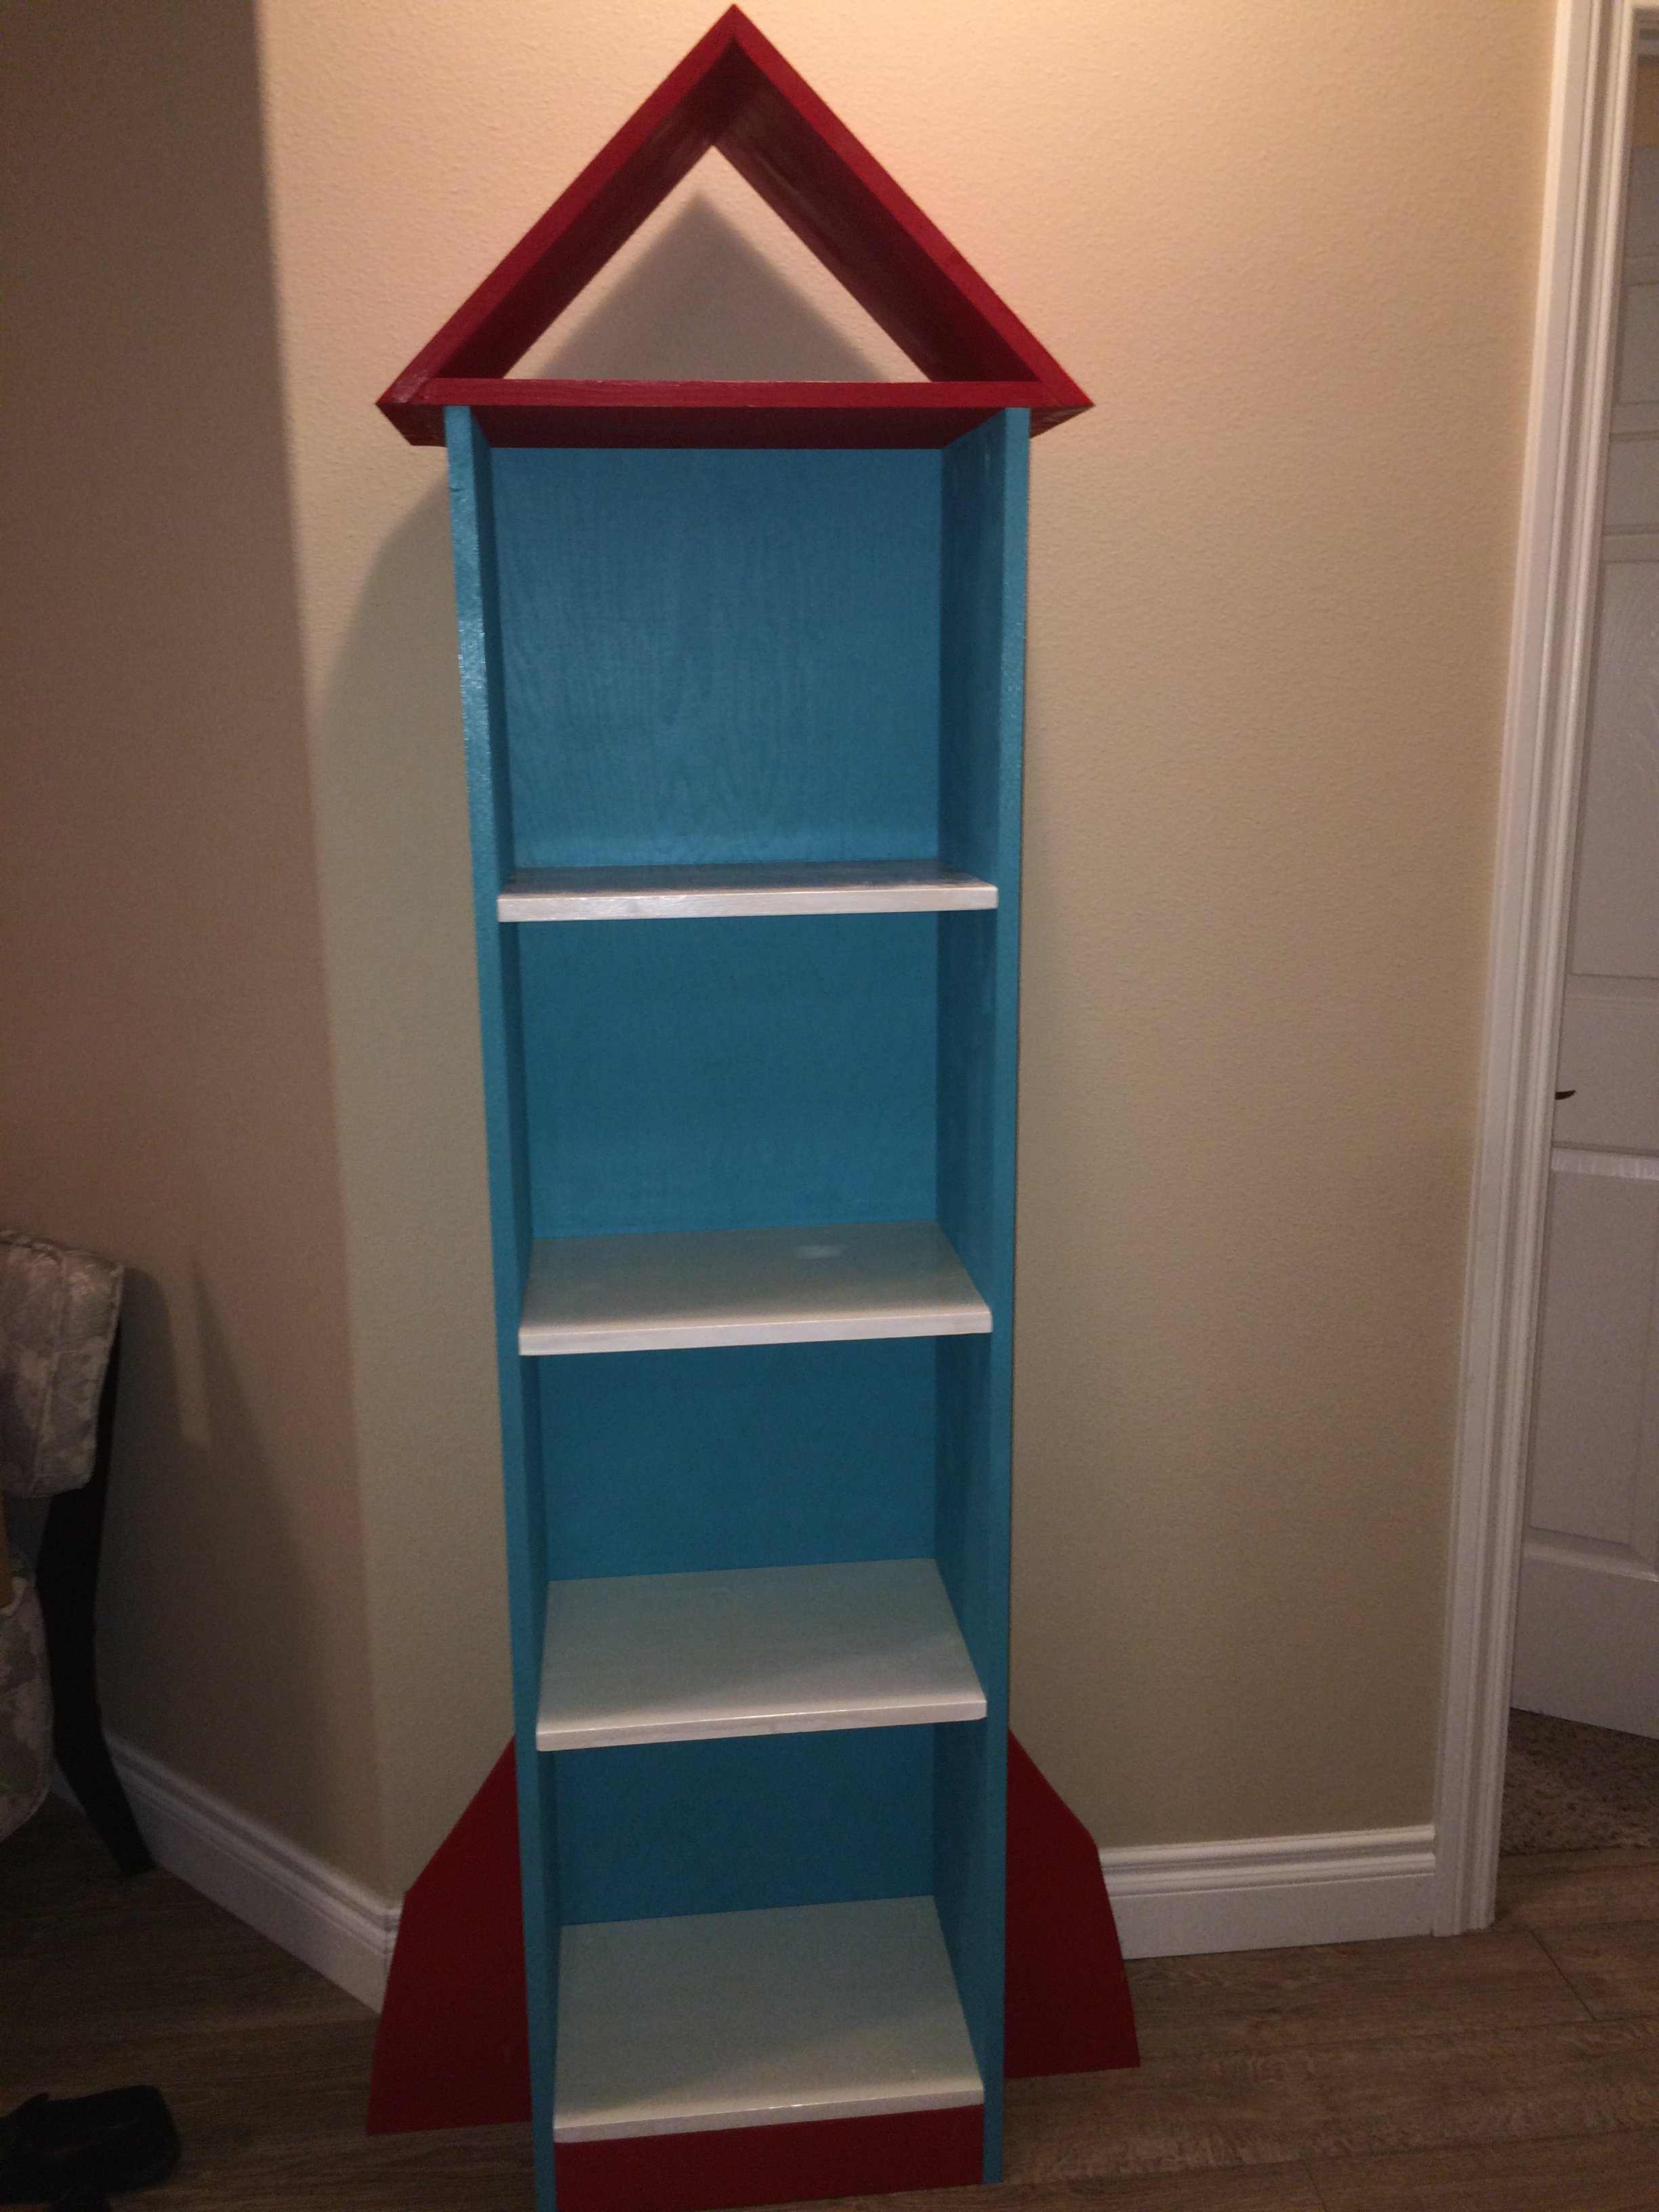
My son loves rocketships so this was a nobrainer. I made it a bit taller than the plans called for, it's about 6 1/2 feet tall. It should hold all of my son's books and then some!
Built from Plan(s)
Estimated Time Investment
Weekend Project (10-20 Hours)
Finish Used
Red, white and blue paint and 2 coats of gloss poly.
Recommended Skill Level
Beginner


Comments
Ana White
Fri, 11/14/2014 - 13:42
The rocket tower! Love the
The rocket tower! Love the fun colors that you chose!