Slat Closet for Soldier
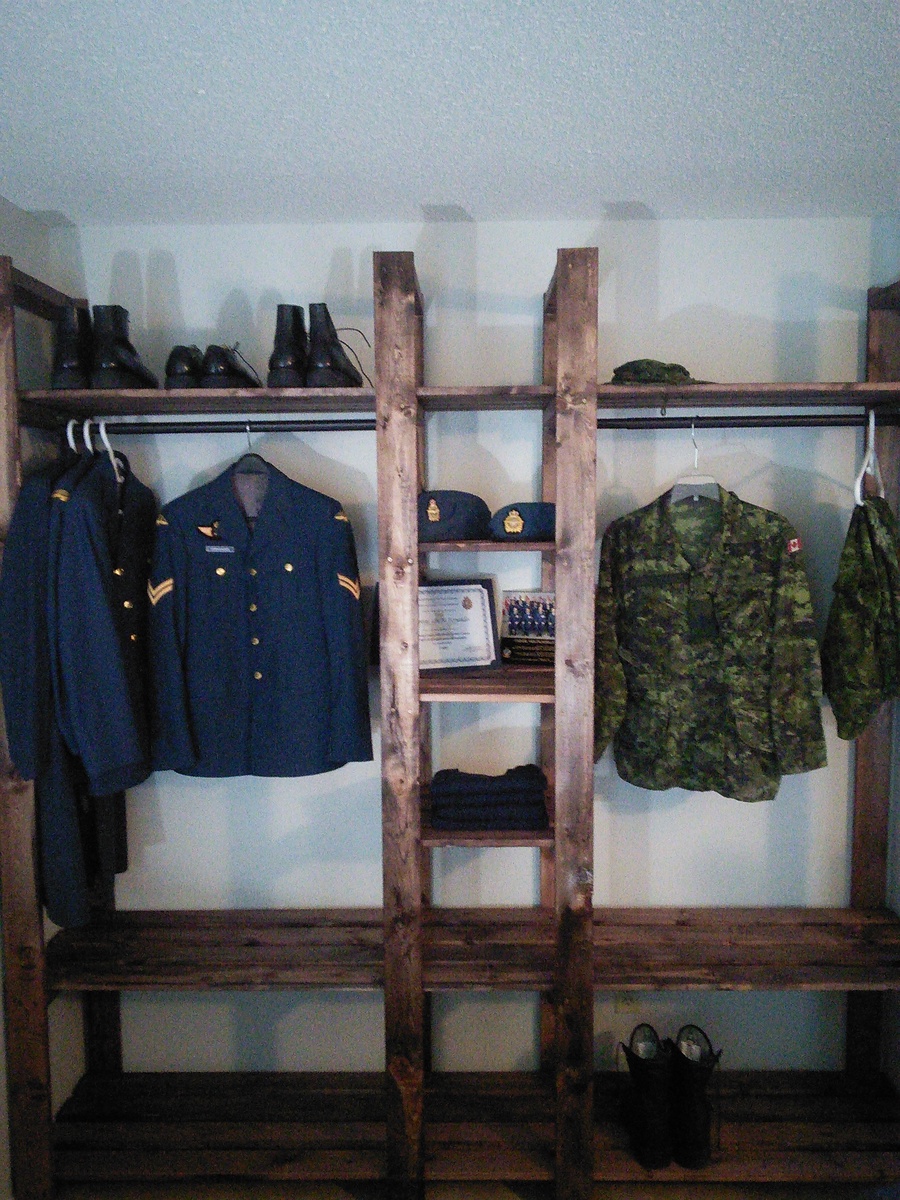
Slat closet.
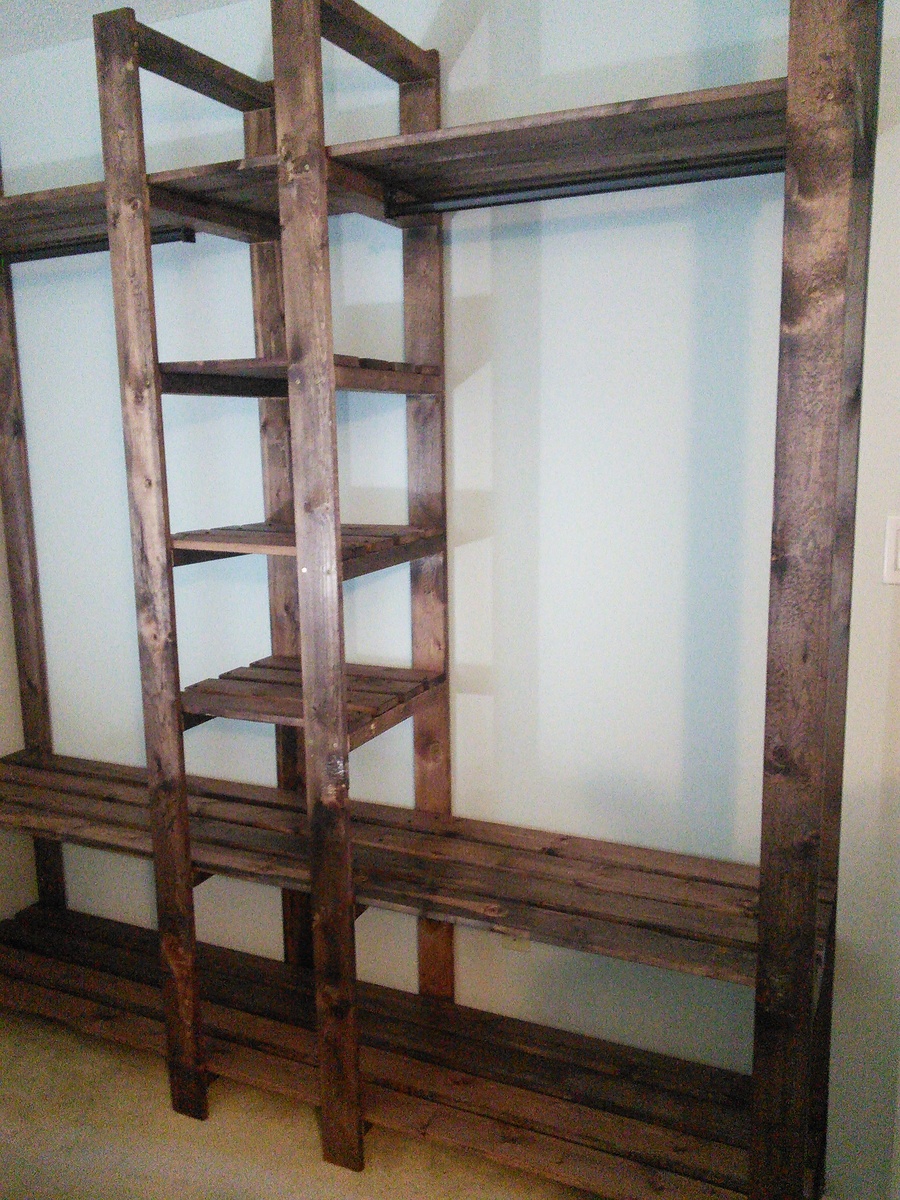

Slat closet.

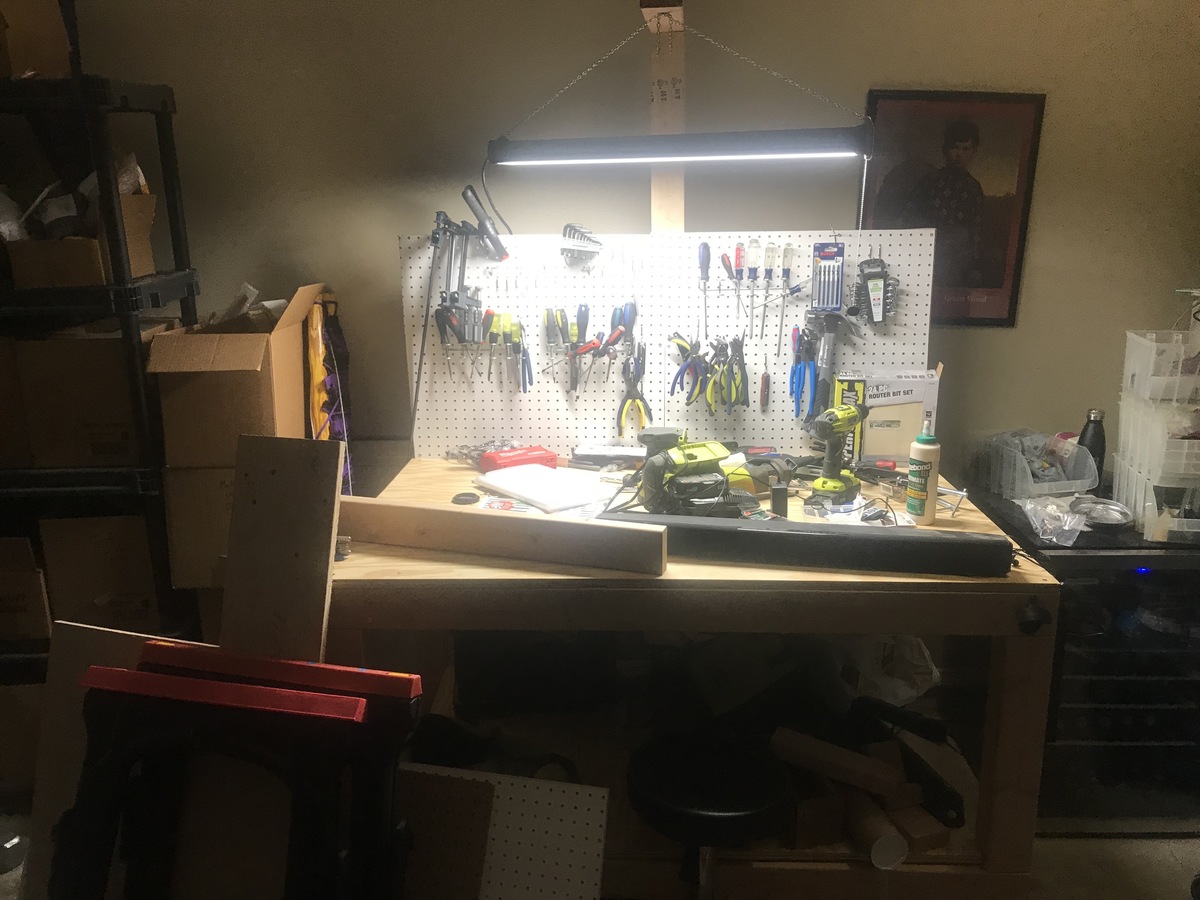
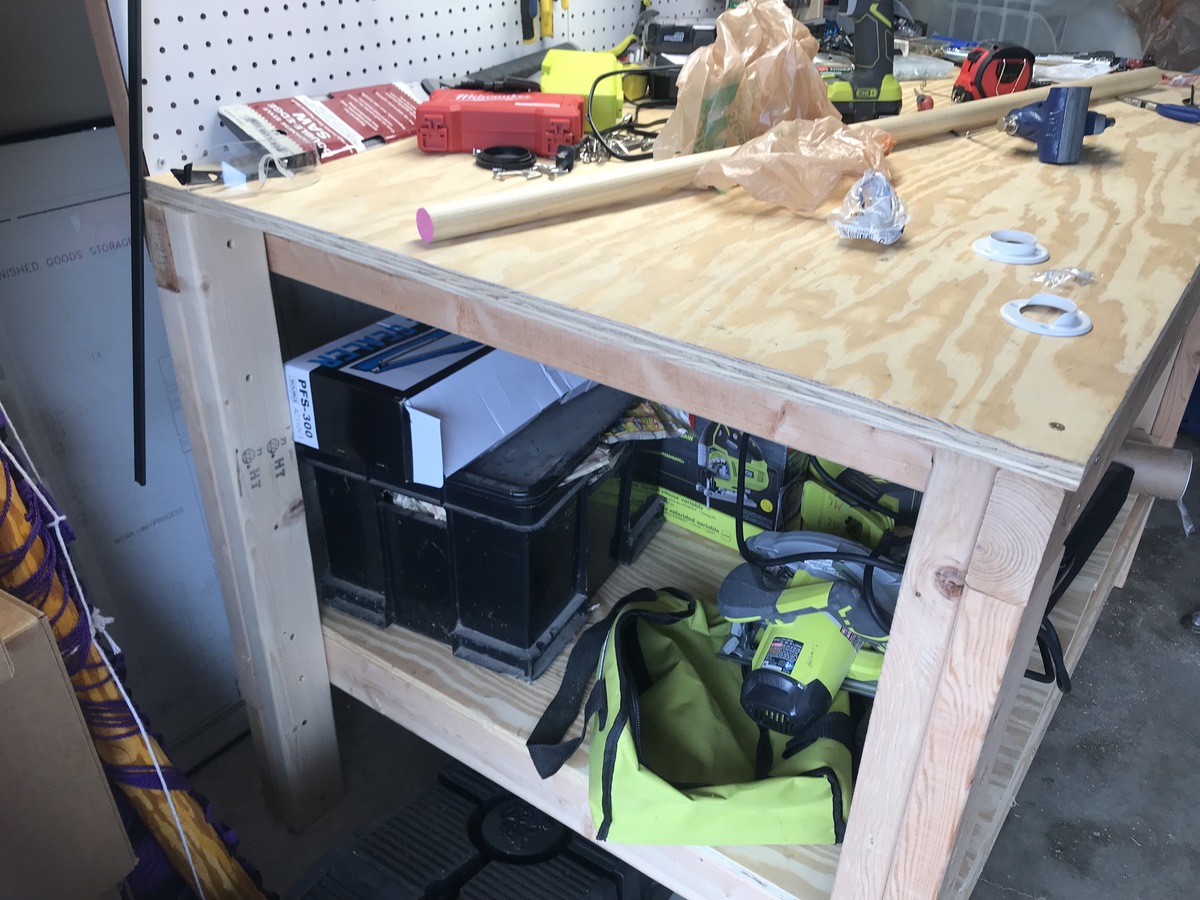
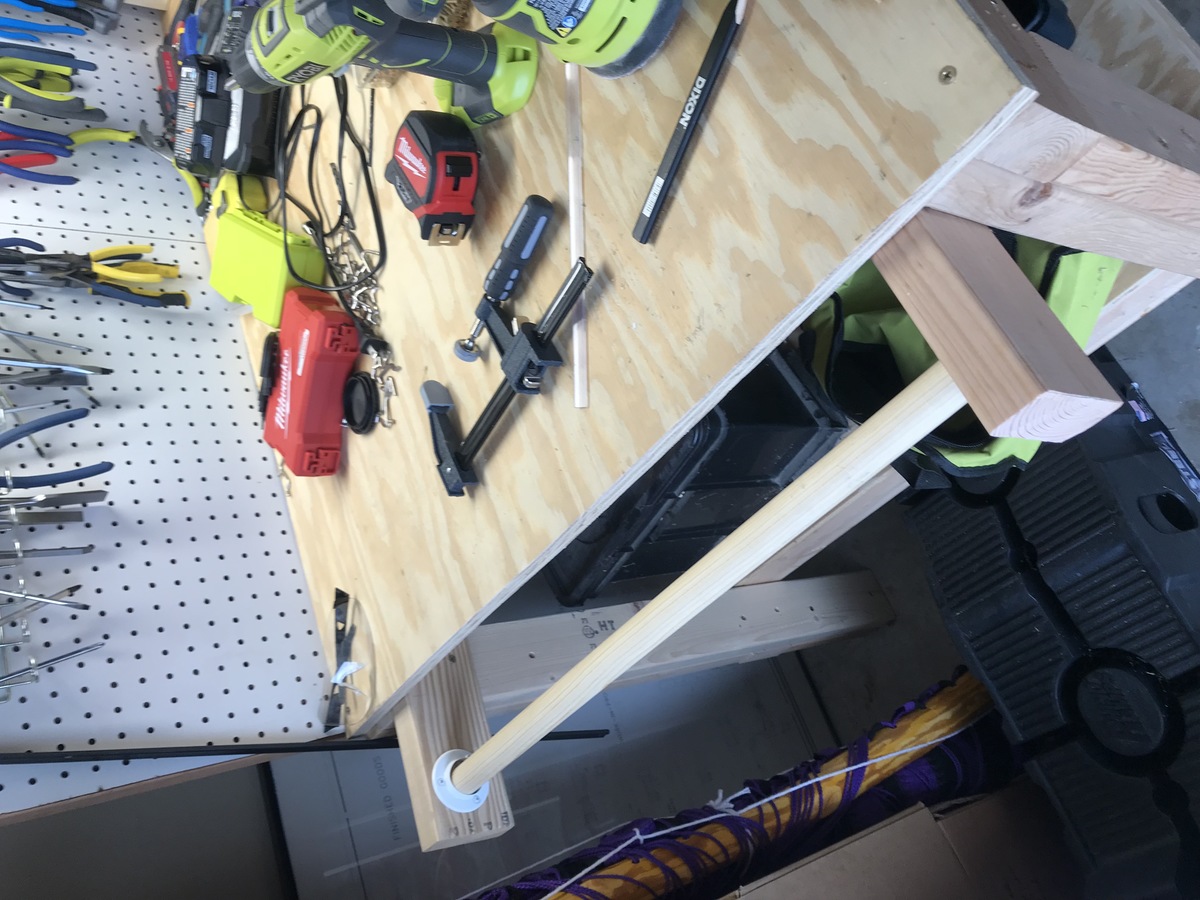
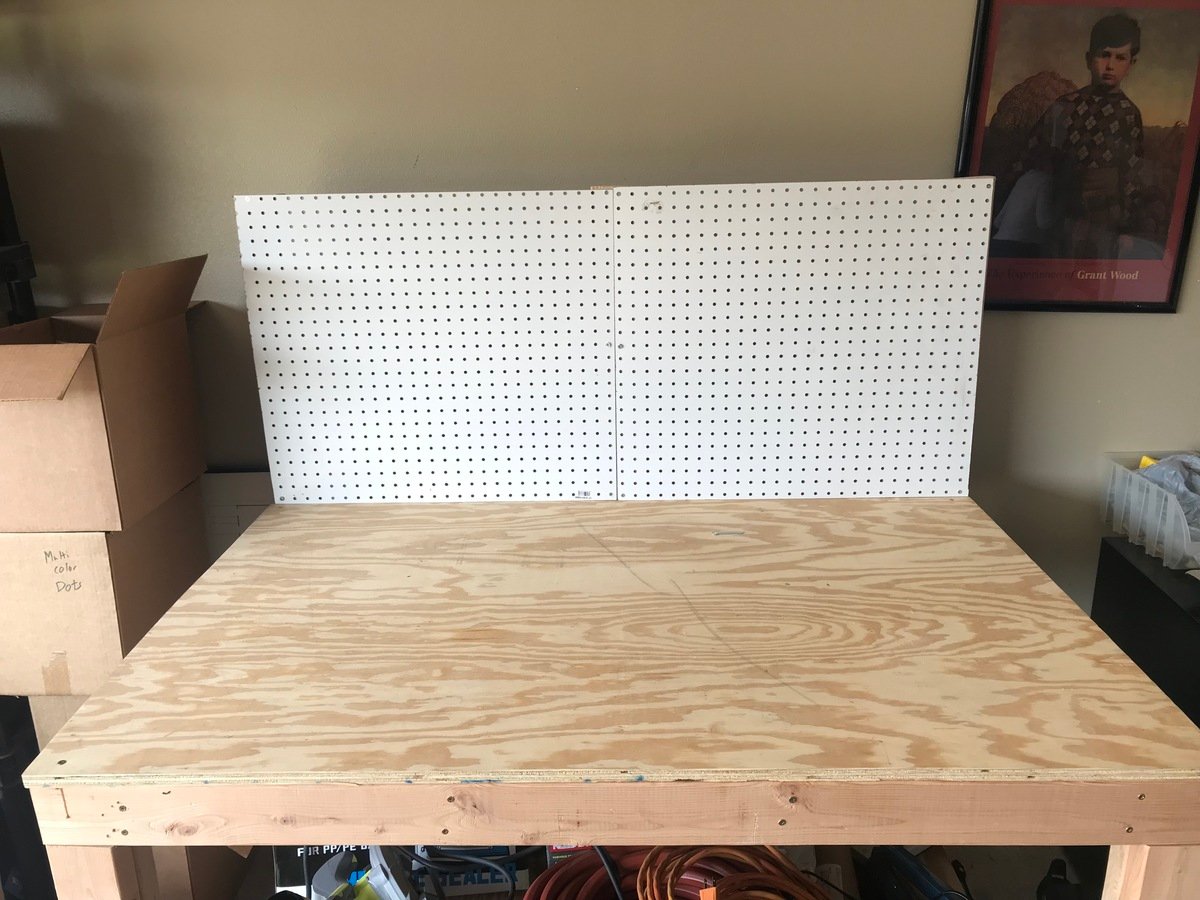
Awsome work bench. After I fininished with the table, I decided to add to it. I put on a pegboard with 2x4's on the back. Then a dowel rod on the side for clamps. Santa hooked me up with a shop light so I used scrap 2x4's to add a support arm for it, That called for a power stip on the back. I now have 3 power stips mounted and two bottle openers on the front. Next up is led lights for the bottom shelf.
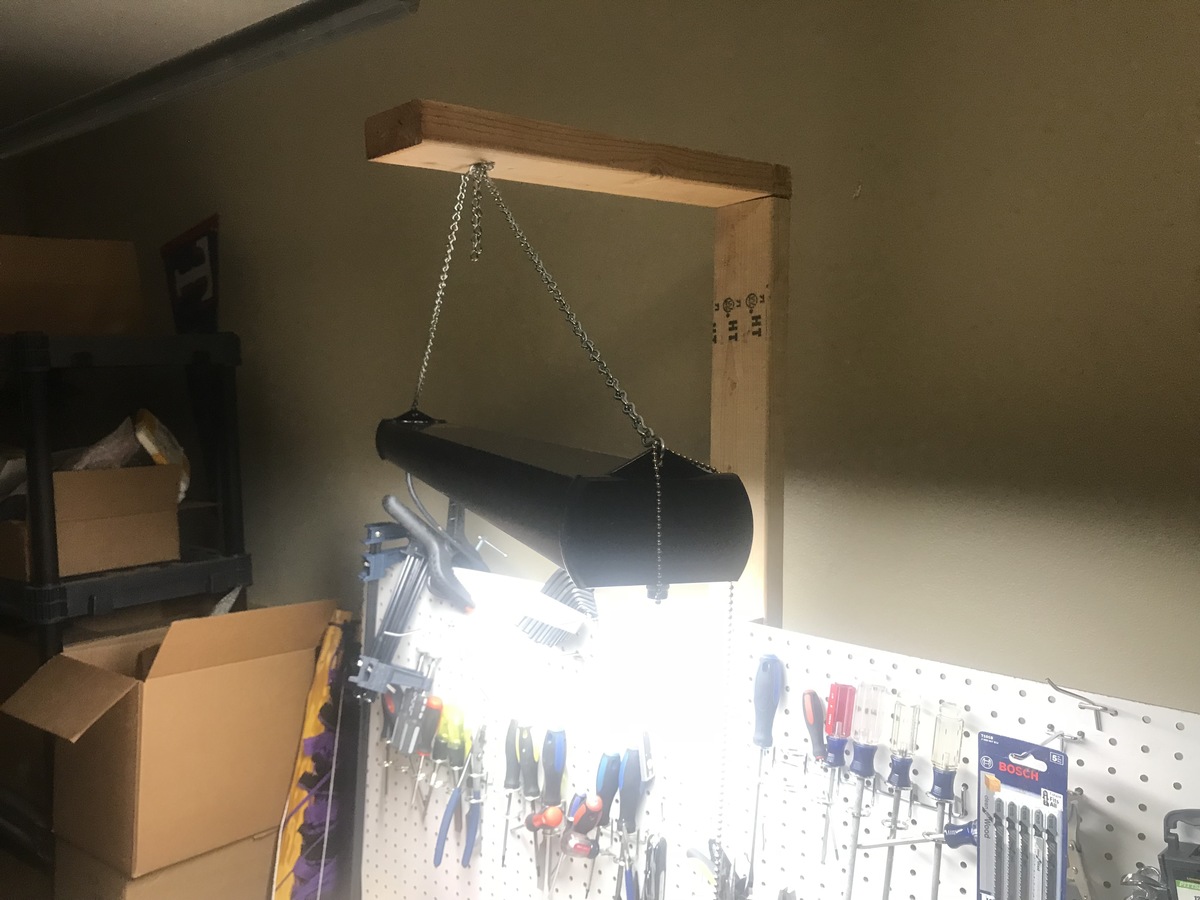
Thanks for the plans Ana.
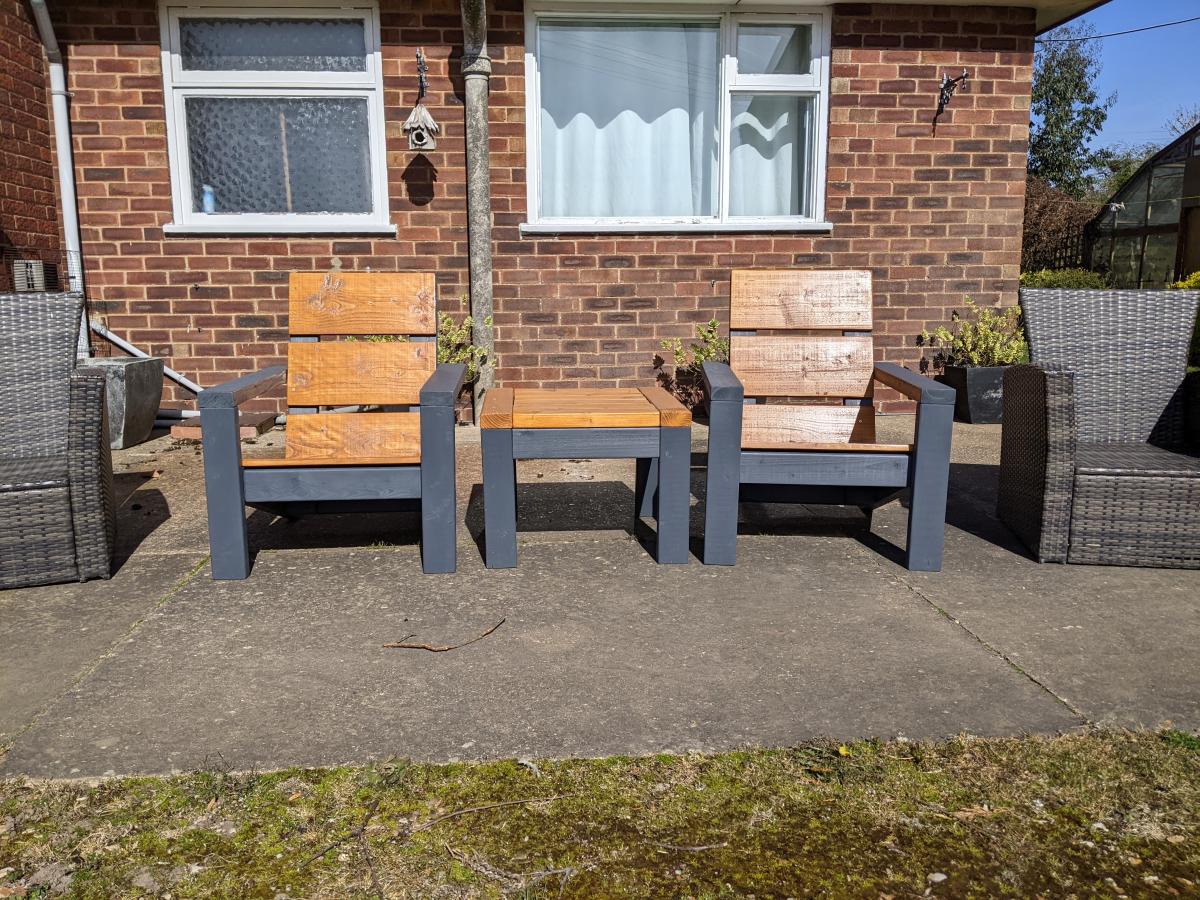
Thu, 04/21/2022 - 15:07
These look amazing, love the finish choice! Thank you so much for taking the time to share:)
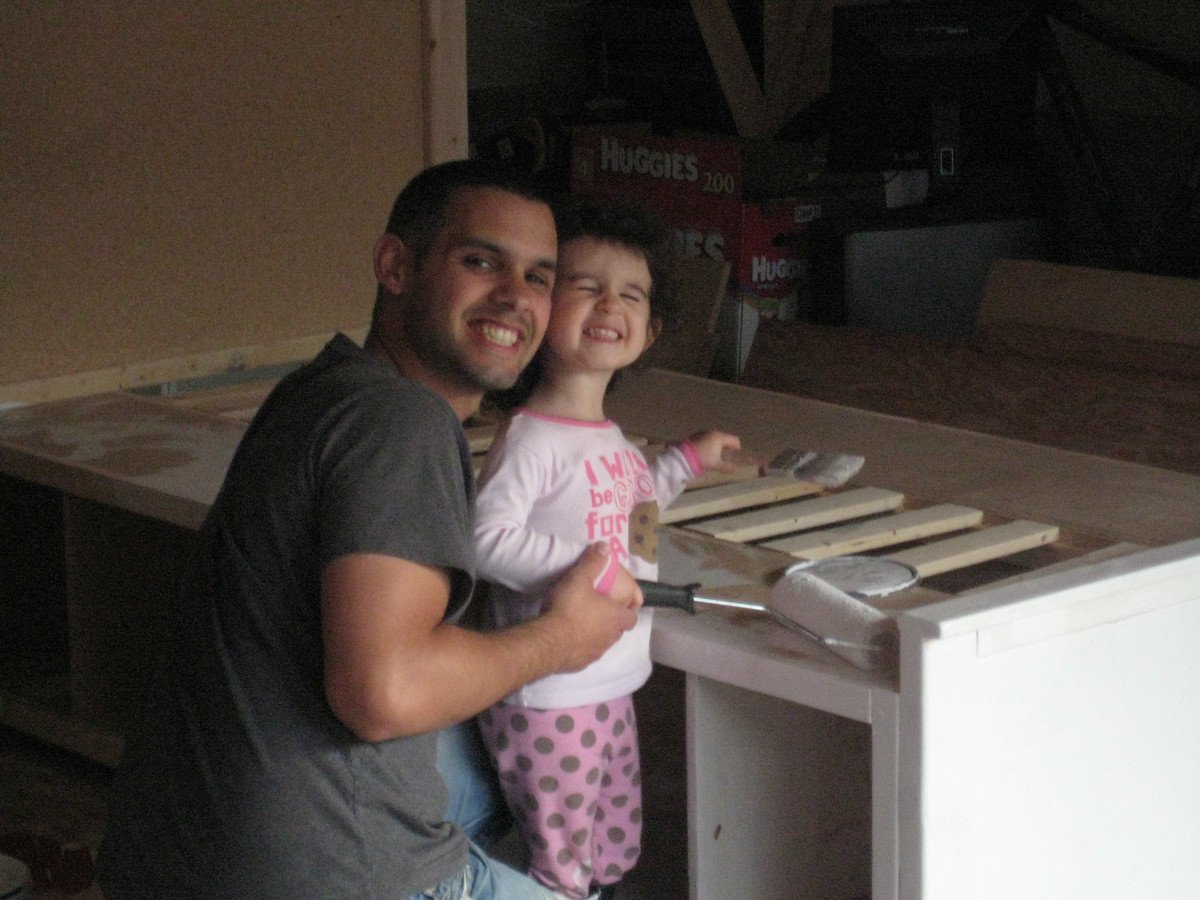
My wife and I had another baby girl and Avery was moving out of her crib into a big girl bed. Definitely didn't want to buy cheap so after seeing some amazing plans on Ana-White.com, I had to build it myself. I loved the storage this bed had to offer and the simple look of the large headboard and footboard. I got started, and because of my scheduling i had this built in two weekends but total of about 10-12 hours. Very glad I did it. My daughter loves it, wife was impressed and now one crib free for little baby Vida!
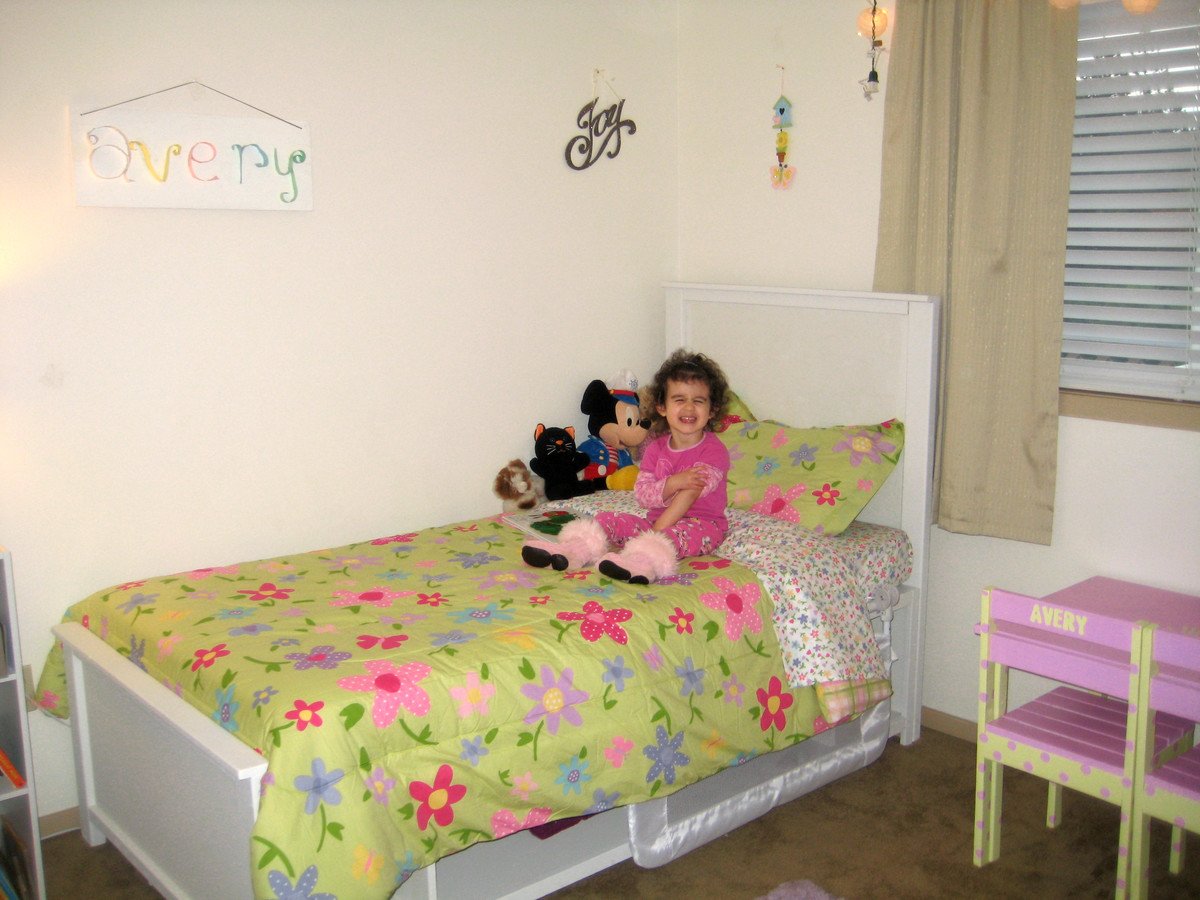
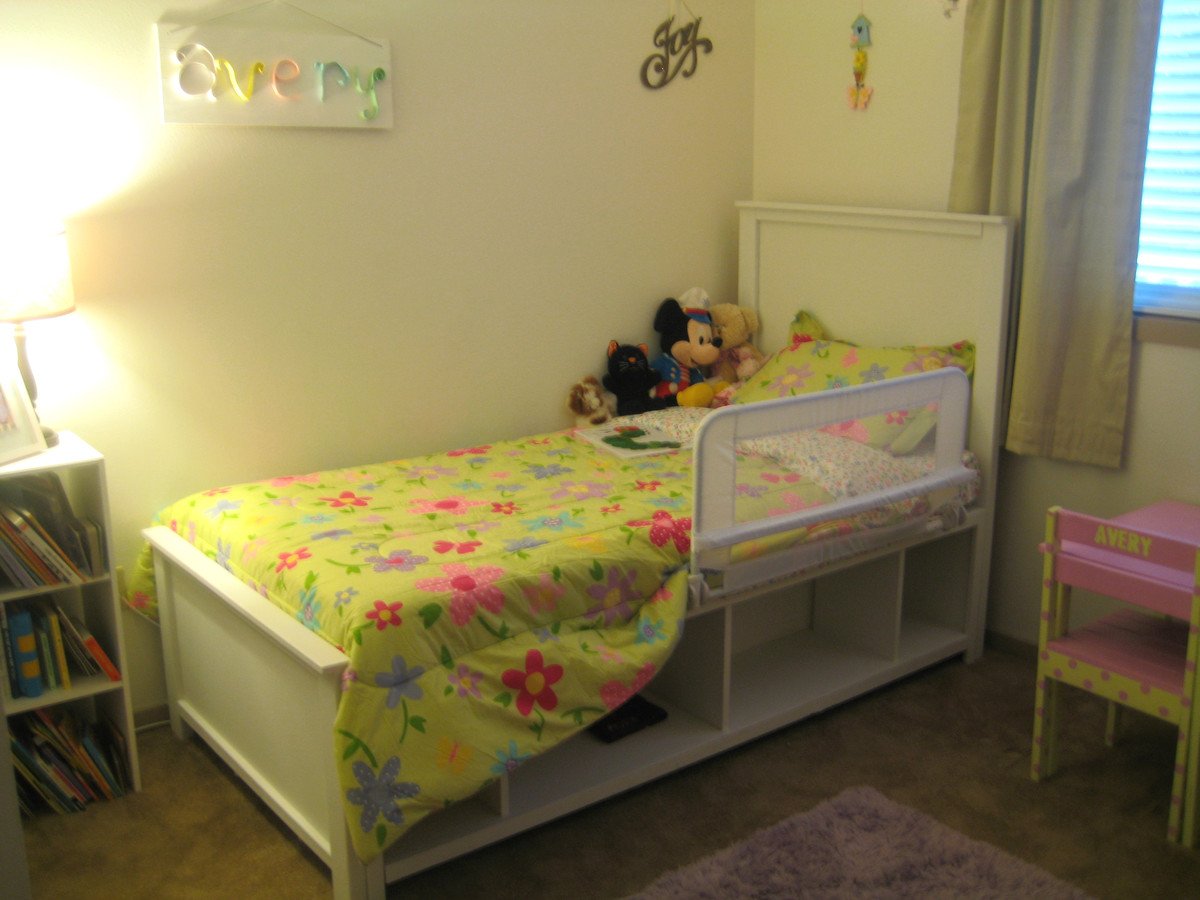
Fri, 06/10/2011 - 10:49
So fabulous! I'm so happy this bed worked for you, we love it in Grace's room too! Thank you so much for sharing!
Sat, 06/11/2011 - 21:37
I've been begging my husband to help me make these beds for my daughters :( Your wife and daughter are lucky
Sat, 06/11/2011 - 22:13
Thanks again Ana! I think I'm the lucky one. My wife has been supportive of me doing little projects and my daughter loves the bed. So, I built the bed but haven't found an applique like on Hailey's bed that is appropriate for a 2 1/2 year old or one that I like. I thought about different things to spice up the headboard but don't want it to look tacky. Any ideas?
Sat, 06/11/2011 - 22:18
Hmm not sure I could suggest anything specific but personally I think it should be something the child won't grow out of. I have a 2yo and a 3yo and they like a different character color etc almost every day. So make sure its something your daughter won't grow out of too quickly.
Wed, 06/15/2011 - 20:52
I am about to paint my daughters storage bed. I too designed and added a footboard and hope the headboard she has looks ok. Yours turned out great. Good job!
In reply to I am about to paint my by redhead_61
Wed, 06/15/2011 - 22:08
You're too nice. Thanks for the feedback. I read some posts prior to building and added 3 inches to the footboard to keep the mattress from sliding off as easily. Hope to see your bed on here soon. I'm looking forward to it.
Sat, 03/03/2012 - 14:34
We were thinking about putting a cork board on there so that our daughter could pin her work on there. It probably wouldn't happen until much later, but it's definitely an option. Maybe some vinyl letters?
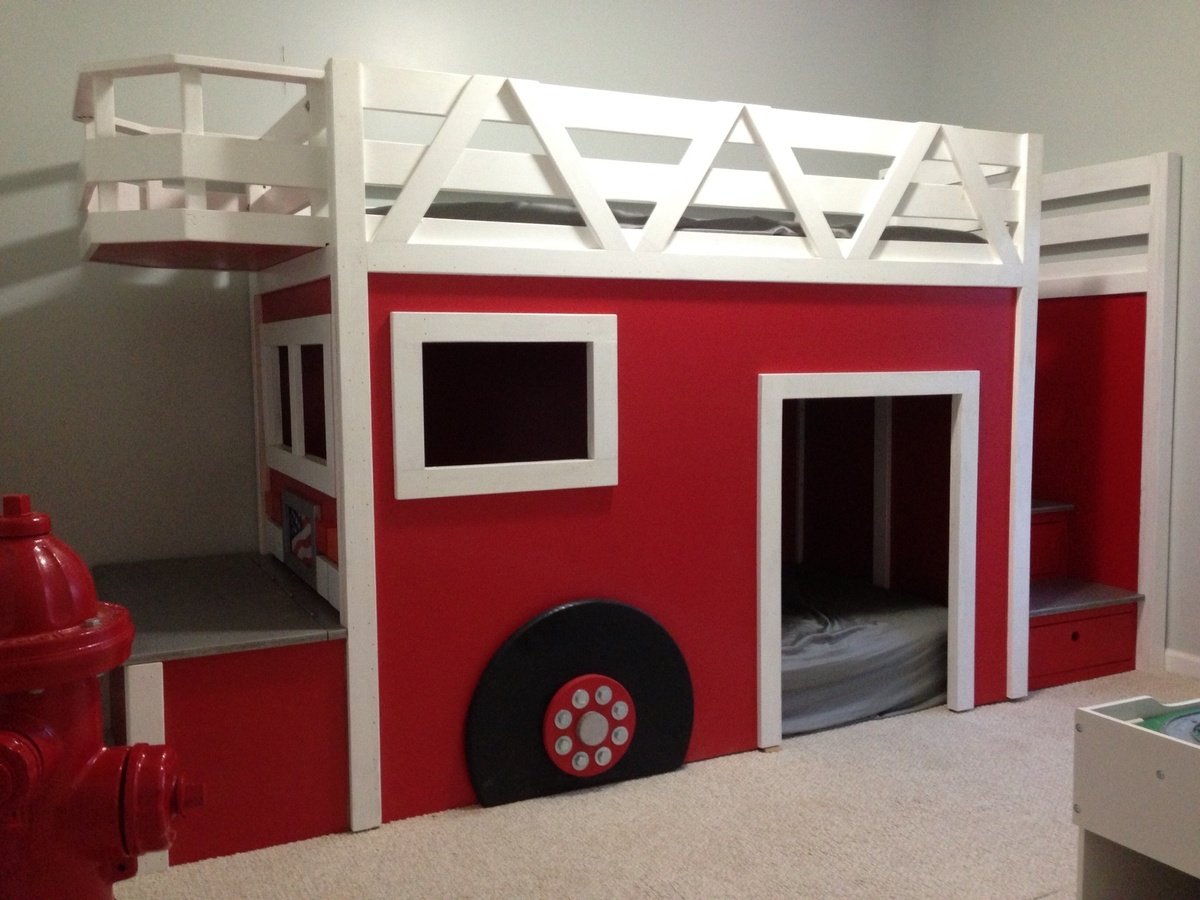
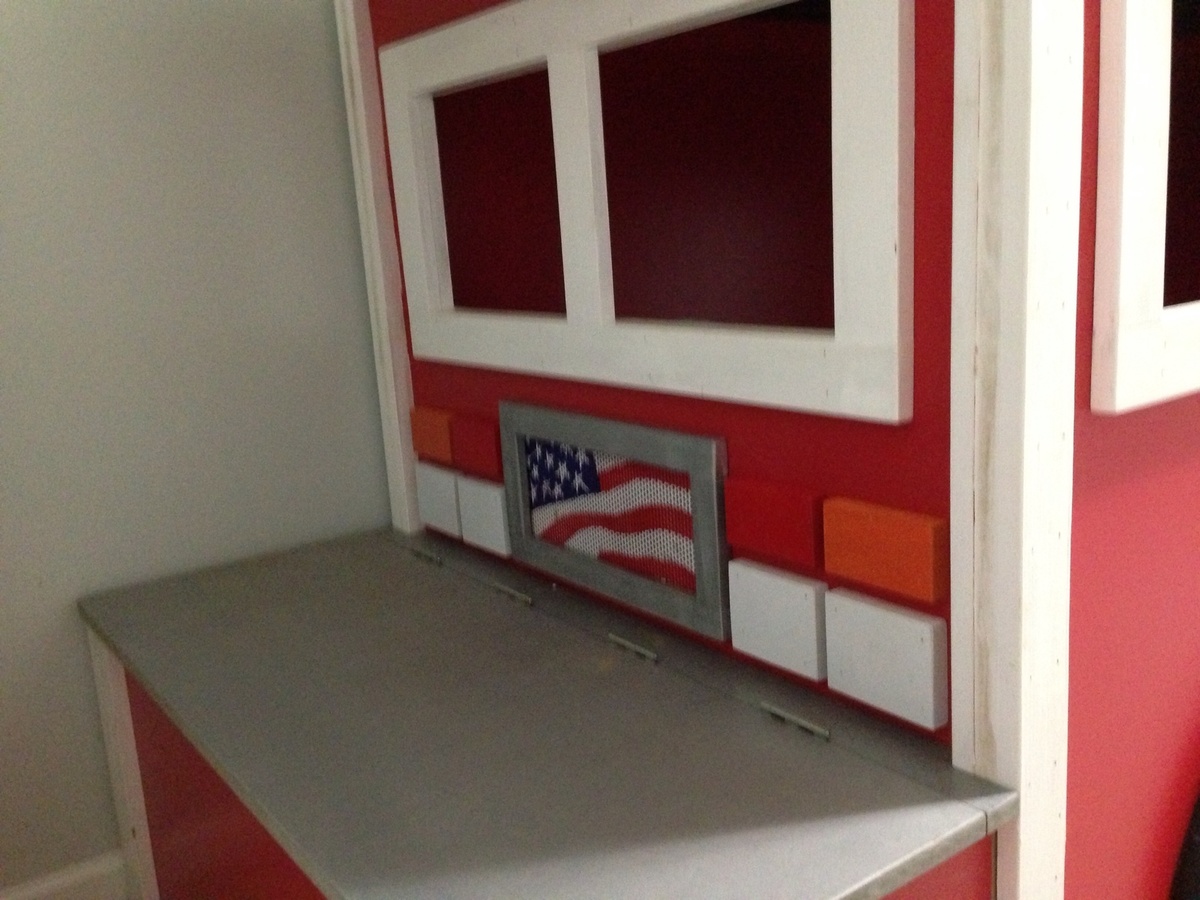
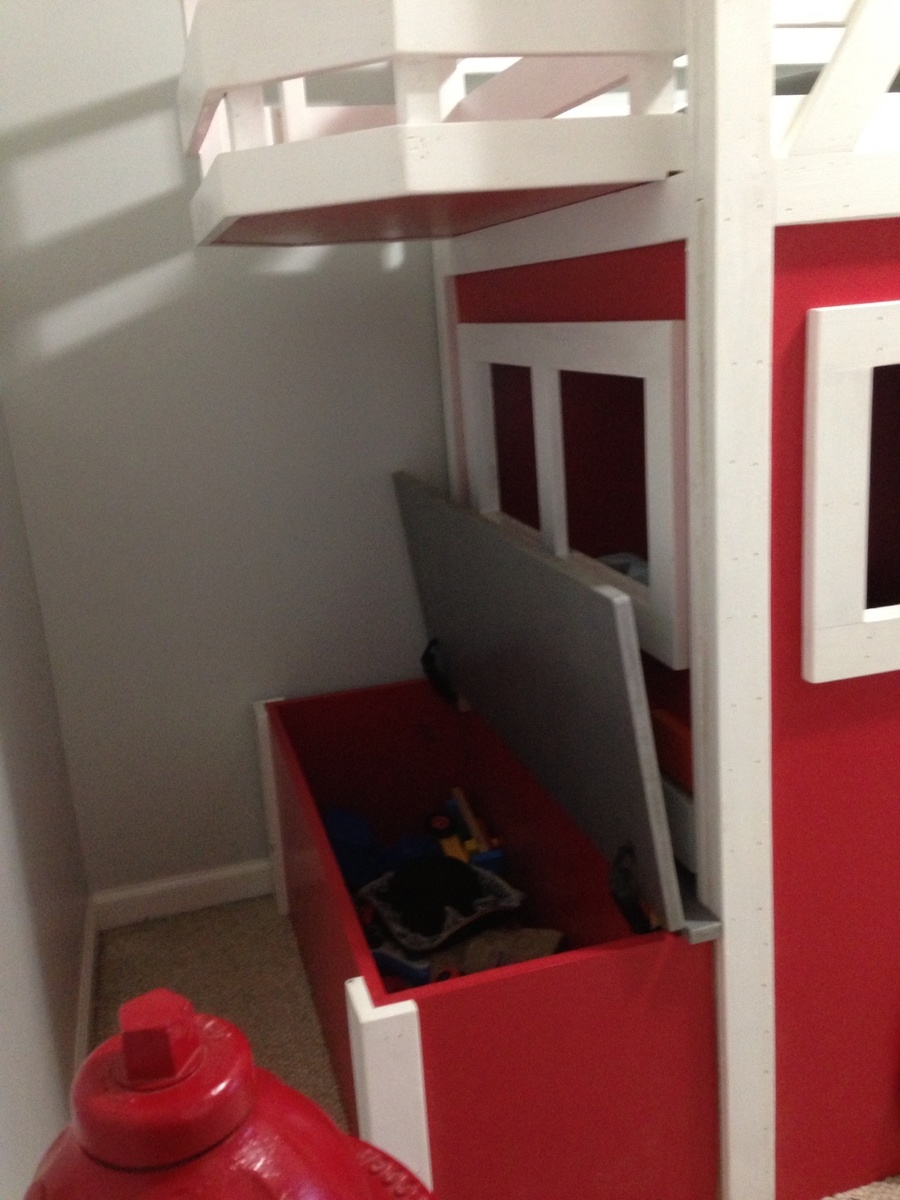
Just added my own twist to awesome project!
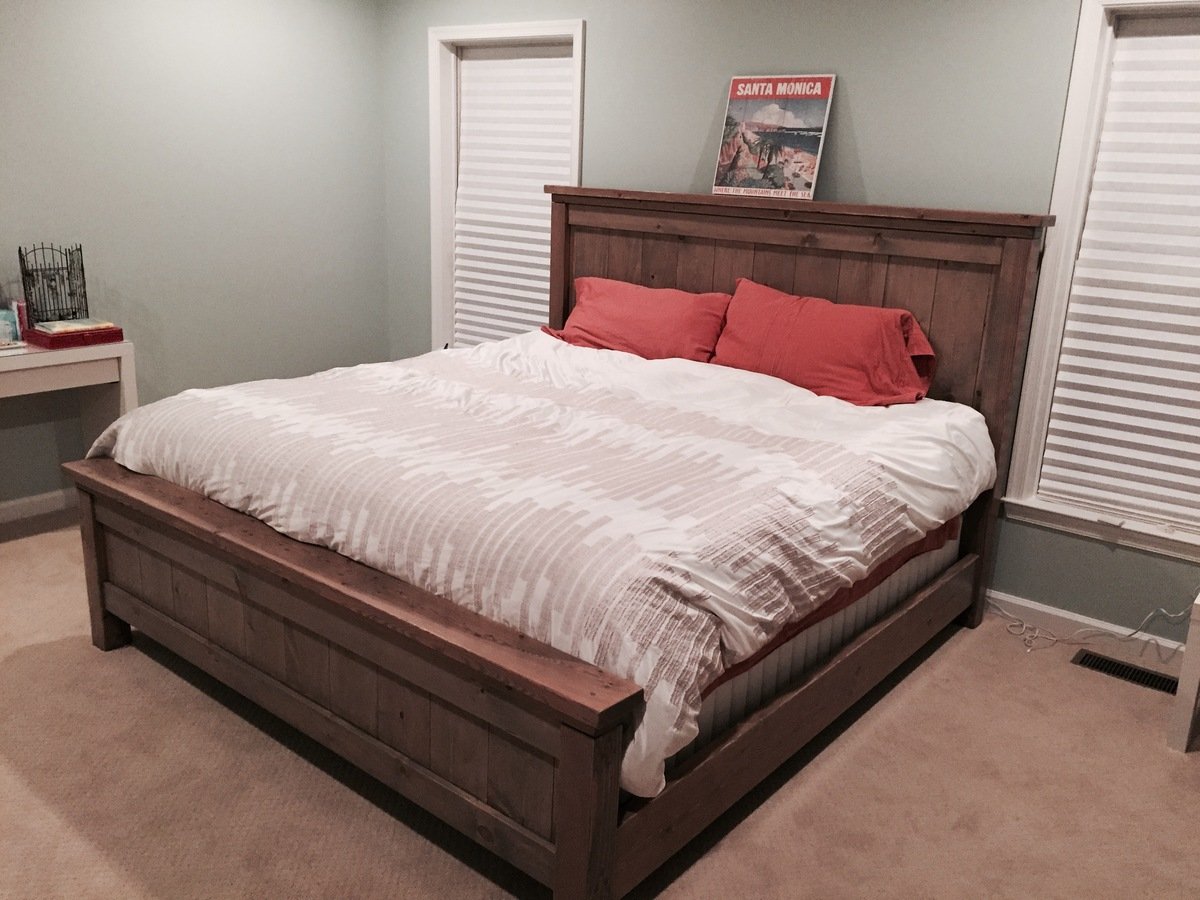
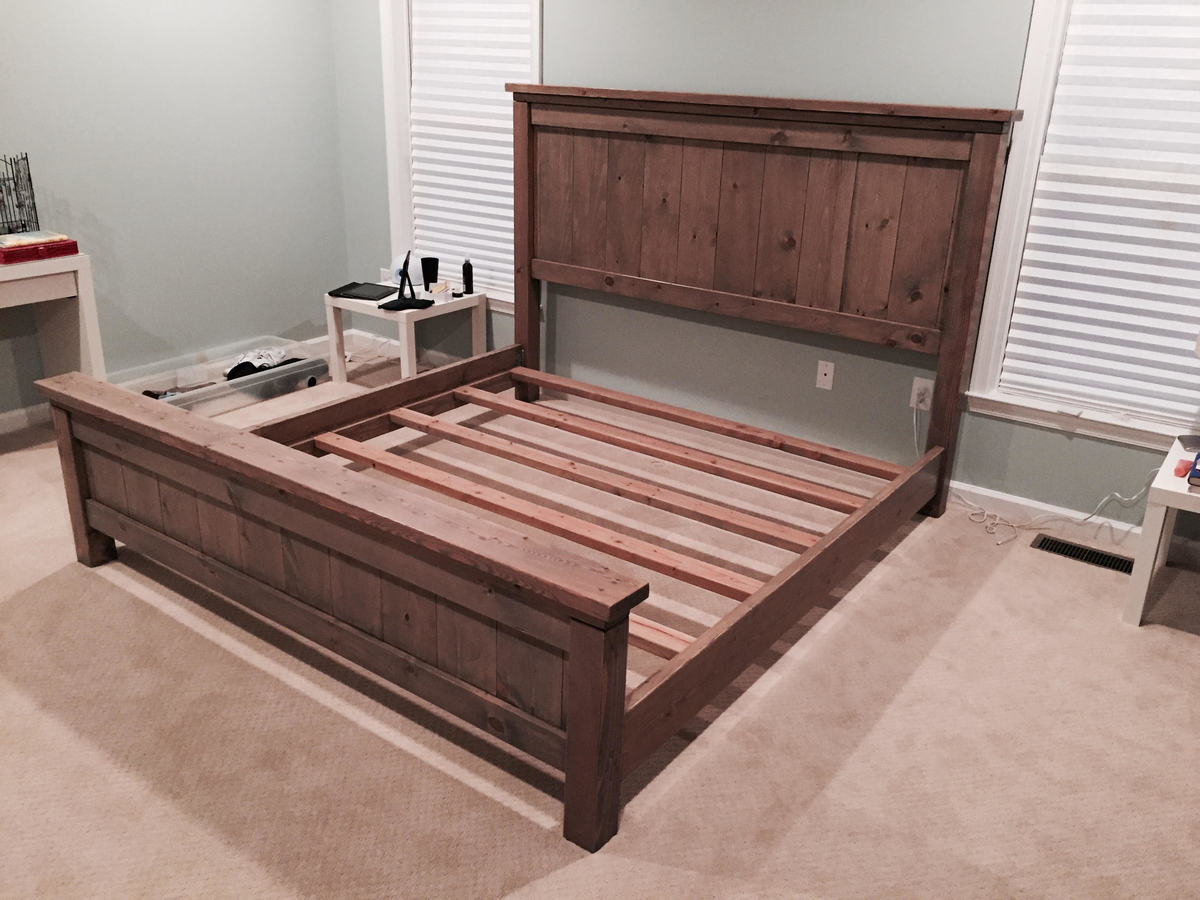
This was my 2nd woodworking project. My wife had been asking for a farmhouse bed for some time, so I figured I'd go for it. The end result was even better than I was hoping. It came together really well and the bed is just perfect. Thank you Ana for the plans!
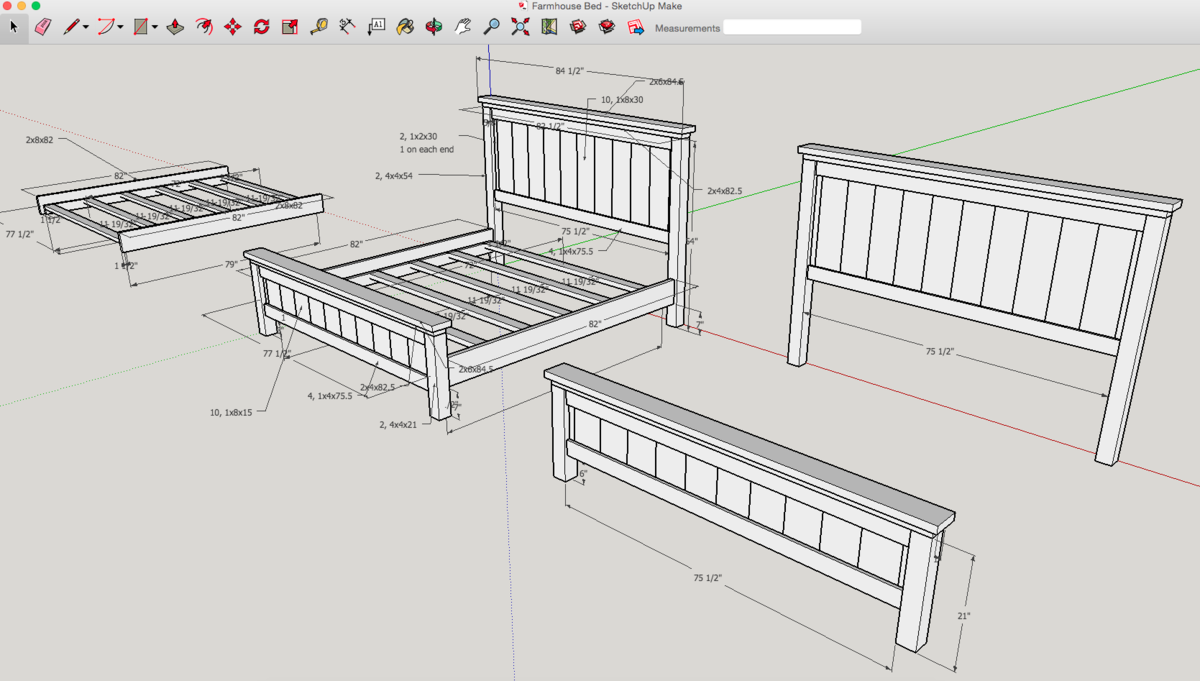
I used the Ana White Queen Bed and King Bed plans as guides, as well as another blog called A Lesson Learned. I modified the dimensions to fit our specific bed, then I drew up the plans using Sketchup and got to work. All the wood is pine from Home Depot. The total project took a couple months because I could only work on it on weekends and didn't have full days to commit to it. In the end though, totally worth it and we love the bed!
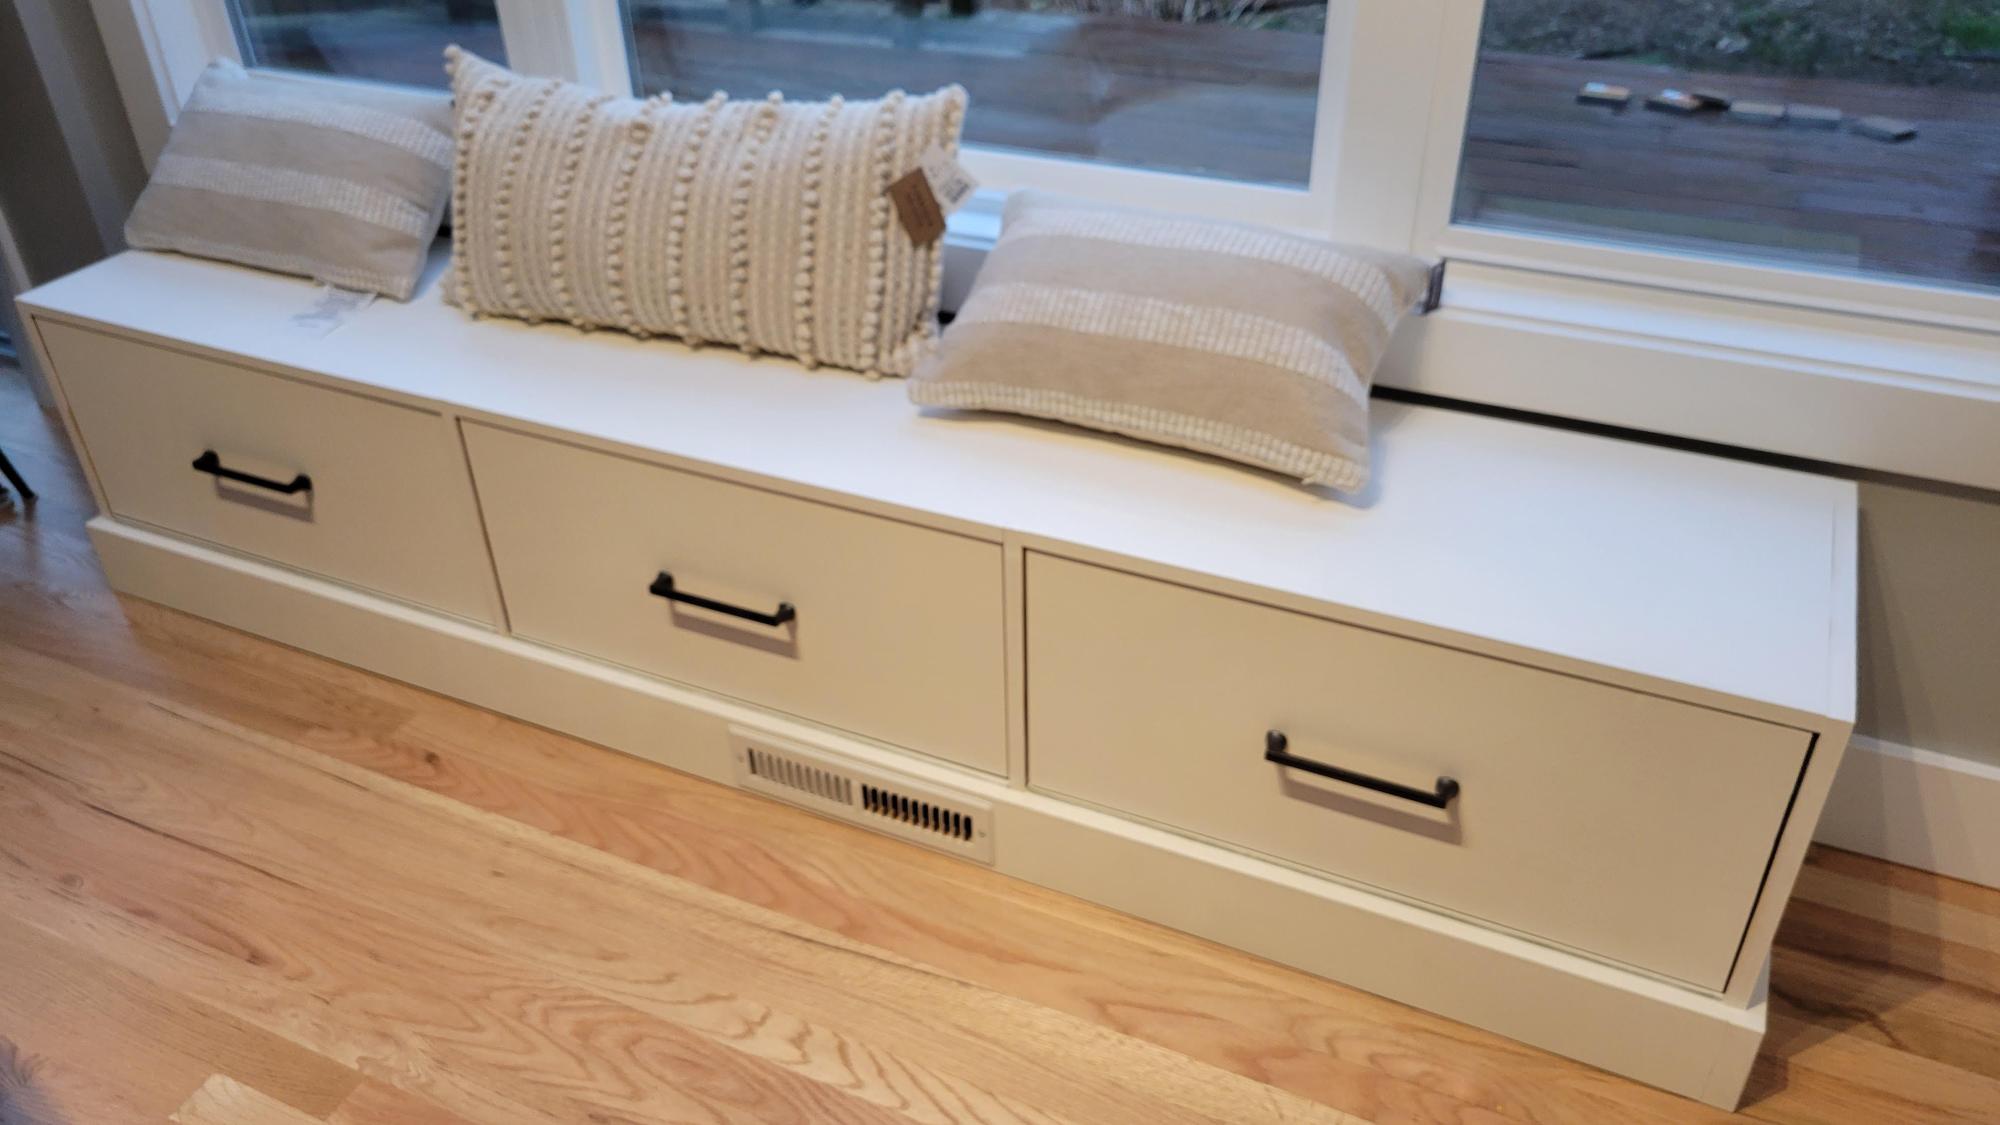
I made a window seat, it was fun. It has these 27 Inch soft close drawers , a custom extended vent, and an outlet port with usb on the right end. It was fun thank you (and my wife loves it! (Still waiting for our seat pad for it)
by Glen
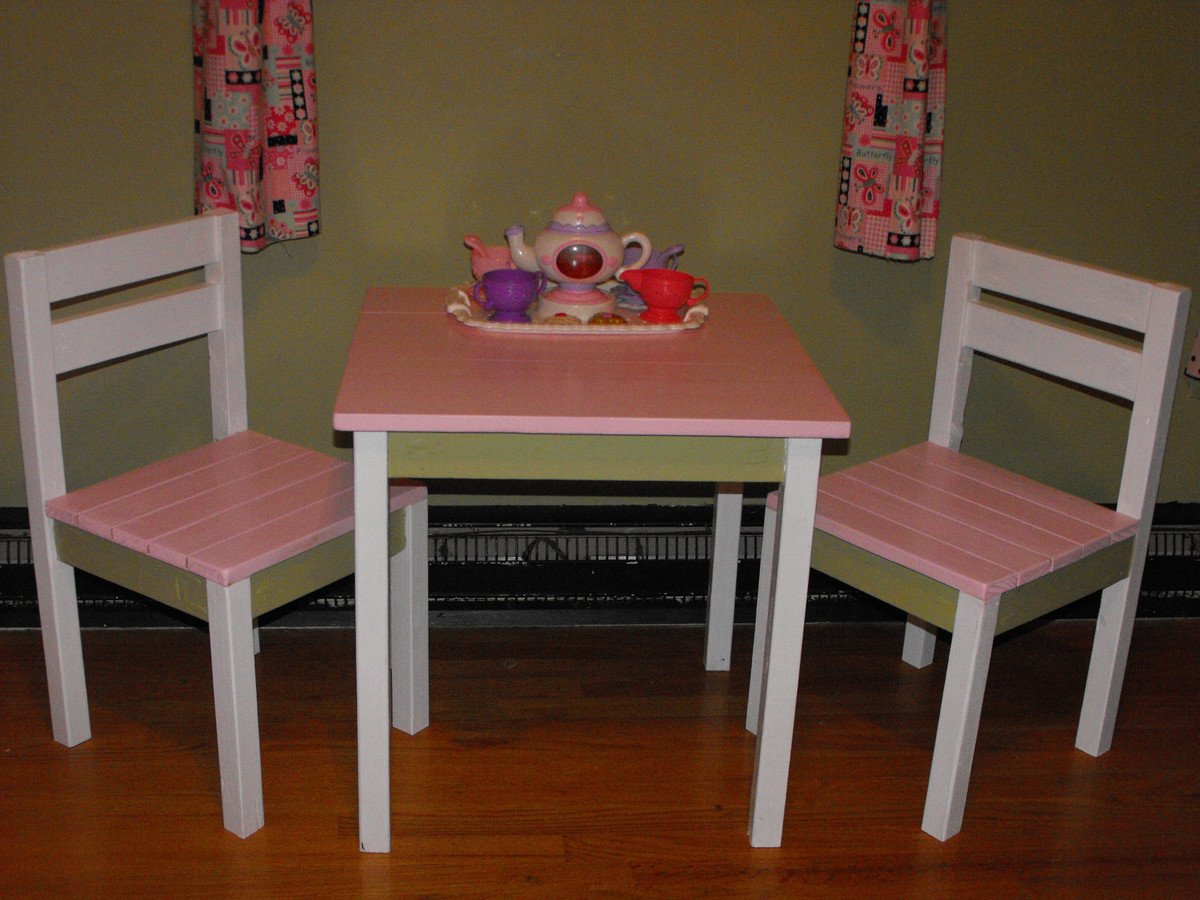
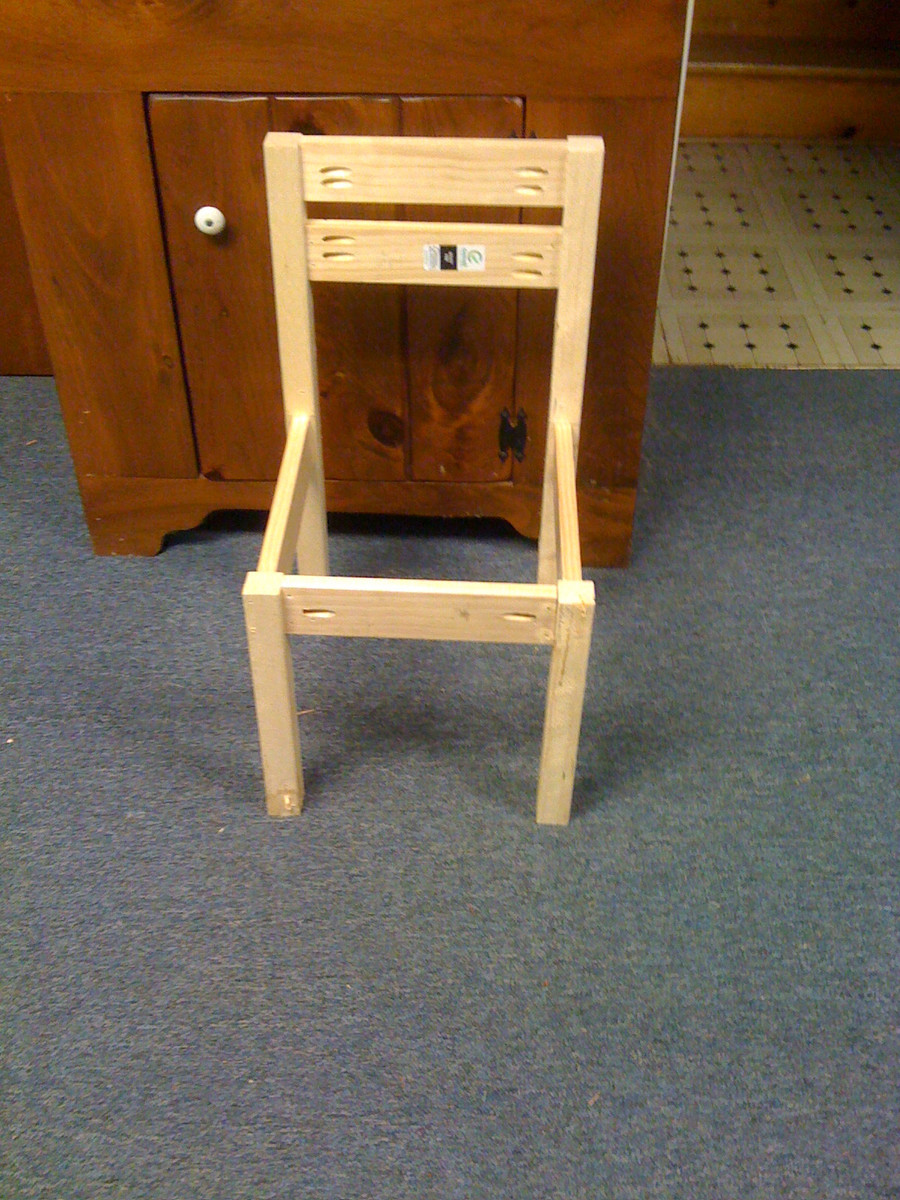
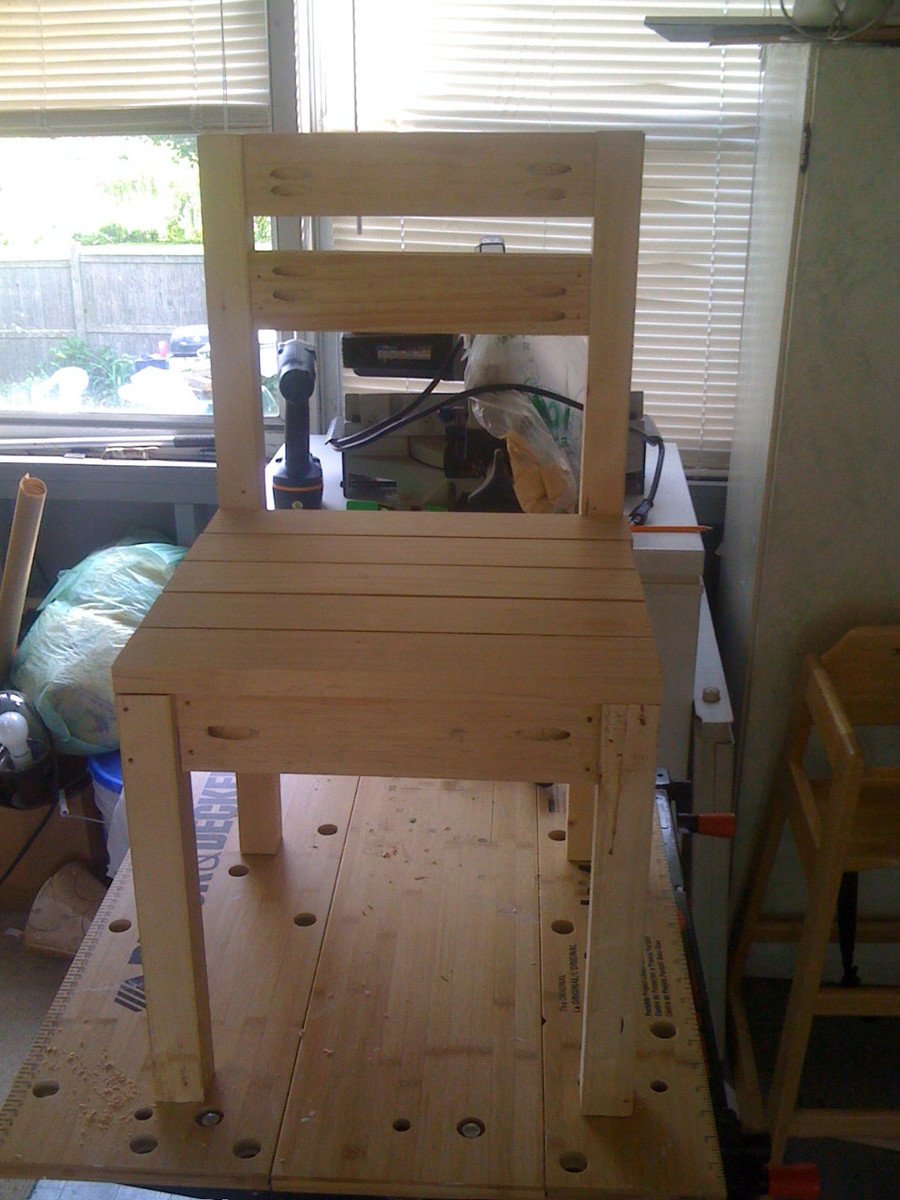
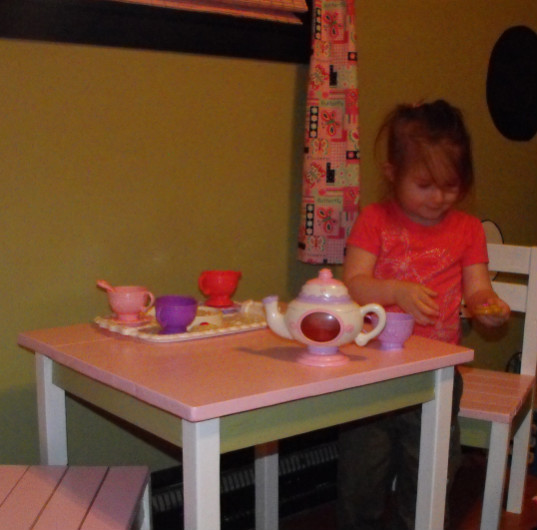
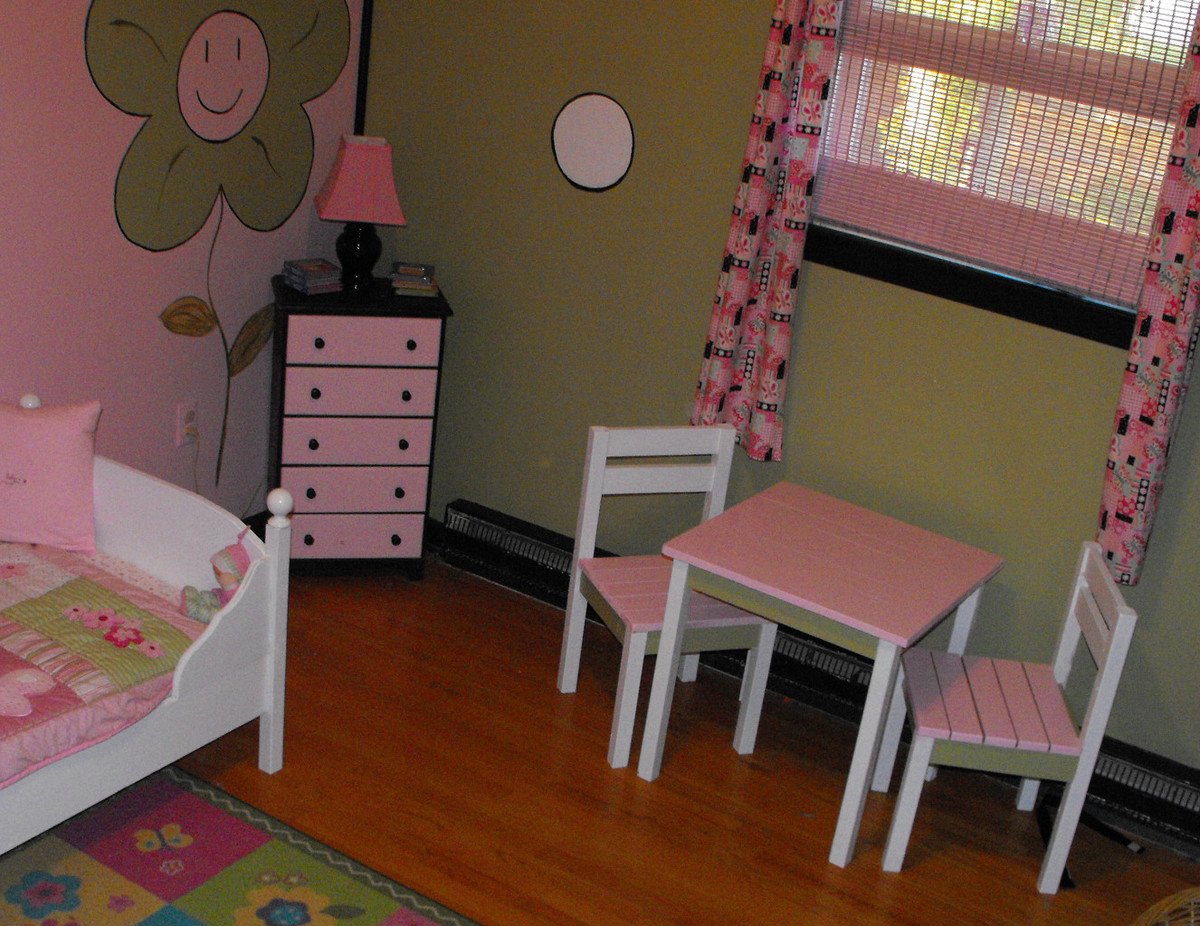
I modified the Clara table and a few of the chair plans to come up with Marlee's new set. I had scrap 2x2s, 1x6s and 1x3s from the Lydia Toddler Bed and so I modified the dimensions a bit and used 3 boards 1x6 and 2 1x3 to make up the table top. The chairs are a combination of the Four Dollar Stackable Chair and the Classic Chairs Made Simple. I kept splitting the wood on the legs for the Four Dollar chair, so I modified the plan to have the legs 2x2 like the table and bed. It was a lot of trial and error but I finally got it right... The only thing was I had already cut the seat slats to size so I used them as the seat supports and so I only had to purchase two 2x3x6, other wise every thing else was scrap.
She was so excited to see it... we already had 3 tea parties!! Thanks to you Ana for your inspiration. I so can't wait to start the doll high chair for Marlee's next surprise!!!
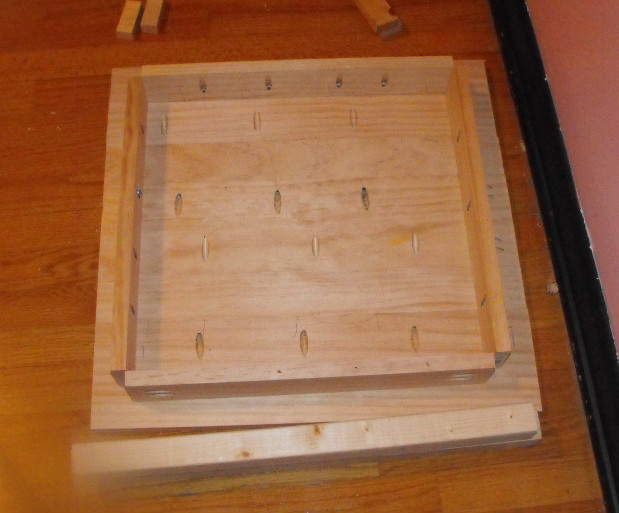
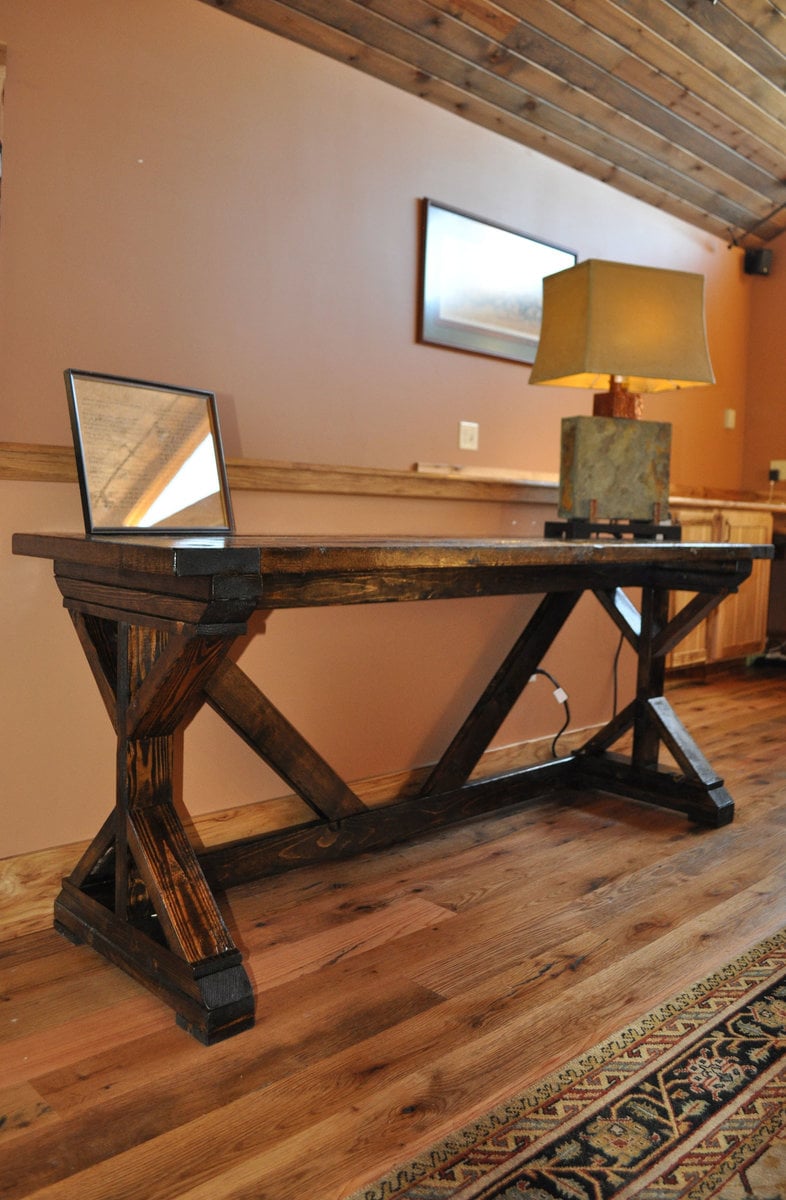
When I saw this project on Ana's site I had to make it. It turned out great and get's compliments from all my friends.
The only modifications I made were to the top. I used 2x6 boards and did breadboards on each end.
I documented my build with photos and did a 10 minute video tutorial showing the whole process of building Ana's table.
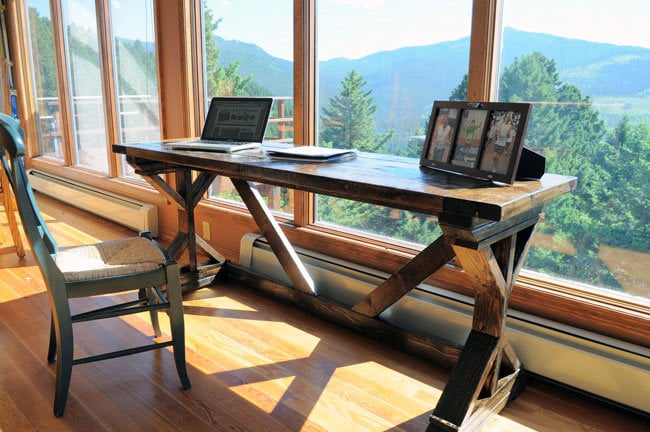
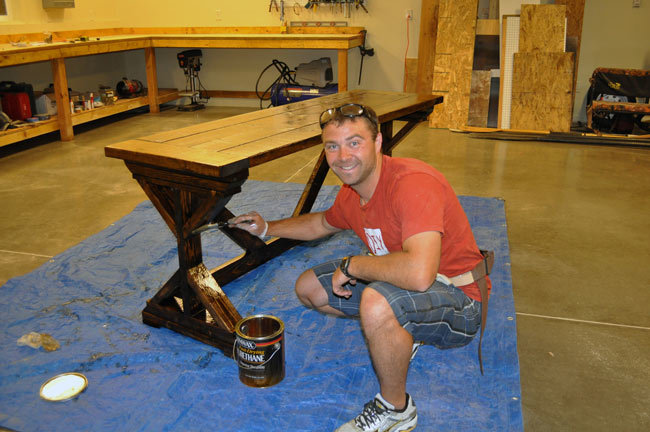
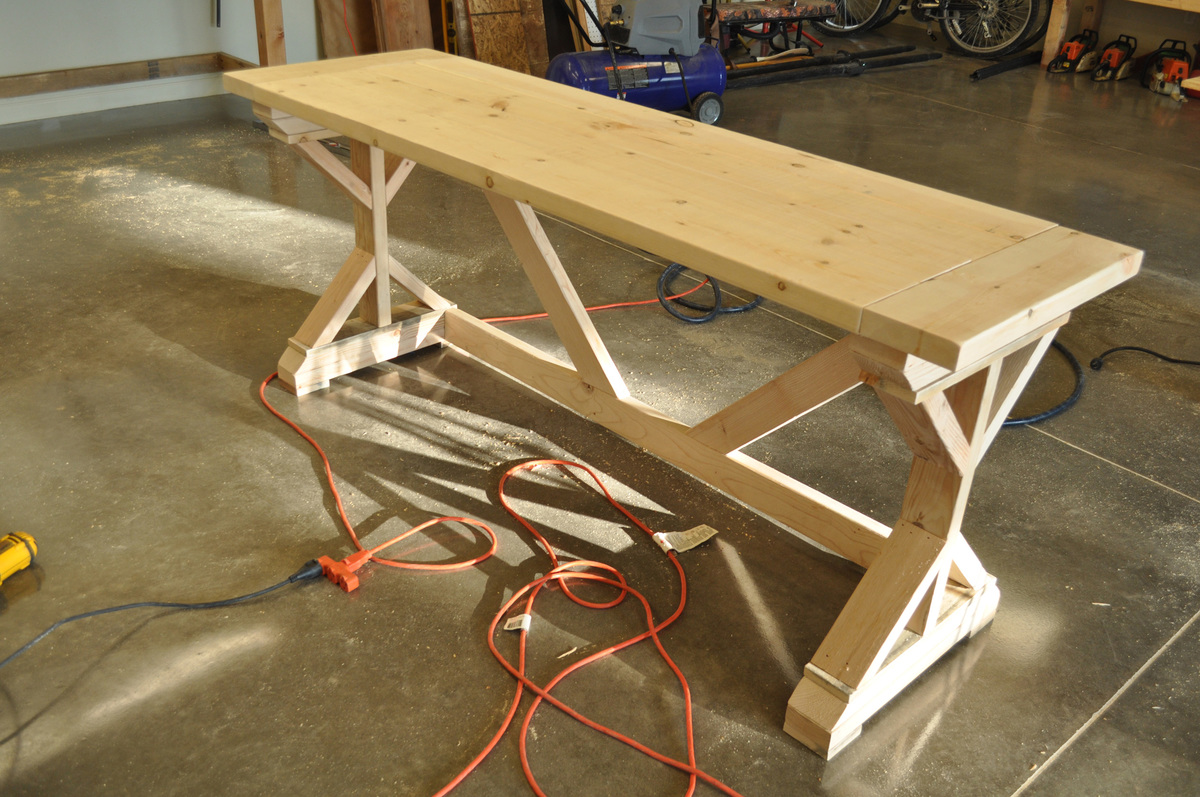
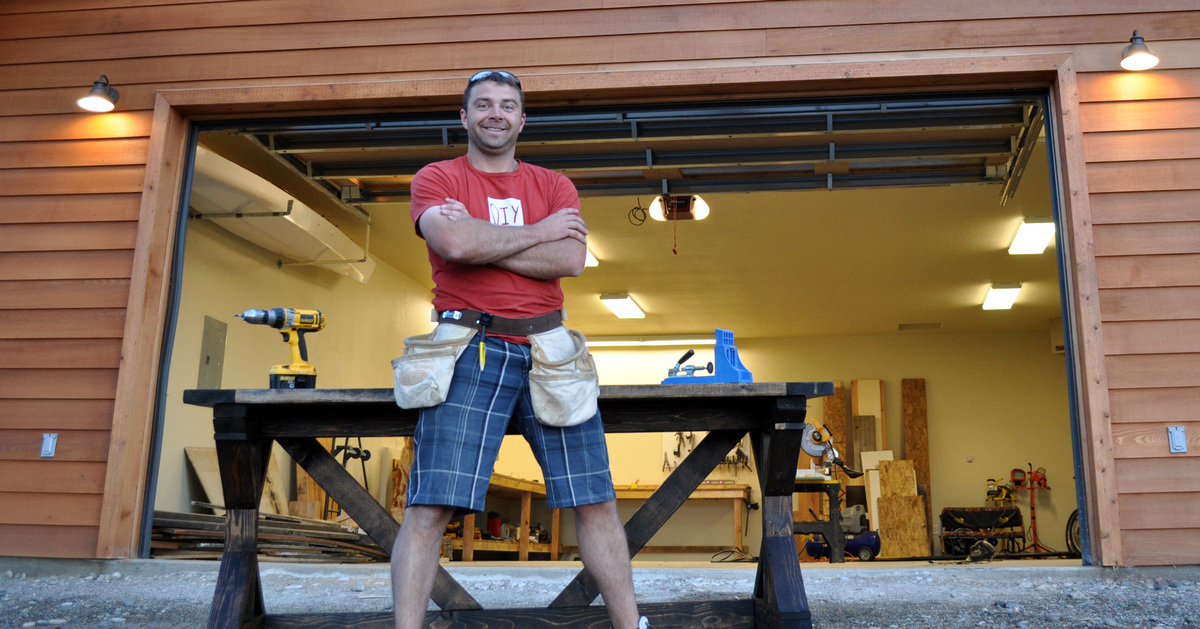
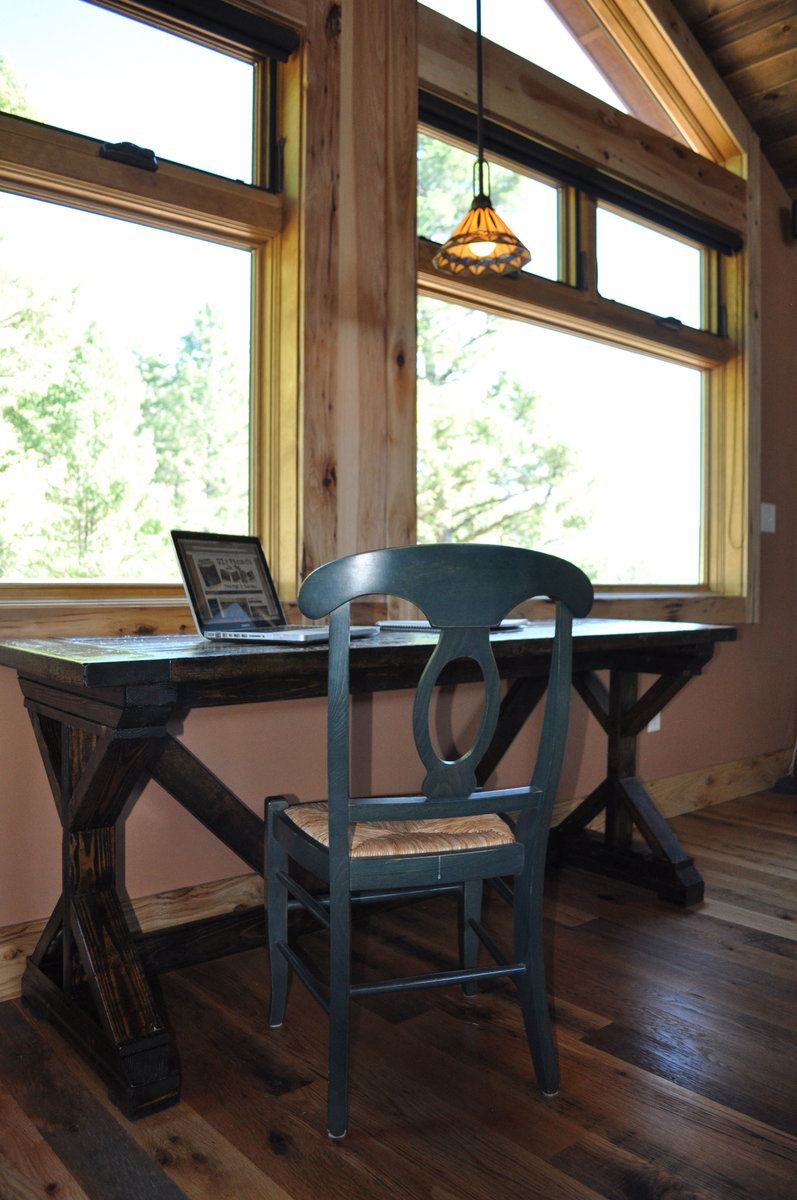
Mon, 02/09/2015 - 02:57
I really like the stain you chose and the overall project! The breadboard ends adds a little something more...I may do the same when I get around to making this desk!
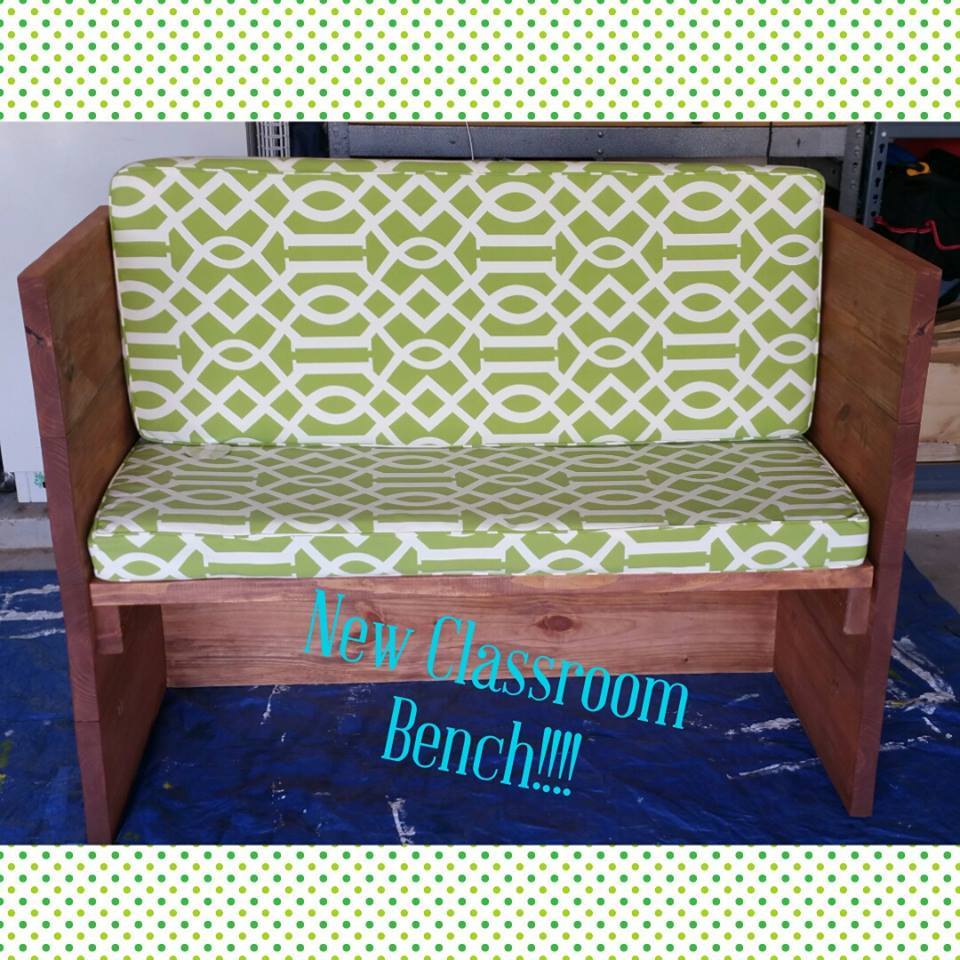
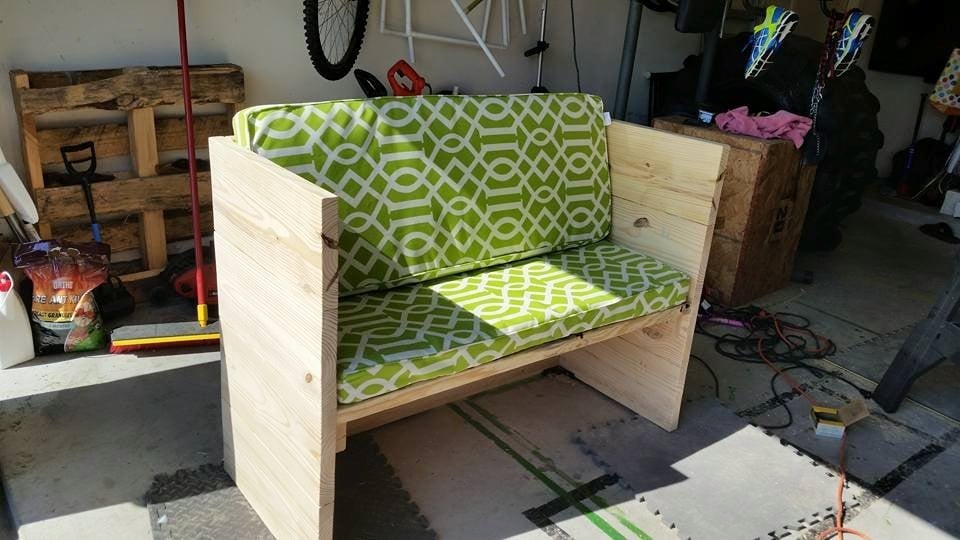
Fun easy project. I built it for my wifes classroom. We used 4 2 x 10 instead of 3 and I used a kreg Pocket Jig instead of biscuit joiner and l brackets. Very easy fun project.
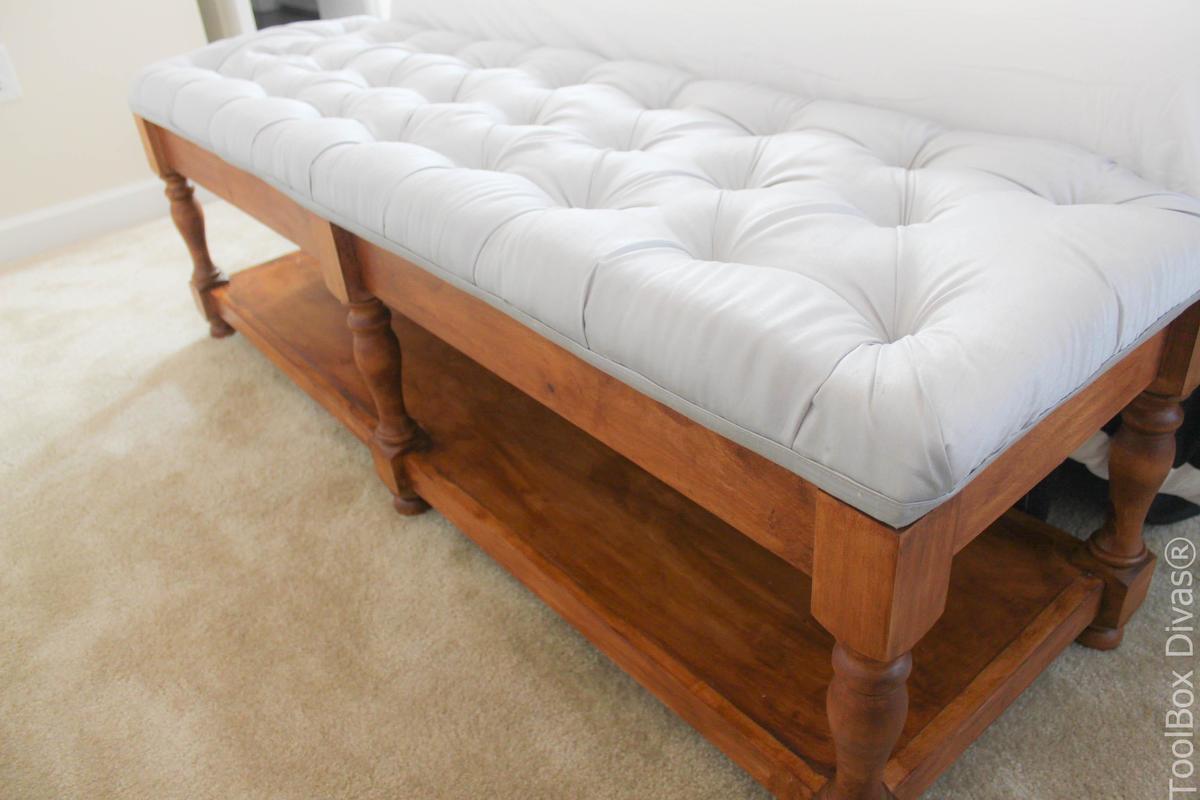
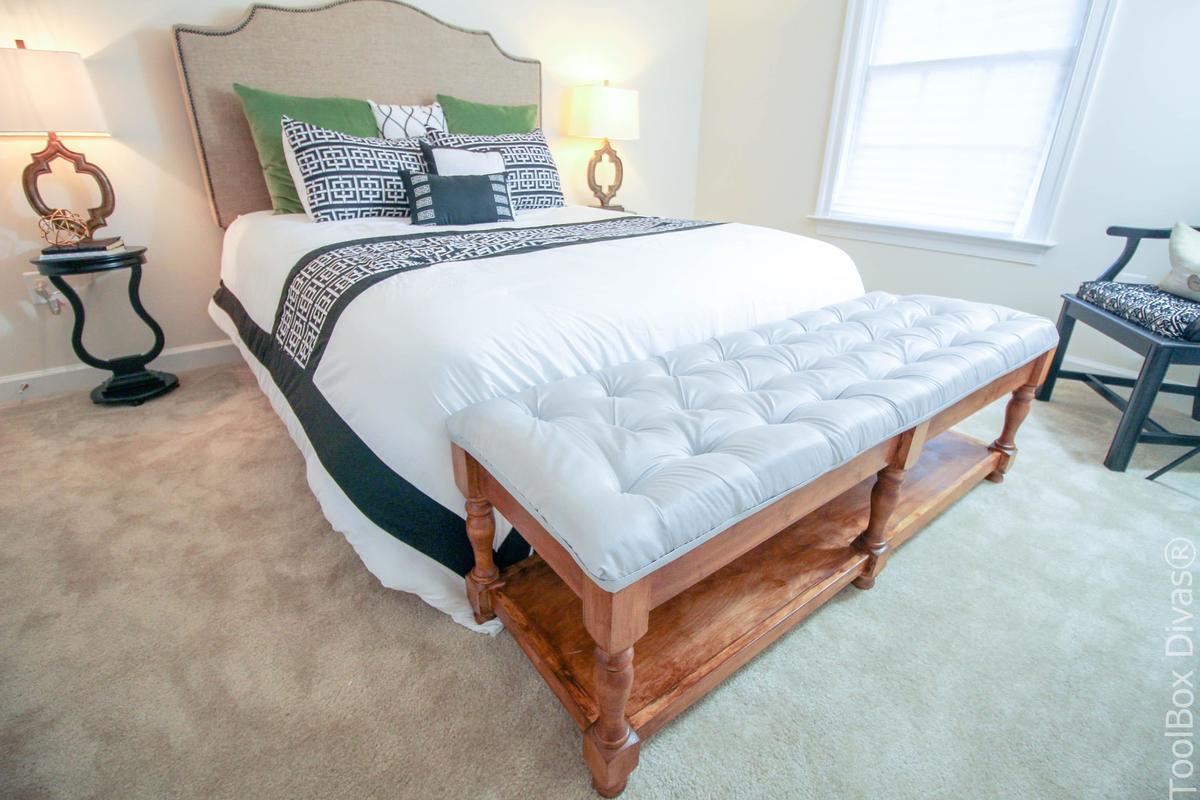
I have been dreaming of getting a tufted bench that I could place at the foot of my bed for years now. The only problem it was always ridiculously priced out of my range. Home decorations may just might be the most expensive part of home ownership, Hahaha. Inspired by all of the fabulous plans provided by Ana White I set out to develop plans of my own using the principles I learned in her book The Handbuilt Home. This is one of my favorite DIY projects to date. Here’s how I did it.
For this, I actually did a lot of the cutting as I went along. To be perfectly honest, I wasn’t entirely sure I had measured the bottom shelf and storage areas correctly. To reduce the likelihood of mismeasurements, I measured liked 3 to 4 times before cutting every piece.

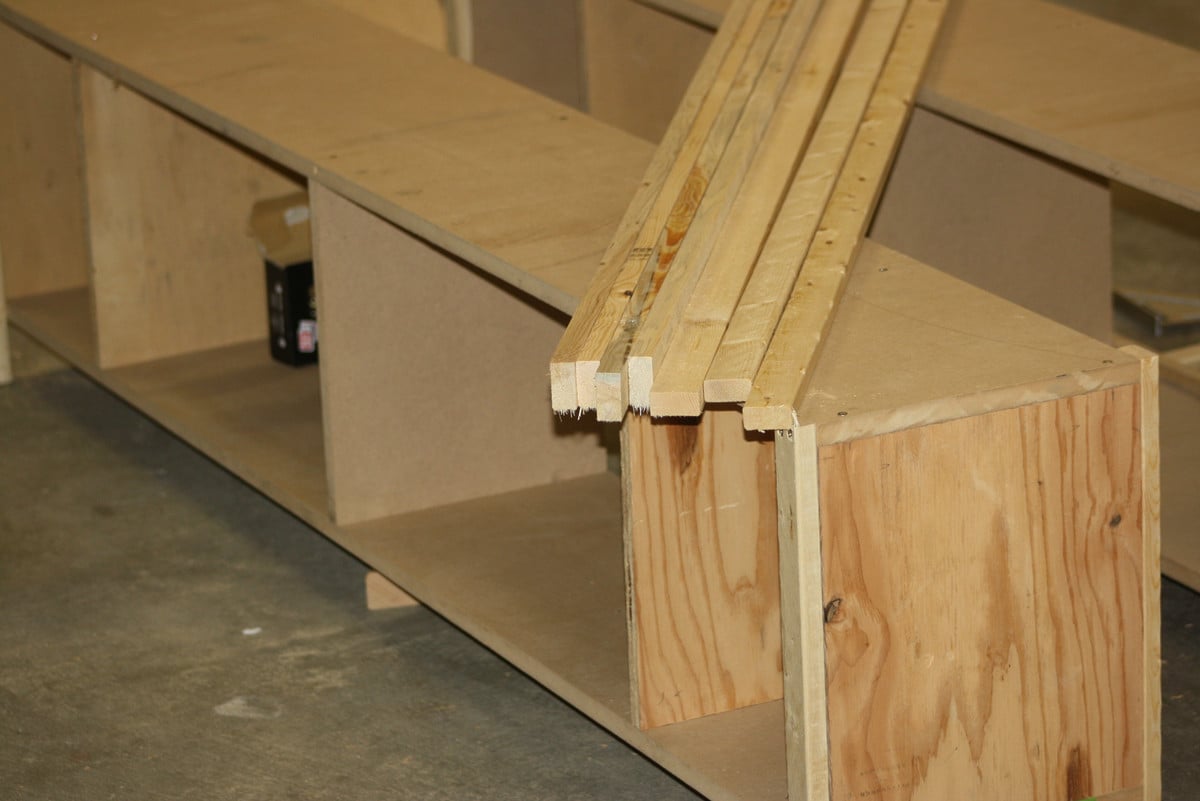
I used square wooden dowels for the ledges because I didn’t have to worry about ensuring that the boards were straight. Also I didn’t want to go through and make a ton of repetitive cuts on my circular saw or miter. You can easily use scrap wood for the ledges as long as its straight and creates a flat even surface for the boards to rest on. I didn’t cut the ledge the entire length of the rails. It’s just important that there is enough support to hold the plywood base in place as you secure it to the rails or aprons to the legs.
Click here for more details and the complete Free plans and Cut list.


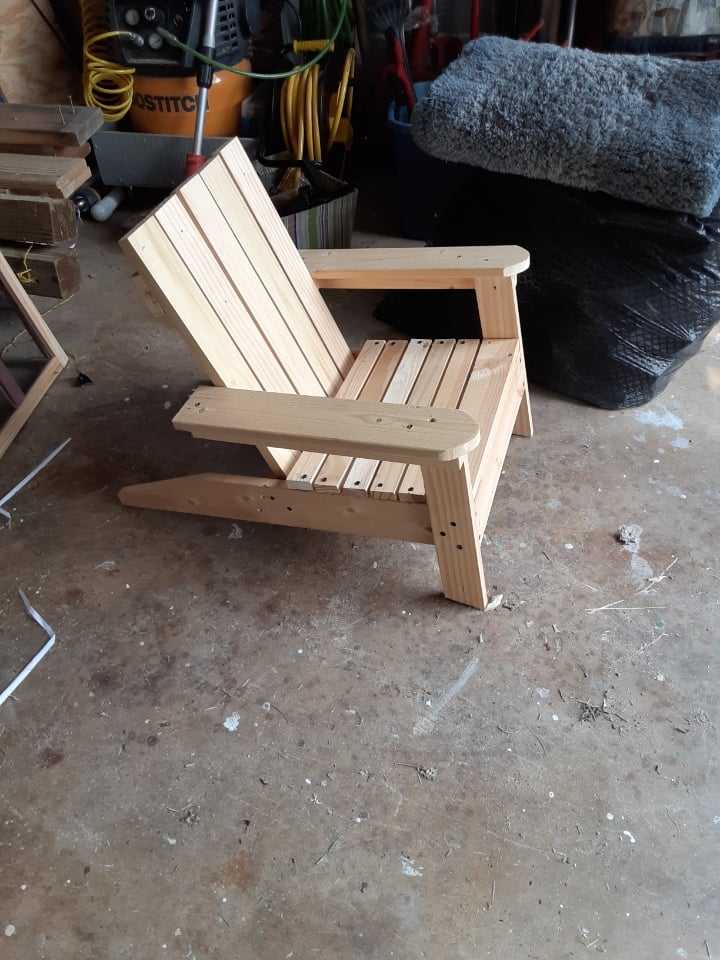
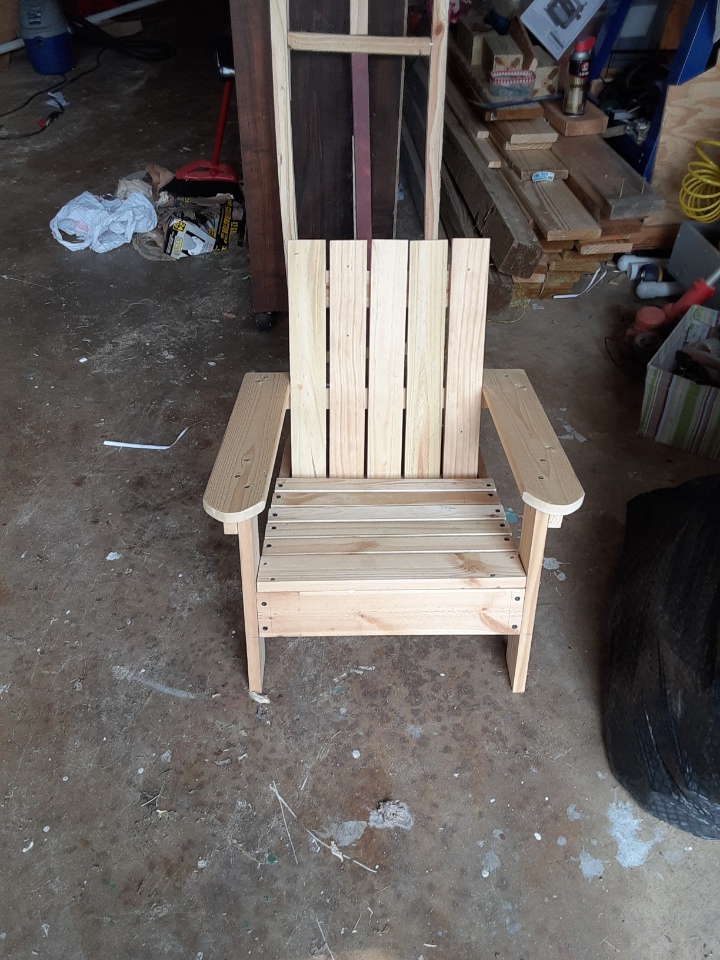
I thought I would make one just for fun.. now I don't know who to give it to.. But I did have fun making it
Fri, 04/22/2022 - 11:24
That's awesome, I am sure you will come up with the perfect recipient! Thanks for sharing:)
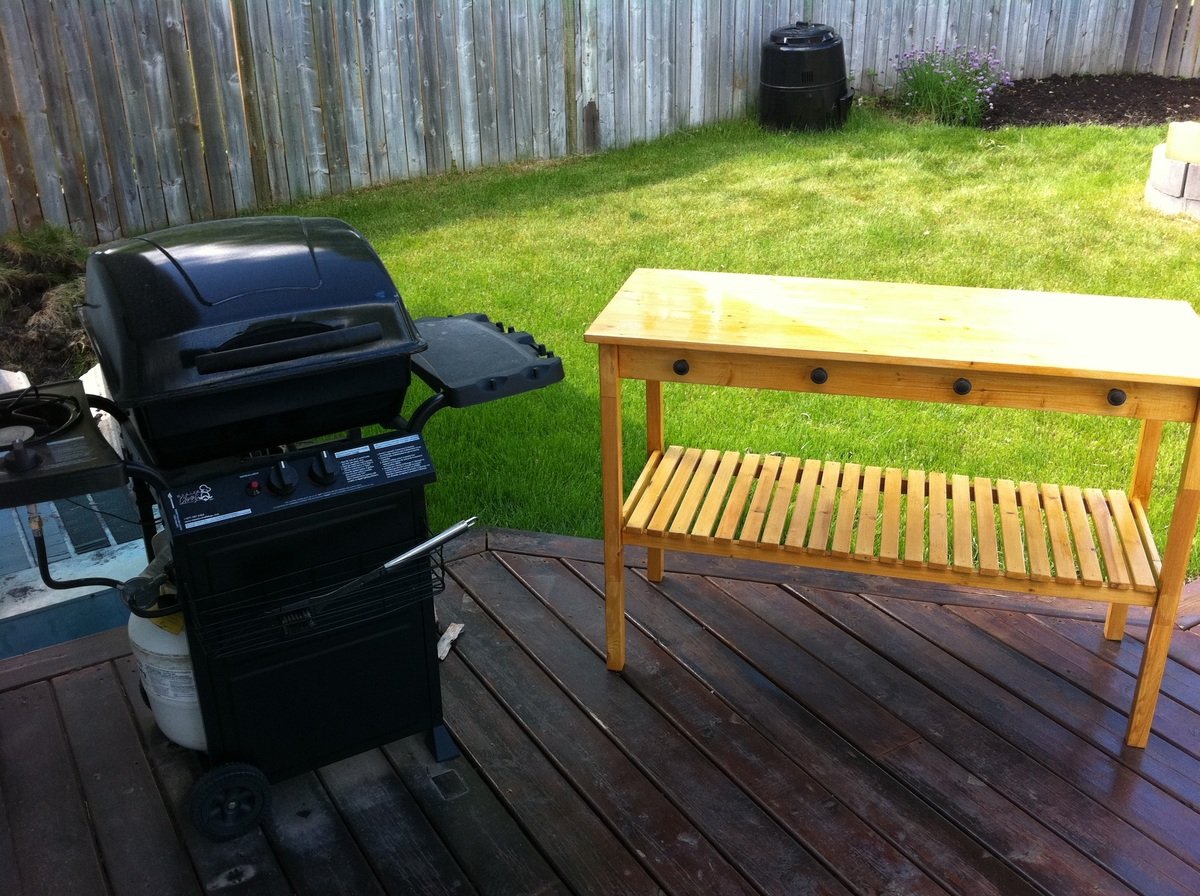
We needed a prep area for our BBQ, so I decided to use the plans for the Simple Kitchen Island. I made it a little bit narrower (20 inches rather than 24), and added drawer pulls to hang up our BBQ tools. It's coming in very handy!
Wed, 06/15/2011 - 19:01
Love how you used the plan! It looks great, and I bet it's a great prep-station and buffet area.
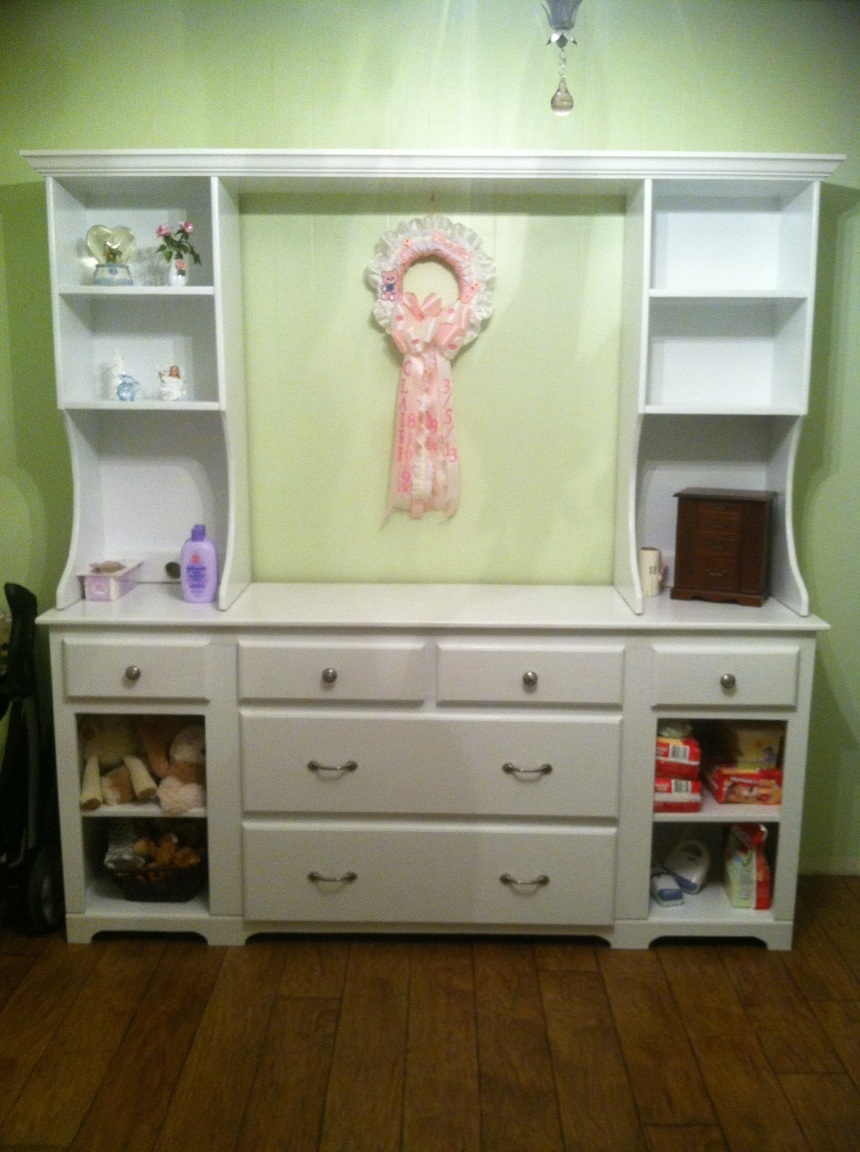
I used Ana's changing table plans to build this for my new granddaughter. I modified it to be more like a dresser that she will be able to use for many years.
We have a small extra bedroom in our basement for out-of-town guests that needed furniture. This plan was perfect. For the time being, Clarence the Dog will keep the bed warm.
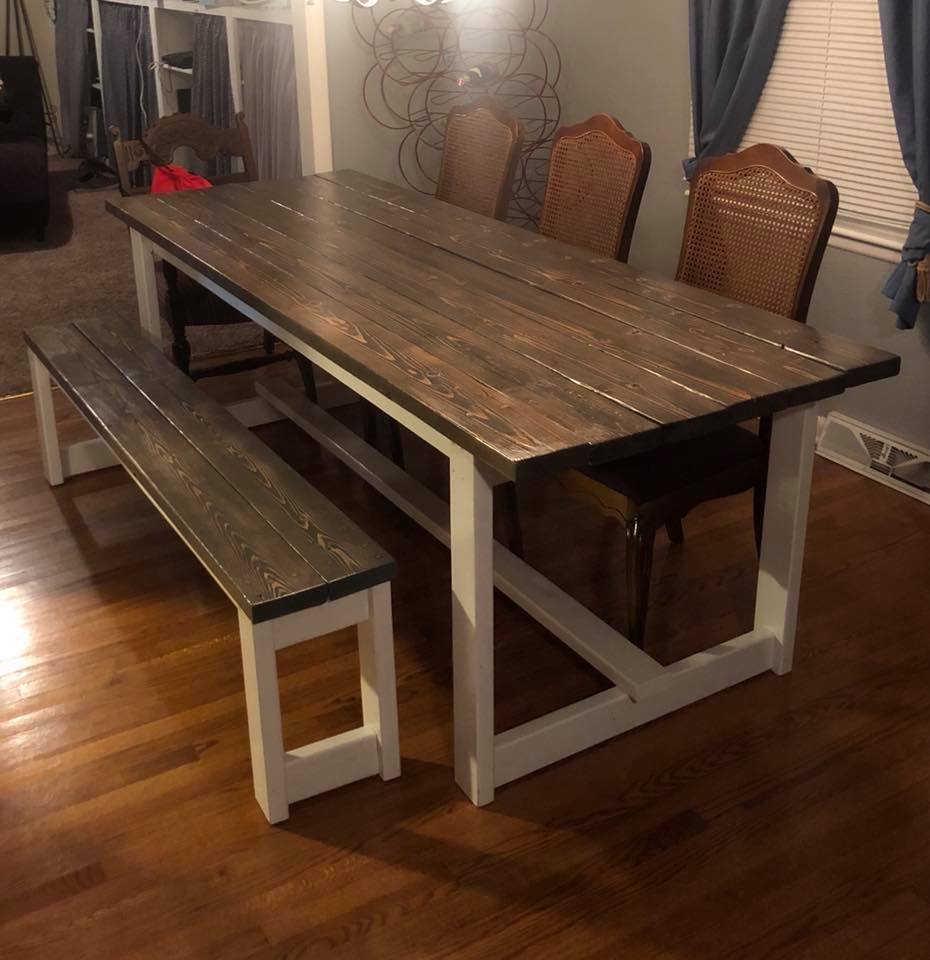
This project was so fun! I am a beginner in the DIY world and so excited with how this turned out. the plans were super easy to follow (thank you for the video too)! Lowes cut all the lumber for me so I really only needed the drill to put it all together. To put the table together it only took us an afternoon but in total it took us several days, once it was put together, to get everything sanded, primed, painted, and stained-overall VERY VERY pleased!
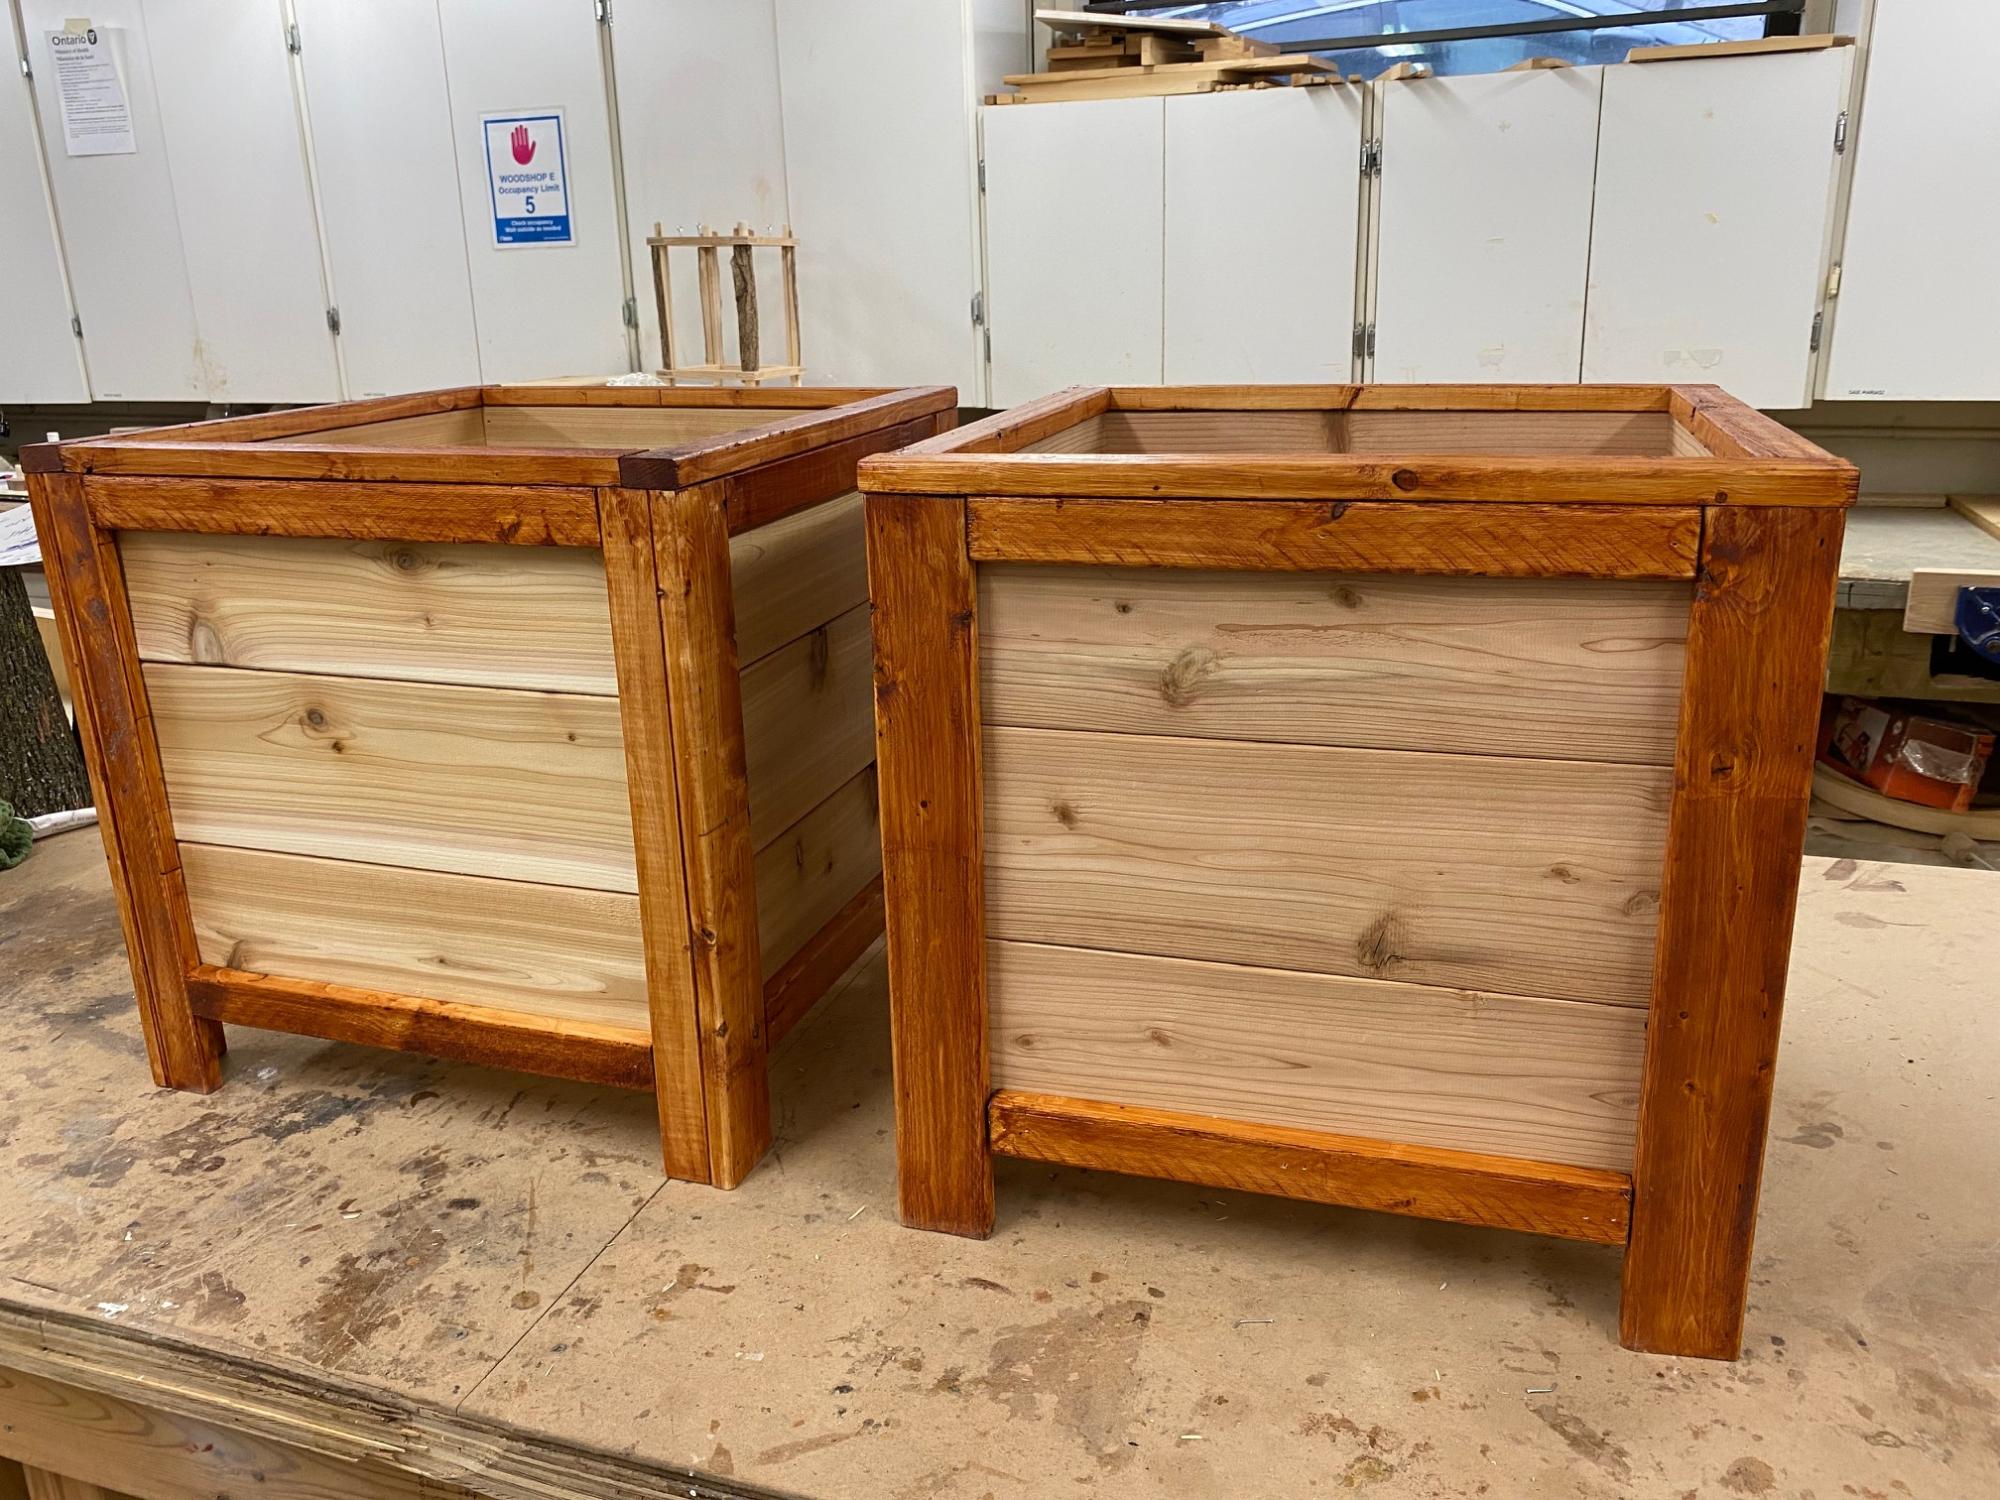
Cedar Planters!
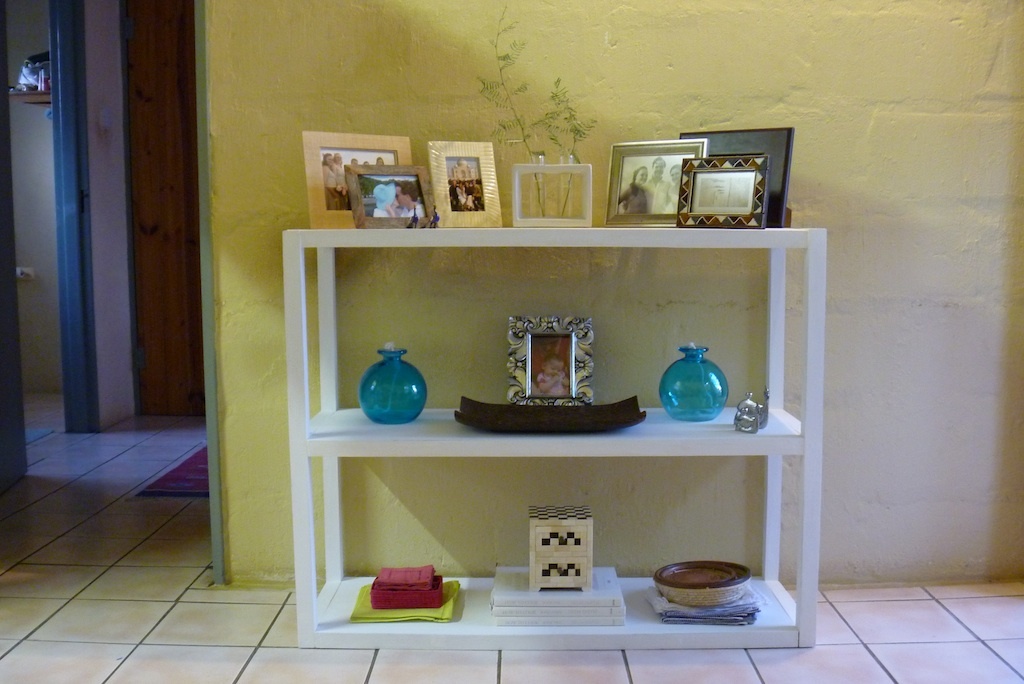
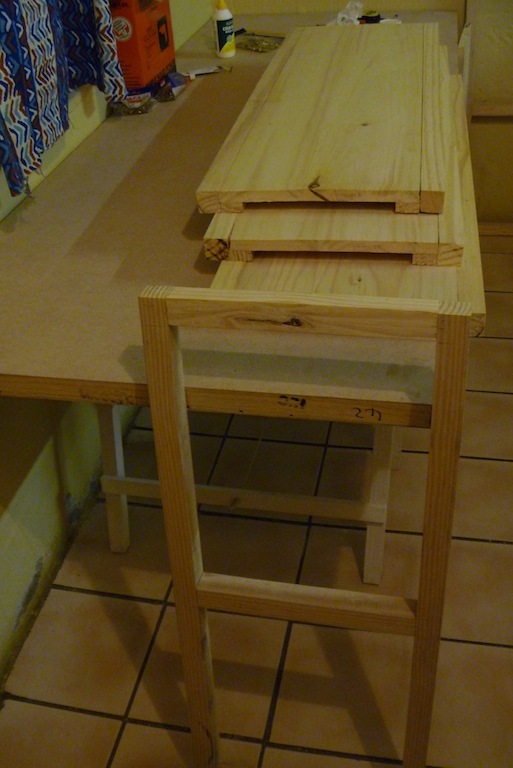
This is our first project! My Husband did most of the work but was a team effort in places. We wanted shelves that we could easily make with the very limited selection of cuts available in Botswana (really only construction lumber around). We modified the width of the shelves to what was available, increased the height a bit so more of a console and shortened it to get the best use of timber. I did not want it looking too modern so went with white and distressed edges to keep it comfortable. Construction did not take very long but finishing took a while due to 3 coats needed.


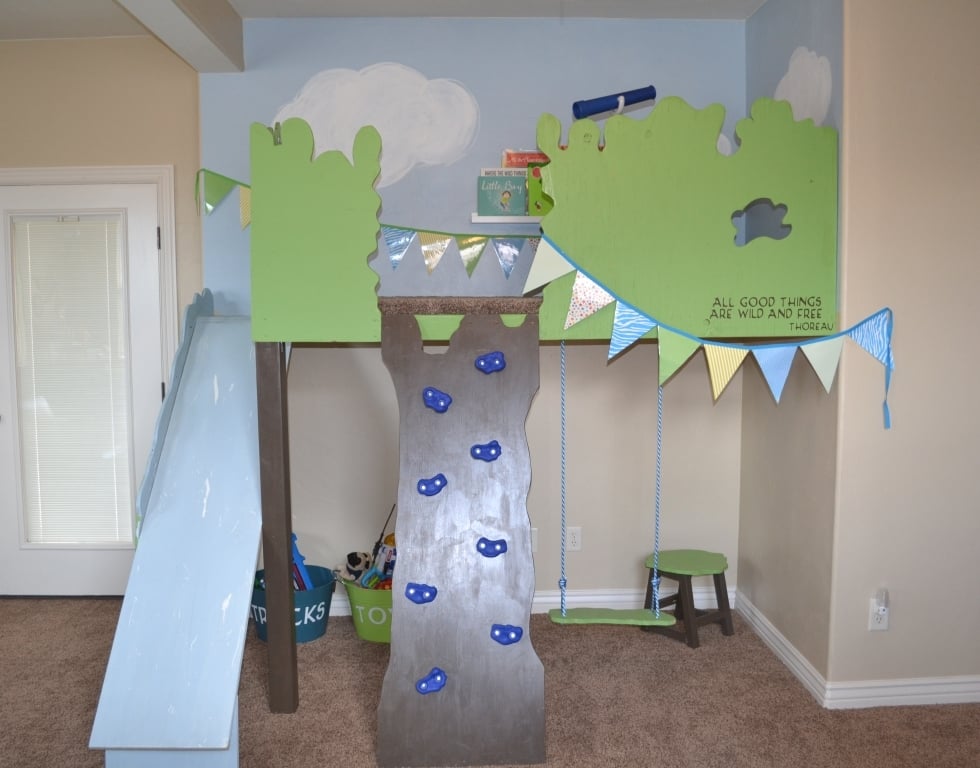
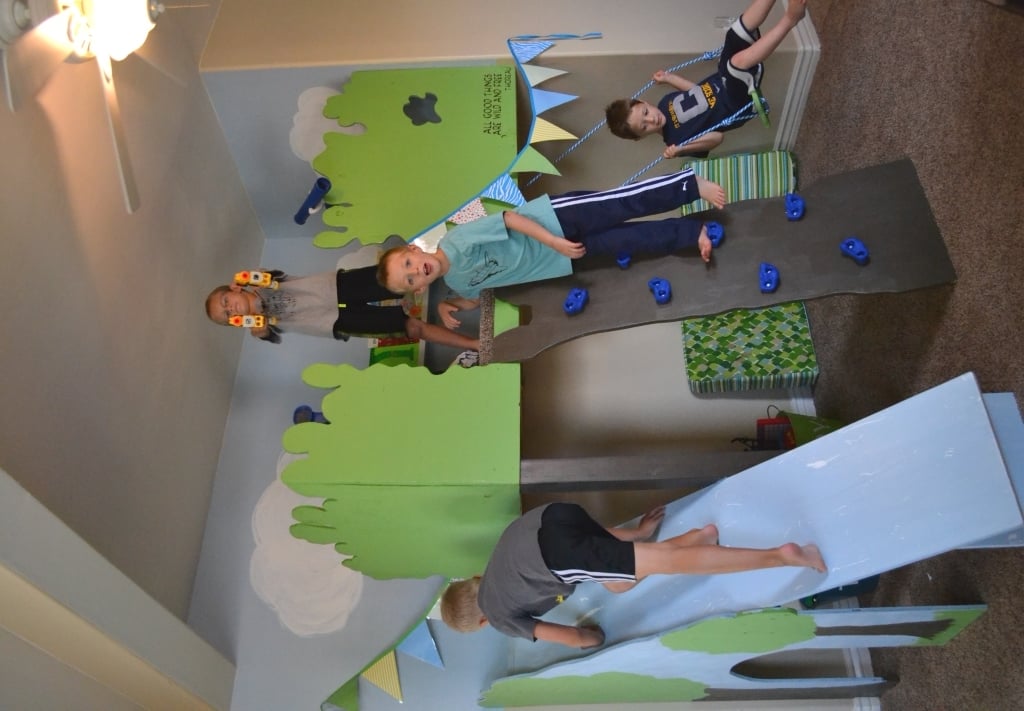
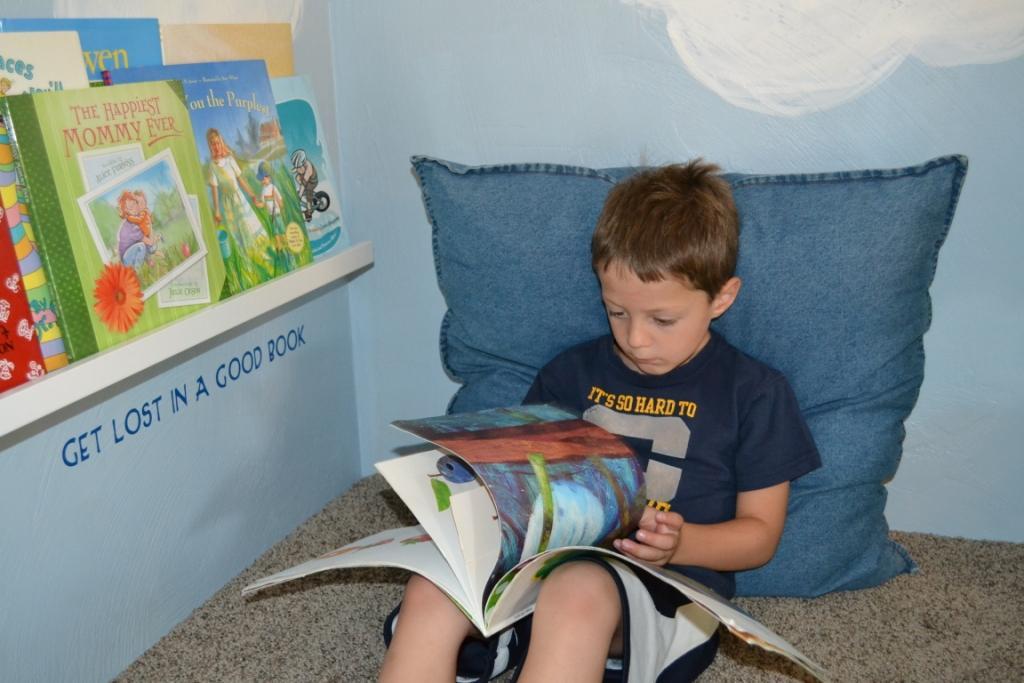
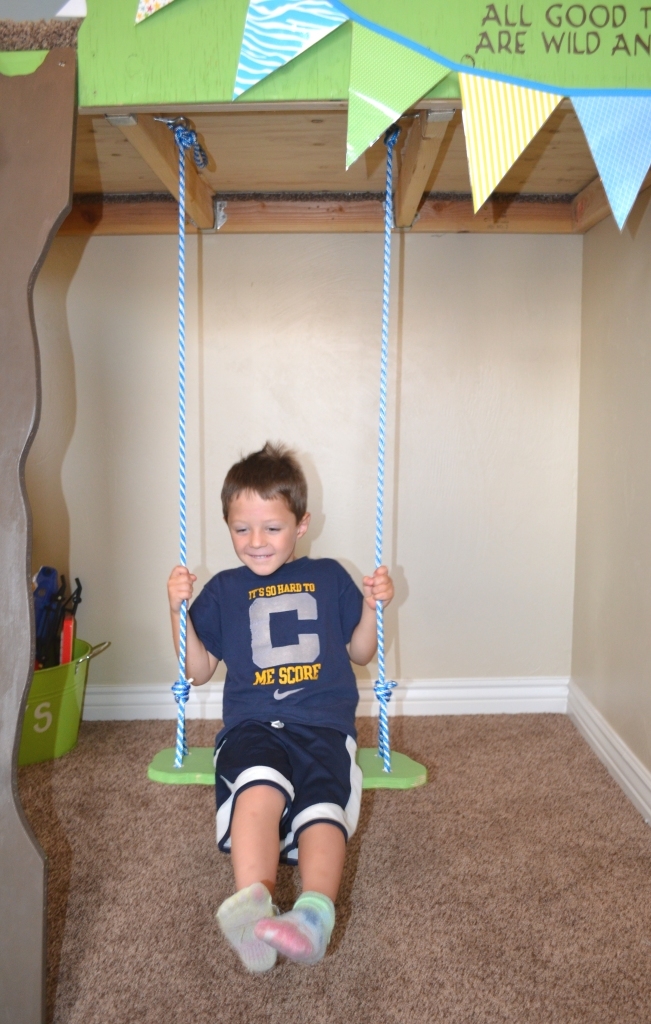
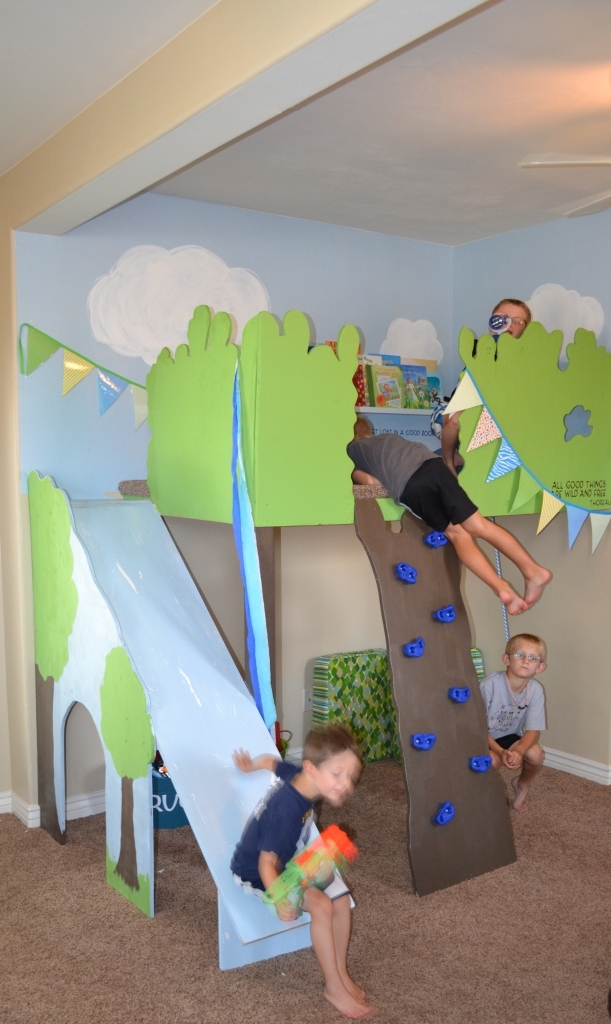
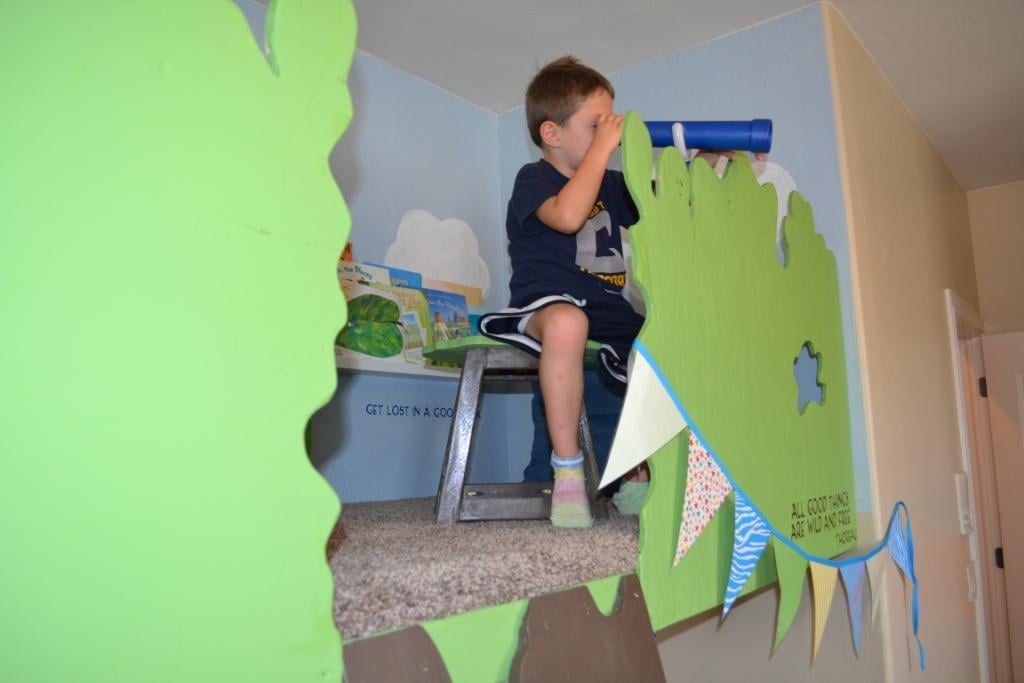
We adapted these plans to build our tree house, I hope it's not too much of a stretch for brag posts! Every kid seems to have two wishes: a fort or tree house and a secret passage way. Or is it just my kids? Turns out we live in the desert and trees are hard to come by. Our solution? Build a tree house in the house. Why not!? Our magic tree house is well used and well loved. This is one of those projects that simmered and in my mind trying to think of the perfect way to build the thing. The stuff our parents built and played in was a hodge podge of left over wood and their own creations, crooked construction and messy paint. So, I set the perfect aside and dove in. The only things our tree house really needs to be is safe and fun. Most families try to find indoor activities for the winter, but in the desert it is so blazing hot we need indoor retreats in the summer. This tree house is the solution a gagillion times over! Thank you Ana!
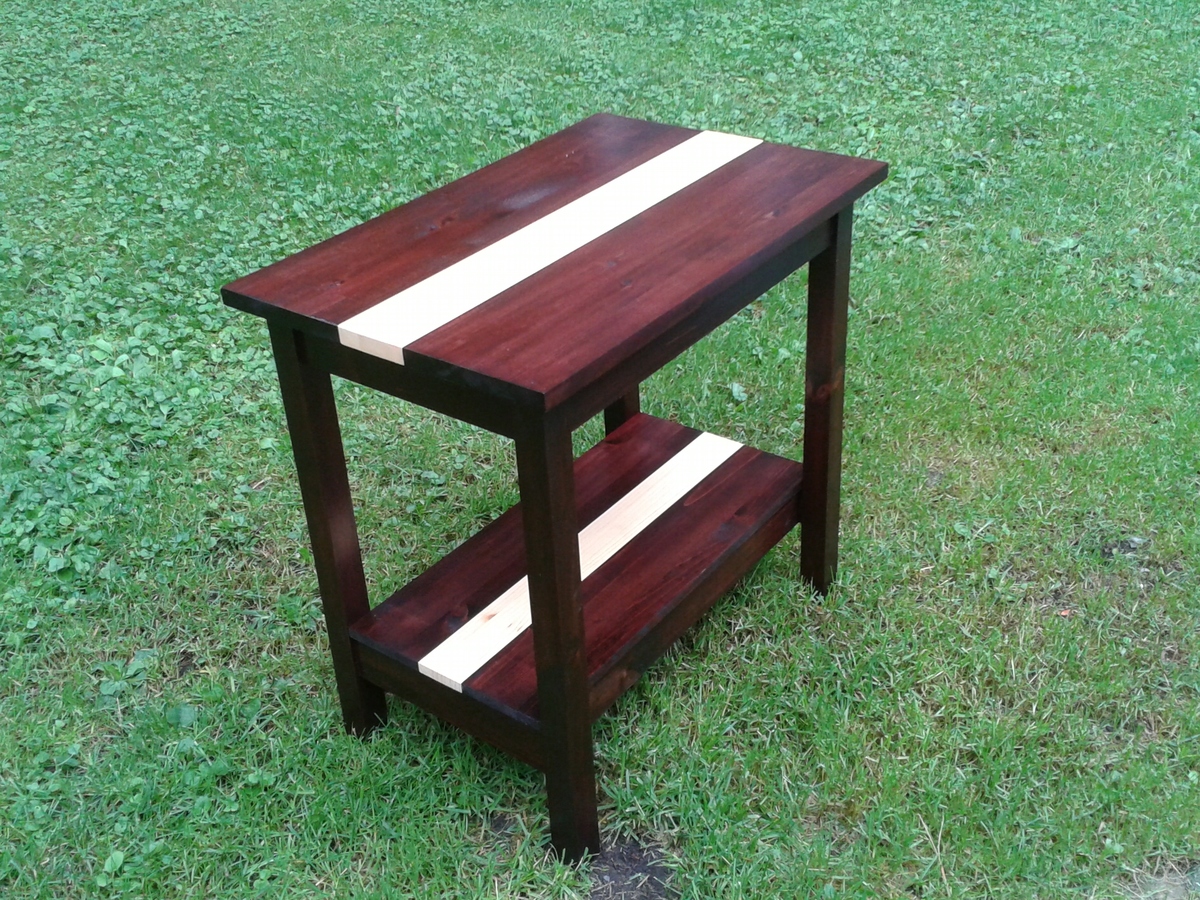
Original plan modified slightly: Length reduced from 42" to 25"... select pine used and seamless table tops used instead of separate boards.
Comments
Ana White Admin
Mon, 08/03/2015 - 10:10
Super!
This looks great, thanks for sharing!