DIY Shed Chicken Coop
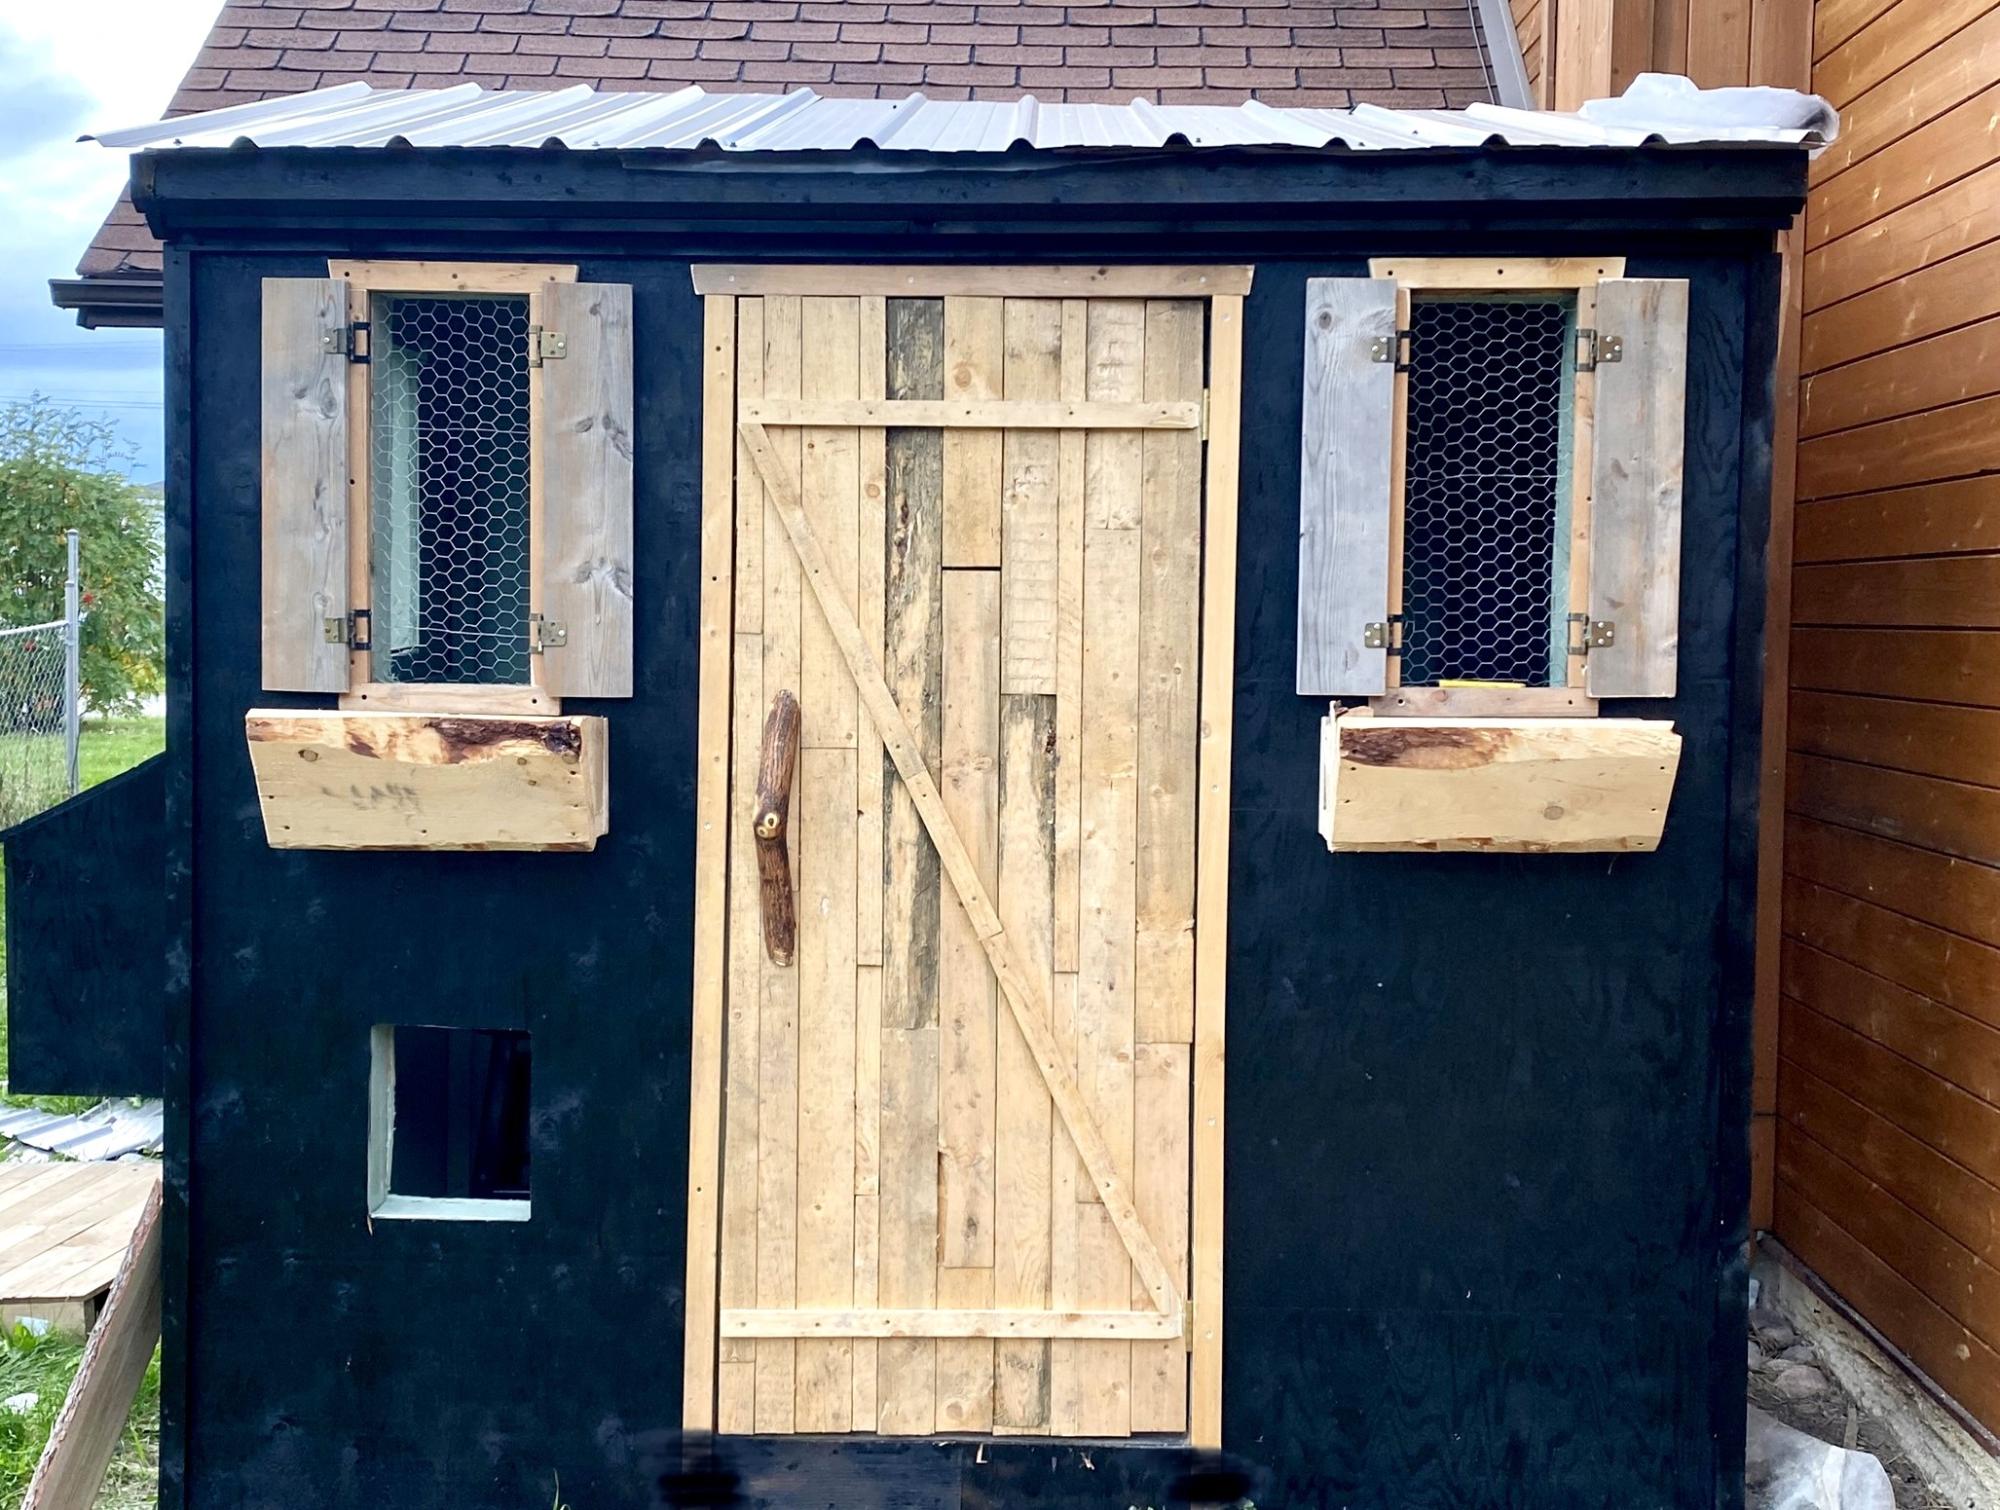
I’ve wanted a chicken coop for a while, and I wanted it cute. I love how it turned out!
Aj
Built from Plan(s)
I’ve wanted a chicken coop for a while, and I wanted it cute. I love how it turned out!
Aj
Directly from plan. Fun to make. Kreg and glue attachements.
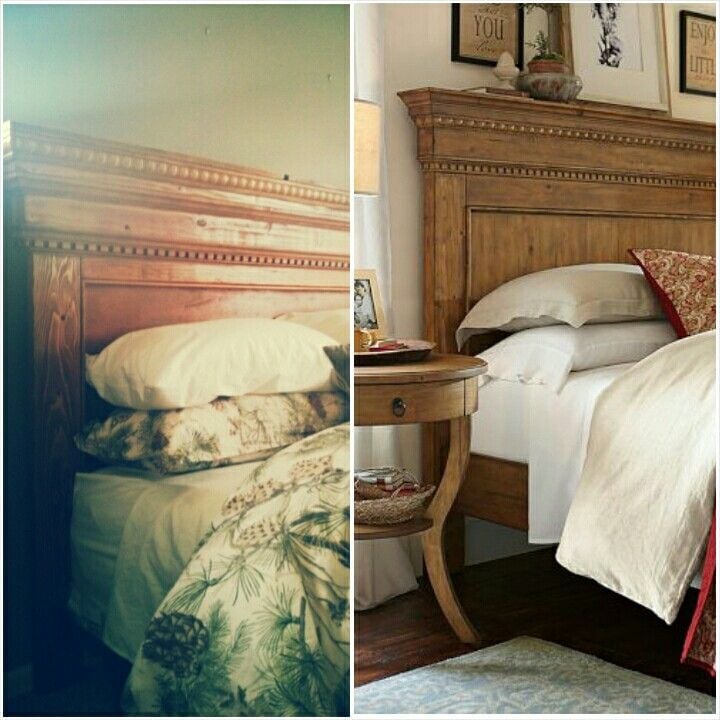
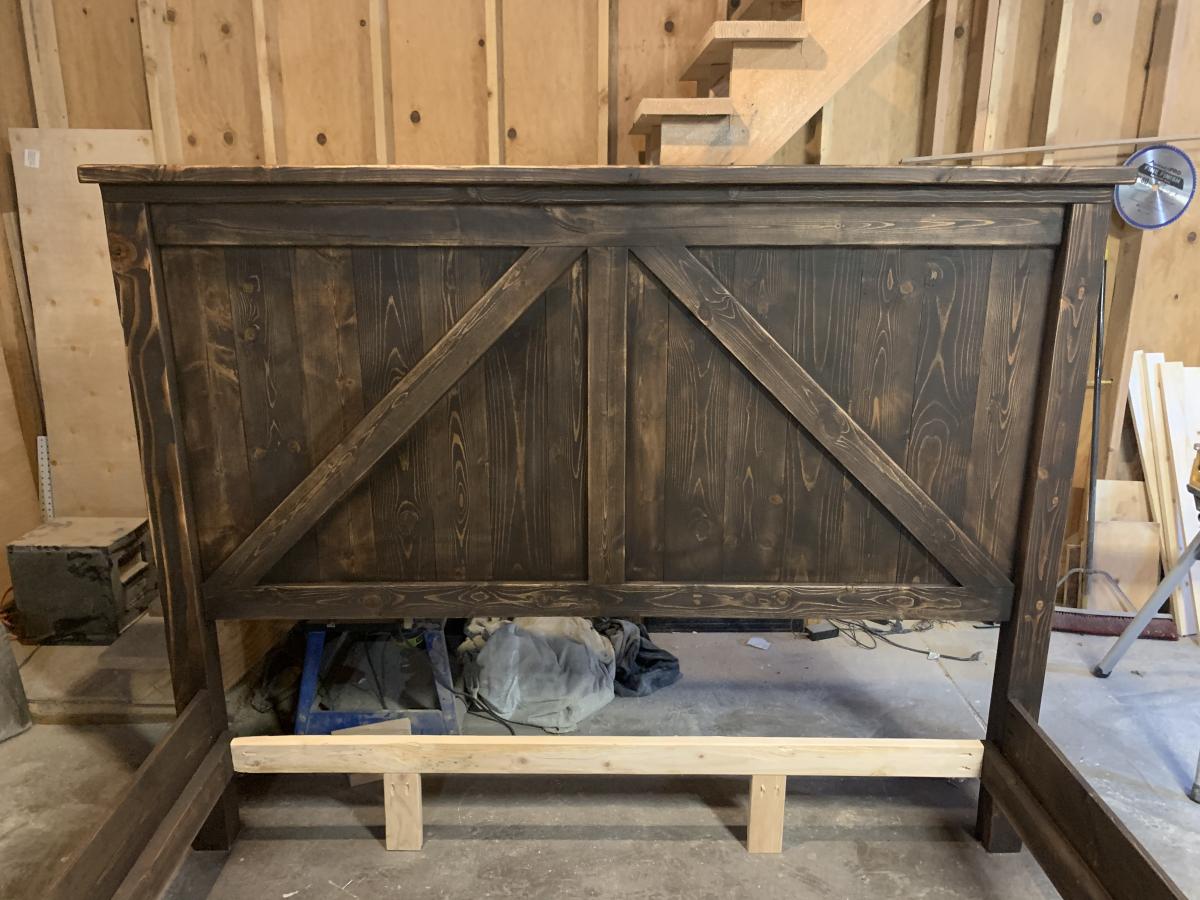
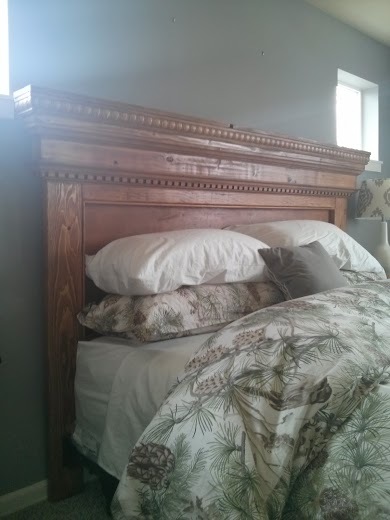
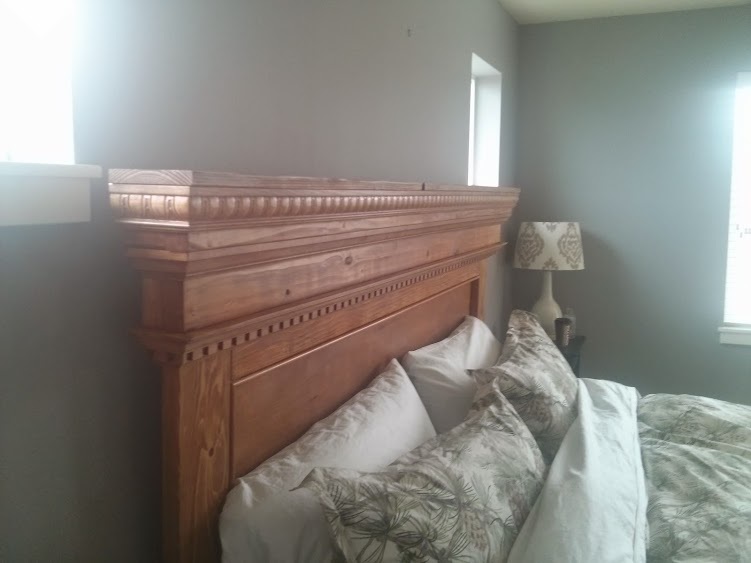
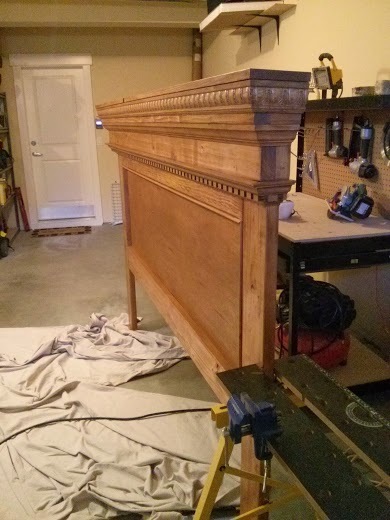
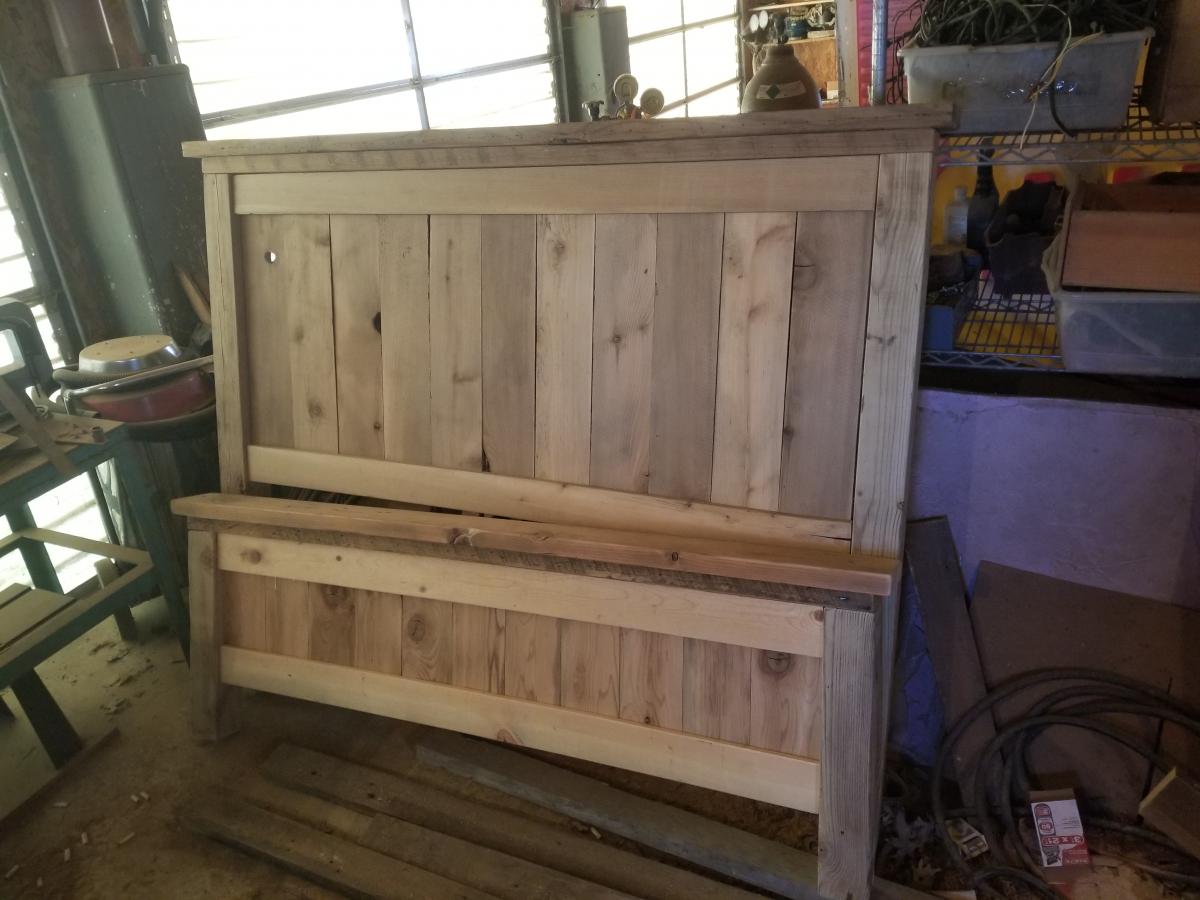
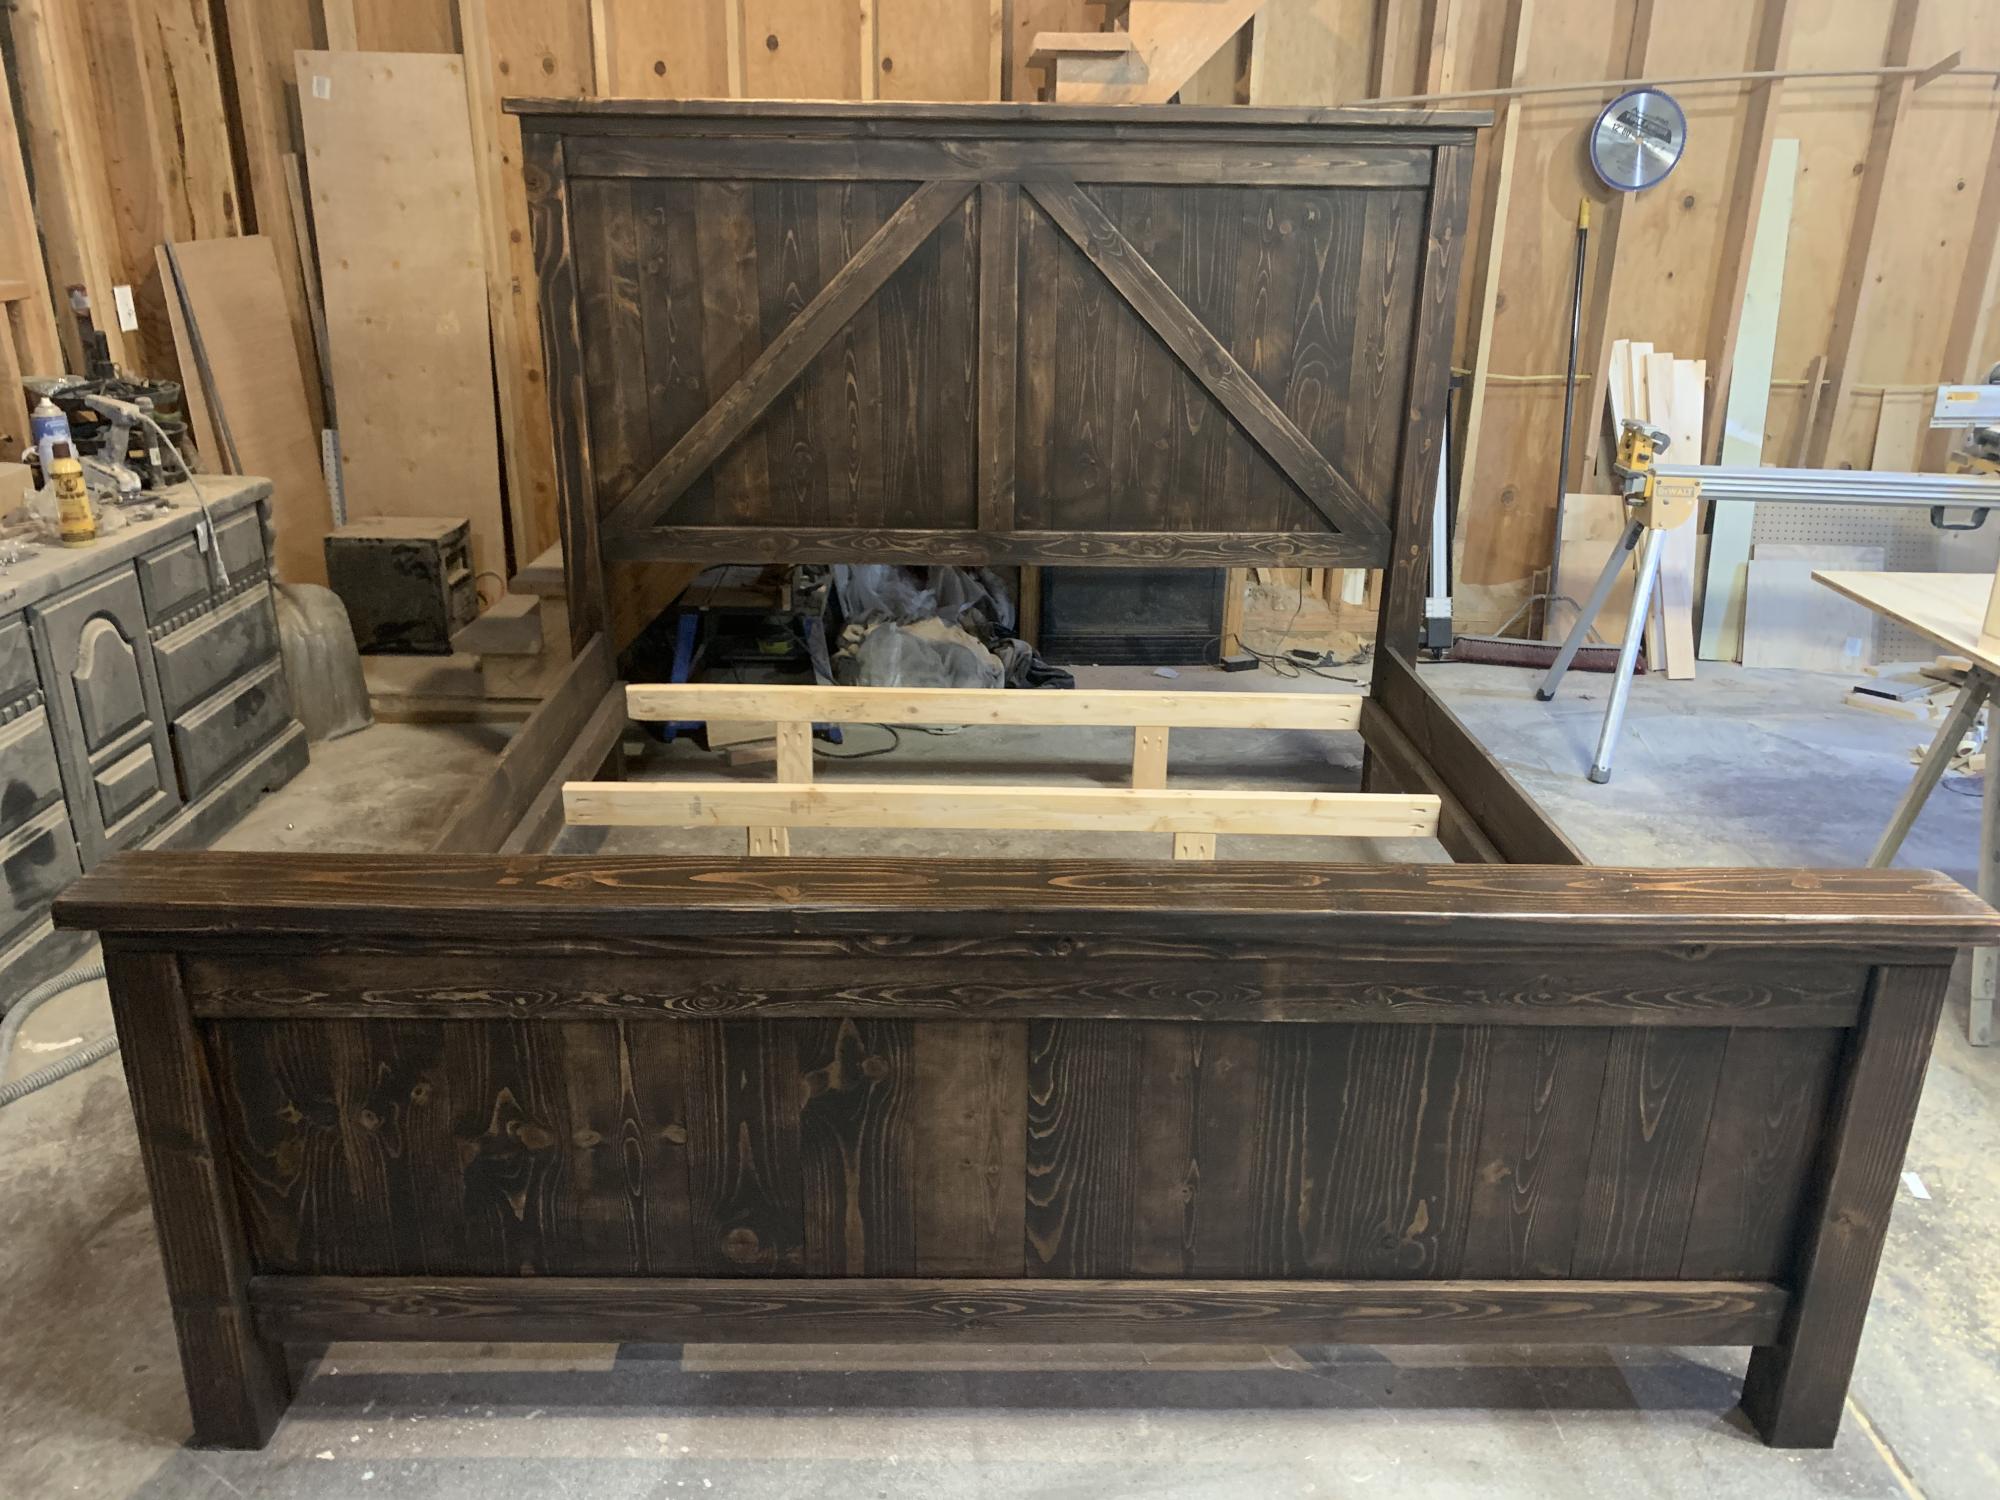
This site features the queen size version of this headboard, I decided to build the King and use more elaborate molding pieces, which increased the cost. I stained the wood to a very close match although my mobile photos don't do justice to this claim. It took me about a week to complete with nights and weekend availability.
Wed, 02/26/2014 - 17:42
I love the way your headboard turned out. I would like the details on the wood used and measurements to make the king size version.
Thu, 03/12/2015 - 13:37
looks great. Did you use pine? Which stain did you use? I would like to be able to closely match the stained version of pottery barns addison too. Thanks!
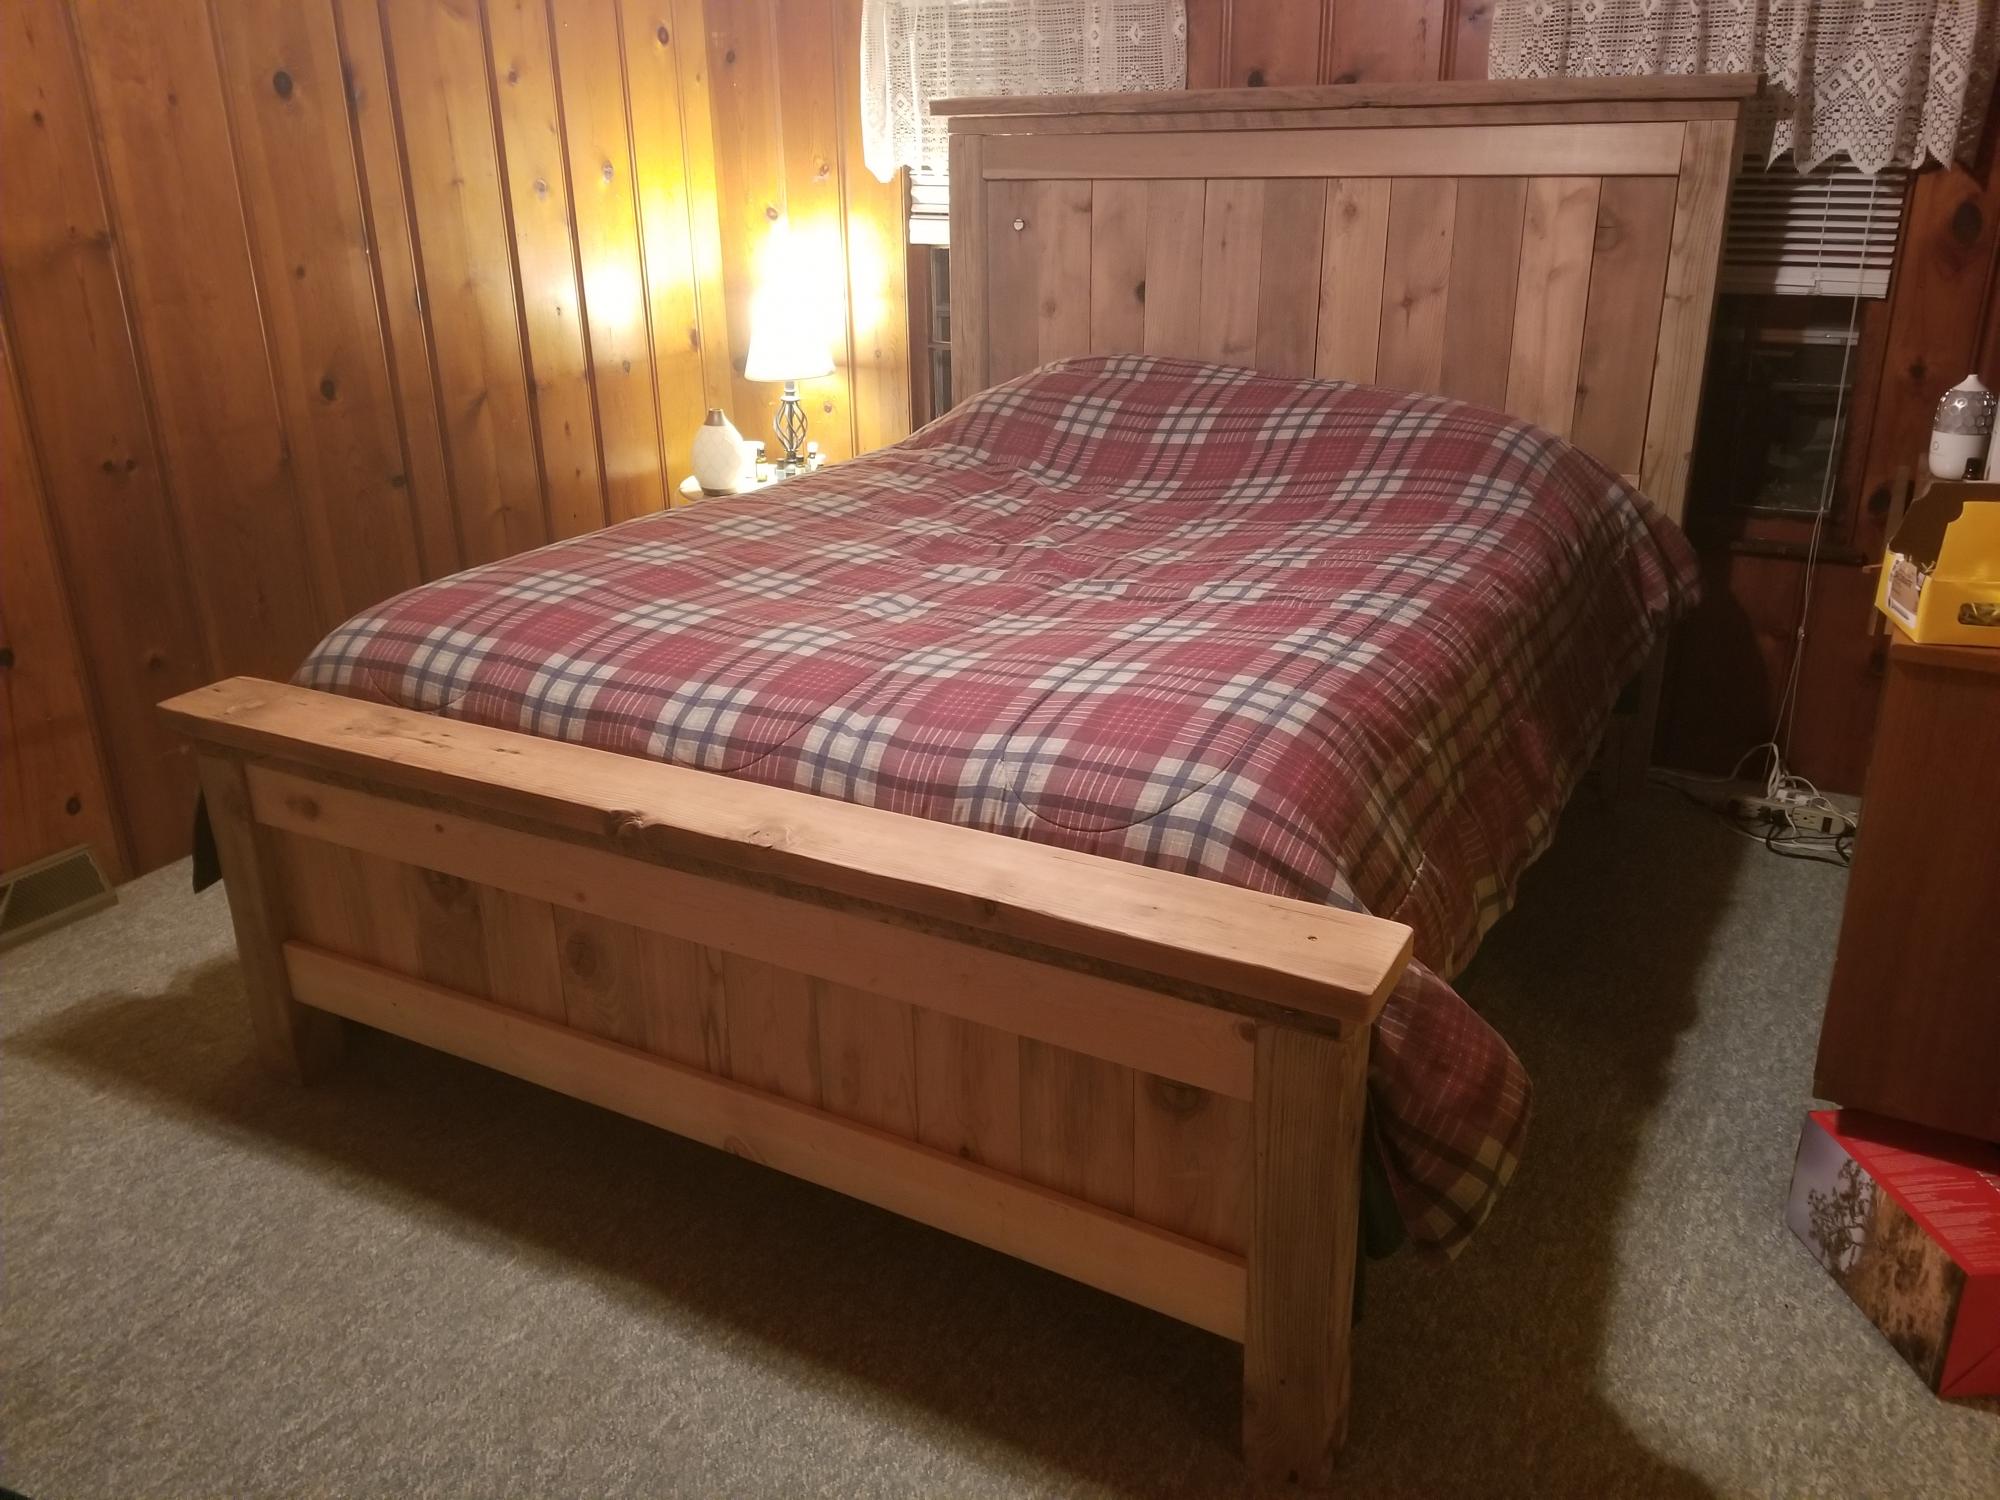
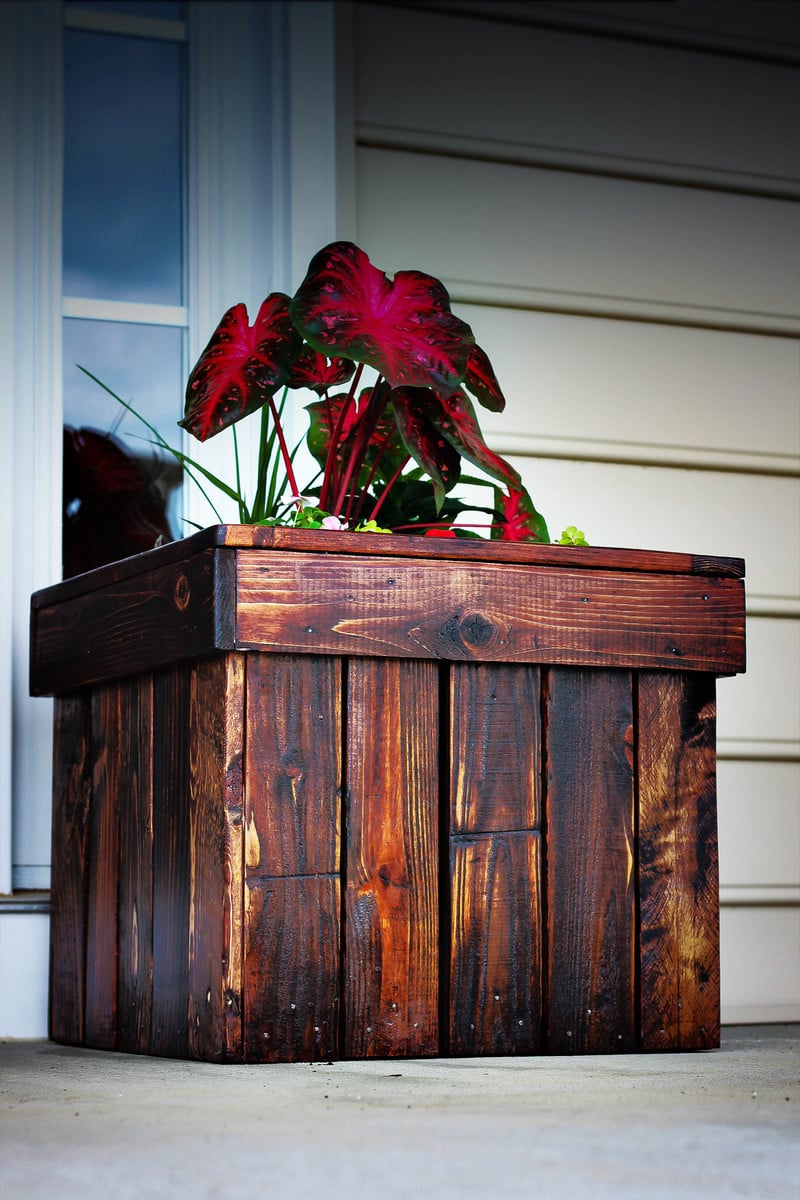
Made this awesome project from Ana's plans. The best part is it came from old barn wood that has been stored for decades. Had to plane most of it to get it closer to dimensional size to work with the plans. I have had a lot of advice and recommendations from friends and family on how to finish it, but I like it perfectly natural with nothing added. The finished picture appears that it has a finish on it but it was just the difference in lighting.
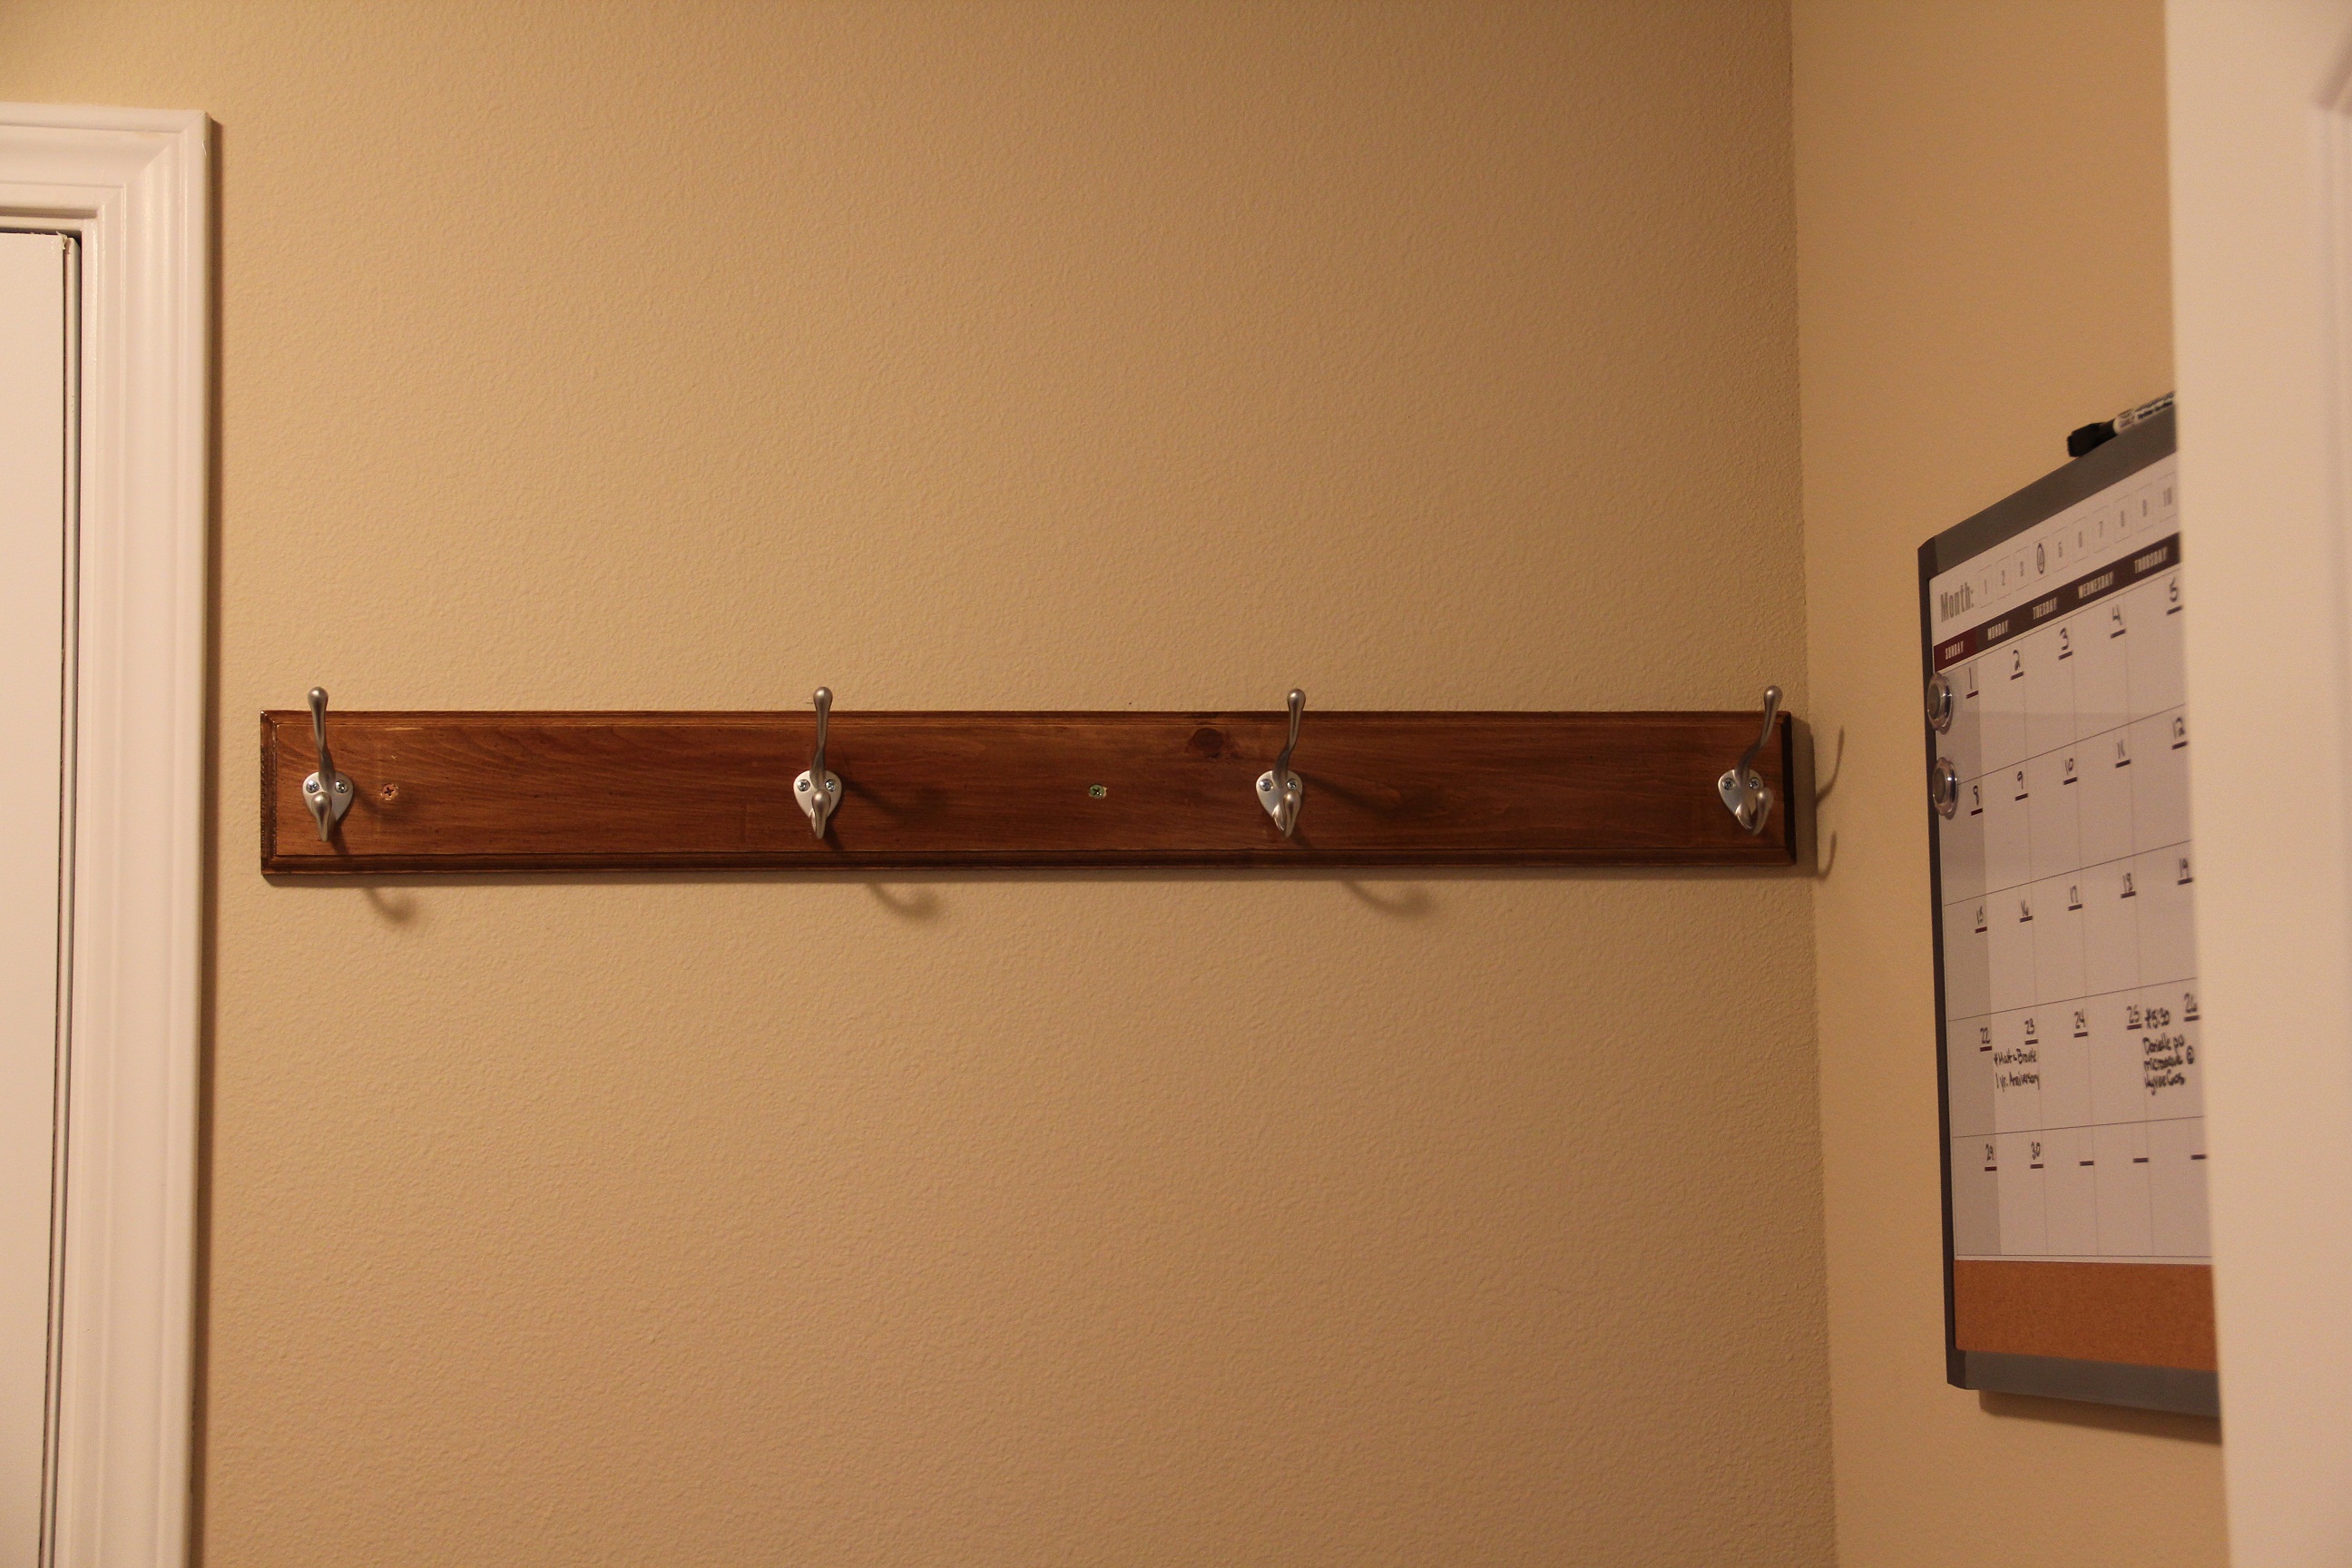
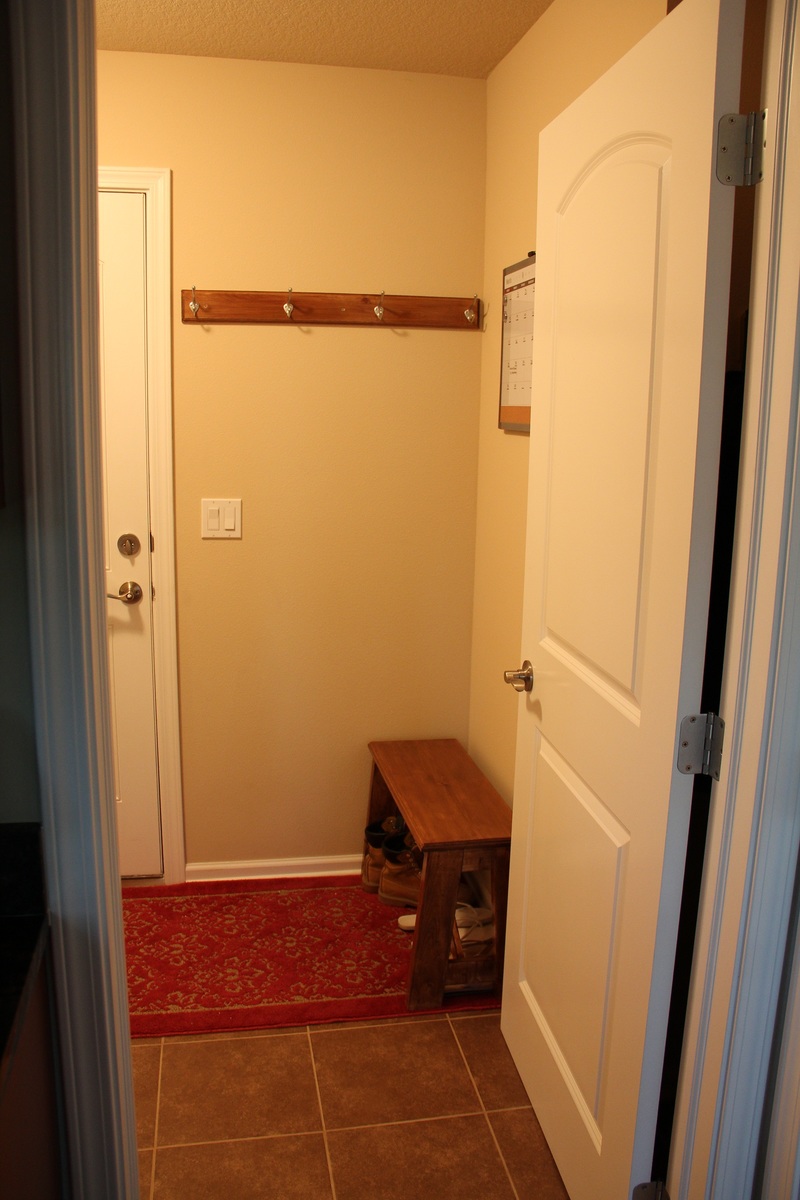
We needed a coat rack in the mud room to go along with the X Bench that I built earlier. This was made from a drop of wood left over from the bench. I had the hooks left over from a project I made a couple of years ago. My wife says our mud room is now complete. I used the plans Entryway Bench and Storage Shelf I just didn't use the shelf part
Fri, 06/15/2012 - 00:26
It is great to have the opportunity to read a good quality article with useful information on topics that plenty are interested on.
www.ahappydeal.com/product-74678.html

Video of the build is here:
http://www.youtube.com/watch?v=9Vmjm2BS3xQ
Other projects
http://www.youtube.com/playlist?list=PLcLIJdluqiyiI7J9qp5VAXrALMOftr0RT
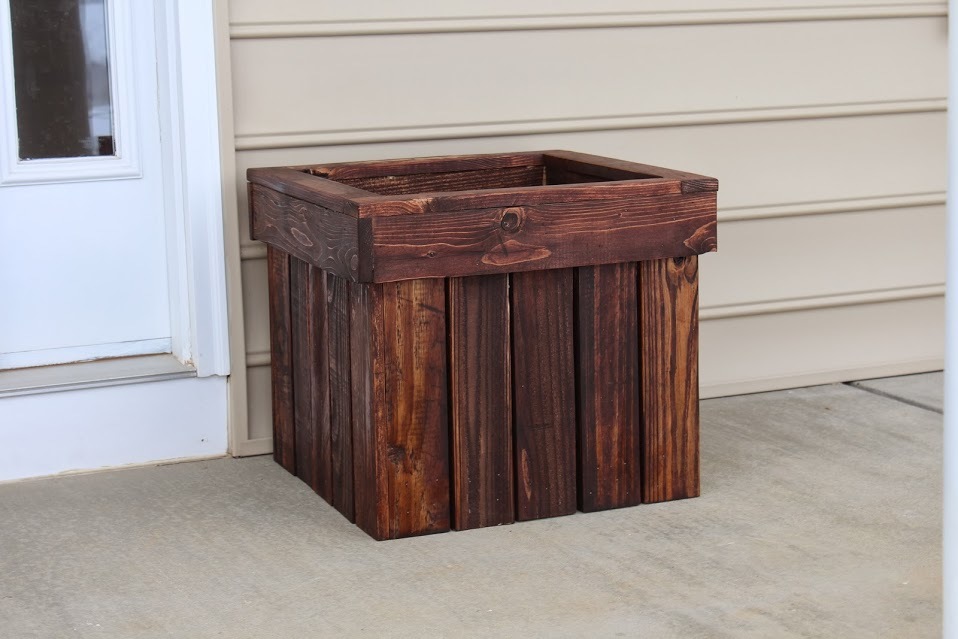
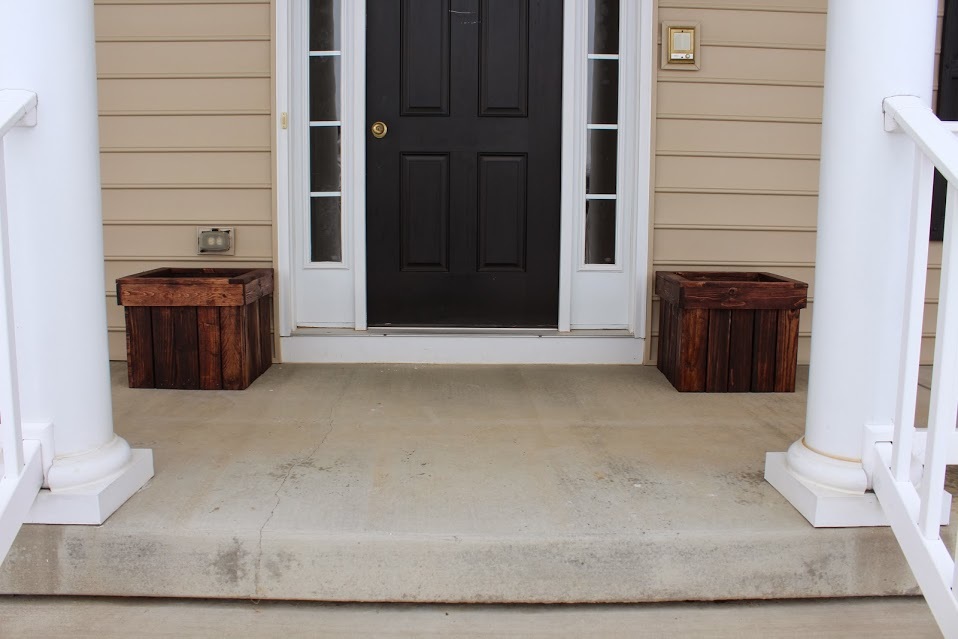
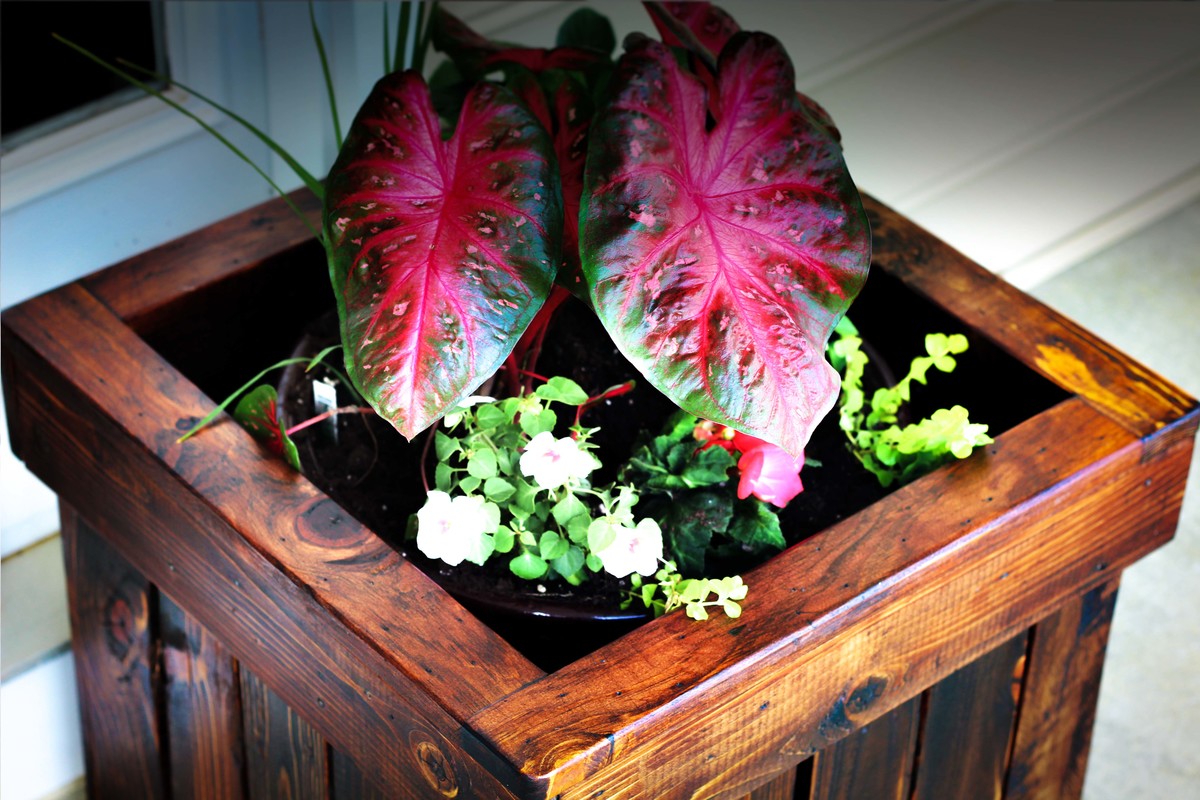
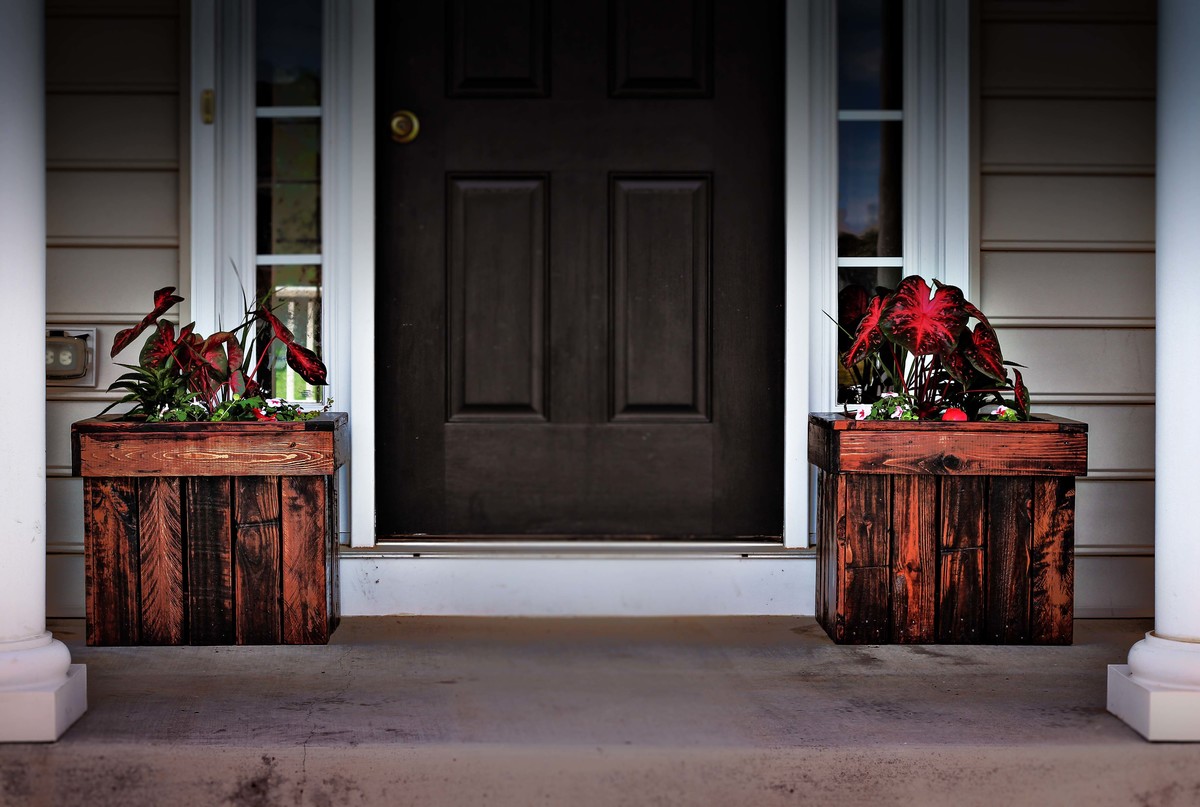
Planters from Pallets
Drawing File -- Plan 1
https://drive.google.com/file/d/0B21TbB8gGNQbMEl2WDBpU19semc/edit?usp=s…
Drawing File -- Plan 2
https://drive.google.com/file/d/0B21TbB8gGNQbUWUwNV9UNk9tTTQ/edit?usp=s…
Image 1
https://drive.google.com/file/d/0B21TbB8gGNQbVzhRRGRDNS1KS1U/edit?usp=s…
Image 2
https://drive.google.com/file/d/0B21TbB8gGNQbVGcxenVvRlZ4X0k/edit?usp=s…
STEP-BY-STEP INSTRUCTIONS
http://www.instructables.com/id/Planter-Box-from-Pallets/
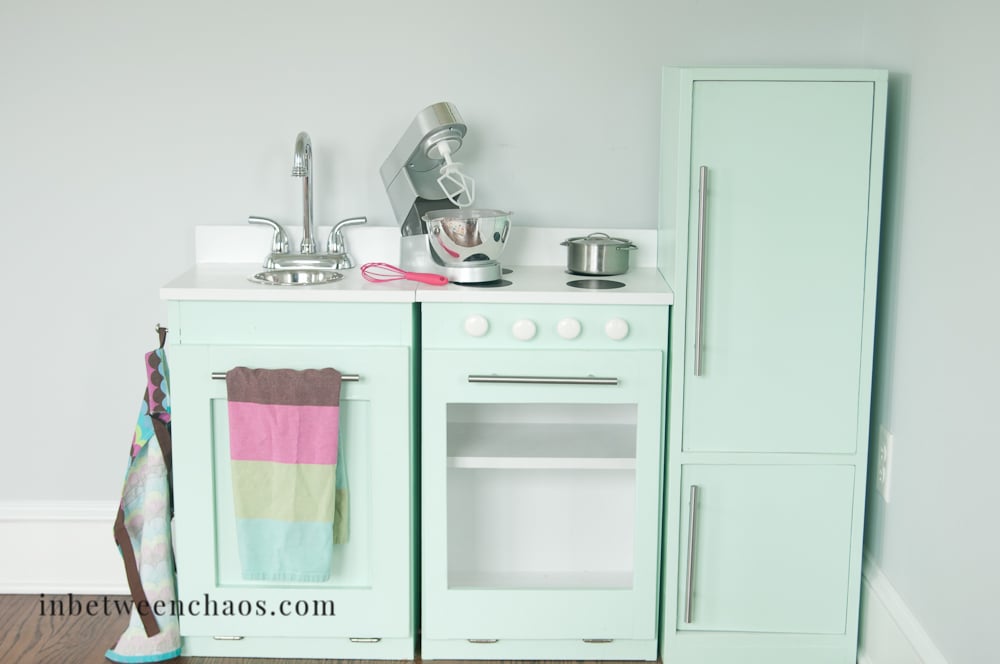
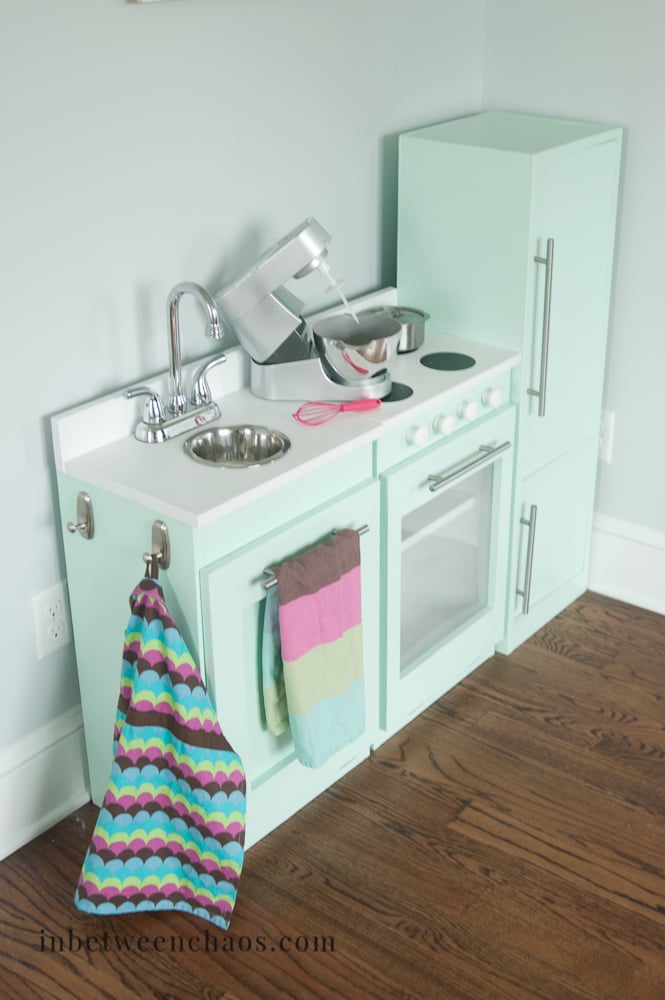
I made this for my 3 kids for Christmas and I'm so glad I did! They have gotten so much use out of it and love to move it around to set up different "houses" and restuarants. Thanks so much for these plans! I made the pieces a little taller, and use the play stove as the sink base too so that it could double as a dishwasher :)

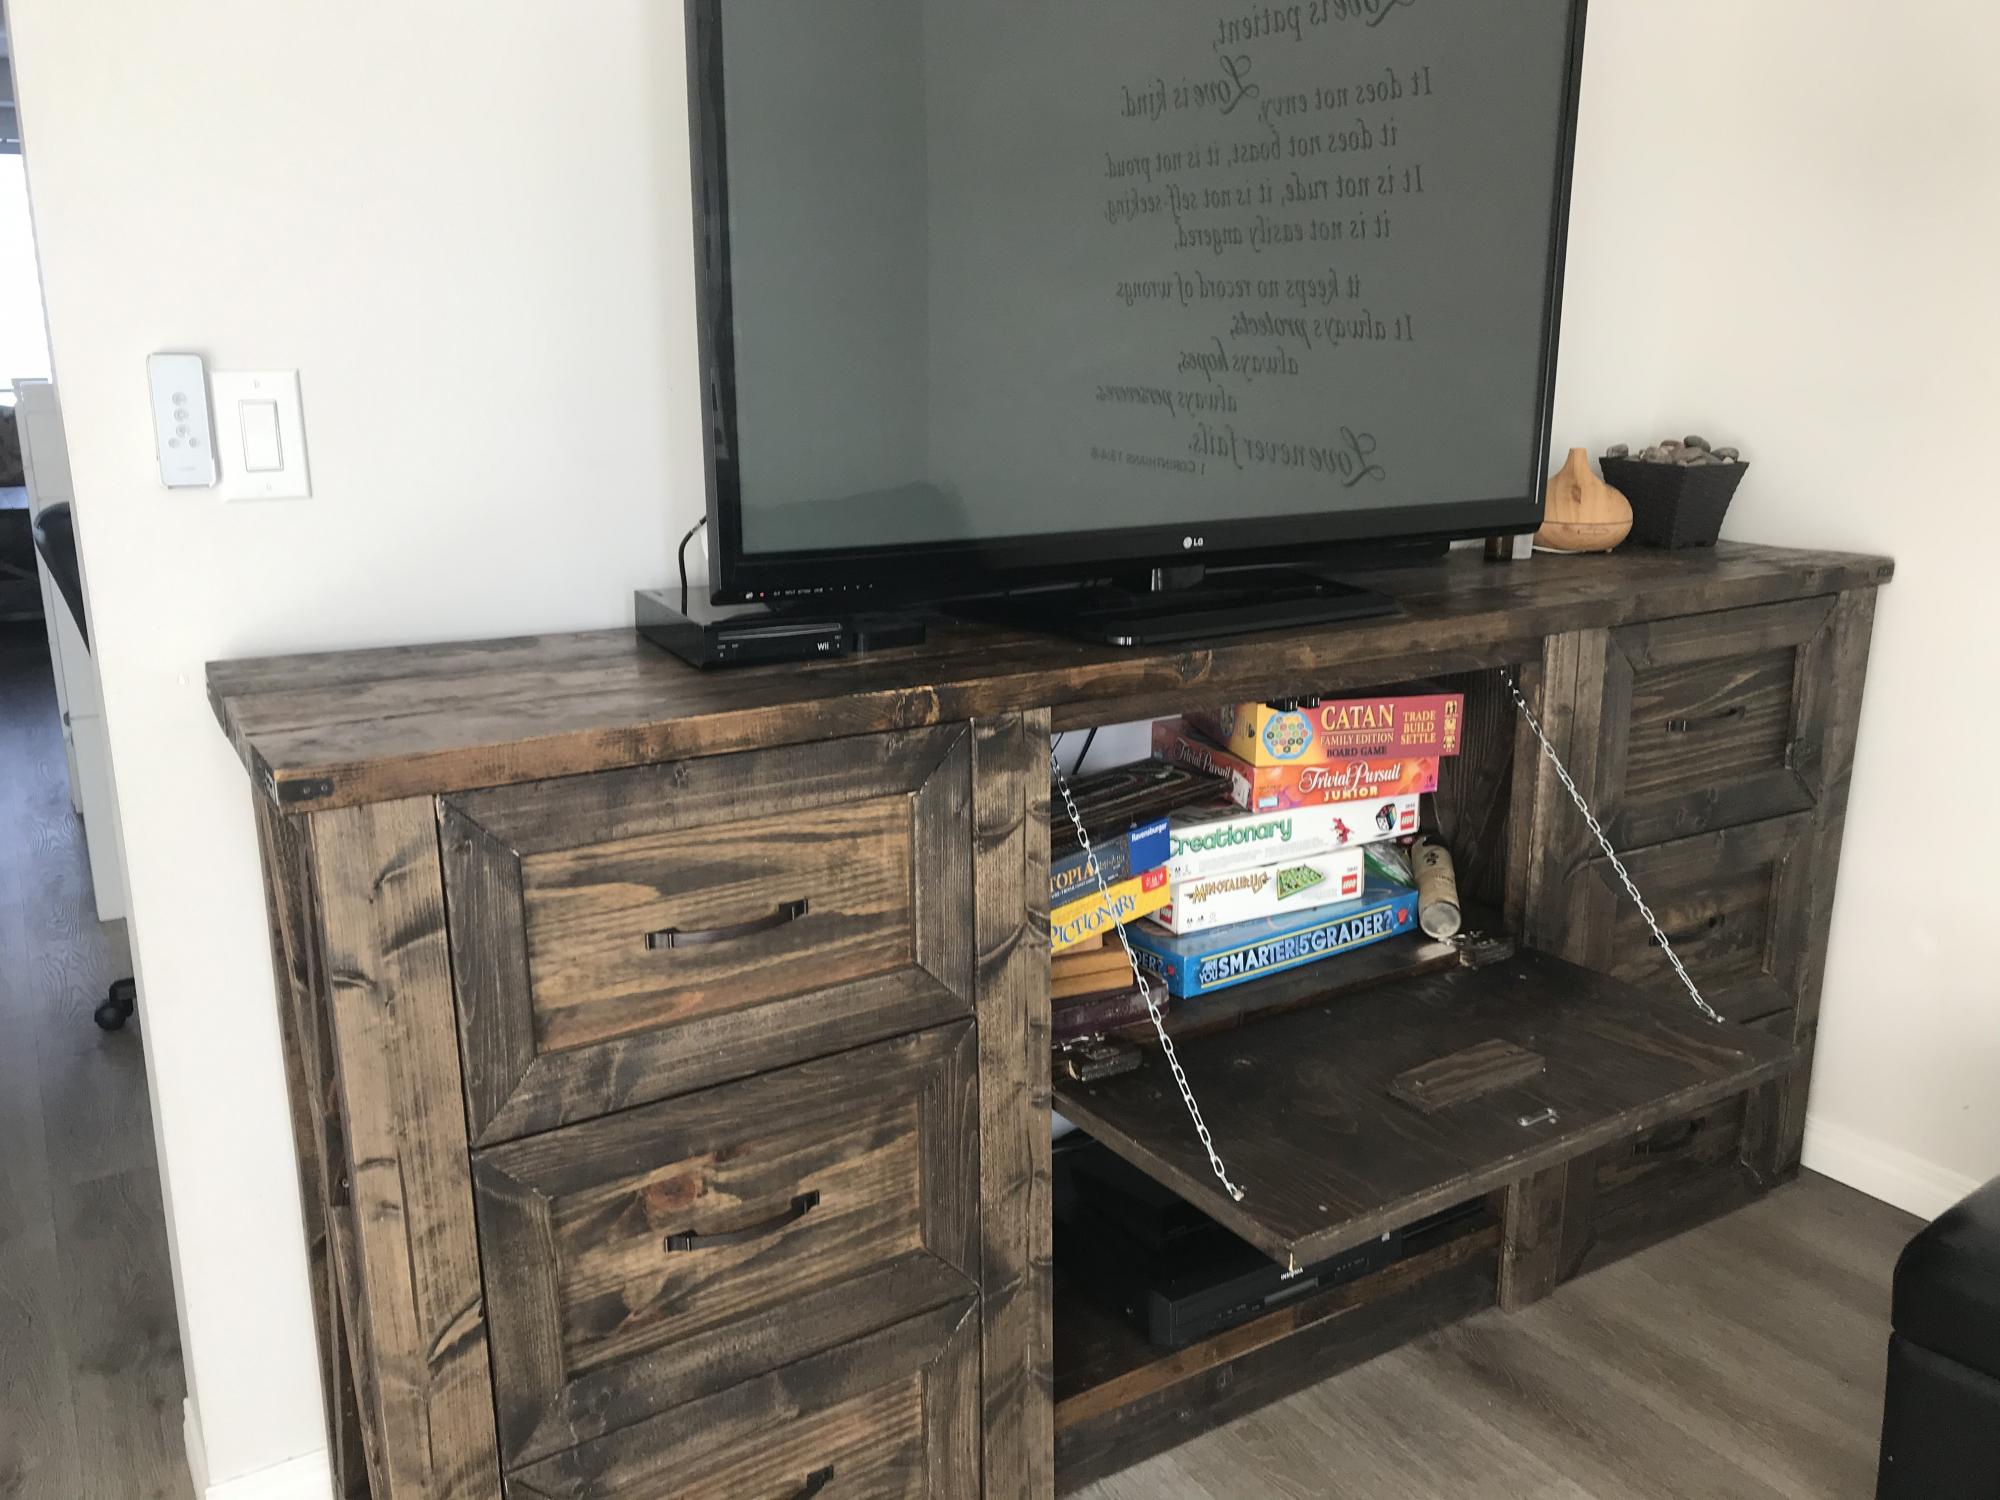
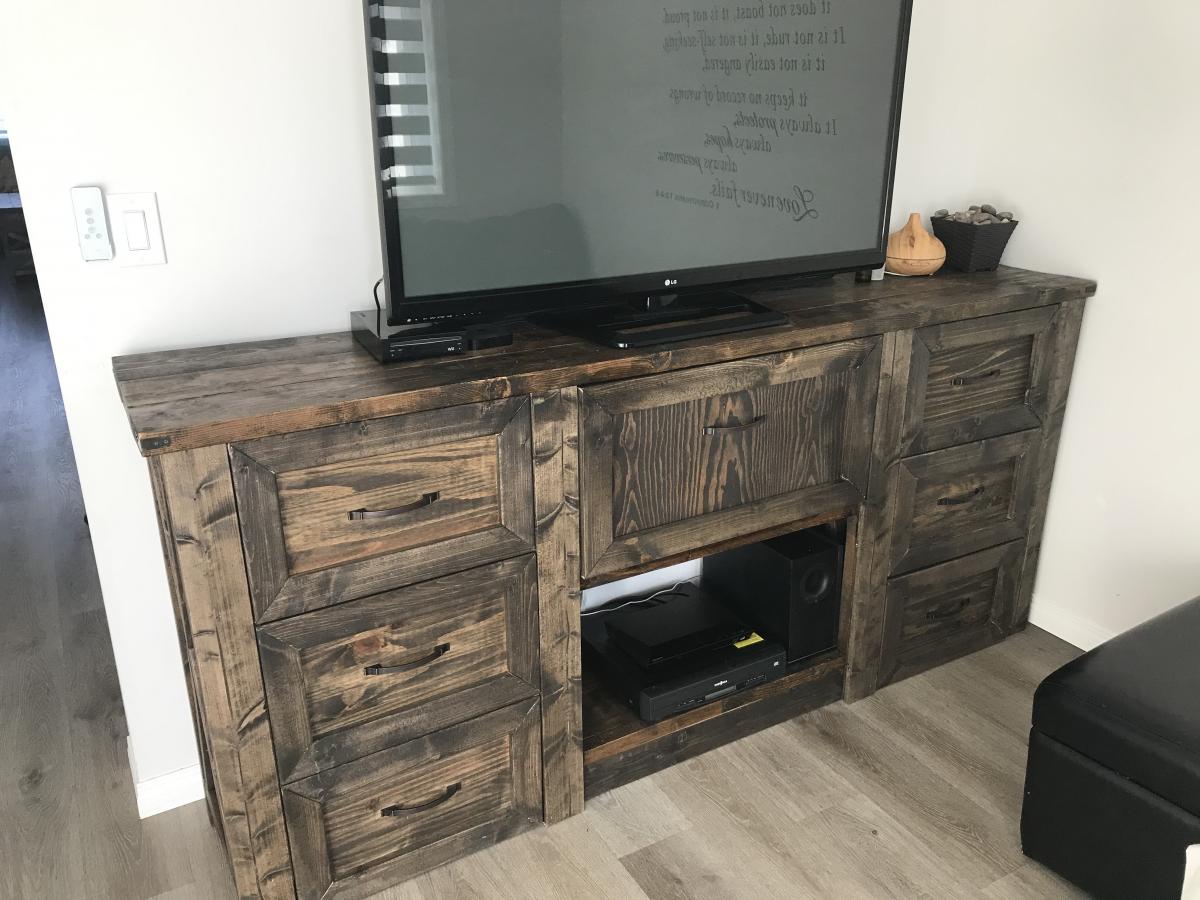
This was pretty difficult for a beginner, but only because I had never made something with a frame that had to be squared up. I didn't realize I need a big square and should have checked each join of the 2x2's to the plywood. Ended up that the center supports were not square but this was after I had already made doors and drawers. So I rigged them up with shims to make them fit better. However, I still think it turned out great and one day may take it down and fix it or sell this one and make another. I added tea stained vintage font numbers to the pulls. To me, this really made the piece special. I would suggest a little more instructions for doors and drawers. Ana has a great youtube on drawers I found today. I will definitely use that method next time.

I followed the plans exactly, except I didn't put the trim pieces on the lower shelves sides. I really like the way it turned out, and my wife painted it with Annie Sloan Chalk Paint, color "Paris Grey" and then used Annie Sloan finishing wax (both clear and dark wax) to protect the piece and age it. I think it turned out great! Thanks for the plans!
Nothing was to difficult with these plans, at least not if you have a Kreg Jig. I would add that I used pocket screws on the top pieces not only to join them to the breadboard end pieces, but also to each other. That made it really strong!
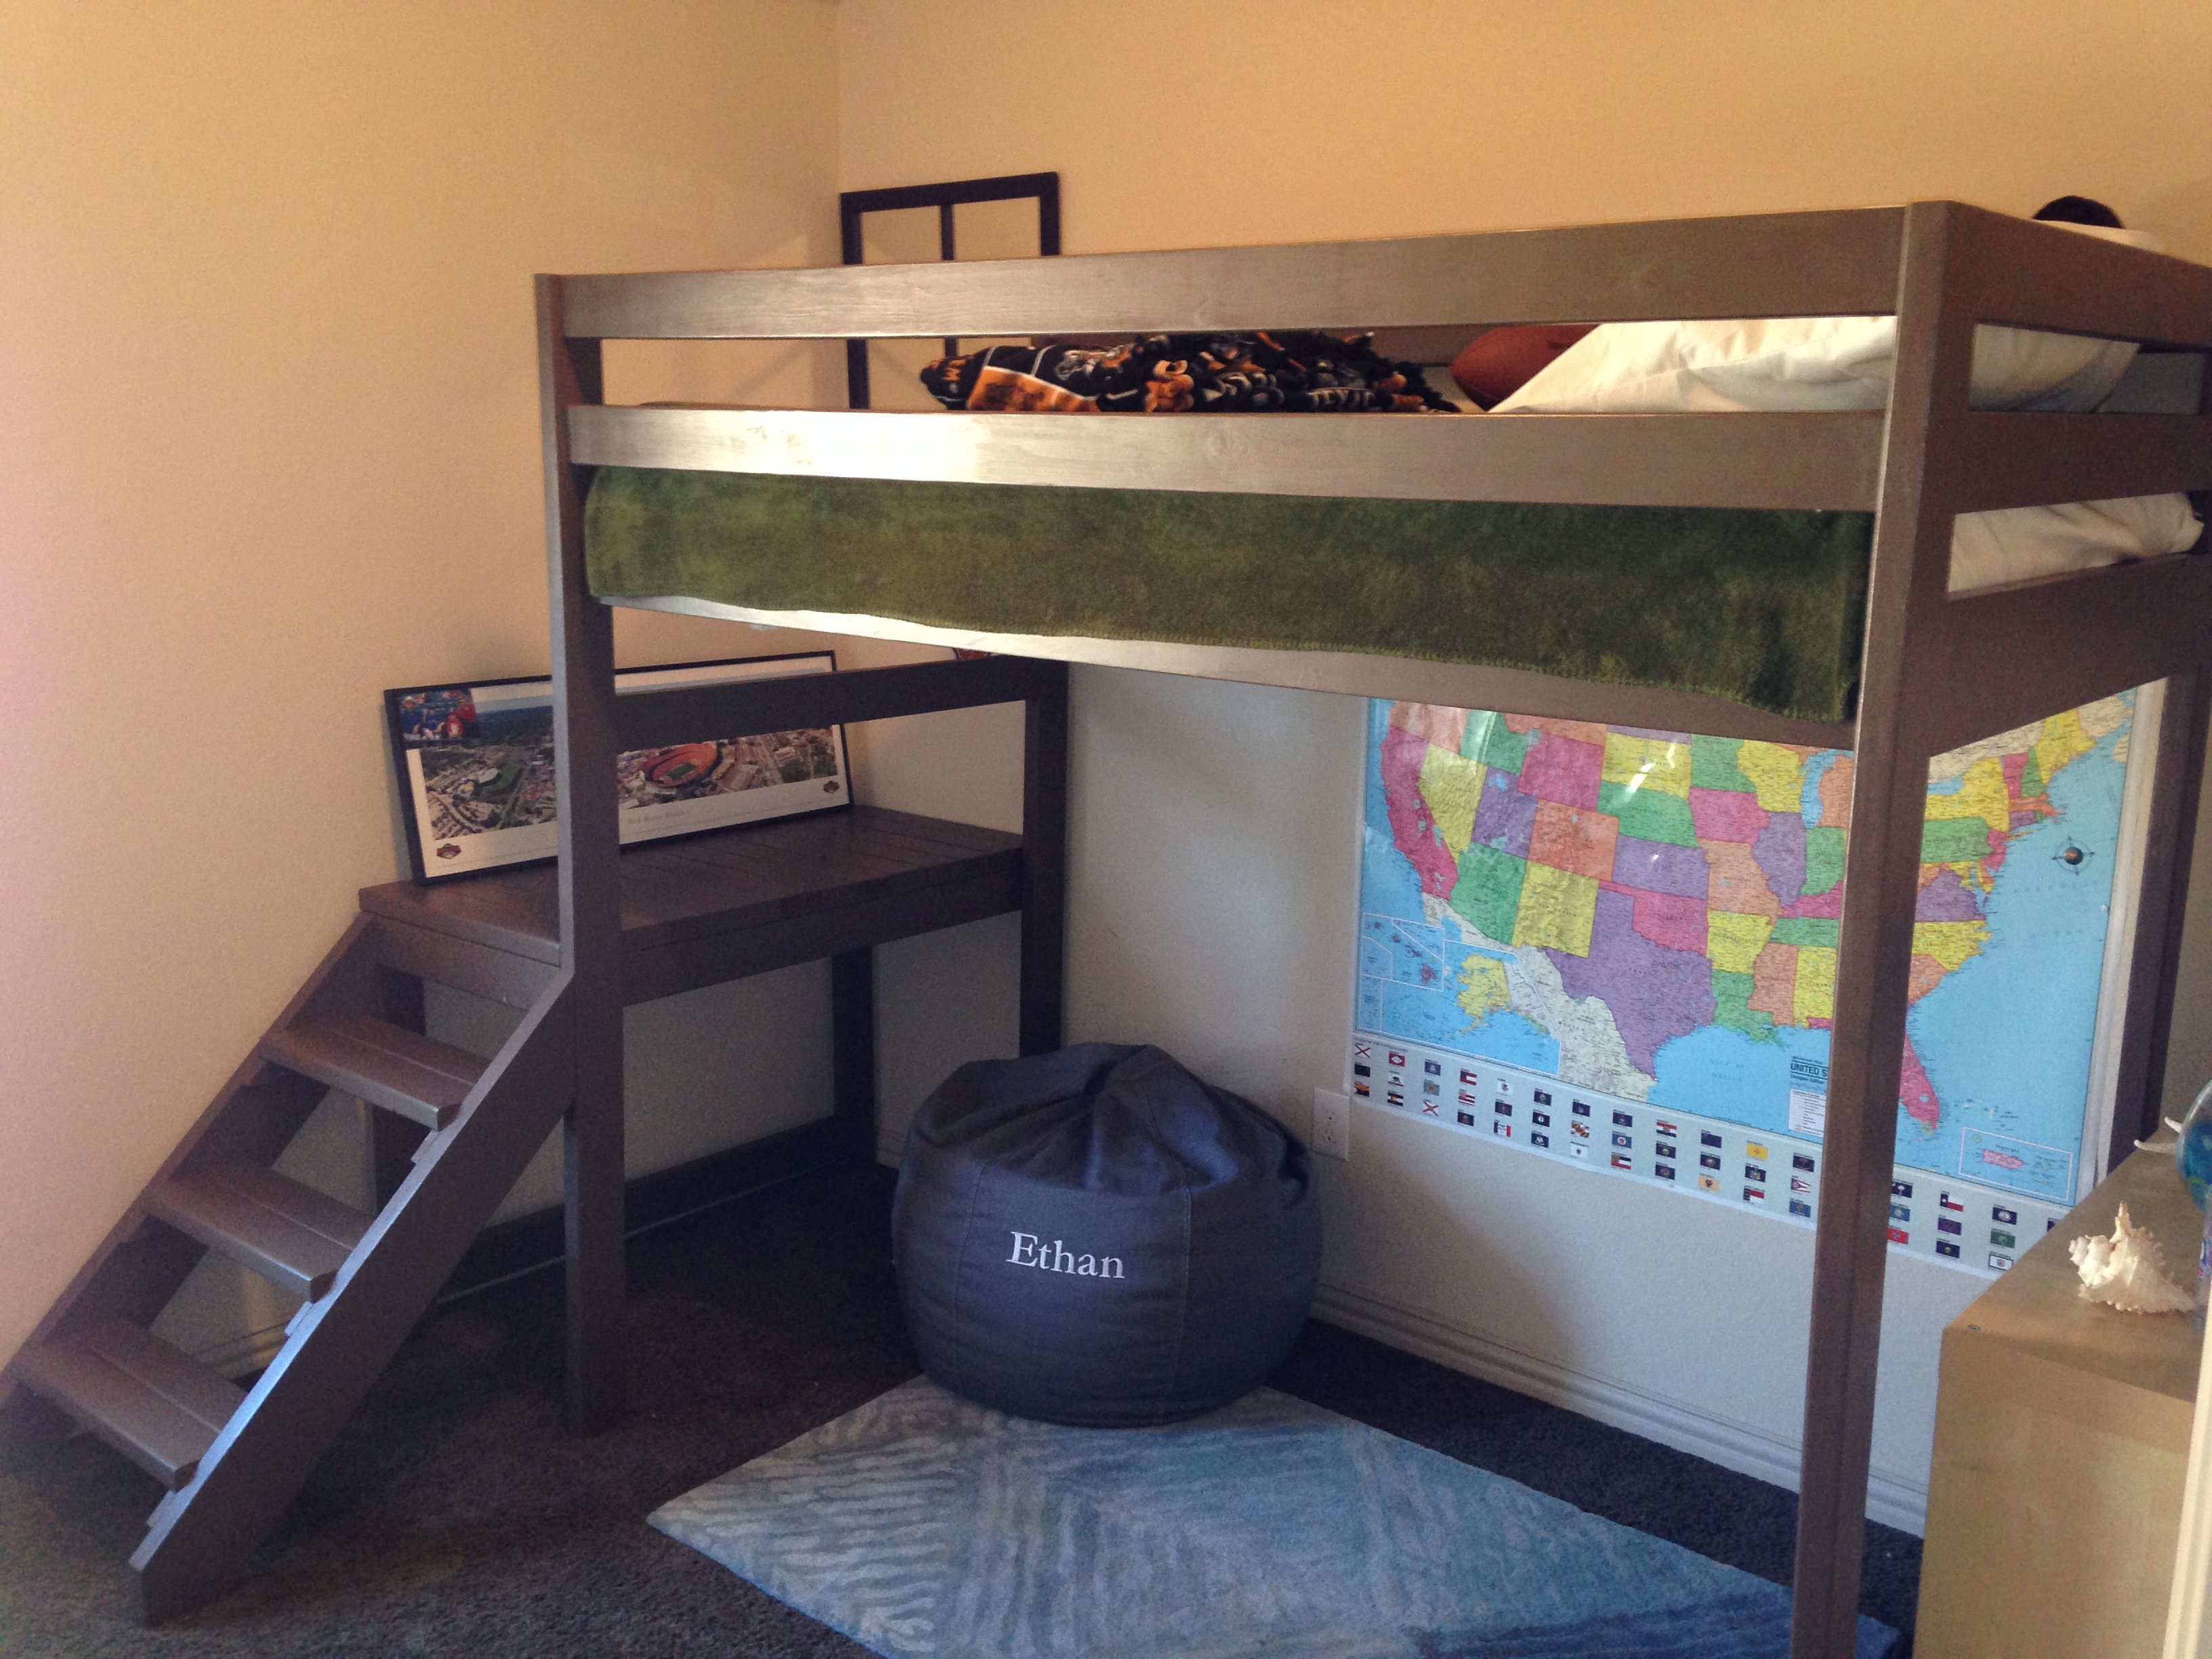
To build this bed I combined the Camp Loft Bed with Stairs (Jr. height) plan with the height measurements of the Loft Bed. My son absolutely loves this bed!

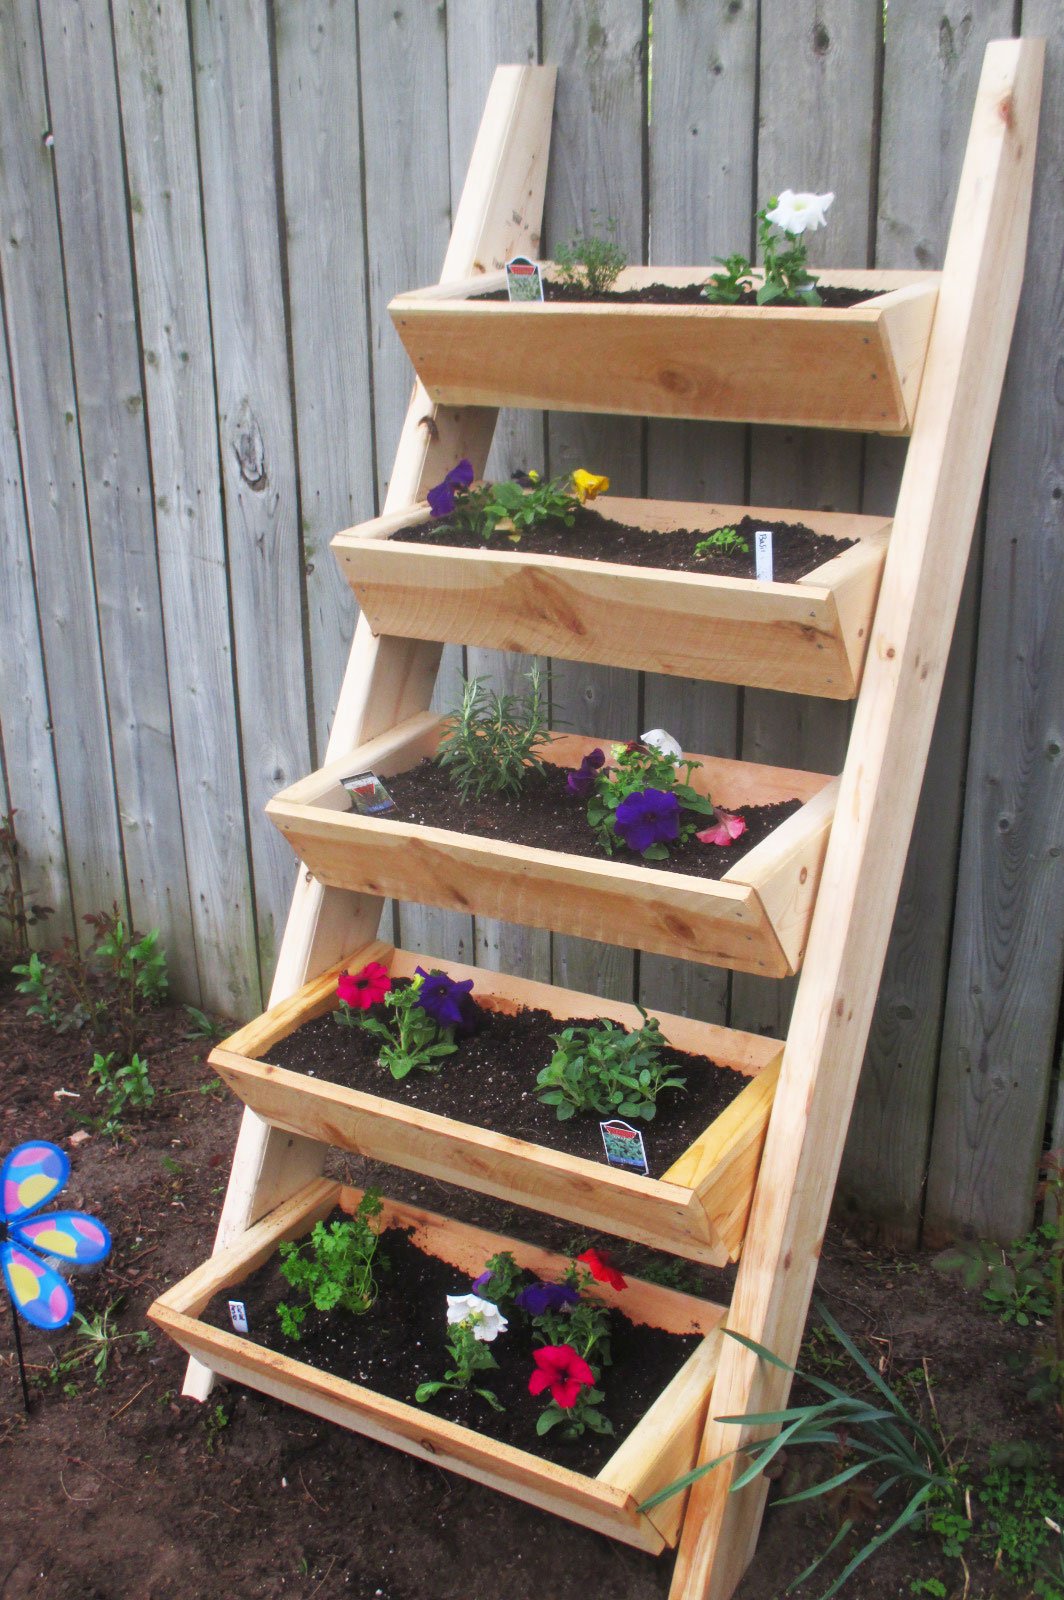
Living on a small city plot, this vertical ladder planter was just what I was looking for to grow my herbs and flowers. I am not an experienced builder but the plans were easy to follow. It didn't take me much time at all to complete this project. Now I am looking forward to fresh herbs and flowers all summer.
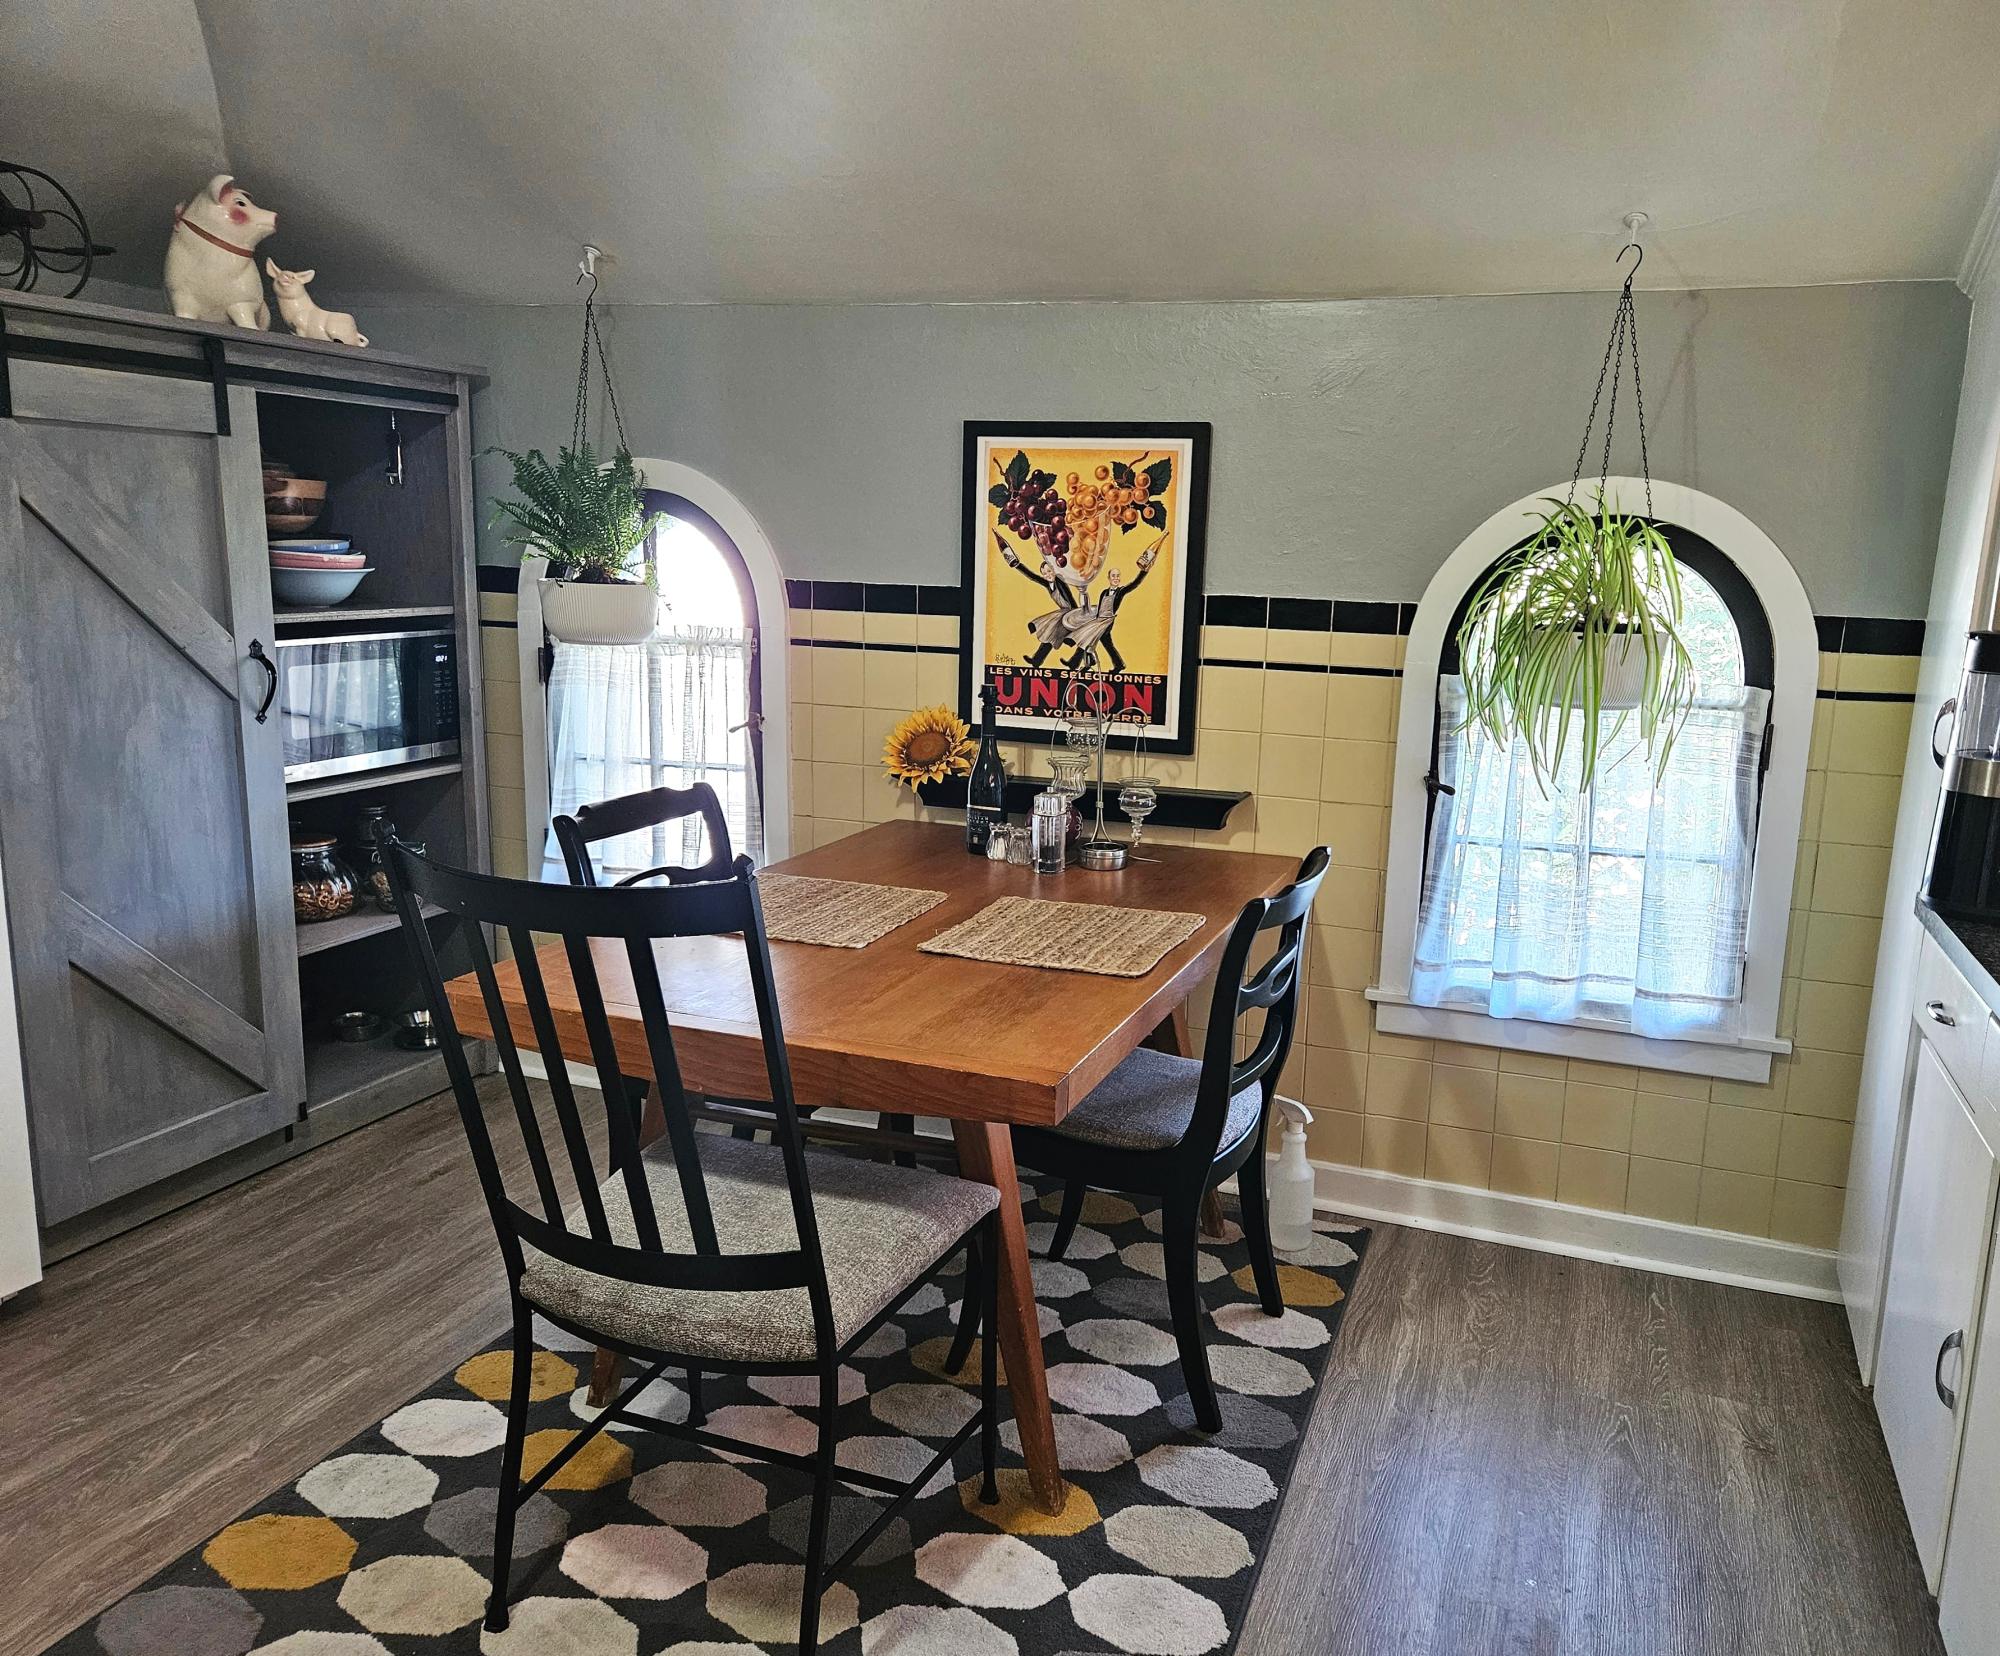
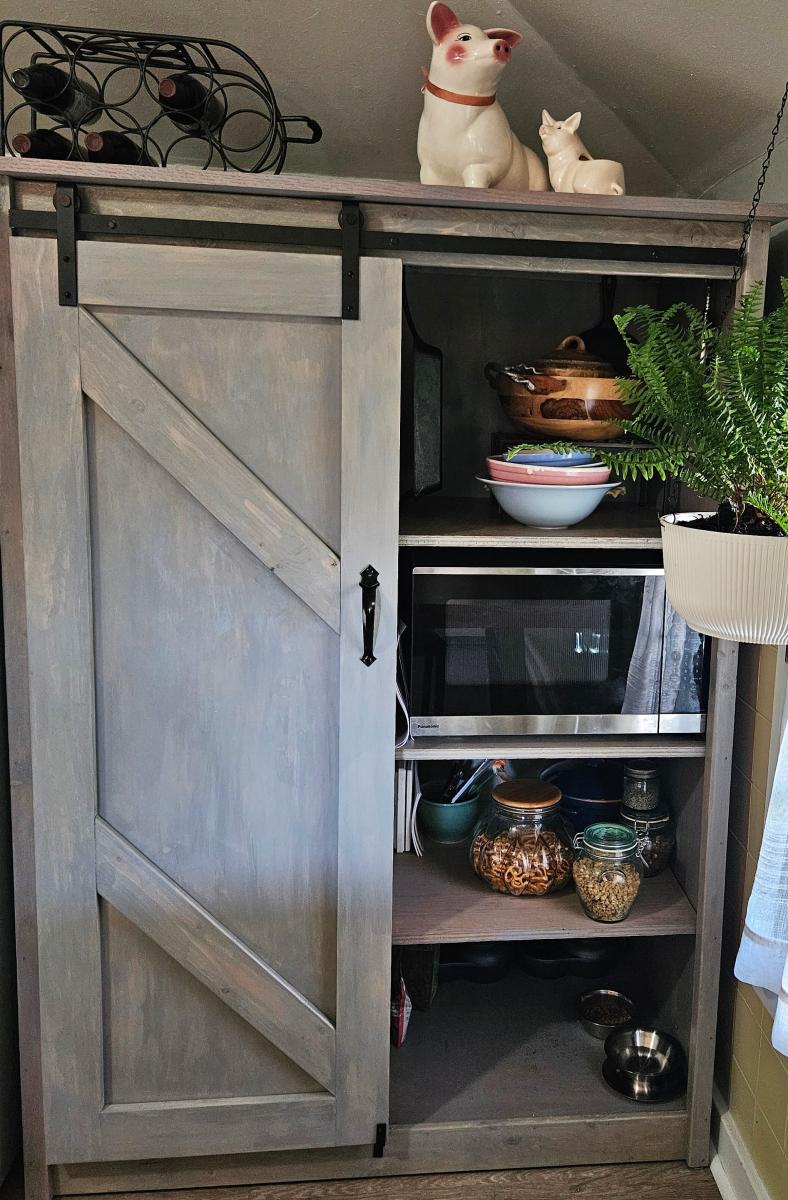
I adjusted your Barndoor l Pantry plans to utilize repurposed lumber from a Murphy bed. The shelves are 22" deep for my microwave, toaster oven, etc. It's so functional and much easier to work in my small kitchen.
Cheryl G

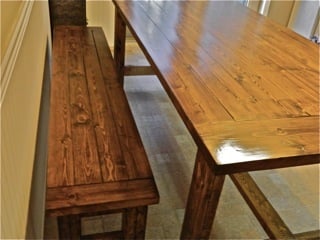
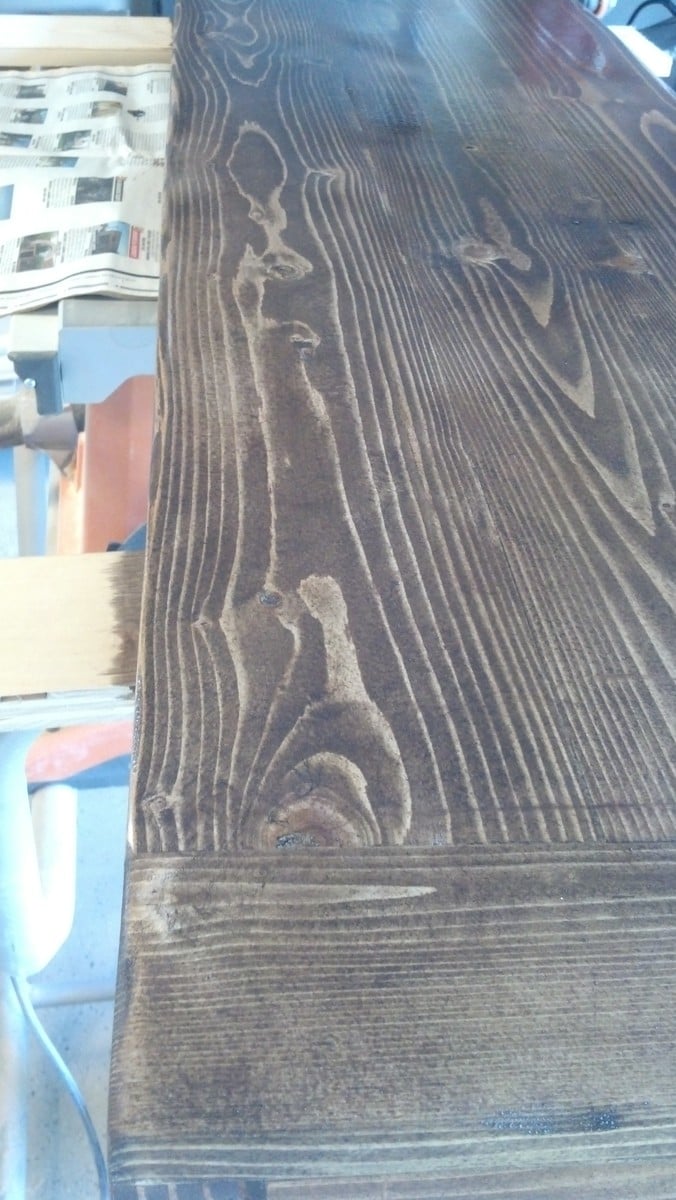
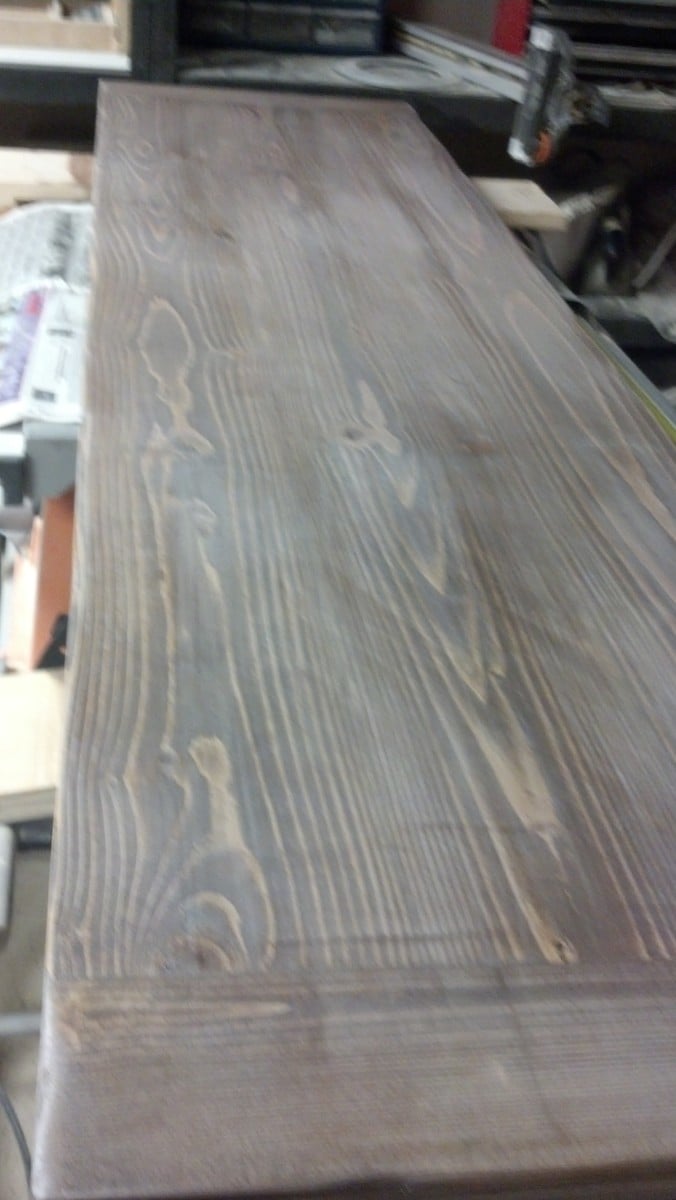
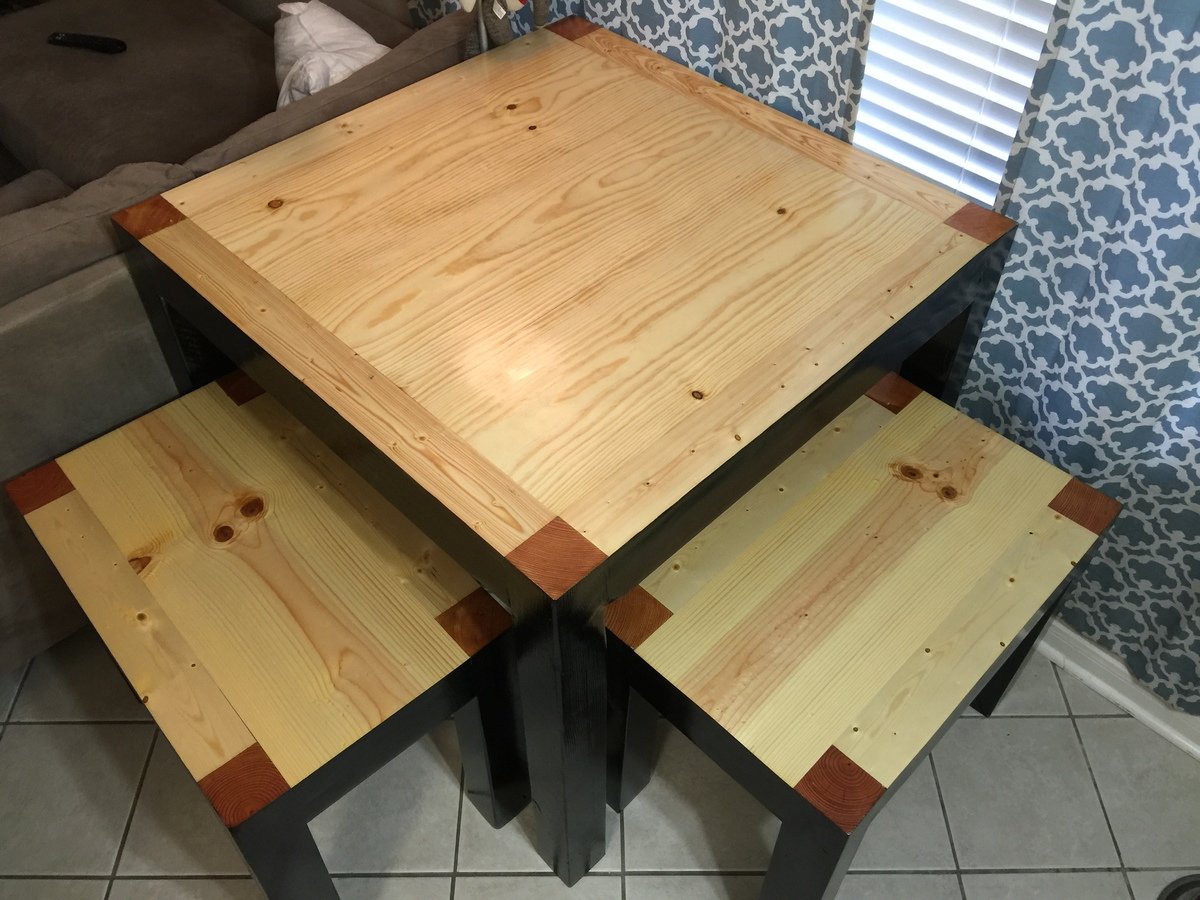
Love this stain and how it makes the grain stand out!
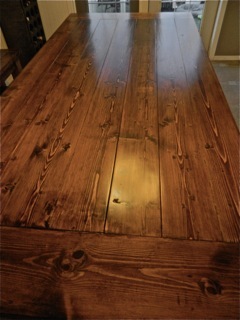
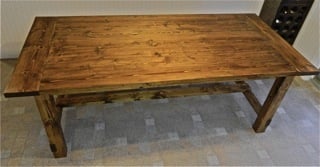
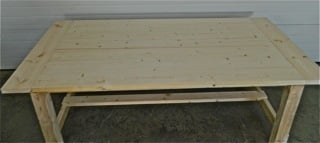
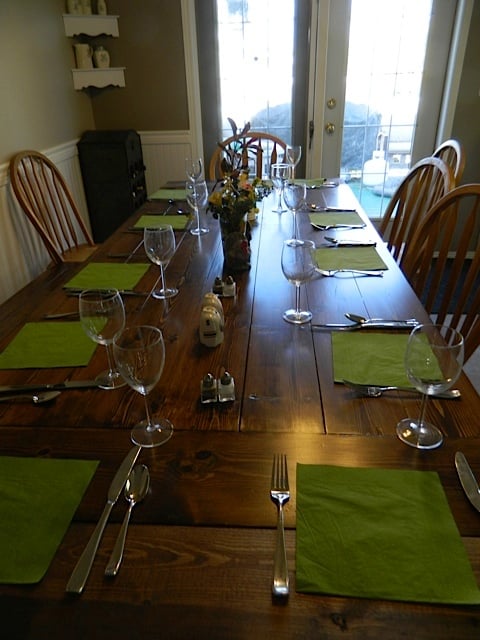
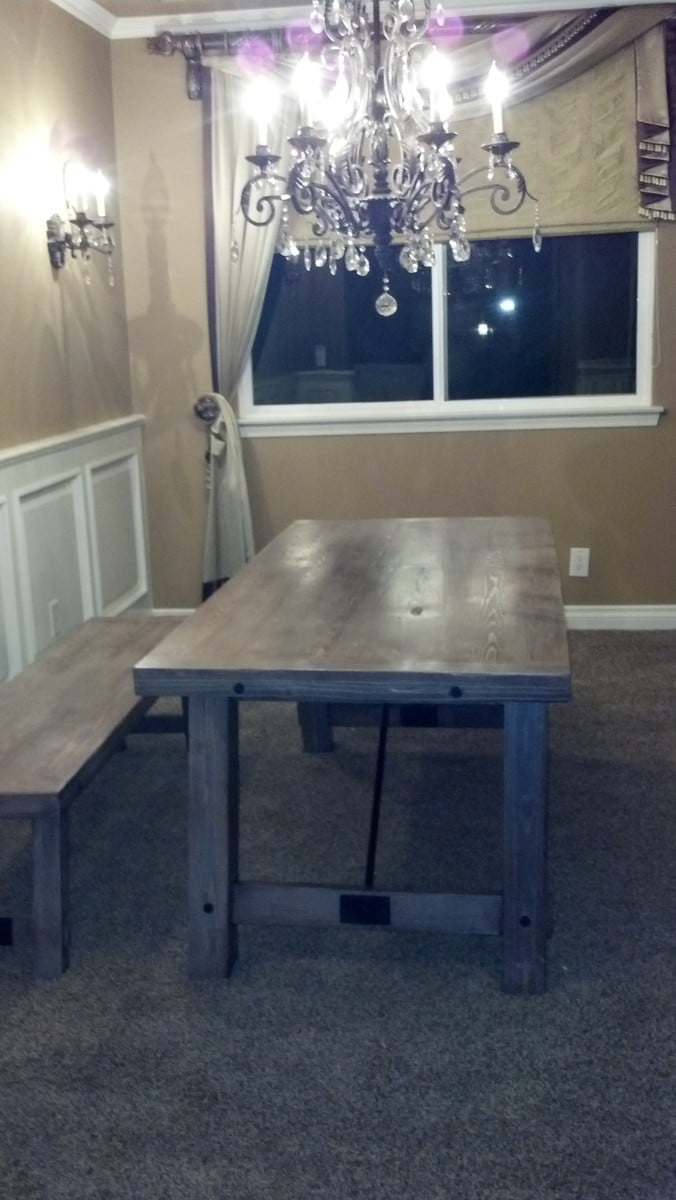
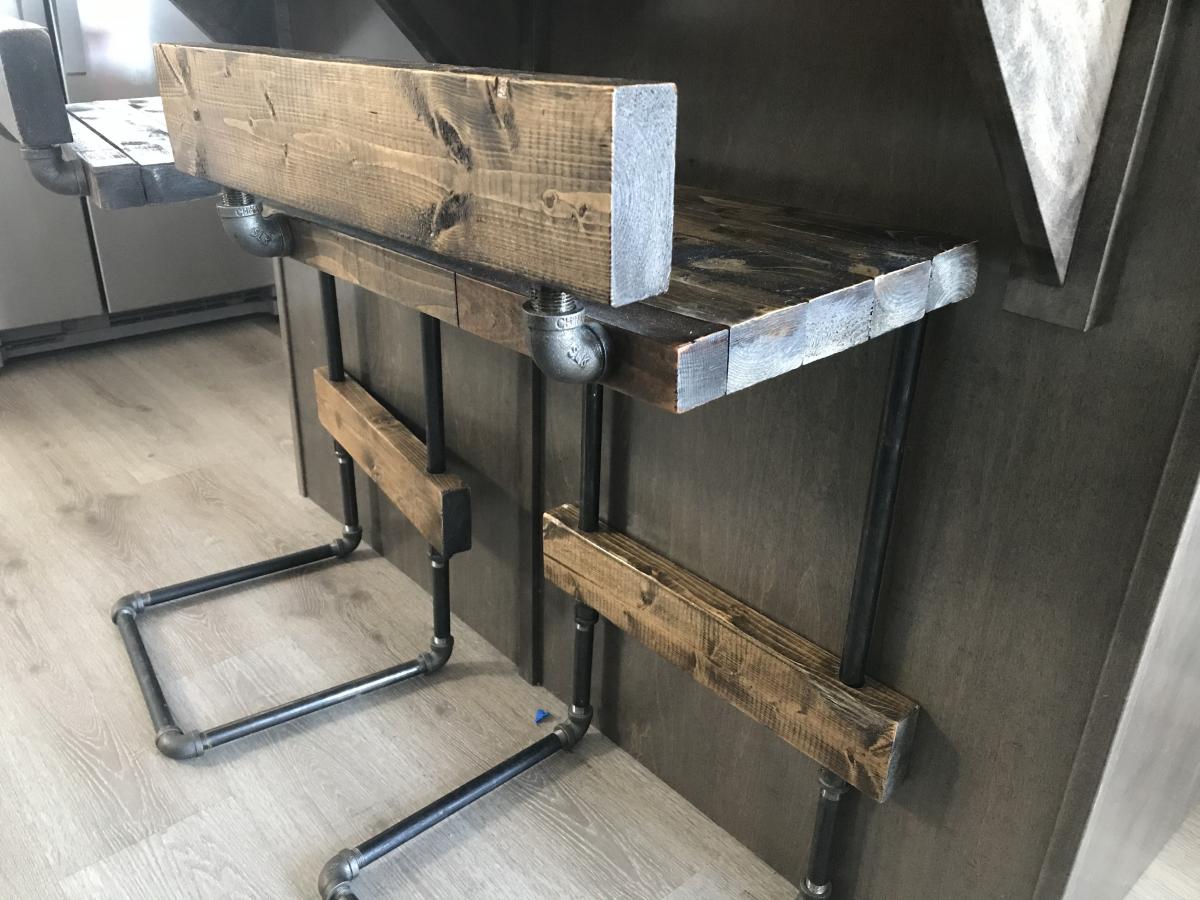
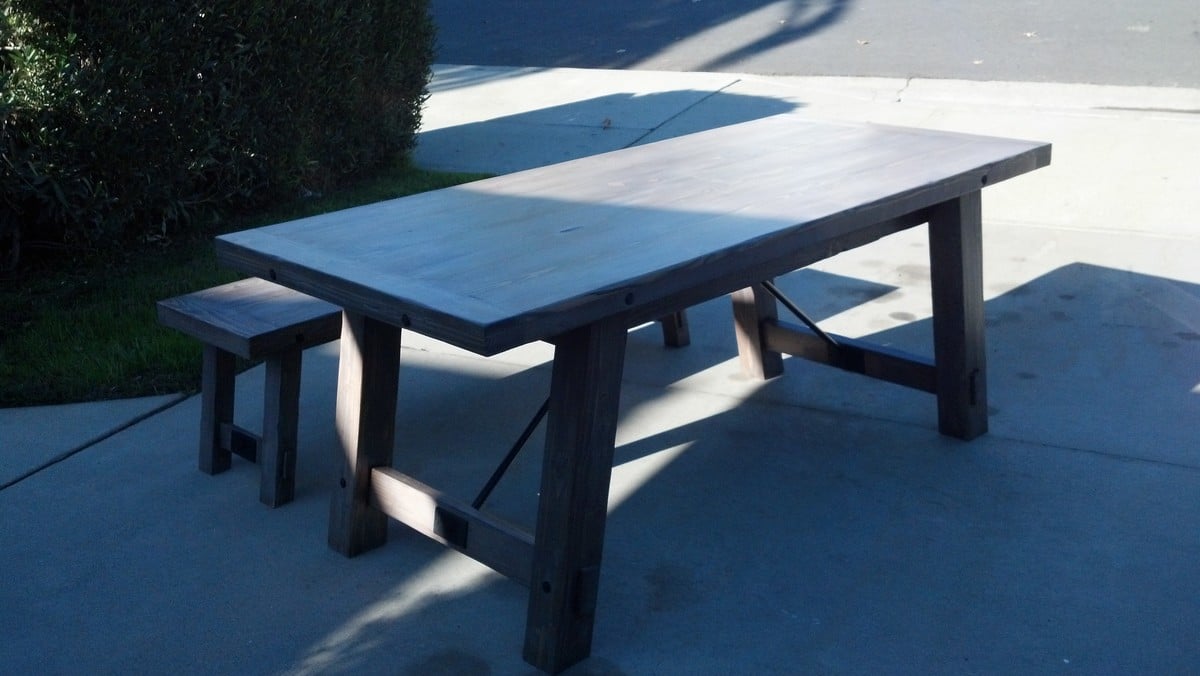
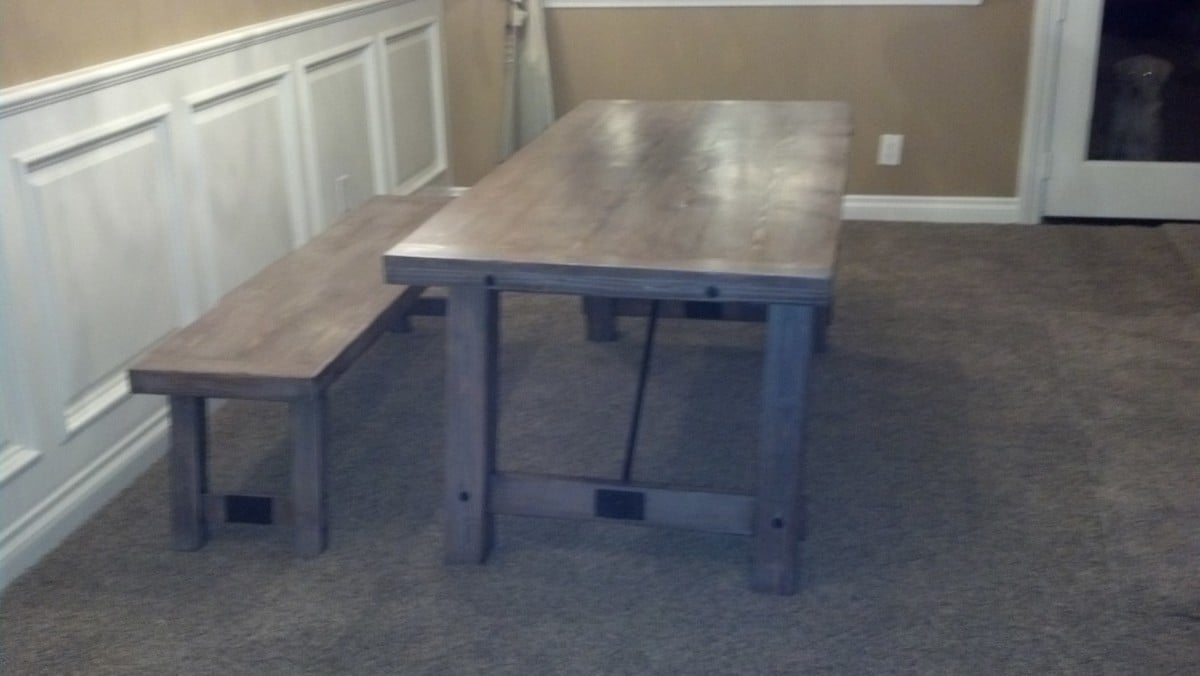
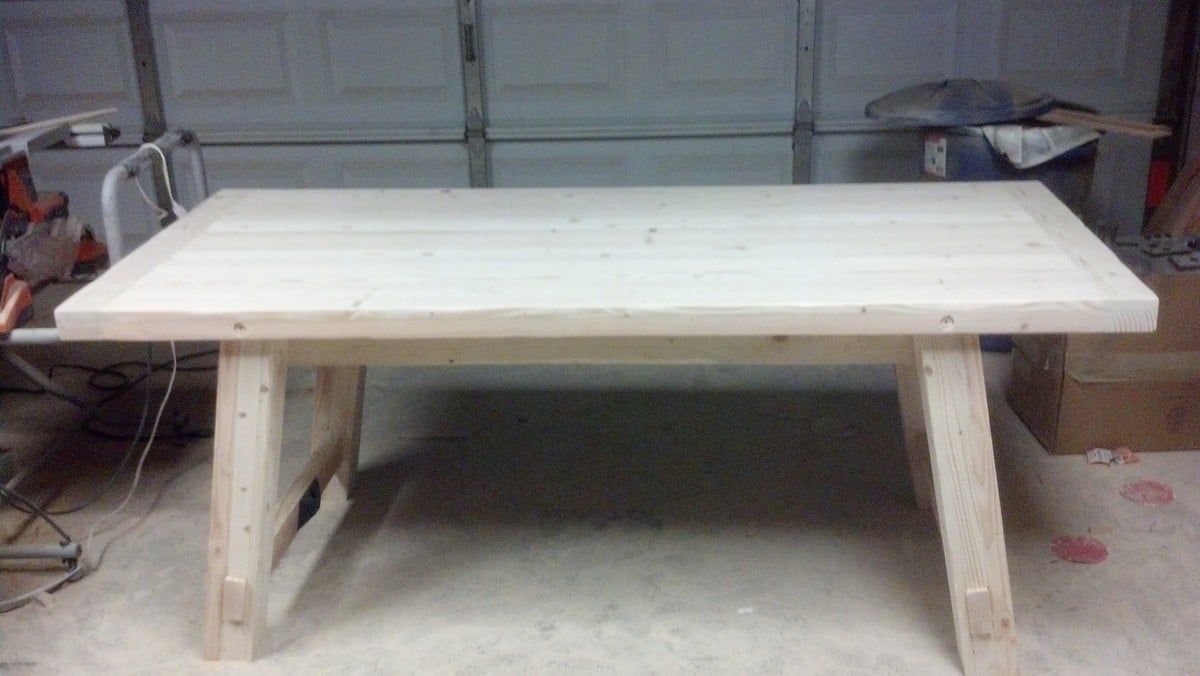
So my son and daughter-in-law have a new home, and lots of empty space. I told them to find a table they liked and I'd try to make it for them. They liked the PB benchwright table (http://www.potterybarn.com/products/benchwright-dining-table/http://www…) with the iron support pieces. I had to get creative for those using electrical conduit and some plumbing pieces that I spray painted black. I finished it exactly like Jen of House of Wood (http://jenwoodhouse.com/blog/2013/06/07/diy-dining-table/) and it turned out beautifully!
It was a fun project and they love it.
Ana, I really loved this design and was pretty easy to build! I like the way the finish turned out by painting it black and just a few coats of poly on top.
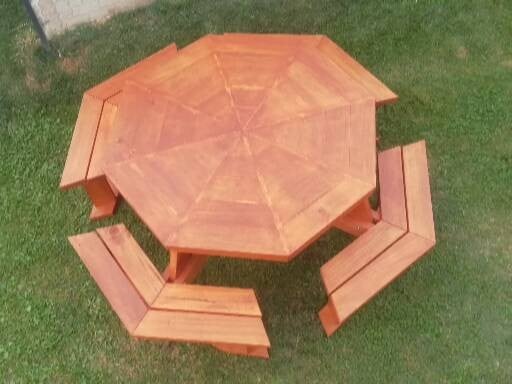
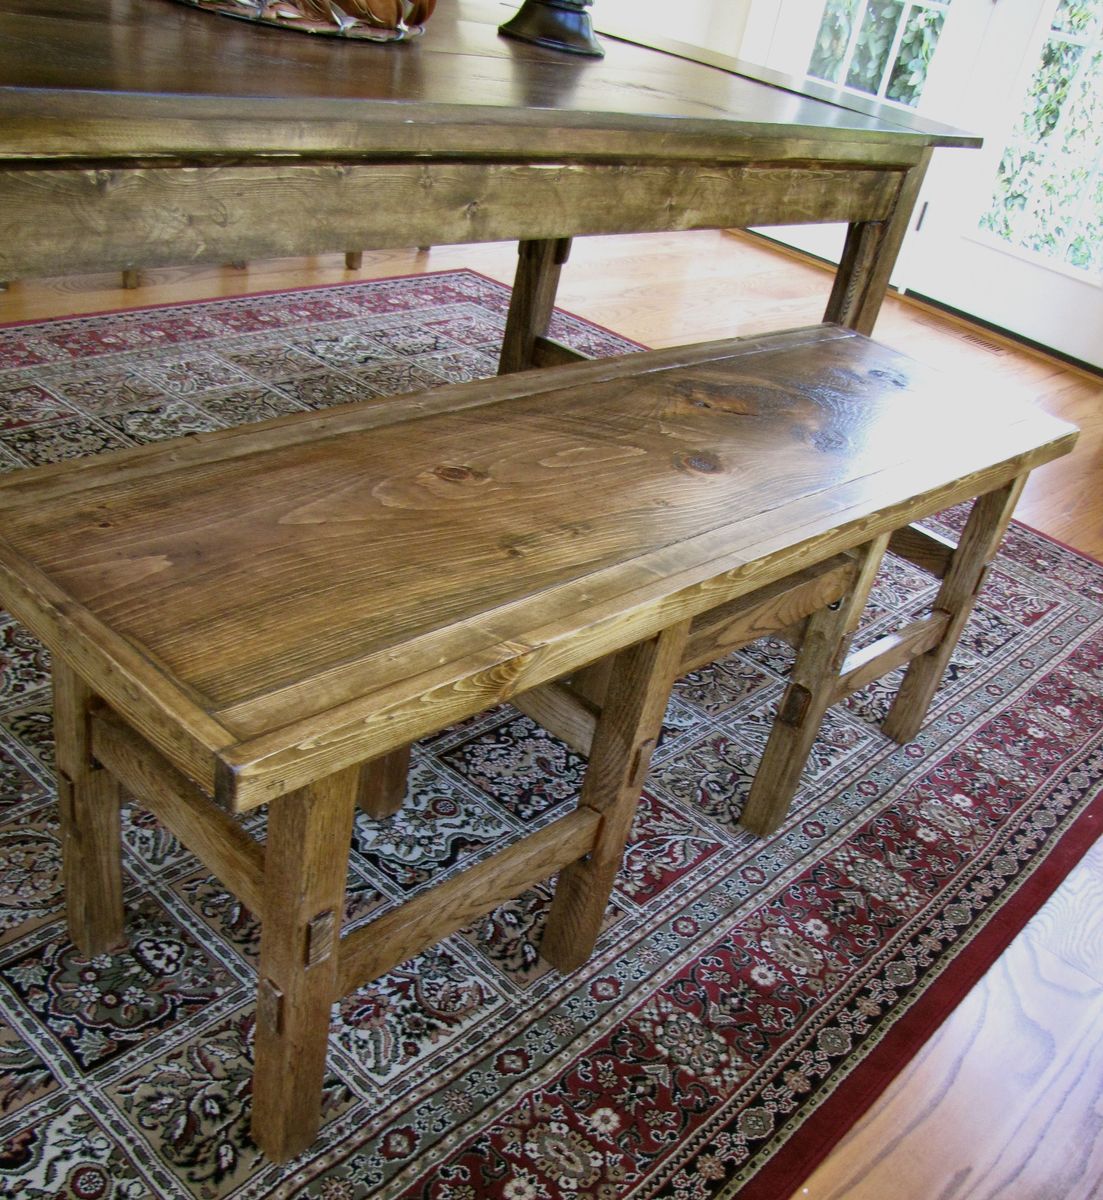
The benches are overbuilt with intention of converting 2 benches into 4 chairs in the future. I made them larger so I can simply just cut them in half and add two 4x4s 18 inches higher than the current bench legs at 24" and just deck it as a chair back, seems simple enough. One thing I would change in the design is eliminating the 3 1x12s and 2 of the 1x4s and just going with a solid table top at 33 3/4 x 40 3/4, similar to what I did on the benches.
Let me know what you think and if you have any questions.

Brookstone desk with a white oak top and drawer that I built for my 8- yr old son. It is a very fun build.
Jerry from NC
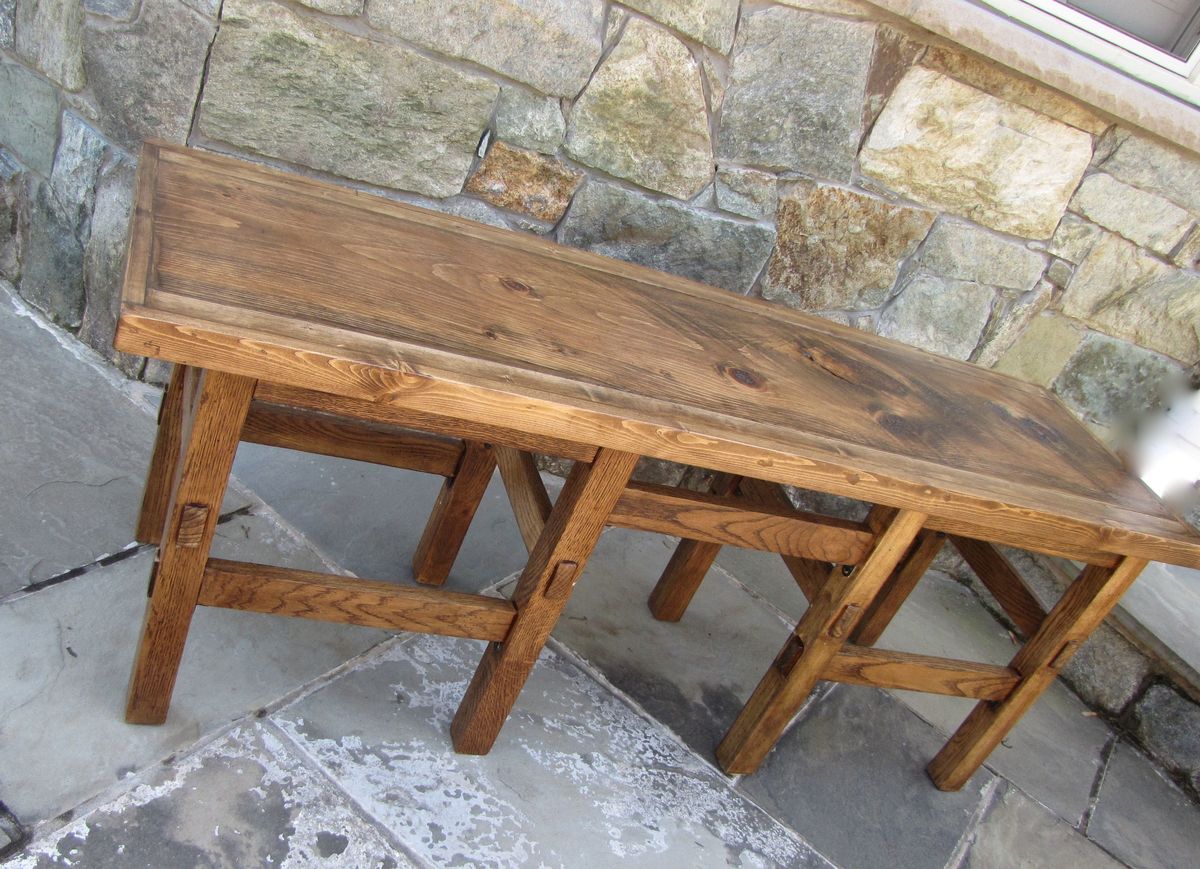
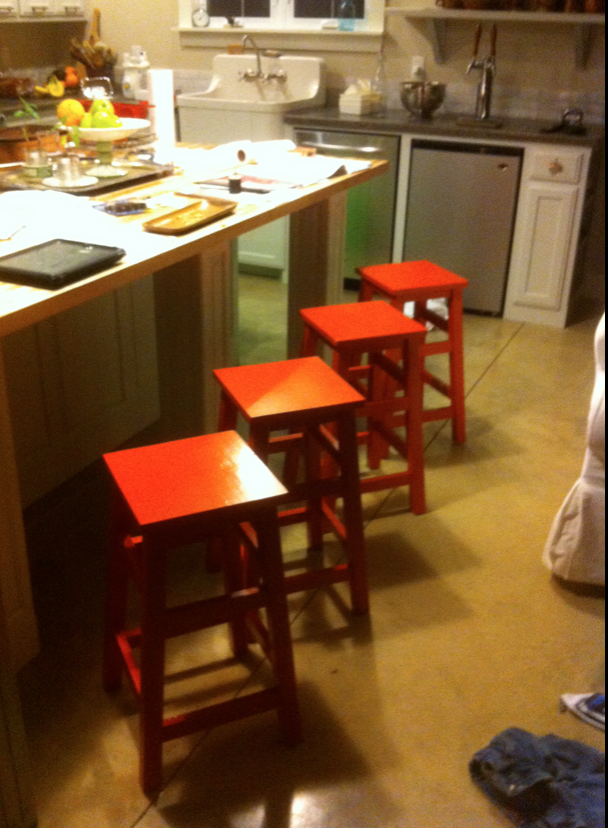
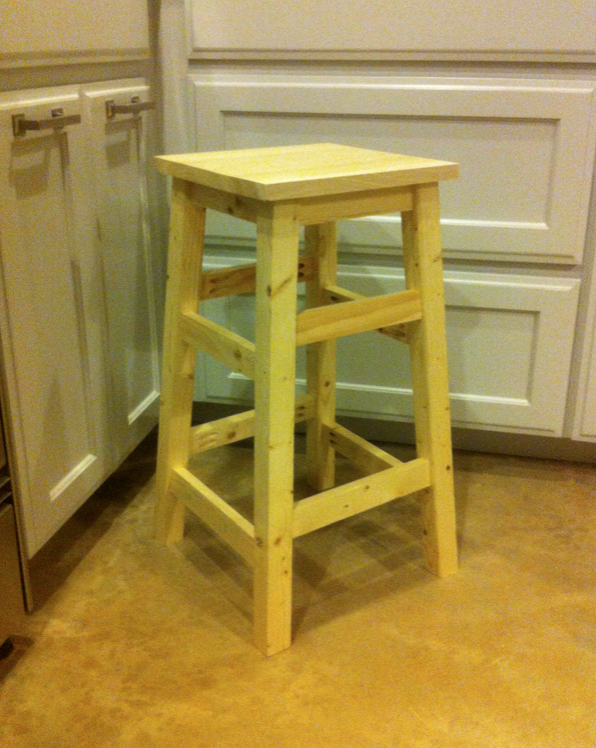
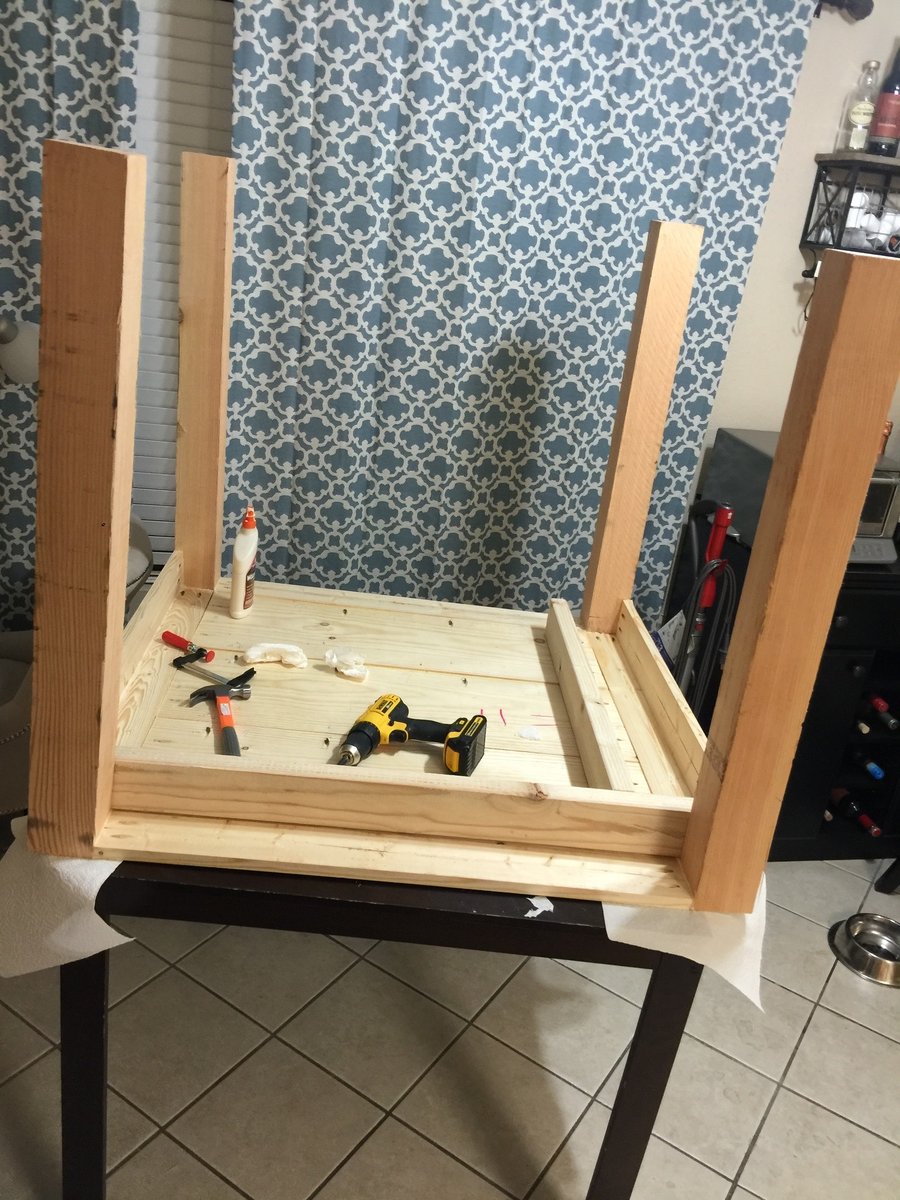
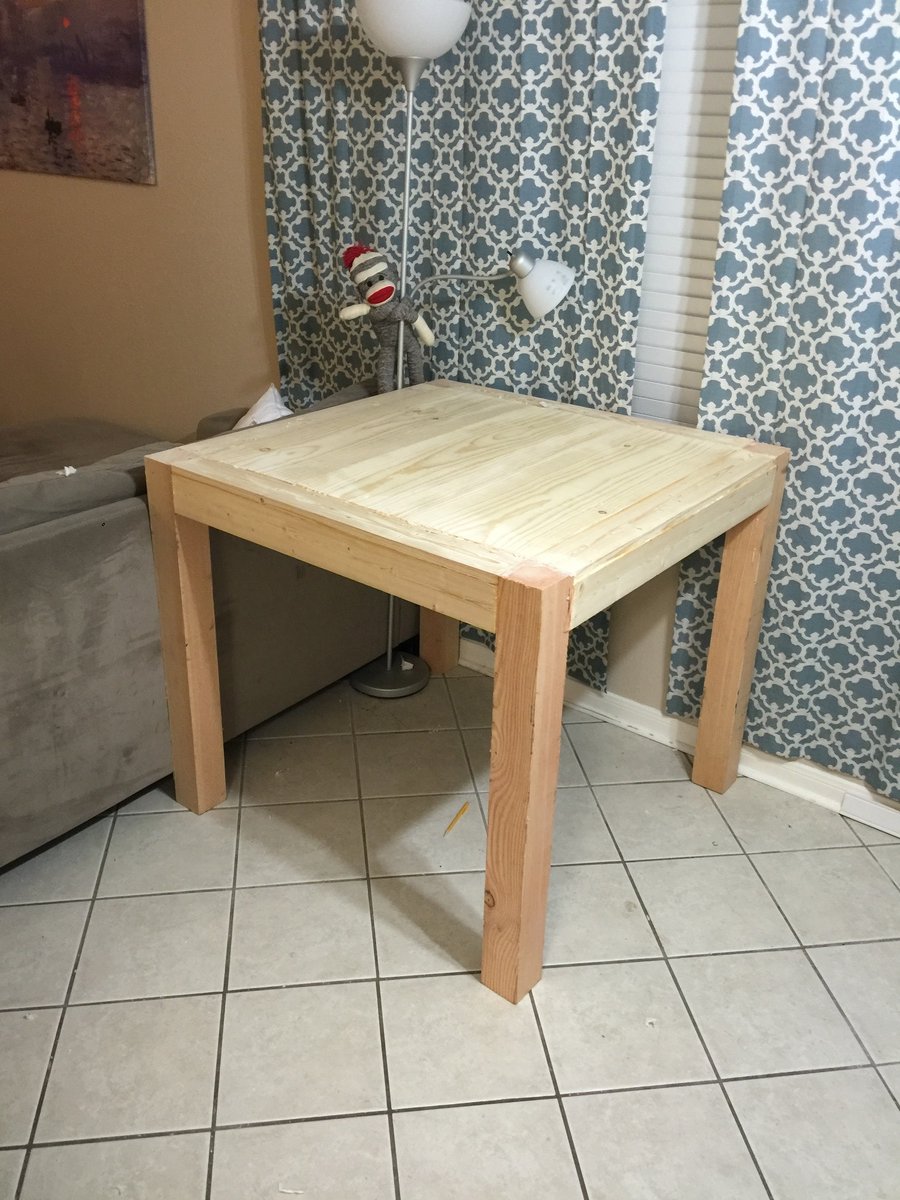
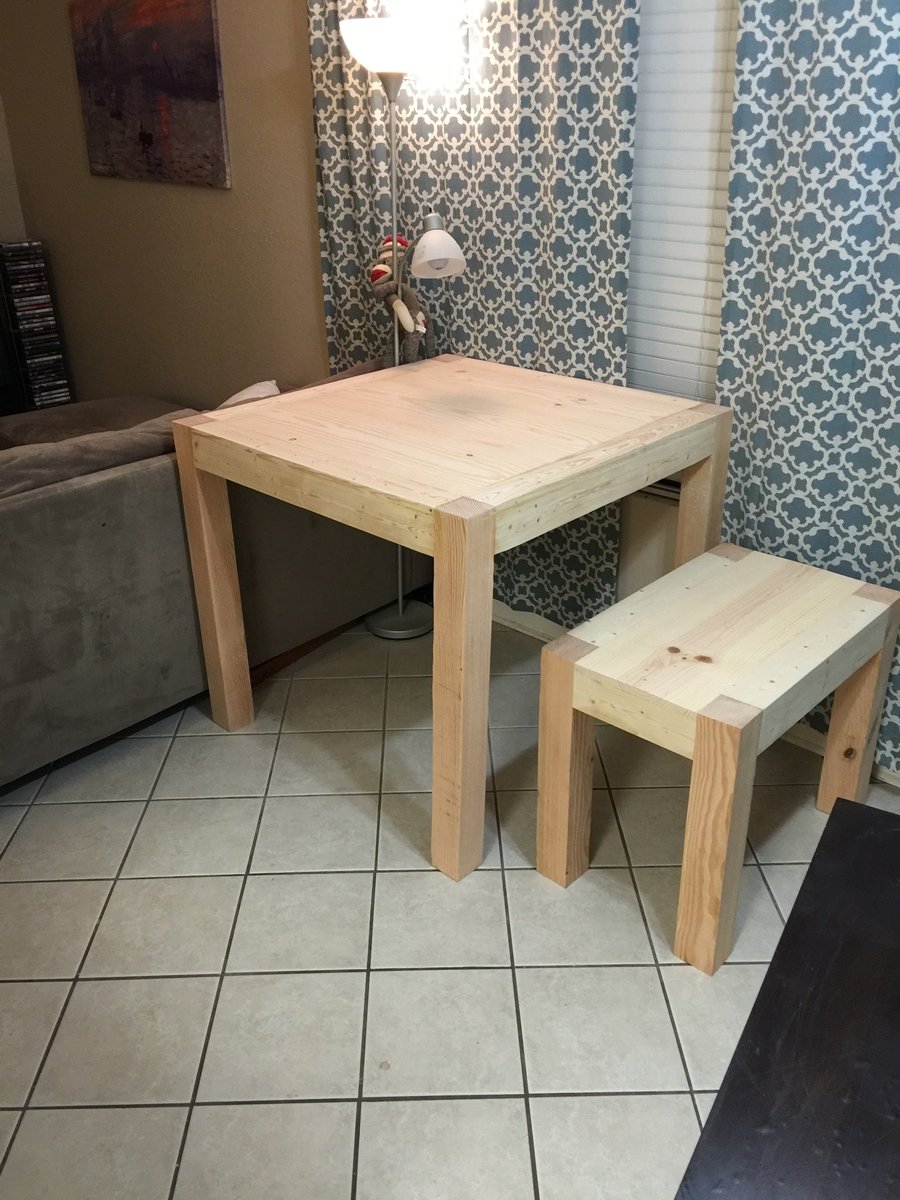
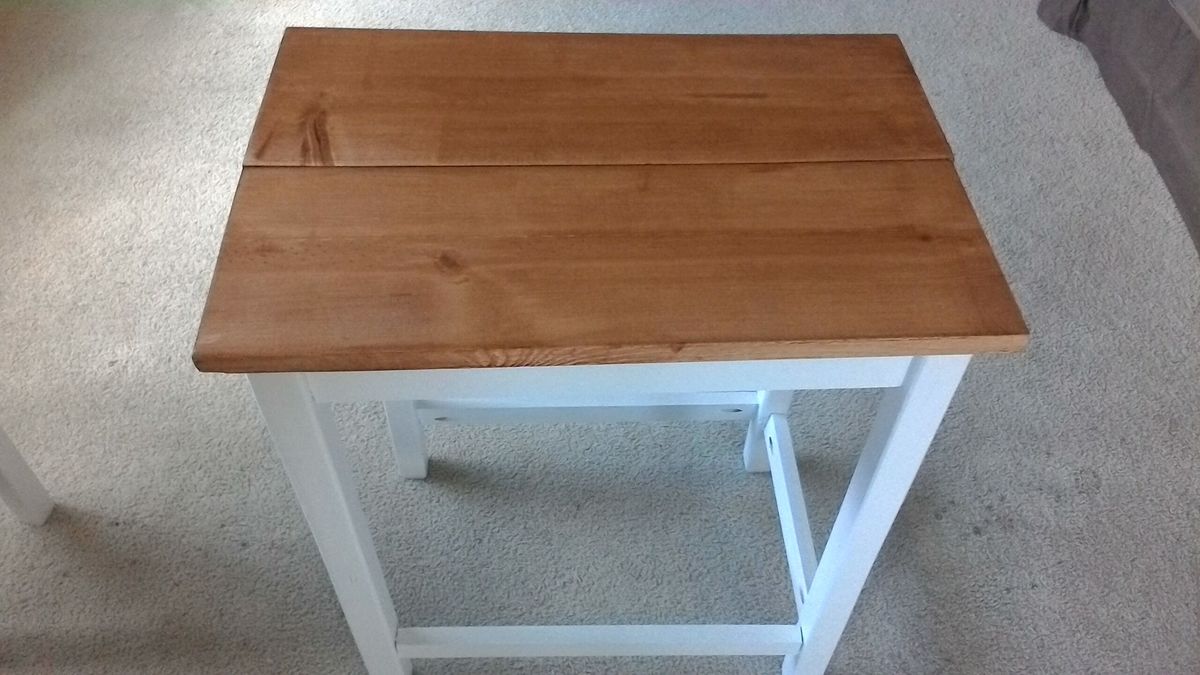
This was a very modified version of this plan. I mostly just dismantled two stools and built the top. The top is one solid plank of wood and two layers of 1x2's to create the frame. It goes perfectly with my Farmhouse table. I love the character of the wood top, its so unique. Enjoy!
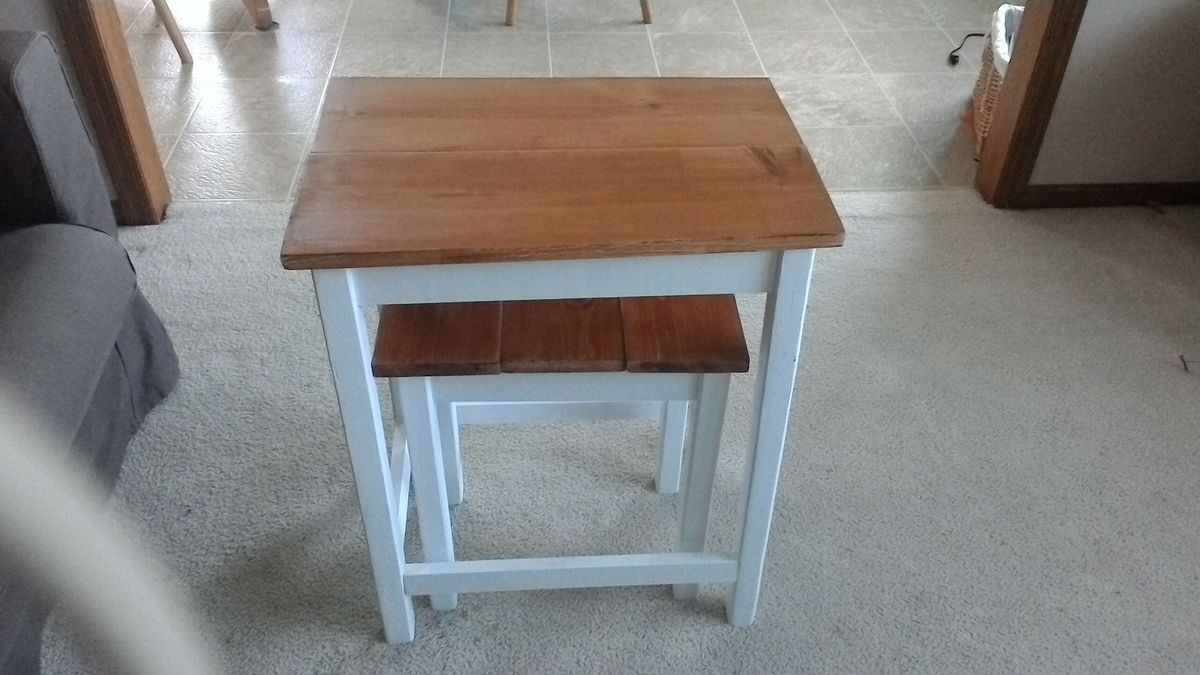
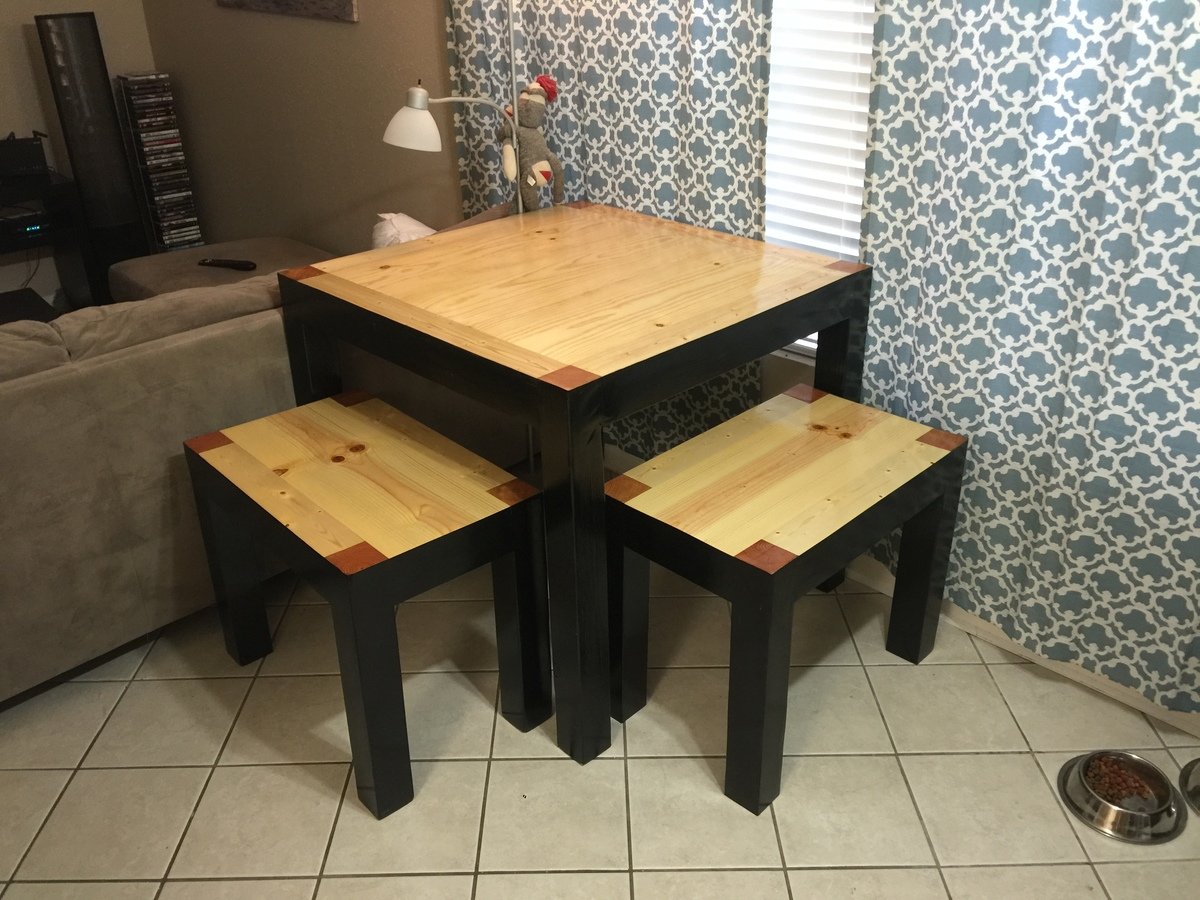
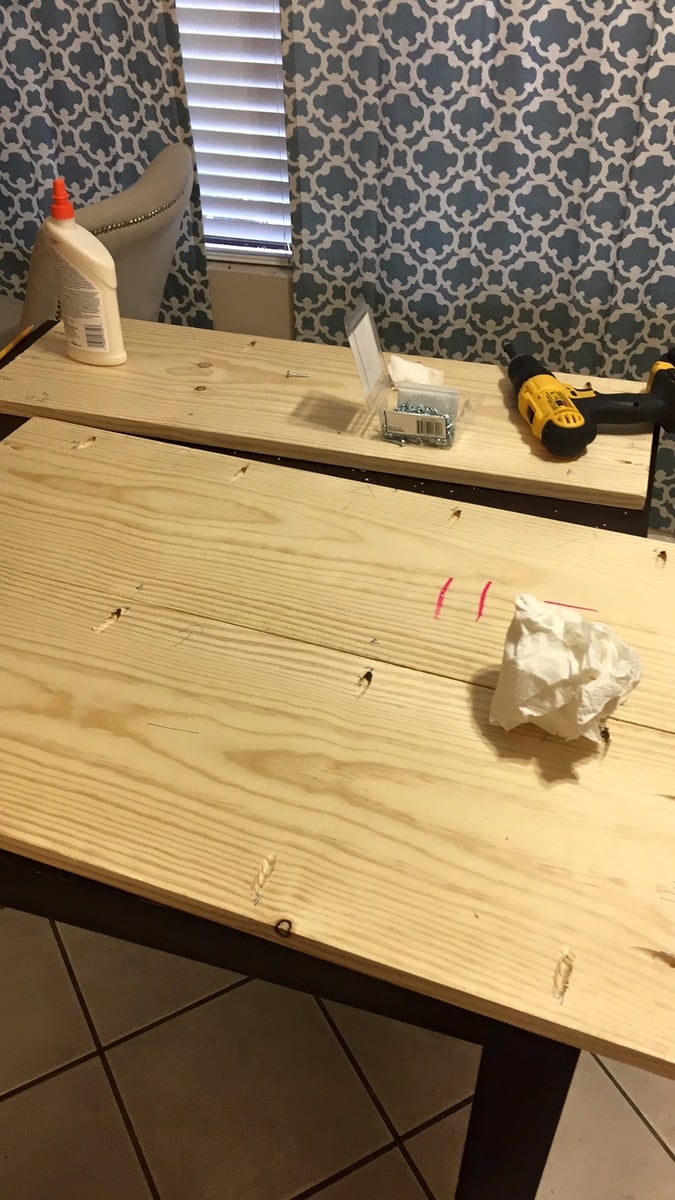
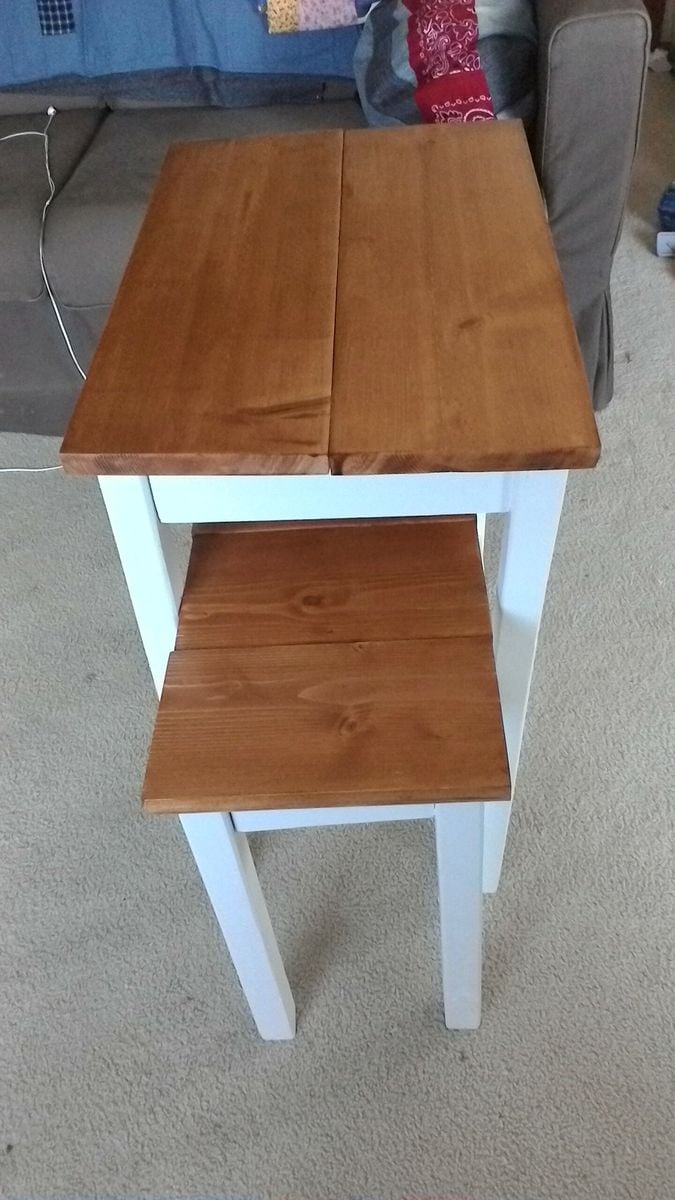
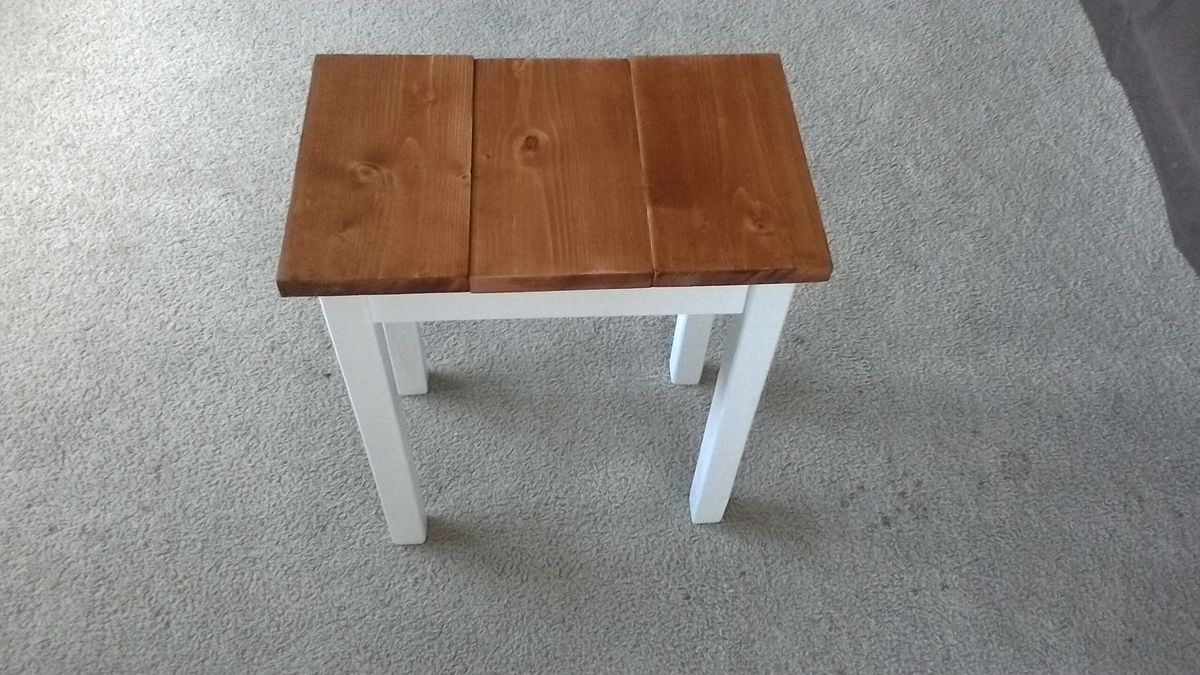
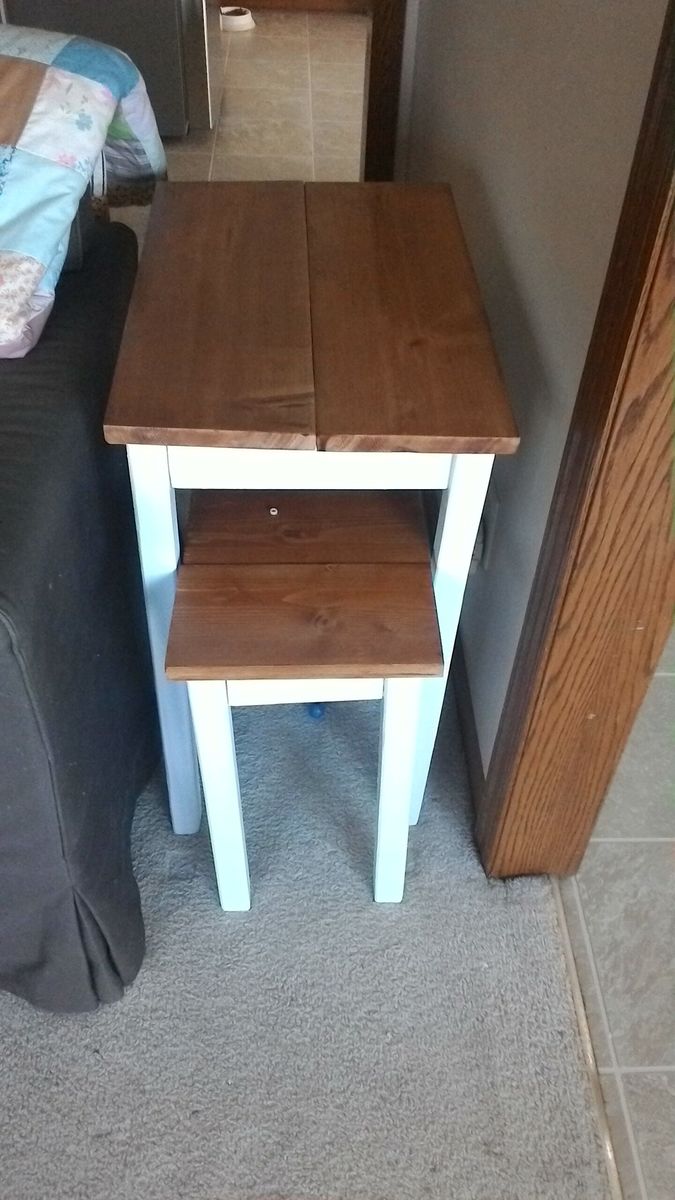
I needed a small rectangular table to put between the sofa & wall. I also wanted a small table to set elsewhere in the room temporarily. Nesting tables were the answer. I adjusted several measurements to fit the wood I had on hand for the tops. The larger table used 2 1x8's. The smaller table is topped with 3 1x6's. I also used 1by lumber instead of 2by except for the 2x2 legs.
King bed made with Kona stain check us on Facebook marney Marie