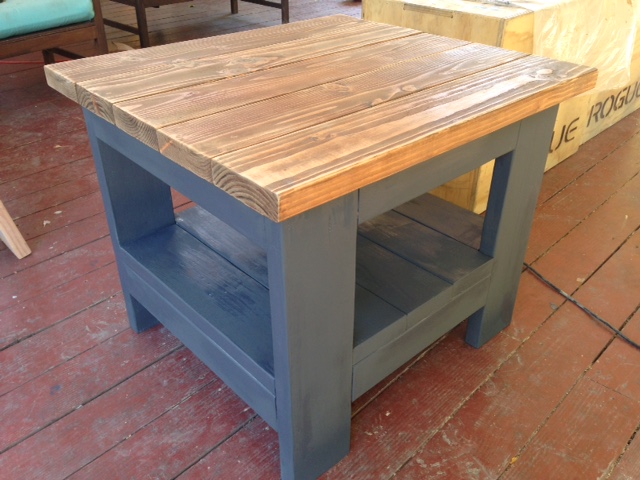
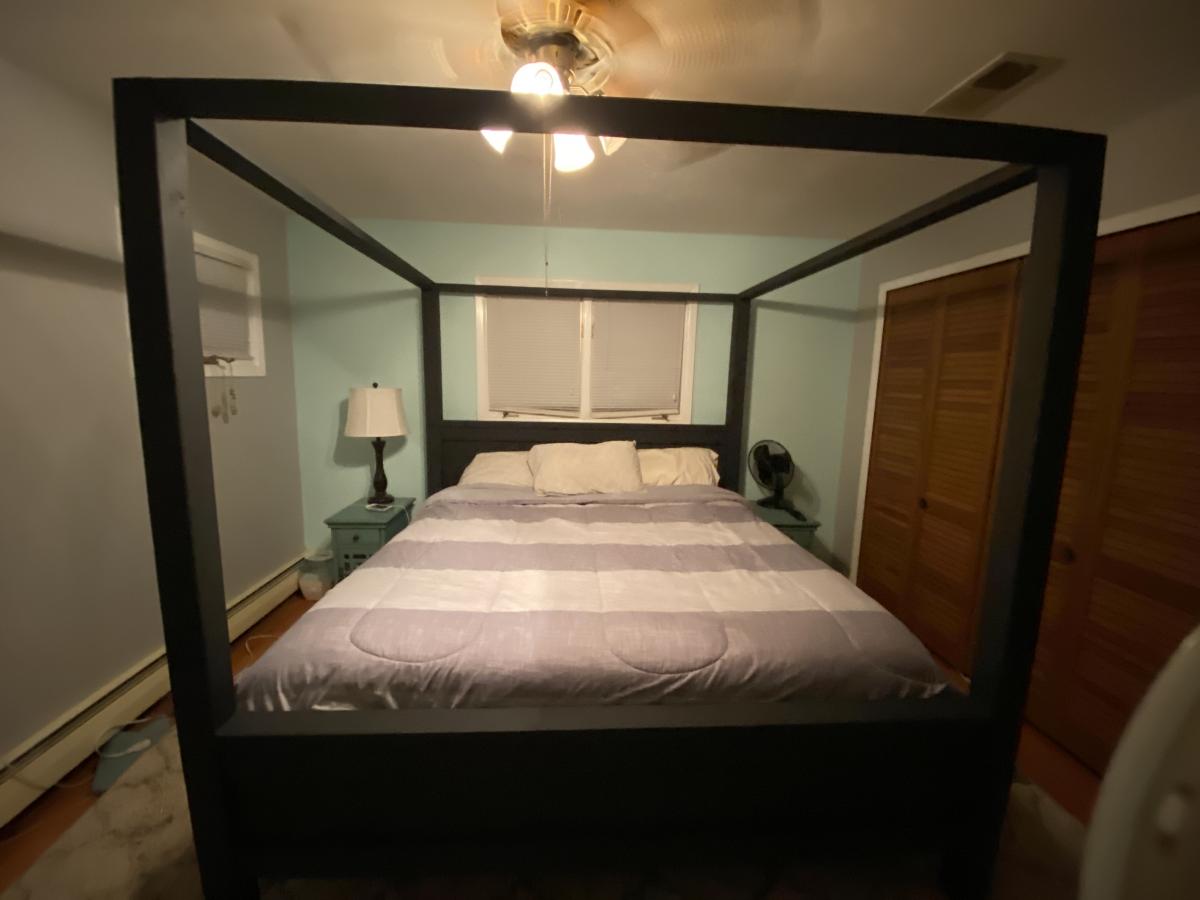
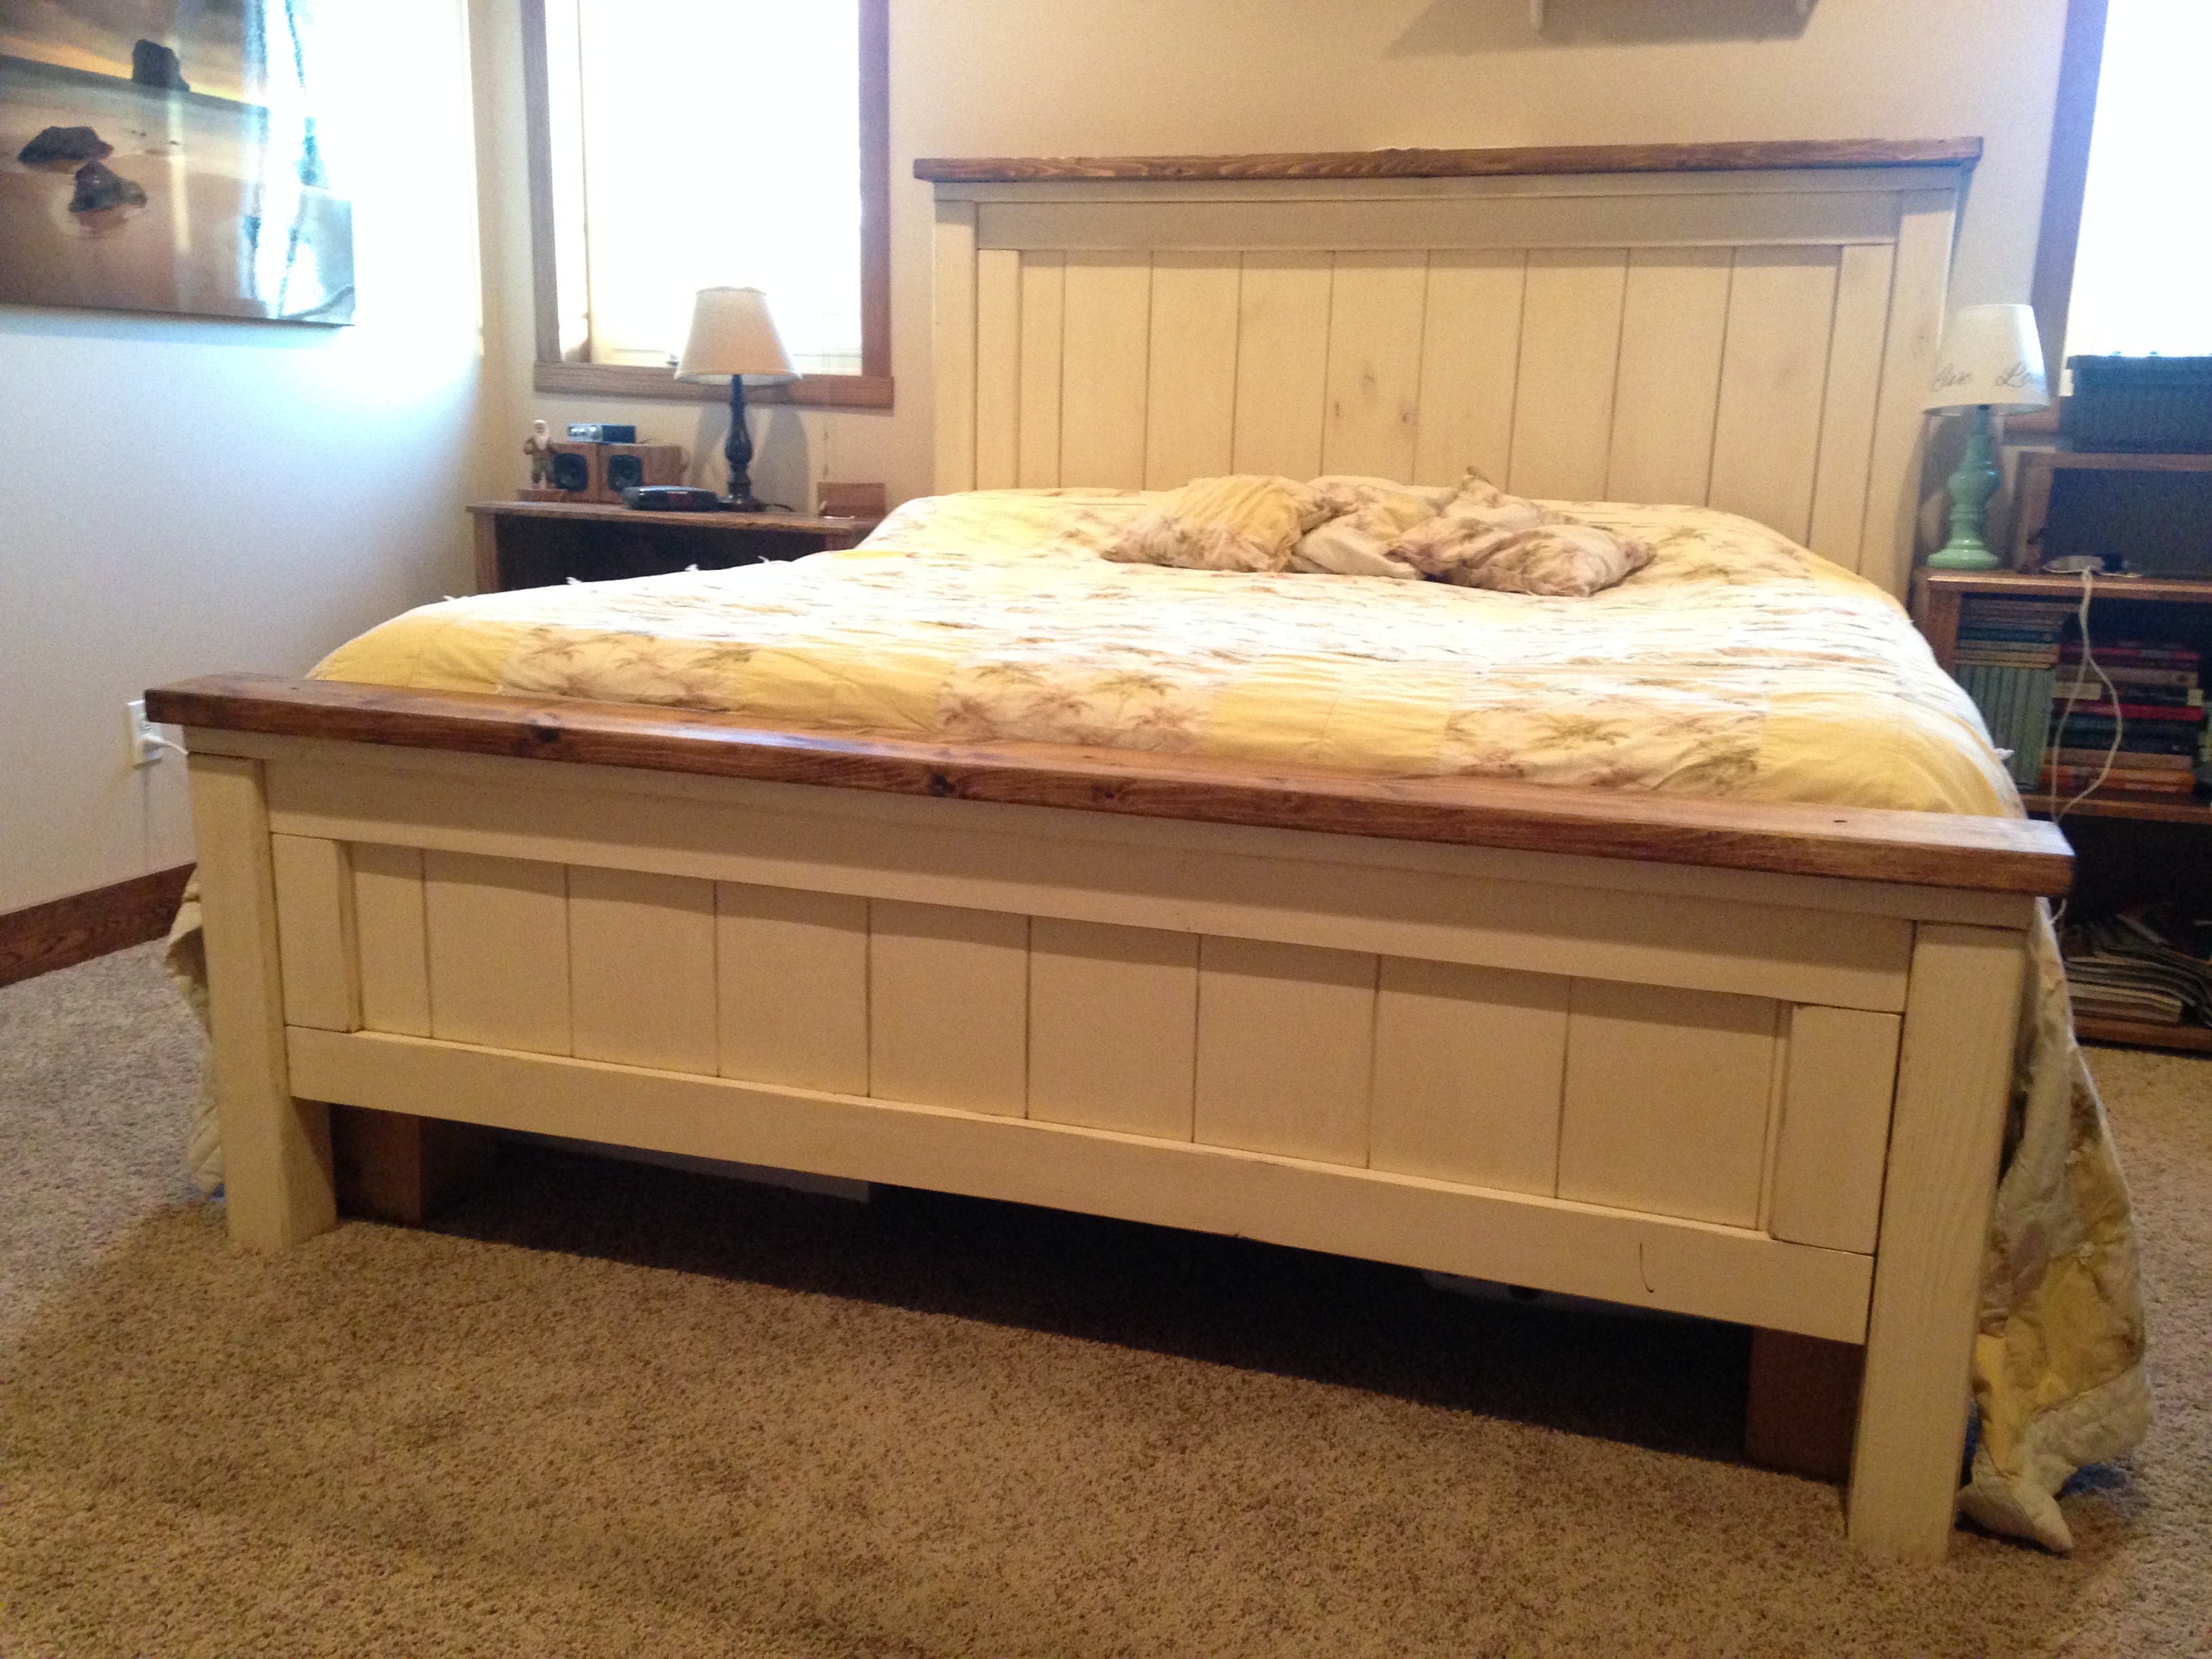
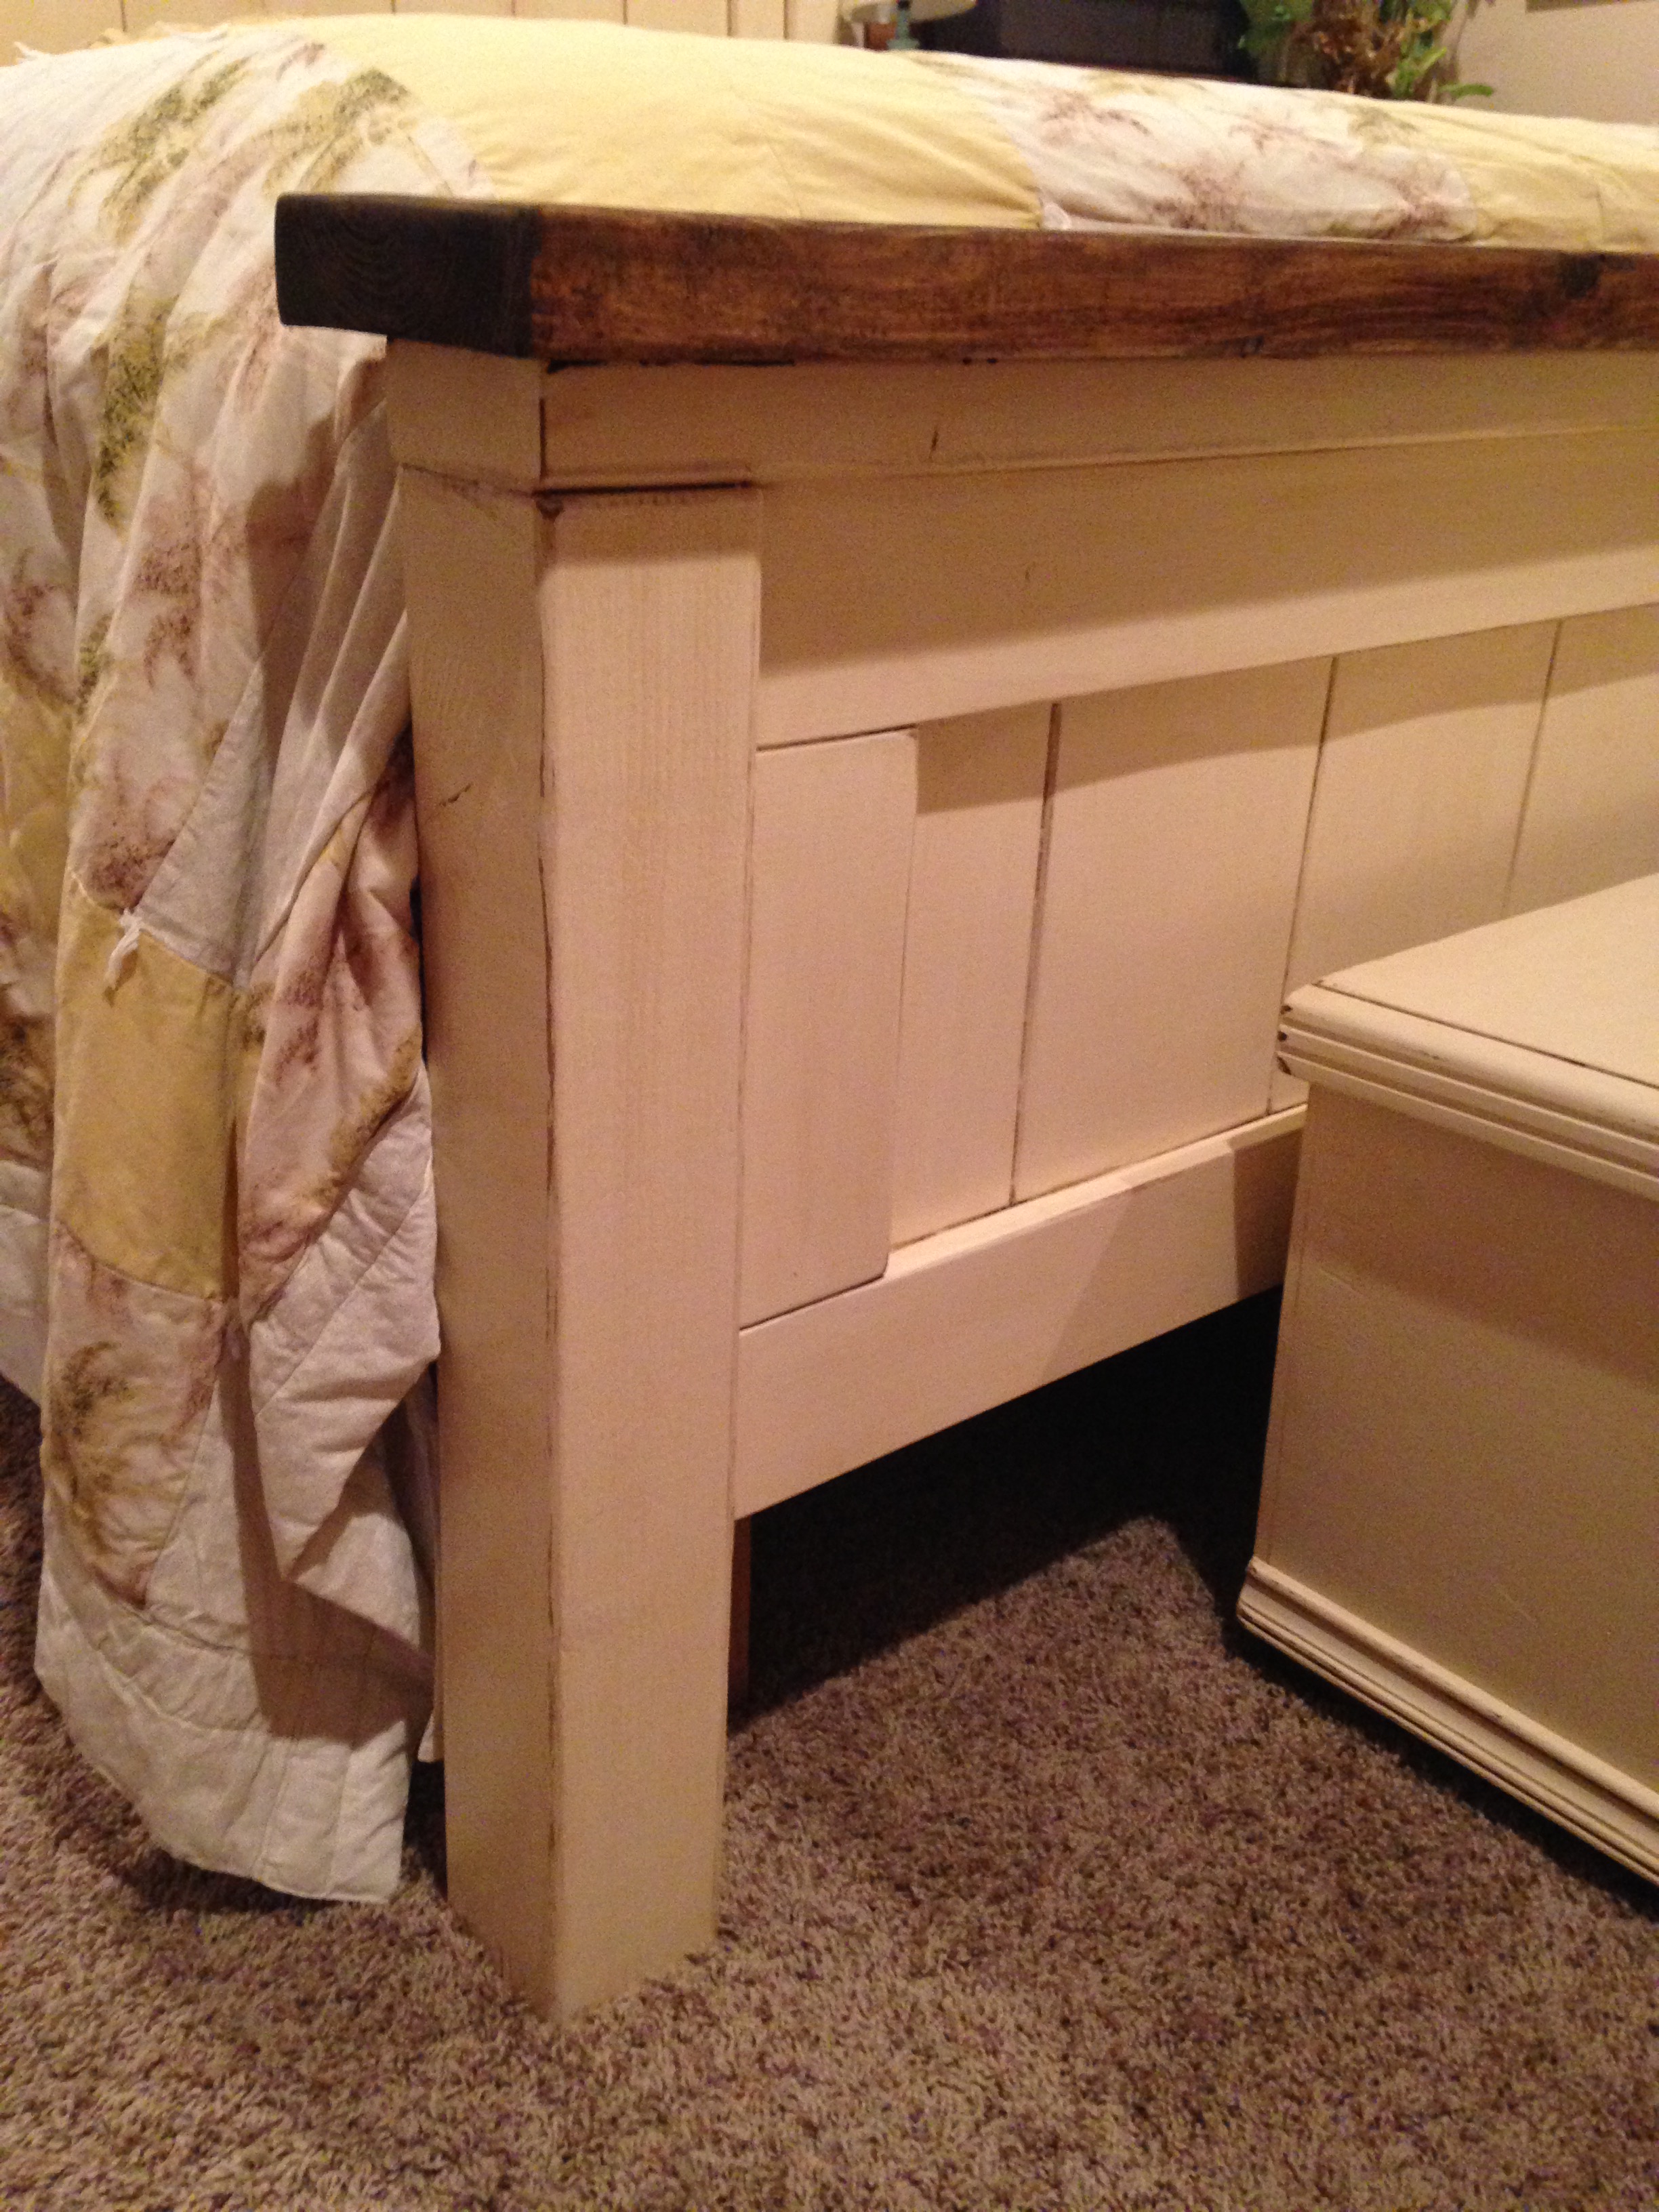
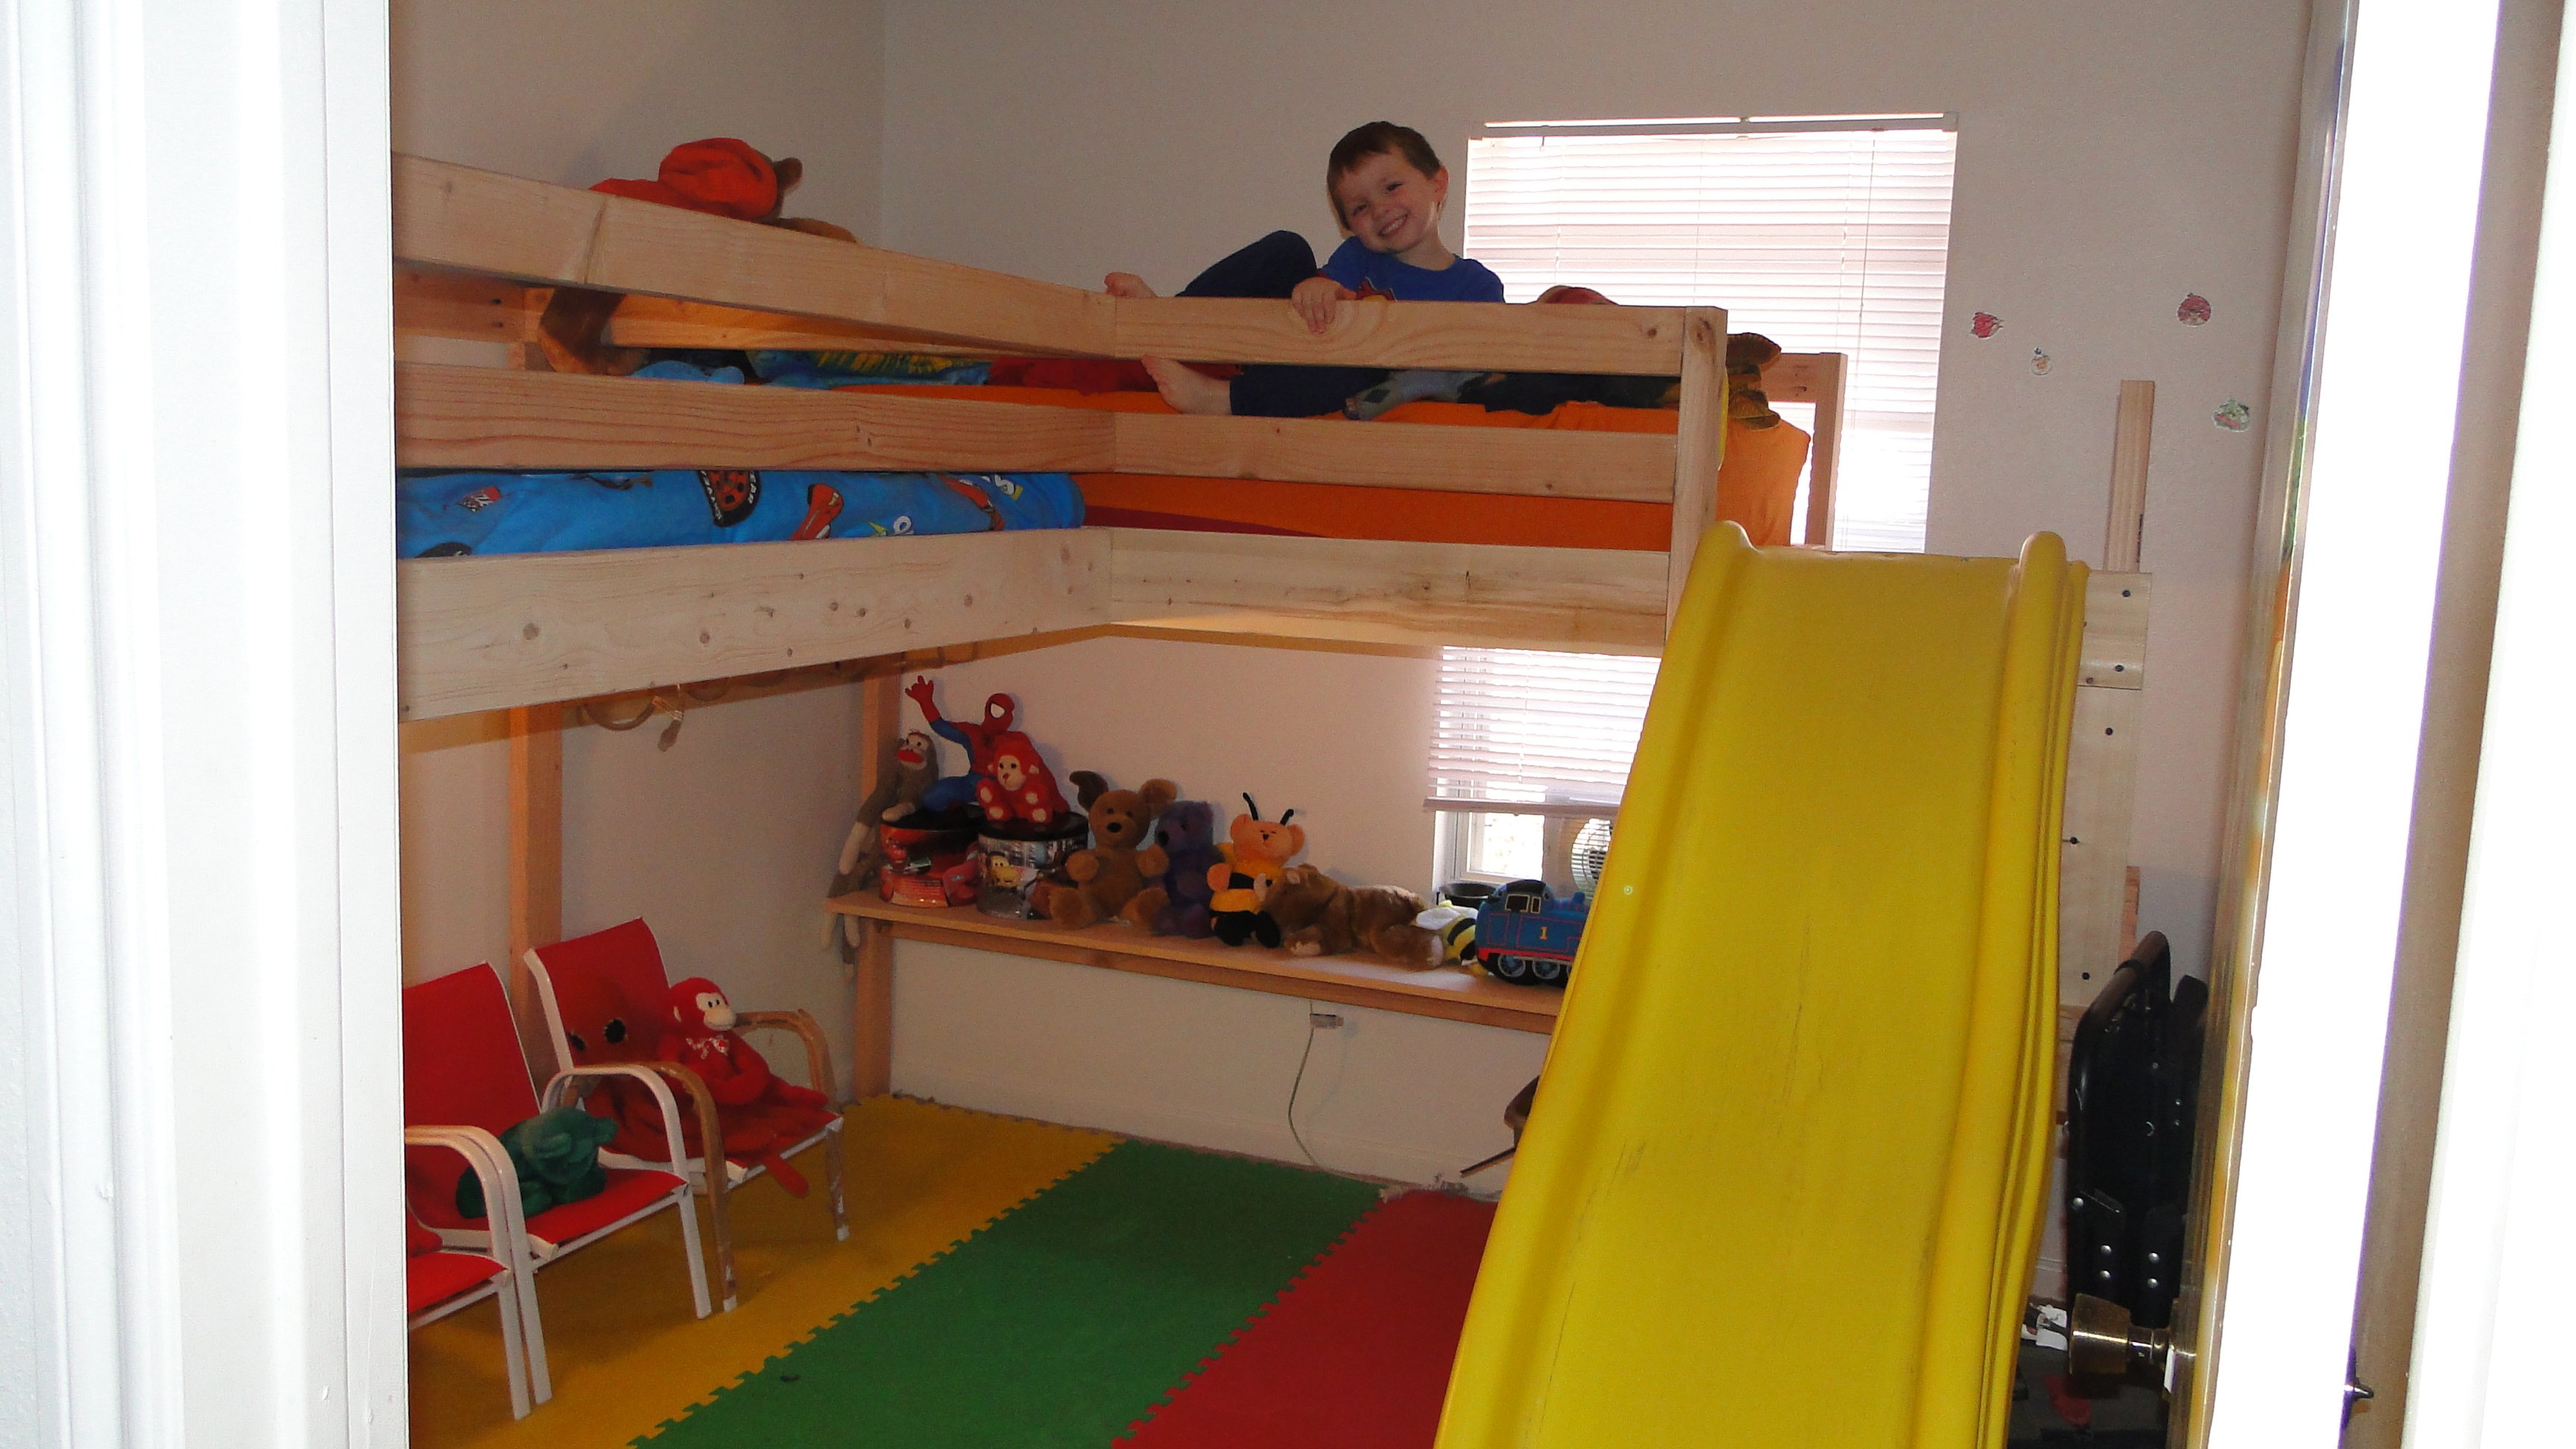
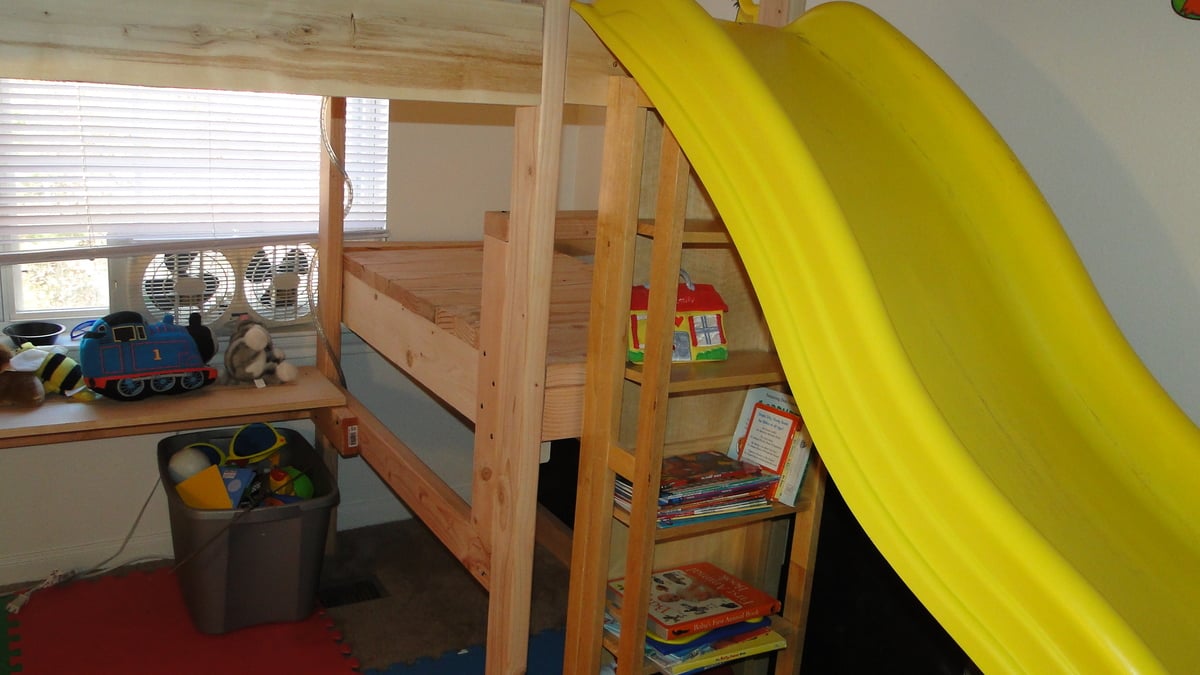
Little Blue Bed
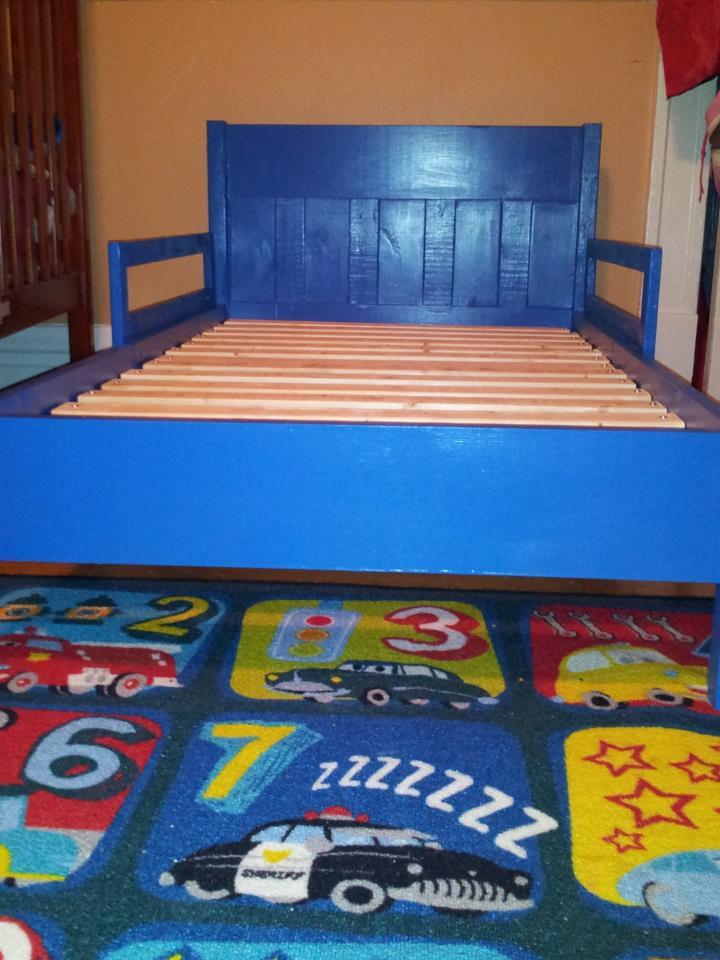
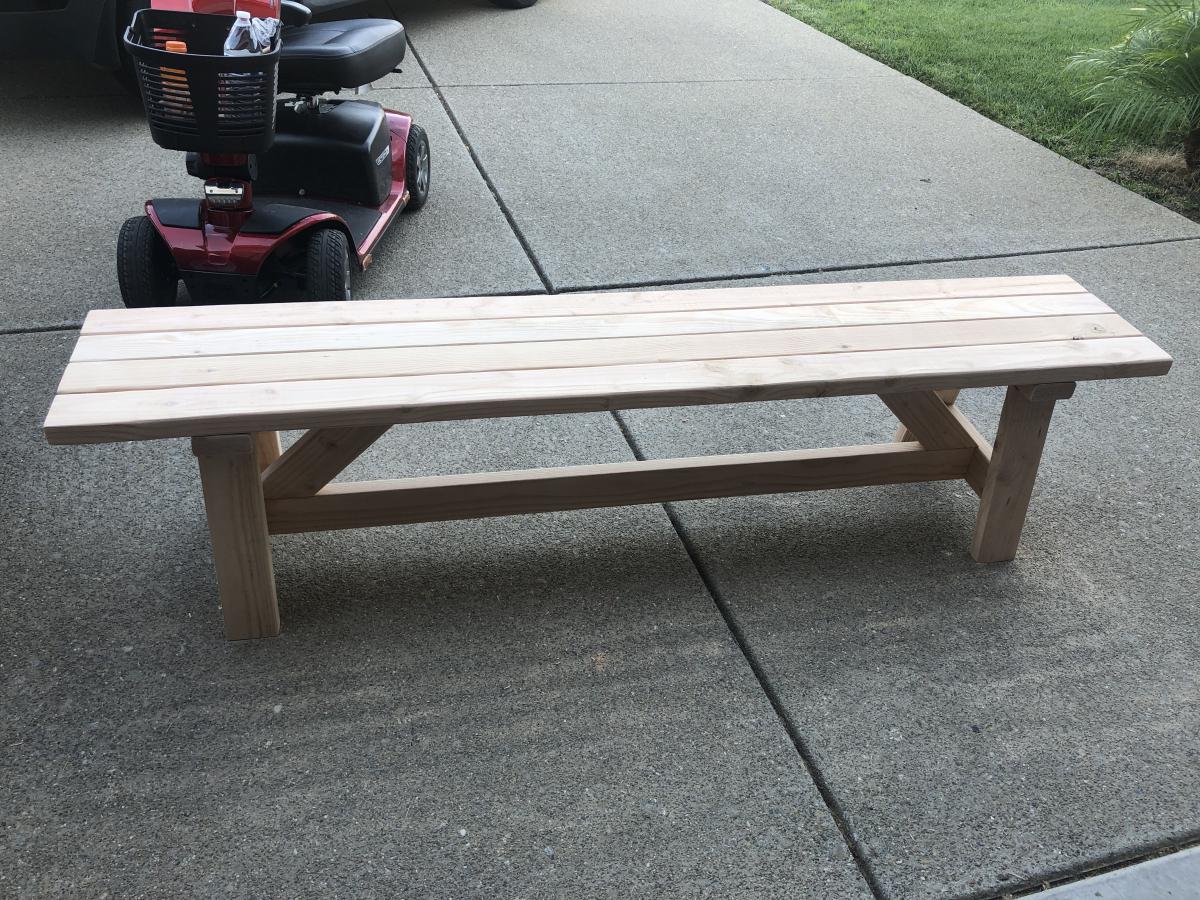
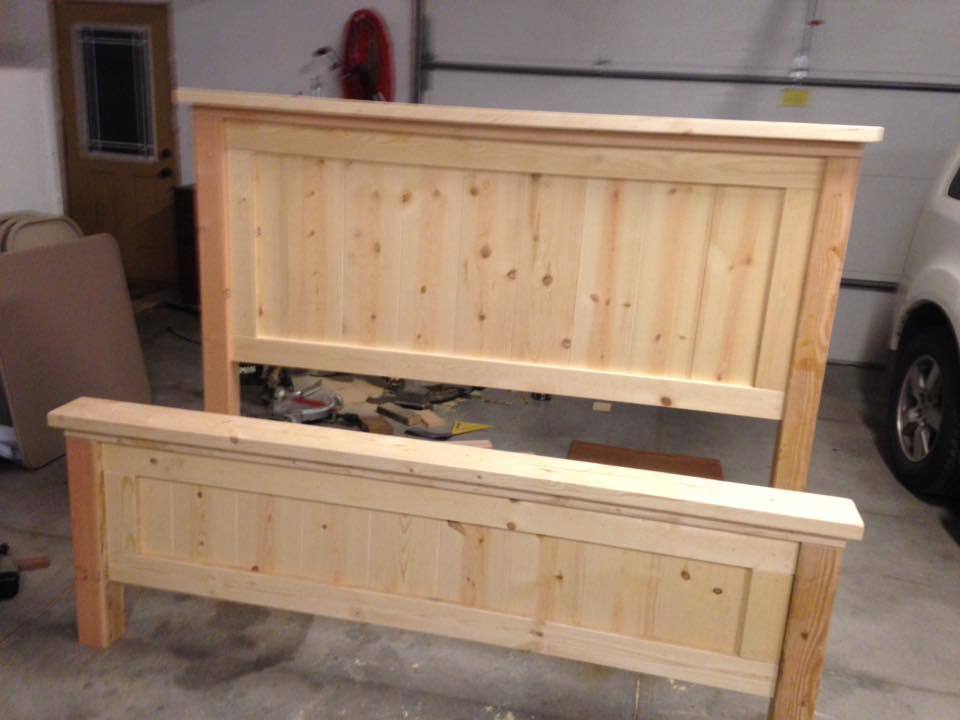
I used scrape wood for the headboard to save money. Wood cost approx $15, paint from oops section $3 and screws from my Kreg jig box set.
This was my first real project and I'm hooked.
Thanks Ana!
Built from Plan(s)
Estimated Time Investment
Day Project (6-9 Hours)
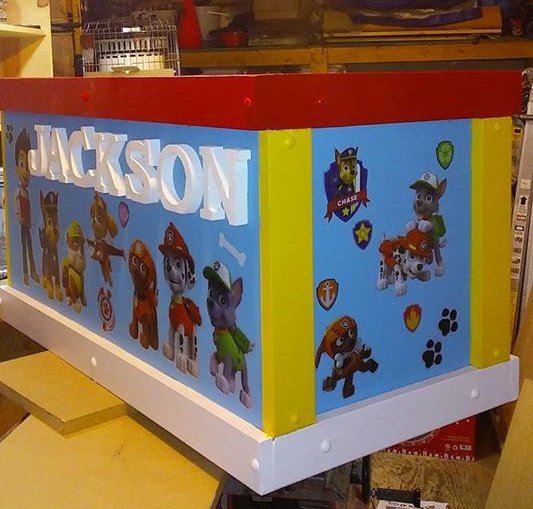
Finish Used
Olympic One in Semi-Gloss Teeny Bikini
Recommended Skill Level
Starter Project