Step Stool
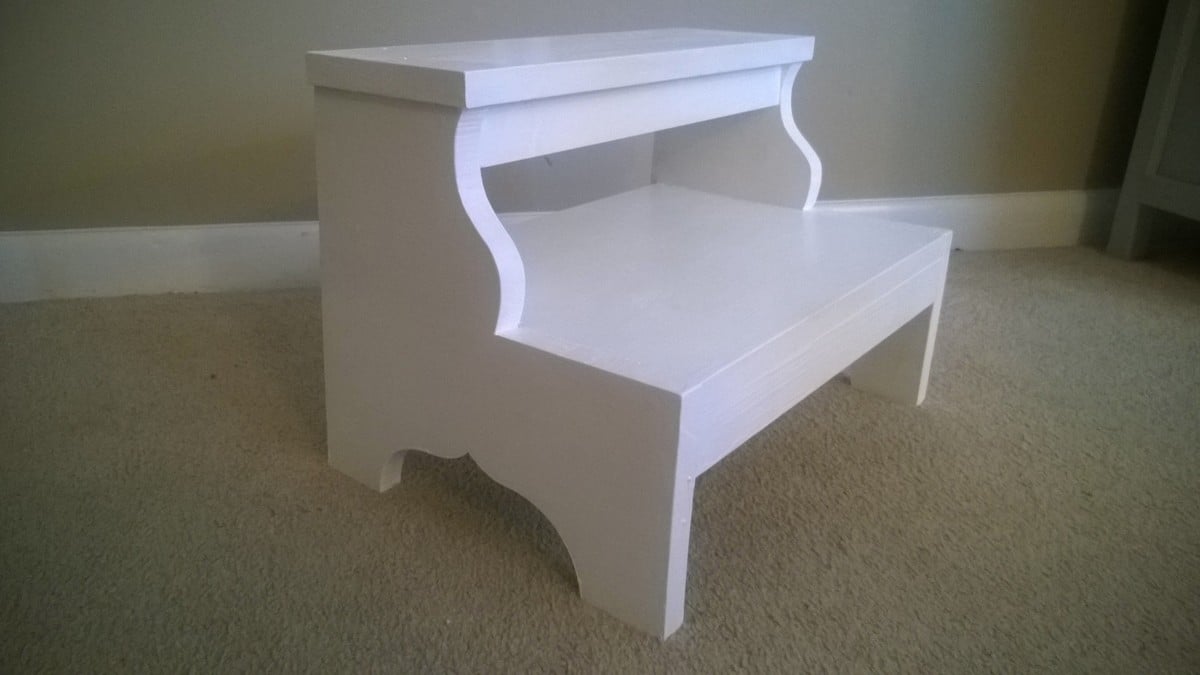
I was able to make this with some leftover wood from other projects.
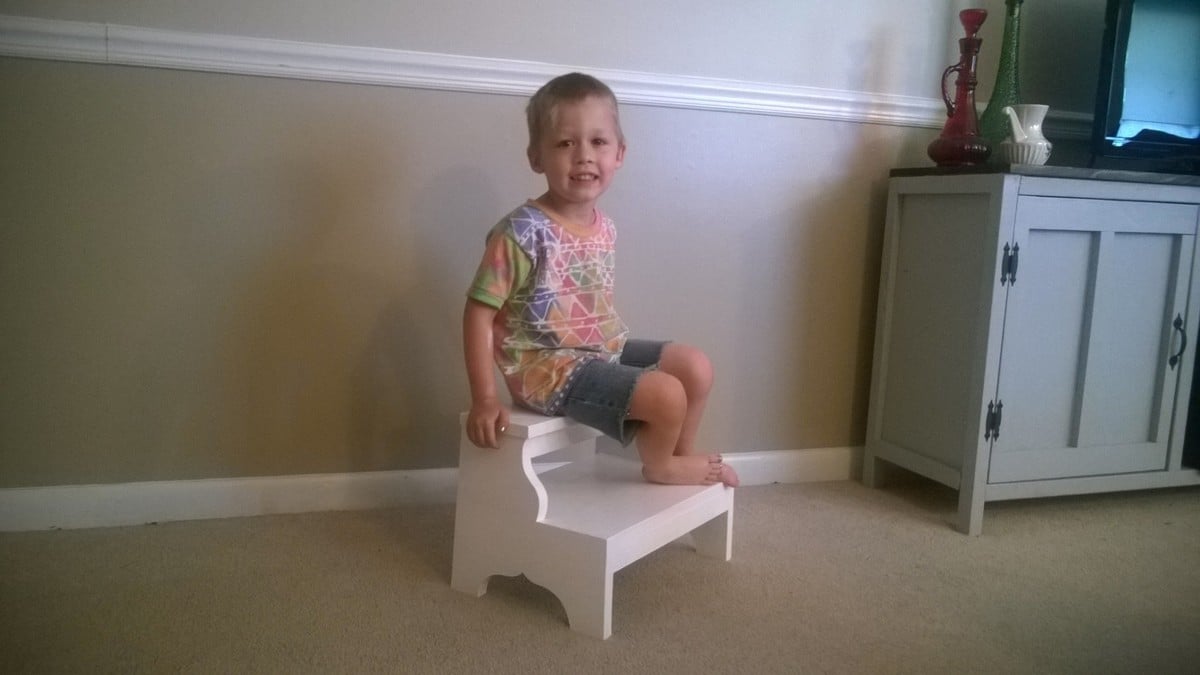

I was able to make this with some leftover wood from other projects.


I started looking for plans for a bunk bed for my grand kids and found Ana's Simple Bed and Simple Bunk Bed.
I took the advice of some of the posters here and used head board plans for both top and bottom beds. I drew up the entire bed in Sketchup prior to building and realized I could improve the strength a bit. The attached pictures illustrate those changes. I used laminated 2 x 4 posts for the legs and cut a notch to receive the rails into that notch on the inside 2 x 4. Making the rail longer to insert into this slot allows the bed to be supported directly on the 2 x 4 instead of relying only on screws. I then used 5 1/4 lag screws from the side through the 2 x 4 , the 2 x 6 rail and into the head board structure. Additionally, I screwed in triangular corner pieces under the rails to reduce racking when the kids play.
Making these changes, I also attached the end supports for the spring/mattress only to the head and foot boards which allows the rails to be separated for transport, i.e. smaller pieces. This thing is heavy!
I also slotted the stanchions on the guardrail for the top bunk, inserted into new supports, so it can be removed for easier changing of the sheets.
The kids really love this bed and played in it for most of the time they were visiting. Thanks Ana for the initilal plans.


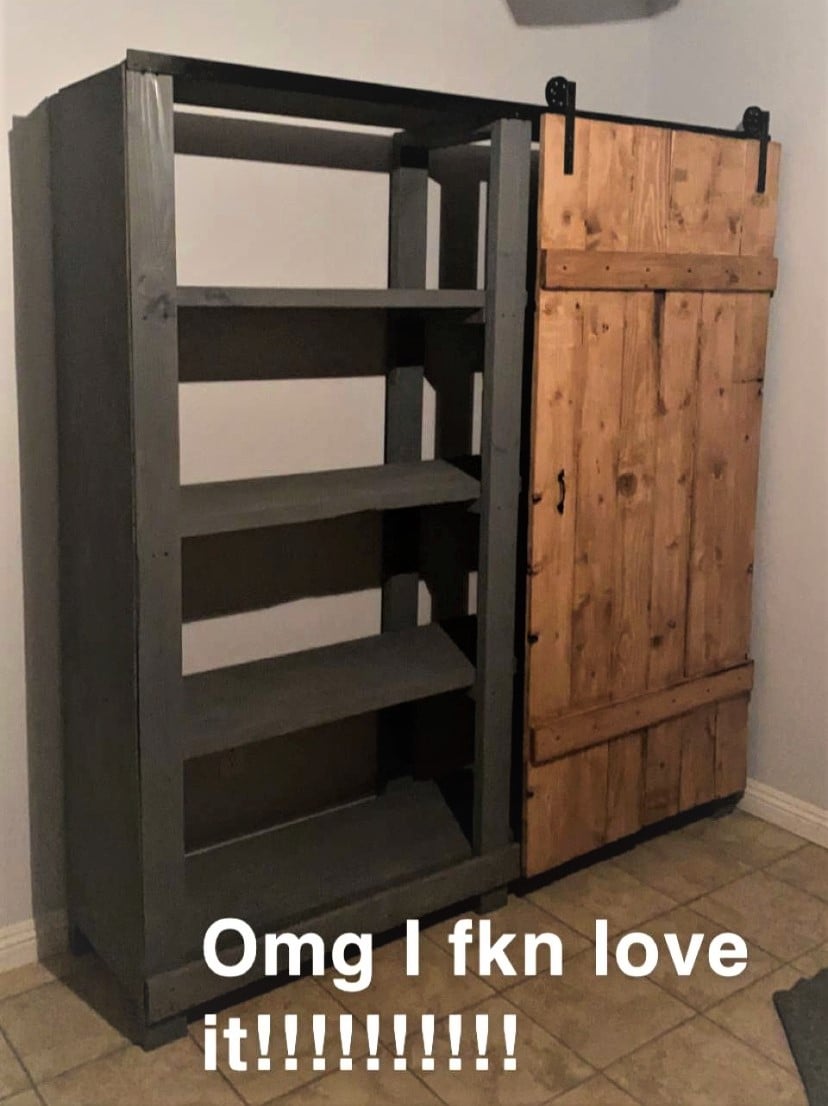
We too you’re 2x4 shelving unit with some small tweaking of measurements and added a barn door!
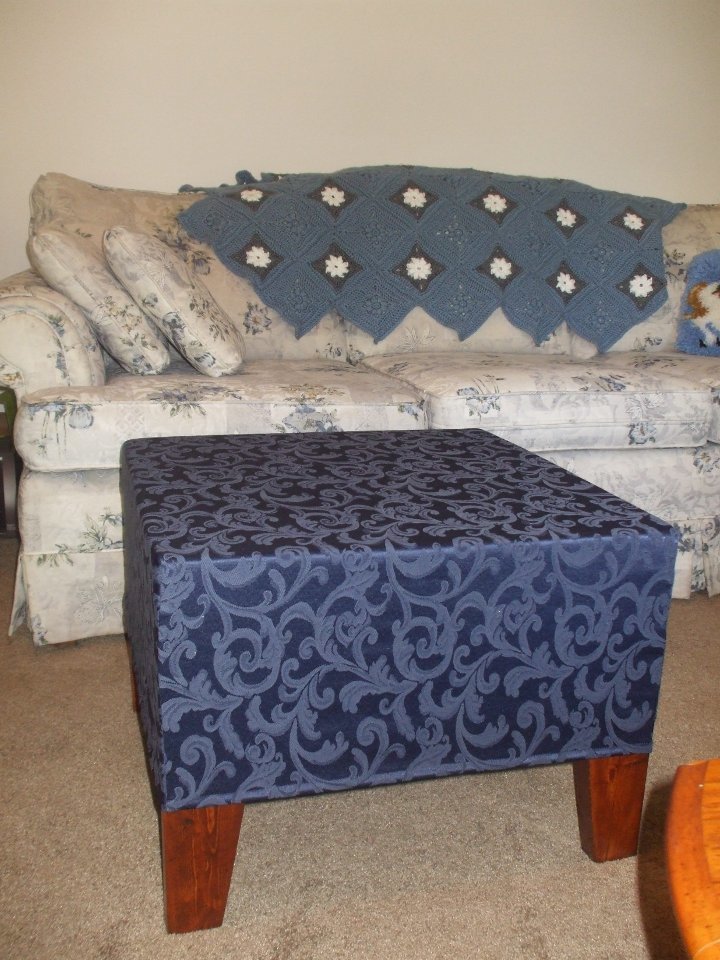
This is my second woodworking project (first was a toy chest with a LOT of help from my Dad). I made the wooden frame at my parent's house with the use of my Dad's power tools and brought it home to finish and cover. I used Ana's Upholstered Bench plan but modified the dimensions to what I wanted.
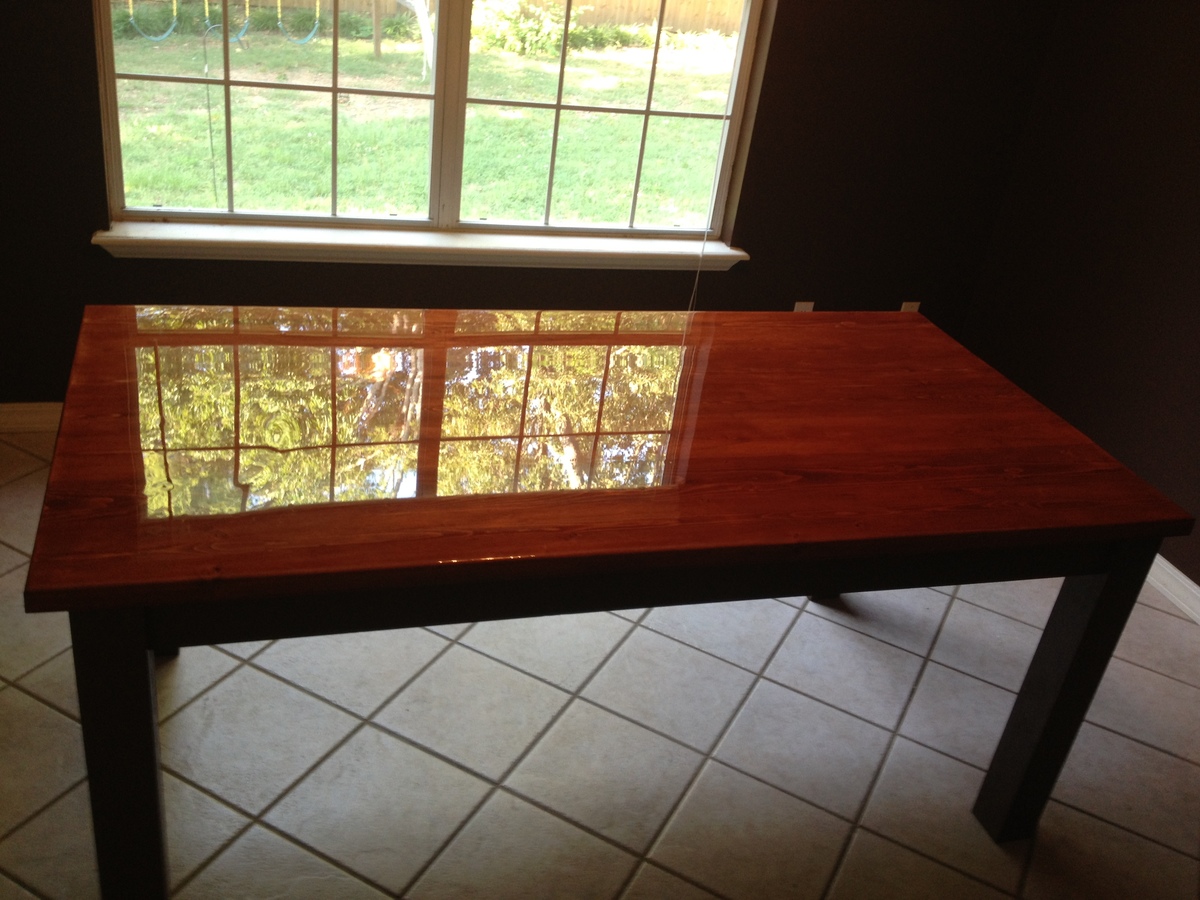
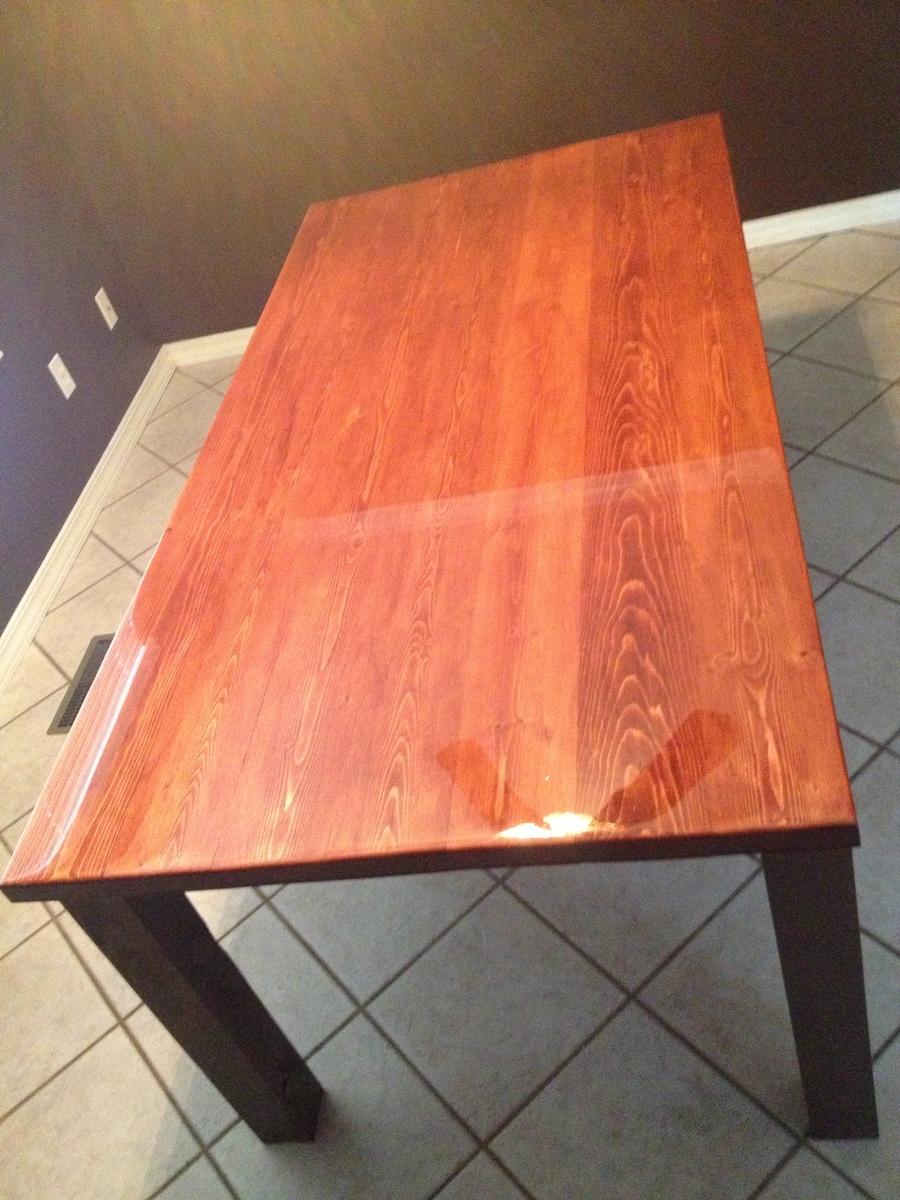
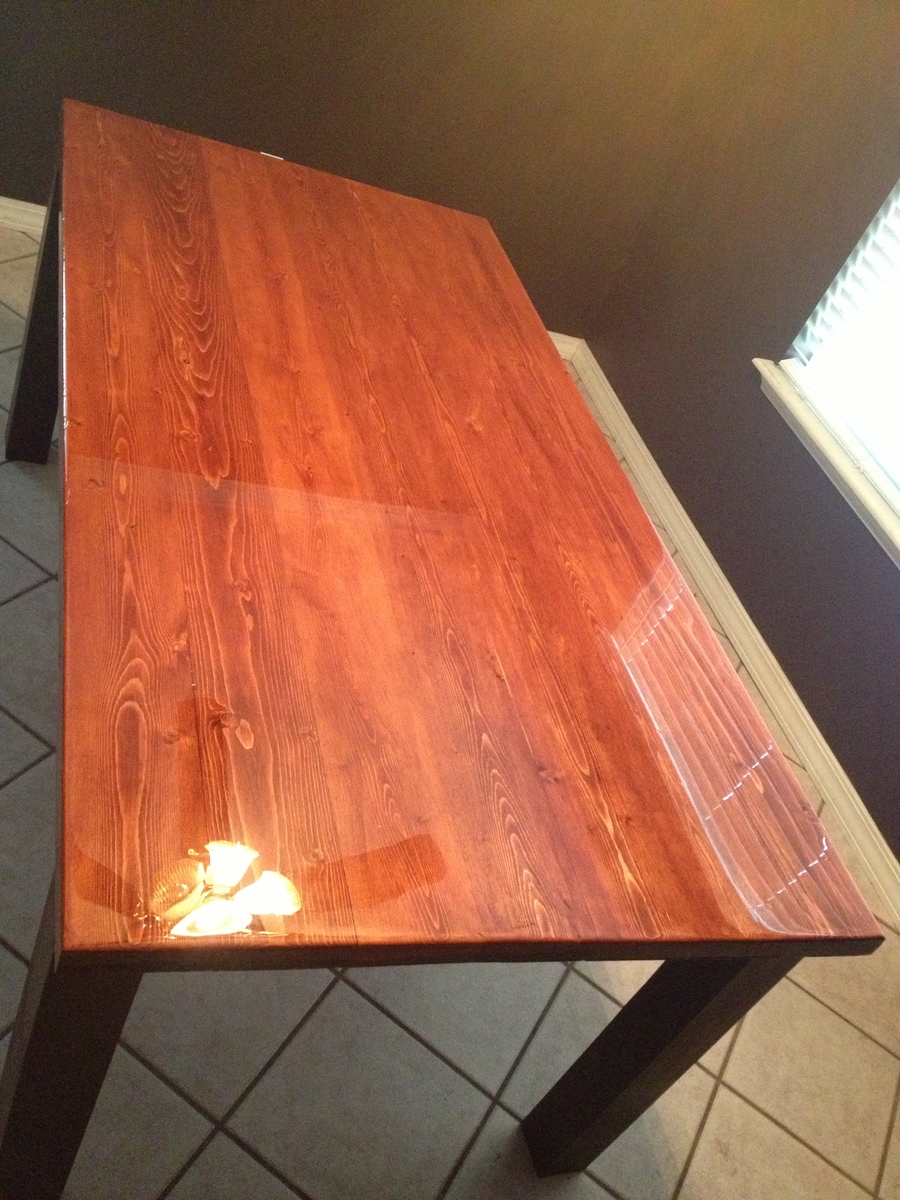
This was from the farm house table plans and the finish I used was bar and table top resin that you pour on to get a mirror finish. It doesn't take very long at all to cut all the boards and put everything together with pocket hole screws. It just takes time for the paint, stain and top coat to dry.
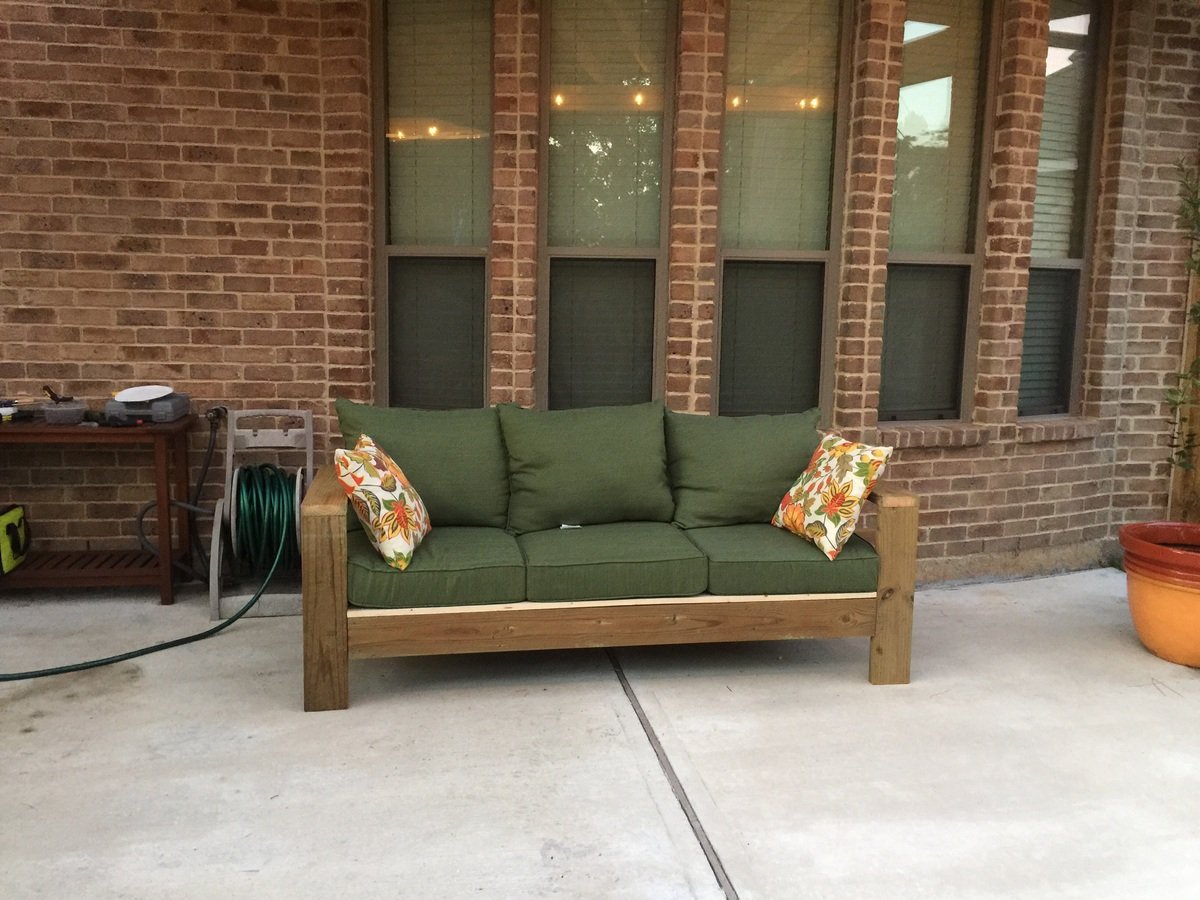
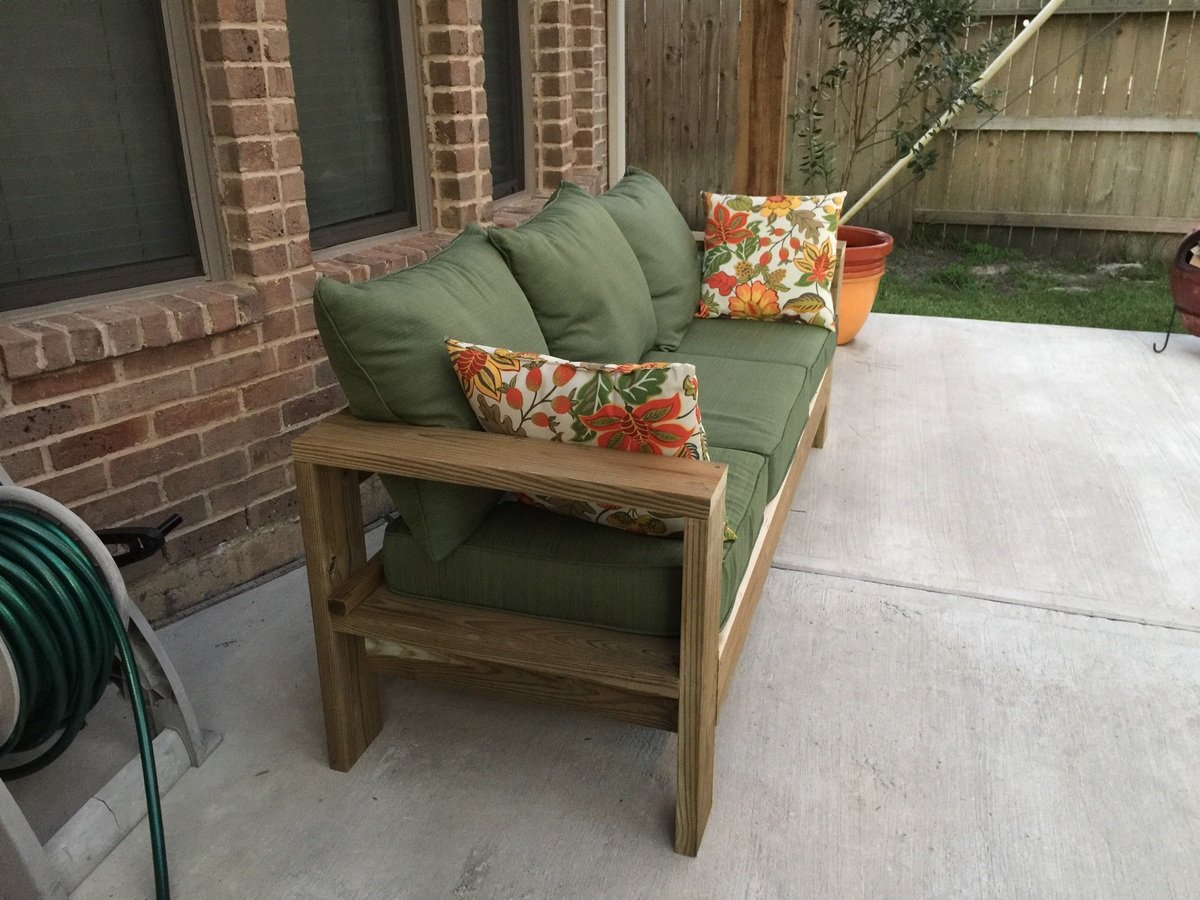
I created this sofa from 2x6s that were left over from a pergola we built. I got the cushions at Lowes for $57 per set (3 sets). This is the first thing I ever built and I did it all by myself including cutting the boards to length. In total it took about 4 hours. I am so proud!!! Thank you Ana White for giving me the confidence to build this furniture. I will never, ever, ever pay outrageous retail prices for wood furniture again.
Fri, 06/26/2015 - 09:27
I love the way your couch turned out in 2x6s! I, too, plan to build this soon. I really like the cushions you chose, too. I ordered mine from Amazon for about the same cost (a little more $, but without exorbitant WA state tax!). Thanks for sharing!
Mon, 07/25/2016 - 21:02
Can't see the plan for this sofa. Where can I get it from? Thanks
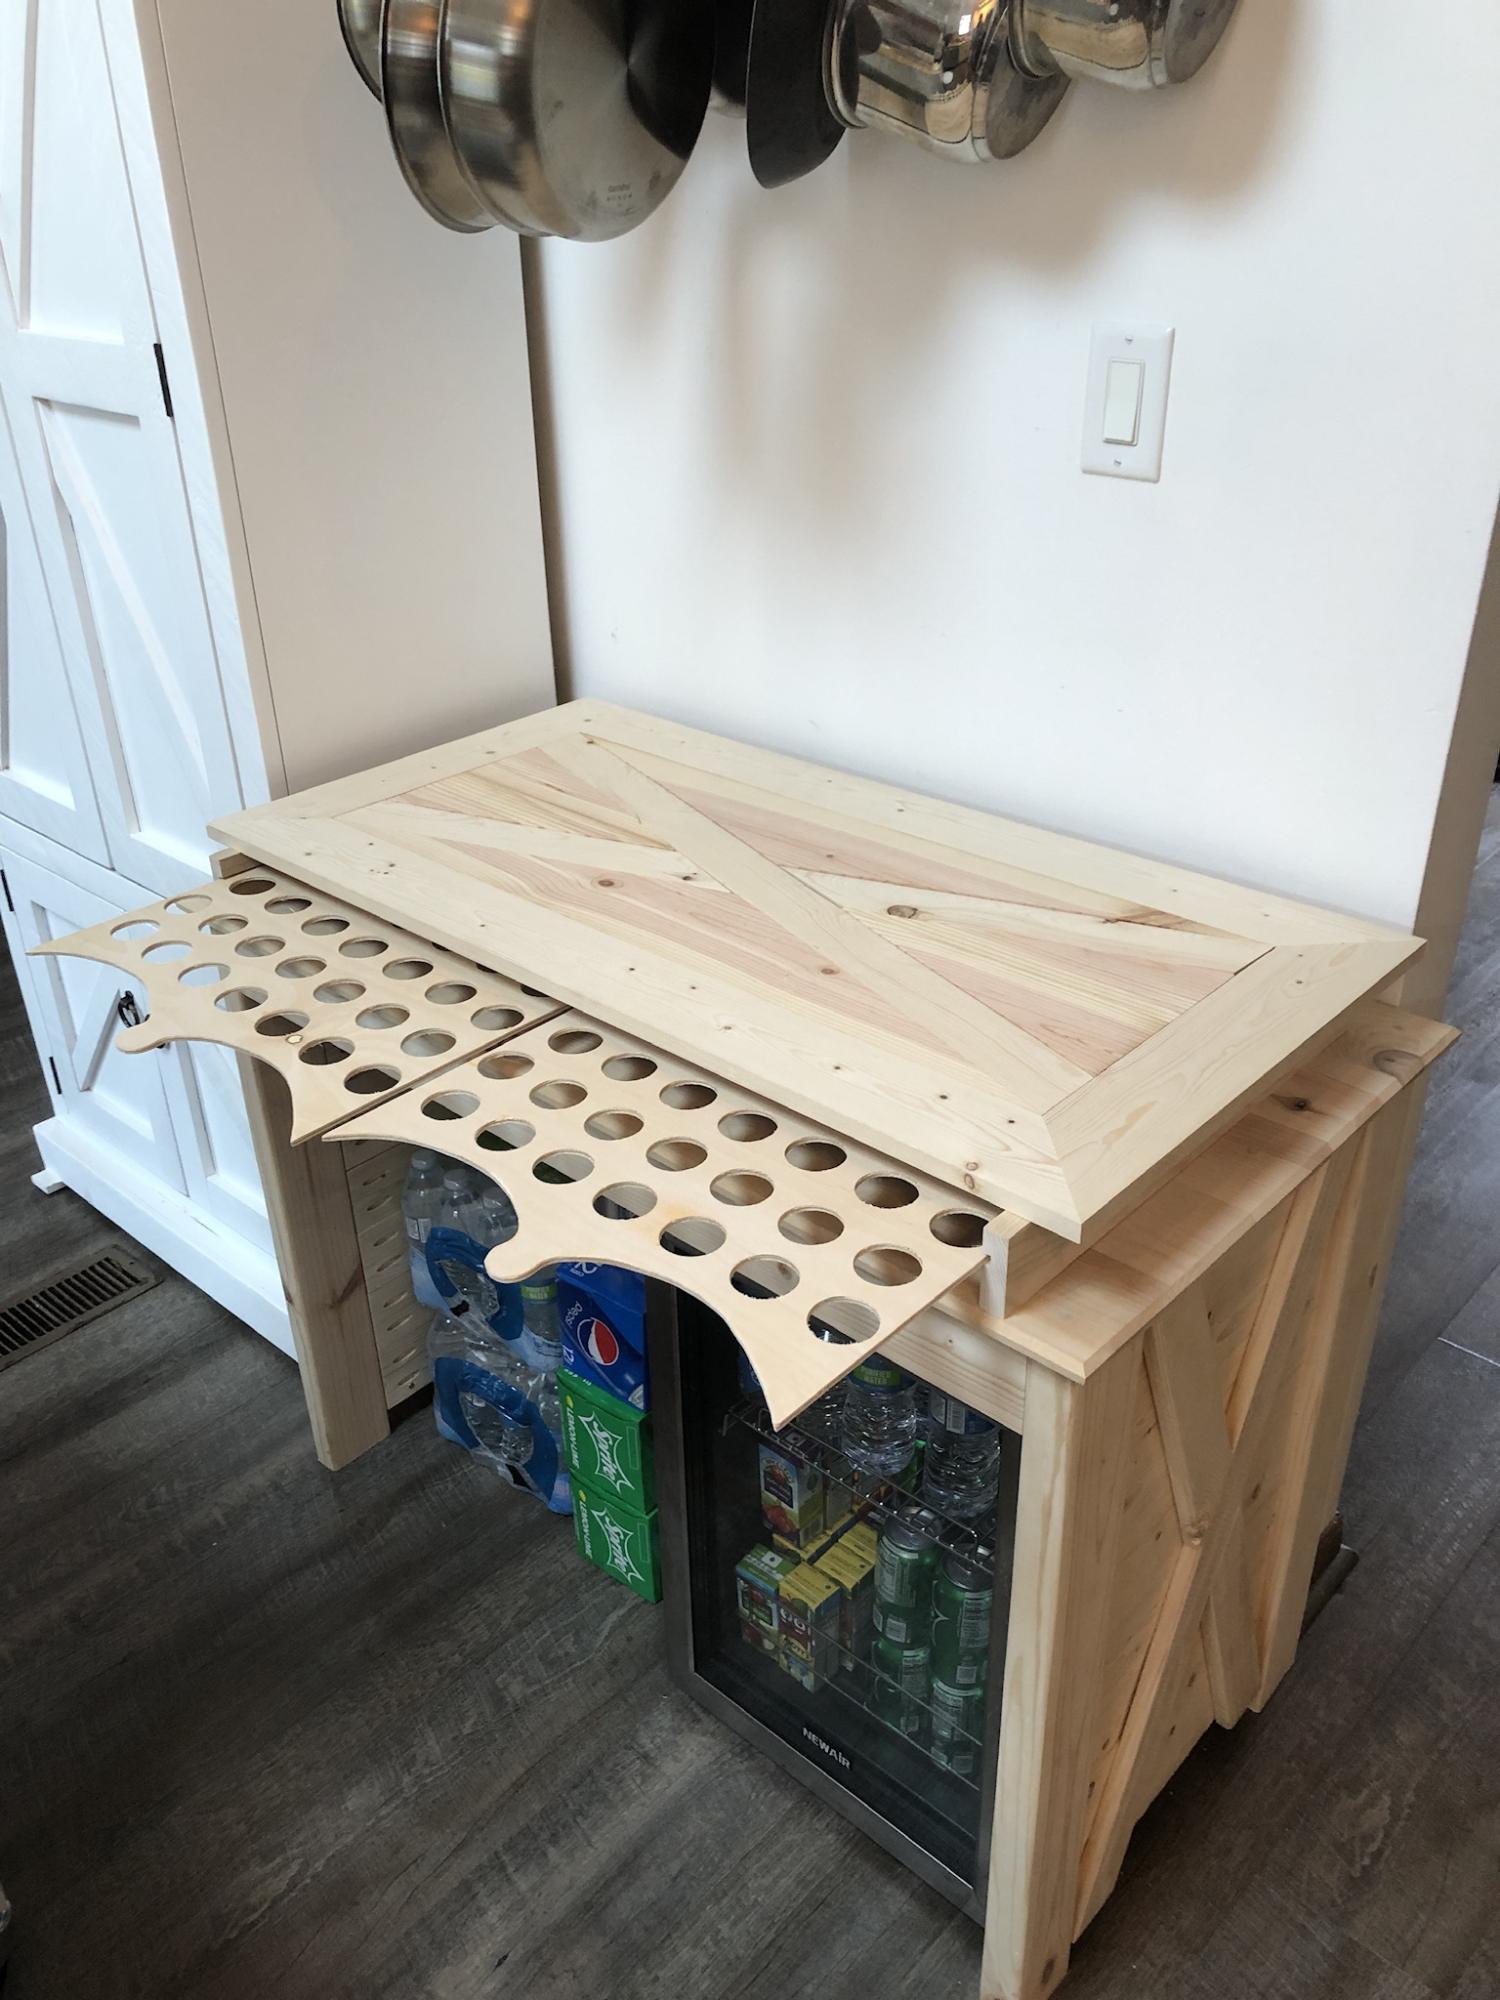
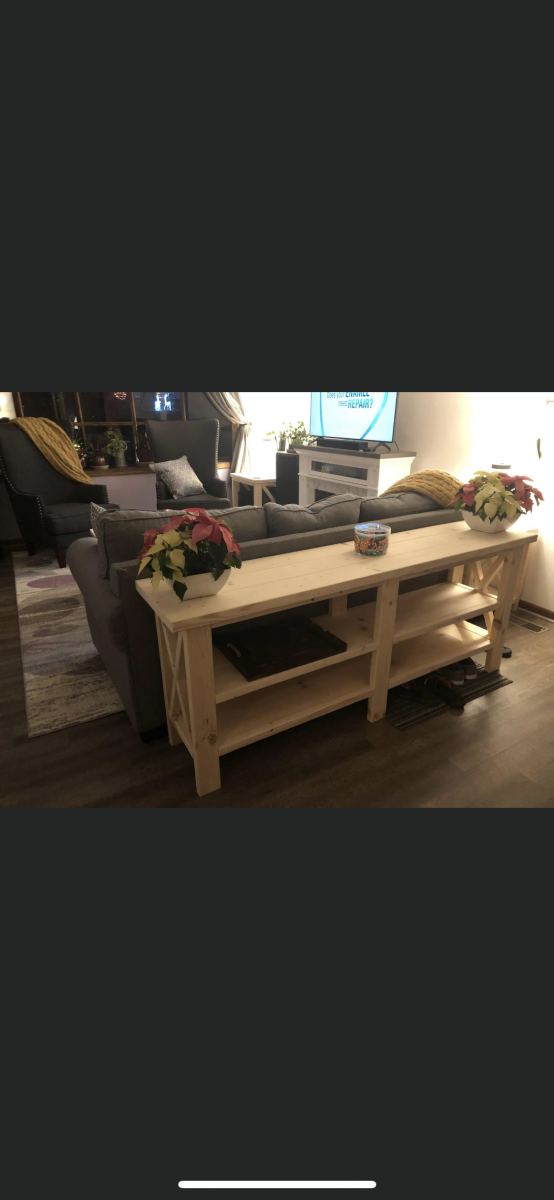
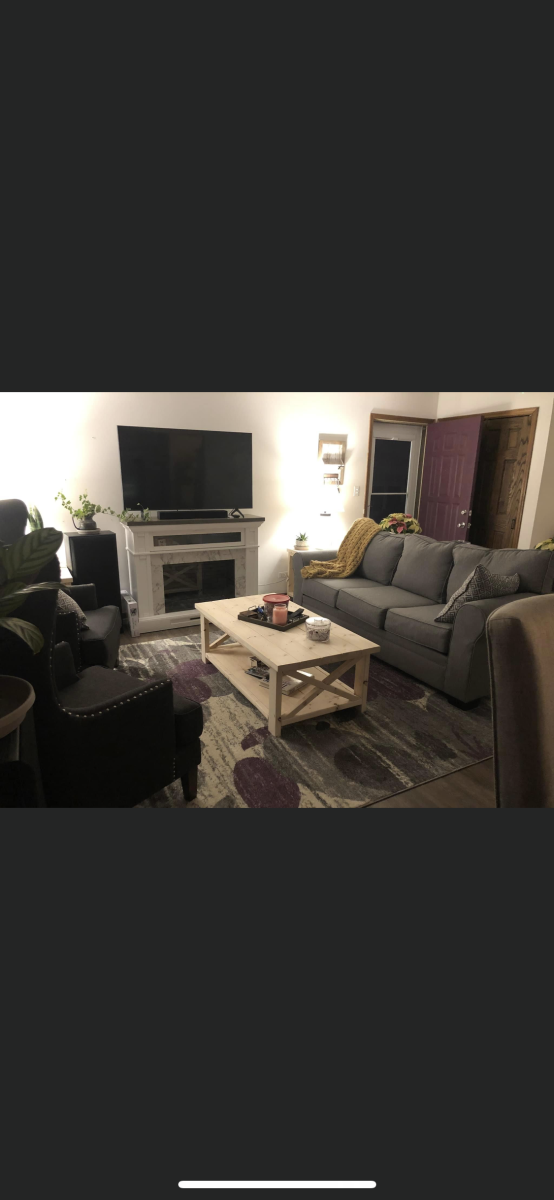
My wife and I moved in to our new home in July, fast forward to November and we still haven’t gotten our furniture due to the supply chain issues. With just over 2 weeks left before Thanksgiving we decided to host! Being a woodworker we decided I would build us furniture! Using plans from the rustic X collection I built 4 tables; 2 end tables, 1 coffee table, 1 console table. Slightly changing the plans for the end tables and raising the bottom shelf of the console table an extra 3 inches to be able to put shoes underneath. I also built a custom coffee bar I designed to ad to the collection. It’s really awesome and I’m super proud of it! It also has a hidden message to ad to its awesomeness! I hope you enjoy the coffee bar along with the rustic X collection! Thank you.
We have a little craft, woodworking business we just started called
jake n’ Jill’s woodshop
Facebook page under the same name, website is still being built.
(I did finish everything on time, bringing in the last table from the woodshop Thanksgiving morning, not sure what we want to do as far as paint or stain yet)
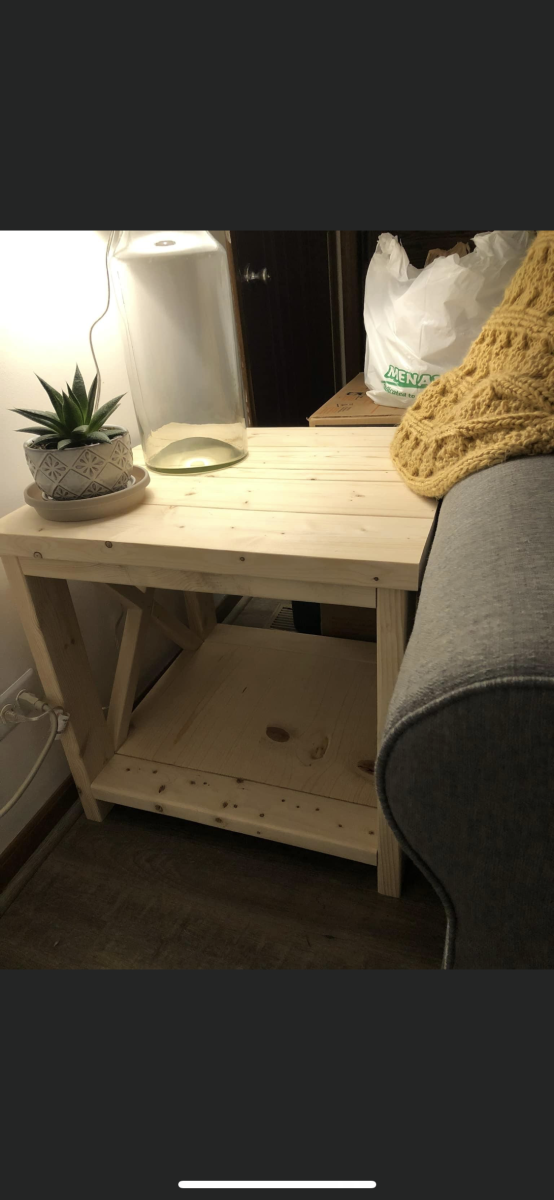
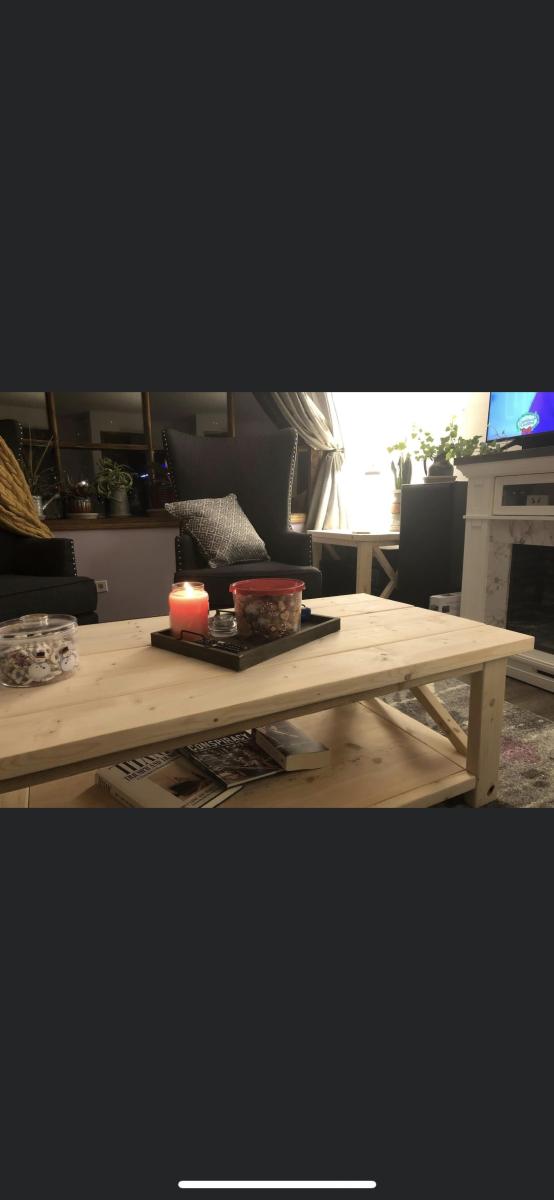
In reply to Love every piece! by Ana White Admin
Thu, 12/30/2021 - 08:14
Thank you so much! I really appreciate it! I love all your work and your plans are amazing and easy to follow. I love it!
We used a $35 craigslist table top with a leaf some 50 cent cull MDF pieces and about 80 in screws, paint and wood and got a beautiful counter height dining table! Loved getting to know my Kreg Jr.
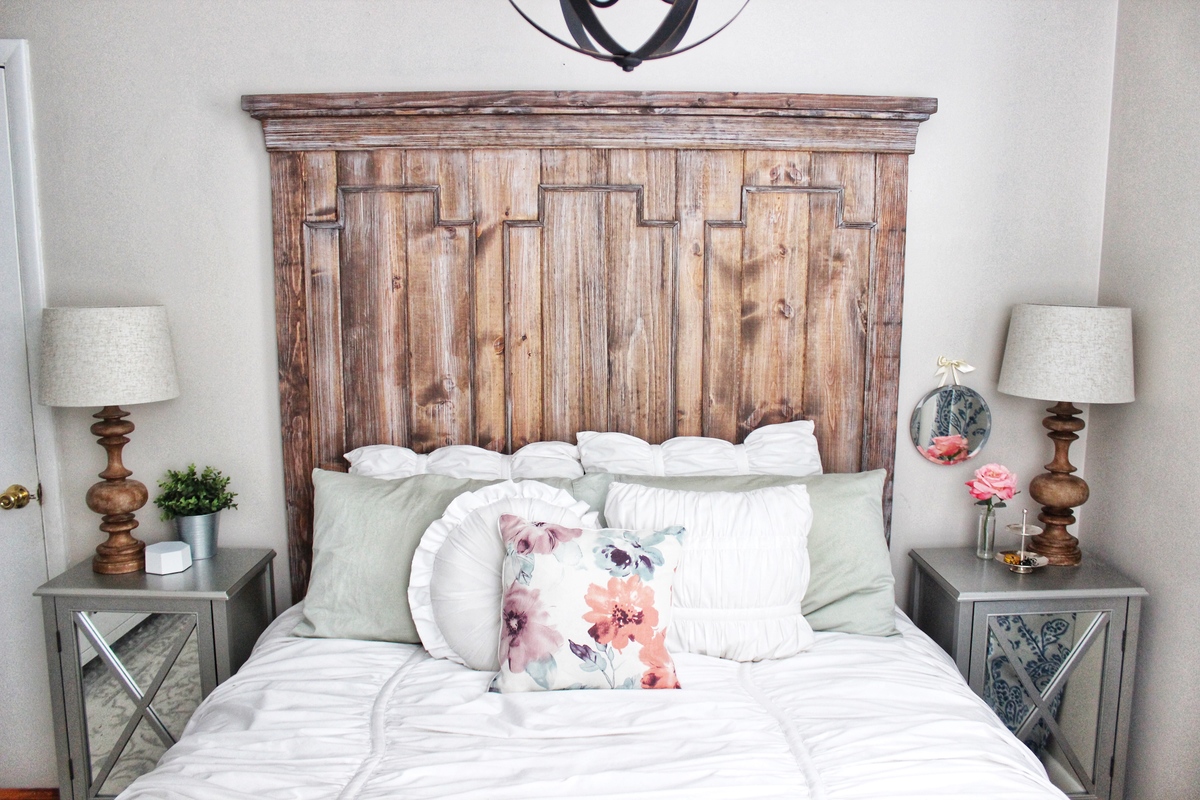
I fell in love with a headboard I found on Houzz that was priced over $1,500. I knew I wanted to build it myself but I had never built a headboard to this scale before. Several headboards from Ana's site helped give me direction and this is what I ended up with. My husband and I build furniture for a living, so we had plenty of lumber around to put most of the body together, but we don't often work with trim in such fine detail, so that added significantly to the cost (and time) invested. If I had to guess though, the headboard as we built it was probably around $125.
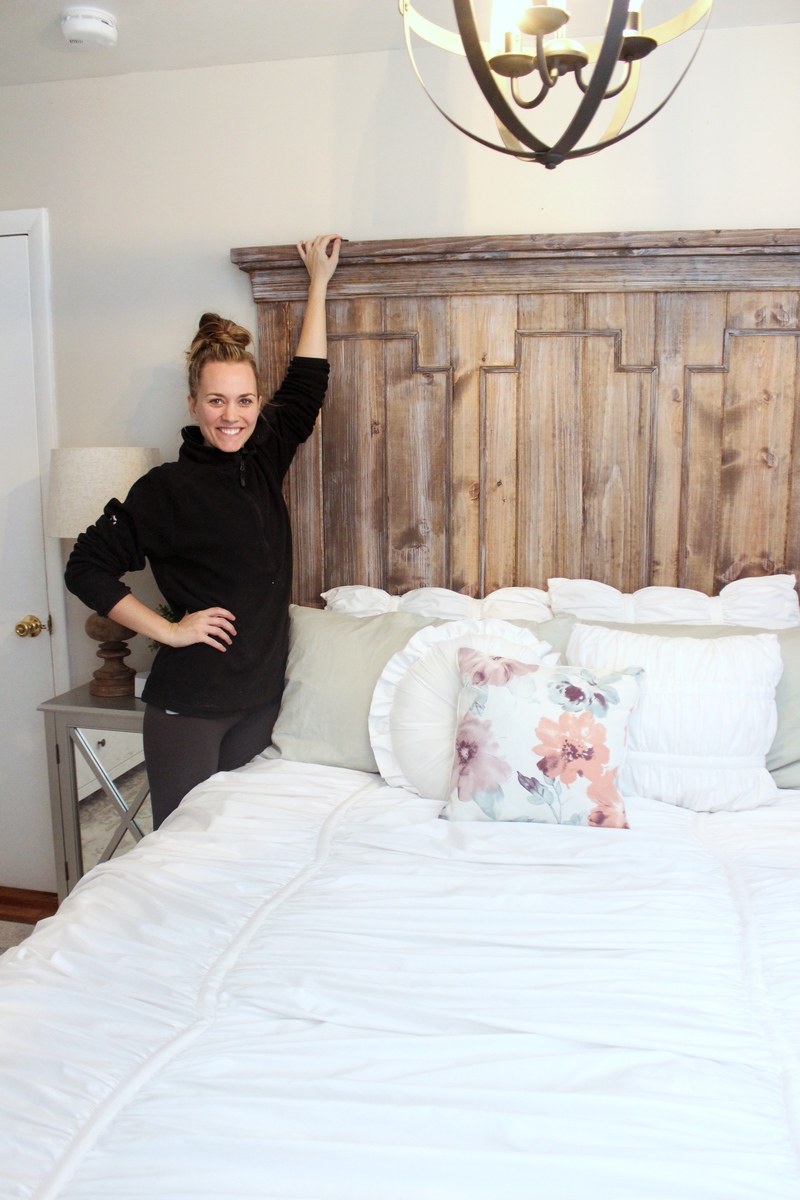
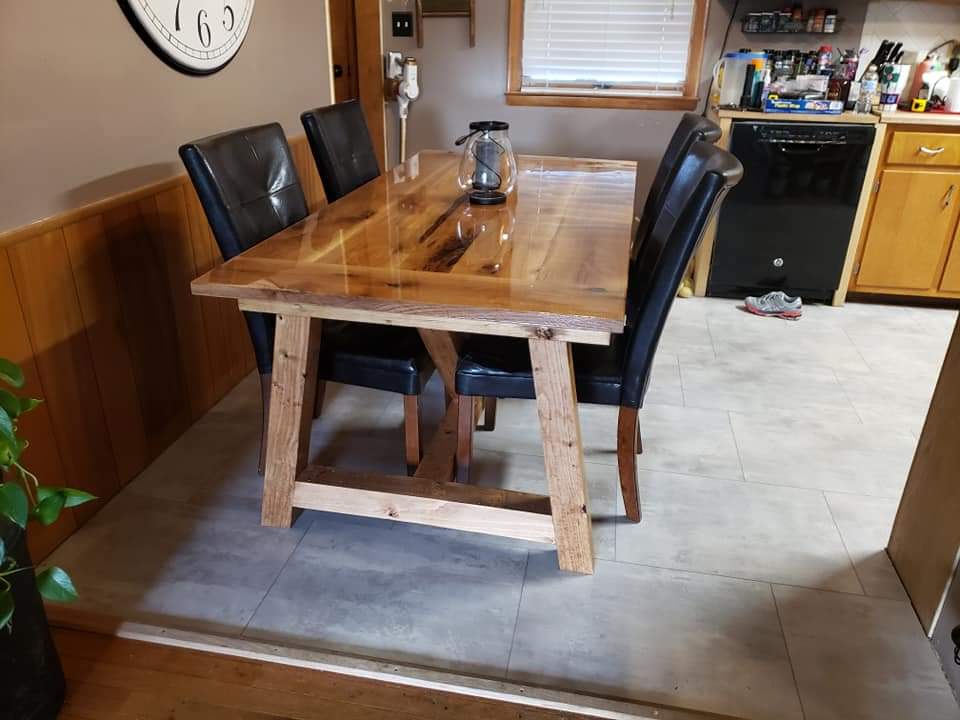
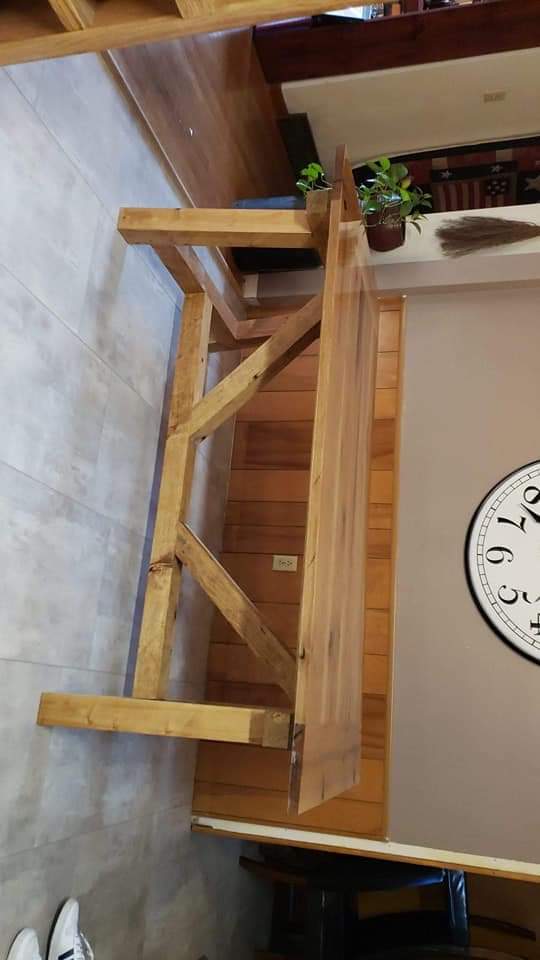
The plans were easy to follow. The family loves it! The top is made of 70+ year old rough cut oak.
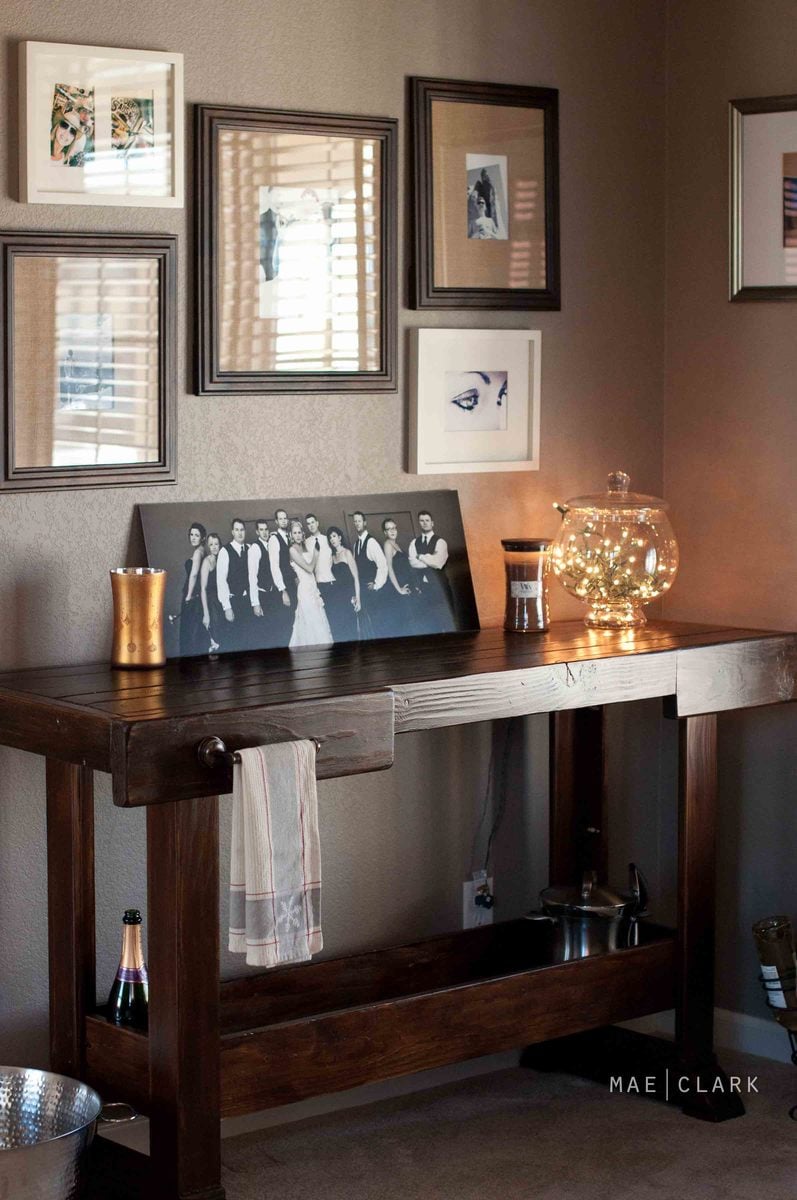
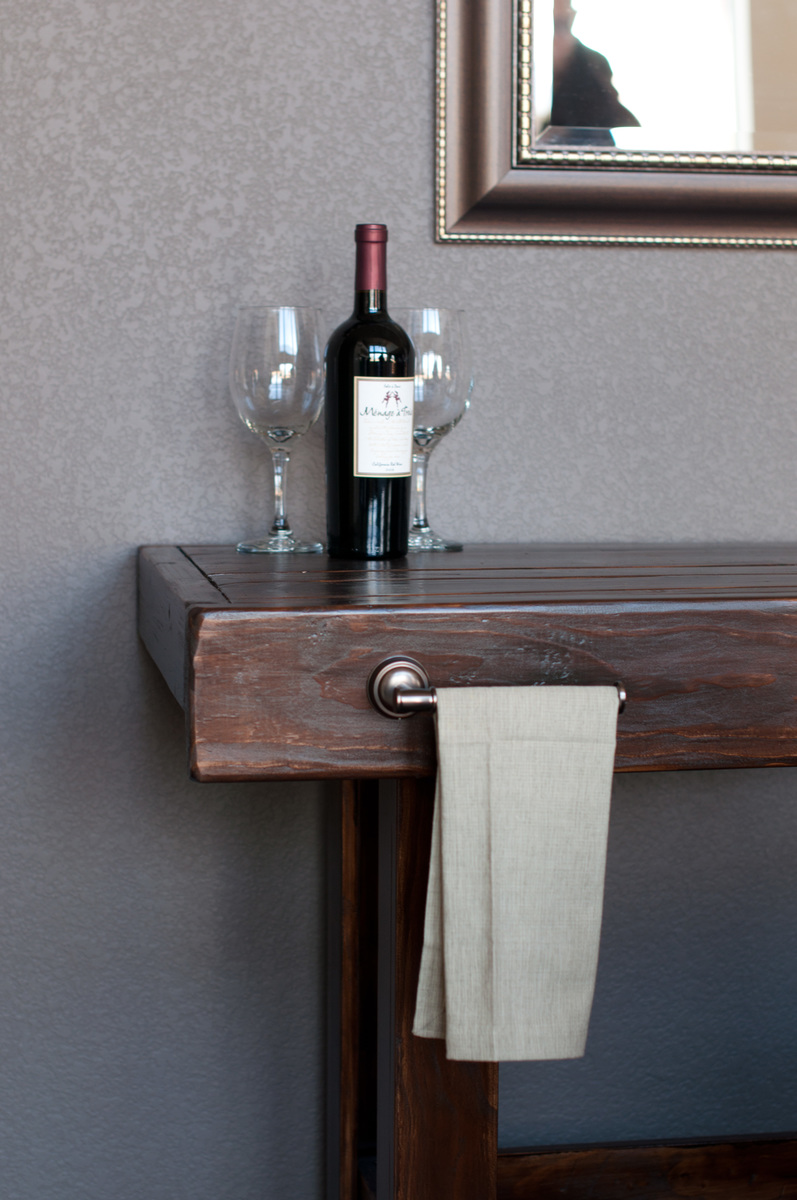
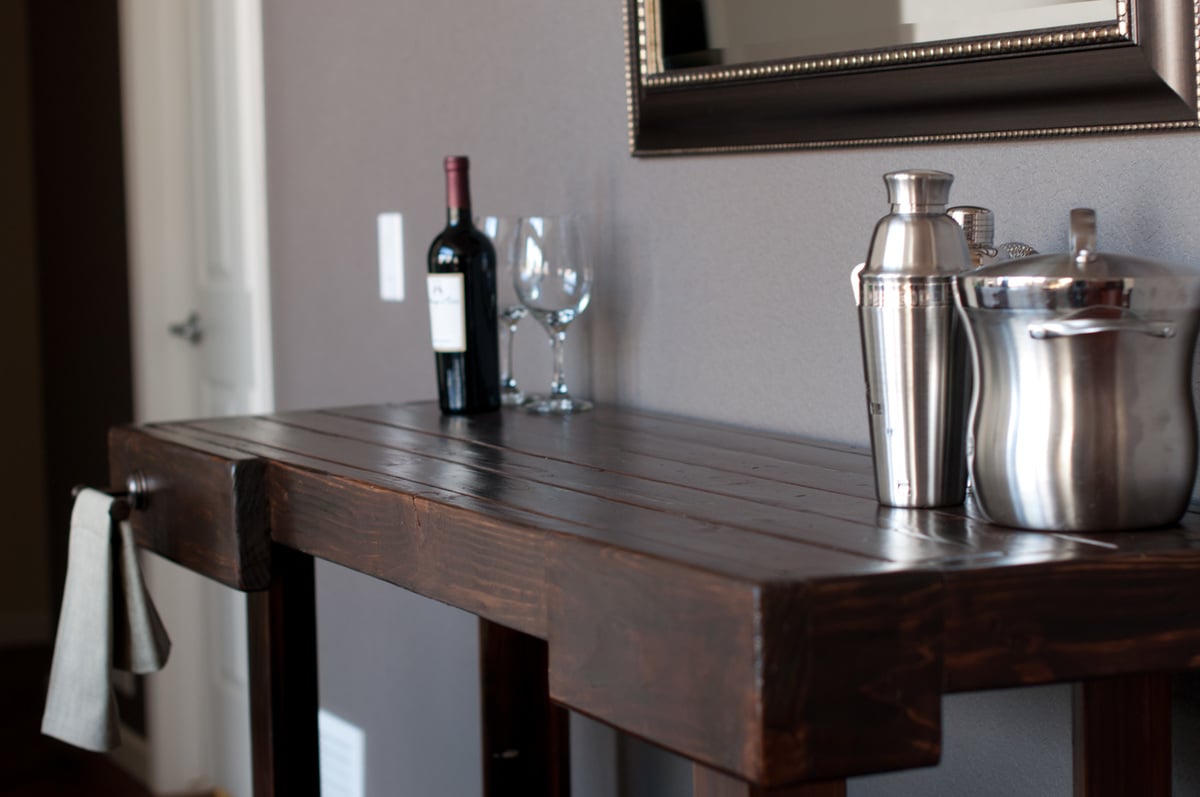
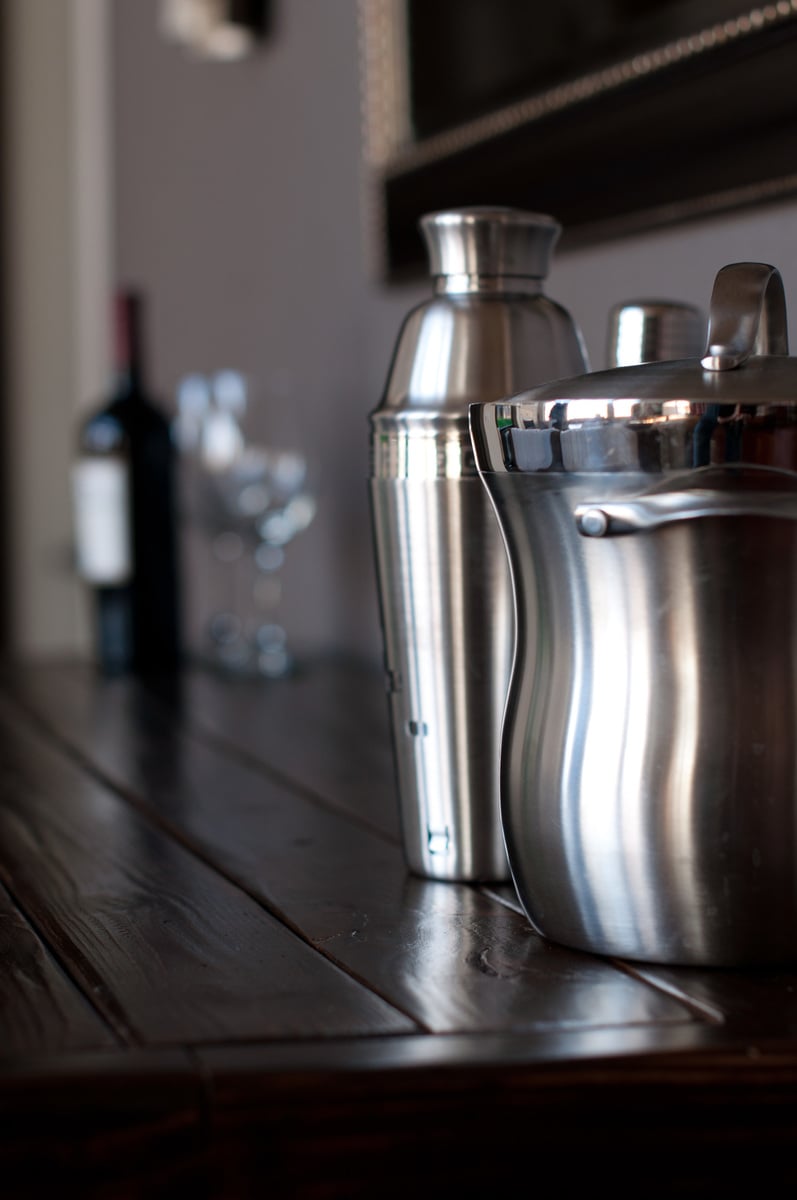
Saw this bar in the PB catalog and loved it! SO excited when I found it on Ana's site... This project was a little more time-consuming than the others I've done. A ton of 2x4's are used, and we bought stud grade 2x4's...definitely got our money's worth out of our palm sander. The table top gets pretty heavy so I couldn't have done it without a hand from the hubbs. We built four separate pieces - the table top, the lower shelf/box, and the legs. We stained everything, then assembled the pieces. Finished assembling this the morning of my work Christmas party, which we were hosting. The perfect drink station!
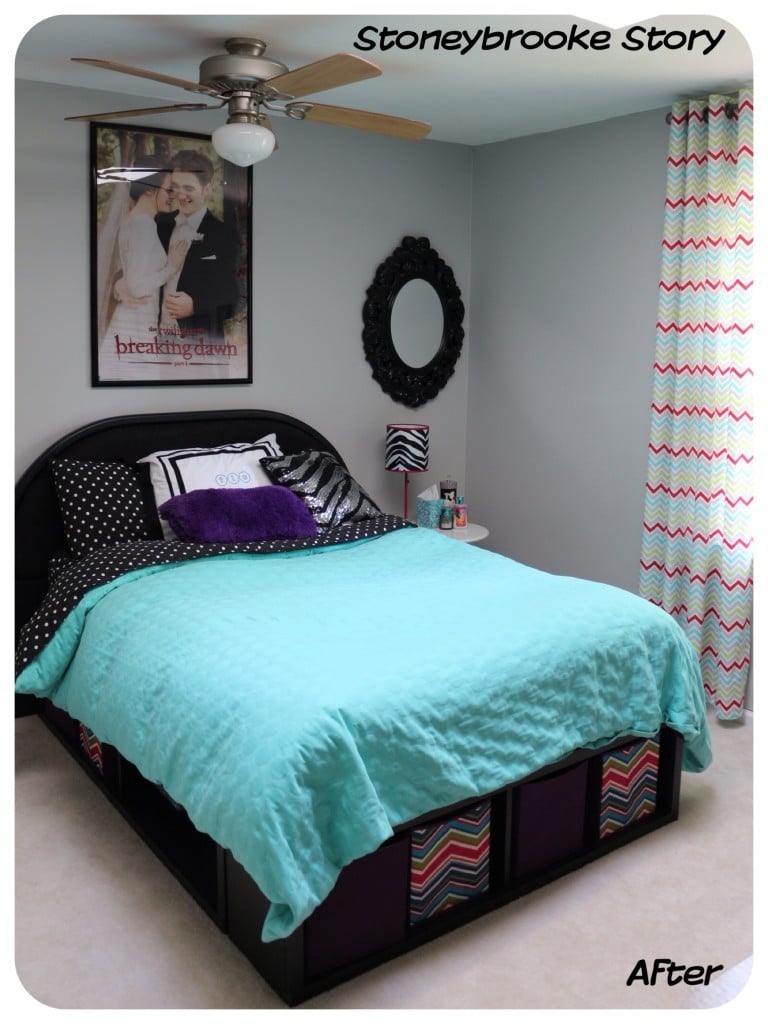
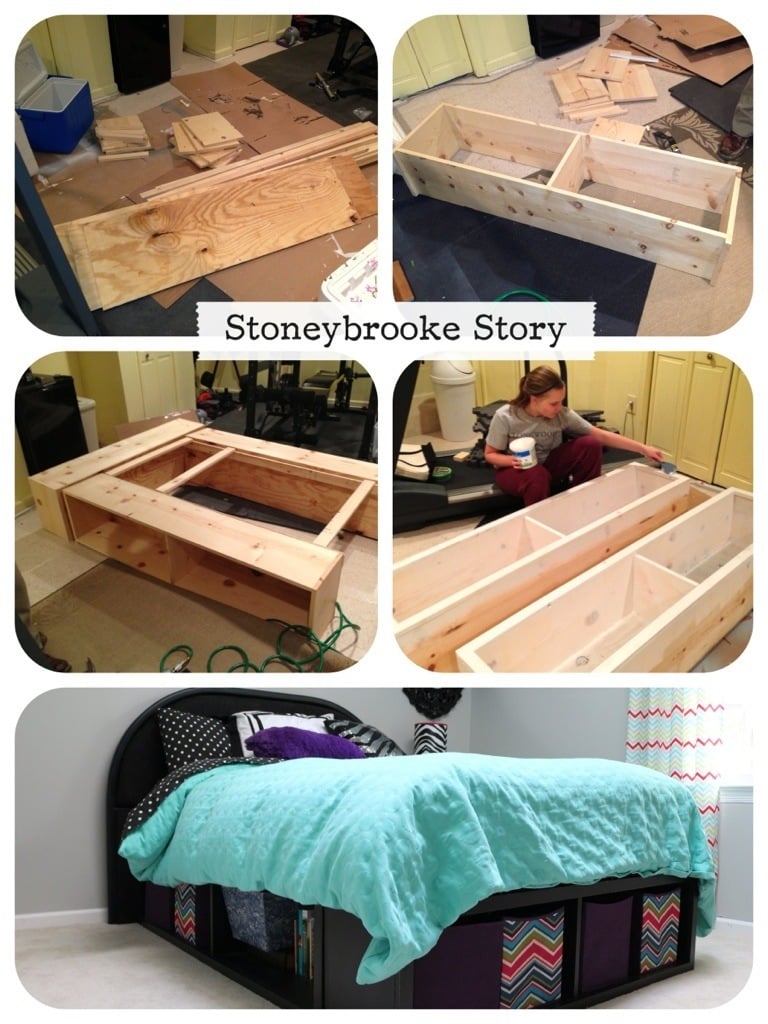
Our niece recently moved to Virginia to live with us. I may or may not have been pinning ideas to a Pinterest Board http://pinterest.com/stoneybrookesty/teen-bedroom/ non-stop day and night from the moment I found out because I was so excited to get to decorate a “fun” room. Her only requests were that it include animal print and bright colors. After looking through dozens of inspiration pictures and taking a trip down the paint aisle at Lowes, she decided on bright pink (Valspar “First Kiss”), green (Valspar “Parakeet Green”), lavender (Valspar “Berries Galore”) and teal for her color scheme.
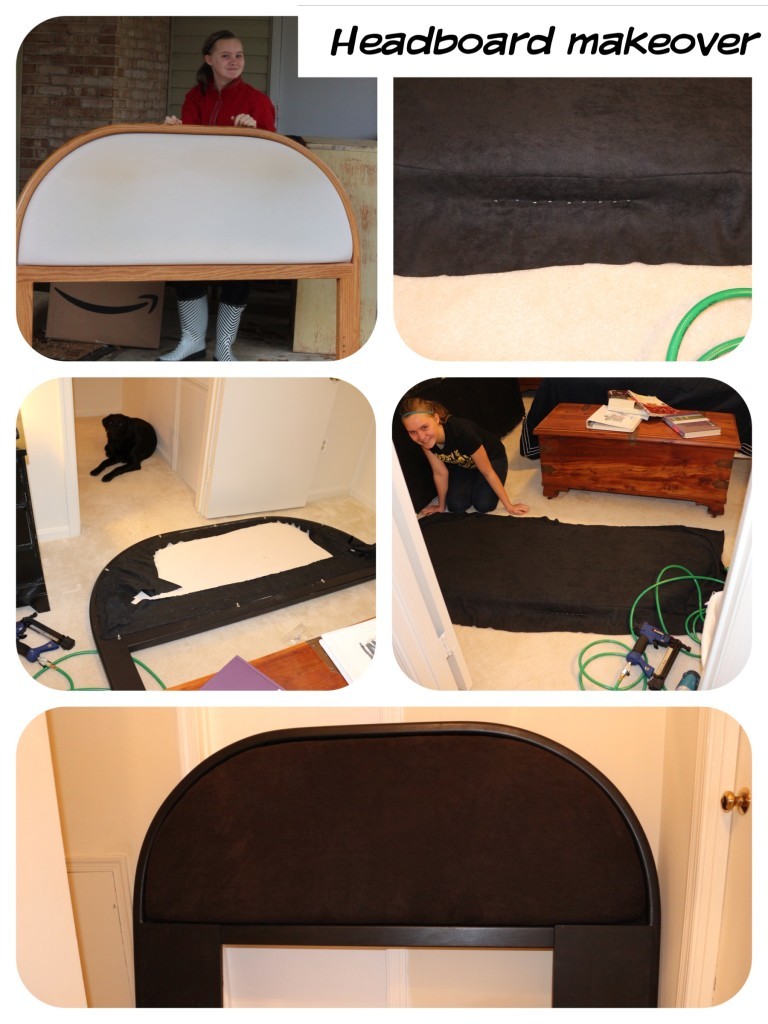
The headboard we scored for a cool $15 at the Habitat for Humanity ReStore and it just needed a coat of paint and a 1.5 yards of Nu-Suede fabric. We didn’t realize until we had the headboard home that it was sized for a queen and not a full so we had to do a little improv on the legs and attached a 12 inch section of 1 x 12 pine. These were leftover from the frame were no added cost.
We chose to make the Captain's storage bed from the Ana White plans because I wanted to make sure Tiff had plenty of room to put away all her books and make it easier to keep her room clean. The chevron storage bins are from Lowes. Which happened to have cheapest bins in fabric we liked and that fit when we were looking. We also found lots of good options at Target.
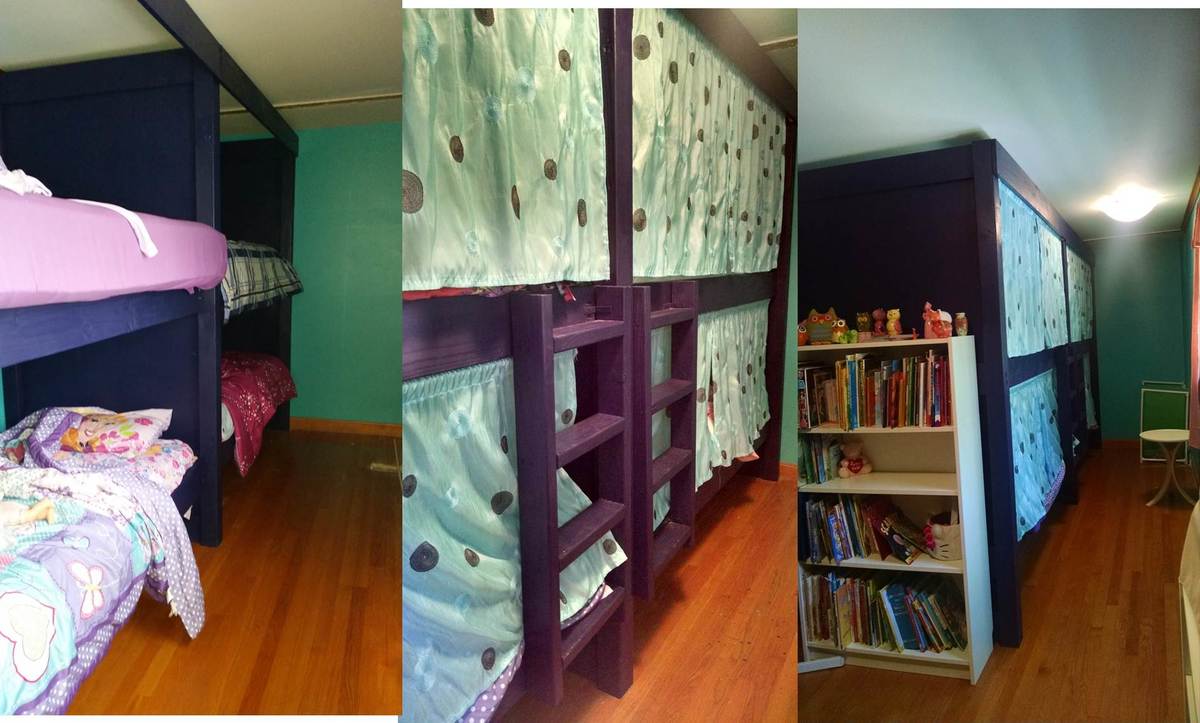
We used the Build a Simple Bed plan and the Bunk Bed from Simple Bed. I modified the plans to build a double bunk bed. We needed a way to fit up to 6 small children in a long, narrow room. Although we haven't built the trundle beds yet, each bunk will also have a trundle bed. The kids especially love their "privacy" curtains!

This is the second set of Narrow Cottage End Tables that I have built. Like the first pair I built end a secondary shelf where the drawer would normally ride. This time the secondary shelf is flush with the surrounding support. I used as muched reclaimed wood as possible so instead of solid 1x material I glued up batten panels using pallet slats. I let them run 'wild' on the backside; this will cause some fitment issues when mounting the drawer hardware. Installing a thin cleat along the inside allowed for flush mounting the hardware. The rope handle is 3/8 natural giving the pieces a 'nautical' feel. I drilled the through holes 2/32 smaller in diameter then the rope diameter, or in other words the through holes are 5/16 as opposed of 3/8 of an inch. Make sure to thread the rope from inside the drawer out then back in. I used constrictor knots on the inside to secure the rope ends as well as providing a 'pull' for the handle.
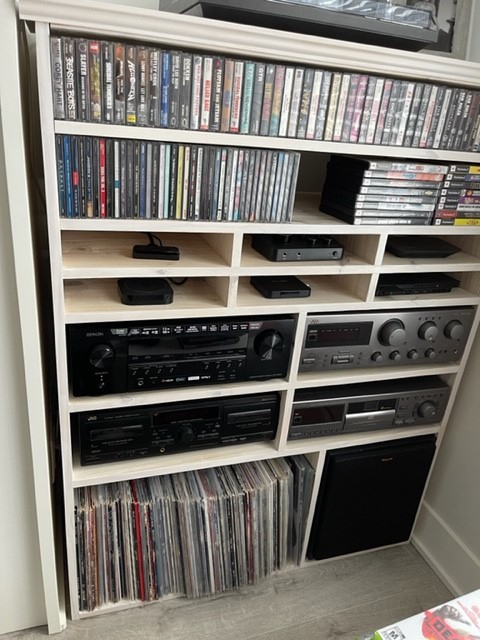
I have a bunch of those streaming boxes, Apple Tv, Roku, a game console and from what I can tell, there is no entertainment console out there that accommodates them very well, so I made my own. I also have a bunch of retro cassettes and CD's that I wanted to display (the cassettes more for nostalgic reasons) and of course vinyl! so I made this very unique console to accommodate everything. The streaming boxes, karaoke, wifi box, game console all get there own little boxes which keeps them all able to connect easily the remotes and all the wires stay hidden in the back. I also put some light strips on it for some additional night time fun! I made this out of a material called Whitewood, which I've found here at Home Depot in Canada. Its really really cost effective and the boards are easy to work with and are nice and straight! Thank you Ana for giving me the confidence to design my own unique project!
Fri, 01/07/2022 - 12:35
That's awesome, way to go, this is where custom DIY comes in!
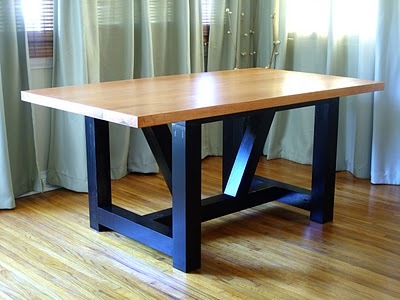
I had been wanting a trestle table for months but couldn't swallow the outrageous pricetags that came along with the tables. I was also dealing with a small space, so the table had to be just the right size.
Thu, 09/29/2022 - 13:55
Love the two tone finish and it looks perfect in your space! Thanks for sharing.
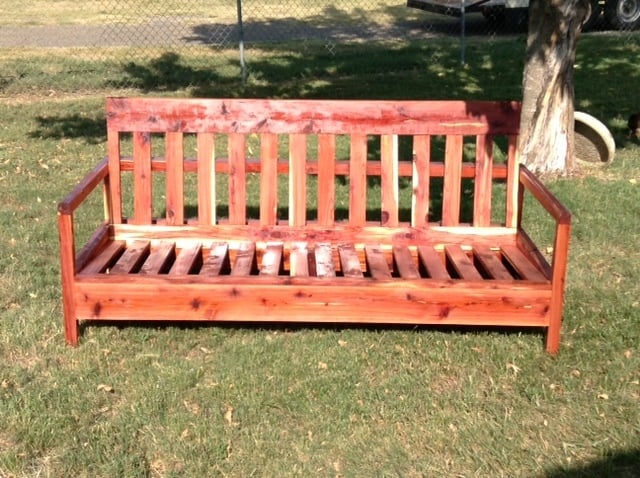
This is from the simple white outdoor sofa plans, they were very easy to follow and came out great. I built it out of cedar for my mom's birthday that is her favorite wood. The cushions came from Wal-Mart on sale for 70.00 for the set. There is about 140 total in everything.
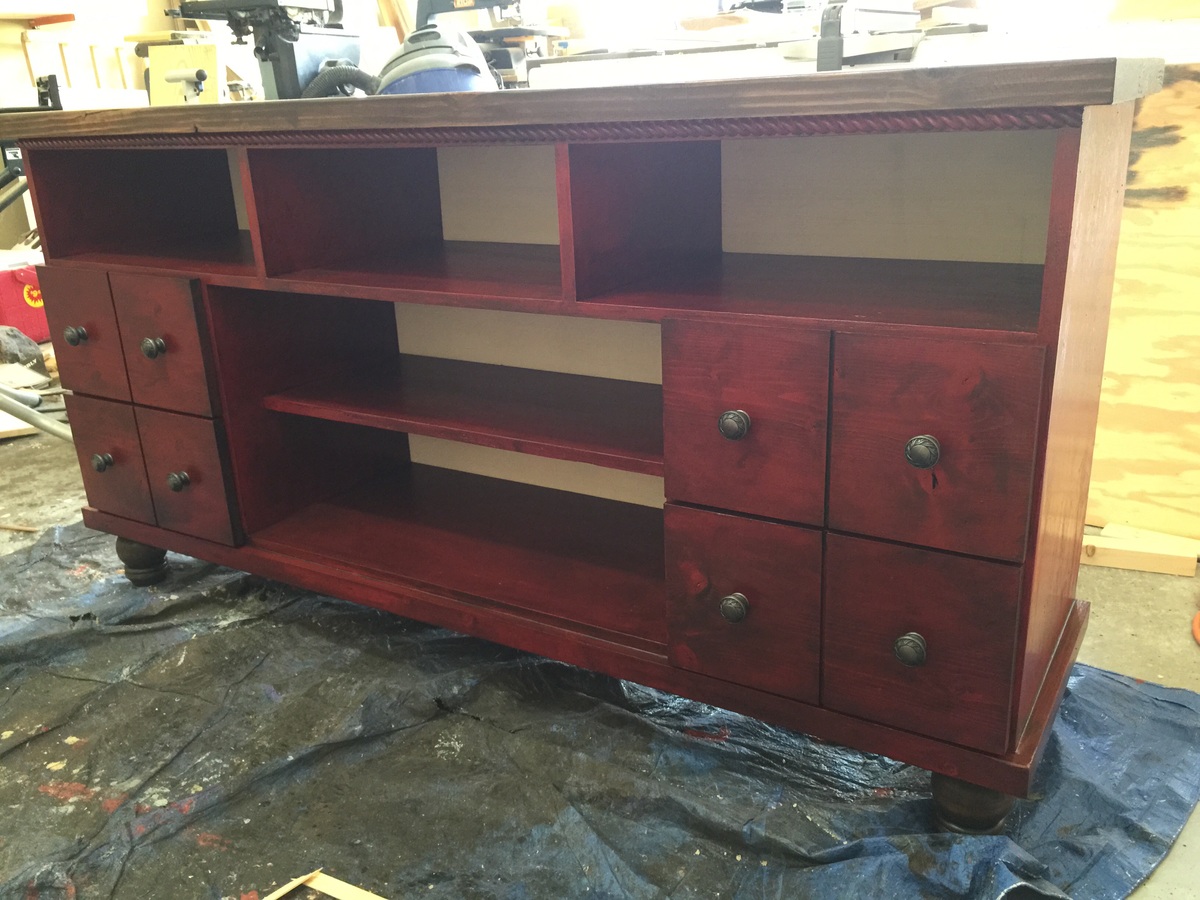
This console is perfect as is or it can be customized to your needs. Very sturdy.
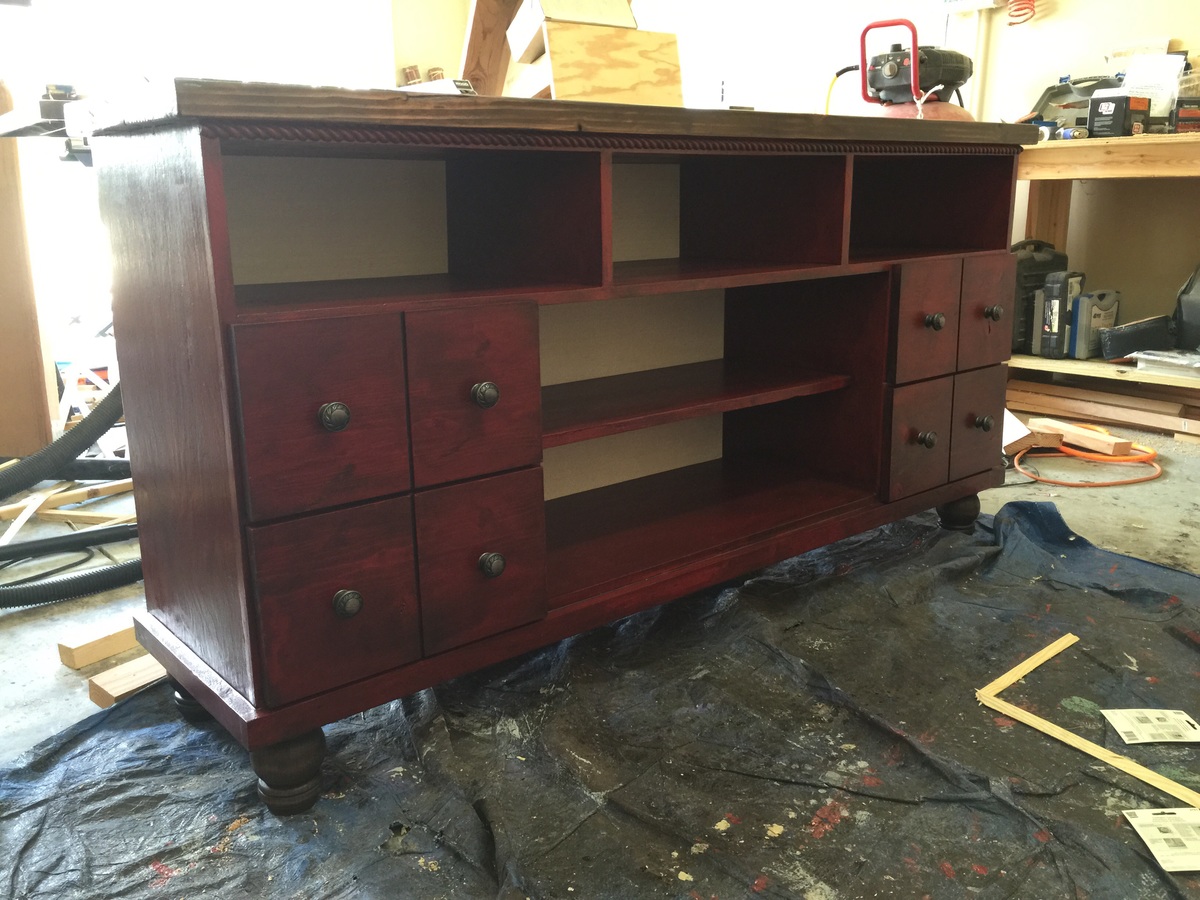
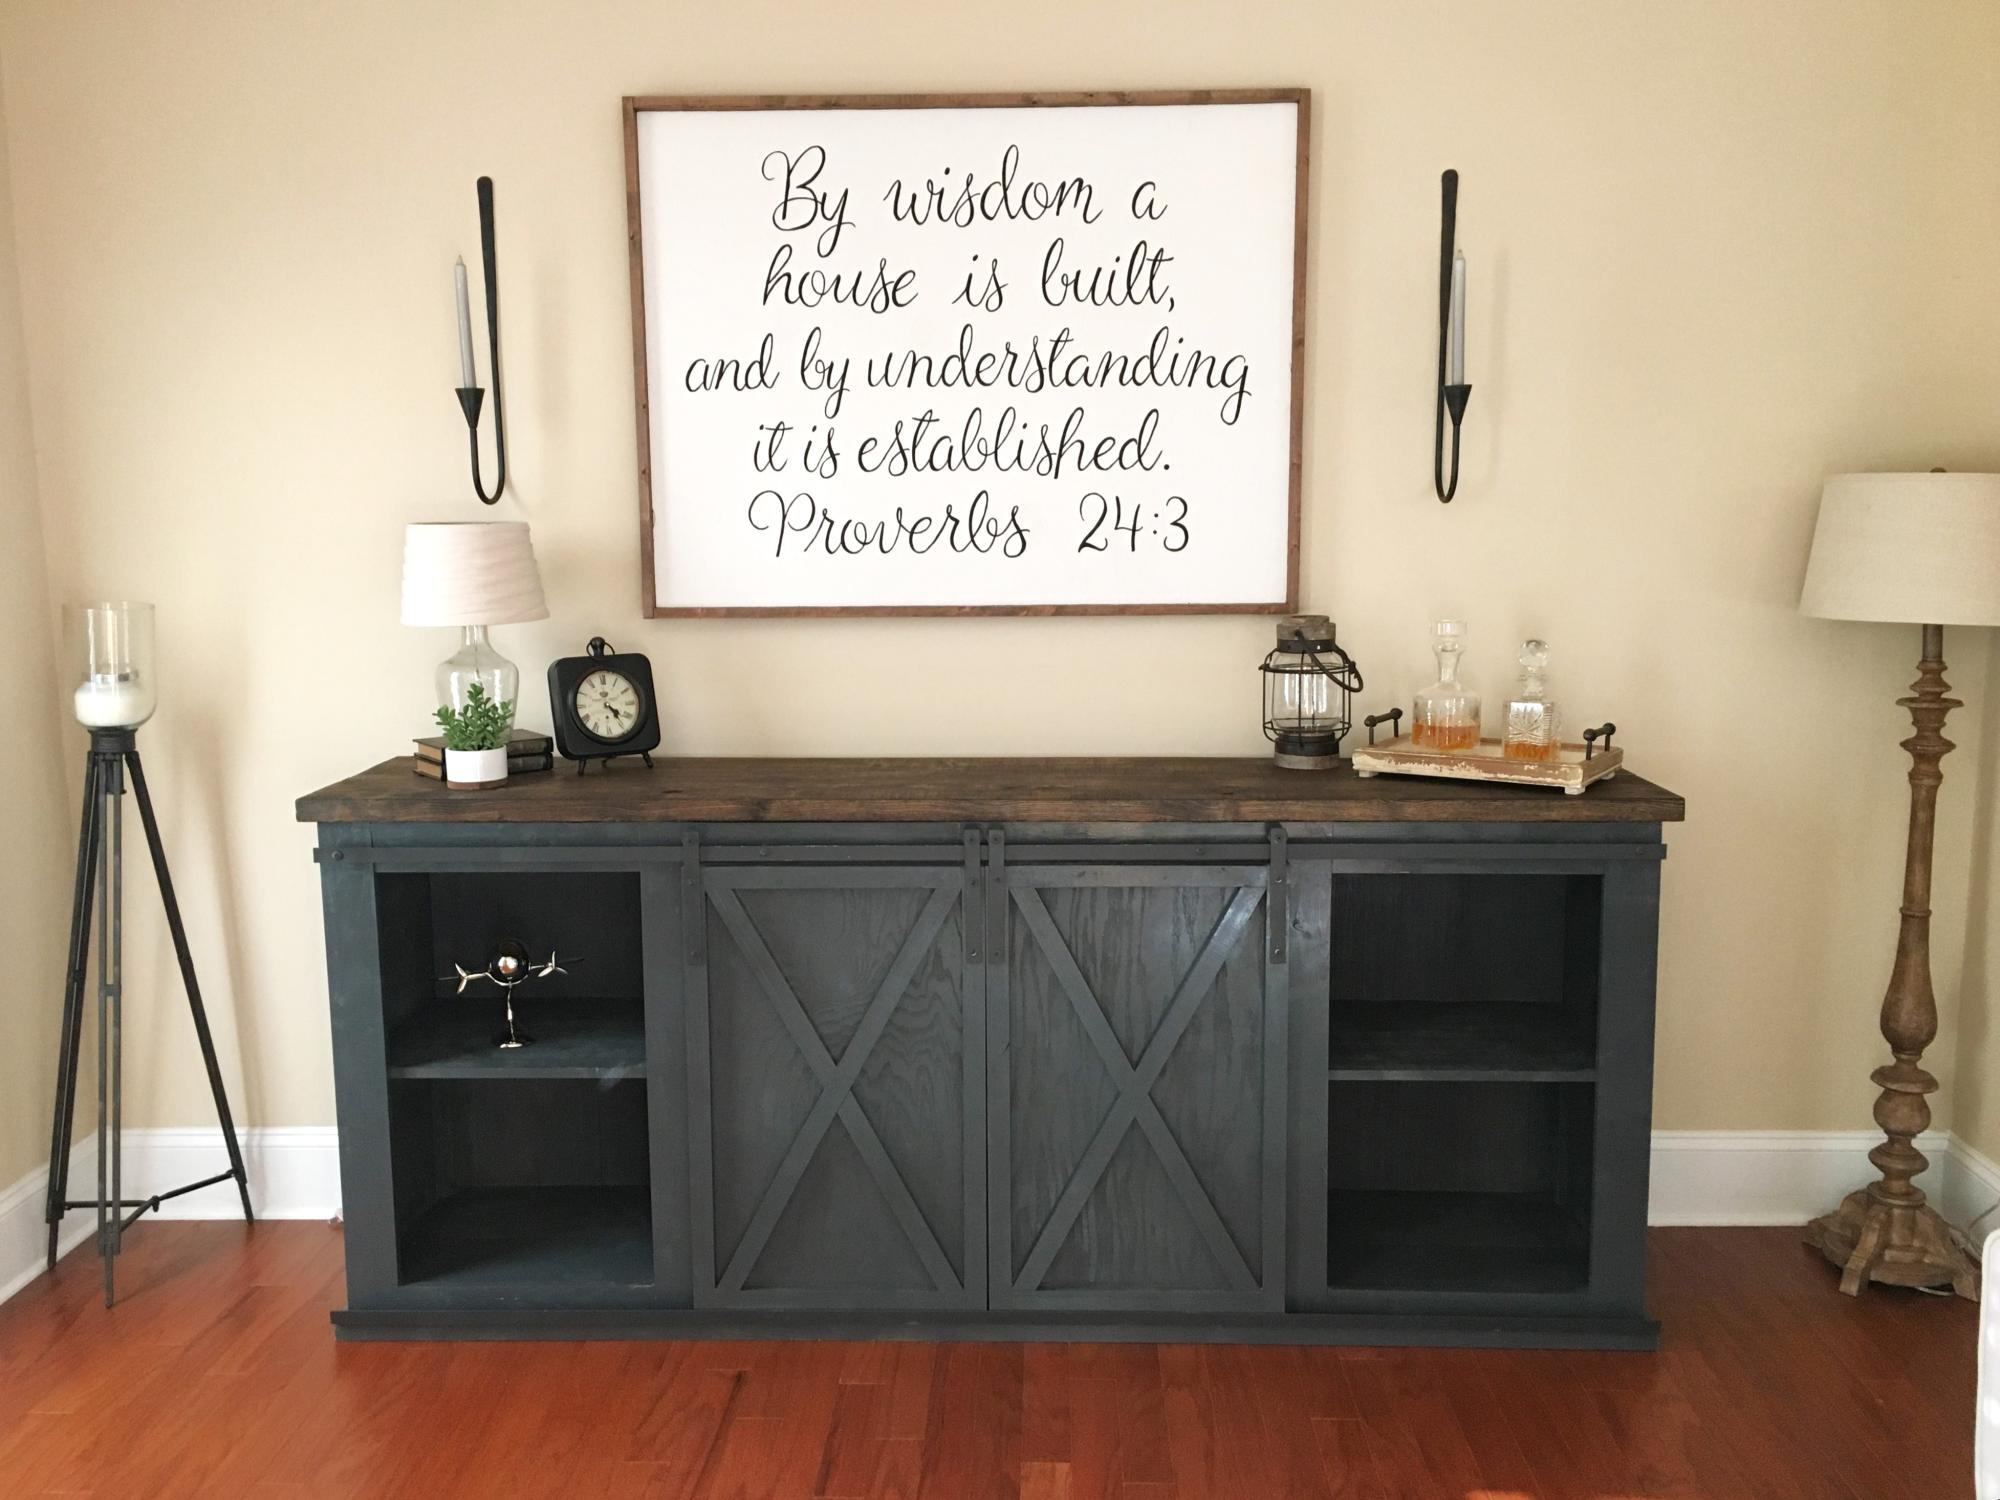
I pretty much followed the plans to the T. I did use 3/4" plywood for the middle shelf instead of the suggested wood. The hardware was the hardest part and mostly followed the previously posted DIY from Jamie's website with a few modifications.