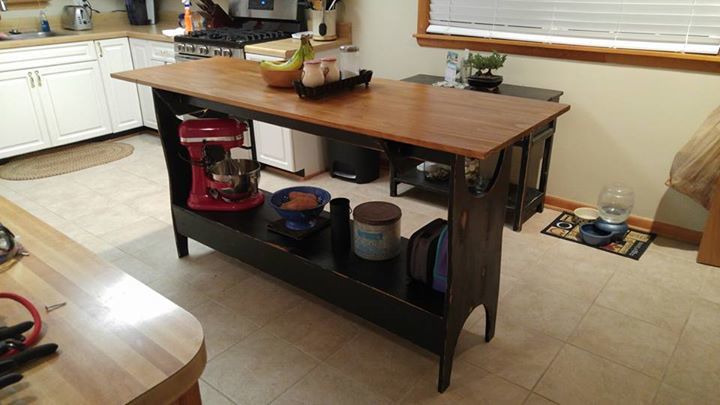
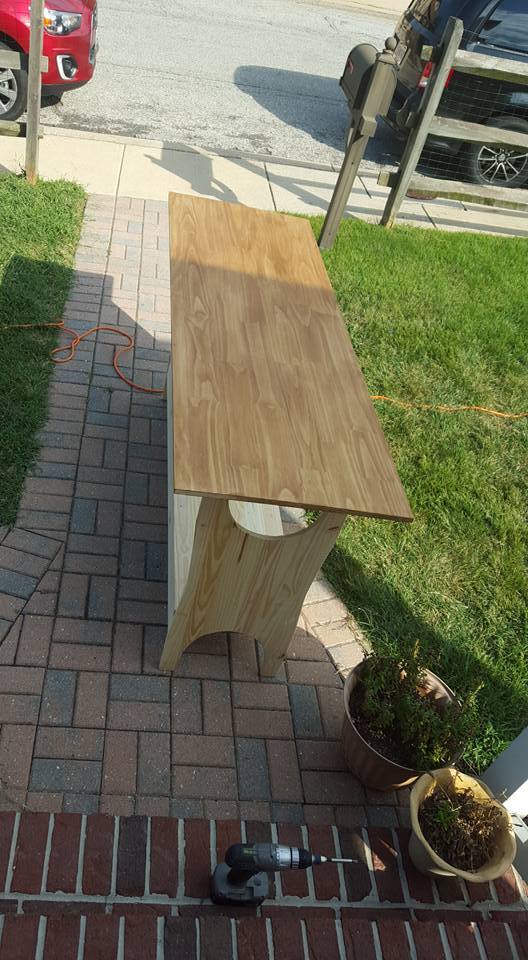
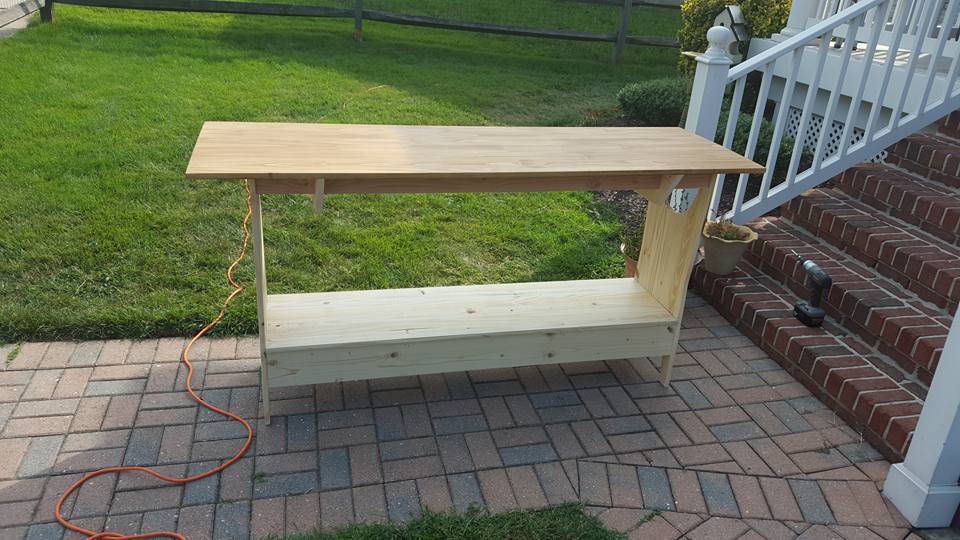
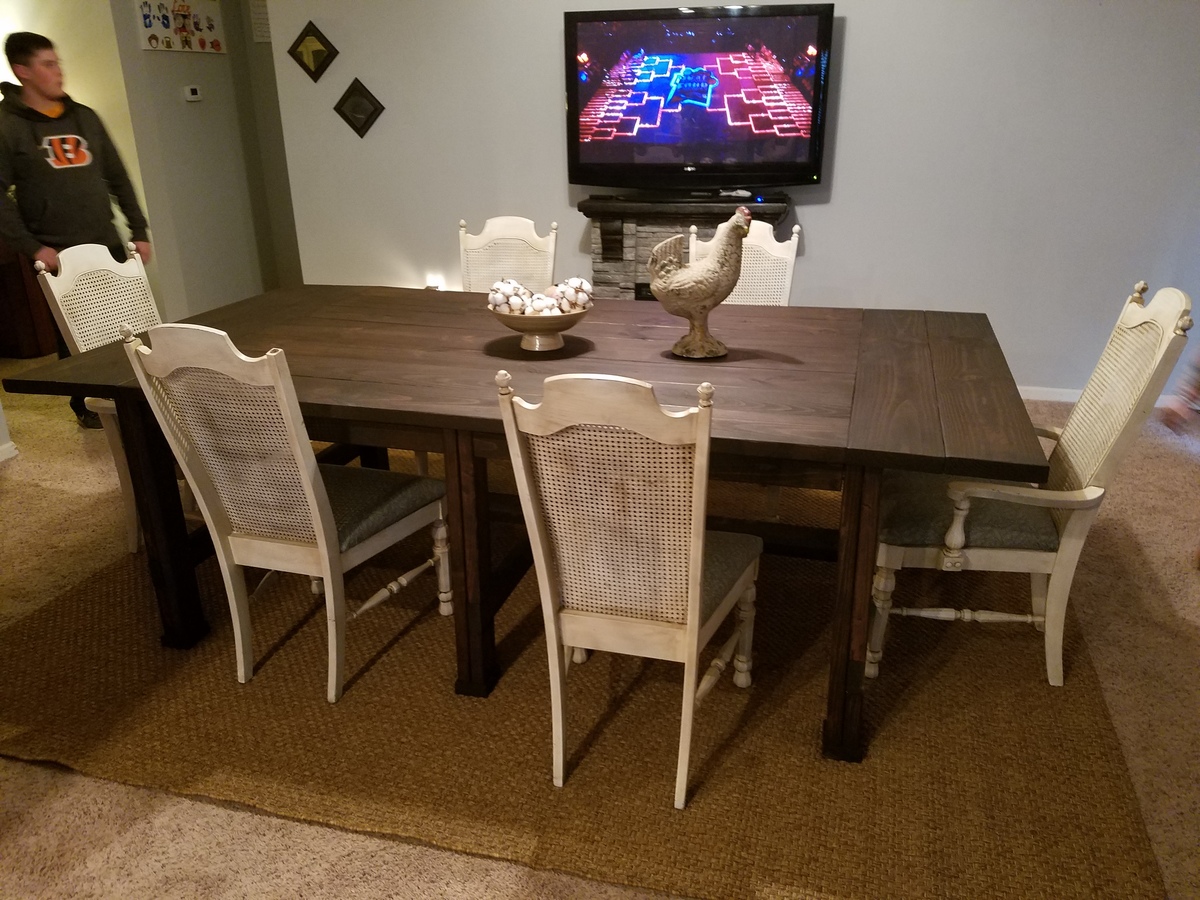
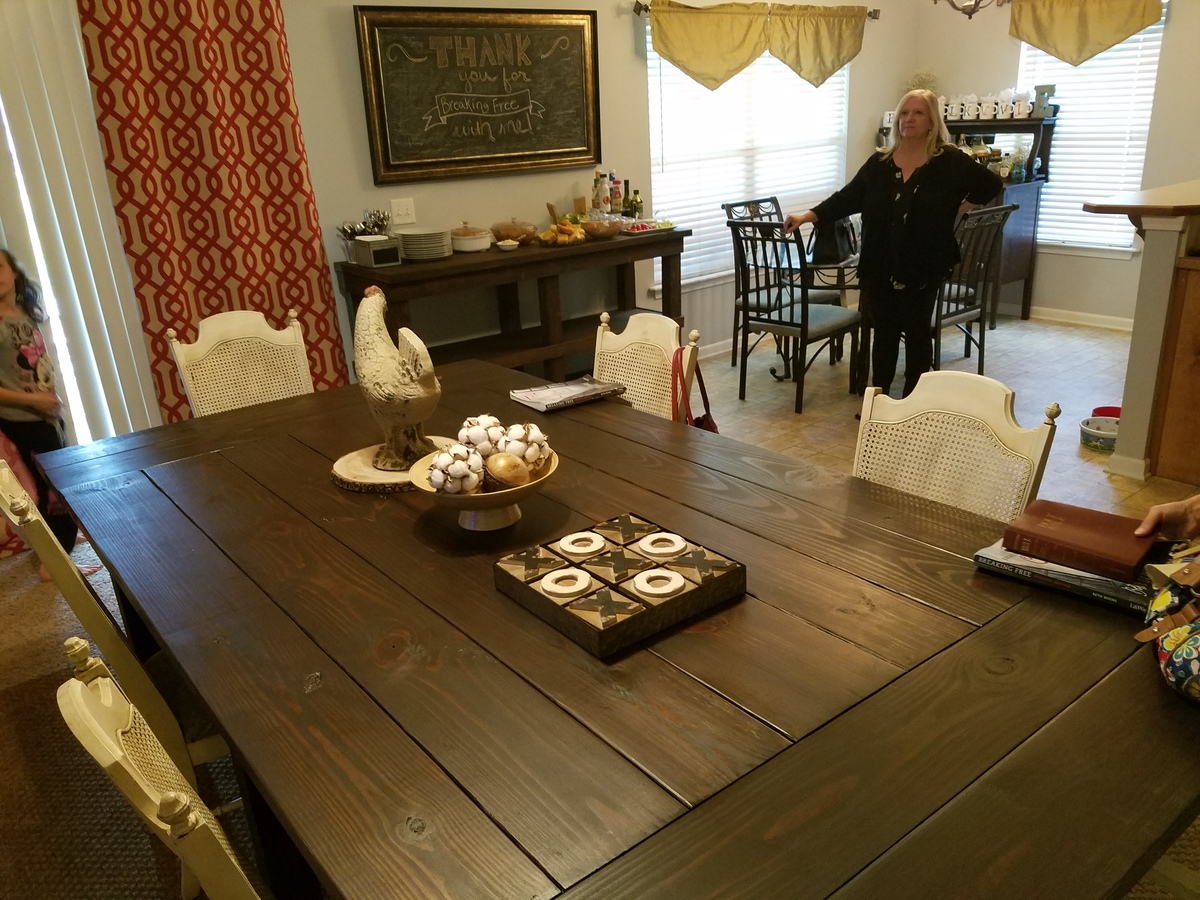
Farmhouse table - pocket hole plans
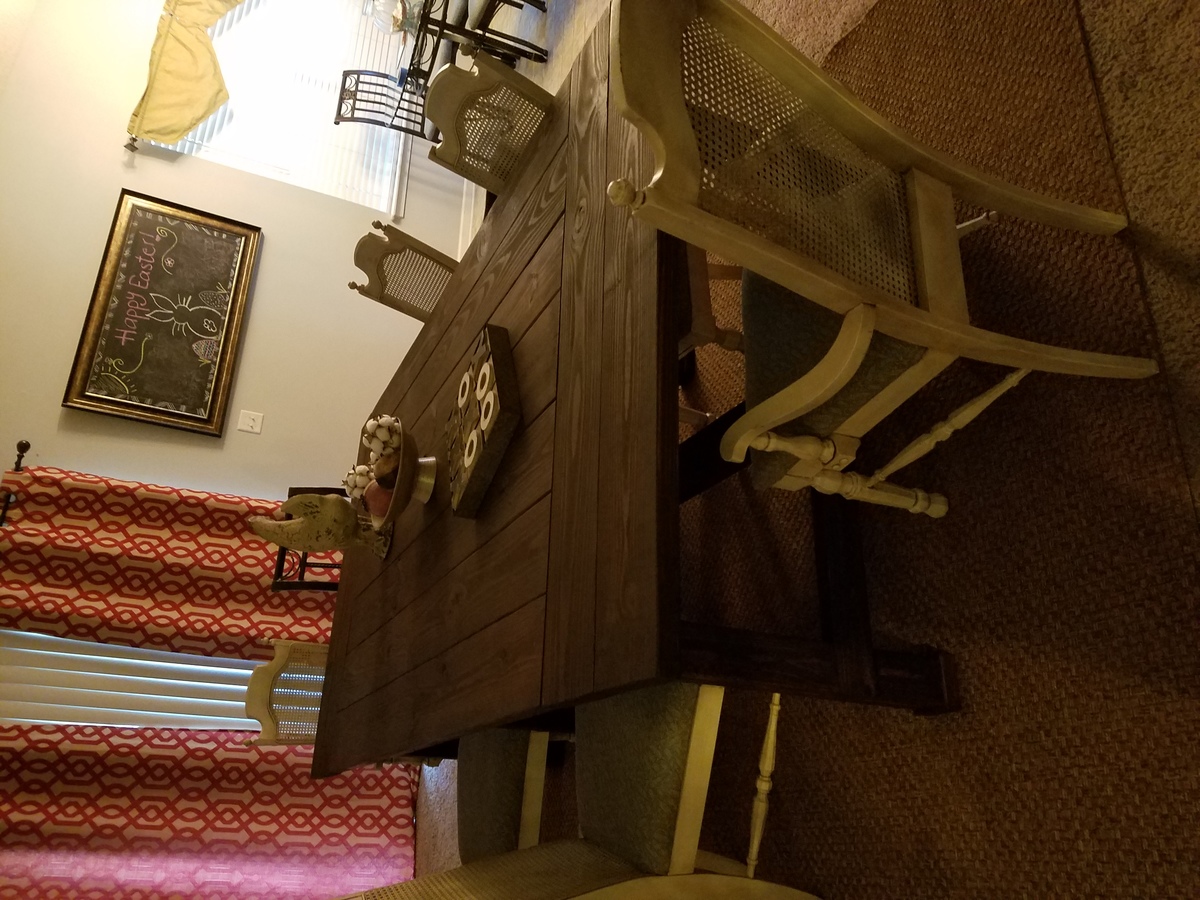
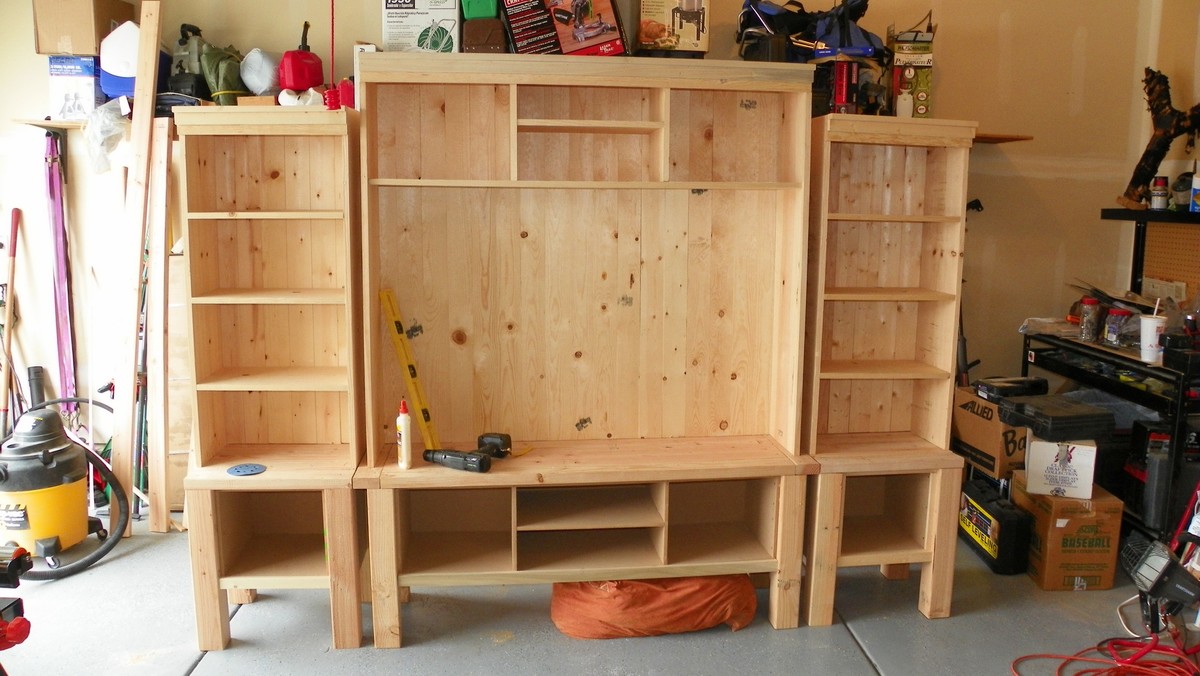
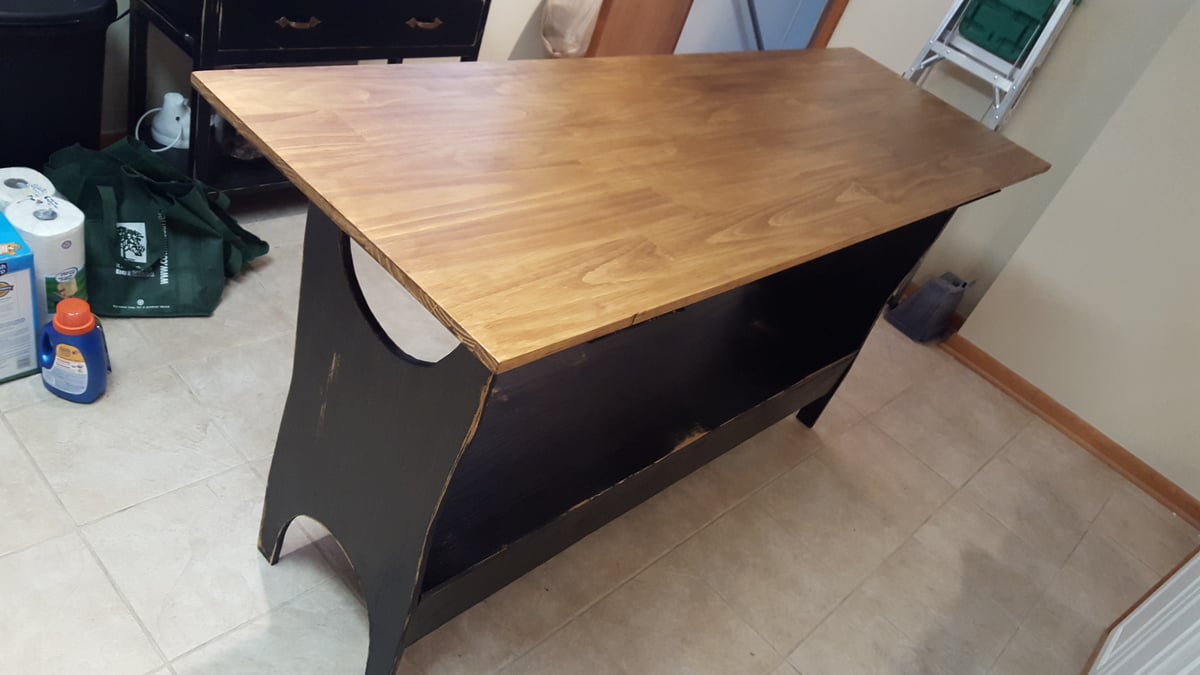
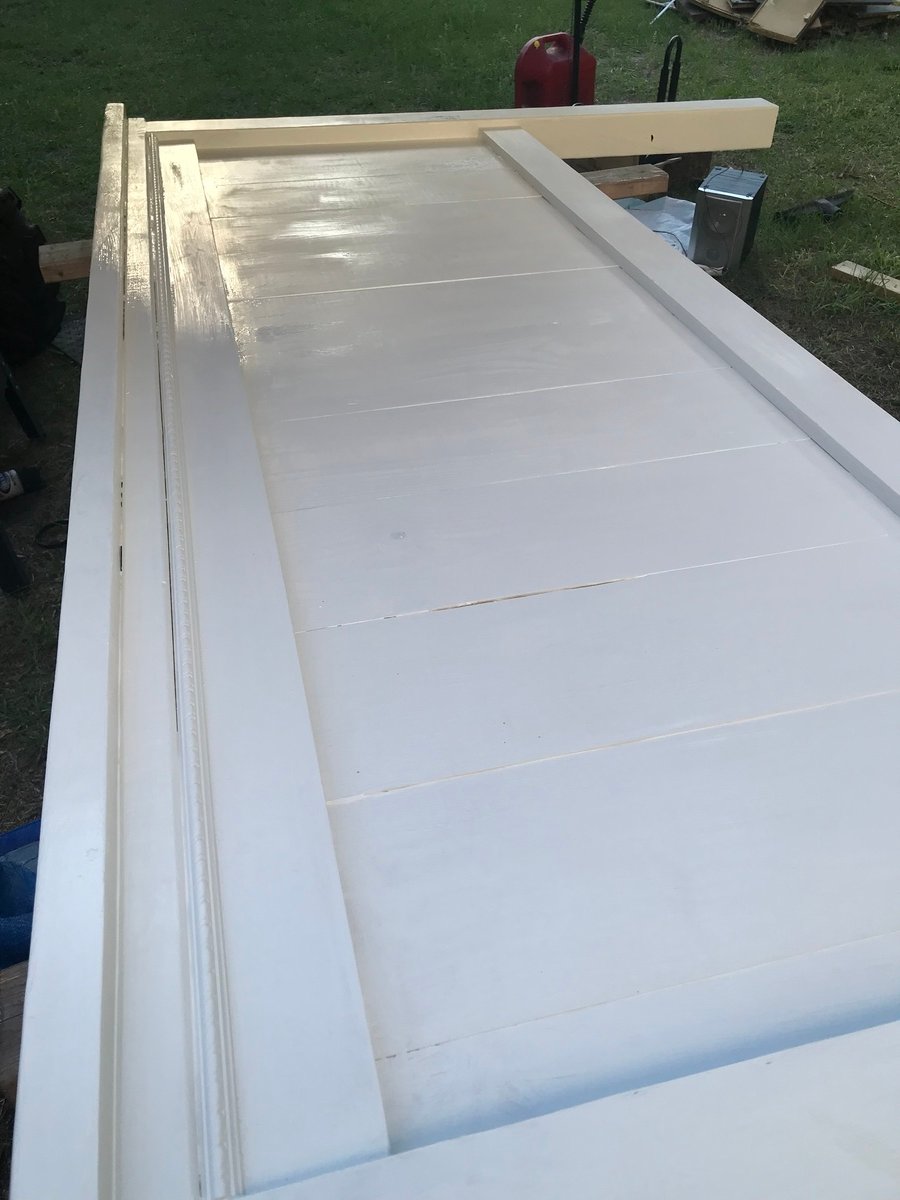
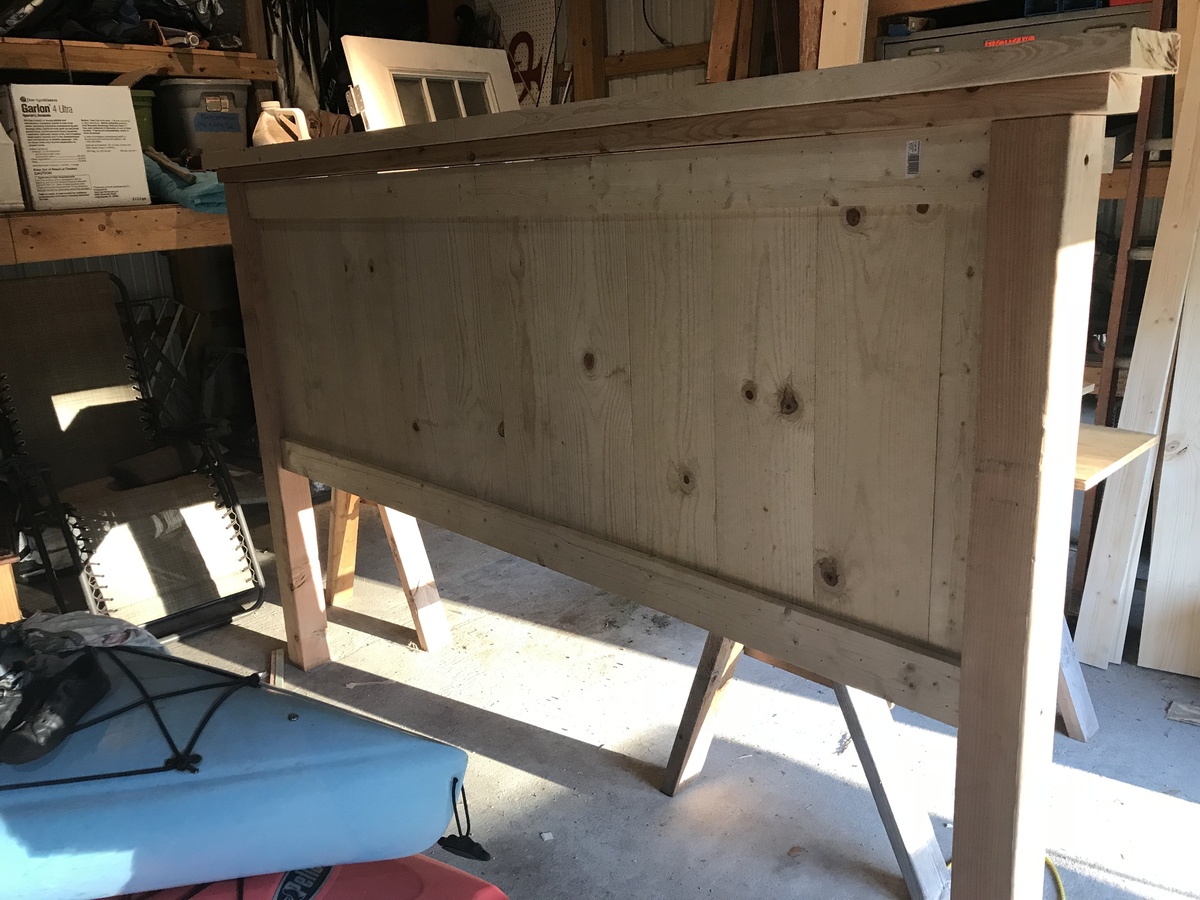
This table was made for large gatherings. It will seat 12 and is 9' X 4' I had to add another let in the middle and I couldn't find 4X4 so I paired 2 2'X4's. The friend I made it for is very happy with it, and so am I.
Built from Plan(s)
Estimated Time Investment
Weekend Project (10-20 Hours)
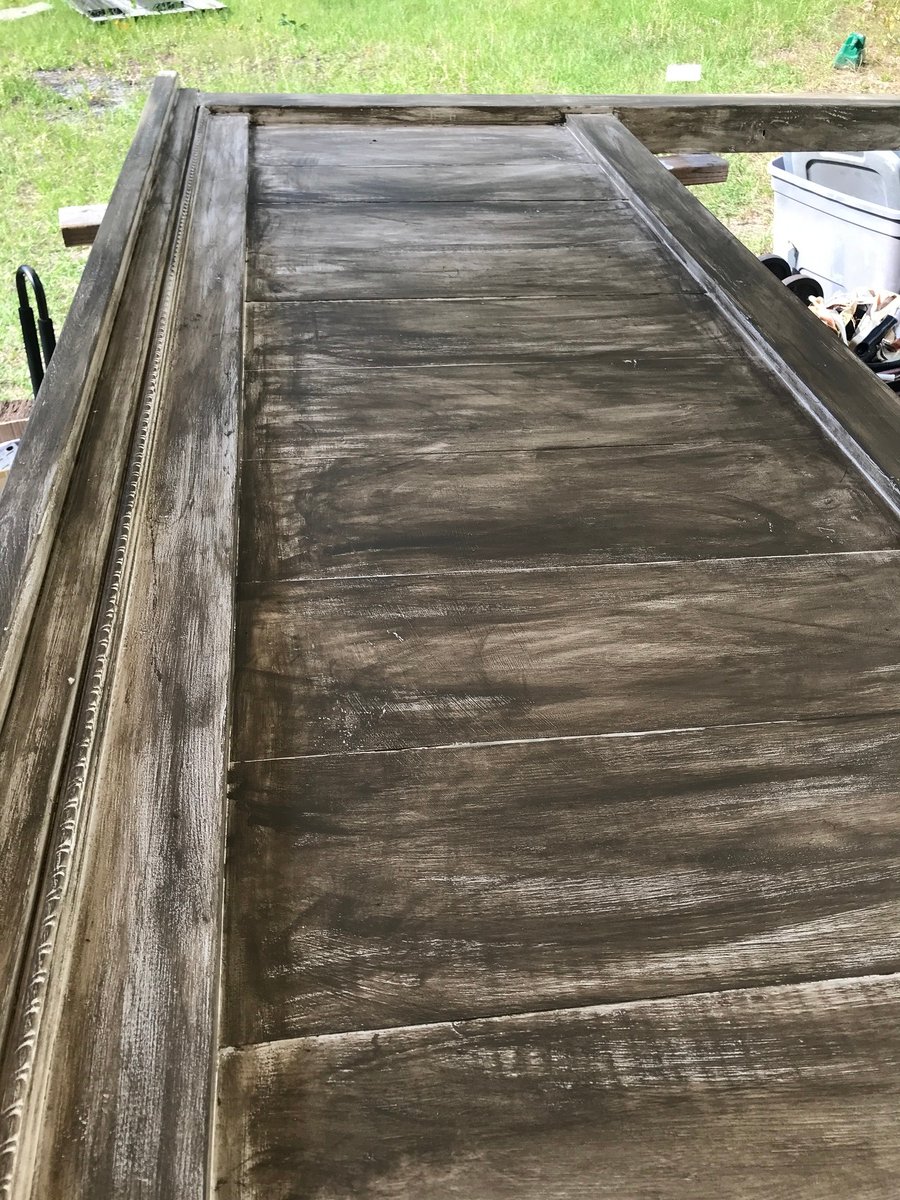
Finish Used
Varathane - Kona
Recommended Skill Level
Intermediate