Community Brag Posts

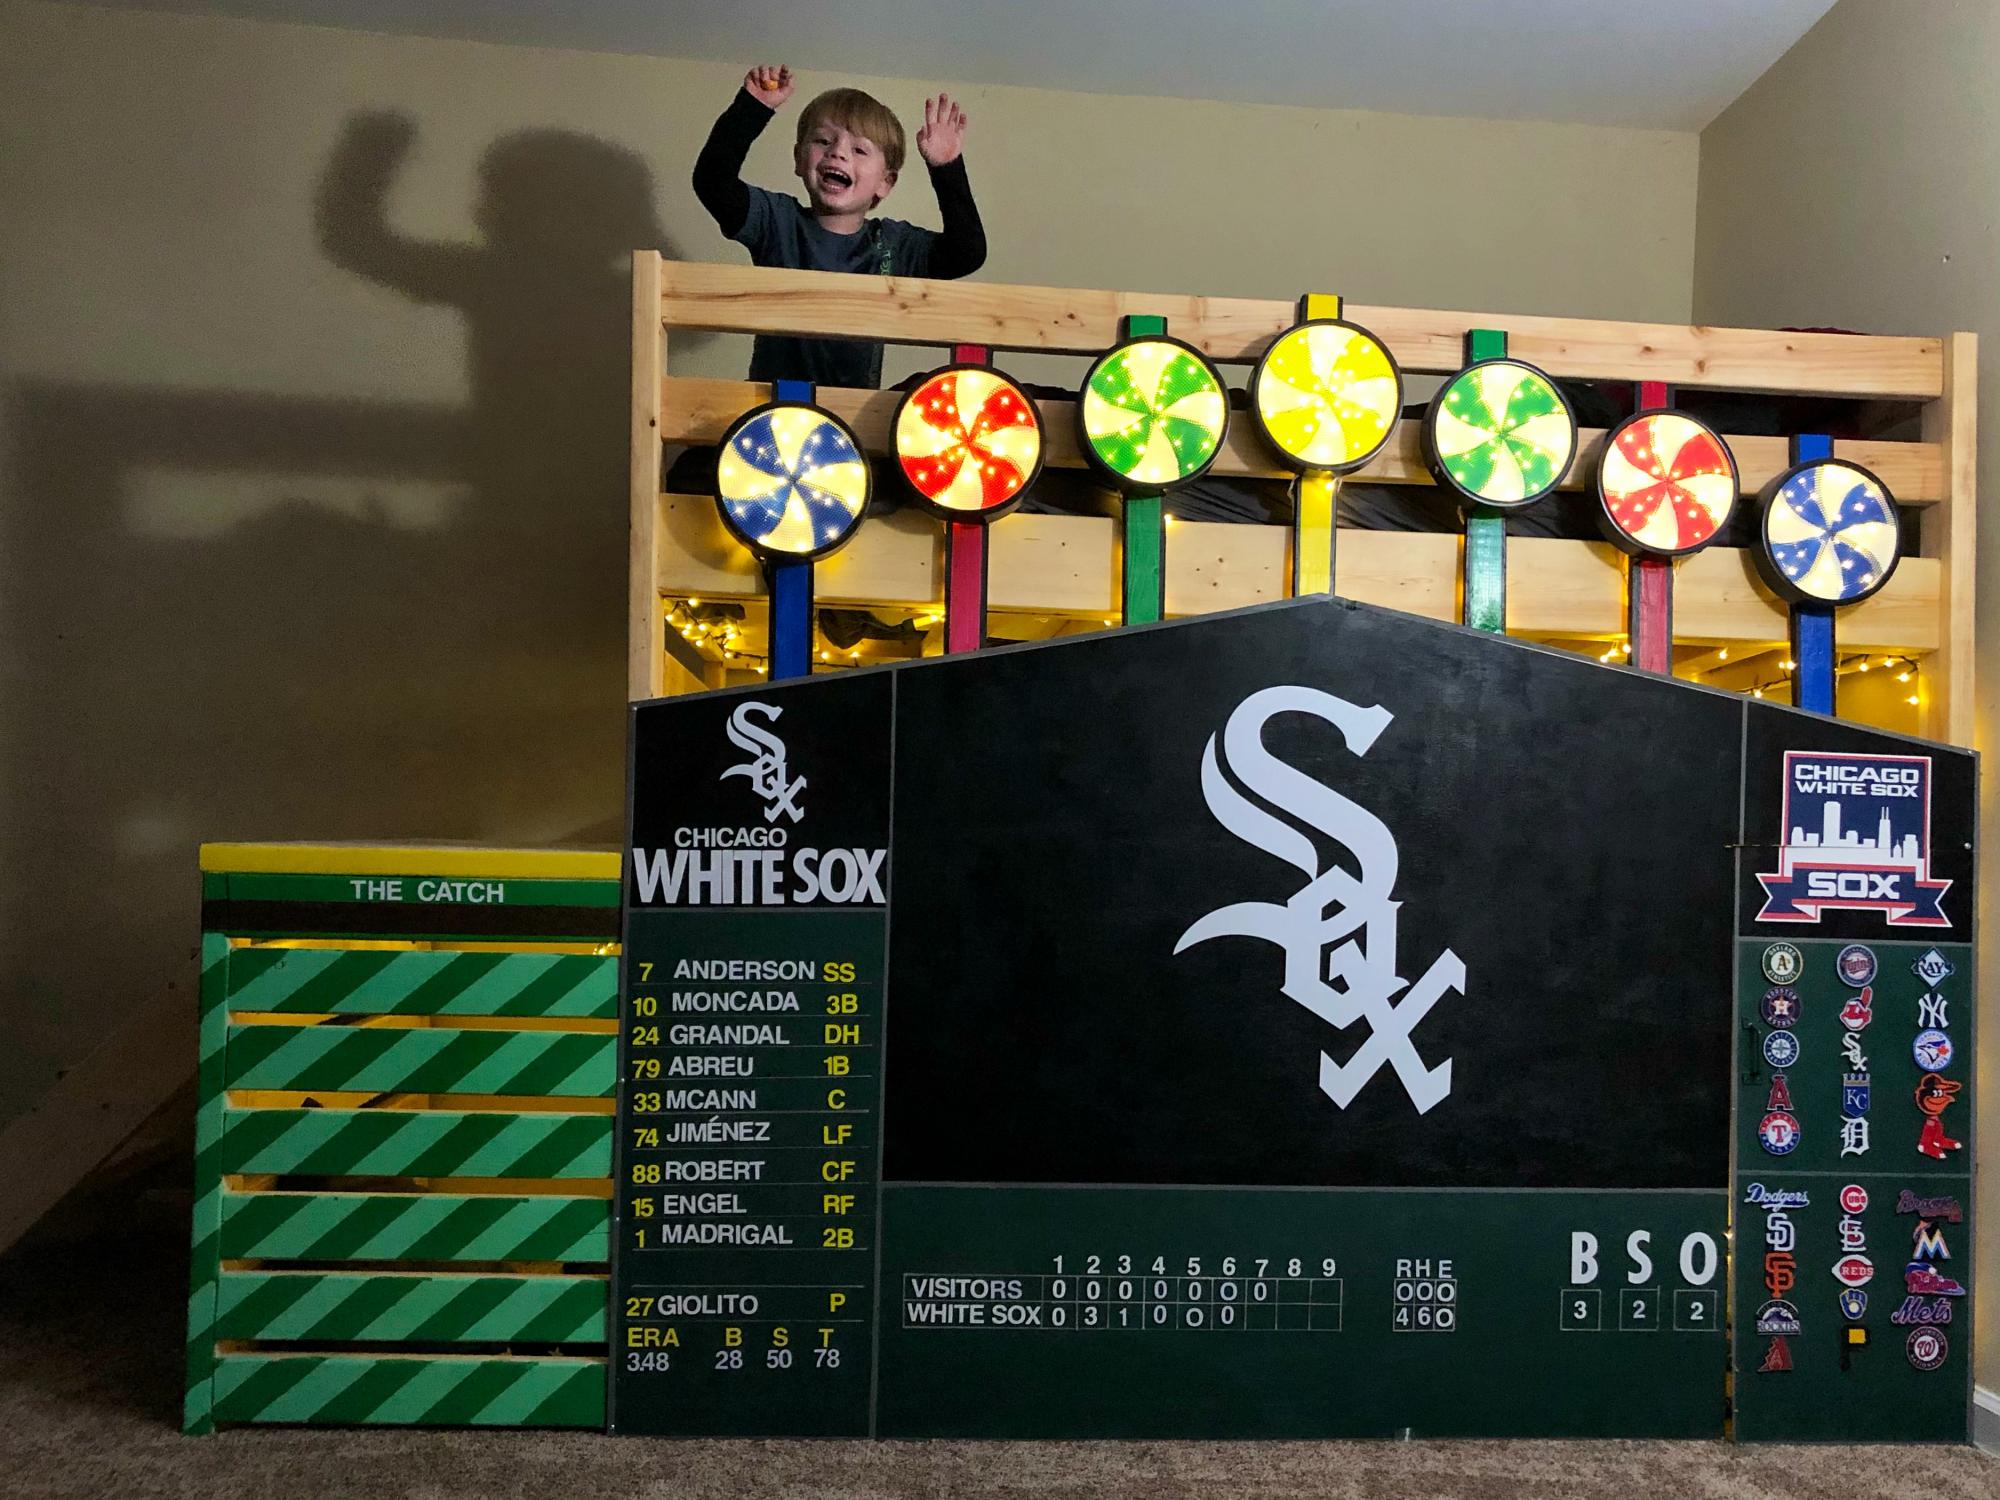
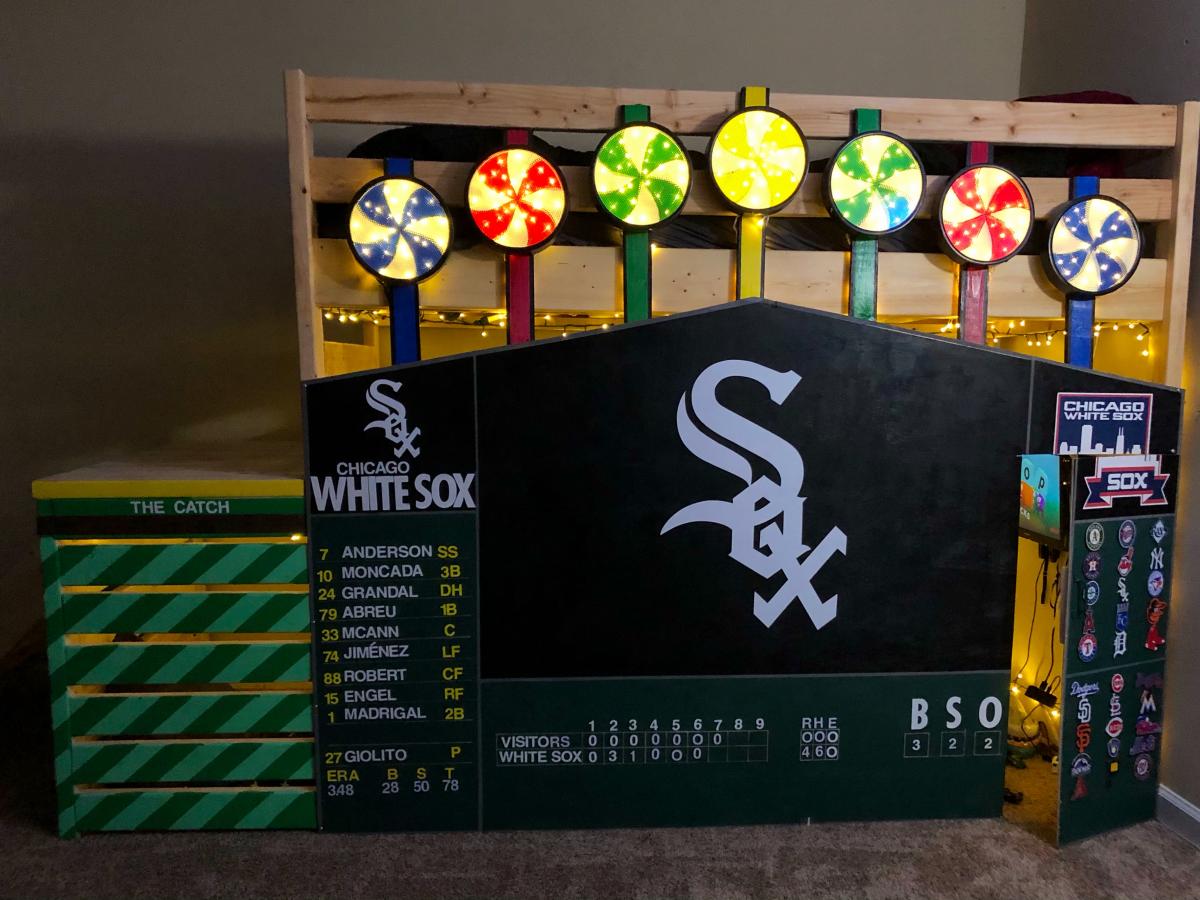
Chicago White sox replica scoreboard loft bed
Submitted by Anonymous (not verified) on Mon, 10/04/2021 - 19:15

I started off building the loft bed. It was a lot of fun. I cut every single piece of this, and hand everything, other than the white sox and players decals. I made the light up pinwheel signs that light up whenever the white sox hit a home run. I had fond memories of the famous scoreboard going to games at the old comiskey park, and my 5 year old son loves the white sox, and this bed! There is a door as well that opens up and goes into the locker room. Underneath there is a rv, with a chair, and some other cool amenities good enough for a real major league player. I won’t tell the secret of how I designed the pinwheel light boxes, and the led lights. I had to get realllly creative. This was a huge project that completely consumed me for months. I love it though, and wanted to thank Ana for the great plans on the loft style bed! Thank you Ana white!!! Your the best
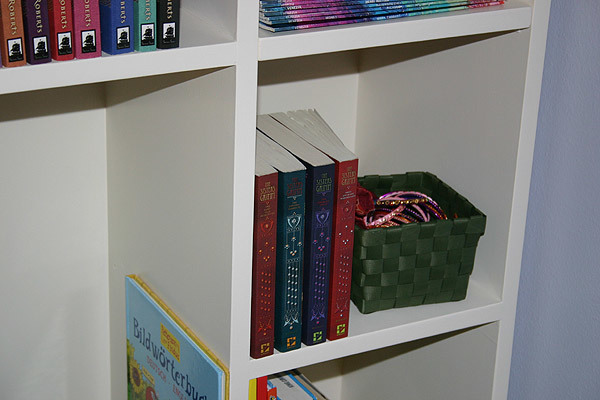
Tall Narrow Modular Bookcase!

Submitted by ferbit on Thu, 03/10/2011 - 07:55

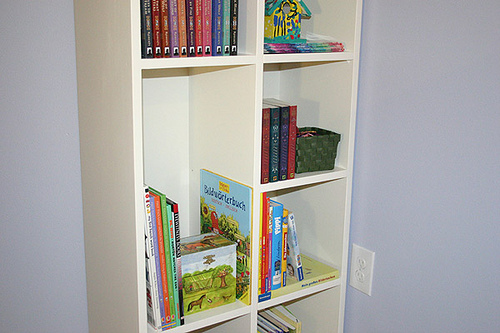
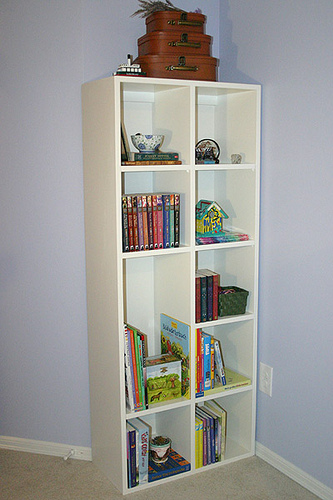
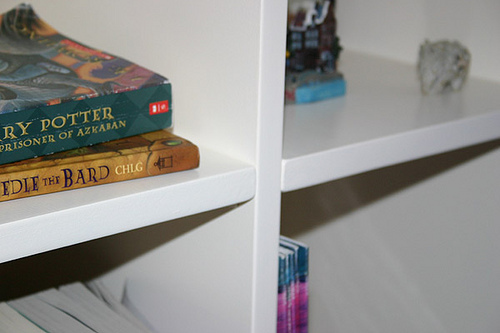
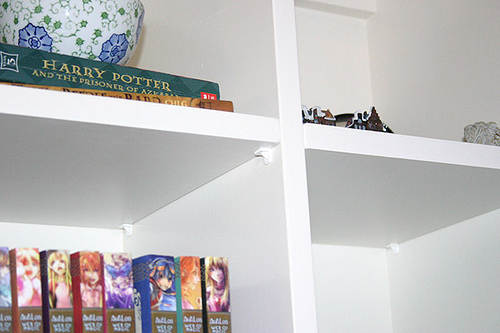
This is my very first woodworking project! My oldest daughter badly needed a bigger bookcase... I made this last year and it's already completely stuffed full of books now! Home Depot ripped the MDF for me, hubby helped me put it together and then I finished it. Since it is tall and narrow, the sides were bowing inward. I decided NOT to make ALL shelves adjustable, so I made two of them part of the bookcase. Squared things up nicely. The rest of the shelves are removable though.

Estimated Cost
$70
Estimated Time Investment
Weekend Project (10-20 Hours)
Finish Used
Two coats of primer, three coats of semi-gloss Acrylic Latex paint (same paint used on the trim throughout our house). I did not put poly on this project.
Recommended Skill Level
Beginner

Farm house nighstands

Submitted by 3Bears on Mon, 04/13/2015 - 18:48

These were our second project.  Again, chosen out of necessity for new bedside tables.  These took a while to complete due to the finish work needed for the paint and our leaning curve.  BTW, building jig templates will help ensure consistency between the two tables (drawer fronts, strechers, drawer stops, etc).  Also, look through the wood on the shelf at the store for the best (and straightest) 2X2's to make the process easier.  Finally, while spraying was easiest for the paint application, brushing on the poly finish coats worked best for us.
These tables are 3" wider than the plans and fit our room better, but the rest is the same.

Built from Plan(s)
Estimated Cost
25/table
Estimated Time Investment
Week Long Project (20 Hours or More)
Finish Used
Minwax Honey Oak stain for wood

Rustoleum Satin Natural While for paint

Minwax poly for finish on both (3 coats; 220 grit sanding between each coat)

Recommended Skill Level
Intermediate

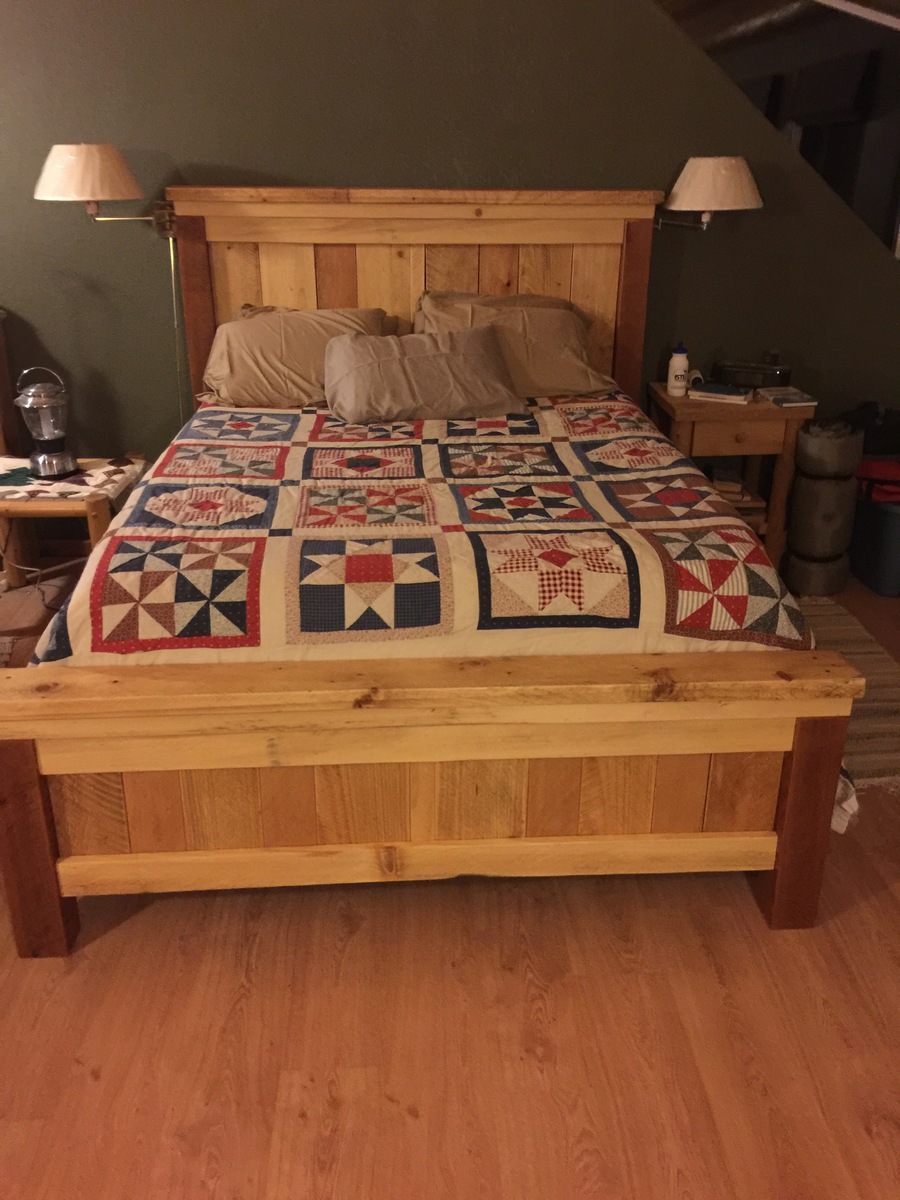
Southeast Alaska Rough Cut Farm House Bed

Submitted by cbobo on Tue, 08/15/2017 - 19:09

I used Ana's queen size bed plan with a few variations. I used my local red cedar and  white spruce rough cut lumber scraps and lots of sandpaper. Rough cut lumber has differnt deminsions and it made for a very rustic sturdy bed with nice contrasting colors thoughour the projec. I love my new bed. 

Built from Plan(s)
Estimated Cost
I spent $8.00 for side rail attachments from Amazon. I used left over materials for the rest of the project.
Estimated Time Investment
Weekend Project (10-20 Hours)
Finish Used
Satin Finish Clear Varathane
Recommended Skill Level
Beginner

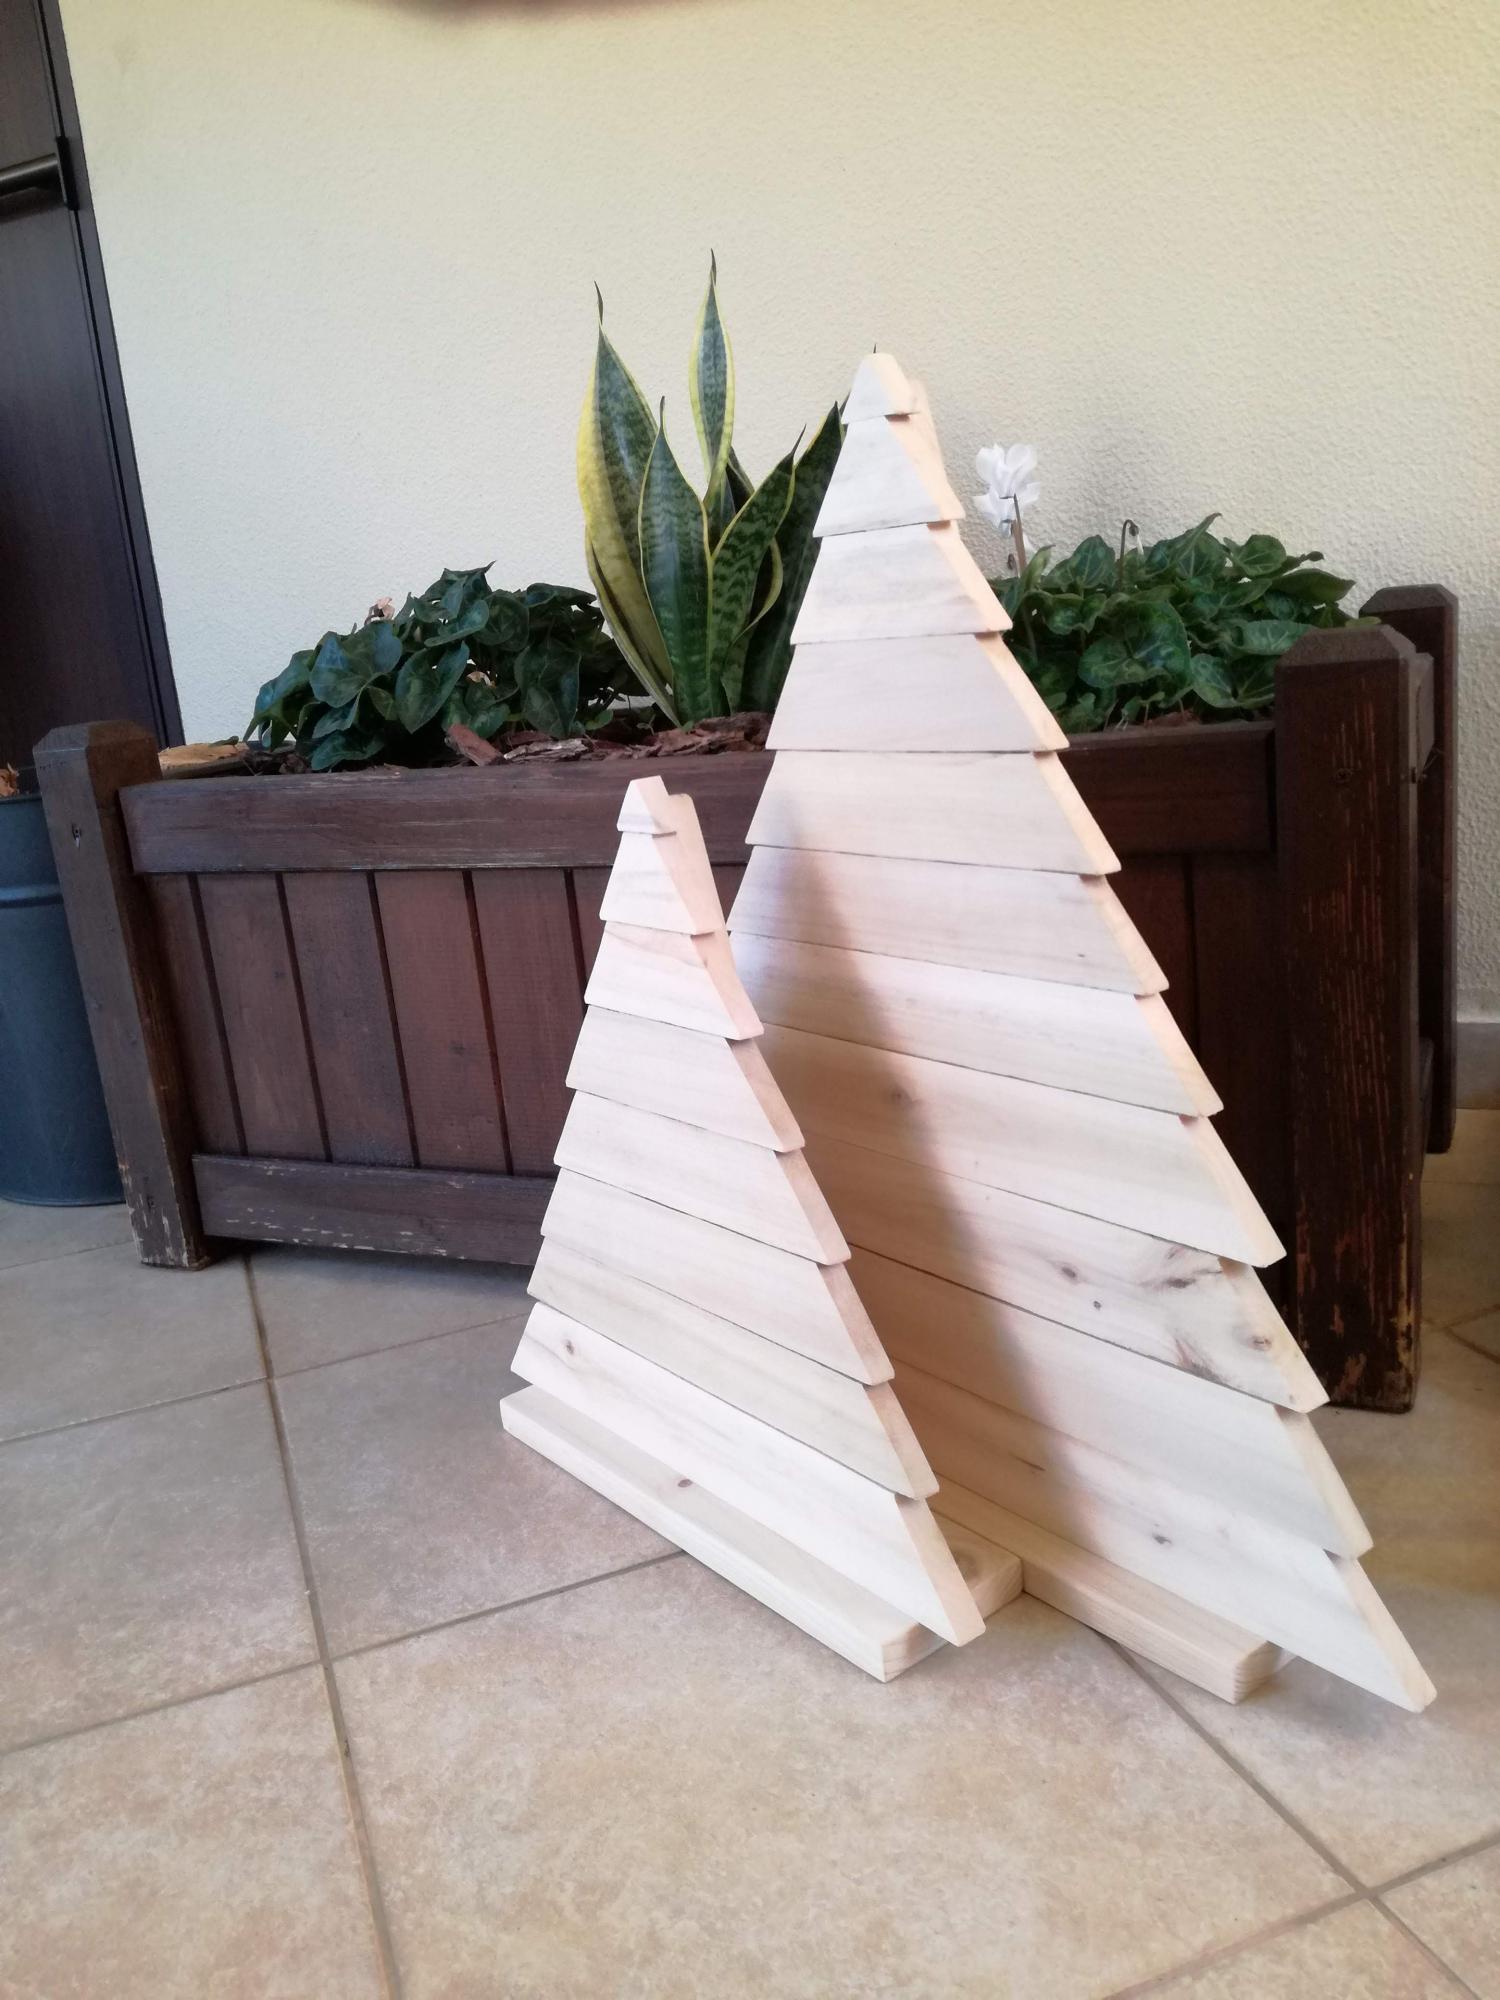
Christmas trees

Submitted by Anonymous (not verified) on Tue, 10/05/2021 - 03:34

Easy to make Christmas trees from palet wood. This was my first built and it was completed with only 2 power tools.

Rustic Console Table

Submitted by Anneke on Thu, 03/10/2011 - 21:51

This is a piece I made out of scraps just for fun. I'm pretty happy with how it turned out and how functional it is!

I looked on the Tryde Console Table and Simple Console Table as a reference and just figured out the dimensions from what material I had. I also added a piece of wood in the center, and winged it with the shelf on the bottom.

Estimated Cost
$5
Estimated Time Investment
Afternoon Project (3-6 Hours)
Finish Used
2 coats of Minwax Polyshades Bombay Mahogany Satin
Recommended Skill Level
Beginner

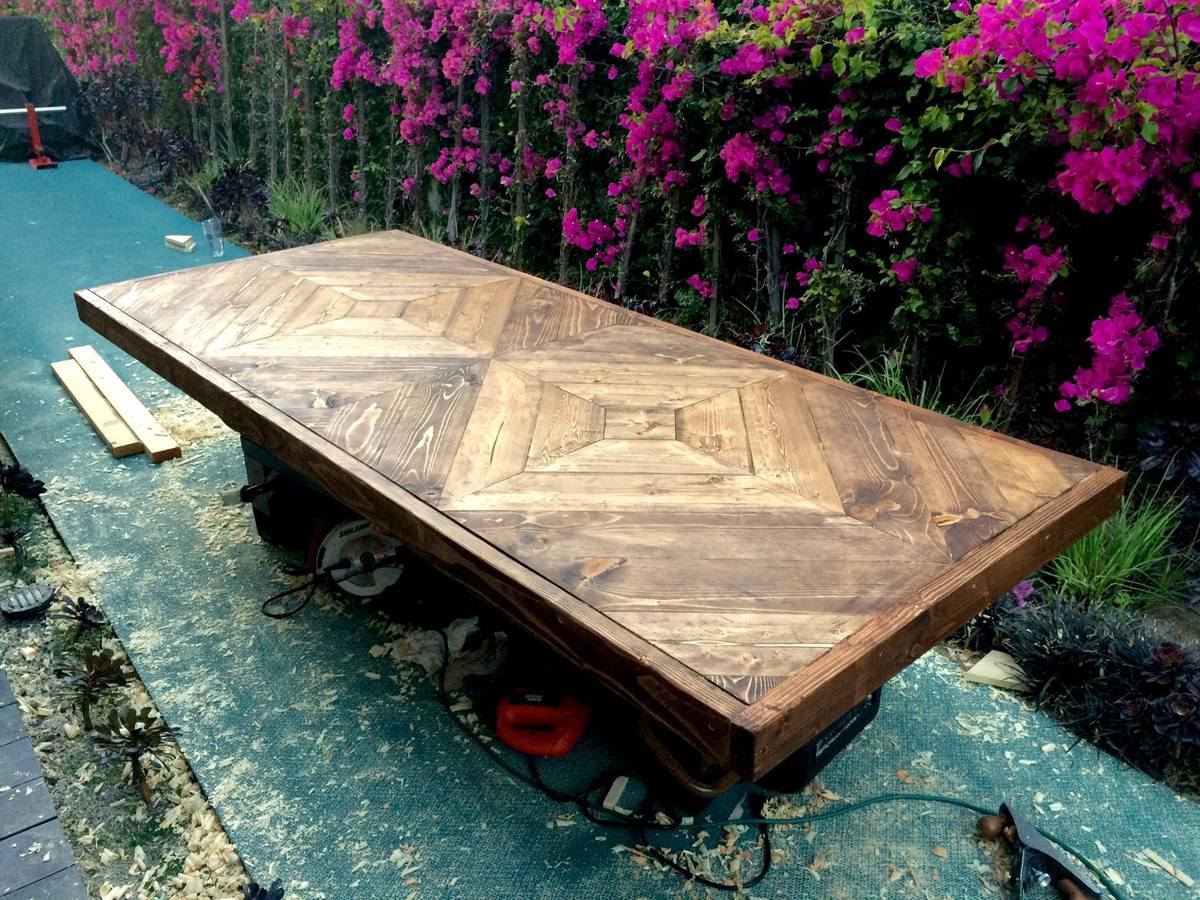
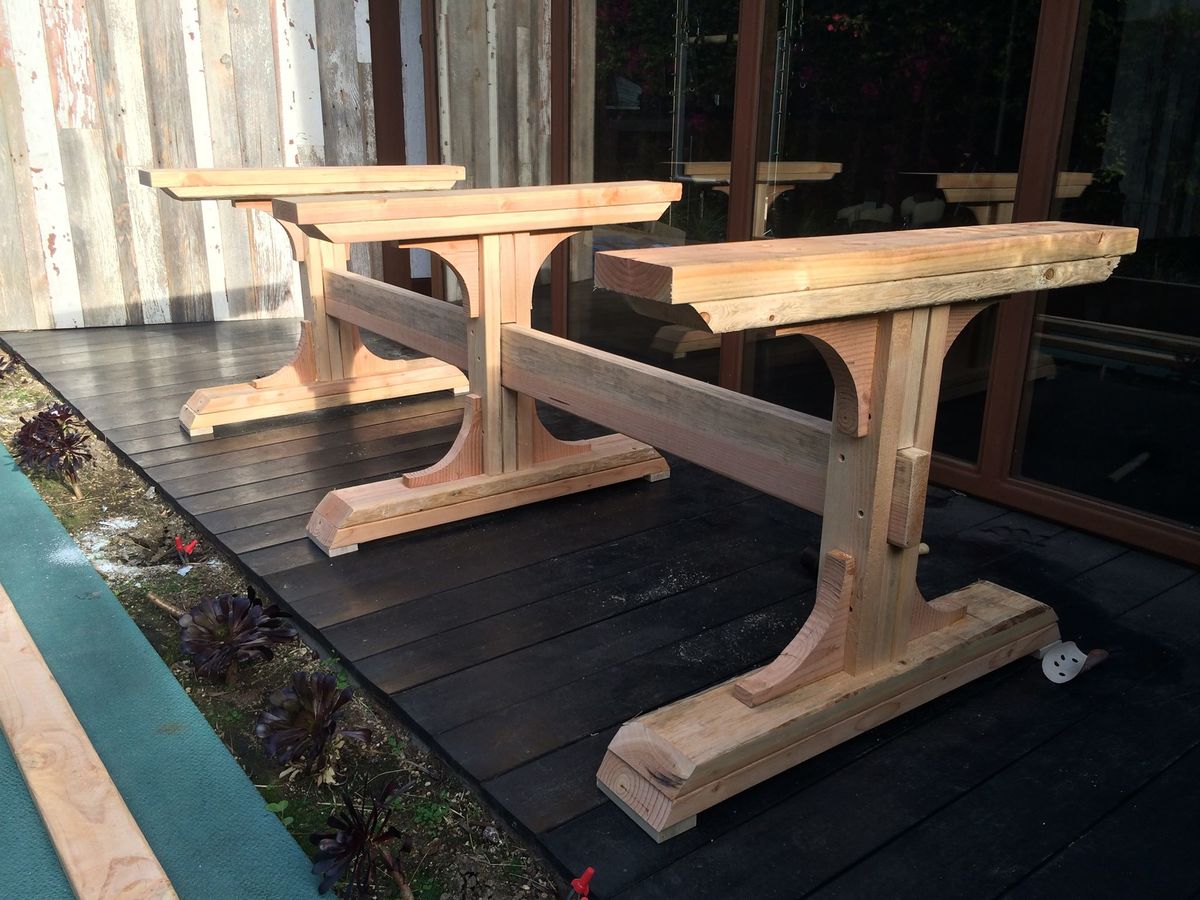
Farm Table

Submitted by holen1ne on Mon, 04/20/2015 - 12:50

Took a lot more wood than I thought and time, but was a nice distraction from Law School.

Built from Plan(s)
Estimated Time Investment
Week Long Project (20 Hours or More)
Finish Used
Minwax Special Walnut
Recommended Skill Level
Intermediate

Comments

Miter Saw Stand

Submitted by Oldfrog on Fri, 09/01/2017 - 21:07

I copied your plans with just 2 exceptions.  Instead of the shelf brackets to hold the wings up, I copied the idea from the Family Handyman Magazine.  Also, the sides where the boards would rest would get all chipped up in use, so I made them 3/4" shorter and added a 1 x 2 to protect the plywood underneath.

Estimated Cost
$35.00
Estimated Time Investment
Weekend Project (10-20 Hours)
Finish Used
Min-wax oil based Polyurethane
Recommended Skill Level
Beginner

Modern adirondack chair

Submitted by Anonymous (not verified) on Tue, 10/05/2021 - 08:48

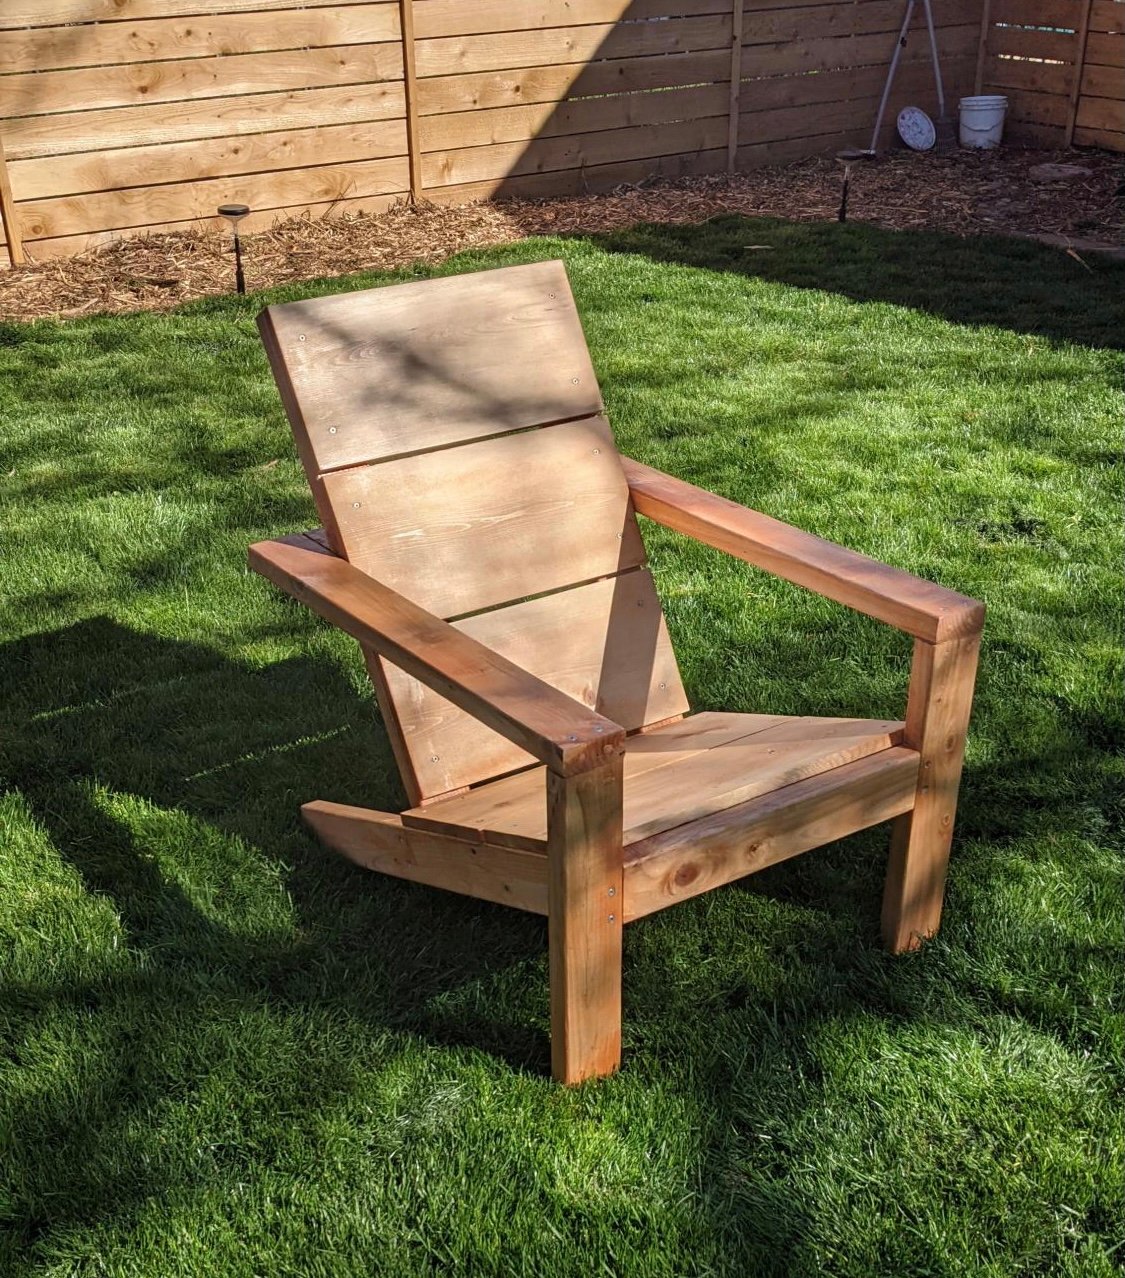
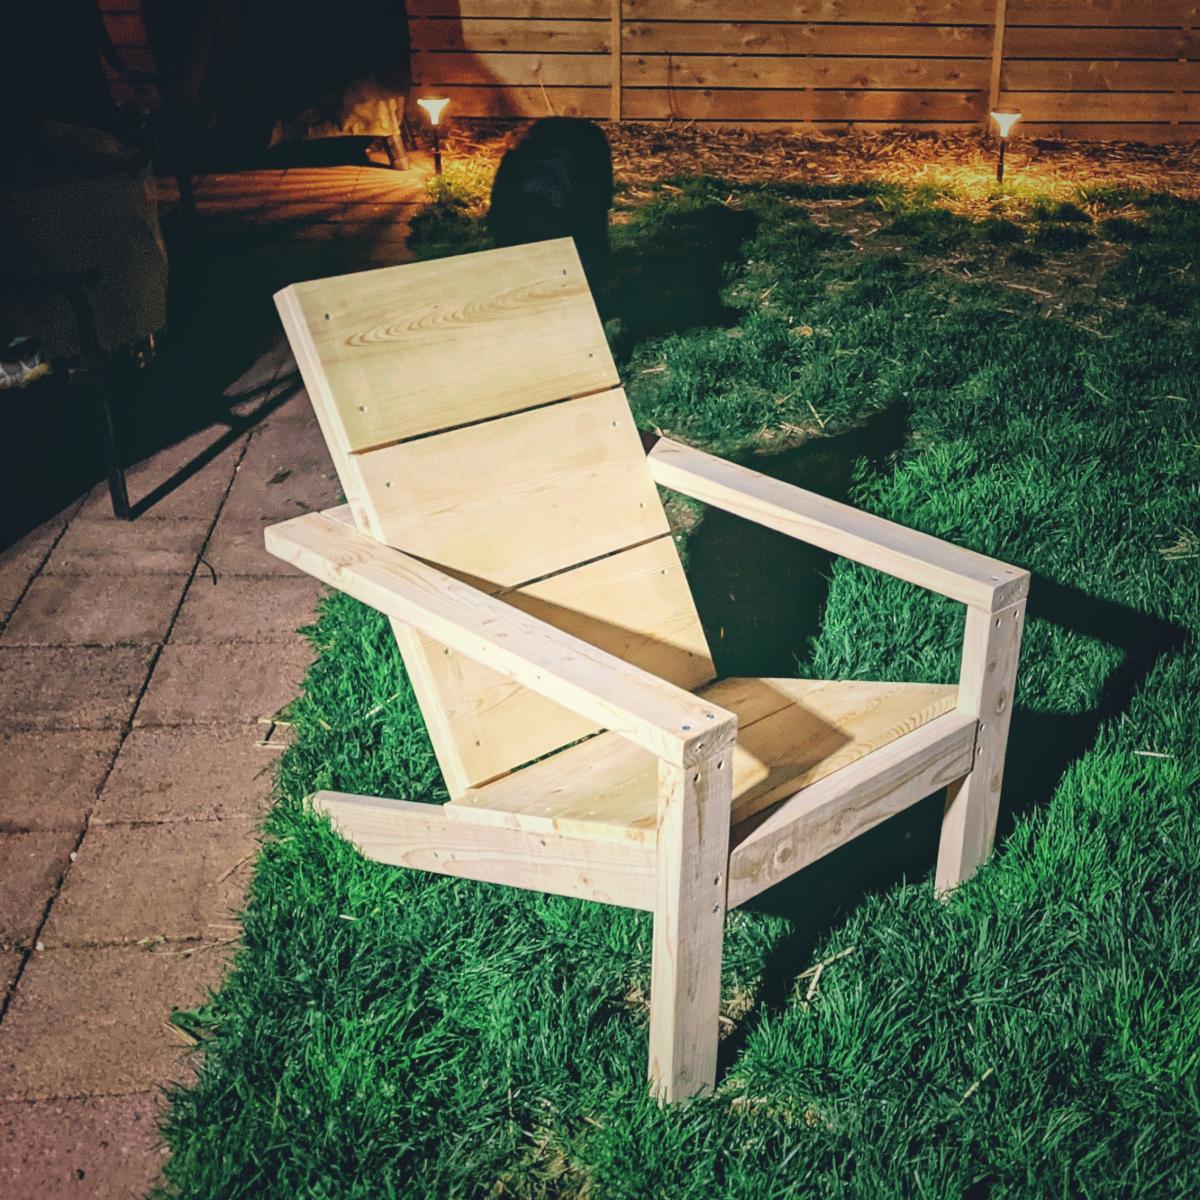
I've made 2 of the Modern adirondack chairs. Really enjoyed the plans and the video for help as I'm new to woodworking. I look for new plans all the time to see what I might build next

Comments

bench

Entryway bench, modified size to fit space and added cushion. ** Cost includes foam and fabric for cushion. Bench itself cost about $60.

Built from Plan(s)
Estimated Cost
$90.00
Estimated Time Investment
Day Project (6-9 Hours)
Finish Used
1. one coat paint with primer, Behr French Roast semi gloss
2. sanded 120 grit, then 220 grit
3. two coats paint with primer, Behr French Roast semi gloss
Recommended Skill Level
Intermediate

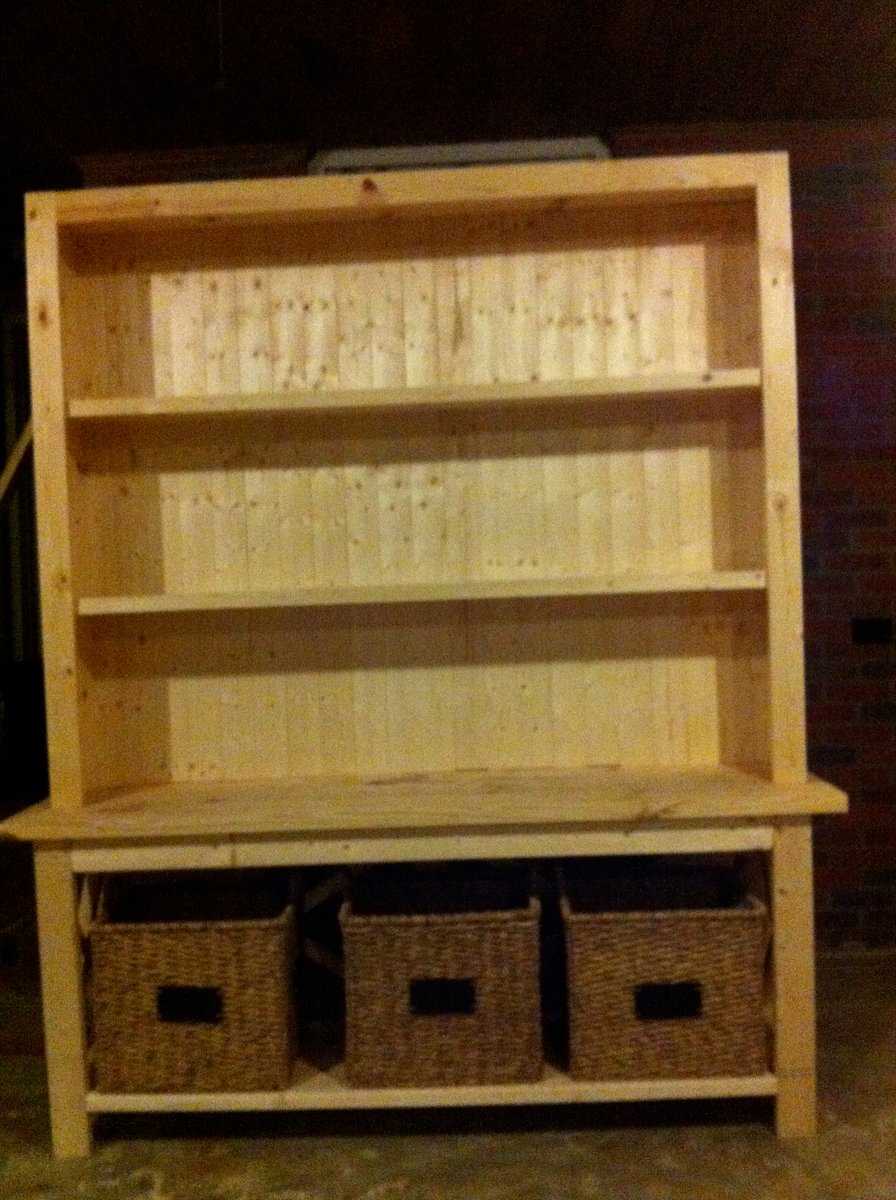
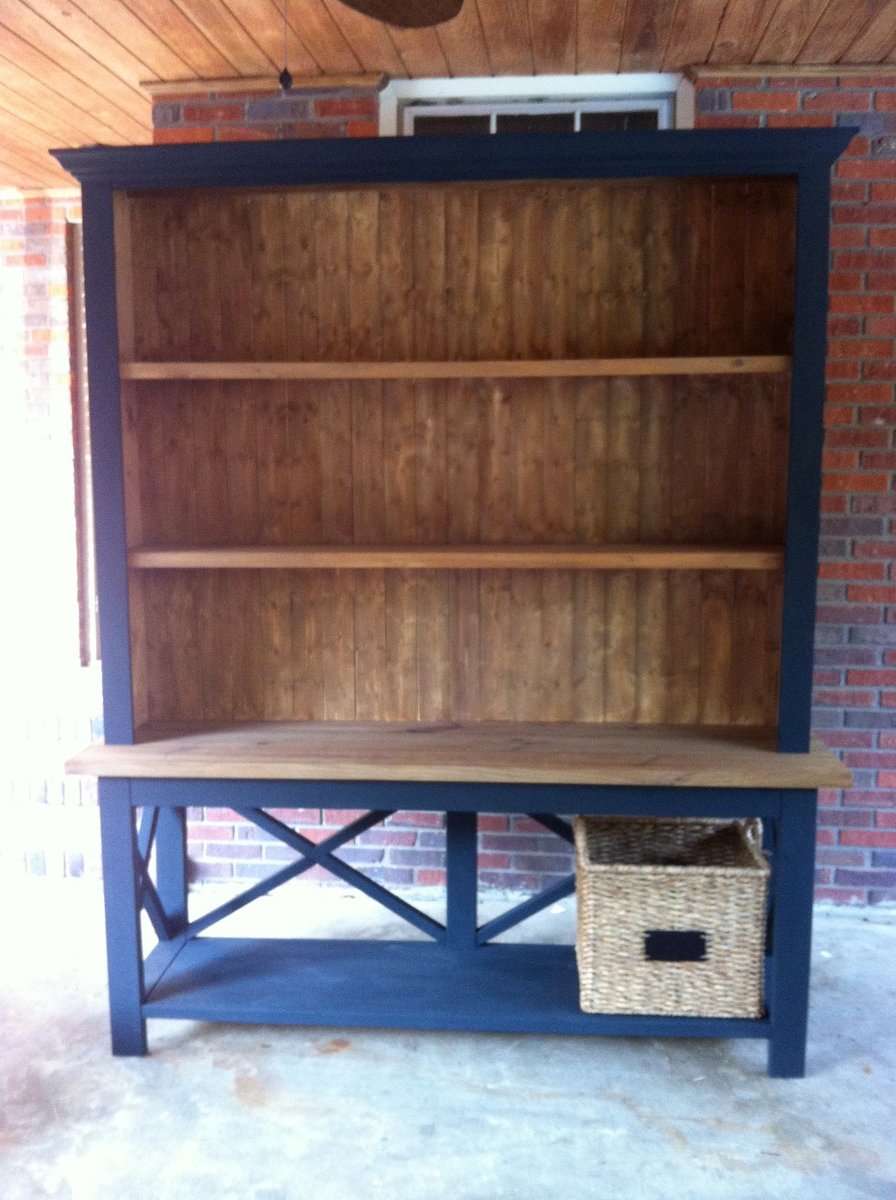
slightly modified x console table with added hutch

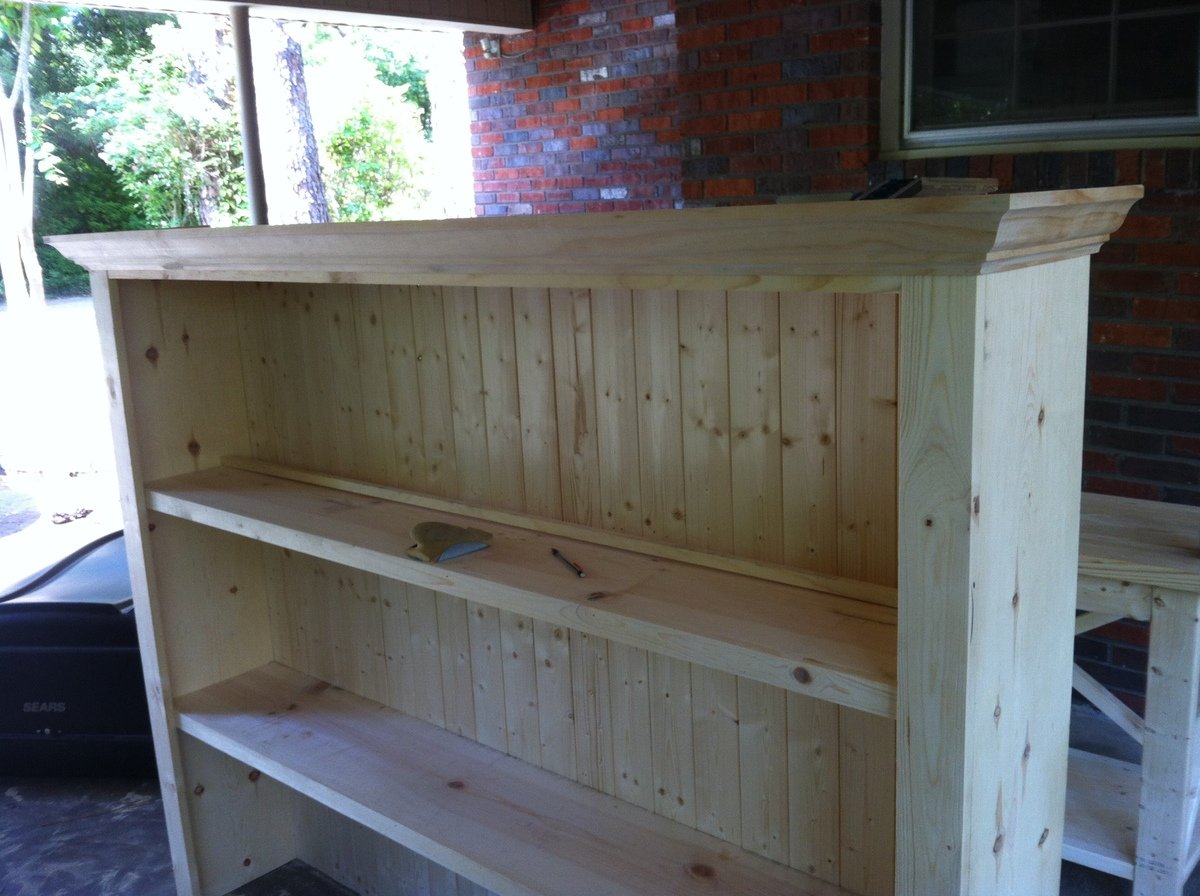
I have been dreaming about this piece of furniture for 3 yrs....I used Ana's plans for the rustic x console but took out the front middle support and made it a little deeper I also turned the 2x4 vertically and added an extra 2x4 behind it to add extra strength.....because I wanted to fit 3 baskets from Target underneath...the hutch i just winged!....Thank you so much Ana for giving me a place to start!...I am in love!......

Built from Plan(s)
Estimated Cost
$230
Estimated Time Investment
Week Long Project (20 Hours or More)
Finish Used
Maison Banche in Wrought Iron and vinegar stain (2cups vinegar 1/2 cup hydrogen peroxide and 2 things of steel wool)
Recommended Skill Level
Intermediate

Jewelry Cabinet

Submitted by jleigh333 on Sat, 04/25/2015 - 07:32

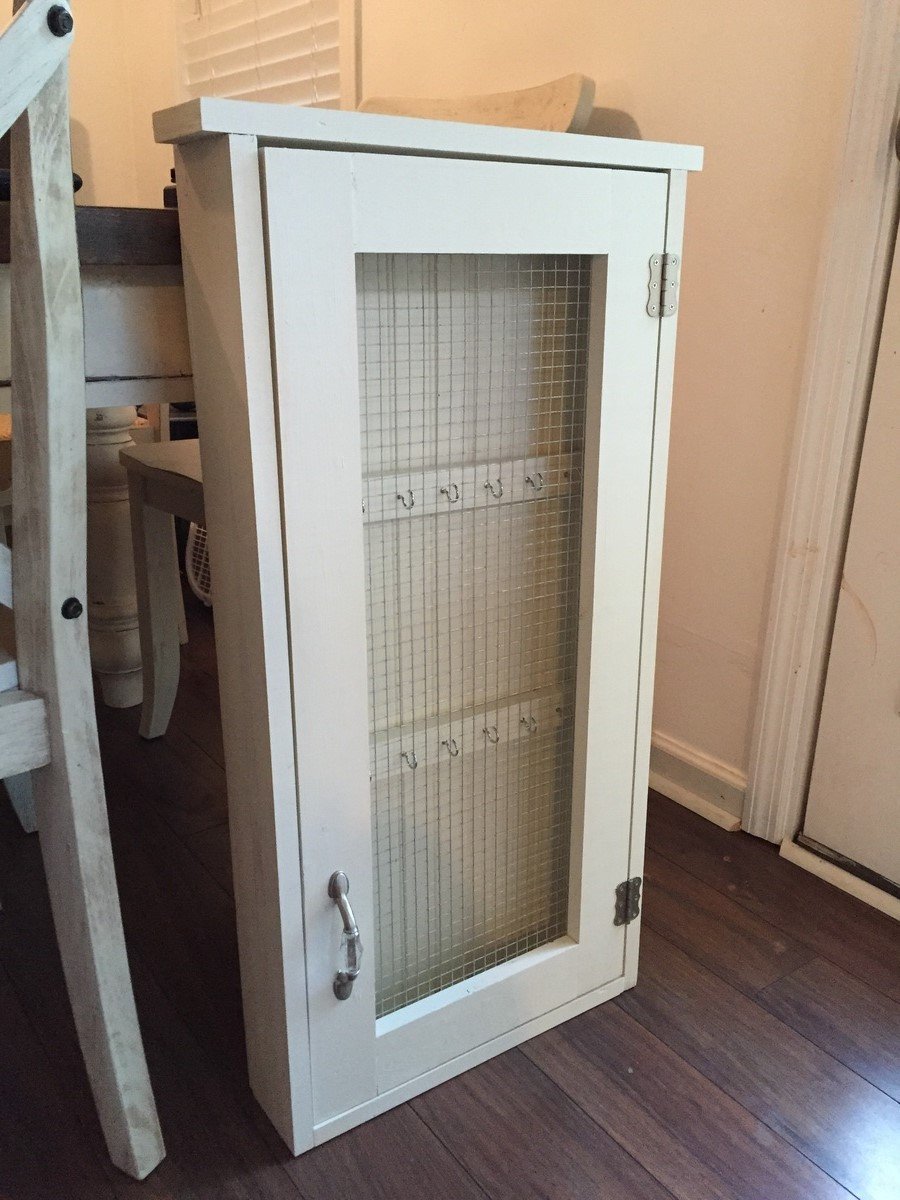
This is such an easy and fun project! This is the second time I've made this cabinet. The first time I made it identical to the one in the plans but this one was for my 11yr old niece so I wanted it to look more girly and less rustic. I used hooks instead of nails which I really like. Thanks for such a great plan!

Built from Plan(s)
Estimated Cost
$35
Estimated Time Investment
Afternoon Project (3-6 Hours)
Finish Used
Antique white paint
Recommended Skill Level
Starter Project

Comments

JoanneS

Sat, 04/25/2015 - 08:06

Great job on this jewelry cabinet! I love everything about it - the color, the hardware, and the hooks -- I'm sure your niece will adore it!

Built-in sliding door console

Submitted by ErinRN on Thu, 09/07/2017 - 07:11

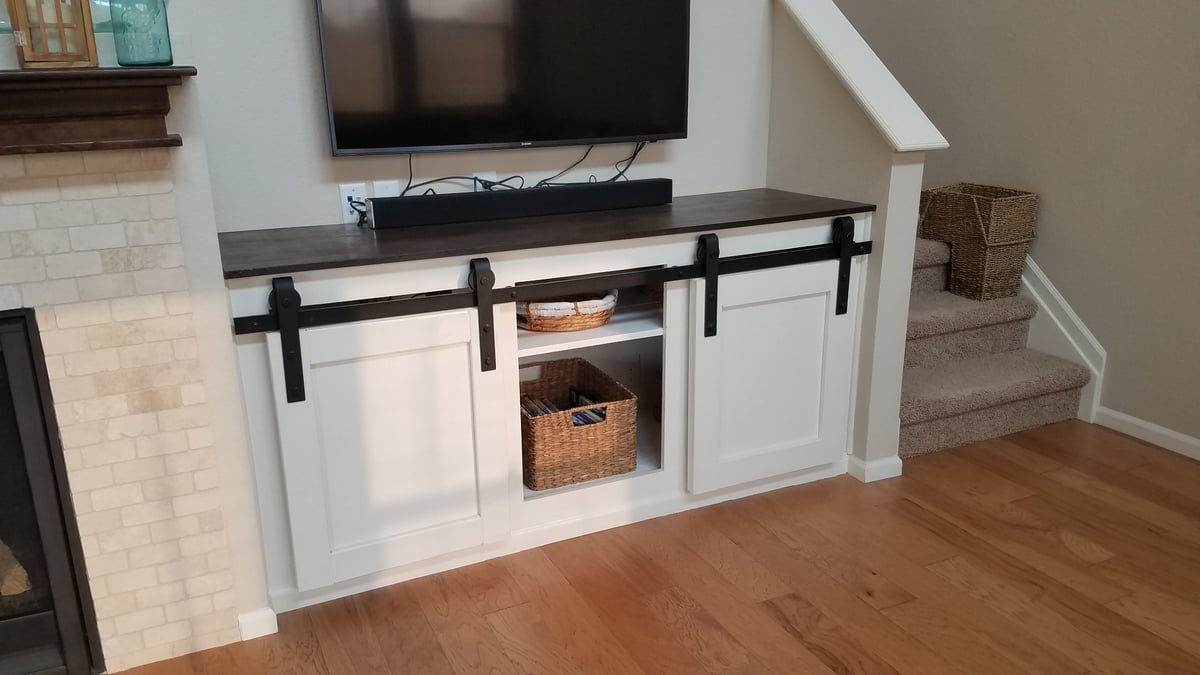
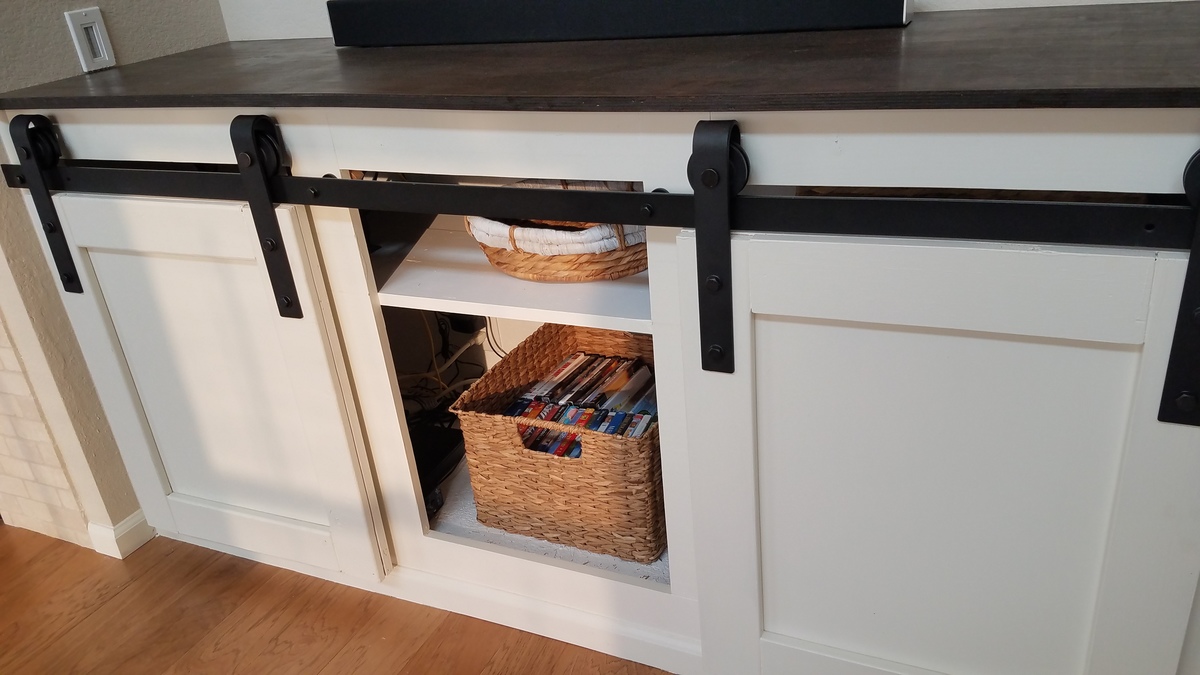
I wanted a sliding barn door concept but as a built-in piece. I had a drywall niche that the builders had made that I've always hated so I ripped that out, and used those measurements to create my version of the sliding door console from Nikki and Ana. This was a big project but so worth it! I ordered the door hardware from Amazon but had to drill my own holes because they did not line up where I needed them to be. 

Built from Plan(s)
Estimated Cost
$200 including hardware
Estimated Time Investment
Weekend Project (10-20 Hours)
Recommended Skill Level
Intermediate

Walk mounted can organizer

Submitted by Anonymous (not verified) on Tue, 10/05/2021 - 20:13

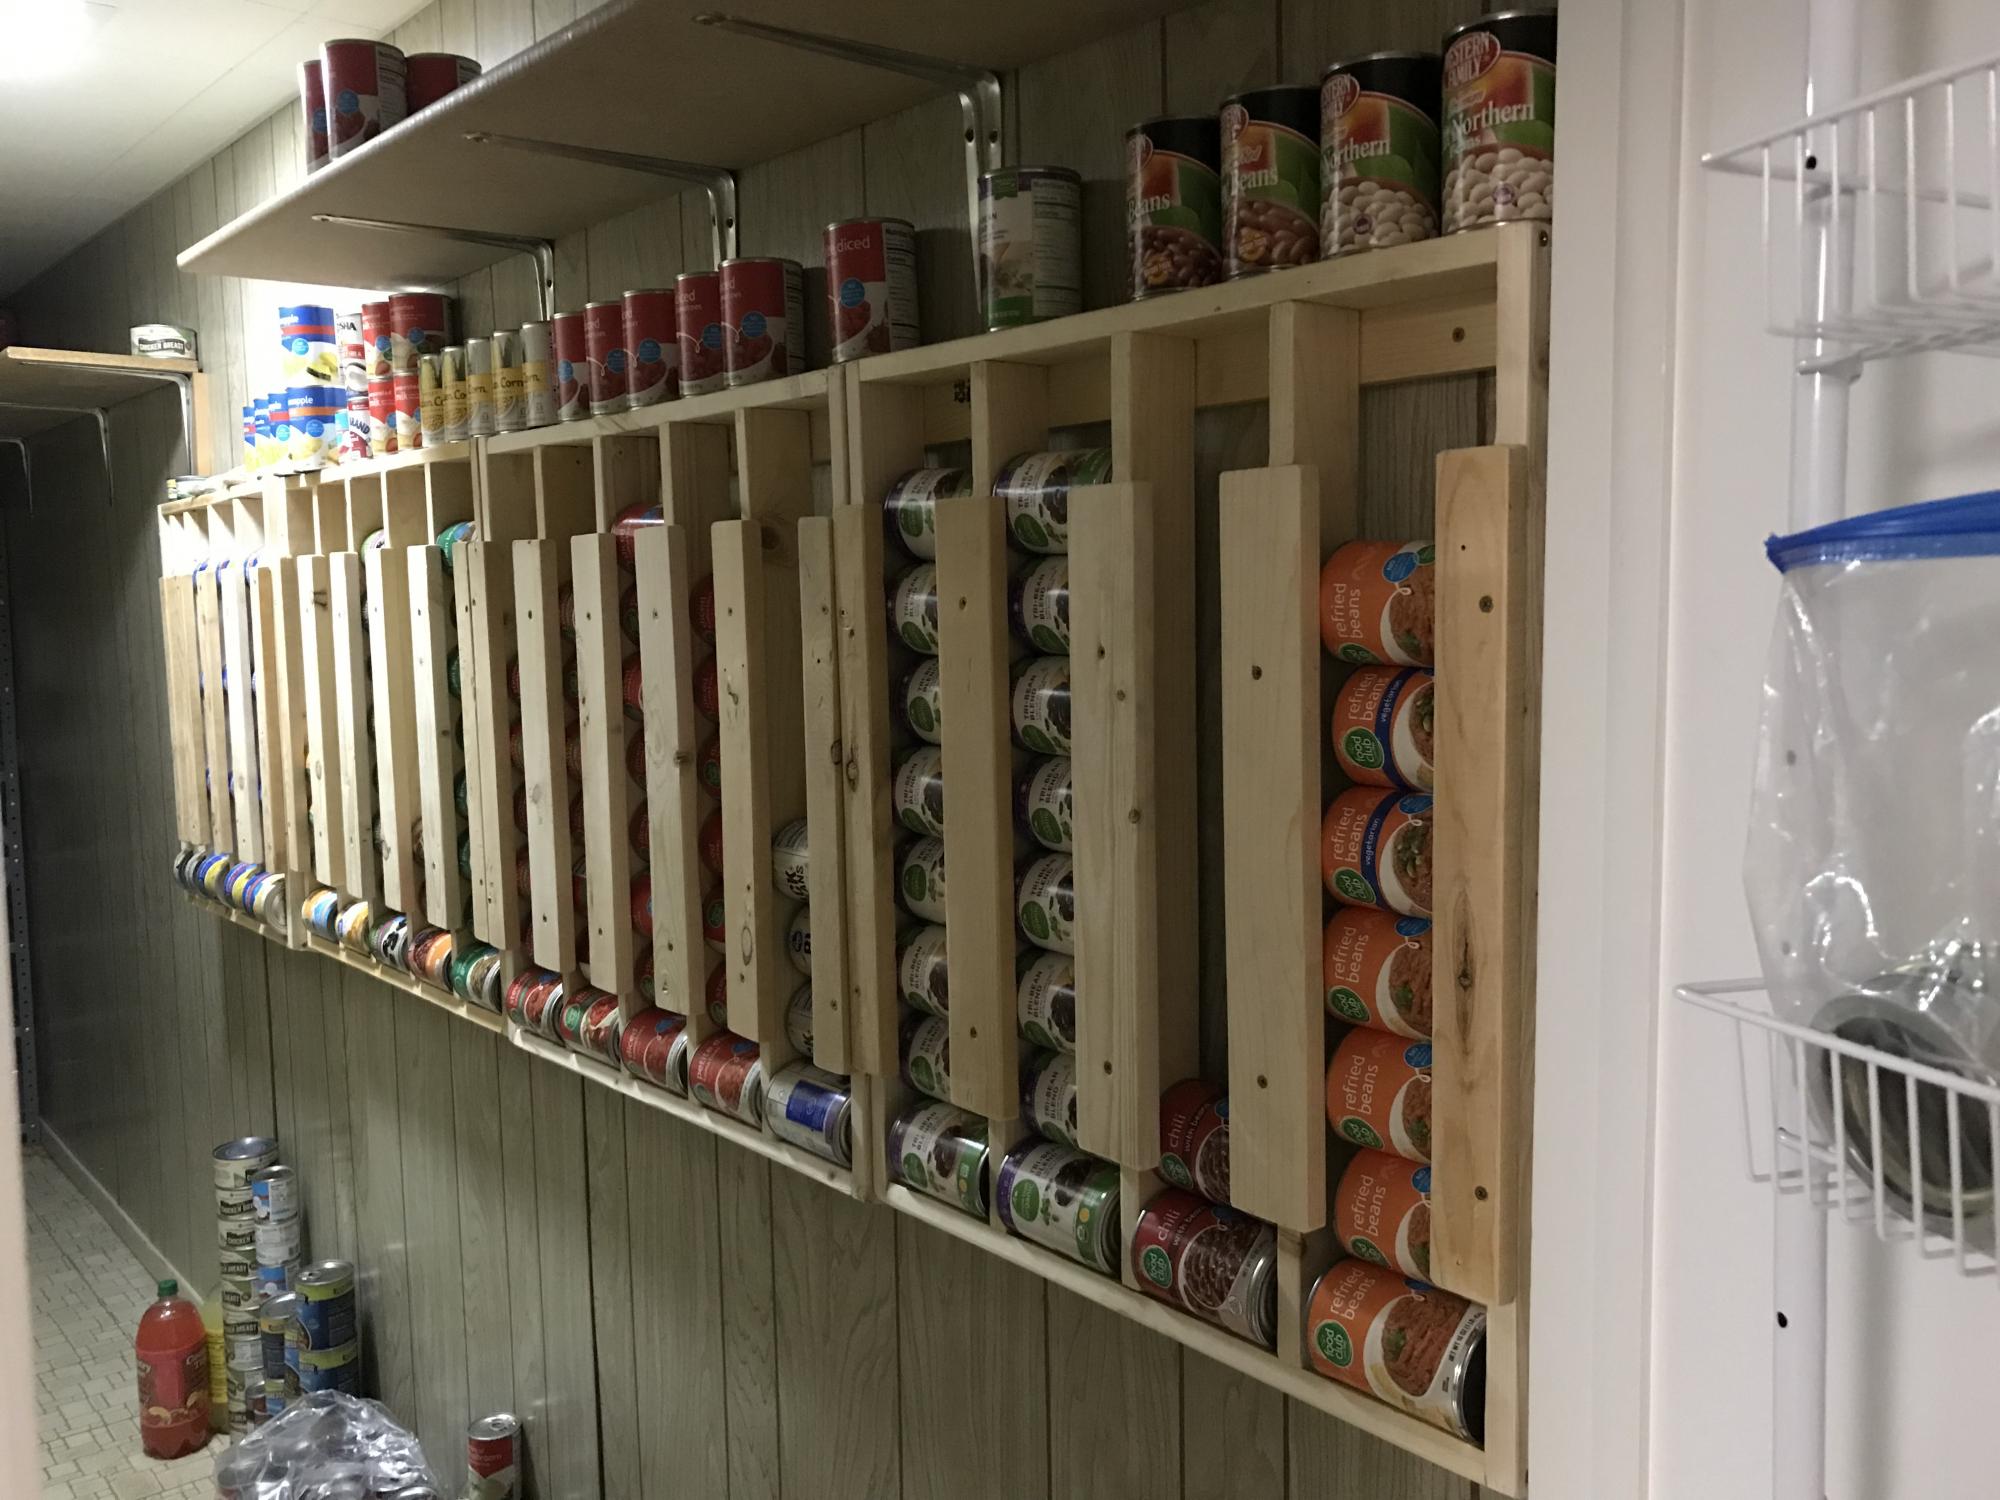
Love this! My husband used this project to help boys learn to use power tools and work with wood. They made one and he did the others. THANK YOU!

Built from Plan(s)

Comments

My First Project

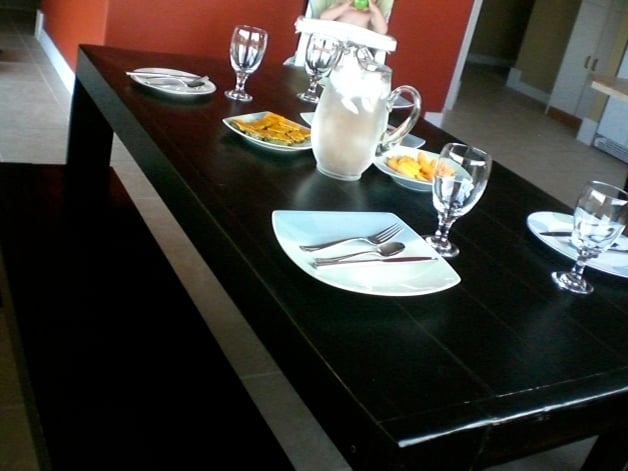
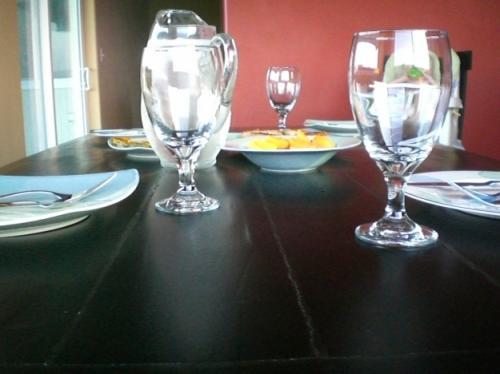
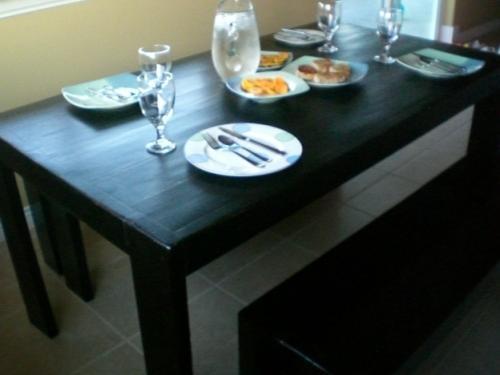
This was my first project I did close to a year ago. I was so excited about the site I decided to go big right away and do a table and benches for our first house we hadn't moved into yet. I had help and it was quite the learning experience. I think I would start with something smaller first but in the end we got a wonderful table in our dining area that has had plenty of use!

Built from Plan(s)
Estimated Time Investment
Weekend Project (10-20 Hours)
Finish Used
Minwax ebony stain and satin poly.
Recommended Skill Level
Starter Project

Industrial coffee table

Here is an industrial style coffee table I recently built.  I used reclaimed pallet wood for the top and shelves and I built the shelves to be removable if needed.  For the finish I used oil based poly in a satin.   

@timberandsoul 

www.facebook.com/timberandsoul

Estimated Cost
$140.00
Estimated Time Investment
Afternoon Project (3-6 Hours)
Finish Used
oil based poly
Recommended Skill Level
Beginner

Comments

Doll Crib

Built for my daughters 2nd birthday. 

Estimated Time Investment
Day Project (6-9 Hours)
Finish Used
Chalk paint, and white spray paint sprayed over lace. Distressed and dry brushed the blue chalk paint back over for a worn look.
Recommended Skill Level
Beginner

Bathroom Shelf

Submitted by adck9d on Wed, 10/06/2021 - 22:23

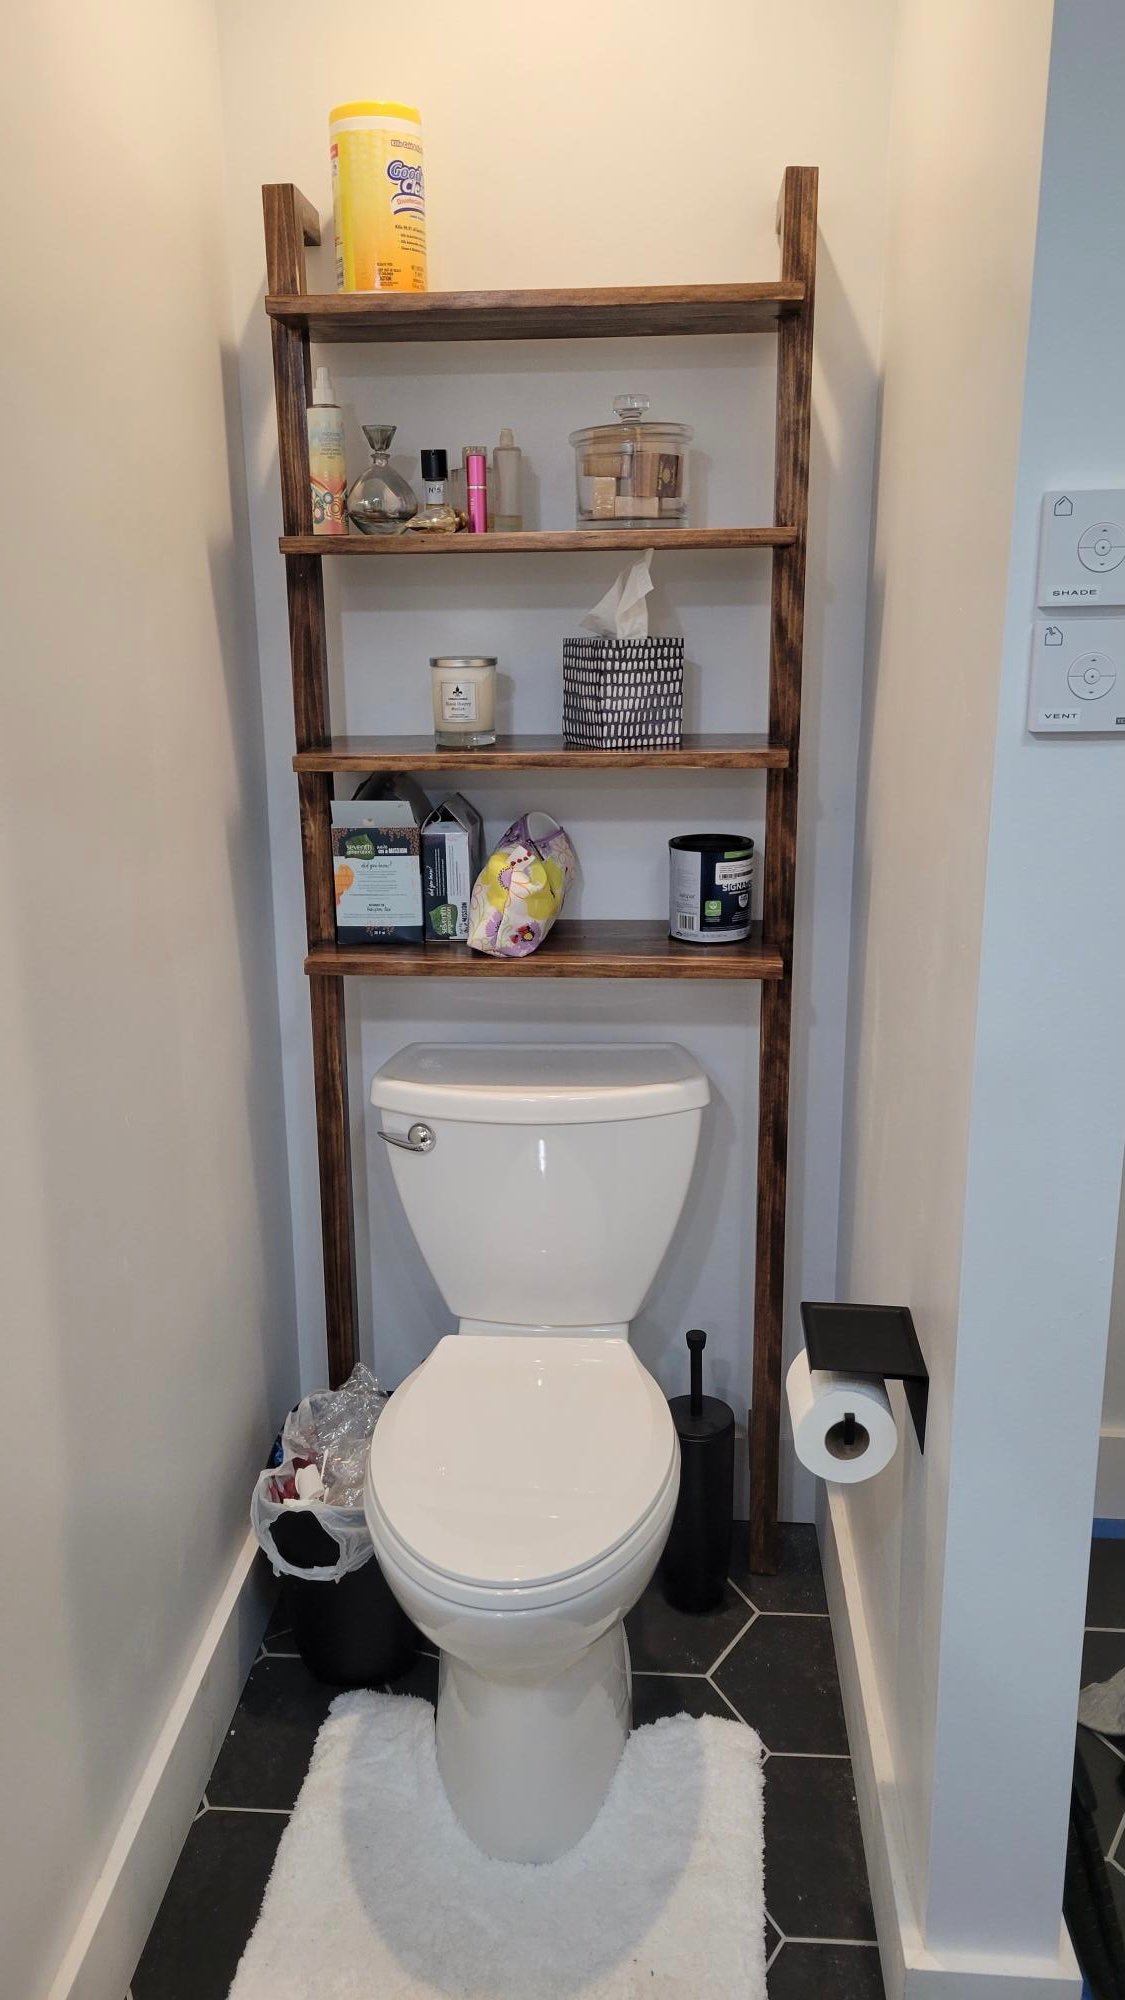
Quick little project

Comments

Customized Corner Desk

Submitted by DTeague on Mon, 03/14/2011 - 21:21

This was my first build I have wanted to get this particular desk from Pottery Barn but don't have the space for it.  I used the corner desk plans but on one side I used the plans for the legs used on the smaller desk. Since it wasn't too big I made the desktop one piece.  All in all it was pretty straightforward.  The only problem I had was when I put the legs on the wrong side, I didn't realize until after I had used wood filler and painted. 

Estimated Cost
$175.00
Estimated Time Investment
Weekend Project (10-20 Hours)
Finish Used
For the desktop I used Red Mahogony Minwax Stain and Minwas Wipe-on poly. For the base, used a Benjamin Moore paint for Metal and wood in black.
Recommended Skill Level
Beginner

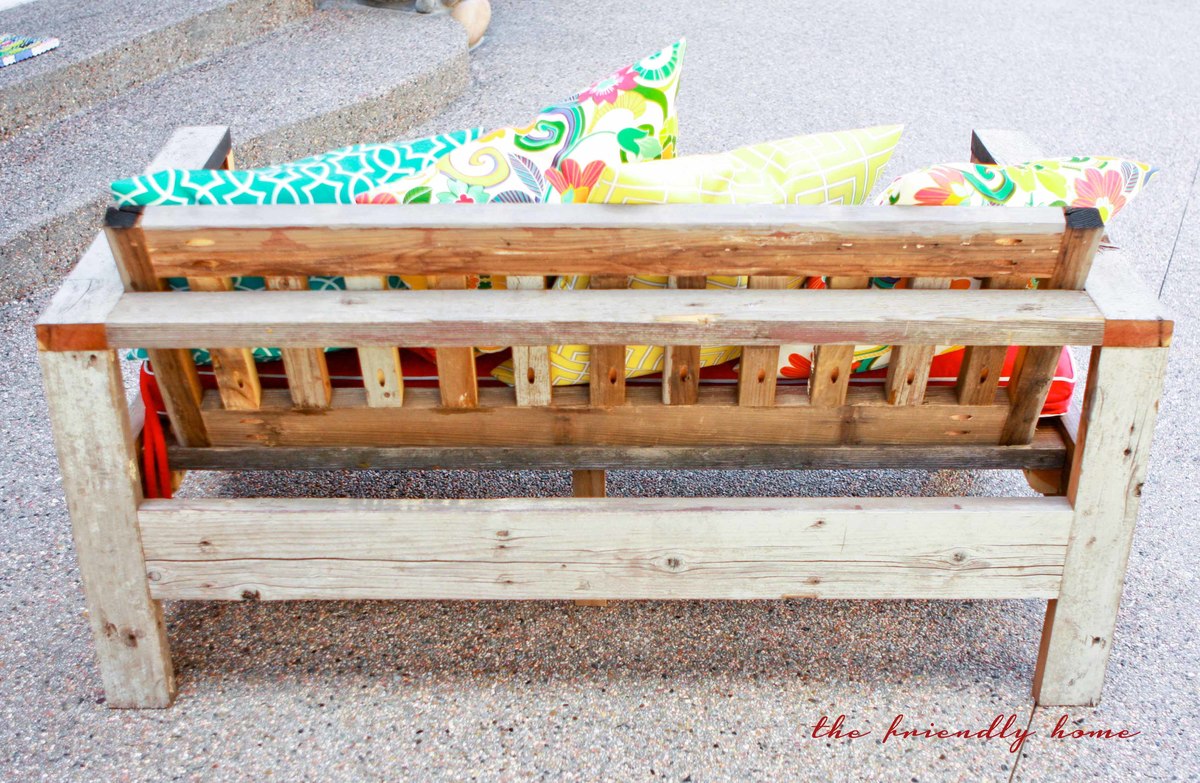
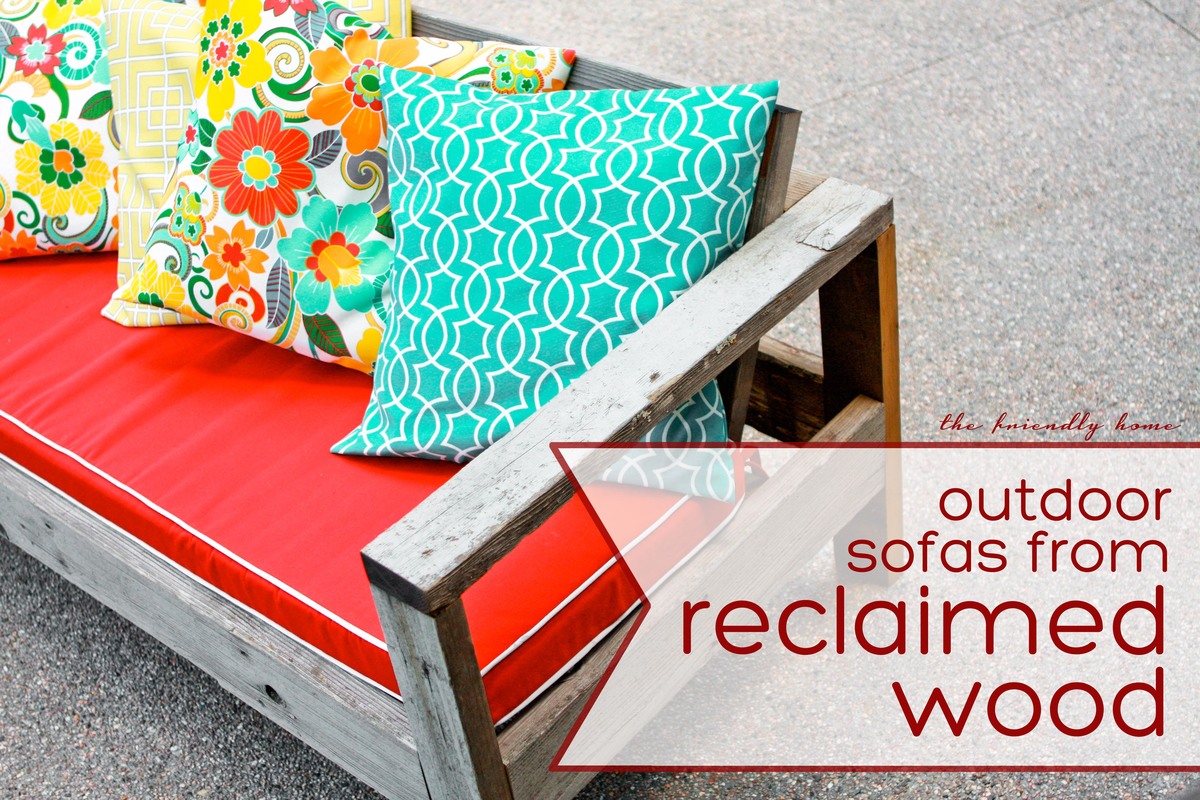
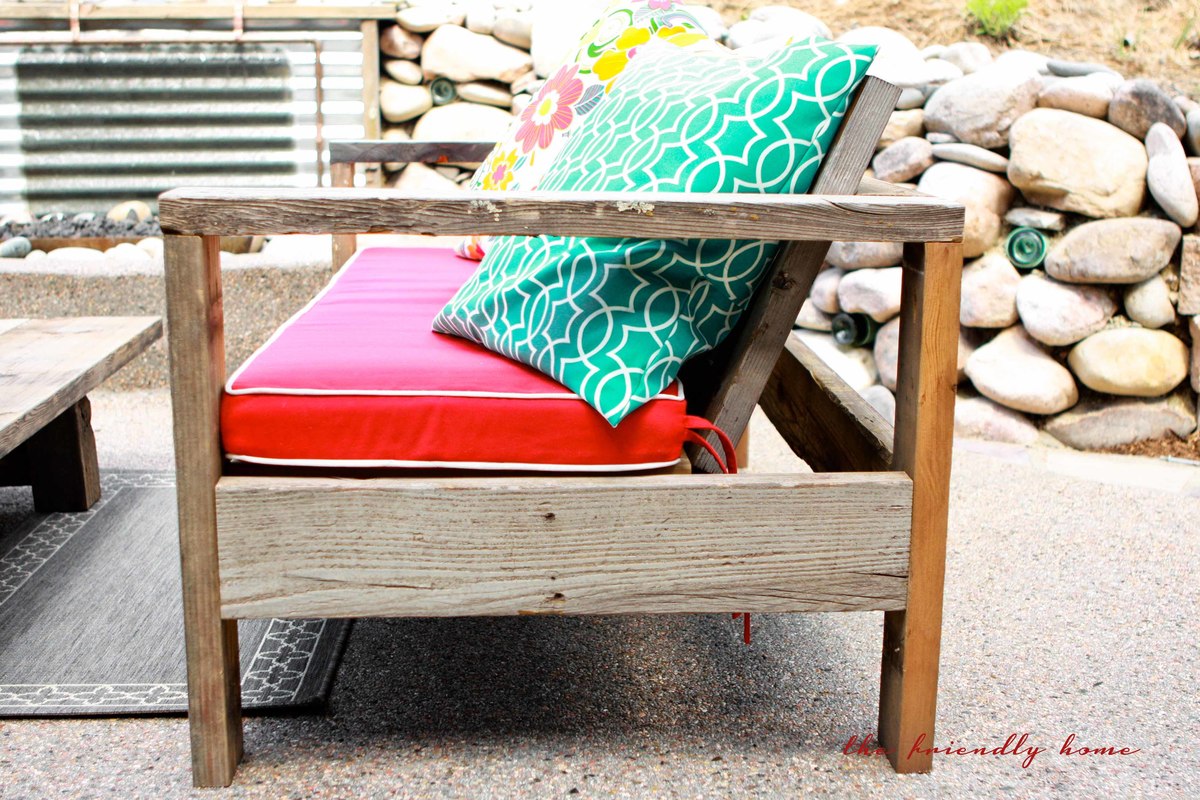
outdoor sofa from reclaimed wood

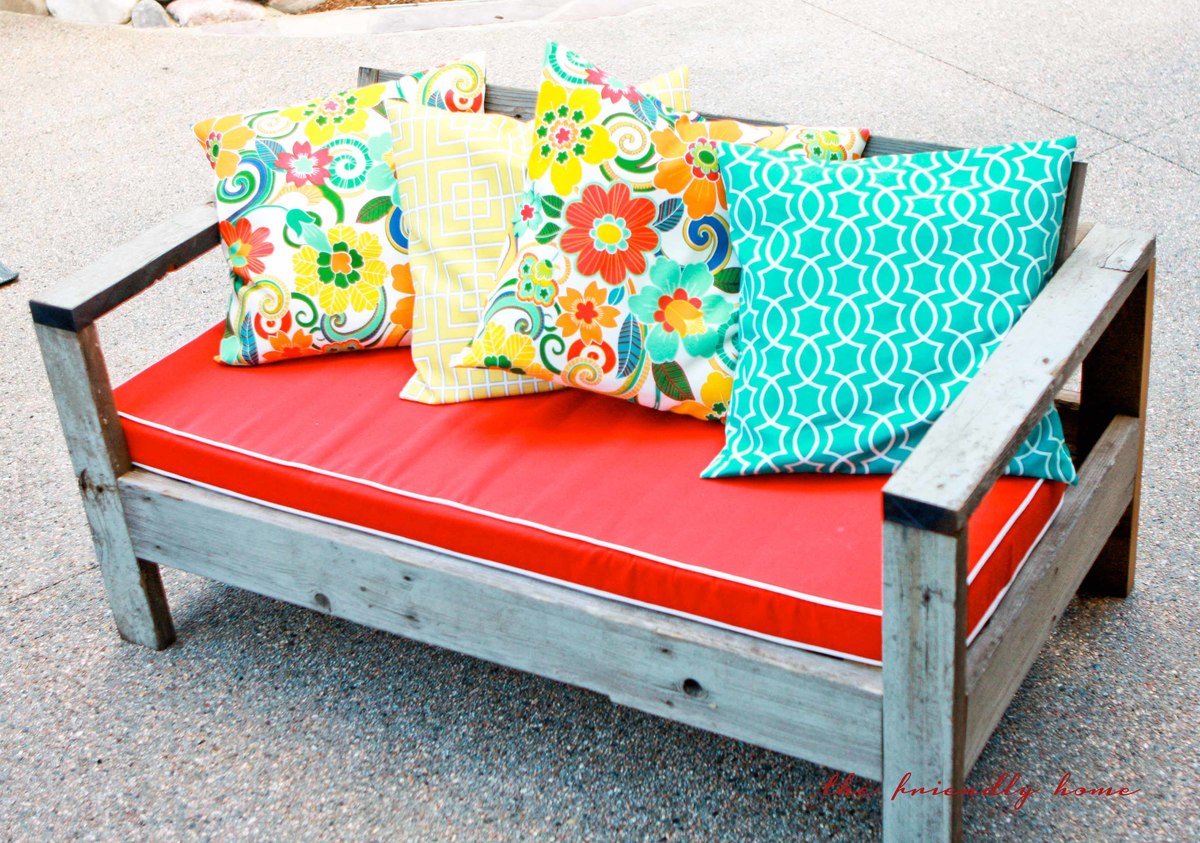
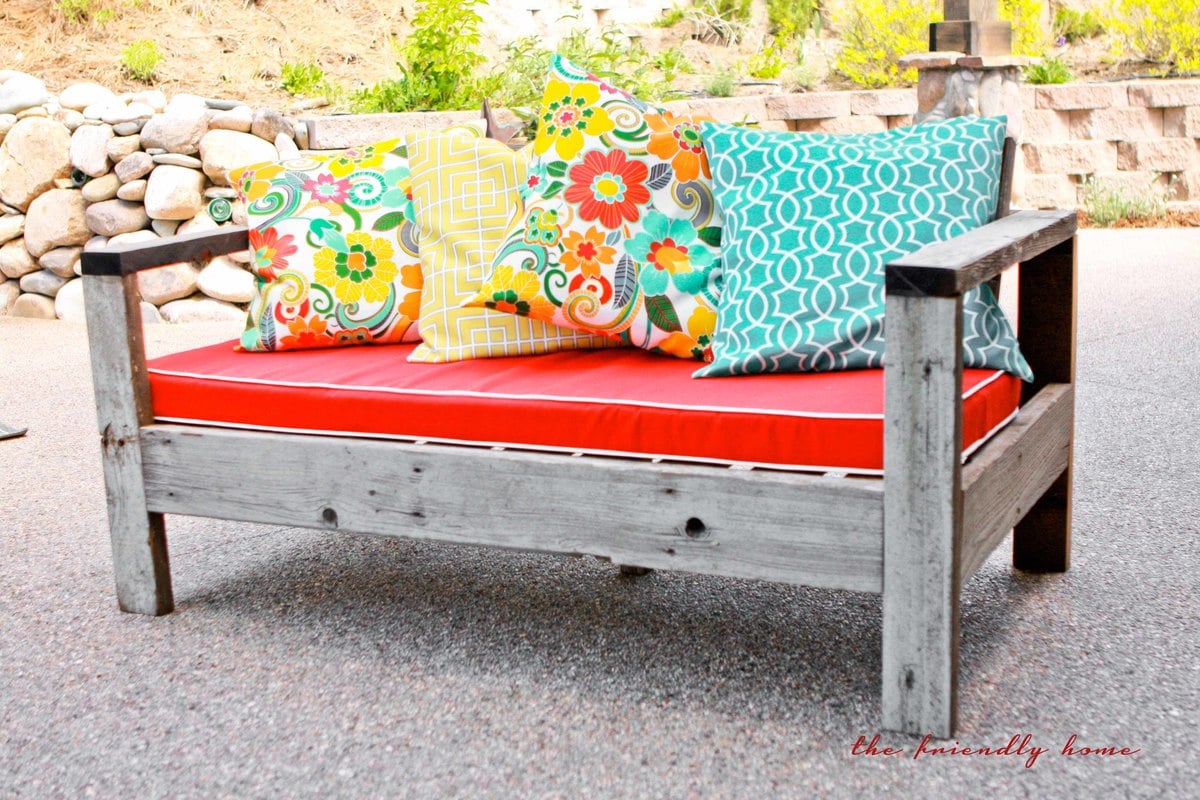
Using Ana's plan as a guide, I built two of these sofas to fit an outdoor cushion I already had. I used wood from our old deck -- a great way to re-use and save money, too!

Estimated Cost
$110/sofa (lumber was free)
Estimated Time Investment
Weekend Project (10-20 Hours)
Finish Used
None, although eventually I will probably seal it with outdoor PolyWhey by Vermont Natural Coatings.
Recommended Skill Level
Intermediate