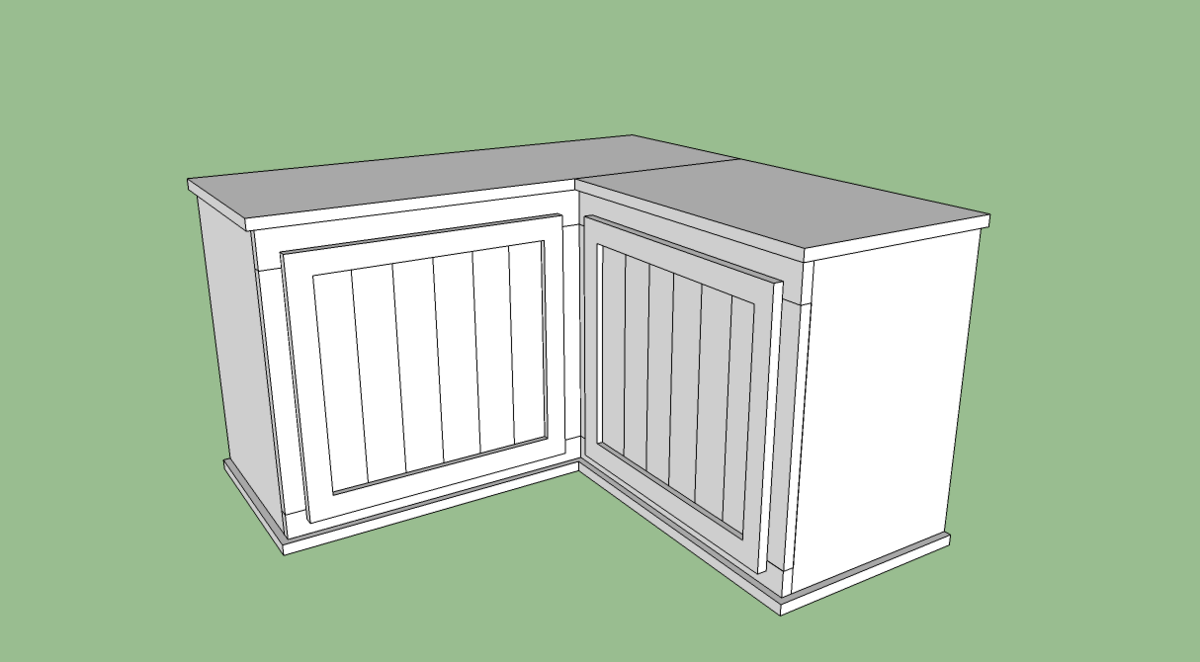
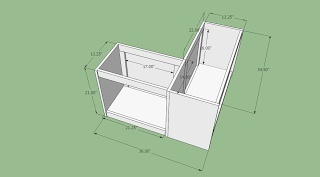
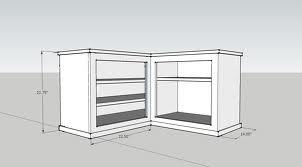
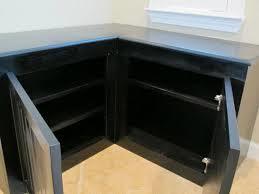
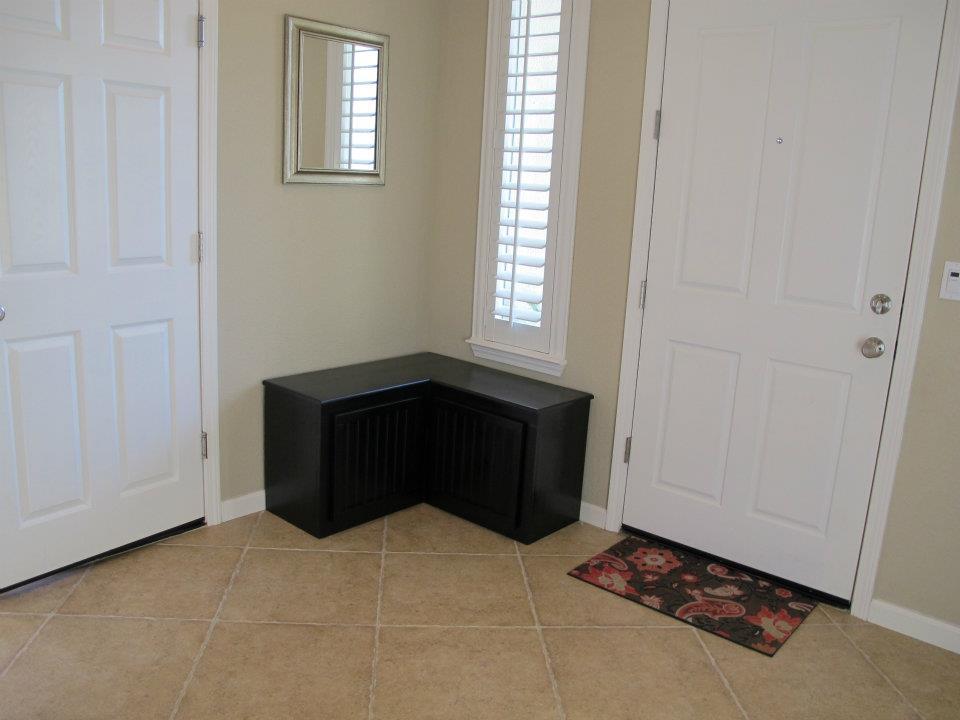
Sliding Laundry Hampers
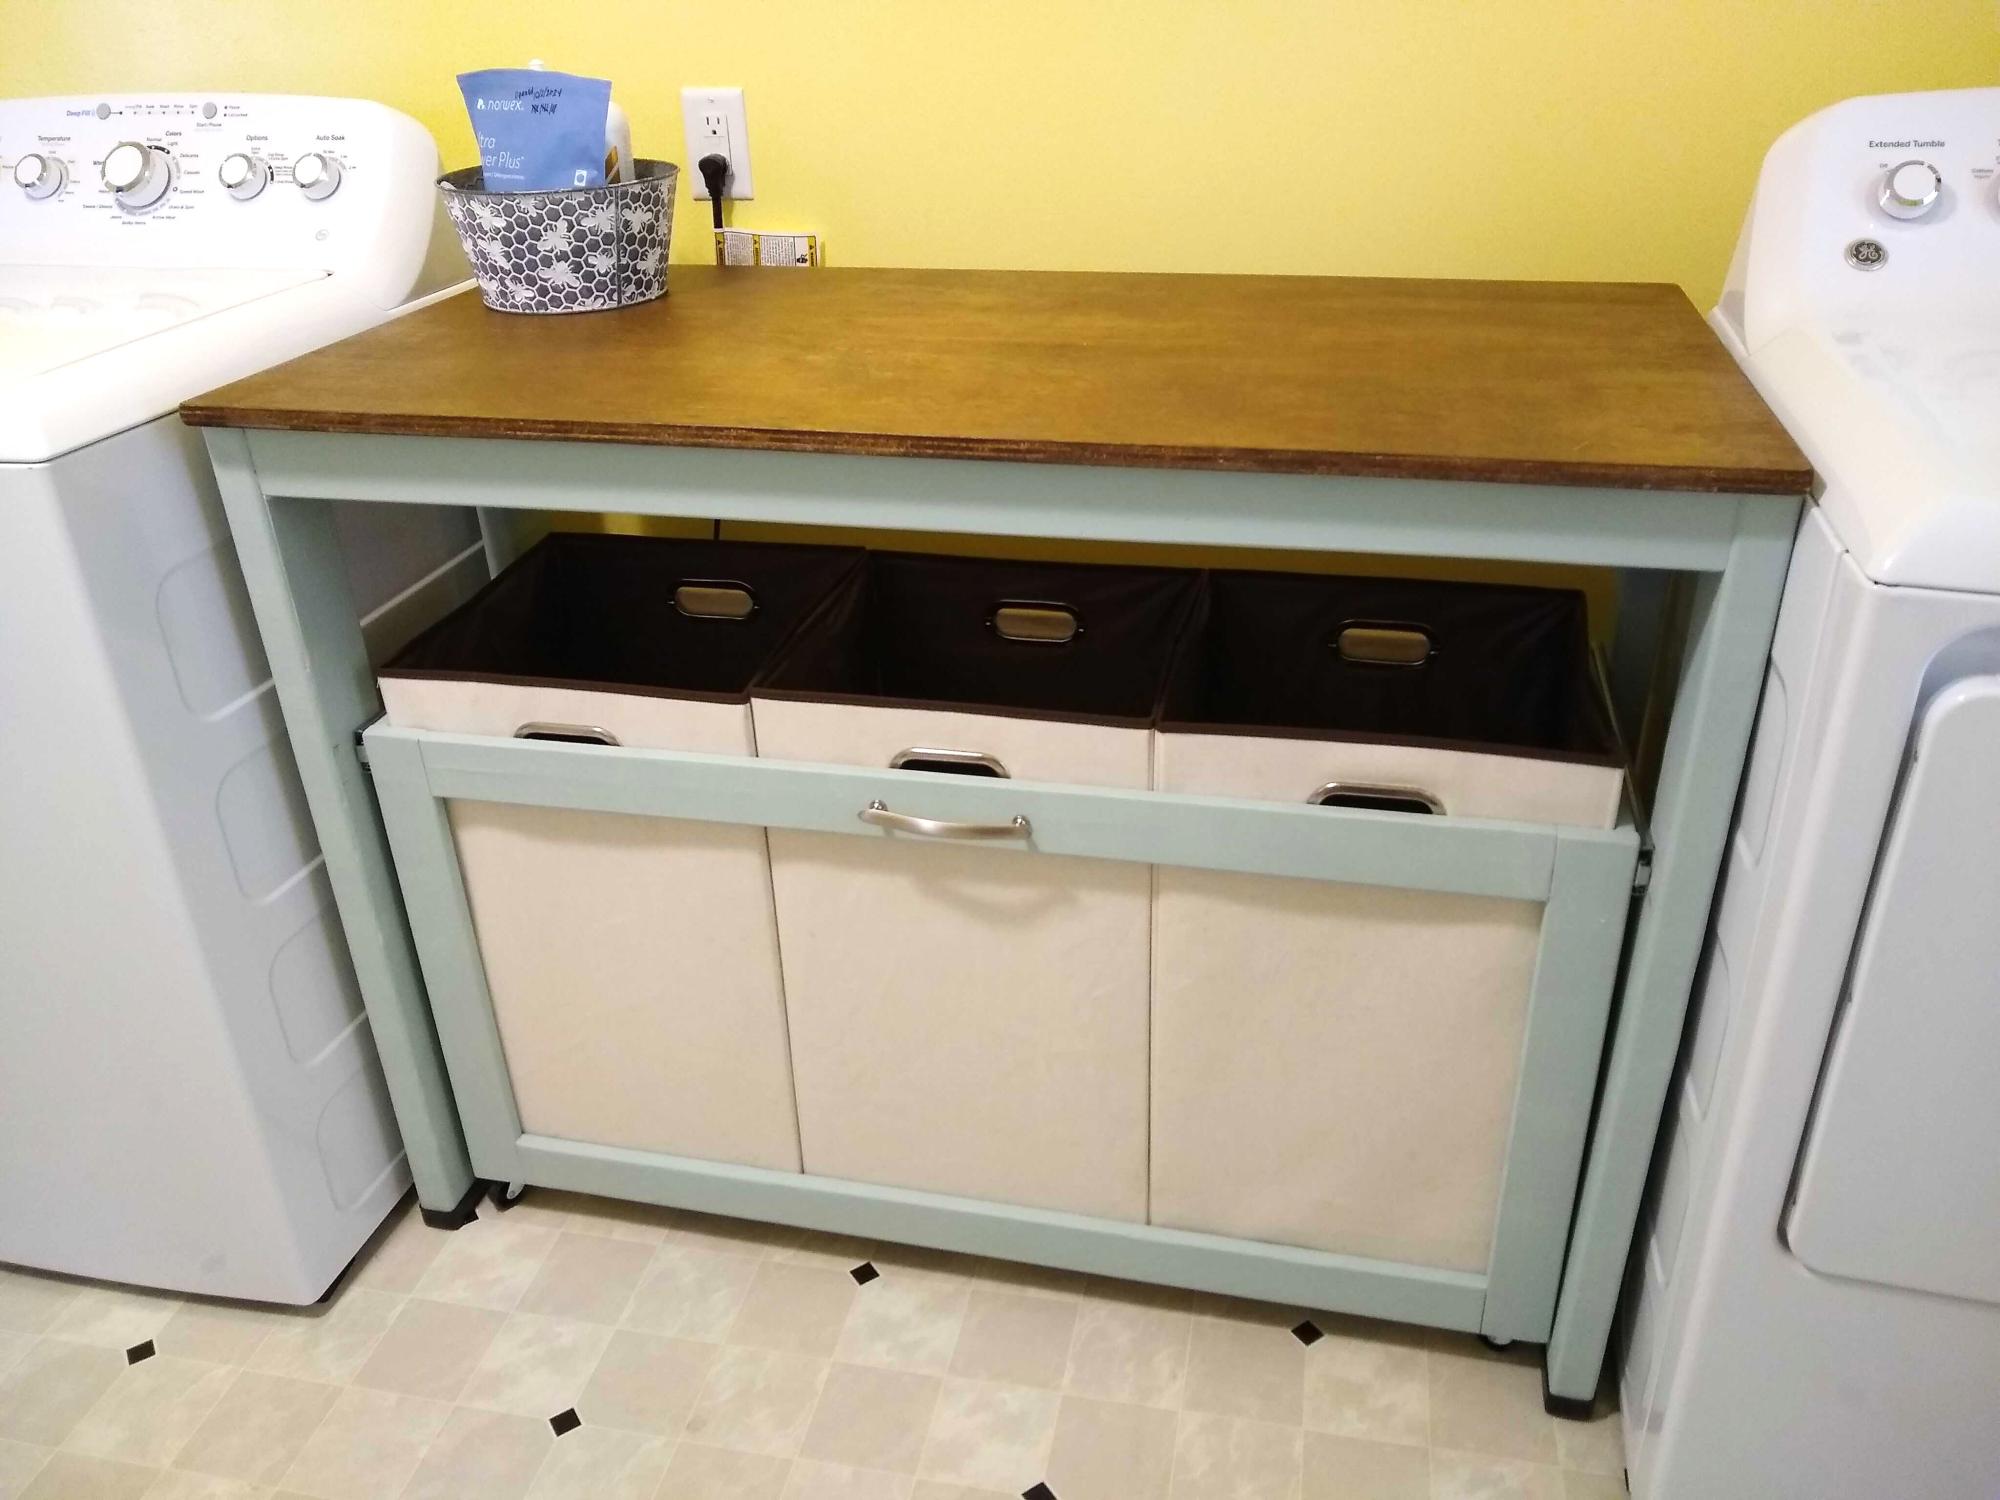
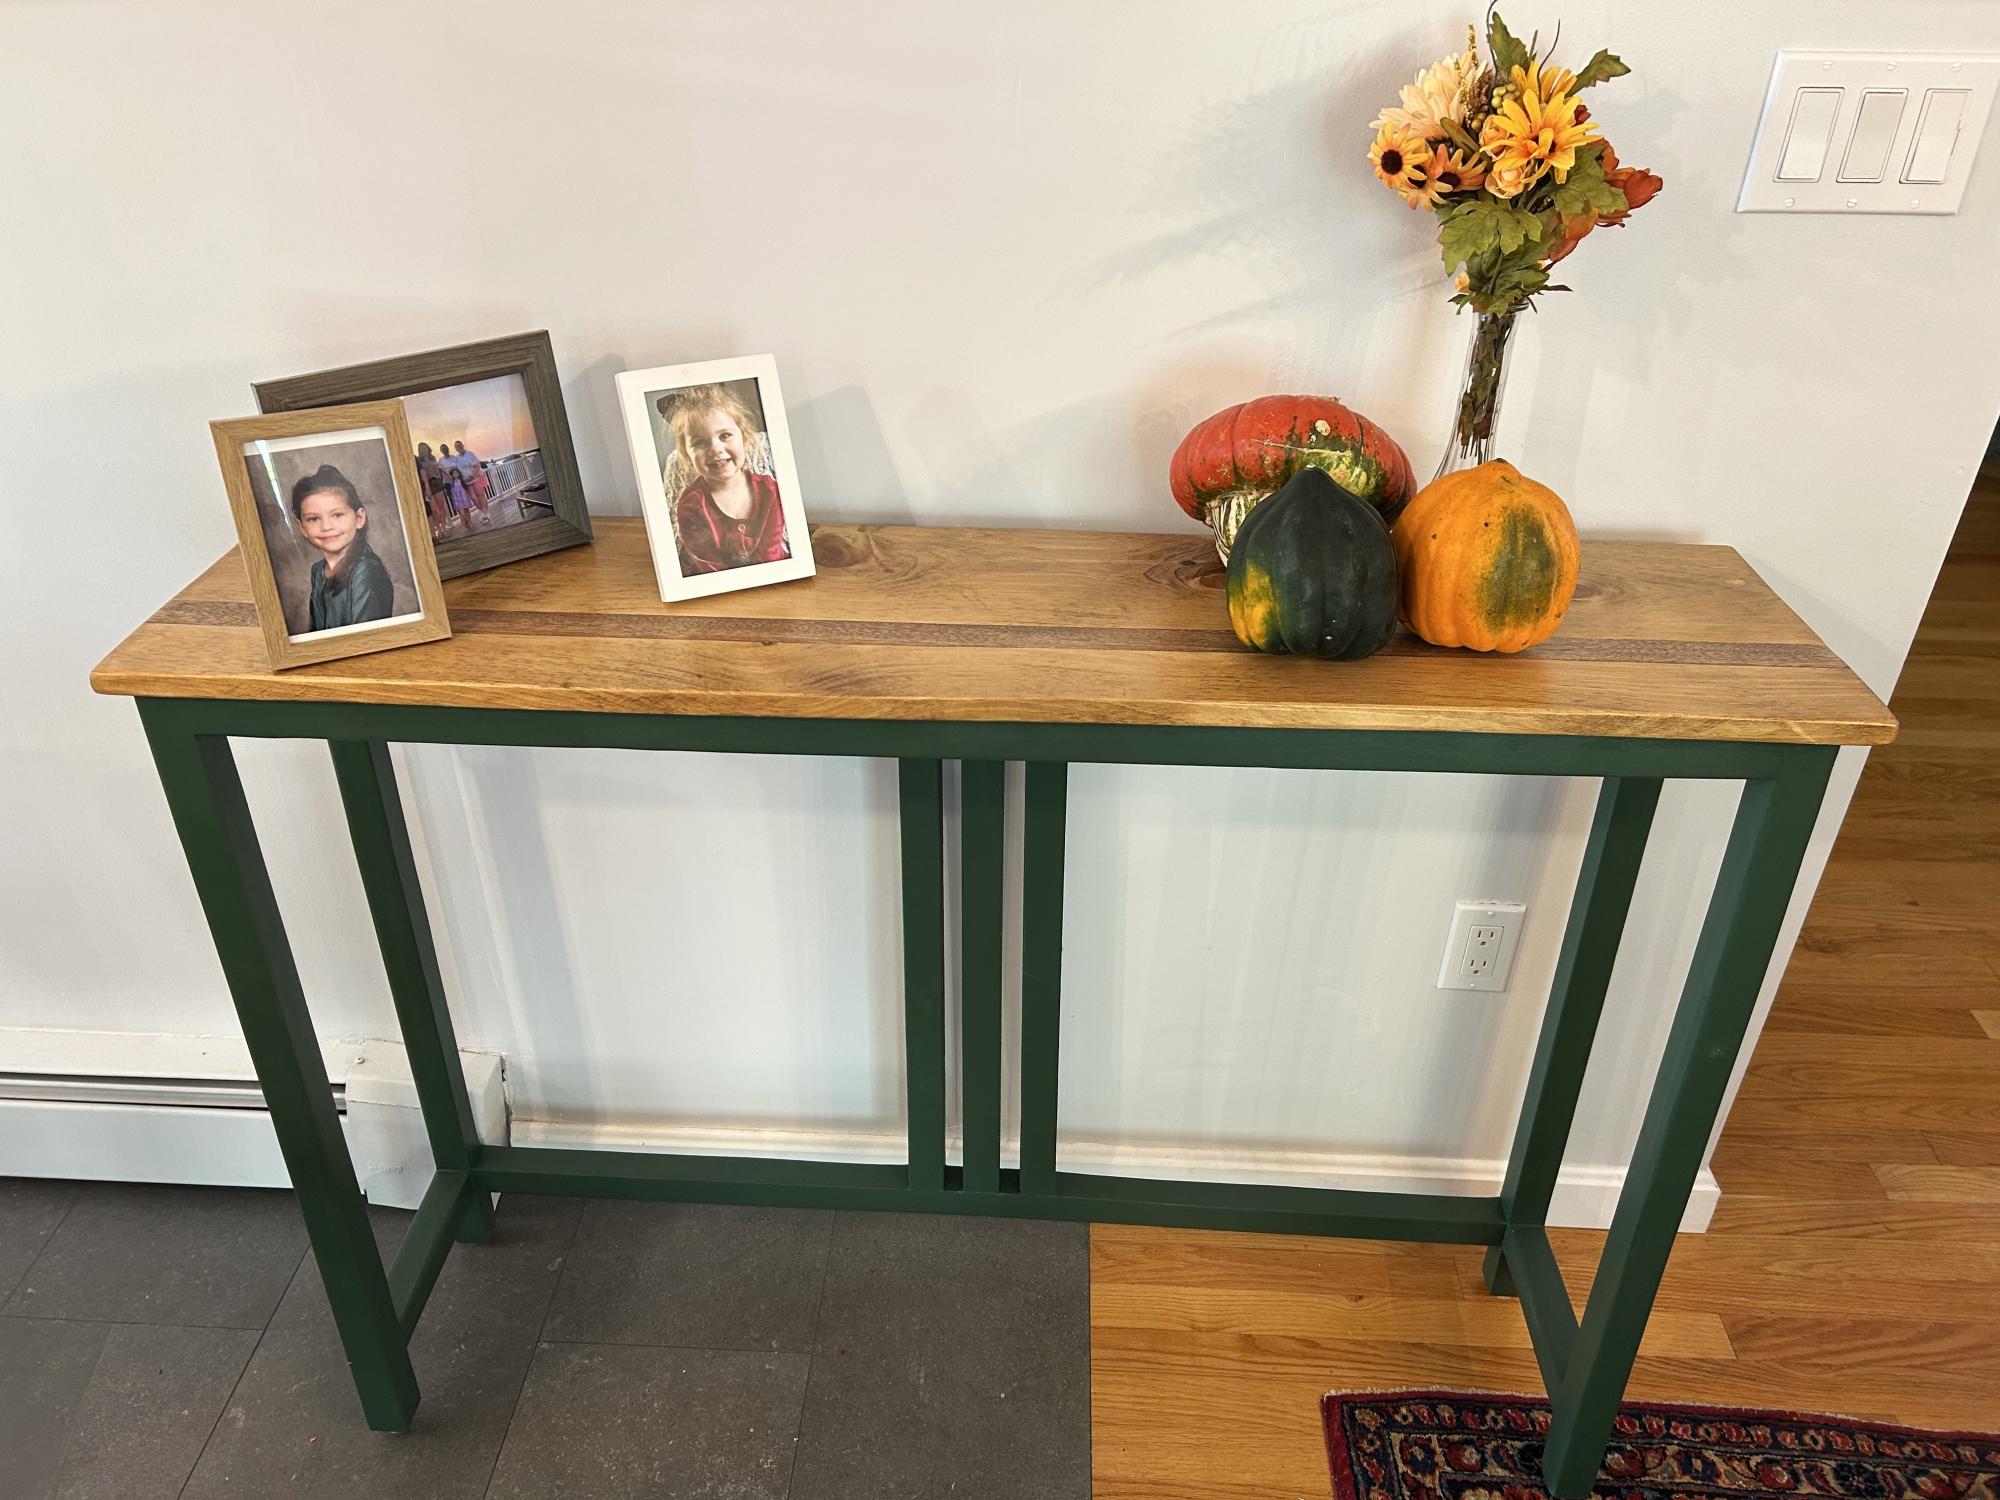
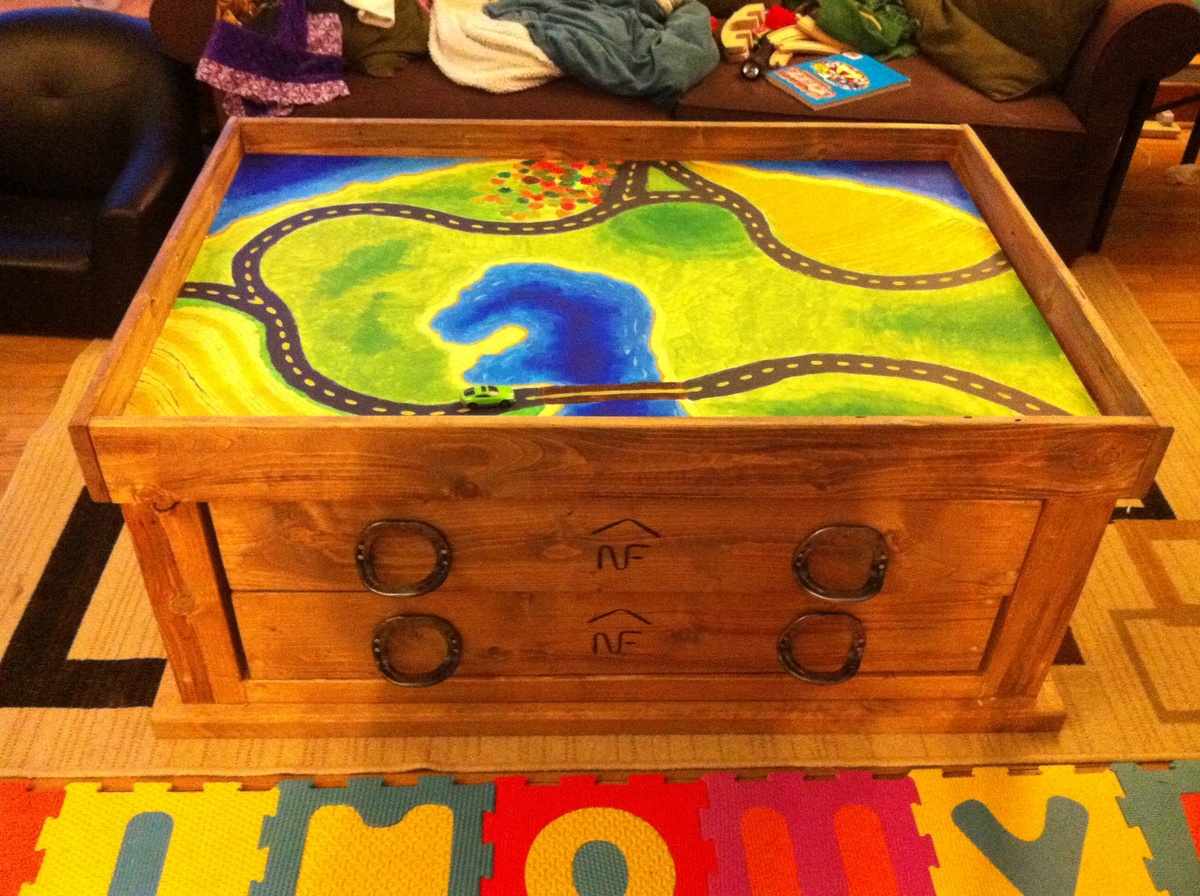
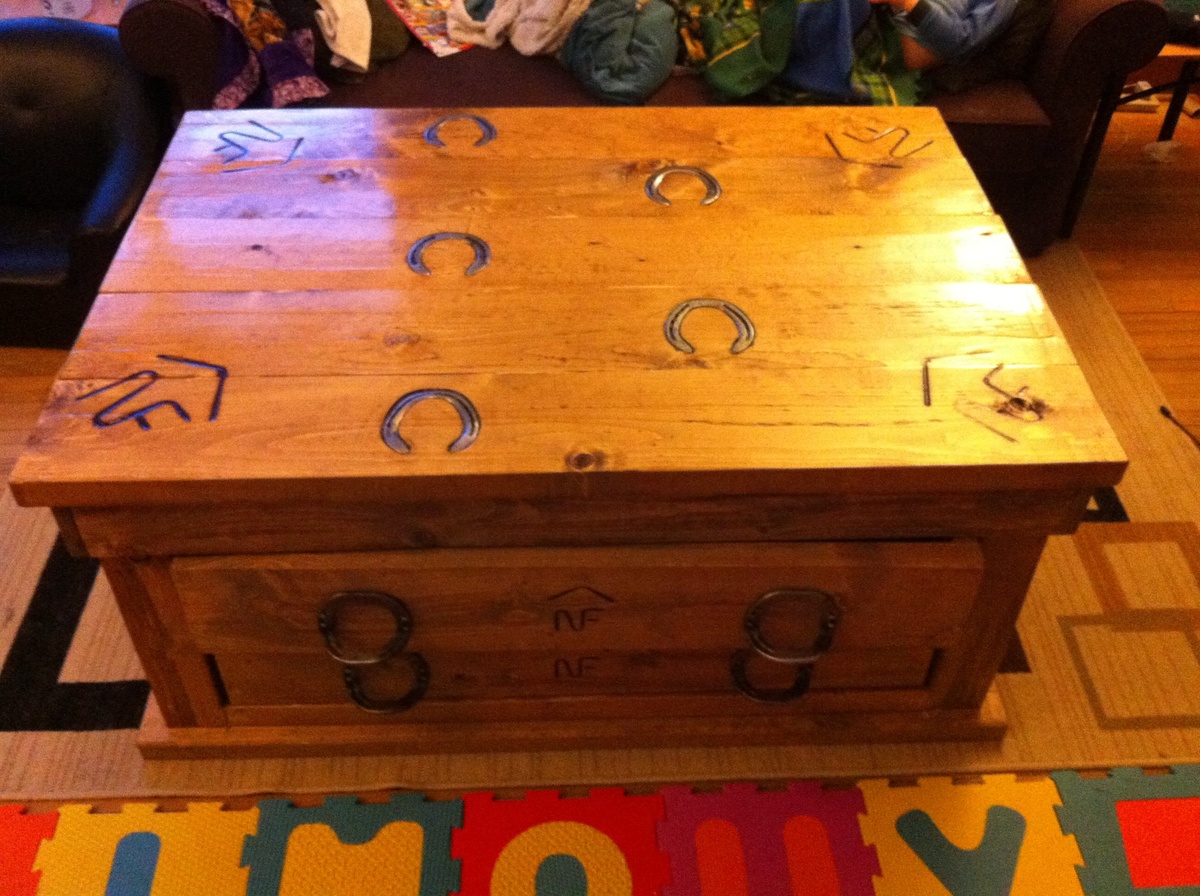
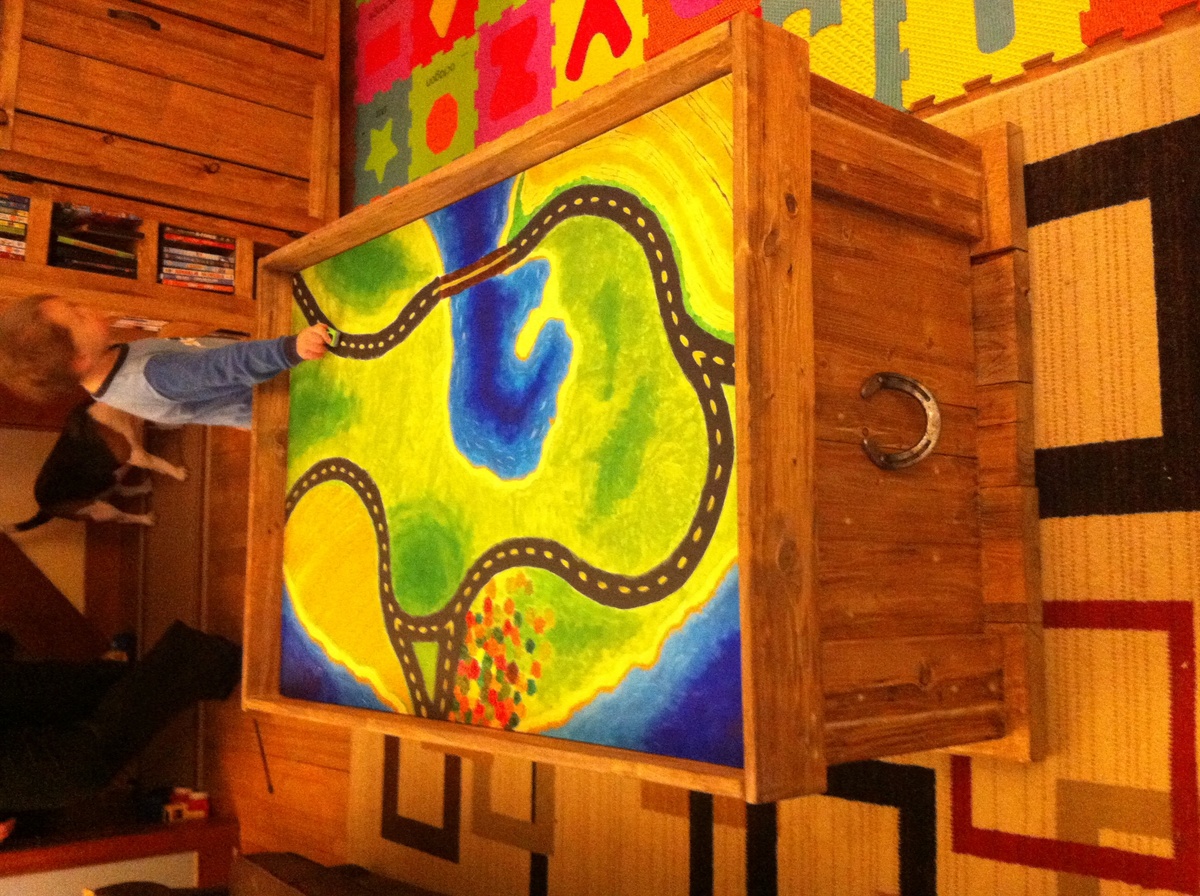
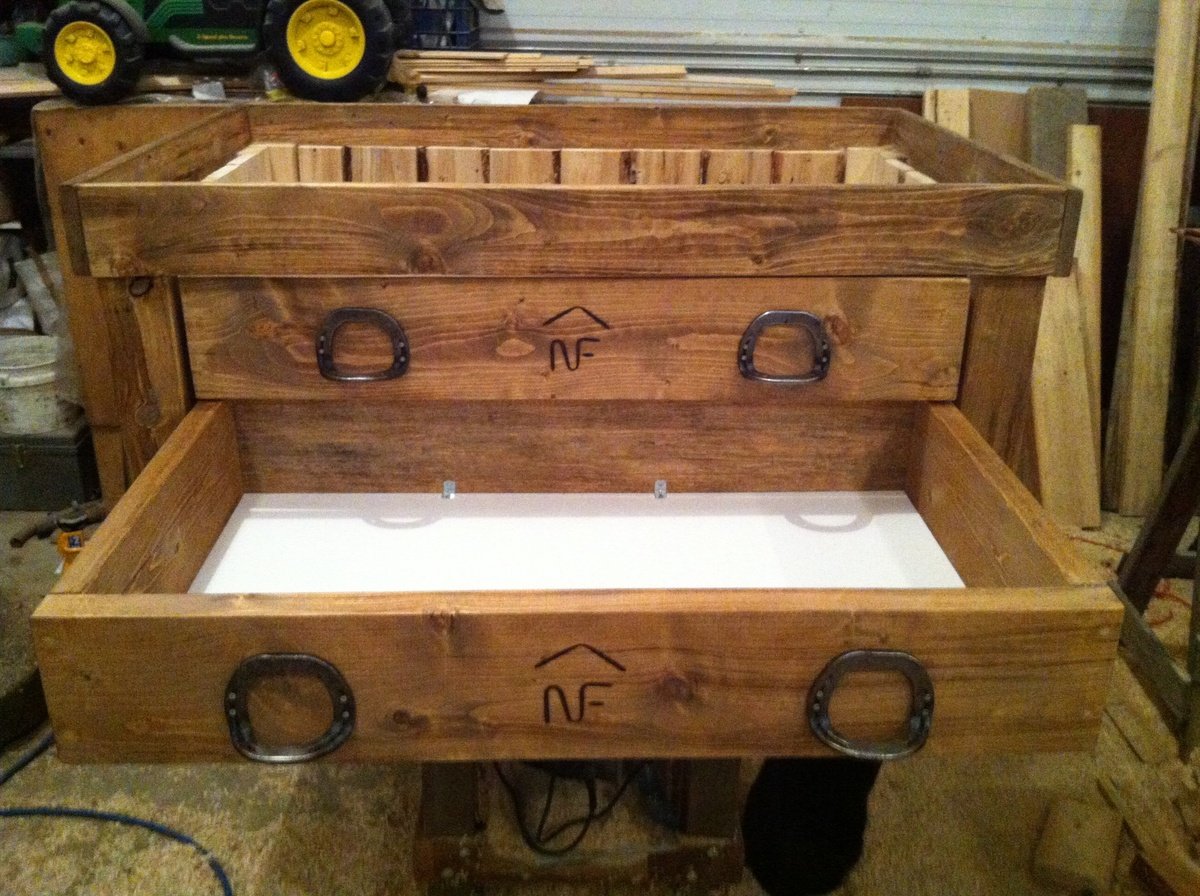
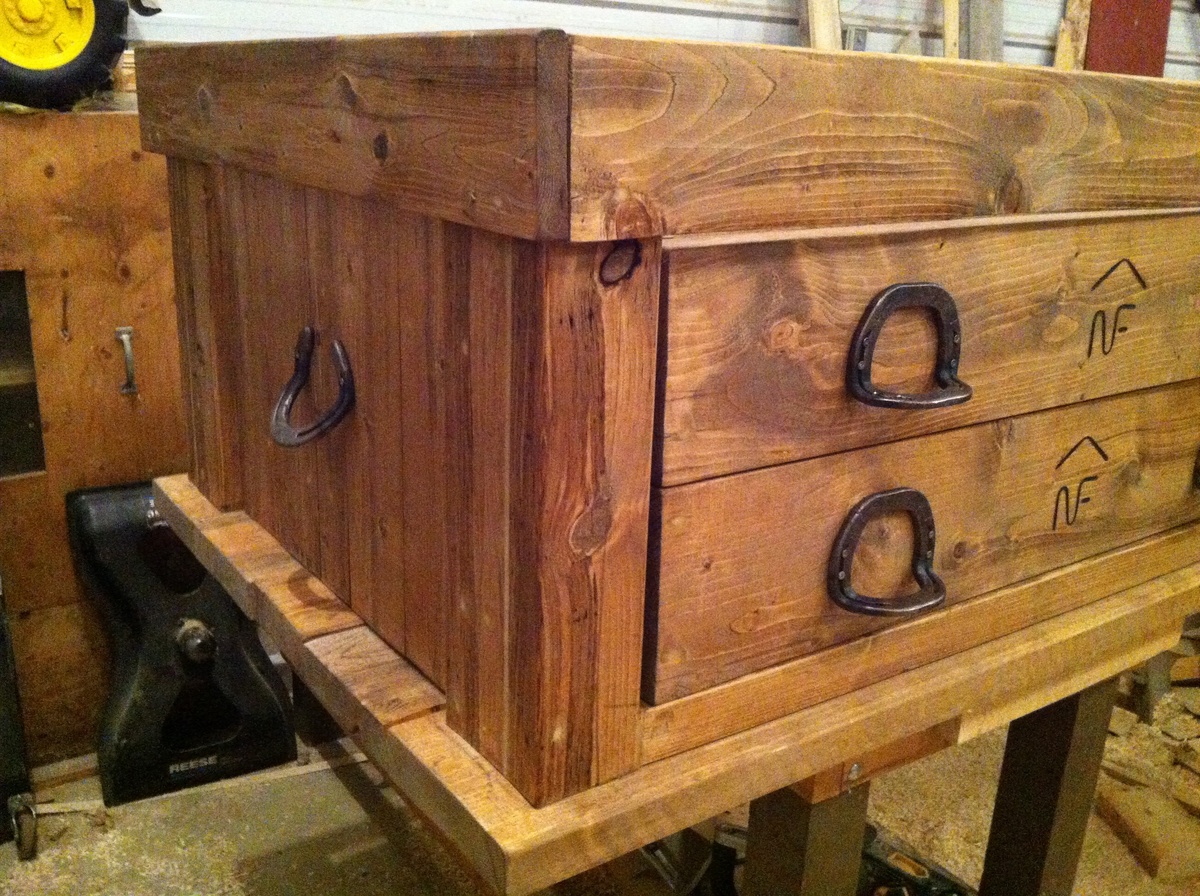
I've had my eye on the Laundry Station for years. After making a few other projects, I finally felt comfortable enough with my skills to go for it. I purchased a 2'x4' project board for the top and decided not to cut it down to fit. I left a small (~1") lip in front and let the rest hang off the back so I have a larger work area. I used a paint sample (Wythe Blue) I had laying around to paint the frame of the table and front of the sorter drawer. I used a Minwax wood finish penetrating stain (Honey) for the top, and then sealed it with a clear satin finish poly spray. - Sarah H

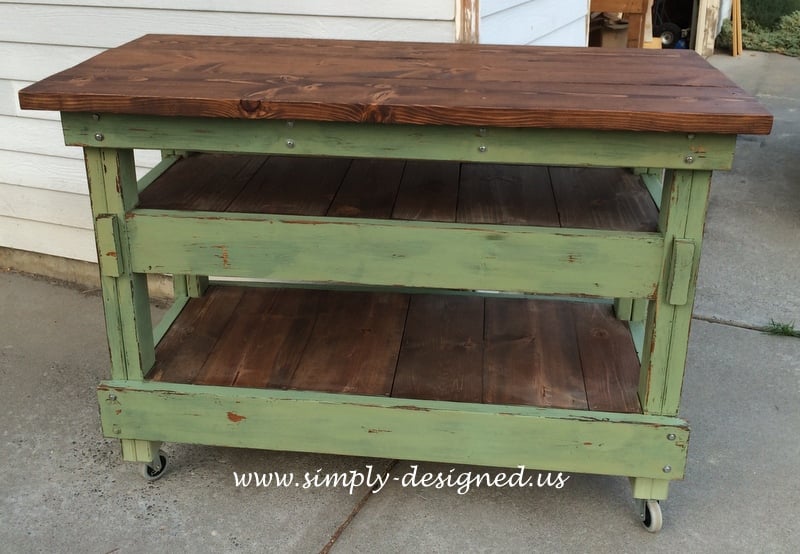
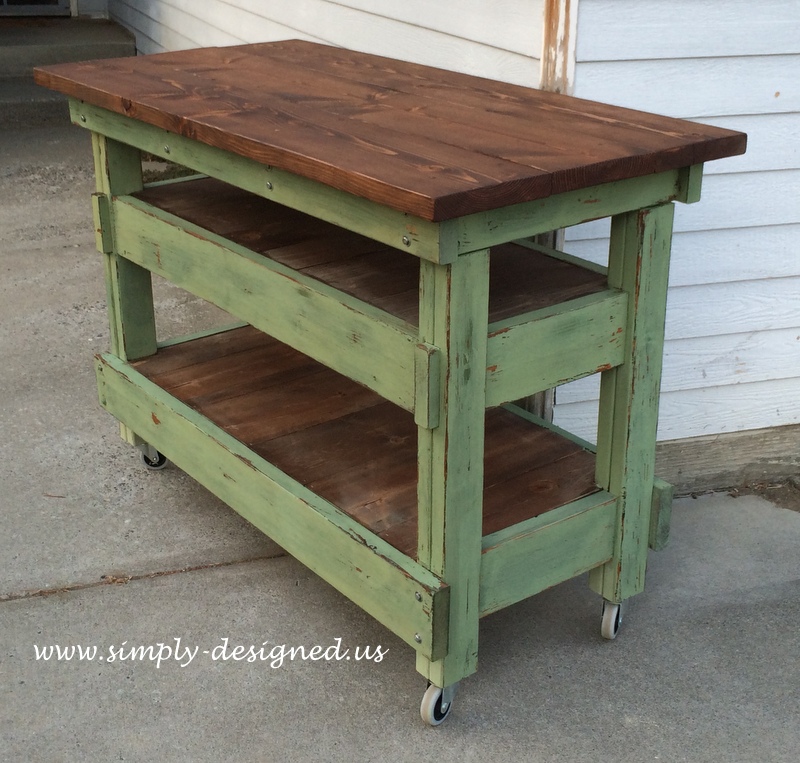
Built from Plan(s)