Cedar triple planter box
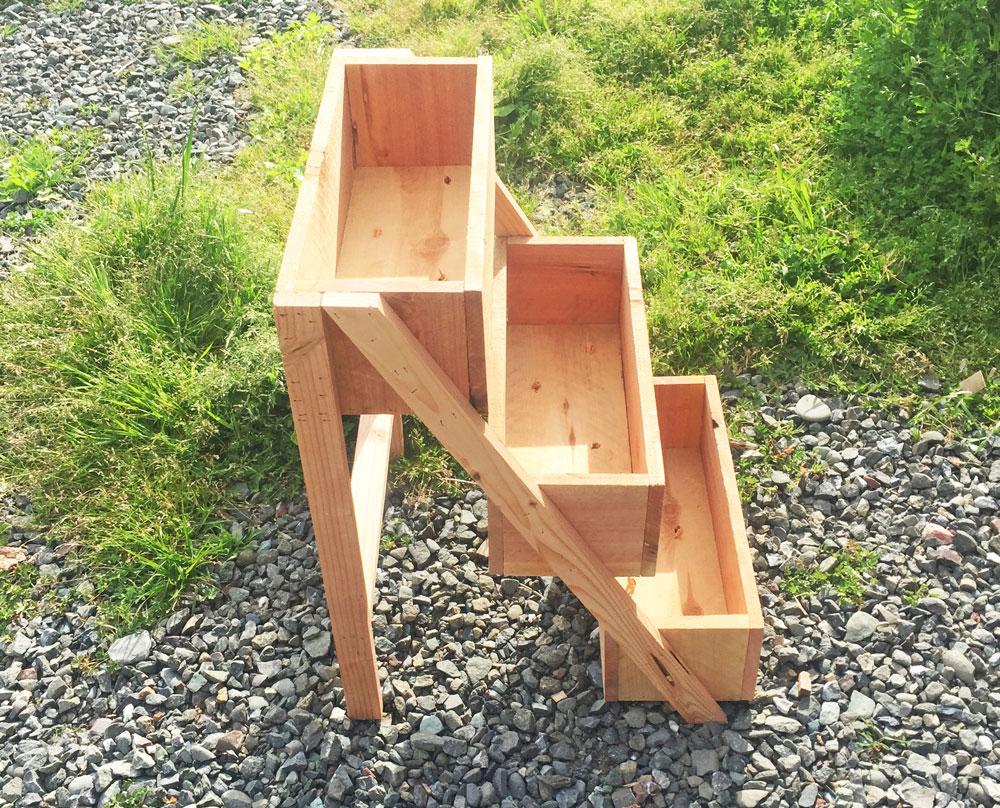
This was a really fun project and super easy to make. I shaved just an inch of my sides for my bottom to fit better. My fence boards were 3rds.

This was a really fun project and super easy to make. I shaved just an inch of my sides for my bottom to fit better. My fence boards were 3rds.
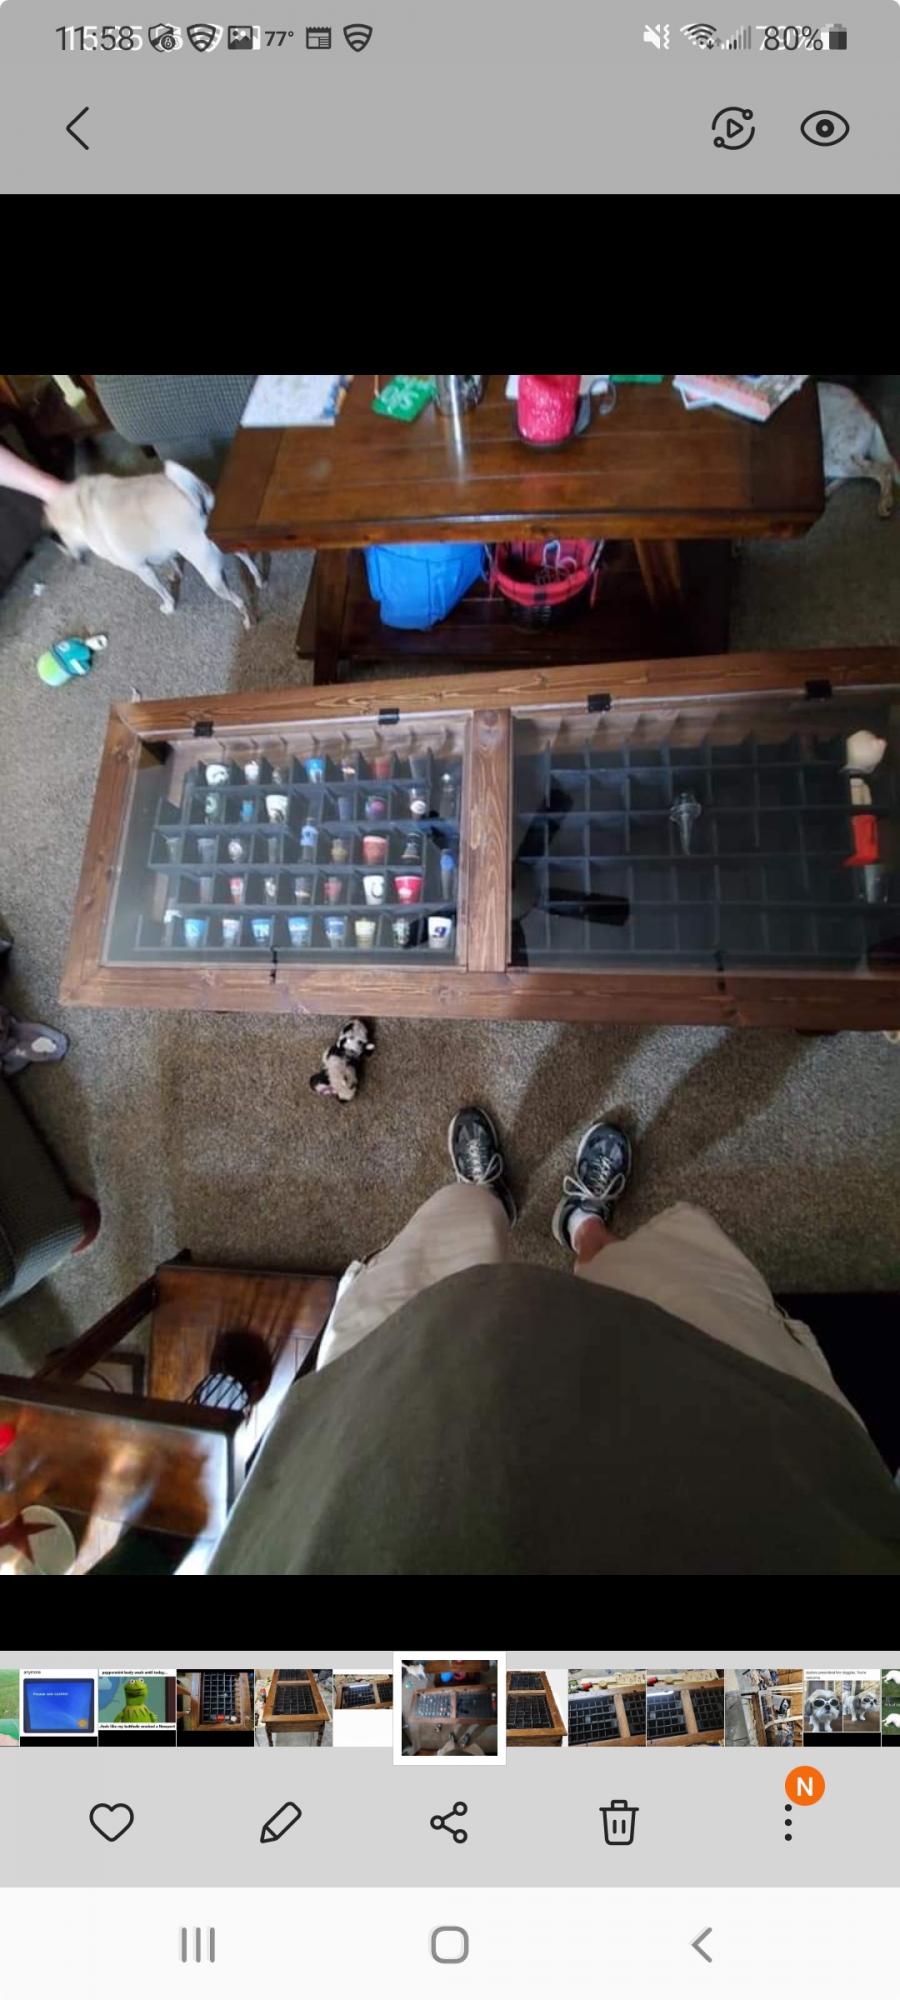
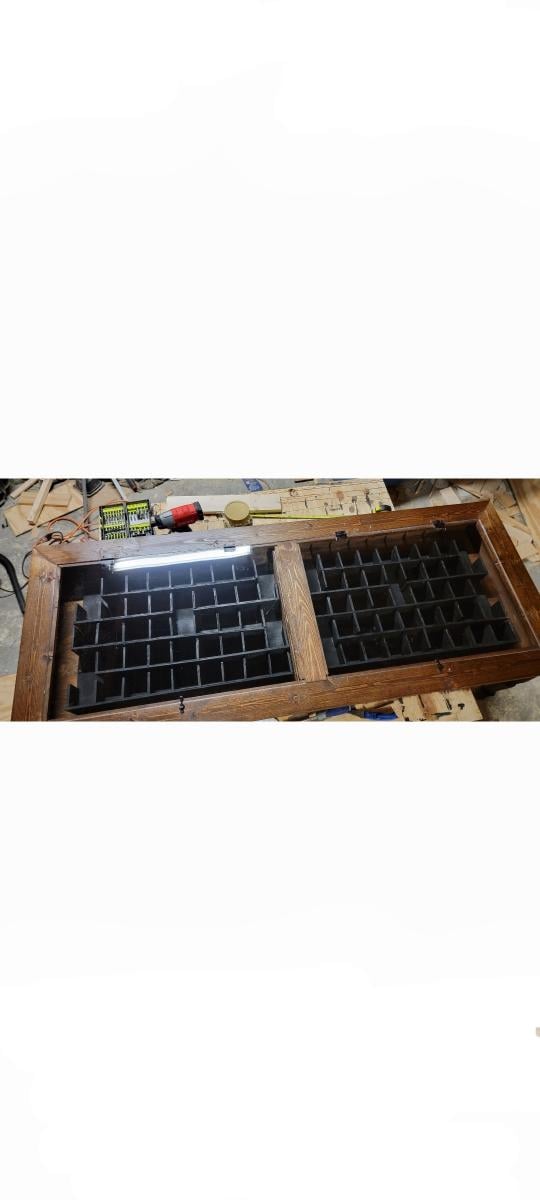
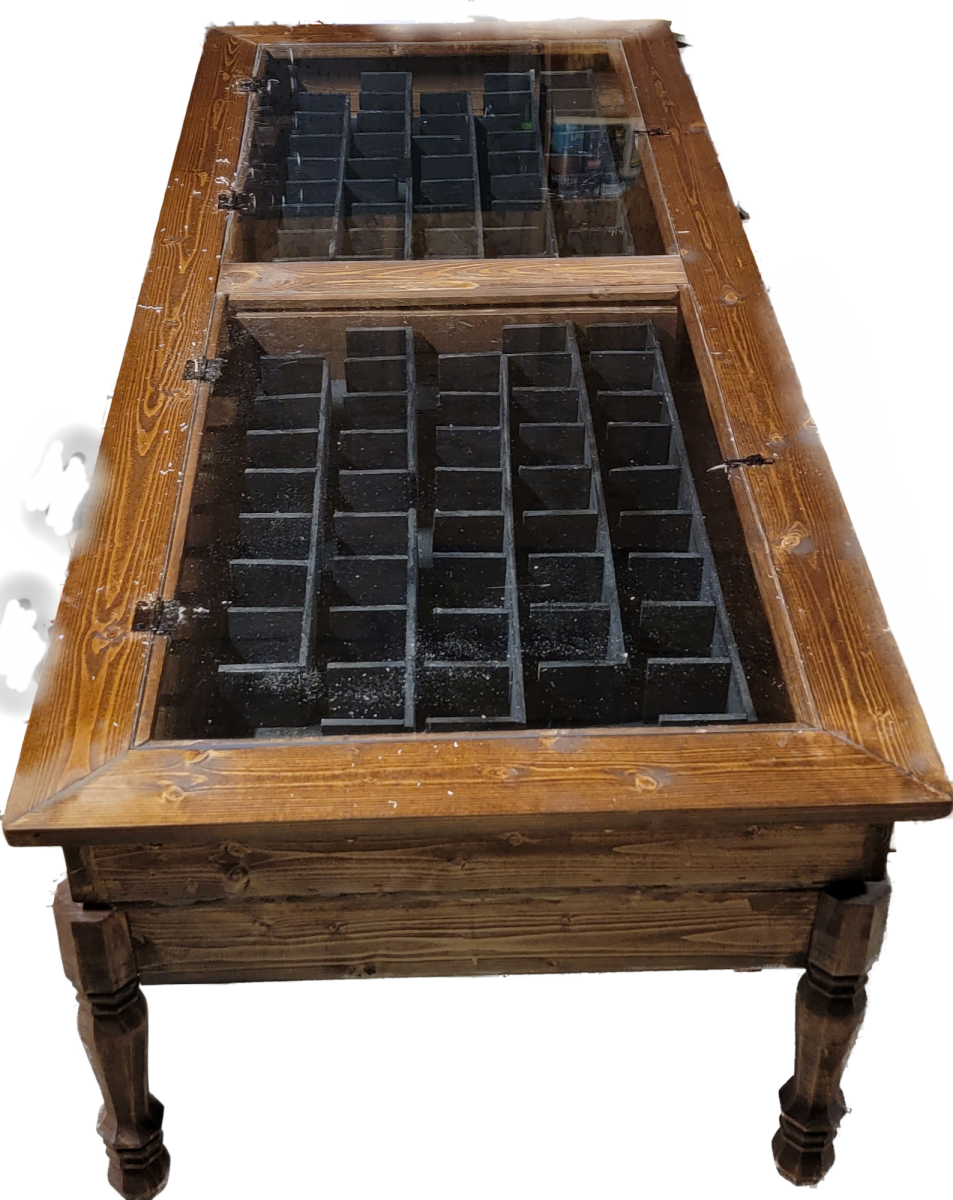
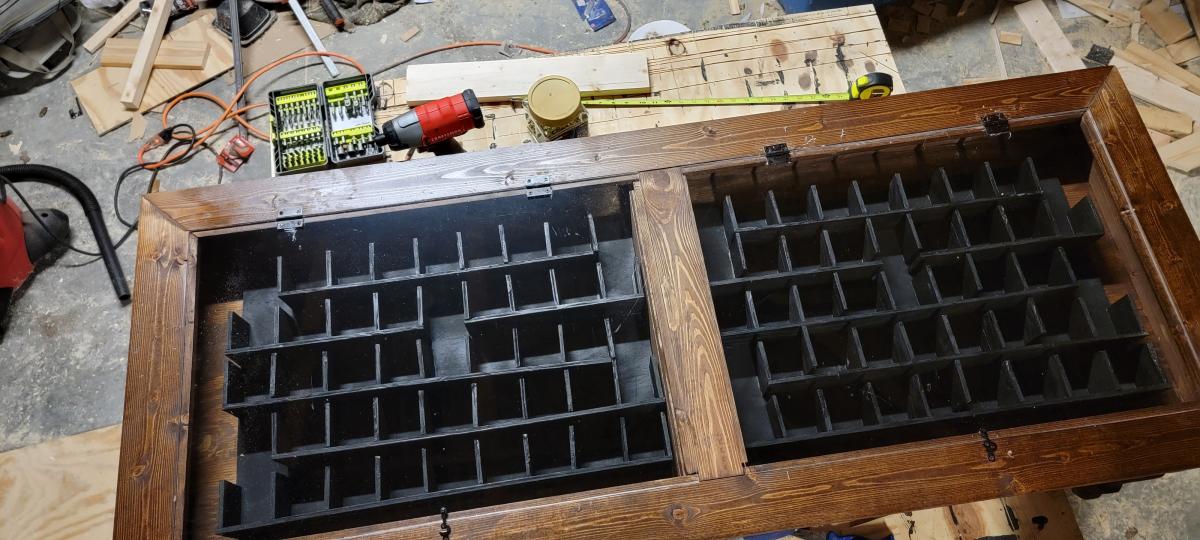
My father-in-law wanted a display case for his shot glasses, but I didn't like the idea of putting that much glass, hanging vertically. So I suggested a coffee table. This is what I came up with. I used 1x4 boards for most of it. ¼" plywood on the bottom, with 2x2 supports underneath, the actual display part is from ½" project panels I had laying around, and the dividers are from ¼" plywood scraps. The legs I picked out from the store (I don't have or need, a lathe). For the top, I used ¼" thick acrylic. I thought about glass, but they have lots of grandkids over all the time, and I didn't want a little hand going through the glass. (Side note on the acrylic, when you cut it, do it by hand, not with a power tool, as the acrylic will heat up and can melt). Other than that, I got a couple hinges and small lock closure for the acrylic, and stained it all. (Sorry for the white background picture, I tried to crop out everything else around the table)
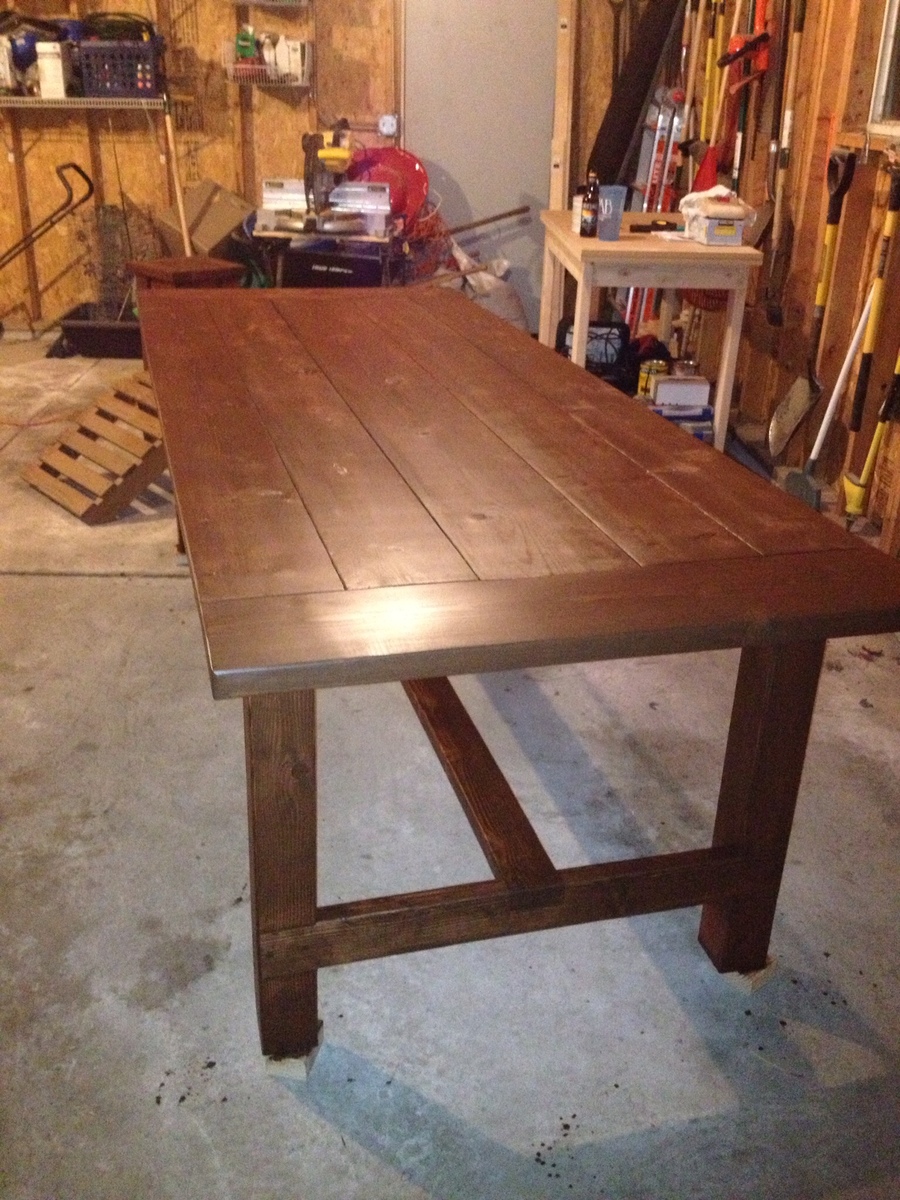
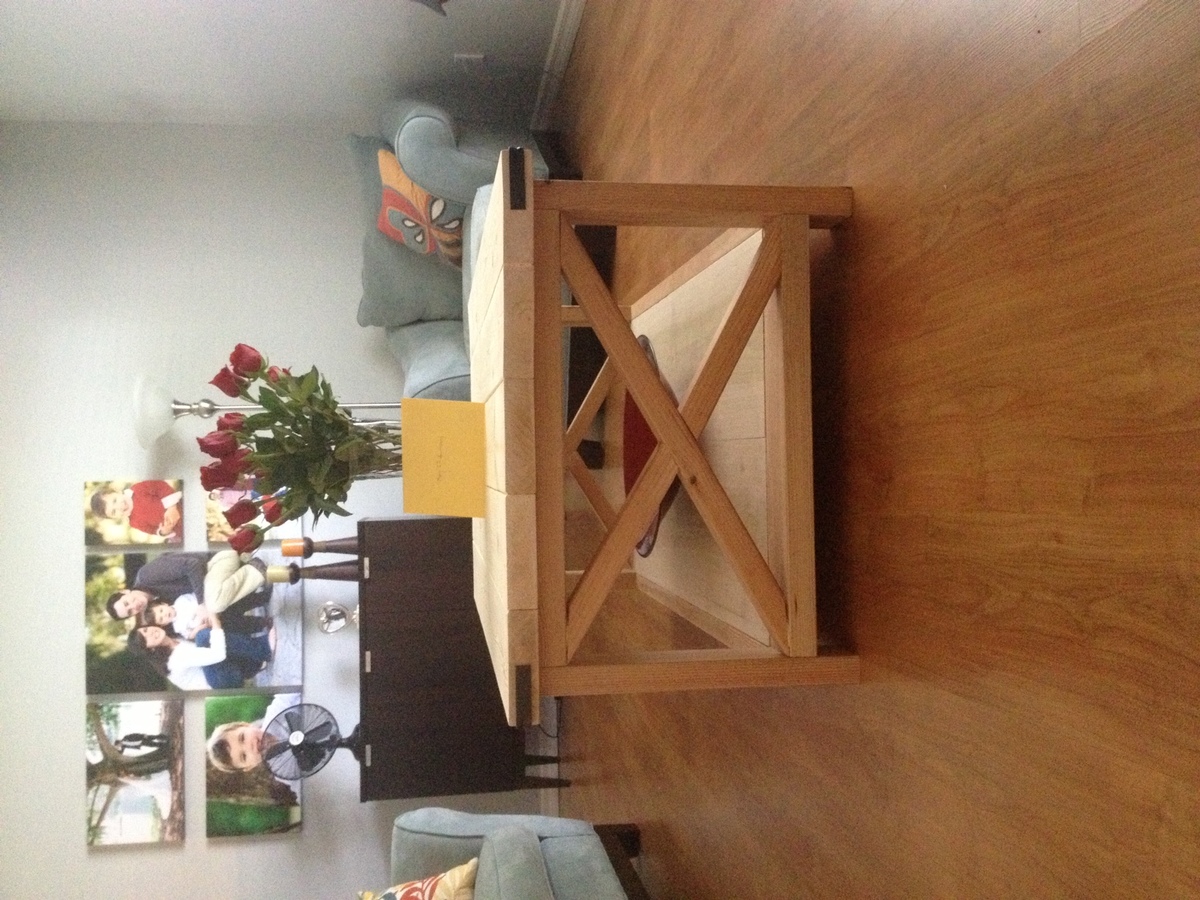
Since wood is the traditional 5th wedding anniversary gift, I thought this table would be perfect.
Thu, 05/02/2013 - 15:11
Lowes. I had to spray-paint them to get the color I wanted. I think they are called corner brackets.
Thu, 05/02/2013 - 17:58
The table looks lovely, and I love the "au natural" finish!! ;-)
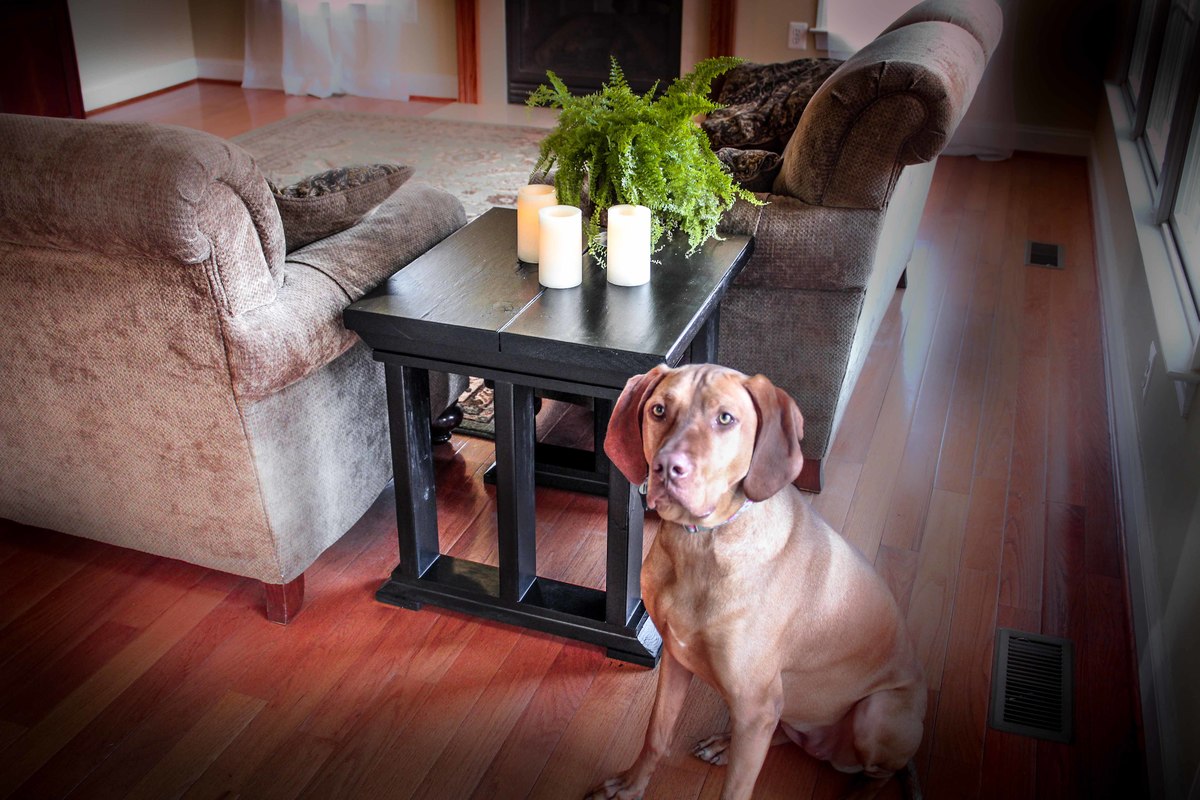
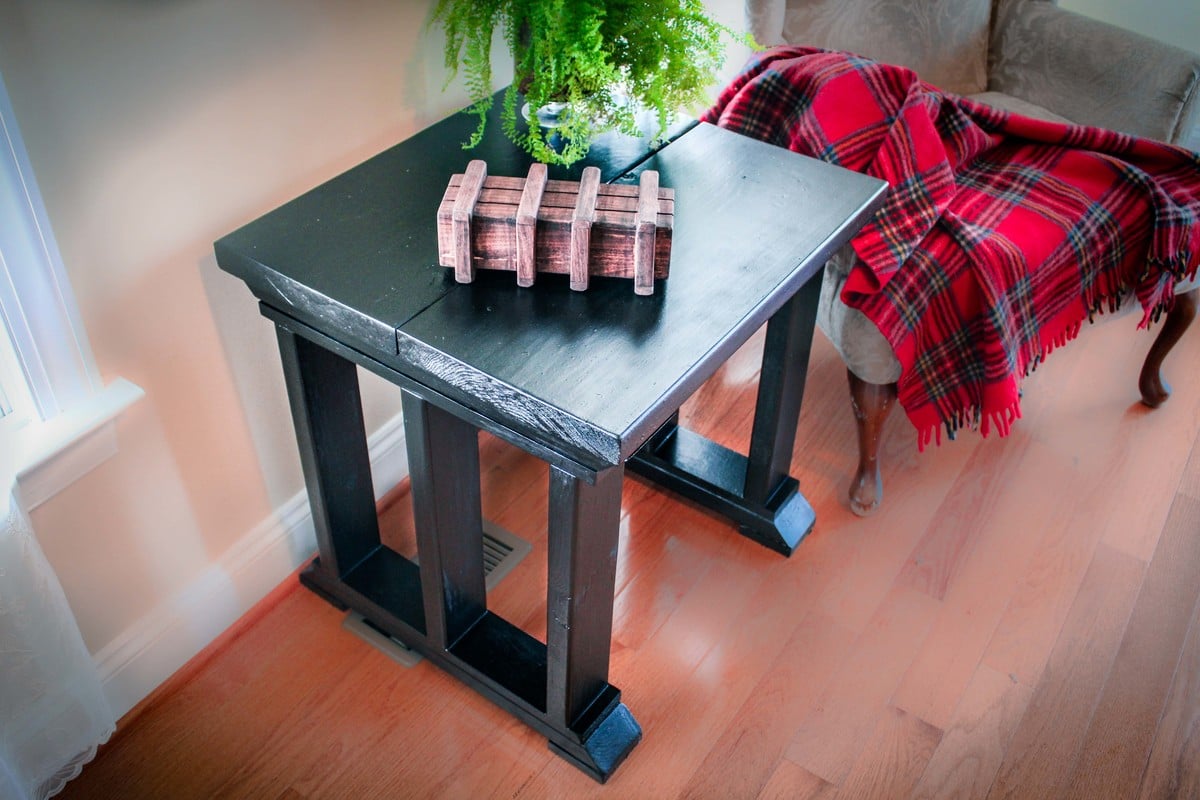
This End Table matches the shelf from a few weeks ago which is my attempt of matching the $55 Fancy Desk from Ana White. As with the shelf, the design is simple, easy to make and is relatively low cost (under $25).
Sun, 03/22/2015 - 10:24
Video:
https://www.youtube.com/watch?v=4wwlcqBMEa4
Build Instructions:
http://www.instructables.com/id/Rustic-End-Table/
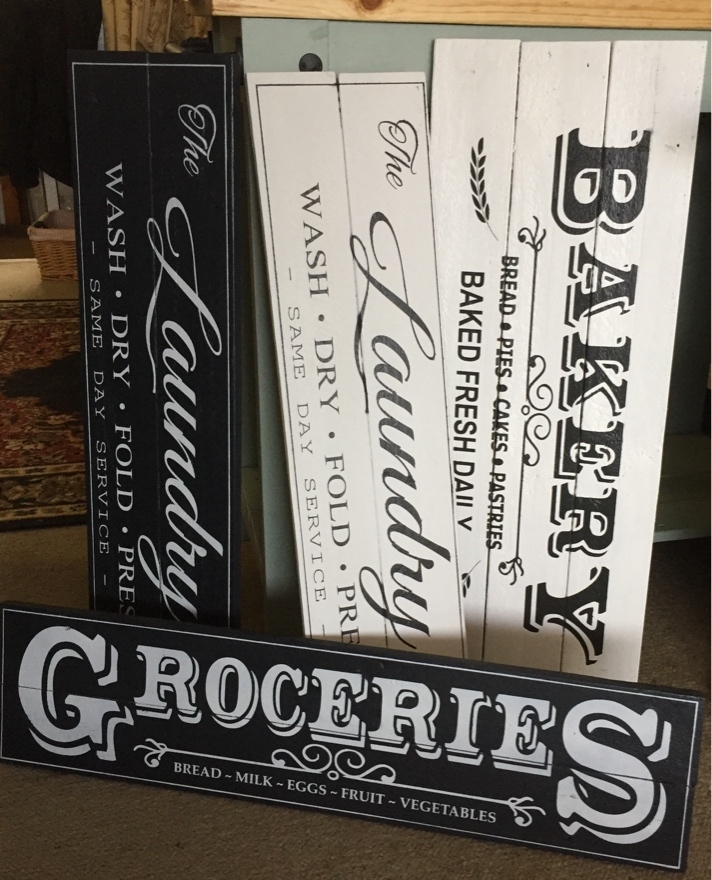
Made from pallet wood.
Painted and stencilled.
Sat, 06/24/2017 - 06:17
Thank you. I made the stencils myself using my silhouette cameo.
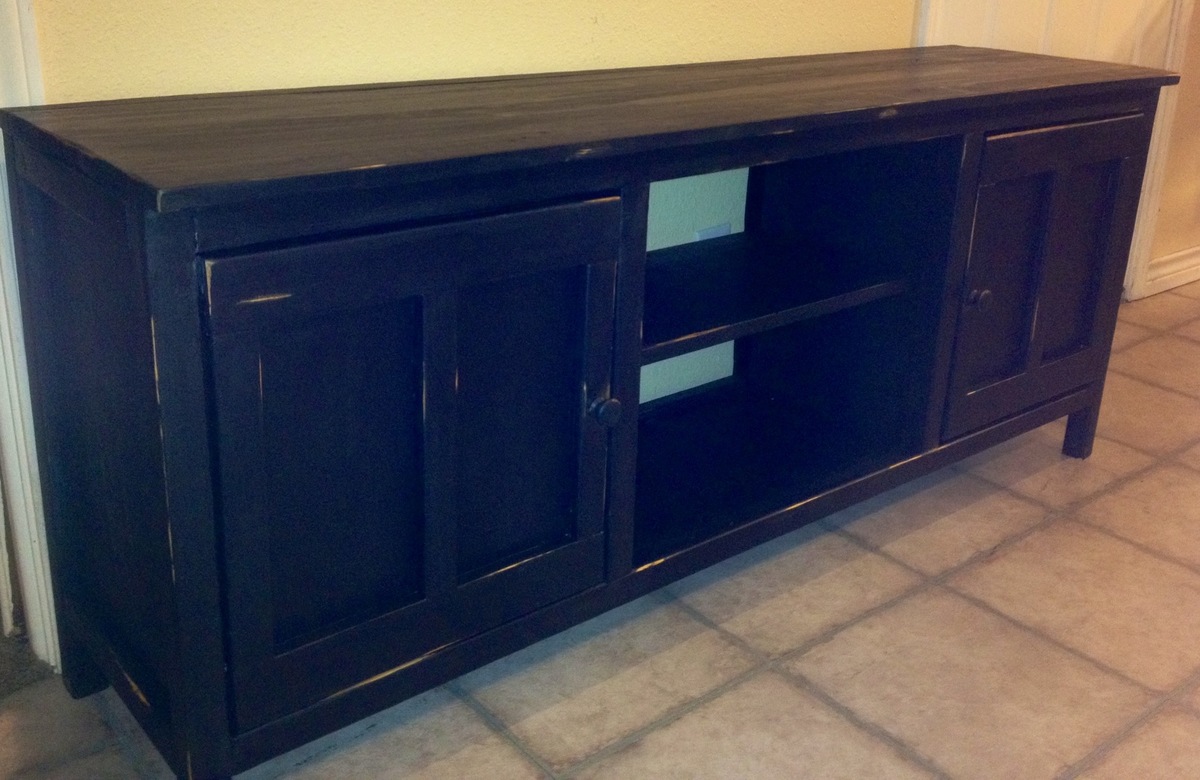
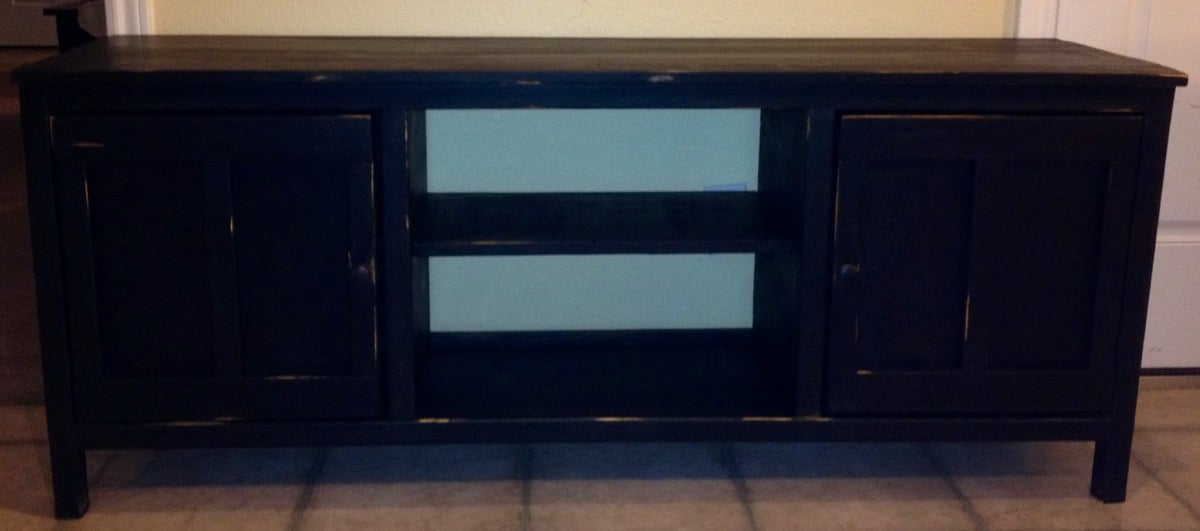
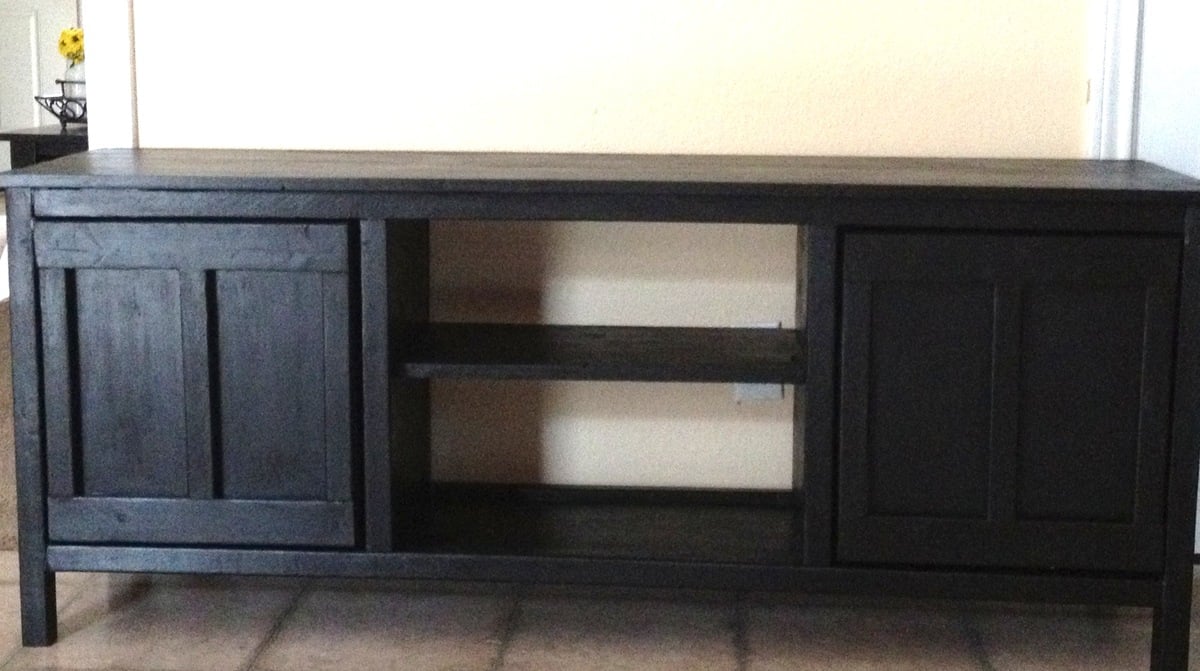
This was built using Ana's media console plan with slight modifications. I decided to forego the drawers for simples shelves, like so many on the brag posts did. I also added shelves in each of the cabinets for extra storage. And, I added some scrap 2x2s for vertical trim on the cabinets. I opted for knobs instead of handles, because I thought it looked better and they were recycled from another project of mine.
I painted black, since that's my thing and it's seemingly safe, but distressed with my sander and used a q-tip to stain the "weathered" parts. For whatever reason, I let my husband select the stain and he chose the Minwax Classic Gray. This is a gorgeous stain, but do not use it on black as a distress stain. This color takes a bit of manipulation, as it doesn't take on certain pieces of wood as it does others (Ana does a tutorial on this color--watch it and you'll see what I mean). From there, if you get any excess on the black paint, it looks a sloppy mess--I had to wipe it down with a wet cloth as best I could, repaint it, sand it, and restain with Rustoleum Summer Oak (I personally prefer all Rustoleum products to Minwax, but that's my preference).
Also, I wish I had used higher-quality wood and/or spent more time finding better cut pieces. I used pine, and some of the pieces (especially the 2x2s) were very wonky.
This was my first "big" project and it took a really long time because I made a ton of mistakes. But, it's wood, and mistakes can be corrected. Just like life, mistakes are learning experiences--some more costly than others. While this isn't the most beautiful piece of furniture, it was a great learning experience, and that's why this console is so valuable to me.
Sun, 05/05/2013 - 07:08
LOVE the console. Any "wonkiness" just gave your piece character!
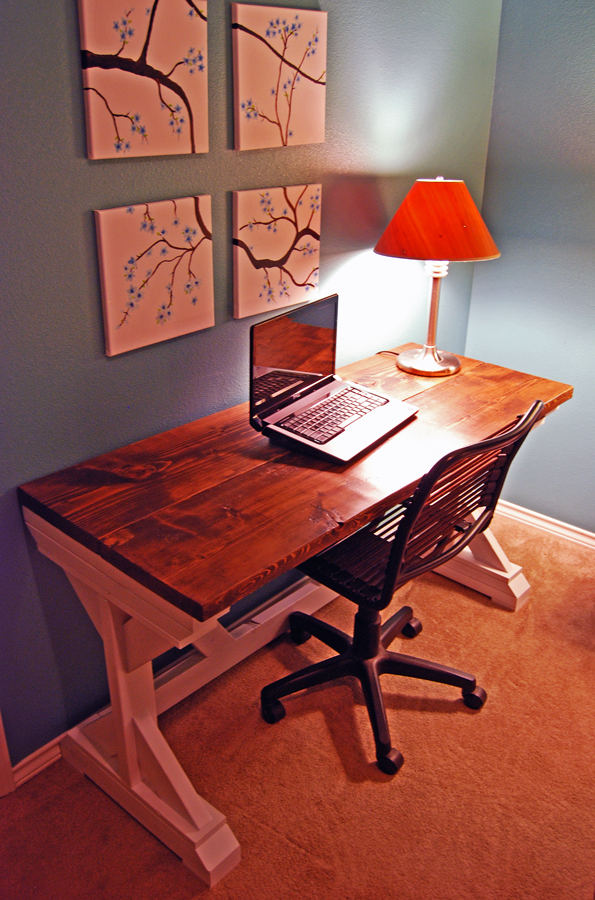
Pretty straightforward build, fun to use and build!
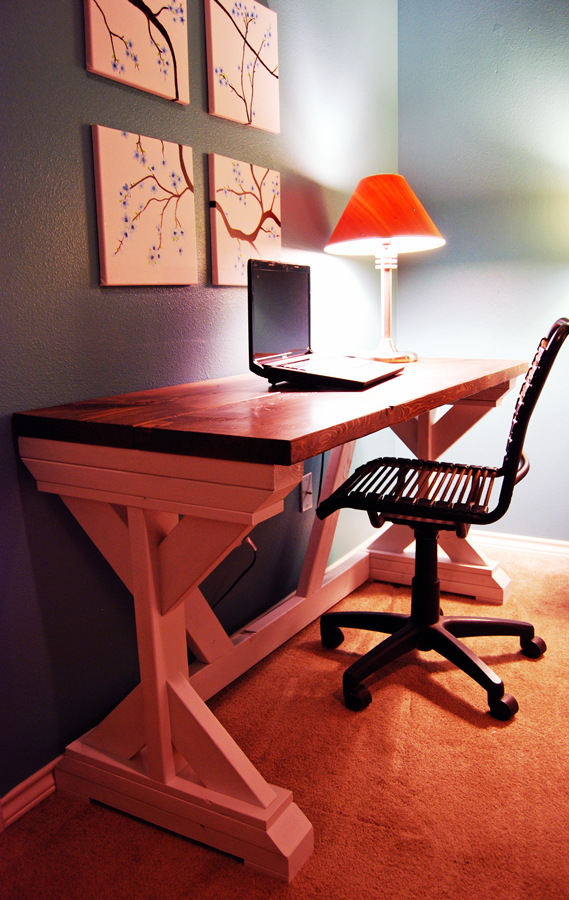
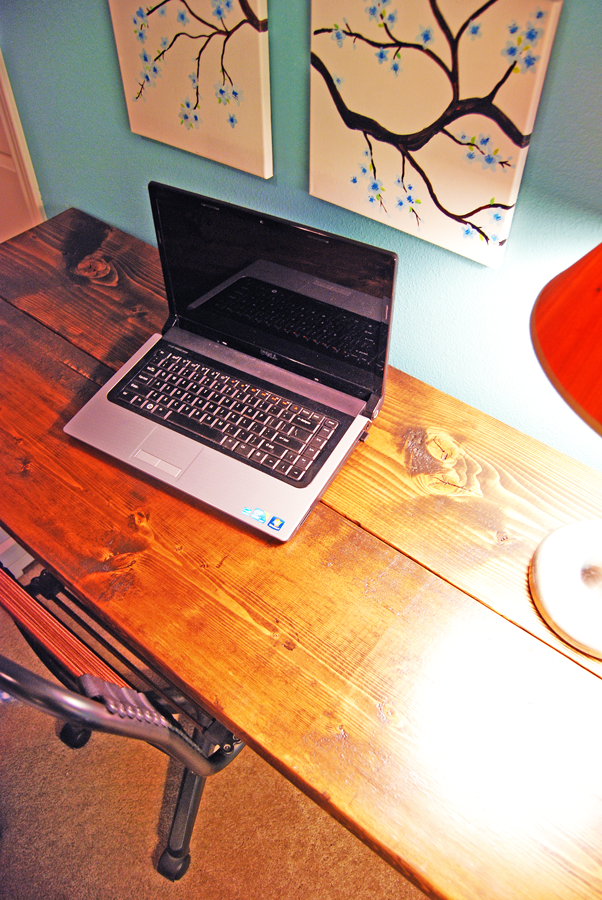
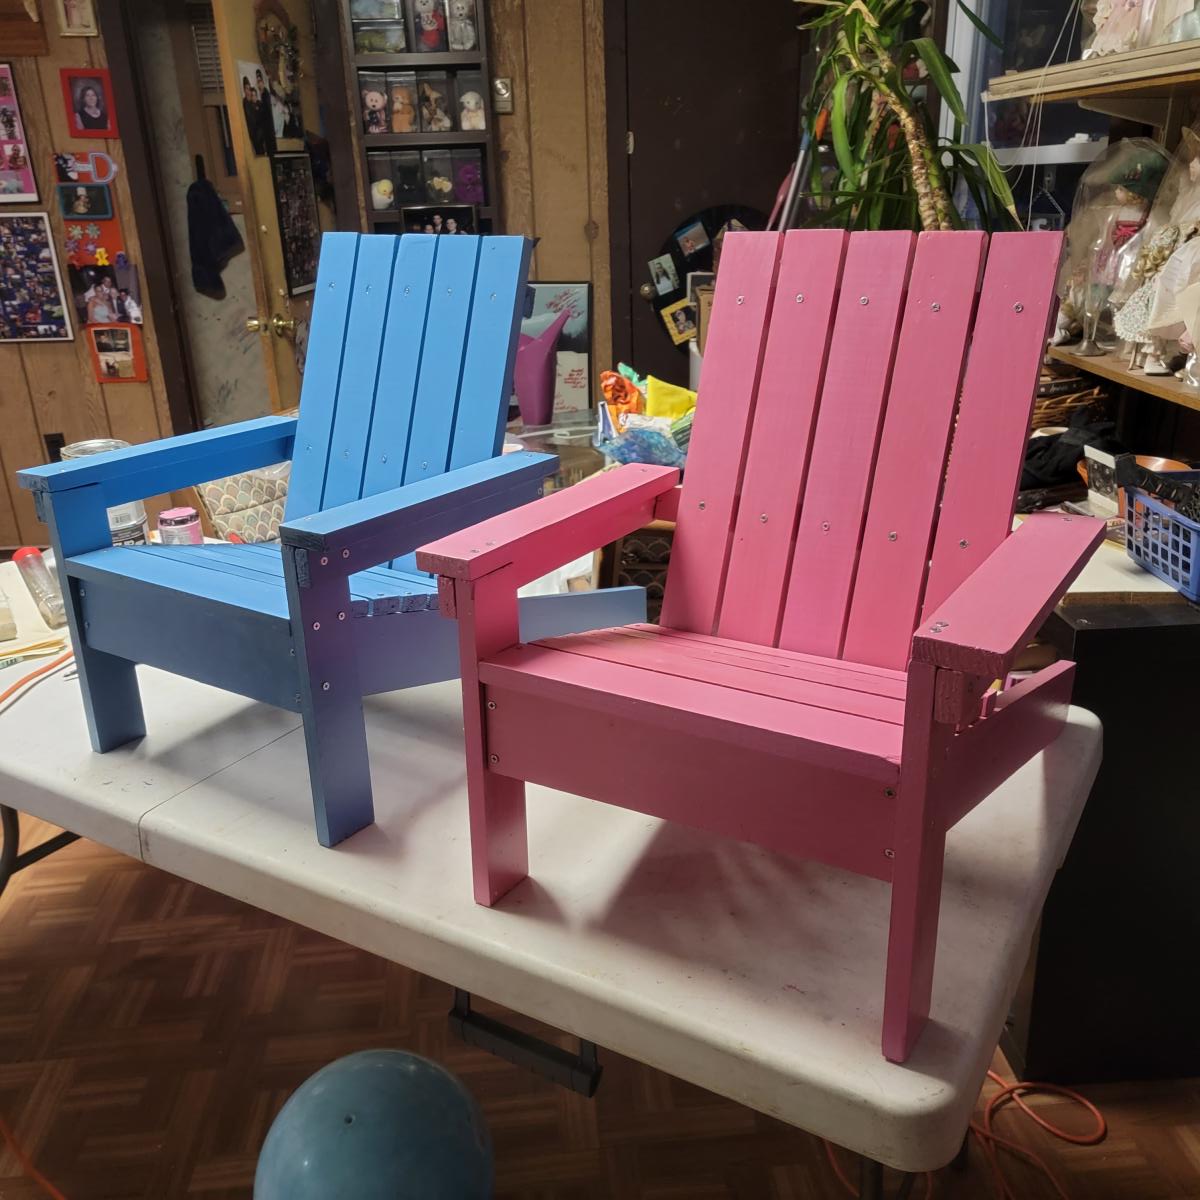
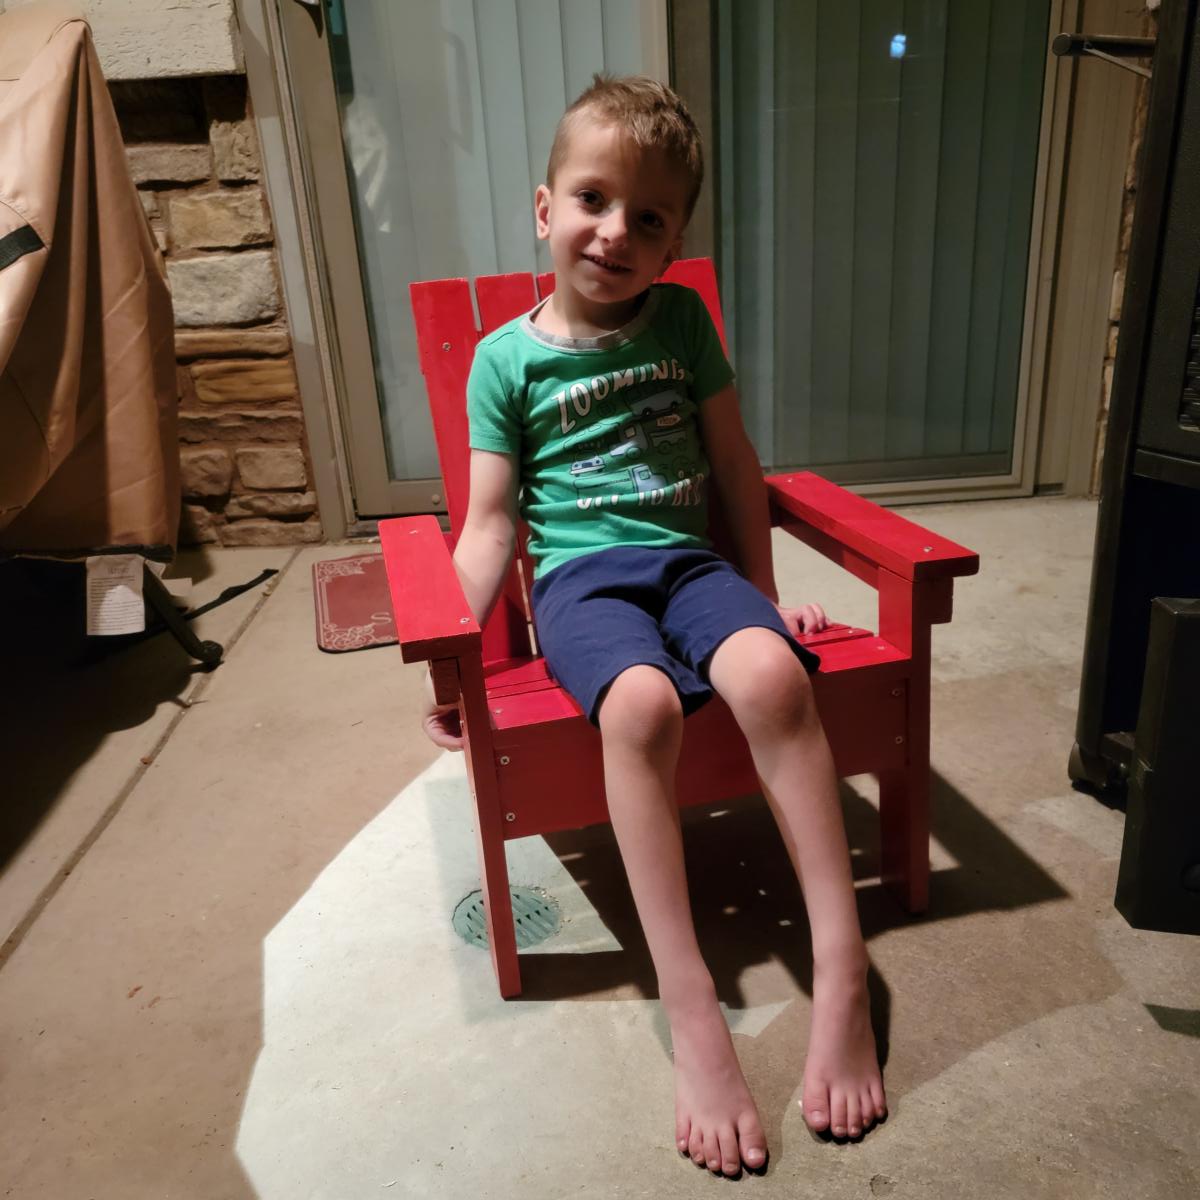
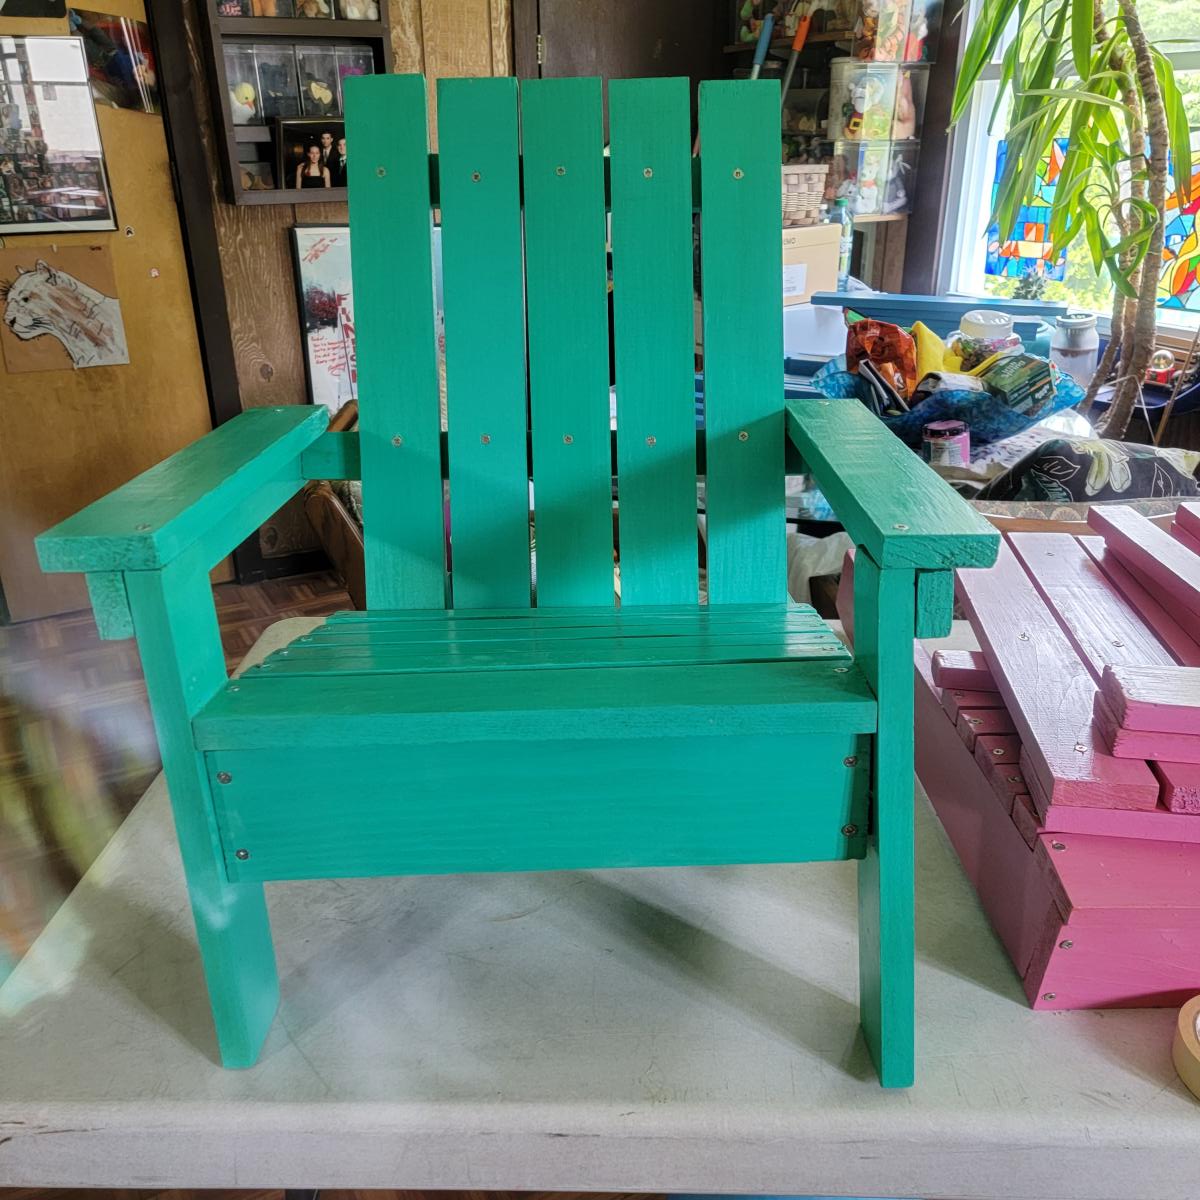
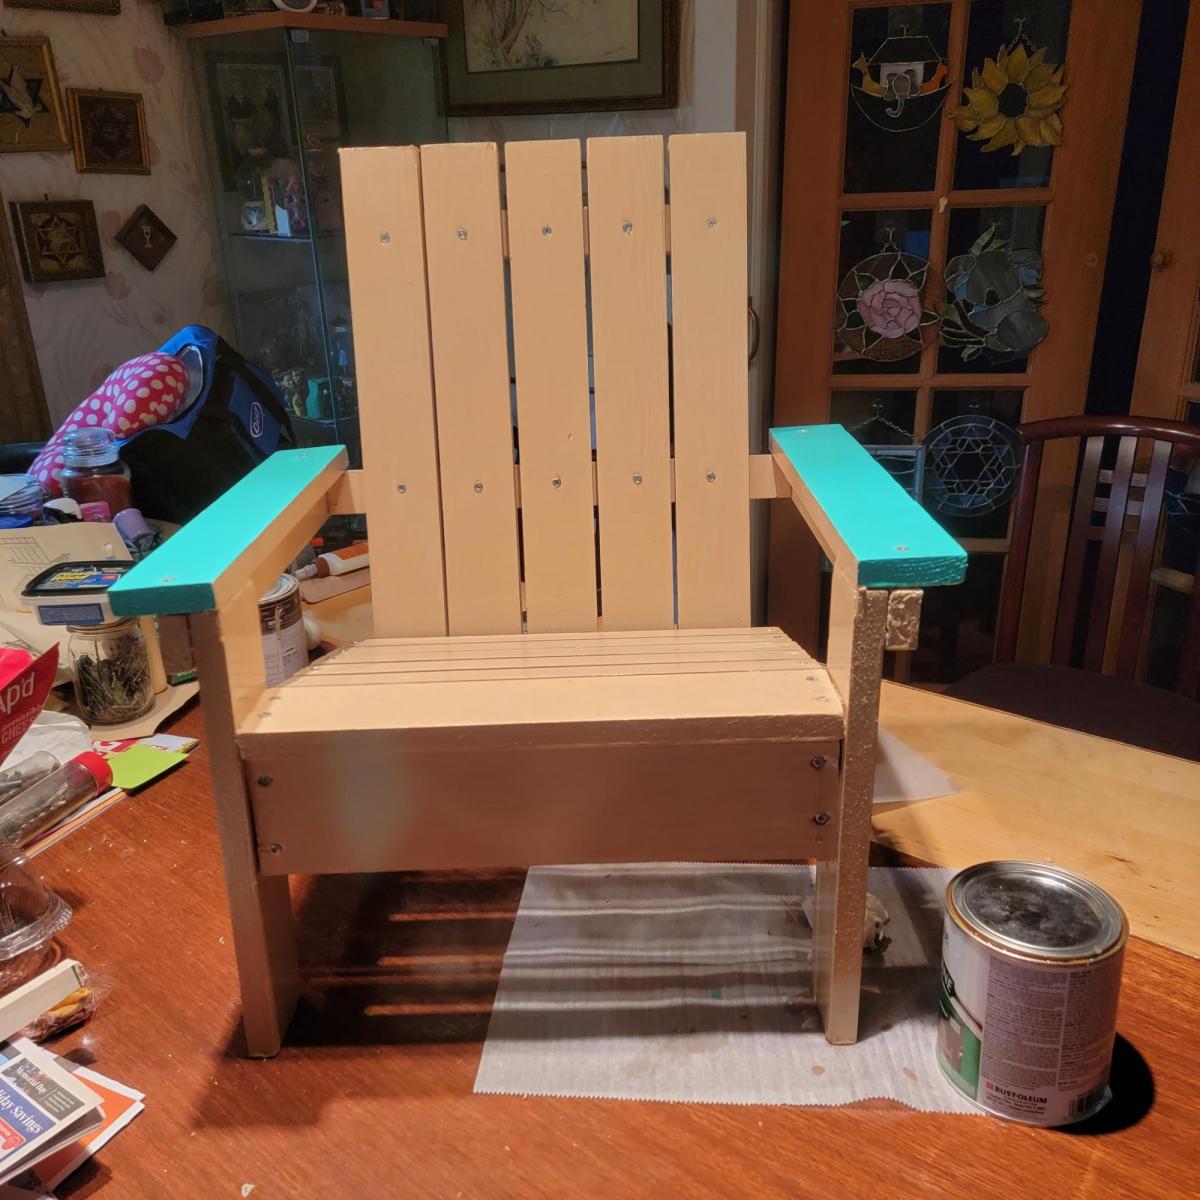
I have 5 grandchildren that I made chairs for
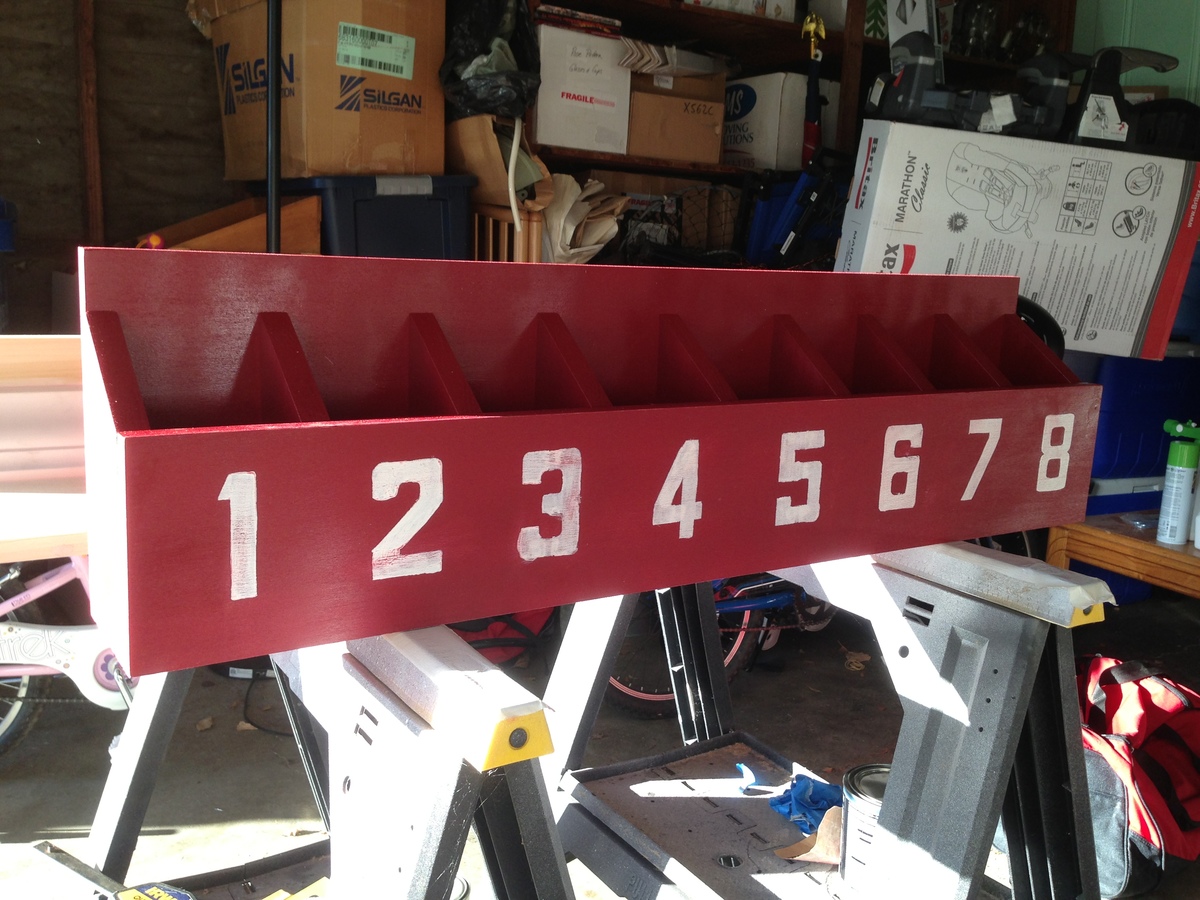
I saw this project on this site and thought it would be a great item to build and to store my kids art supplies. The 8 cubbies are perfect for glue sticks, pens, crayons, and scissors.
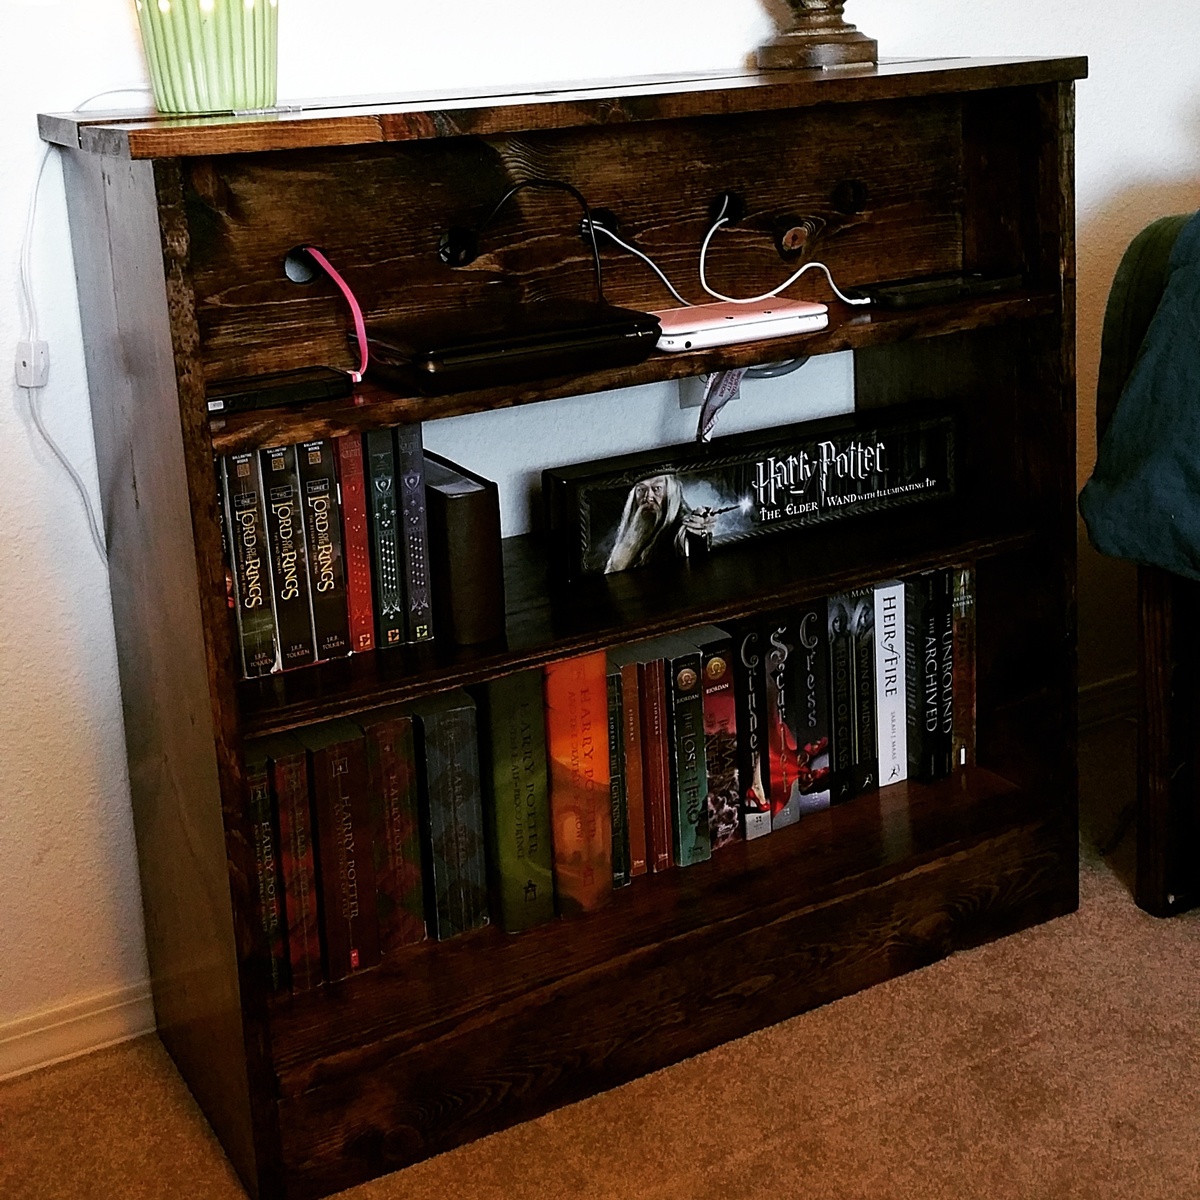
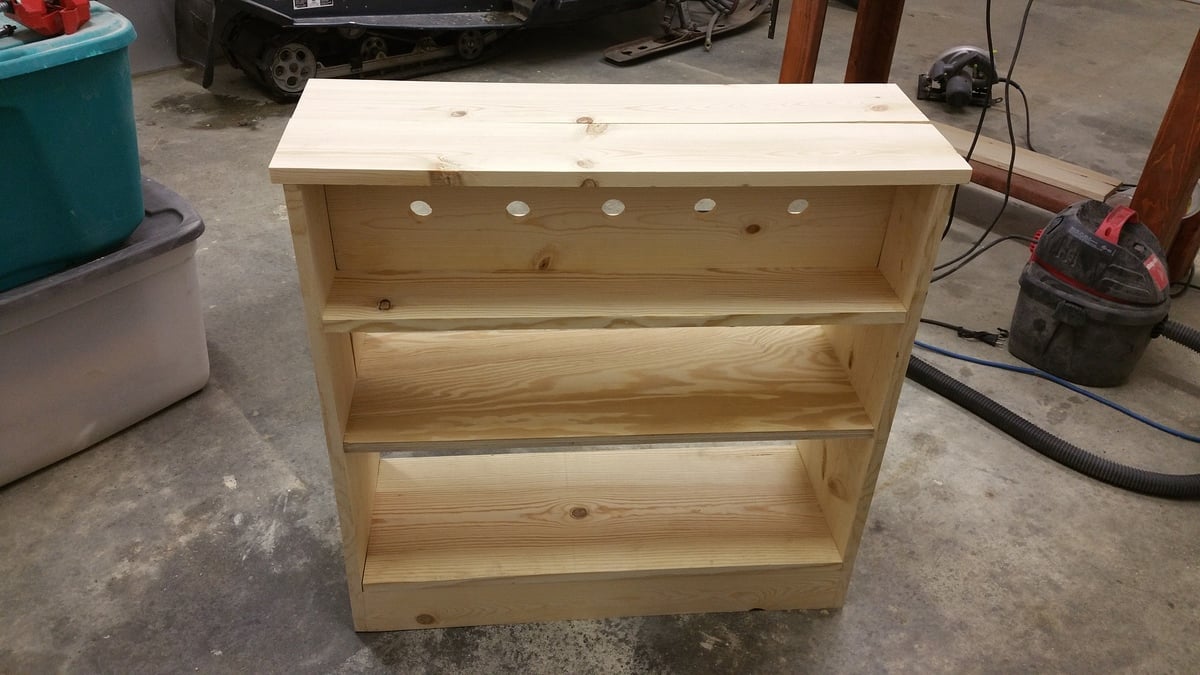
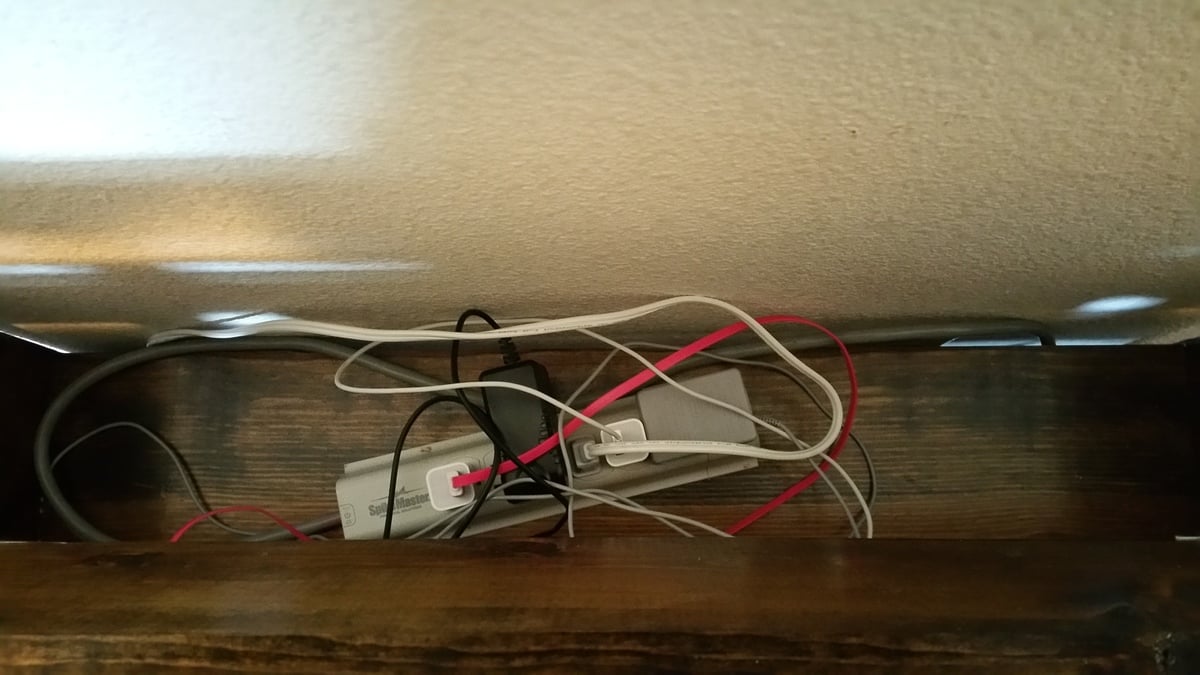
I made this a little bit taller and left off the doors since what we really needed was more bookshelf space. I'm very happy with the way it turned out!
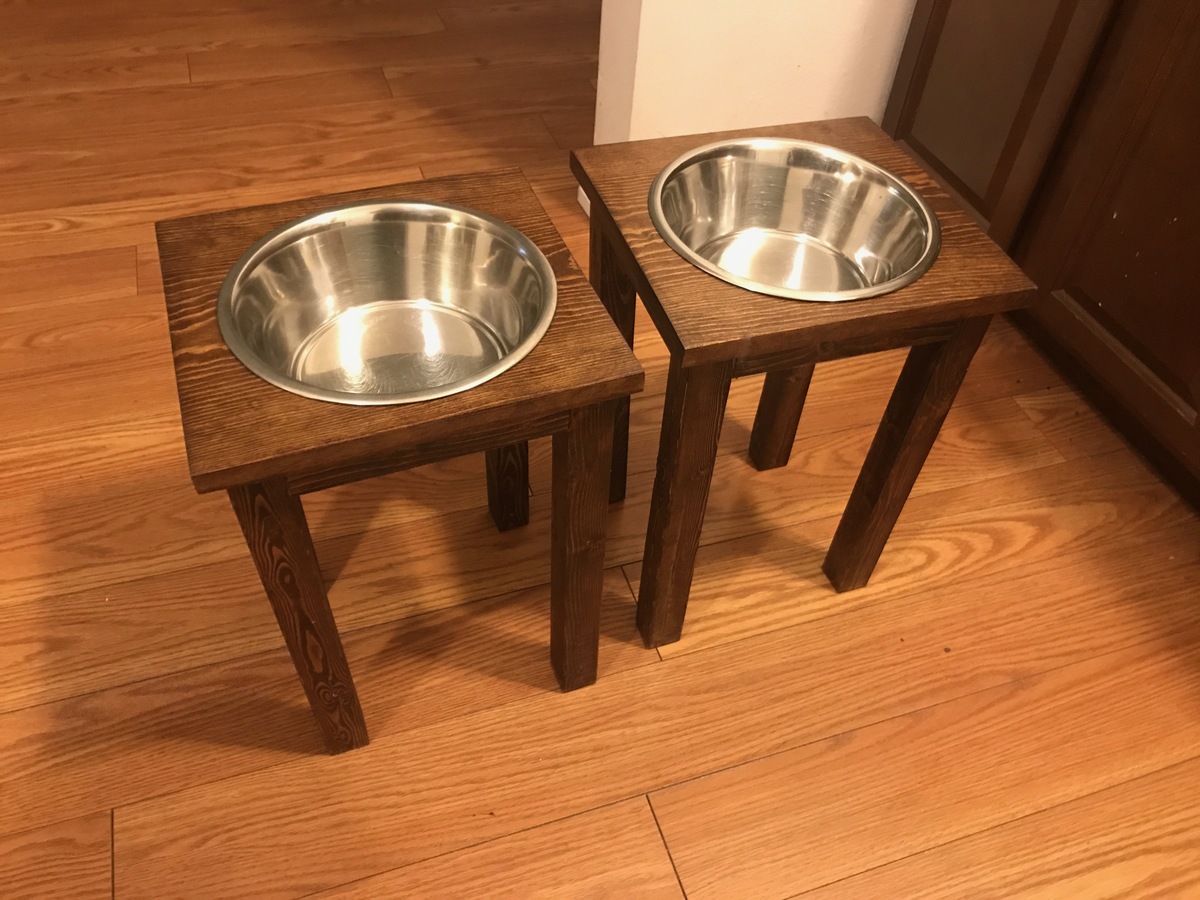
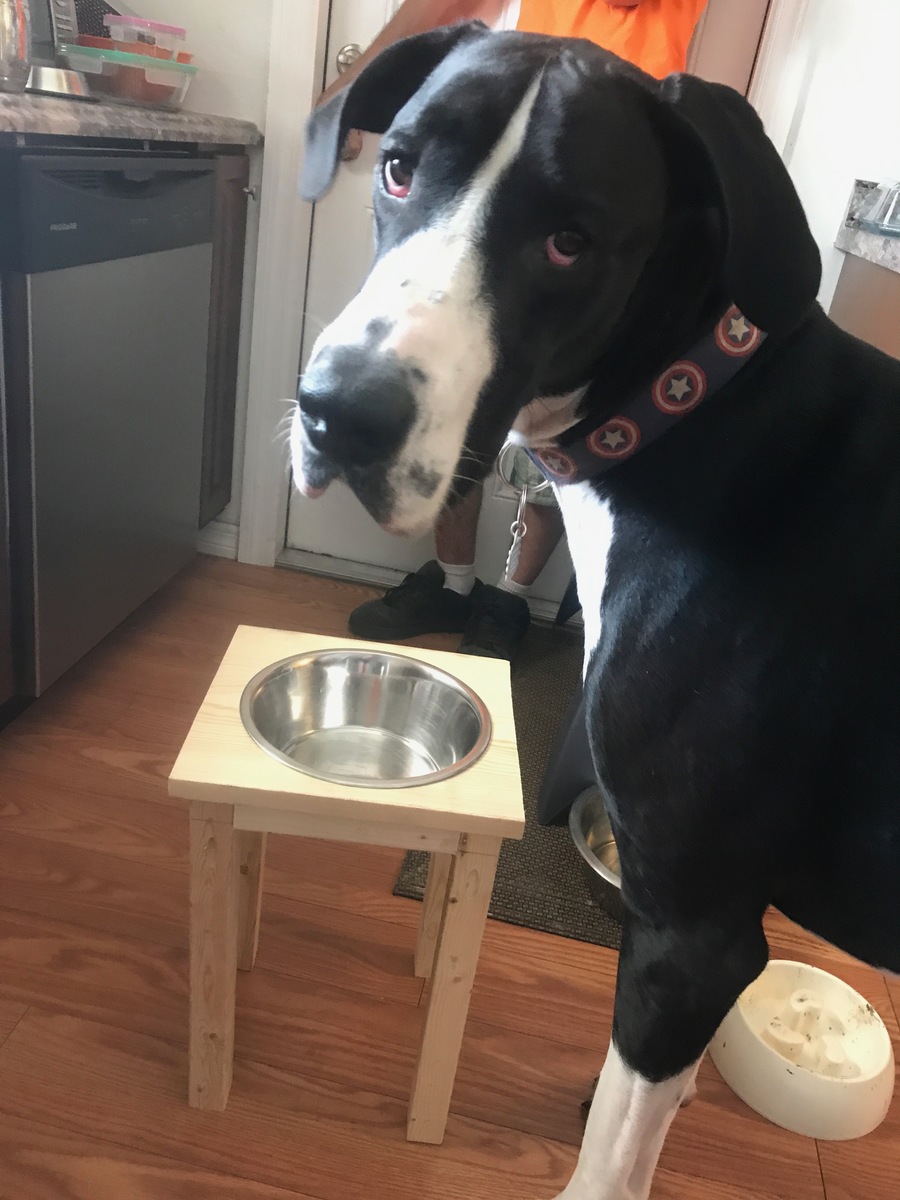
This was a really fun project! We increased the leg height to 16" to work better for our Great Dane. Also, there's a typo in the "to buy" list. It says you should buy 1X2 @30.5" but they really mean a 1X3 since they refer to a 1X3 the rest of the time. It still works with a 1X2, but we used 3 pocket drilled holes instead of the 5 they suggested.


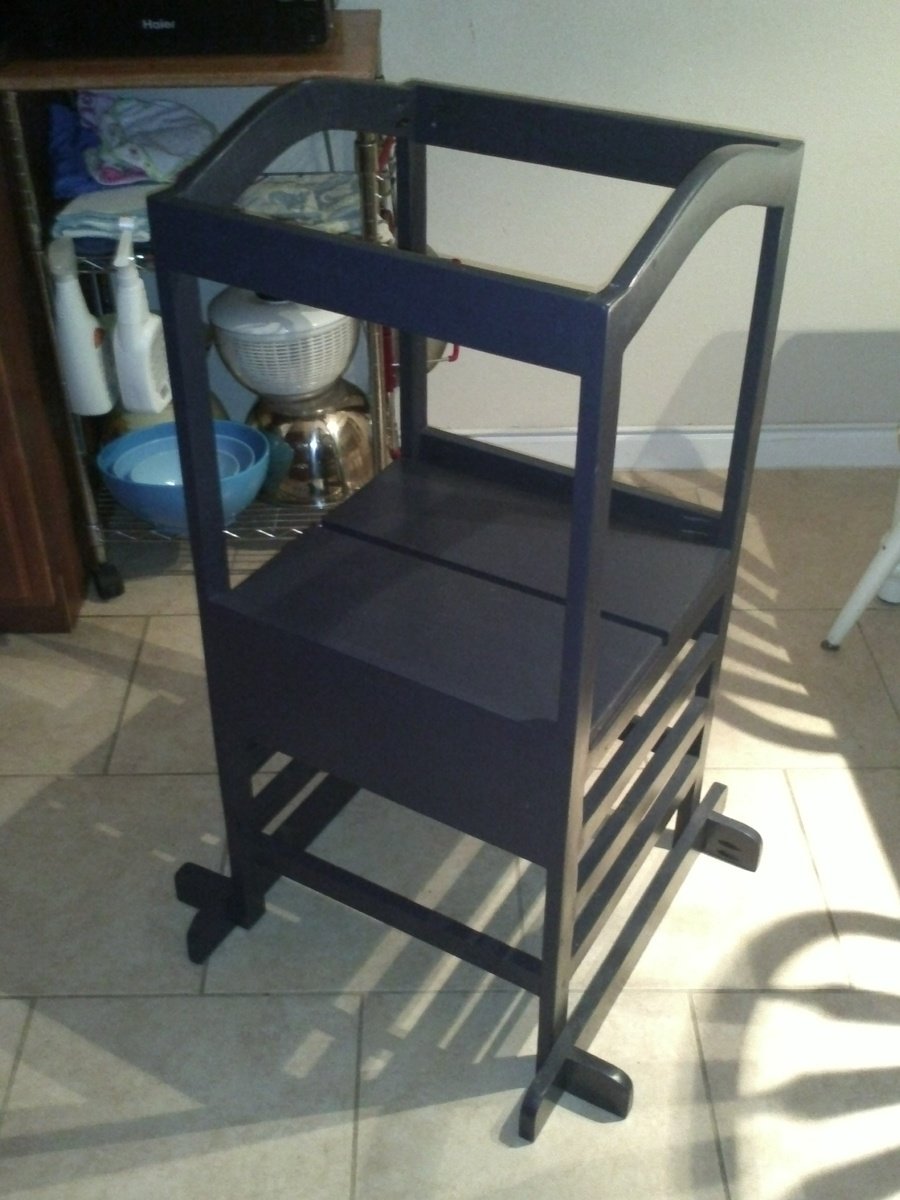
Built this for my daughter this past Christmas, she was 15mo then and not too enthusiastic about being in the tower. Now at nearly 20mo she demands her "towah" when it's time to "wash a hans" and she doesn't mind being plopped in it while we do things in the kitchen (as long as its not for TOO long...) We're looking forward to many years of use out of the tower, thanks for the plans! This was my first project with the Kreg pocket screw jig, really liked it and wished I'd had it for some of my past projects.
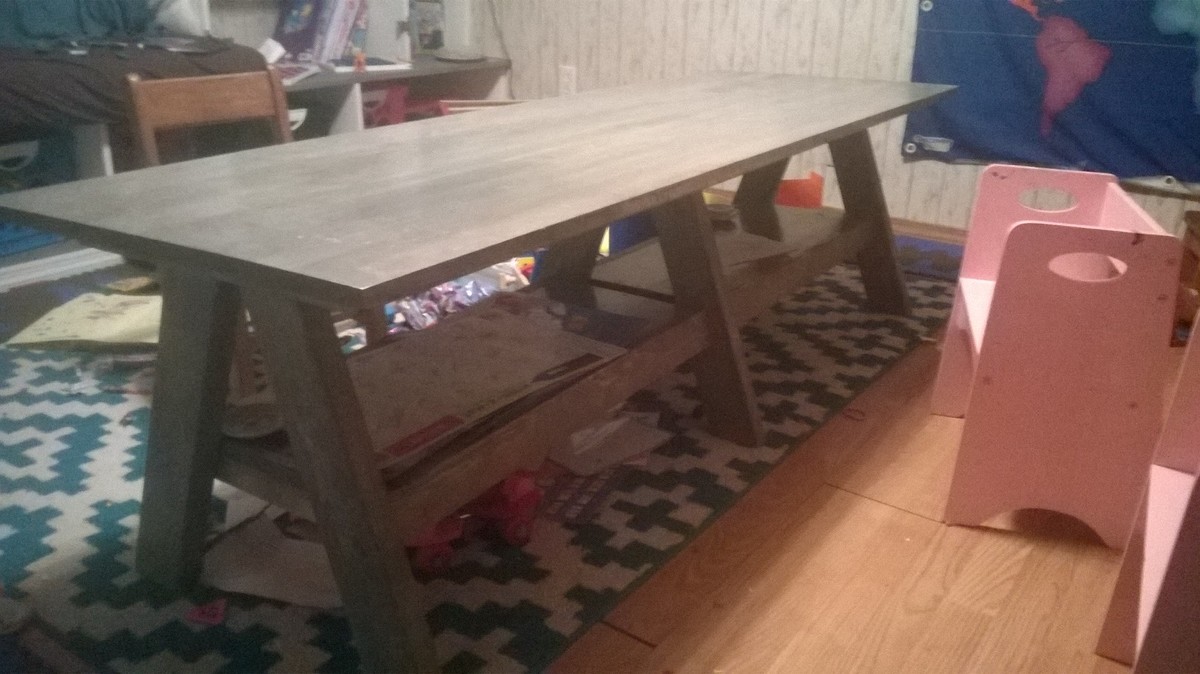
This one was fun to build. I feel in love with it when I saw it. I used weather grey stain from rustoleum and I love how it turned out.
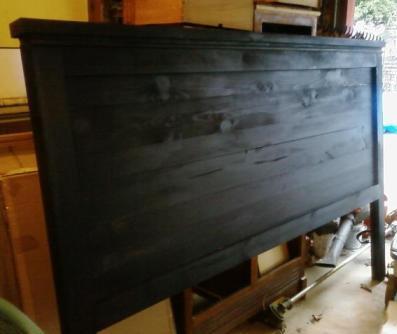
I made this in an afternoon as a wedding gift for my brother and soon to be sister-in-law. This was my first project using Ana's plans and I can't beleive I got it finished in a day. The hardest part was getting everything filled in and painted since I used paint grade pine. I did add a length of half round to the top just under the ledge for a little more decorative effect. I didn't realize how huge and heavy it would turn out. Guess that's just what happens when you build something entirely out of wood
doll house book case with a Hot Pink Roof, also trimmed/painted the doors and window frames. Marking this as a week long project as I was only able to work on it in the evenings, however I believe this could be tackled in a weekend
Fri, 05/10/2013 - 07:19
Wow, that is one happy little girl! And no wonder, what a beautiful job you did! Looks like a great gift for grandkids, too!
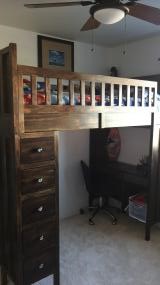
I made this bed for my son. I was a beginner with little to no experience before I started this project. I learned a LOT along the way and now I'm addicted to building things. It wouldn't have taken me so long if I had a little more experience. Staining was difficult, especially when you have two kids wanting to help. My drawers slides were absolutely impossible! Next time I will use a different method for the drawers. I still need to make the ladder. I haven't come across any plans for that so I'm going to wing it. The bed is not perfect by any means but my son doesn't care.
Our version of the outdoor sectional. We couldn't find 24" wide pillows so we modified the design to accommodate 22"x24" ones. We also added a 1x8 held on with pocket screws to provide some additional support on the back and help keep the pillows from falling through.
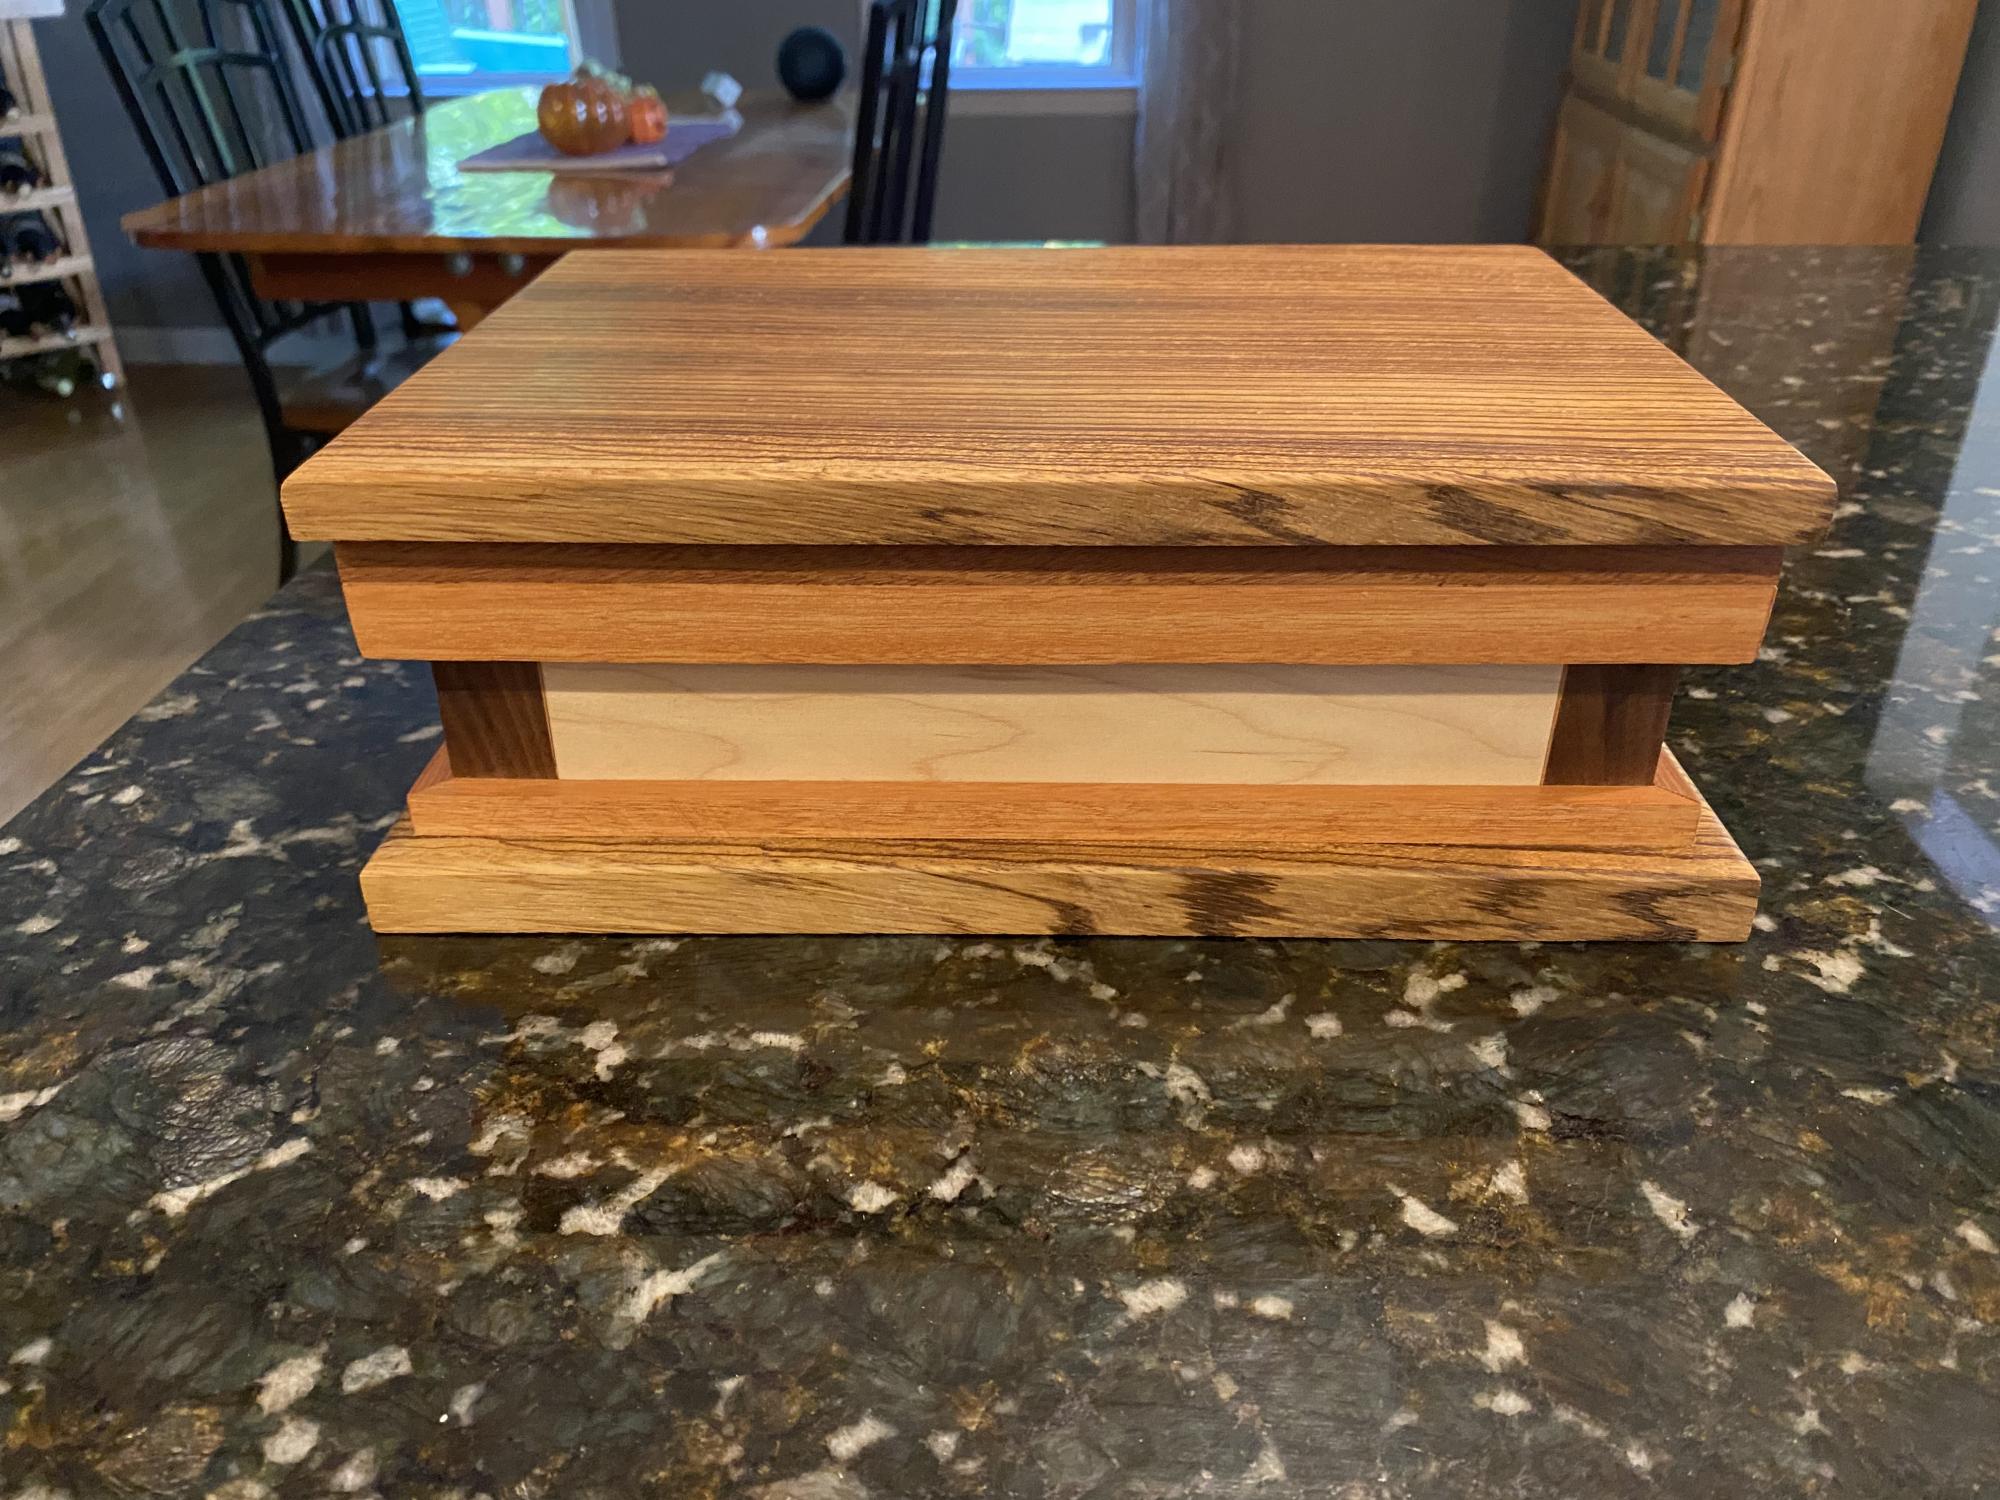
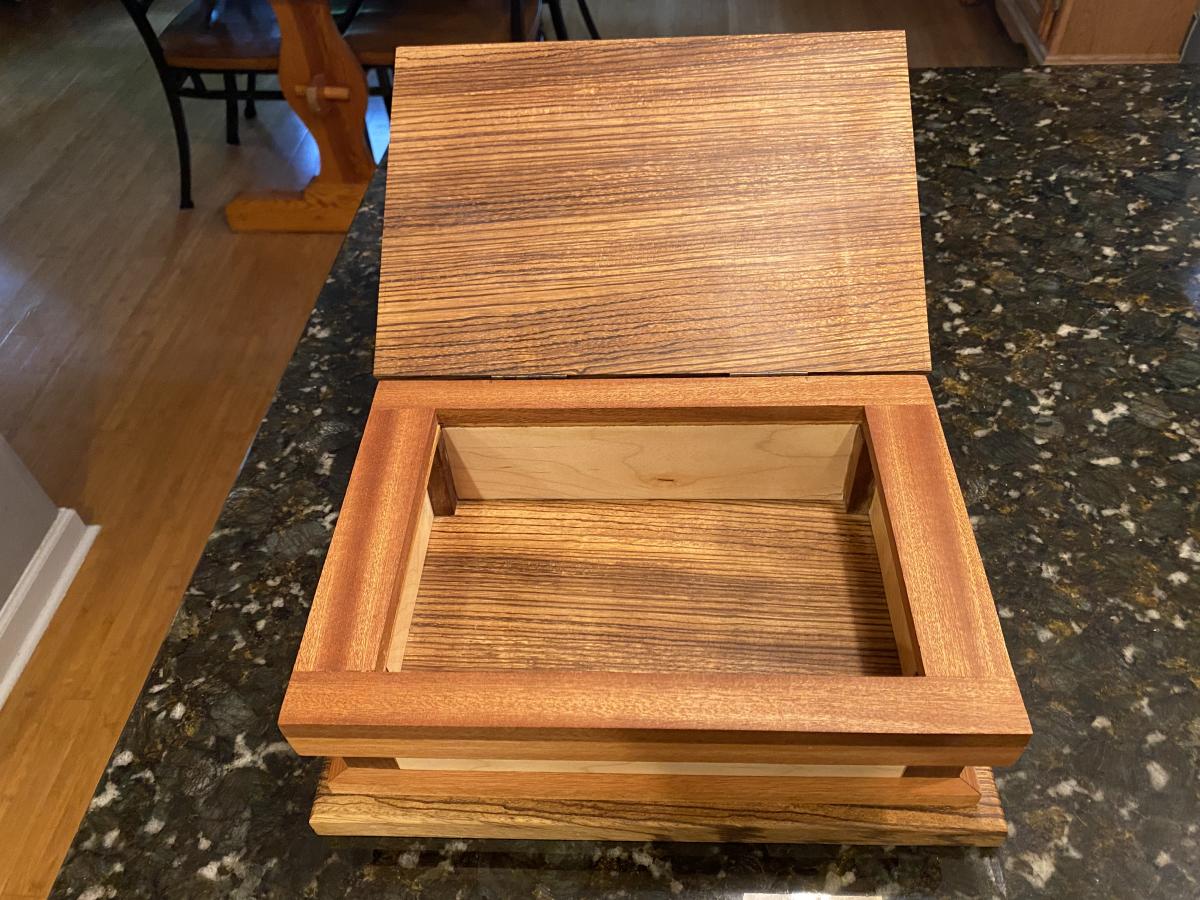
Keepsake box made of maple, black walnut, mahogany and zebra wood.
Three cube bench for entryway.
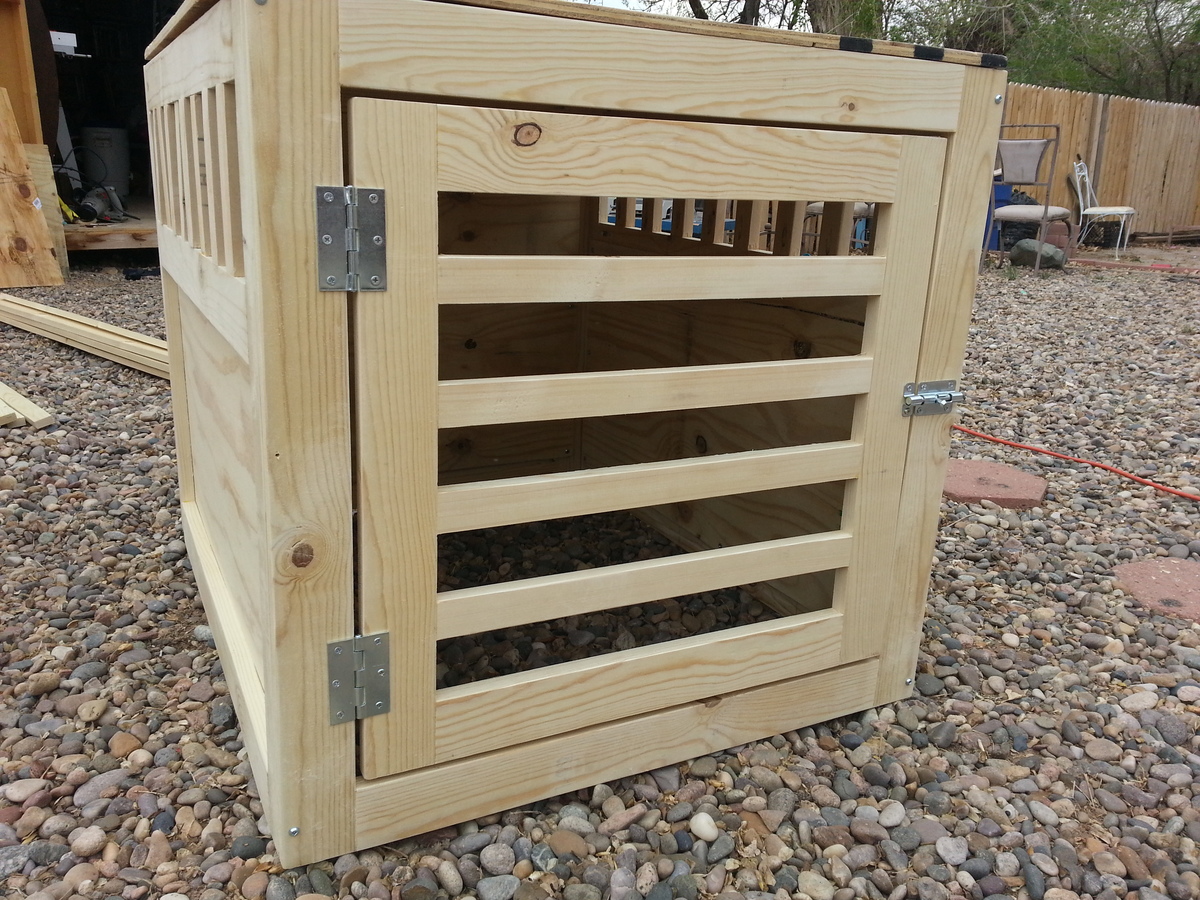
i build this crate a little bigger for my large doberman. She loves it and sleeps in it all the time. I put the gate on wrong though and she has since chewed the bottom slats, so im going to replace it and add one more so there is less room to chew between.
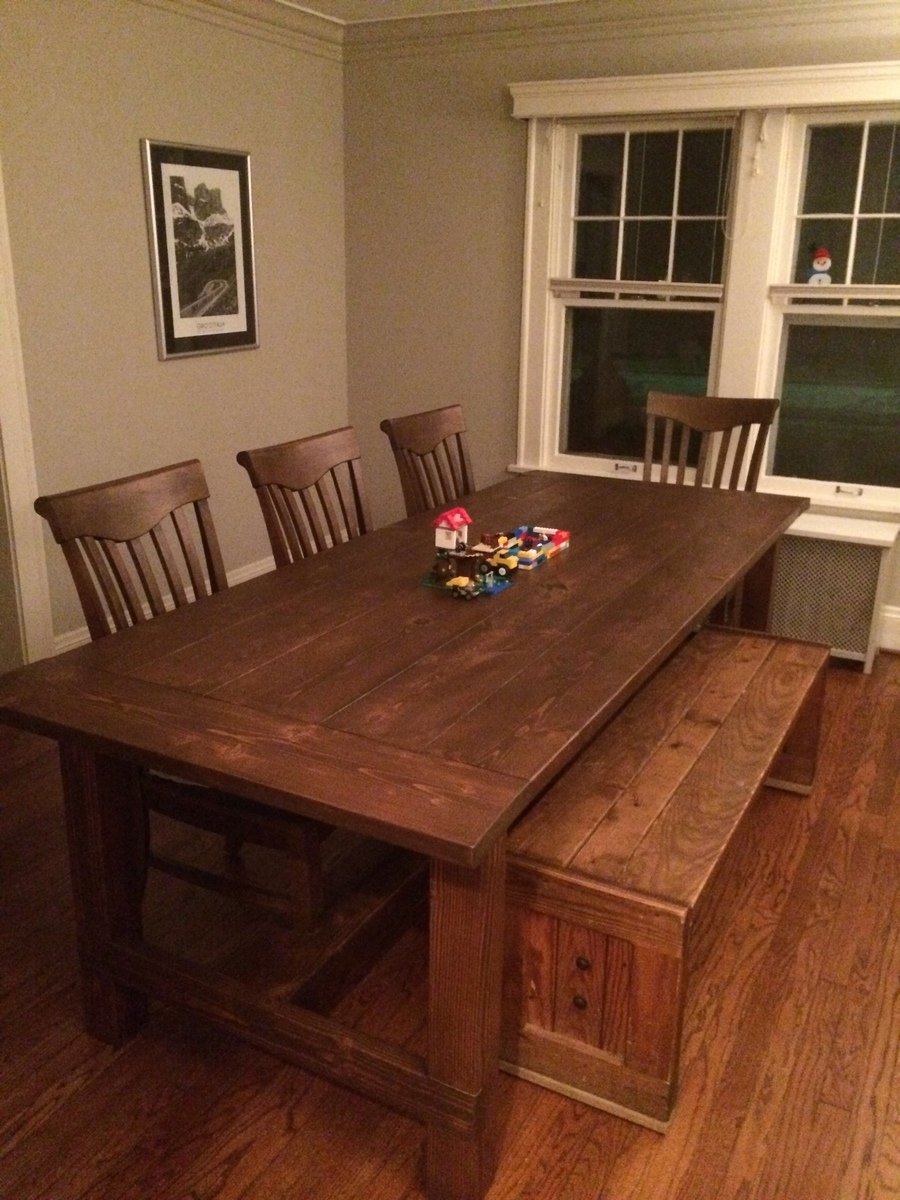
I made this table in a weekend, the plans made it so easy to do, thanks Ana for giving me the courage to take this on! I love building stuff!
