Community Brag Posts

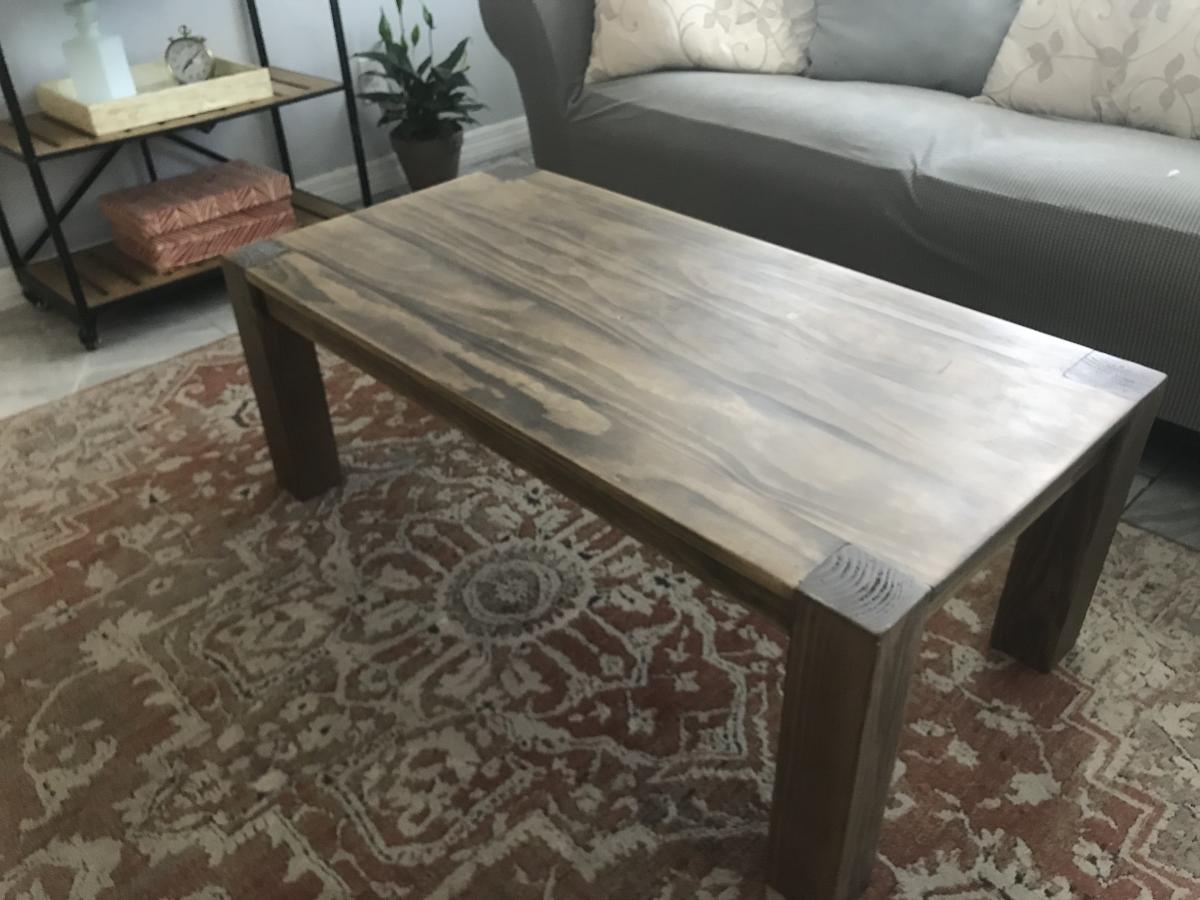
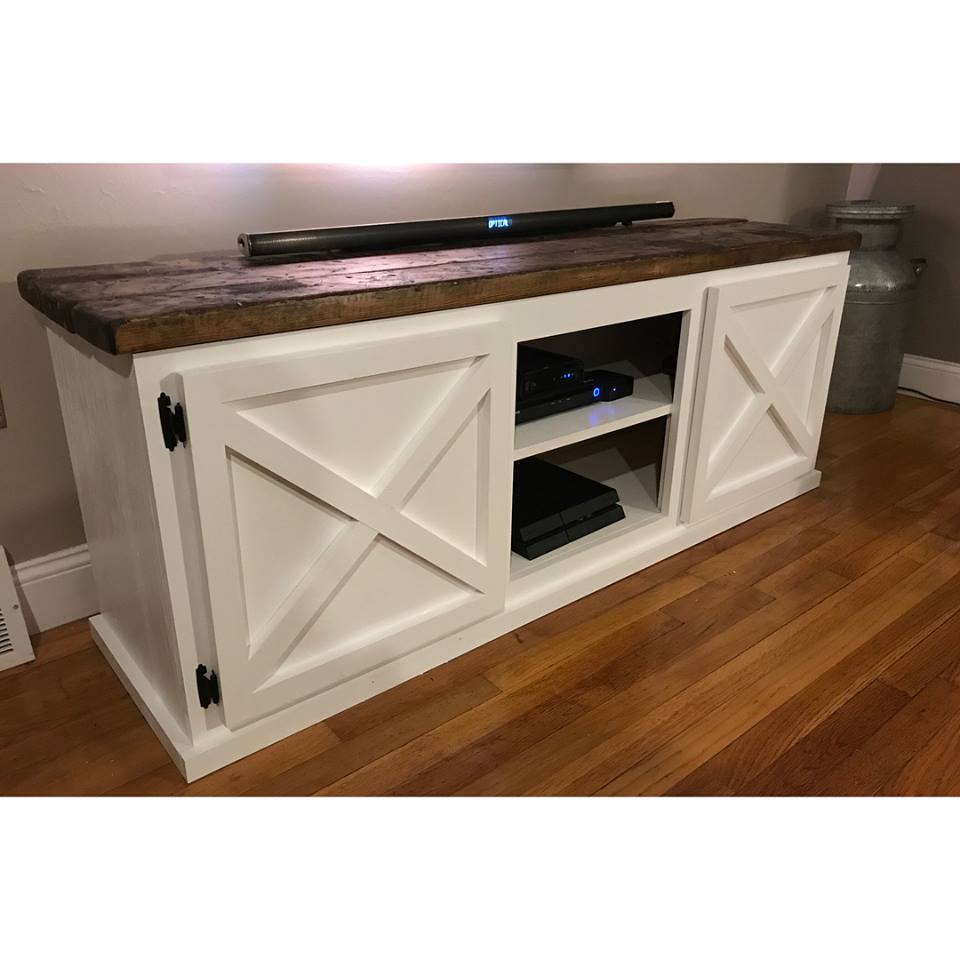
No-slide Grandy

Submitted by Ryan in NH on Mon, 01/29/2018 - 07:42

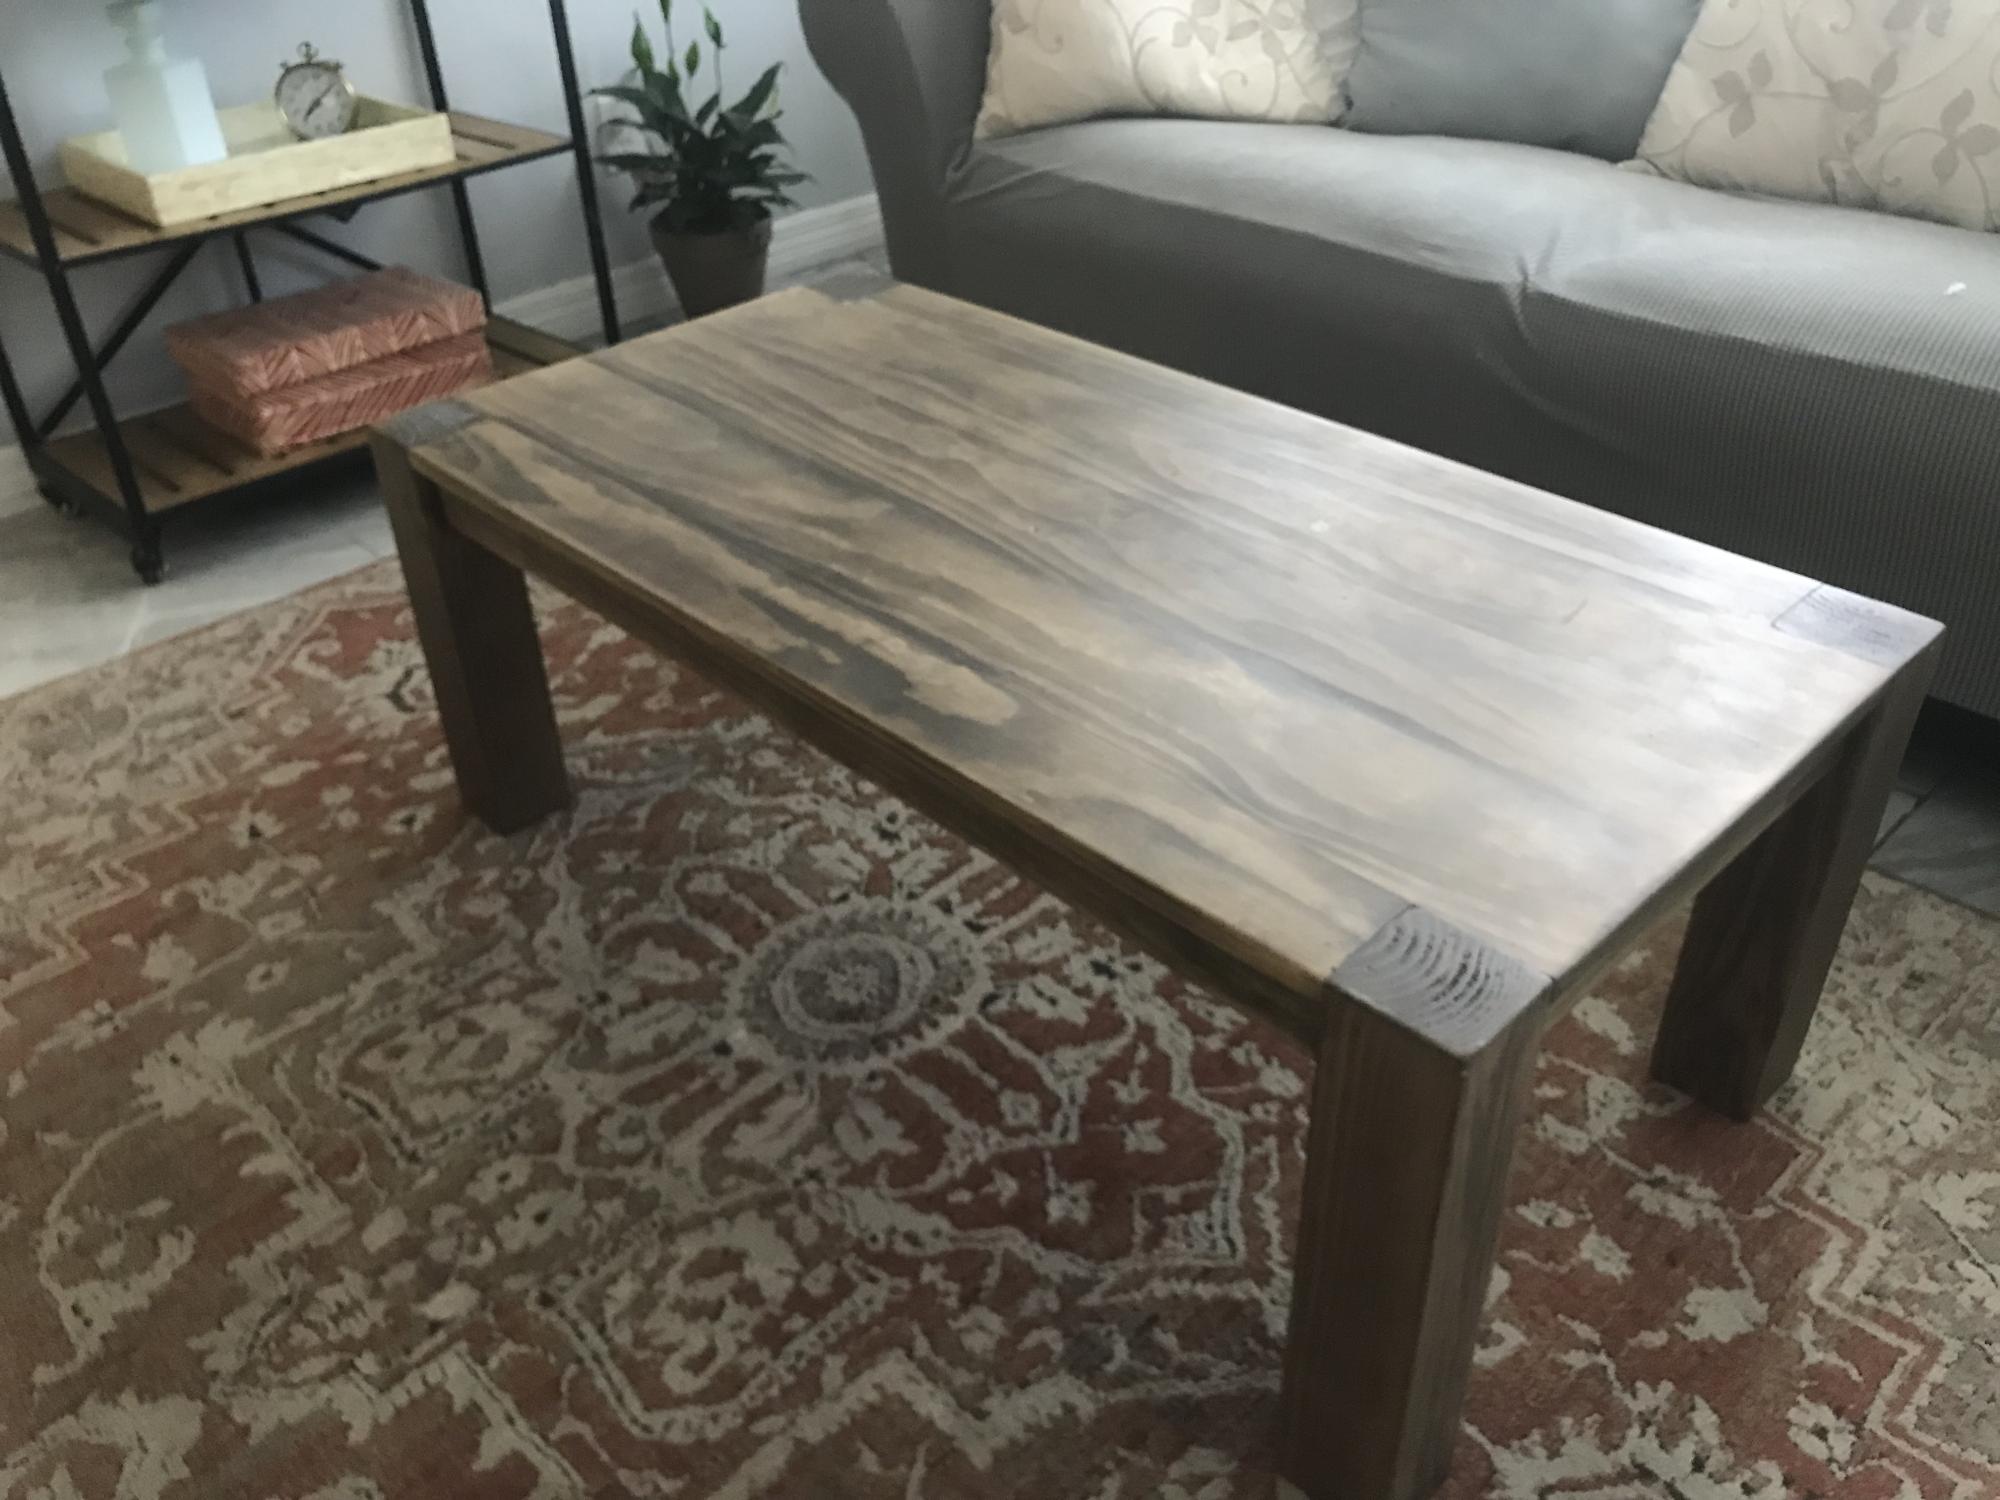
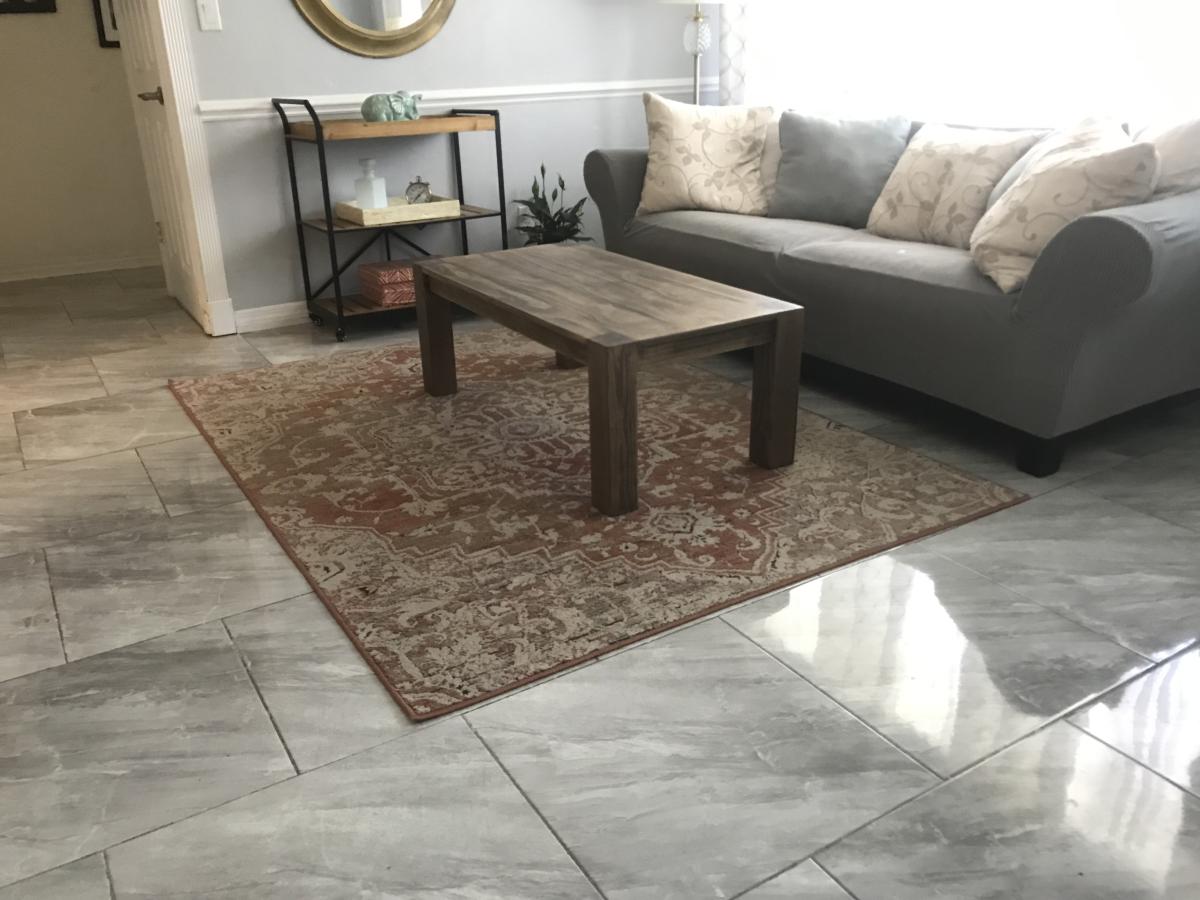
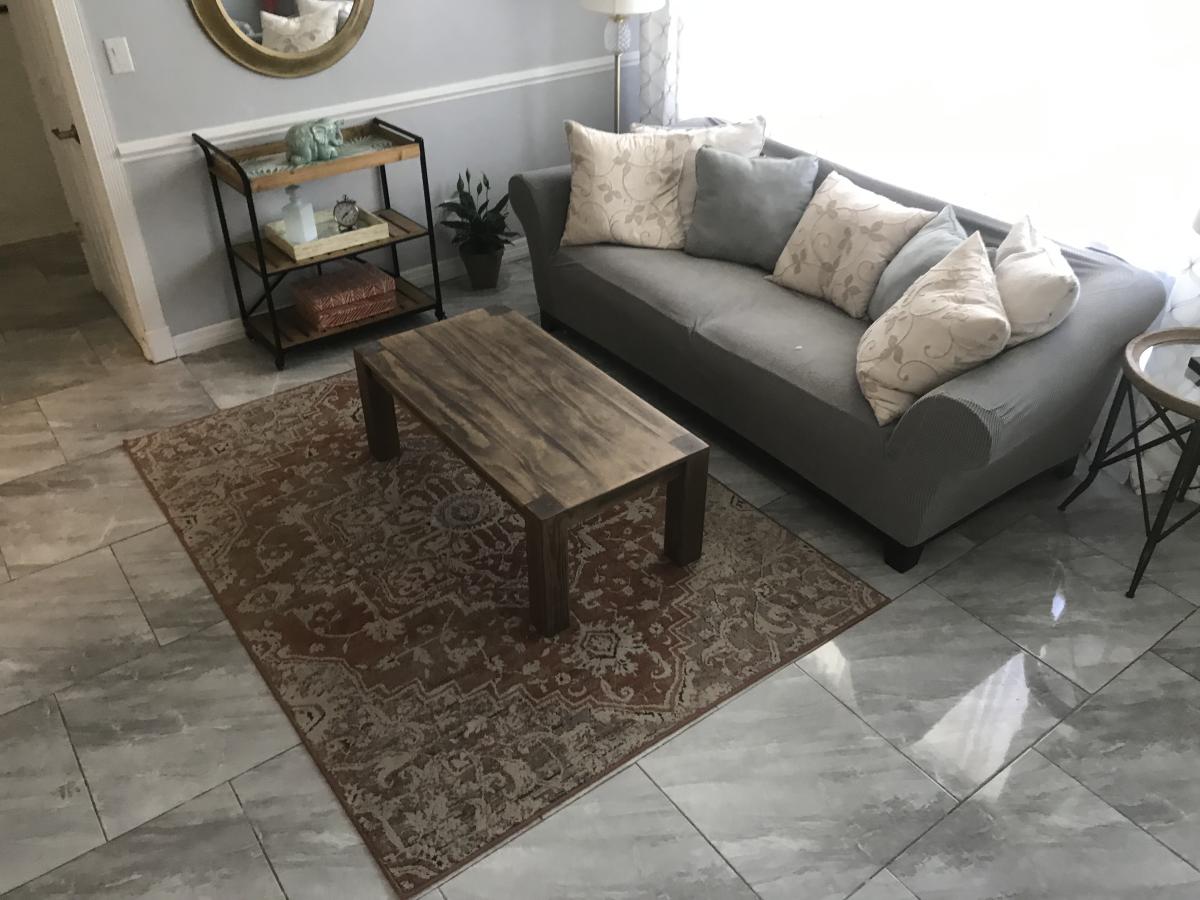
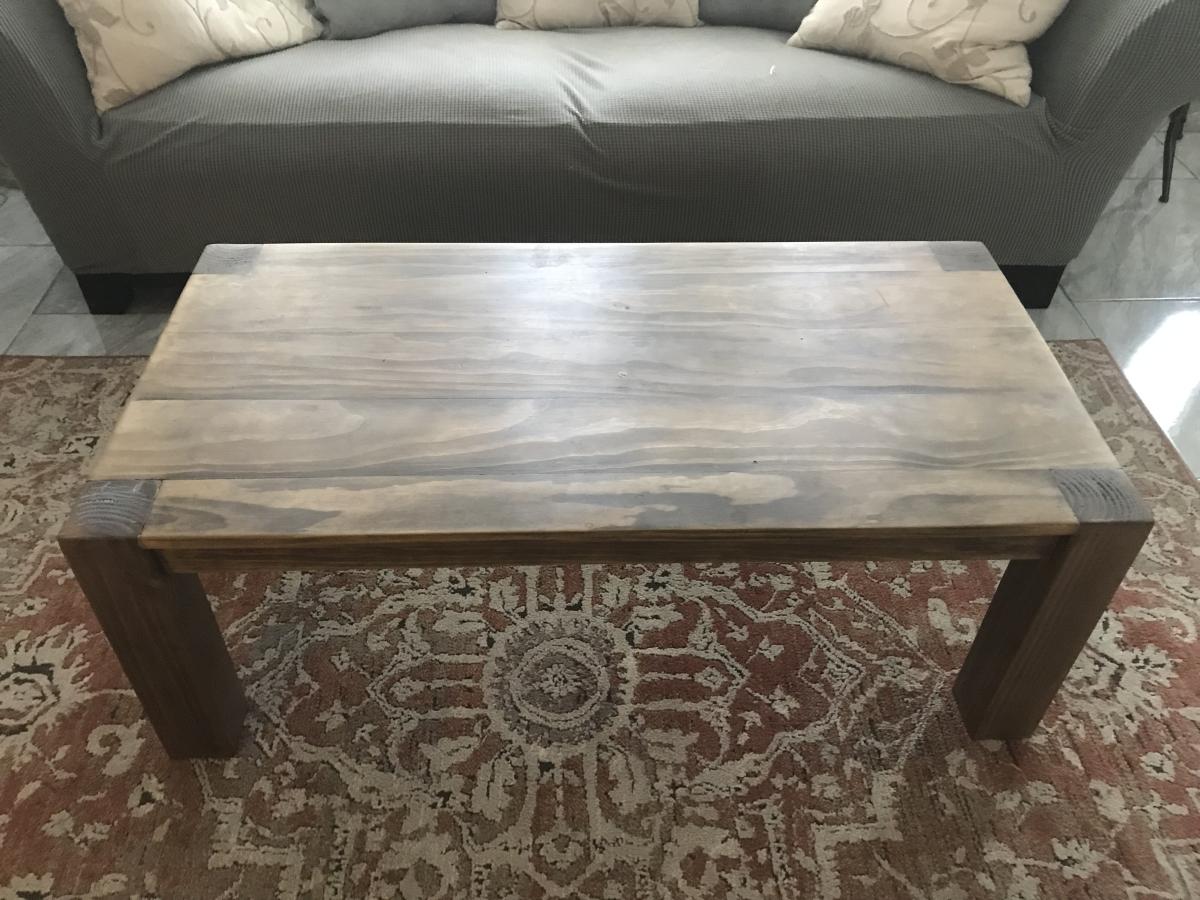
After building and hanging a barn door, I realized I did NOT want to do that on a piece of furniture. It looks cool, but getting it to work right wasn't worth it. 

I altered the dimensions a bit to 25"H x 16"W x 61" L

I also used 1x3's instead of 1x4's since I was doing a smaller scale

Built from Plan(s)
Estimated Cost
$100
Estimated Time Investment
Weekend Project (10-20 Hours)
Recommended Skill Level
Intermediate

In love with the Parsons

Submitted by avls on Wed, 01/26/2022 - 10:43

Love the result! Your plans for this is fool-proof for someone like me. Easy to build… only after attempting use (4) 1x6 for top and messed up the corners to attach legs with my terrible jigsaw skills, I scratched the 4th board and went with the (2) 1x4’s on each side surface. I’m now in love with this style and plan on (finally) having matching new furniture, once I build some of the other pieces in this Parson style collection! Thank you for the plans

Comments

bookshelves

cube bookshelves modified to have one open shelf and 3 cube slots

Built from Plan(s)
Estimated Cost
$50 per shelf
Estimated Time Investment
Day Project (6-9 Hours)
Finish Used
1. one coat primer
2. two coats semi-gloss white
Recommended Skill Level
Beginner

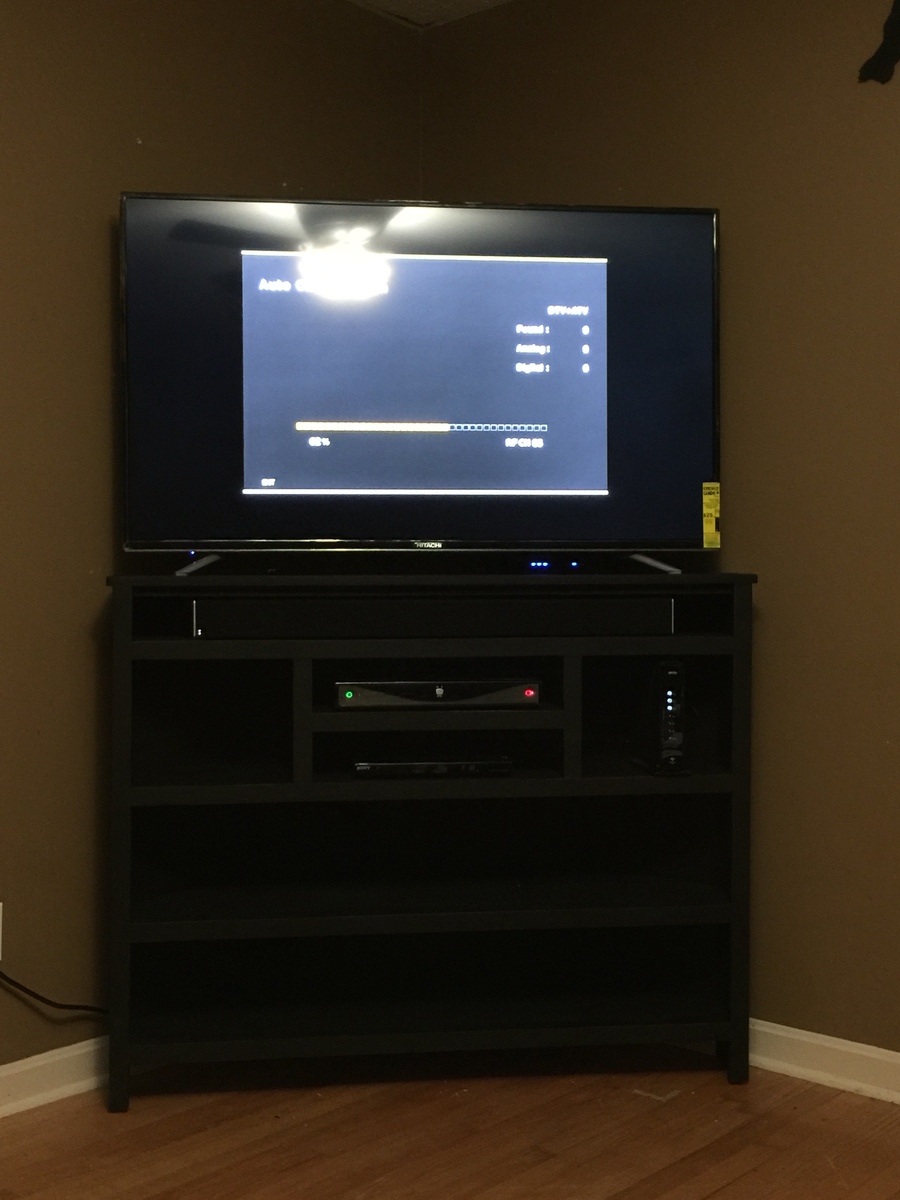
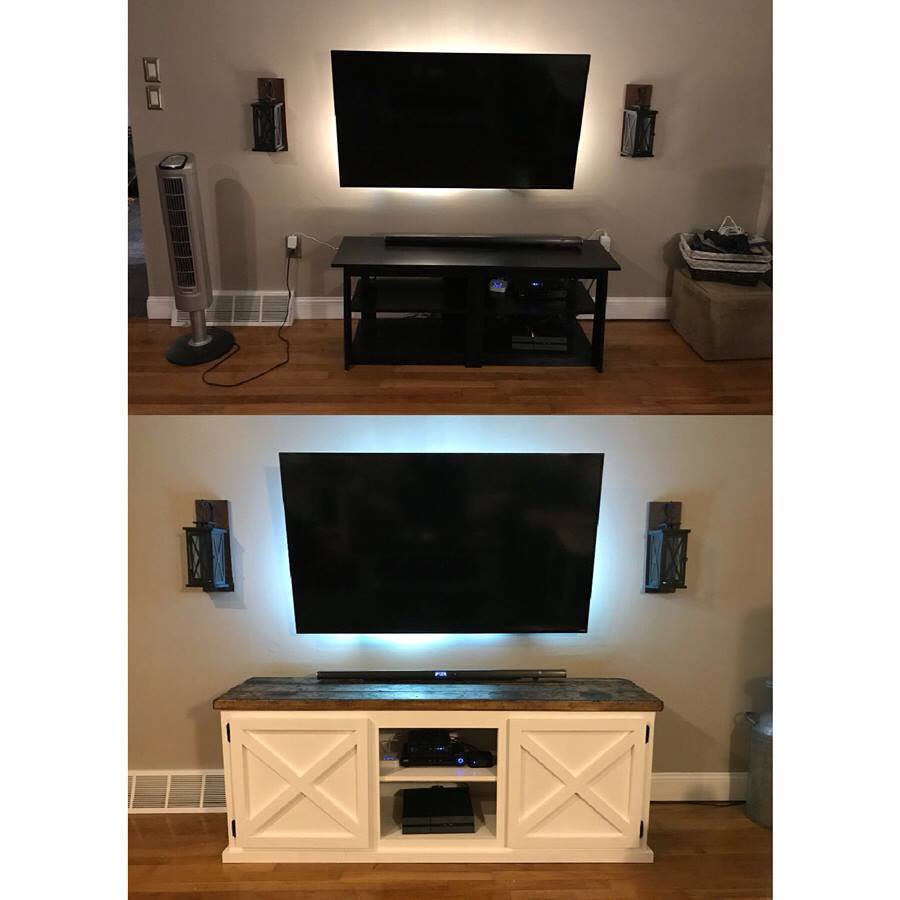
Tall Corner Media Console

Submitted by sully777 on Mon, 07/13/2015 - 10:17

Easy excellent project for That odd room you may have that needs a corner tv stand.

I use pre made 16" wide 3/4" MDF shelving from Home Depot for the Shelves, Used 1" x 3" for the top, and sprayed it all with Rustoleum Industrial flat black which dries in 15min, was the large size cans for $5.40 and and only useds 3.25 cans to paint the whole thing. 


TV is a 55" Class so it actually works perfect, because the tv stand is two legs and not the typical center mounted ones. so  put the tv toward the front of the console and the console is as far as you can go into the corner.

I have two power strips screwed to the back of the console, along with a cable amplifier, my wireless router for the house sits right behind the TV and you can see the blue status lights under the bottom of the TV.

Have  my speaker bar in the added shelf #1 below the tv, comcast cable modem in the right side square, TIVO in the center top, DVD Player in the center bottom, and loads of extra shelf space for whatever else I can think of....
Built from Plan(s)
Recommended Skill Level
Beginner

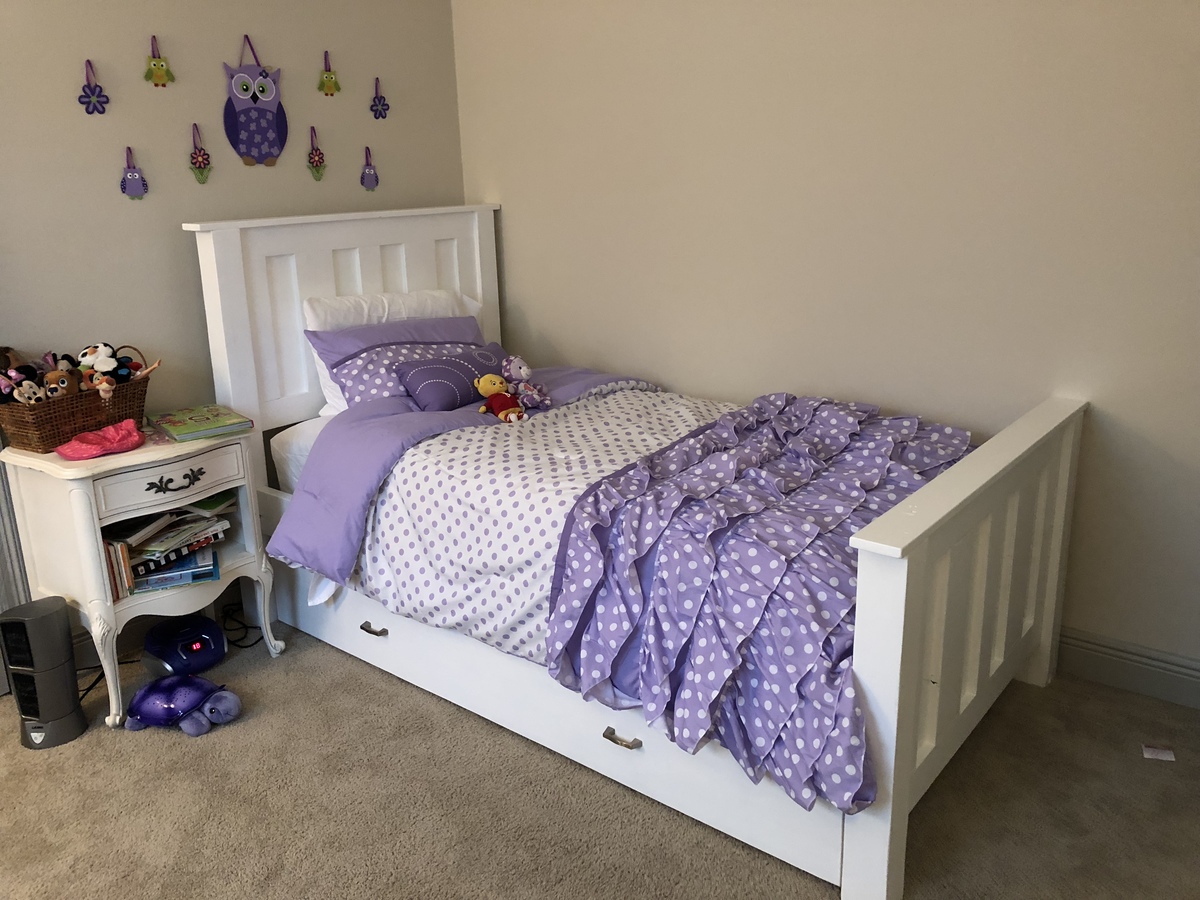
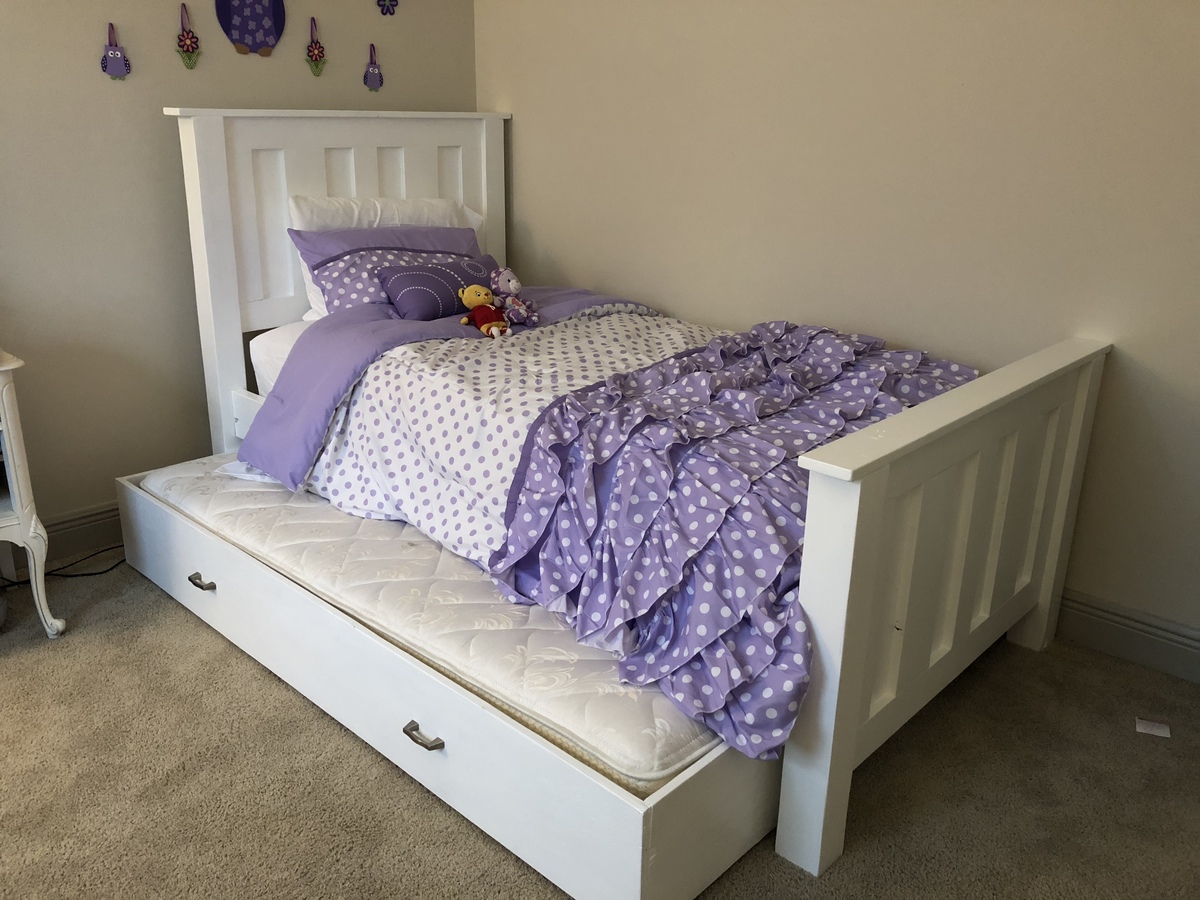
Addison’s room

Submitted by aderosa on Thu, 02/01/2018 - 12:45

It was time for Addison to get a big girl bed. We used the Kentwood design and the trundle bed plans. 

Estimated Cost
140
Estimated Time Investment
Weekend Project (10-20 Hours)
Finish Used
Valspar cabinet paint
Recommended Skill Level
Beginner

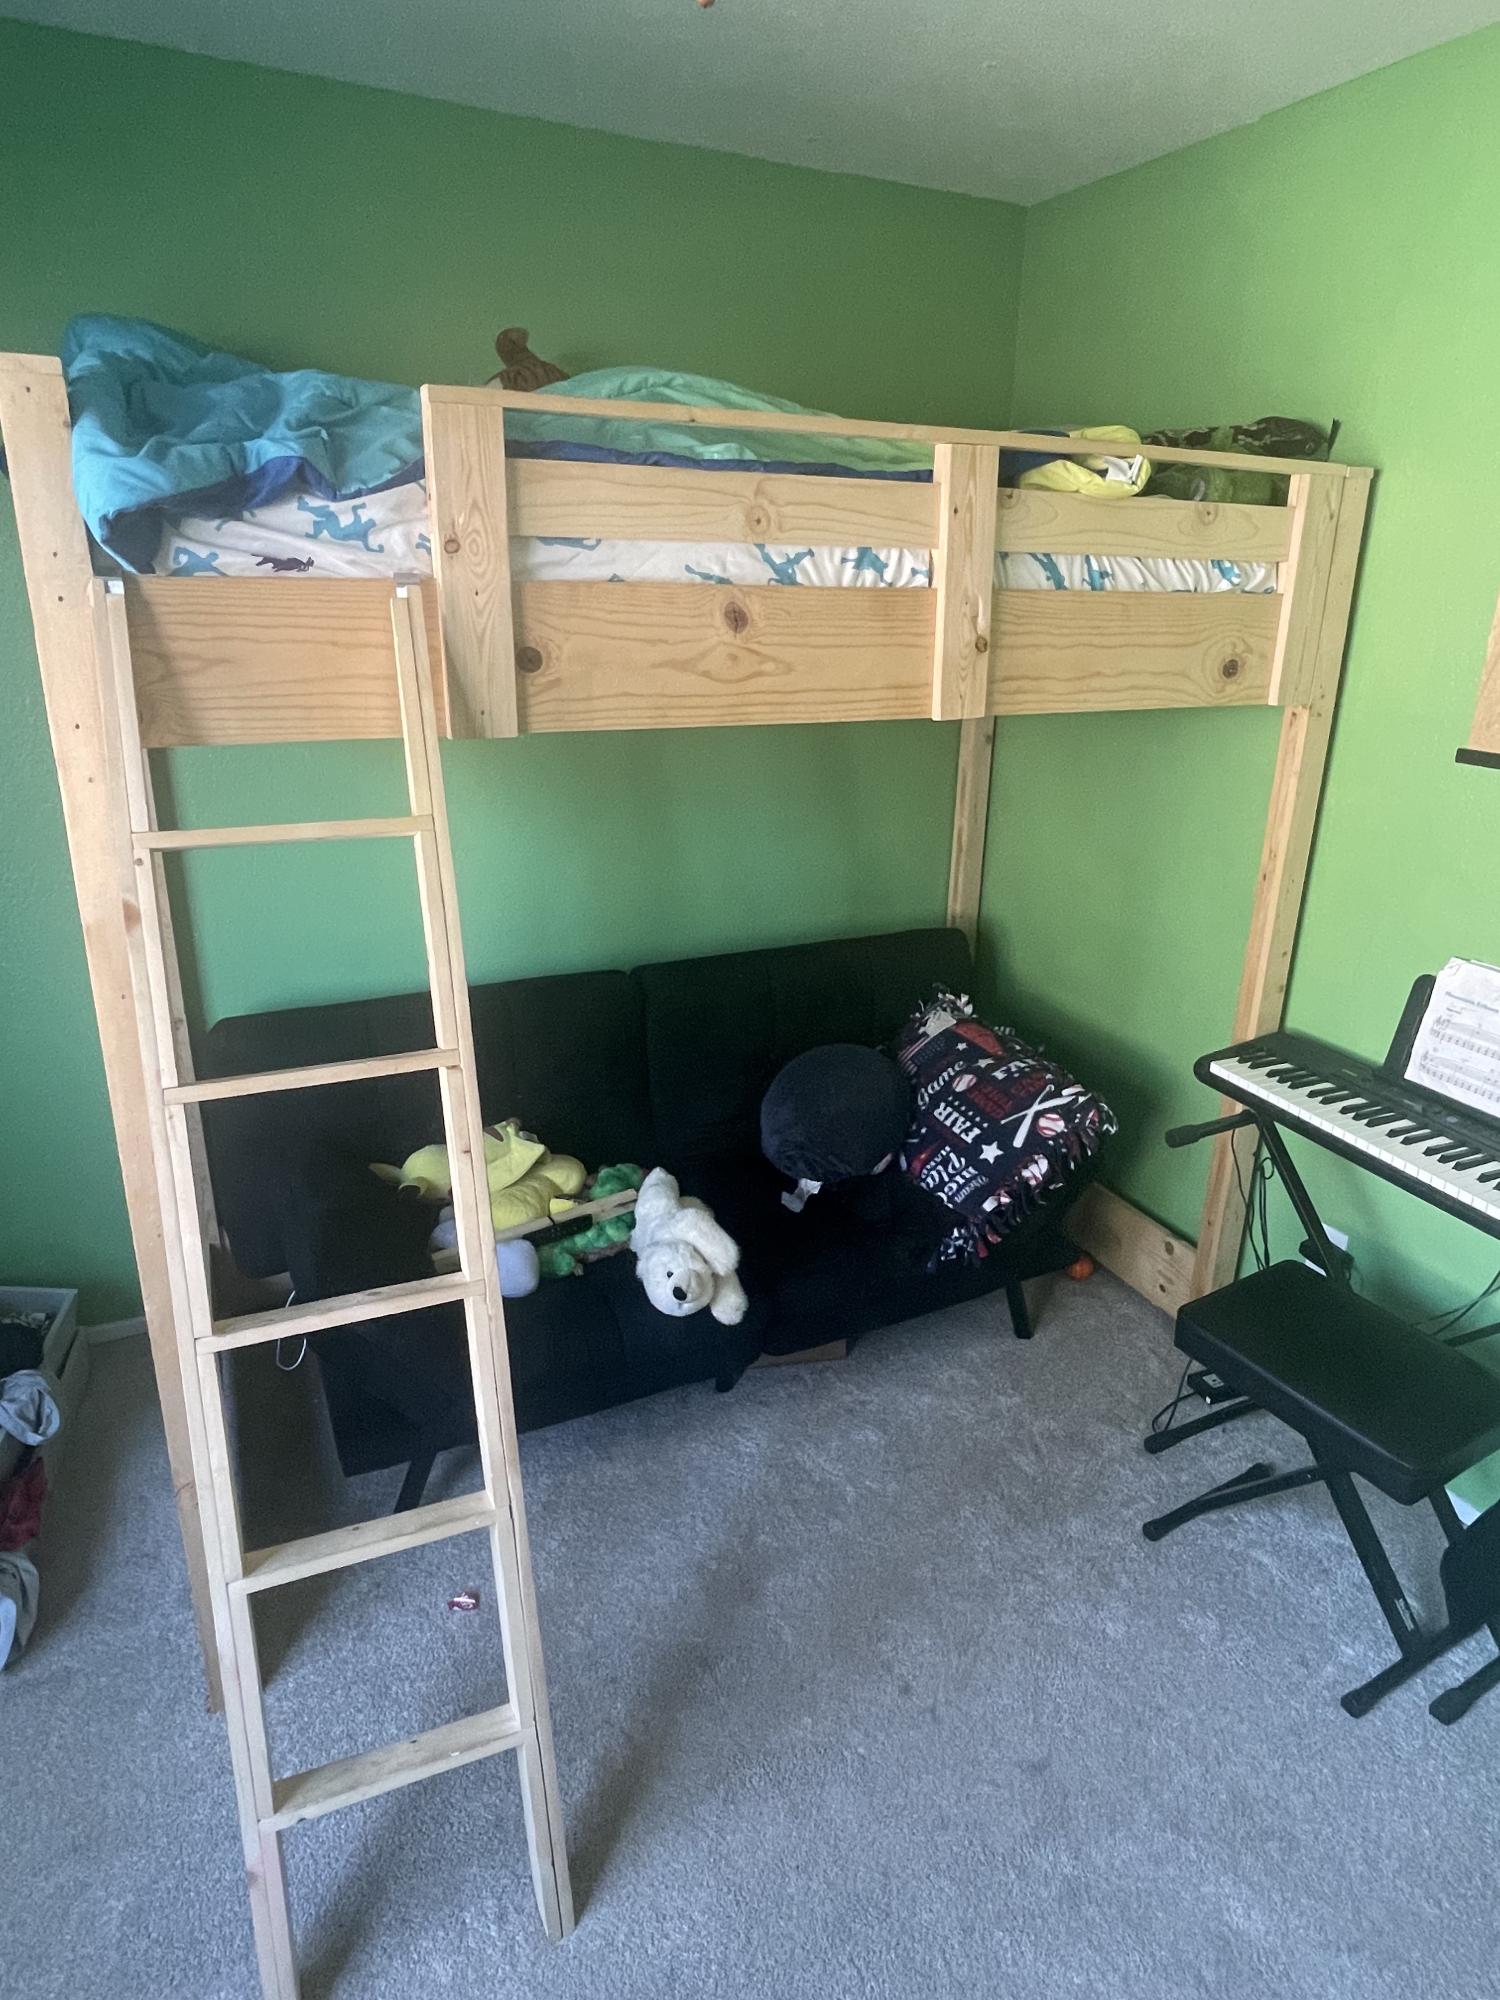
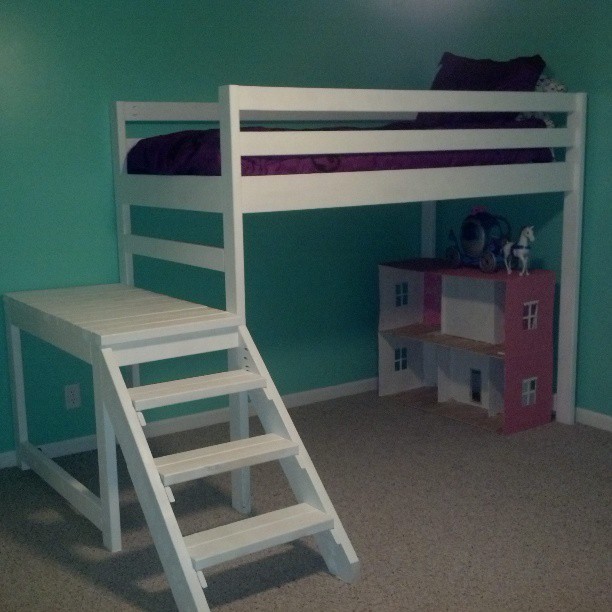
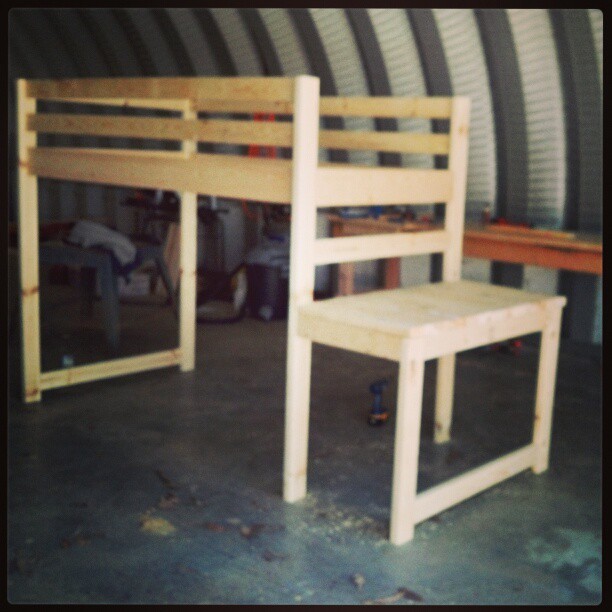
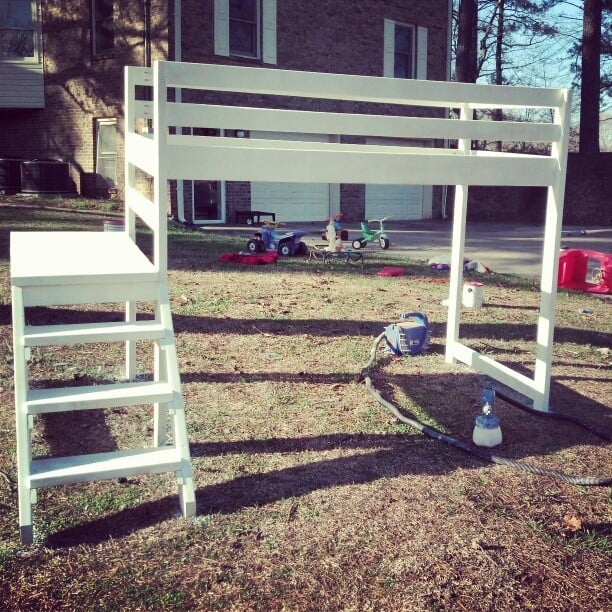
Loft Bed

The rooms in our house are not as big as we would like; so, we needed to maximize the space in our son's room. This was an amaze plan and not too difficult to build.

Built from Plan(s)

Comments

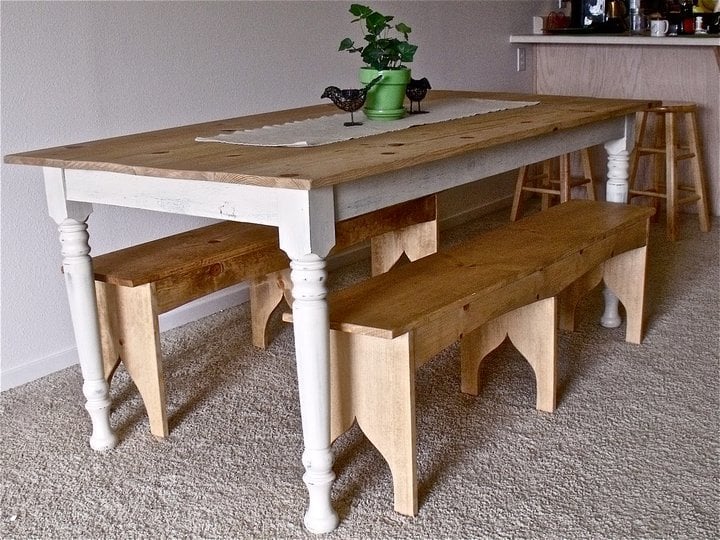
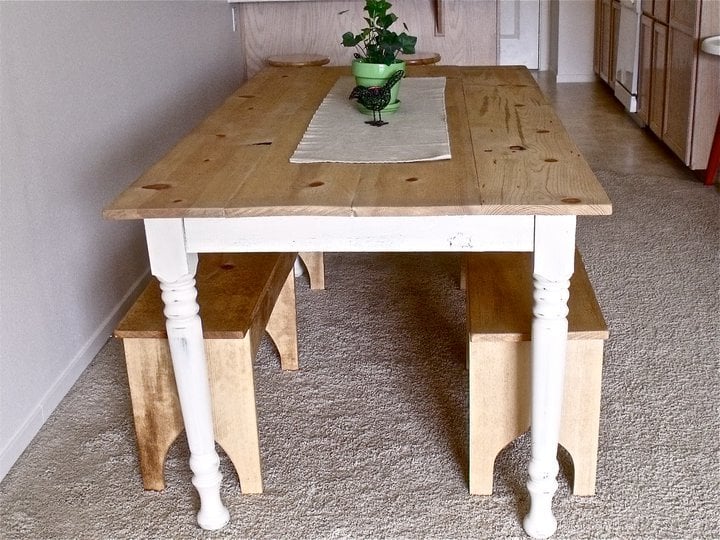
Rustic Pine Table

Very easy to make, and not too expensive. I'm not that great with a lathe. I tried it a couple times but not too good. So I buy my table legs online through osborne wood company. These legs however, came from an old table that I got for free from an antique store. The rest of the table got cut up and used for 2 night stands, and this is what I used the legs for. I used pocket holes to attach everything. Support the middle with cross supports and there you have it. The benches are just 1x12x8's cut into shape and supported by 2 1x4's on either side.

Estimated Cost
$200
Estimated Time Investment
Weekend Project (10-20 Hours)
Recommended Skill Level
Intermediate

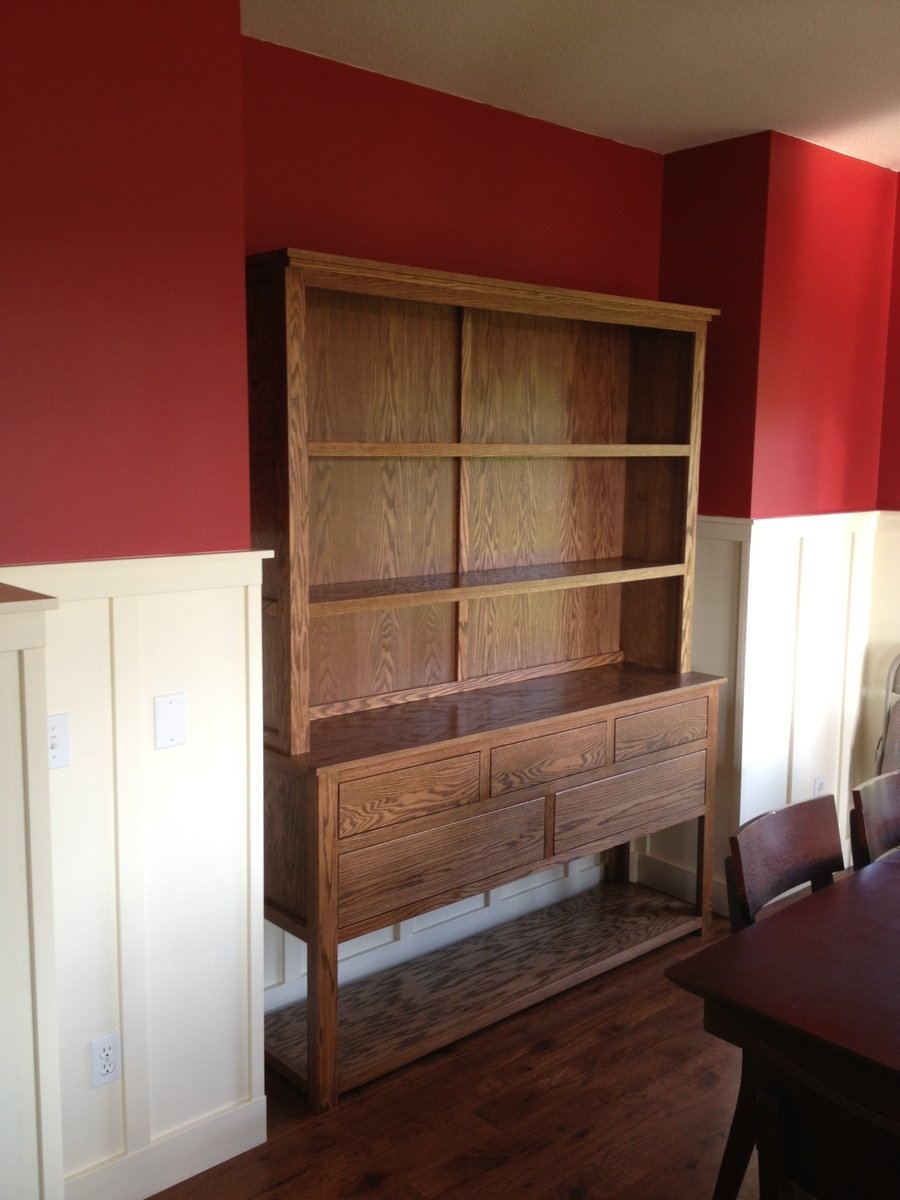
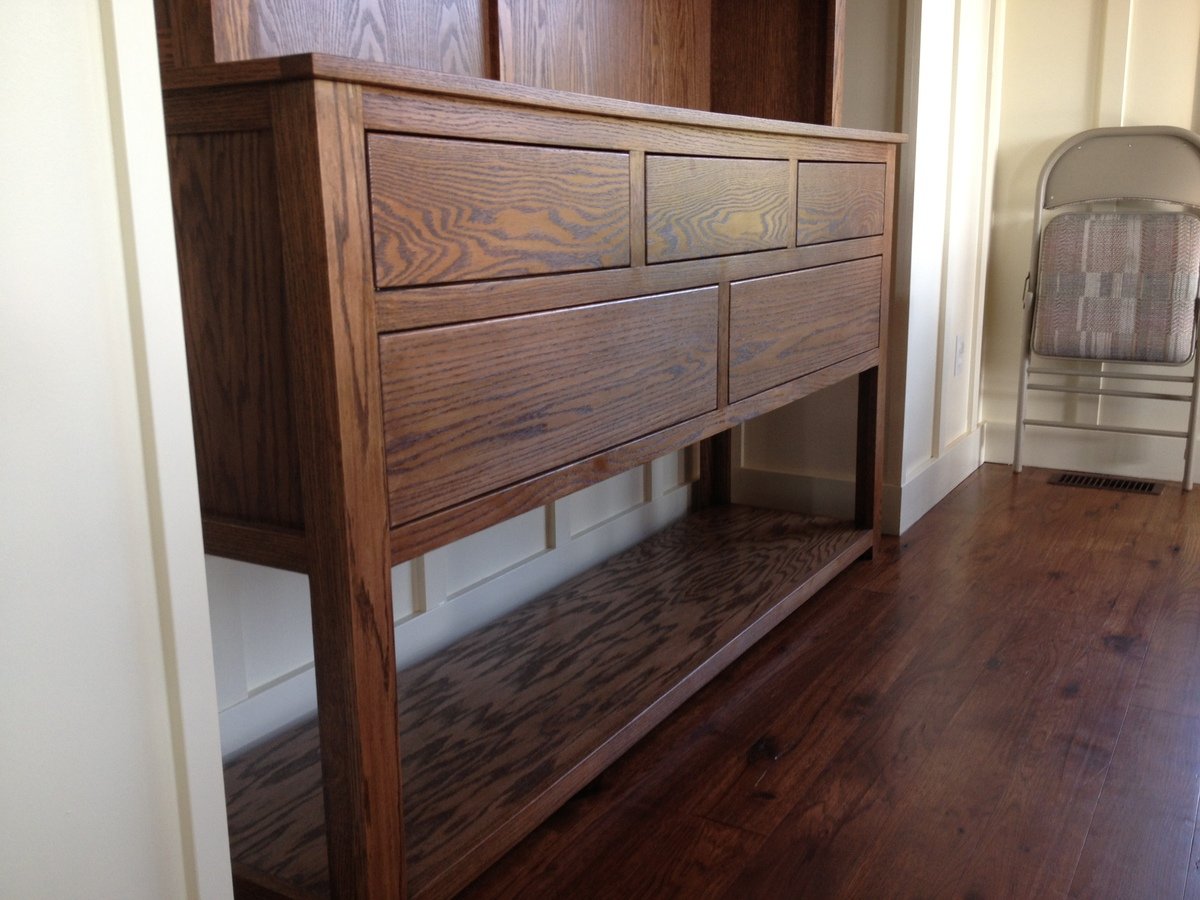
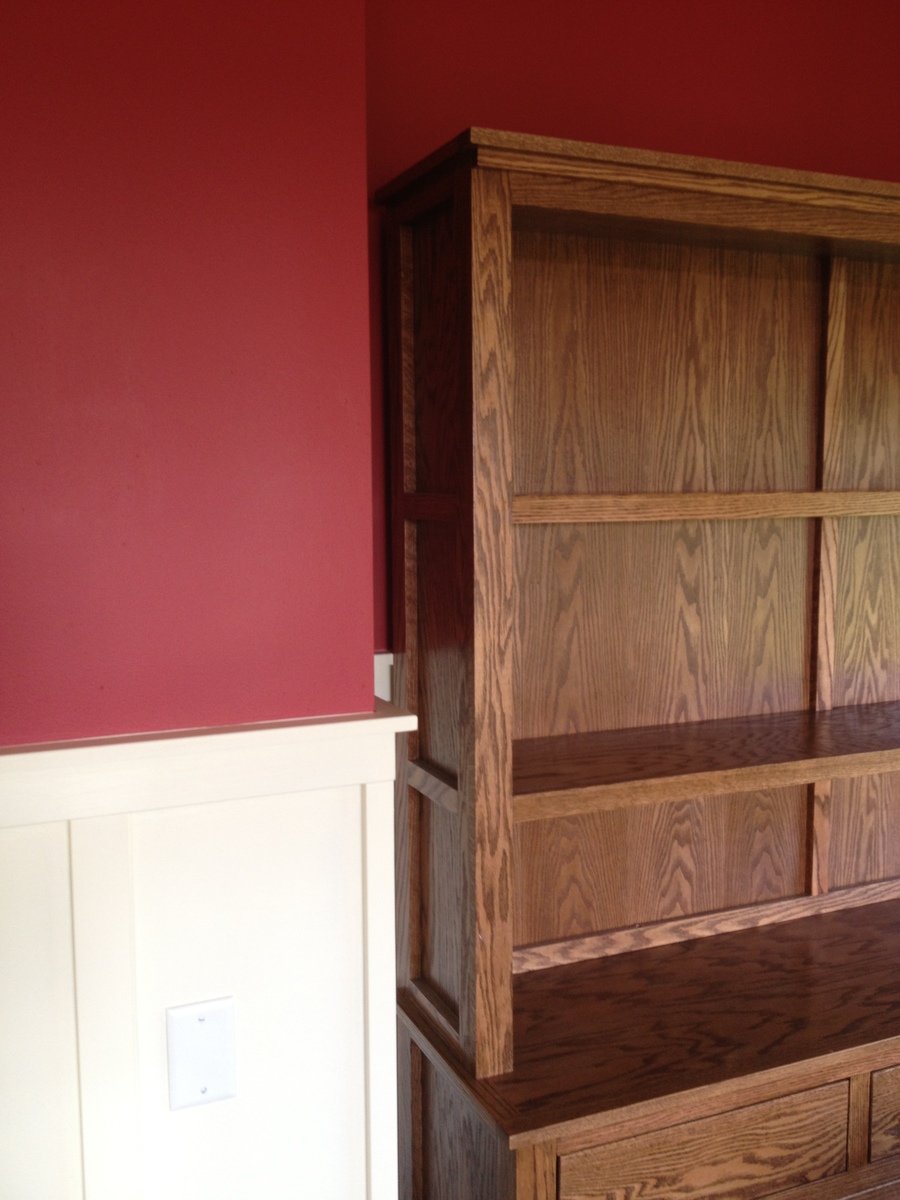
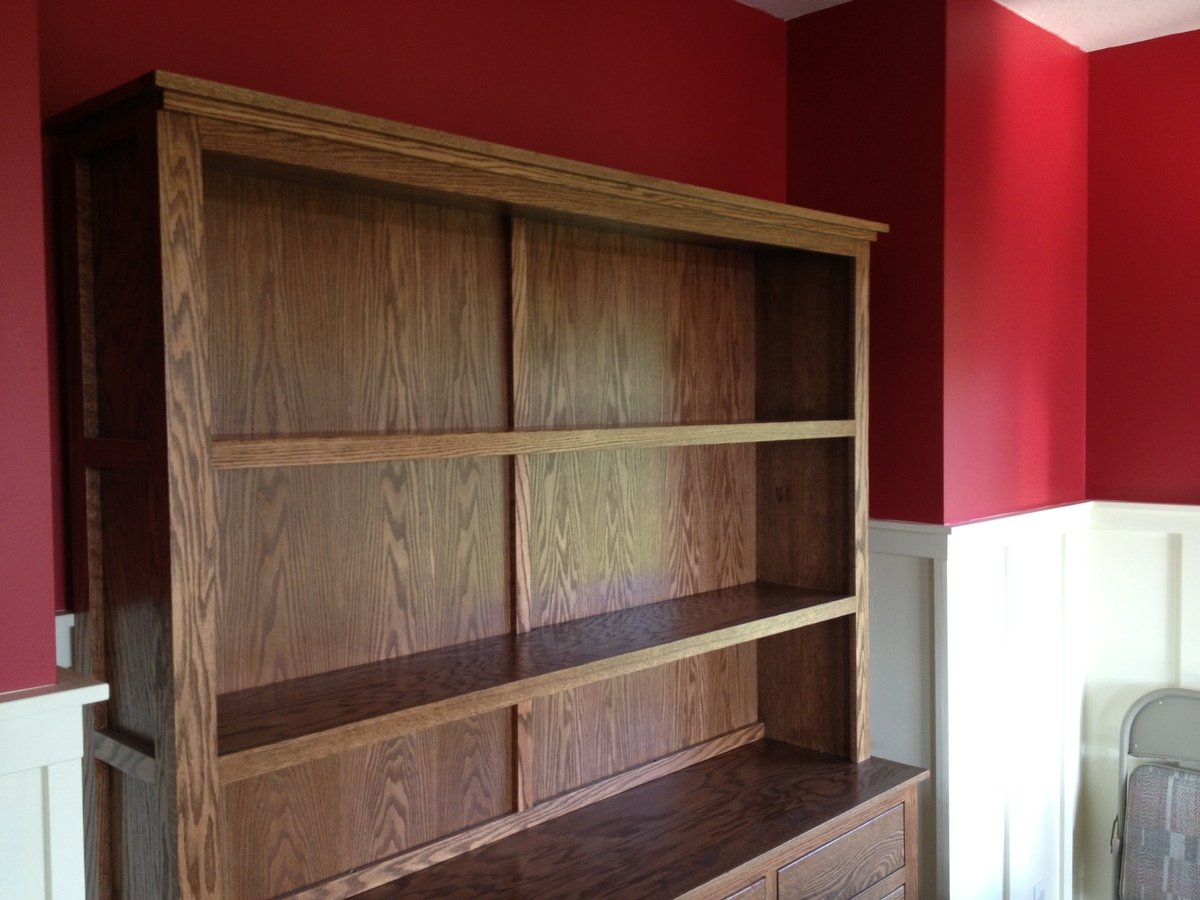
Oak - Hutch And Buffet

Submitted by UeckerFan on Tue, 07/16/2013 - 17:43

This project was on the honey-do list. My wife was looking for antiques and had a pretty specific look she wanted this one fit. It was a fun and relatively fast build. I choose Oak as that is the most regular wood I use and had some on hand.

I modified the dimensions a bit making the hutch a foot taller and the buffet a little larger in width and smaller in depth. I used full extension ball bearing drawer slides for the drawers.

I rabbeted the back in and put a middle brace in for support and so that I could hide the back seam. I don't like to face nail face frames, but for this it turned out pretty nice nonetheless.

Estimated Cost
$125
Estimated Time Investment
Weekend Project (10-20 Hours)
Finish Used
I used min-wax pre-stain conditioner, followed by special walnut stain, then 1 coat of satin pre-catalyzed lacquer, then 320 sand paper, then a second coat of lacquer.
Recommended Skill Level
Intermediate

Comments

Lasso the Moon

Fri, 07/19/2013 - 11:52

Oh, man could I use one of those in my house. At some point I'd like to flank a doorway with two "half versions" of a hutch like this one. Yours is beautiful. Love the oak!
Btw--combining those two plans--brilliant!

Anna

DIY Mobile Lumber Cart

I followed plans from Woodworking for Mere Mortals. Steve Ramsey has a great build video for the project. You can check out the video on his YouTube channel. This lumber cart replaces a previous one that I built a few years ago. My old lumber rack could not store sheet goods and took up too much floor space in my garage.  I disassembled the 2x4s from it and hope to recycle them for a future shop project.

For complete build details continue reading my DIY blog here.

Estimated Cost
$100 - 125 for two sheets of plywood, screws and caster wheels
Estimated Time Investment
Day Project (6-9 Hours)
Recommended Skill Level
Beginner

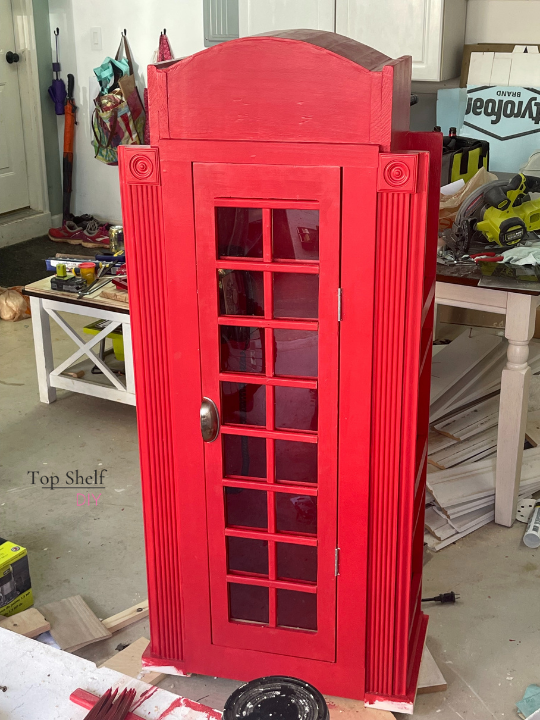
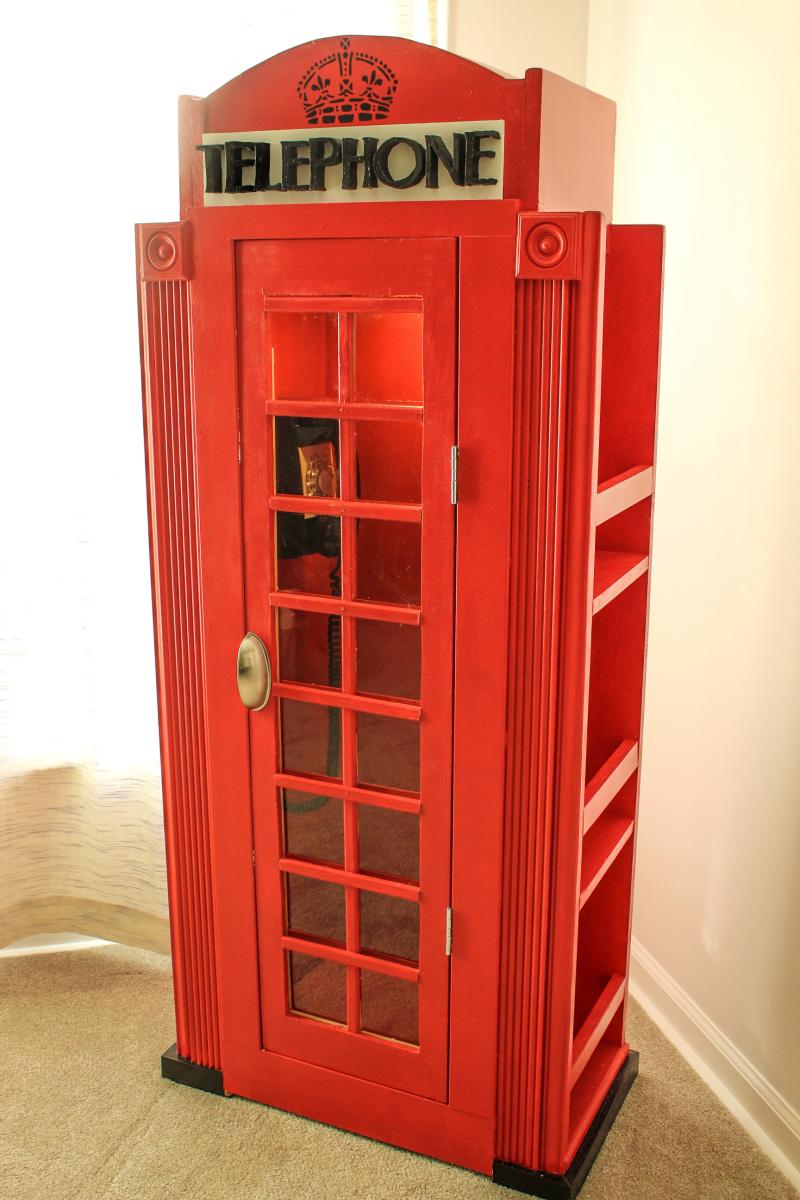
British Telephone Booth Bookshelf

So I wanted to make a bookshelf for a friend who's having a baby. Her husband is British. The invite to her baby shower said, "Bring a book, not a card" so I knew she was going to have a lot of books. I took the gas pump bookshelf plans and added an arched roof, plexiglass door, and some fluted trim to make it look authentic. I found a vintage rotary phone for $20 and added a battery operated puck light to complete the look. My kids loved it!

Comments

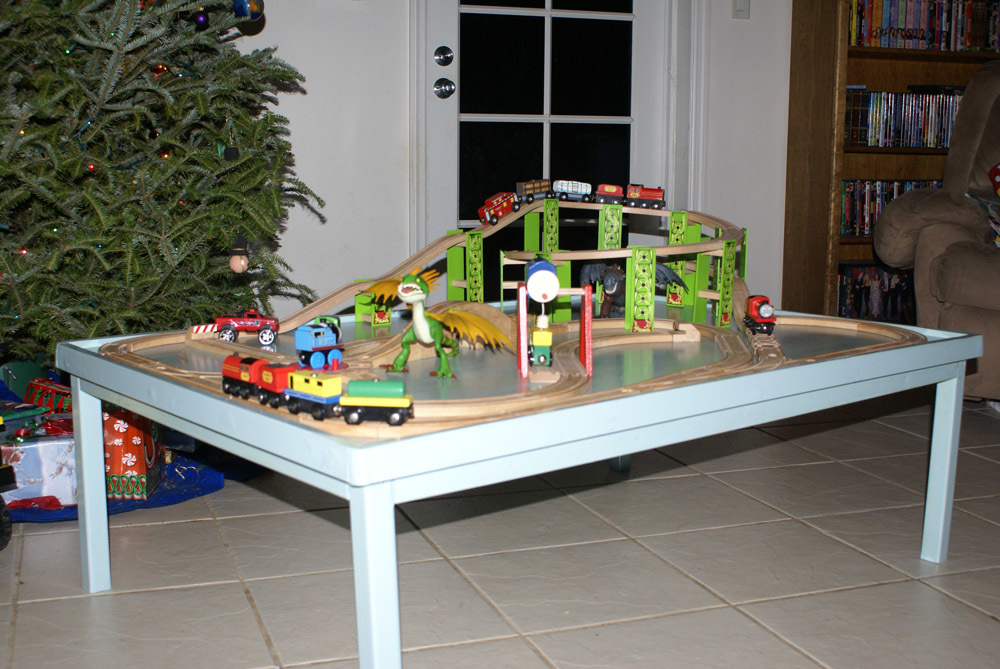
Joss & Emit's Train Table :)

This was my very first "Ana project"! It was a special Christmas treat for my boys and their expanding train collection. This table has had many, many hours of entertainment and enjoyment. It is a great beginner project and has very easy plans to follow! I didn't do the storage carts at the time. I may go back and do them later though...for now they like playing under the table as well. My obsession began :)

Estimated Cost
$50 (island living cost more)
Estimated Time Investment
Day Project (6-9 Hours)
Finish Used
Flat interior paint (2 coats) with two coats of poly.
Recommended Skill Level
Starter Project

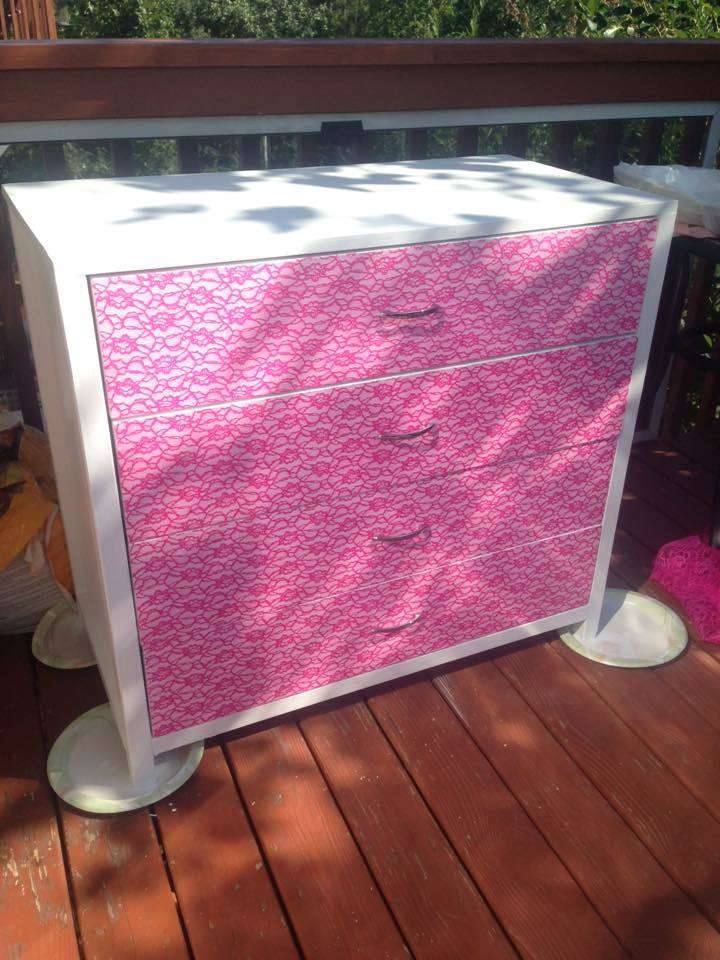
My first build - for my 7 year old

Submitted by jeriehuxel on Mon, 07/20/2015 - 18:51

I needed to adjust the width of the dresser to fit  - and it was may first build by myself... Already have a second one ready to paint!
 

Built from Plan(s)
Estimated Cost
$200
Estimated Time Investment
Afternoon Project (3-6 Hours)
Finish Used
White Latex paint, pink lace from Walmart, and Modge Podge
Recommended Skill Level
Intermediate

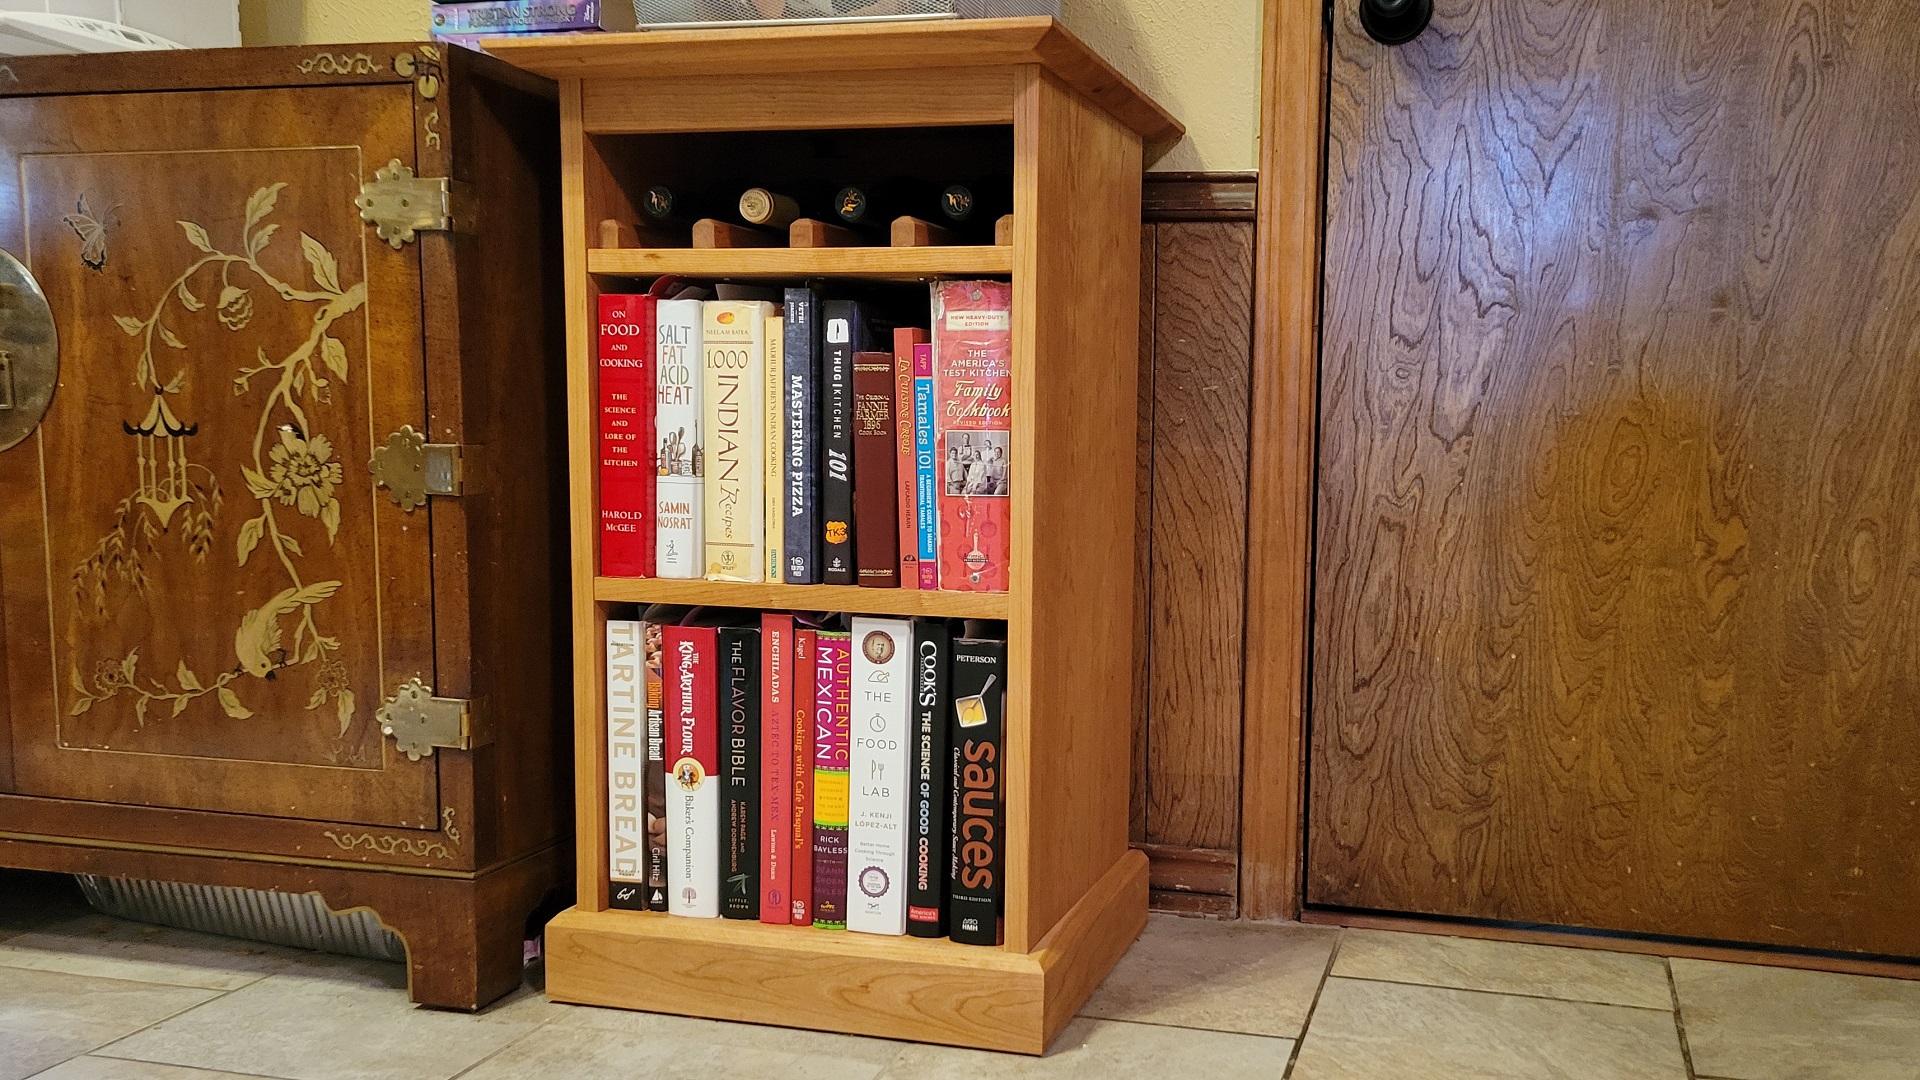
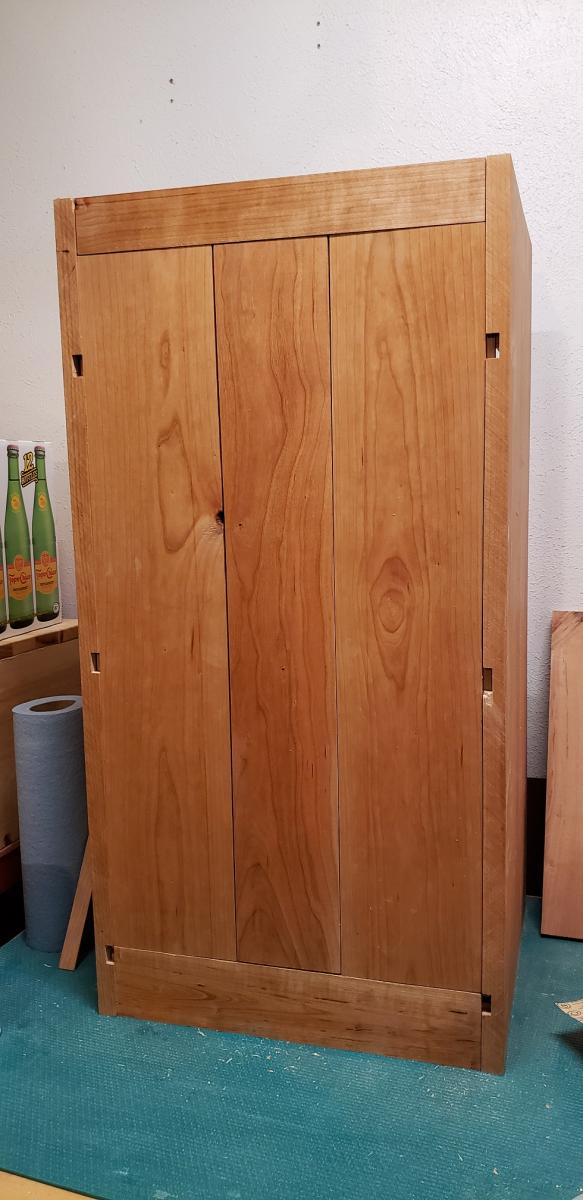
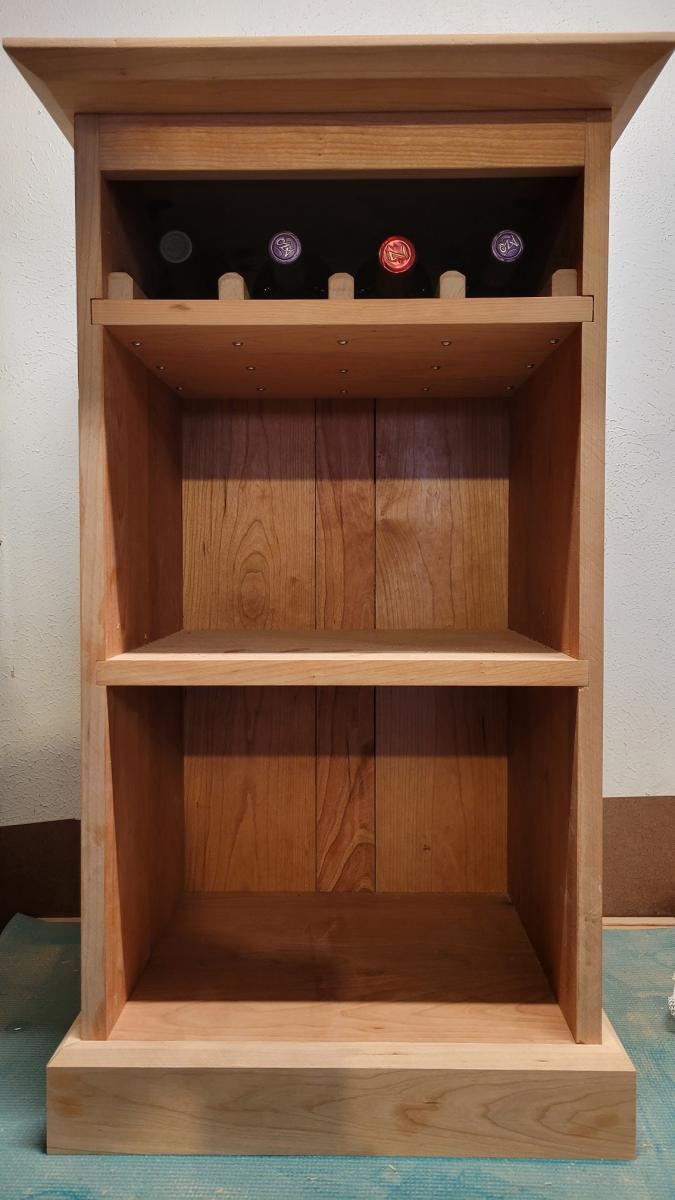
Kitchen Book & Wine Case

I made a small book case that includes a wine shelf.
It is all solid cherry. I used a shiplap paneling design for the back panel.
It is finished with many coats of natural color Danish Oil.
Here's a video of how I built it:
https://www.youtube.com/watch?v=Hxil44OfJ9M

Comments

Accent Table

Submitted by 3kidsilove on Tue, 05/31/2011 - 10:44

When I saw this table I knew it would be perfect for this space! I was so excited I copied "Sweet T" Table and added a faux handle (which is now my husband's new favorite word) I primed and painted it and then put a coat of poly on it. Was a fun project

Estimated Cost
30.00
Estimated Time Investment
An Hour or Two (0-2 Hours)
Finish Used
prime,paint & polly
Recommended Skill Level
Beginner

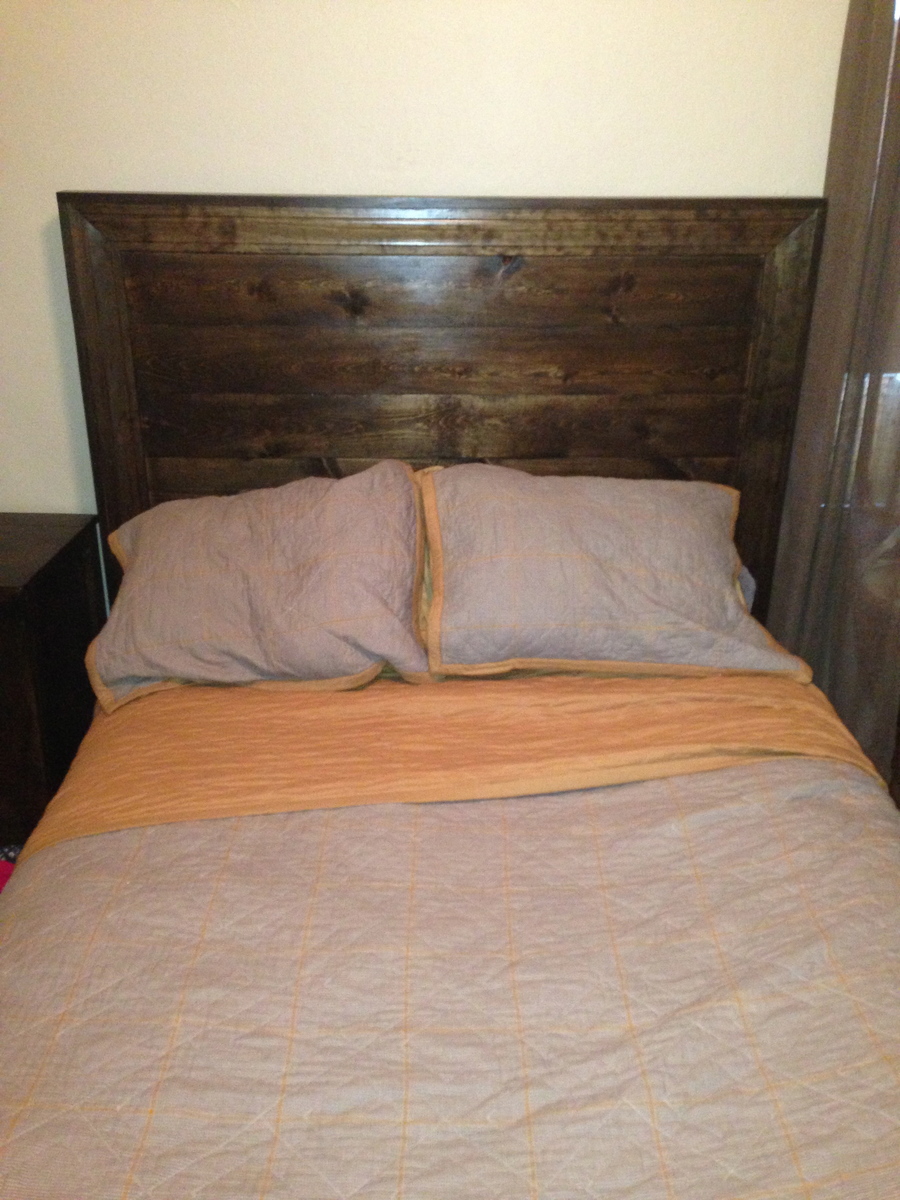
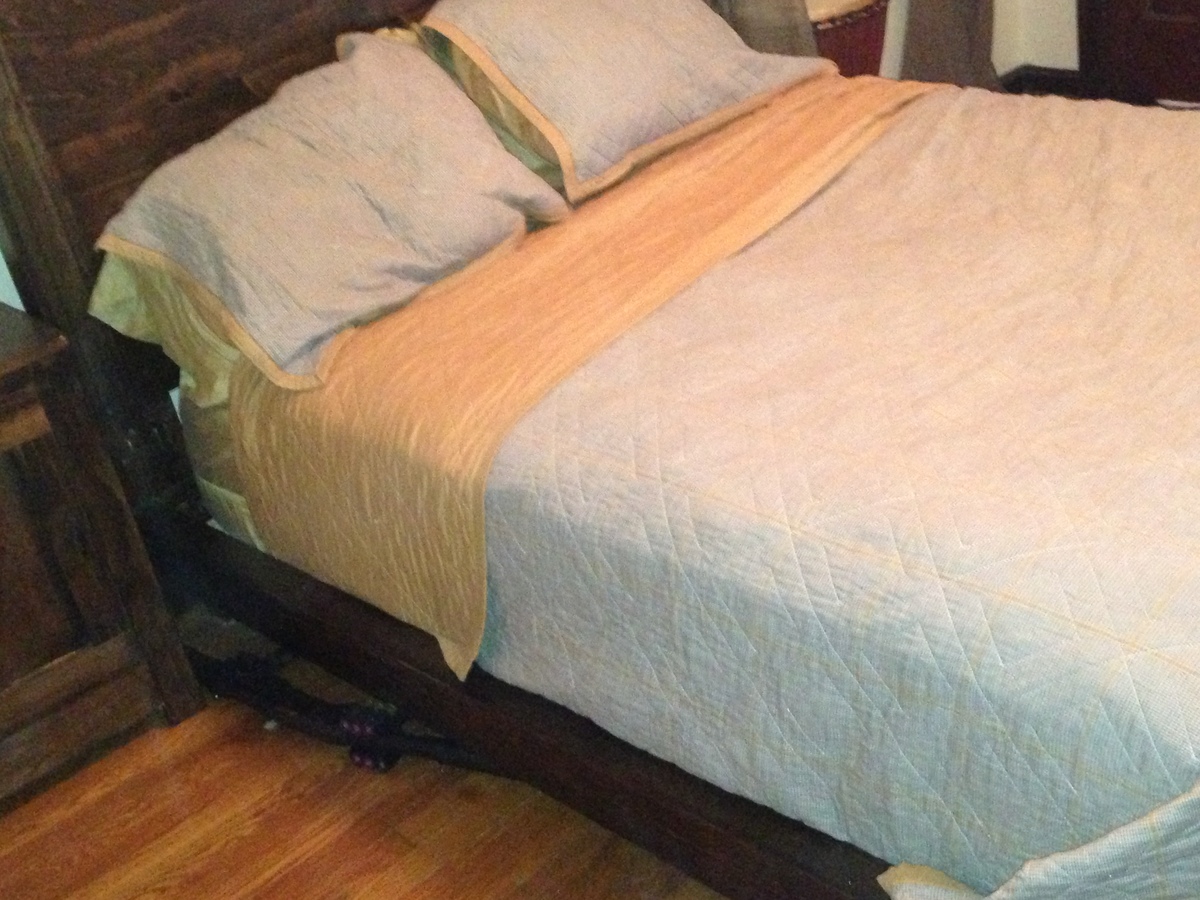
Hailey Platform Bed - Hailey Planked headboard

Submitted by daddydrew on Fri, 07/19/2013 - 11:54

This project was a whole lot easier than it looked I think that it took me three days from wood in the back of my truck to the finished project. I think that I spent about $200 on this whole bed and headboard. It is sturdy and I really love it.

Estimated Time Investment
Weekend Project (10-20 Hours)
Finish Used
minwax jacobean oil based stain
minwax polycrylic clear coat protective finish
Recommended Skill Level
Beginner

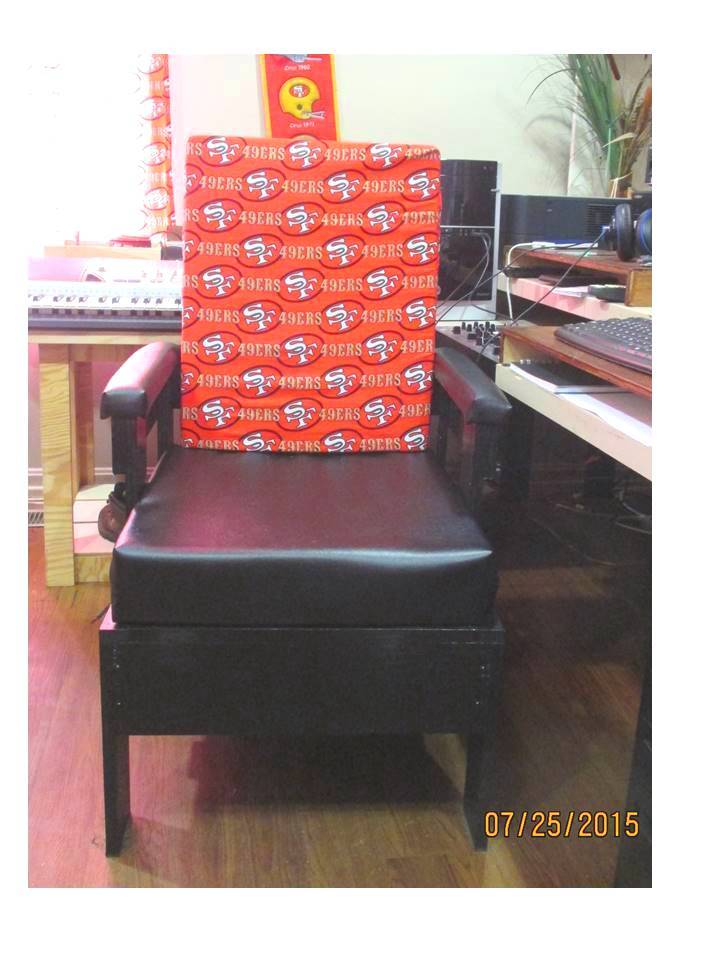
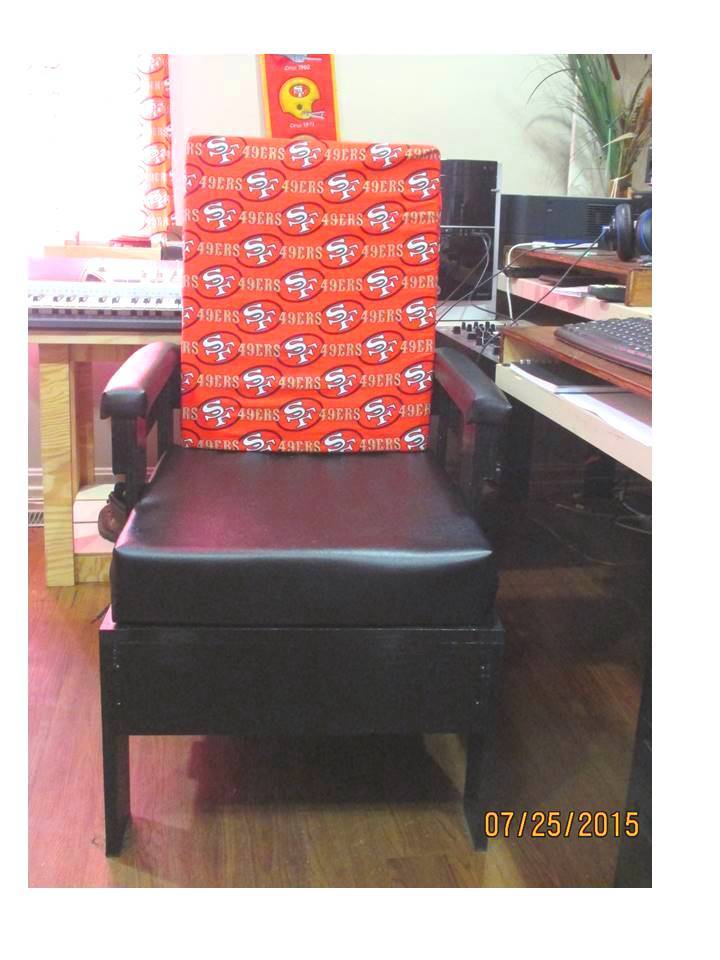
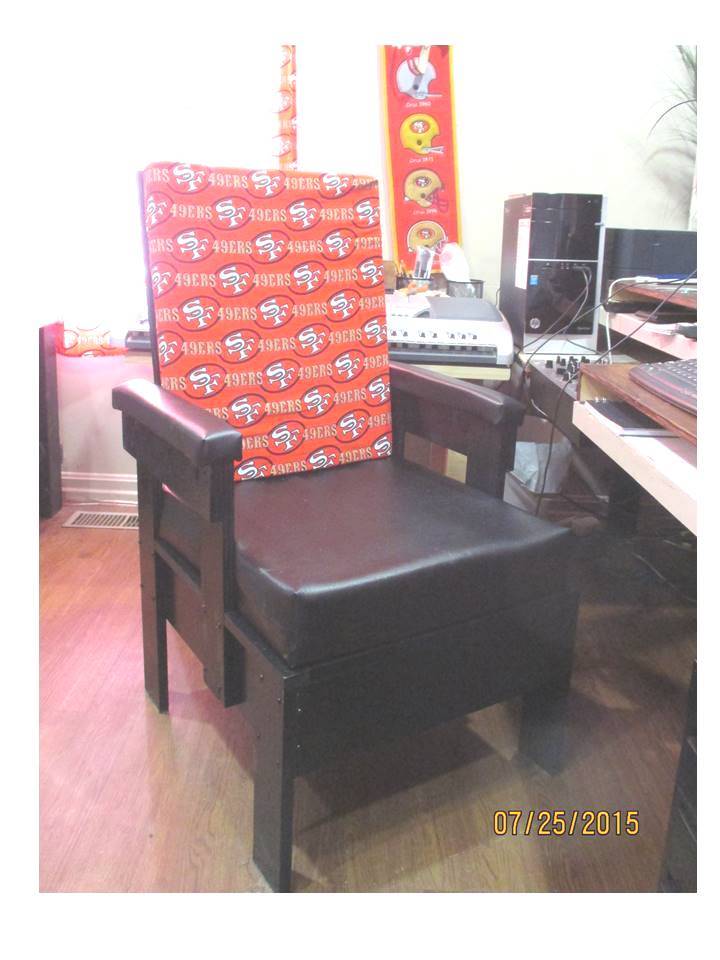
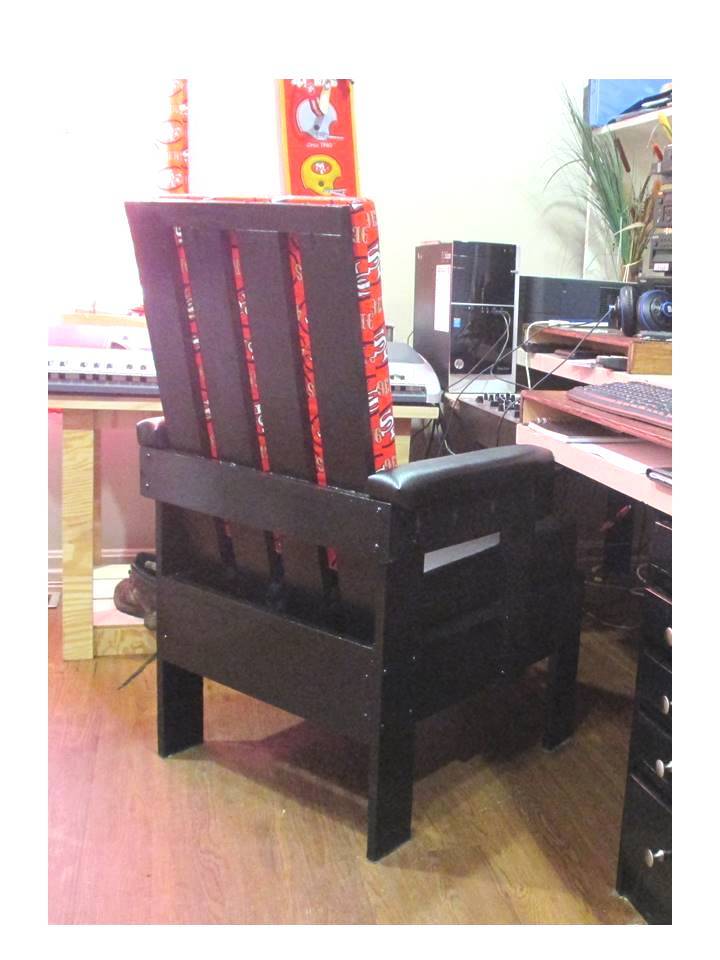
Man Cave Chair from Reclaimed Wood

Submitted by JoanneS on Sat, 07/25/2015 - 13:06

Man cave chair for my Hubby, made entirely from reclaimed/scrap wood.  This took a long weekend to build (includes time to rip down the reclaimed wood, and a couple of tries to get the padded arm rests right). 

This build uses the Simple White Outdoor Chair plan, adjusted to fit smaller cushions and use my scrap/reclaimed wood. 

The seat cushion is covered with marine vinyl, and the back cushion is covered with fabric from a curtain already on hand.  The covers are done in a simple box style.  The seat cushion closes with ties at the back, and the back cushion has an envelope back.  

The end result is a sturdy, comfortable chair that’s not too heavy, and is decked out with colors from Hubby’s favorite football team.  I’m very pleased to say that Hubby likes his new chair!

Estimated Cost
Cost: $75 for cushion materials (high density foam and vinyl). Everything else was reclaimed or already on hand.
Estimated Time Investment
Weekend Project (10-20 Hours)
Finish Used
Finish: 2 coats gloss black (Valspar Ultra paint + primer). The bottom surfaces of the legs are covered with some adhesive backed felt for easy sliding.
Recommended Skill Level
Intermediate

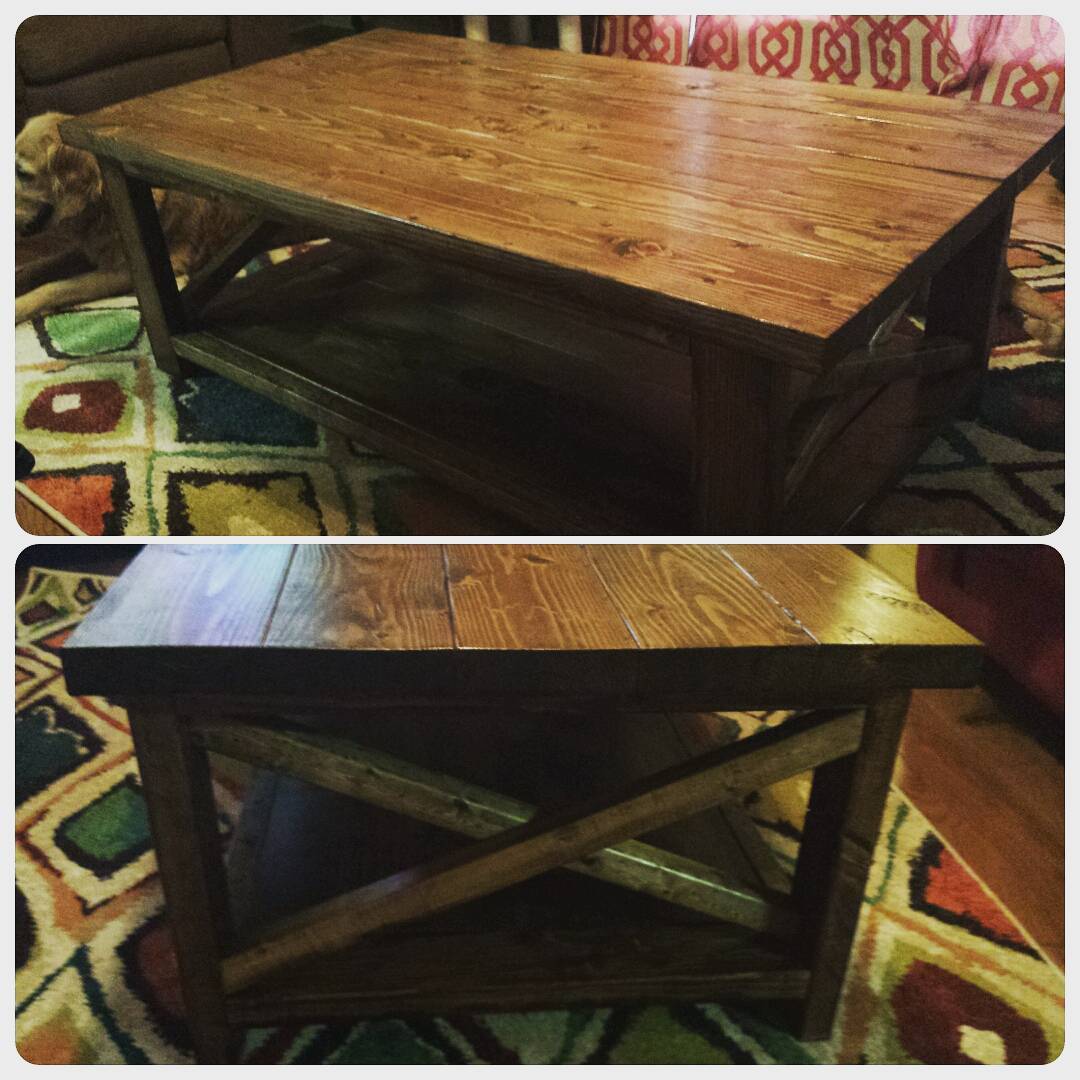
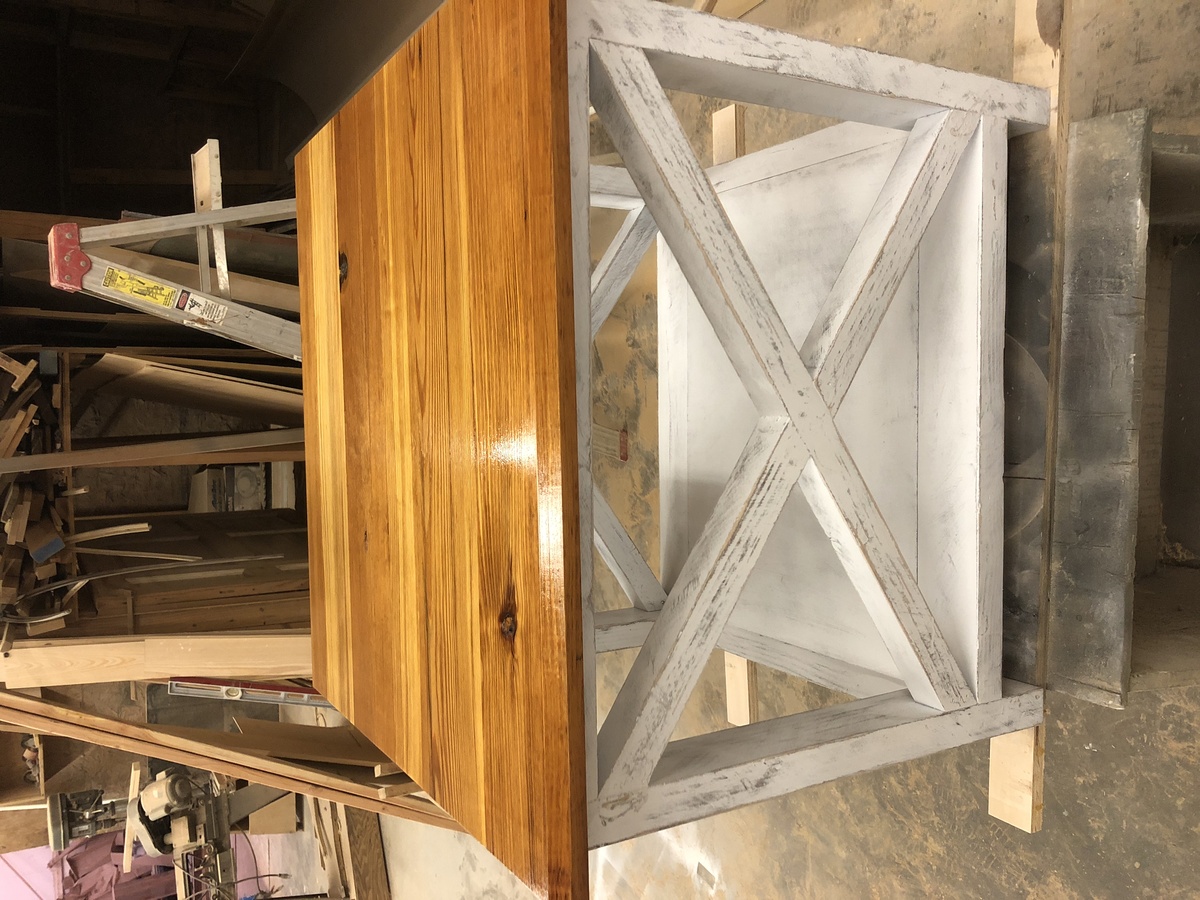
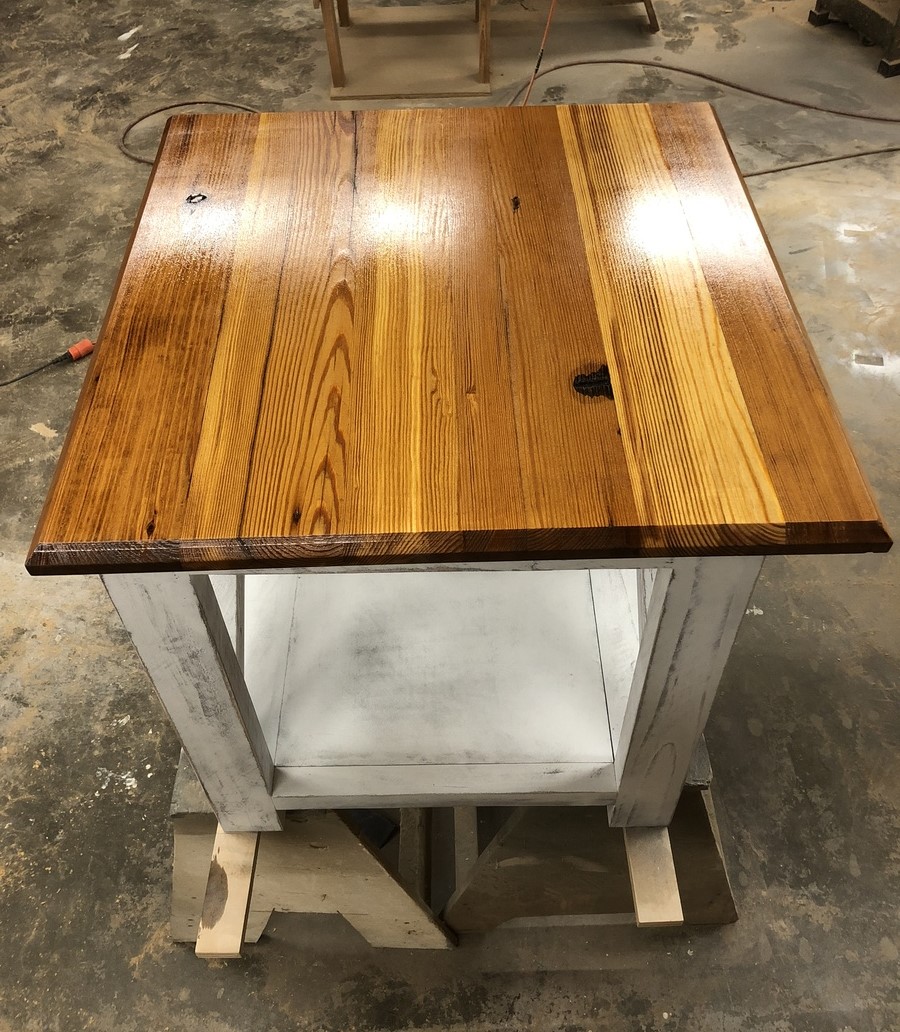
Antique reclaimed heart pine rustic x

Submitted by jchriceol on Wed, 02/21/2018 - 05:29

Got this wood from some thick old flooring we laid in a house and brought them to my shop. Cost me about 20-25 dollars for lumber and paint. Everything else I pretty much had on hand. But man I think it turned out really well 

Estimated Cost
20-25 dollars that’s for paint and 2x lumber everything else I had
Finish Used
Minnwax early American
Minnwax semi gloss polyurethane
Recommended Skill Level
Intermediate

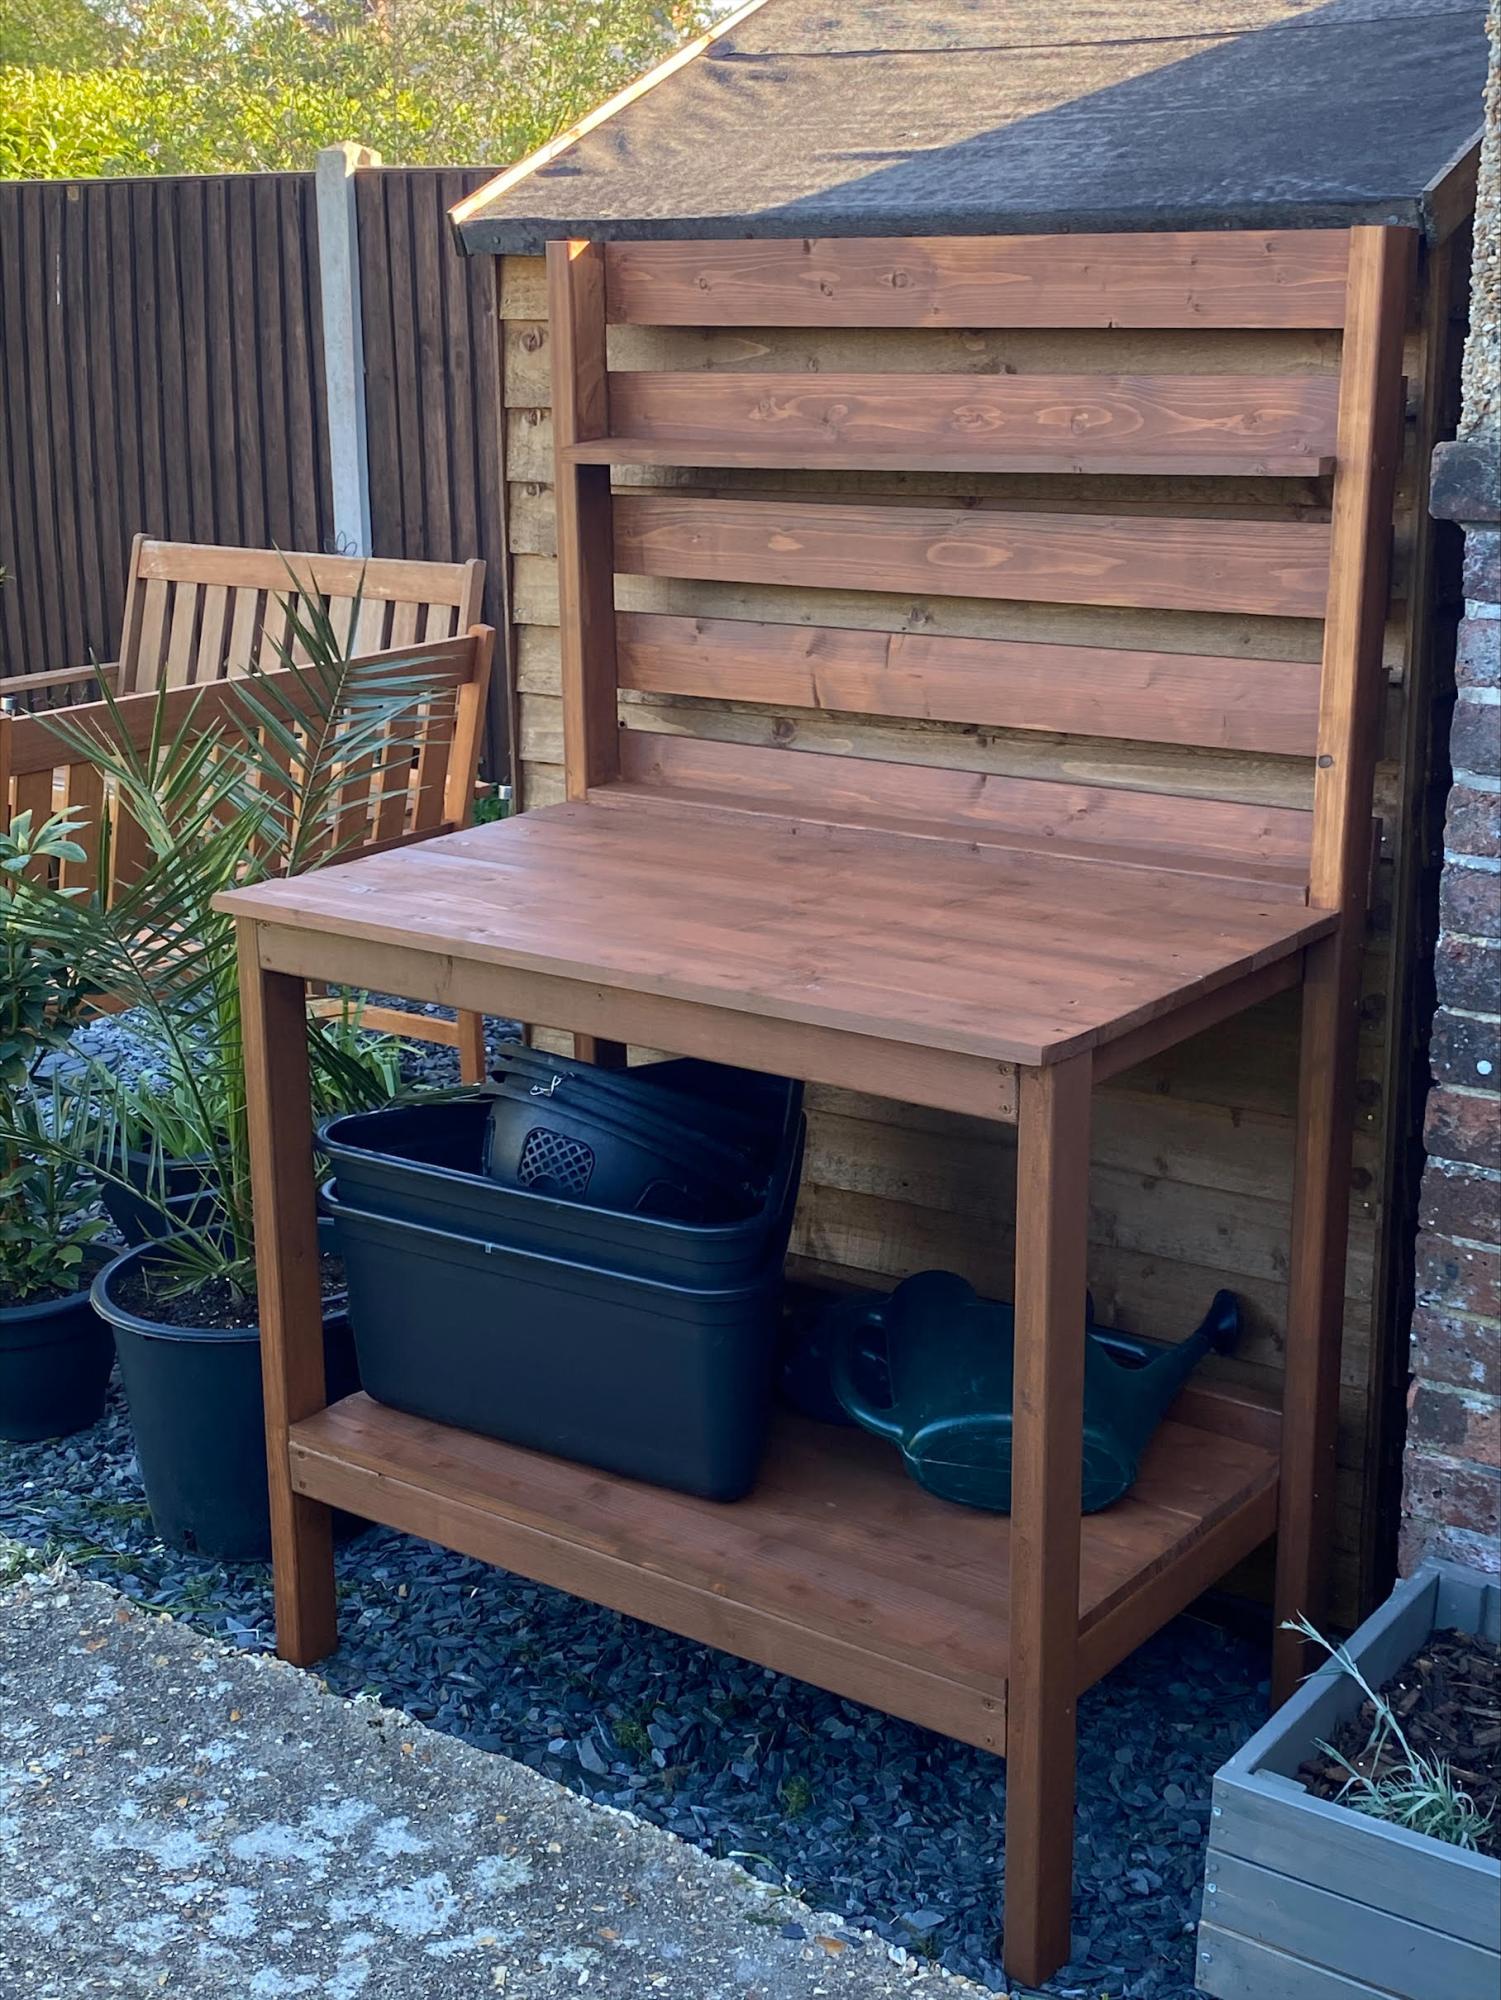
Potting Bench

Submitted by Anonymous (not verified) on Wed, 04/06/2022 - 10:30

This was my very first project last year!  

I couldn’t get the 2x4s so I used a different size and it worked out great. Love it so much. So much better than what you can buy for same price as most potting tables are very small. 

Thank you as I couldn’t have done this without your plans.

Karen Martin 

Age 51

New Platform birthday bed for the hubby!

Submitted by redhead_61 on Thu, 06/02/2011 - 14:56

Don't mind all the mismatched furniture in the room, isn't the master always the last to get paid attention to?

My husband had a birthday on Monday and I had drawn up the plans for this a couple months ago hoping to surprise him. Building it then didn't happen....Day of his birthday rolls around and I looked at the clock at about 11, thinking what could I really surprise him with but didn't want to break the budget. I thought to myself, "I could probably get that built by the time he gets home" And I DID!!!

I sandwiched together two 2x4's puttied and painted to make the chunky leg here.

FYI- My husband is really into selling things on craigslist right now so he told me to see what I could sell it for. I sold this within a few hours for $135. That is a pretty amazing profit while still being way more affordable than any store!!! I LOVE that.

Estimated Cost
$55
Estimated Time Investment
Afternoon Project (3-6 Hours)
Finish Used
2 coats primer, 2 coats semigloss white
Recommended Skill Level
Starter Project