Reclaimed Cedar Board 10x 10 Barn Greenhouse
Thank you for sharing your plan!
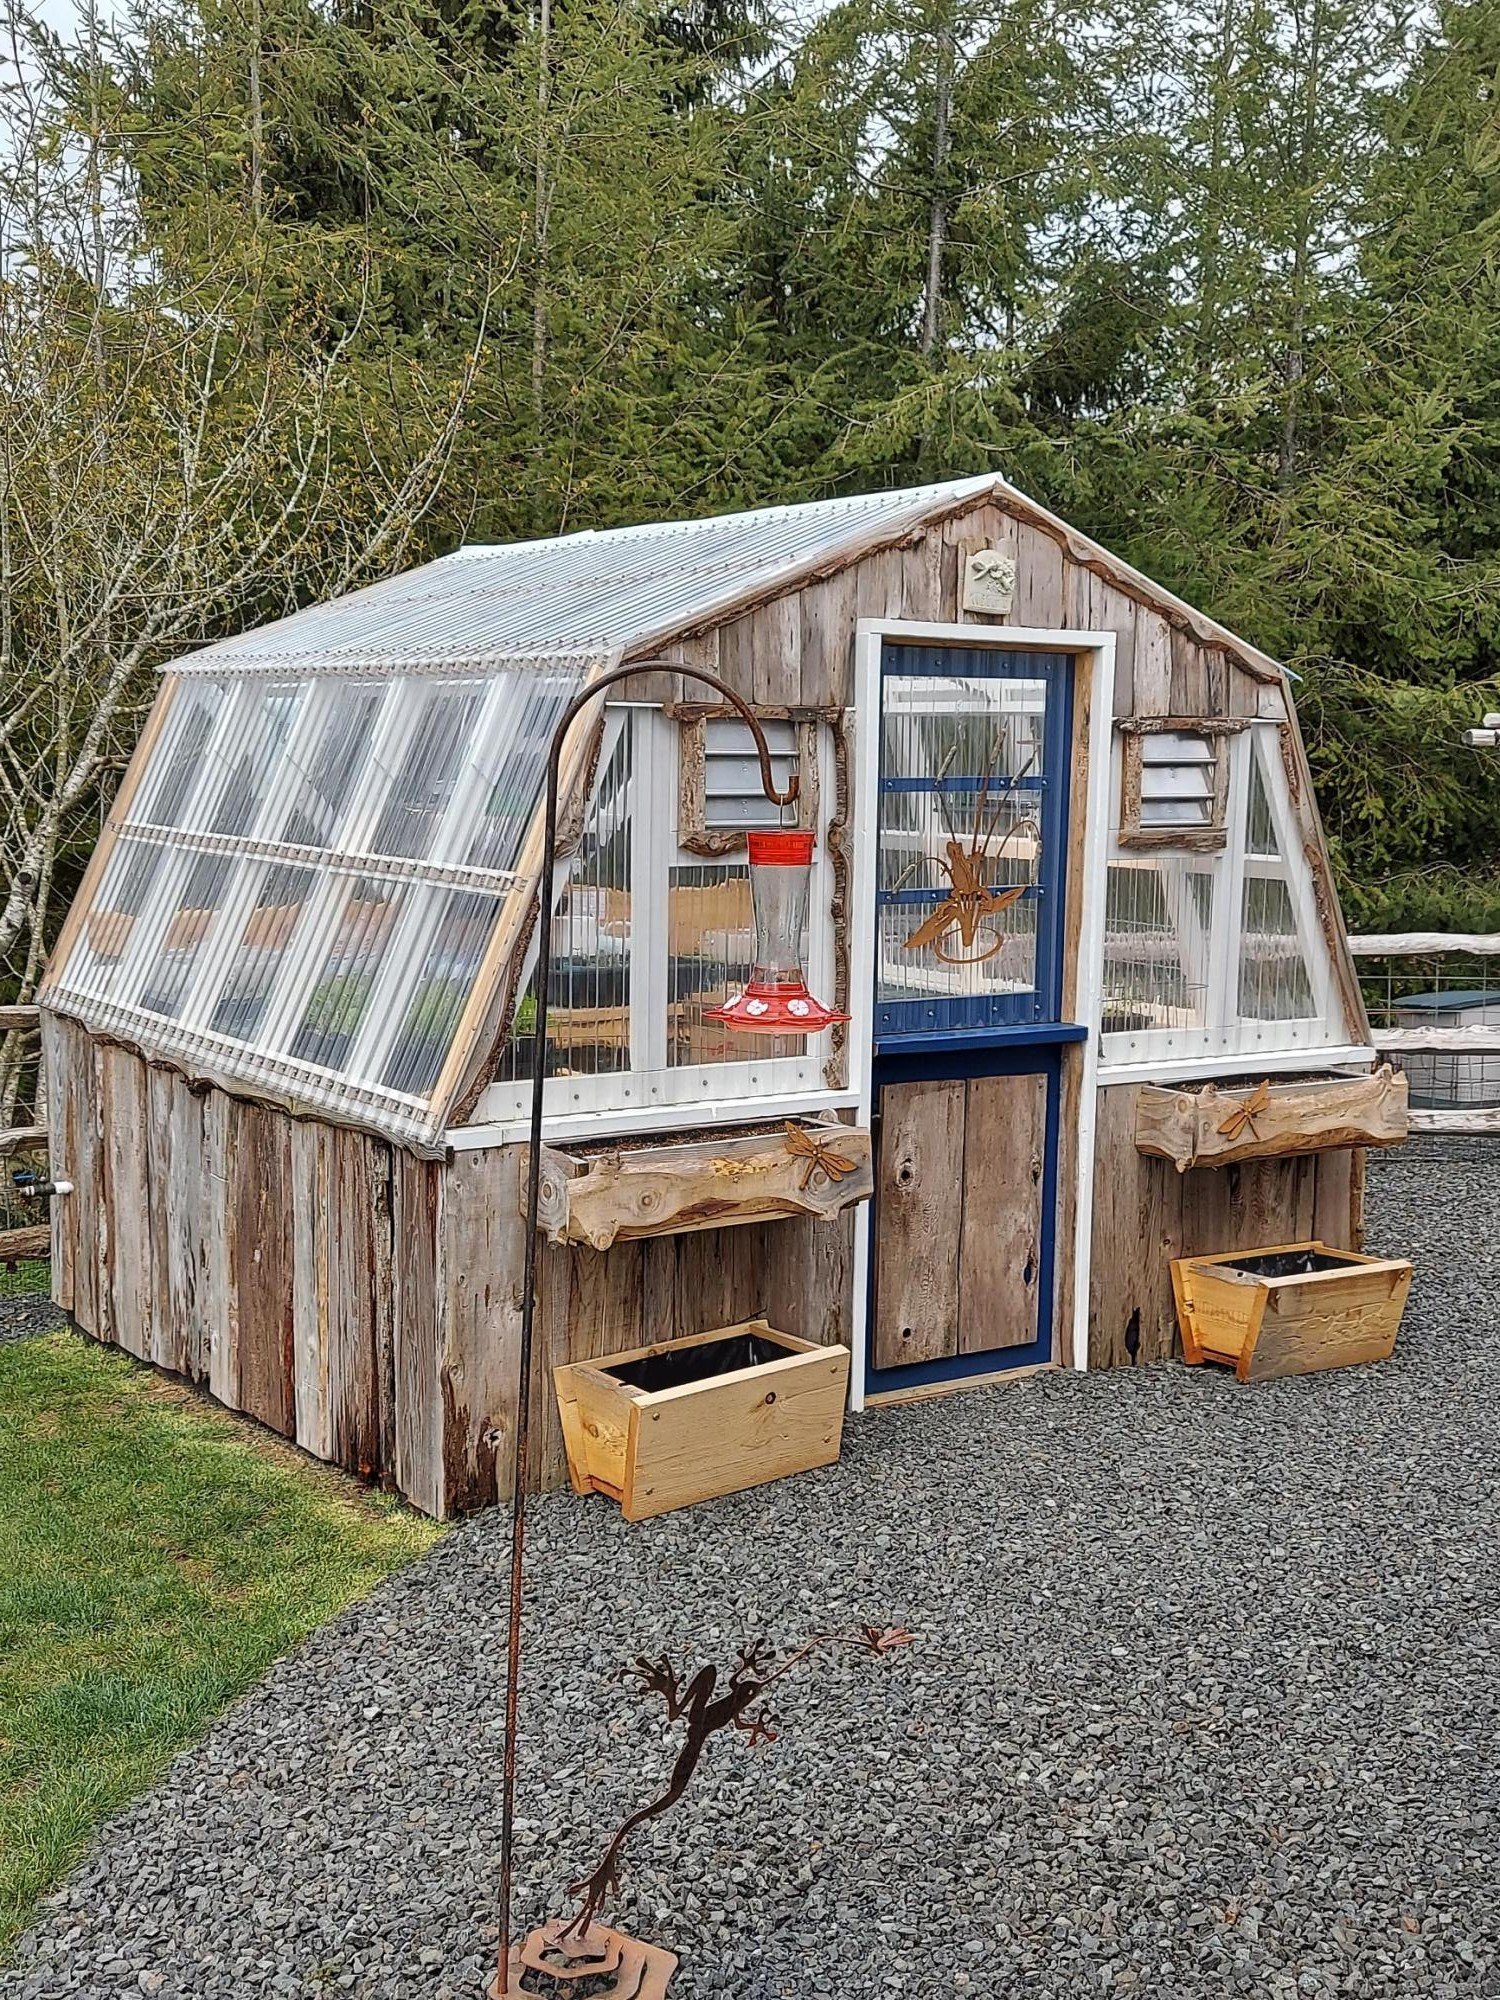
10×10 greenhouse made with re-claimed cedar boards from old barn on Menlo, WA

Thank you for sharing your plan!
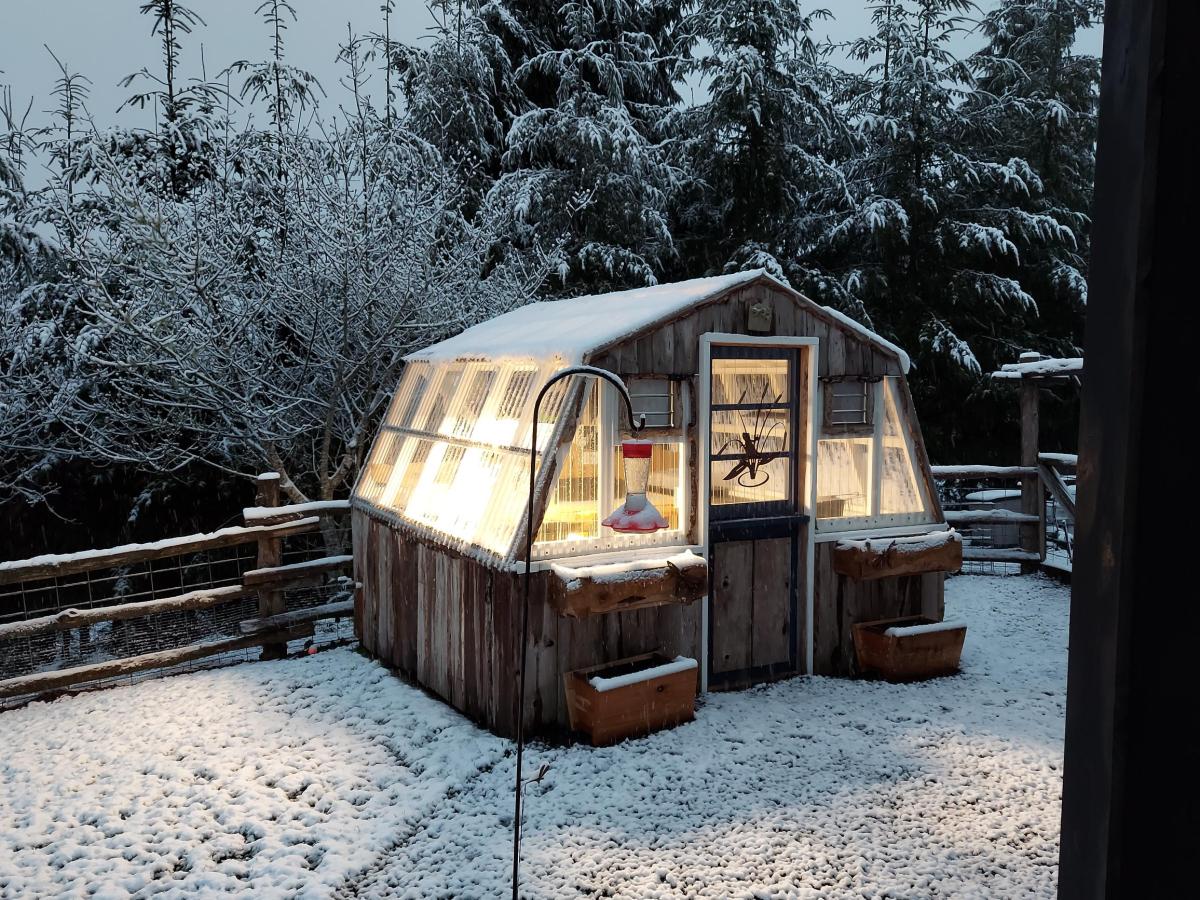
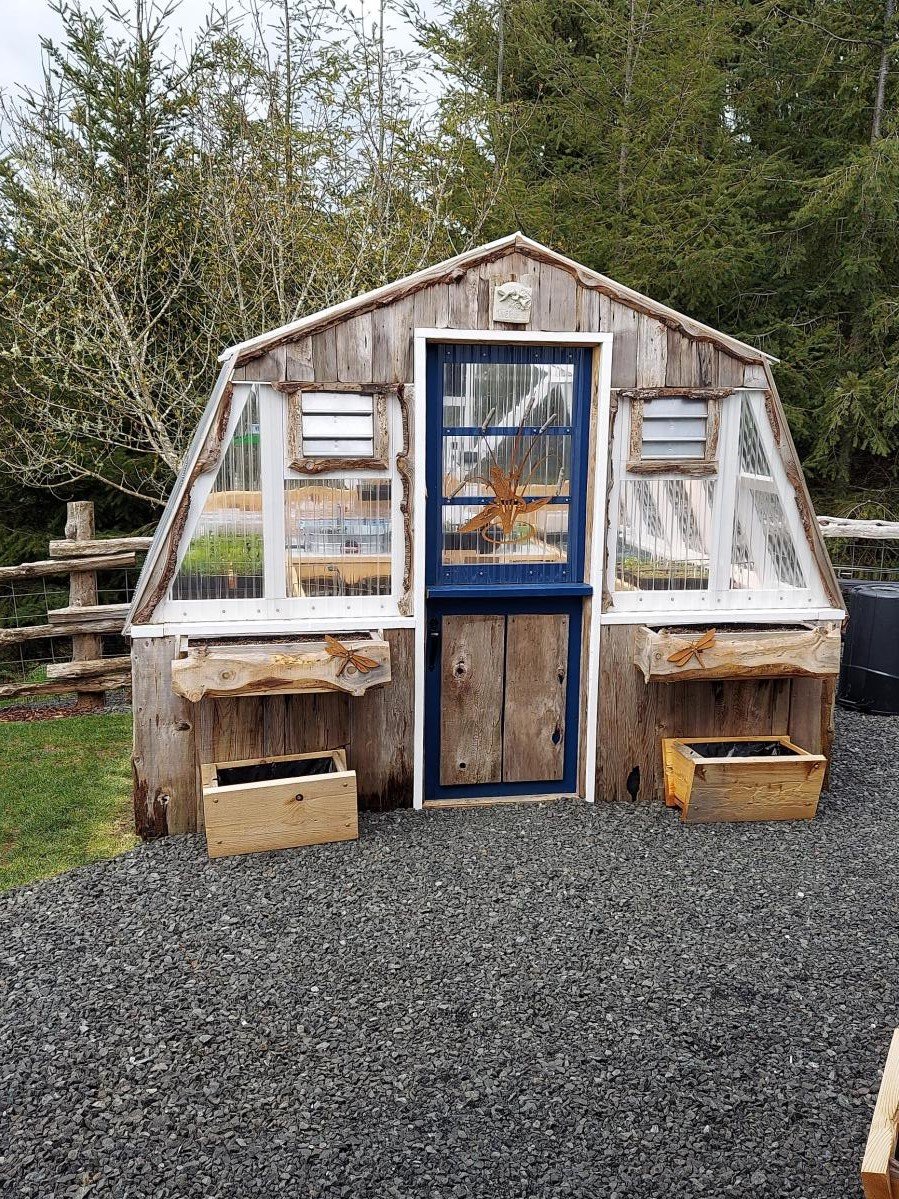
10×10 greenhouse made with re-claimed cedar boards from old barn on Menlo, WA


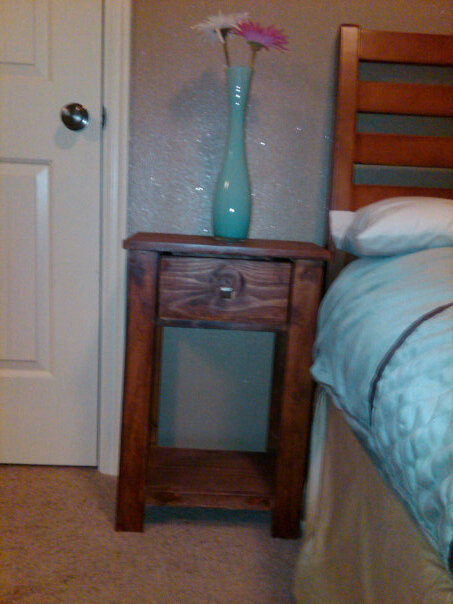
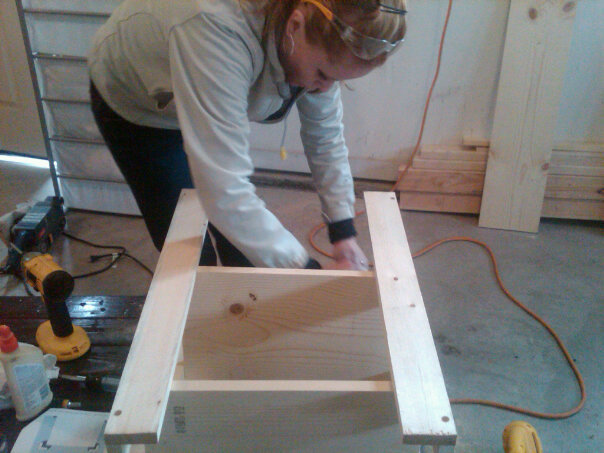
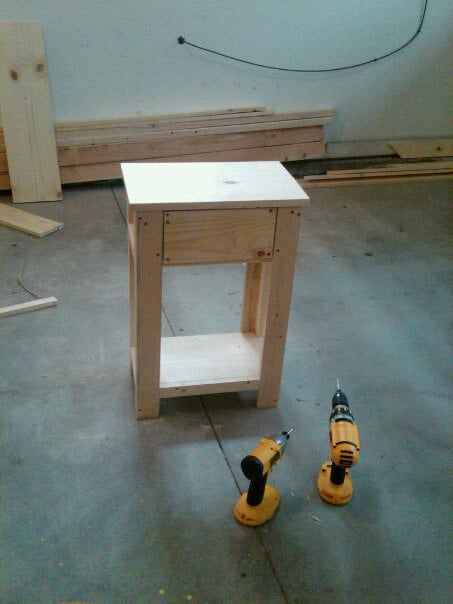
This was my first project, an introduction to saws and drills, after my pug ate a bag of chocolate that was sitting next to my bed. The plan was picked because it said "simple" and had a drawer to safely store remotes. And chocolate.
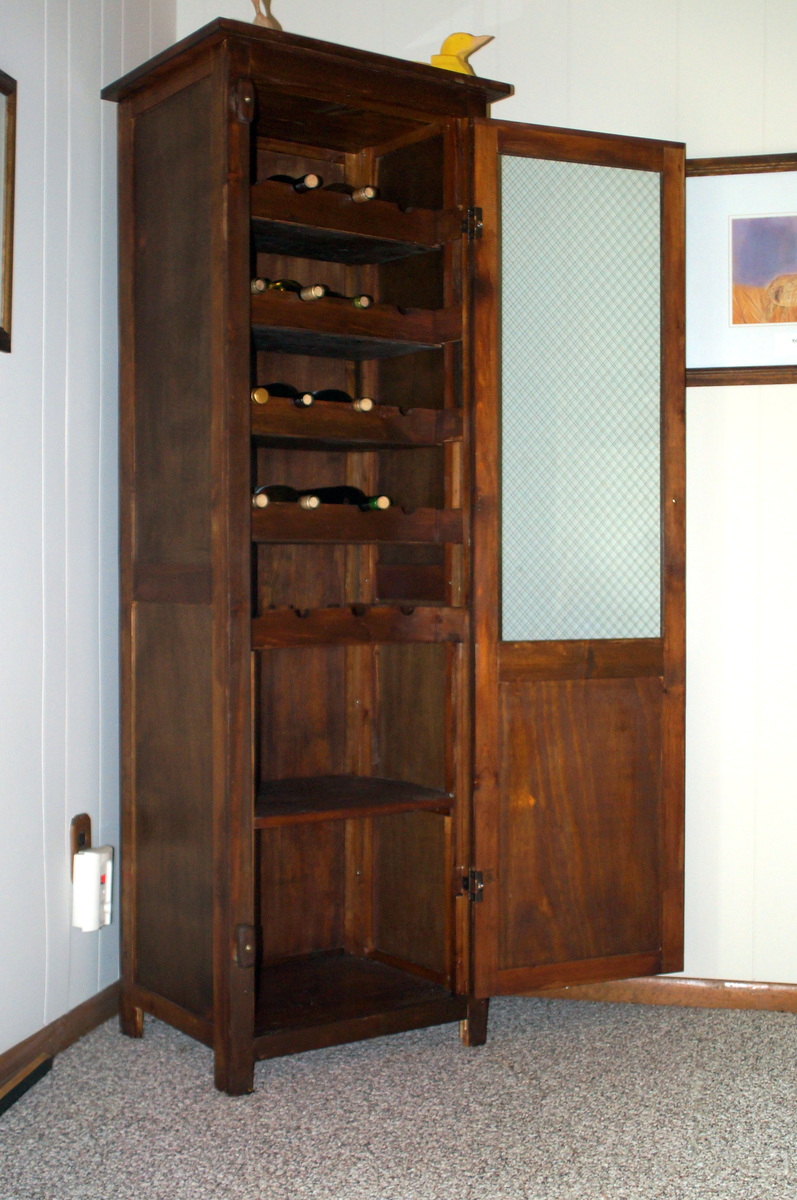
I made this wine cabinet for my daughter Alicia from a picture she sent me from one she had seen someplace
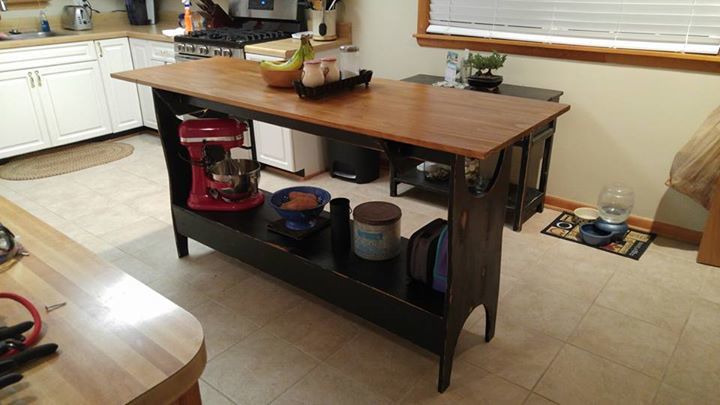
This was something my wife needed for the kitchen. I told her to find one that she liked and I would build it. This took about 6 hrs because I was building from a picture and no measurements. I dropped the shelf a little lower so my wife could store her mixer and stuff on it. Needless to say I think it came out pretty nice. We are still going to paint it and put one more coat of stain on the top.

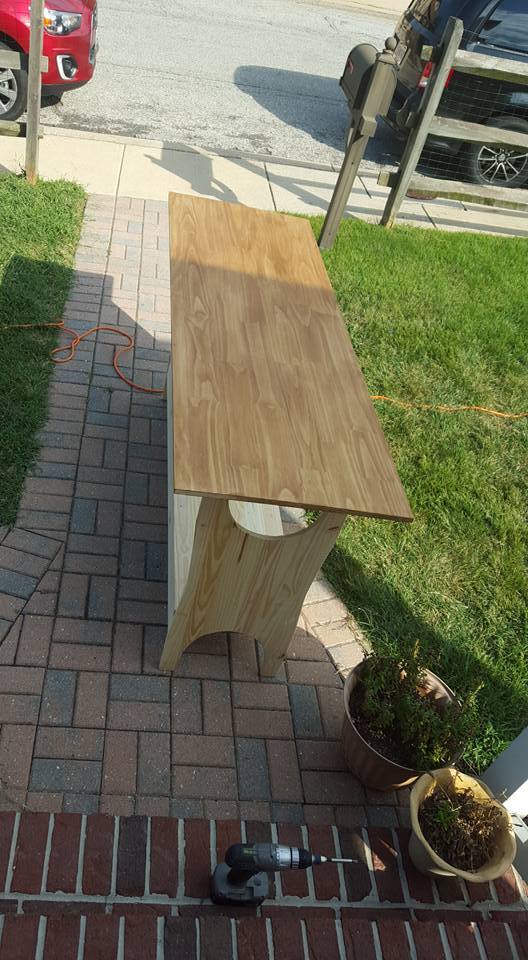
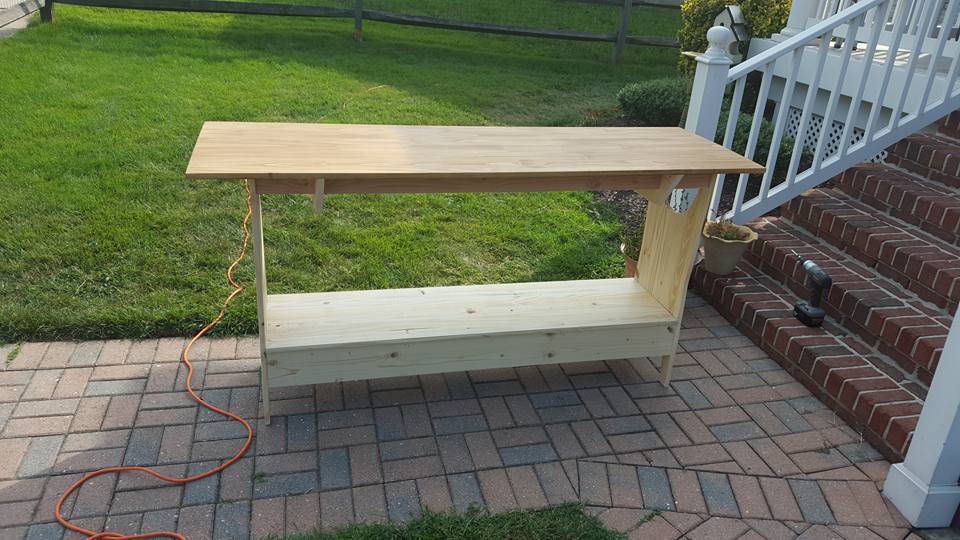
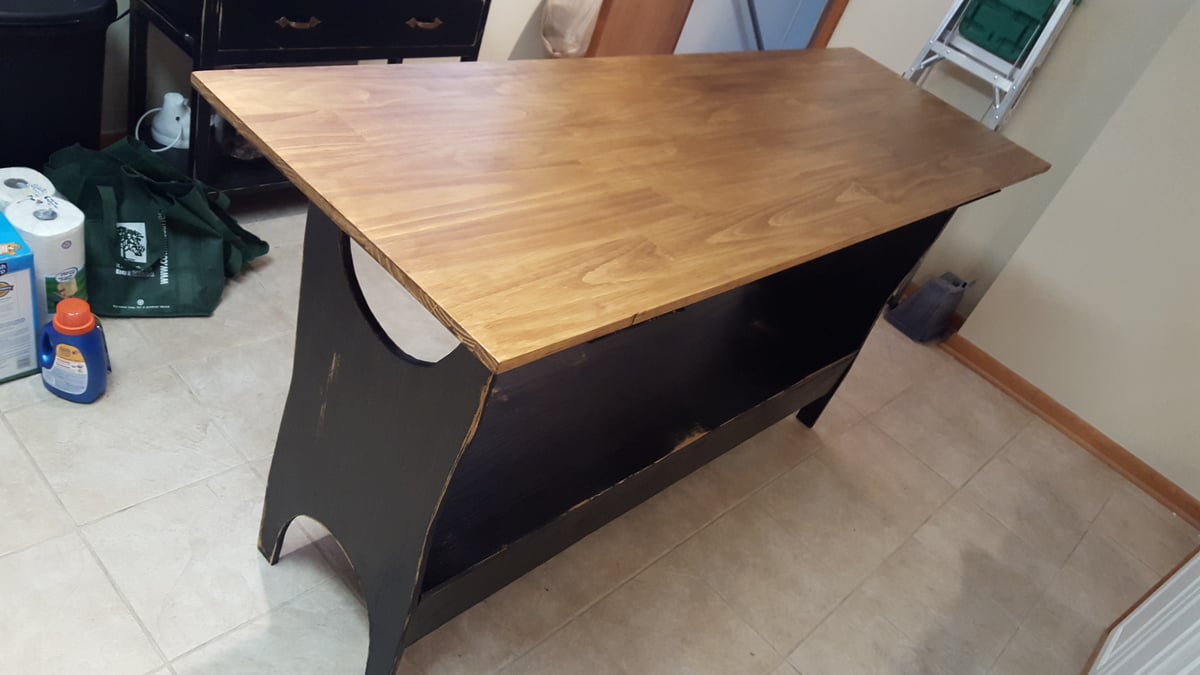
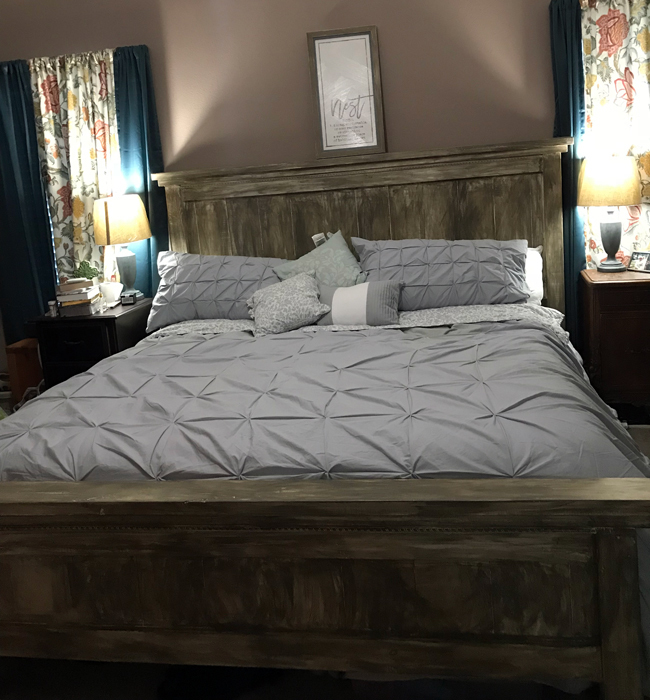
This was my first Ana White project and it turned out beautifully if I do say so myself!
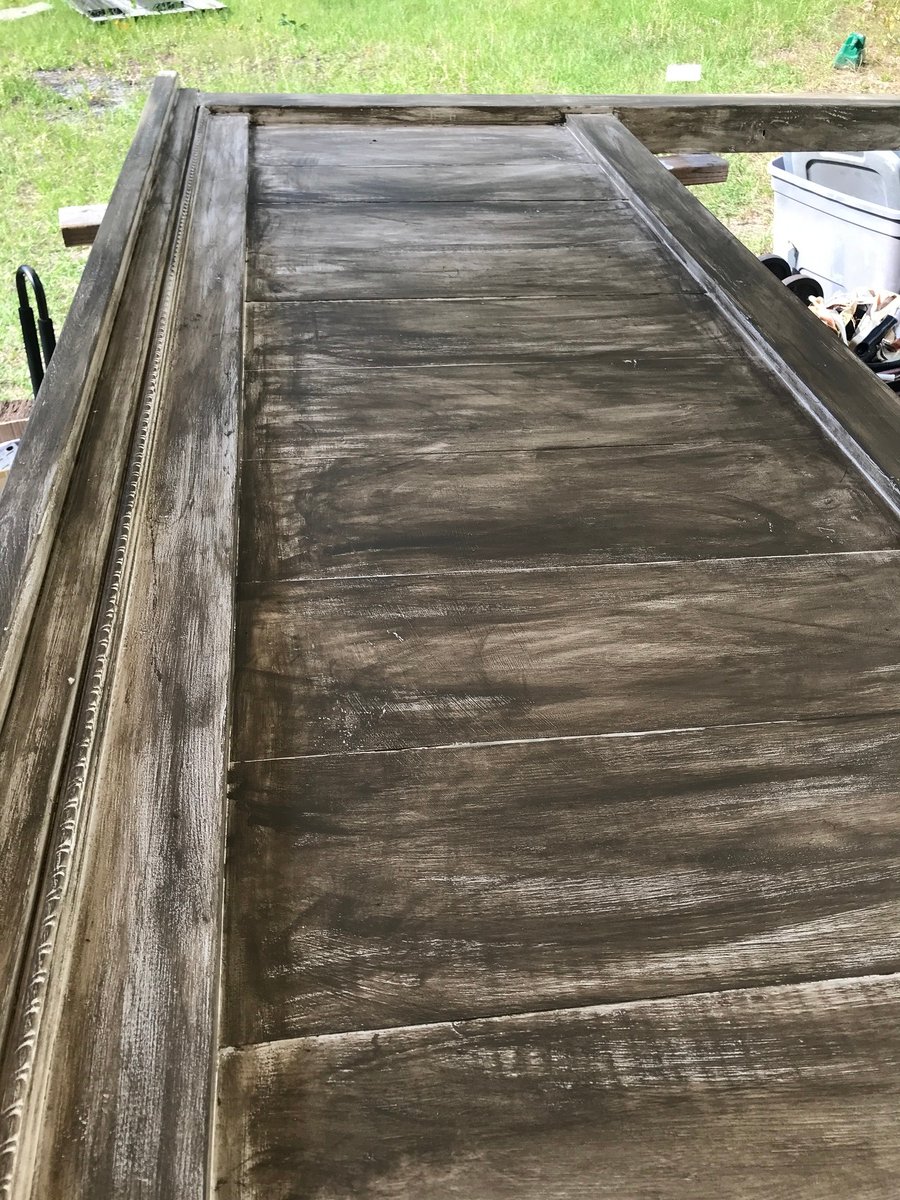
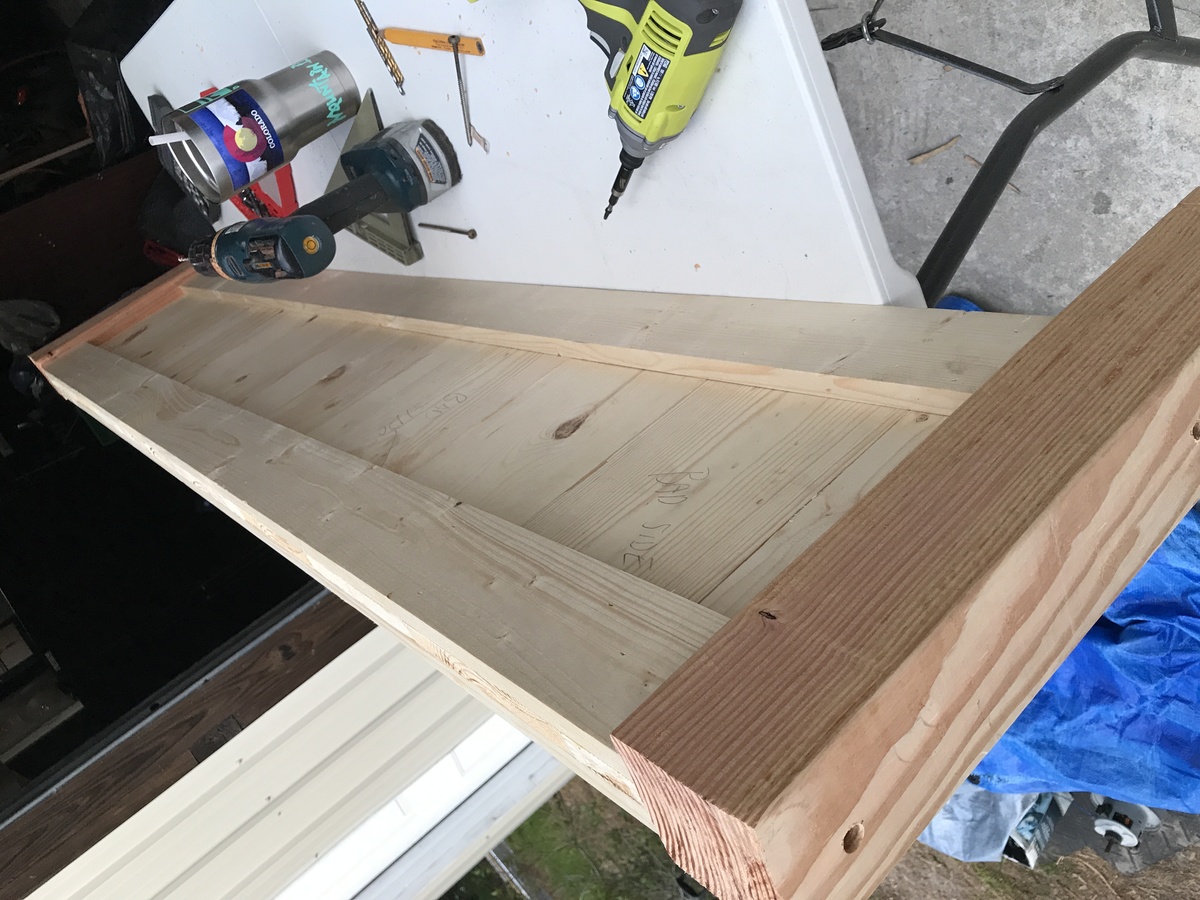
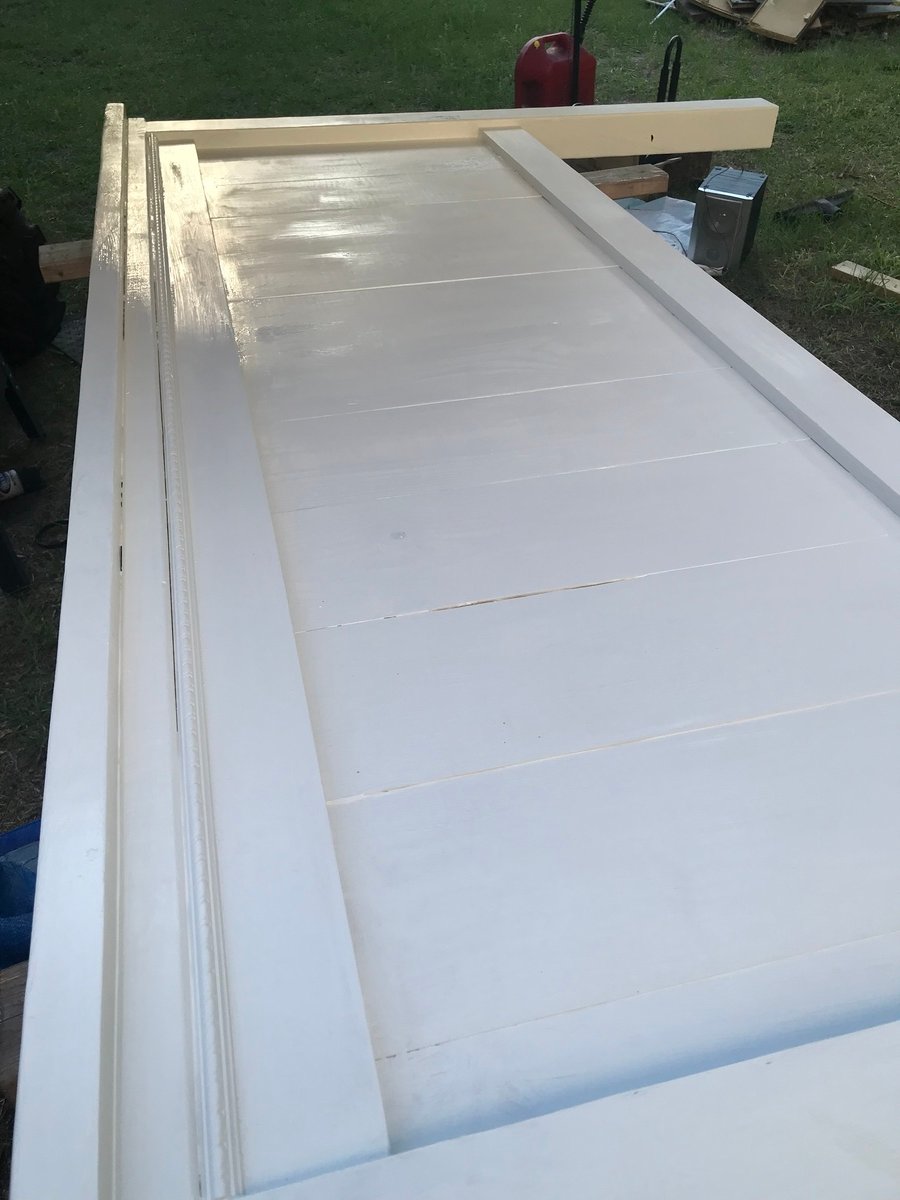
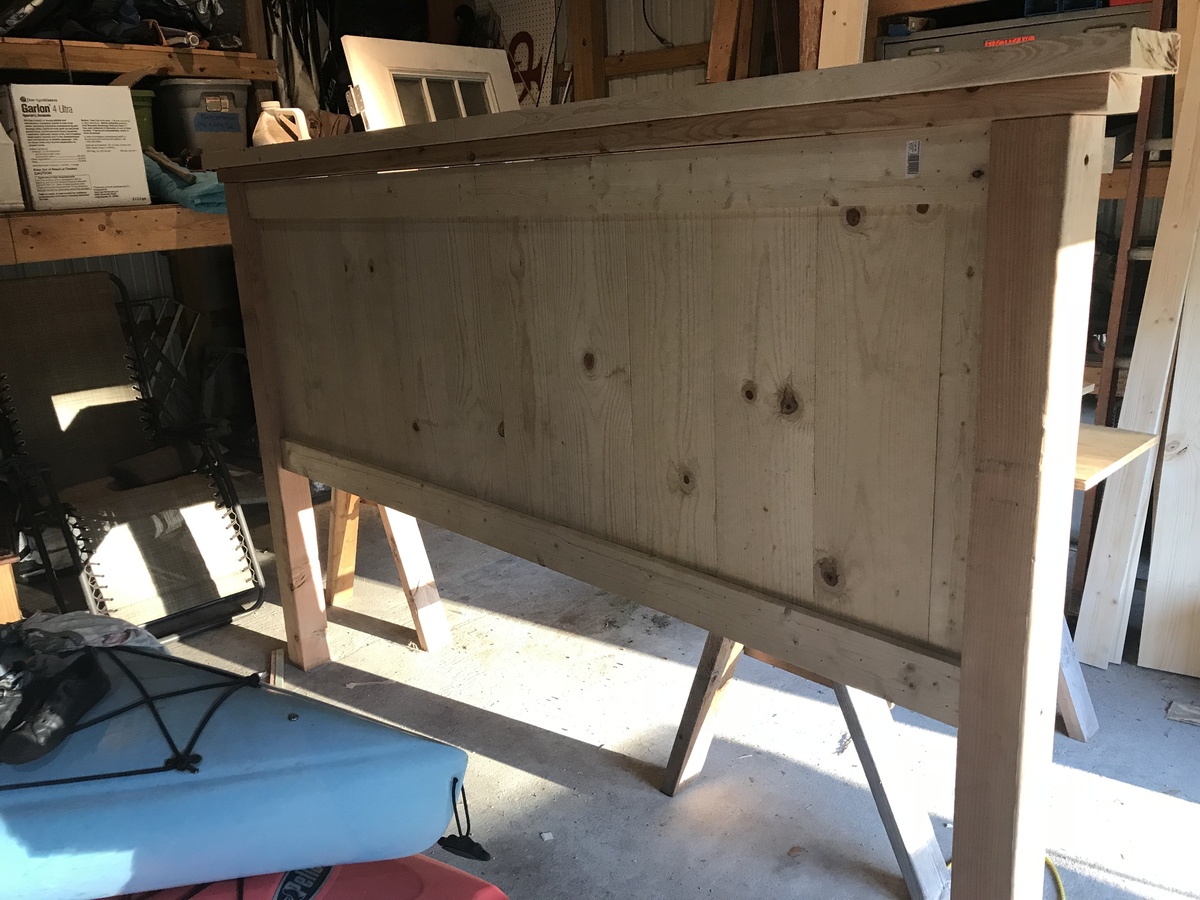
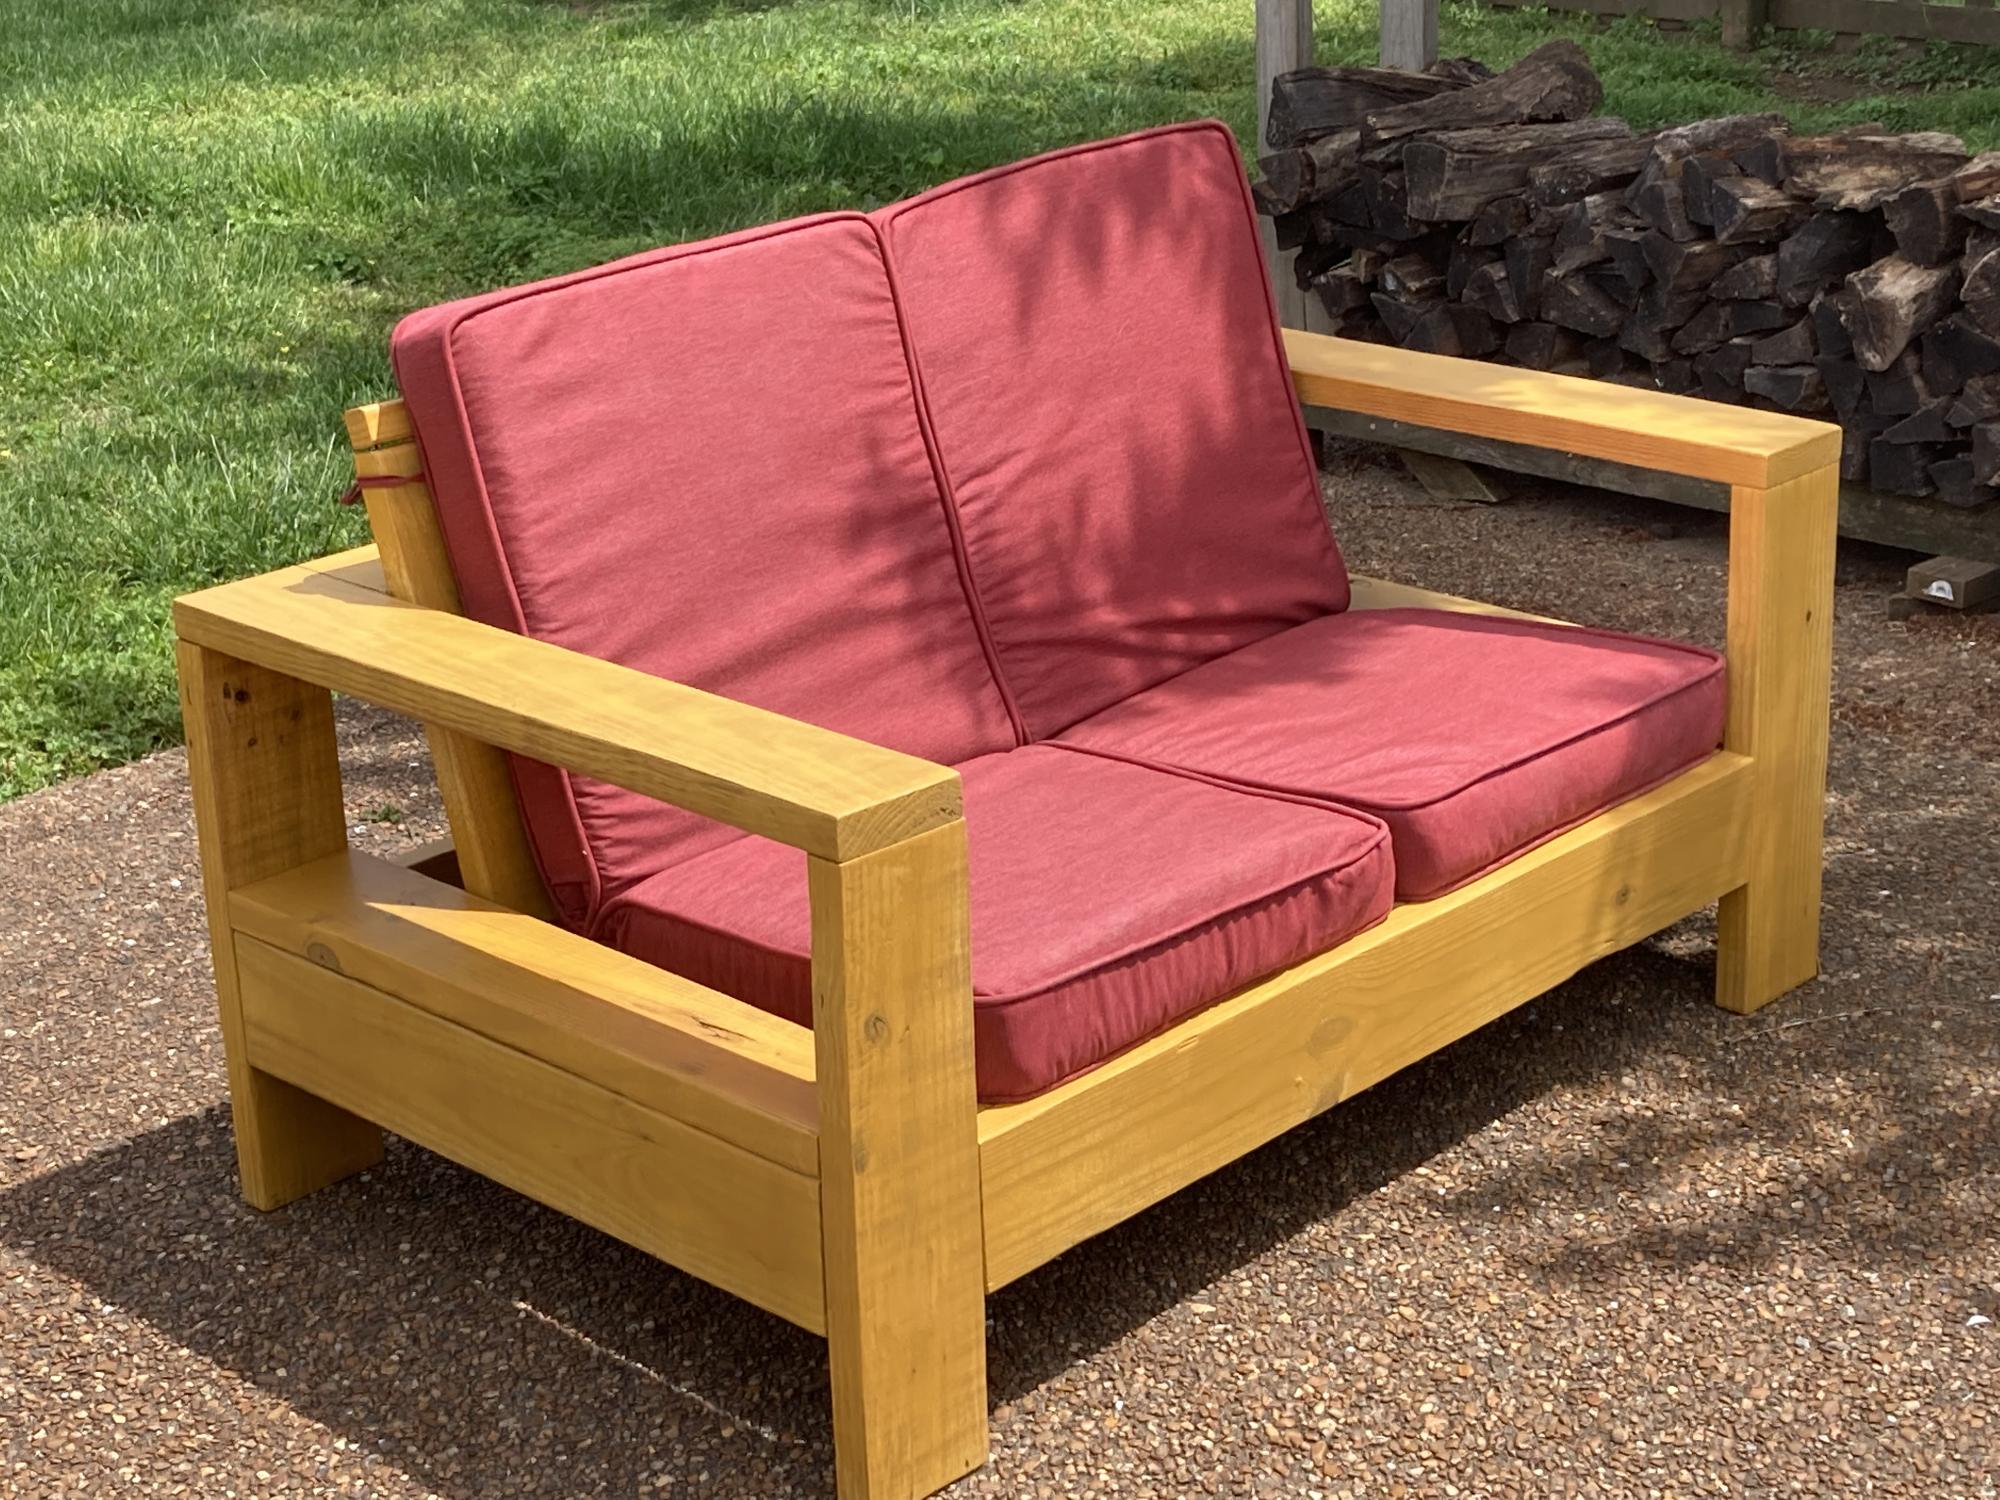
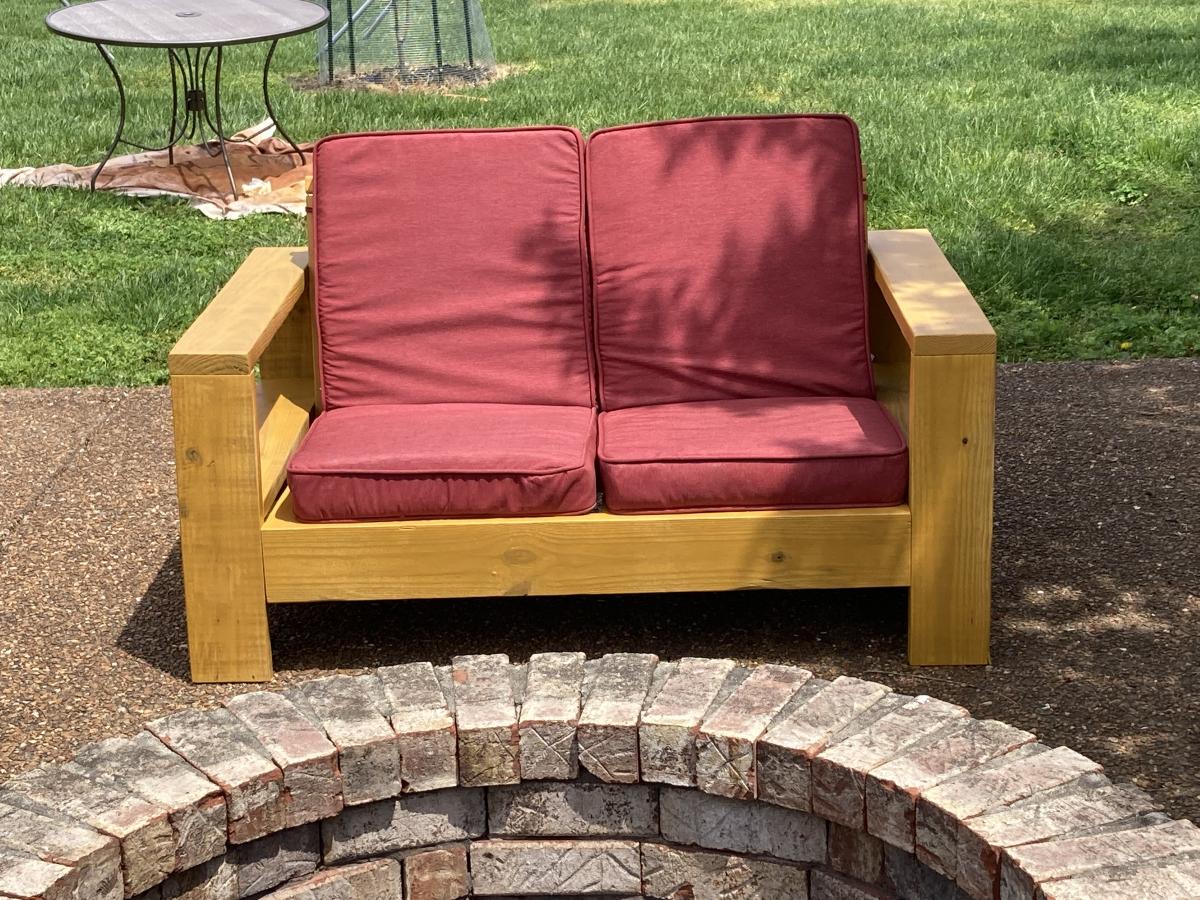
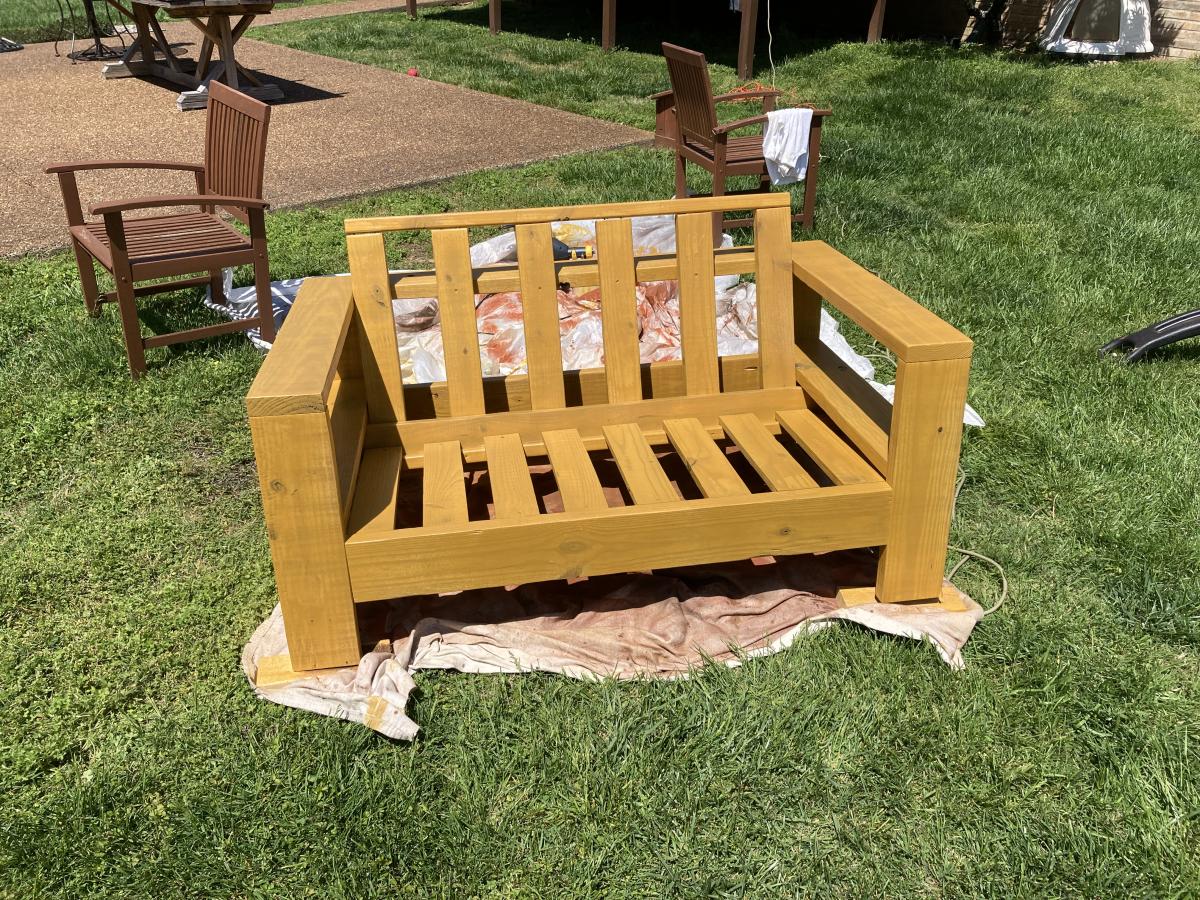
Built using 2x6 lumber leftover from repairing my deck. Definitely a sturdy build. Finished with honey gold Valspar stain.
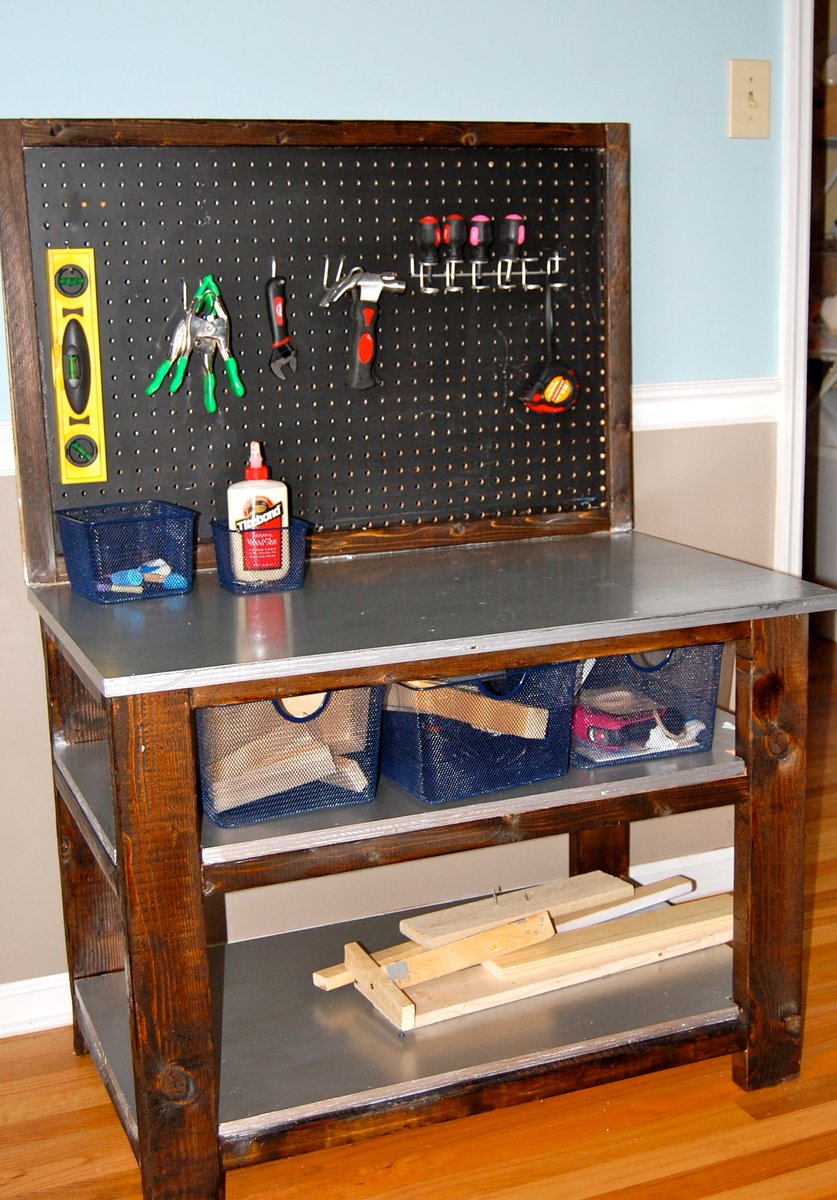
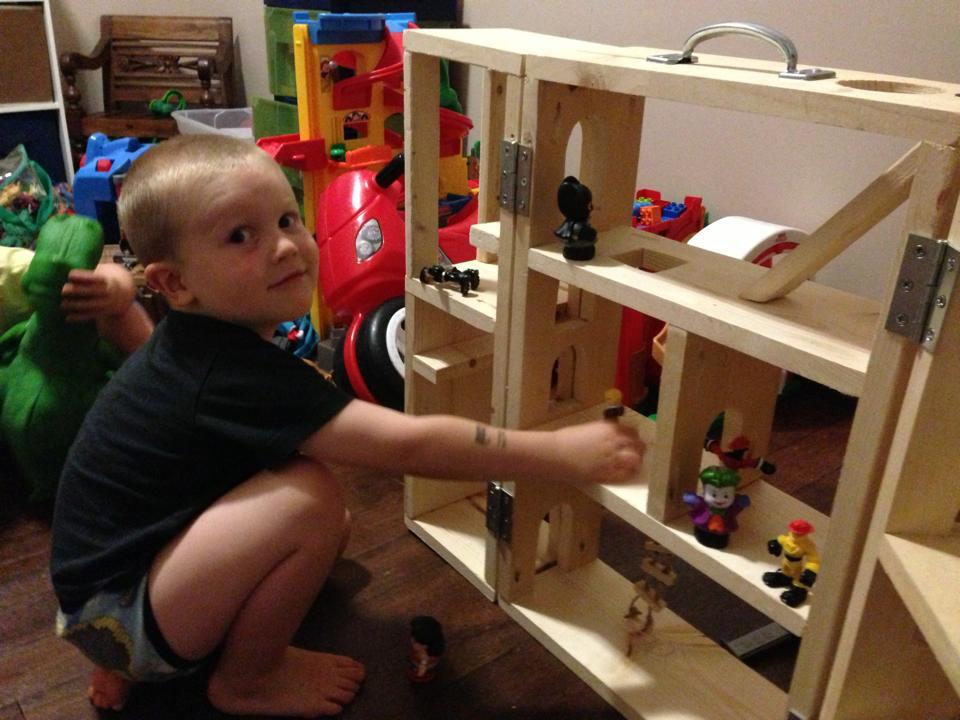
I made this workbench for my son's 5th birthday. It's a bigger style real workbench for kids. He also received real tools for his birthday. I modeled after a one that PBK used to sell.
Sat, 08/06/2011 - 19:50
This is perfect for my little boys, and I really want to build this for my son's birthday in September. I am just learning how to build though so I can't look at a picture and figure out how to build it. Would it be possible for you to send me the measurements and as much information as possible? You did such an amazing job.
Tue, 09/13/2011 - 20:39
Hi,
I would love to make this for my soon-to-be sever year old son, for his birthday. I'm a total novice where building something like this is concerned; any chance you could send me the measurements? Gabe would be so grateful!
Thanks again, and amazing work!
Denise
Tue, 12/06/2011 - 20:10
Desperately need dimensions for this in time for my son's 6th birthday in January. Can anyone help????
Tue, 12/27/2011 - 16:12
This is an awesome workbench!!!! My husband and I would love to make this for my sons seventh birthday. If possible could you please email me the dimensions and details foe this project. I love your work and creativity!! Thanks for the inspiration!!!
Sun, 03/04/2012 - 11:45
My 6 year old is begging me to make this for him,
Can anyone send me the specs or dimentions/ directions?
I think he has more building skills than I do.
Wed, 08/22/2012 - 05:52
Hi. Love your mod using the pegboard. Can you please tell me exactly how you put the frame around it? Did you sandwich between two trim pieces or router in a grove for it to sit? Thinking of making some of these in the smaller size for a craft show so any tidbits to make it go faster would be much appreciated!
Fri, 05/24/2013 - 07:48
I would love the plan details for this workbench.
Are they available some where on your site?
Thanks!
Tue, 05/28/2013 - 07:24
I would love to make this for my son for his birthday. He would be thrilled! Could you please send me the plans/dimensions?
Quick and simple little picture frame.

My mom had been wanting a corner cabinet in her dining room forever but every one we found was mad expensive. So I built her one as a gift. She loves it! I used left over paint from her dining room walls so the colors match exactly.
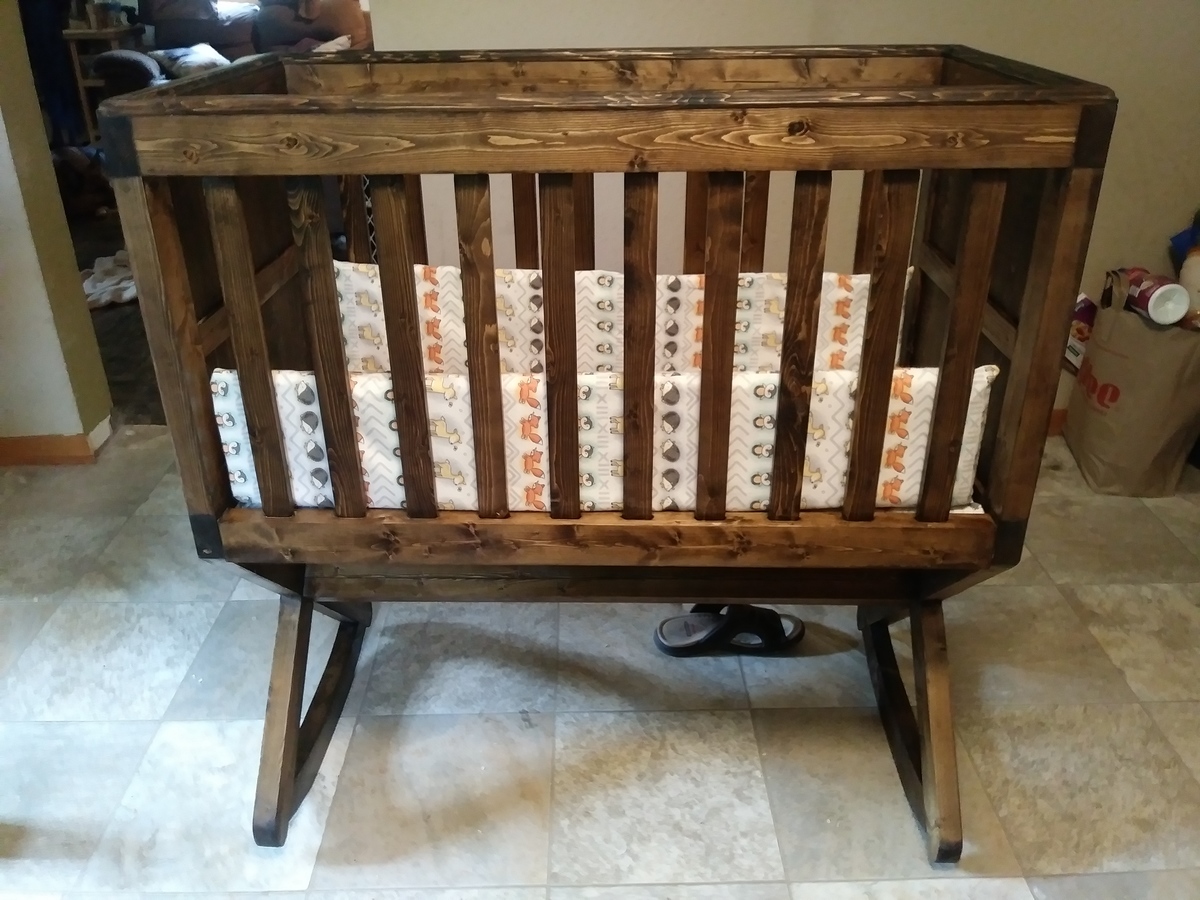
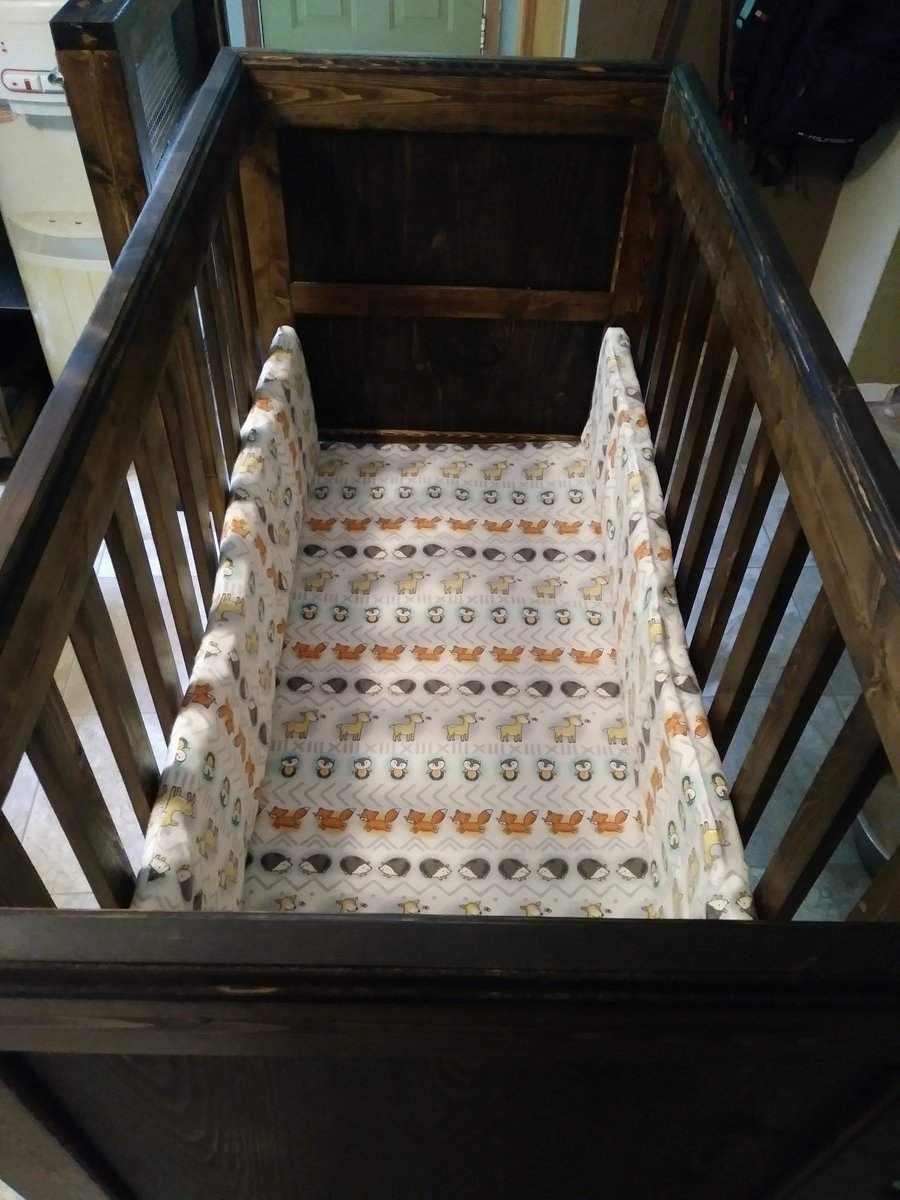
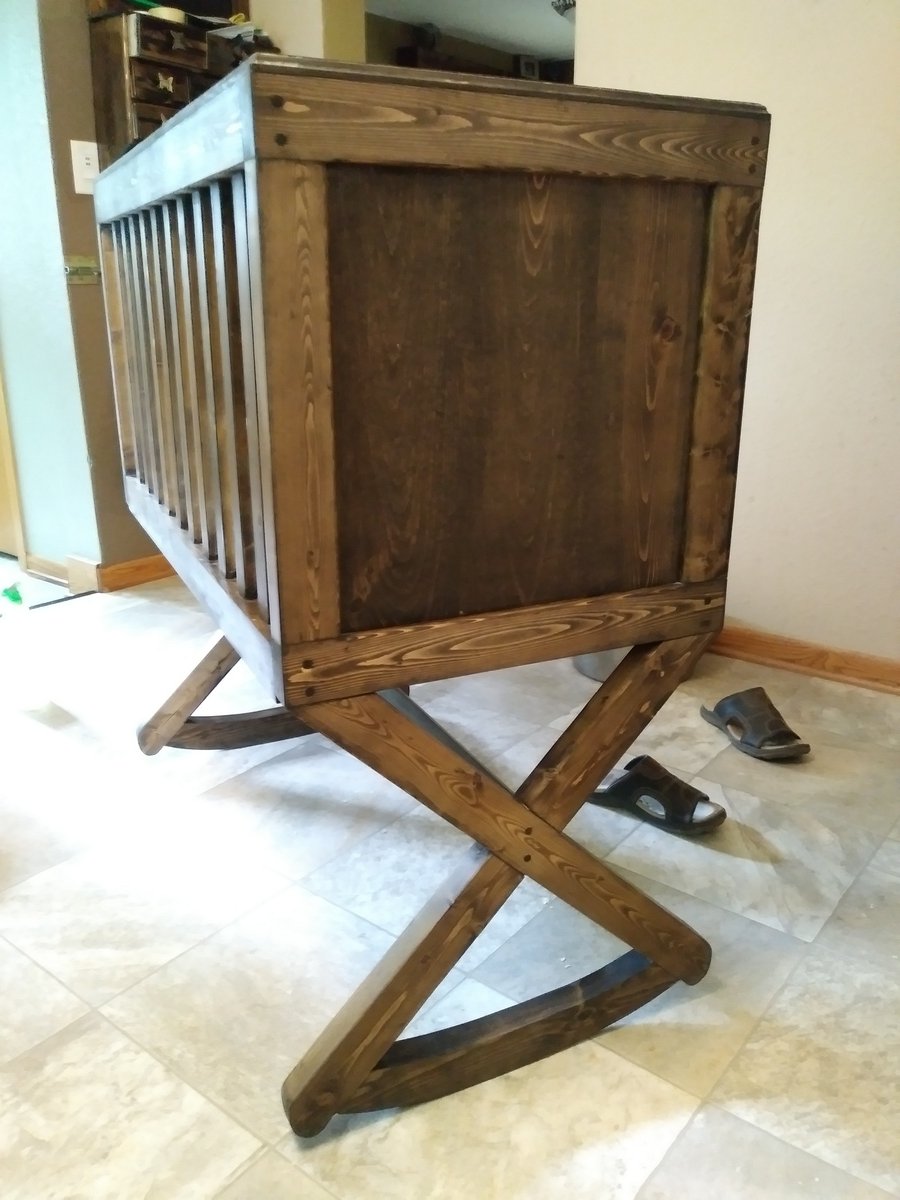
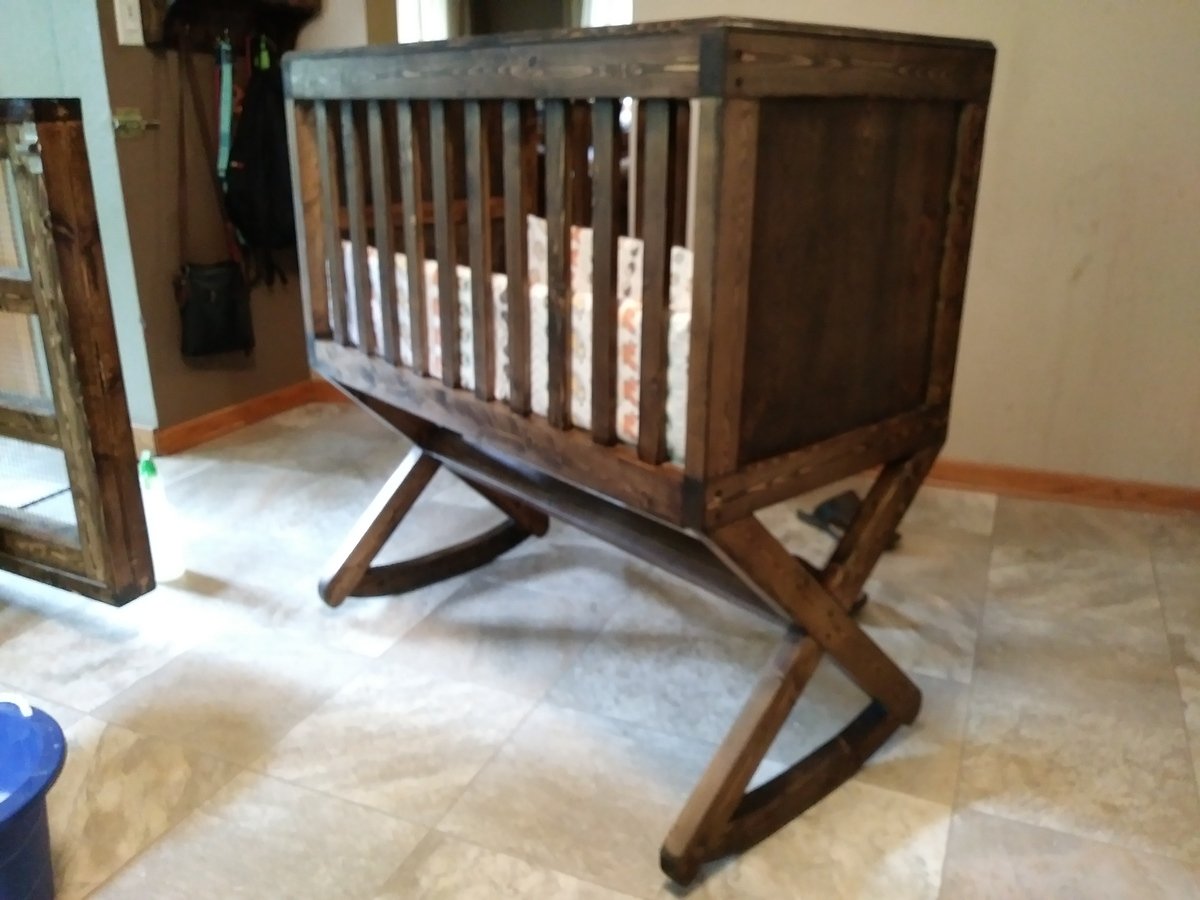
My nephew and his wife are expecting a new baby. This is my e-husband's nephew and we wanted to do something different than I have ever done so the former in-laws wouldn't recognize the work. I sent them several pictures and this is the one that they choose. I drew up simple plans and put one together. I didn't like the first one so I built this and I absolutely love it. It took me 1 full Saturday, a week of breaks (I come home at breaks from work to work in my garage), an hour each night and a few hours the second Saturday. The hardest part was making the holes for the slats. I used a 1/2" auger bit to make 3 holes and then used a carving tool to make them the right size. It felt like it took forever. Lots of router work but I think this is the best thing I have made thus far.

Made Ana White planter
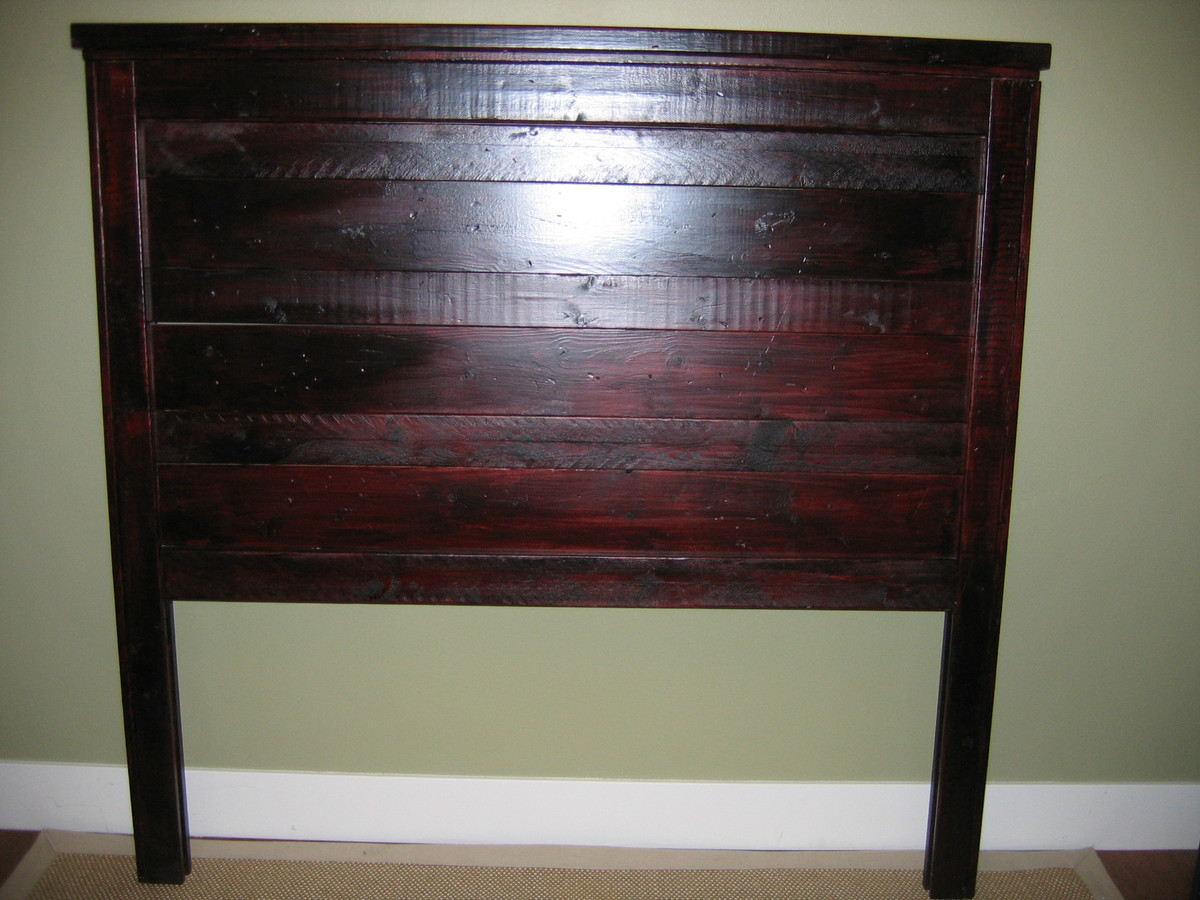
This was actually my first build. I had just about had it, went with all three kids, got the wood, and built it while my hubby was at work (24 hr. shifts at the fire station). And yes, that was after I finally Googled, "How to unlock a Dewalt Compound Miter Saw" after 30 minutes of unsuccessful prodding! :-) I'm super happy with how it came out (despite the poor flashy picture)! And it was great "practice" for doing my girl's farmhouse beds.
Sun, 05/20/2012 - 22:18
I think it is beautiful! I love the stain! This was my first build also, I used old red barnwood, but a friend wants me to build her one, so I'm thinking about going with the same finish you used, absolutely gorgeous!
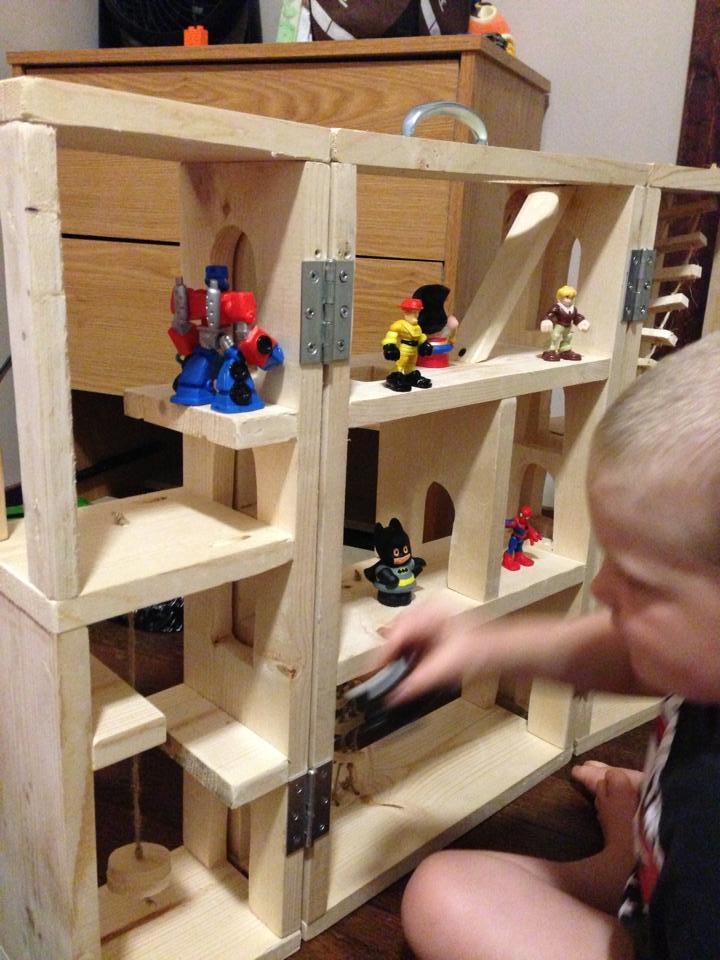
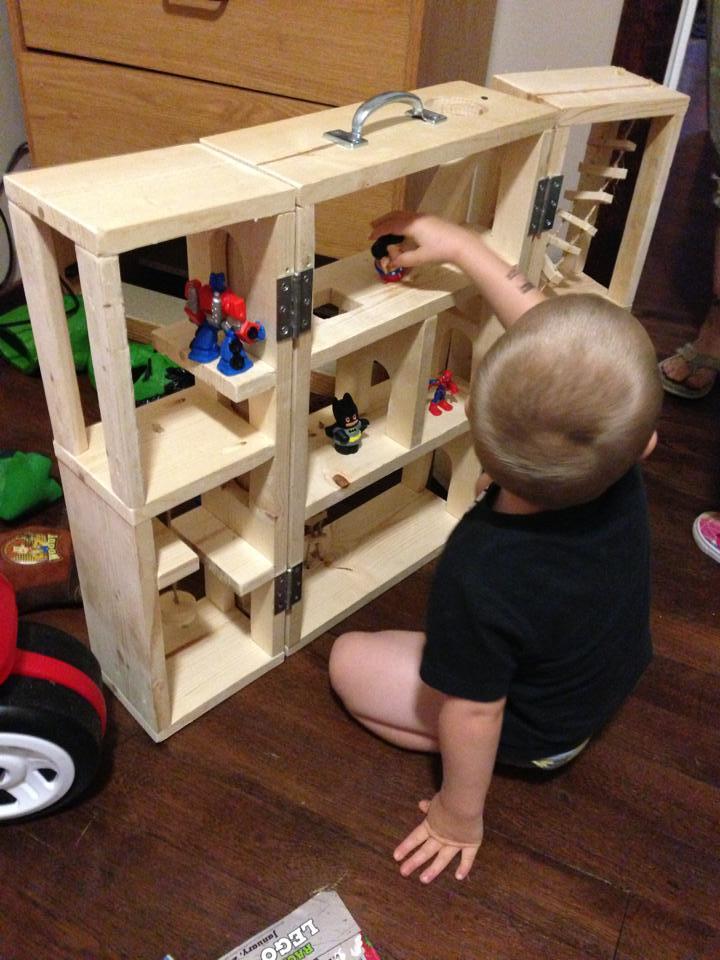
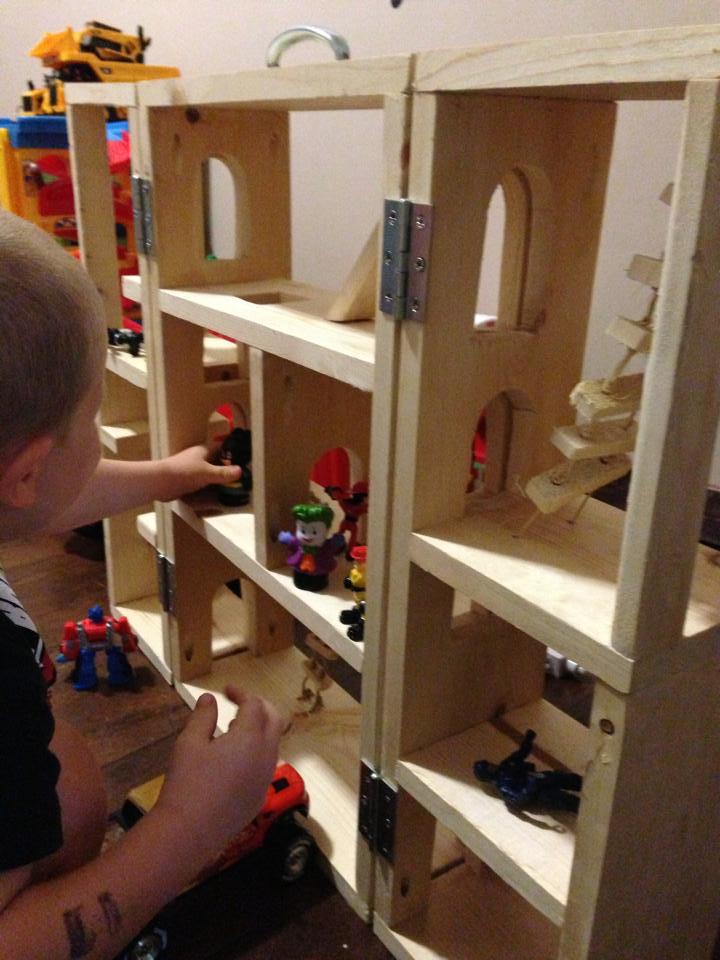
This was hard for me because I am horrible at using the jigsaw. If I do another one I'll probably not do as many door openings.
It took longer than expected due to filling in all the pocket holes an waiting for the wood filler to dry.
My grandson loves it, he didn't care about my mistakes on it.
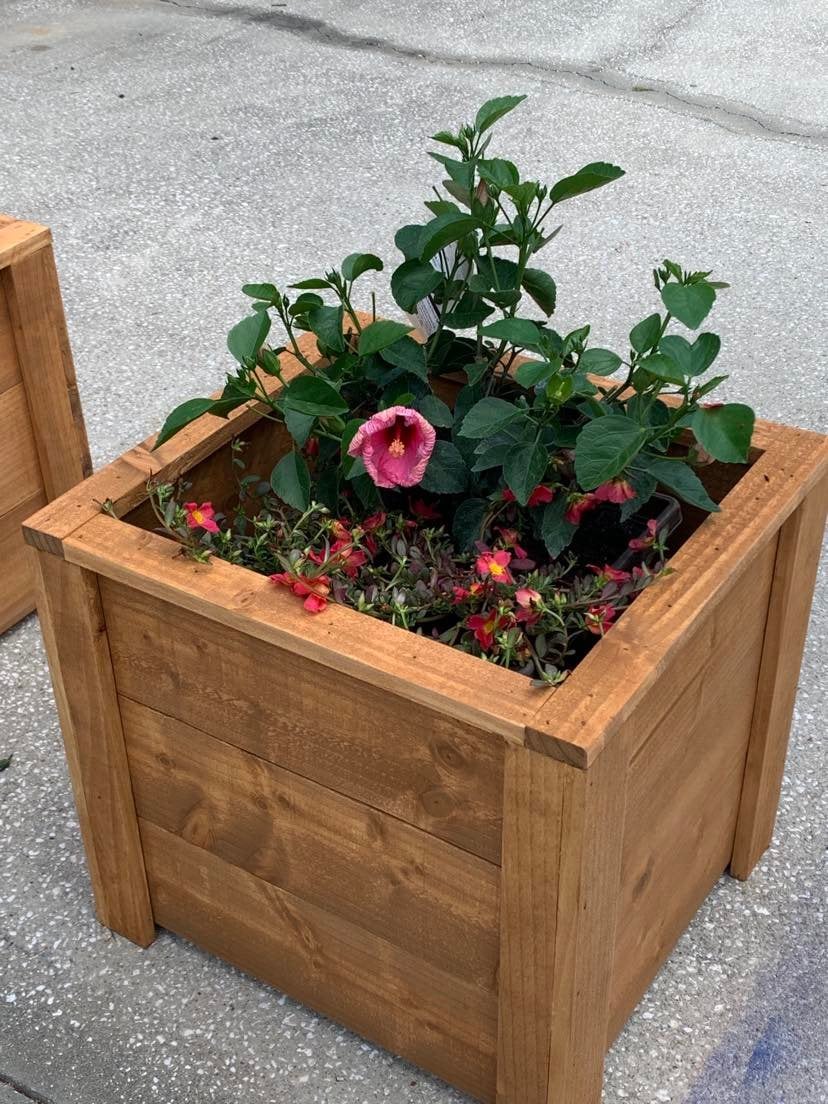
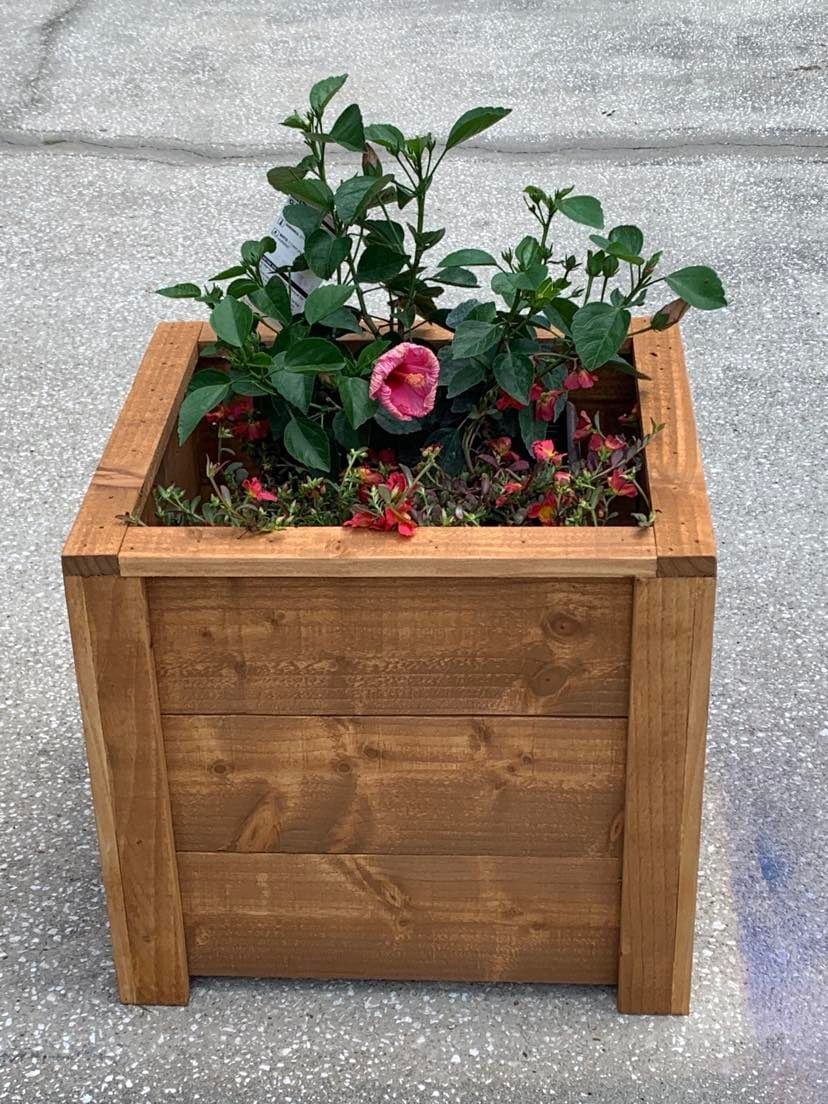
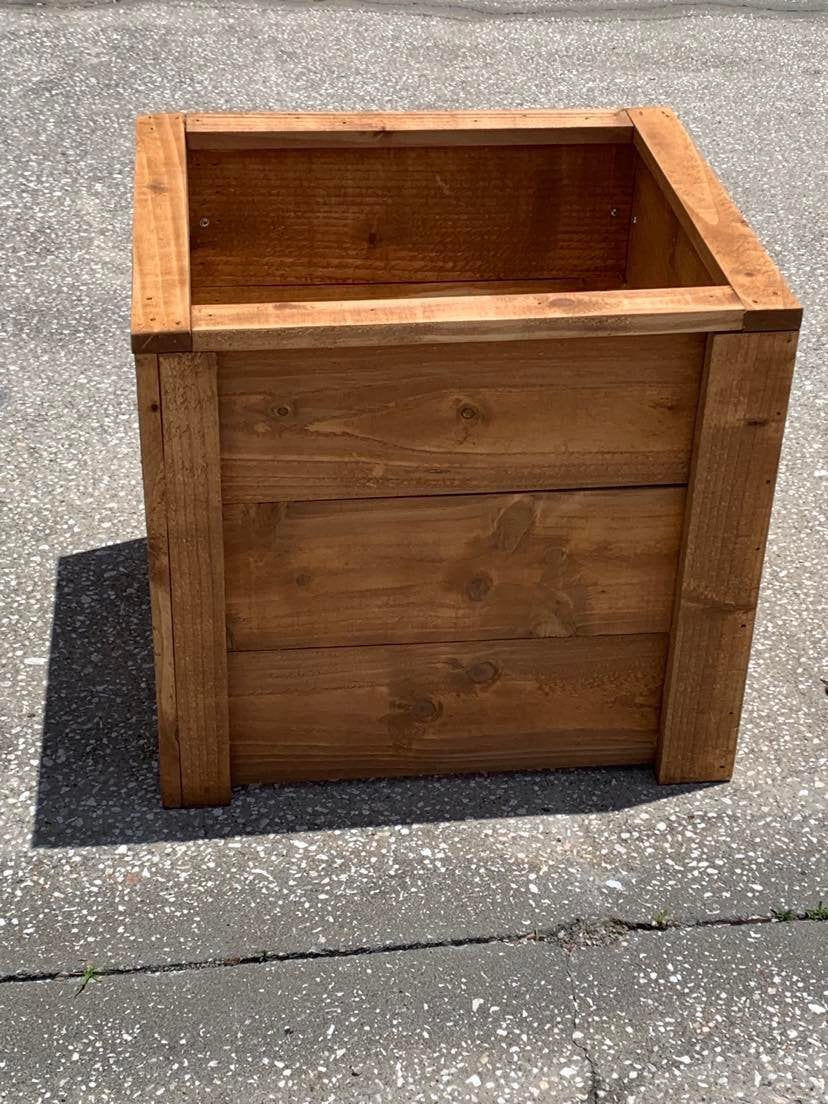
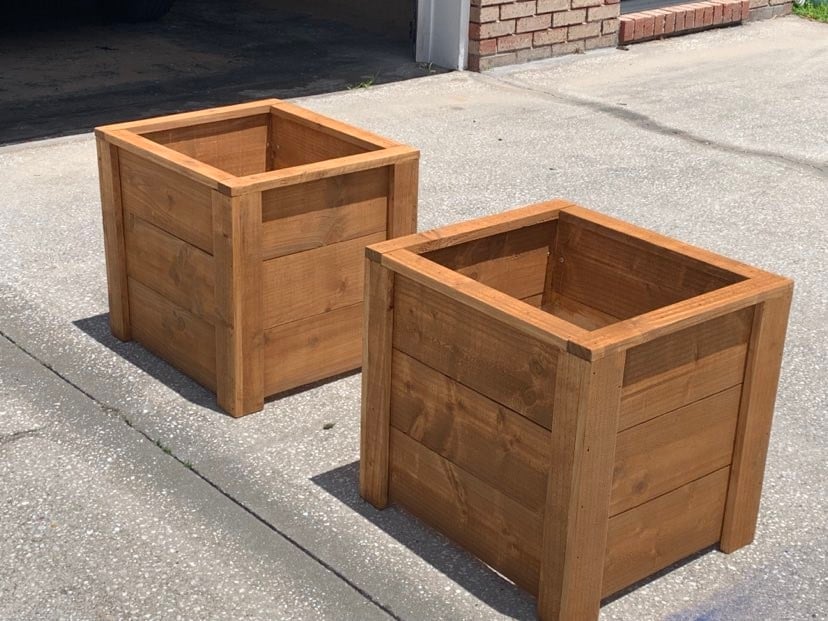
Thanks Ana, I built your planter box, actually built 2 of them, one for each mom. The were a huge hit and I already have people asking me to build them one.
So loved building this planter box. Thanks for all you do for your fellow woodworkers!
Dale G
Callahan, FL
Tue, 05/10/2022 - 07:05
Love these, wonderful idea for a mother's day gift, thank you for sharing!
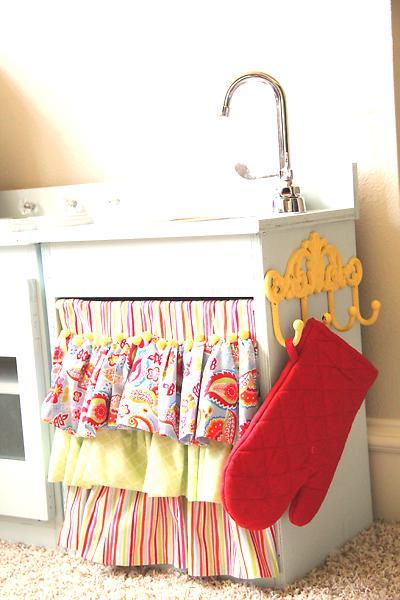
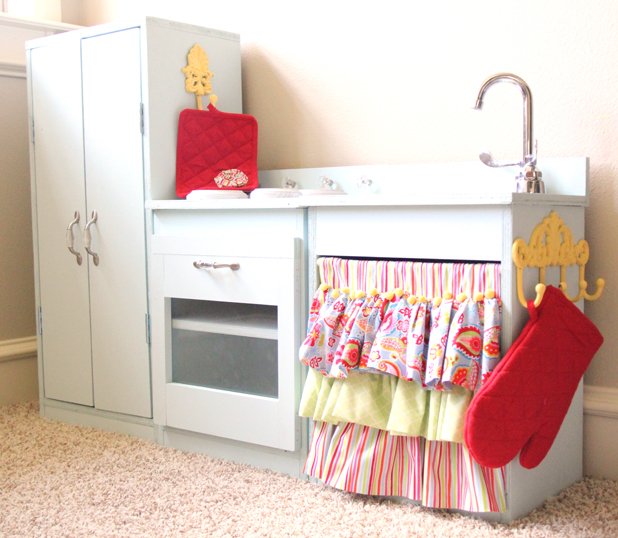
I used Ana's plans for the play stove, fridge and sink. I LOVED Crafting Chick's take on it so I copied her great accessories. I found my knobs at Walmart and my hooks at Hobby Lobby. I also found the fabric at Hobby Lobby. I used 3/4" hardwood plywood, but if I could do it again I would have used MDF. It's much smoother! I still love it though! Oh... So do the kids ;-)) You can read more details at http://www.shanty-2-chic.com/2011/07/play-kitchen-reveal.html.


Thu, 12/22/2011 - 16:05
Hi! We are building this kitchen right now and can not figure out how to mount the hinges!
Not sure what kind of hinges you used? we bought some regular door hinges but they are only able to mount to the outside of the doors. please help. thanks!
We started with the bench as a weekend project. After counter-sinking and filling all those screw holes we borrowed a Kreg jr and took onothe table project. However we ended up countersinking the top boards for the table as well; it was easier for us to visualize the spacing between boards and make sure everything was as square and level as we could make it... We used behr paint and primer in one in a satin finish and opted for a punchy green to brighten up our courtyard.
We plan to build another bench since it will tuck in nicely under the table when not in use, and we can pull the table out and use the bench when we need more seating.
We love our new outdoor furniture!! Thanks Ana!
Took me a bit longer since I had to make a new cutting list as my table was smaller. Plus, the wife wanted a really dark rich stain on it so several coats went into the stain.
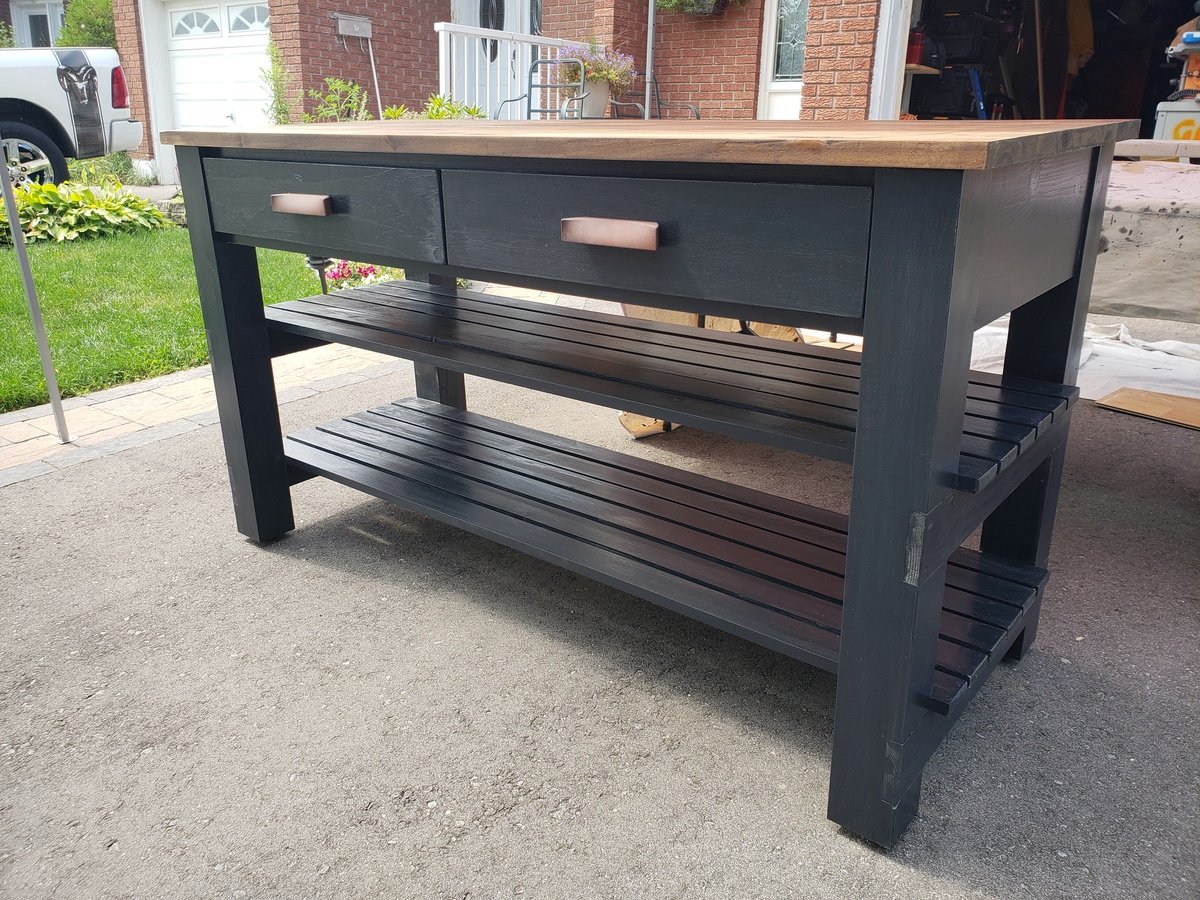
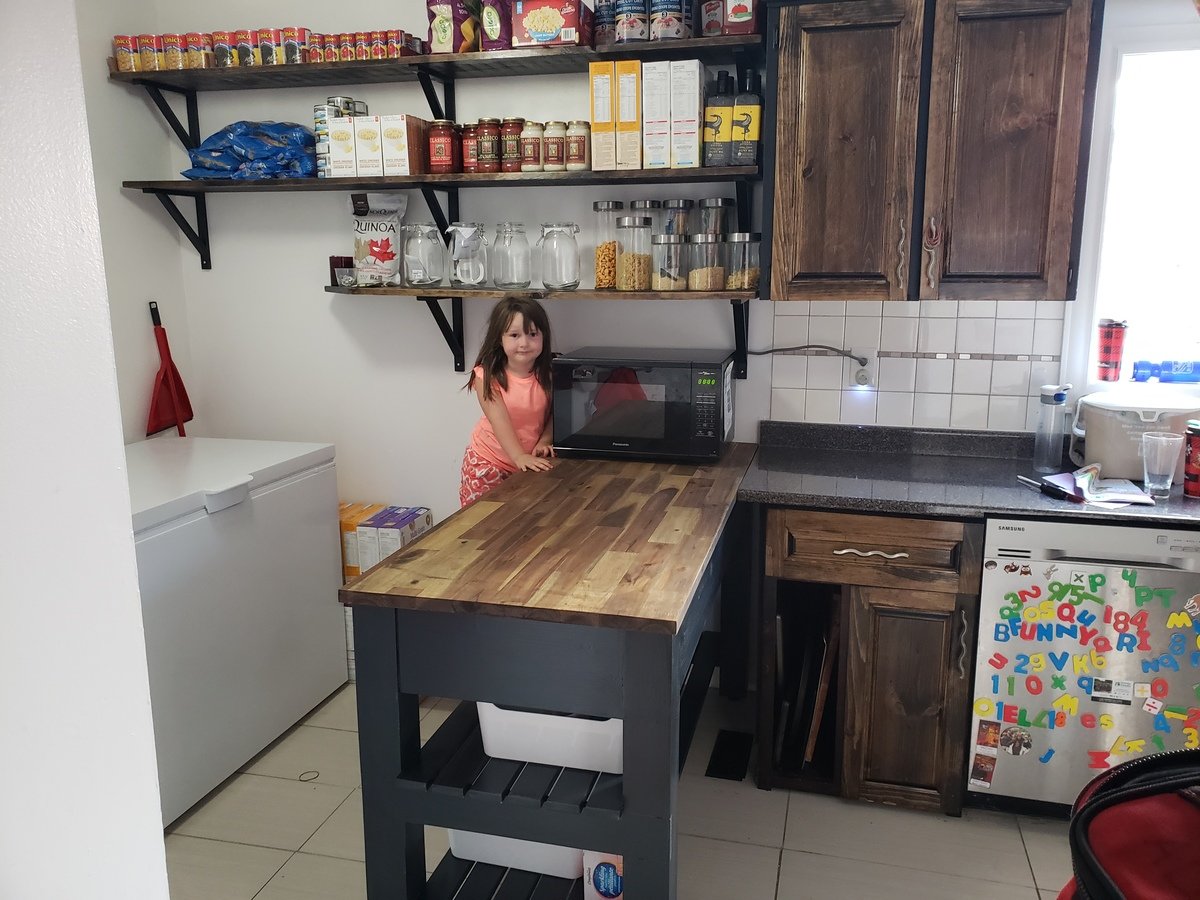
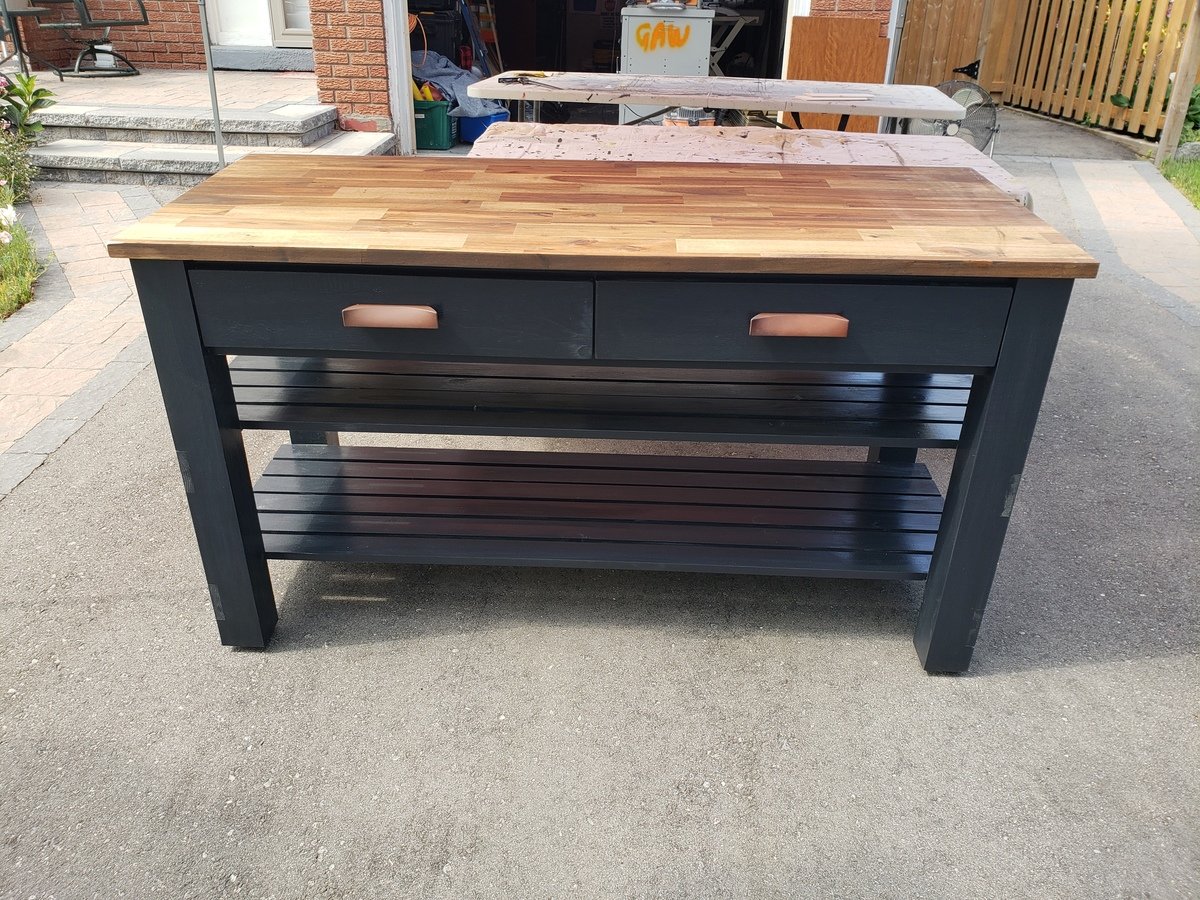
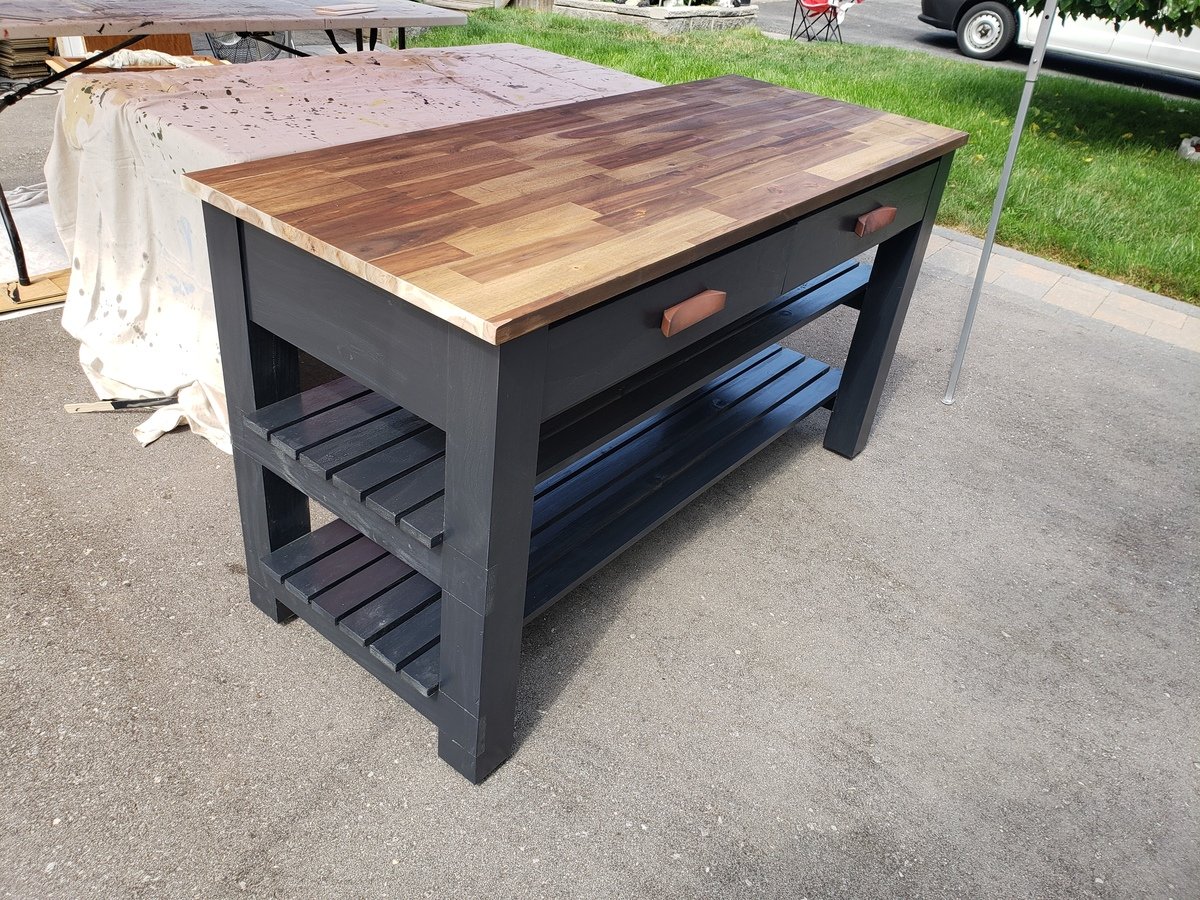
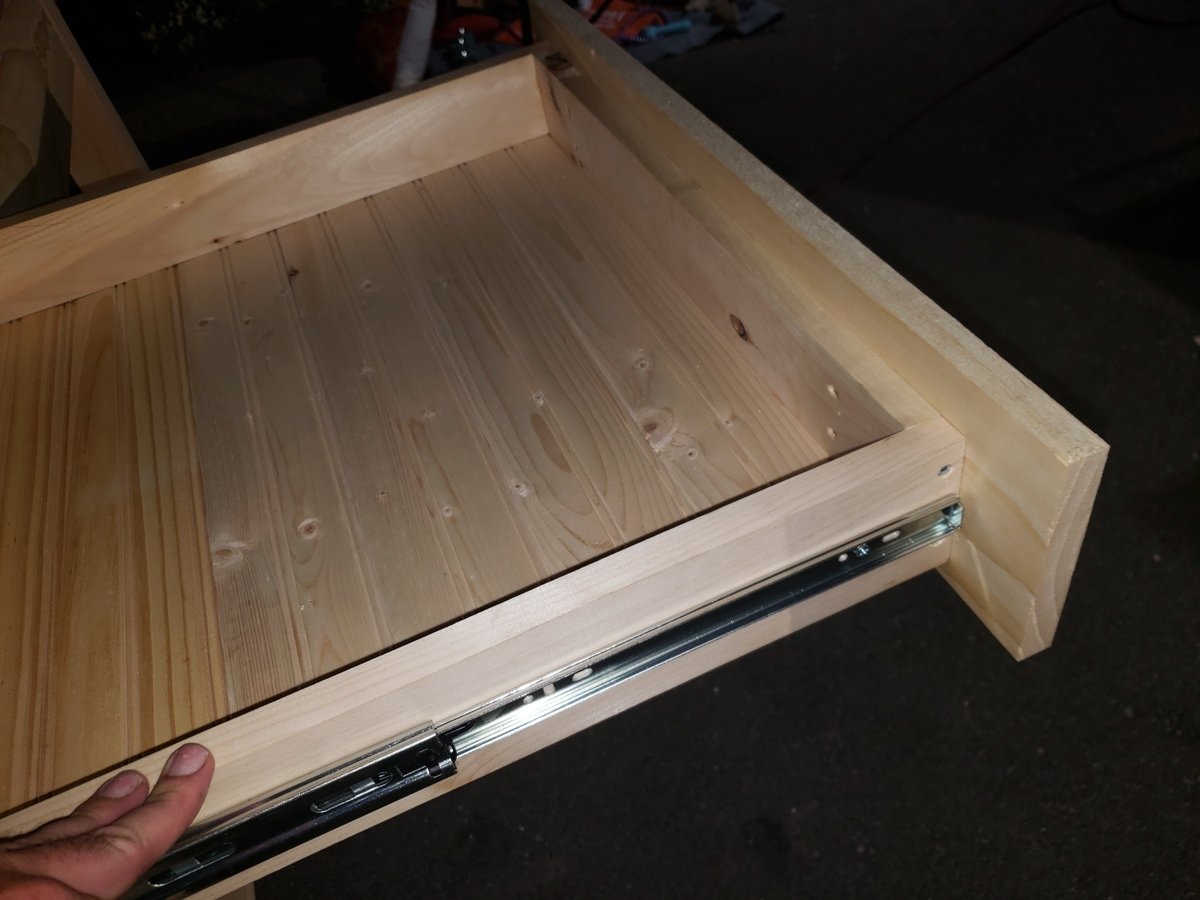
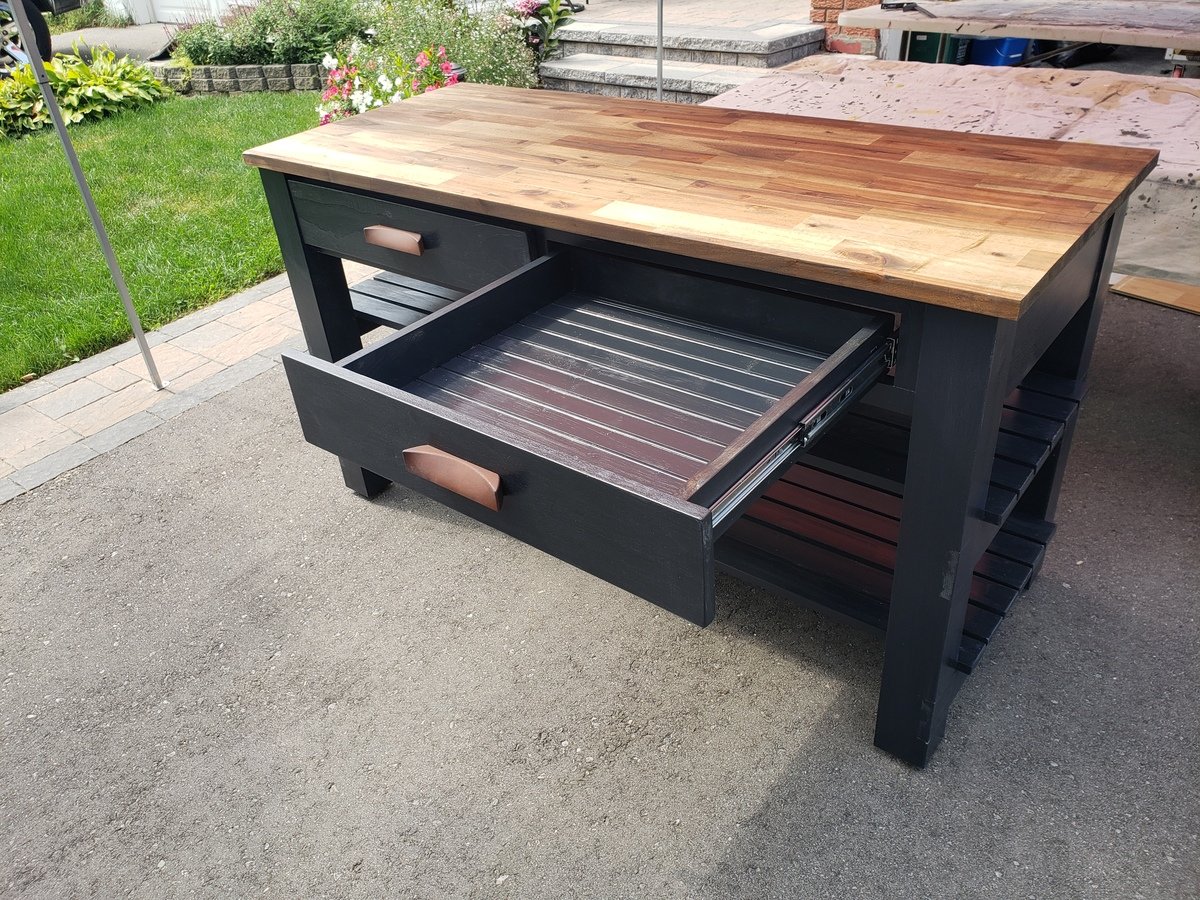
Took roughly 15hrs and $500... We bought the top at Lowes for $150 on sale (Acacia), because it turns out butcher block counter tops of this size (considered an "Island" top) are like $500 and I don't know who can afford those shenanigans but certainly not us. Interesting point: in as much as I totally appreciate the design (Thank You Ana!) the instructions are mostly beautiful but have a few key areas with room for improvement. If you are thinking of building this take some time to go over all the materials and really map out the project. I purchased everything in 8' lengths as per the shopping list, I realized afterwards that because my unit is only 5' long I now have many 3' cut-offs.... had I purhased 10' lengths, you see where I'm going with this yes? I would have paid more per board but had less leftovers. I think I also have a package of unopened screws and an extra board from the shopping list, no big deal, it's like the 10 hot dogs for an 8 pack of buns conundrum, I've now entered an infinite loop. I also realized too late that to use the pocket hole screws to secure the counter top I would need to drill the holes (using my handy dandy Kreg Jig) before putting the slats on the top shelf or else I couldn't get my drill in, rookie move I know...You may find, as I learned, Lowes/Home Depot do not carry such things as 4x4s that are not pressure treated and therefore not ideal to have in one's kitchen...I ended up purchasing all the lumber at an actual lumberyard (Peacock Lumber, Oshawa, Canada), which was cool, because now I know where that place is, and it smells nice. Have fun with your build. I tried to post some other pictures but they kept coming up sideways, story of my life. Take a look on Facebook if you want Adam Connor in Pickering, Canada, I'm not shy ;-)
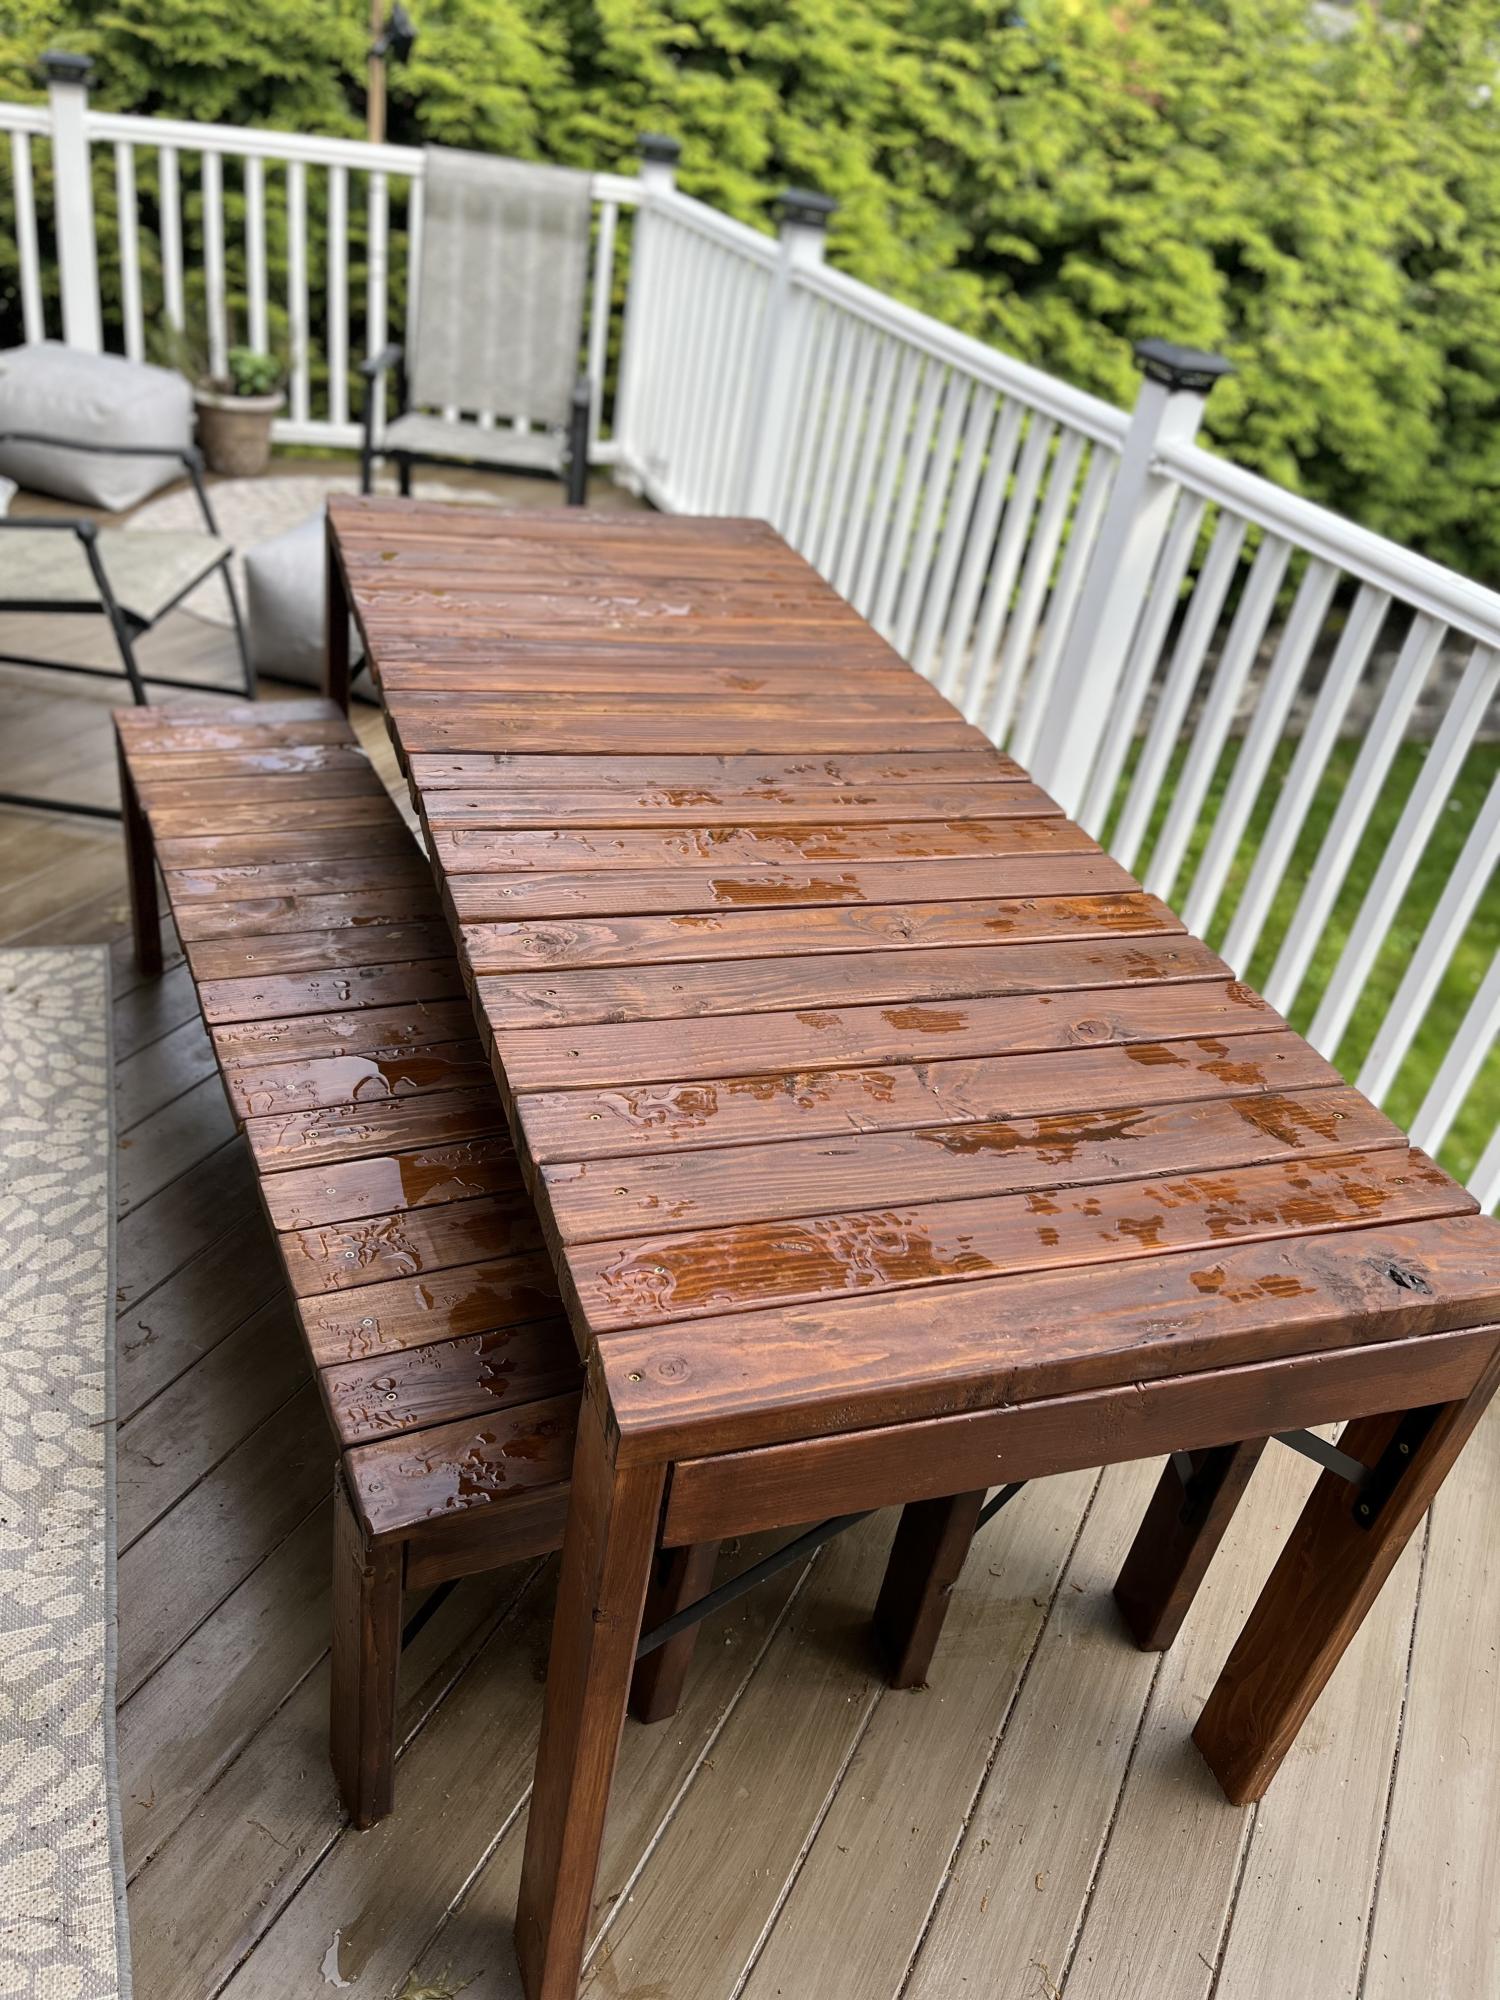
I made the table 6’ long and 30” wide to fit my narrow deck. I used some heavy duty shelf brackets under the legs to reinforce the table, mostly because I don't trust my beginner abilities. Took me about a week to cut, sand, stain and put it together (and then i stained and sealed again). Actually assembling it took only a few hours. I see a combo of pocket holes and regular exterior wood screws. Loved building this, love Ana’s plans. Thanks Ana!
Fri, 05/20/2022 - 07:22
This looks awesome on your deck, great build and finish! Thanks for sharing:)
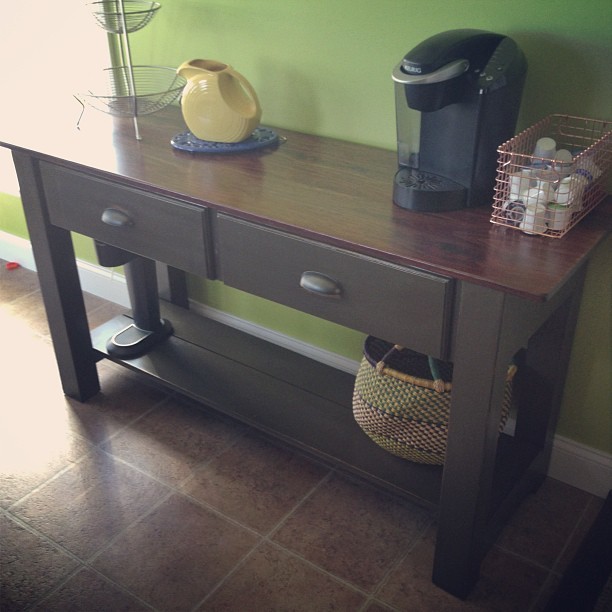
We needed more counter space in our kitchen and I saw the plan for Michaela's kitchen island I thought it would be perfect. I asked my husband to alter it to fit our space. We used Poplar for the base and Walnut for the top. My husband planed and joined the walnut from rough cut boards. We then shellacked and polyed the top. On the bottom we used SW Urbane Bronze with a walnut stain over the top. I Love how it tuned out! Thanks for the great plans!
Fri, 08/16/2013 - 16:26
Your island is beautiful! Love the finish, and the walnut top is just gorgeous!
Comments
rick1956
Wed, 06/08/2022 - 05:52
I love your design changes! Trade? ;-)
Beautiful! I like the fact that you bucked the trend and turned your clear panels for Washington rainwater runoff. There are good and bad with both directions, vertical makes the most sense. I can see myself re-doing ours at some point to change the panel direction. At least they're pointing the right direction on my skylights.
Great design, and of course, I love the 'live edge' details you added throughout!