Rustic X Coffee Table

My 1st coffee table and I'm in love with how this came out. Really proud of myself for this one!

My 1st coffee table and I'm in love with how this came out. Really proud of myself for this one!
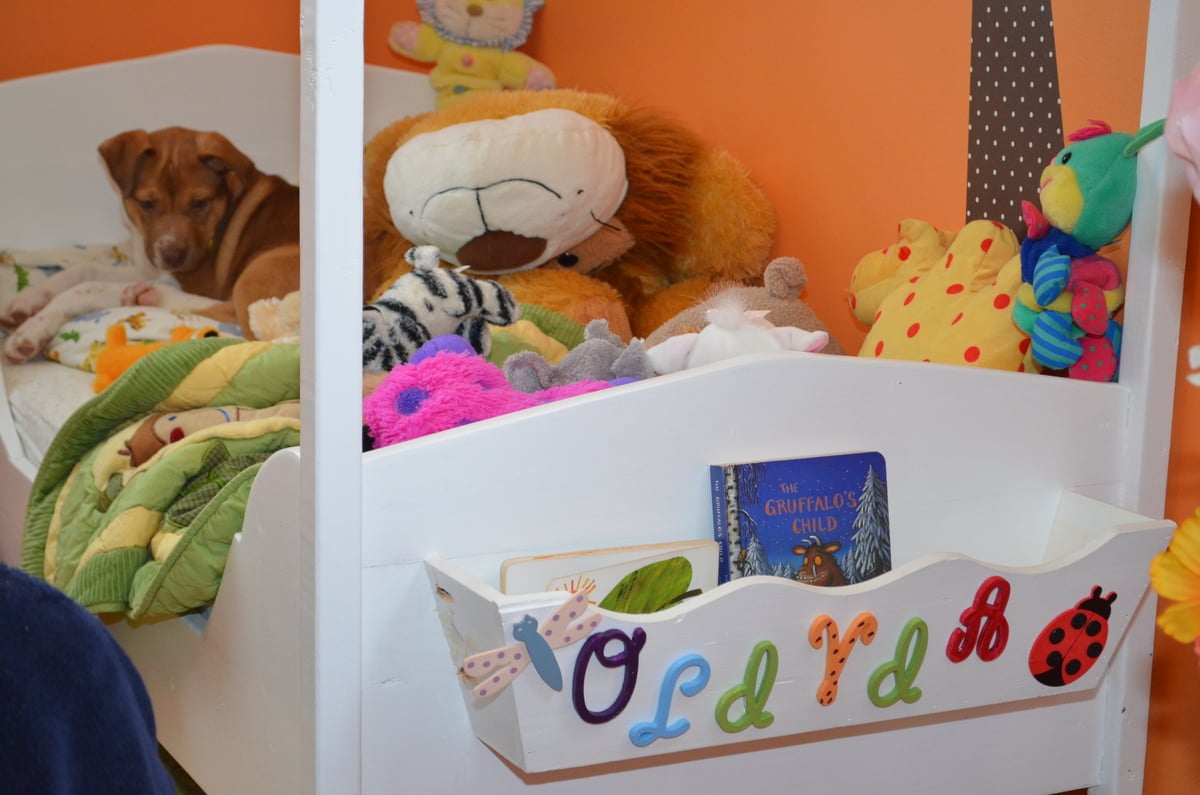
Our baby's turning 3 and is ready for a twin bed, having slept in a toddler version since 18mo... but we just HAD to build this adorable canopy toddler bed for her while she can still use it. We added a small window box that had been above her previous bed to the footboard, she stores her stuffed animals/bedtime books in there. Just need to pick out new sheets and fabric for the canopy :) Both she and the puppy love it, Thanks Ana!!
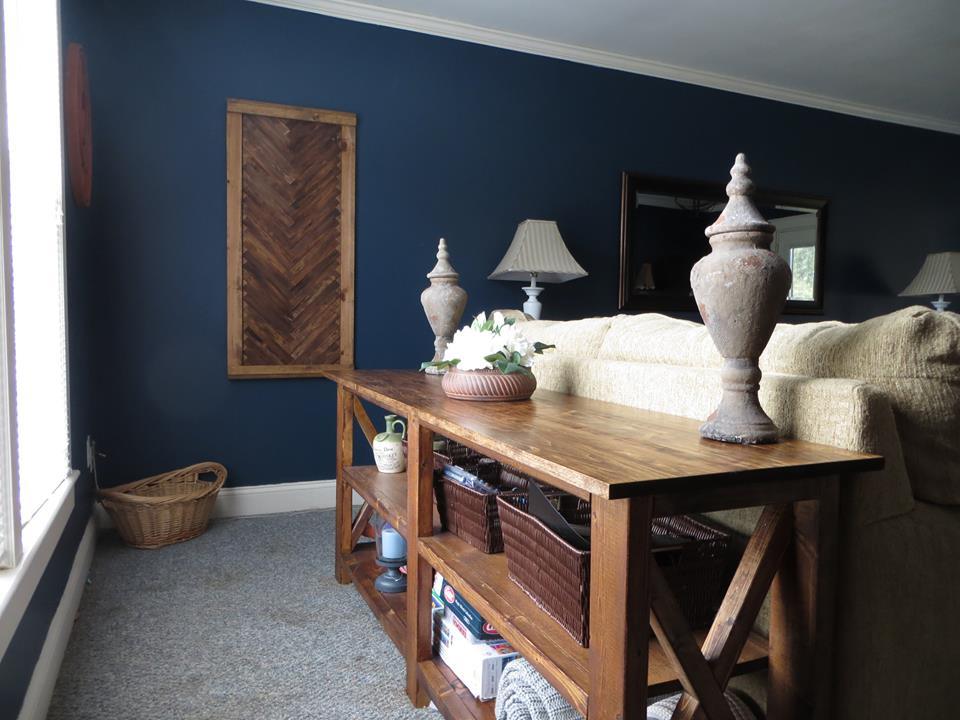
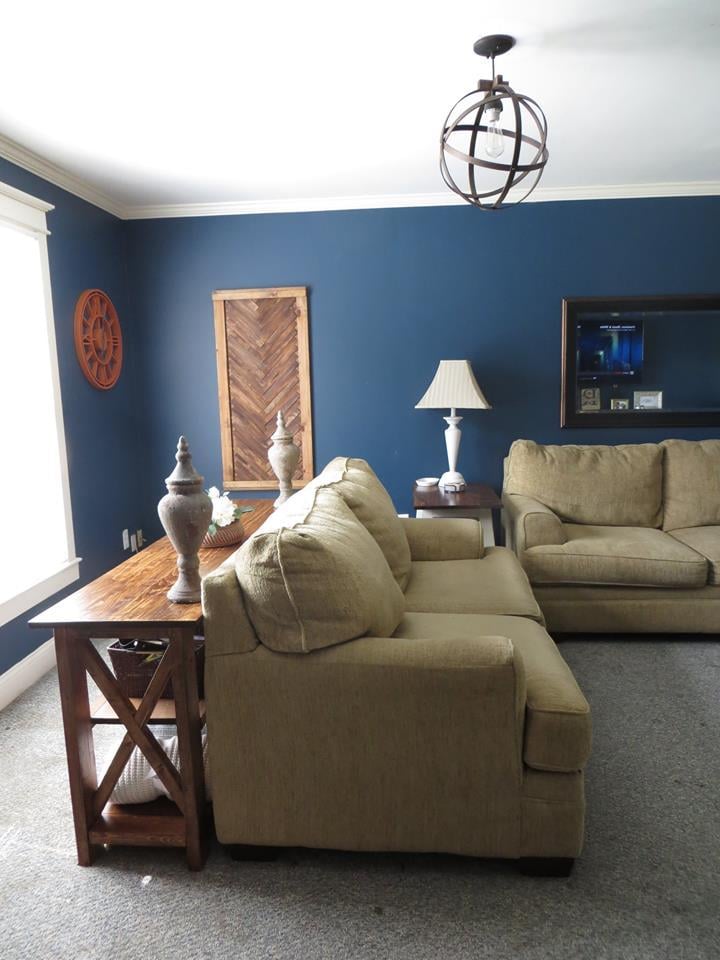
This is by far my favorite build. I couldn't be more happy with it! I spent several days on this. The majority of my time was spent on the finish. It really is a great plan if you are just getting started.
I saw http://www.ana-white.com/2013/02/plans/wall-kitchen-corner-cabinet and knew this was the project I wanted to do in our new home. The side cabients are from http://www.ana-white.com/2013/12/plans/36-wall-cabinet-double-door-momp… project, redesined to fit the wall-kitchen-corner-cabinet plans. This was my first cabient build. Still have to install doors. I am happy way it came out and so is wife.
Thanks Ana for your great site and plans. My next project is the storage sofa :D
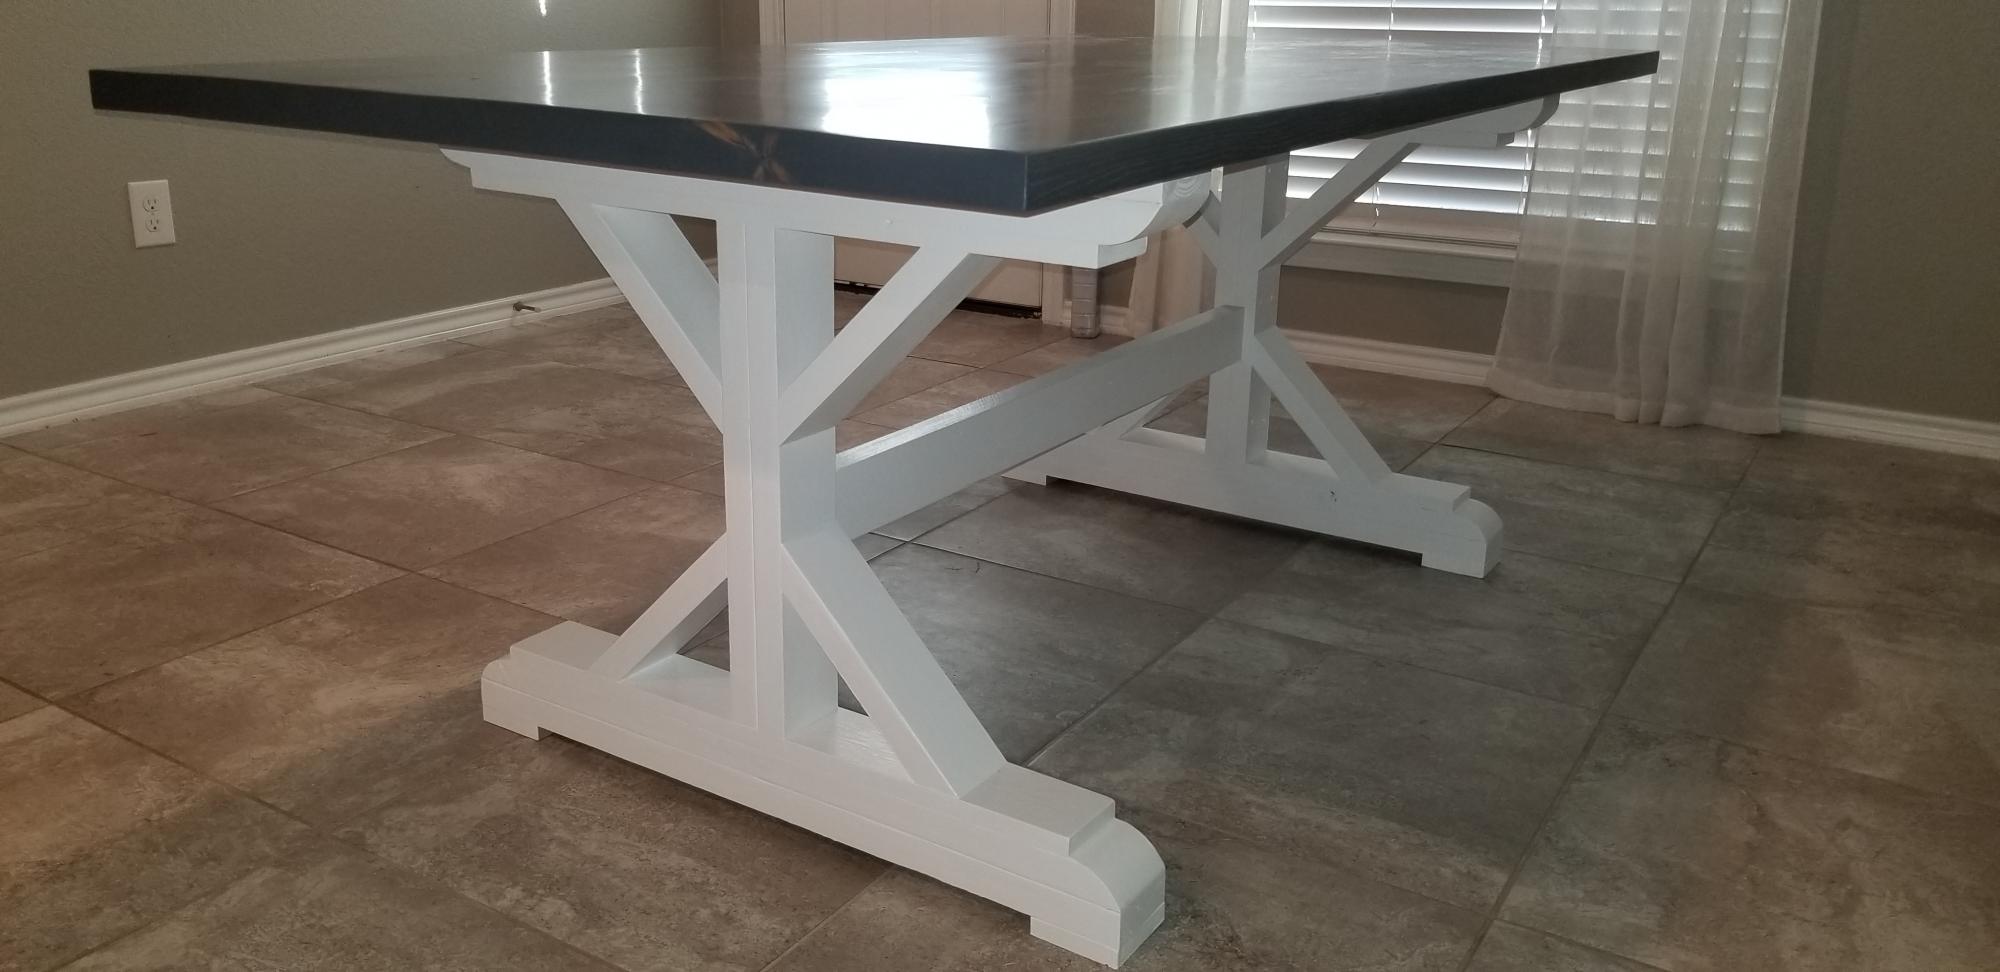
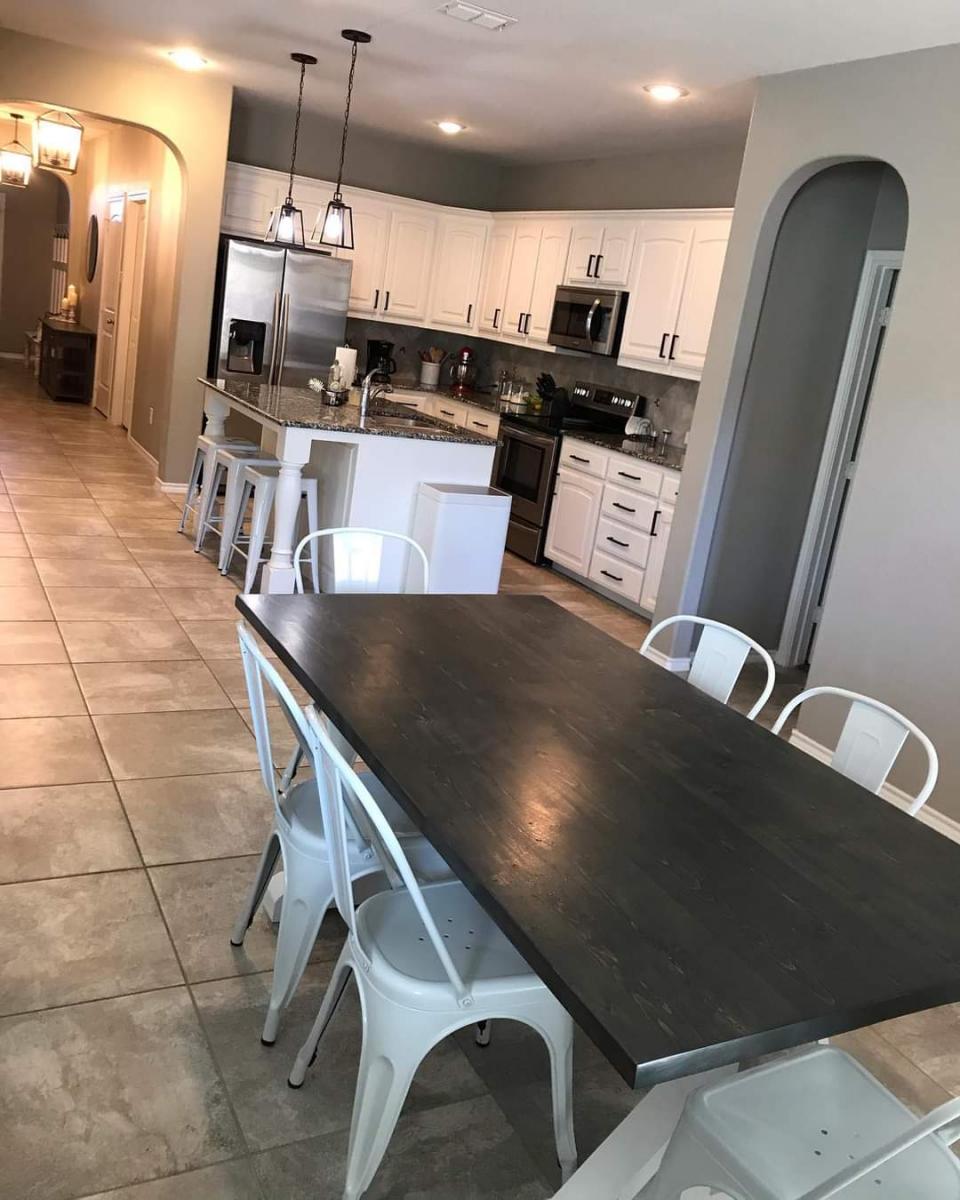
This was my very first table. We could not find one in stock so I found these plans from Ana White. The base was easy enough if you take your time and make sure you are oriented right before cutting.......not that I made any mistakes by not double checking before plunging that saw into my work piece. The top was modified to be 6 feet long. I edge jointed, using an electric hand planner, the 2x6s after planning the faces flat. This helped my hand planner to ride flush and make a pretty straight edge after a few passes taking off very little each time. This actually took longer than building the base. I pocket holed the underside to squeeze the top together with some glue. It turned out almost perfectly seamless. I mixed some fine sanding dust with some poly for any cracks or blemishes. That allowed the stain to actually take, unlike with wood filler.

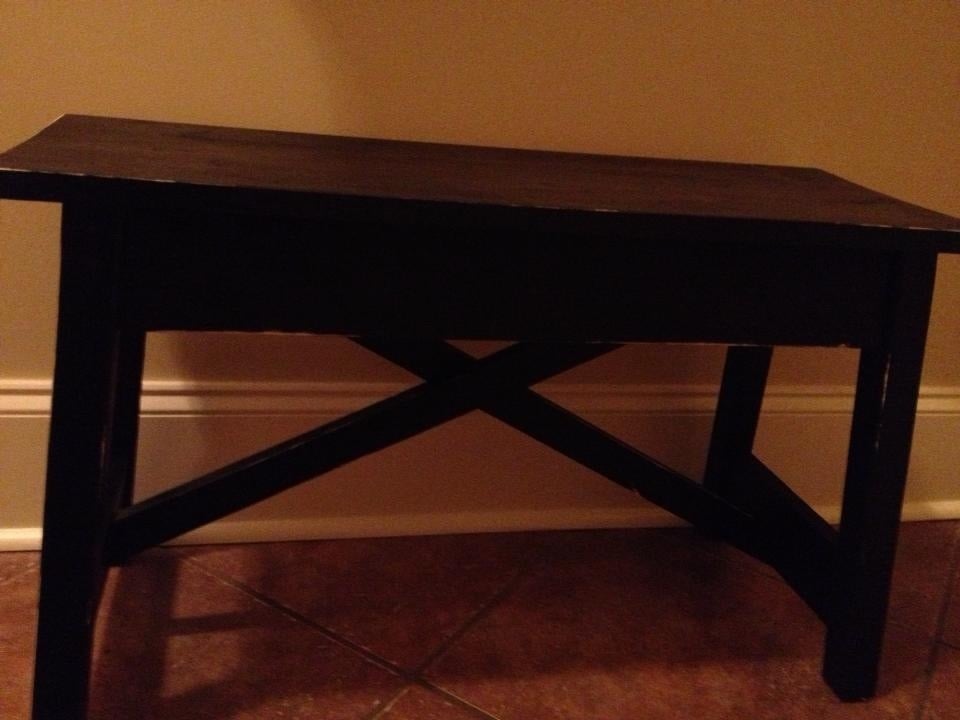
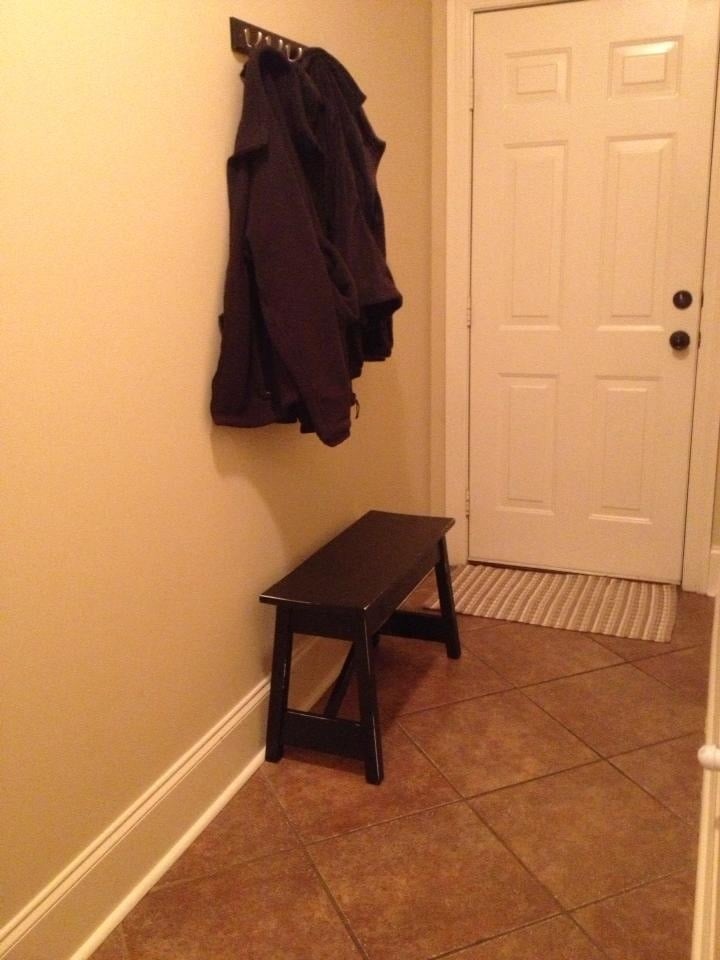
My husband and I needed a small bench for our long hallway. This plan was perfect! Somehow though we bought extra wood, I followed the shopping list exactly. Took about an hour to cut and put together. Painted it a matte black and sanded edges to looked distressed, and then 1 coat of polycyrlic. Cost about 15.00 to make.
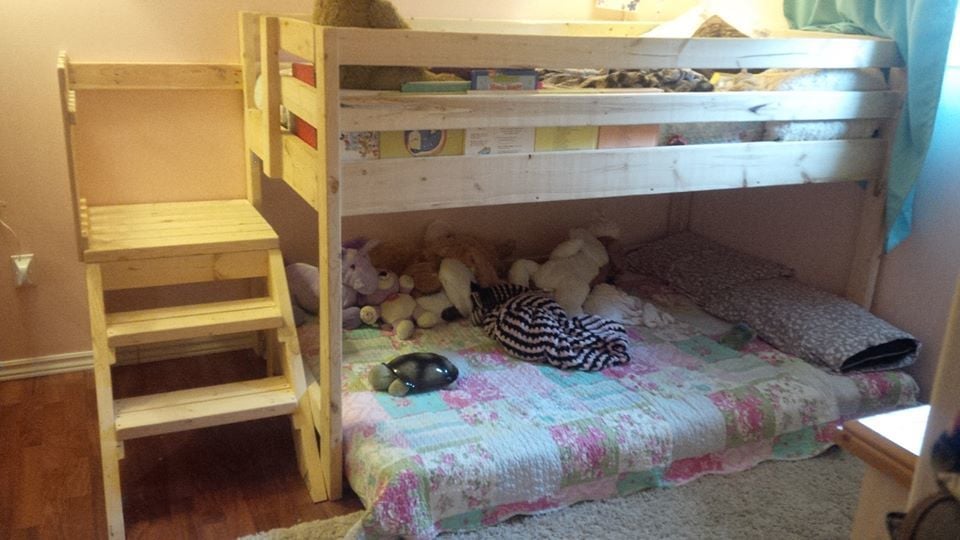
I needed bunk beds for my girls and found the camp loft bed - perfect! I liked how it used all 2x4s and 2x6s... made it easy to do everything with the chop saw. I customized the bed by lowering the overall height so that the actual bed is only 3 feet off the ground, and then I still had plenty of room for a mattress underneath for my three year old. I was strapped for space so I made the deck half the size so that the stairs stayed in between the bunk bed posts. I also added a little fence to the side of the deck since it's not up against a wall. I am so happy and proud of my work and I thank-you SO much for these wonderful easy-to-follow plans :)
Slightly modified Grandy
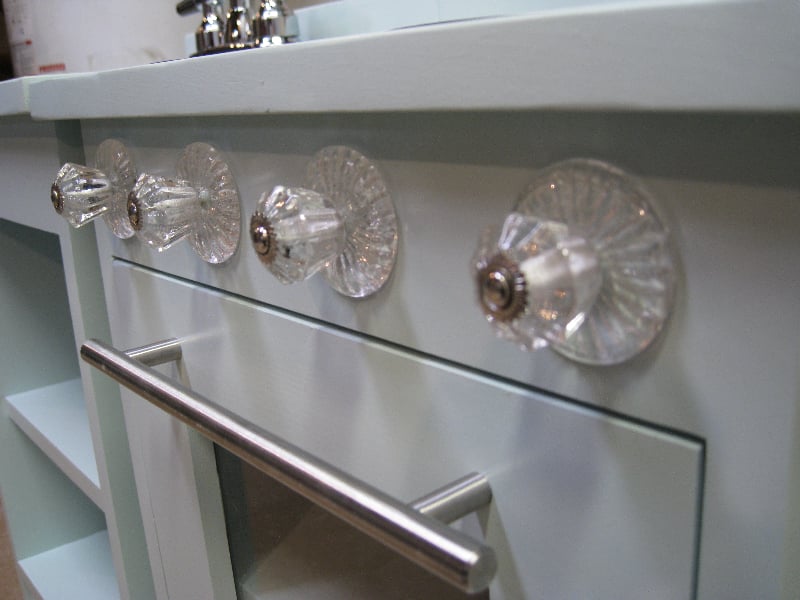
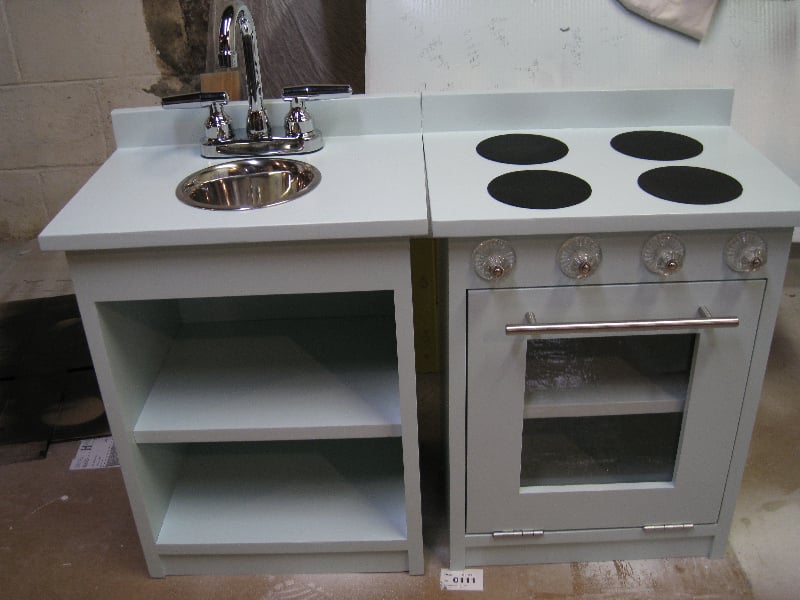
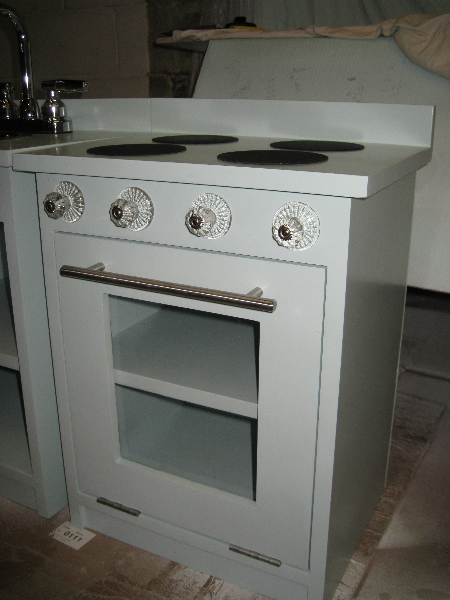
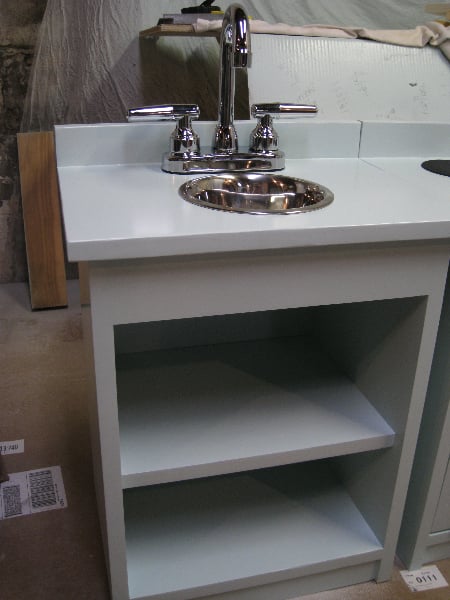
I built this using the plans in the book, which are basically the same as the older plans linked here. I did not intend to build a nearly identical set to the one in the book, but that's basically how it turned out.
Modifications:
I used a 1x12 (plan calls for 1x10) for the shelves in both the sink and oven and ripped it down by 3/4" making it 10.5" in width. This allows the oven door to rest against the shelf when closed. It also allowed me to attach a magnetic clasp to one side to keep the door closed.
I also used a router table to make a rabbet around the inside opening of the oven door so that the plastic sits flush to the door surface.
My boyfriend followed Ana's plans to construct me a Sawhorse Desk for my office. To complete the look, I gave it a healthy coat of whitewash stain. More photos can be viewed on my blog: http://shawnaleeann.com/2014/09/22/we-came-we-sawhorsed-we-conquered/.
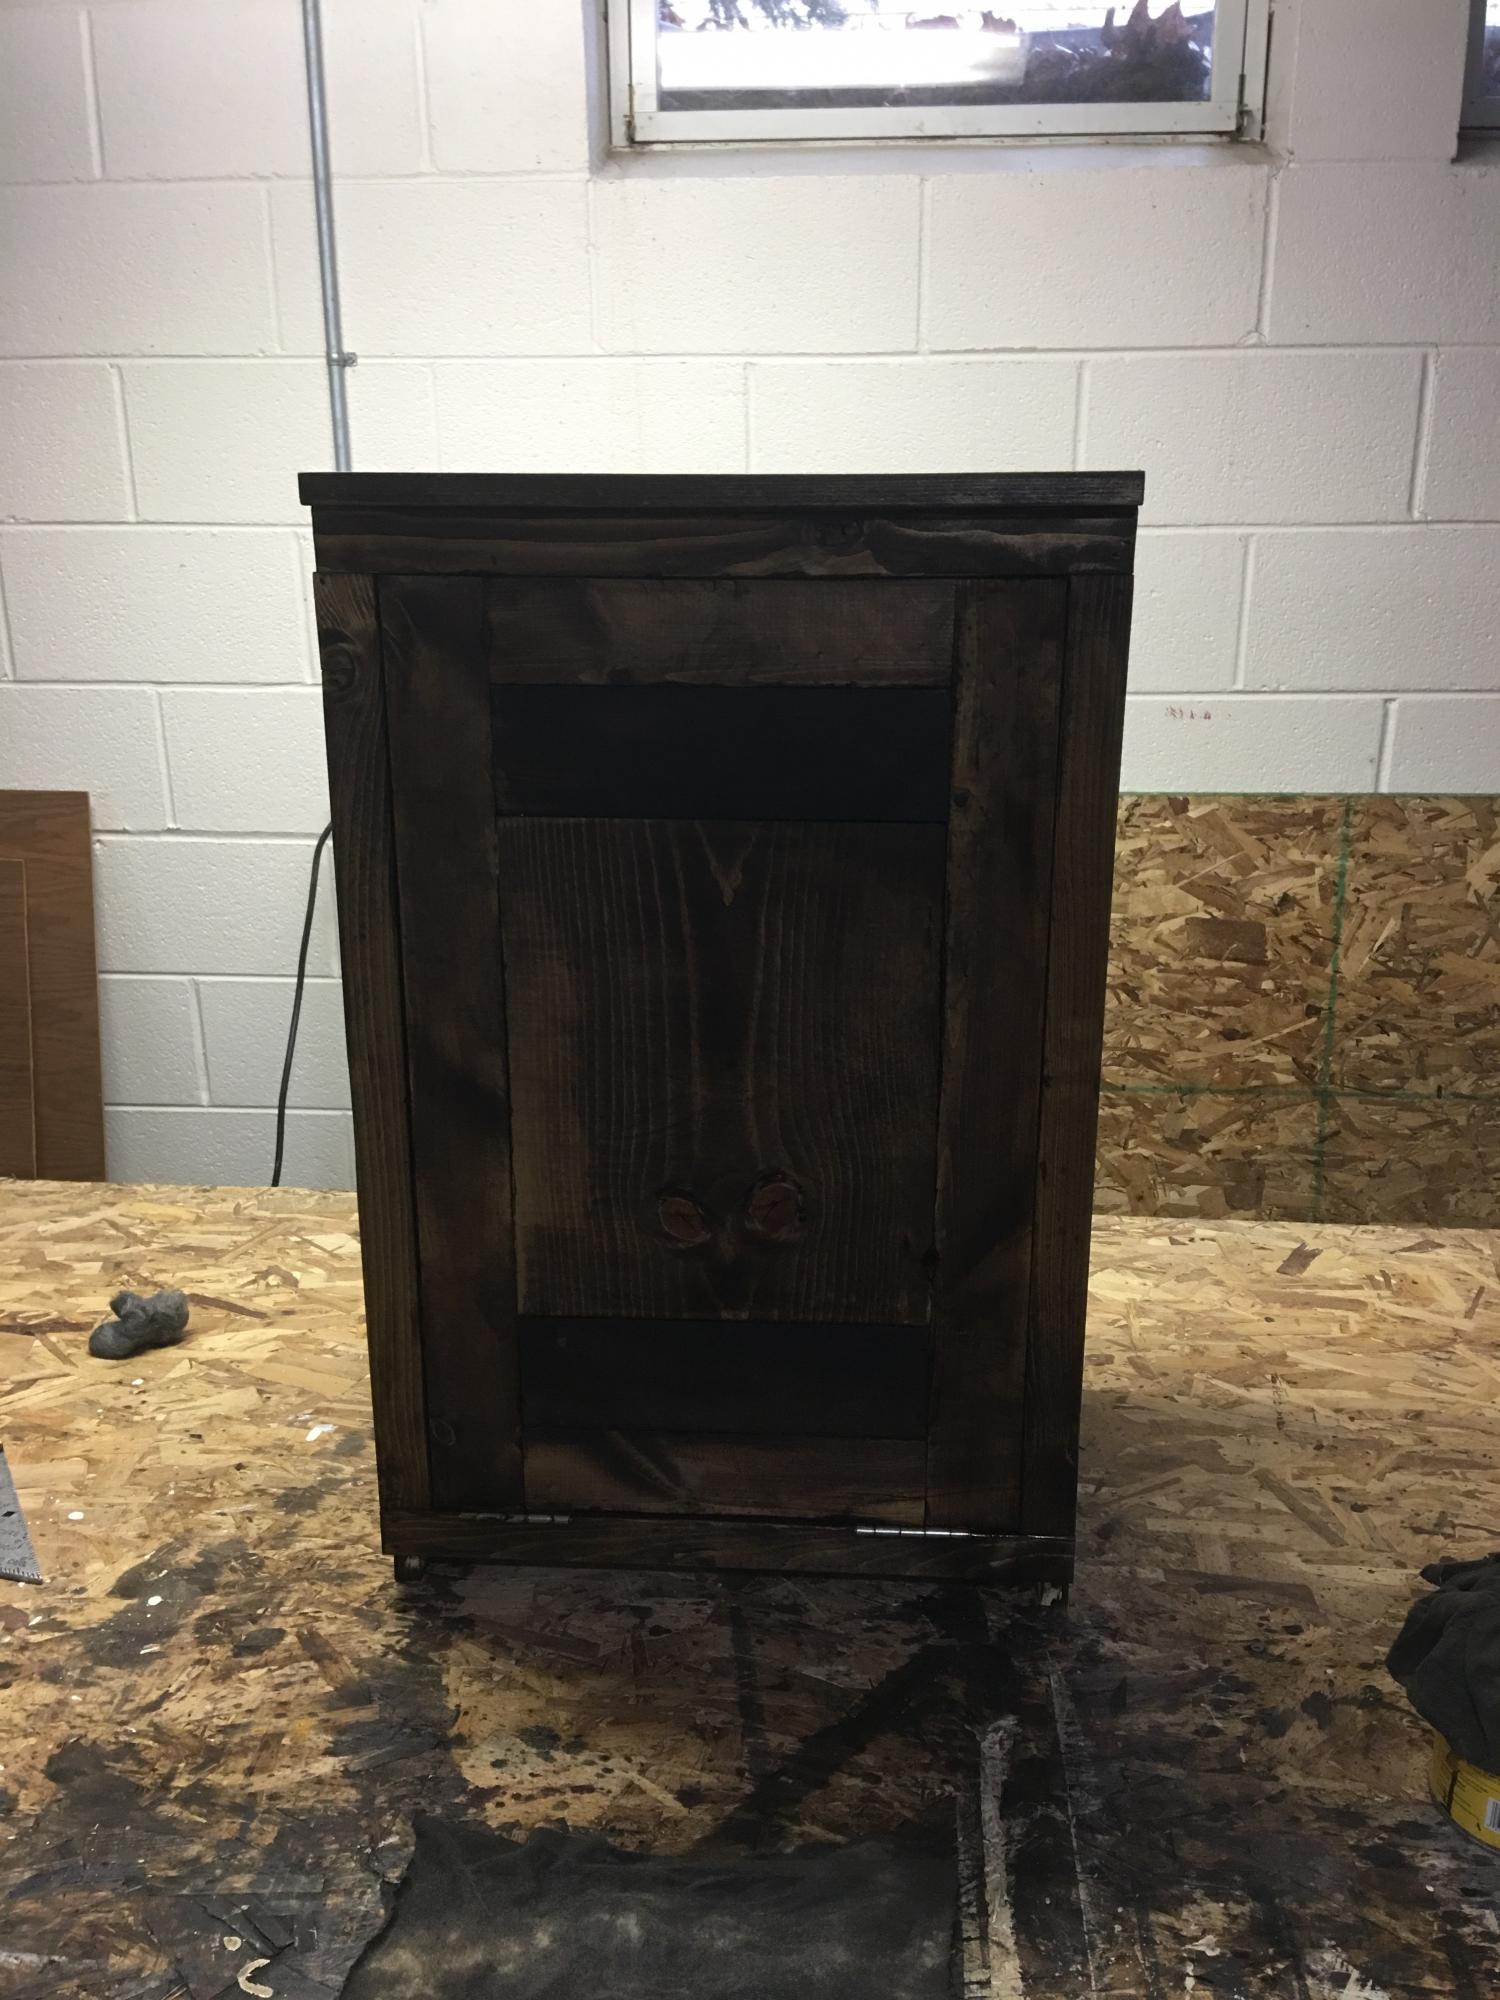
So decided to make this from the plan. Have a plan for the door before going in I made mine with slme
leftovers also recommend don't not cut all the face frames first my measurements were on but due to shifting ect or something I ended up handing to re adjust almost each part it wasn't a a pain just more of the learning process as I begin learn something every time
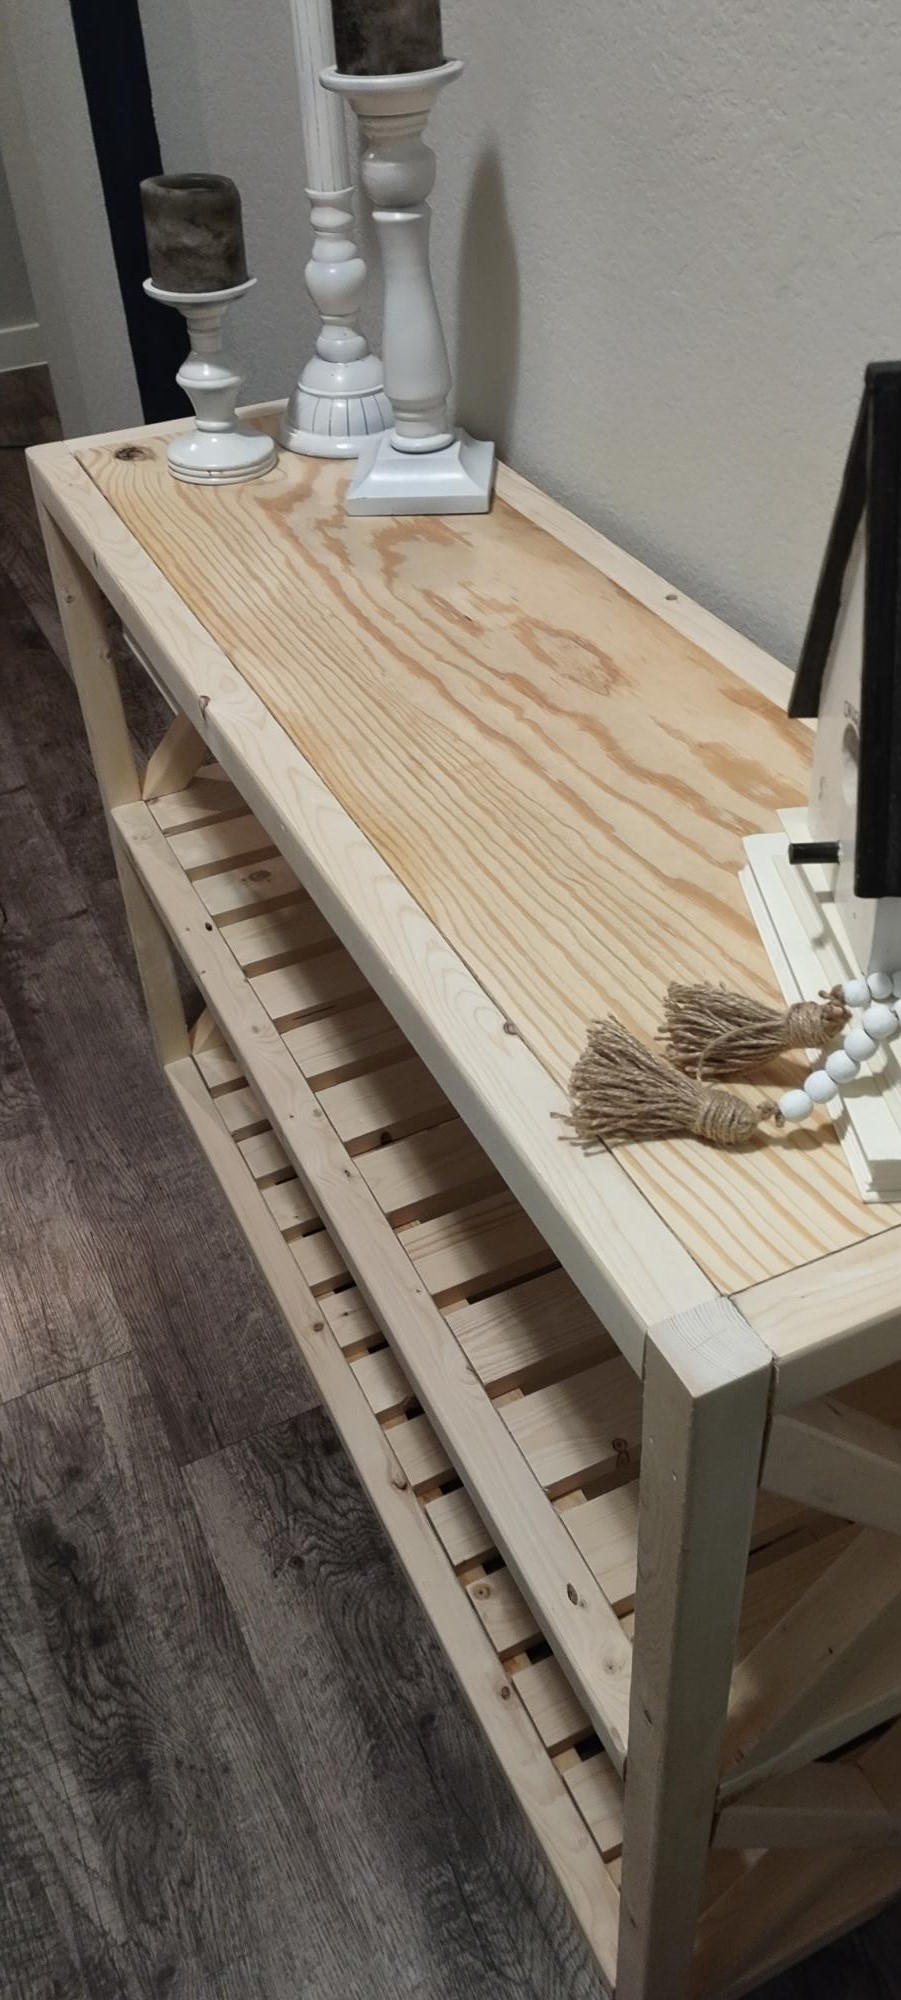
So the x's were hard but by the fourth one I got better. This table is super easy if you do the clears for slats. I cannot imagine doing all those pocket holes!
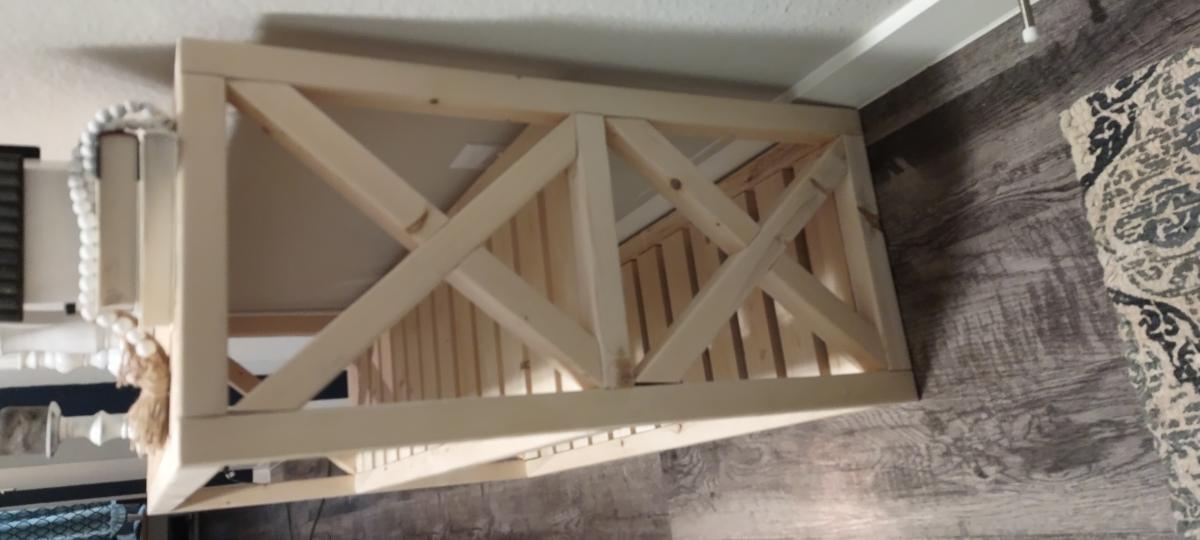
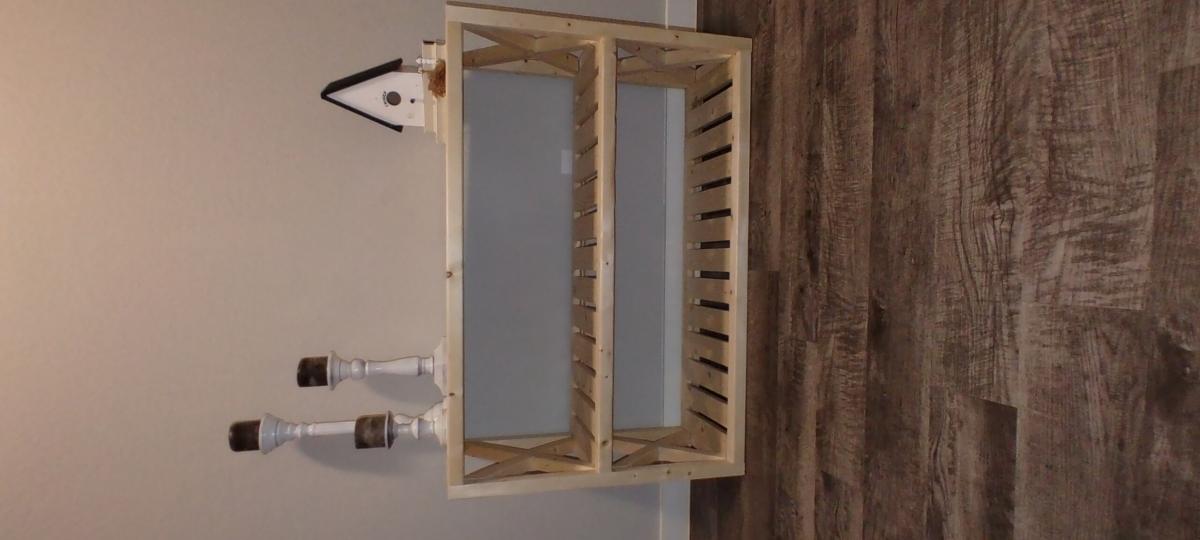
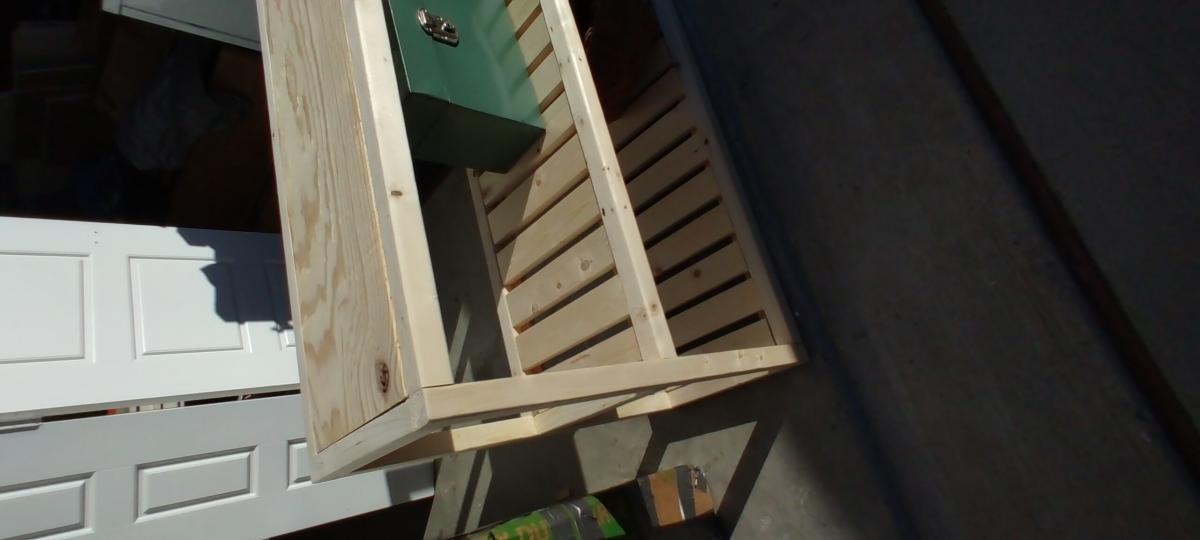
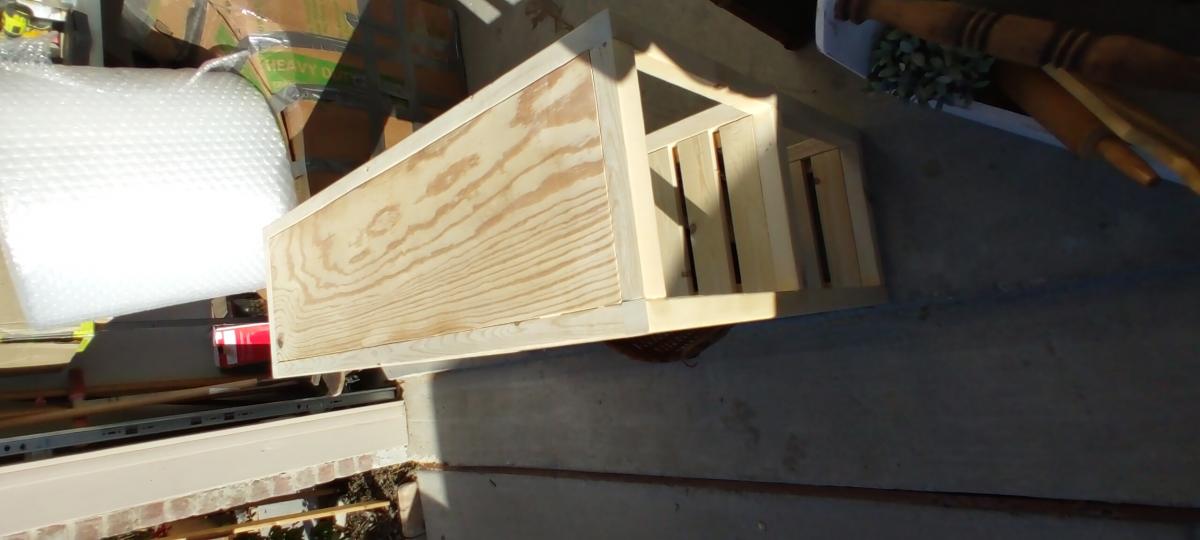
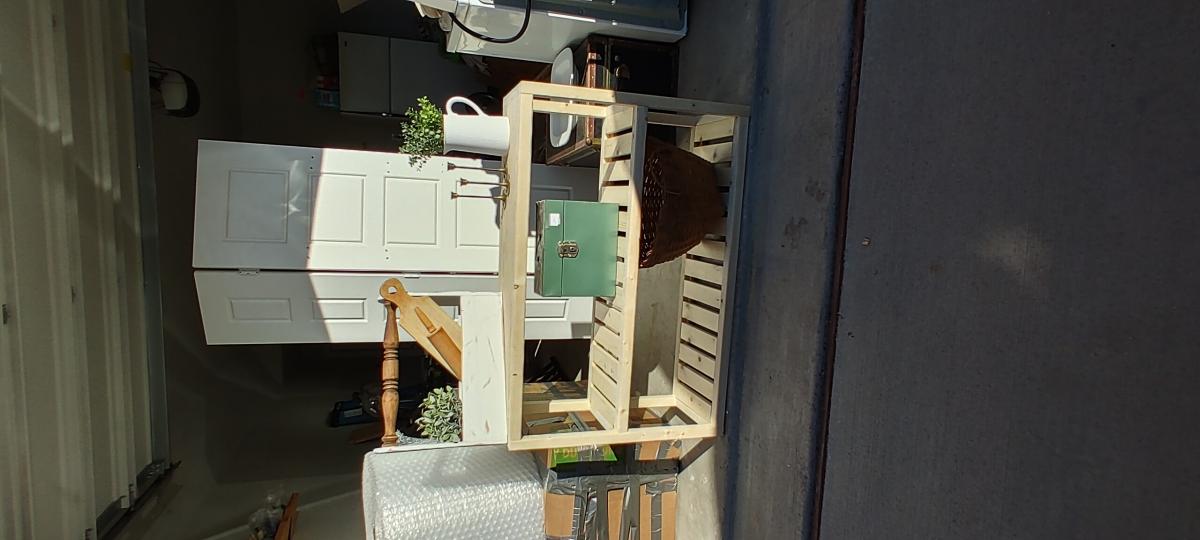
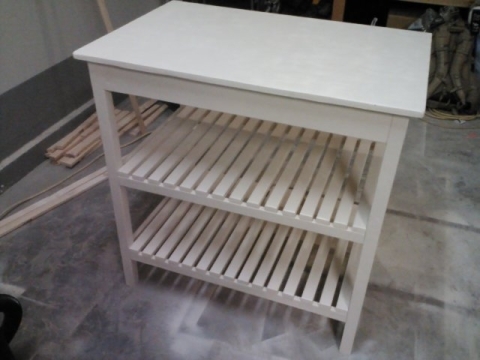
I have been wanting to build this island for years! Seriously. But we finally got to the point that we had some extra time, and no other projects were screaming at us! We decided to make our island 24in x 36 in. So 12in shorter than the original plan. This was an easy adjustment. We also added another shelf, which we love.
The only issue we had was the slat length. Almost all of the pictures I looked at showed that the aprons, and side supports weren't exactly lined up with the front or back of the 2x2 legs. I'm guessing they were put in the middle, but I couldn't find that info in the plan. So we decided to make our aprons and sides flush with the front of the 2x2 leg. This added about an 1in to the slat length. Sadly, I didn't figure this out till after we cut the slats. After re-cutting, things went smoothly! It was my first time using a Kreg Jig, and it was great. We had to use A LOT of spray paint to cover it, but I am so happy with the final result! It's not perfect, but it's homemade, sturdy, and I hope Ana-White would be proud!
Wed, 02/20/2013 - 13:53
I am about to do the same project... love seeing what others are doing with it :) nicely done.
I built this desk as part of redesigning my homeschool room, and made a few customizations to better fit our needs. It's taller and deeper than the plans, which allowed for a larger work opening for a larger computer. It also gave me much needed extra storage space.
The cabinet is made from 3/4" and 1/4" PureBond birch plywood cut down to size using my Kreg Rip-Cut. The frame is built from pine 1x2s and 1x1s. The three cabinet doors are pine 1x6s and 1x2s joined together with biscuits, and trimmed to the correct size on the table saw. Because the secretary desk is deeper than the plan and the mail slots are small, I finished with stain and polyurethane prior to assembly. This saved a lot of frustration of trying to stain in tight spaces.
Thank you for the plans, Ana!
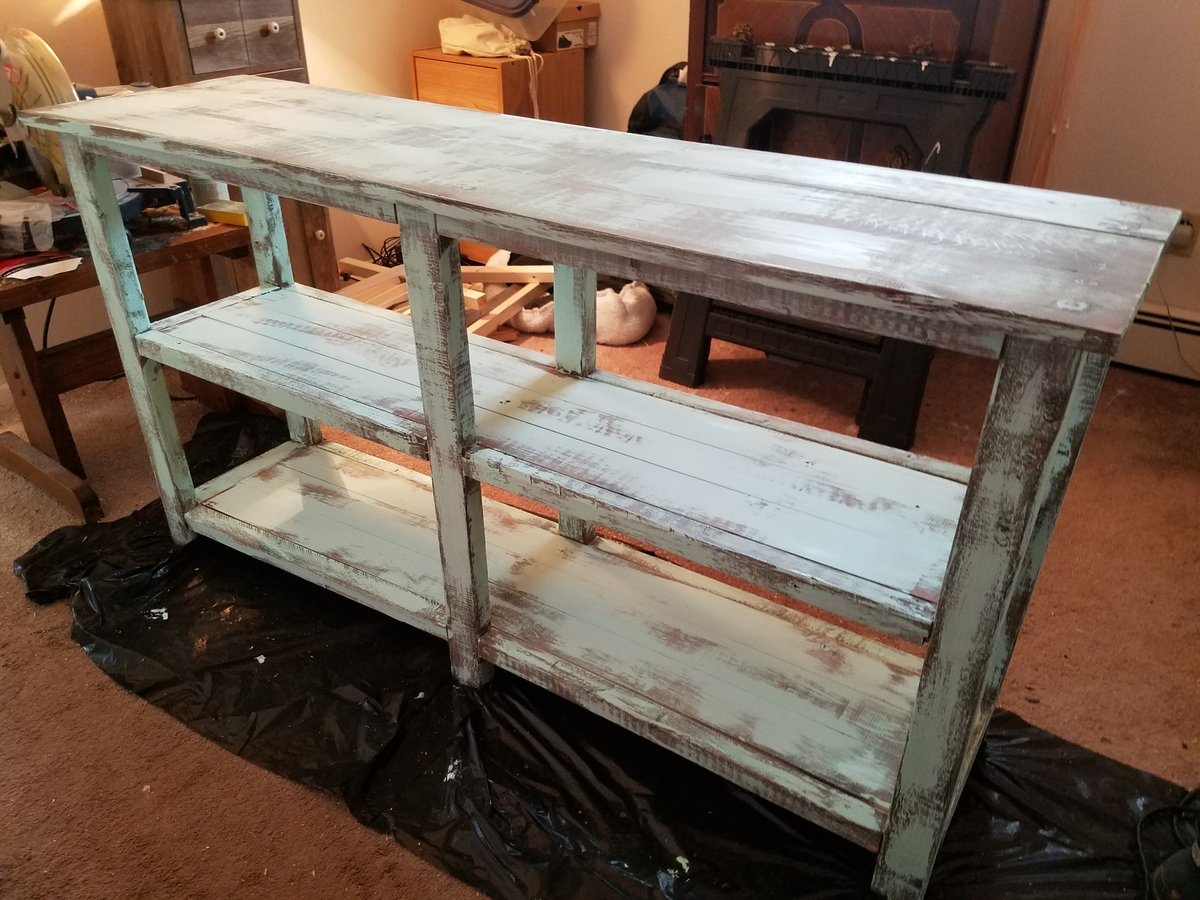
I used 2x3 and 2x2 because I had a lot laying around. The finish is steel wool vinegar mixture and tea. Dry brushed the chalk paint on than finished it with a satin poly.
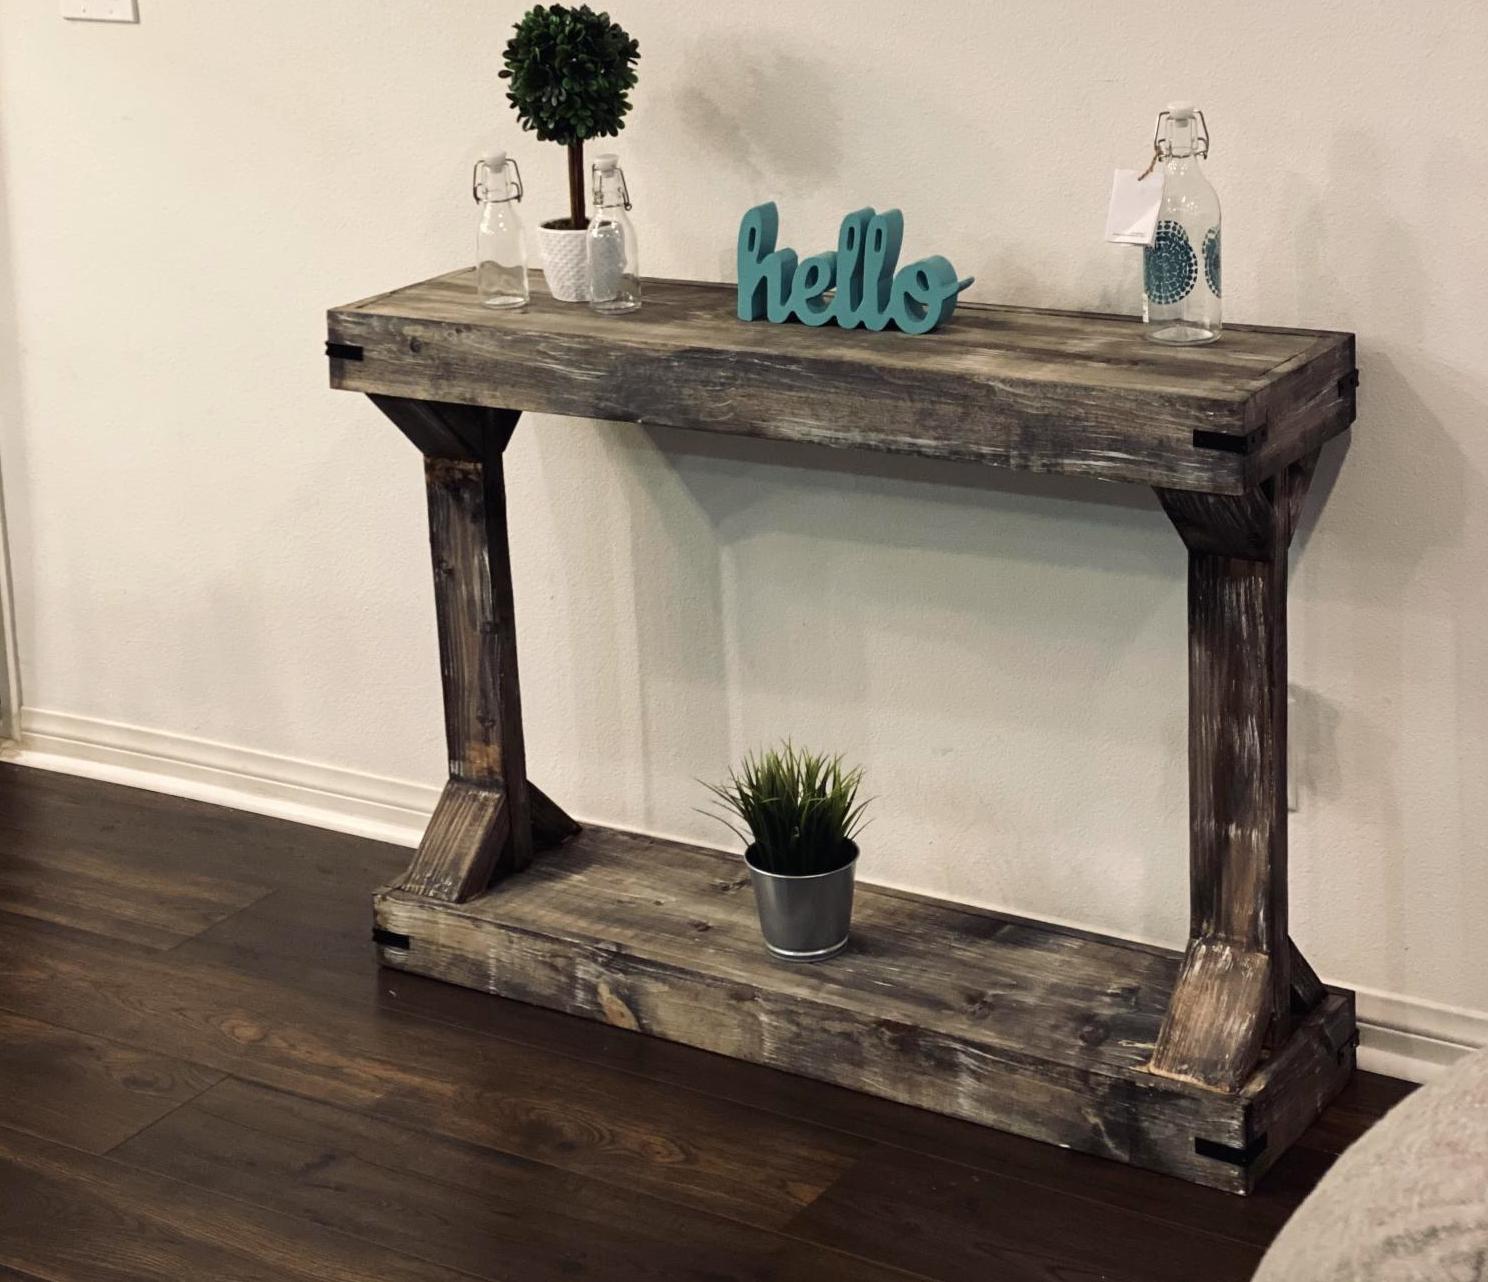
My husband helped with the cutting of the woods :)
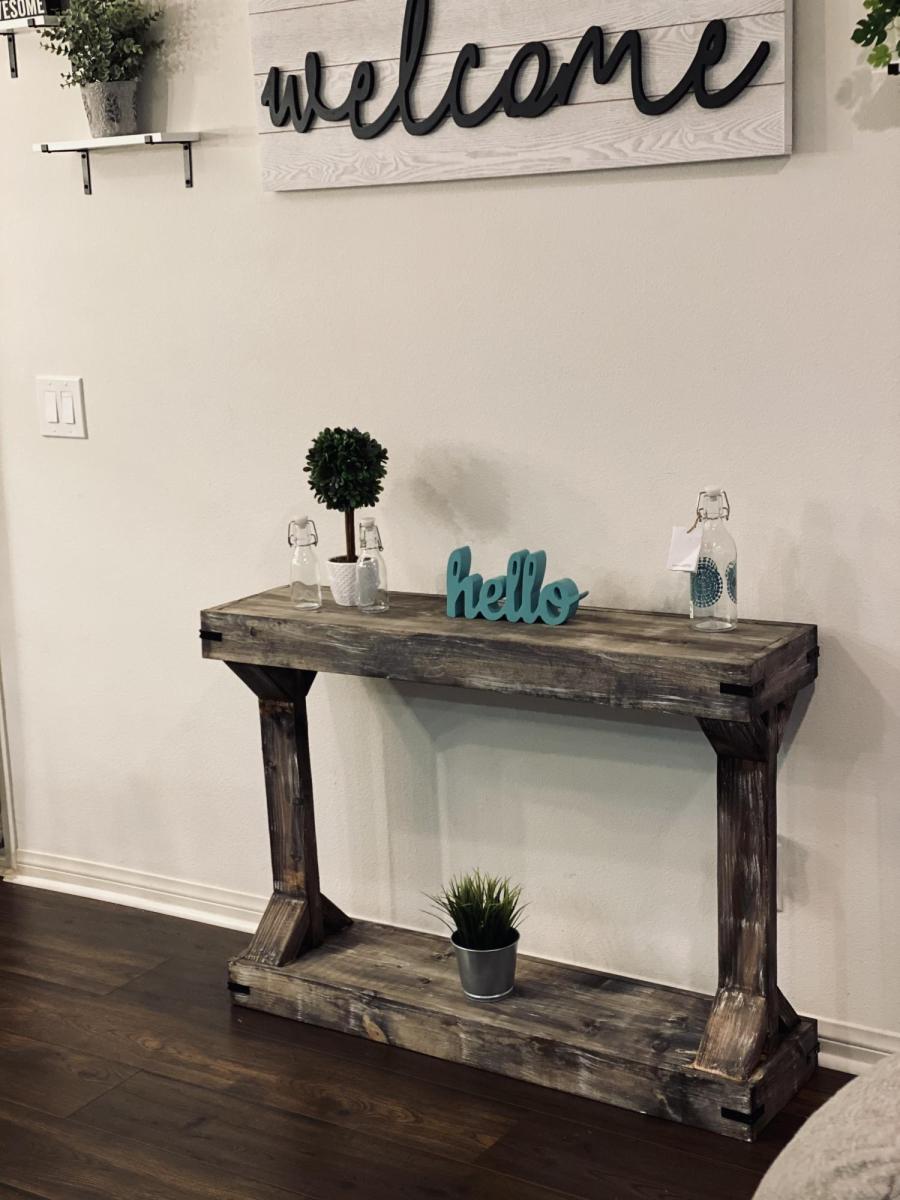
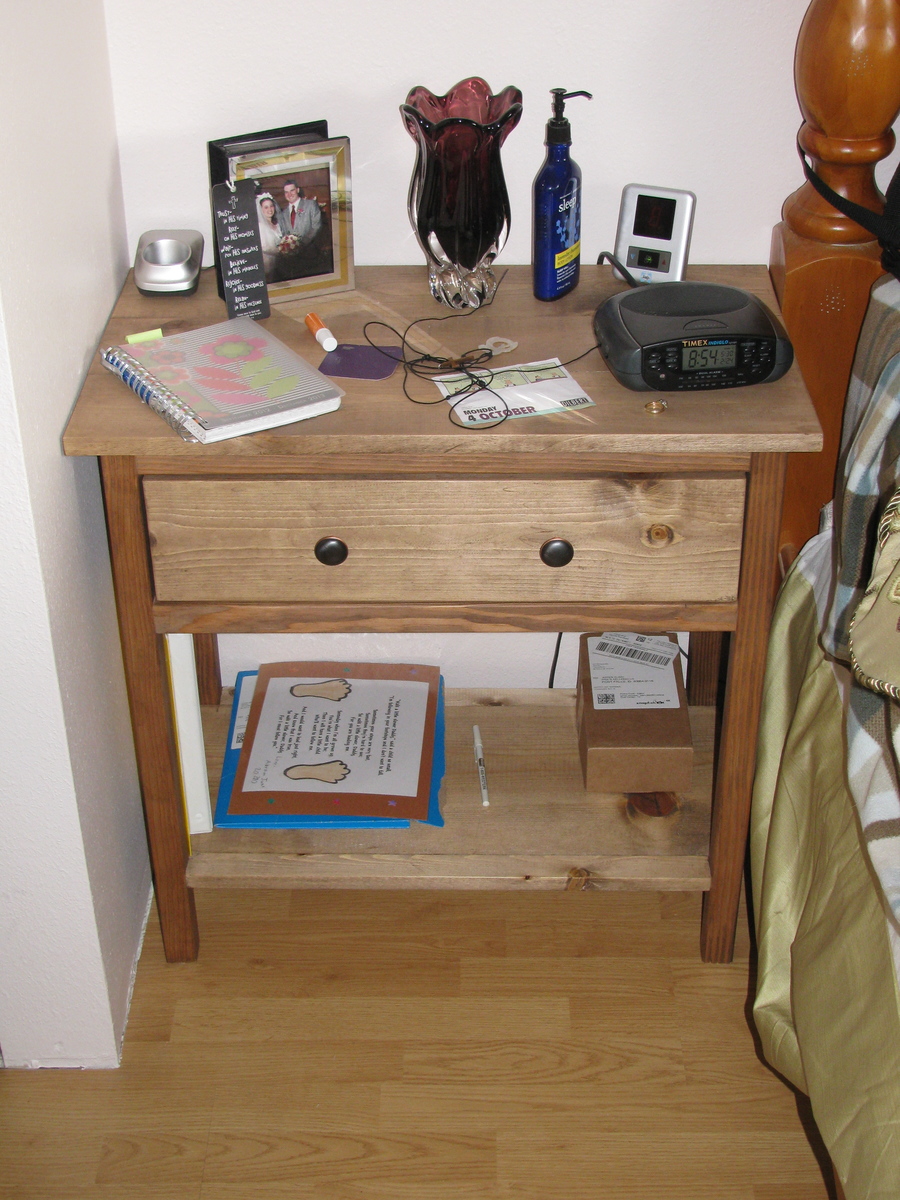
Another project for the wife, though there will be a matching one for my side of the bed in the near future! This was the first plan I constructed from this site.
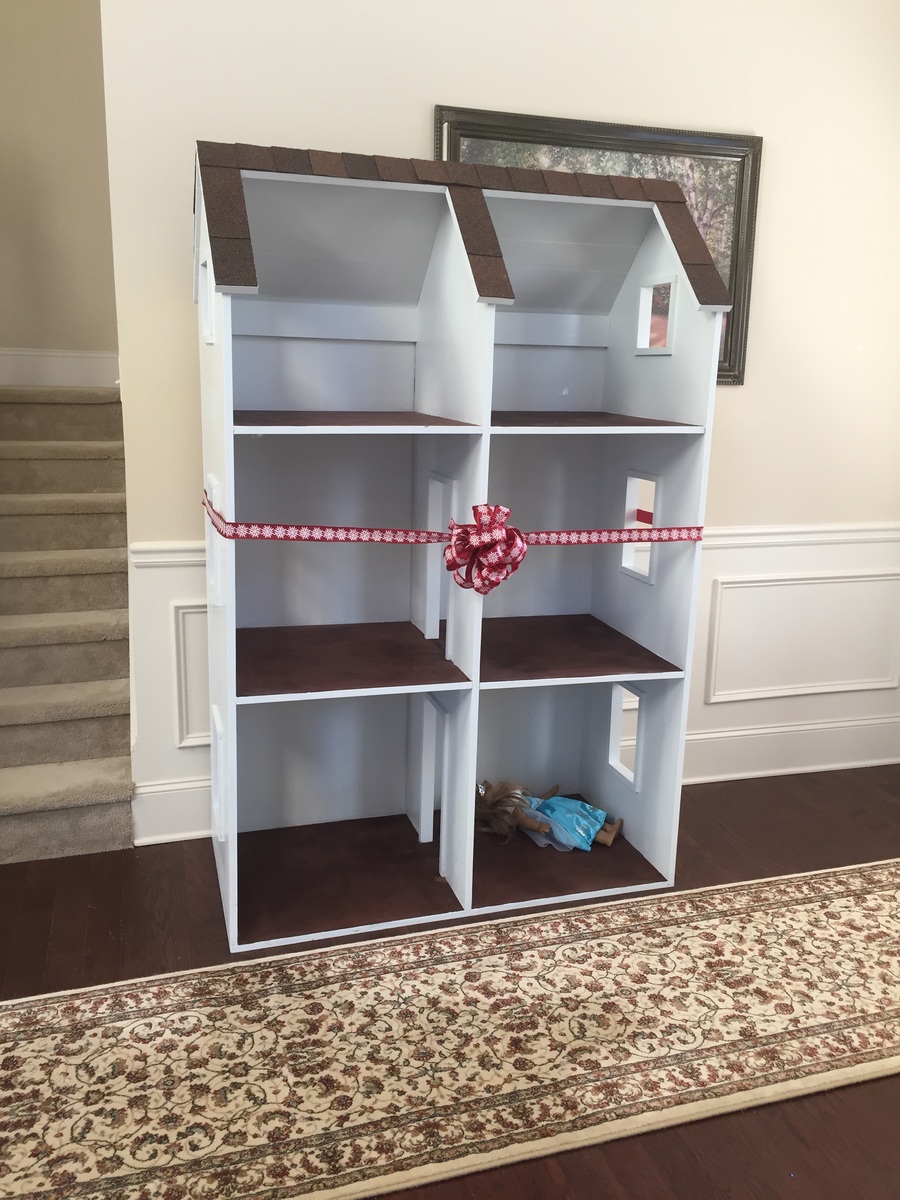
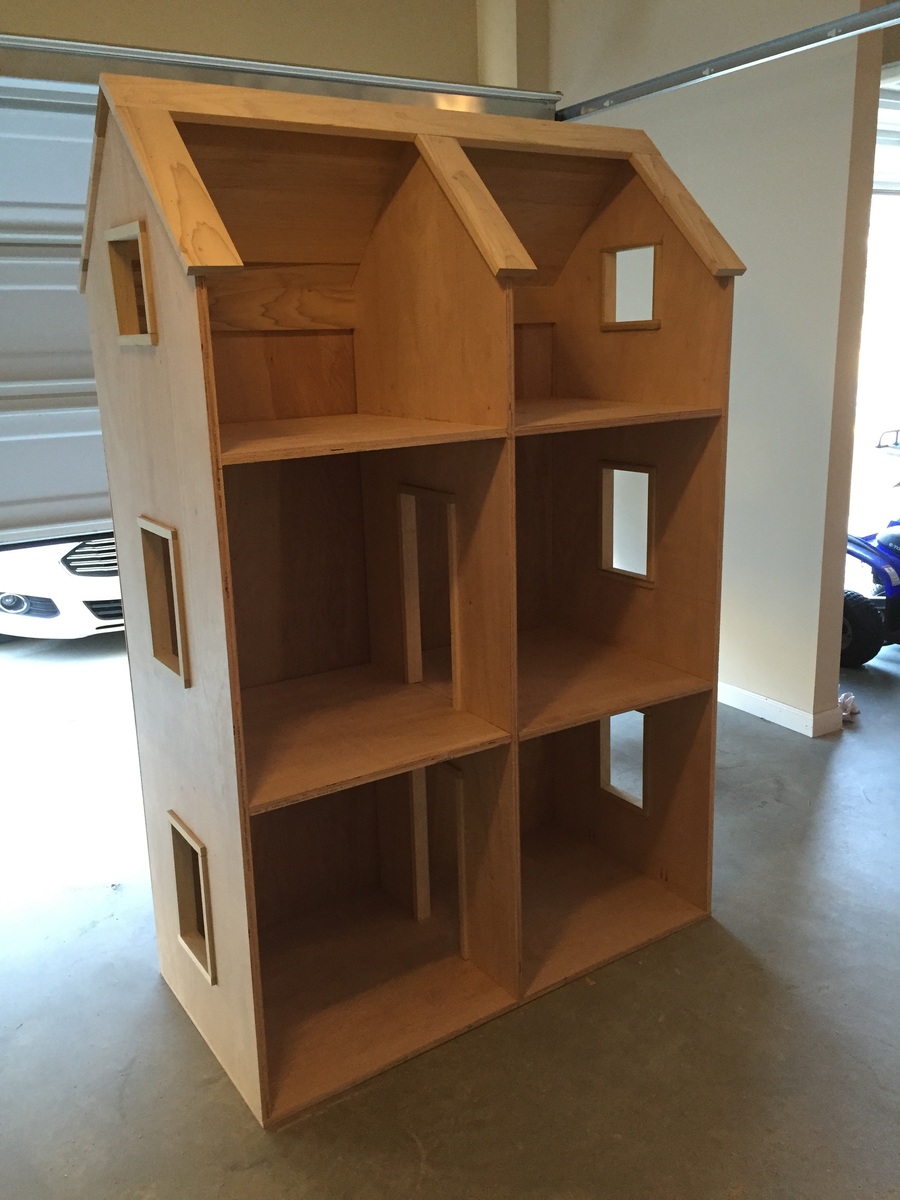
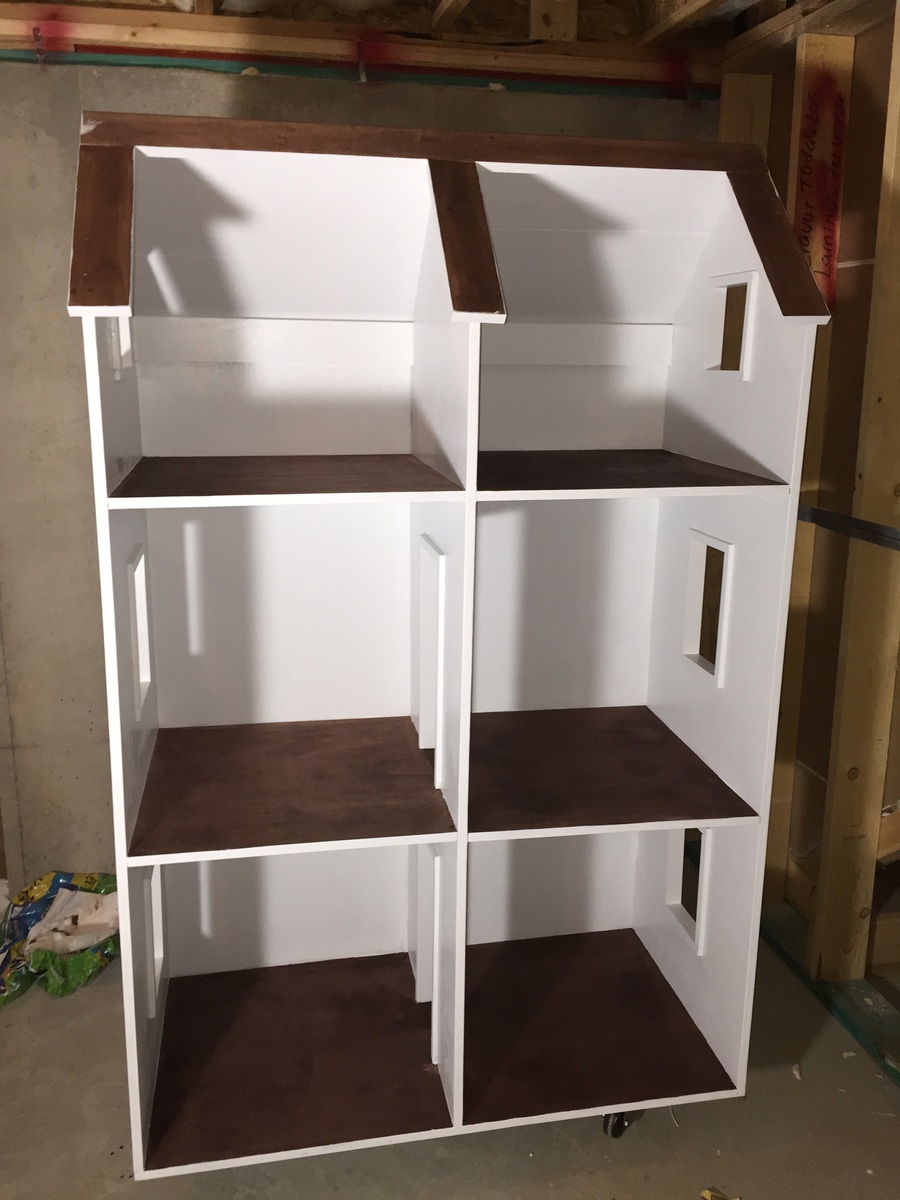
My fiance and I built this for my seven year old daughter's Christmas present. I have built several pieces of furniture before but this was our first major building project and I'm proud to say we made a great team!
We didn't make any major changes to the plan, we just chose to leave the wheels off the bottom and we added two boards across the back of the attic rooms so we would have something to attach the back too. We were lucky enough that this project coincided with my dad have his roof replaced and he had spare shingles, so her doll house has real asphalt shingles! They were actually a lot easier to add than I expected, we simply scored the back of the shingles with a knife and then they cleanly broke apart. We used a staple gun to attach the shingles we would be able to layer so you couldn't see the staples, but for those where the staples would have shown we used a hot glue gun.
The only issue we had was moving it around without my daughter noticing because it's so big! My fiance and I actually scratched up a door frame trying to sneak it under the tree after she went to sleep because it's so large (totally my fault, apparently I need to work out more). Other than that everything went smooth and it was fun to build and so exciting to watch my daughter freak out over Christmas morning!!!
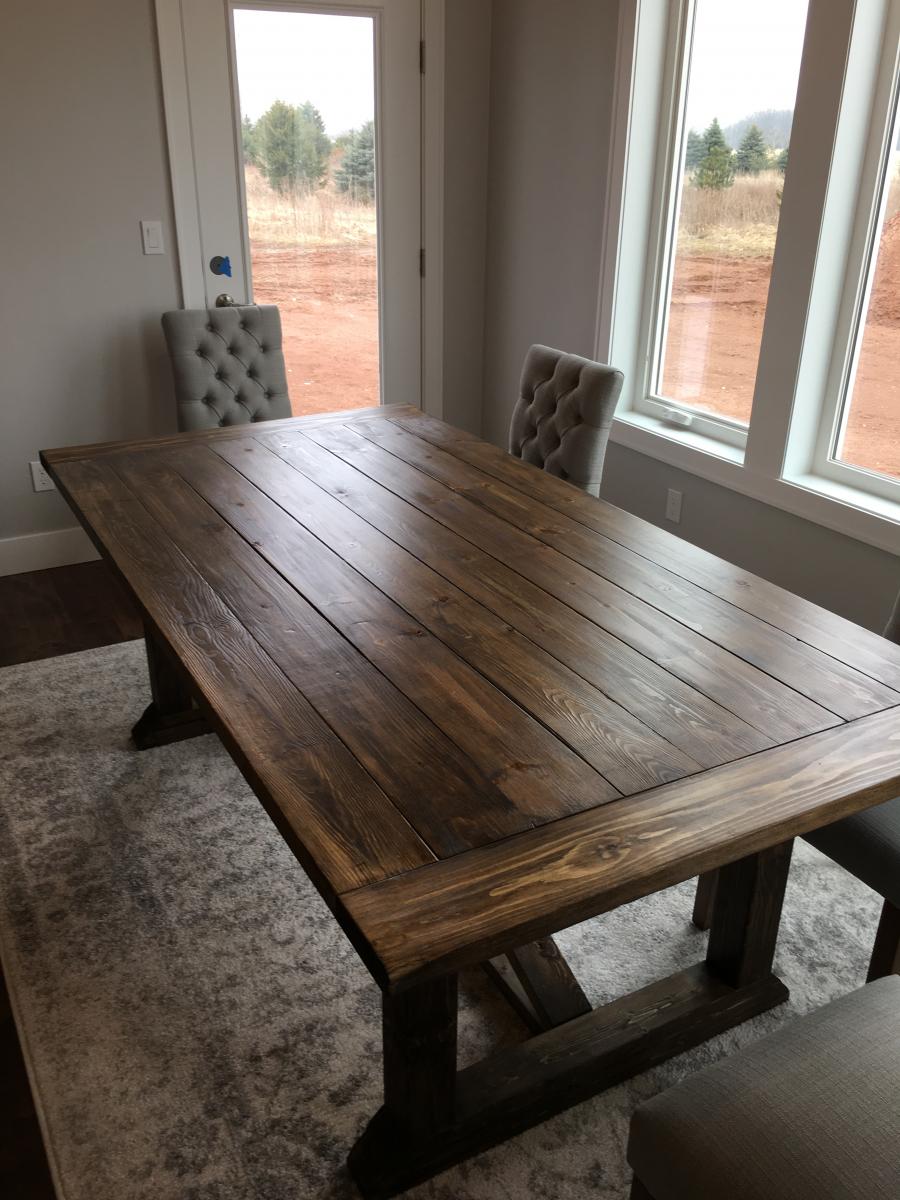
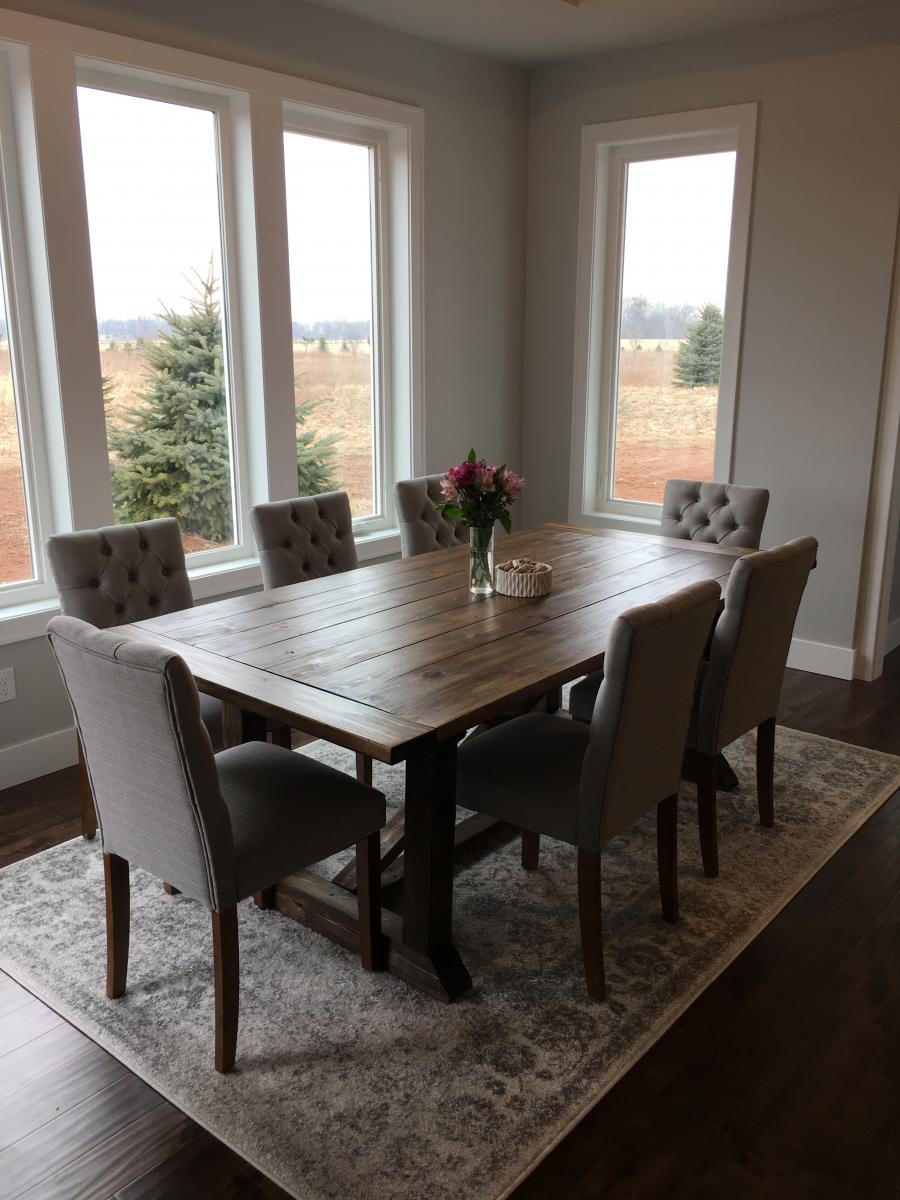
Adjusted the plans to 7' length to fit room size.
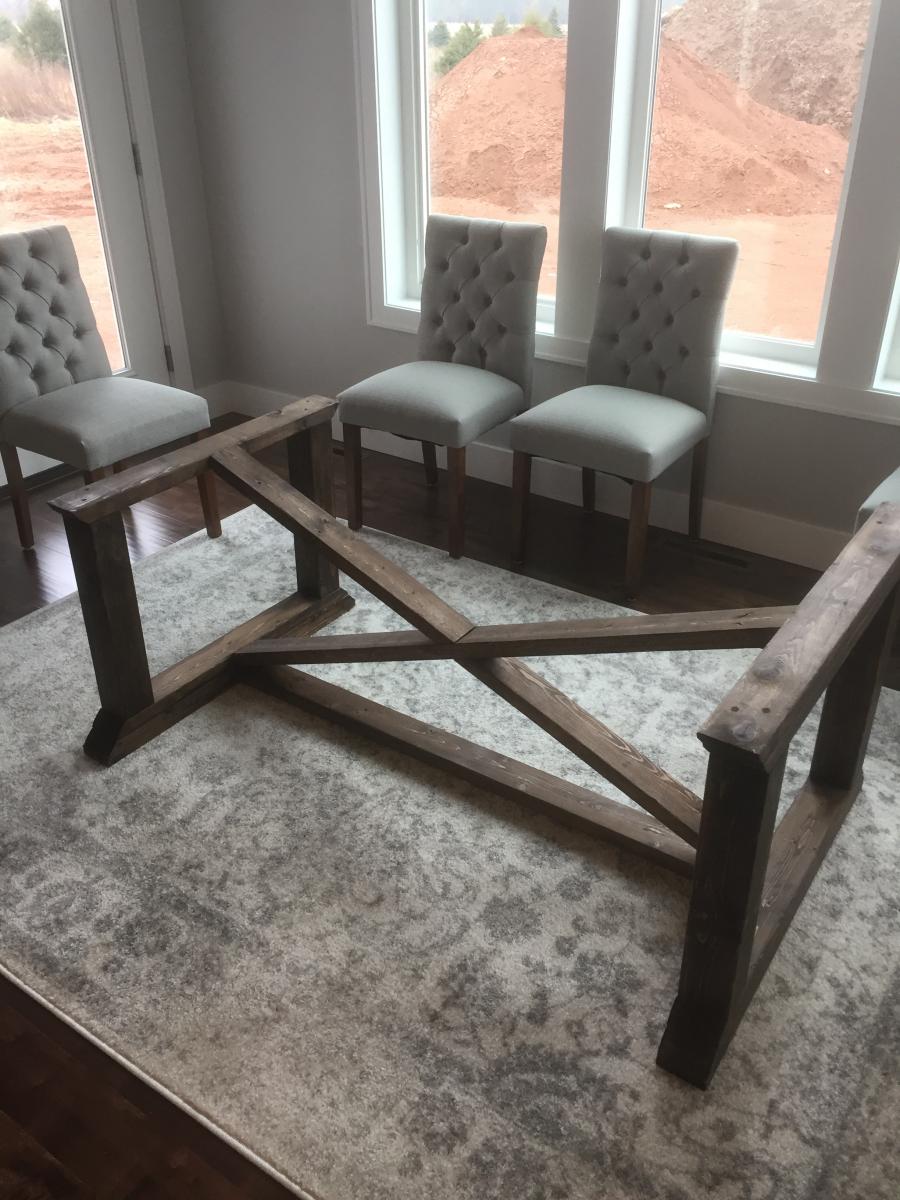
Sat, 07/18/2020 - 11:00
What dimensions did you adjust to get this at 7 feet? It looks beautiful! We are new to building and 7' is what size we were looking for our dining room table.
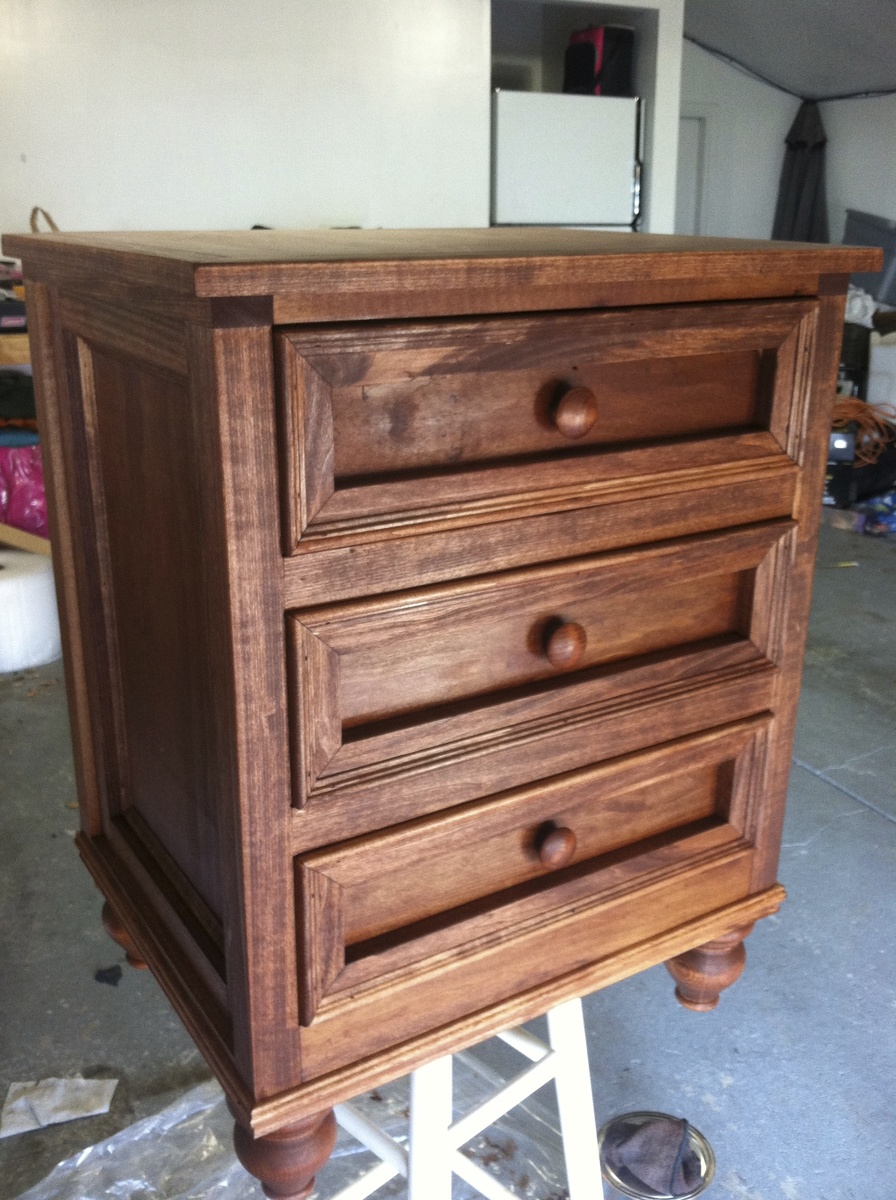
Heavy modification to the original plan to accommodate extra drawers and trim. Finished with Min-Wax custom mixed color or Gunstock and English Chestnut.
Mon, 02/25/2013 - 11:16
Thanks they were well worth the extra time and material. We didn't want the space in the bottom to be a dust collector:)
Comments
Ana White Admin
Mon, 01/18/2021 - 11:09
You should be proud!
Gorgeous, thank you for sharing your first coffee table, it turned out amazing!