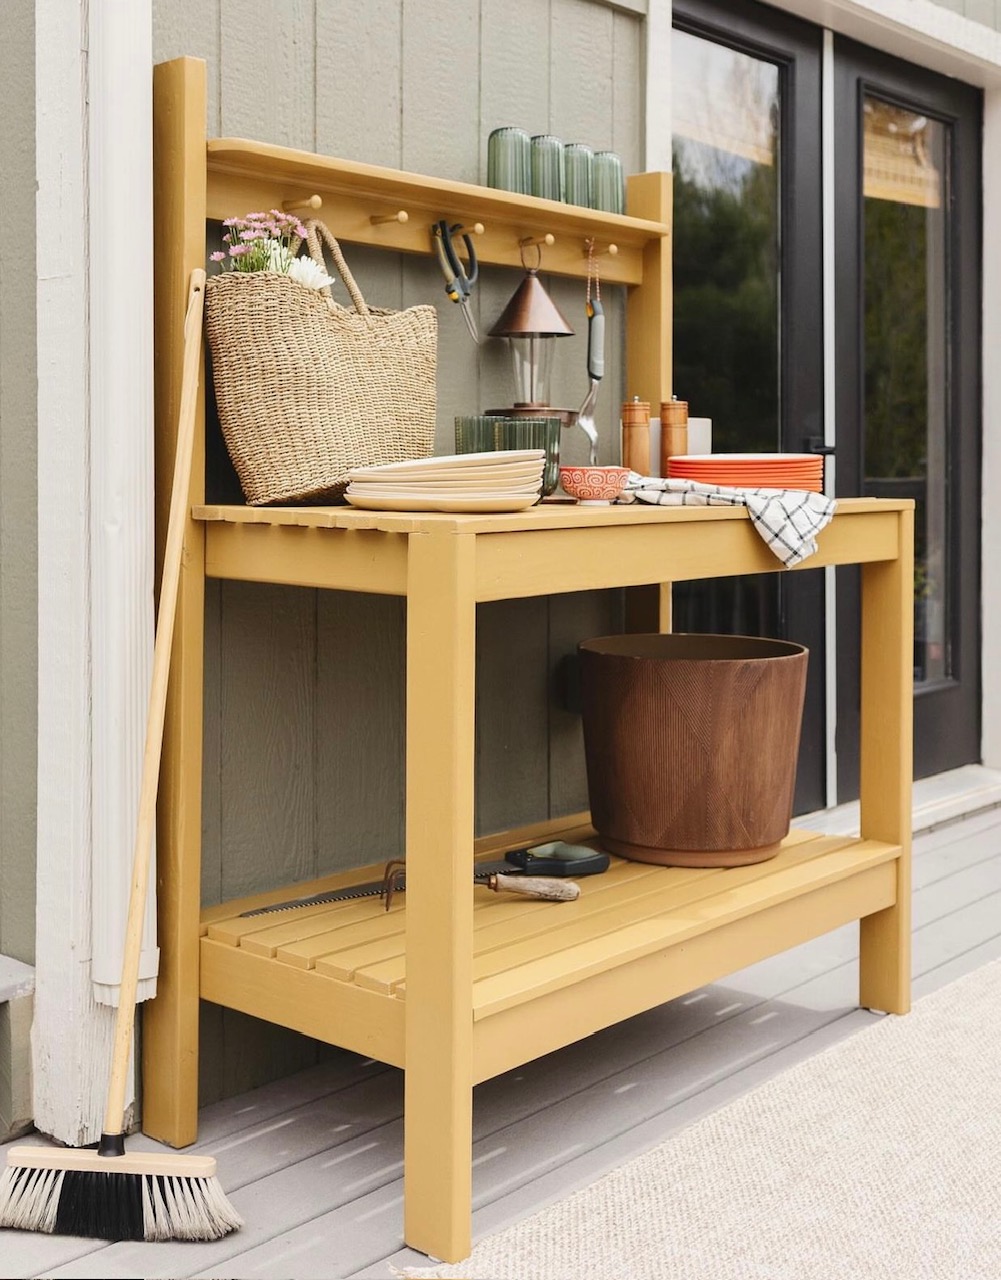
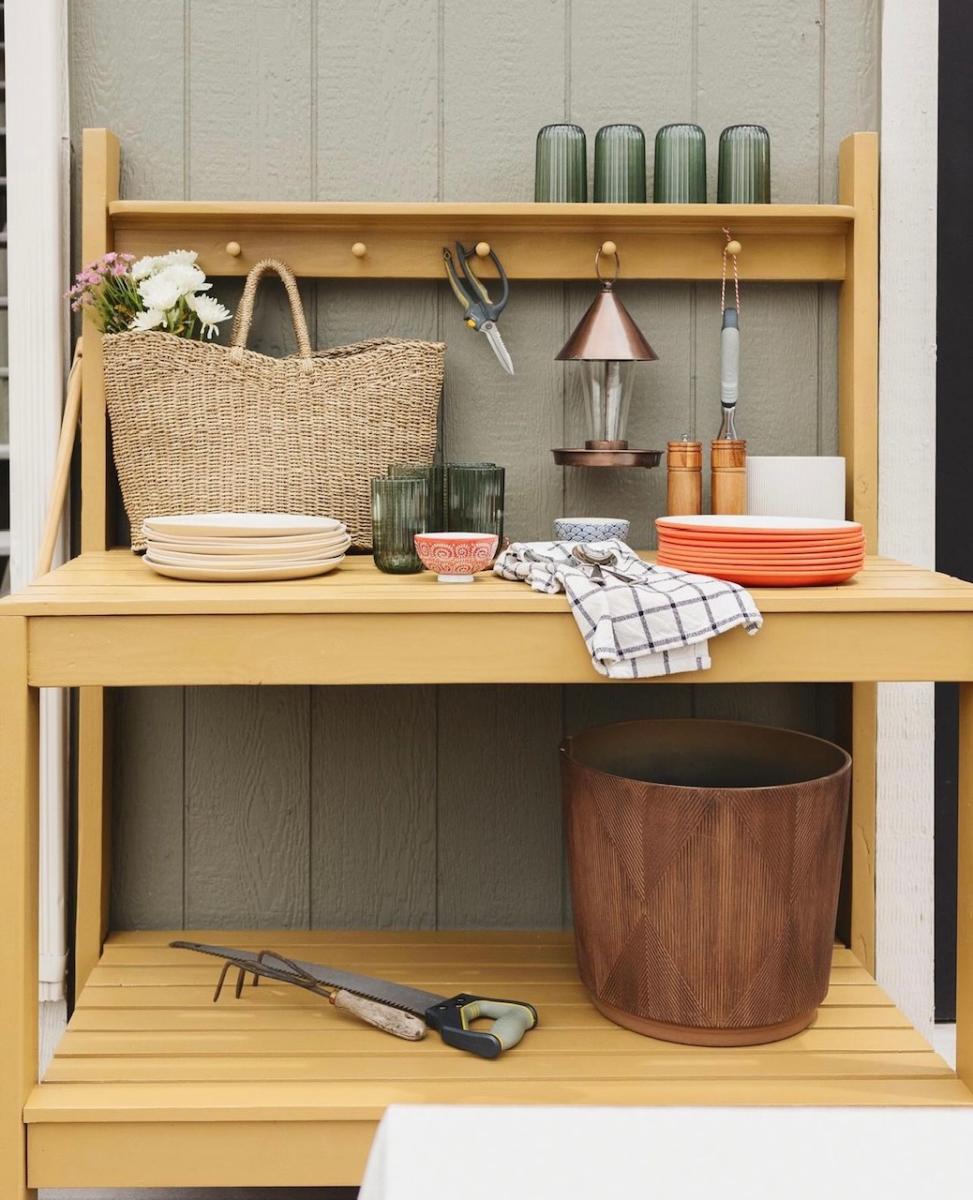
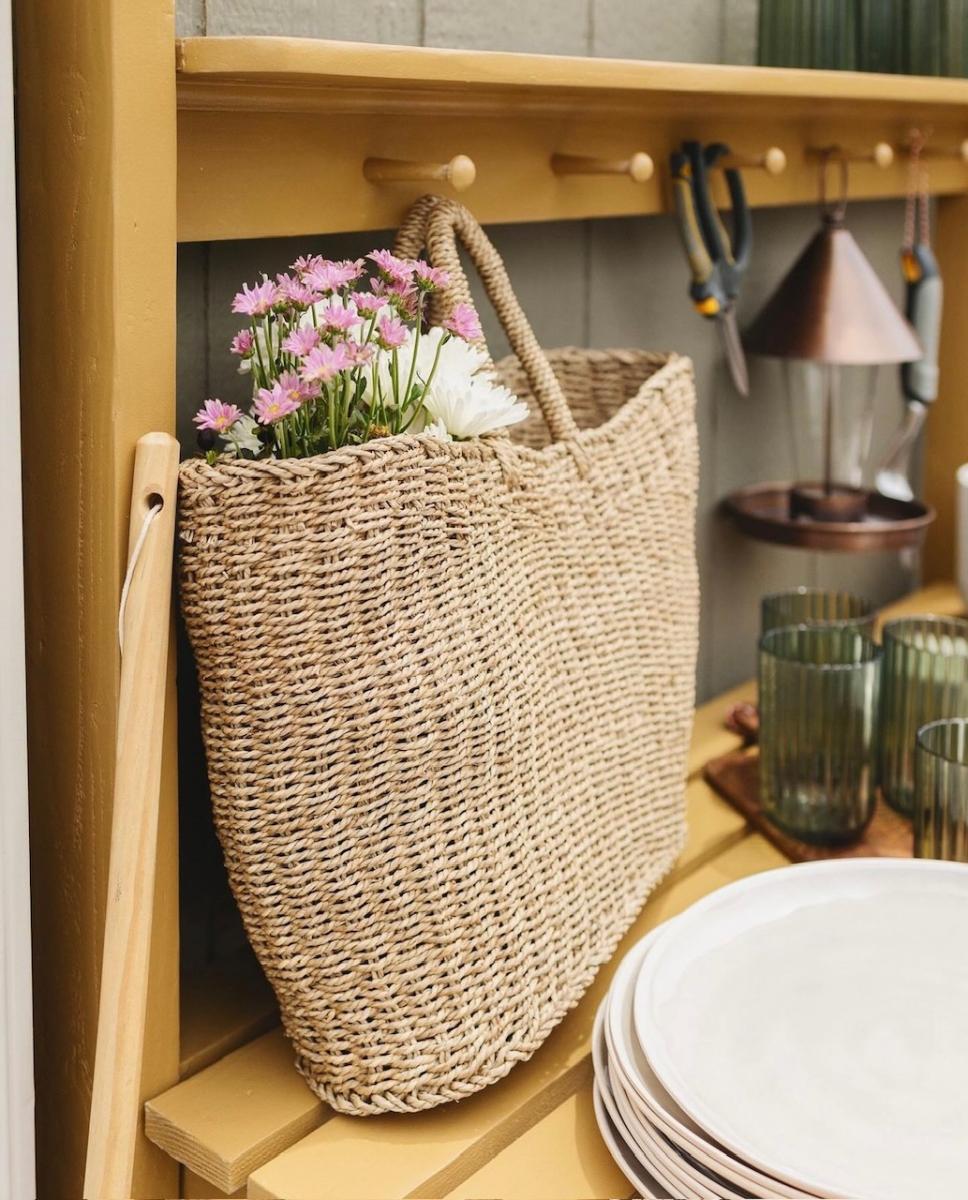
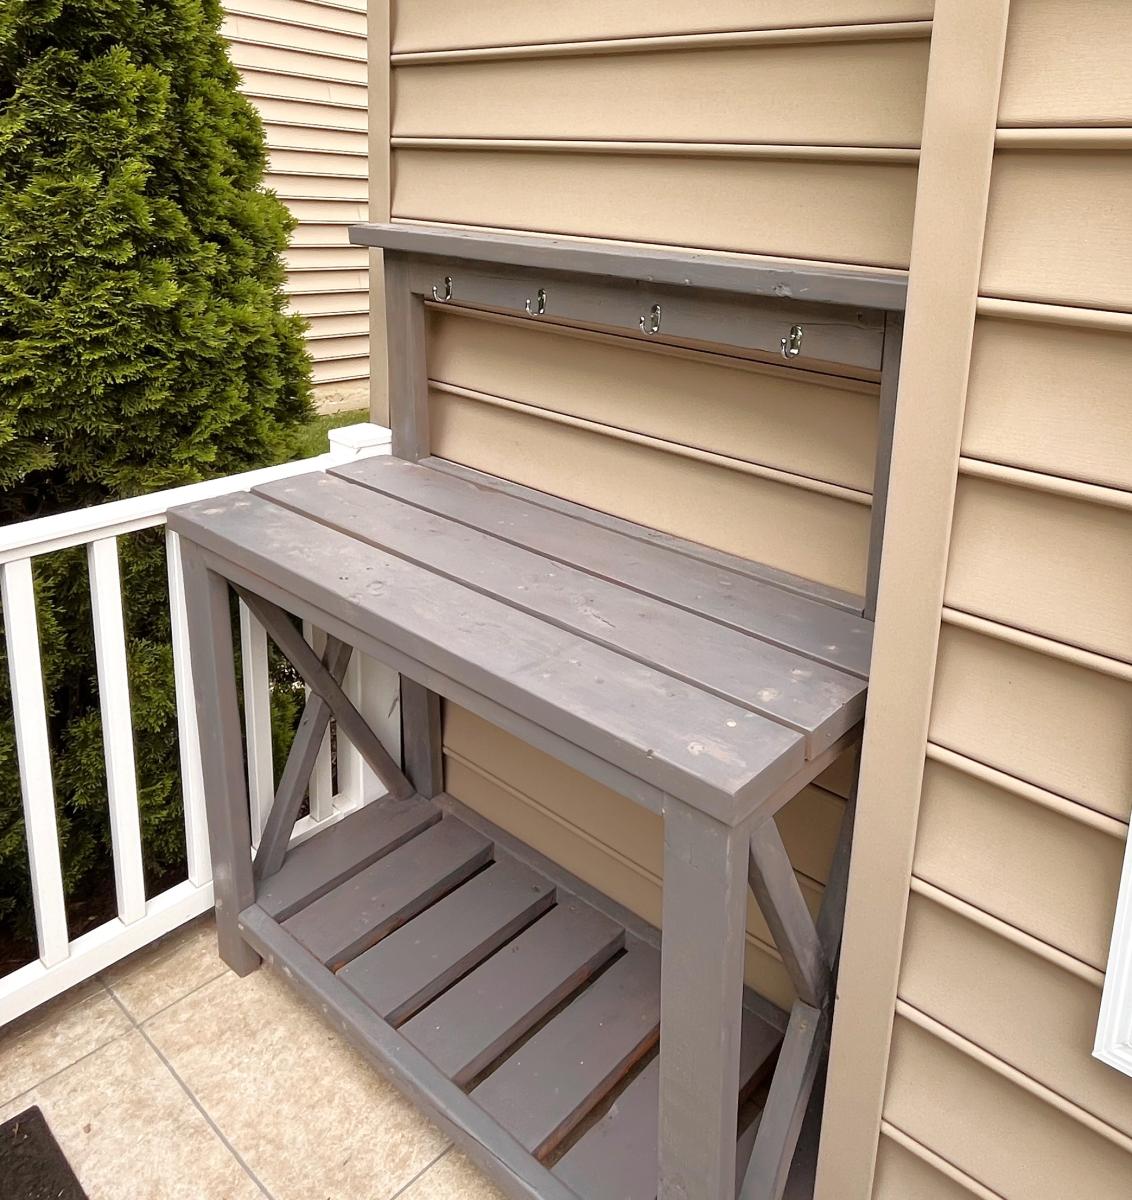
DIY Potting Bench for Deck
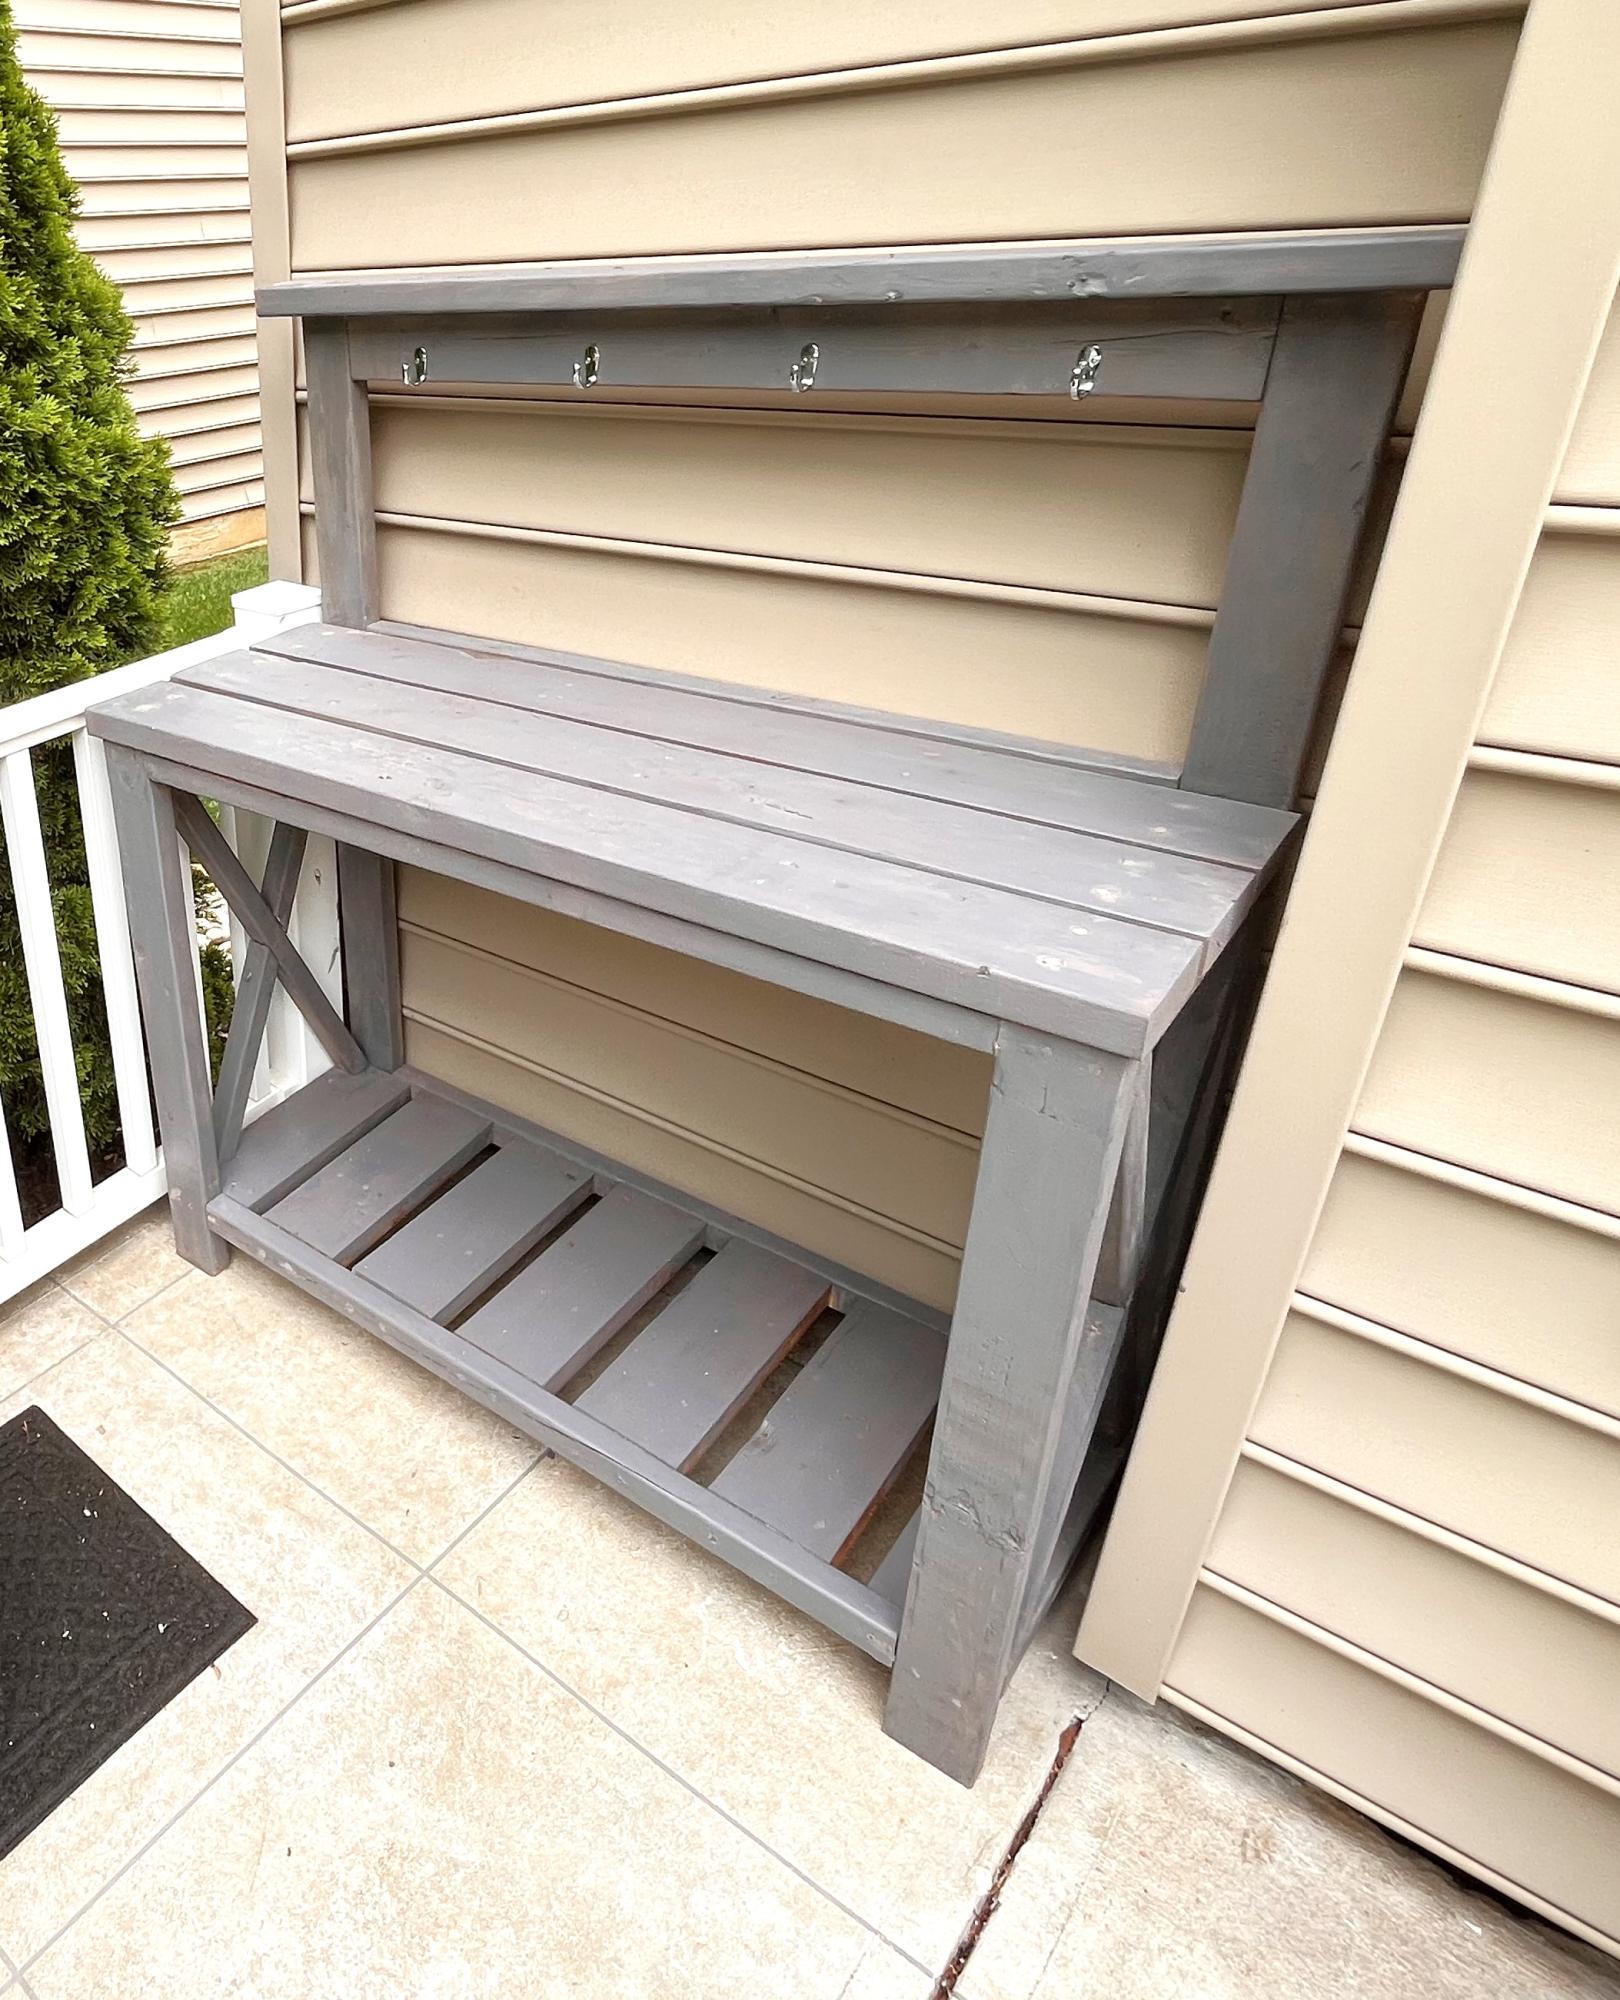
Enjoyed making the potting bench
Thanks for the plans.
Tom Schoeninger
Built from Plan(s)
Enjoyed making the potting bench
Thanks for the plans.
Tom Schoeninger
Our first Ana white project! My husband and I are both really excited with the results. We plan on making the table too. I followed the plan and added comments/details/changes we made on my blog http://thehuth.blogspot.com/2012/09/diy-pottery-barn-bench.html I added pictures to follow along the steps from the tutorial.
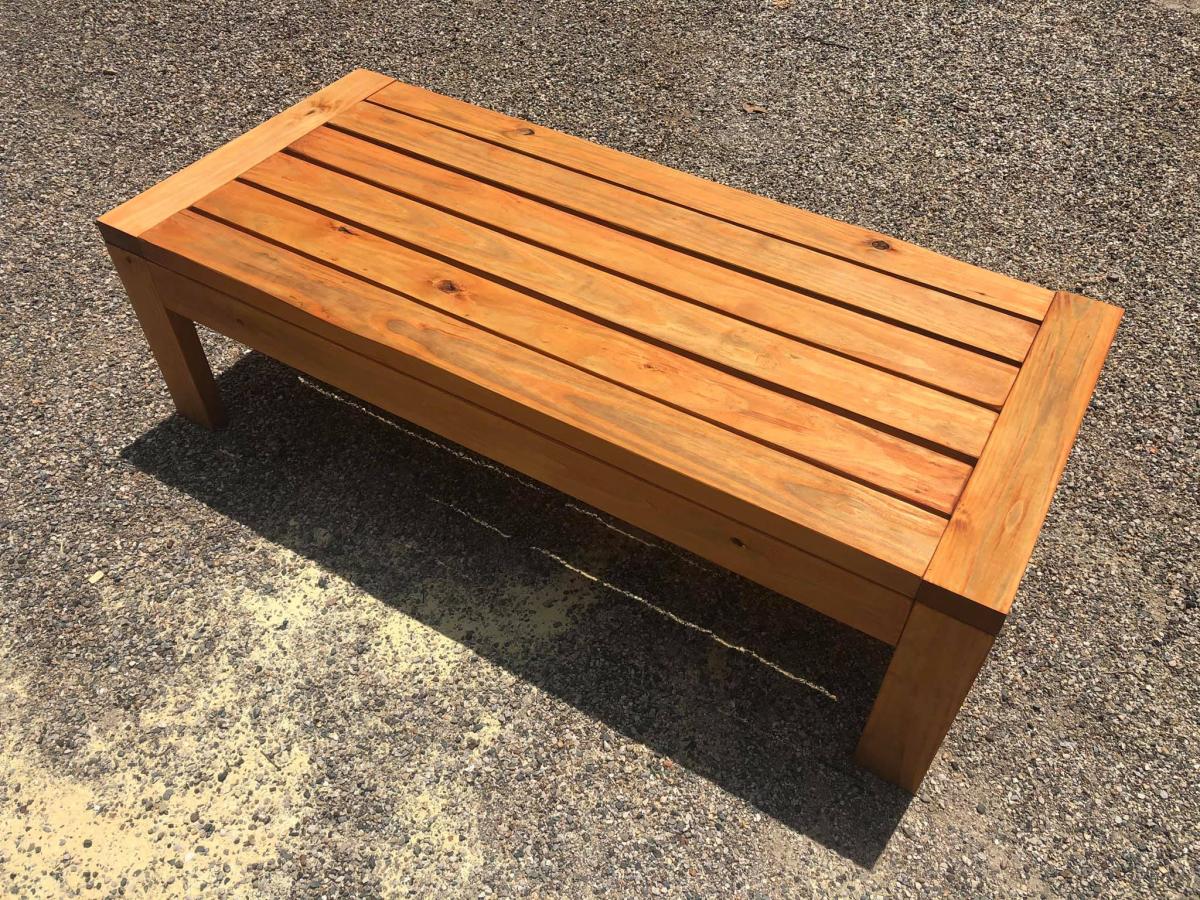
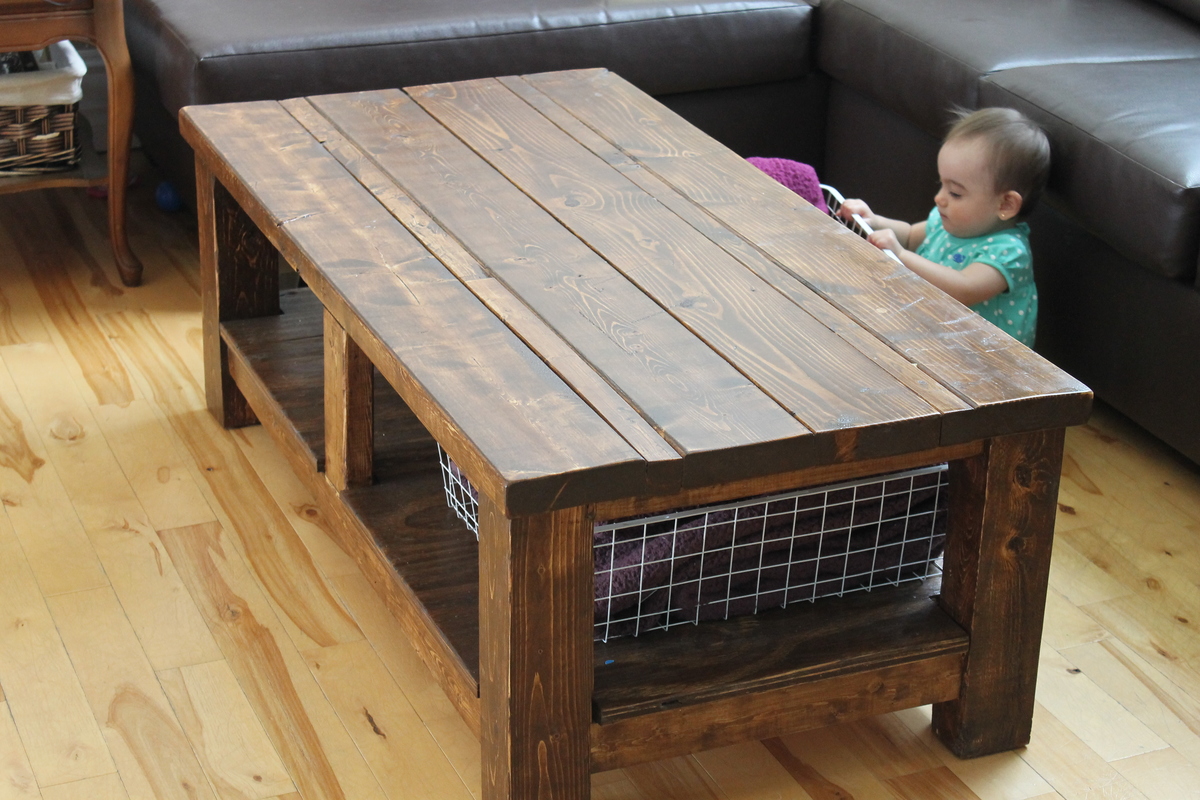
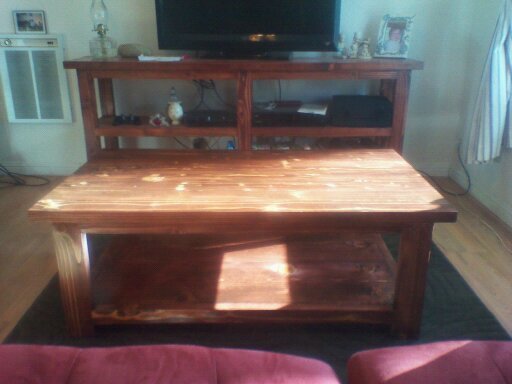
Coffe table for our living room. Really fit our style. I had problem cutting the plywood but i turned out great. I love the colour: Varathane early american.
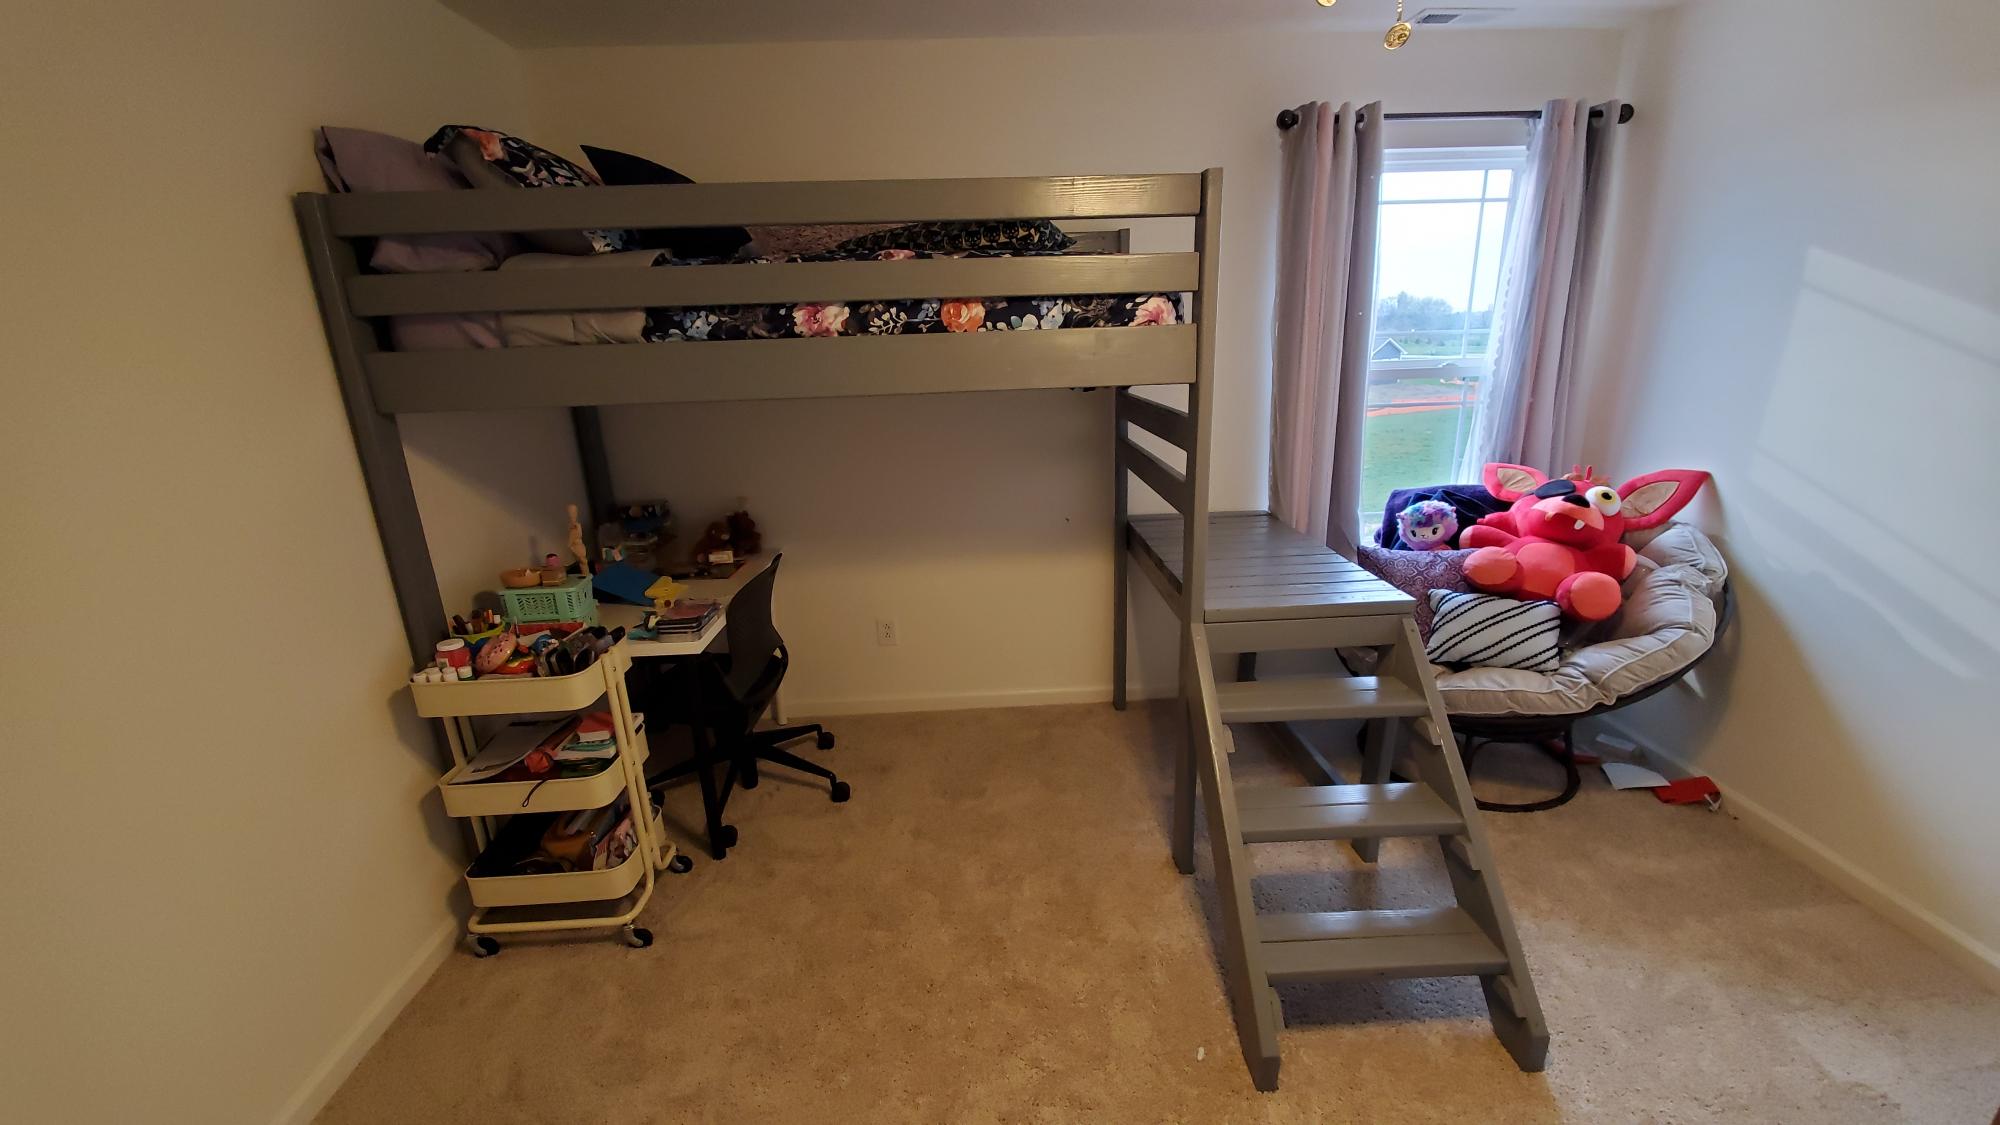
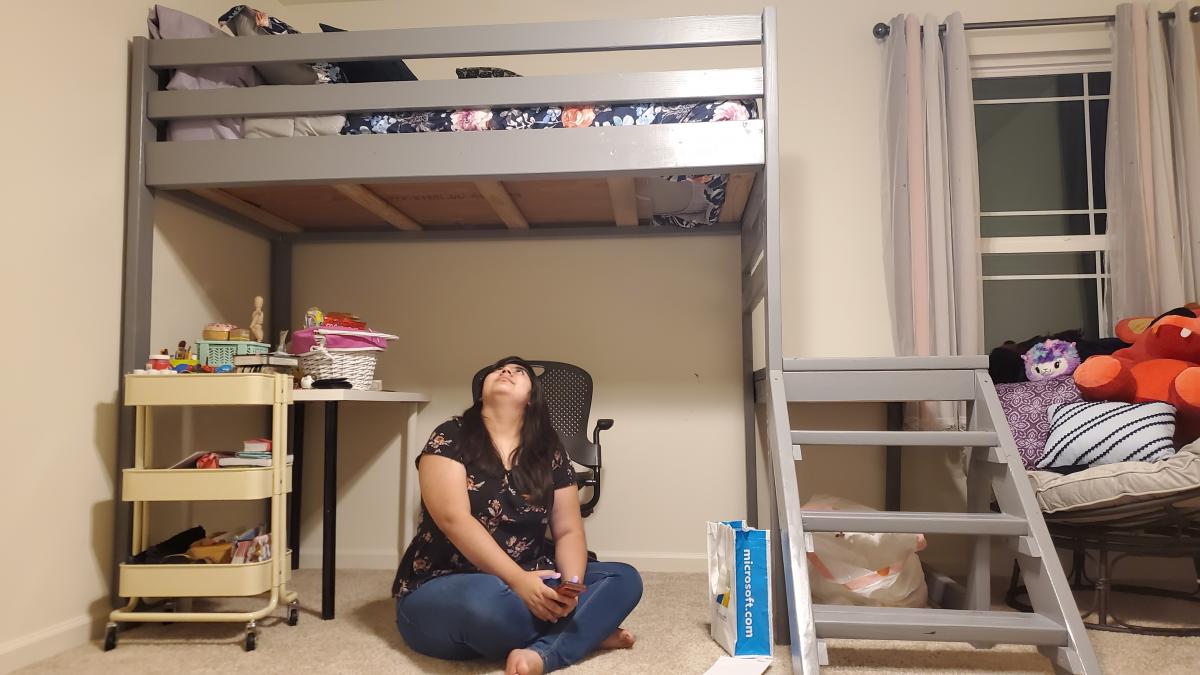
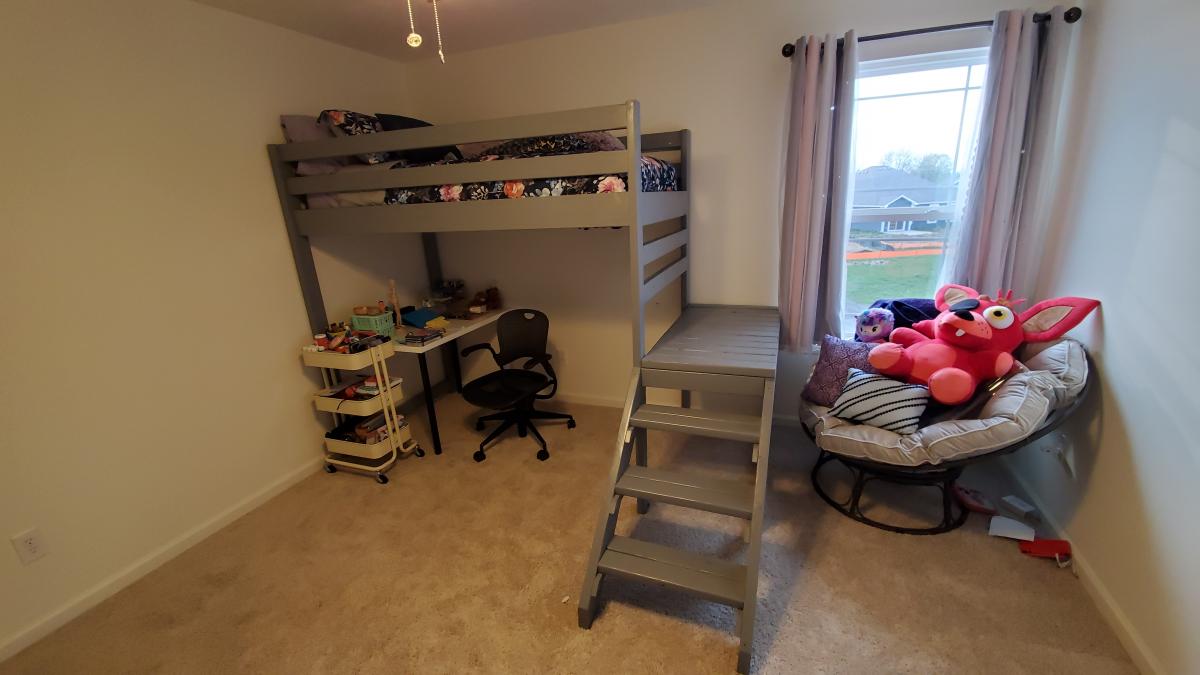
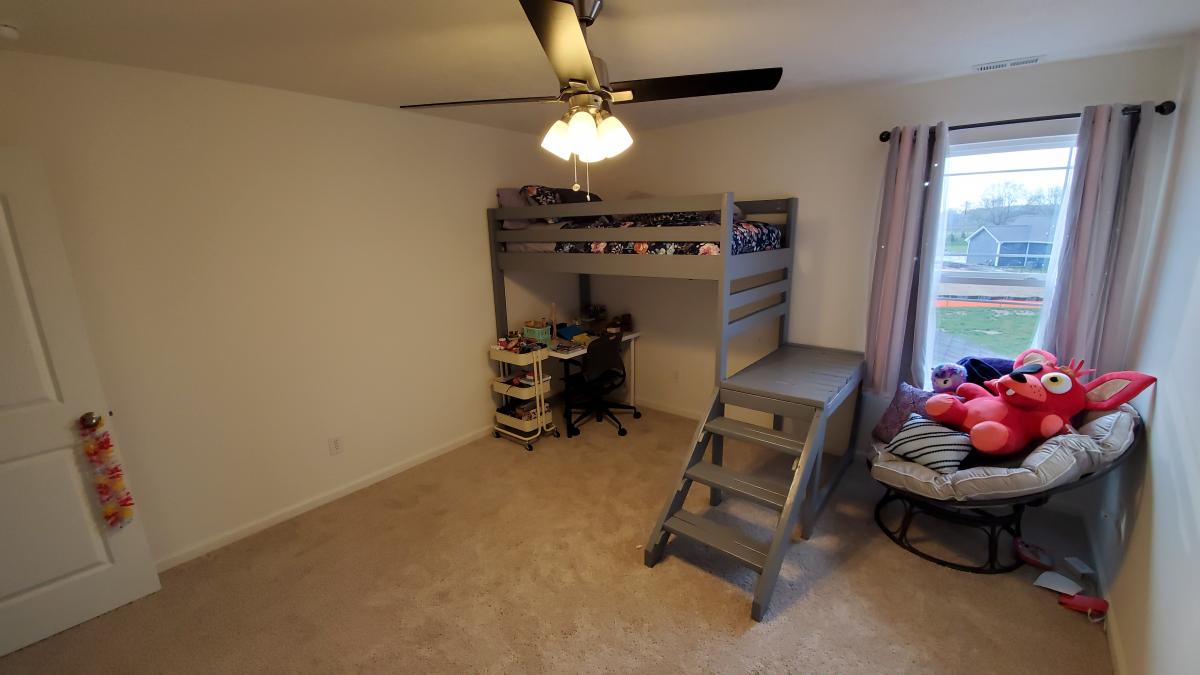
My daughter wanted to have a bed that she could consider her own. She always wanted a loft bed and that way still have room to do her art and a place to do her homework. While the camp bed was great I had to modify the plans in order to not only have it fit in her room, but also have enough space for her to sit at her desk underneath it.
This was my first major project, and it will always be a special one because it is my daughter's bed. She loves sleeping on her bed, and when her friends come over to visit they make sure to compliment her on it!! I'm very proud of it, and hopefully it will serve her when she goes to college, as I assembled it in such a way that it is modular to put together and take apart.
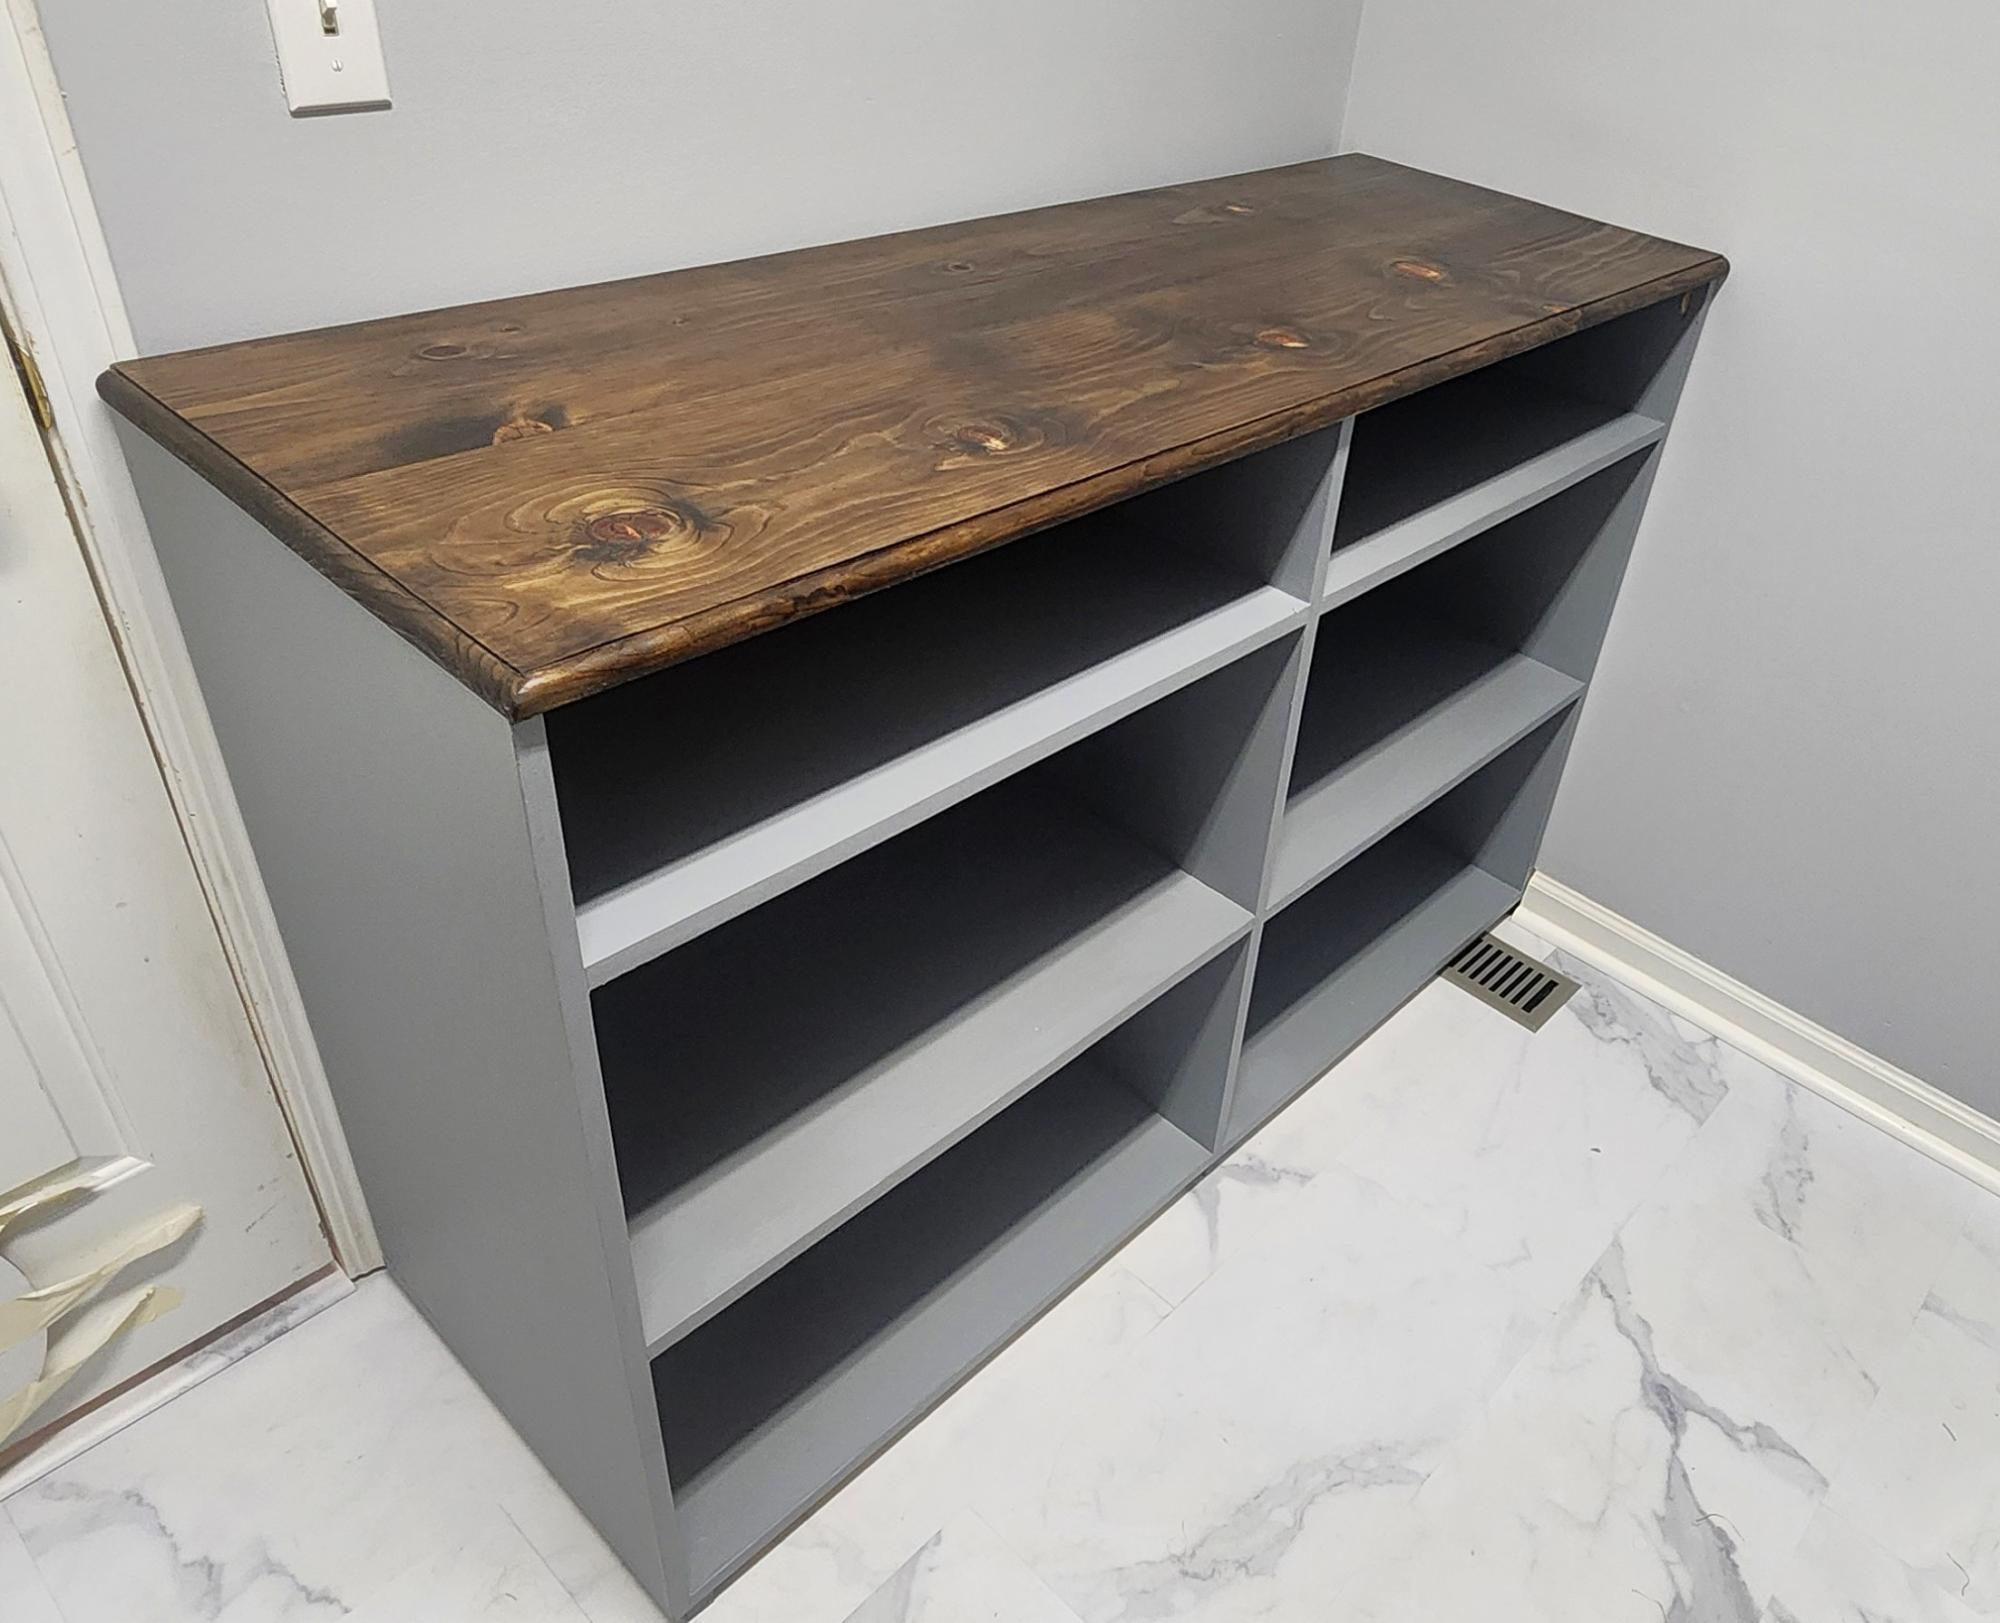
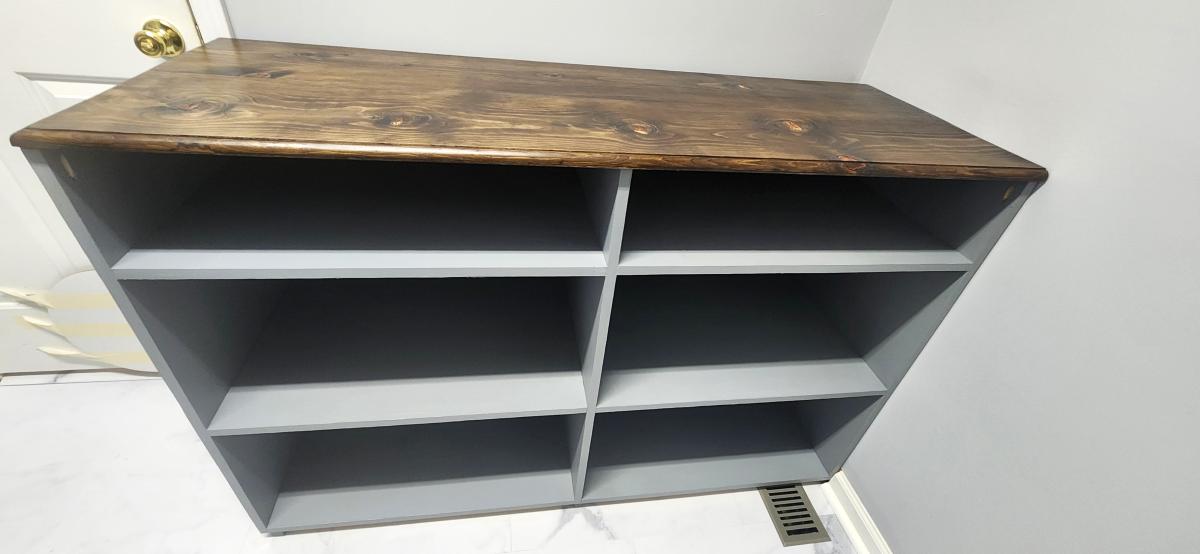
This was a modification to an Ana White design and another brag.
Designed on sketchup. It holds 4 laundry baskets sideways. Because I wanted it to be counter height I have a 6 inch shelf.
3/4 reconditioned plywood for the base assembled using Kreg pocket screws.
The top is a low cost pine 11.5 wide.
I jointed them using a 14 inch hand plane. First time for that. Cut the top to 22 inches wide.
Prestain conditioner. Minwax dark walnut stain and 6 coats of minwax poly wipe on.
Attached using Kreg screws.
Randy Eby

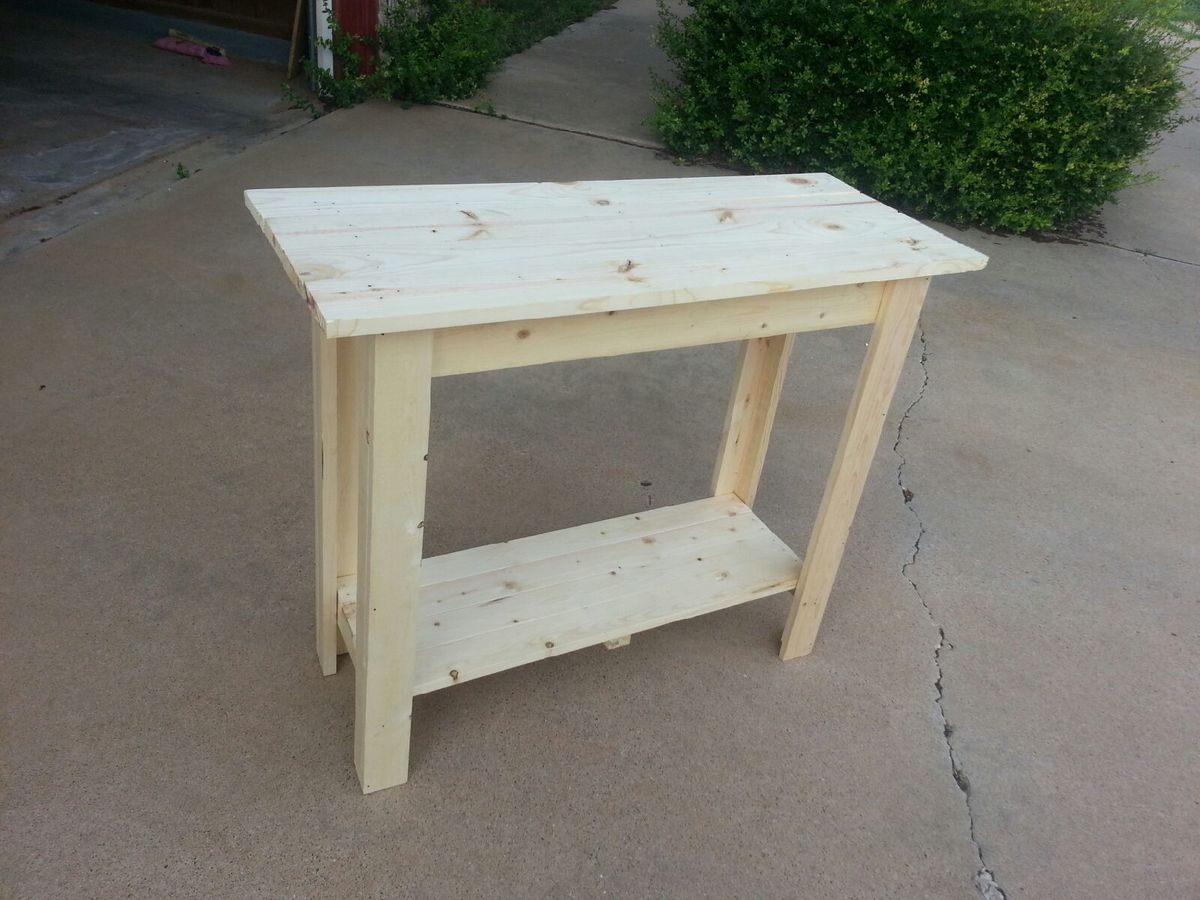
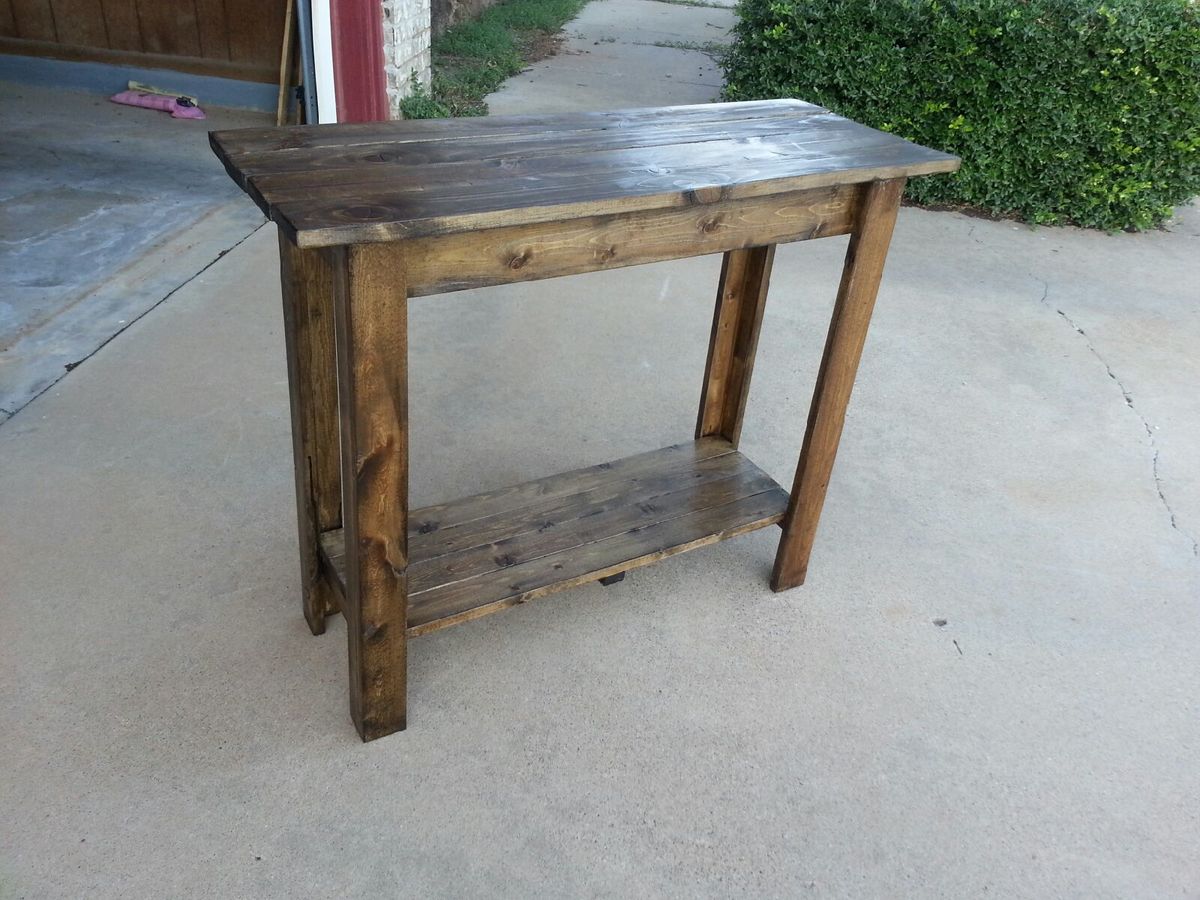
This was my first project. It was relatively easy but I did make some mistakes that are now design features


Very cool plans! Lots of fun!!!
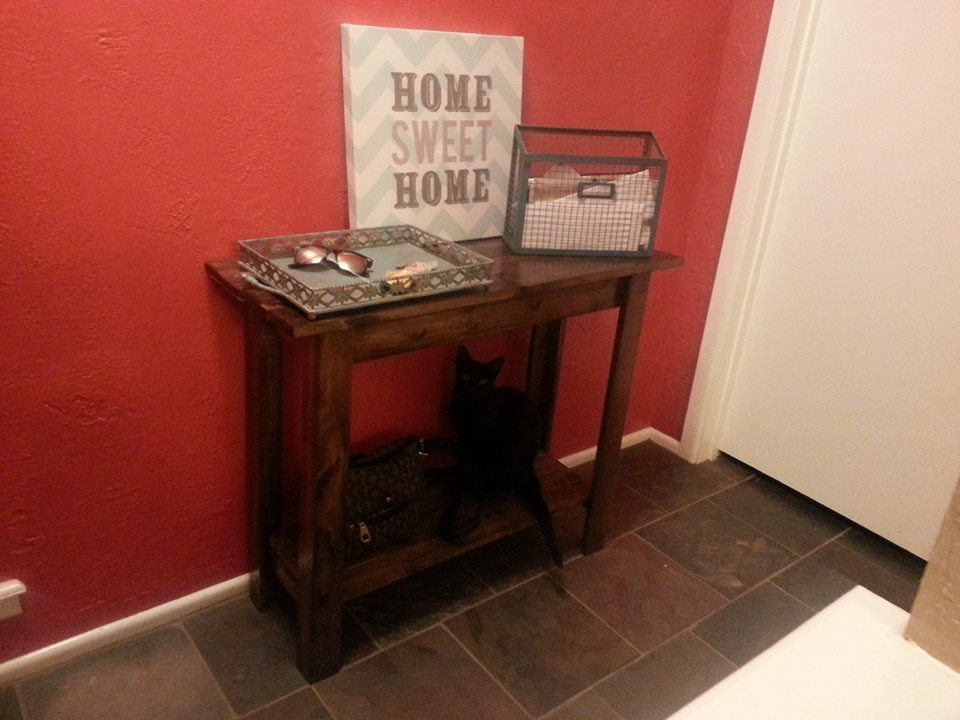
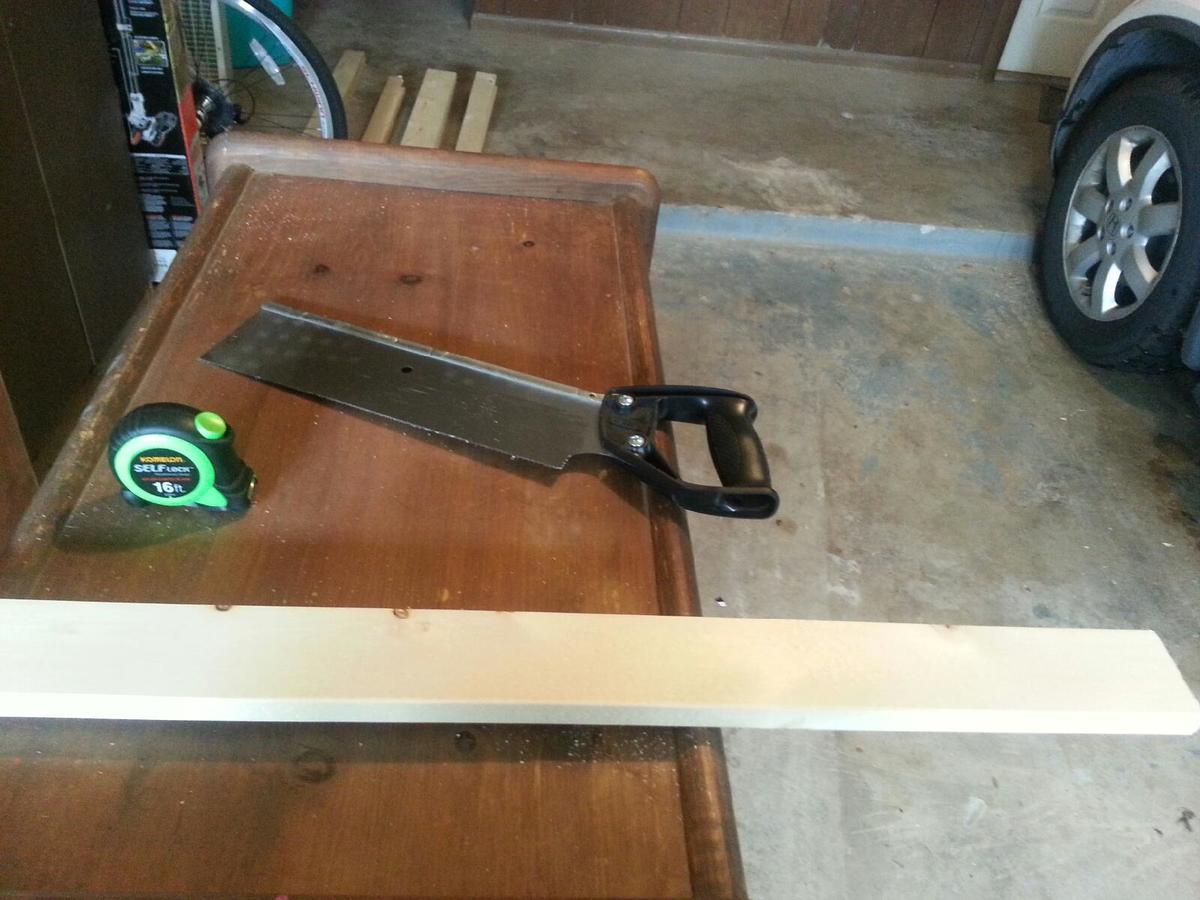
I'm pretty proud of my first project even though it does have some flaws. I learned a lot. I made every cut with a handsaw! Don't do this unless you want to have some seriously sore arms. I'm ready to graduate to a circular saw. I also used a hammer and nails instead of a nailer, so this project took me a little longer than it should have. Thanks so much, Ana, for the opportunities!
Tue, 08/12/2014 - 14:43
Using only hand tools? You did a great job. Ana offers great suggestions on what you need to start but here are my comments on some tools for Christmas or sooner:
Choose the miter saw over the circular saw. So much more useful and safer. For those times you need to cut sheet plywood invest in an inexpensive small circular saw. Lighter and easier to handle.
Orbital sander
Basic Kreg jig kit with drills , clamp etc.
Several lengths of pocket hole screws. You will use hundreds of them.
Square
Power drill
Clamps (Harbor Freight clamps are great and inexpensive) Get a lot of them and none less than 12" capacity. Miminum of six to start.
Eye and hearing protection
Titebond II or III glue
Tue, 08/12/2014 - 15:01
Thanks, Grandpa Jake. :) (I'm just going to call you that since so many of your projects are for your grandkids!) I was sorry to read about your problems today but glad you are so persistent. You weren't kidding when you said that checking for square is super important! I'm currently in the middle of my second project (the step up table, plans here on Ana White--actually done building but need to finish), and I took it apart/redid it twice to make sure it was square.
Thanks for building my Christmas list for me! I'm definitely itching for a fancy kreg jig, but I really need to get those clamps.

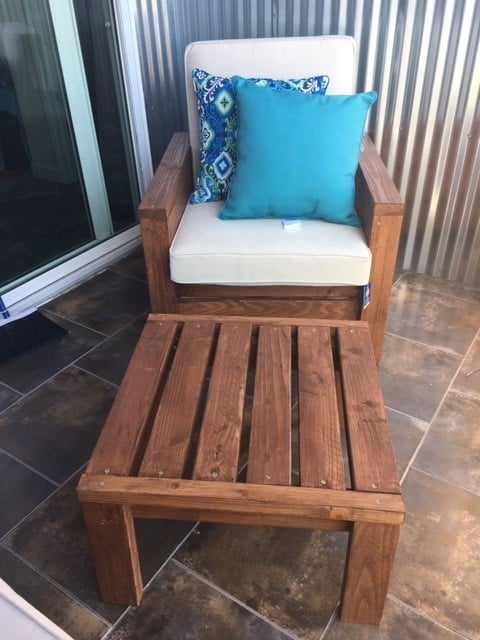
Super easy and done in 1/2 a day
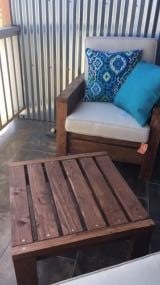
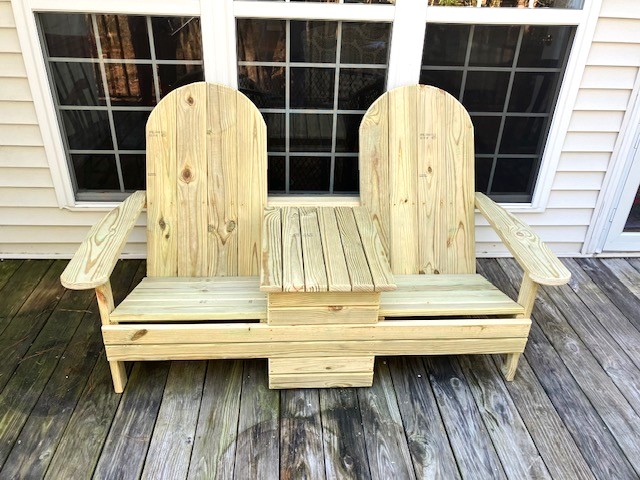
The chairs were my first project ever and they came out great! I even made the ottoman/side table because the chairs looked so good. Ana, your plans were fantastic and easy for a beginner. I learned so much from this first project and I'm already working on another project from your site! The cushions were definitely the most expensive part of the chair.

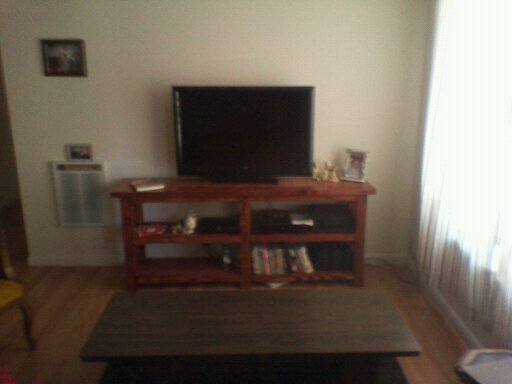
Built the Rustic X console table to use as my entertainment center it works perfect for my 42in flat screen, PS3, and dish receiver. I did not use the x's and stained it with red mahogany stain and gloss brushing lacquer.
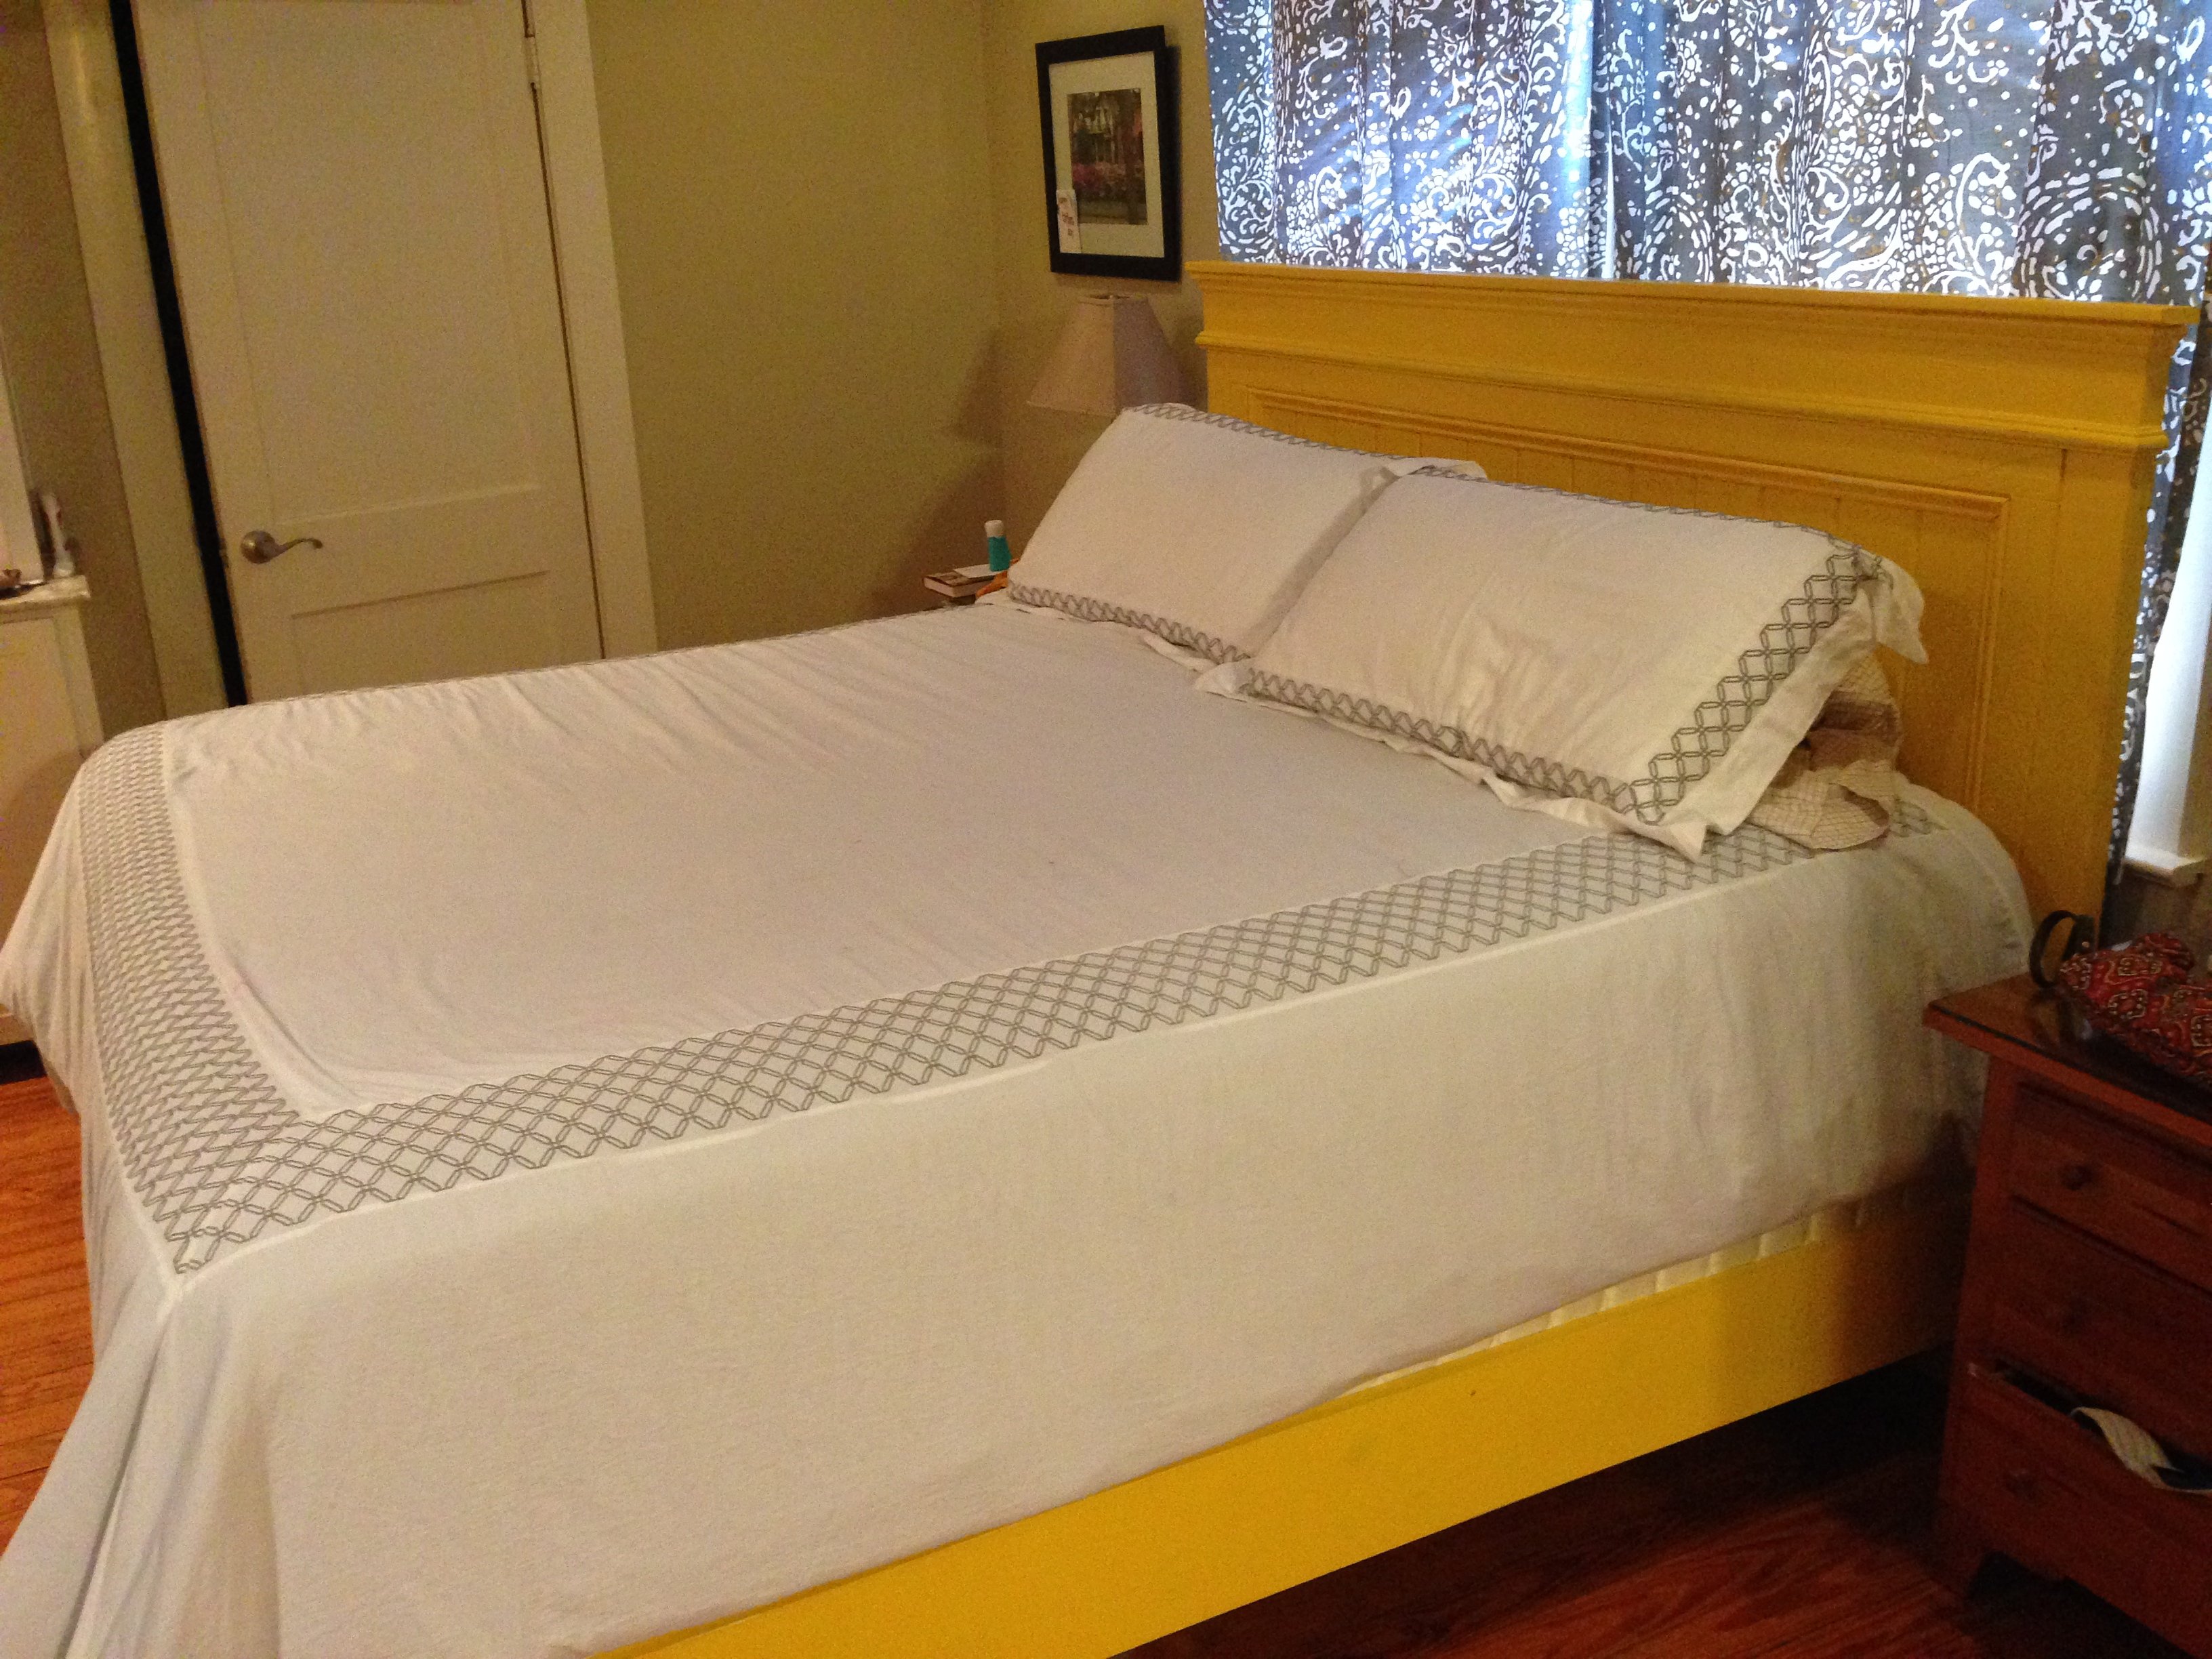
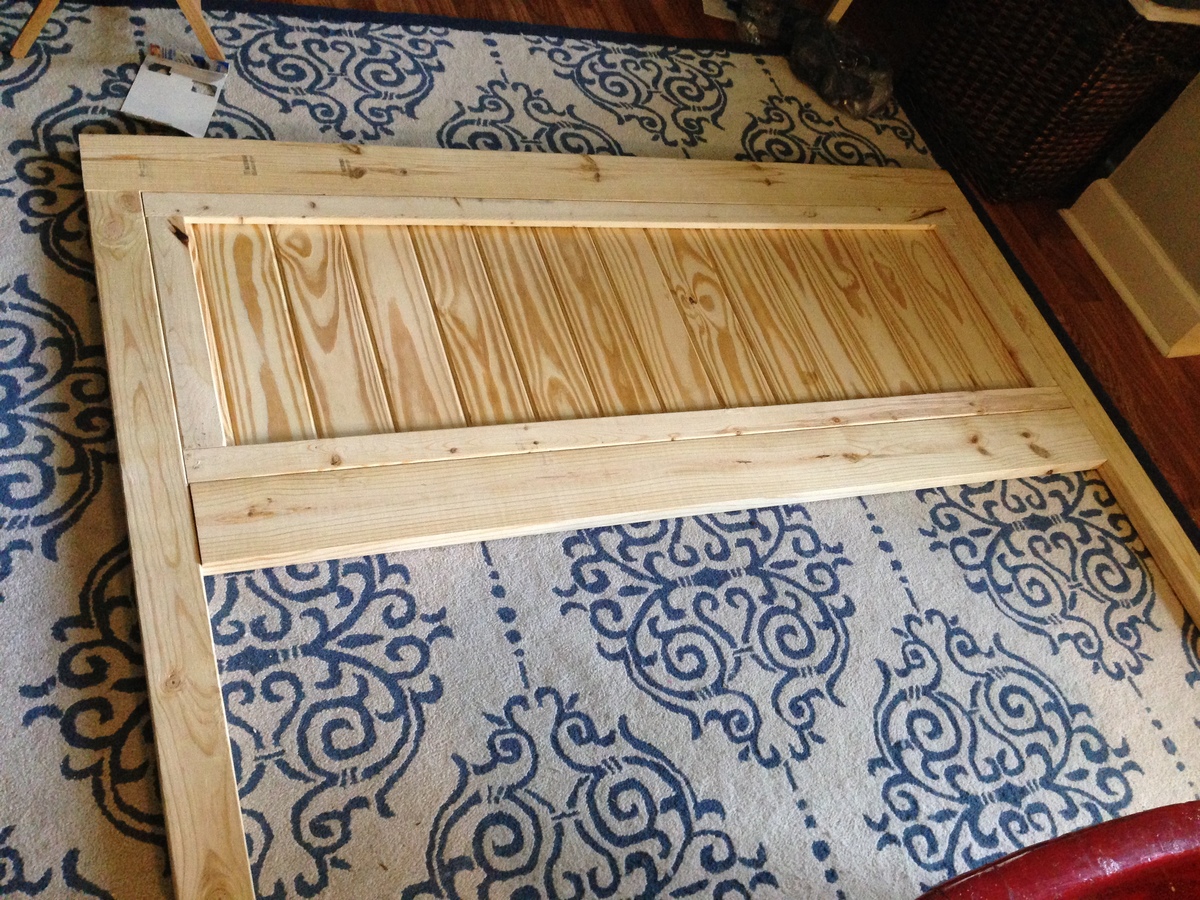
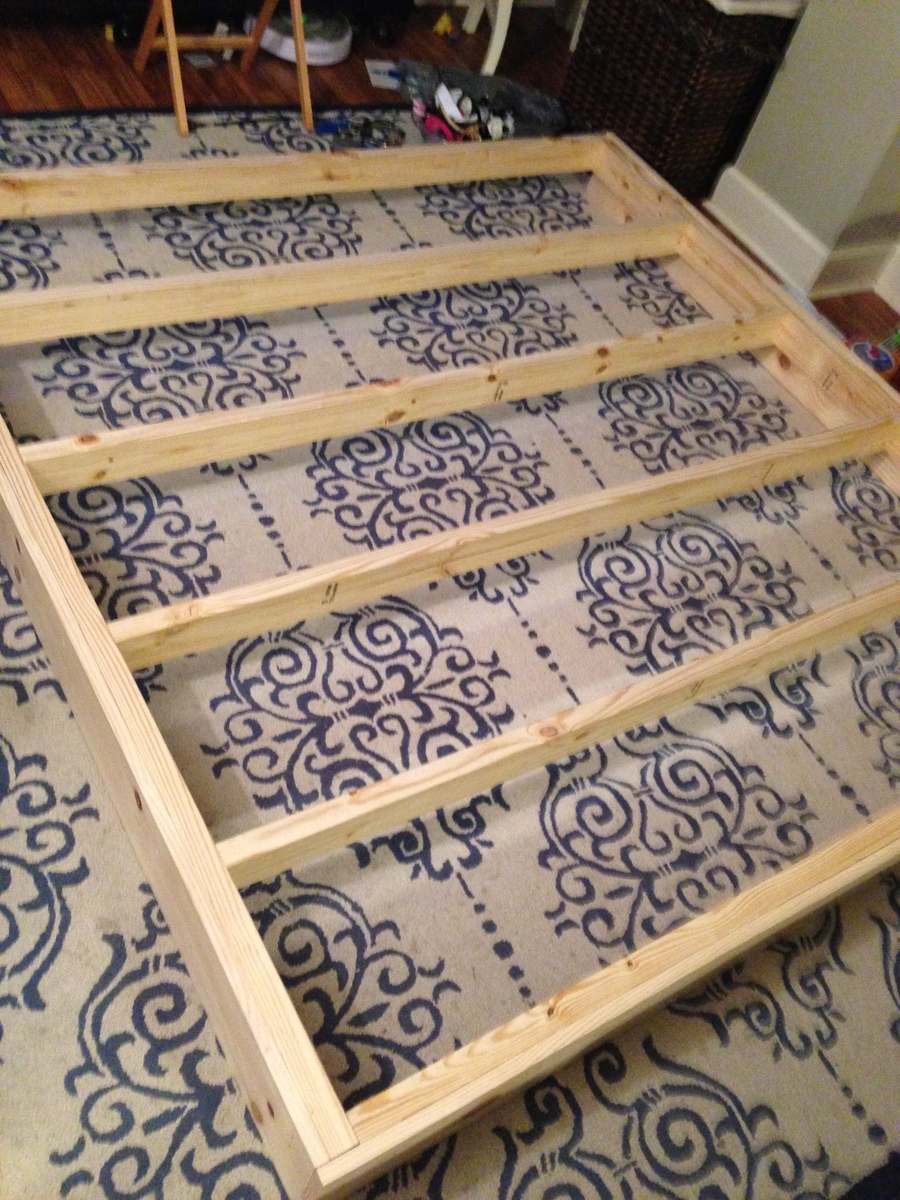
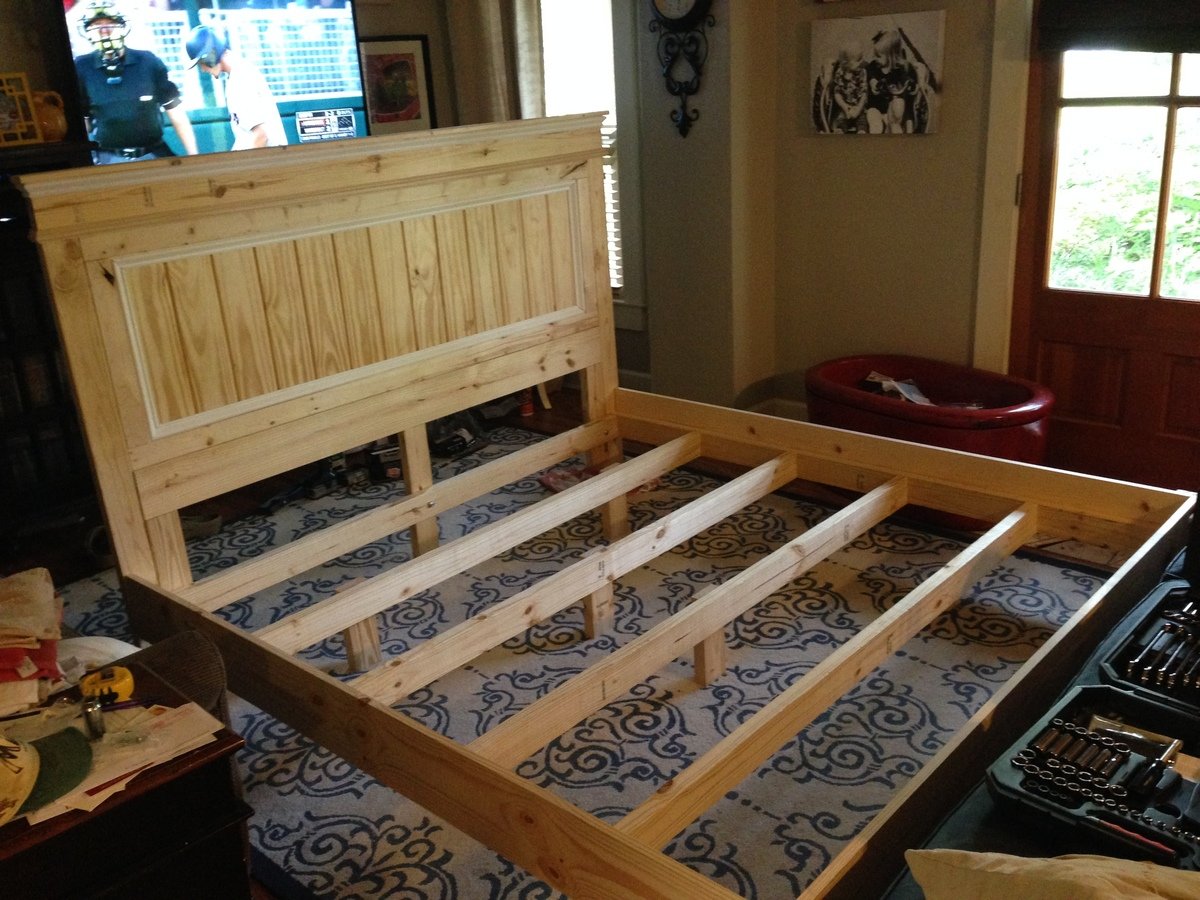
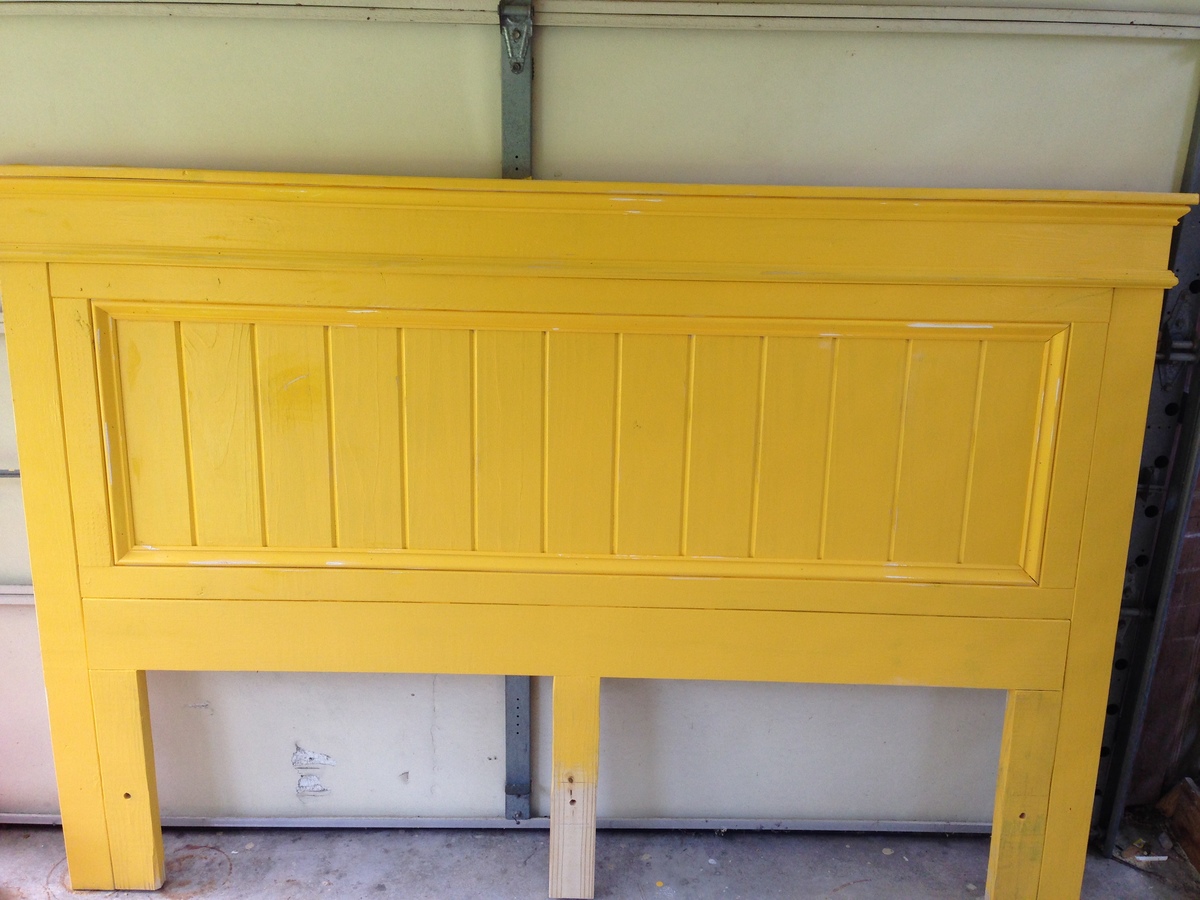
We've had our bed on a small metal frame for years with the hopes of someday finding a bed frame that we liked. With the family out of town, I decided to try and build one after getting this site from a friend (LSU Builder). The steps and materials were a HUGE help! I only had to make a small amount of changes from the original plans....most notably adding additional 2x4's to each headboard leg along with one in the middle. This created more space to connect the headboard to the body of the frame with the bolts. This was the first time I'd ever used a Kreg jig to create pocket holes. I will definitely use these for other projects as they seem to be extremely strong.
All in all, I will definitely be using the site for additional plans. I'm an intermediate "wood worker" and really enjoy tackling projects. Thanks!0

This the is first time I have ever built a peice of furniture. My best friend made all of her furniture in her house using her kreg jig and visiting Ana's website. I ended up building this in her garage since I was still in an apartment at the time. It was a total labor of coldy freezing love. :D Now I want to build EVERYTHING! We had to adjust some of the numbers on the plan and it cost a little more than $75 but totally worth it!
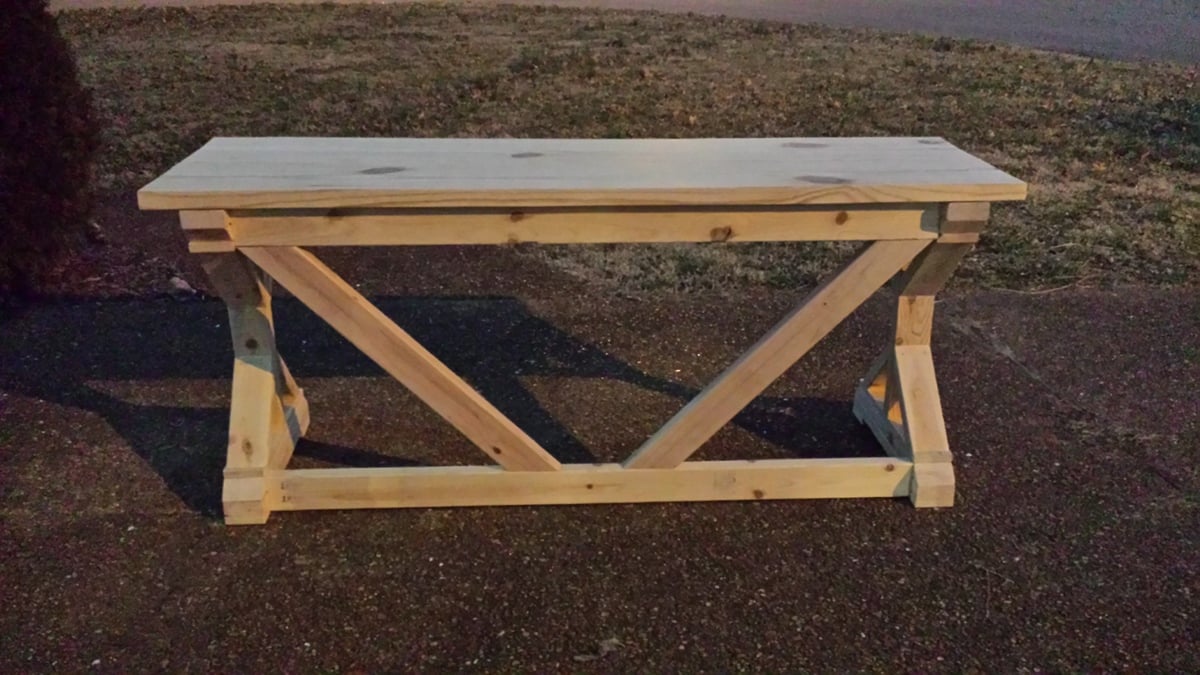
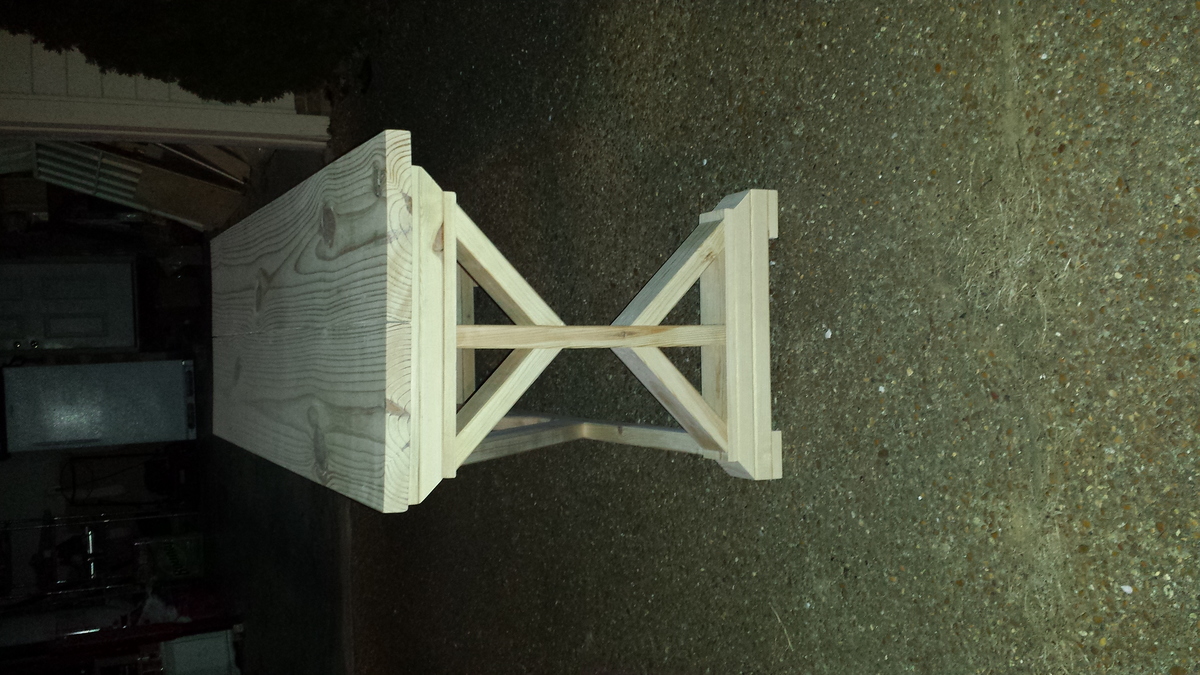
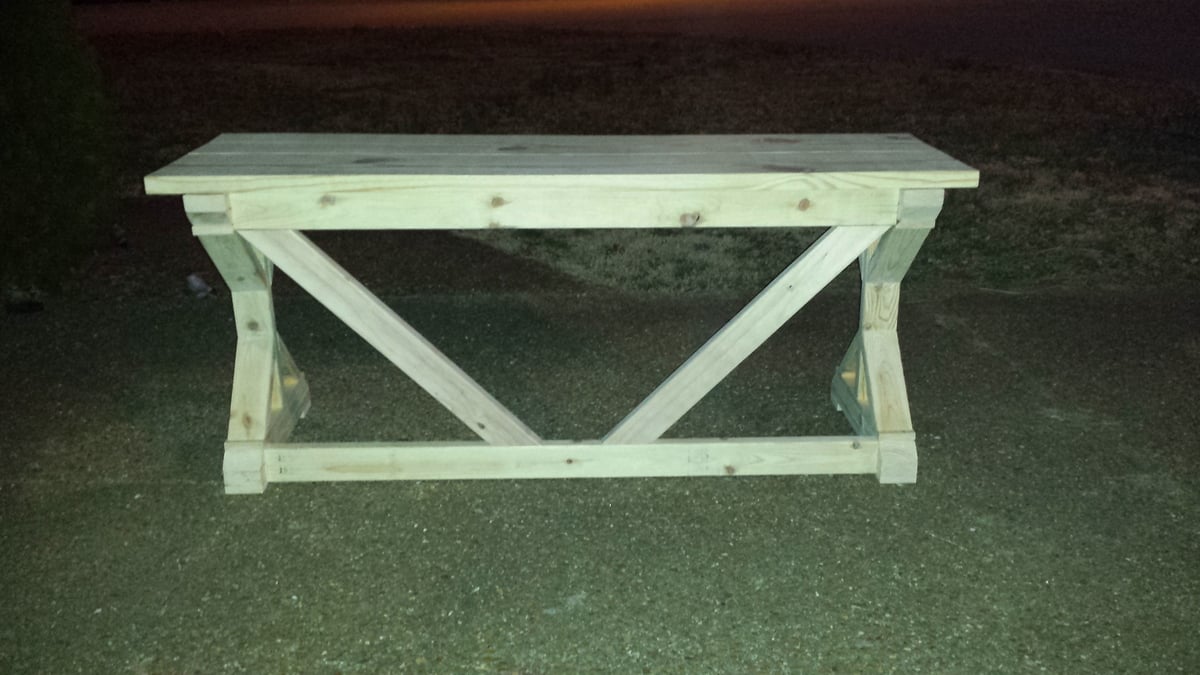
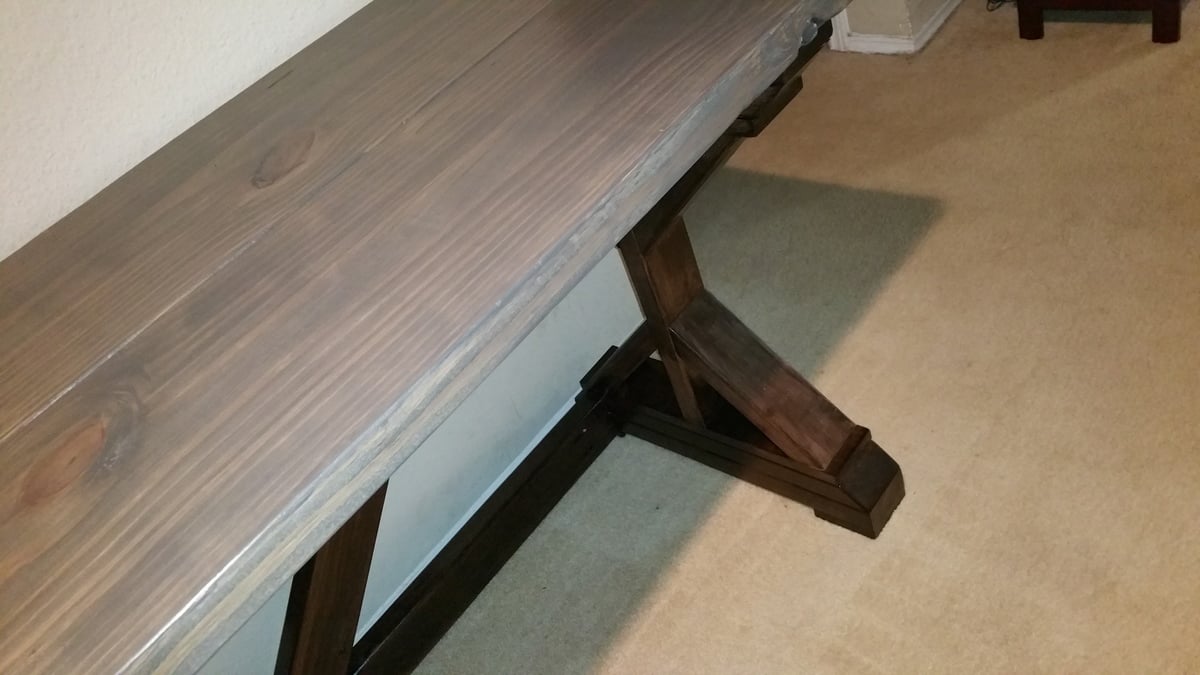
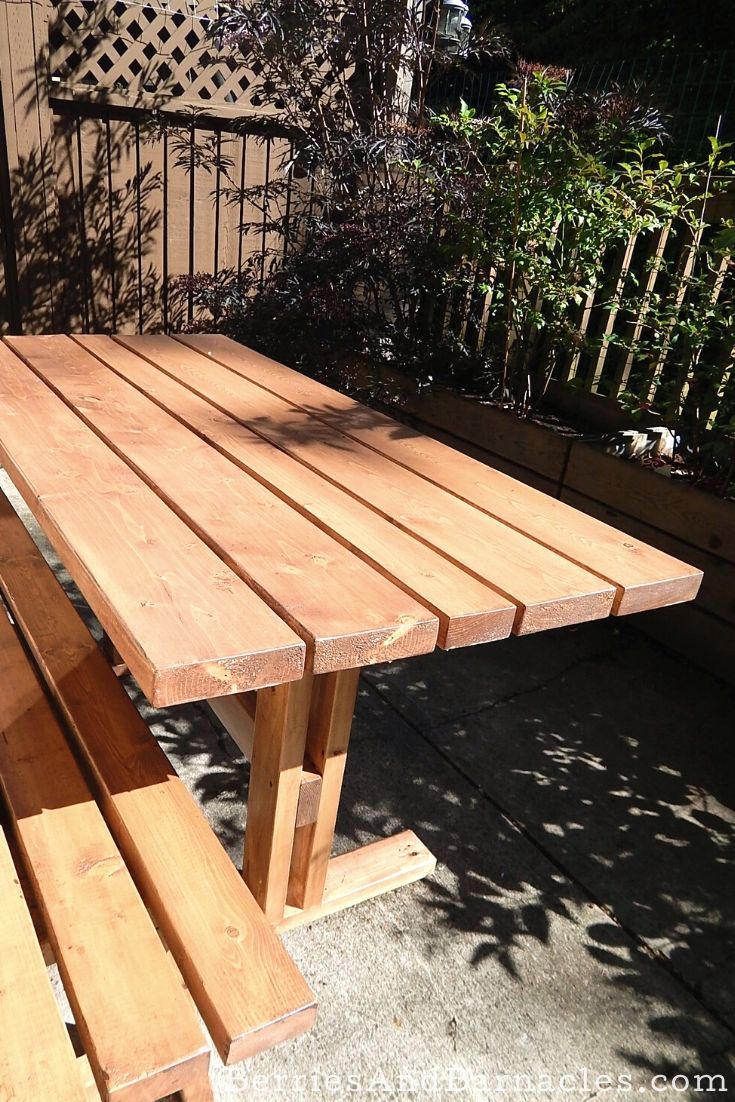
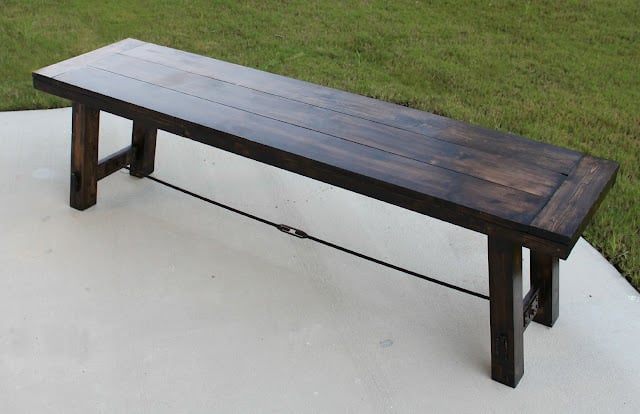
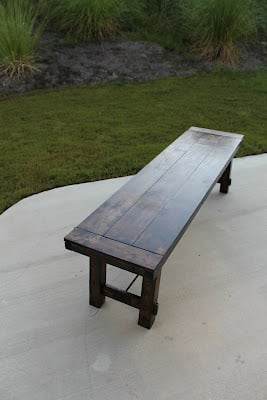
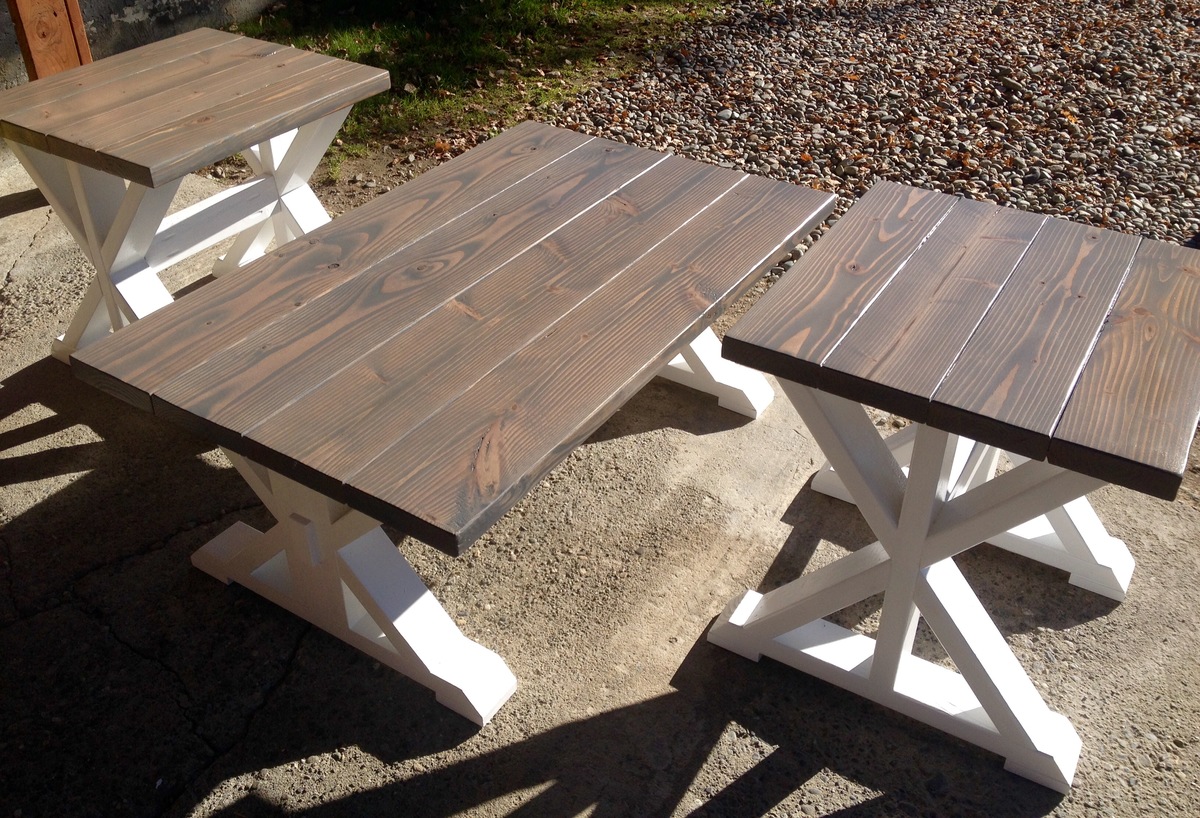
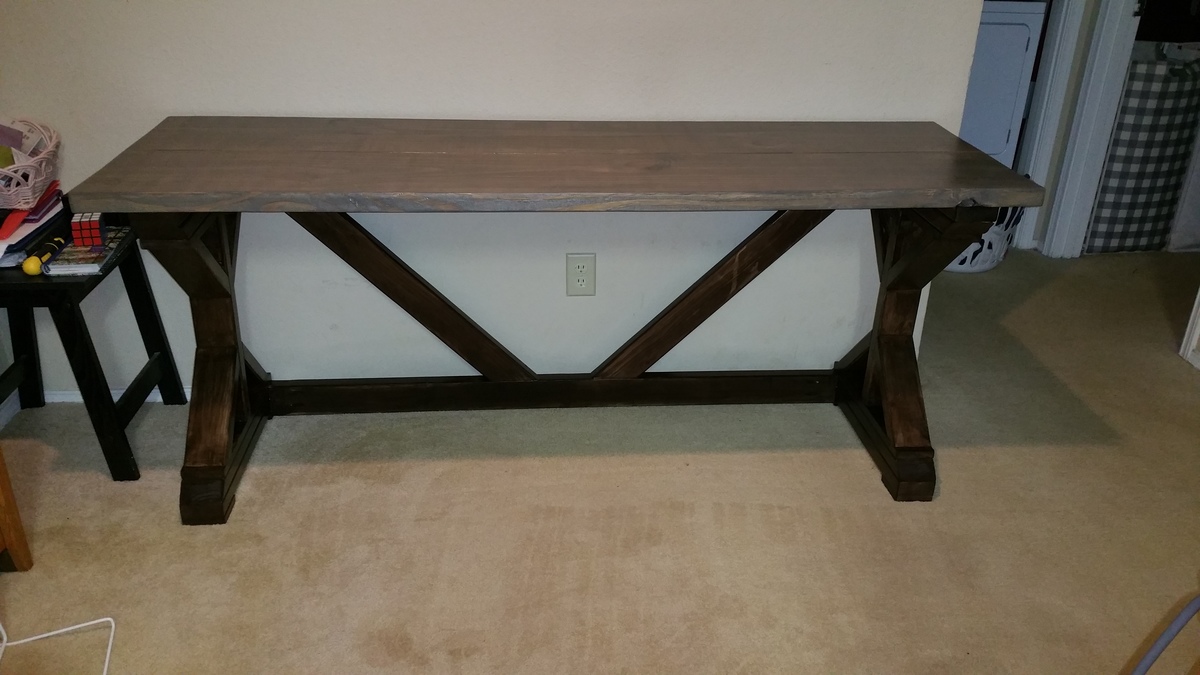
We needed a long and narrow table for a patio, so we designed a table to fit! This simple Trussel table is made out of constructional lumber for an affordable outdoor dining option. Small enough for our tiny patio and large enough to comfortable seat 6, it is the perfect table!
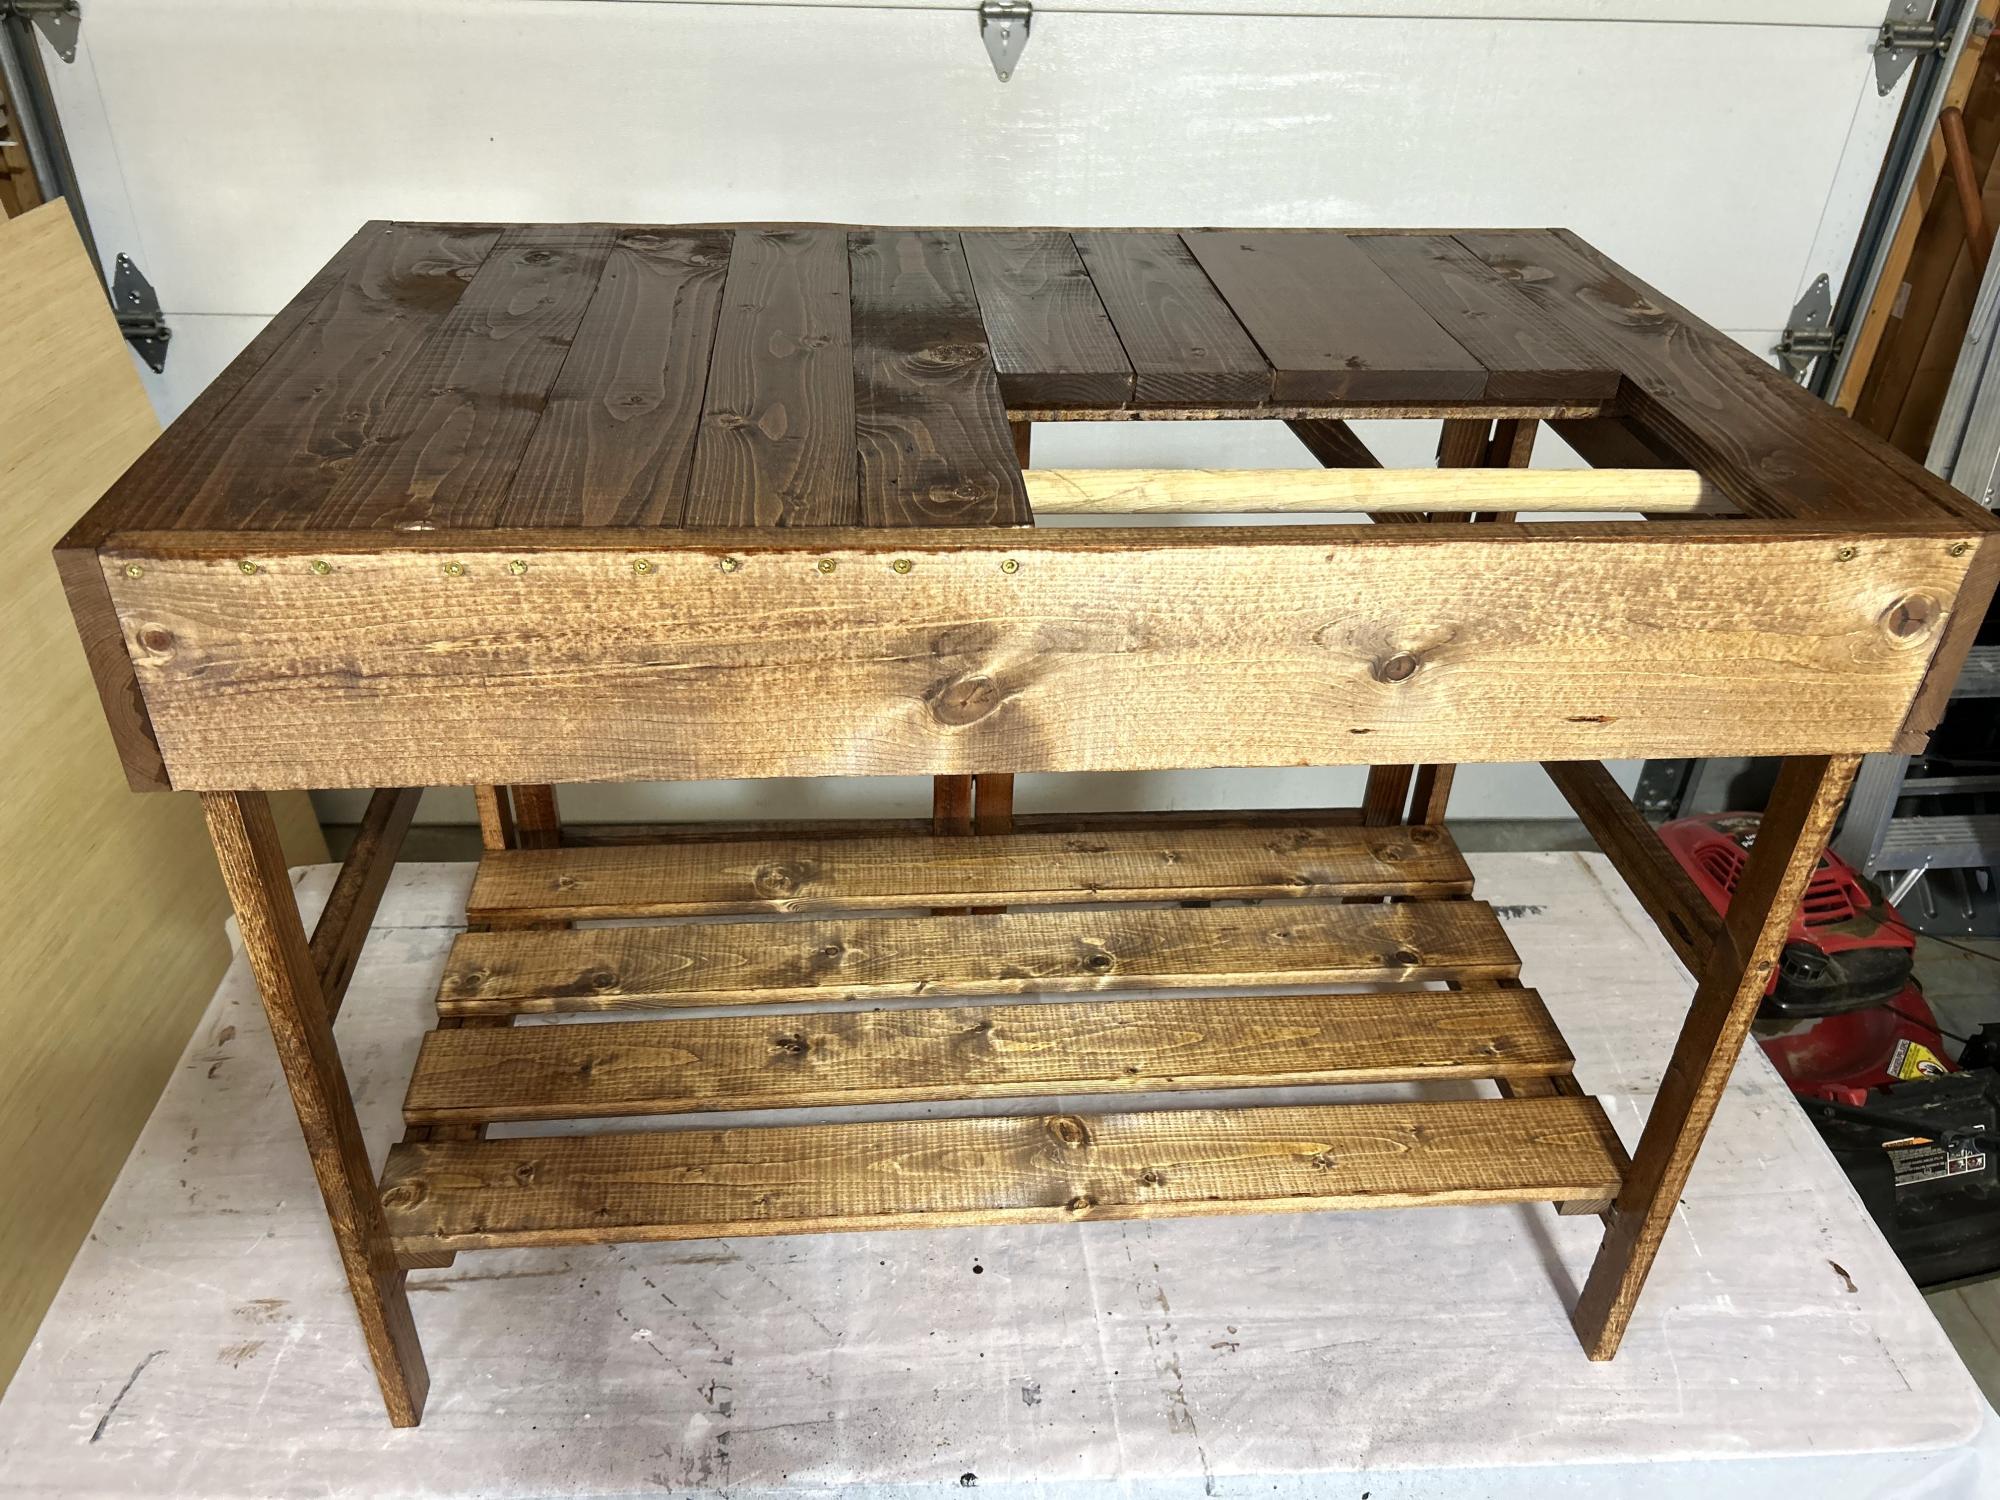
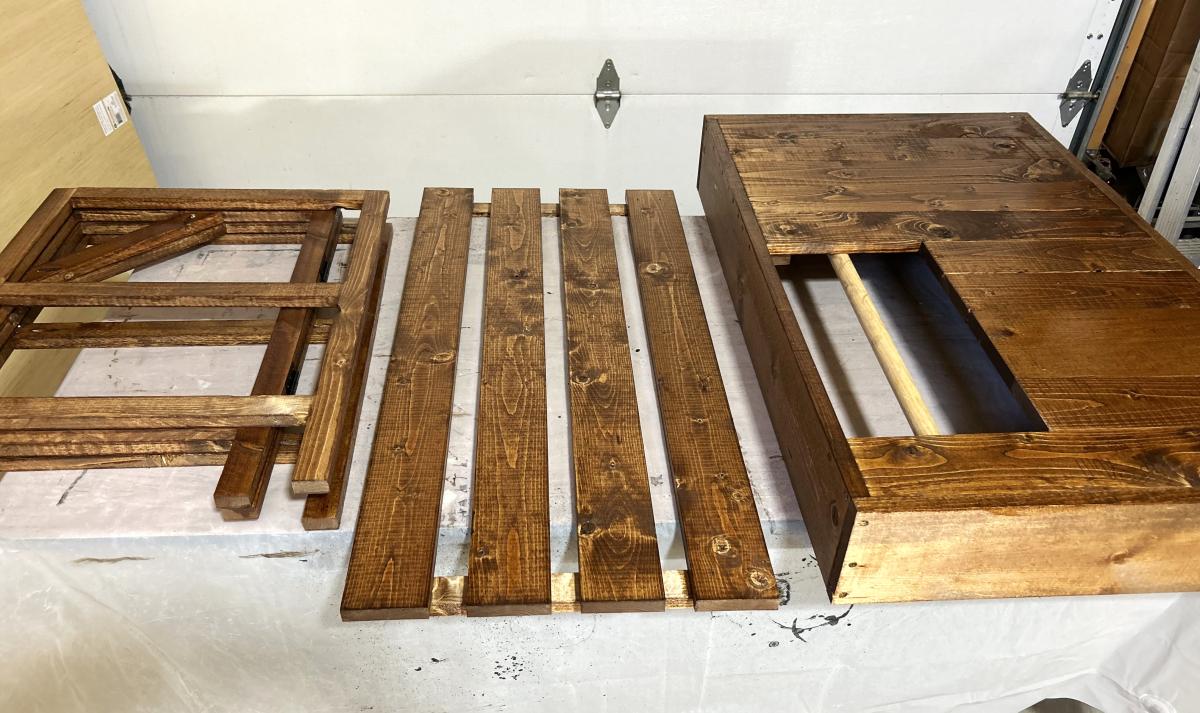
My wife wanted a collapsible table for her craft fair sales. I put a wooden dowel in the opening for her to drape packing paper over and hooks on the sides for gift bags. Easy plans to follow and it turned out great!
Todd Martens

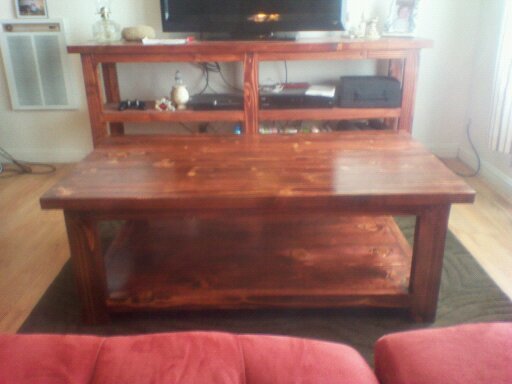
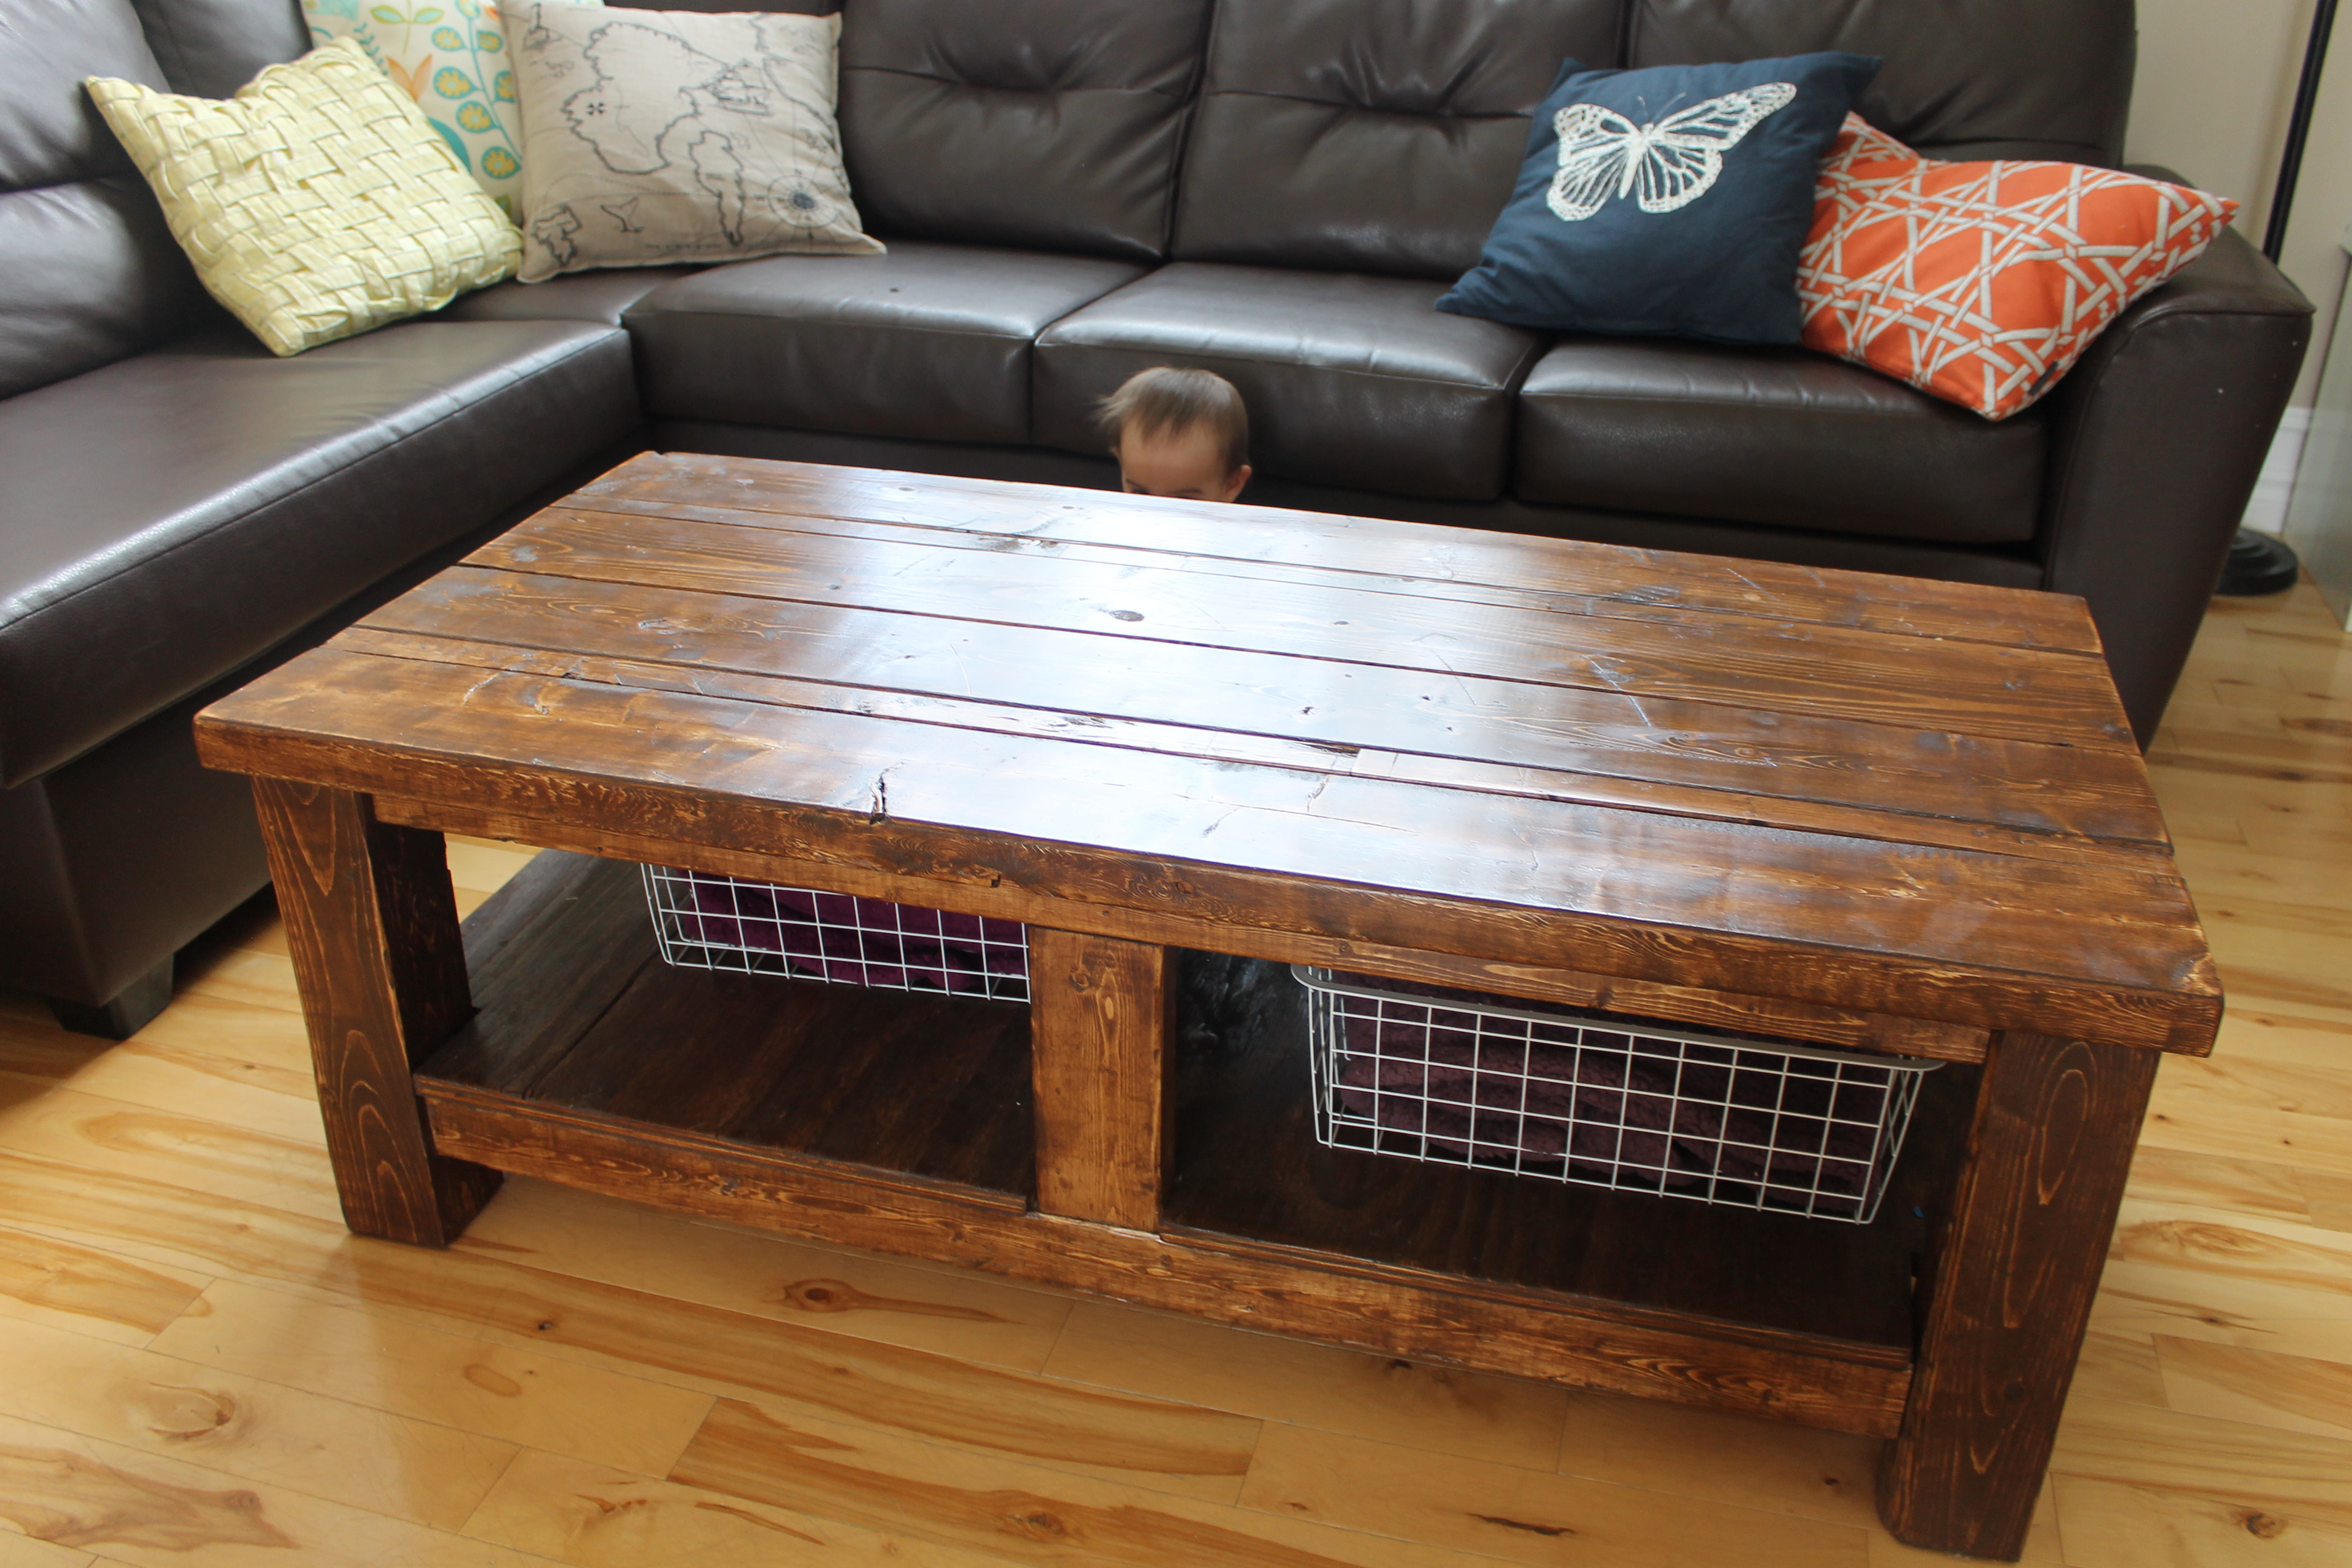
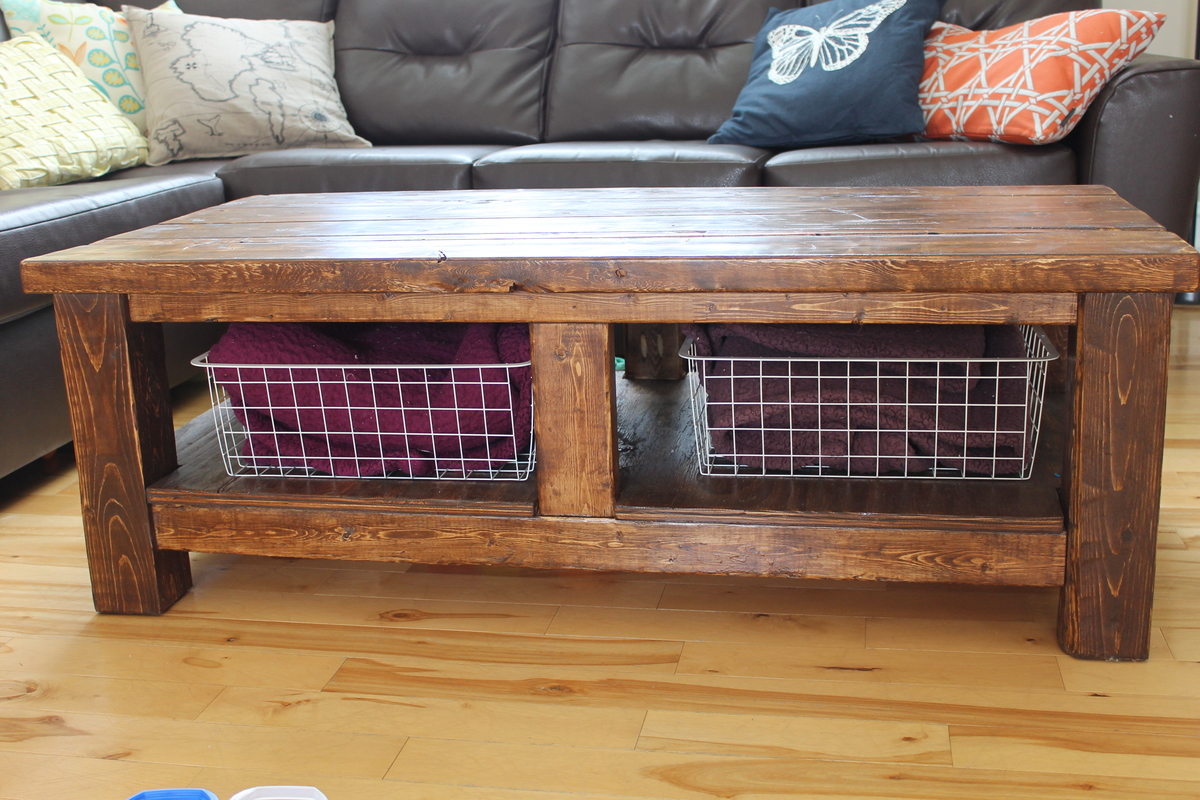
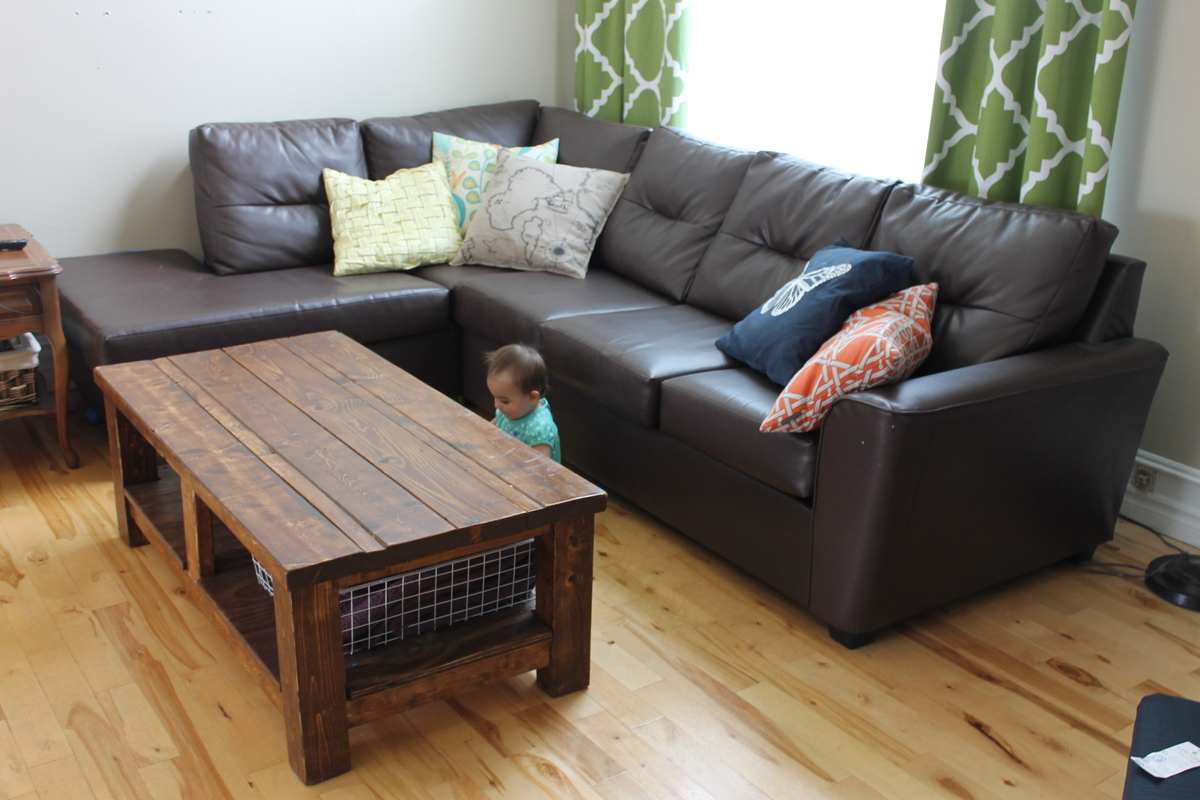
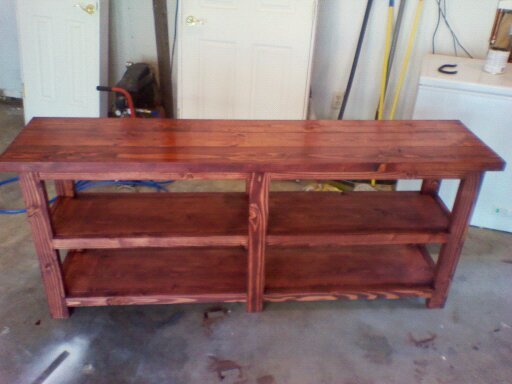
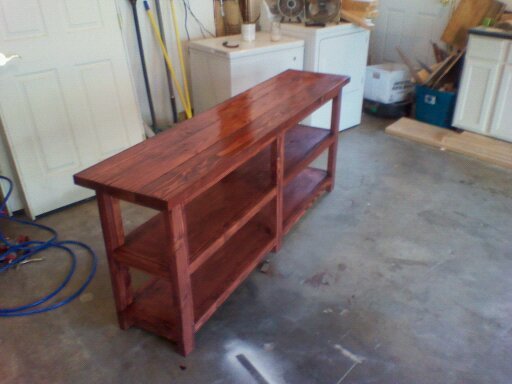
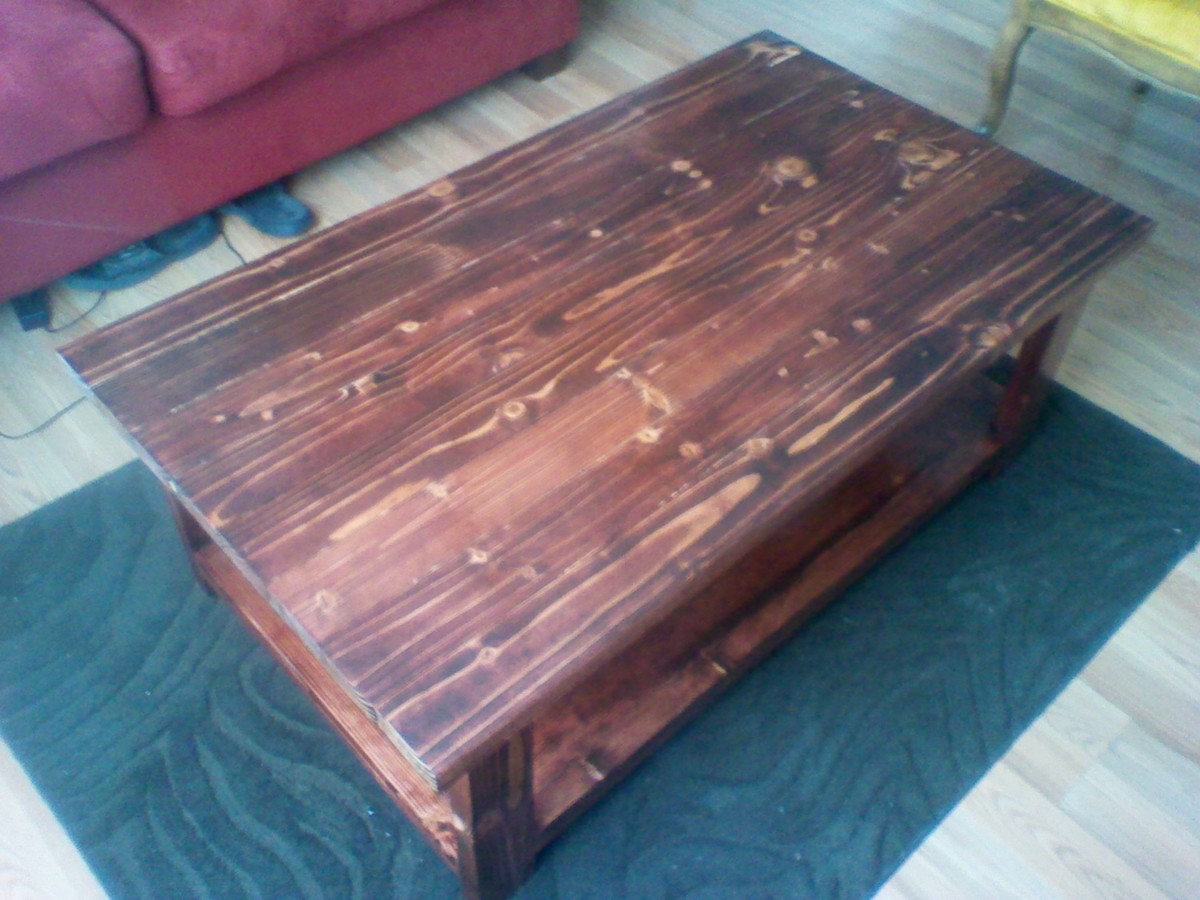
i used the a modified rustic x coffee table plan. i did not use the x and used kiln dried 2x4s for most everything except the bottom shelf i used 2 1x12x4 because they are $6.50 each compared to $20-25 each for 8ft and i cut the 2x2 out of the kiln dried 2x4s there was a fair amount of waste but the kiln dried 2x4s are much nicer to work with then green 2x6s.i stained in a red mahogany stain and gloss brushing lacquer. The top took 8 2x4s cut to just shy of 48" do i could get two from each piece. i shorted the table frame to match. if you are using green wood like i did on my first table the rustic x console table you will notice cracks forming in knots especially. using kiln dried lumber is recommended to ensure your project will last.

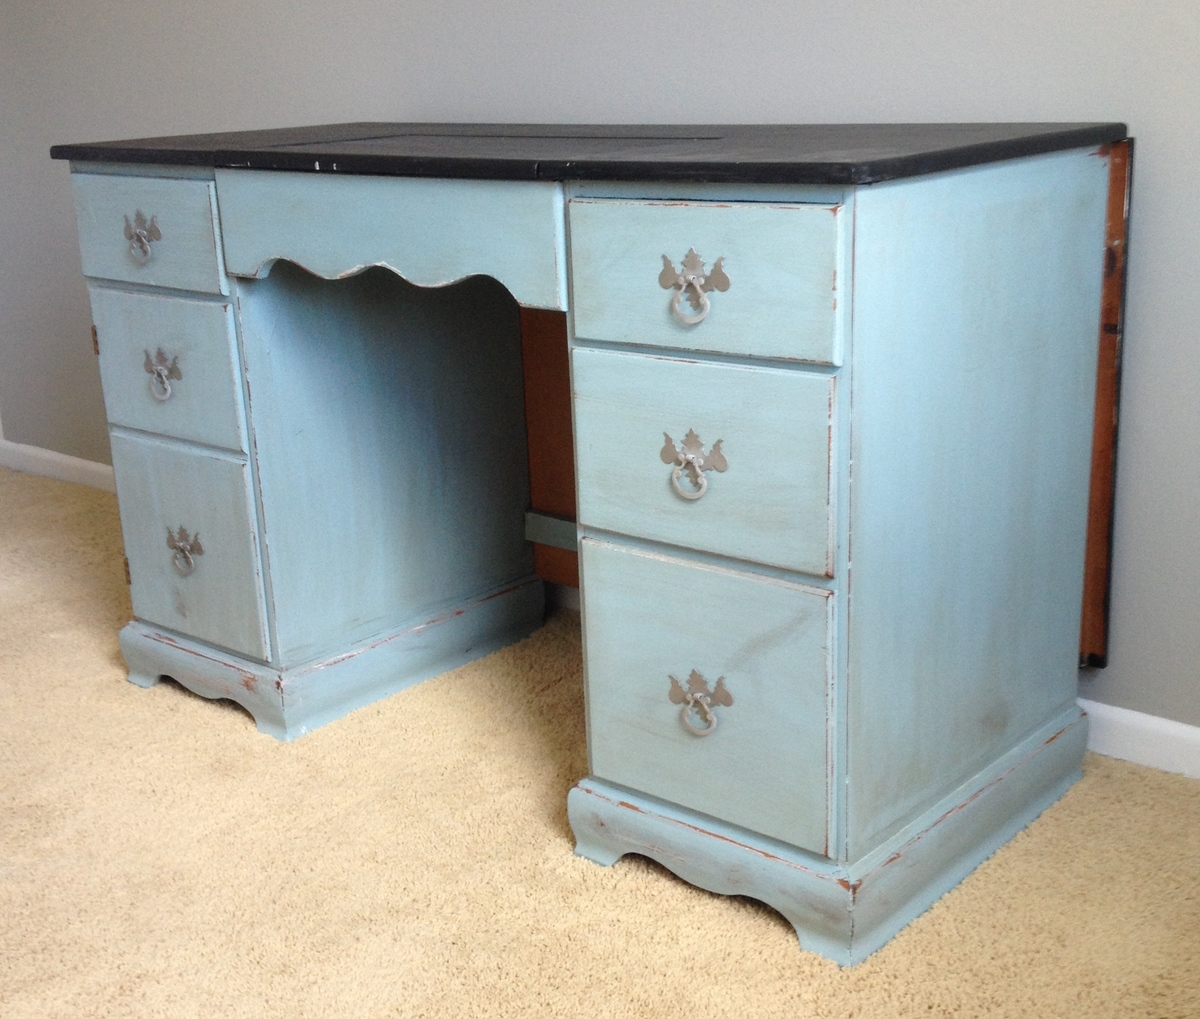
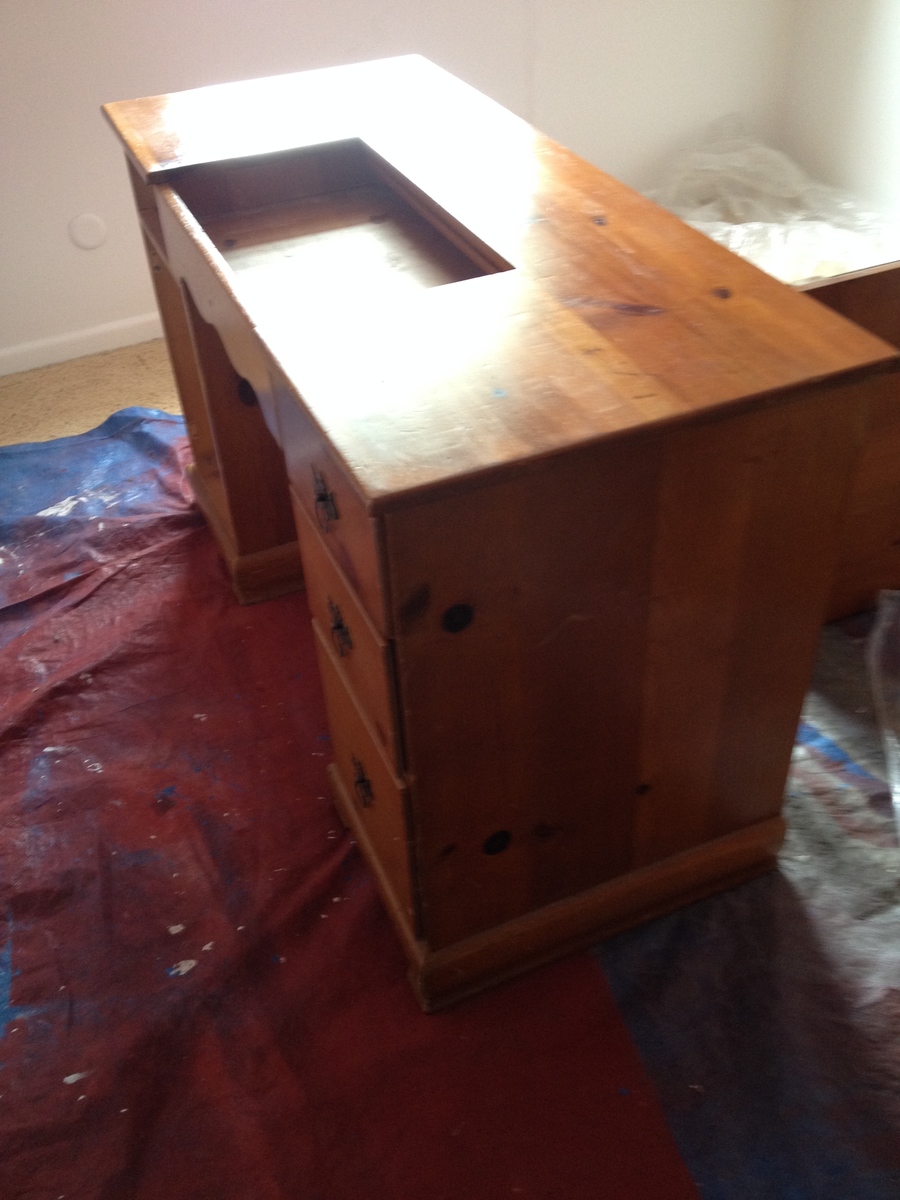
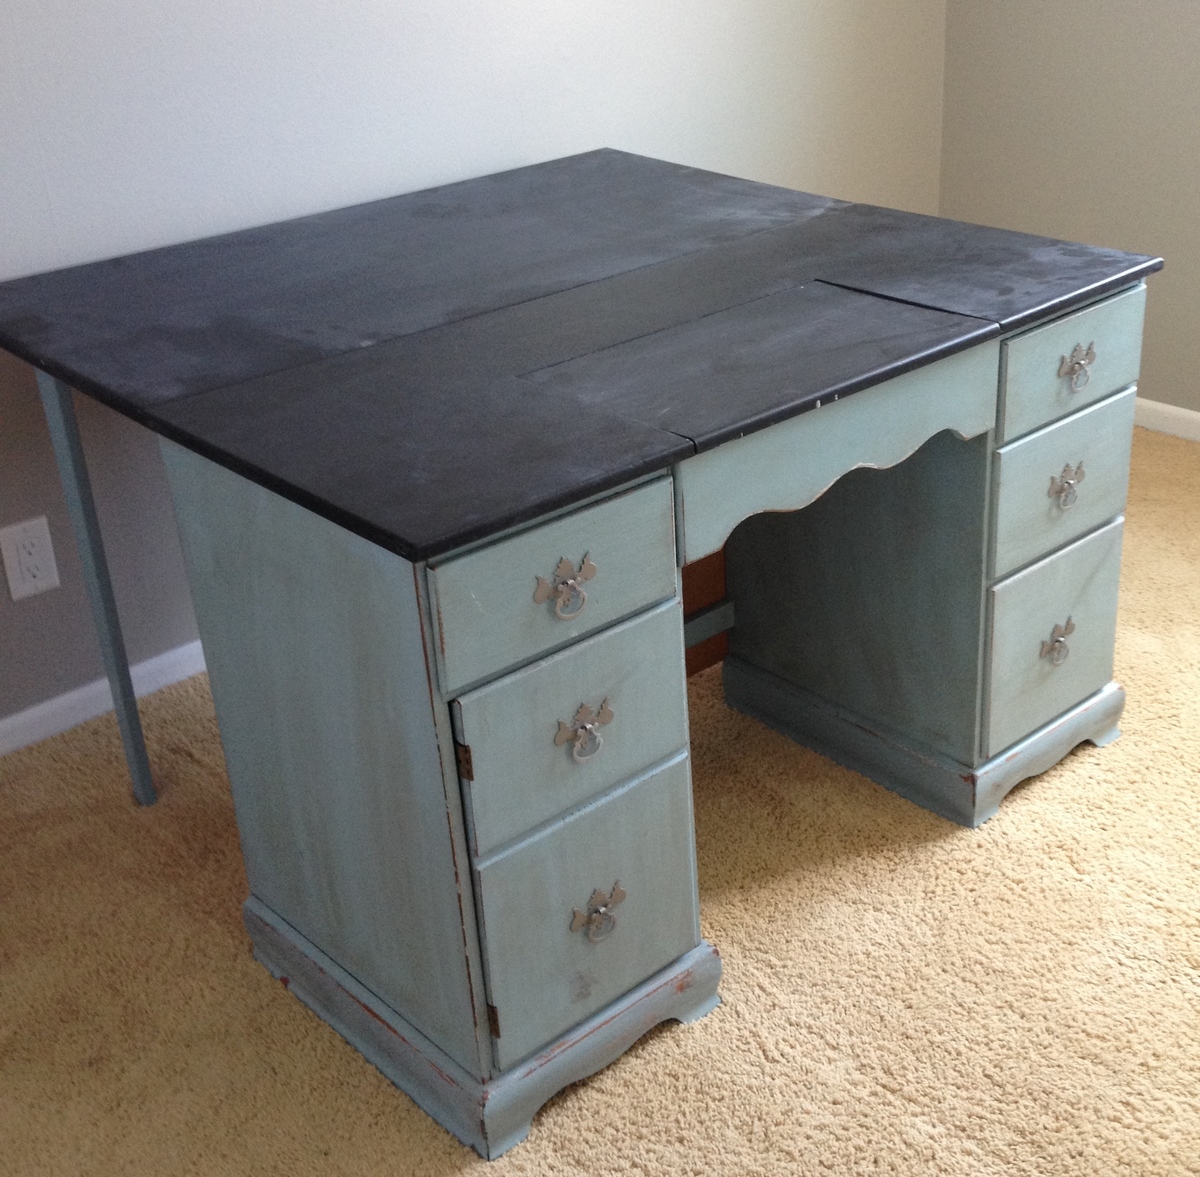
This desk was originally my great aunt's sewing desk. After 47 years it's been passed down to me. I decided to paint it blue with a chalkboard paint top. I antiqued it using my little sander and some Minwax Red Mahogany stain. I spray painted the drawer pulls to update them and finished everything with Minwax Furniture Wax on the blue and chalk on the chalkboard finish. Now I just need to get up and sew.
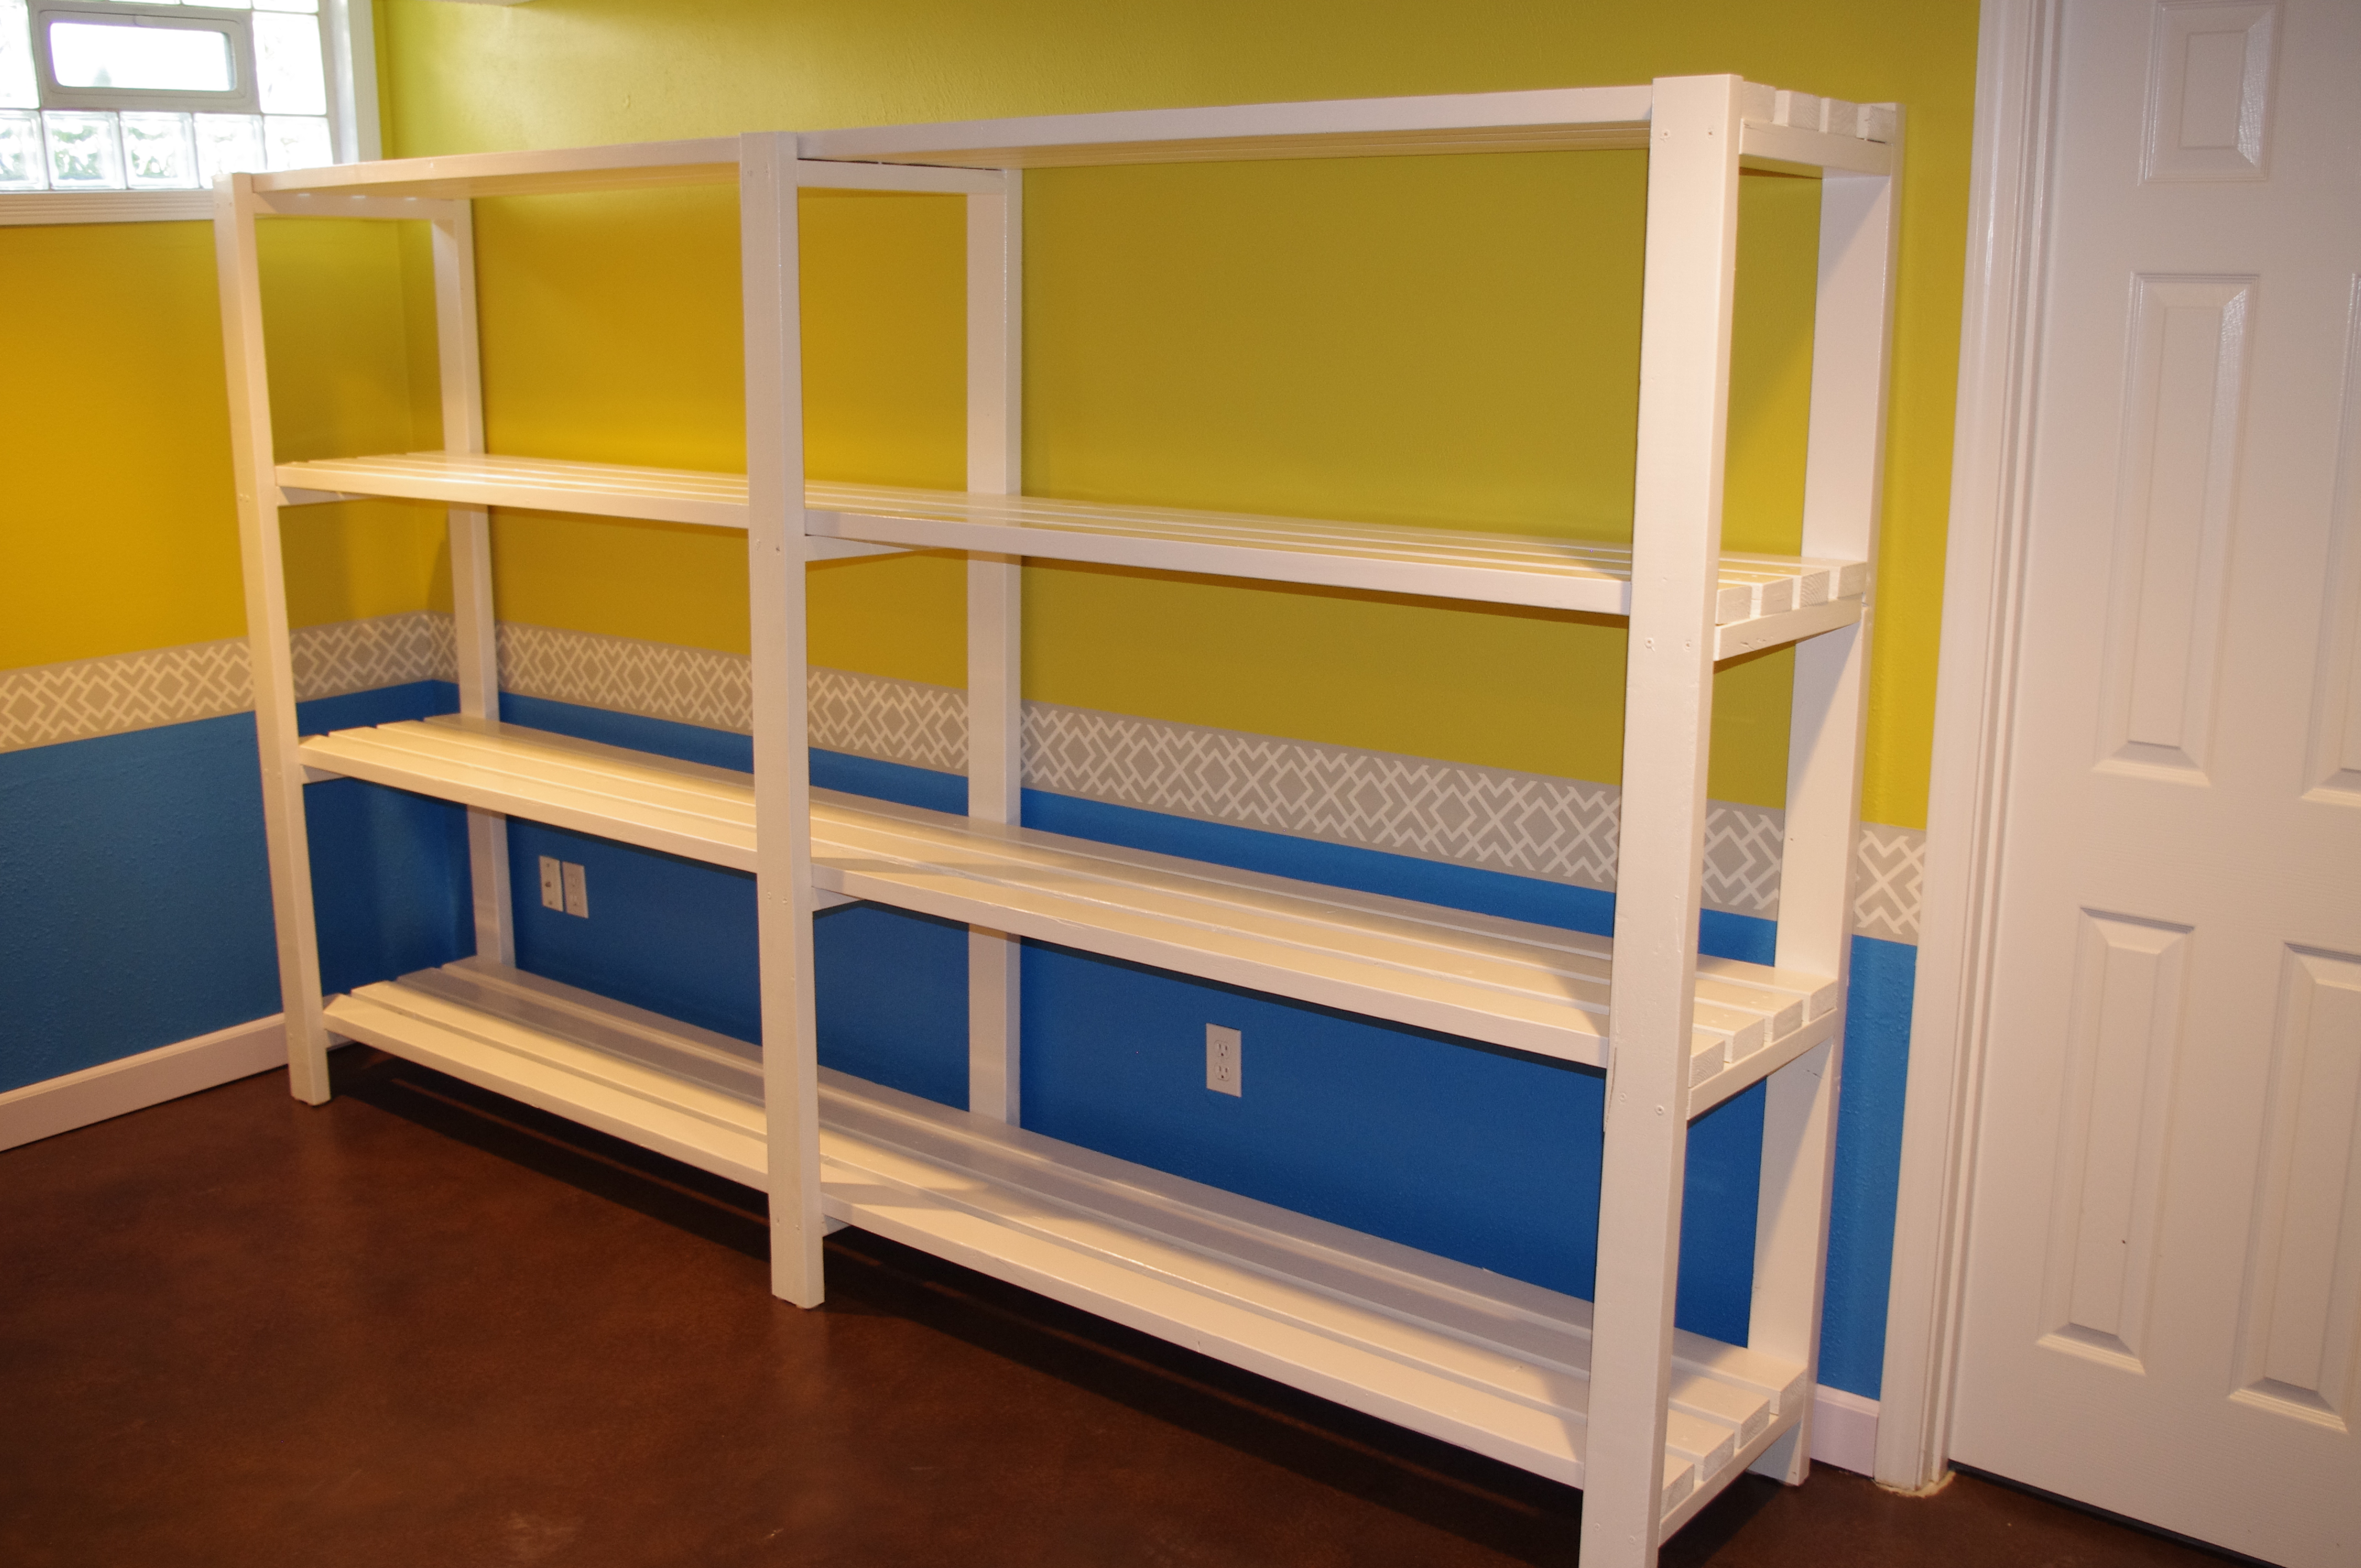
We needed some more storage in our basement so I made these shelves. They are 10 feet long. I couldn't get the 10 foot long 2x4s into the basement through the house, so my husband helped me slide each board through a tiny window one at a time. I also decided to paint the shelves to make them look nicer since they are in the finished part of our basement. Overall, I think they turned out great and they can hold a lot more than I expected.

Sat, 10/22/2016 - 09:43
Great job, that's amazing you figured out how to get the materials through the tiny window! Thanks for sharing!