Doll Bed
This is the doll bed from Ana's plans! My 6 year old wanted to make one for her friend's birthday. She helped with nailing, sanding, painting, sanding, painting oh and painting!
This is the doll bed from Ana's plans! My 6 year old wanted to make one for her friend's birthday. She helped with nailing, sanding, painting, sanding, painting oh and painting!
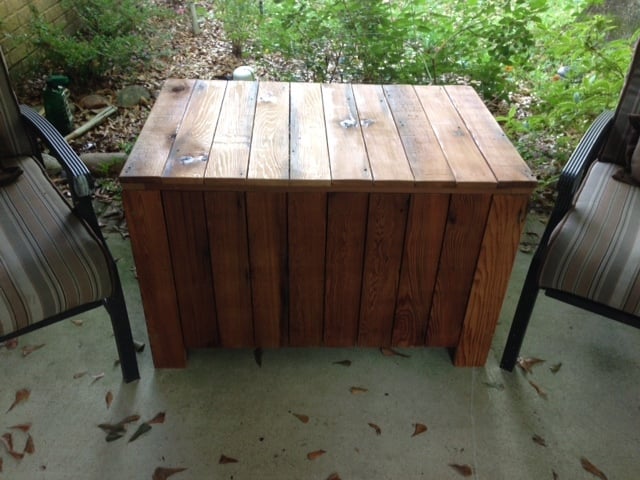
I used cedar siding that was removed from a home remodel. I had to rip all the wood down on a table saw to work with the plan. I was glad to put this good wood to use for my recycle bin and it looks good on the back porch. I had to change the plan a bit to fit my bin.
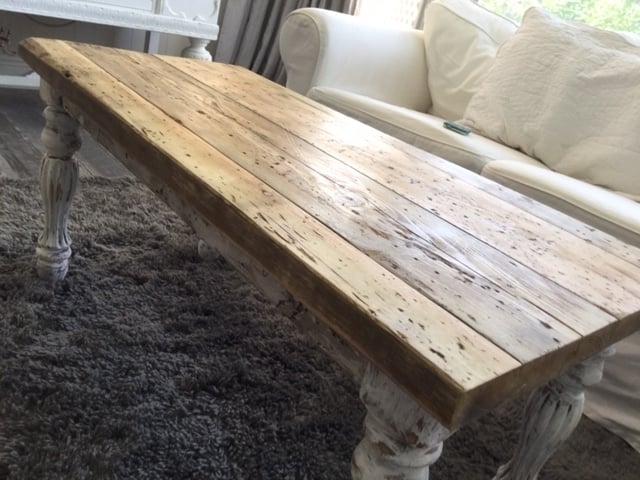
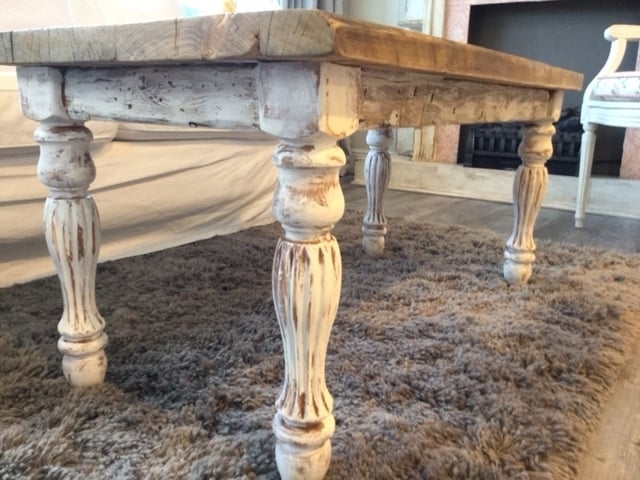
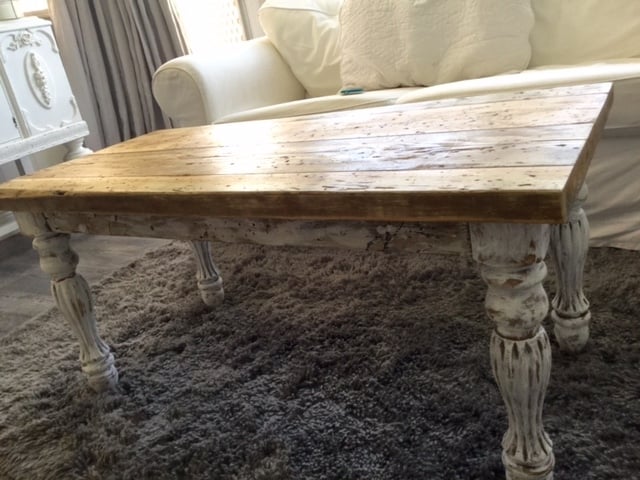
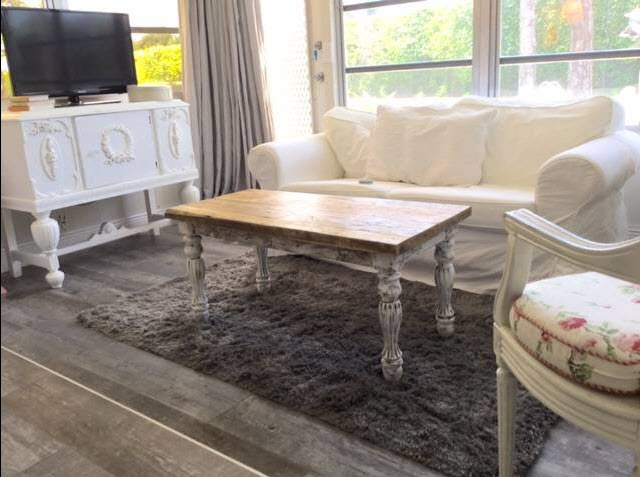
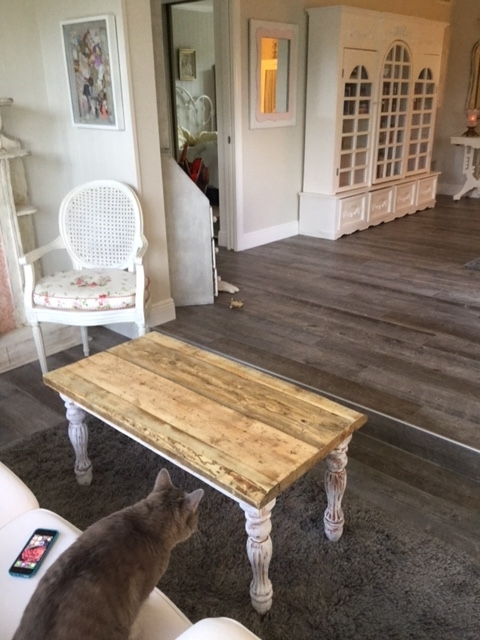
This is a turned leg coffee table that i built for my mum. the top is reclaimed and the legs were found on a cheap craigslist side table!
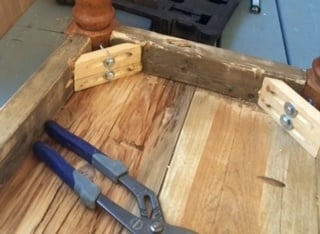
I used corner brackets to secure the legs so they could be taken on and off...as i needed to ship the table in the mail.
The boards on top were already distressed but i used a gooey month long festering vinegar and steel wool concoction to add even more interesting layers.
I am so happy with the table and my mother is in love with it!!!!
Thanx again for the great plan and resource that helped me build it!
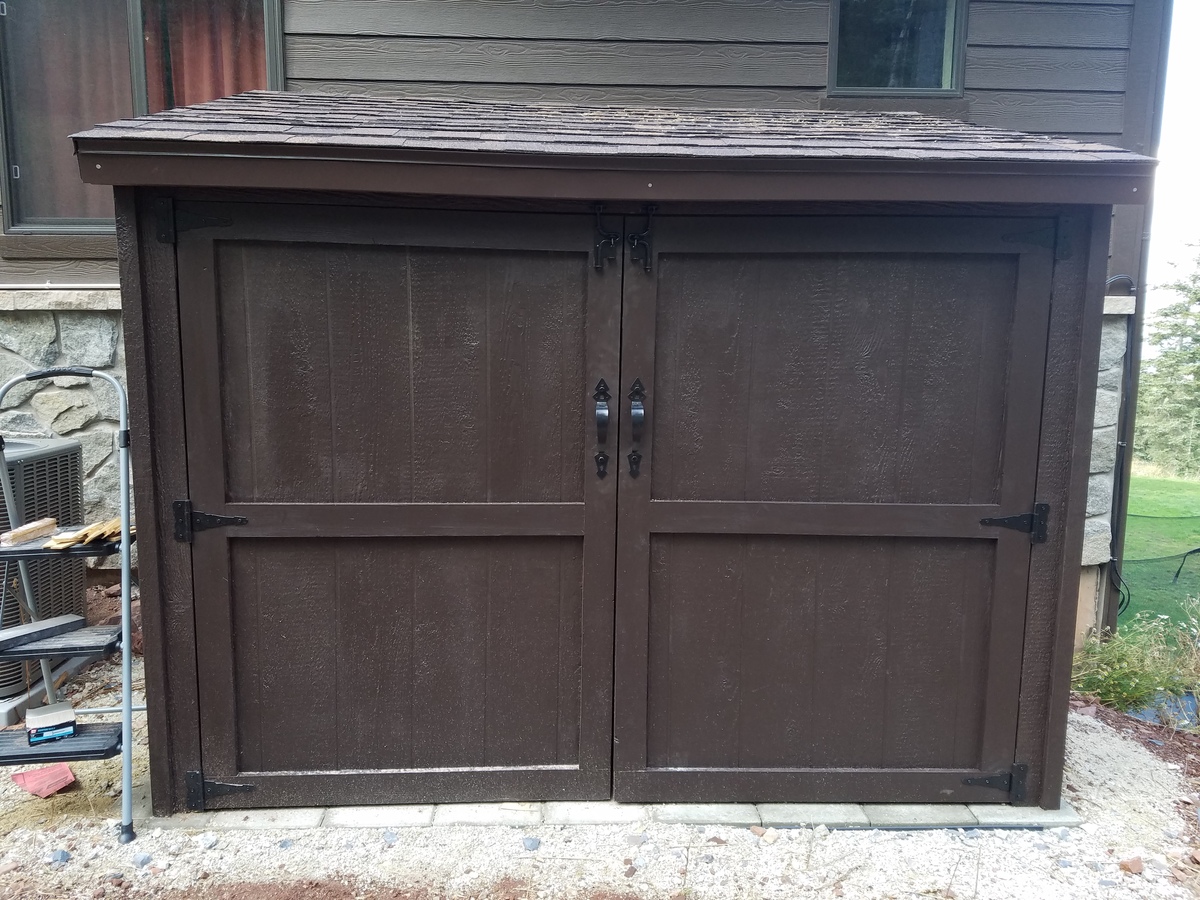
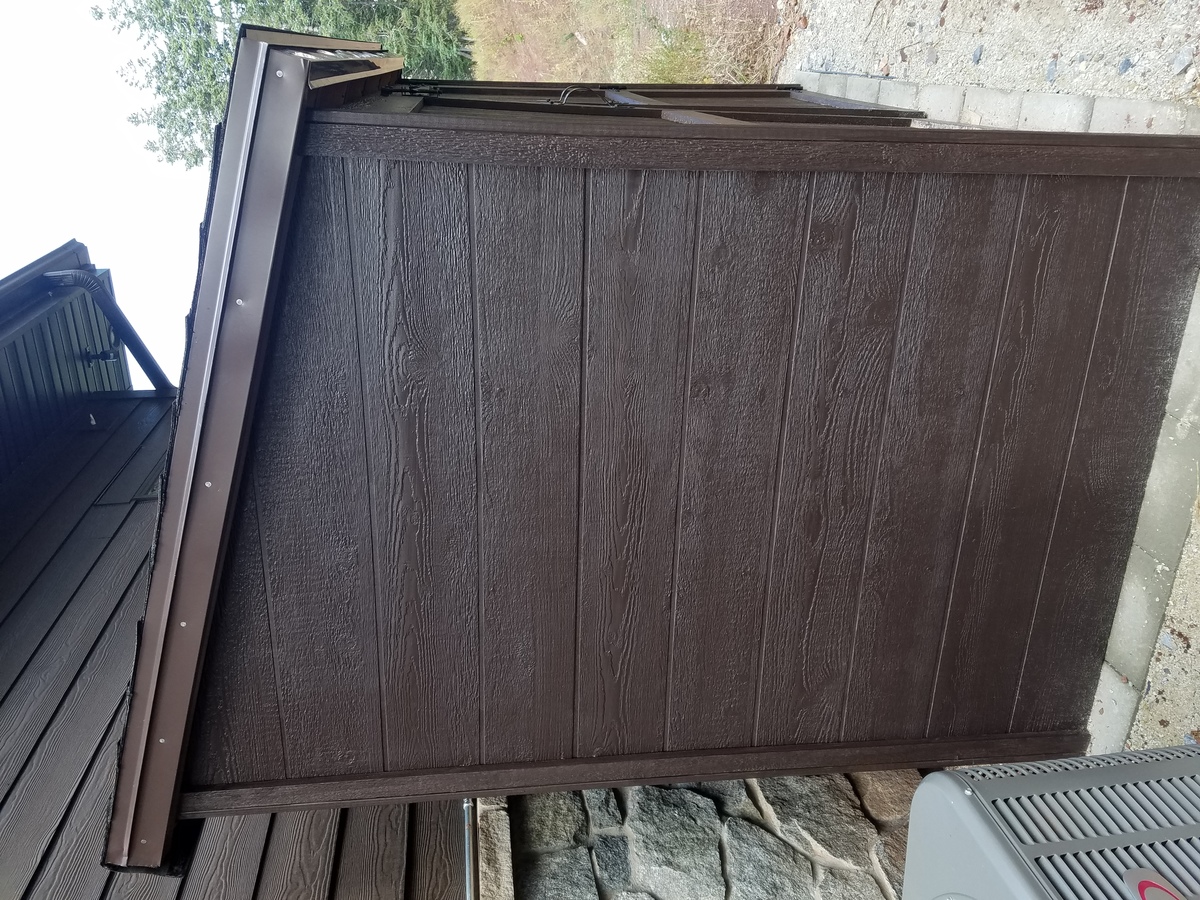
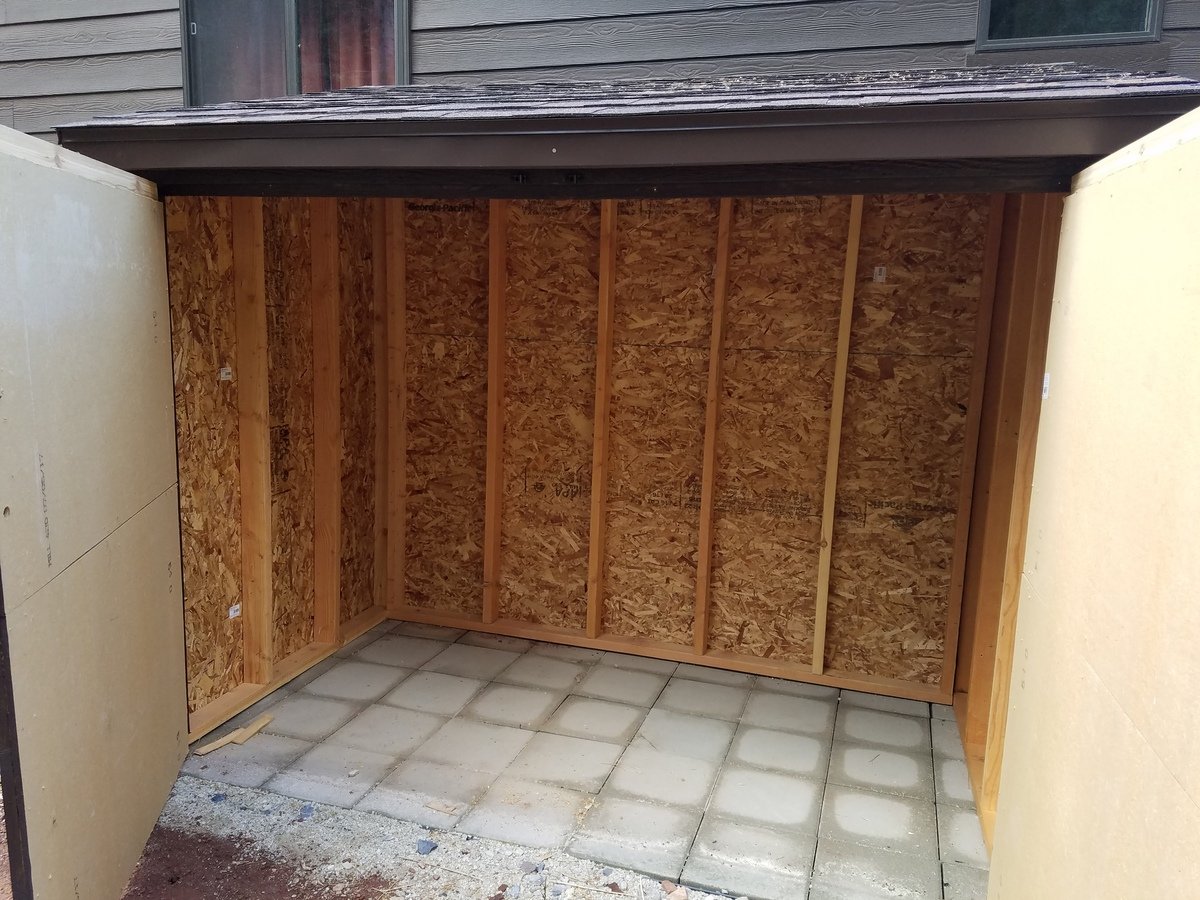
Using your shed plans, modified to use the 2x4s I already had on hand, I designed this 4'x8'x7' shed to match my house. I replaced the ceder fence boards with a hardiboard, but the construction was pretty much the same. My husband and I are so happy with this shed,which looks very similar to the $4000+ sheds we have seen, and it cost us less than $400 to make and matches our house perfectly. Your instructions were great, and I know you saved me a lot of time and trouble. Can't wait to load it up with our snow and gardening equipment! Thank you!
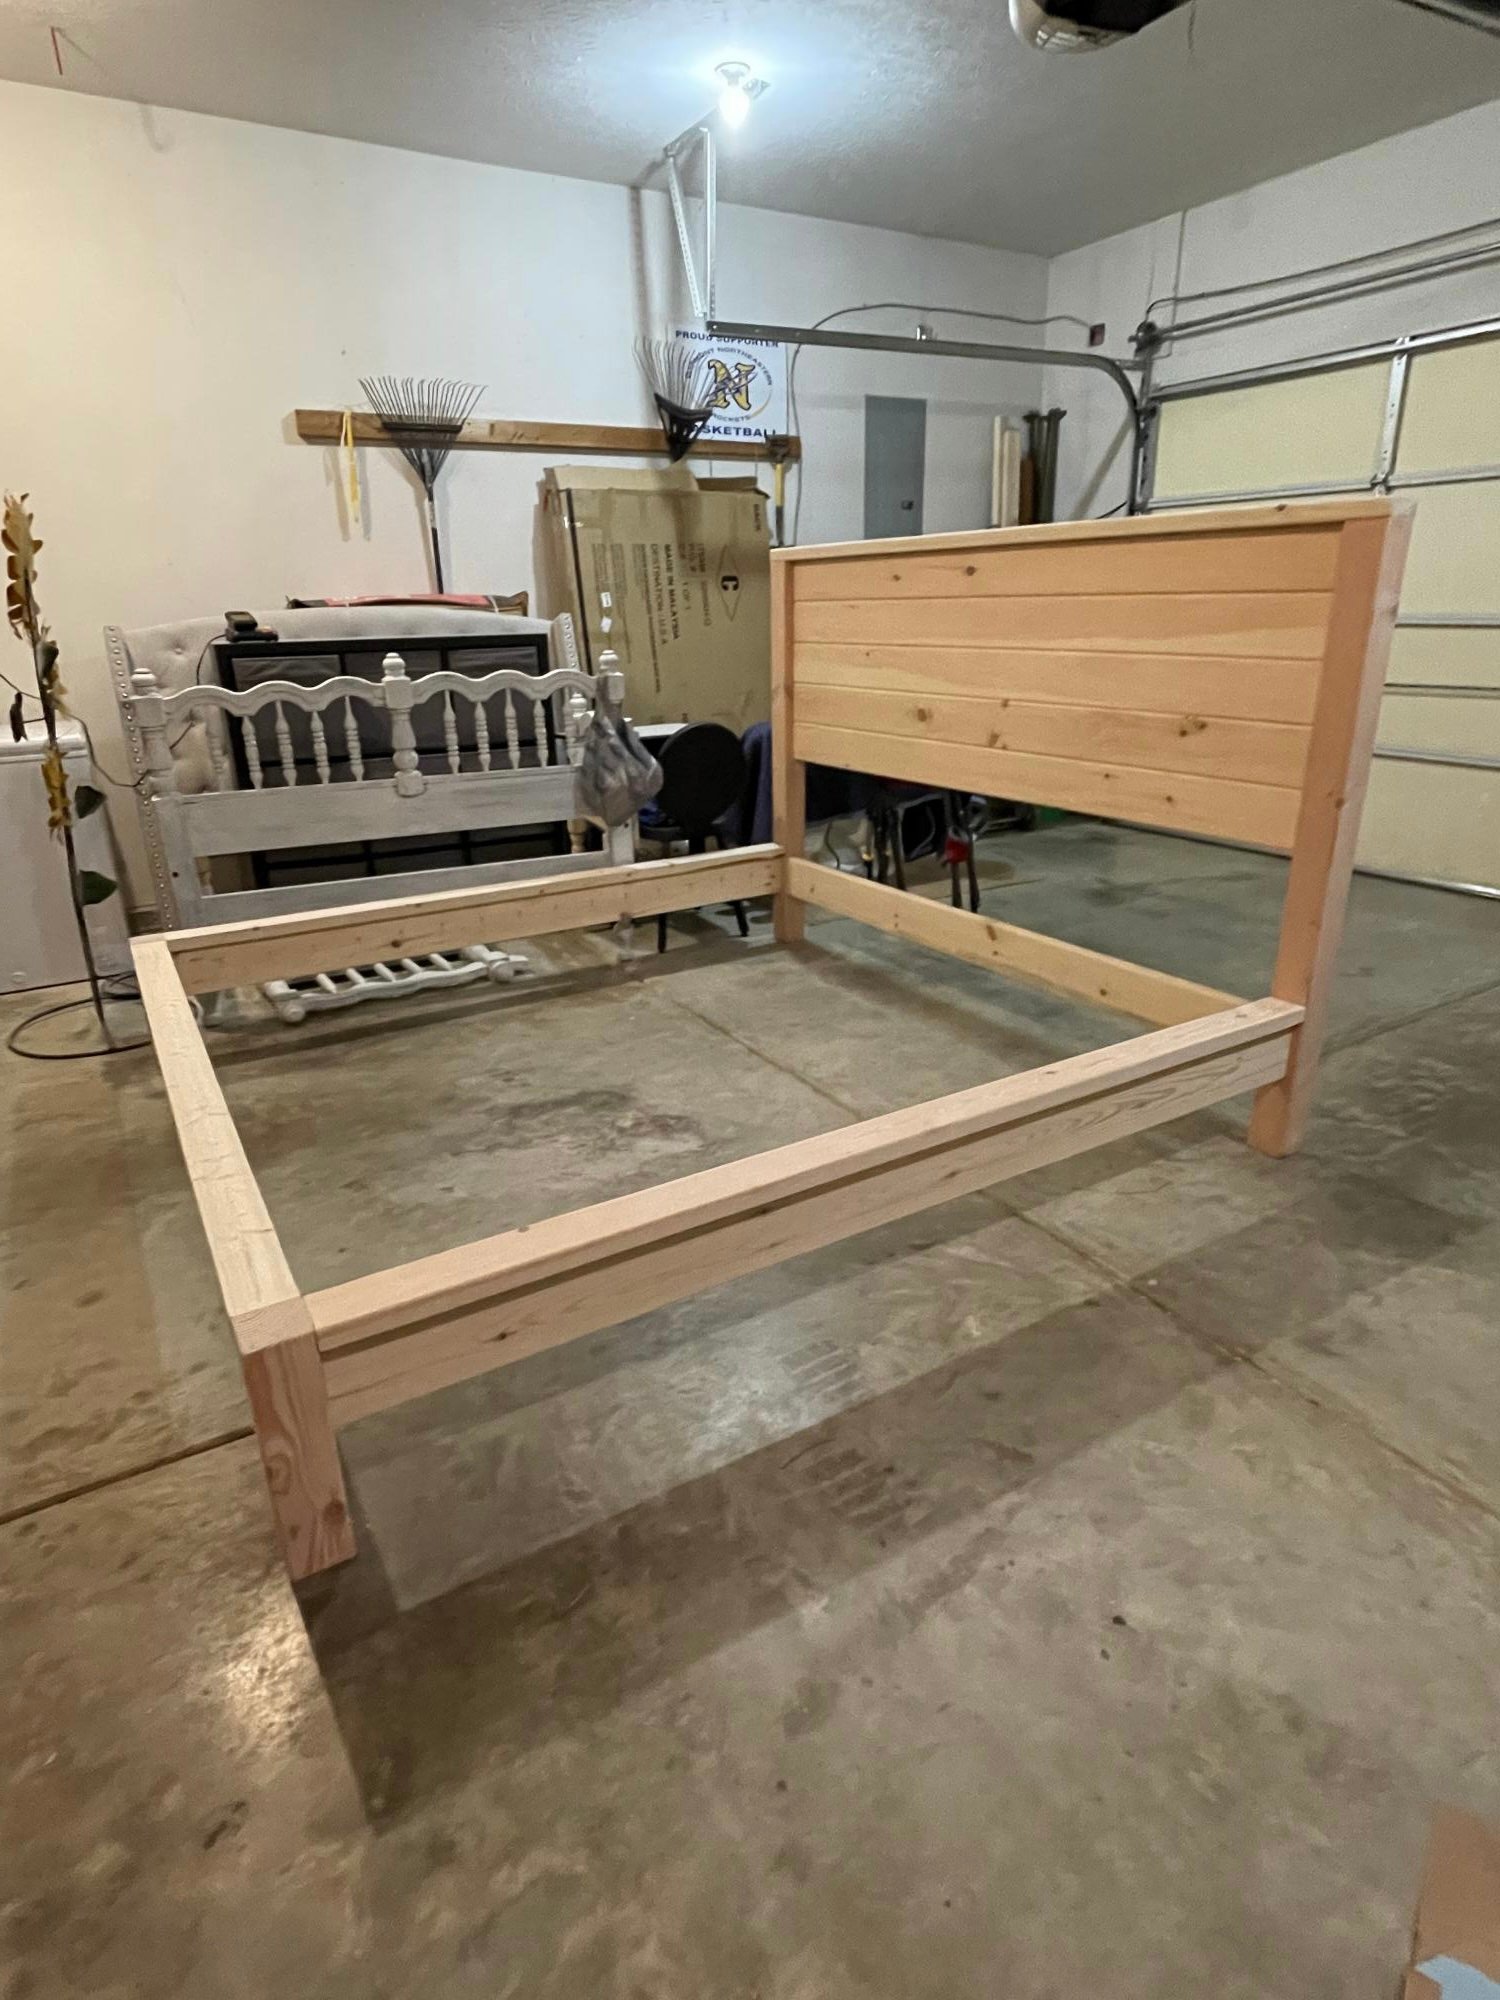
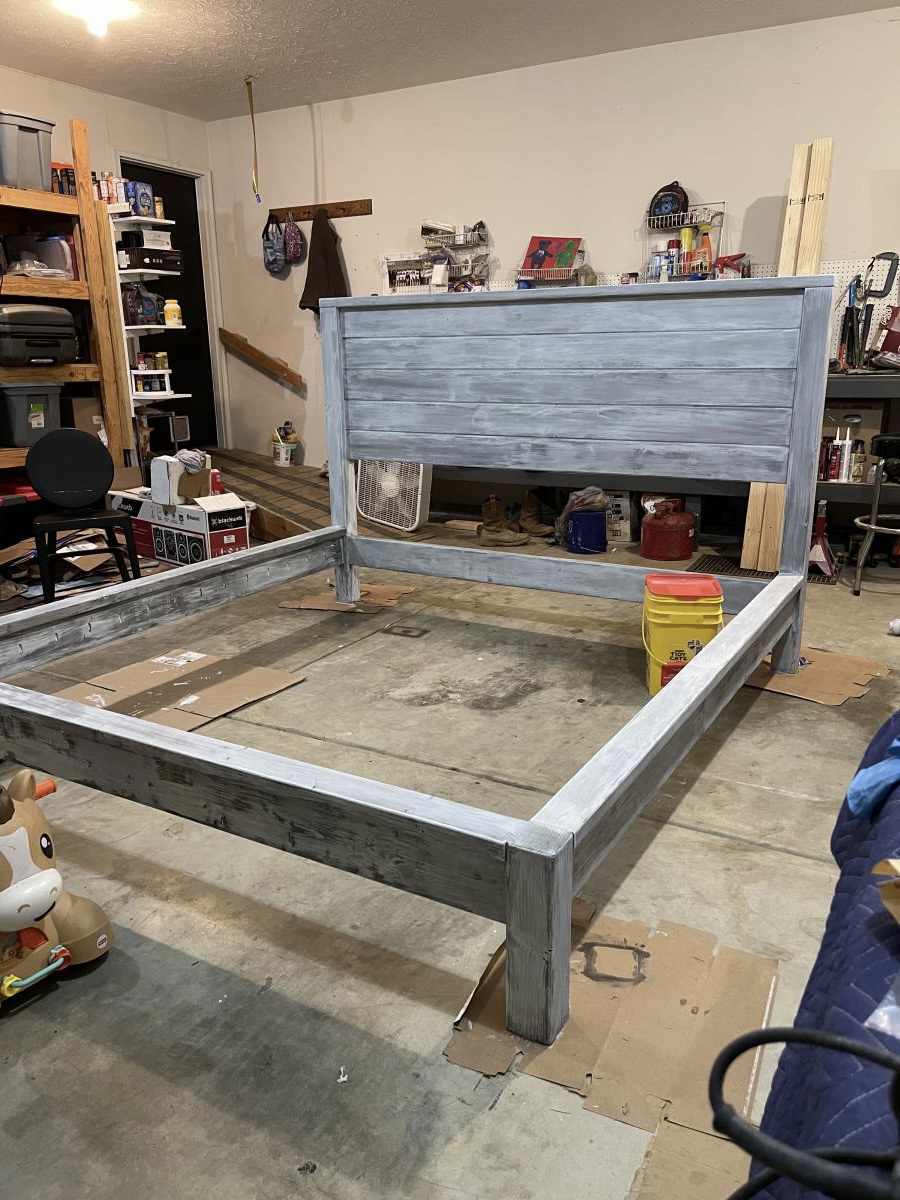
My husband and I made this for our son and daughter-in-law. They absolutely love it! The project took about two days to build, and about three days for the finish (stained and weathered). The photos do not show the slats that support the mattress. The only thing we would have done differently, would have been to use 6 “tongue & groove” on the headboard instead of 5. Otherwise it is a solid bed for certain. And they love it!
Built this set for our 2 year old for christmas!!! He loves it and it is sturdy enough for me and my hubby to sit at to.. Of course the brothers fit around the table as well and they all color or play with playdough.
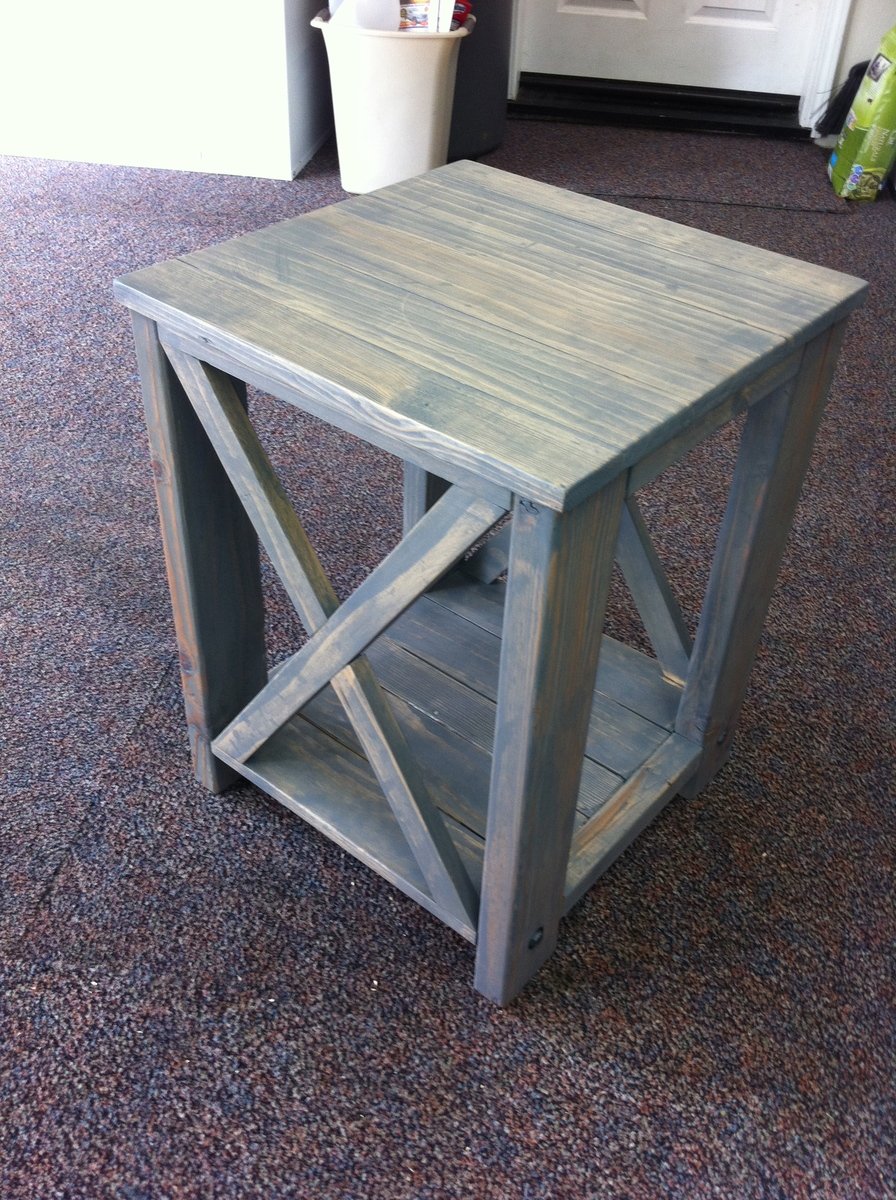
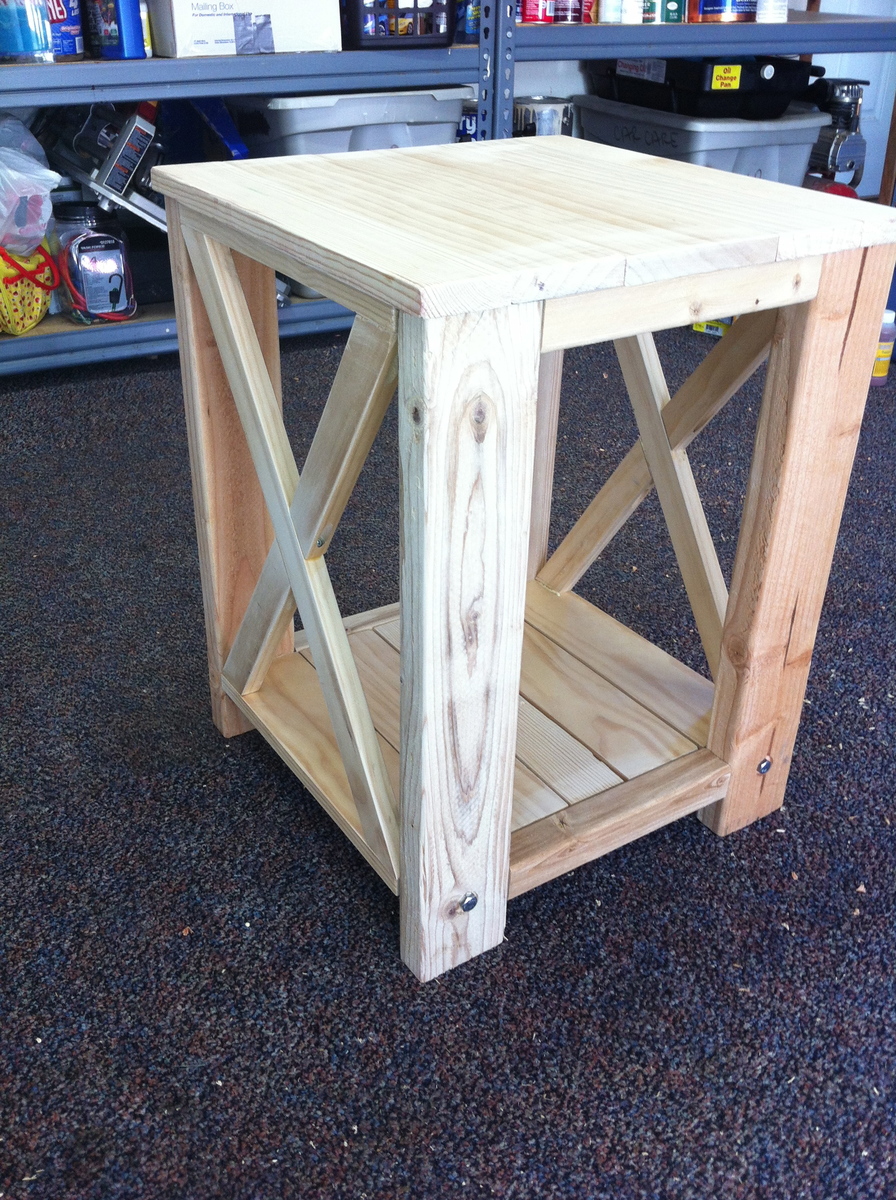
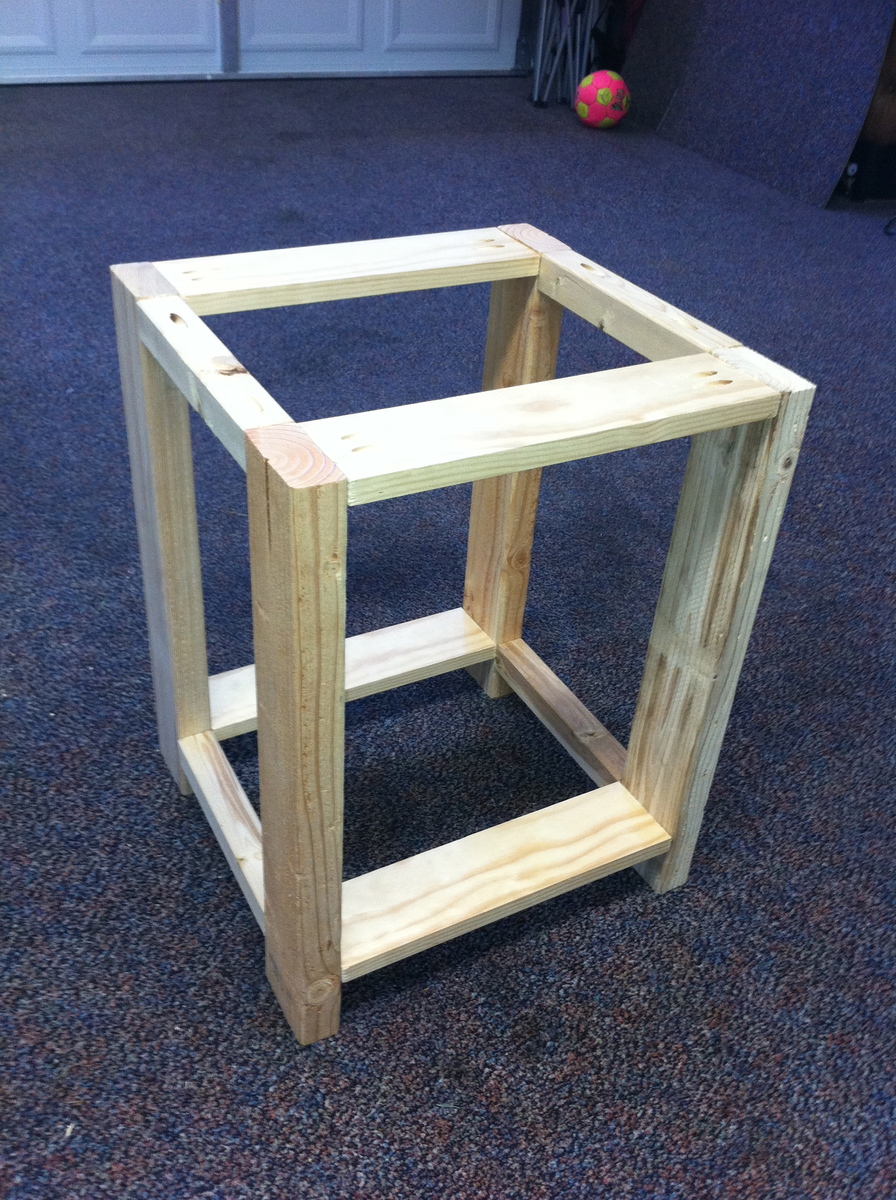
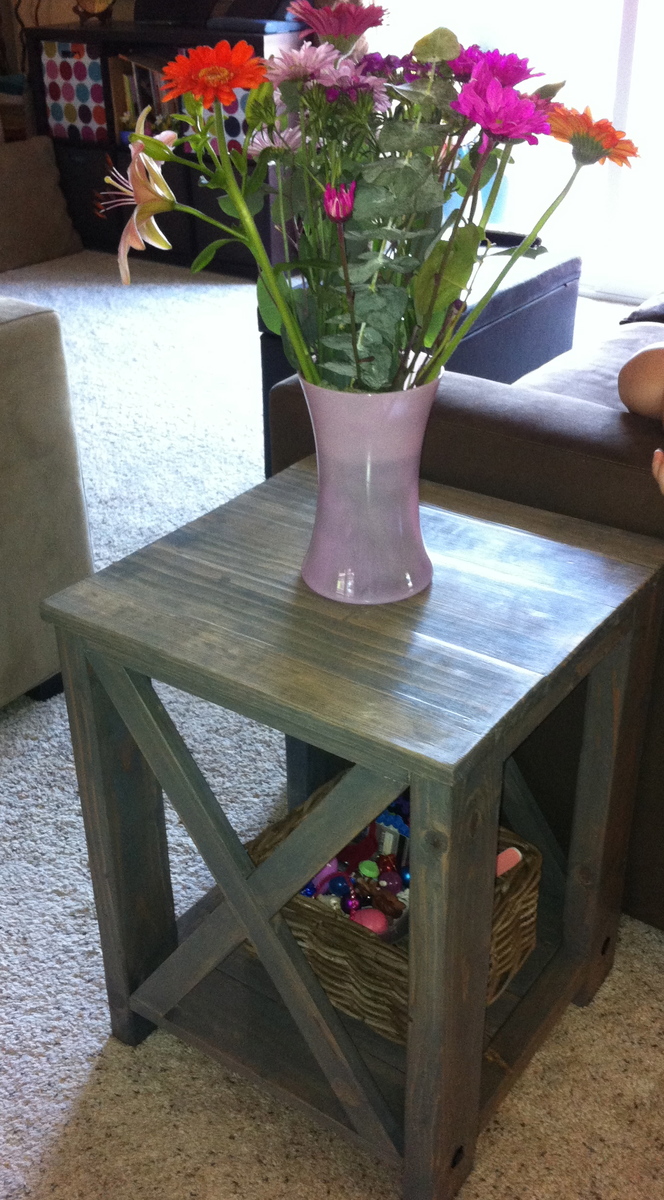
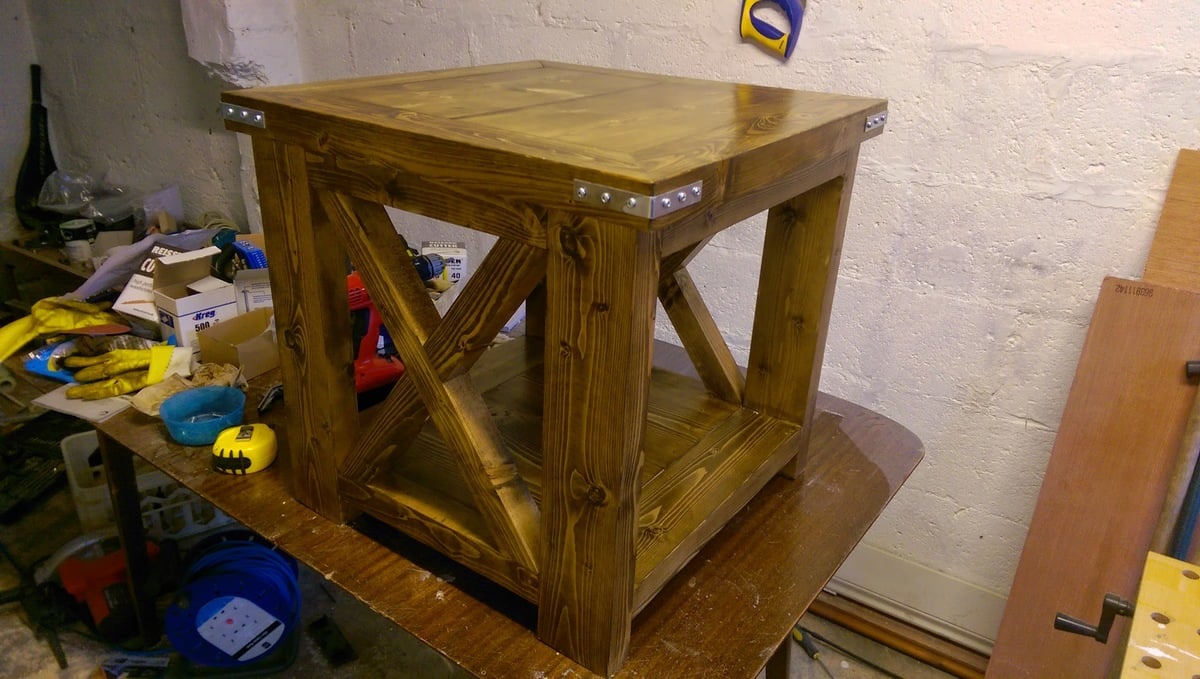
Another project in keeping with my original theme of farmhouse style furniture. I liked the style of this table but wanted to make a smaller end table than the plans. So I scaled down a bit and used 1x4 for the top and bottom shelves and used 1x also for the X. It measures standard height for an end table but its only about 18 inches square. I added some hardware, but not the L brackets on the corners. I have young kids and was a little worried about the edges.
After 10 years of kicking around back packs and shoes that are always in the way, my wife decided she would like a Hall Tree for our foyer. For the last year or so I have been gathering ideas from the internet and putting plans together in “Sketchup”. I wanted to re-purpose some old doors and door knobs and was fortunate to find them at local auctions and antique malls. I’ll have to say that finding a pair of matching solid wood doors was the hardest thing to do. I was lucky to find a pair at an antique mall, and only paid $36 for both. The porcelain door knobs are used for hanging our jackets and coats. I found several of these at an auction. I used a piano hinge for the bench and installed a soft close hinge made by “Sugatsune” which I found on “Amazon’s” website

Not cheap but well worth eliminating the dreadful slamming sound of the bench door. I had never distressed anything, but this and my wallet received plenty during the build. I’d have to say the best part of the build was working with my little cookie monster. She was always wanting to help, and I’m gonna let her because you all know as well as I that those days won’t last forever. Not a professional by any means, but Thanks for looking.
Thu, 05/07/2015 - 11:31
This is really fantastic. I love the doors as a design element. I may just have to head out this weekend and find some matching doors.
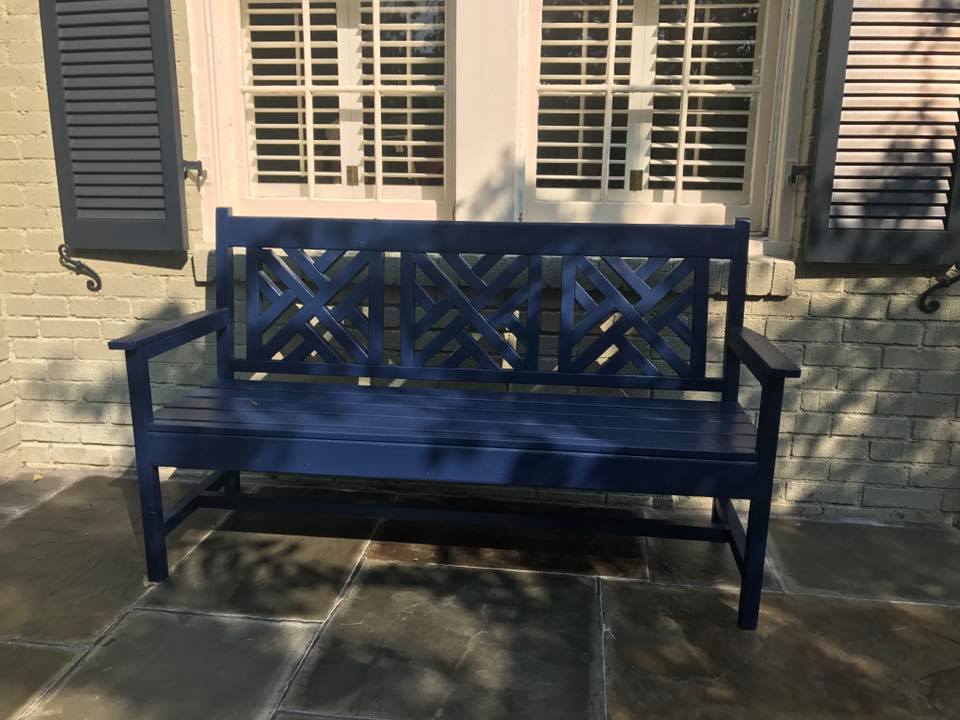
We made our bench 17-1/2 inches longer, just enough for a third panel on the back. We also added 2 braces under the seat slats to give it additional strength. A lot of fun to make! Thanks, Ana!
This is our first piece of
Very excited to have our bench, table & doll chair out on our porch. Thank you so much for your great web-site and all of the wonderful plans. I have already put together a very long "weekend projects" list for my husband to work on.
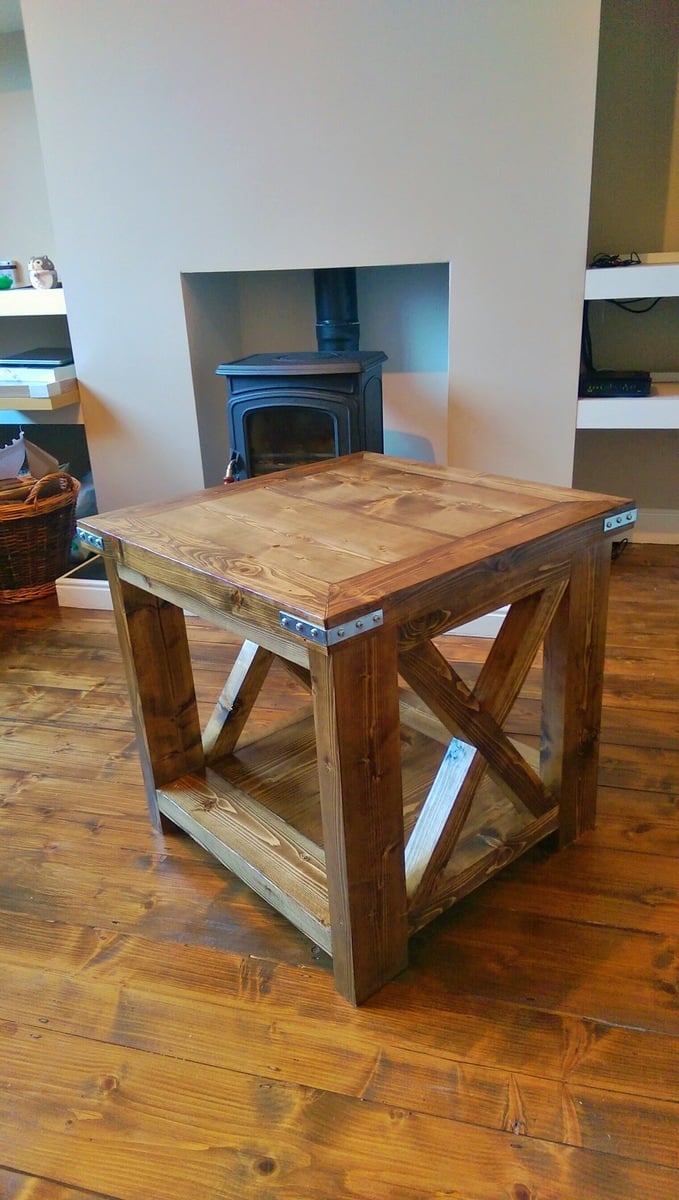
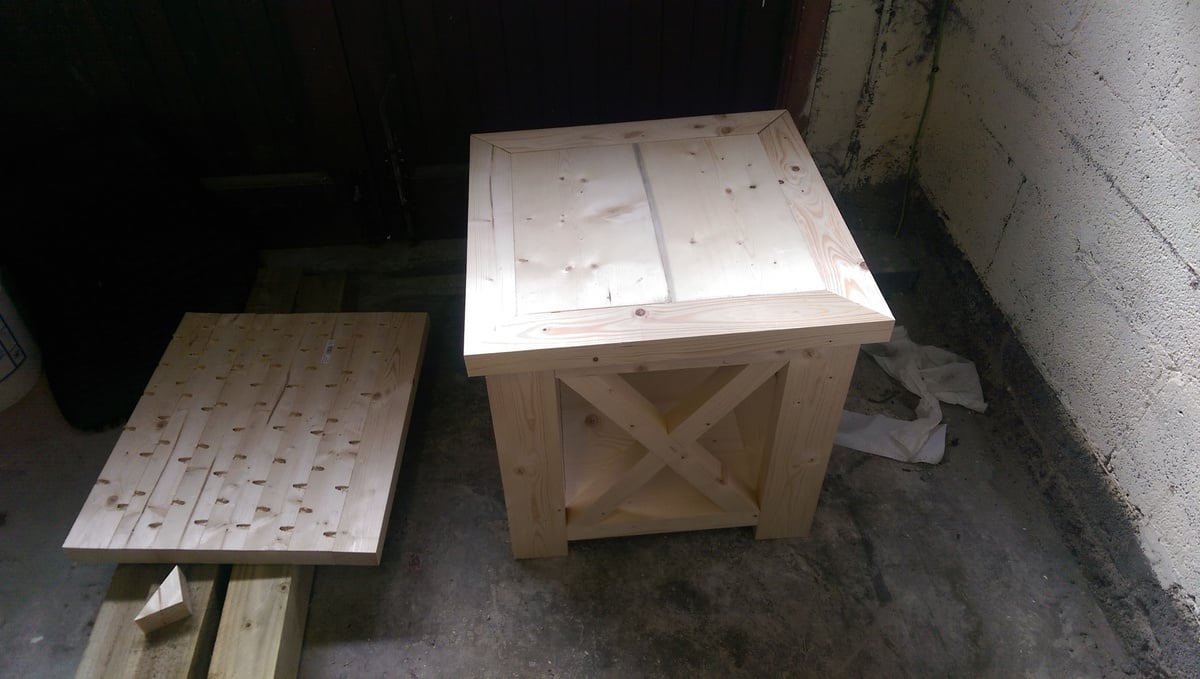
I had to redesign the top because my wood was too narrow and warped to make it as per the plan, and I'm too cheap to go and buy some more. I think it worked out OK. I enjoyed making this piece and I'm trying to develop my accuracy in wood working. My patience for the "finishing" element is improving, but I'm still a Sand-a-phobe.

These plans were perfect for the small space we had for the kitchen table. Really like how the benches fit under the table too.
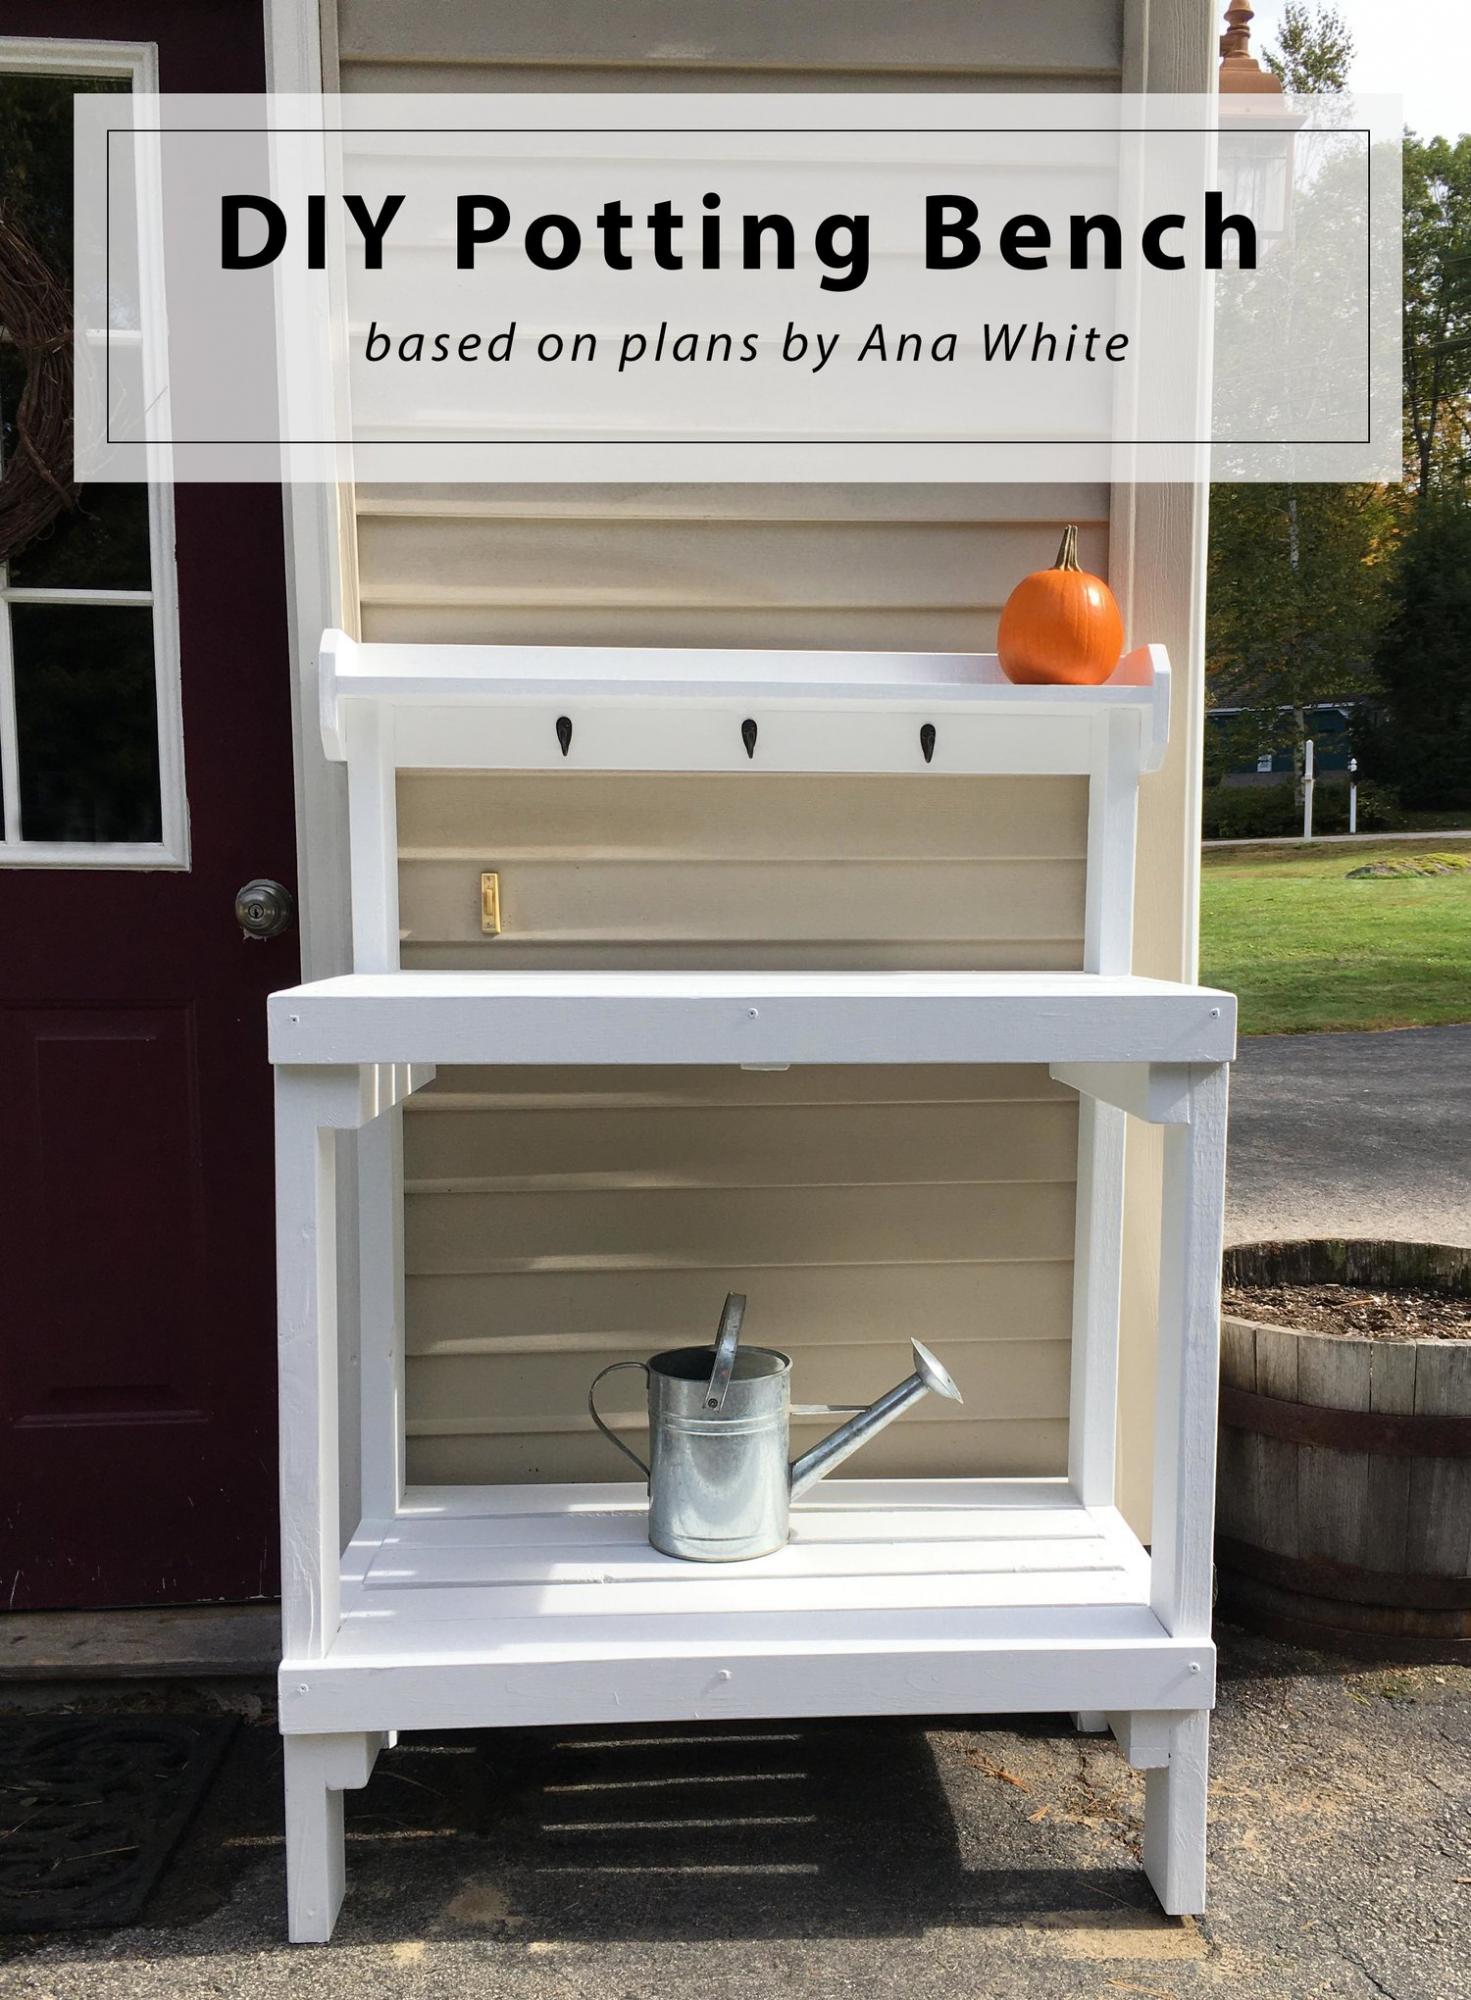
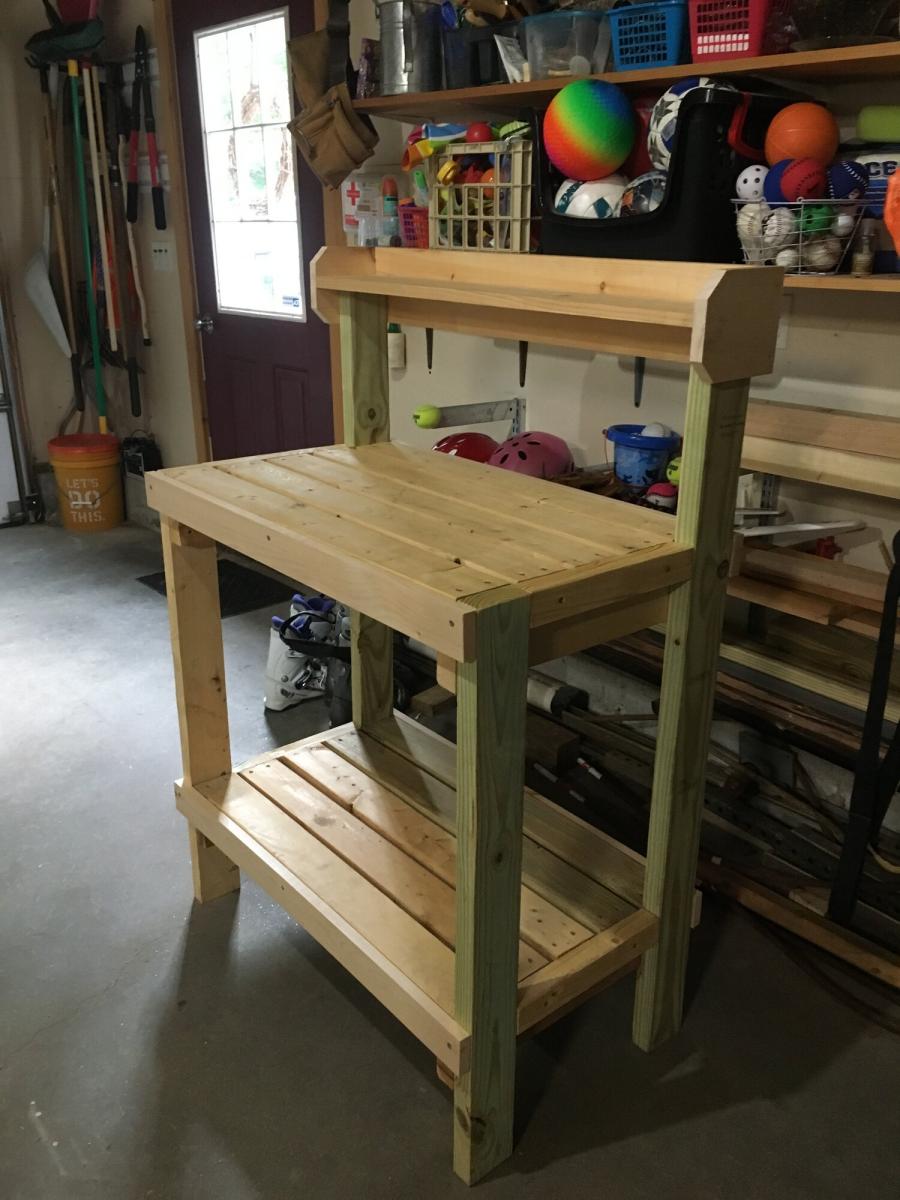
I’ve been wanting a potting bench for a while now - something by the back door to display some decor, use as an outdoor work station, and double as a place for UPS to leave packages. After looking around online and at local stores, I couldn’t find anything that I liked that fit the narrow space - so I did what any #woodworkingmom would do, I decided to build it myself. Please see my blog post for additional photos and lessons learned during this project.

I was dying to try this little picnic table out for my boys. It was such a quick and easy build, though without clamps, I had to enlist my husband's help to hold things for me while I drilled!
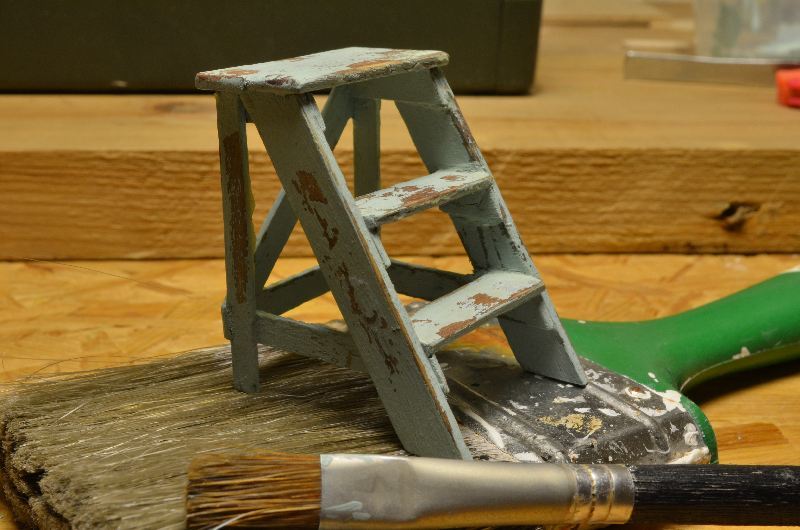
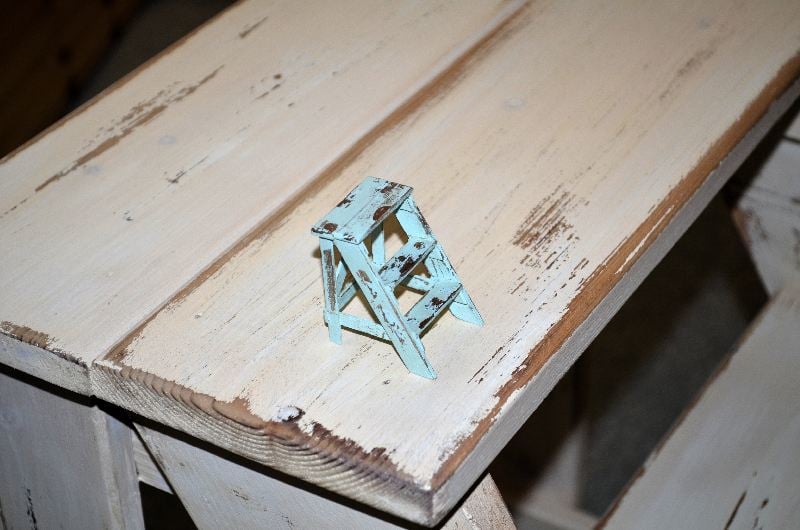
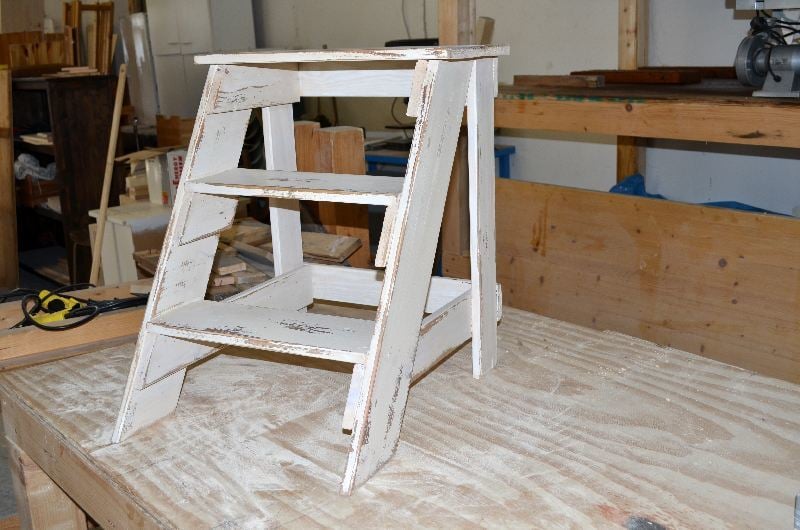
I built this step stool for friend, and a tiny version for my own dolls house. I had expected difficulties with the angled parts, but it went together very easily. I stained both of them with a vinegar/steel wool mix, painted with homemade chalkpaint. At last I sanded them for a distressed look and coated them with brown finishing wax.
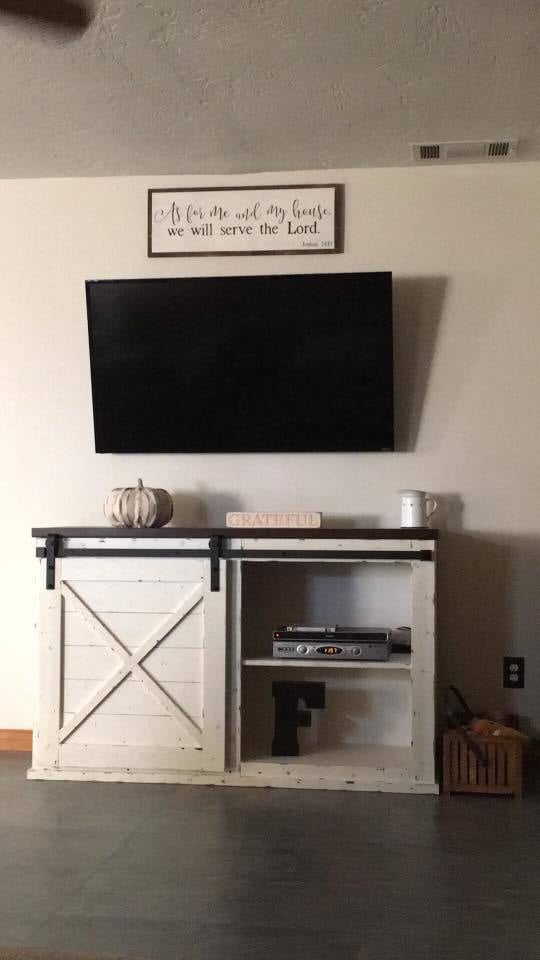
Submitted by Joanna Franke
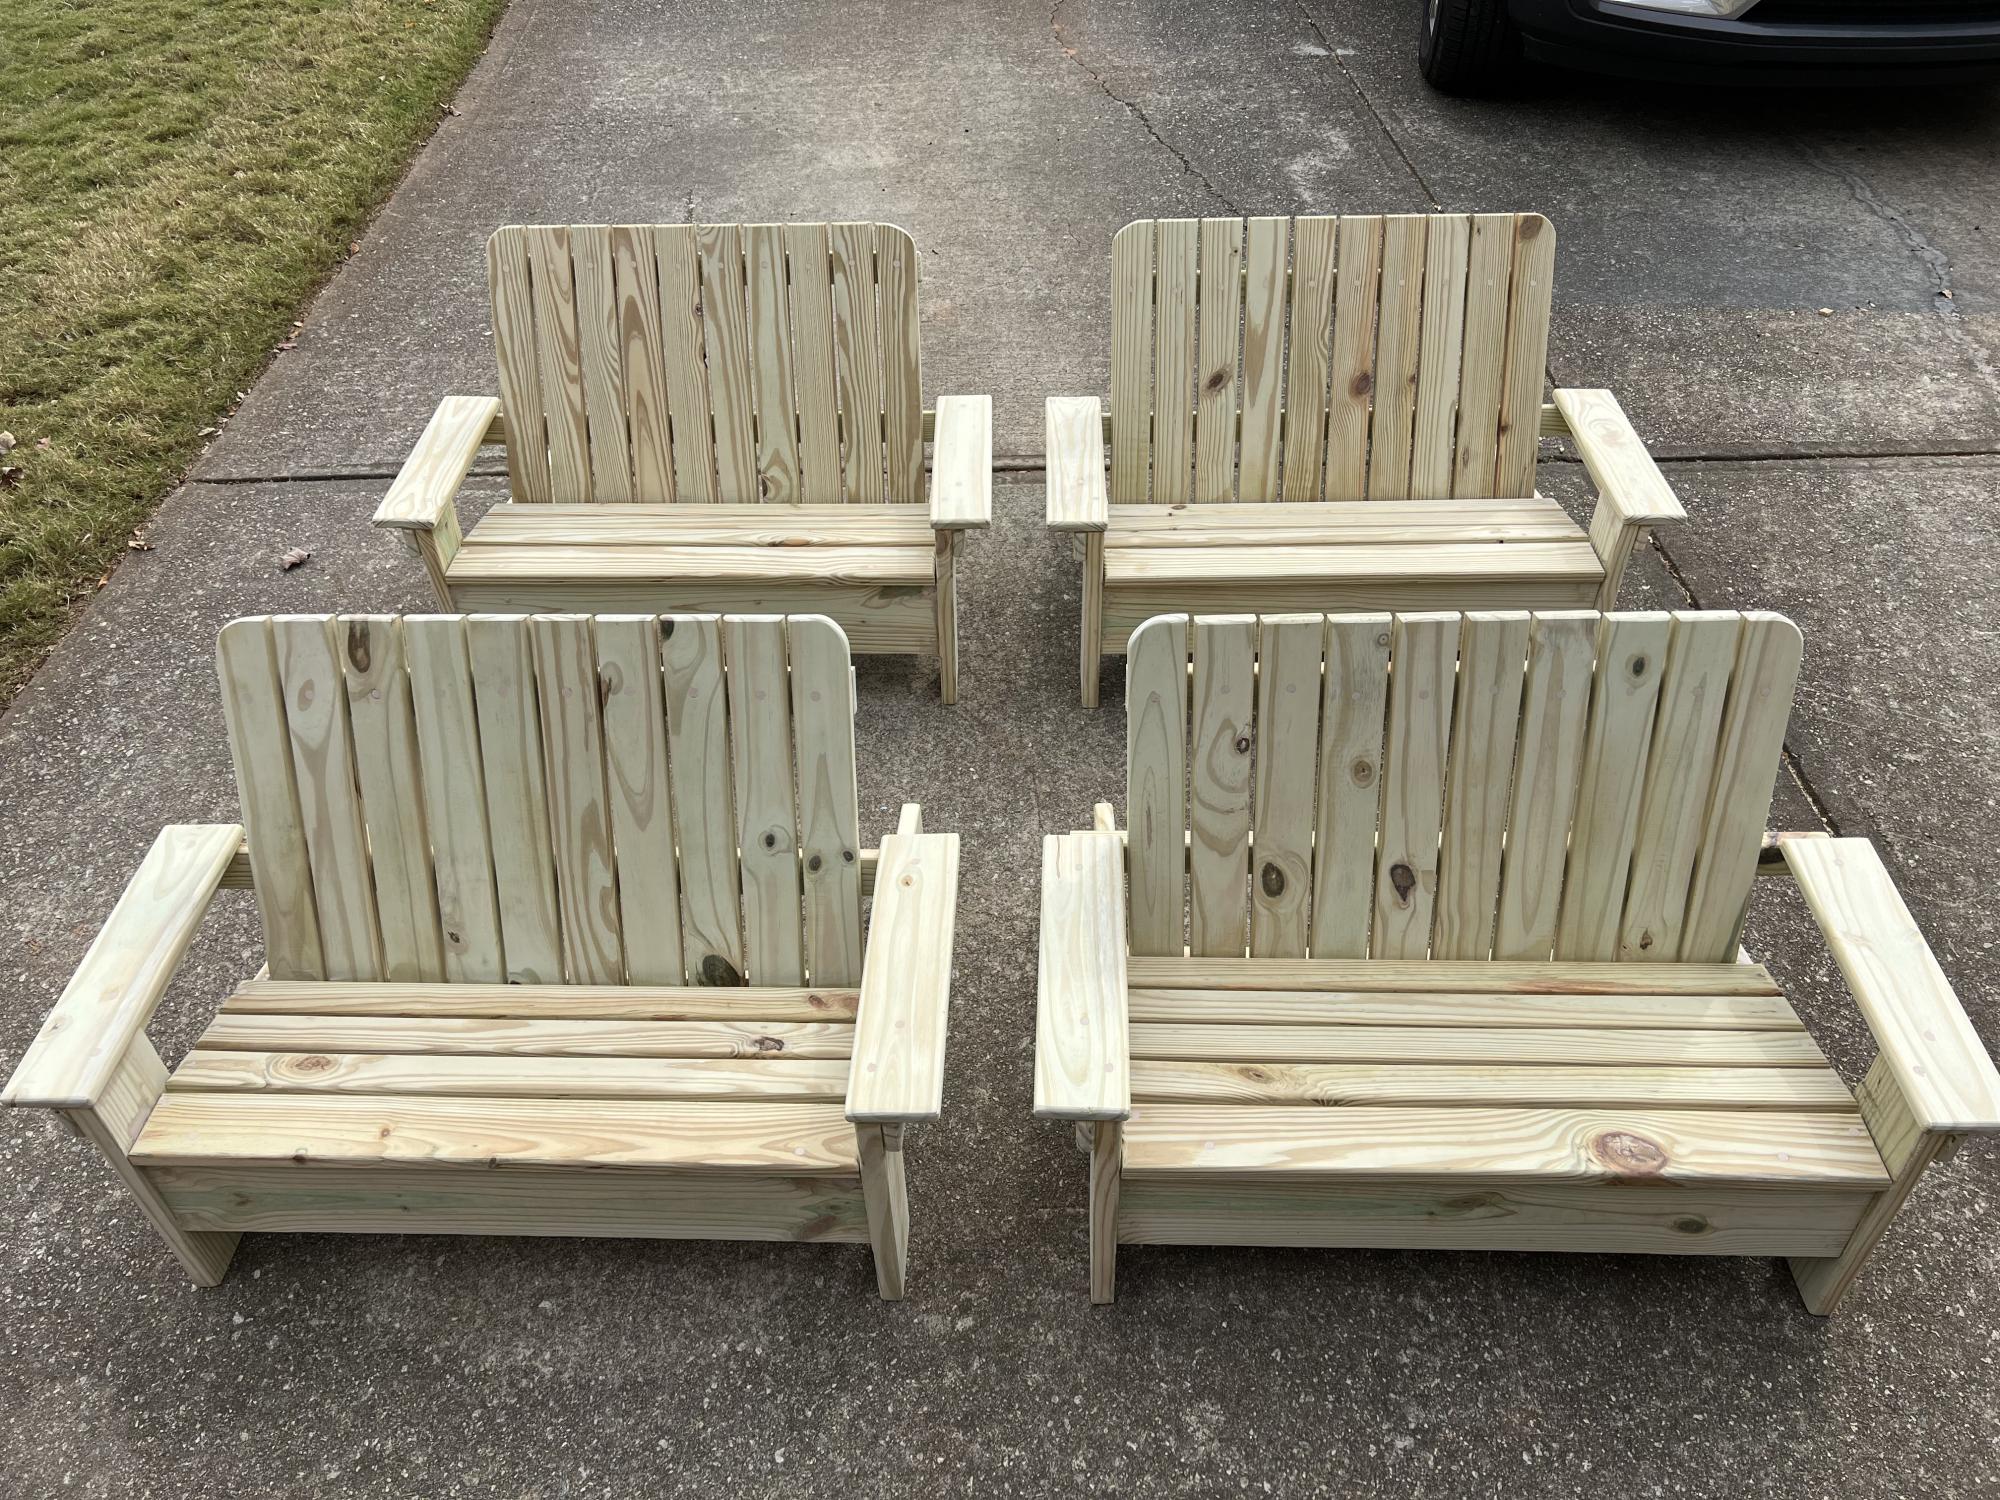
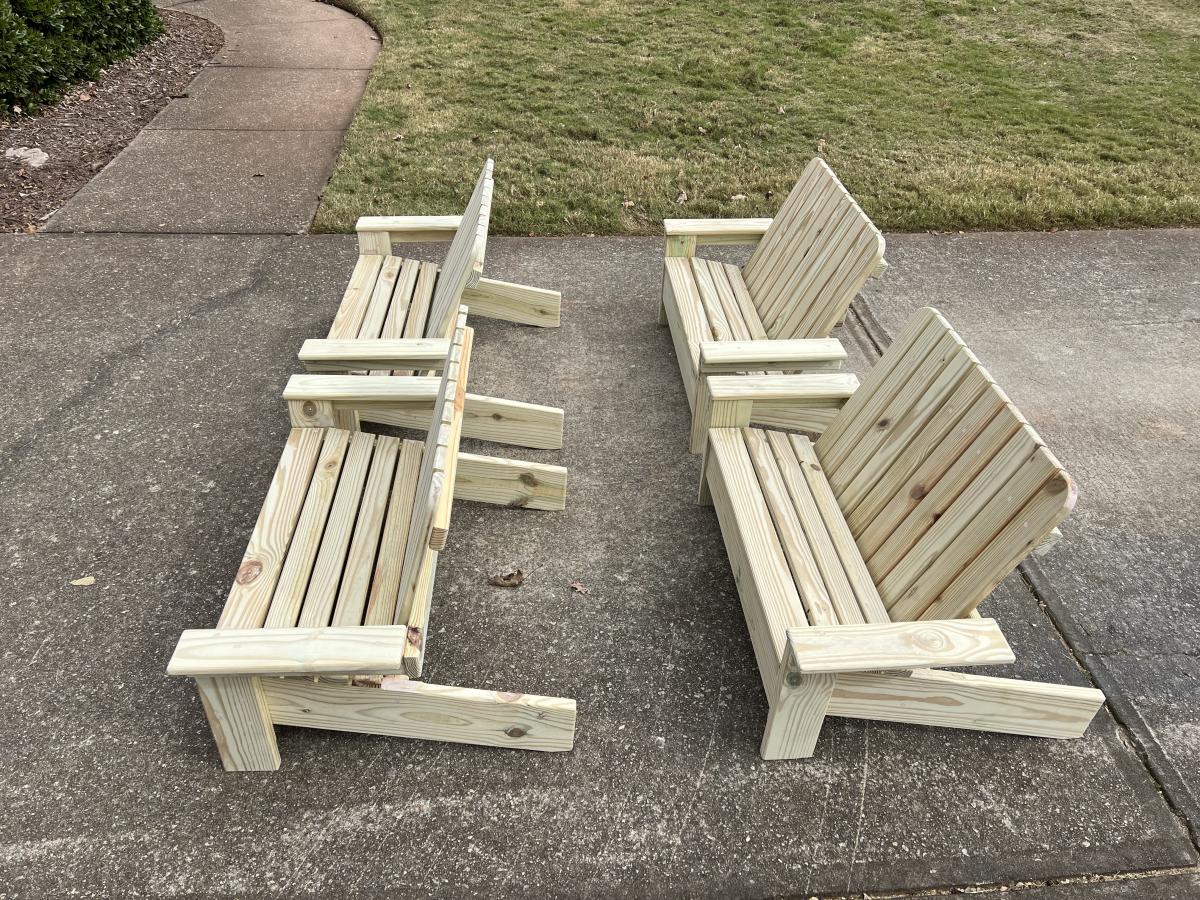
I built these benches for my son’s school. Their current ones were very rotted and falling apart. These will be outside and uncovered so pressure treated stock was used and I filled the screw holes with epoxy.
Sat, 11/06/2021 - 17:44
Those are awesome and look super comfortable, thanks for sharing!
First bench to match the Farm House table I have built. Istill need to finish my table now to match the bench.
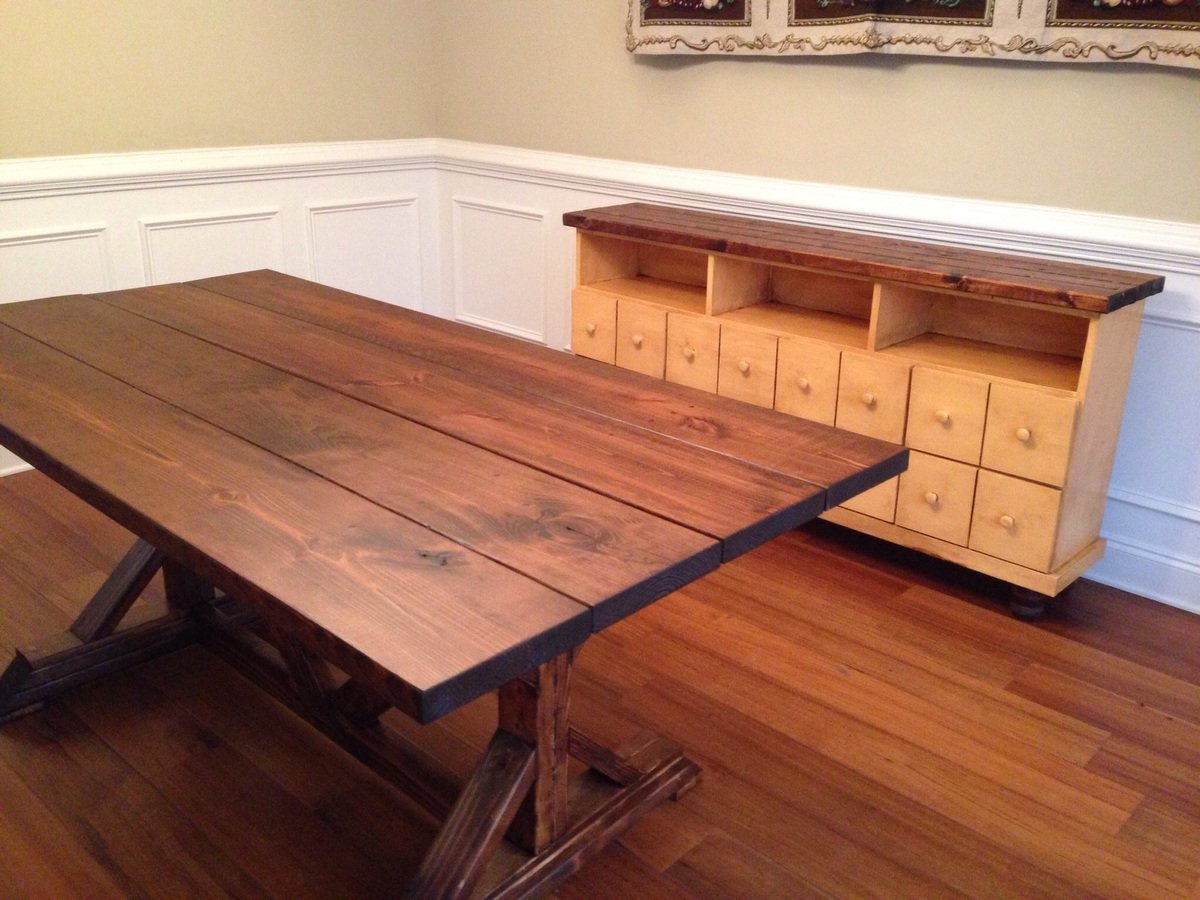
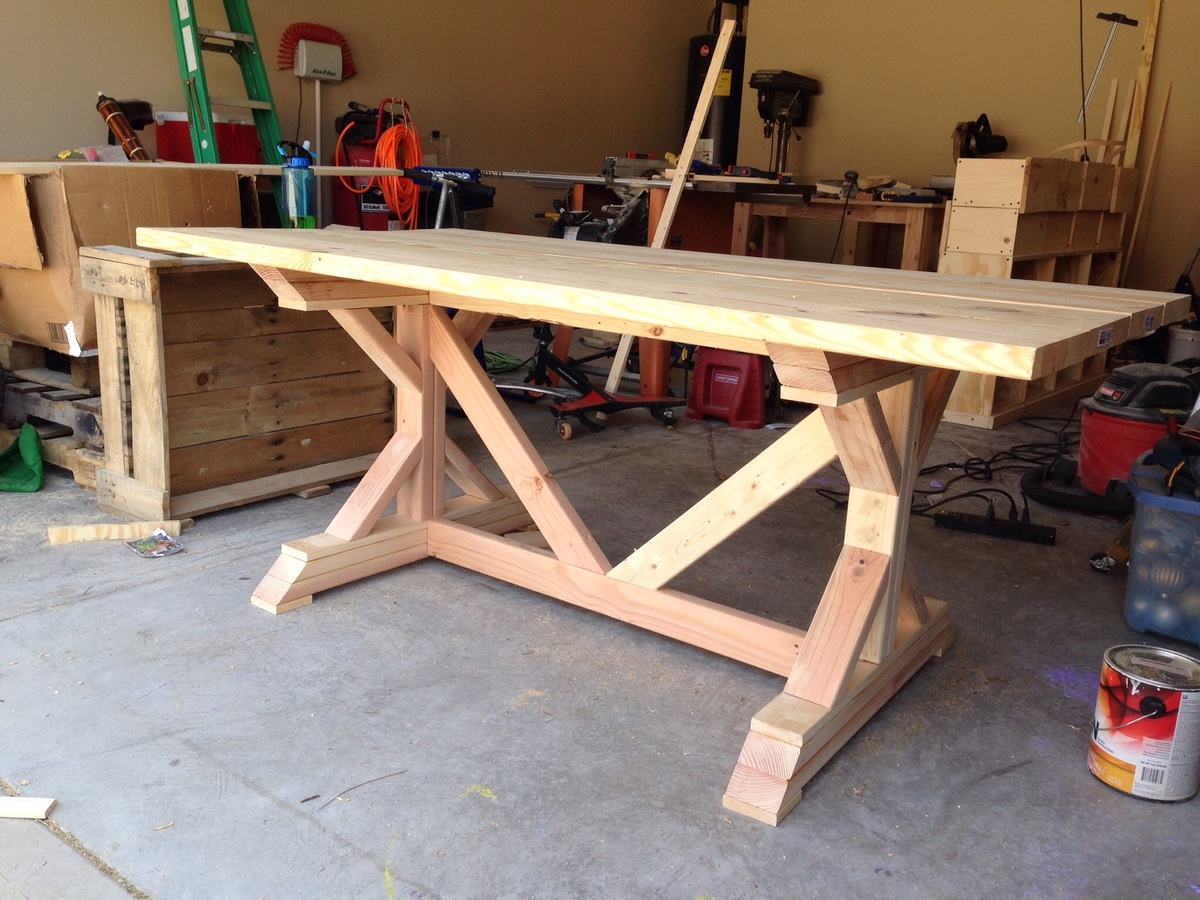
Built for my sister. Because she liked mine so much :) I also built her an apothecary console to use as a side board in the dining room
