DIY Coffee Bar
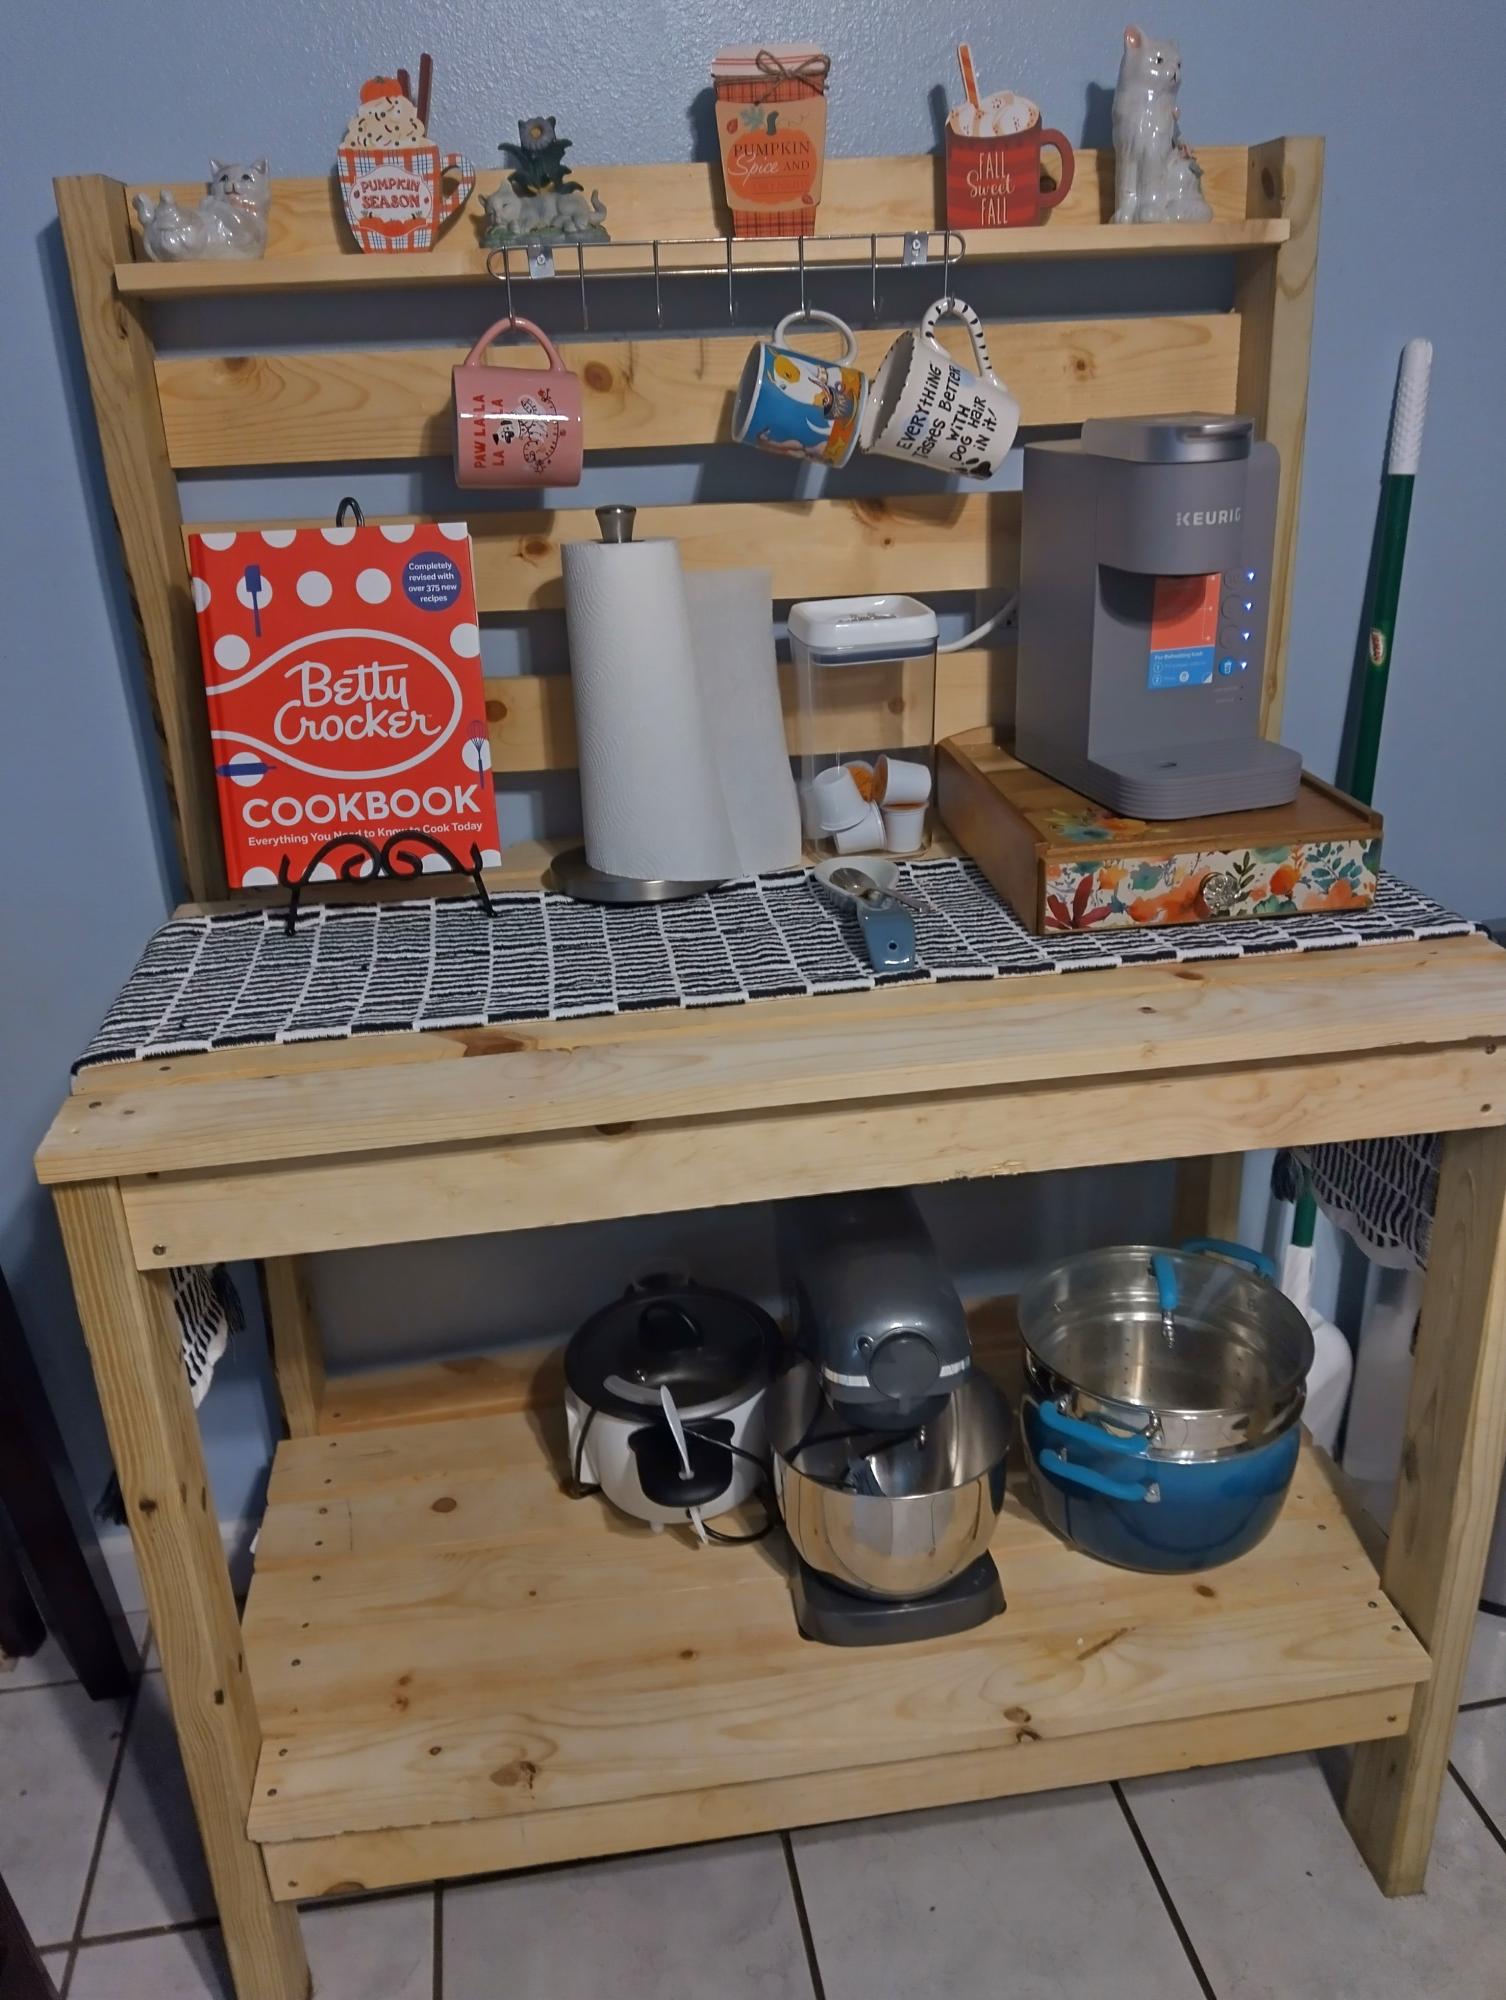
Using as a coffee bar.

Using as a coffee bar.
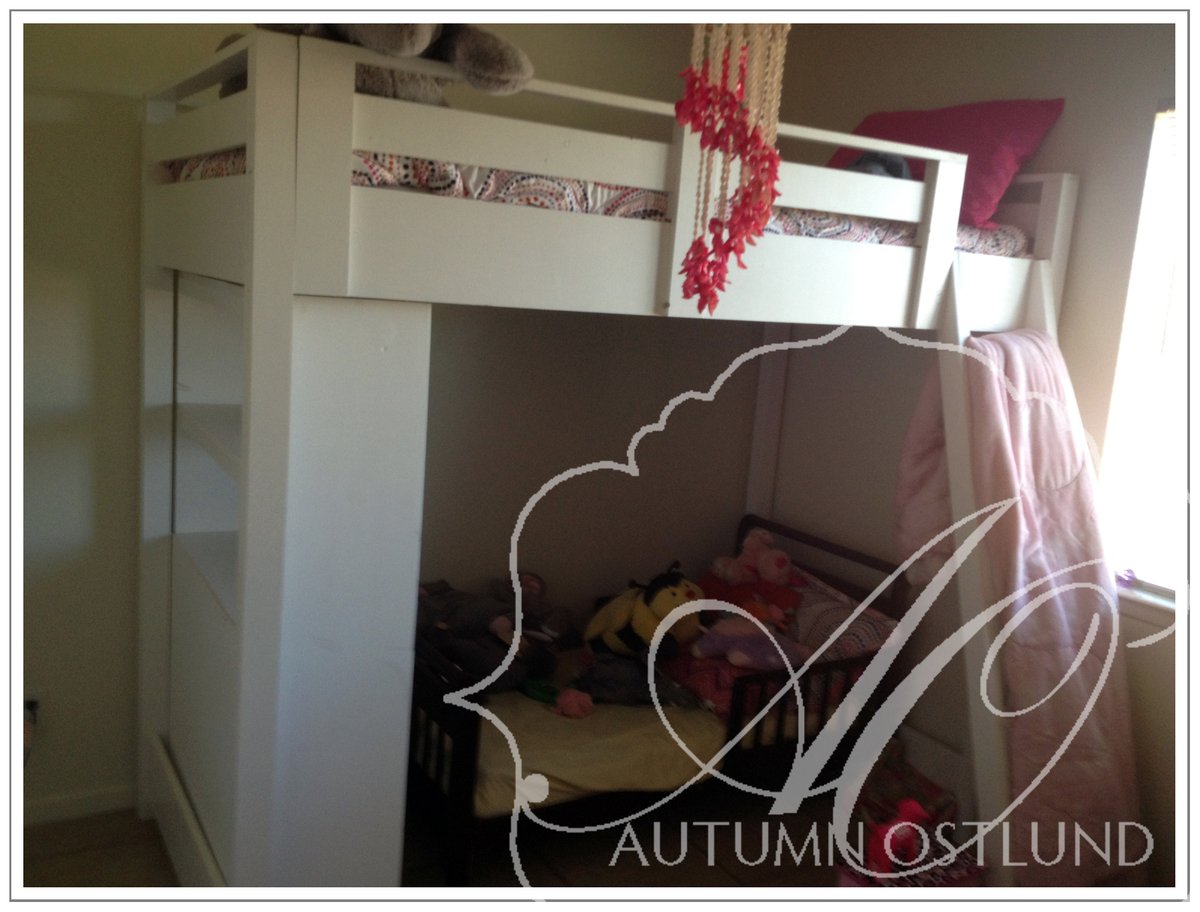
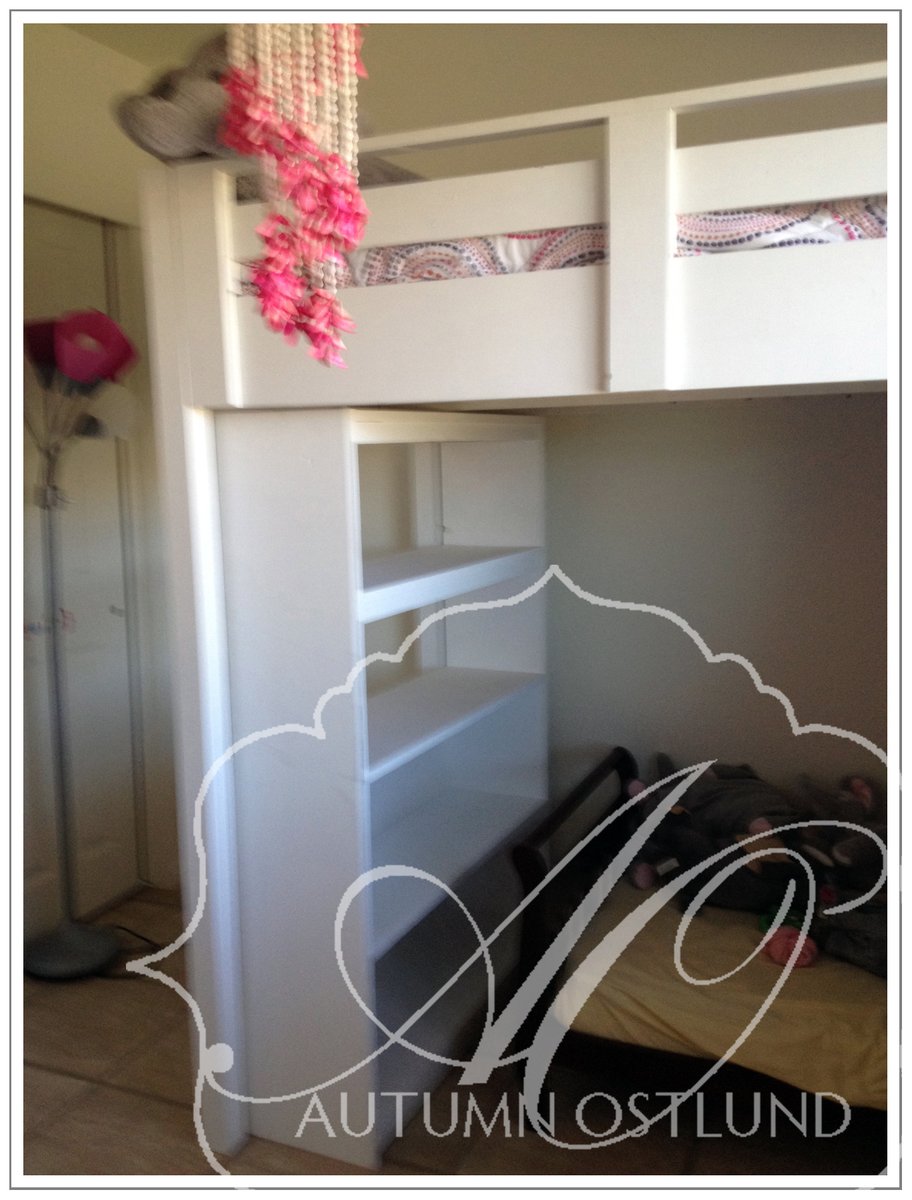
I built the loft bed and bookshelf for underneath.

This project was a challenge because of the instructions regarding the "recommended" pocket holes for the aprons. I soon realized you can't put a 3/4 pocket hole on a 45 degree mitred edge, and when I adjusted the depth of the pocket hole, I could not for the life of me screw it into the legs without the apron getting sucked past the edge of the legs. I ended up putting the pocket screws on the outside which I know is a major faux pas for wood workers, but because I used Kreg wood plugs and painted it, you can't see the little ovals where the screws are.
The photos are just for scale. The little girl is a big 2 1/2 year old, and the dog is not a St. Bernard.
We love the table and it works great for baby brother's room.
Thank you Ana for another great project!

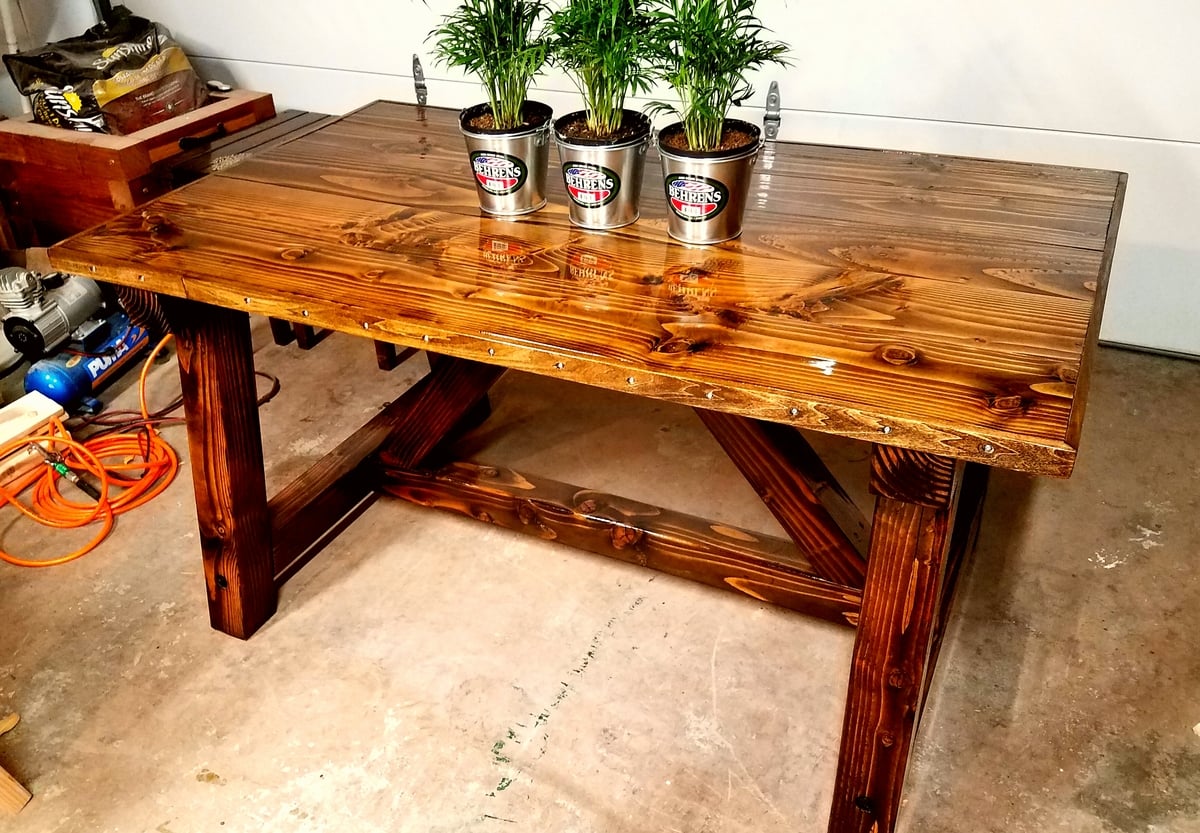
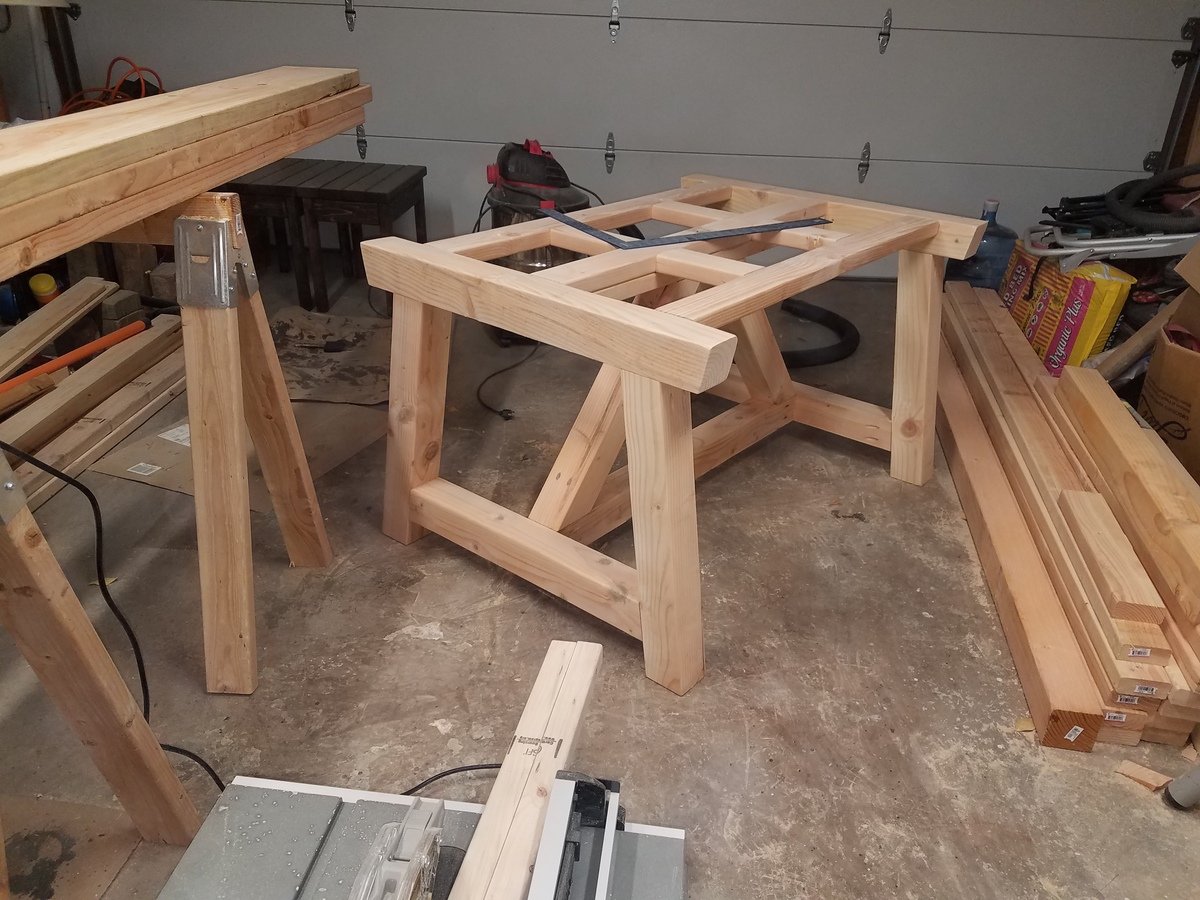
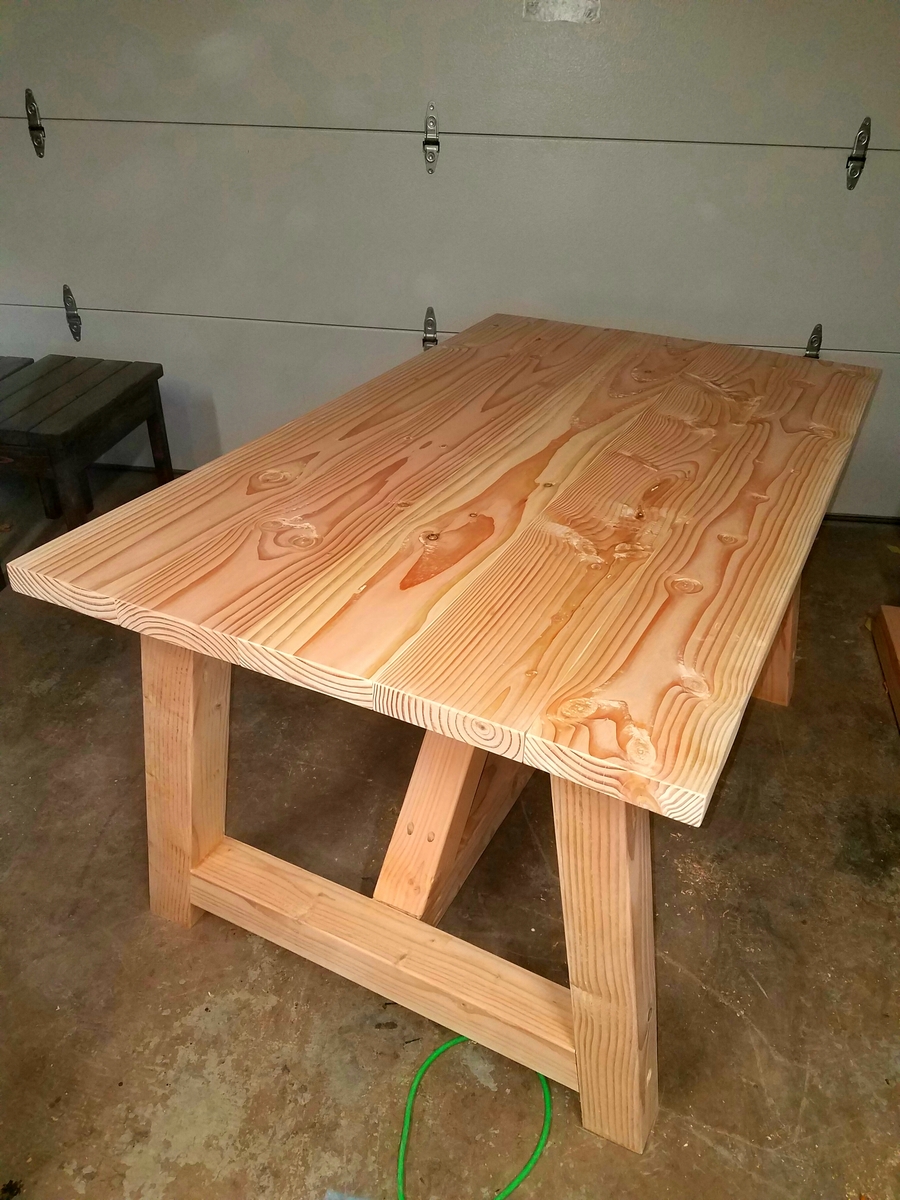
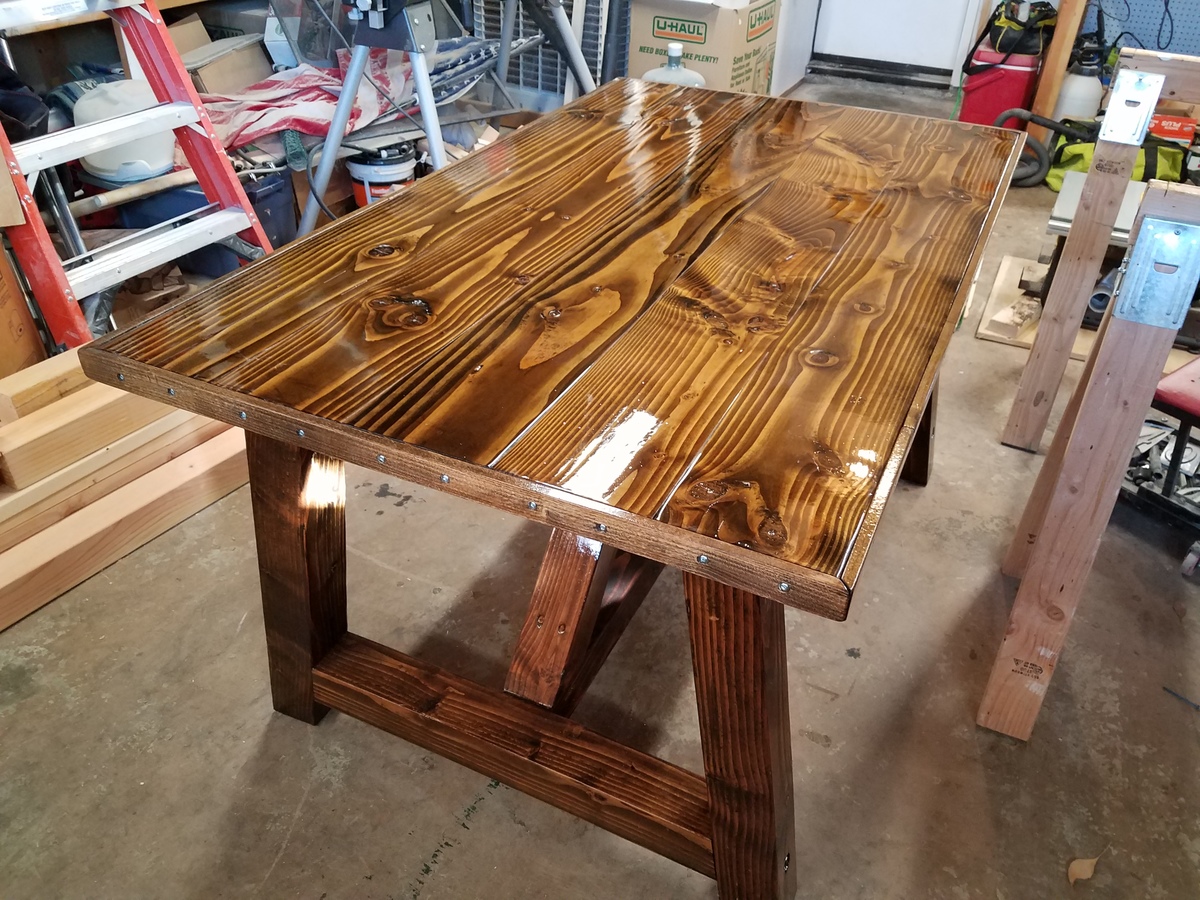
Truss Beam Table size 35x60
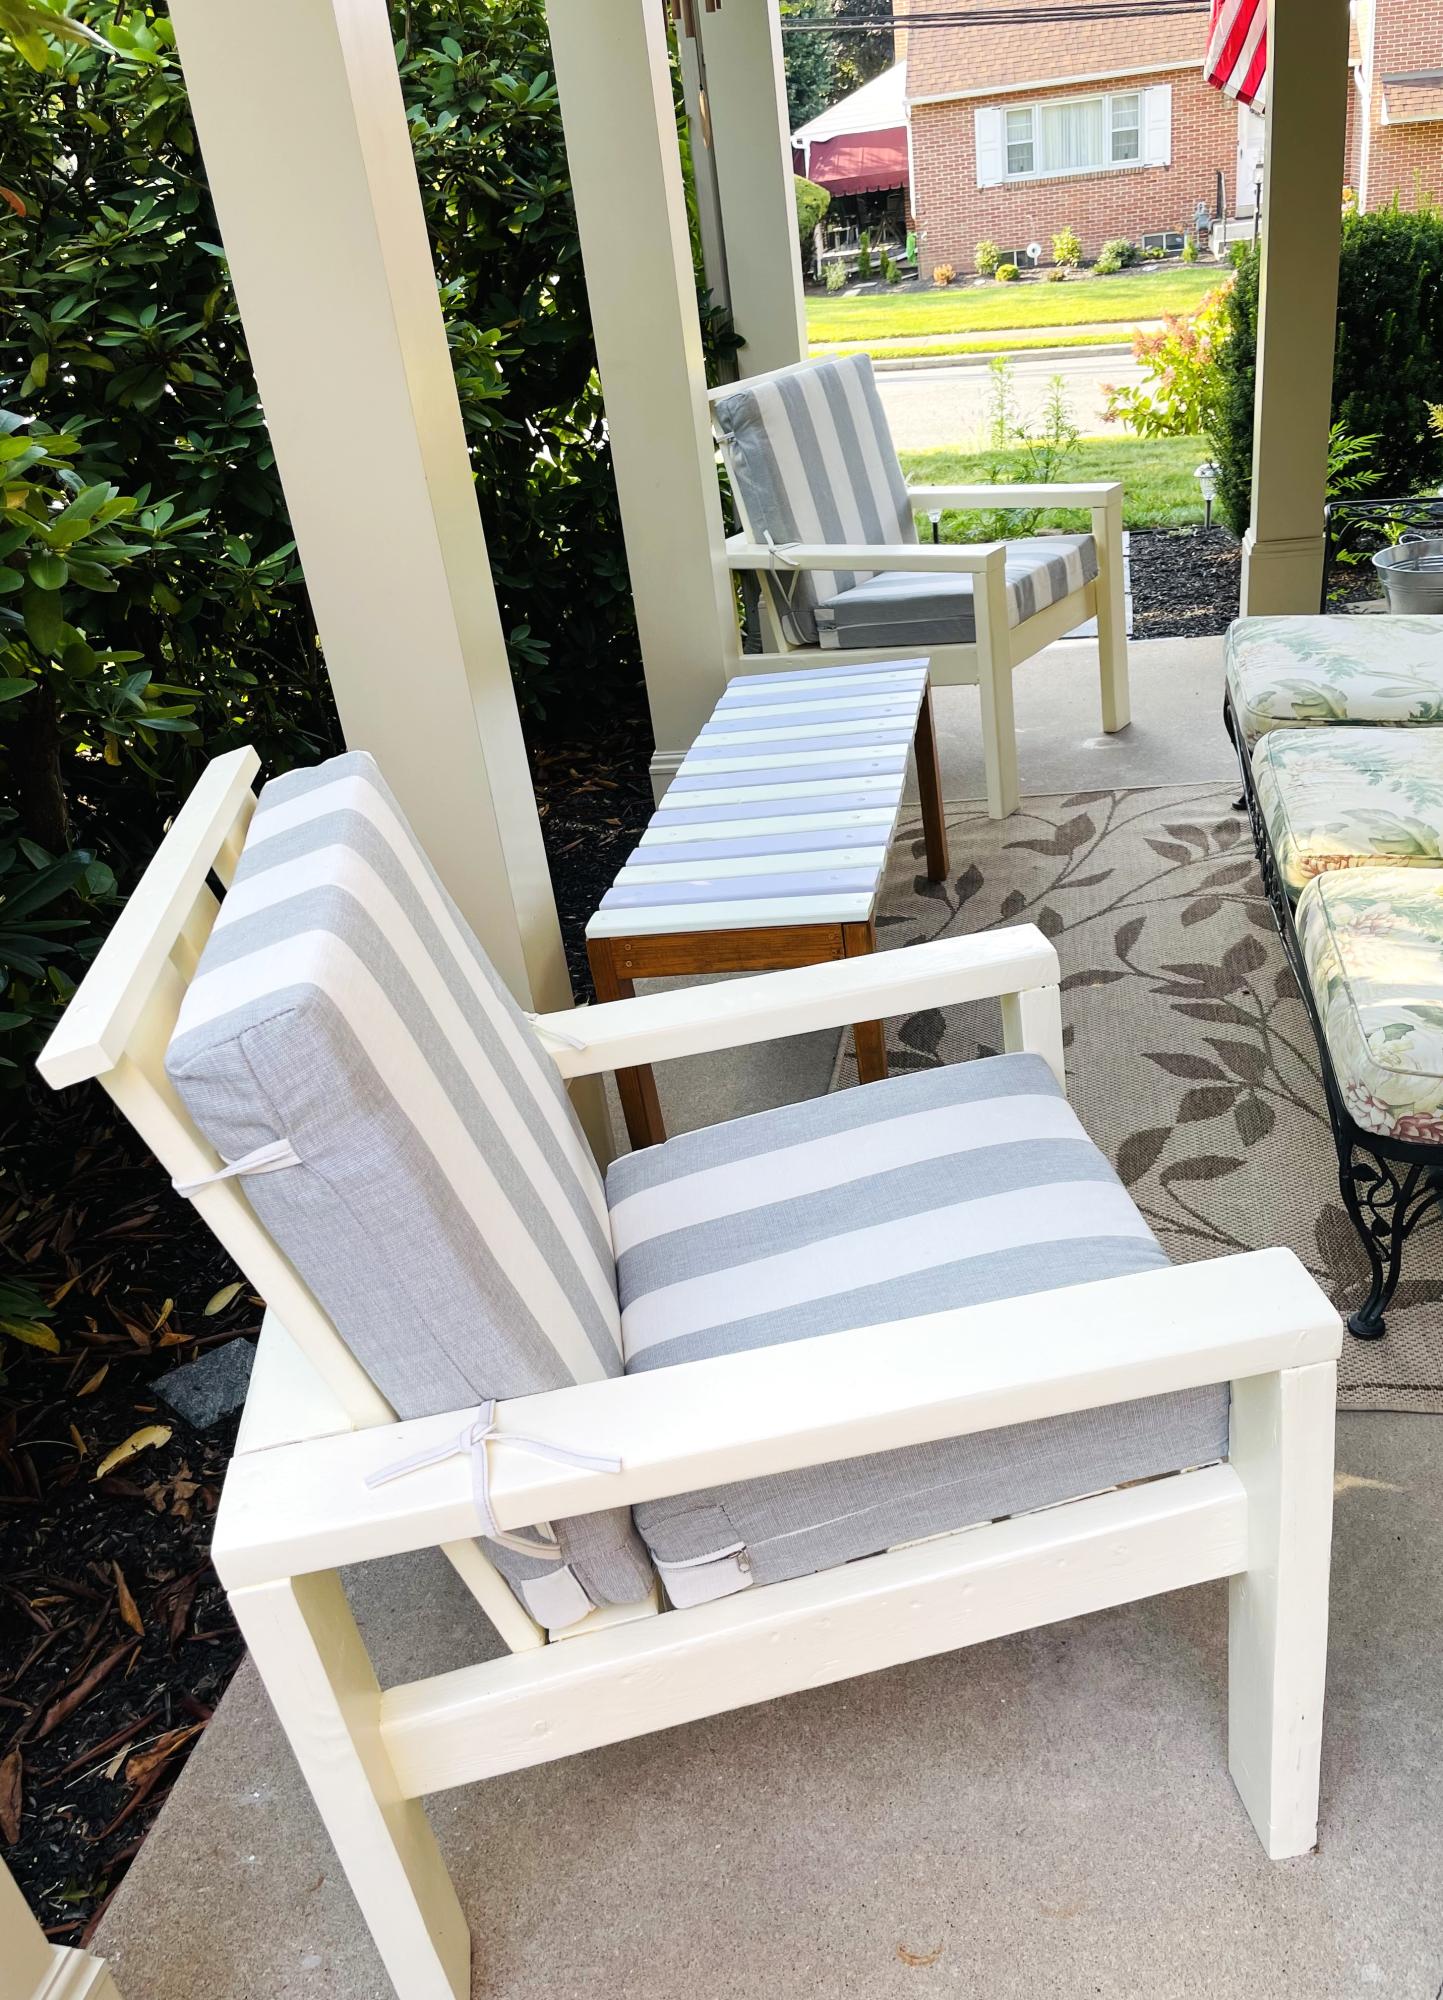
I made these chairs with 2x4s and some leftover decking for the back strips. I must say they turned out pretty good and it only cost me $17.00 to build. I followed Ana White’s plans. These chairs are very sturdy and comfortable. Thank you so much Ana for your free plans and video. I’m hooked! I also made the bench/table last year. Love it. - Maryann
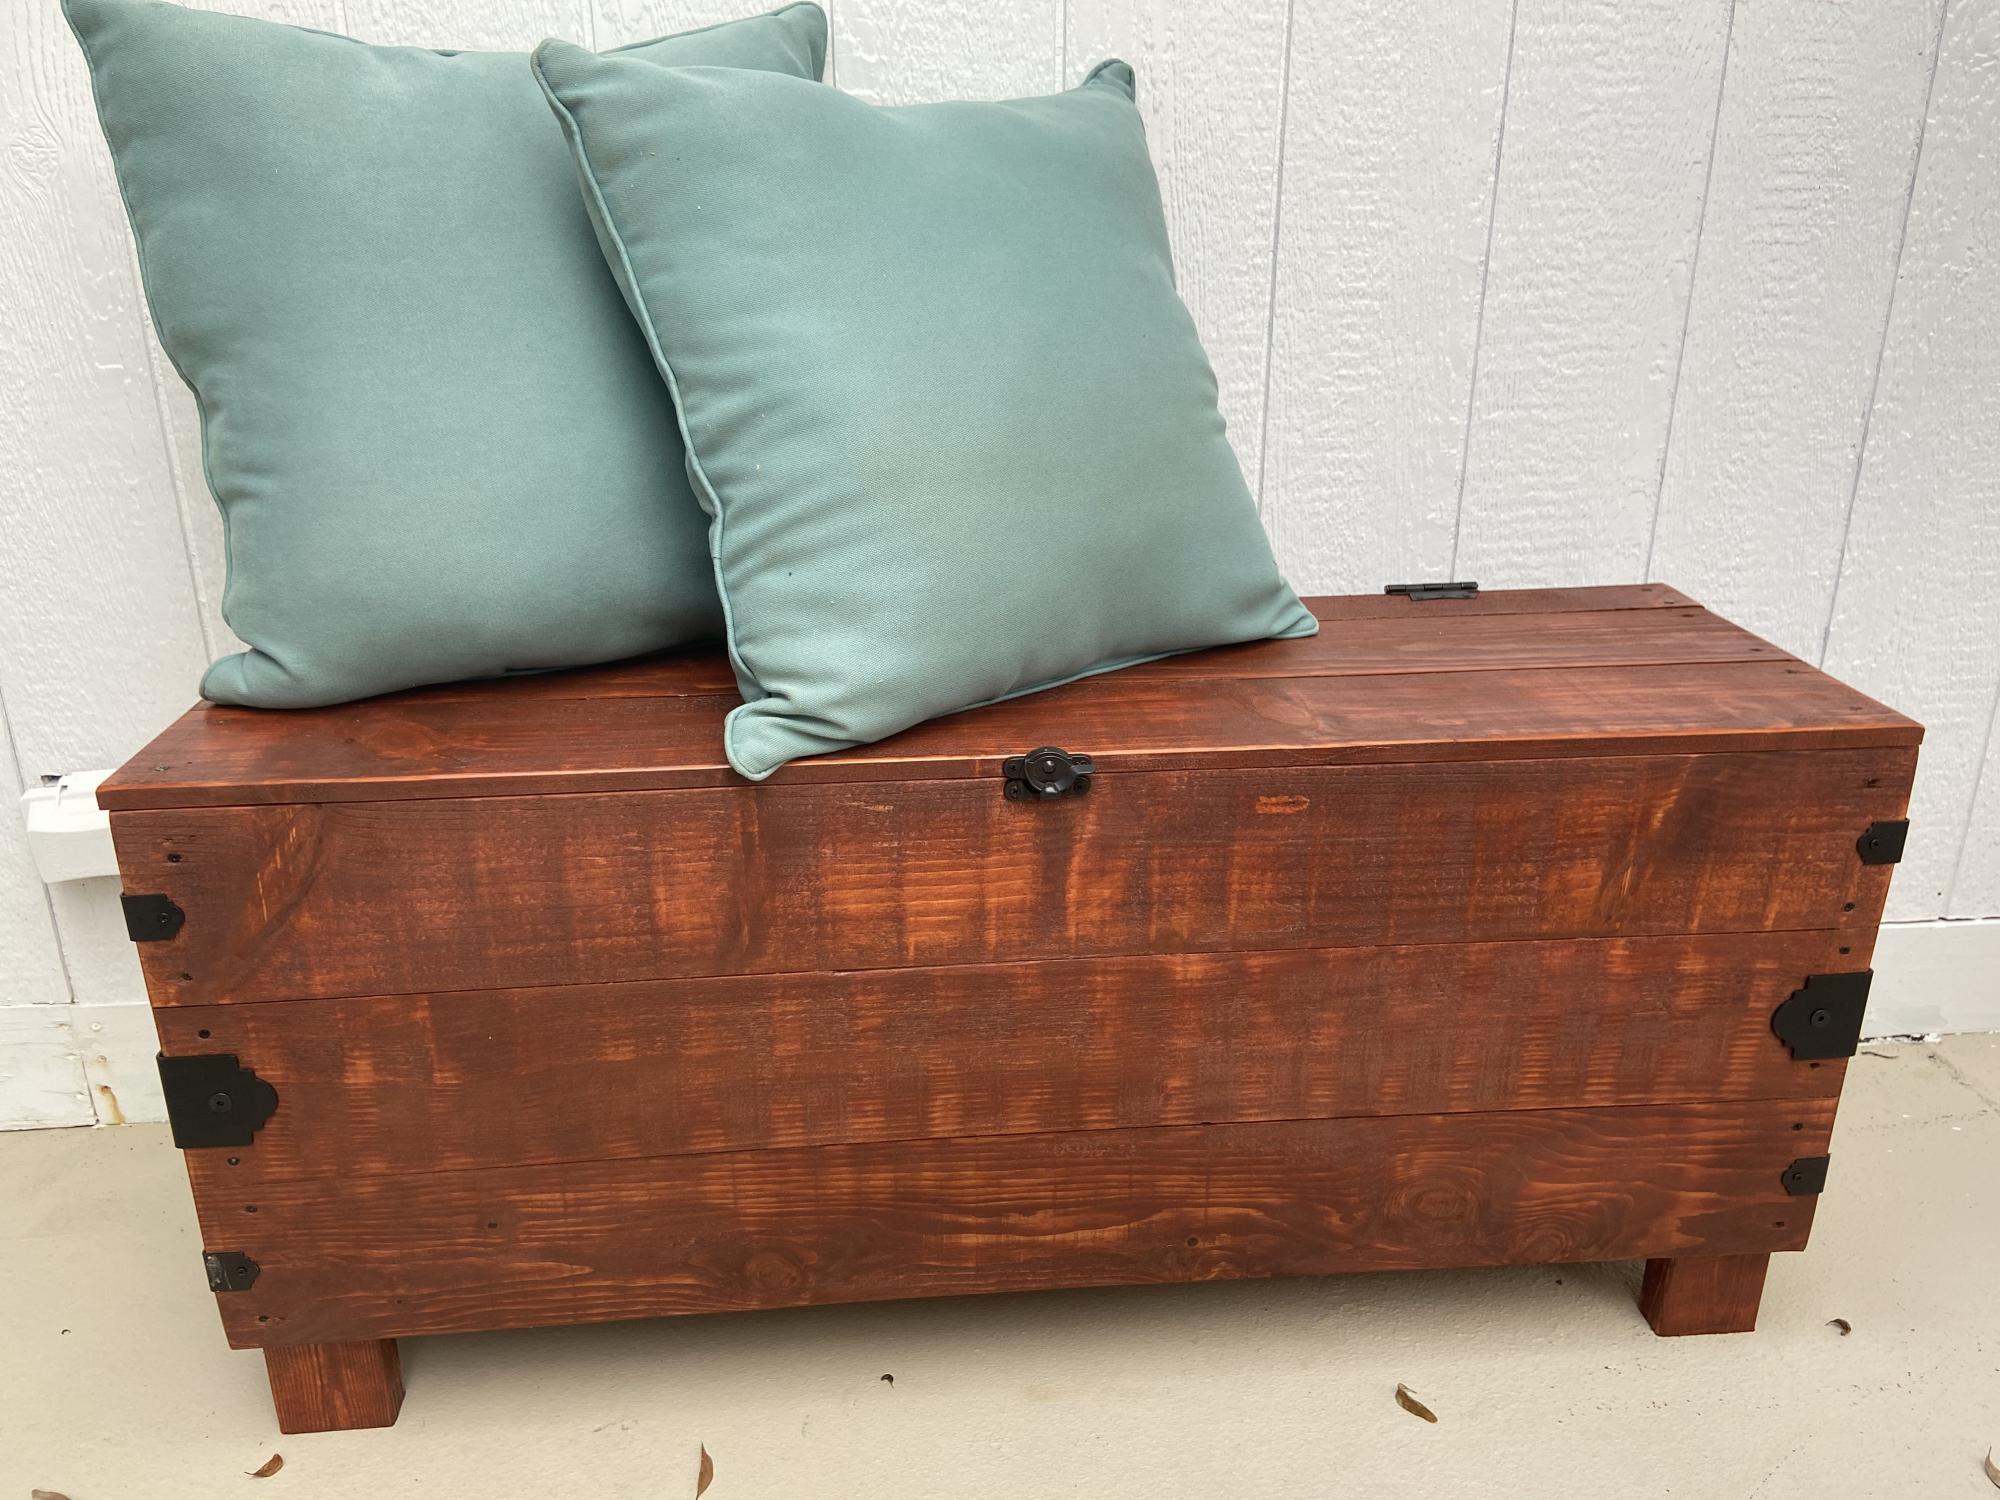
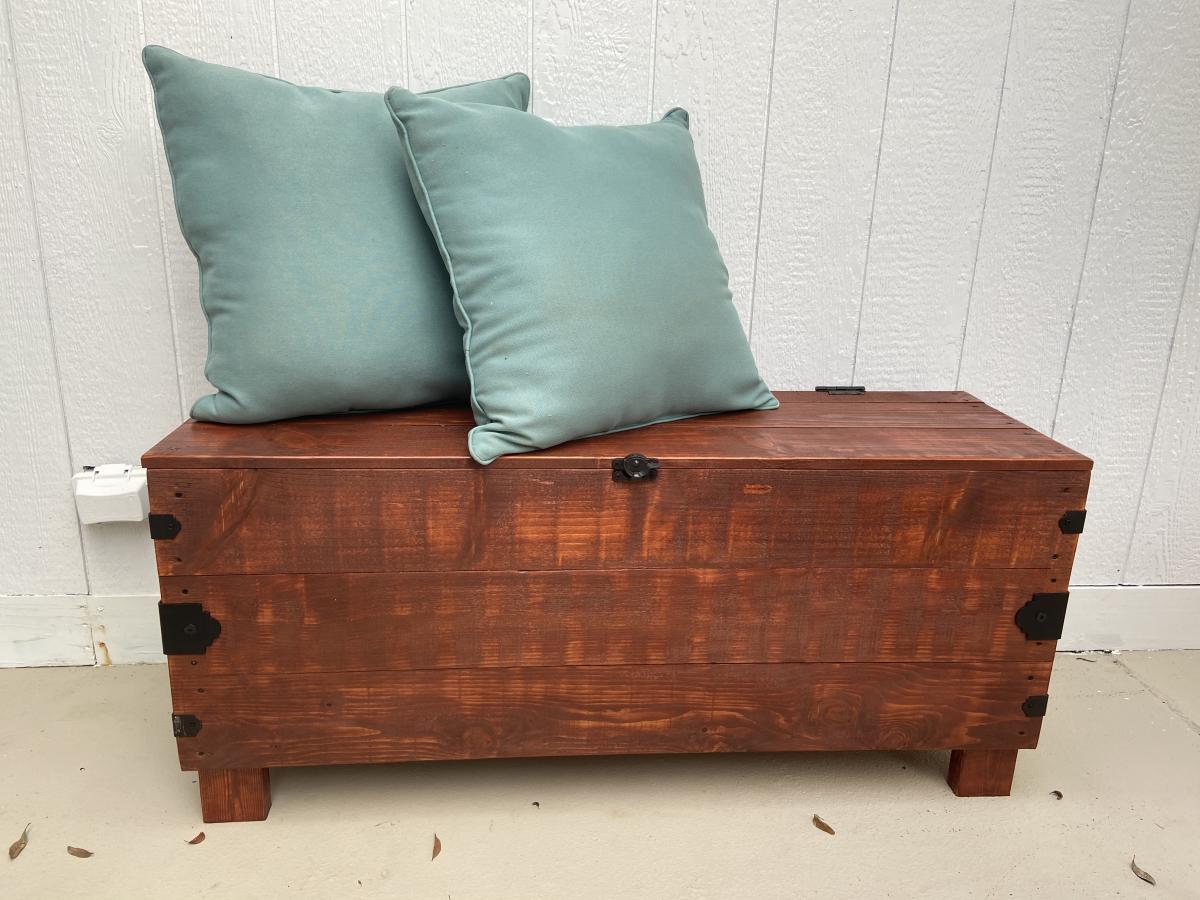
I used Ana Whites plan and modified to fit my our space and outdoor pillows.
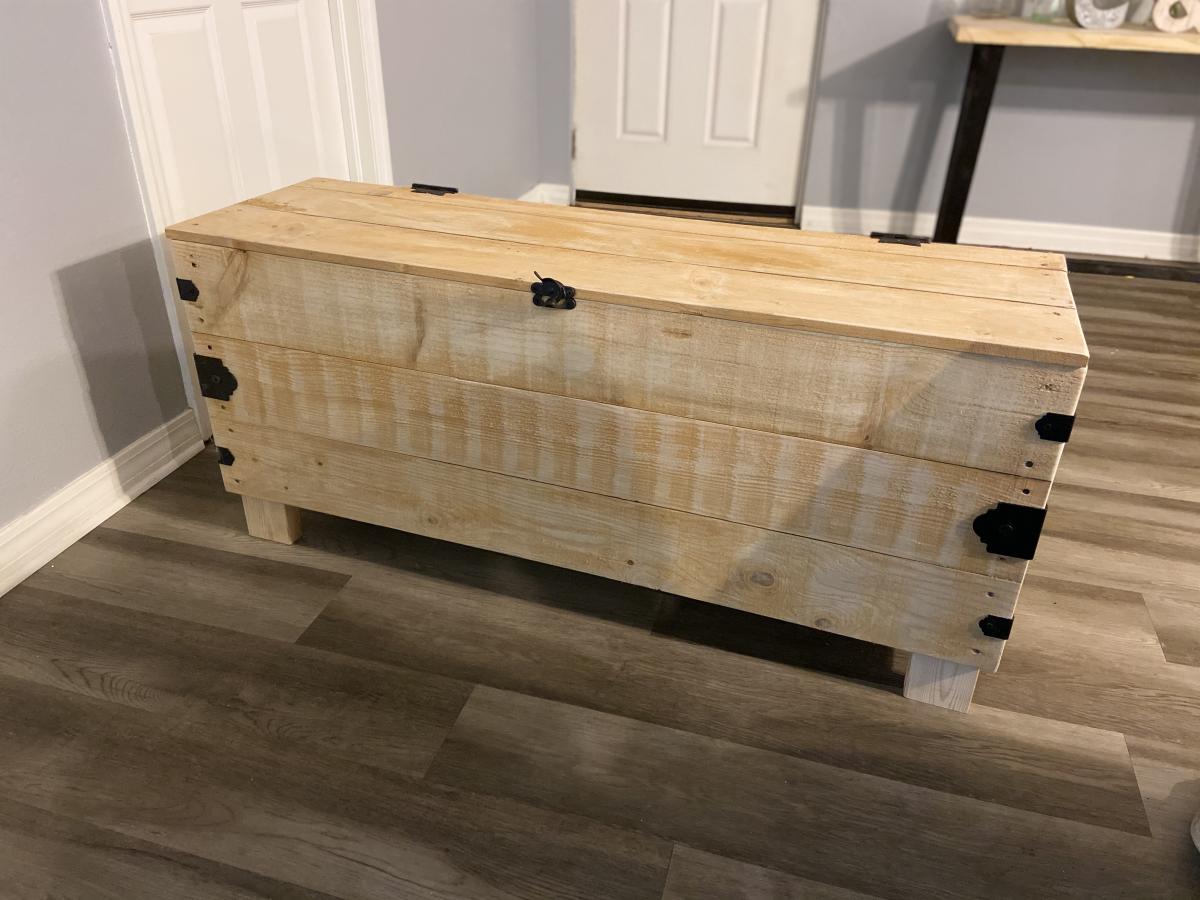
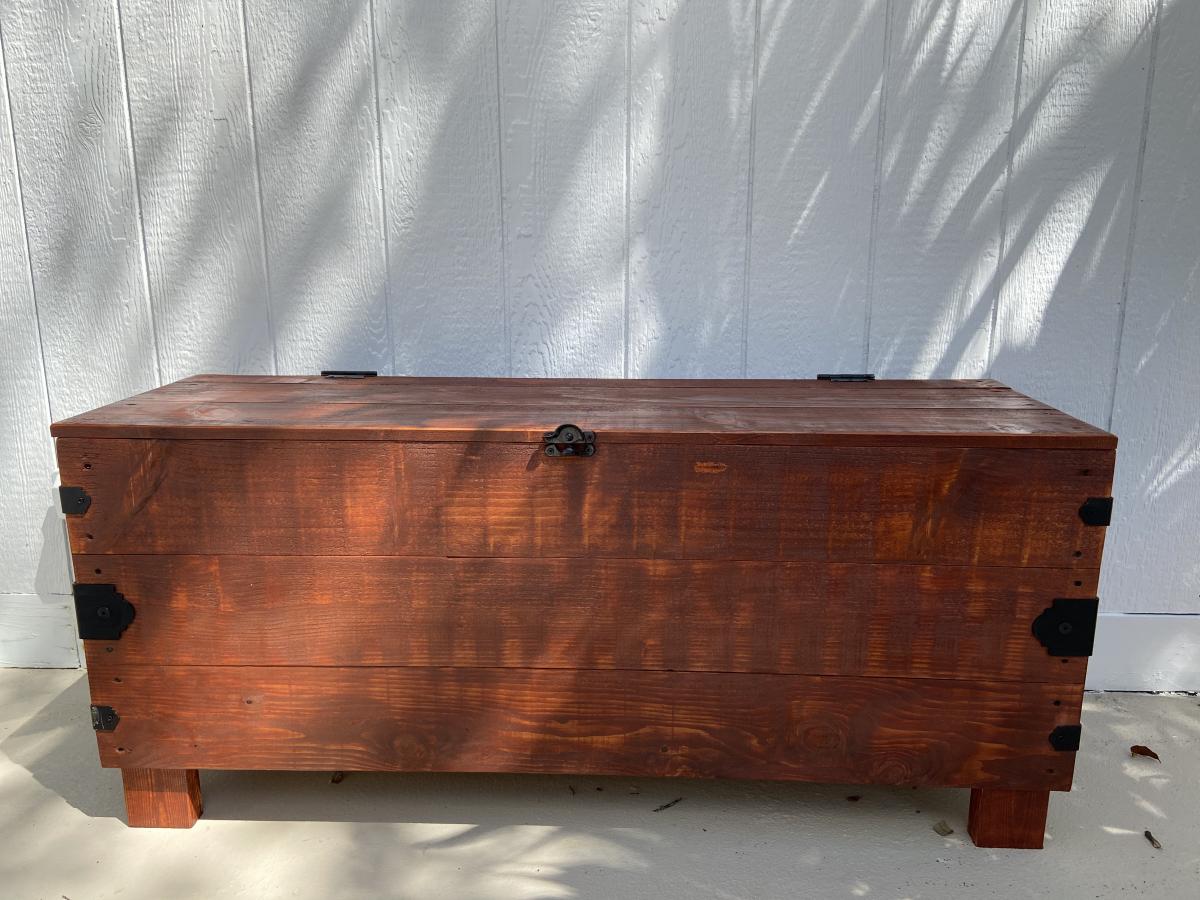
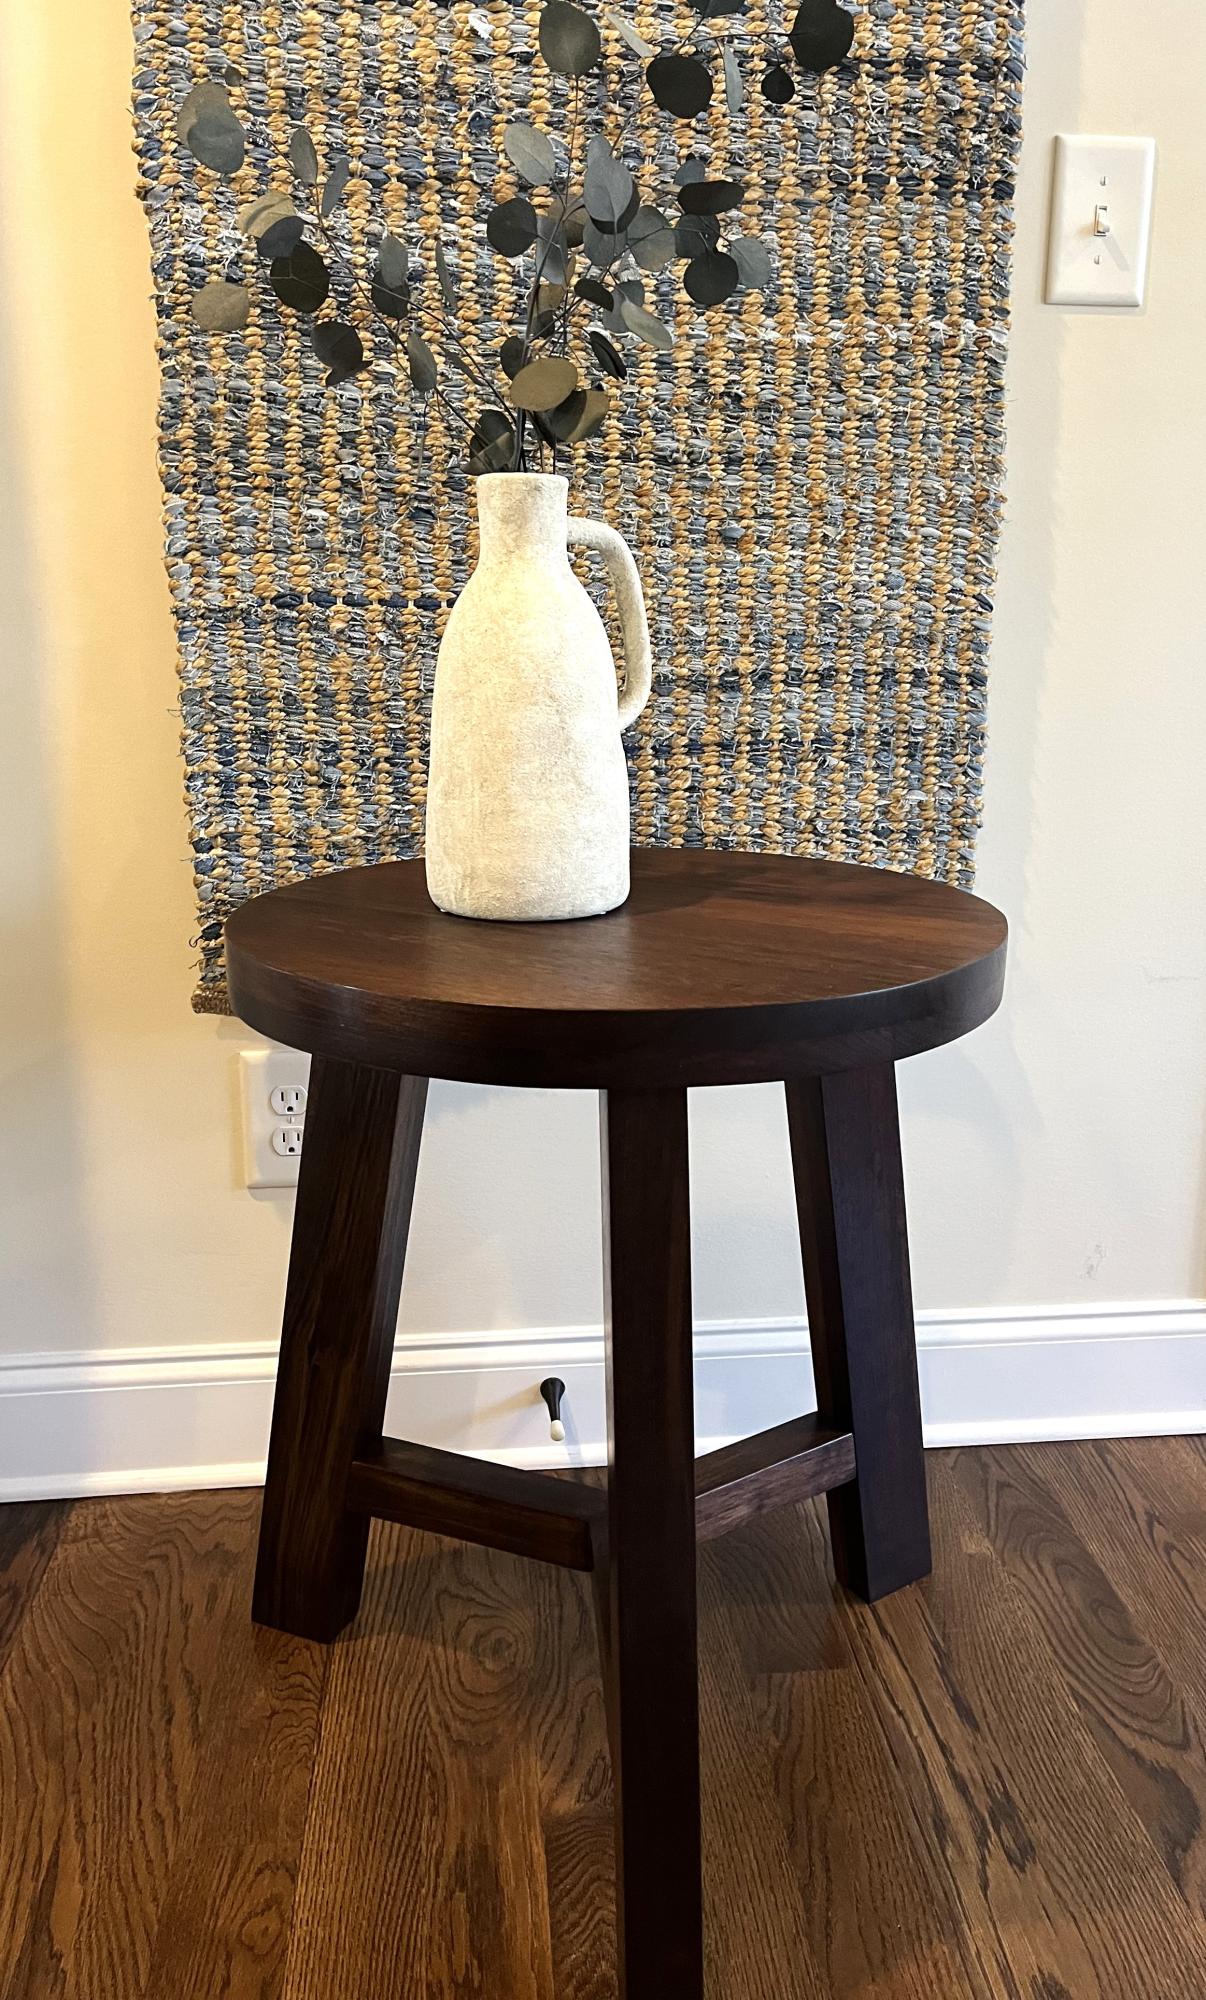
Made from Peruvian Walnut. Finish was wet sanded with danish oil, dewaxed shellac and then satin spray lacquer. - Deb S.
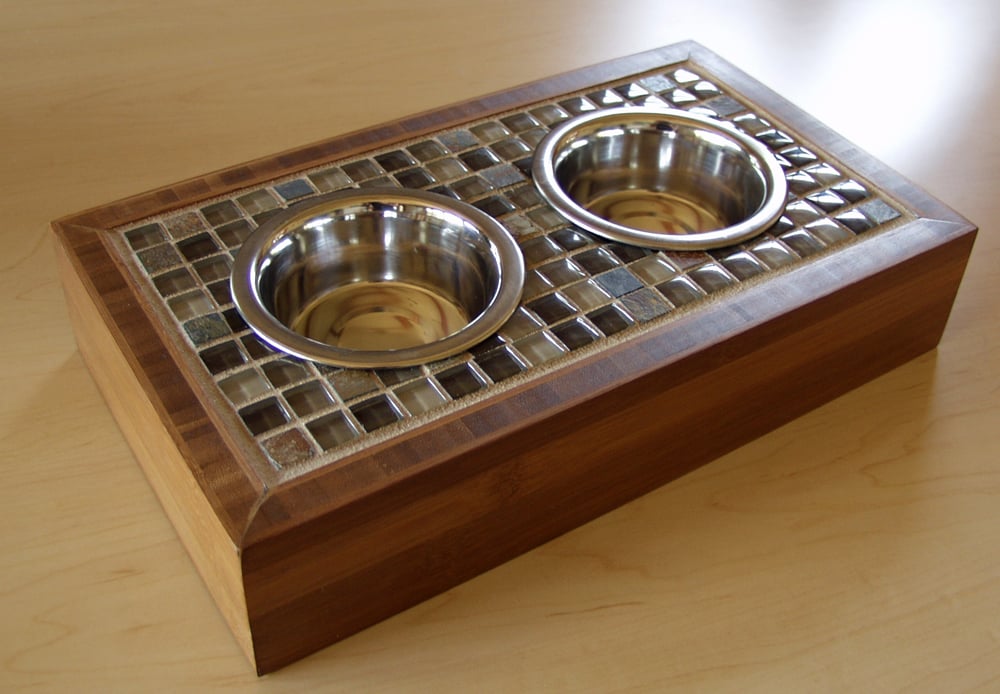
When I couldn't find the exact right size wood that I needed, I grabbed a piece of bamboo from my wood pile. When I ripped it in 2 pieces, there was this cool edge that resembled inlaid wood. I avoided staining it because it would have "muddied" the edge. I applied a transparent glaze on it, which kept the edge look intact. I had never worked with bamboo before -- I love it, as it required little sanding and took the finish beautifully.
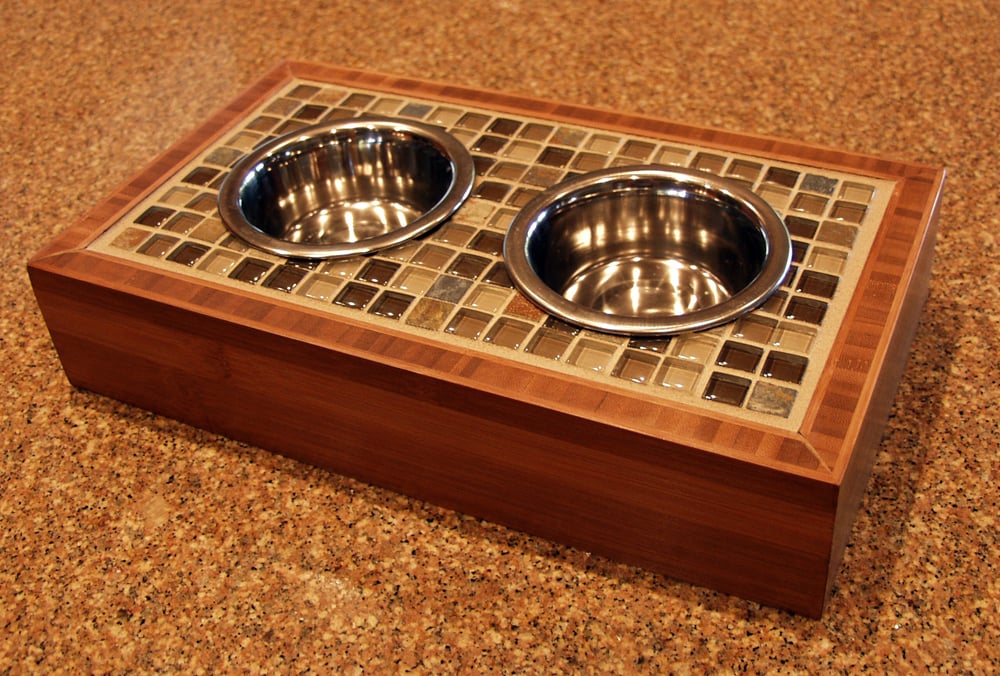
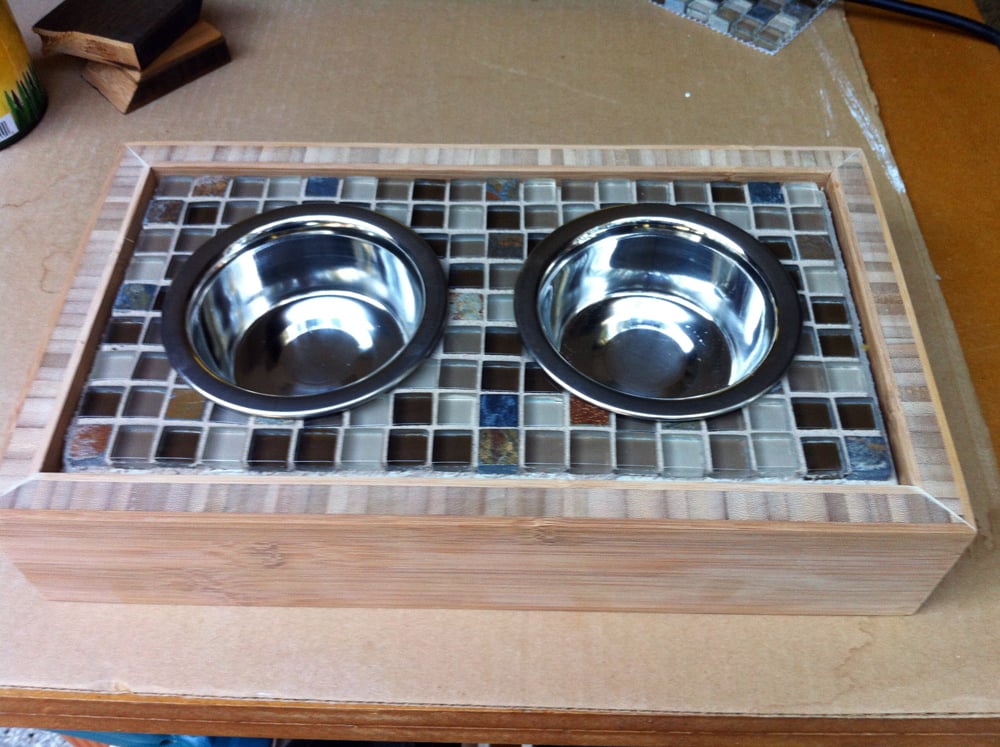
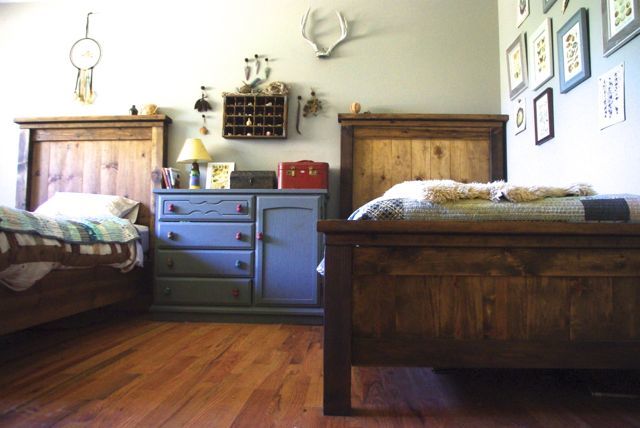
This was so fun to build! Finished with Steelwool & vinegar.
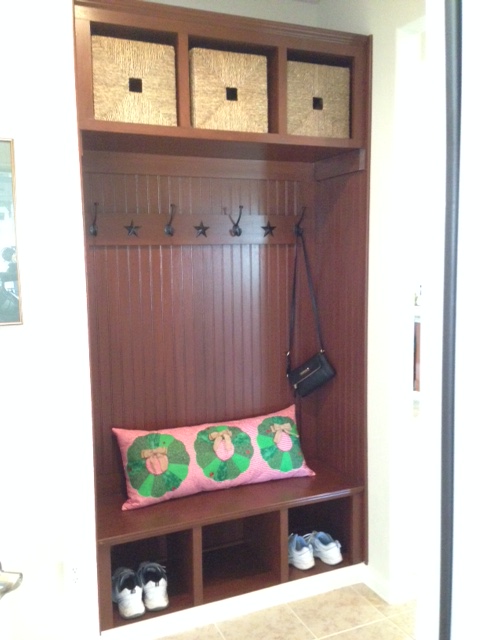
I started with your Hall Tree plan and added some upper storage. The only trick there was to make two of the lower storage units and I turned one upside down to create the upper storage. The extra space makes for double the storage. Instead of using the pine for a back wall I substituted Wanescoting on the back and side walls. I added 1-1/2' base moulding and a 1" moulding to finish off the seat edge and the top of the Cabinet. Also had to put moulding on the sides of the Wanescoting tofinish off the exposed edge. I applied Rustoleums Cabinet Finishing kit to the bare wood. This is a 3 step process and is similar to antiquing with a polycrylic finish. The finish took as long as the build process but was well worth the time. Finally I added the coat hooks that are black with brushed copper highlights. I picked up some stamped rustic stars on-line for $3.50 for a set of 5 and painted them black and applied them with a hot melt glue gun. Feedback from the family and our friends has been great and they all love the finished project.
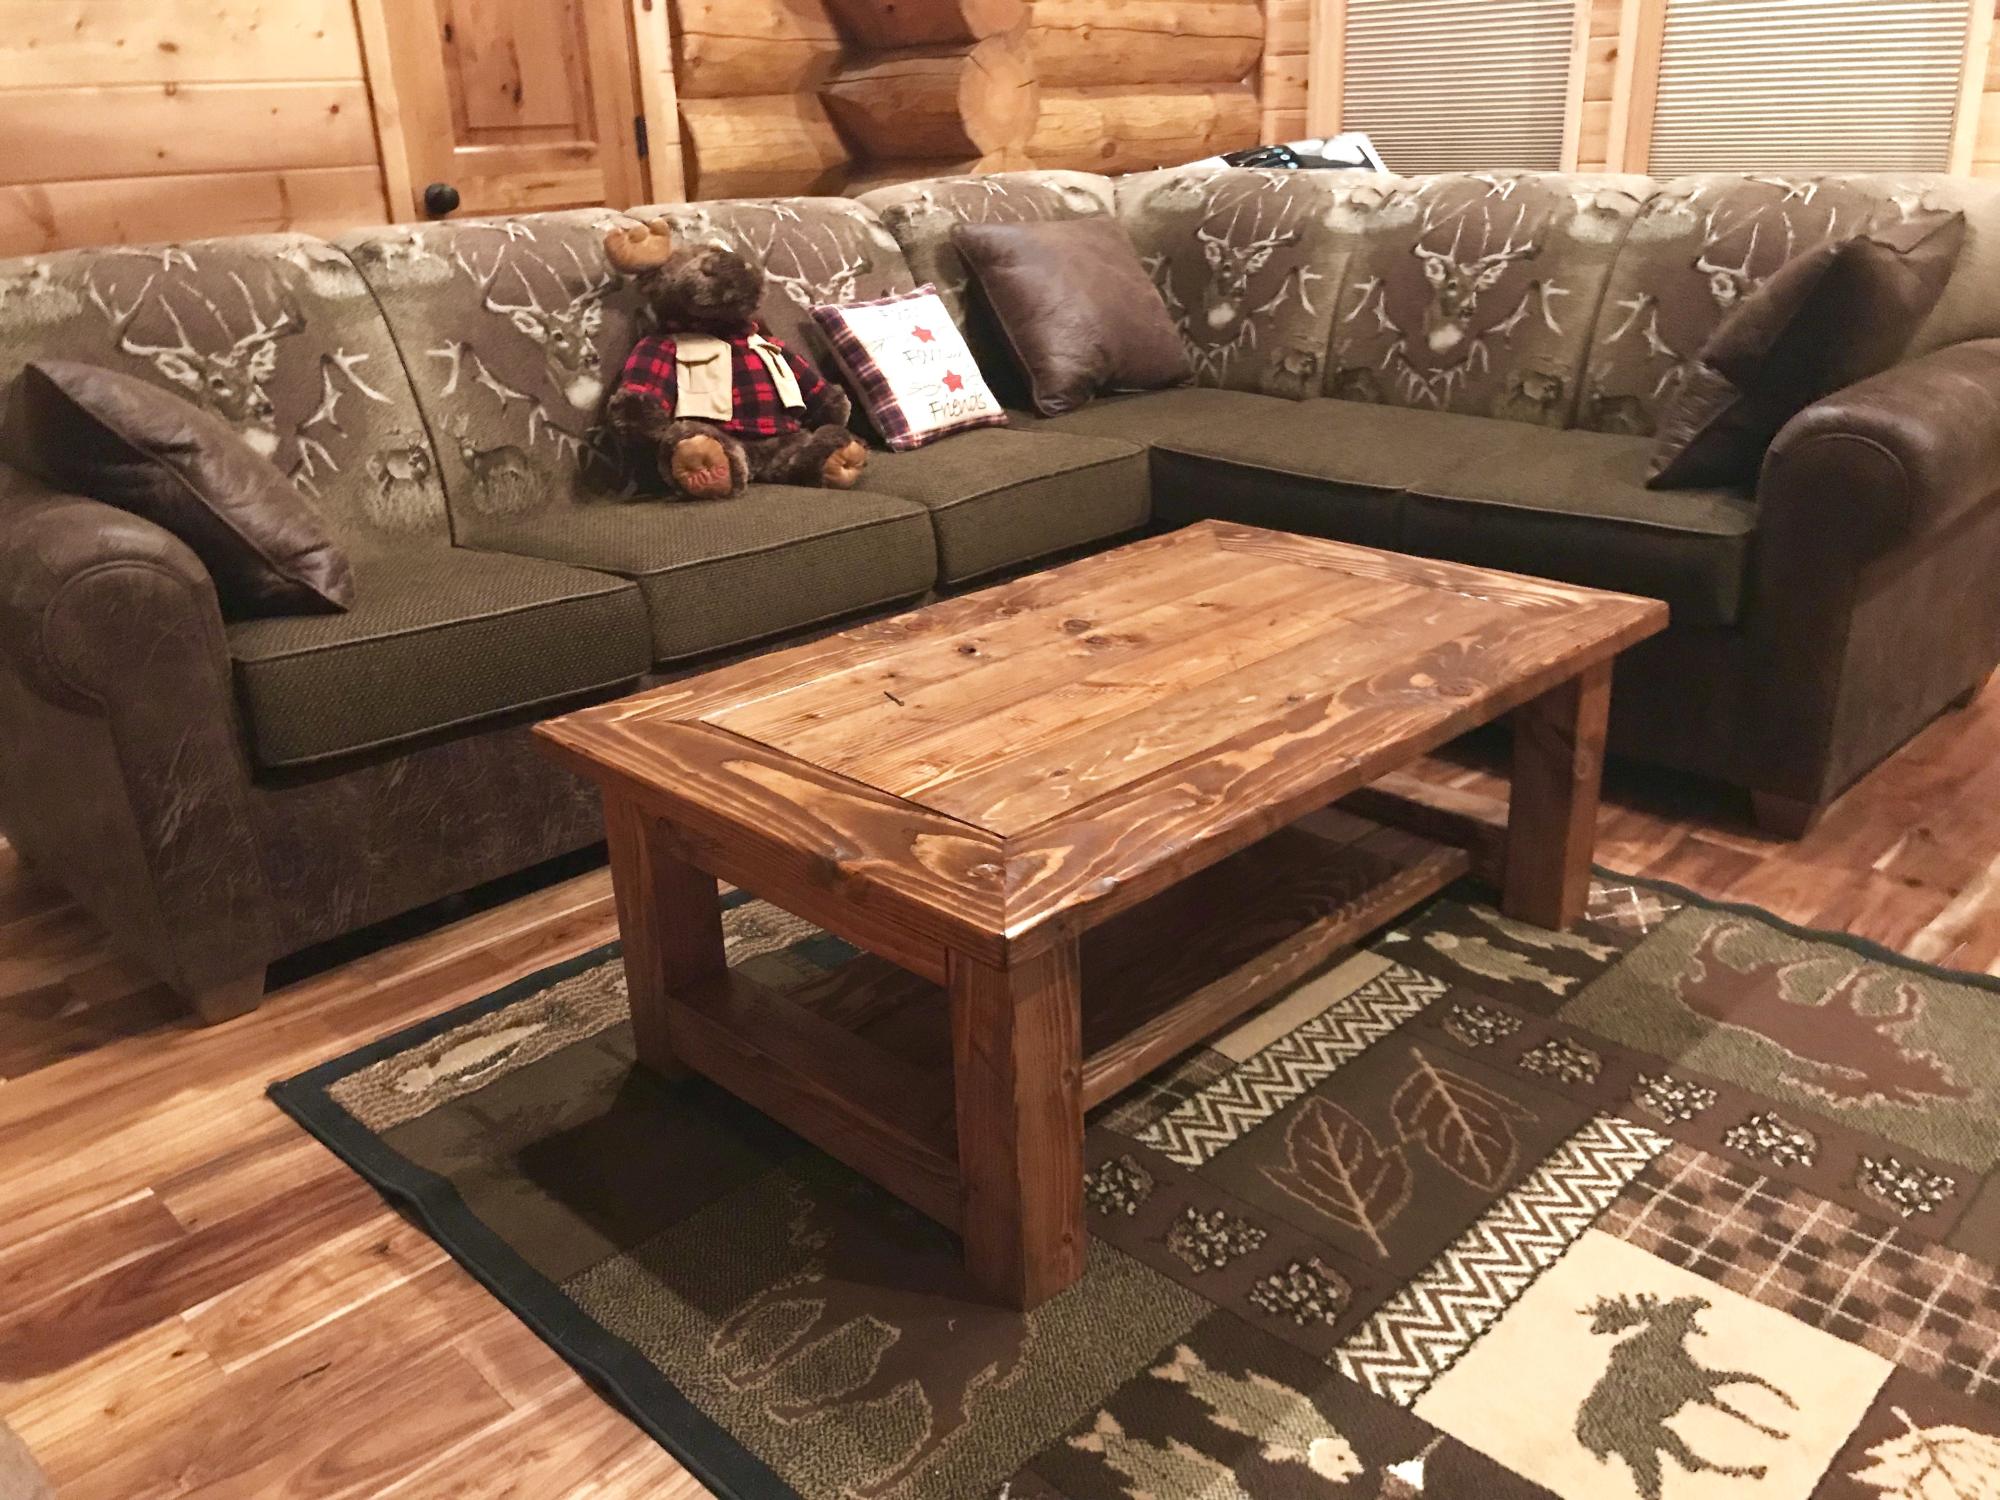
Cabin coffee table made with 2x6,4x4, and 2x4. Used Kreg pocket hole jig. Very heavy and durable.
Gary Stanzak
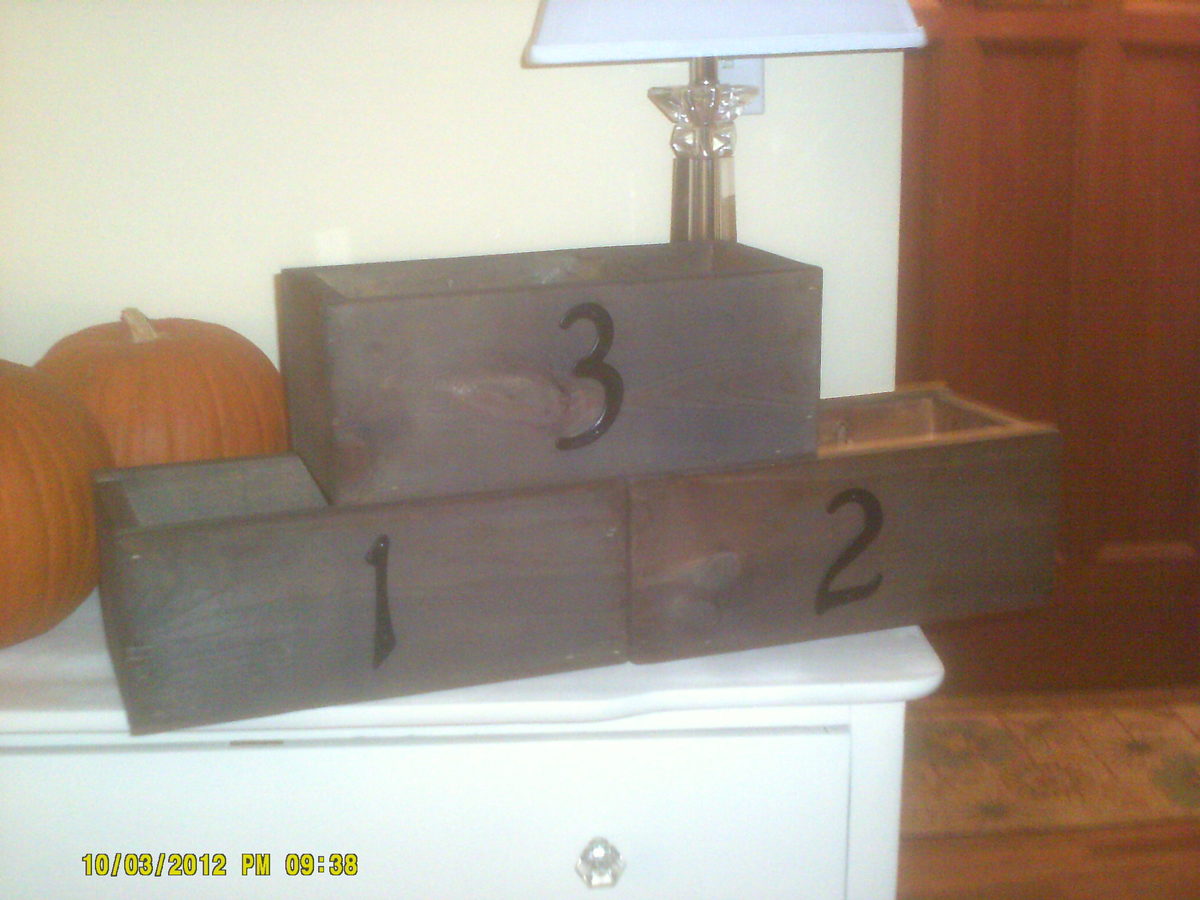
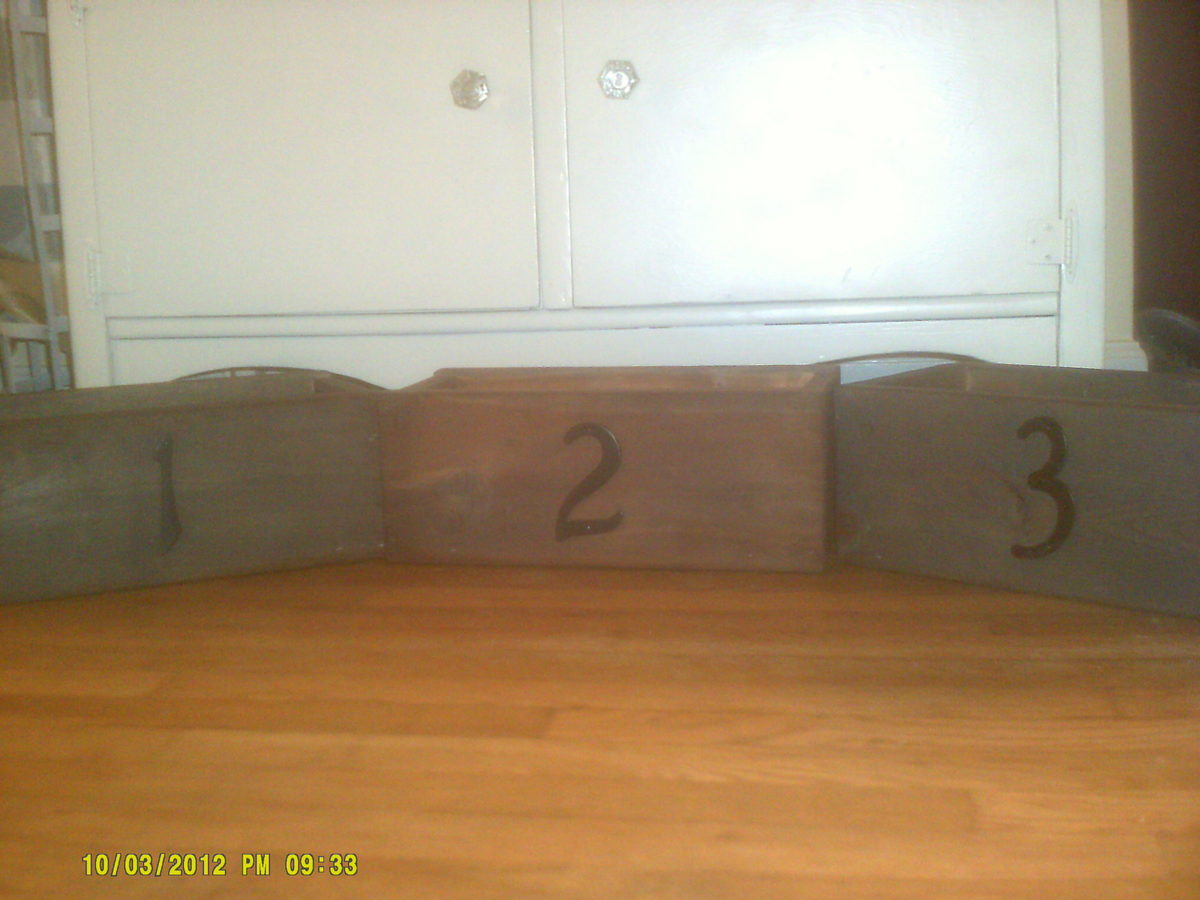
This is the first project my husband let me use the chop saw on.* I used some old 1x6's (3/4 in x 1 1/2 in) leftover from a chicken coop he built that had been on the floor and already had some nail holes in them - I figured that was was pretty close to pallet wood. He turned this from a beginner project into an intermediate because he made me measure and cut each side and end to custom fit the bottom of the box as as all my "pallet wood" boards were warped (does that make sense?) So make your life easier and use new boards! With his help it took about 25 minutes per box to cut and assemble. Putting a finish on was a little tricky because the wood just wasn't okay with some leftover iron acetate I had, so I just used Ana's black tea trick and they turned out perfect in about five minutes. My husband says this is an excellent first project for a beginner because a lot of furniture you build is simply A BOX, just bigger. We also built the laundry basket dressers the next day because I'd learned the concept of building a box! and I am having a great time learning to build. Really wish I'd taken wood shop in high school. Good thing my husband did.
* We built the laundry basket dressers and I dutifully assisted in the building of the Rustic X console table and I am so excited to post pictures, I just need to get some better ones!
I changed the back of this chair to use some lumber I already had. These are very comfortable. I see more in my future.
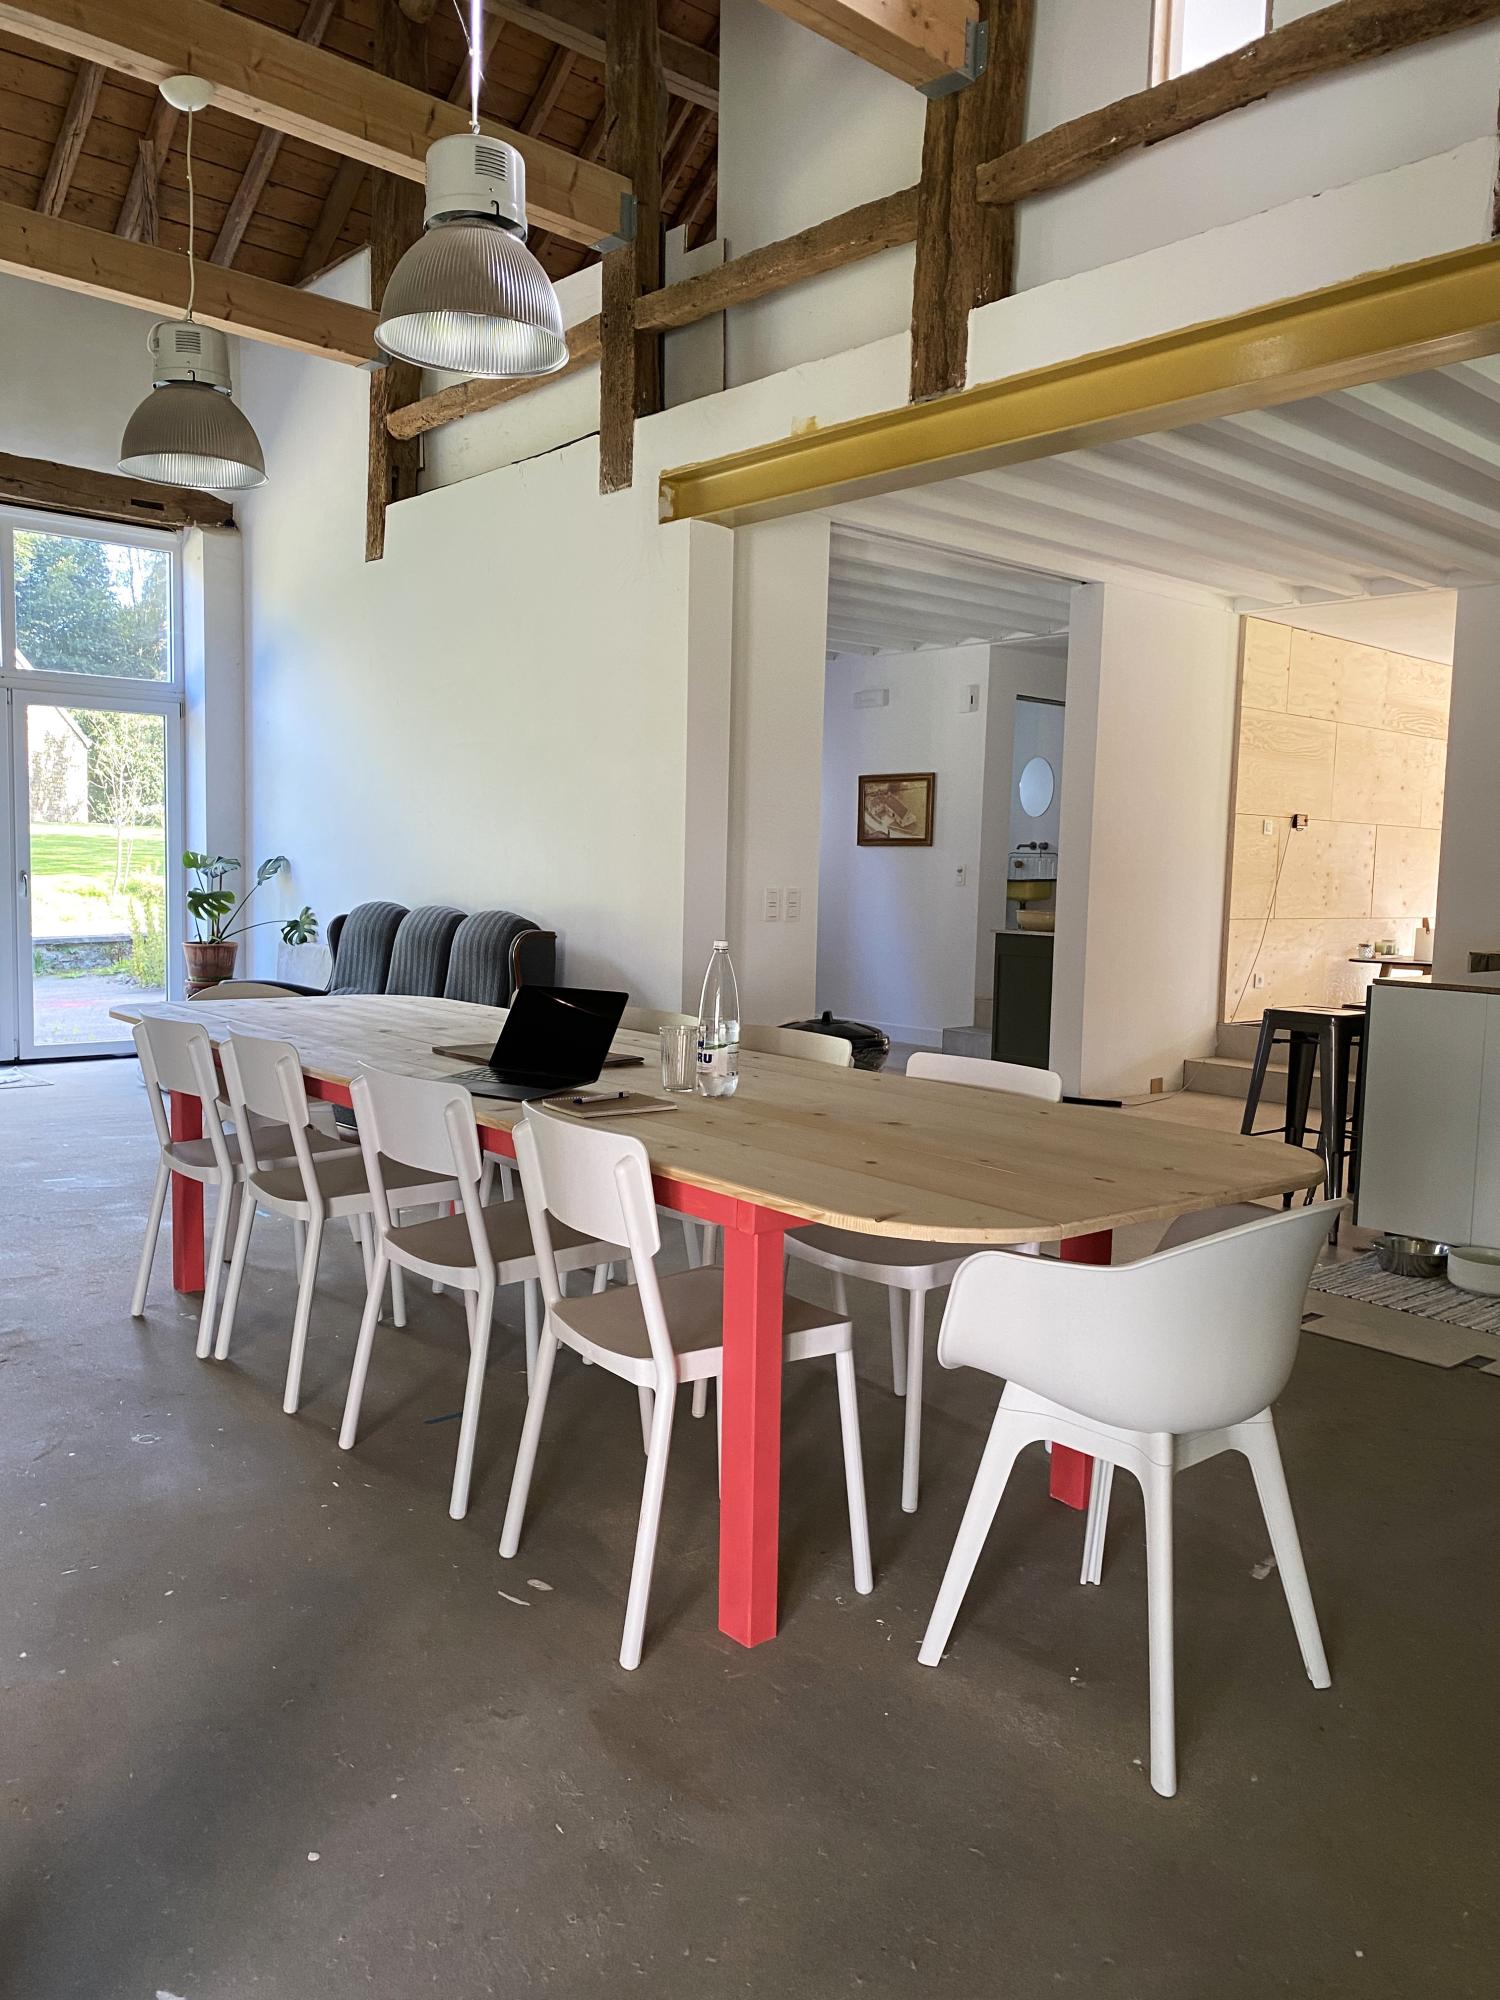
Slightly modified XL rustic table for 10-12 people.
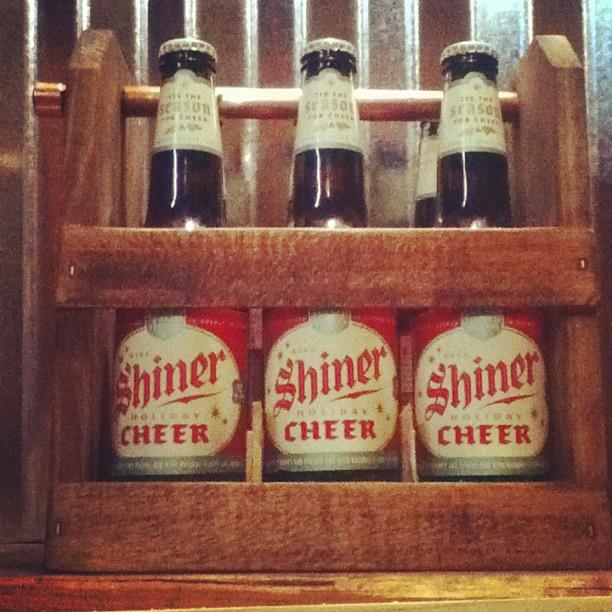
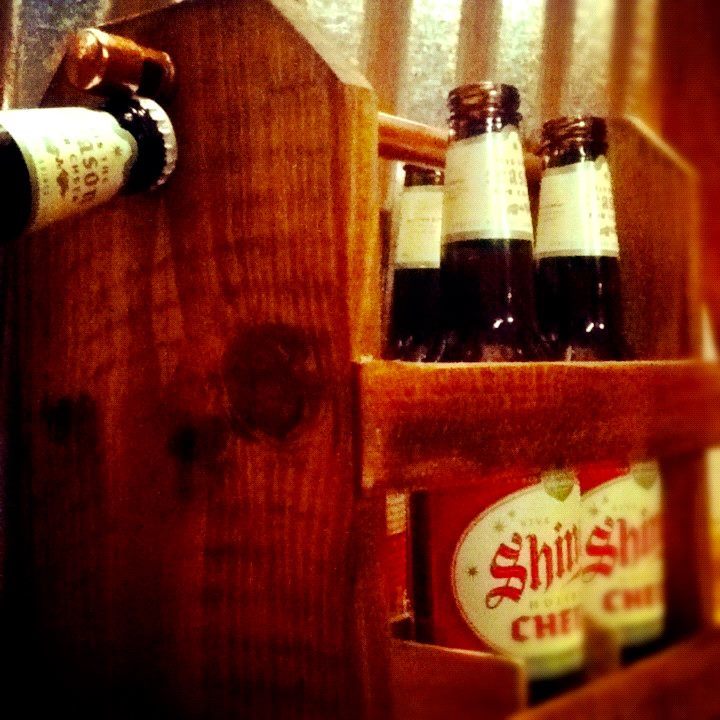
Made from re-purposed fencing slats, shims & copper tubing . The handle doubles as the bottle opener. I like that the piece will improve over time as the handle oxidizes. The Holiday Spirit now comes in packs of six.
More at:
www.facebook.com/chuckedwood
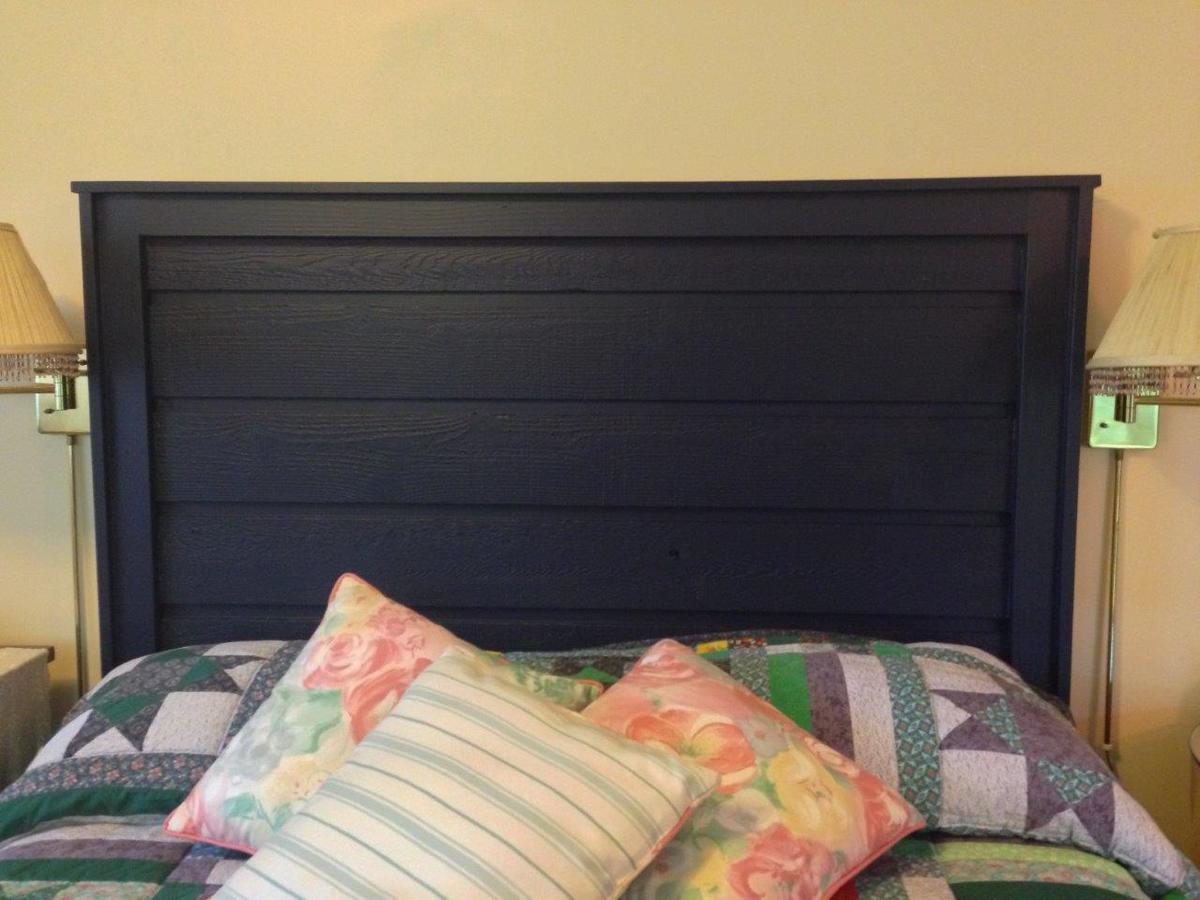
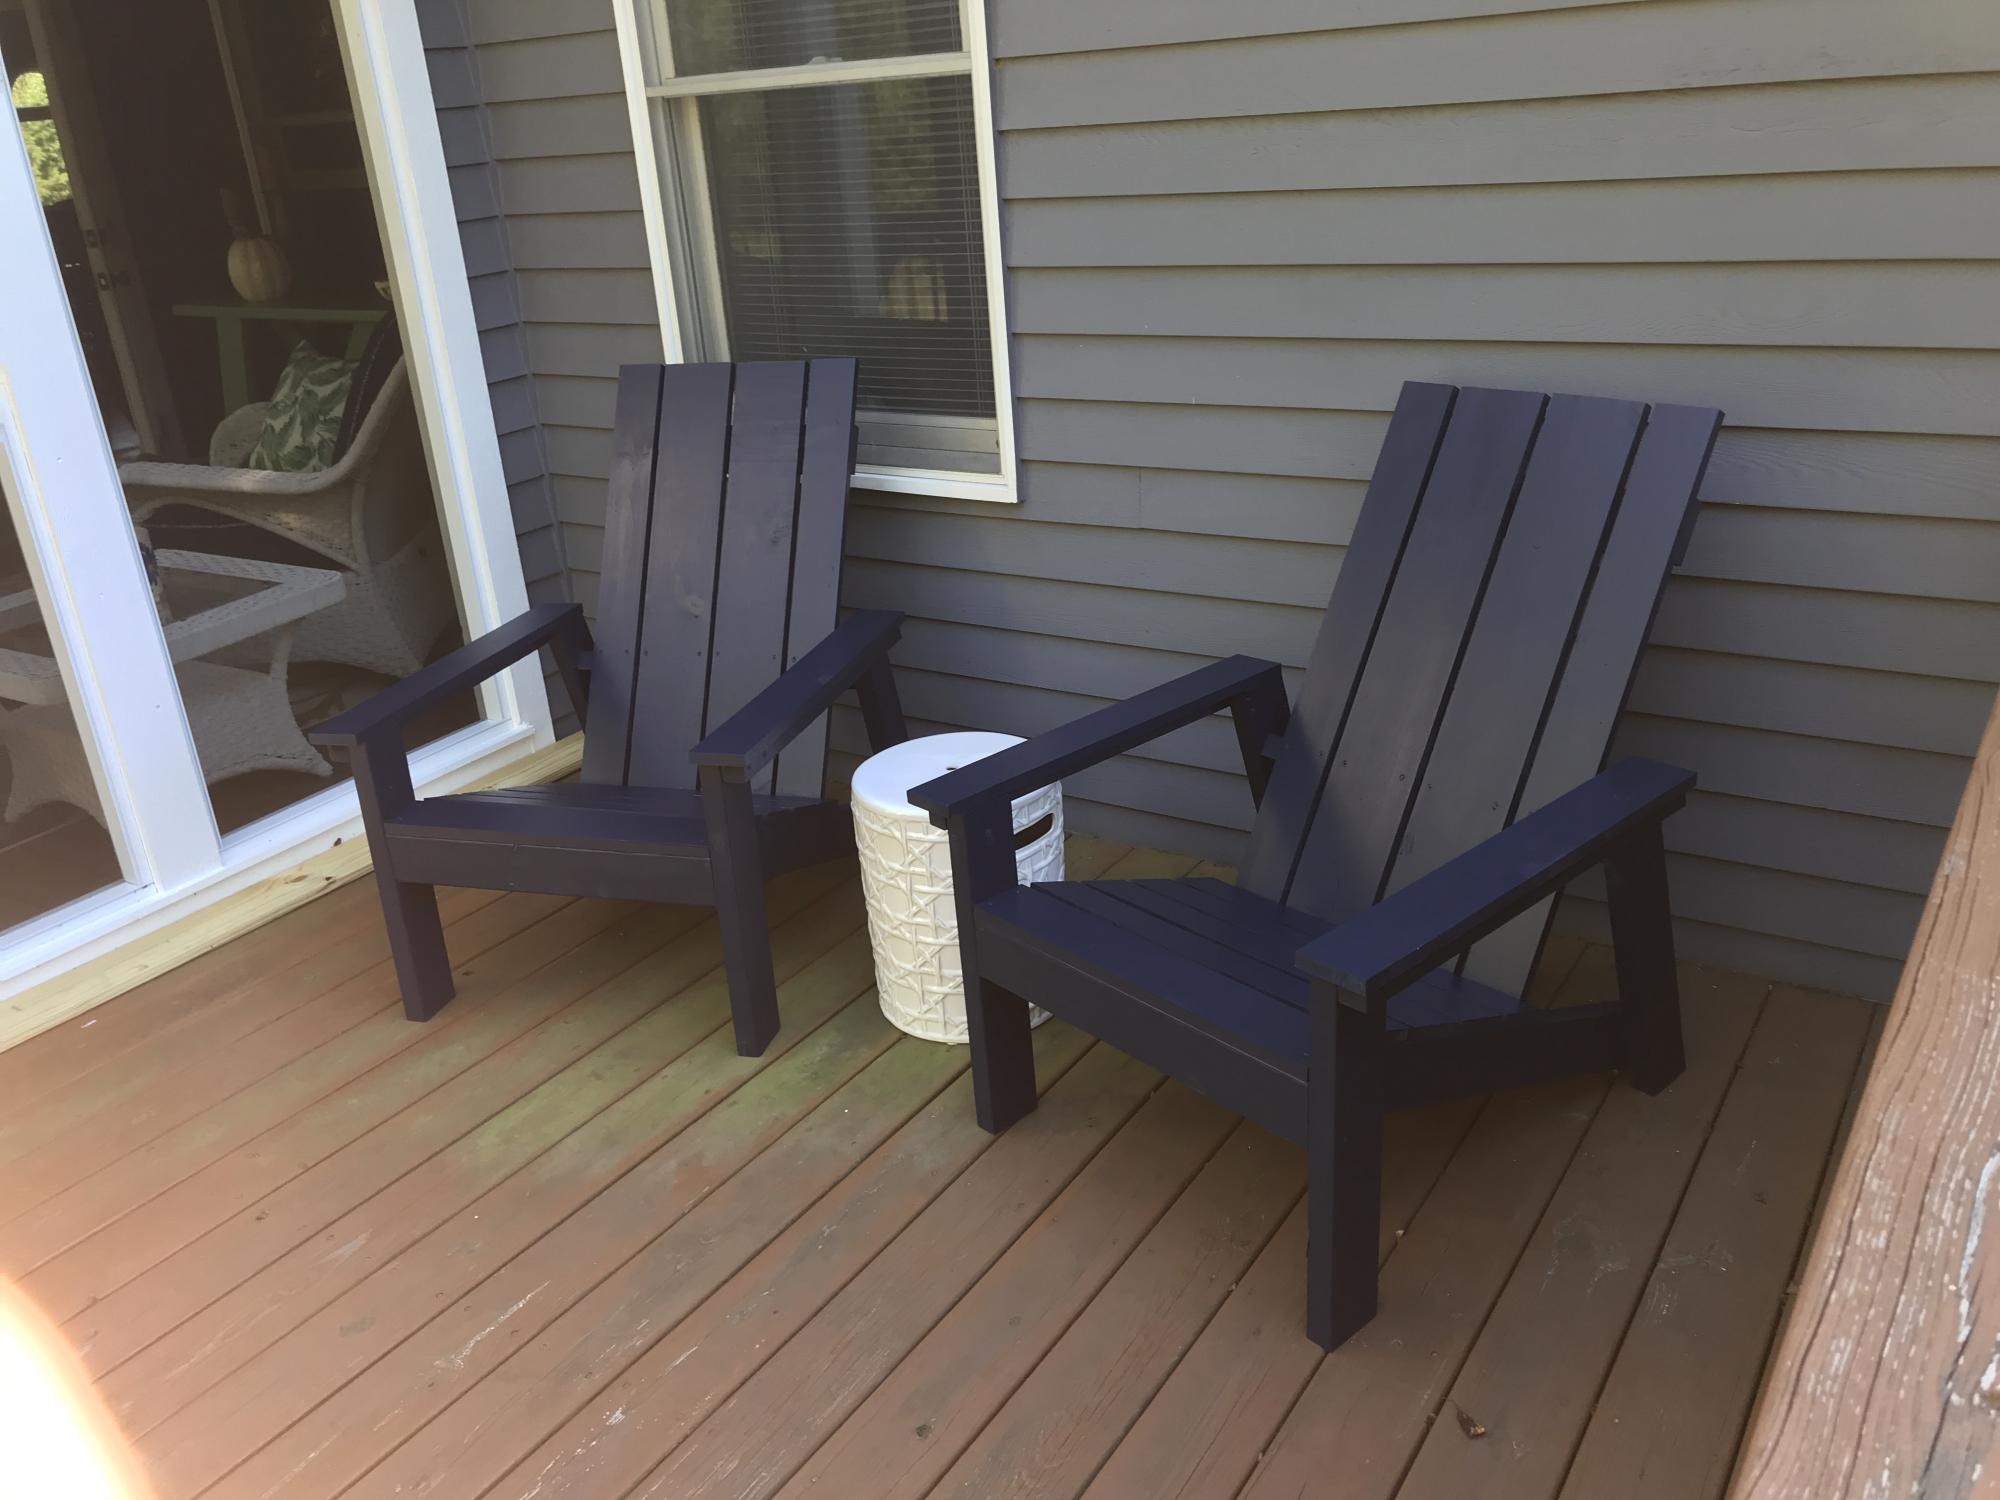
Made with leftover lapped cedar siding from our woodshed, plus a few pieces of reclaimed 1x4 and some new 1x3. Wanted it to be navy, and it is.
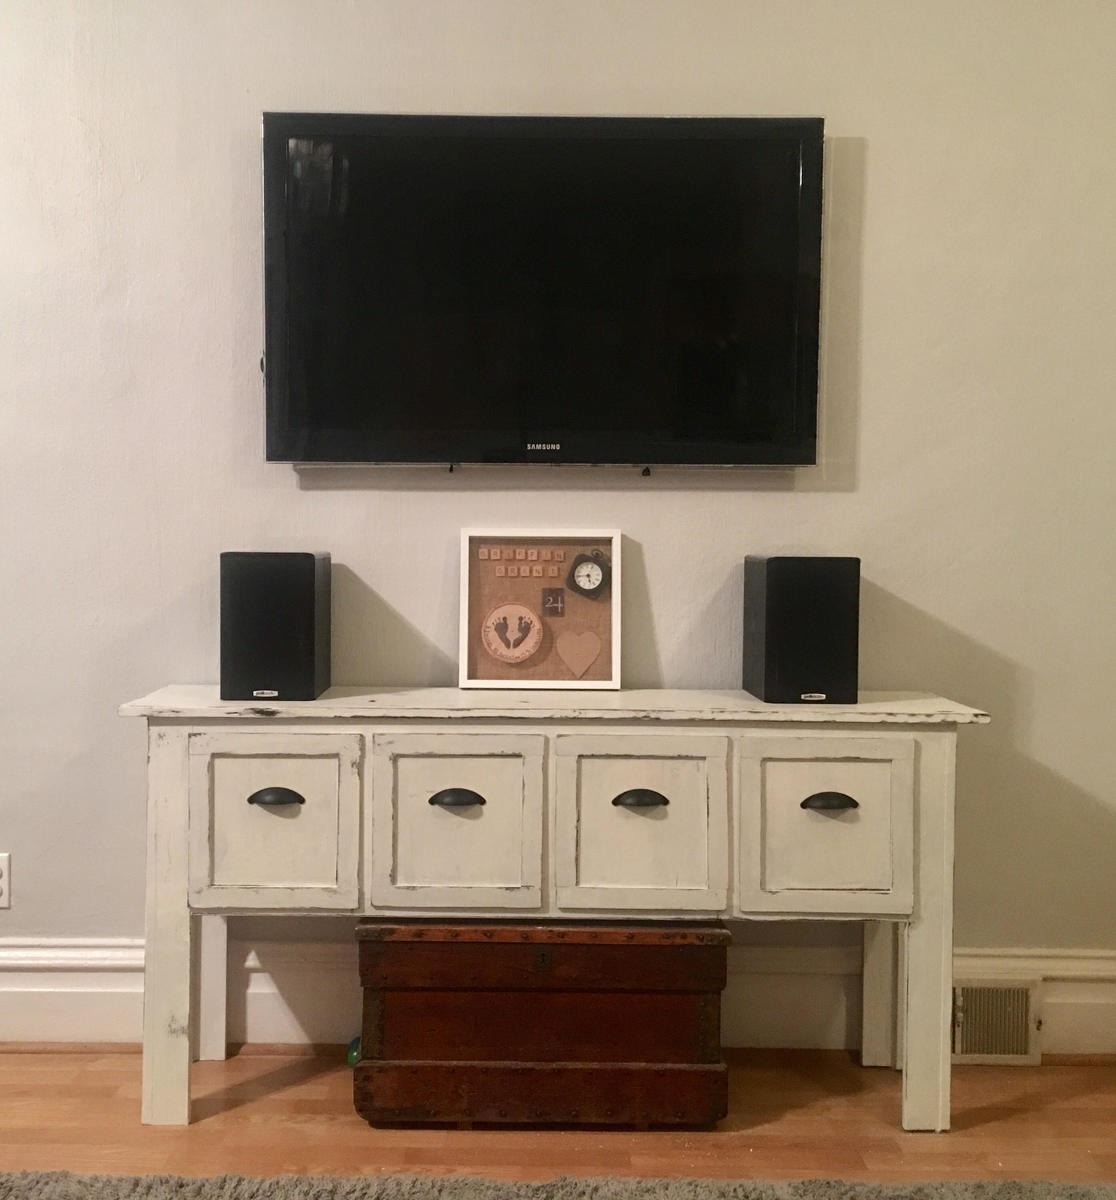
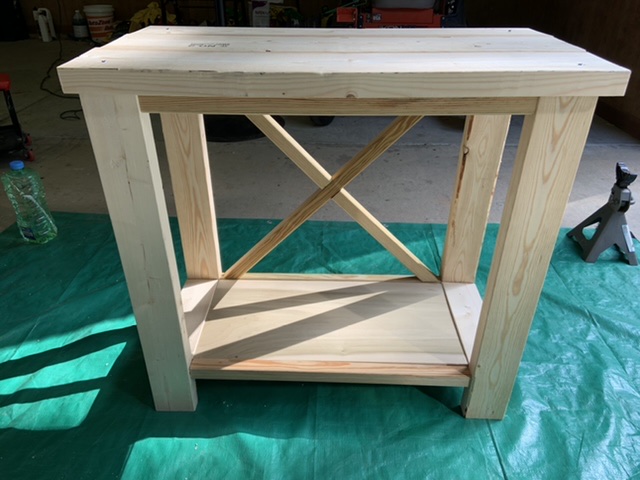
Built this for my wife for Christmas. It was super easy and she loves it!
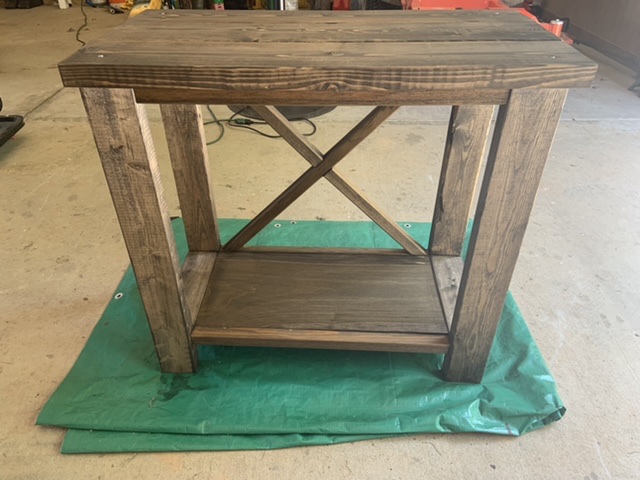
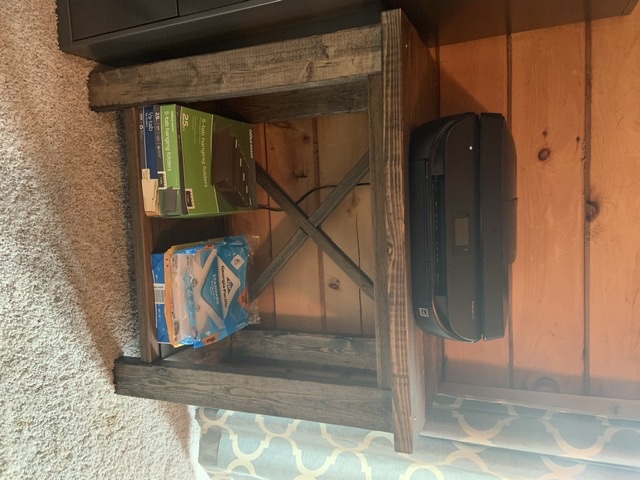
First woodworking project. Made some mistakes but learned in the process. Satisfied with how it turned out considering it was my first project. Using it as a printer table for my home office.
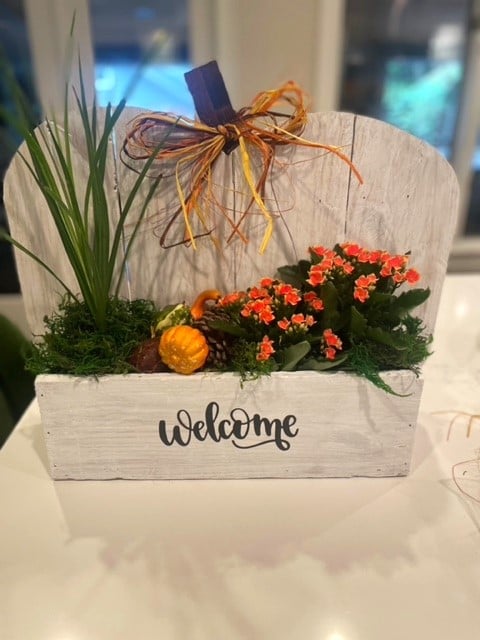
We had a pallet all summer that we wanted to something cool with. When I saw these plans I knew this was it. We had everything except what I placed in it. Total cost $17. Love it! - Erin and Dwight S.
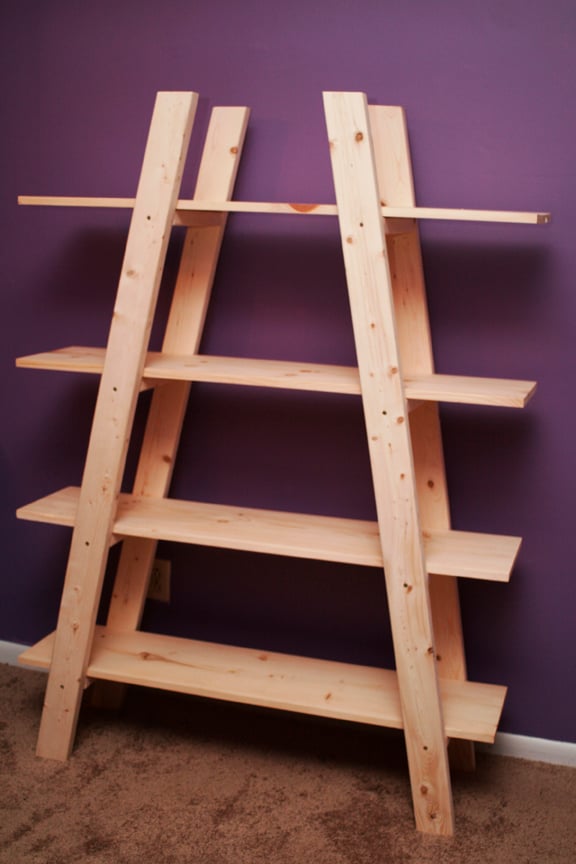
Not going to lie, as this was mine and my husband's first time building we did run across a few challenges BUT, nothing that we weren't able to figure out and correct. It came together beautifully and I can't wait til we purchase our first home in January so that I can figure out what color to stain it!
FYI- the angles were difficult to get perfect especially since we were using a makeshift work bench (ie: a pallet and the sidewalk) and a circular saw - we were also rather unfamiliar with some of the terminology used in the directions