Sand or Water Table
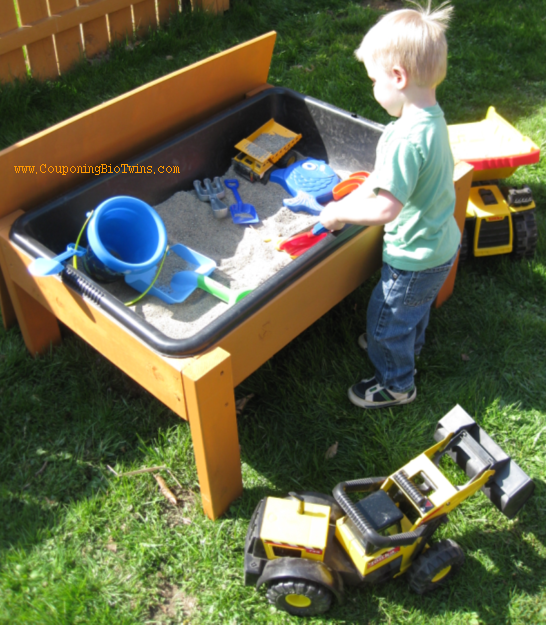
This is a very easy way to create a sand or water table for your kids and it only takes a few hours from start to finish. A few pieces of wood, some screws and tub to hold the sand or water and your set. Enjoy!
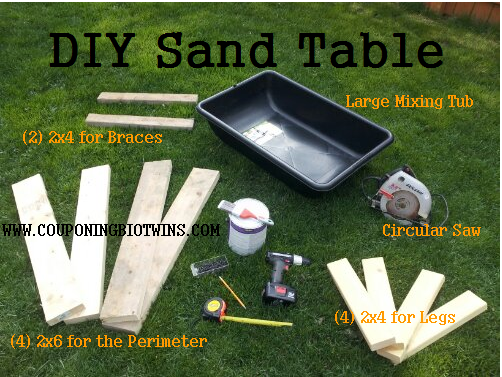
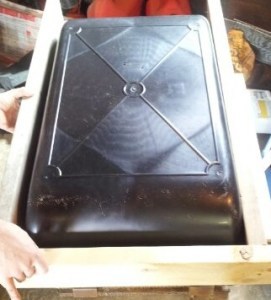
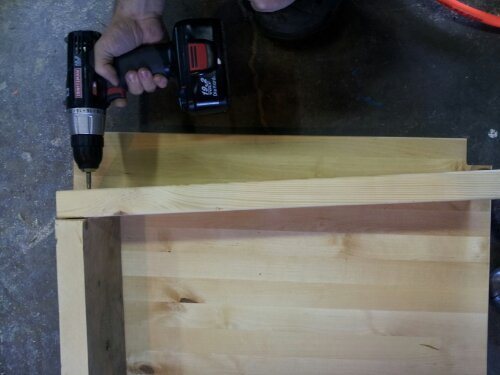
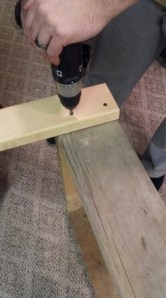
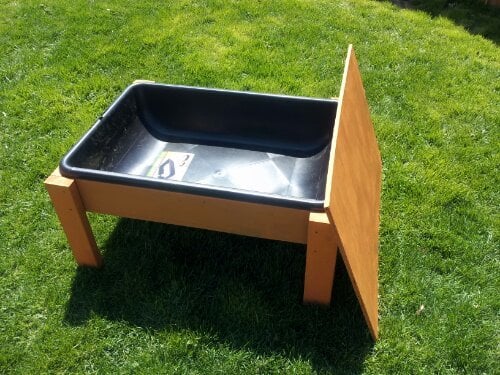

This is a very easy way to create a sand or water table for your kids and it only takes a few hours from start to finish. A few pieces of wood, some screws and tub to hold the sand or water and your set. Enjoy!


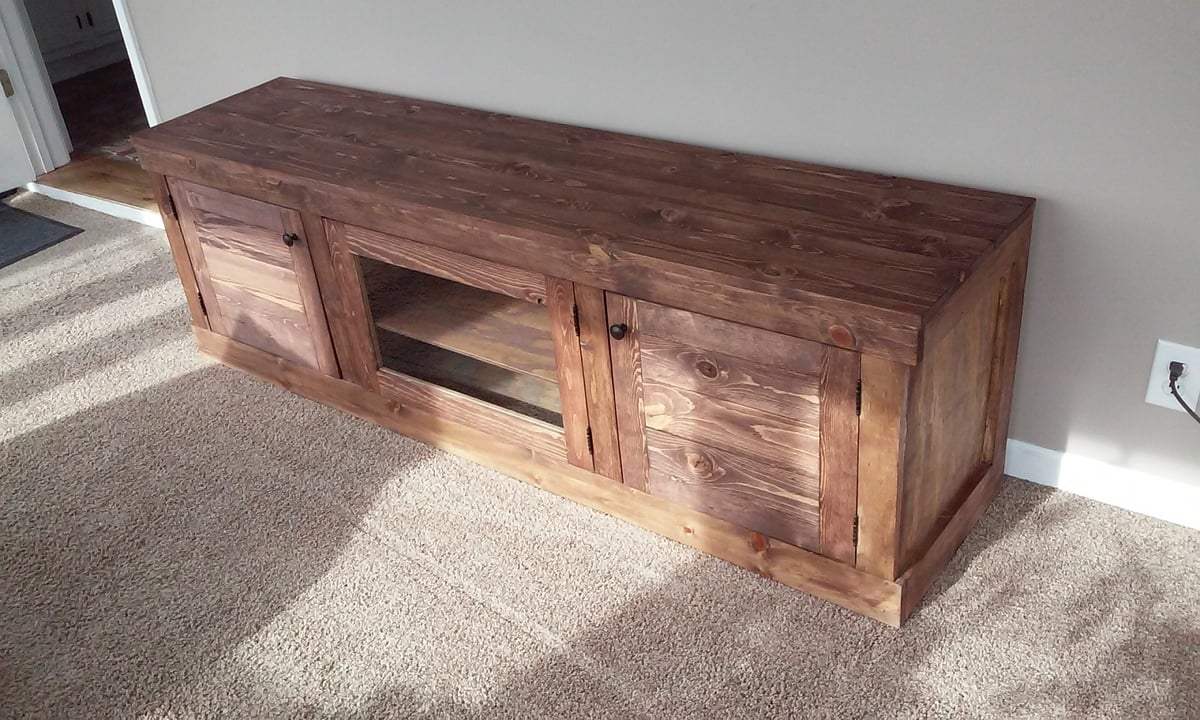
Loved the extra long buffet cabinet but did not need it, however I did need a television stand. Here is my inspired project.
Removed the center drawers and added a glass door, adjusted the dimensions to 60x16x20... and this is what I've created.
Thank you for the inspiration!
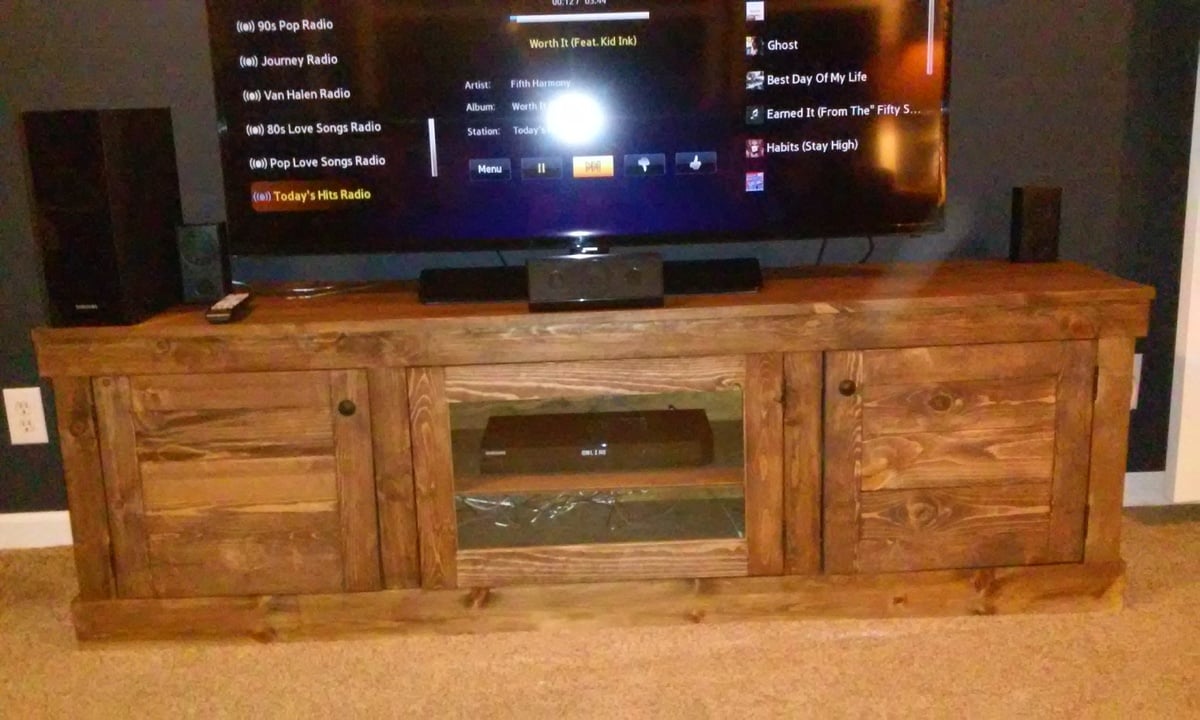
Great plans. Made a height adjustment to fit better in the space. I'm pretty new to the game but this was a great project to work with the Kreg Jig. Make sure if you are going to use the Kreg Jig to attach the table top, drill your pocket holes on the under side of the frame BEFORE you install your middle shelf... I made that mistake and had to live with counter sinking 2 1/2 screws from the top. For the door hardward: Home Depot had awning pulleys that allowed you to take the pin out for easy extraction, make sure to find some that have little spacers in the middle so you can keep the wheel from locking up.
Really excited to keep on building!
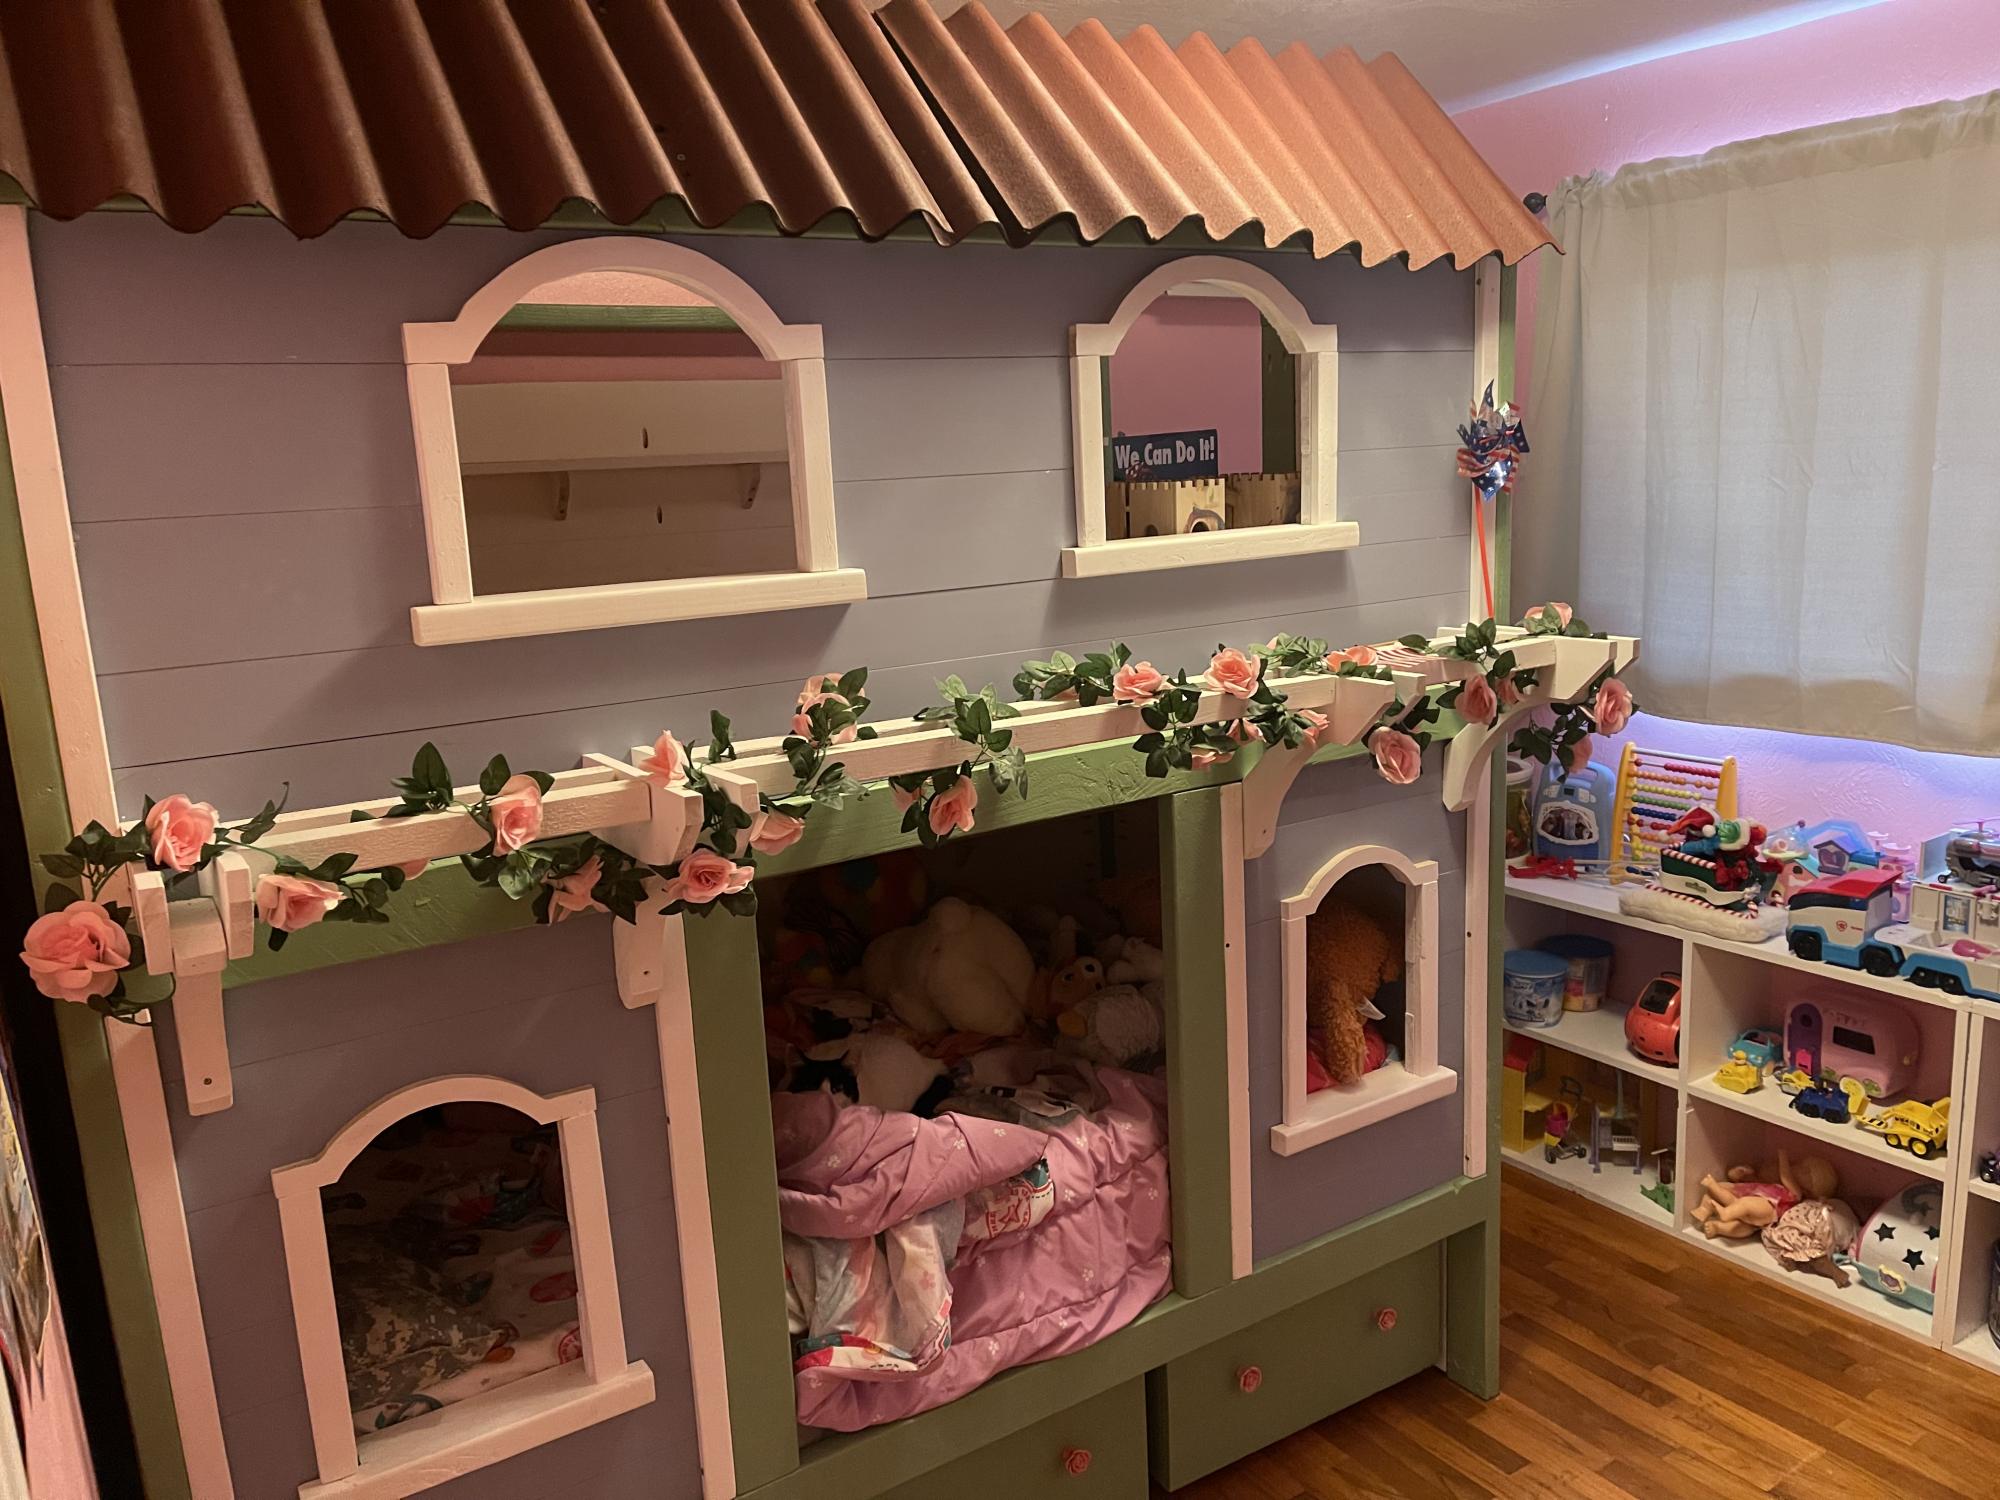
So thankful for these plans. Took me weeks of on-again / off-again work - I’m slow and have a busy schedule. At times frustrating and challenging (I think I overestimated my abilities when I chose this project). But totally worth it.
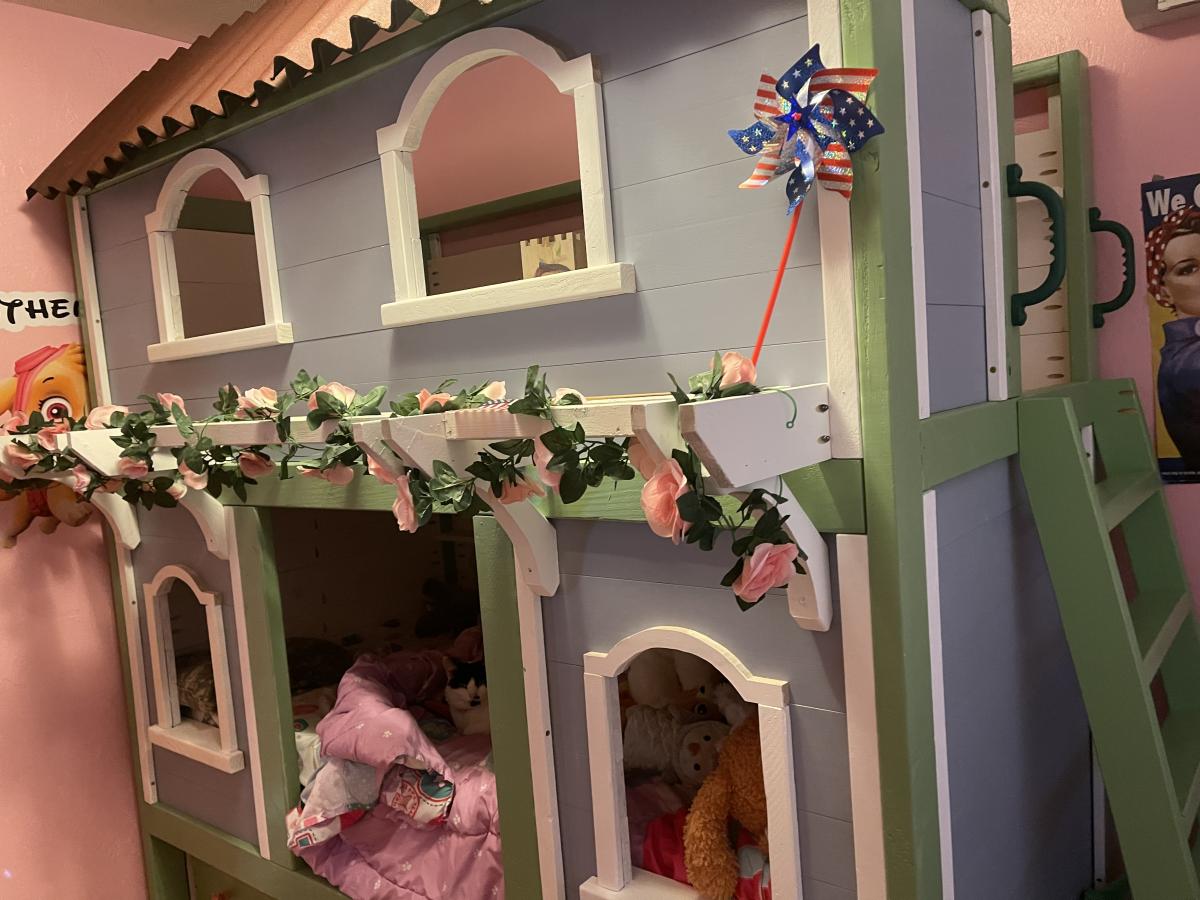
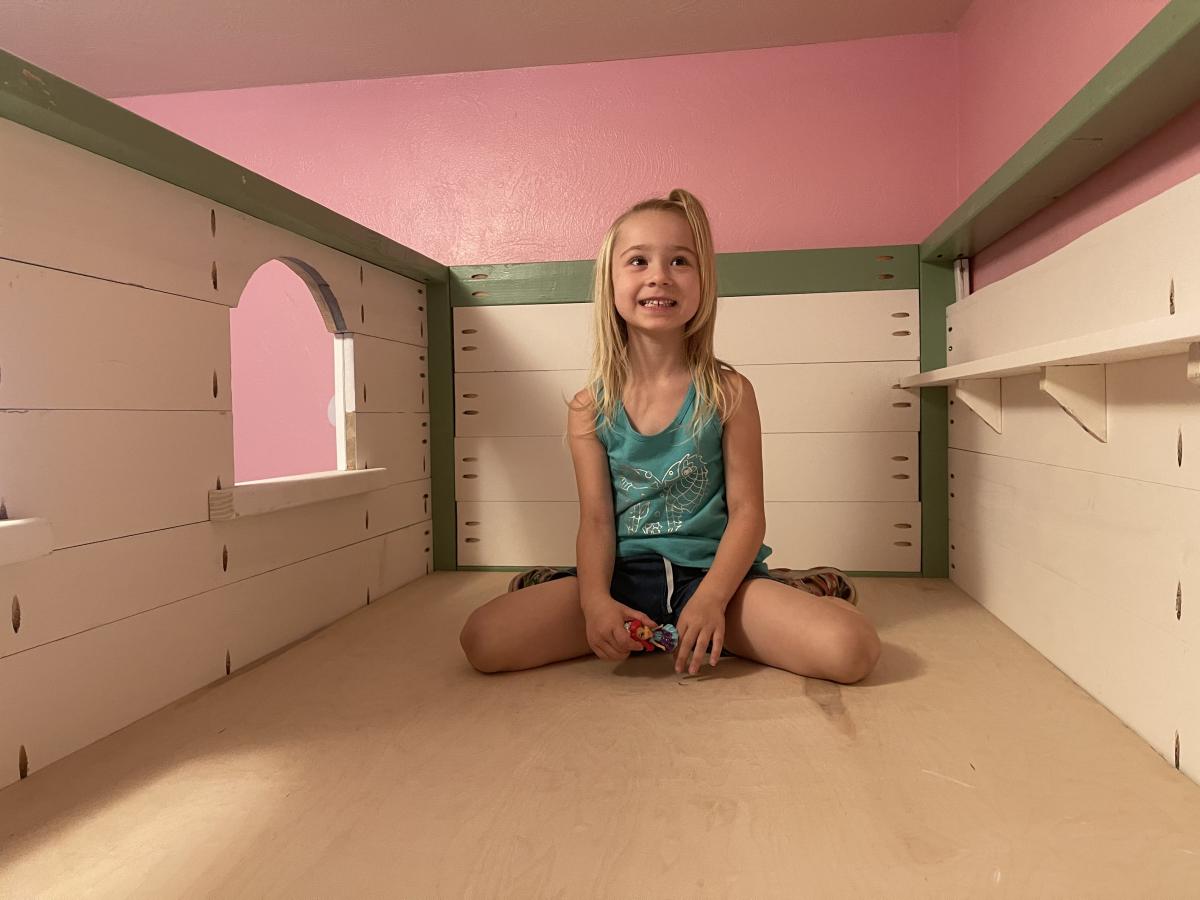
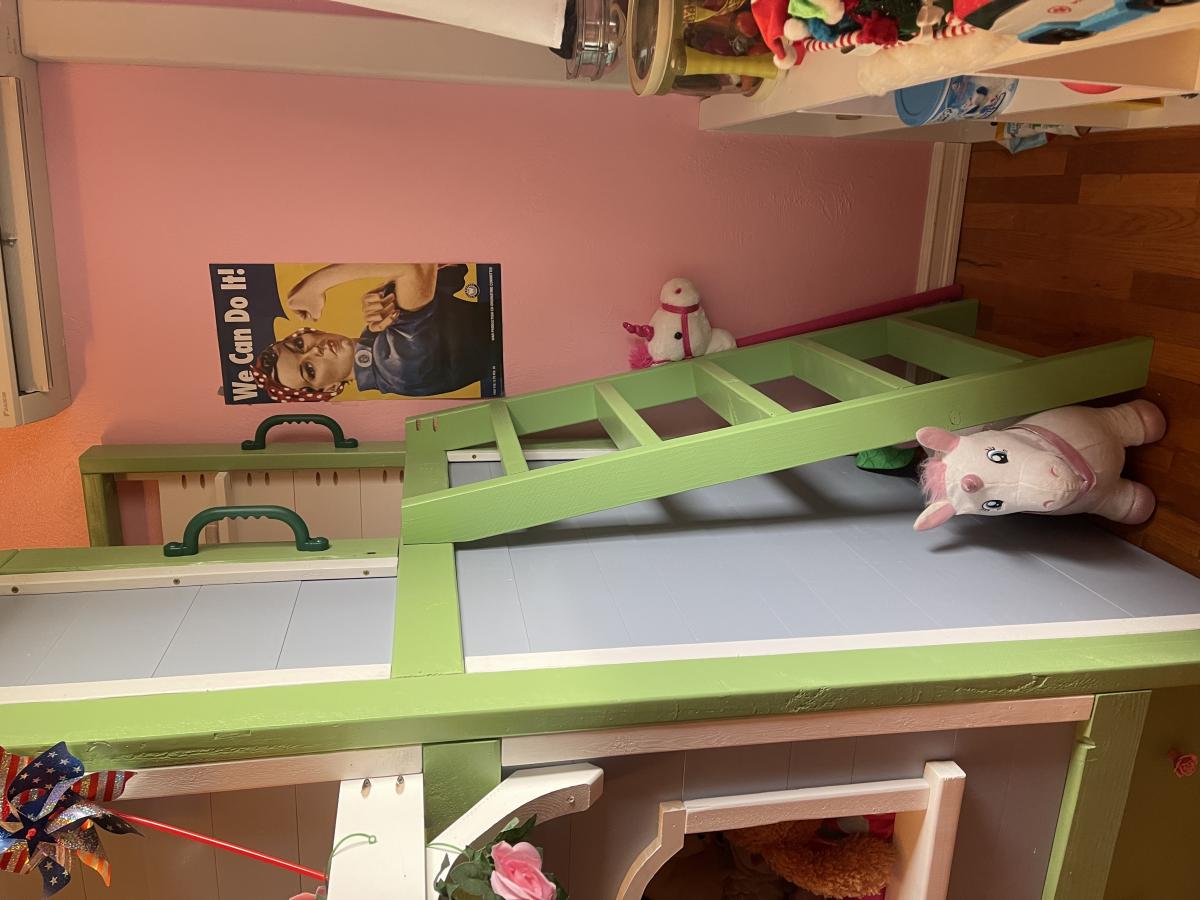
Made the upper story a play area. Added a ladder due to limited space. Storage boxes are awesome and provide ample storage. Daughter couldn’t be happier.
Sun, 08/22/2021 - 12:03
Love how you made the upper level a play area, very well done! Thank you for sharing.
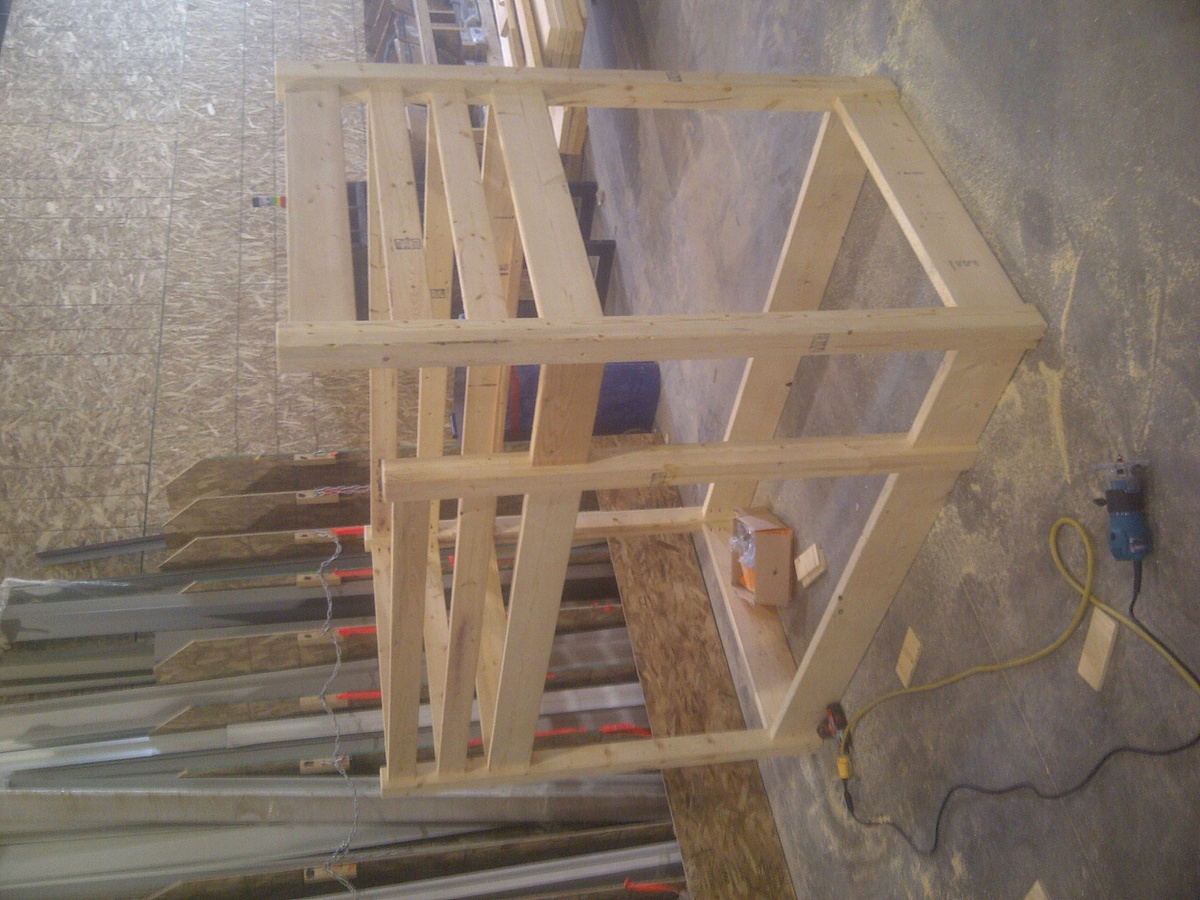
I designed this bed that we built with inspiration from Ana's camp loft bed plans, but without stairs and second bed underneath.
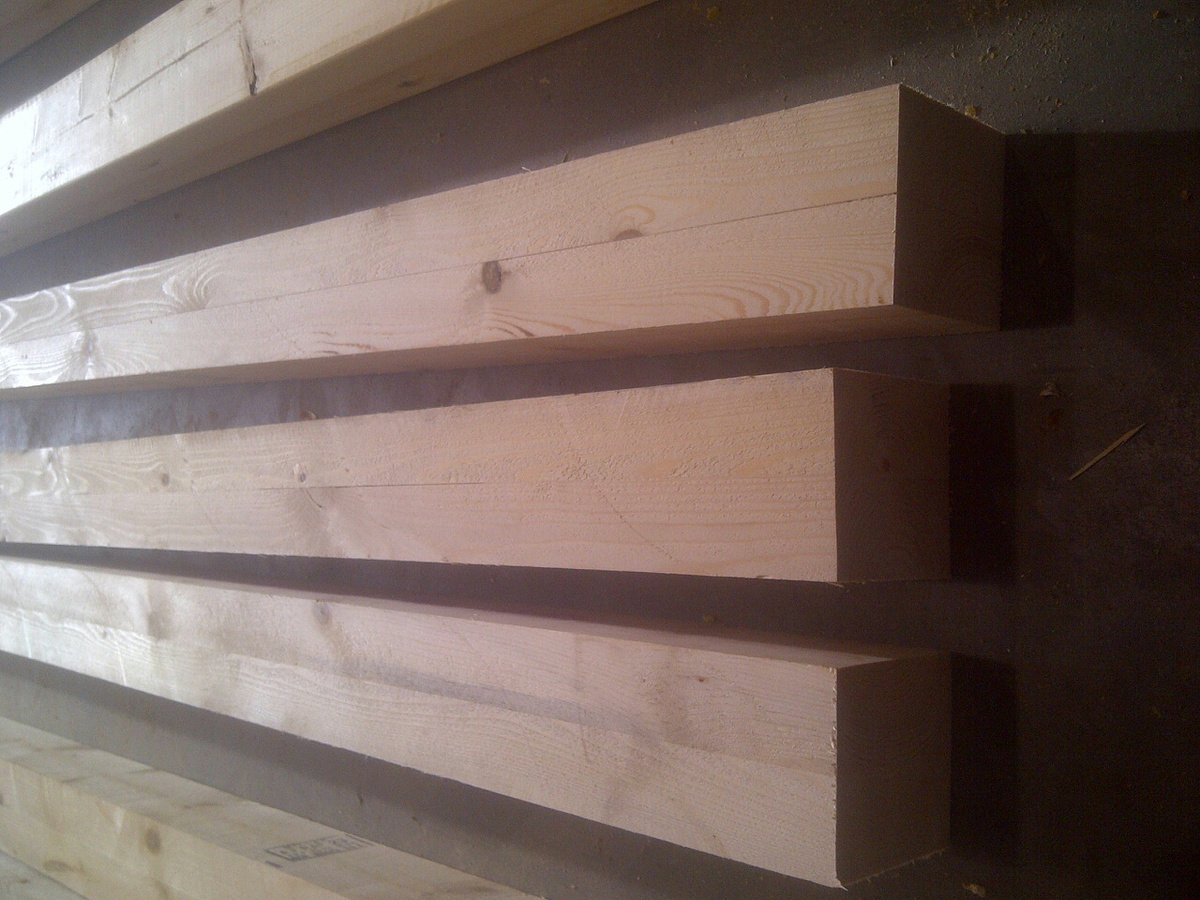
We couldn't find untreated 4x4's for the legs so my husband glued two 2X4's together. In the end you can hardly tell that they aren't one piece.
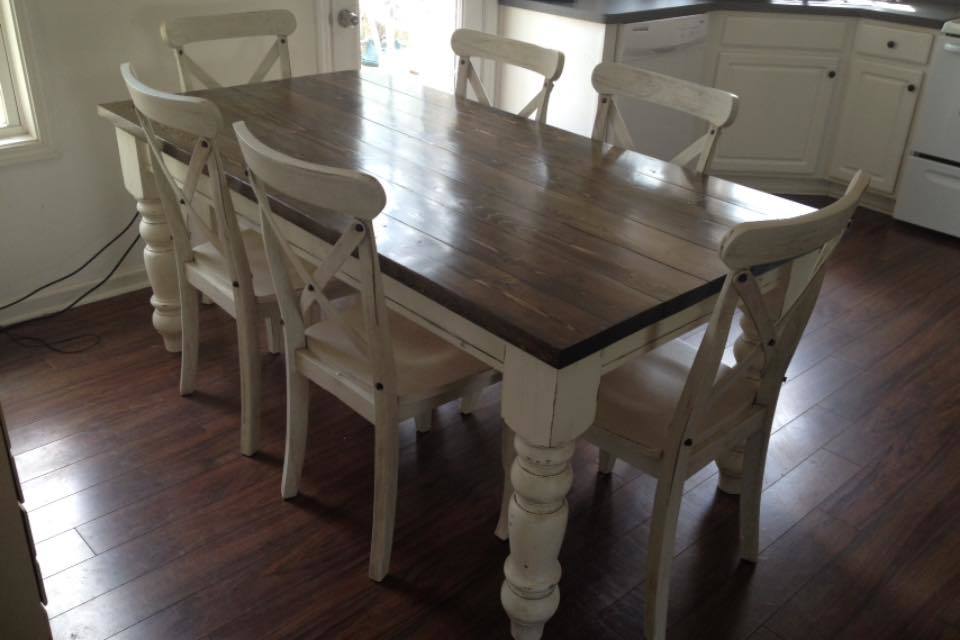
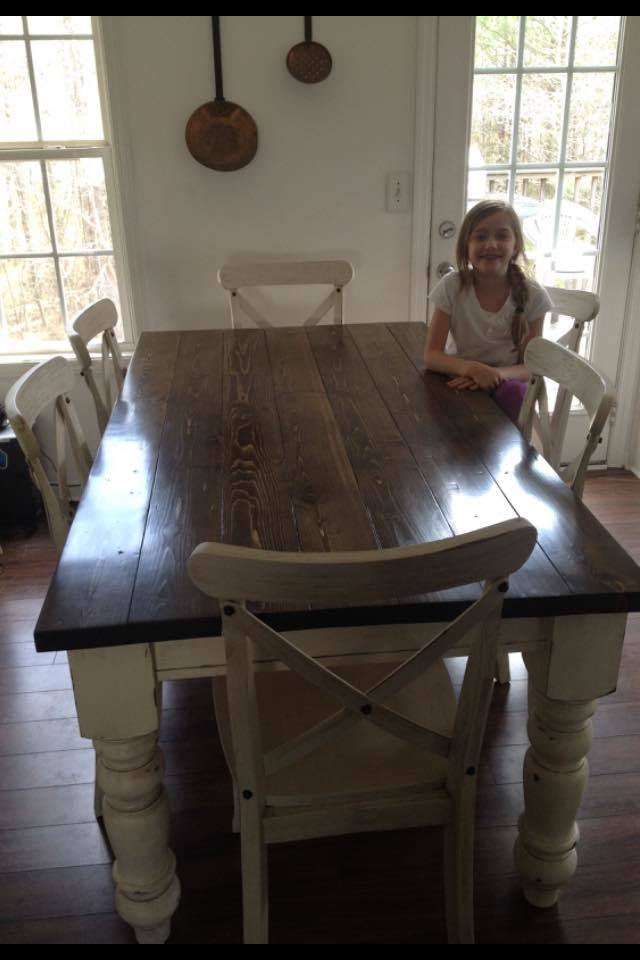
I fell in love with this table as soon as I saw it! I made another farhouse table last year (first table I'd ever built) and liked it okay but I had made a lot of mistakes. The old table is now my work table in the garage- which is great because I needed a bigger work surface anyway! I tried to make my table just like Ana's version but I used regular latex flat paint over the stain instead of milk paint (couldn't find the type she used). I was impatient and didn't want to order it and wait for it to be shipped. I was kinda hoping it would flake/crack a little but it didn't. Oh well, I still really like how the legs turned out. I stained them (and the top) with a 50/50 mixture of Minwax stain in dark walnut and classic gray. I used three coats of Minwax fast drying poly on the table top and just rubbed the legs/base with a furniture wax to give them a little bit of a smooth sheen. I also distressed them a little bit. I like how the dark stain kinda bled through the paint. It really helped to add to the antique effect. I wish I had taken more pictures throughout the building process but I was so focused on the job that I just didn't think about it! Anyway, I just love this table! It was really fun to build and the turned legs take it to the next level!
Thu, 02/01/2018 - 10:37
Love this table!!!! Can you tell me the wood species that you used?Love the stain color!!!
Thu, 02/01/2018 - 10:38
Love this table!!!! Can you tell me the wood species that you used?Love the stain color!!!
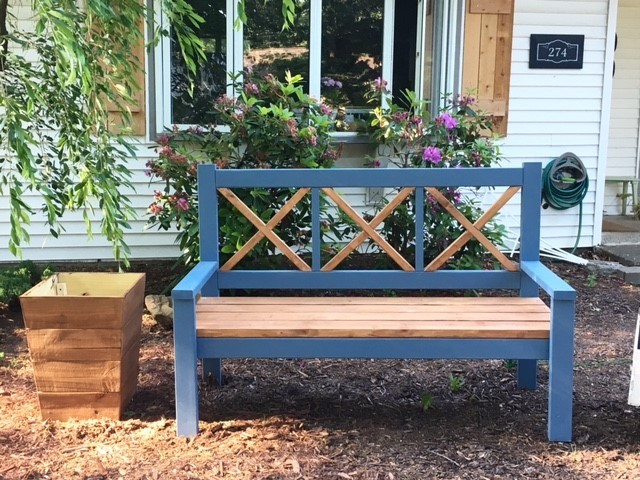
I loved building this bench!! I was able to use only 6 2x4's which cut down the cost a little bit :) For the stain I used Semi-Transparent Chocolate from HD and Wedgewood in a Solid Stain color from HD as well. Building the bench itself was really easy but the X's do take some extra work. I found that using a yard stick vs. a tape measure made the world of difference. I also nailed the X's in vs. using the kreg jig.
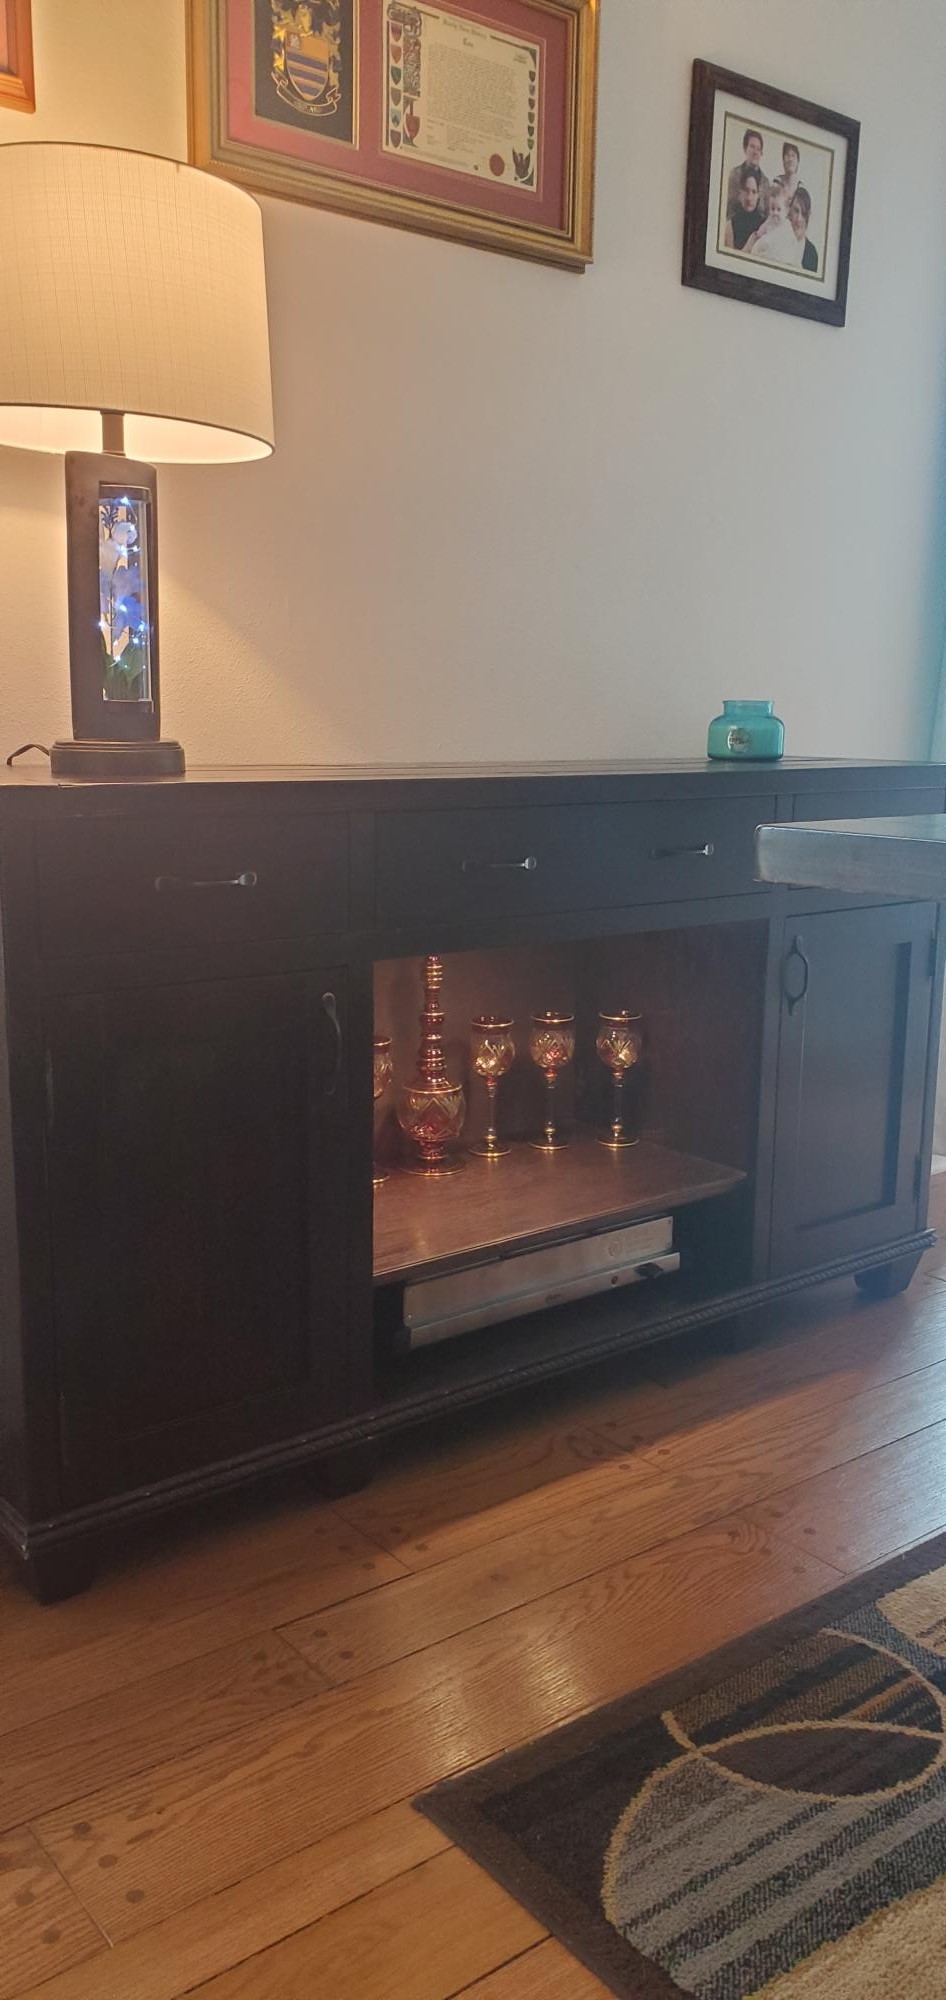
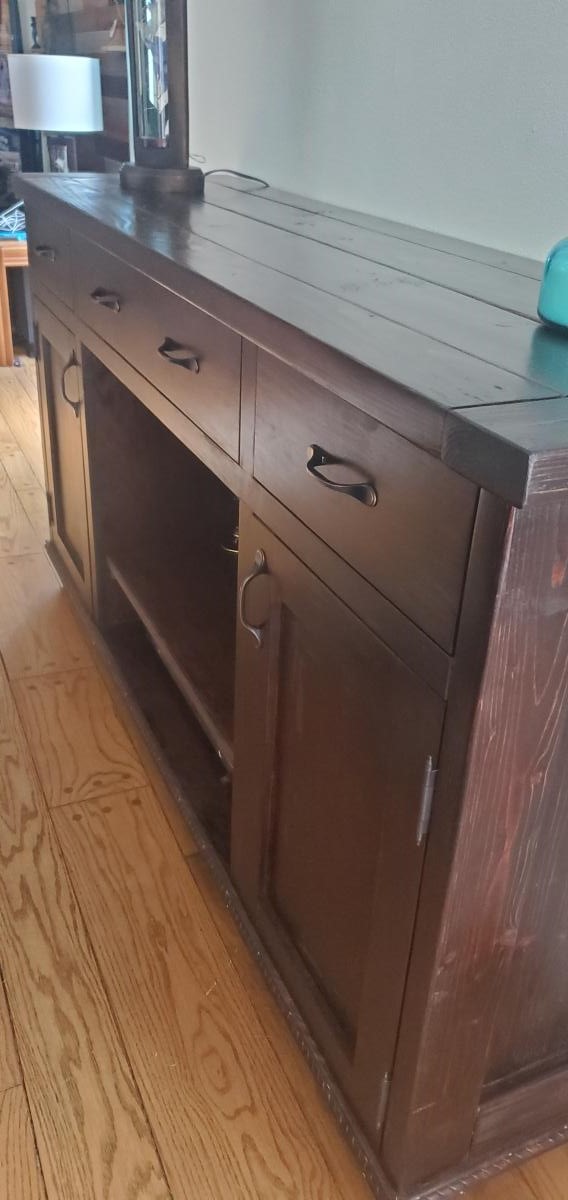
I looked forever for a sideboard which matched my planked dining room table and this was it, so decided to build it. It took me 3 months as I had no prior woodworking experience. Behind the drawer panels I actually wrote on the drawers 'Maybe should have started with a birdhouse!'. I could not love it more if I had given birth to it. LOL On to the next project...

Taken from inspiration from the original Clubhouse Bed and from the "Treehouse Bed" in the Pottery Barn Kids catalog, my daughter's "Surf Shack" bed was created. Total cost for supplies (mainly lumber) ~$300. Pottery Barn's version: $1,500. Yikes!
Wicker turtles from Pottery Barn Kids (size: SMALL). Fishing Net from Oriental Trading Co.


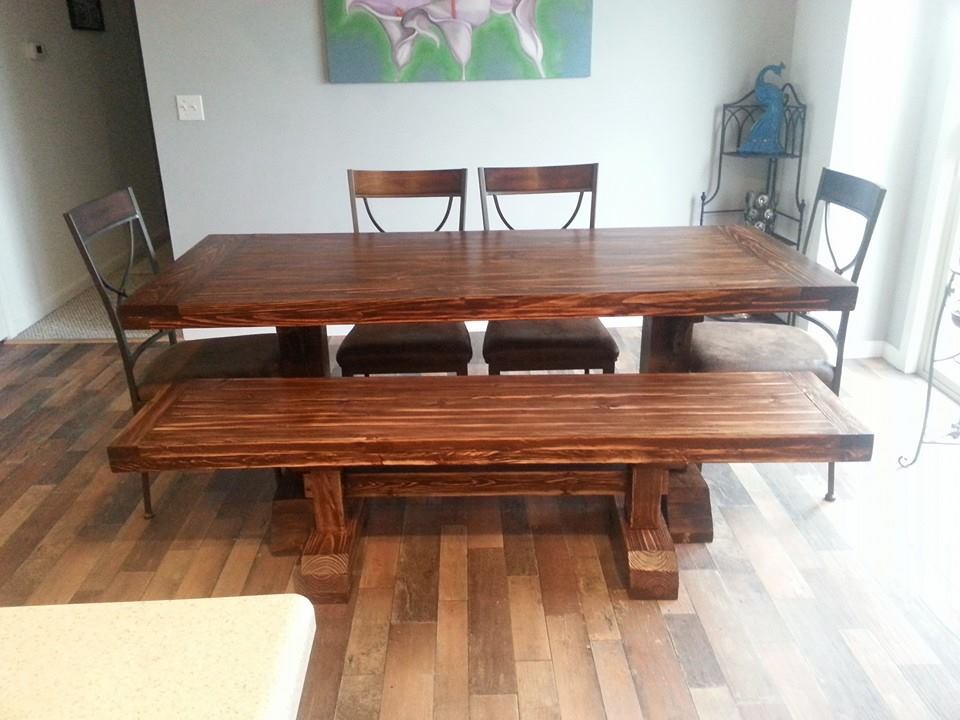
Tried to replicate the Double Pedestal table that has no plans provided. I had to modify a bit to the specifications i wanted. Table top bowed up a bit at the ends after i glued it up and when i tried to attach it to the base, it pulled one side of the base up. To fix this, i added a couple of cross beams at the top of the base, to stablilize the base a bit.
I finished with a minwax gel stain, i forget the color. It was a bit too dark for my liking, so when it dried, i took a cabinet scraper (or card scraper) and scraped off some of the finish. Pretty pleased with how it turned out. then i added 3 coats of lacquer.
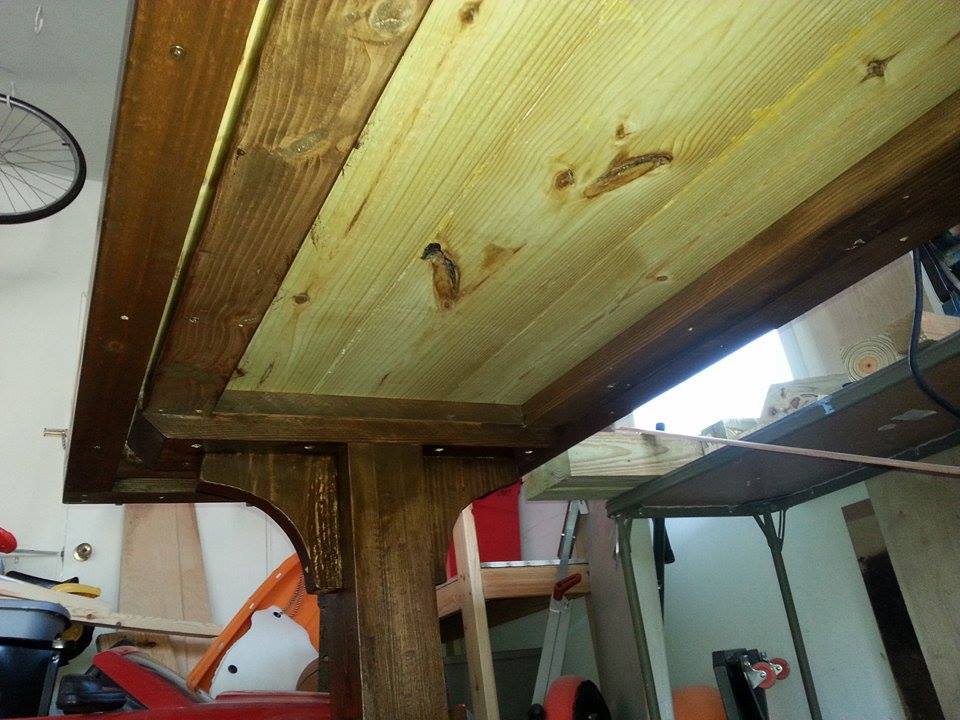
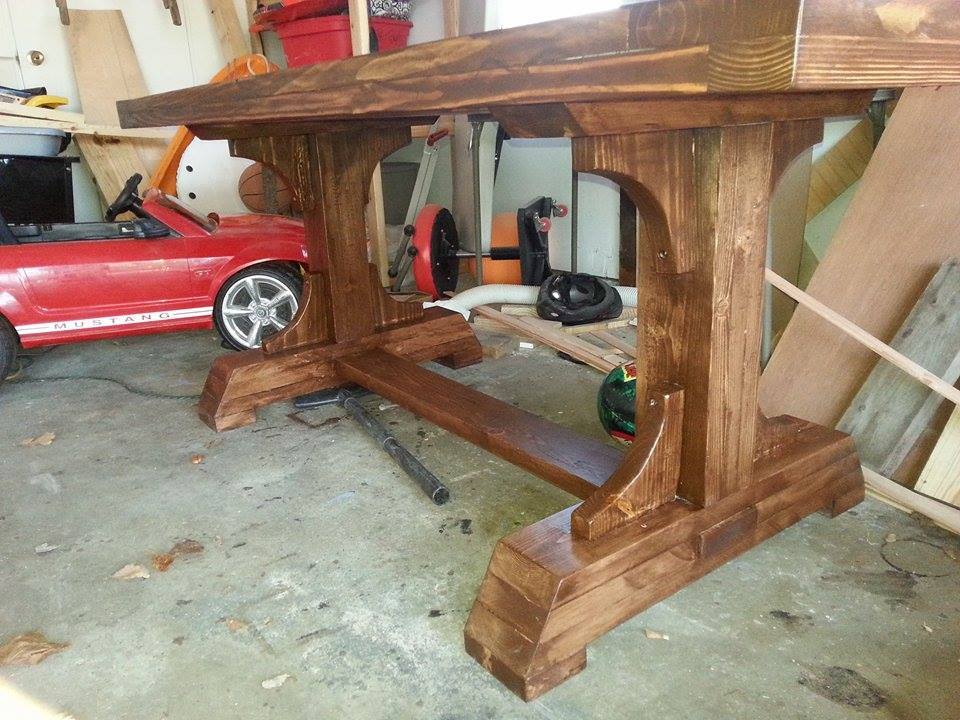
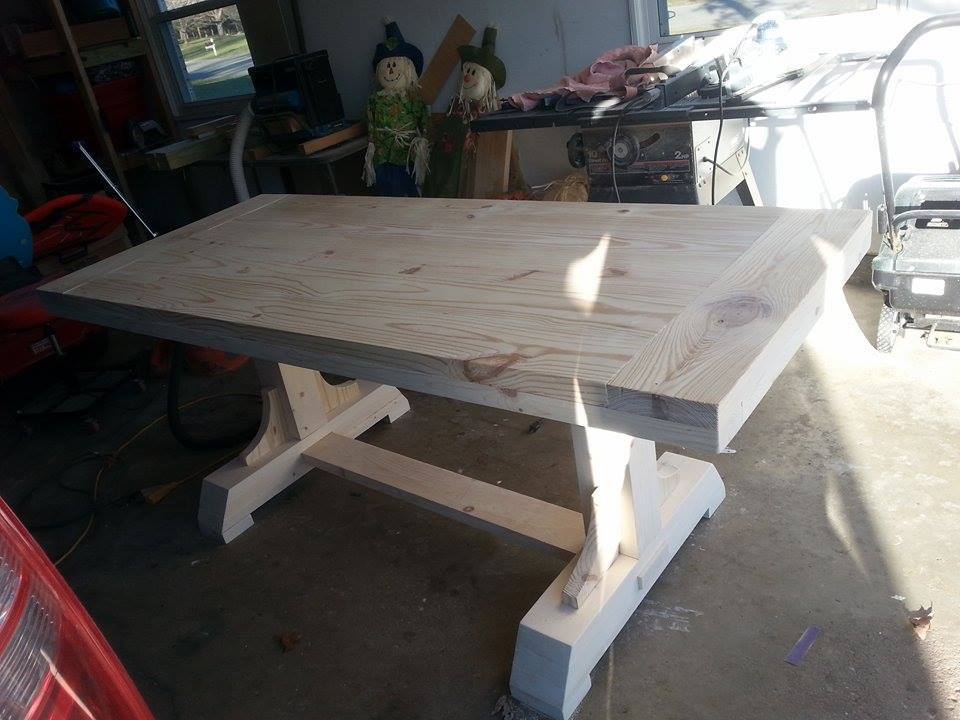
Fri, 03/20/2015 - 15:06
We will be beginning building our 2 pedestal table in the next month or so and anticipate that outs will be similar in size / style and weight. OUTCH! We know it is going to be heavy. Pleased to see how well yours turned out.
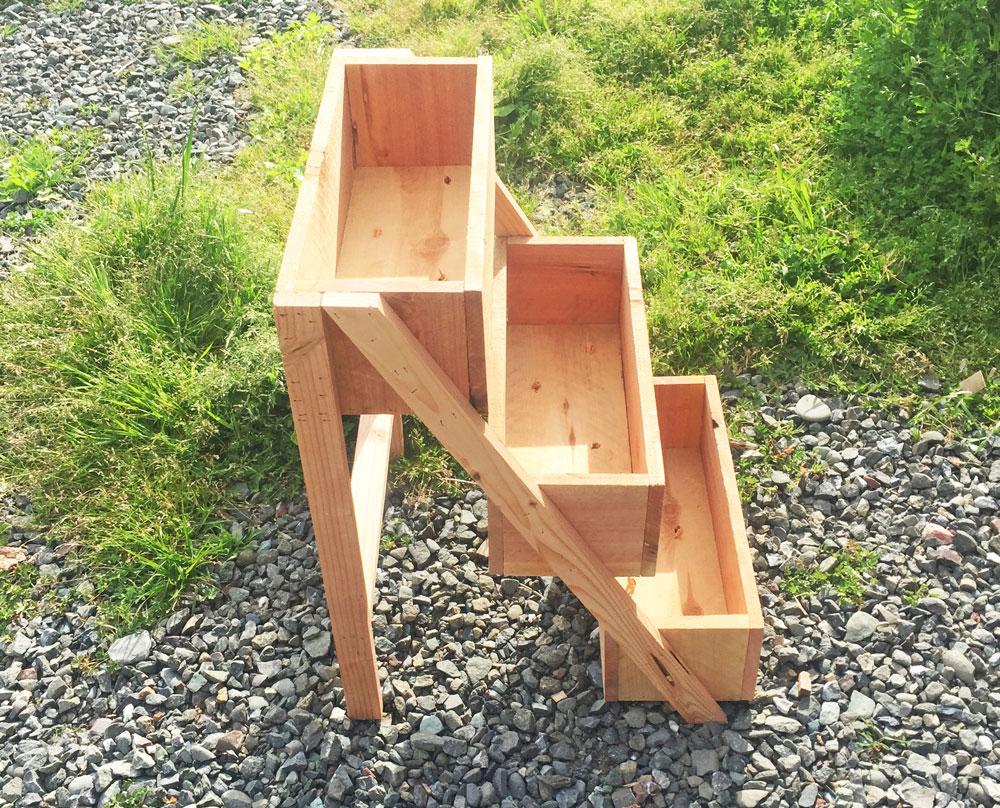
This was a really fun project and super easy to make. I shaved just an inch of my sides for my bottom to fit better. My fence boards were 3rds.
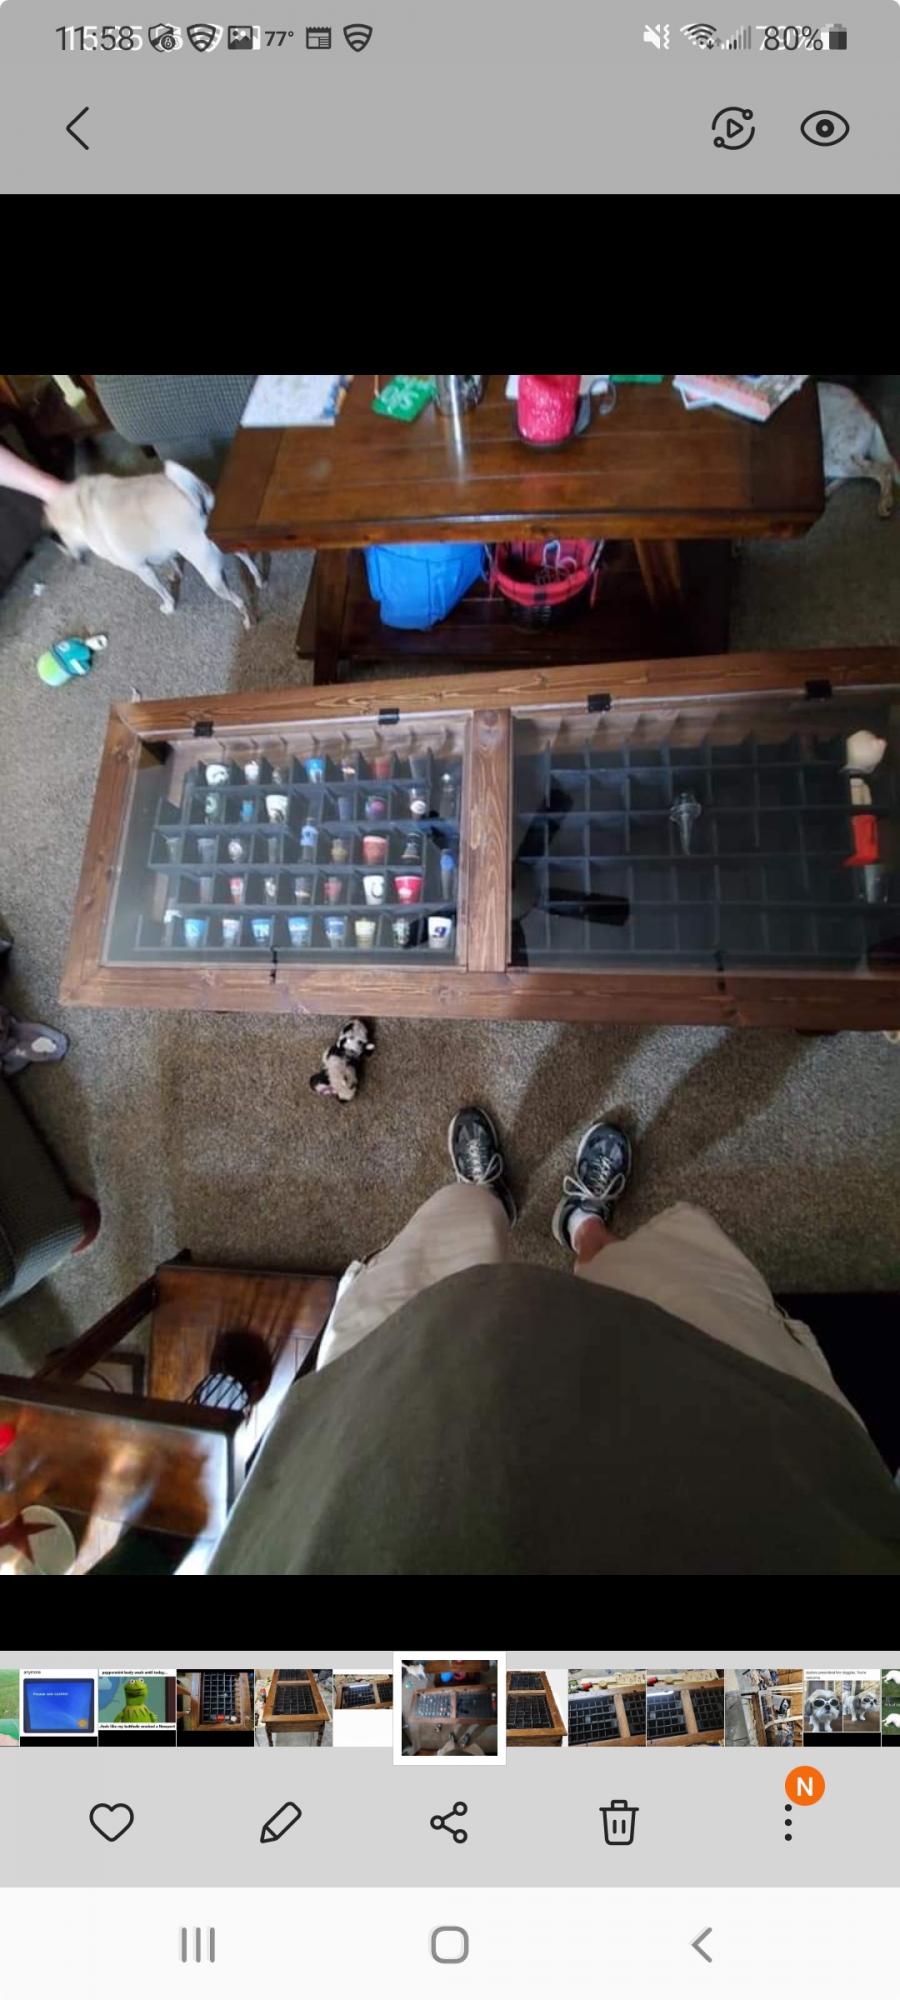
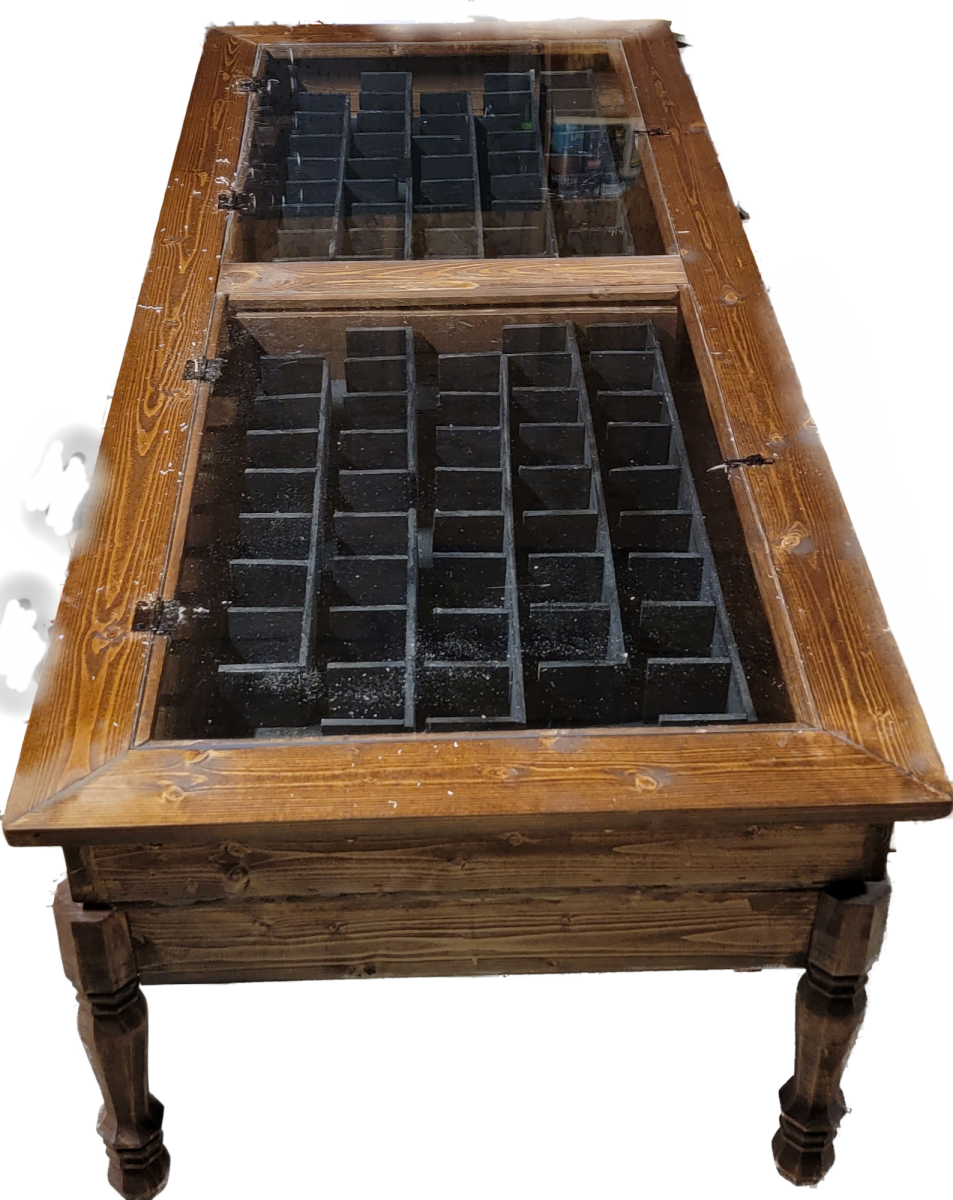
My father-in-law wanted a display case for his shot glasses, but I didn't like the idea of putting that much glass, hanging vertically. So I suggested a coffee table. This is what I came up with. I used 1x4 boards for most of it. ¼" plywood on the bottom, with 2x2 supports underneath, the actual display part is from ½" project panels I had laying around, and the dividers are from ¼" plywood scraps. The legs I picked out from the store (I don't have or need, a lathe). For the top, I used ¼" thick acrylic. I thought about glass, but they have lots of grandkids over all the time, and I didn't want a little hand going through the glass. (Side note on the acrylic, when you cut it, do it by hand, not with a power tool, as the acrylic will heat up and can melt). Other than that, I got a couple hinges and small lock closure for the acrylic, and stained it all. (Sorry for the white background picture, I tried to crop out everything else around the table)
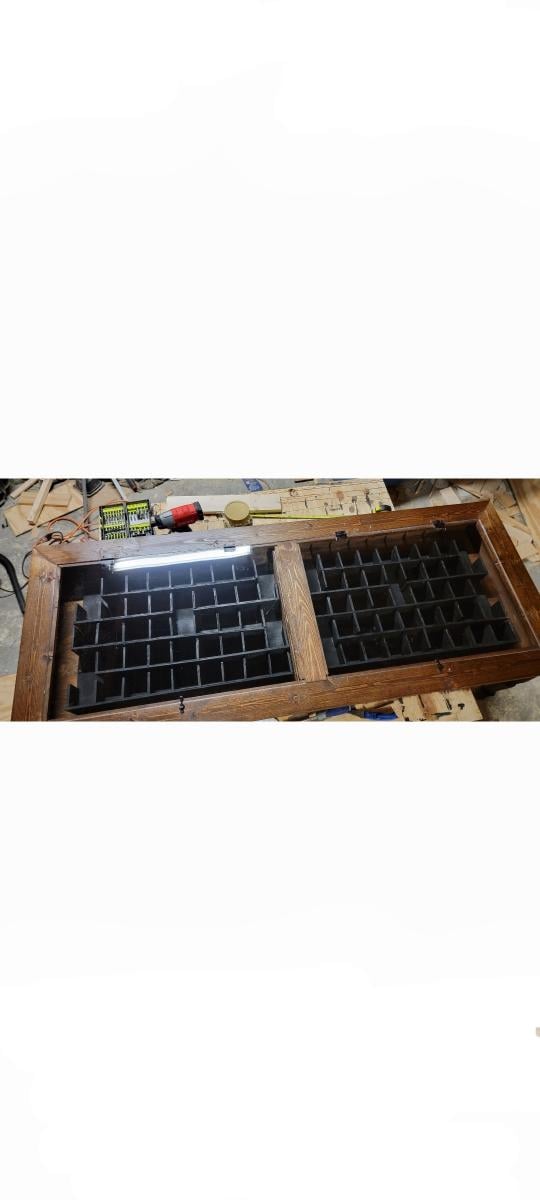
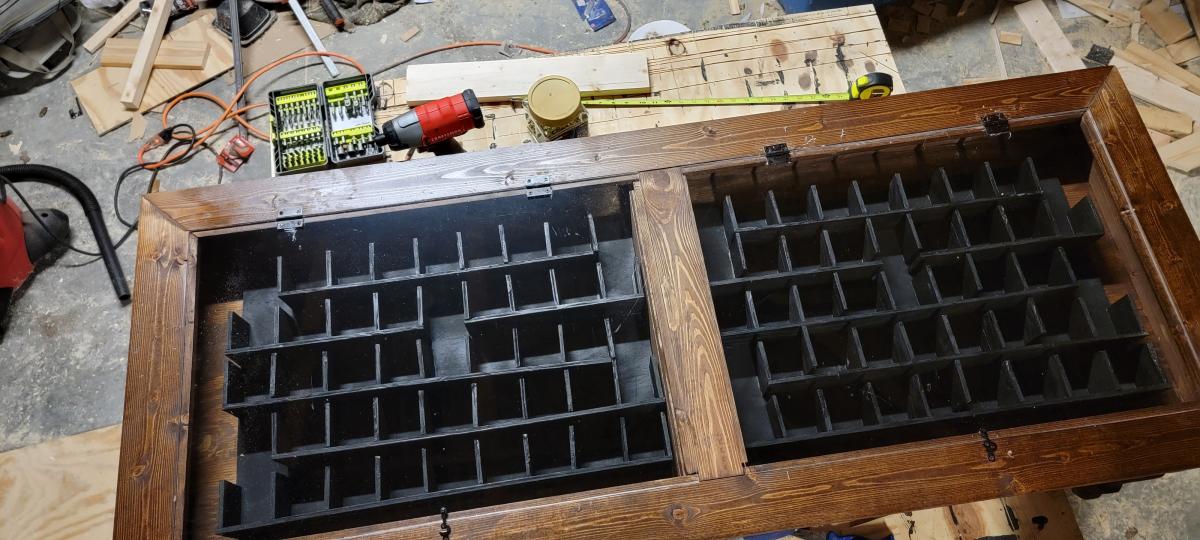
Since wood is the traditional 5th wedding anniversary gift, I thought this table would be perfect.
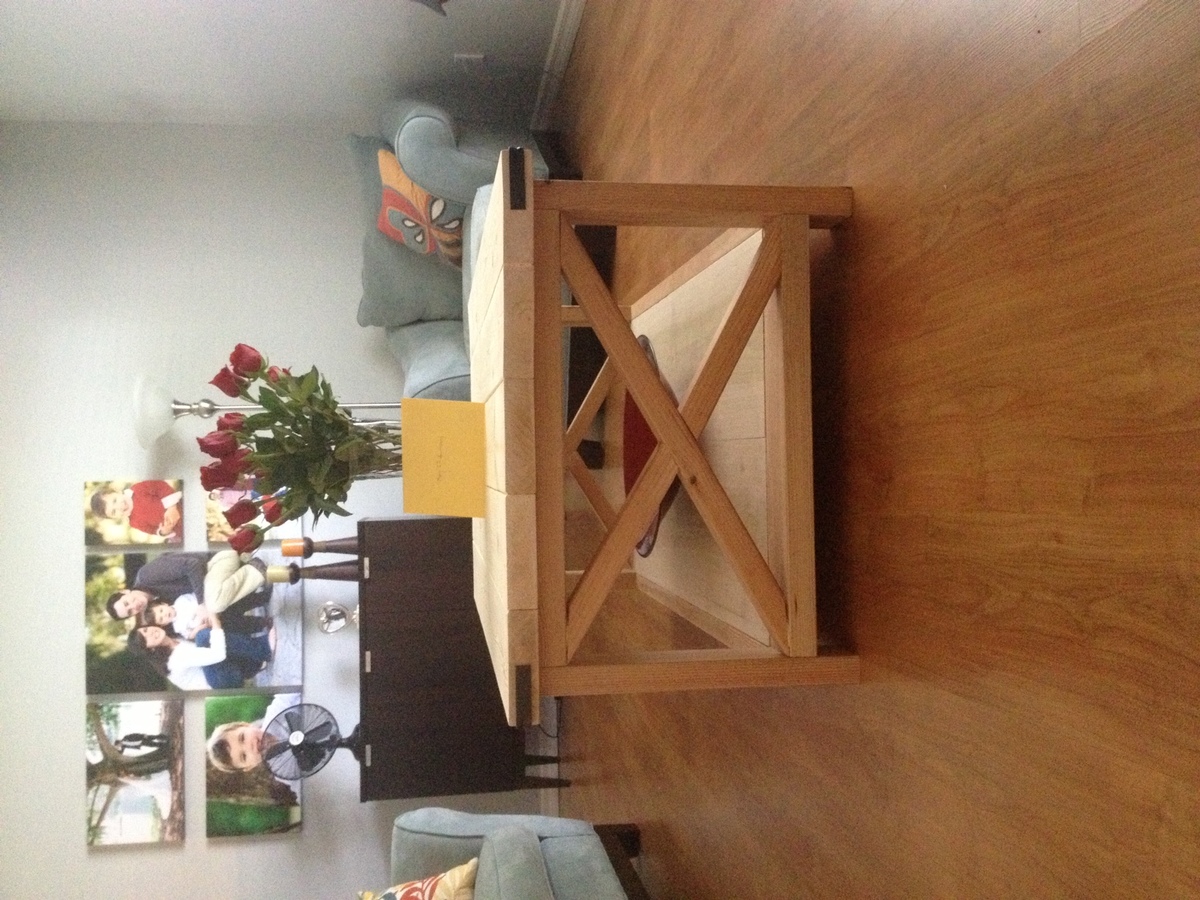
Thu, 05/02/2013 - 15:11
Lowes. I had to spray-paint them to get the color I wanted. I think they are called corner brackets.
Thu, 05/02/2013 - 17:58
The table looks lovely, and I love the "au natural" finish!! ;-)
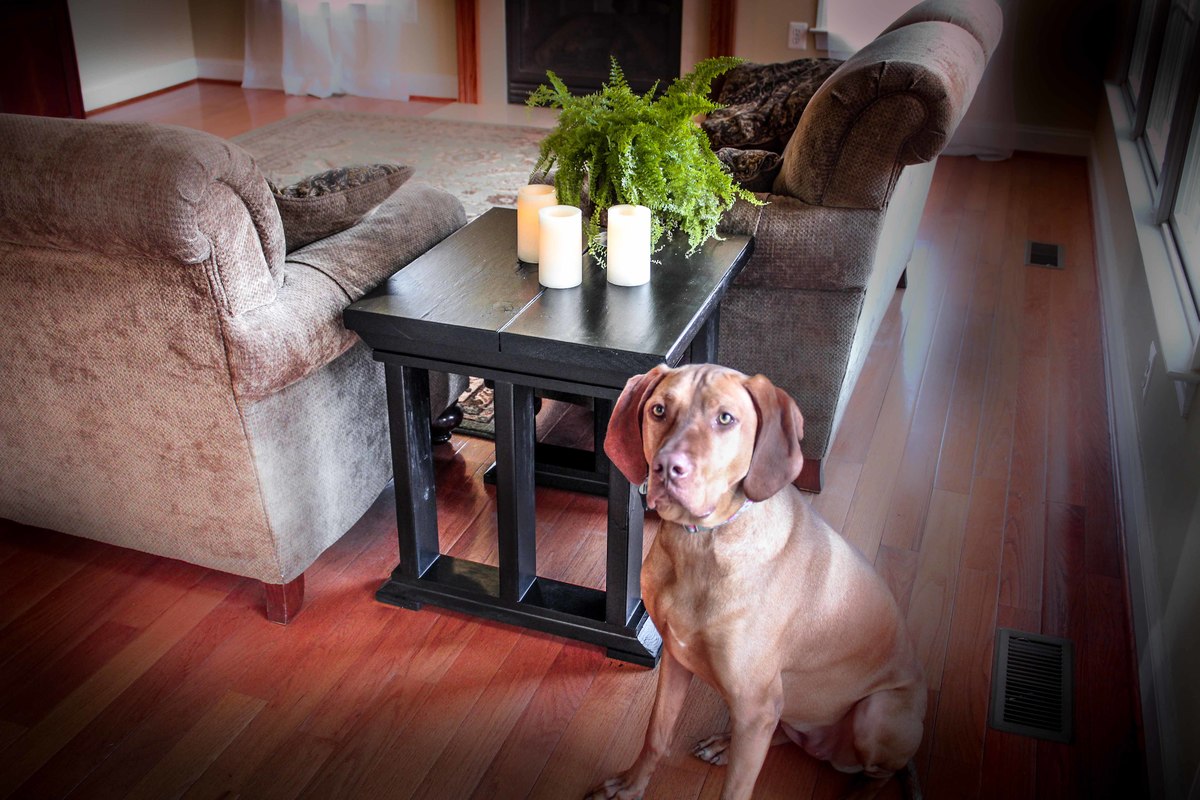
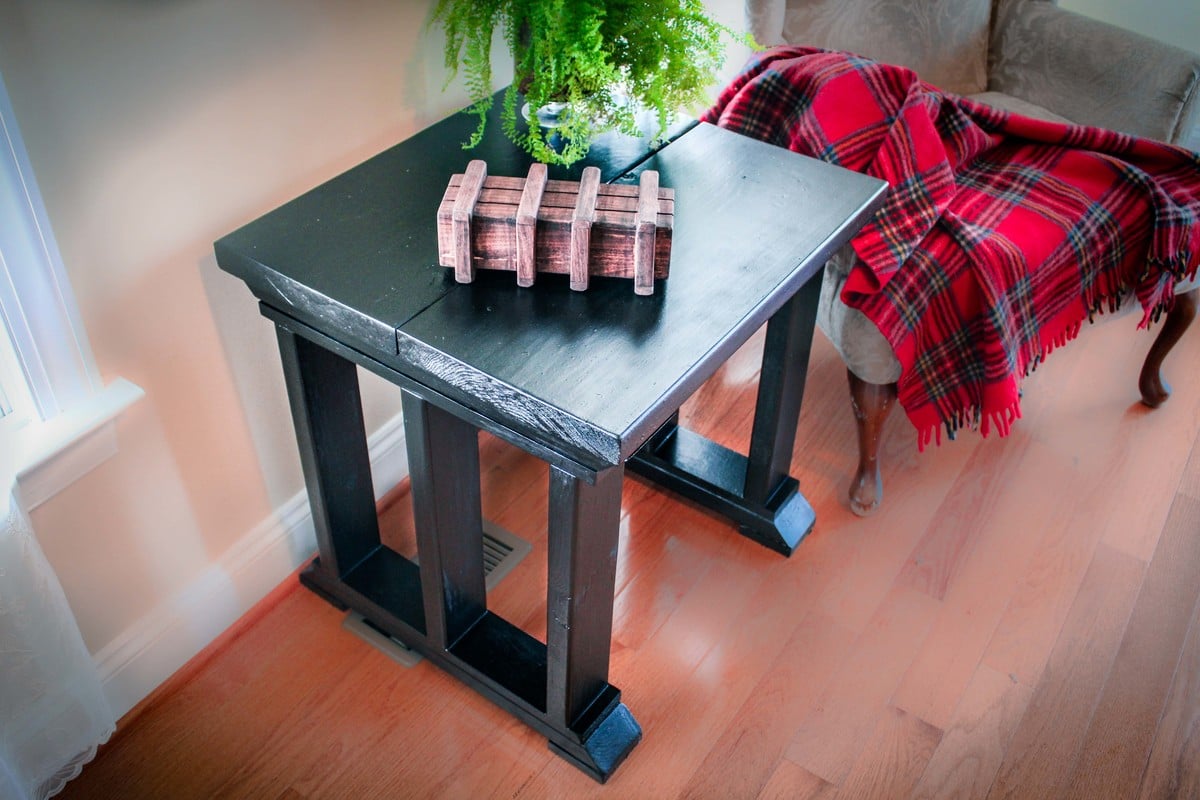
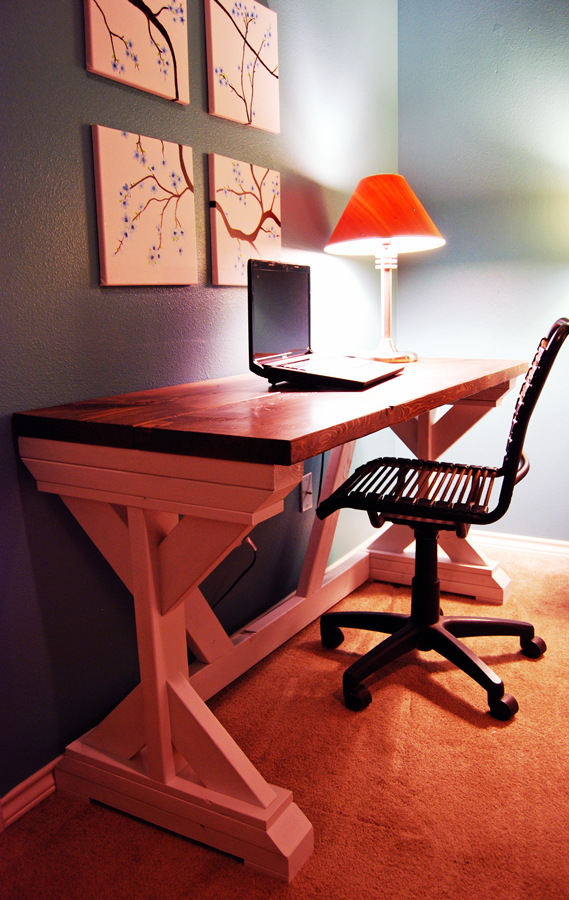
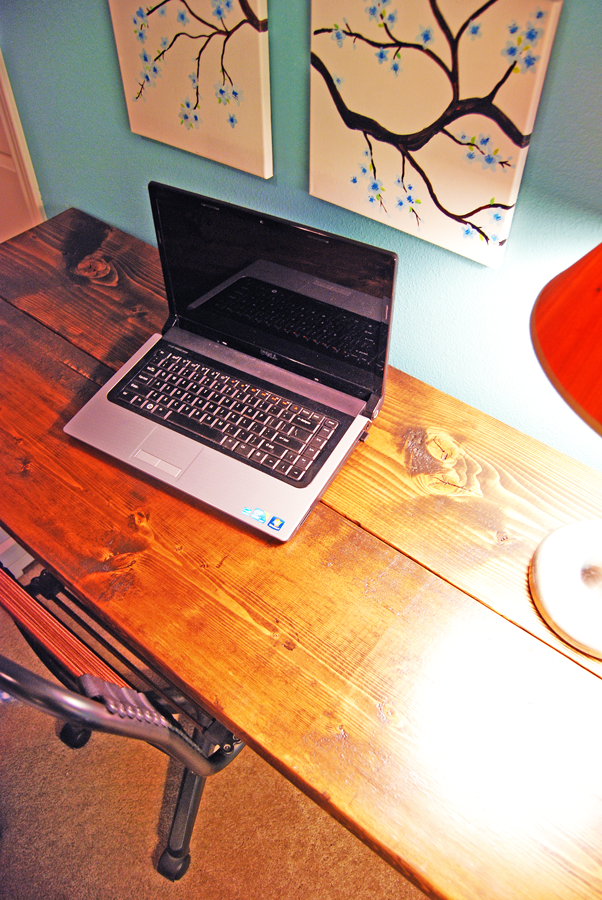
This End Table matches the shelf from a few weeks ago which is my attempt of matching the $55 Fancy Desk from Ana White. As with the shelf, the design is simple, easy to make and is relatively low cost (under $25).
Sun, 03/22/2015 - 10:24
Video:
https://www.youtube.com/watch?v=4wwlcqBMEa4
Build Instructions:
http://www.instructables.com/id/Rustic-End-Table/
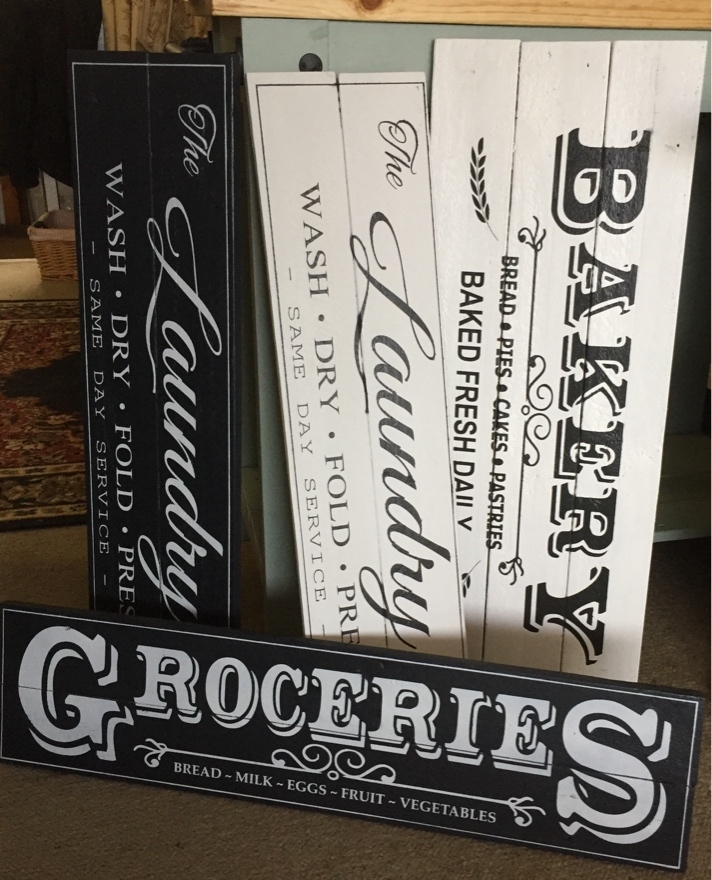
Made from pallet wood.
Painted and stencilled.
Sat, 06/24/2017 - 06:17
Thank you. I made the stencils myself using my silhouette cameo.
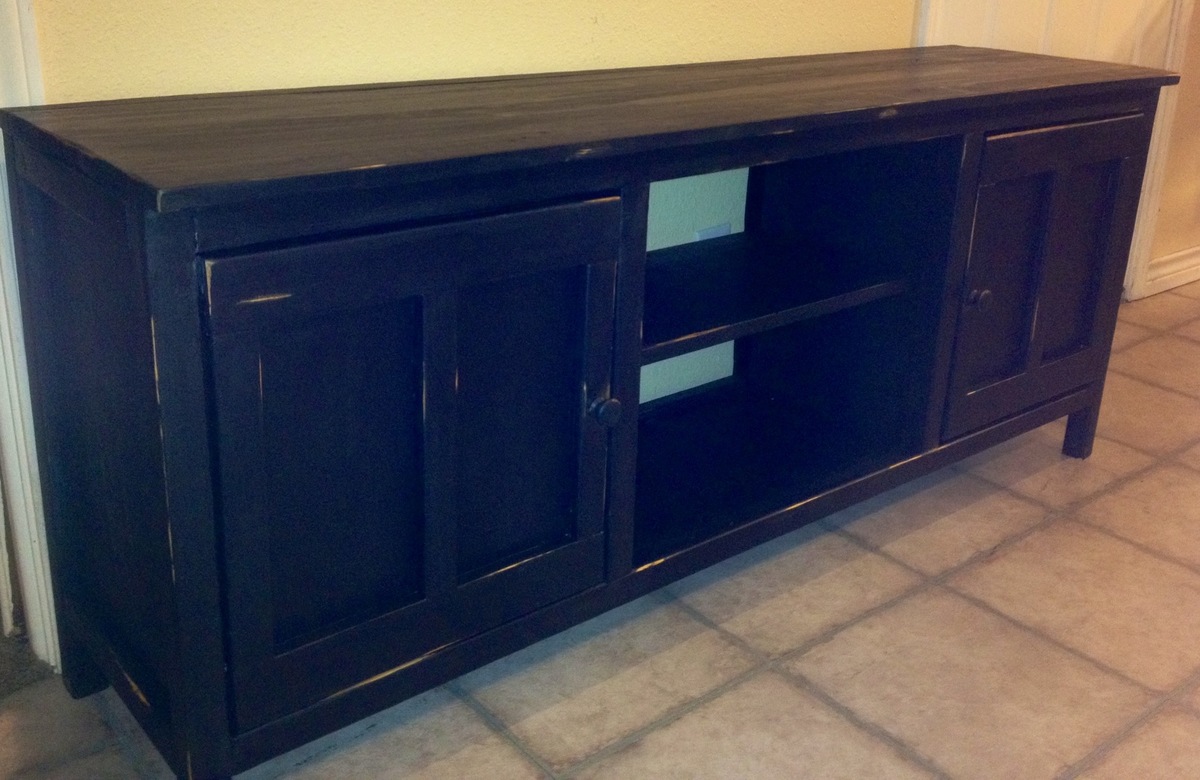
This was built using Ana's media console plan with slight modifications. I decided to forego the drawers for simples shelves, like so many on the brag posts did. I also added shelves in each of the cabinets for extra storage. And, I added some scrap 2x2s for vertical trim on the cabinets. I opted for knobs instead of handles, because I thought it looked better and they were recycled from another project of mine.
I painted black, since that's my thing and it's seemingly safe, but distressed with my sander and used a q-tip to stain the "weathered" parts. For whatever reason, I let my husband select the stain and he chose the Minwax Classic Gray. This is a gorgeous stain, but do not use it on black as a distress stain. This color takes a bit of manipulation, as it doesn't take on certain pieces of wood as it does others (Ana does a tutorial on this color--watch it and you'll see what I mean). From there, if you get any excess on the black paint, it looks a sloppy mess--I had to wipe it down with a wet cloth as best I could, repaint it, sand it, and restain with Rustoleum Summer Oak (I personally prefer all Rustoleum products to Minwax, but that's my preference).
Also, I wish I had used higher-quality wood and/or spent more time finding better cut pieces. I used pine, and some of the pieces (especially the 2x2s) were very wonky.
This was my first "big" project and it took a really long time because I made a ton of mistakes. But, it's wood, and mistakes can be corrected. Just like life, mistakes are learning experiences--some more costly than others. While this isn't the most beautiful piece of furniture, it was a great learning experience, and that's why this console is so valuable to me.
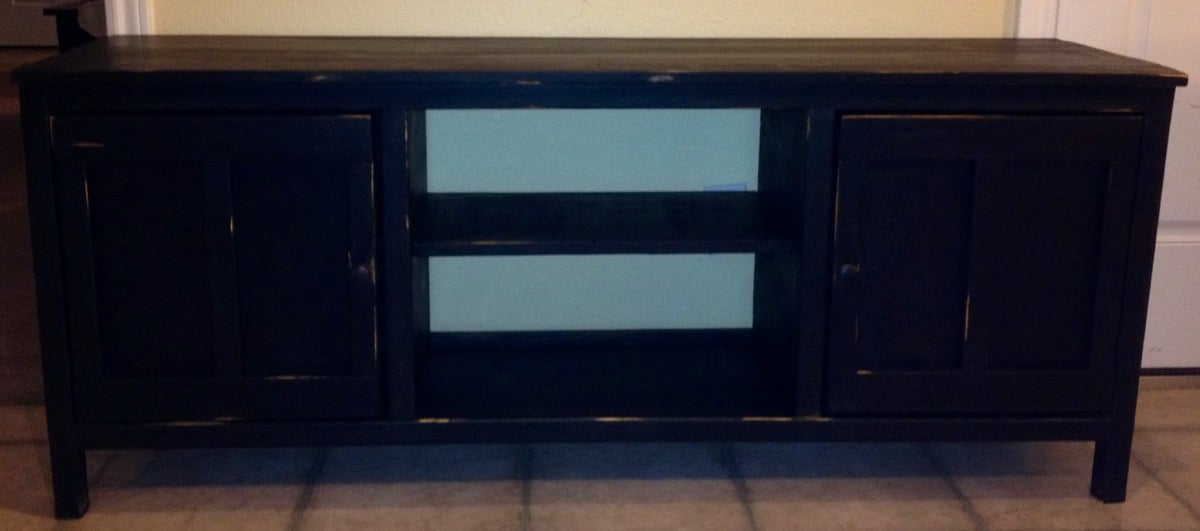
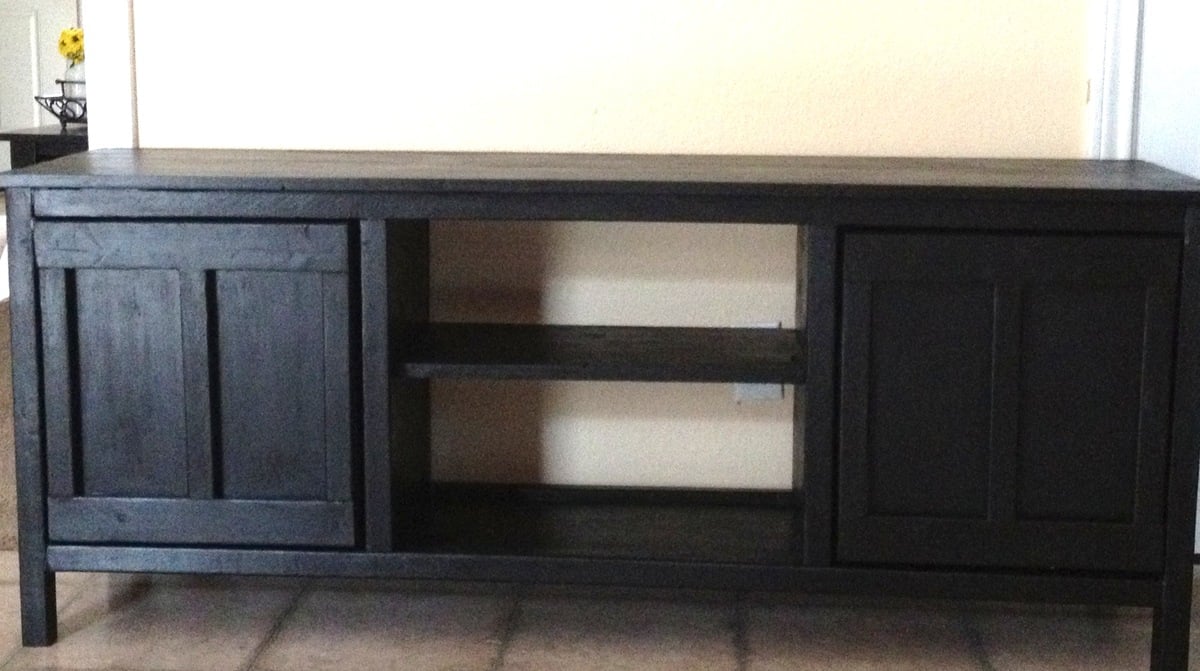
Sun, 05/05/2013 - 07:08
LOVE the console. Any "wonkiness" just gave your piece character!
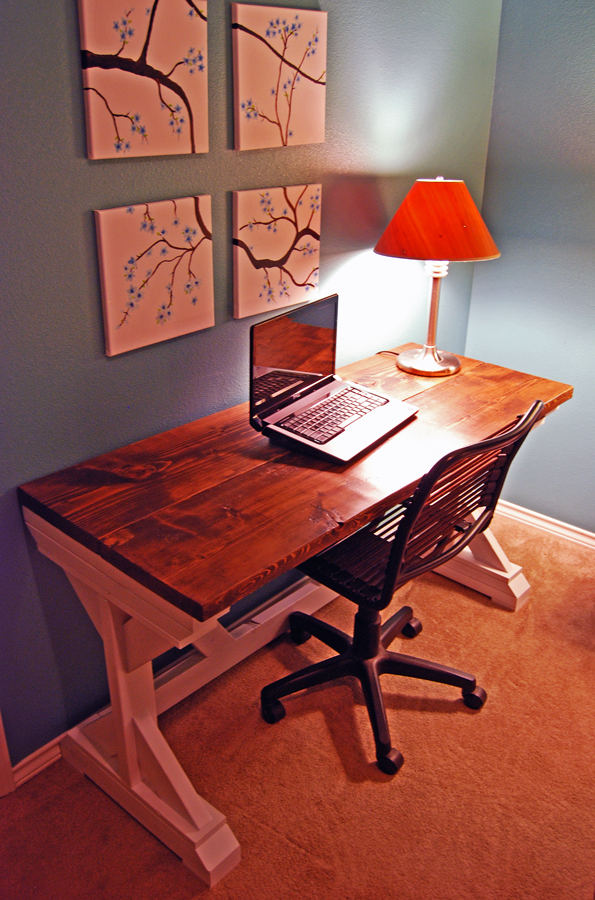
Pretty straightforward build, fun to use and build!
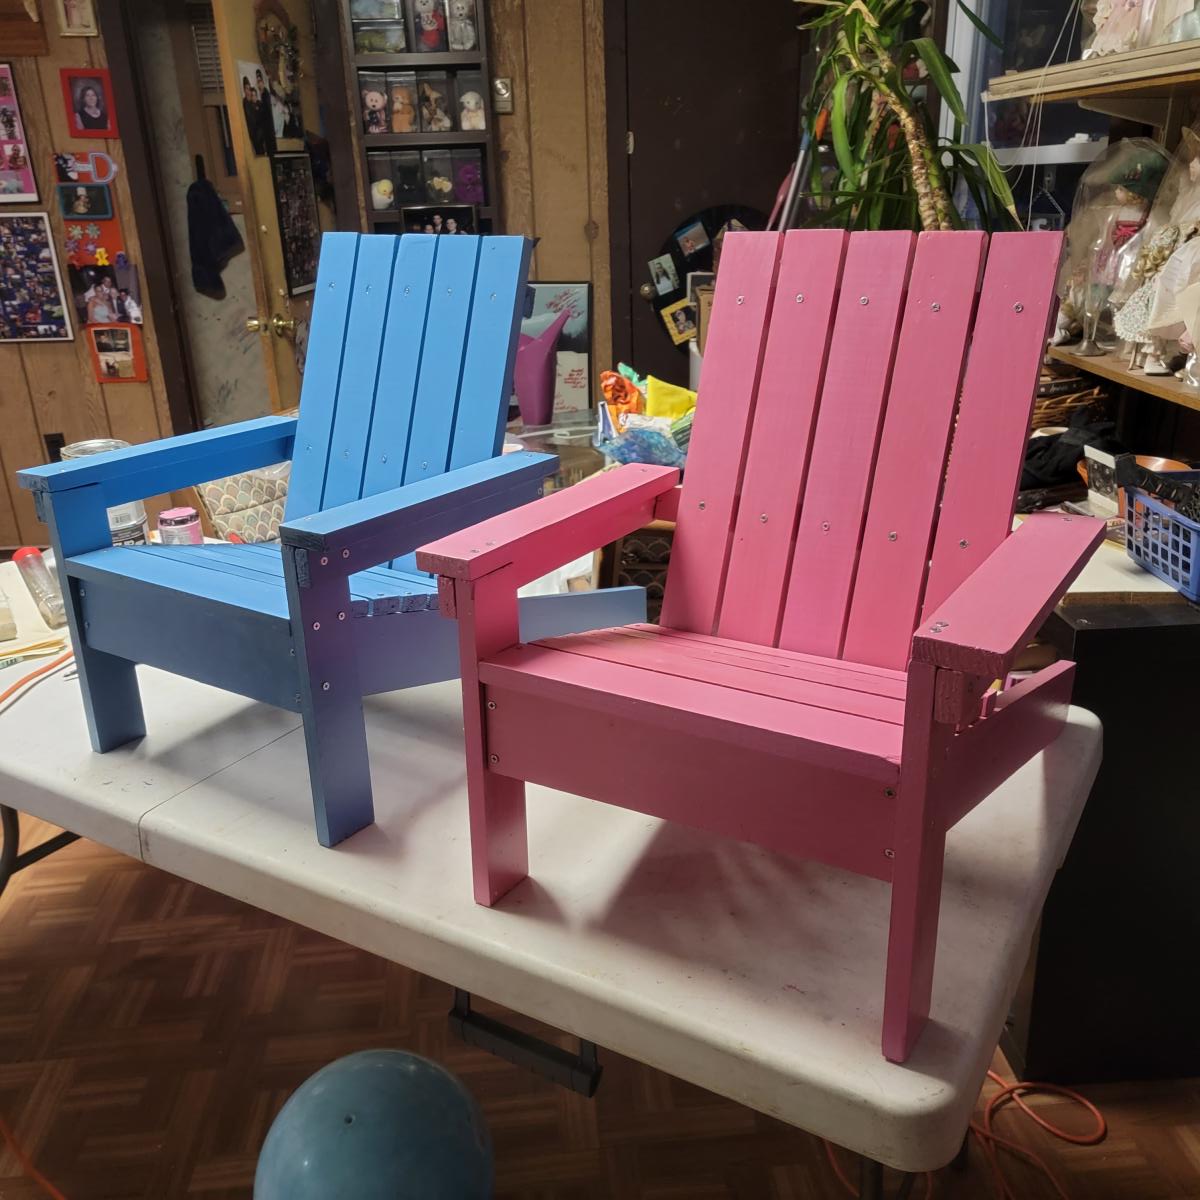
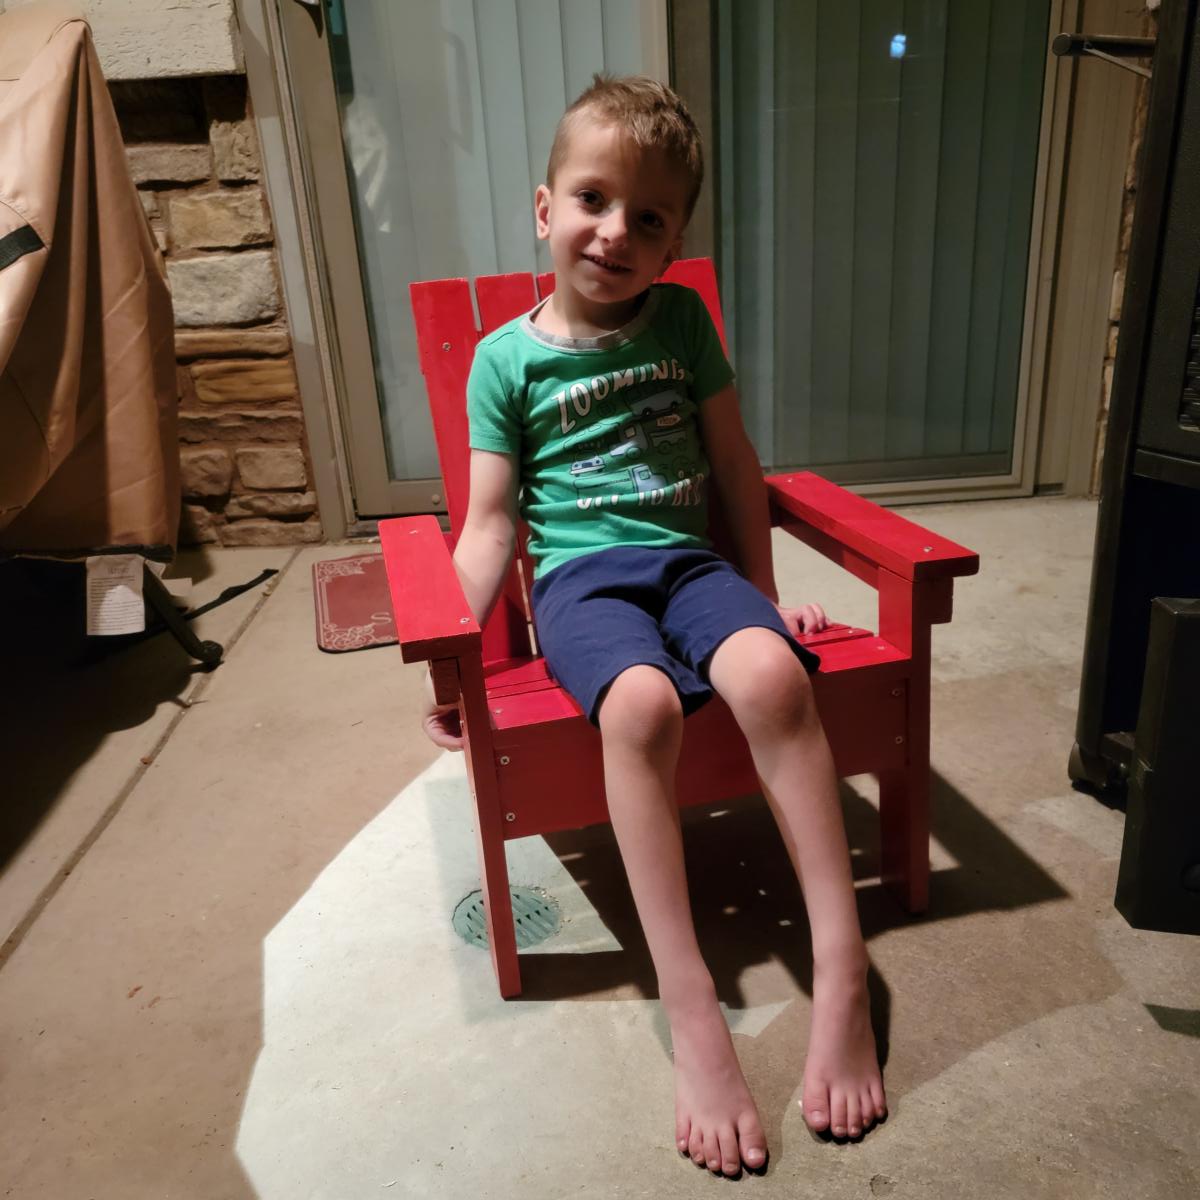
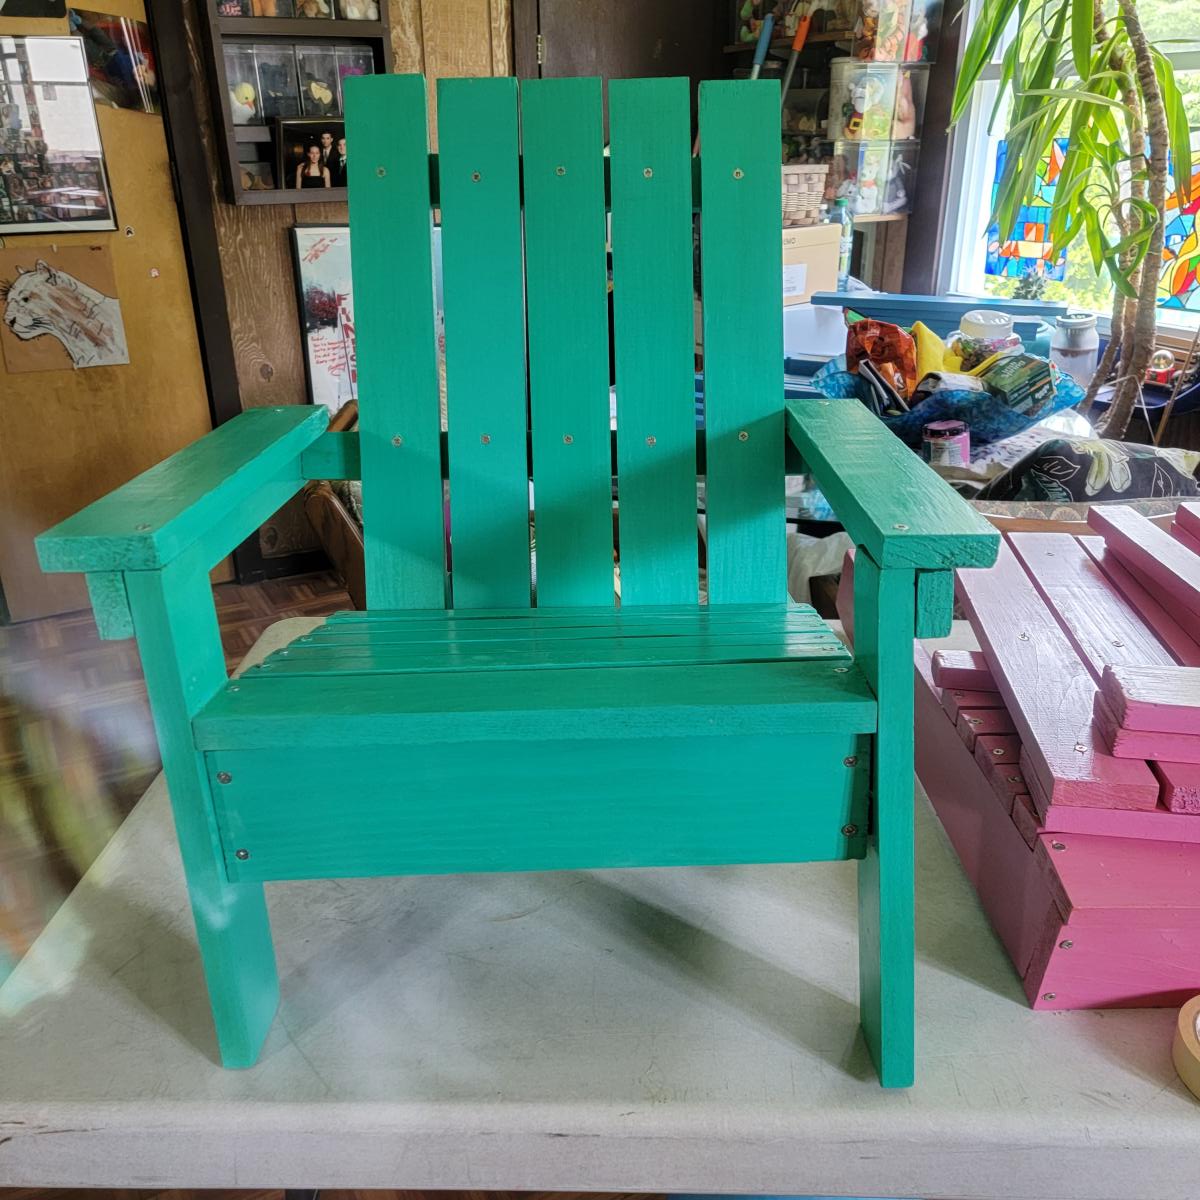
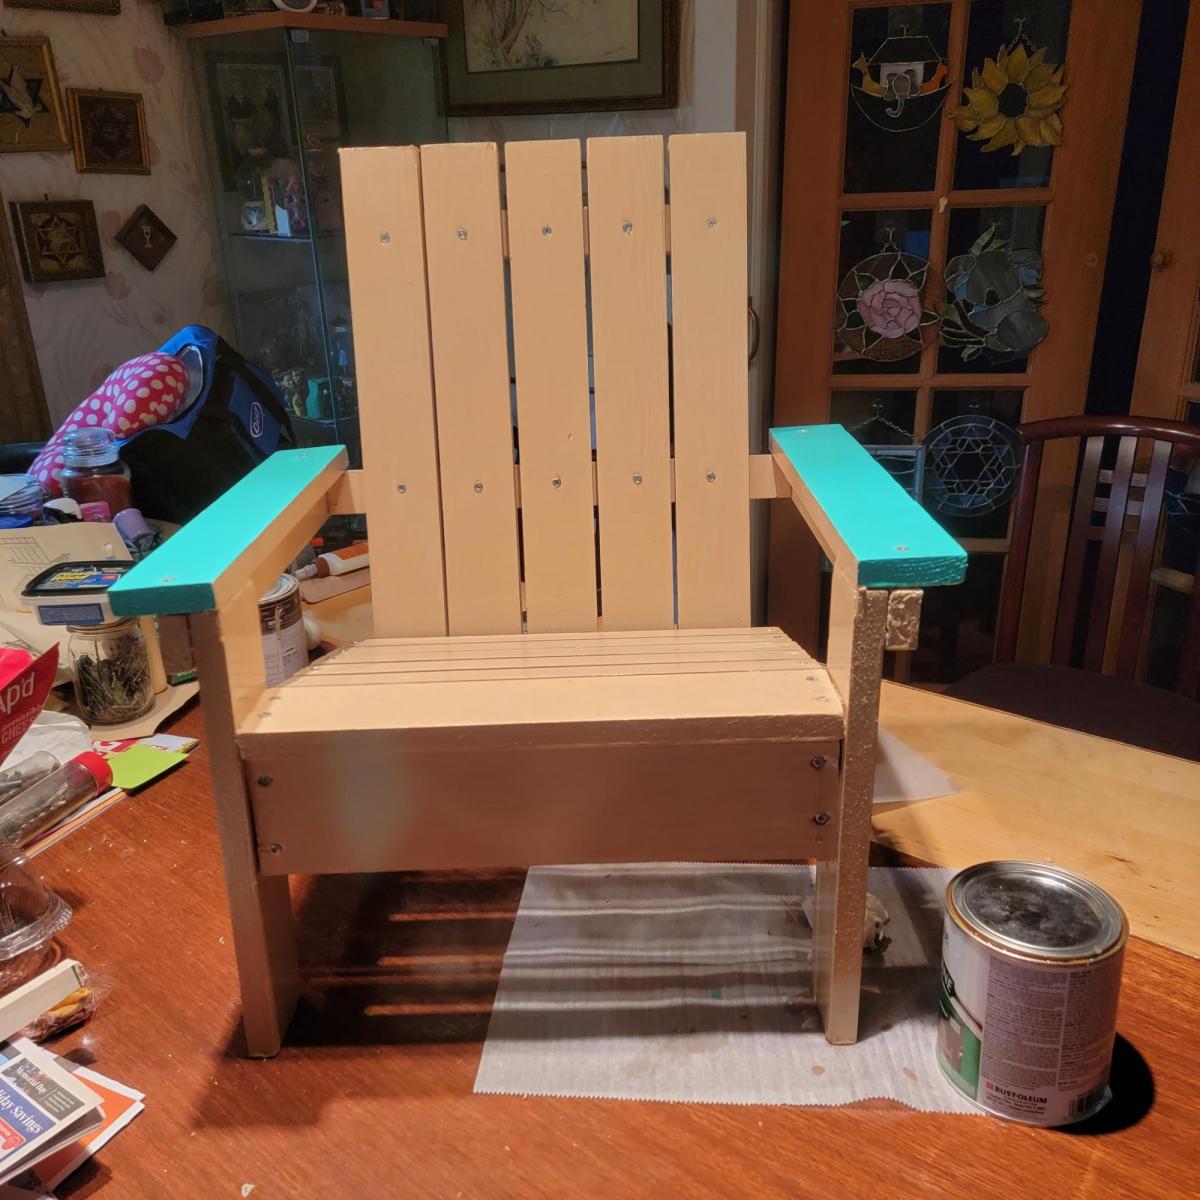
I have 5 grandchildren that I made chairs for
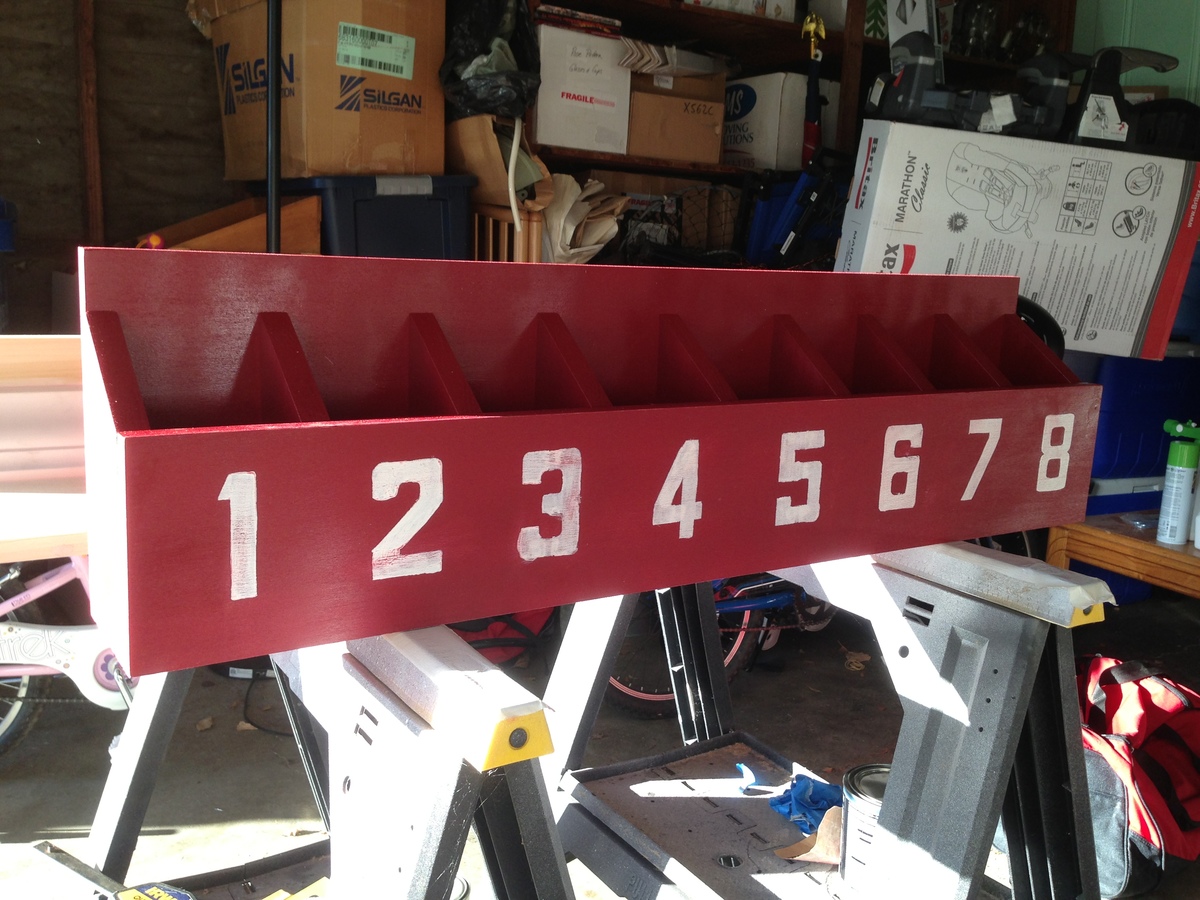
I saw this project on this site and thought it would be a great item to build and to store my kids art supplies. The 8 cubbies are perfect for glue sticks, pens, crayons, and scissors.
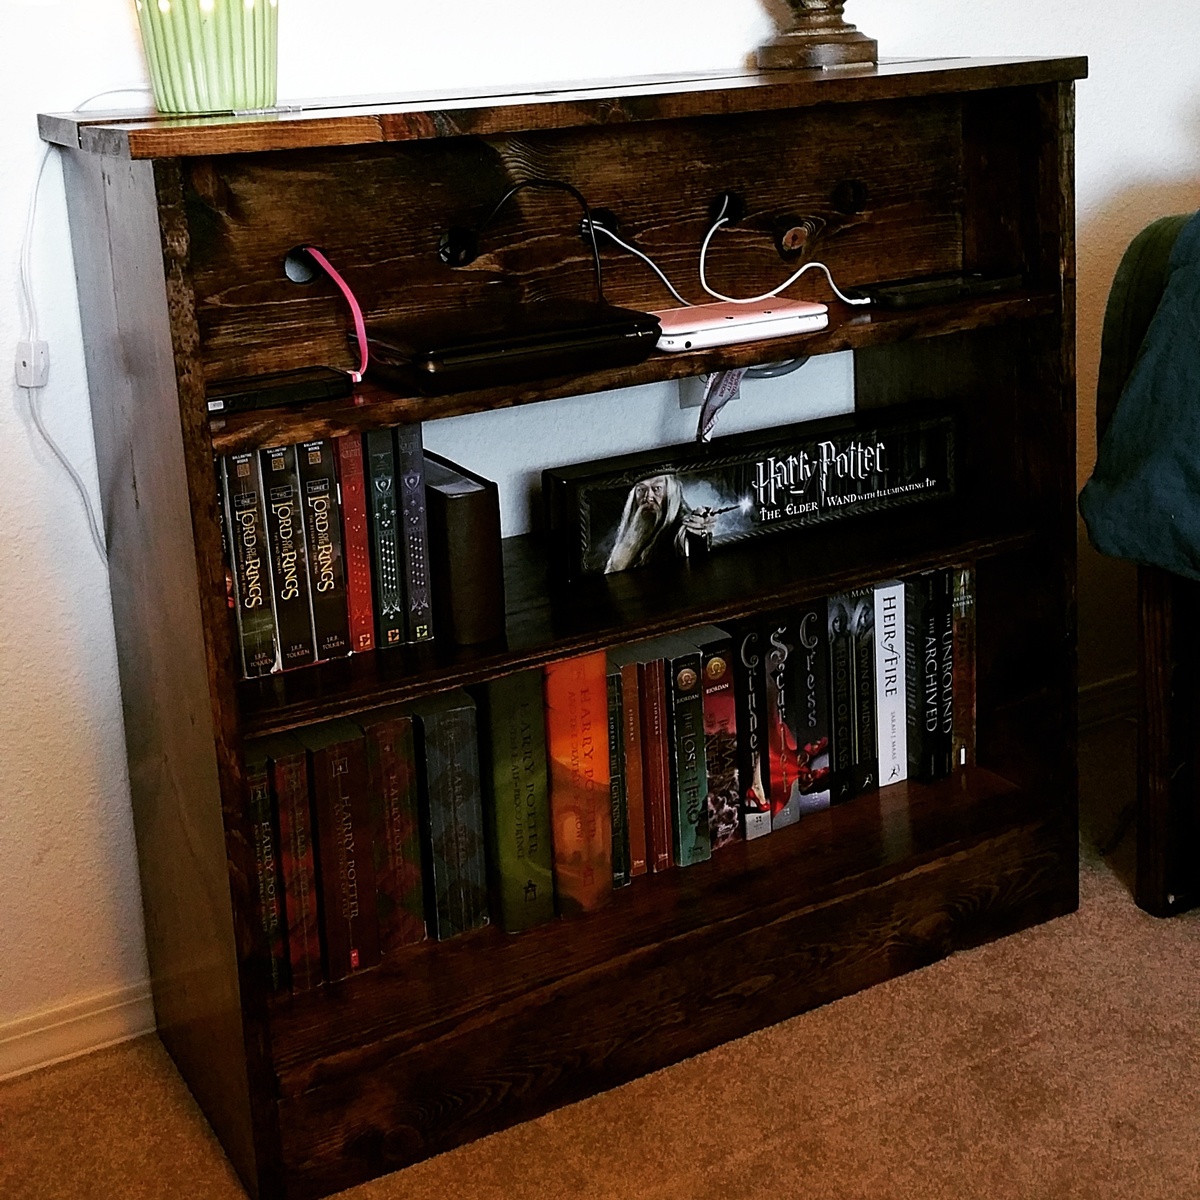
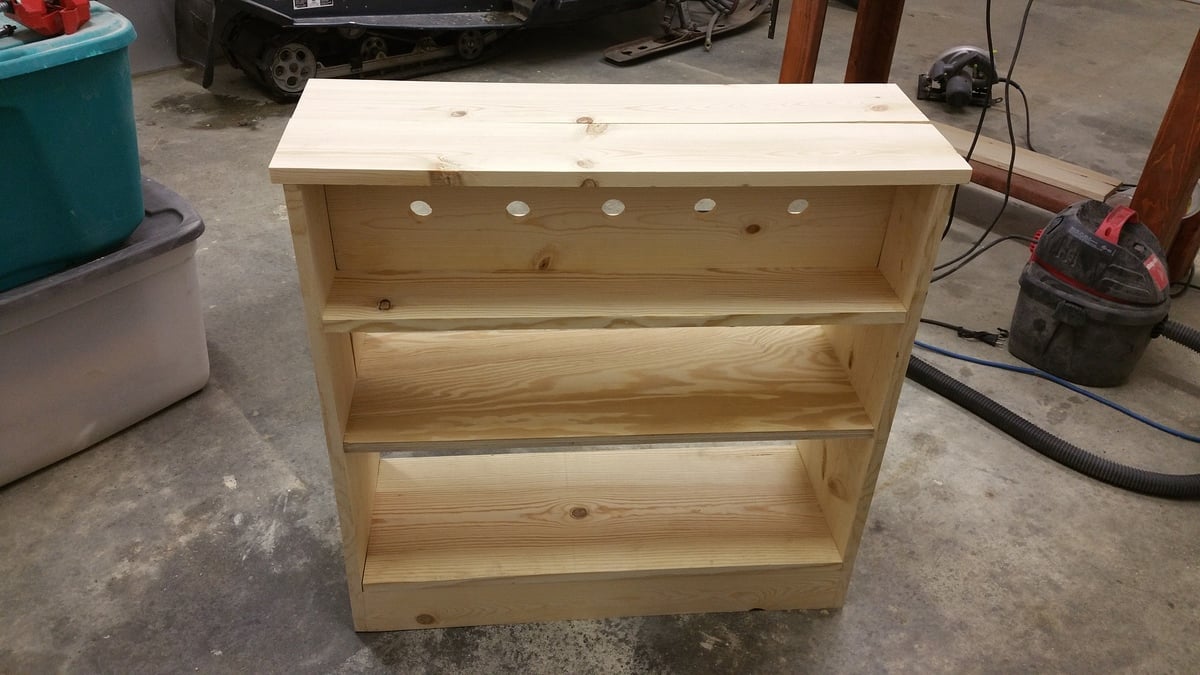
I made this a little bit taller and left off the doors since what we really needed was more bookshelf space. I'm very happy with the way it turned out!
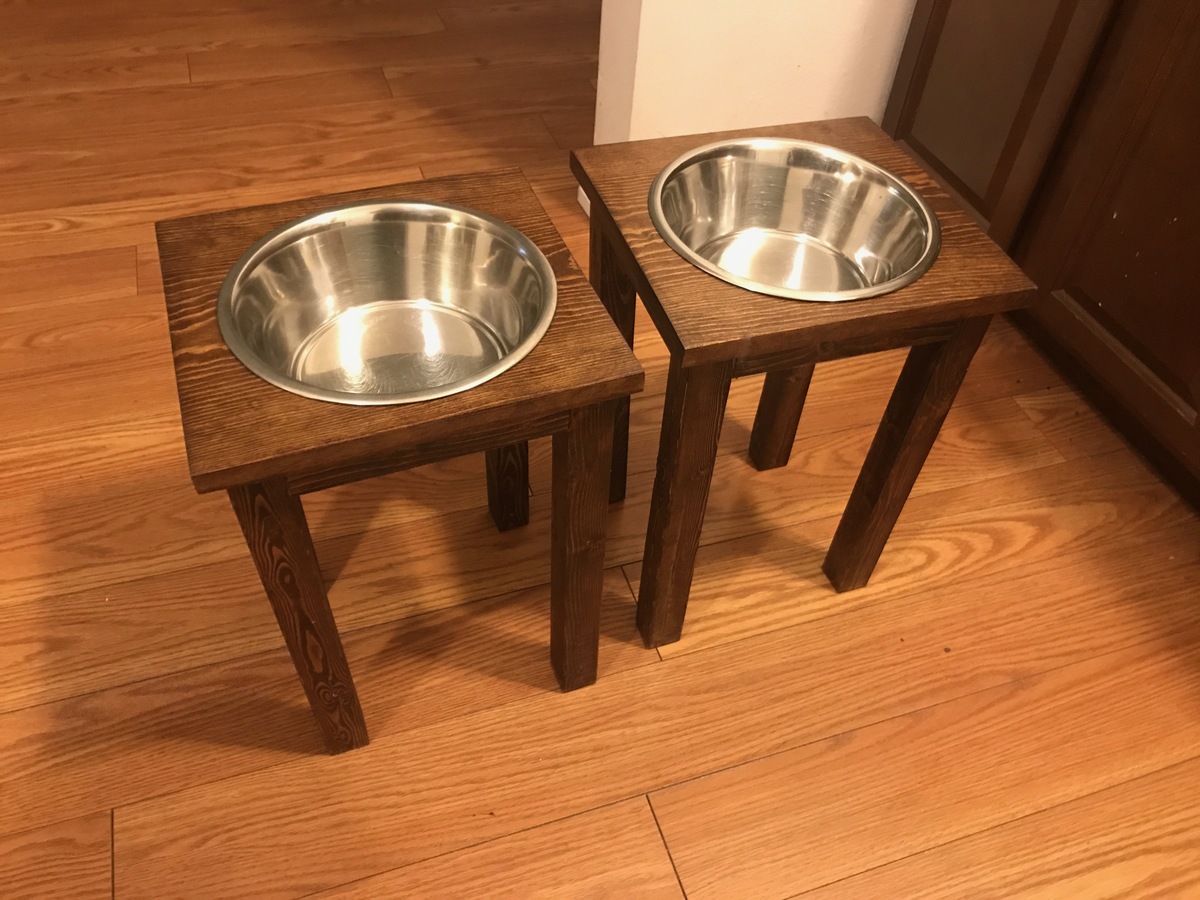
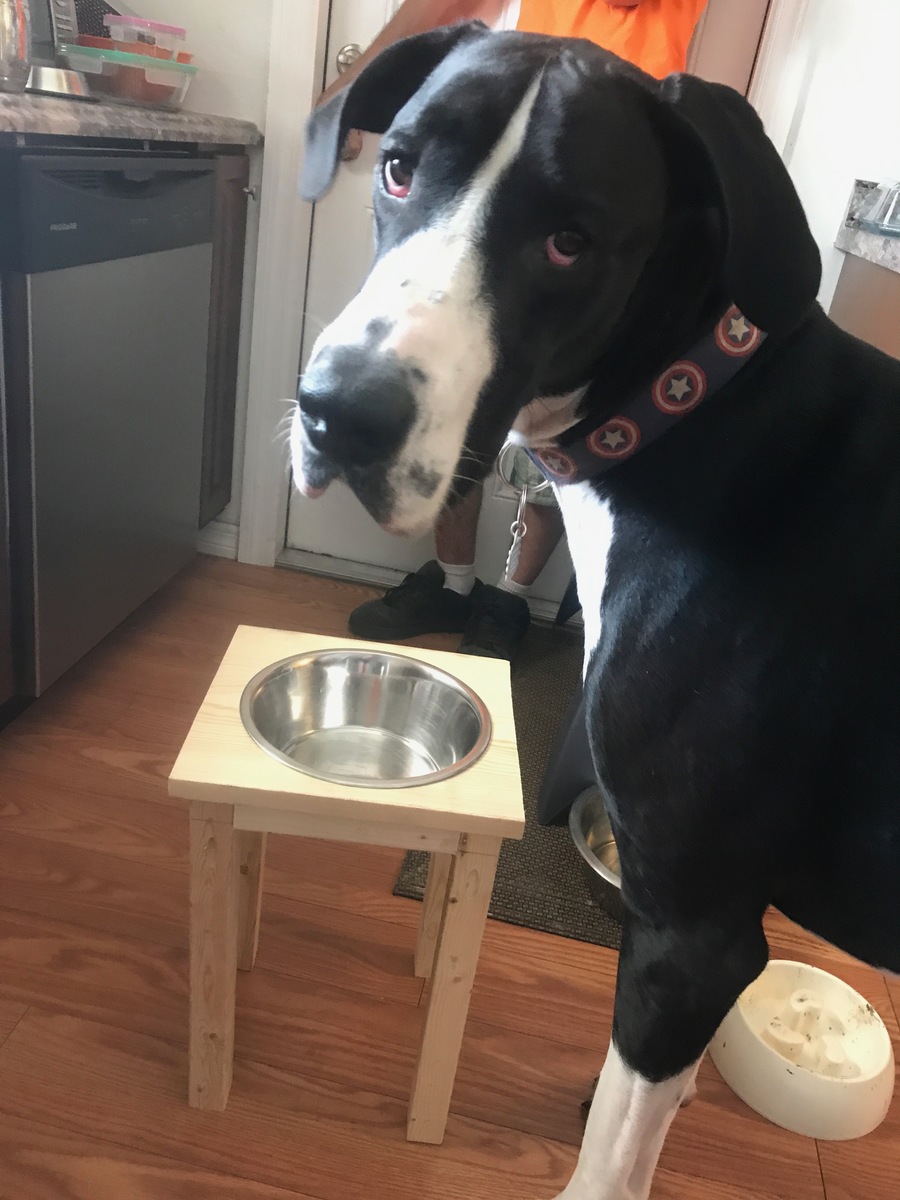
This was a really fun project! We increased the leg height to 16" to work better for our Great Dane. Also, there's a typo in the "to buy" list. It says you should buy 1X2 @30.5" but they really mean a 1X3 since they refer to a 1X3 the rest of the time. It still works with a 1X2, but we used 3 pocket drilled holes instead of the 5 they suggested.


Comments
lehcar01
Wed, 04/24/2013 - 21:09
o
o
agarrigan
Thu, 04/25/2013 - 04:58
I Love This!
I've been wanting to build something like this for the kids. Thanks for the inspiration.