TeXas Kitchen Island
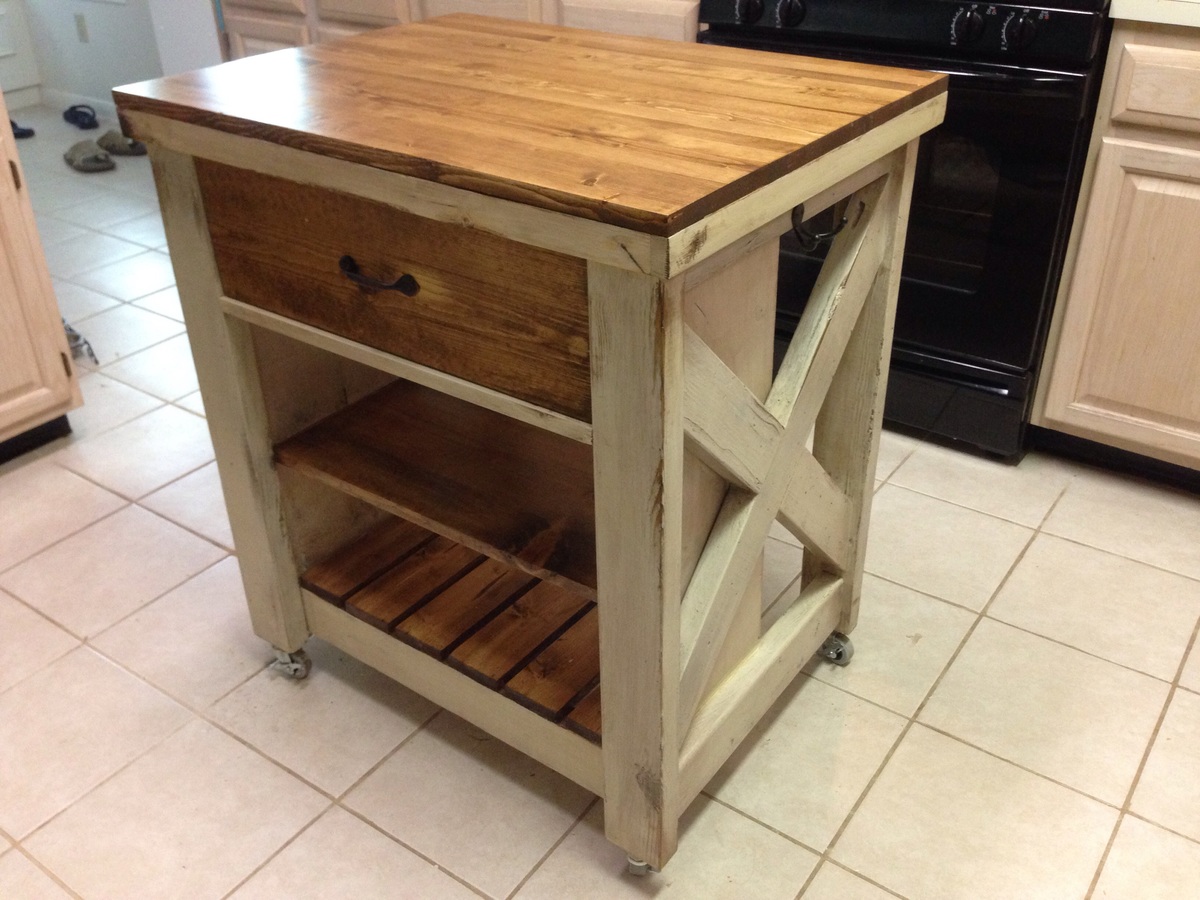
This kitchen island should be your next project. My wife wanted me to build an island for so long, but I never thought I had the skill to get it done. I can truly say this was only my second woodworking project and it was pretty simple. I learned a lot along the way and made a modification to the drawer rails. The key to my success was the Kreg jig. In the end it was a blast to build and I couldn't have done it without Ana's plans.
The rolling kitchen island is the central point of the kitchen now, even though we have 75'sf counter space to use. It seems to be used by everyone in the family whether it's getting something out of the fridge or using it for serving. Well worth the effort..
MODIFICATIONS: I made two small modifications to the project.
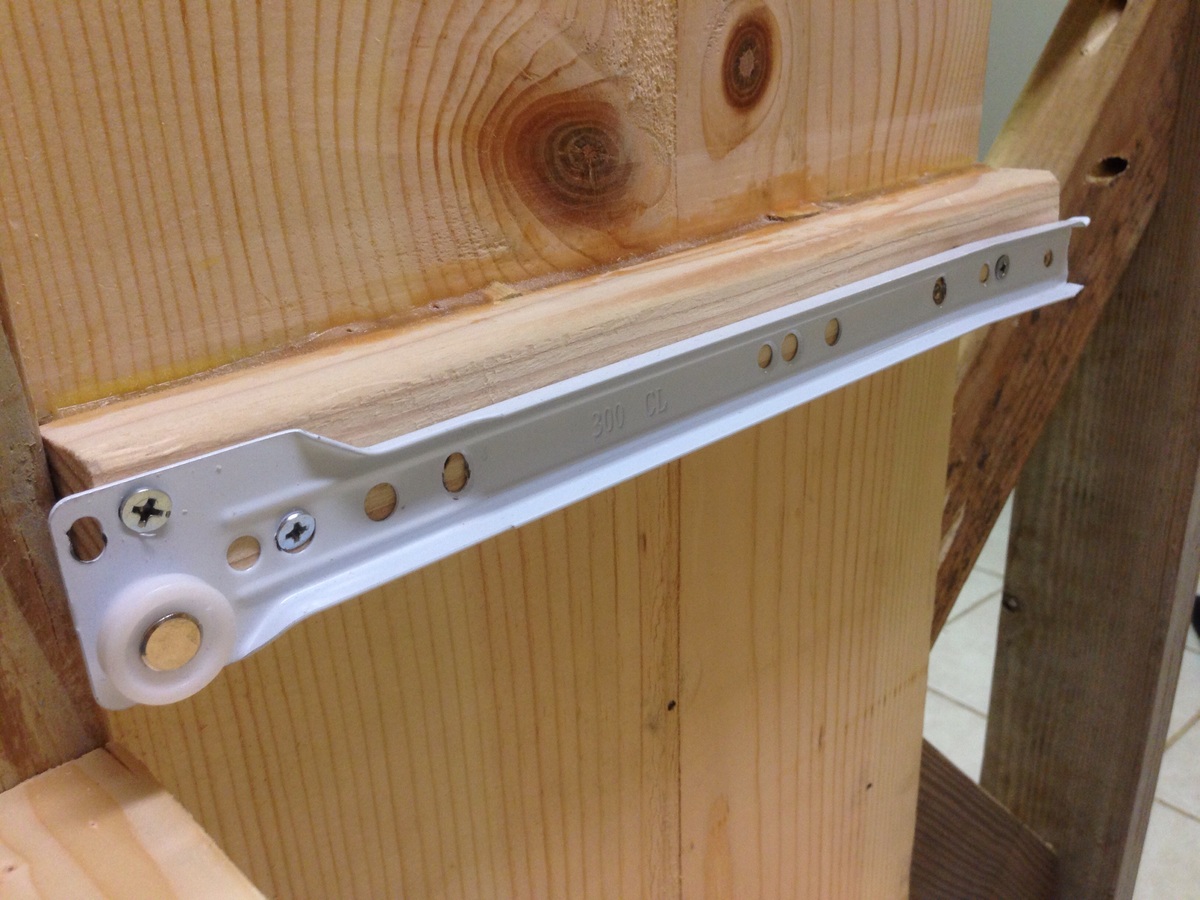
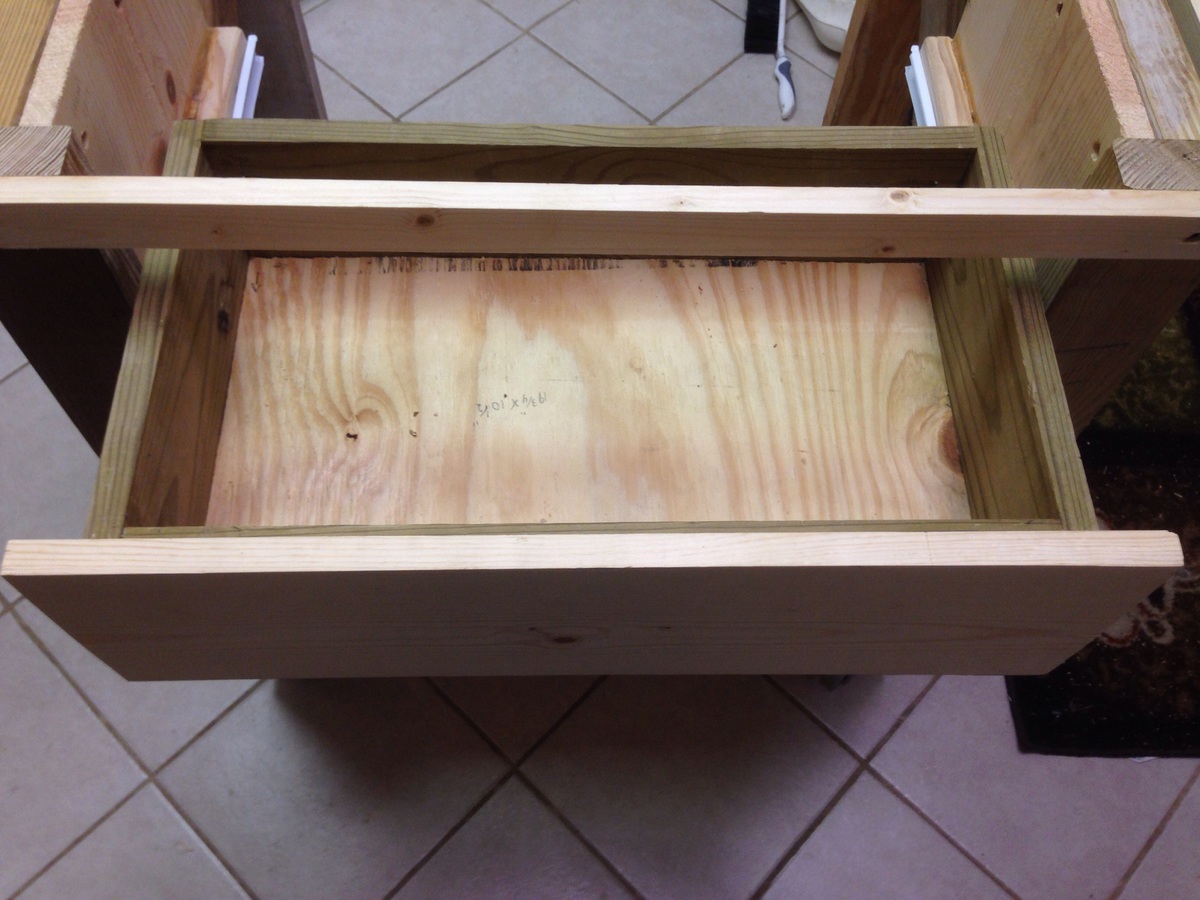
One was the casters. Instead of the plate casters I installed threaded stem casters with a T-nut in the bottom of the legs. The casters are adjustable so it's easy to keep level. The second mod was the drawers. I initially built the drawer with wood rails, but was not happy with the drawer falling to floor, if you pulled it out to far. Living in a humid climate, I could see the original rails swelling and then the drawer would be hard to operate. My solution was to add metal rolling sliders. I had to remove the 2 x 2's on inner cabinet and the 1 x 2s on the drawer itself. I added 1 x 2s on the inner cabinet, mounted 12" metal sliders ($5)) on the 1 x 2s and screwed the other half of slider on bottom of drawer. It may require a small shim behind sliders to make it fit perfect though. I provided photos of this mod. My drawer works perfect now. There is no dragging, no falling out and no wear.
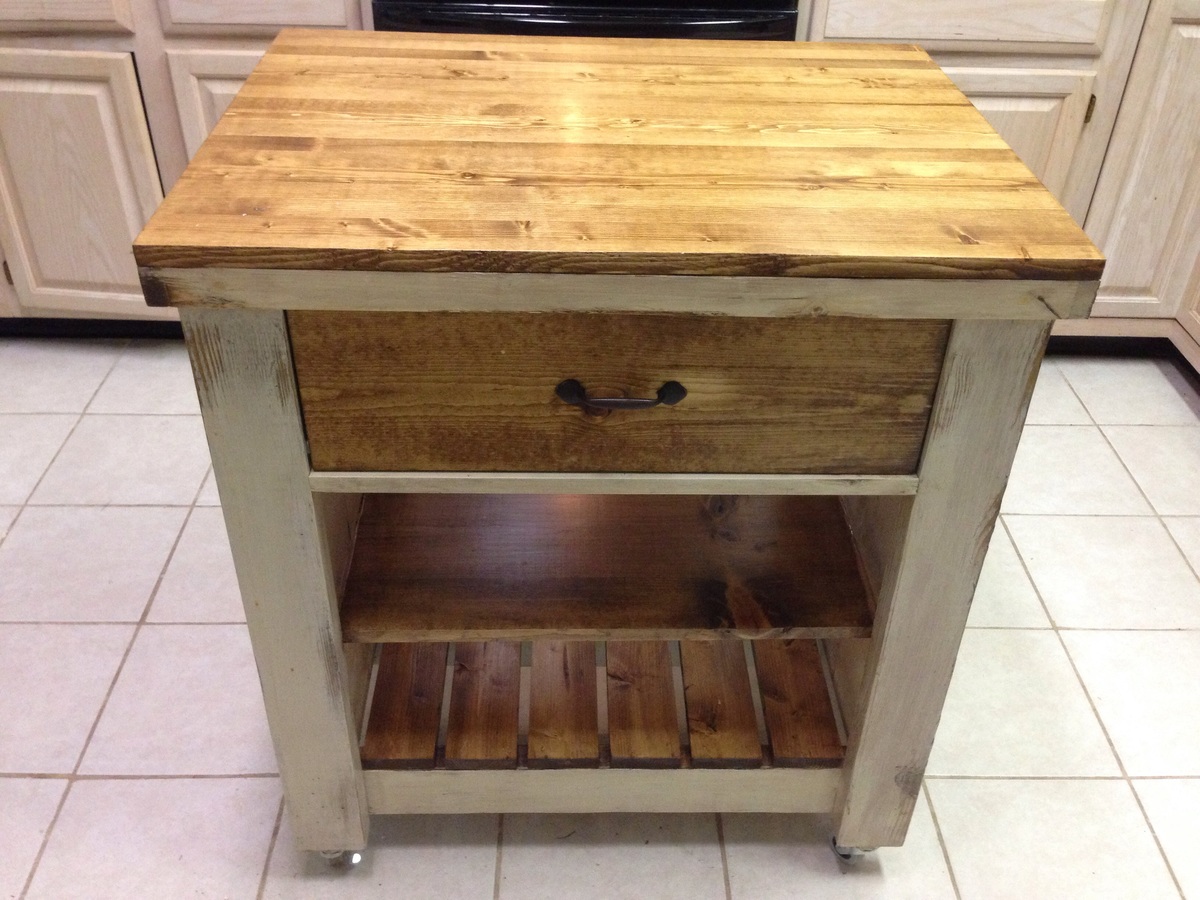
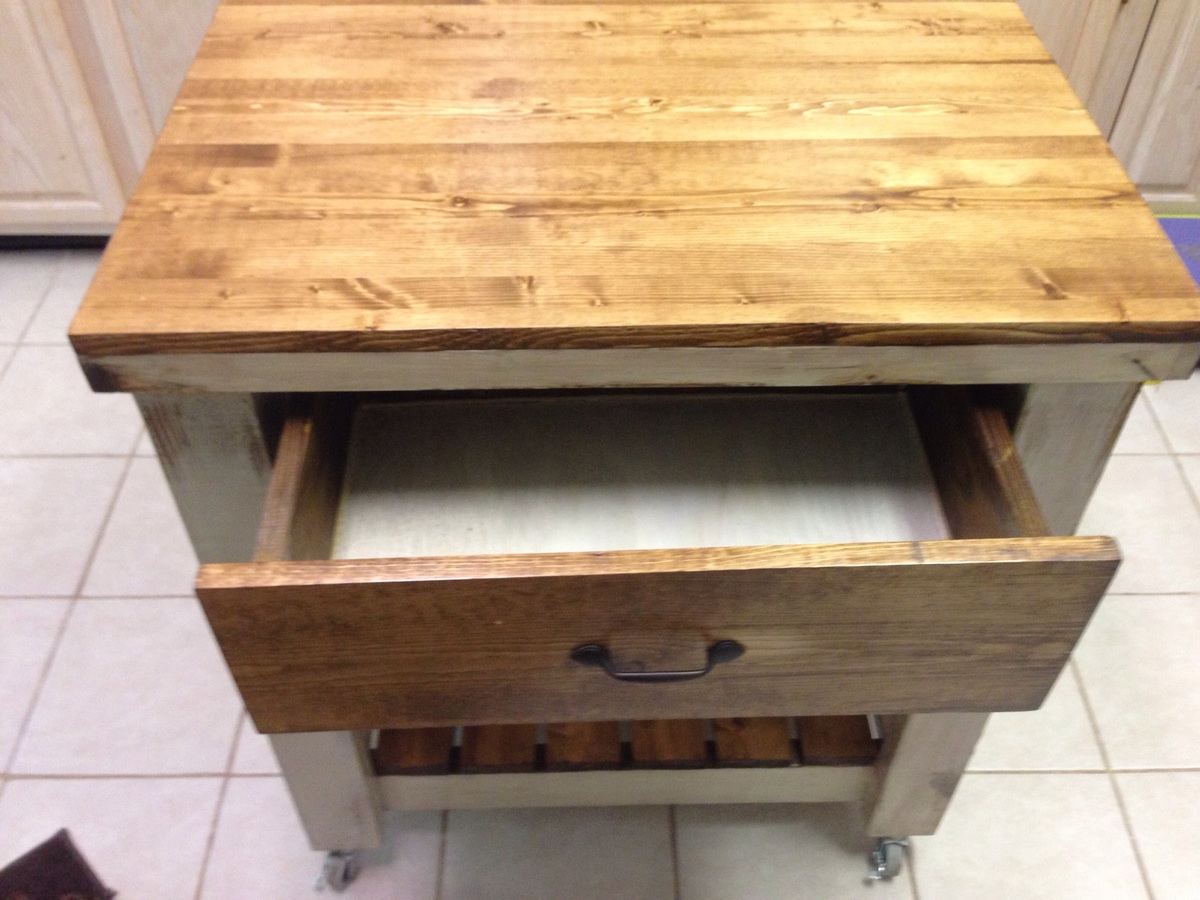
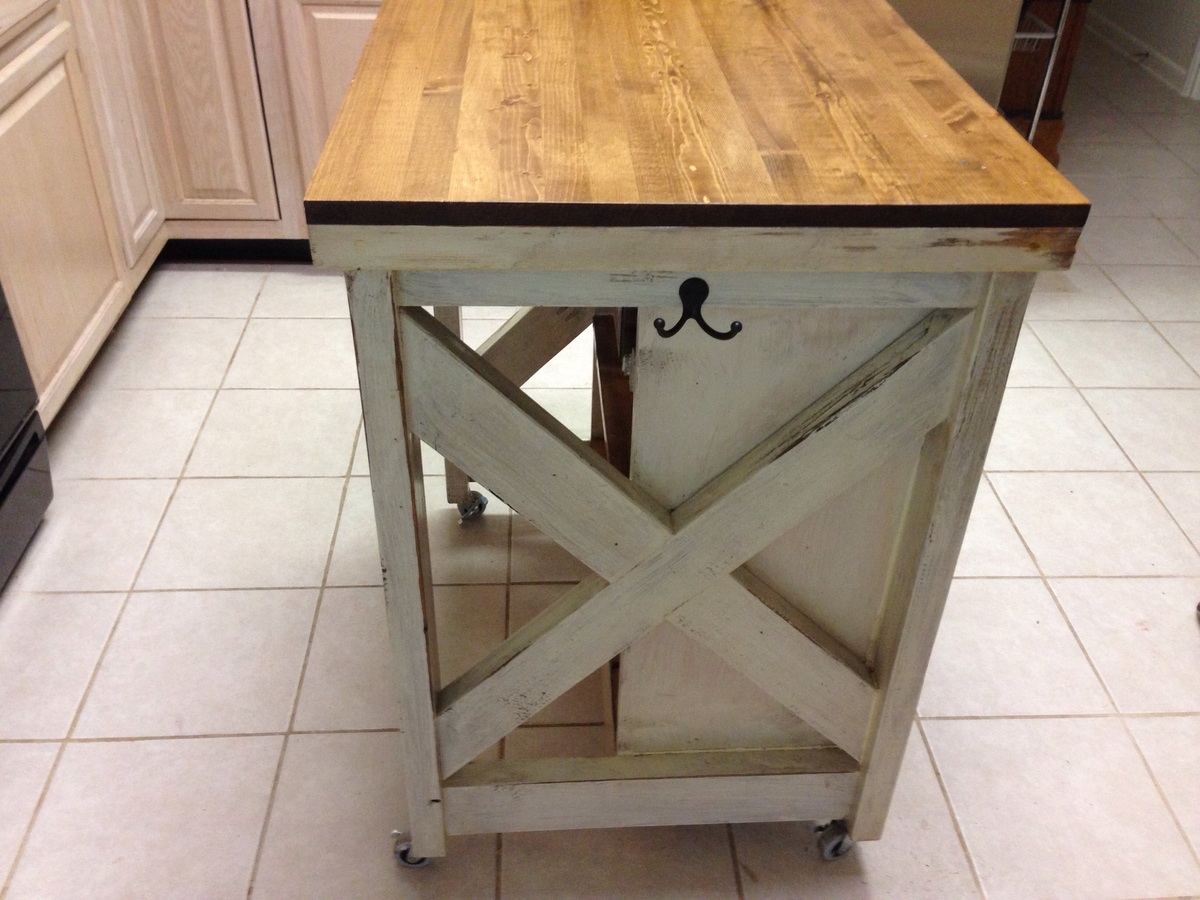
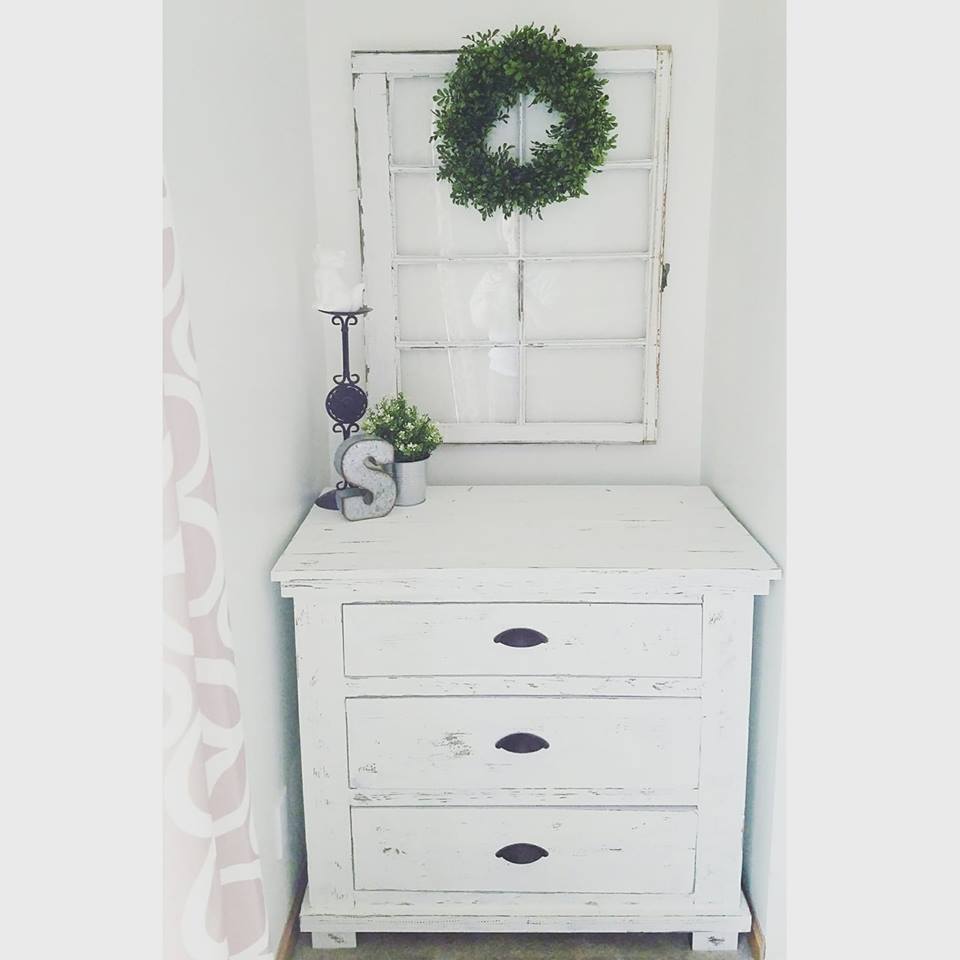
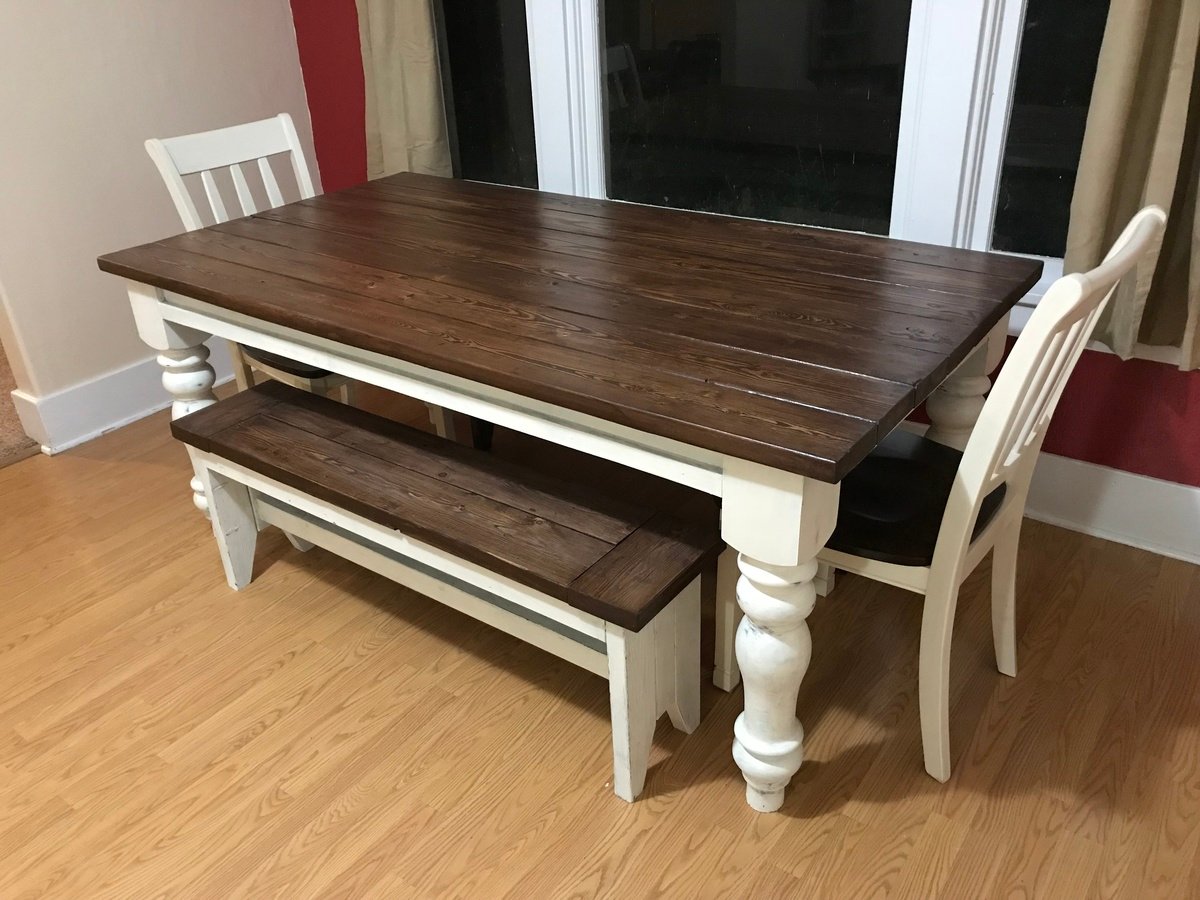
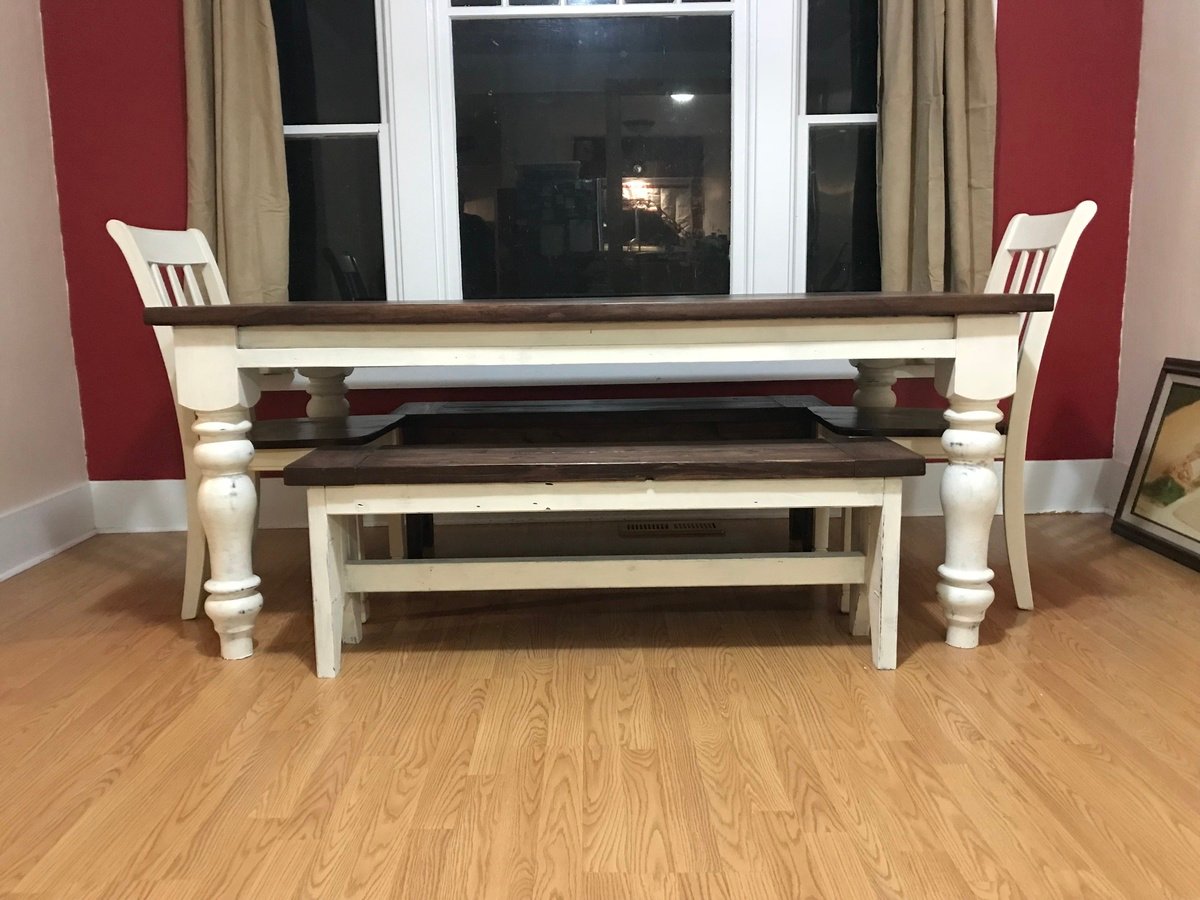
Distressed finished:
Paint; Behr Ultra, Cream color, lightly sanded with spec. walnut stain over paint then 3 polyurethane coats. Top had 4 light coats of poly coat.
