DIY Pantry Shelving
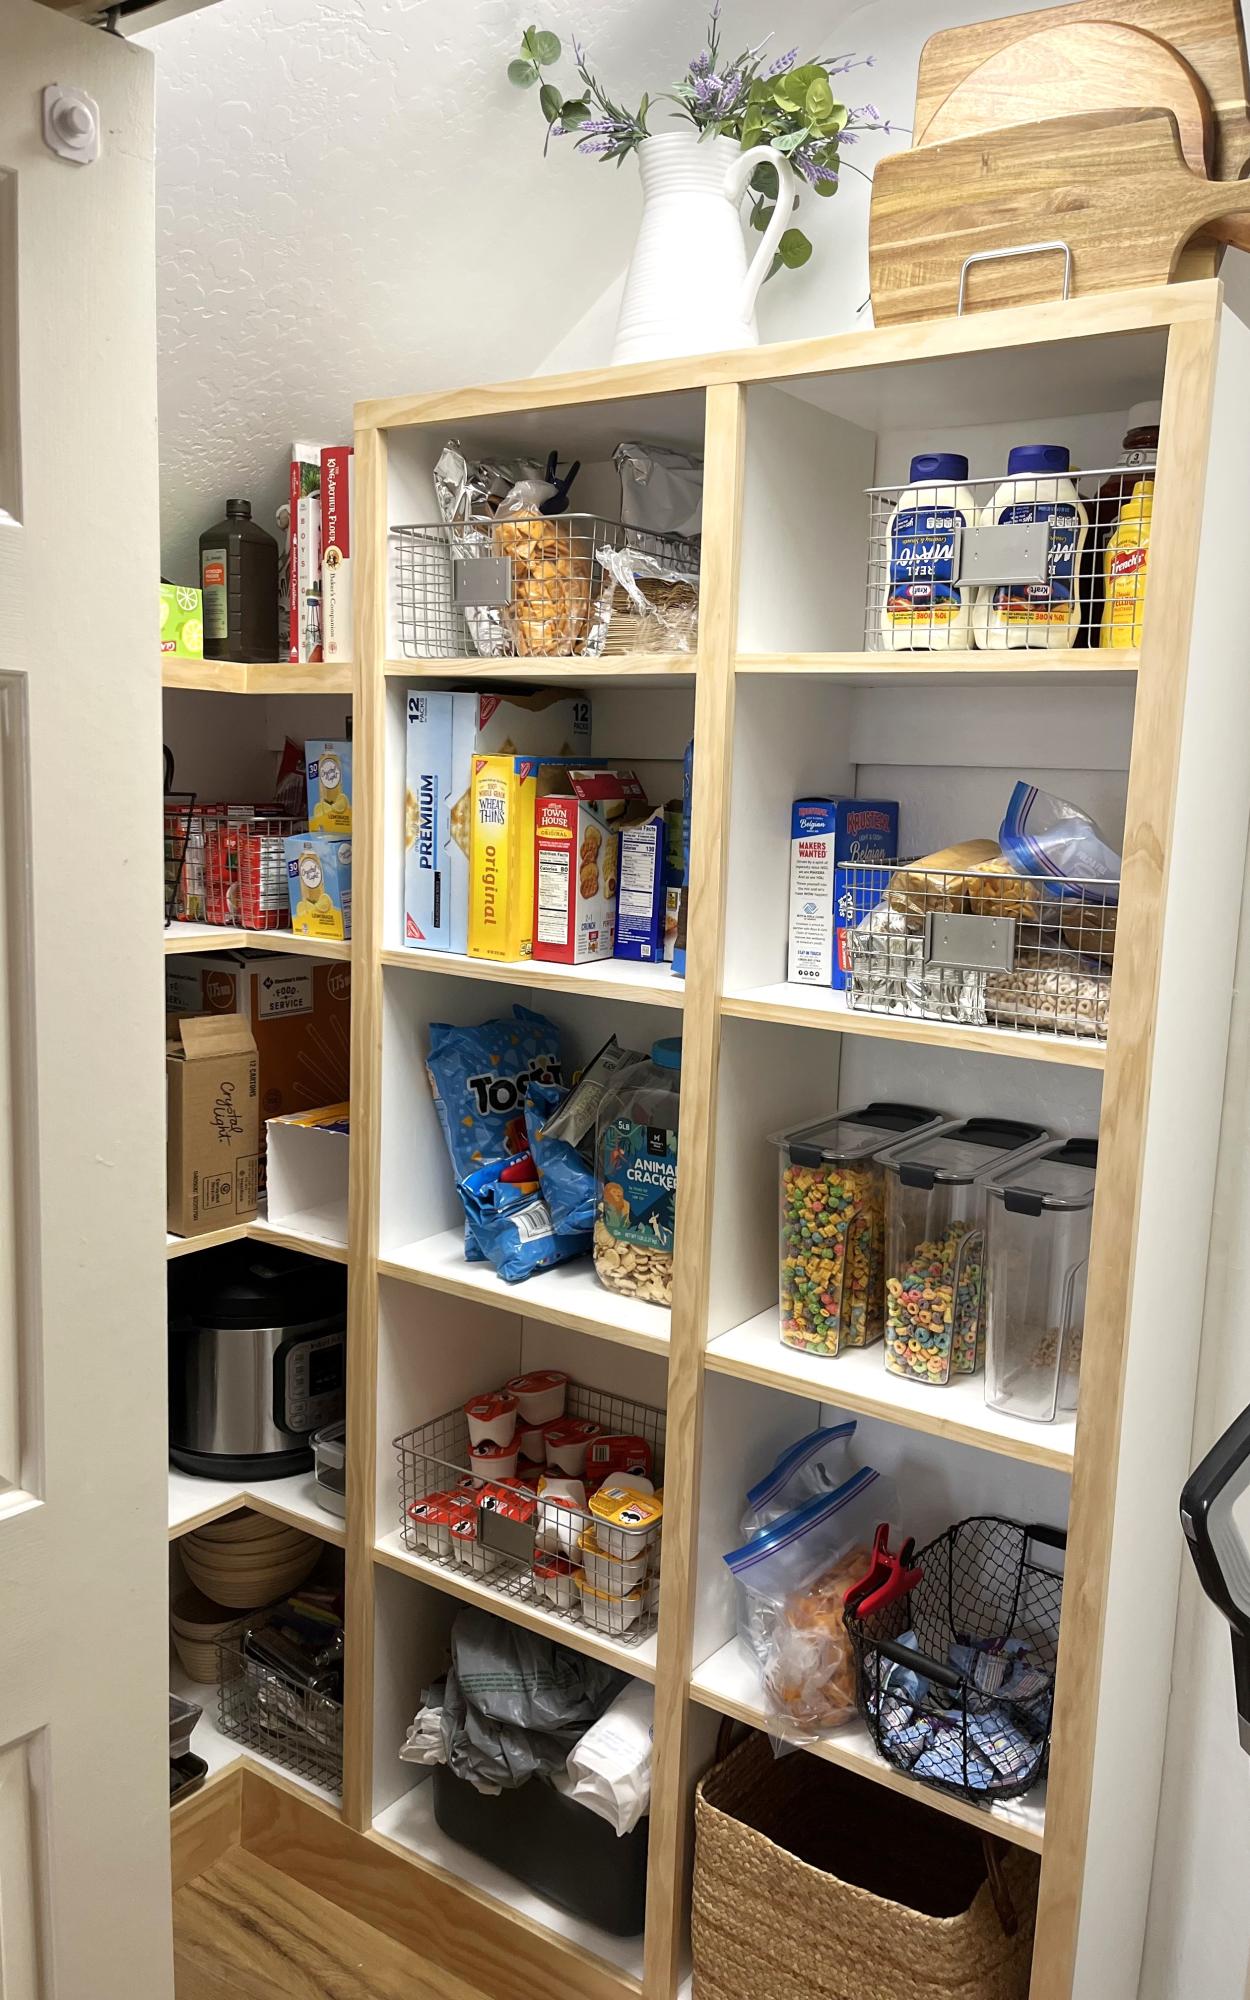
We have a small pantry as well, so we used the shelving featured on your website to help!
I absolutely love it. They’re not as beautiful as yours but I’m happy with what I made :)
Alison
Built from Plan(s)
We have a small pantry as well, so we used the shelving featured on your website to help!
I absolutely love it. They’re not as beautiful as yours but I’m happy with what I made :)
Alison
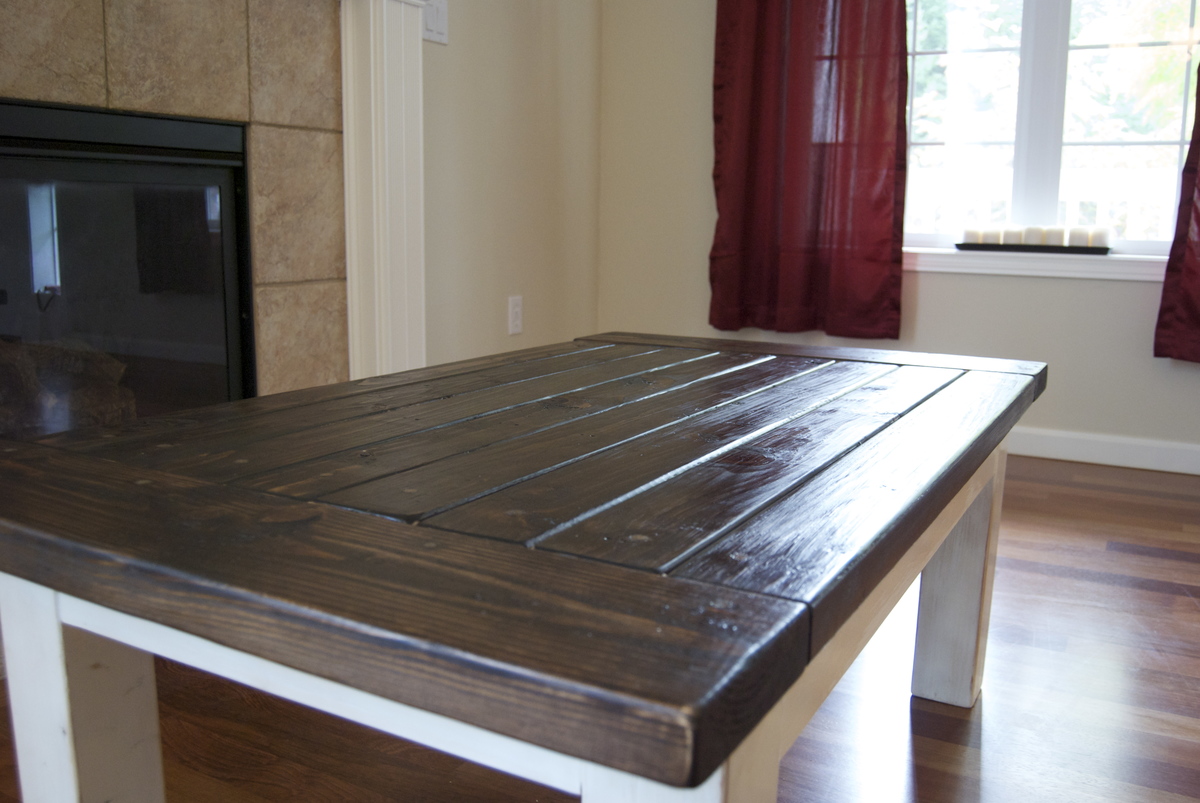
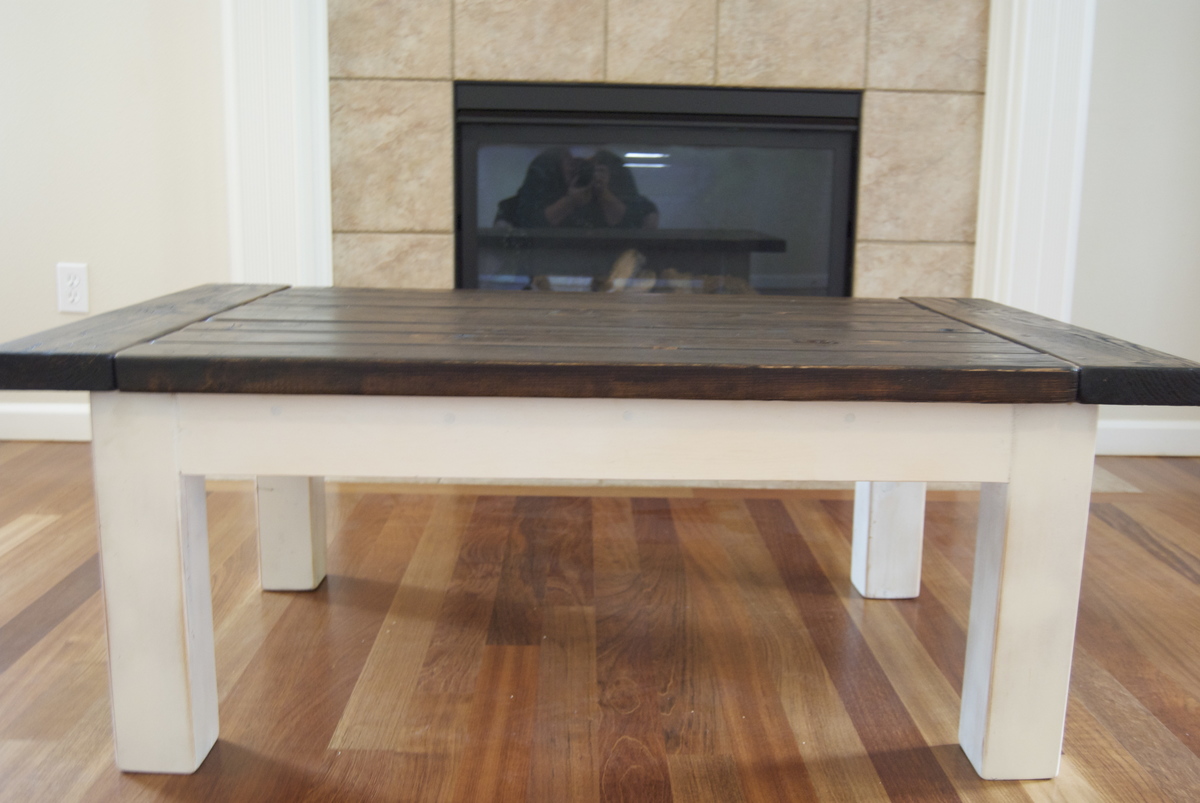
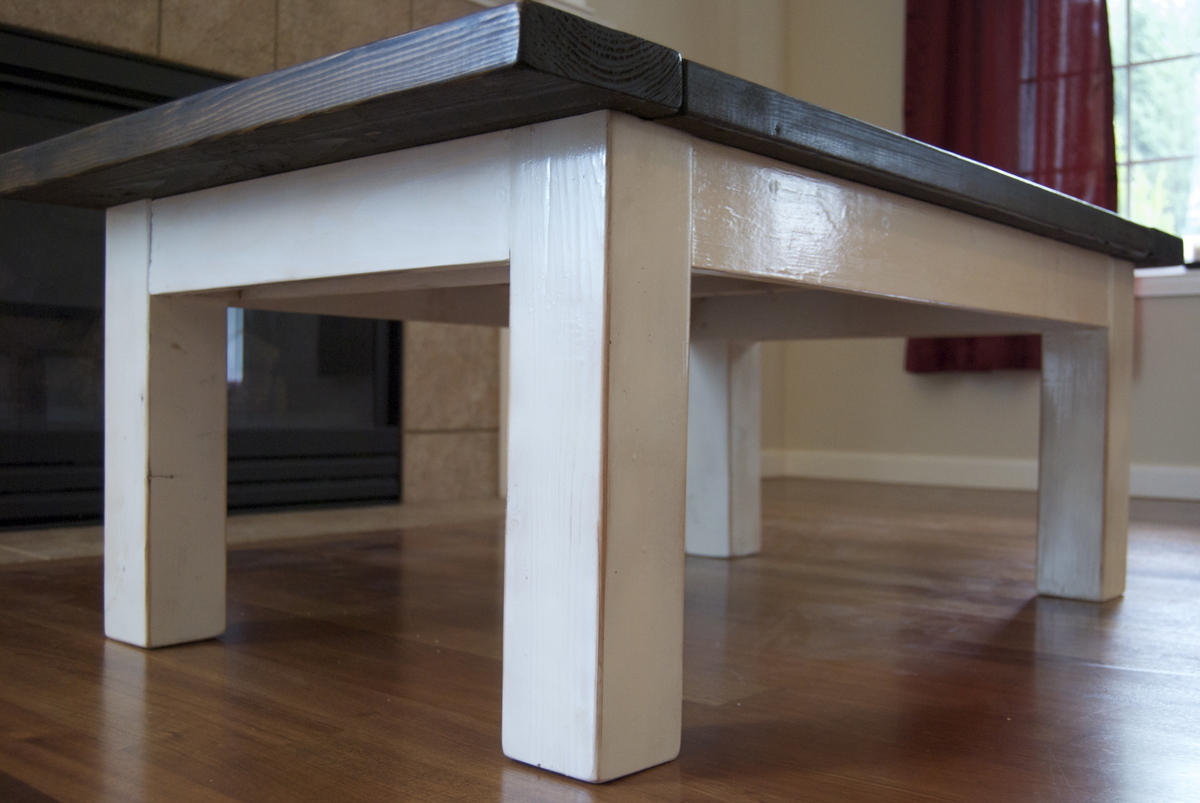
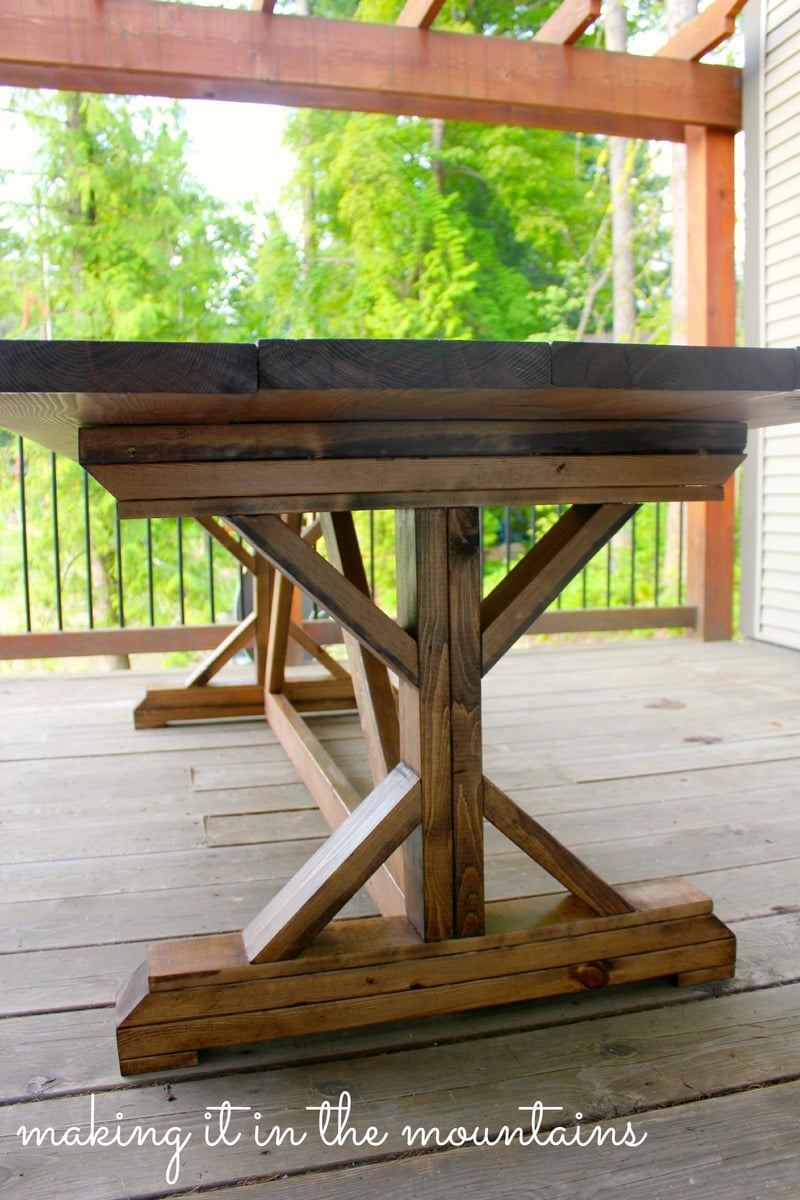
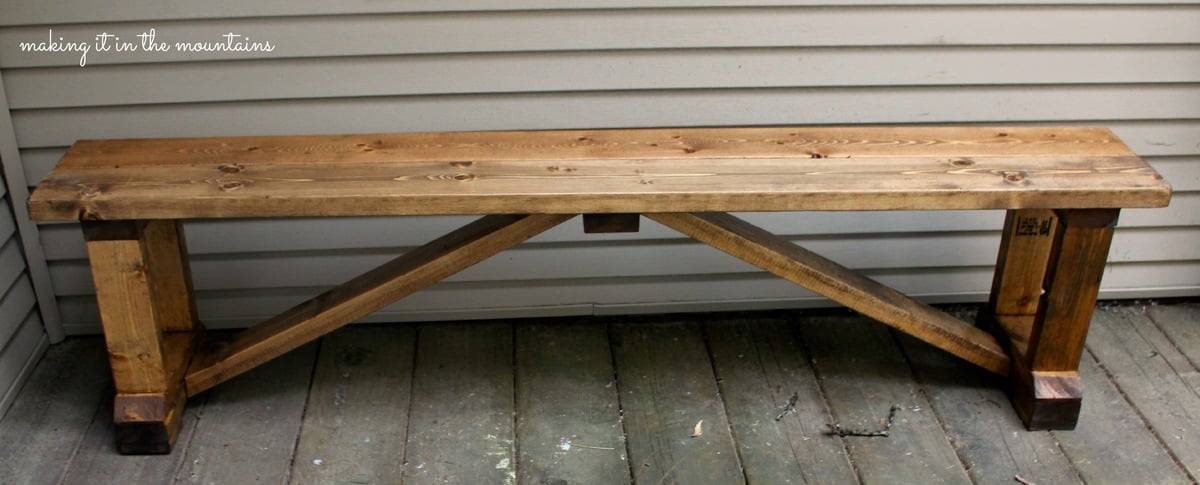
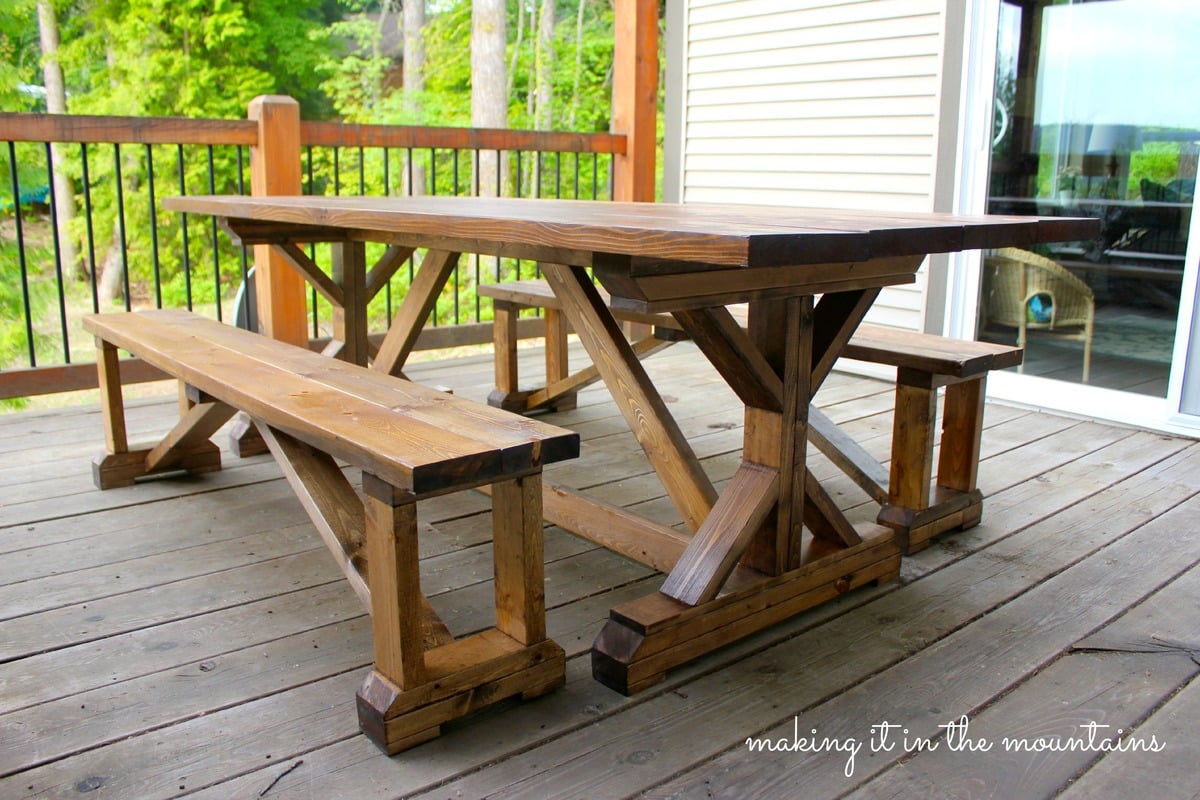
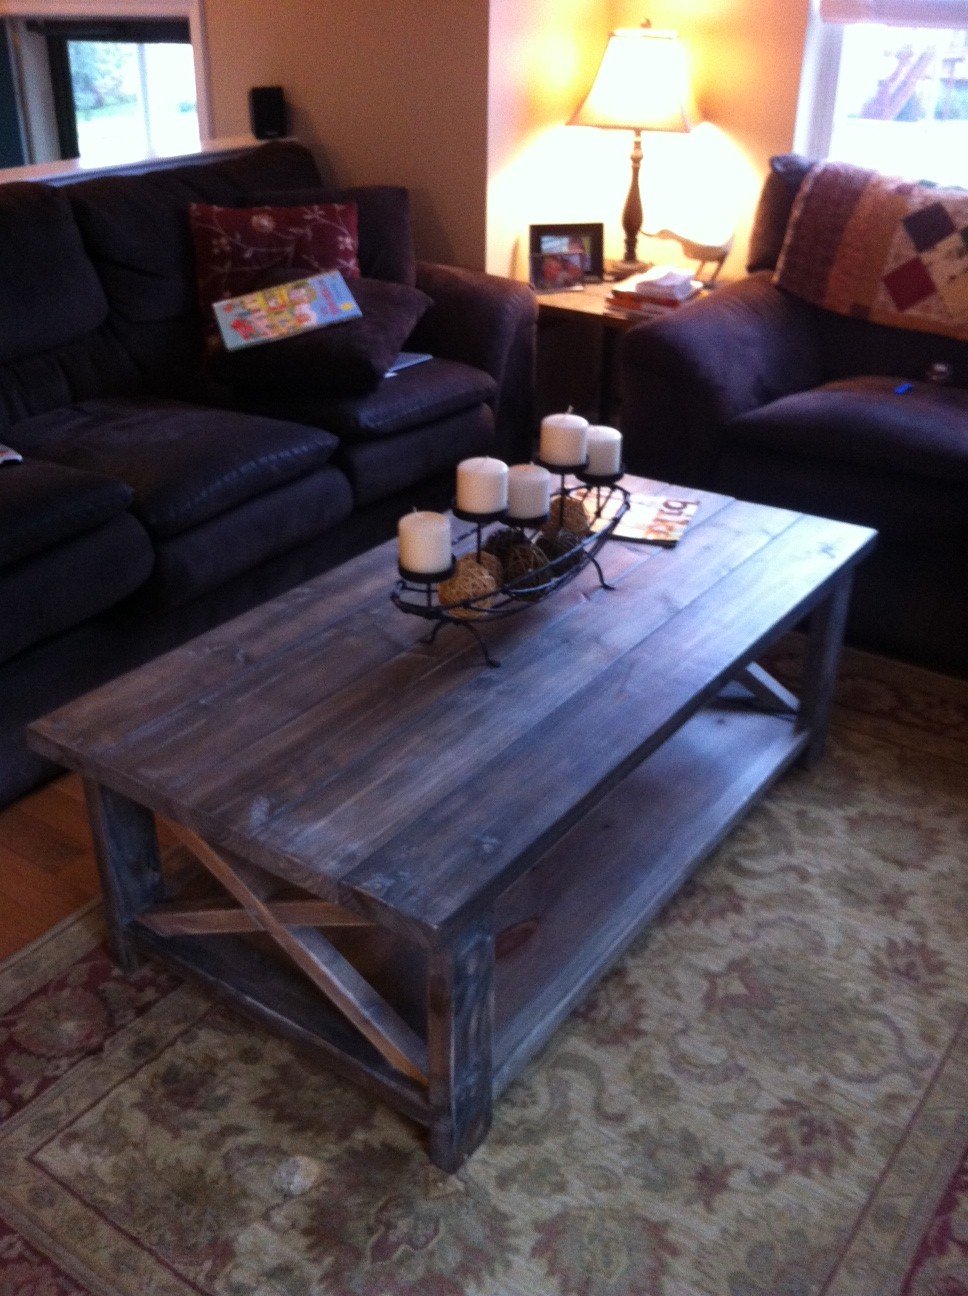
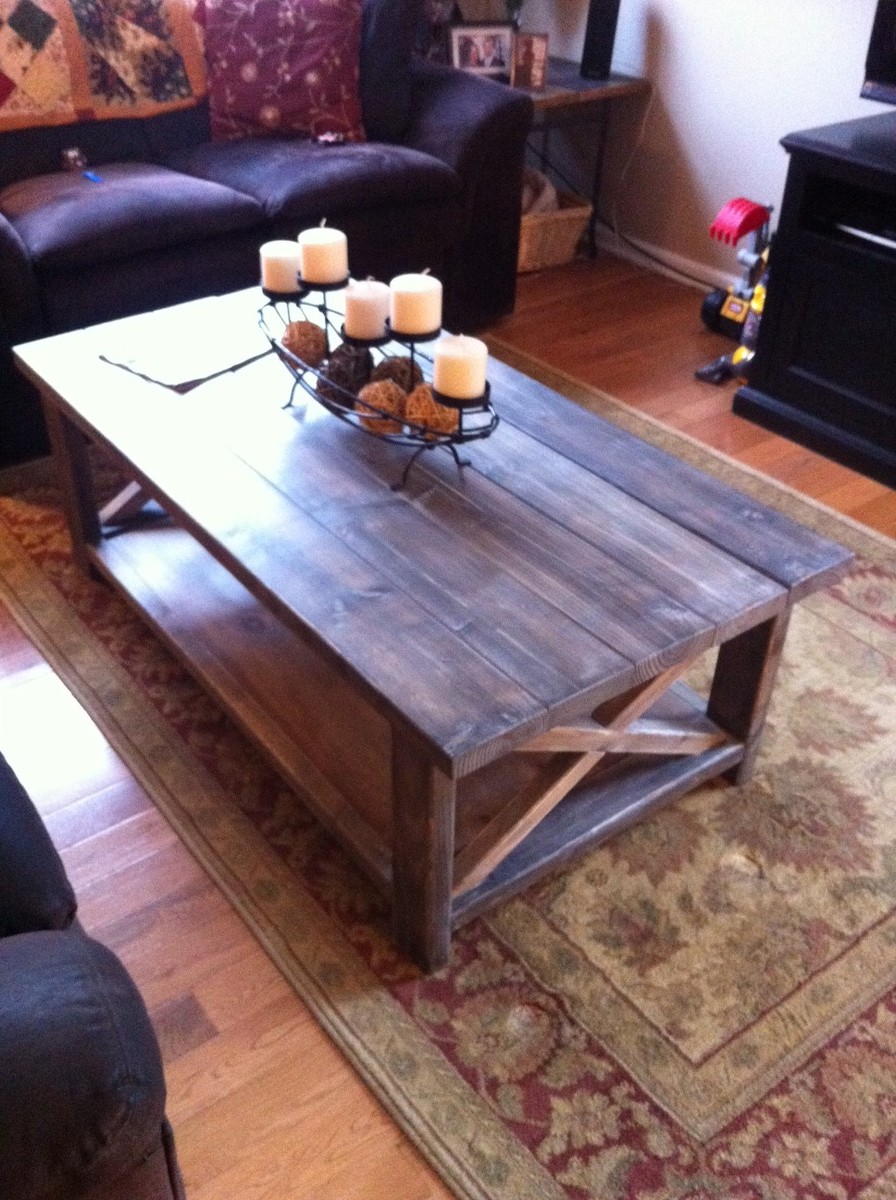
After the high of finishing my first build (http://ana-white.com/2012/08/farmhouse-table-rustic-table), I was quick to find my next fix. My mom was so impressed with the table, she trusted me to build her another piece of furniture for our very empty new home. She liked the look of this coffee table, so I adjusted the dimensions to meet her needs and away I went. It was pretty fun and not too difficult. It was a little more time consuming that I had anticipated, but that was mostly due to the two different finishes on the legs/apron and the top.
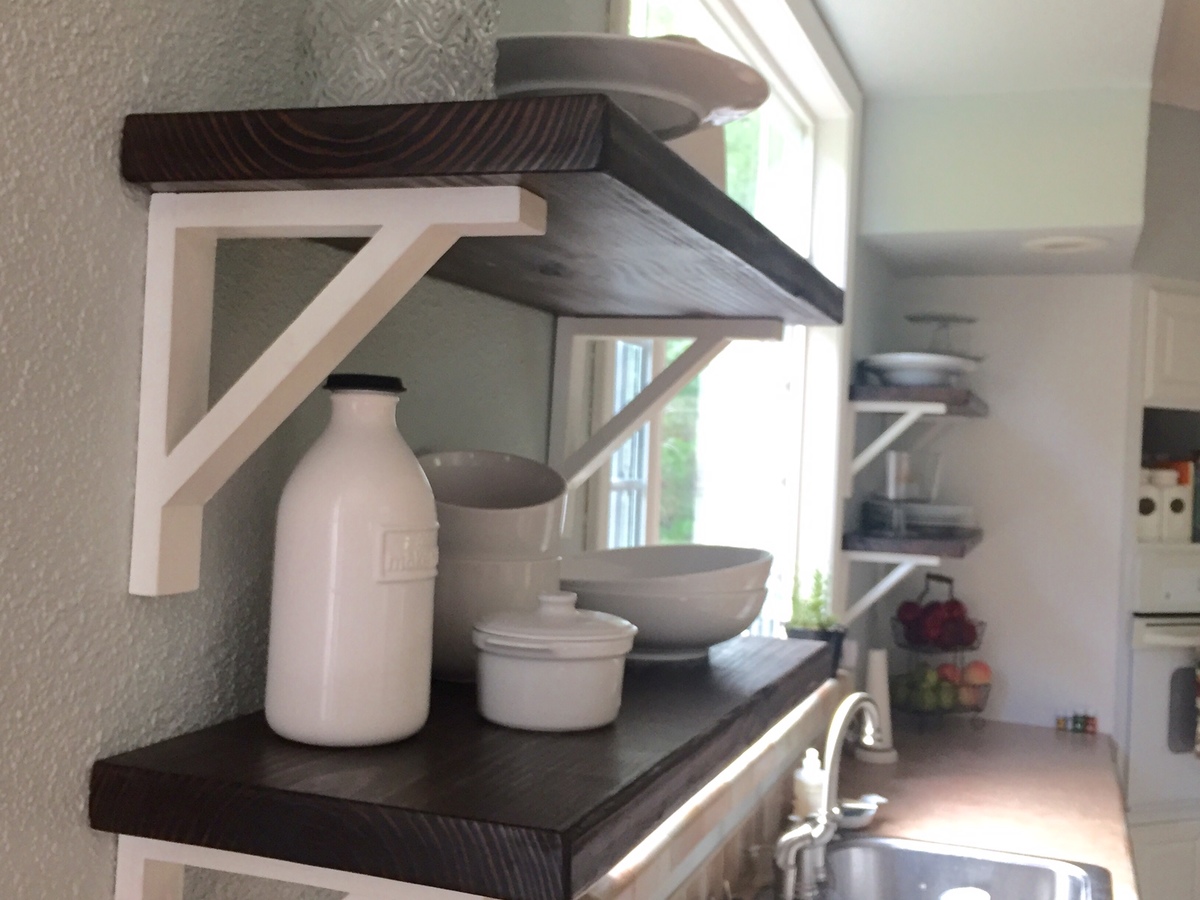
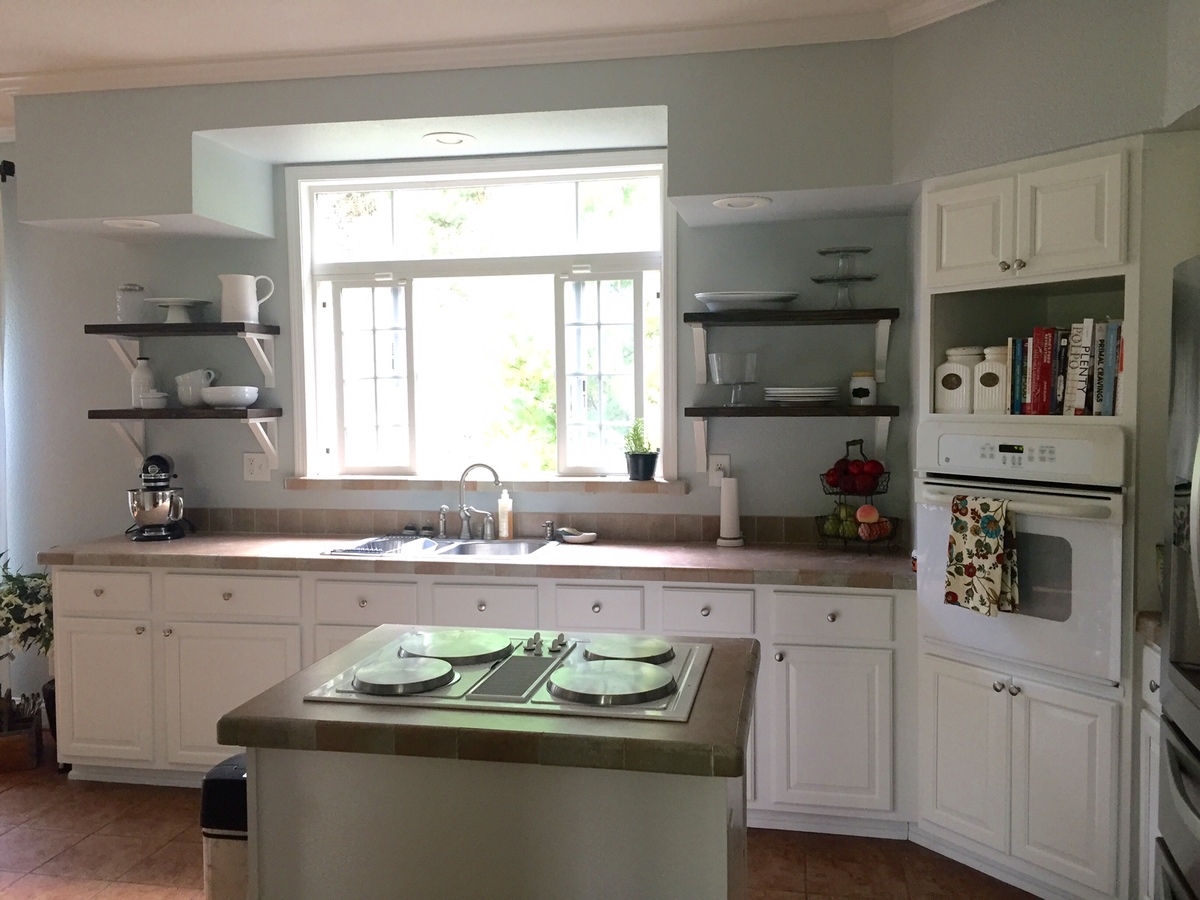
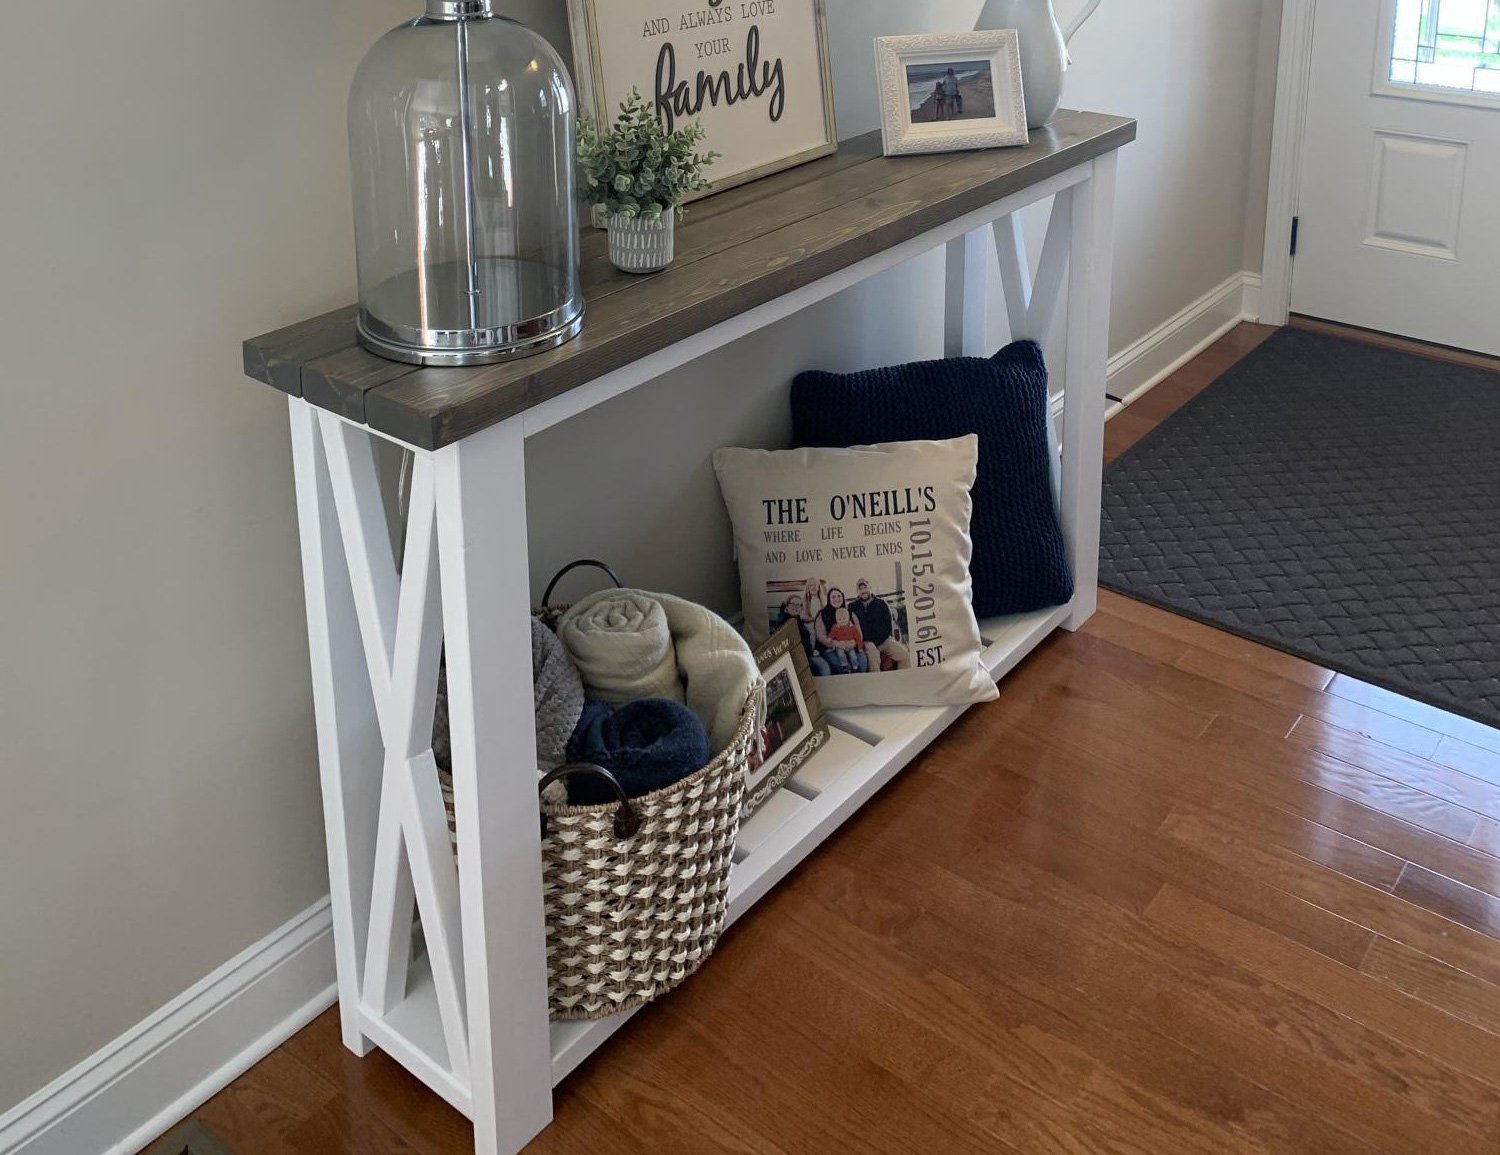
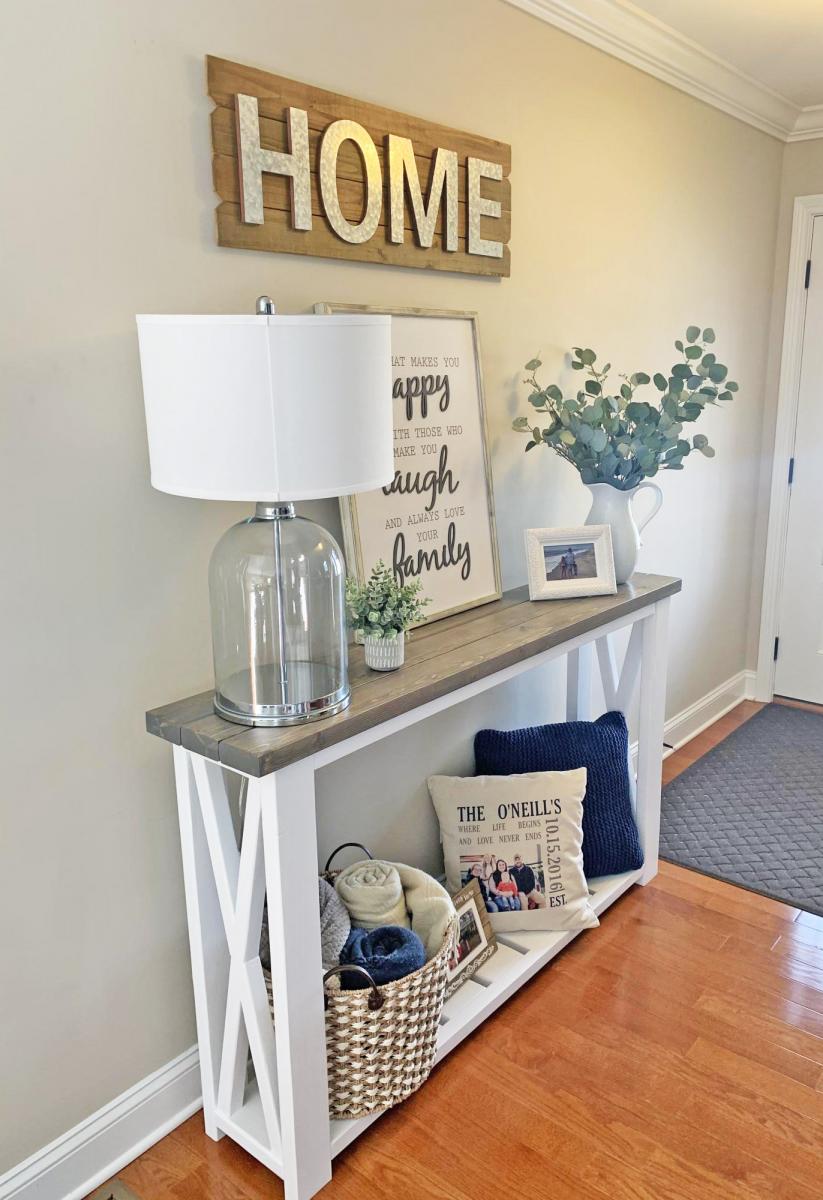
I cannot believe how easy and inexpensive it was to get the Pottery Barn look for SO MUCH less!
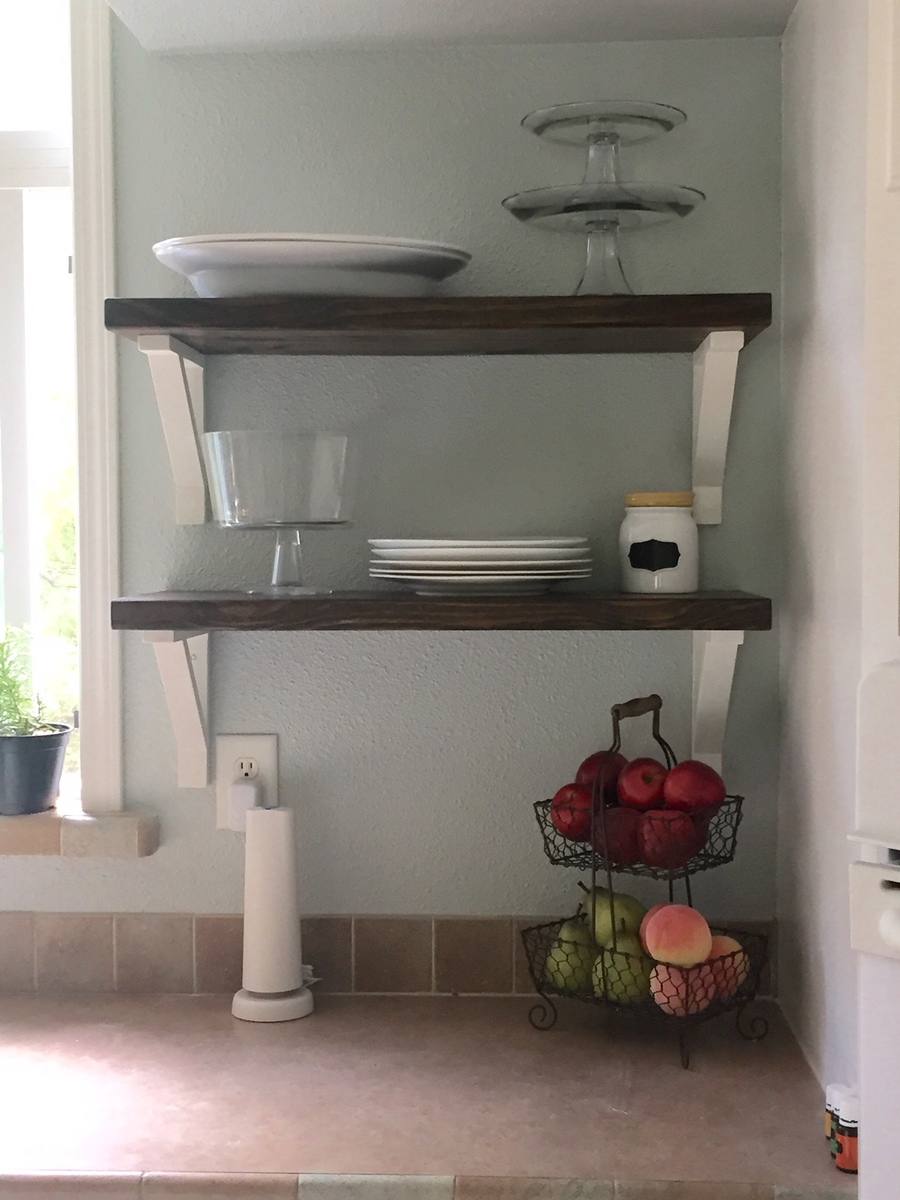
We used Ana's plans for her Tiny House shelves and the only real difference was that we decided to use slightly thicker wood. We stained the wood espresso and painted the brackets Albaster by Sherwin Williams.
The longest part of this process was the staining because the sealer took quite a bit of time to dry before being handled, but this was overall a very simple project with not a lot of effort. It just requires patience!
We couldn't be happier and it was MUCH cheaper than the custom shelves we had quoted!
Thanks Ana!
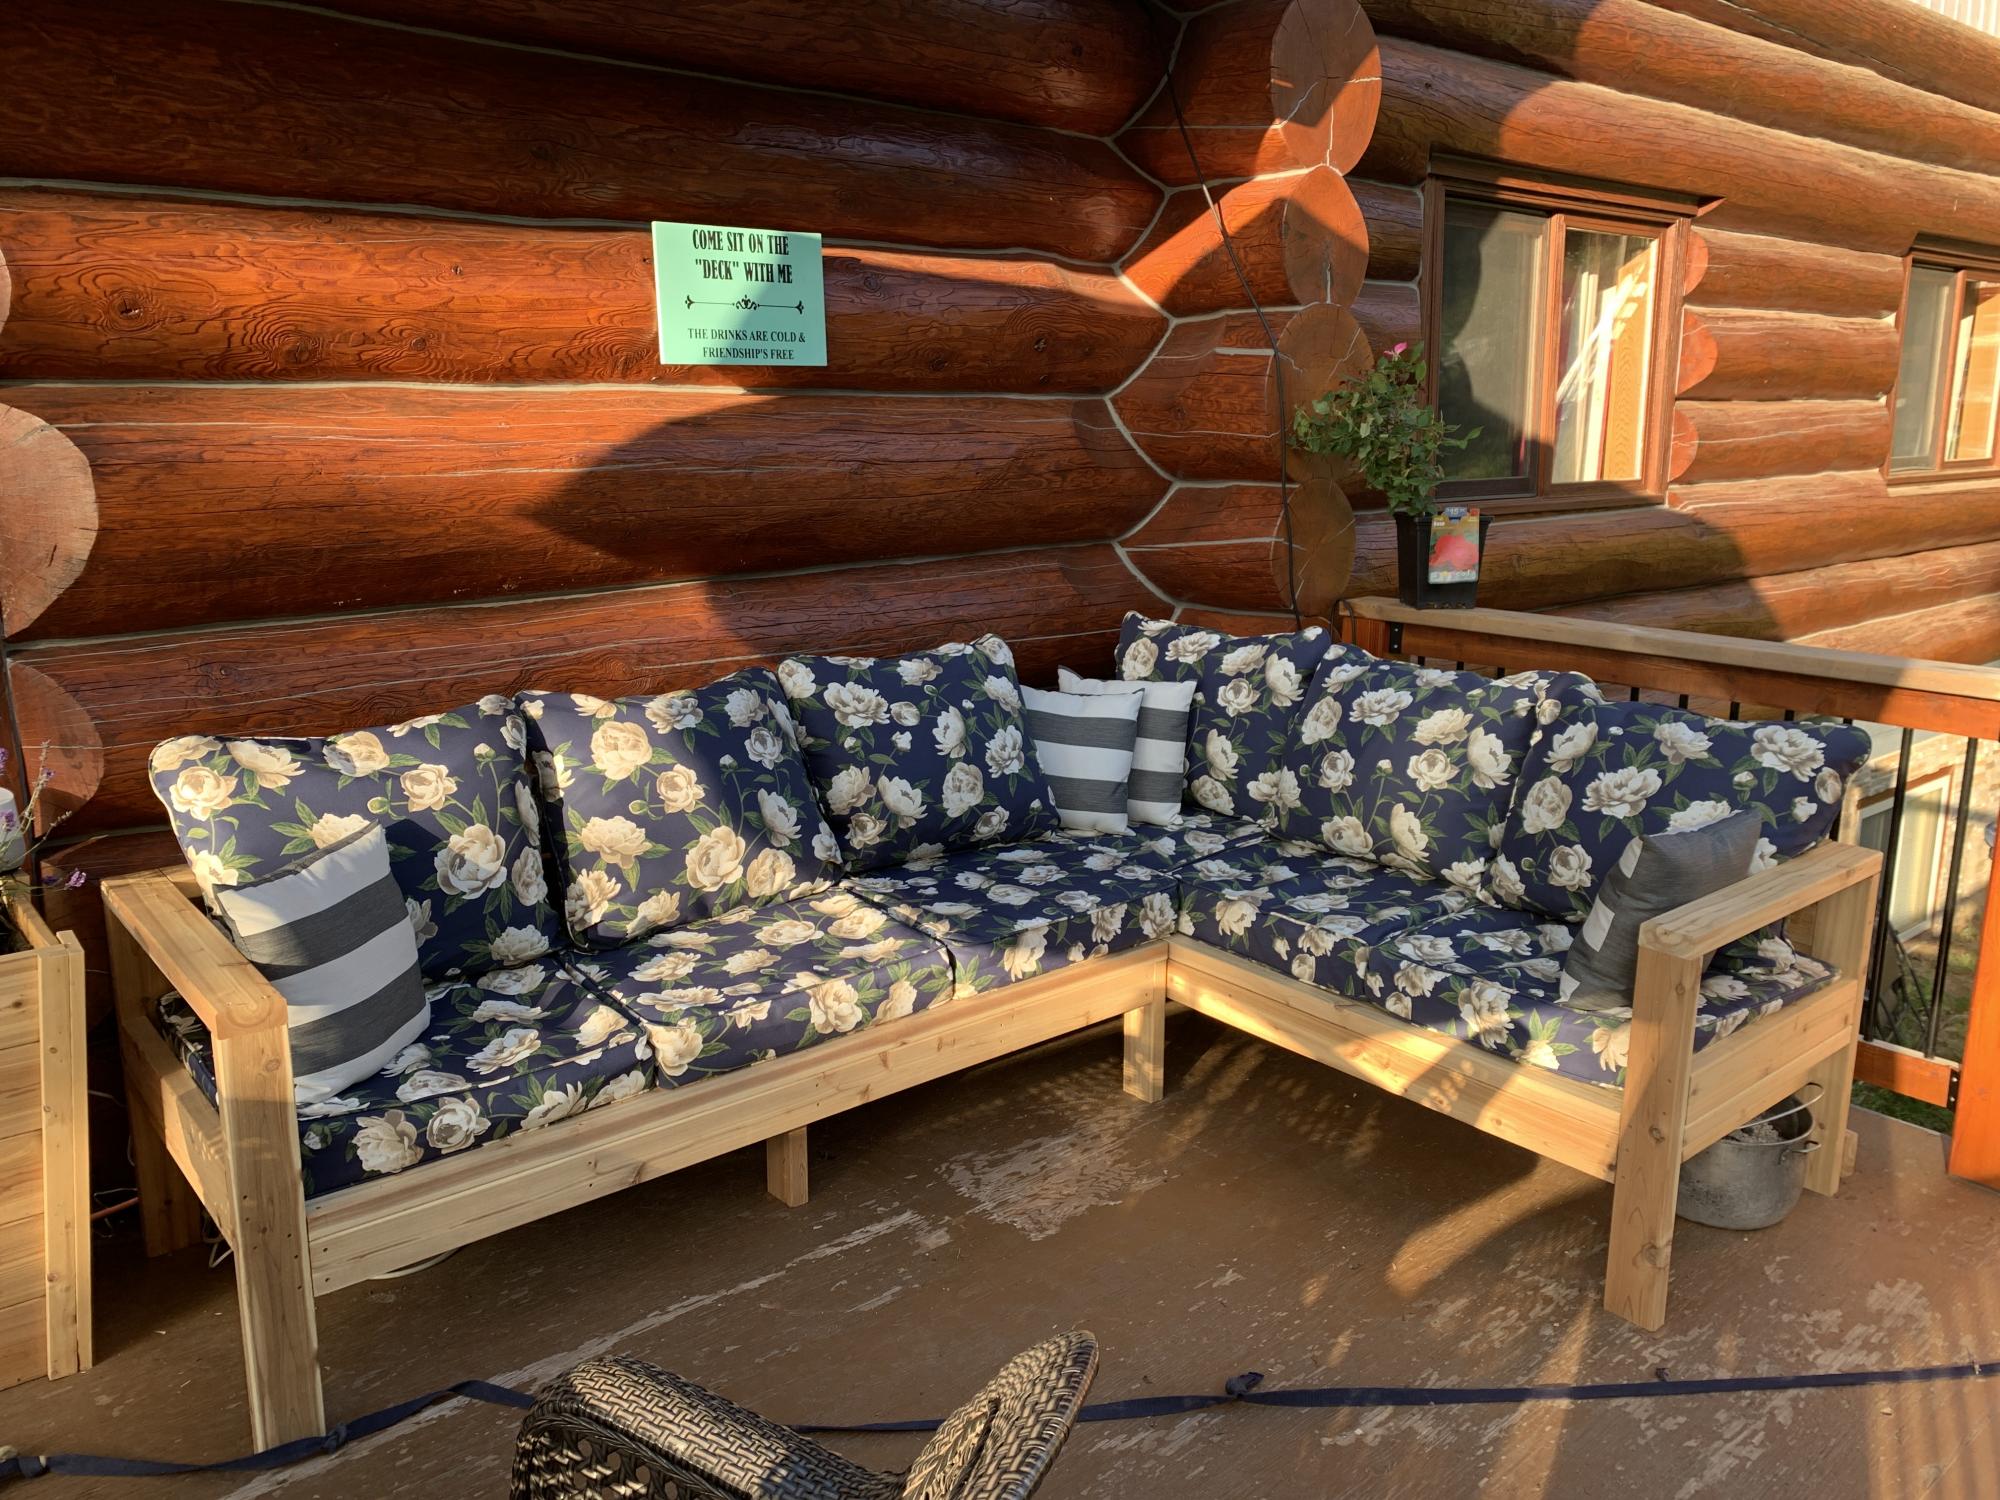
Loved this project. The third one I have completed from Ana’s projects. Took about 3.5 hours to complete both. I used 2x4 cedar. I did add an additional piece on the back of both sectionals as I found the cushions I bought would slip down the back.
So excited about how good this turned out!!!
Mo Harris

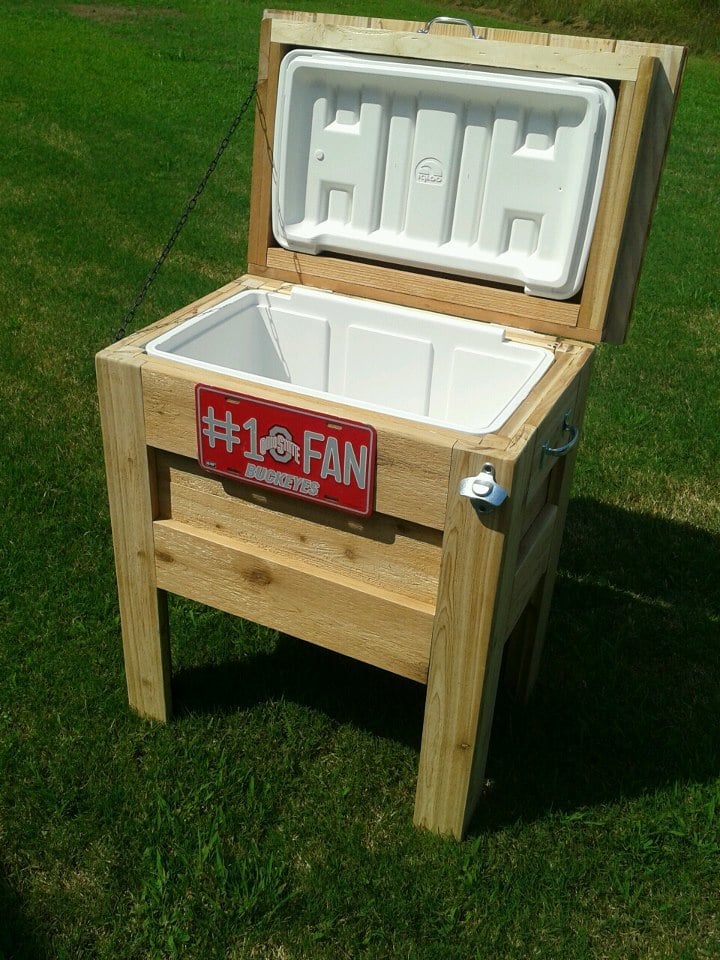
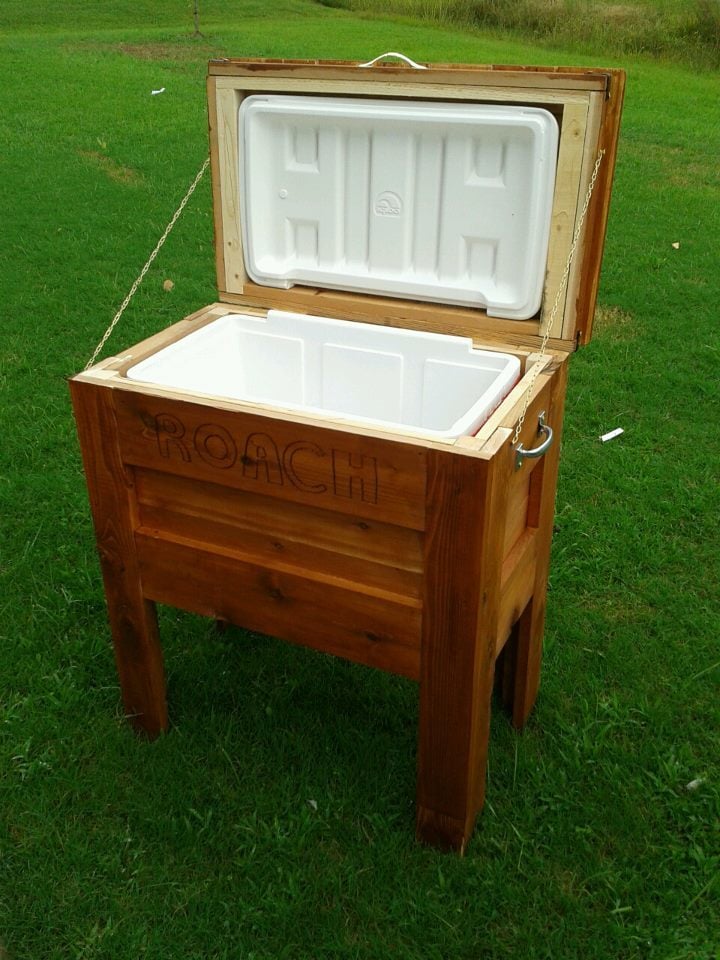
An Outdoor Wooden Cooler is the perfect way to accent any deck, patio, or garage. Can be made from Cedar, Pressure Treated, Cyprus, etc. Sizes can vary from small 28 qt coolers to Large 120 qt coolers capable of holding hundreds of drinks. These coolers can be themed for your favorite sports team, favorite hobby, or anything of your choice. Engraving or wood burning is available.
Fri, 08/31/2012 - 09:52
Well, actually, two. My beer loving son-in-laws would love this, and Christmas is coming! Do you happen to have any "step-by-step" directions you'd be willing to share? I can figure out the dimensions but it would be really helpful to read - or see - the components and how you put it all together.
Thanks for sharing!
In reply to I want to make one of these by sgilly
Fri, 09/28/2012 - 11:43
I had to make a new page because of some password issues. Thanks for comments. I have no plans yet, I've built so many it's sort of muscle memory now. Shoot me an email at [email protected] and perhaps I can help.

Sat, 09/01/2012 - 10:59
I want to make one too. Is the lid tricky at all?
Fri, 09/28/2012 - 11:41
I had to make a new page because of some password issues. Thanks for comments. I have no plans yet, I've built so many it's sort of muscle memory now. Shoot me an email at [email protected] and perhaps I can help.
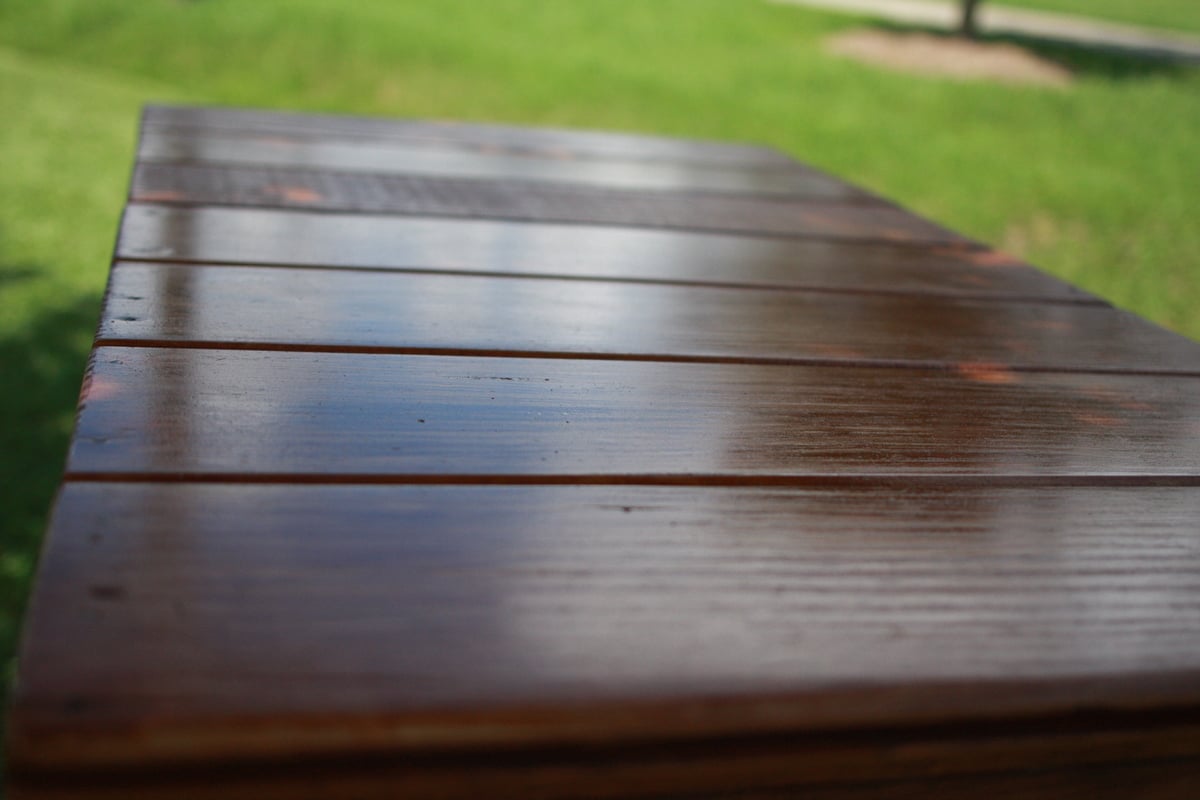
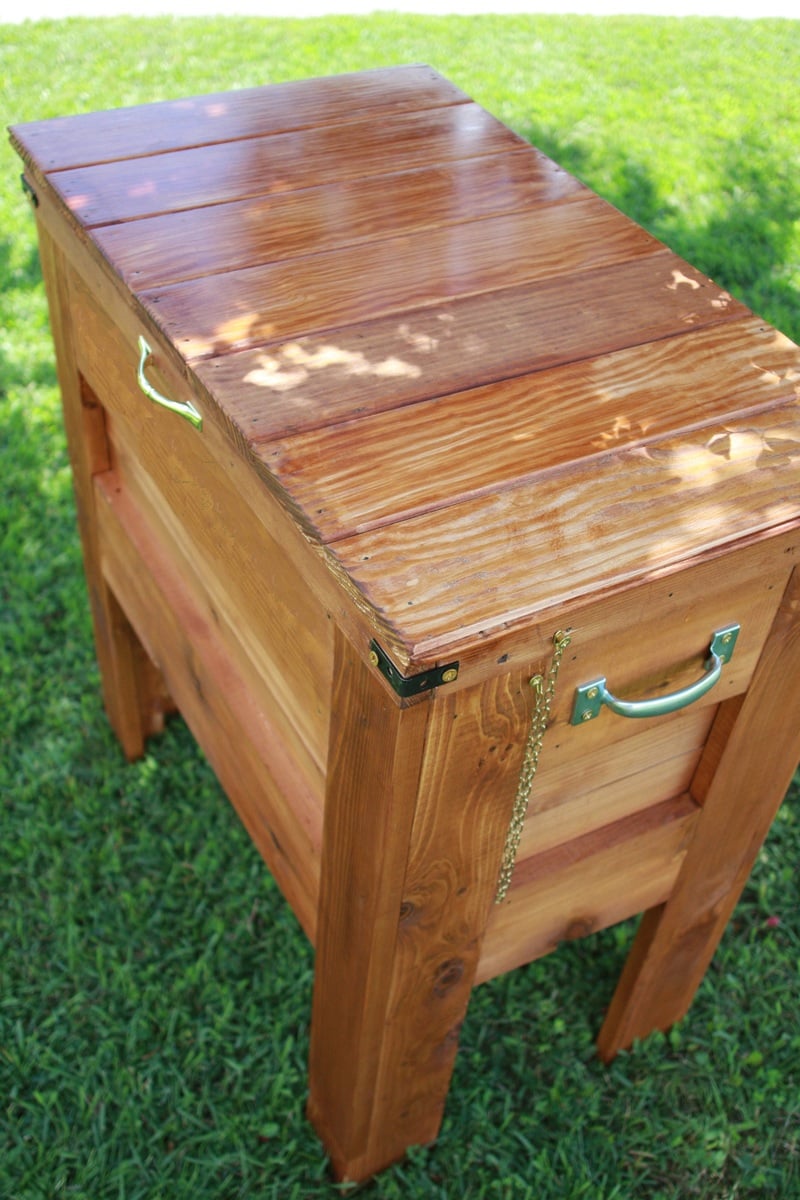
And no, the lid style I like is nothing more than some tongue~n~groove boards cut to length, attached with pocket holes and nailed to the lid frame. Tongue~N~groove is optional of course, you could just use regular boards.

Thu, 03/14/2013 - 21:08
I don't mean to hijack Adam's great build, but I have some step-by-step plans available for a cooler I built with a similar style. It has a 2x2 frame with old fencing facing. For those of you looking for plans/tutorial http://www.killerbdesigns.com/rustic-cooler-a-how-to/

Thu, 05/07/2015 - 07:20
My husband used a similar design to Adam's but made it a double. :) He also added wheels and a bottle opener/cap catcher. Great work Adam!
http://purposefulproductions.blogspot.com/2015/04/diy-wood-drink-cooler…
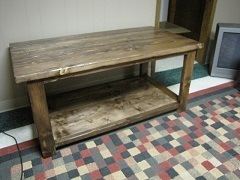
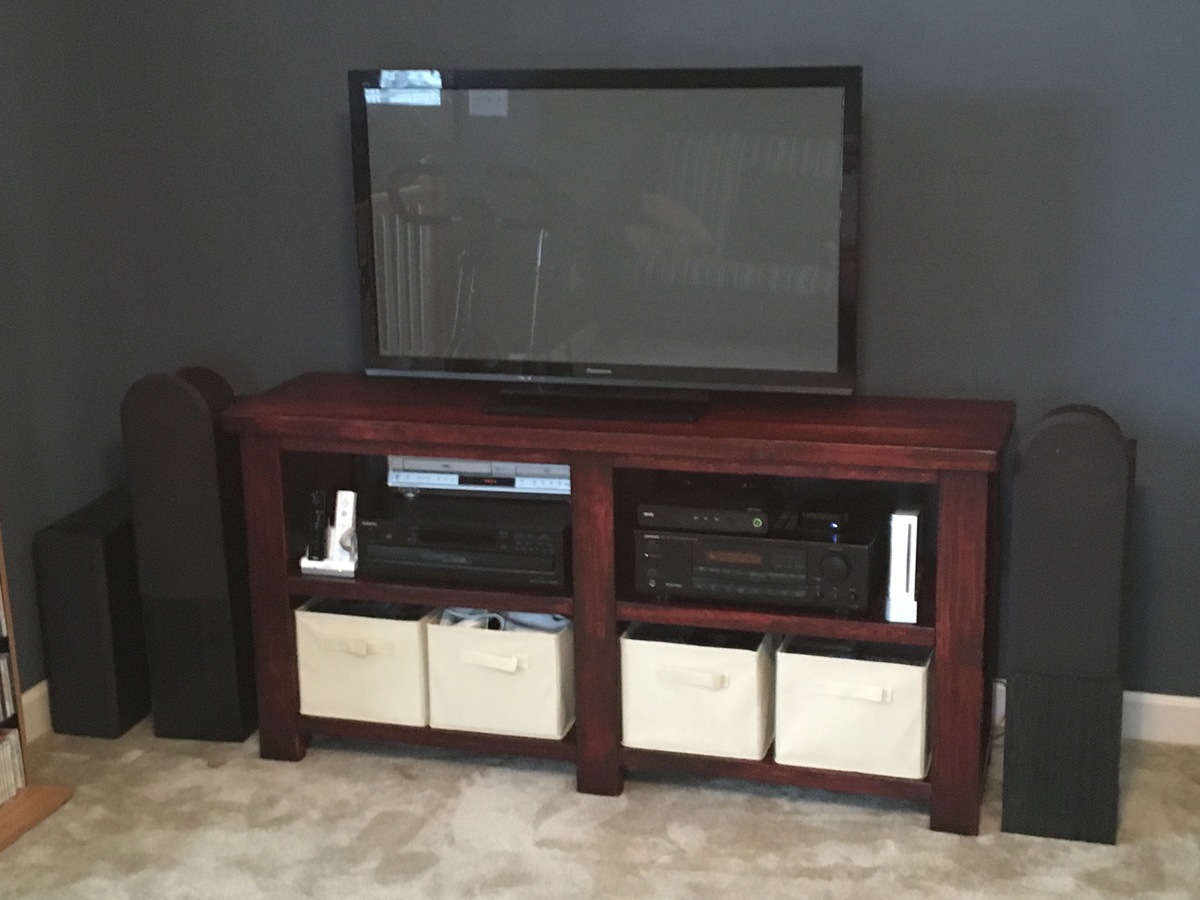
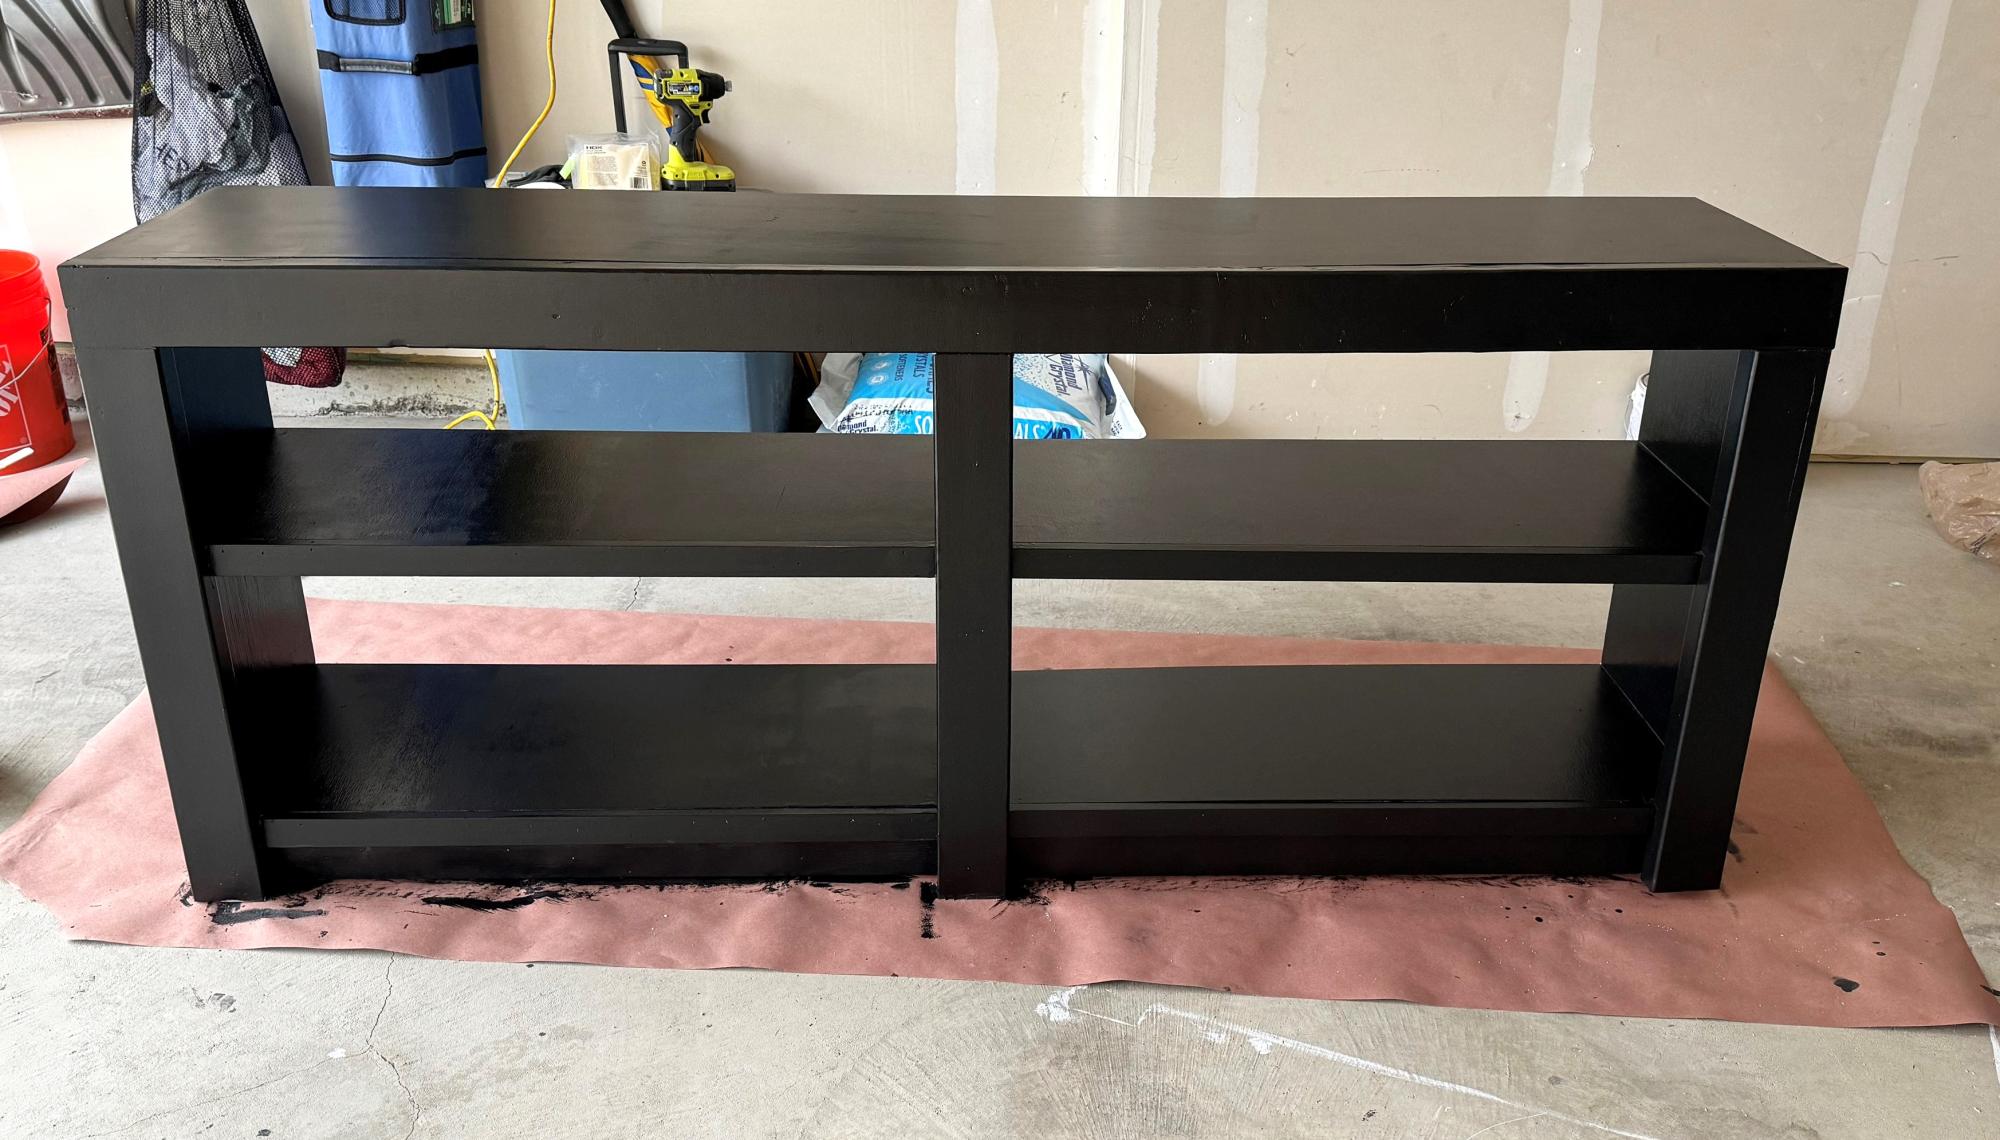
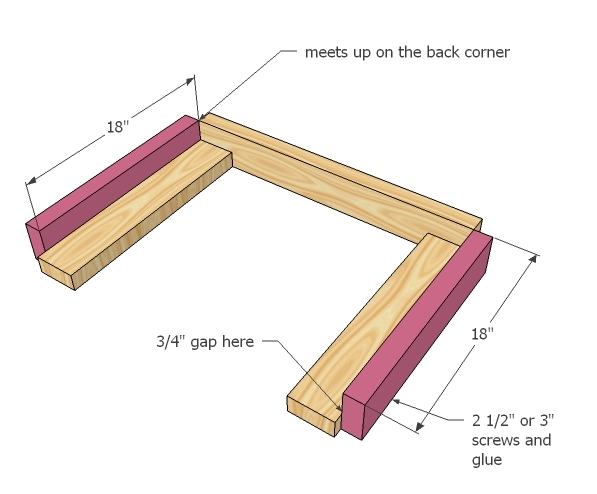
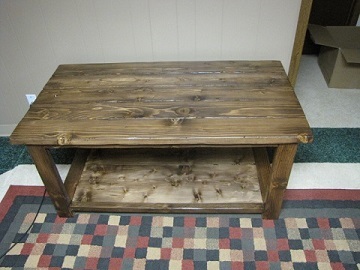
I modified the rustic x coffee table plans. I did not need a coffee table, but I loved the looks of this plan. I actually needed a TV stand for our basement, so I made this instead. I kept all of the dimensions the same except I made it 4" taller. I also took out the side "x's".
I used regular pine boards from Lowes. I bought a Kreg Jig, Kreg clamp and screws to get started, so my initial cost was pretty high just gathering all my supplies, as this was my first build.I wanted a rustic, worn look, so I chipped the wood, made fake cracks, etc.
I used Minwax Walnut Gel stain, and then went along the edges, over the cracks and knots with an Ebony stain. 2 coats of satin poly.
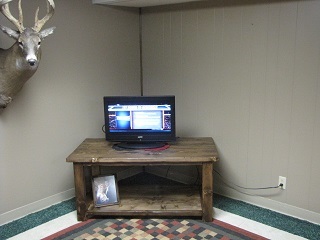
Can't believe how well it turned out. Next project is going to be the matching end table. Don't laugh at the size of the tv, it is all we have for the basement. We will be planning on getting an 55" for it and the kids to enjoy.
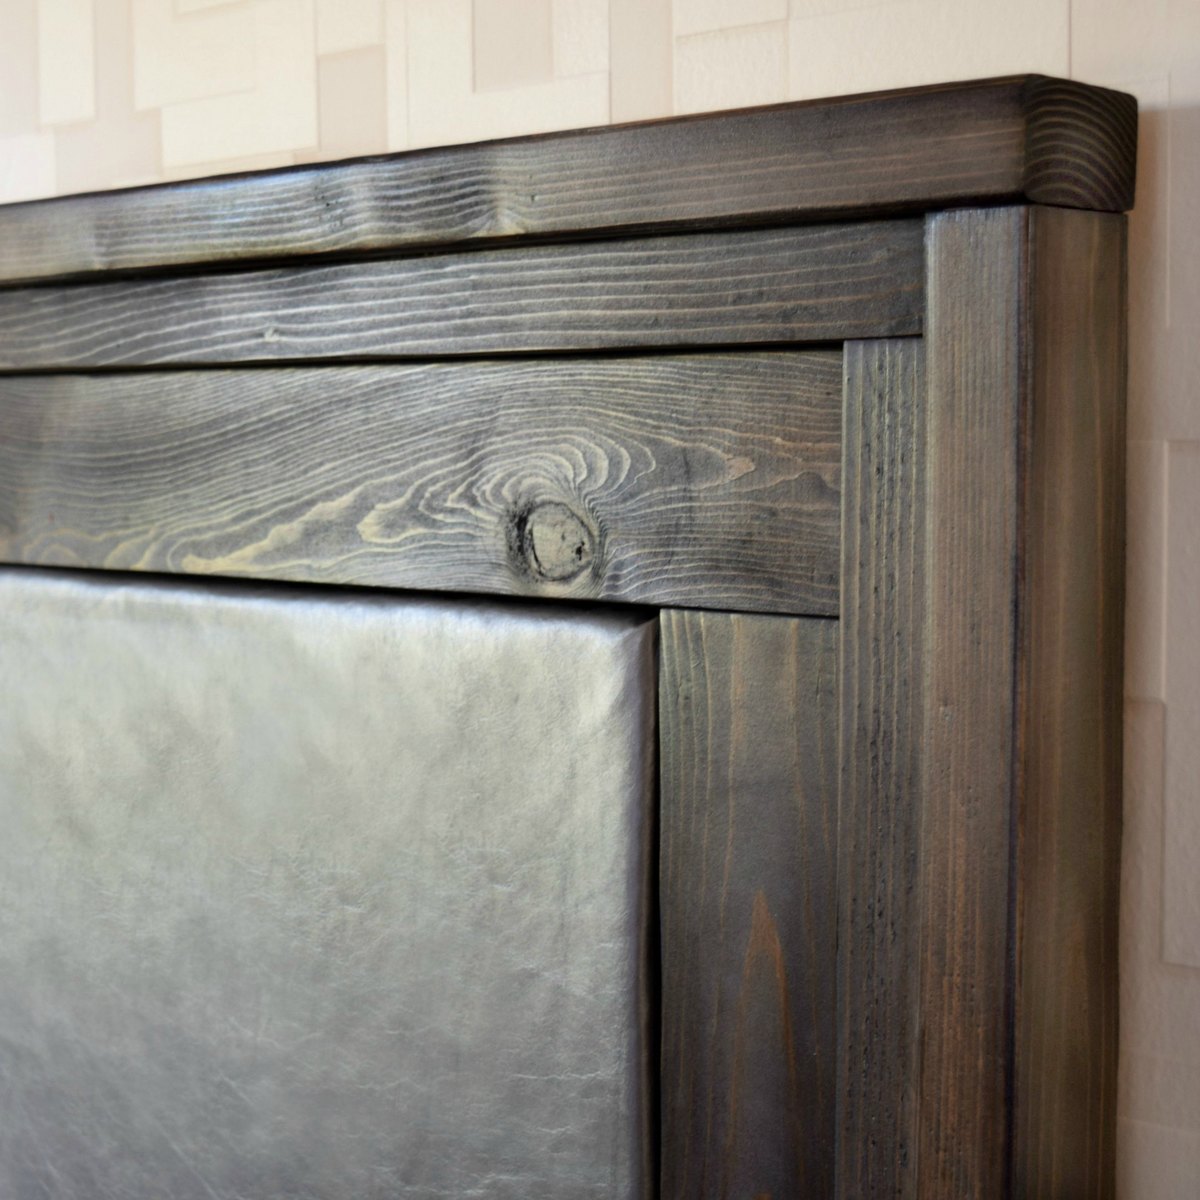
What could be more luxurious than an upholstered leather headboard? The inspiration for the design of this headboard came from the super cool textured wallpaper I recently installed in our master bedroom. See the full tutorial on my blog, The Handyman's Daughter!
Modified the size to 60” length , 12” depth , 36” height . Went with satin white frame , Minwax classic grey stained top with 3 coats of poly clear coat satin (quick dry).
Mon, 09/07/2020 - 23:07
Do you happen to have a revised shopping/cut list for this table? Thanks!
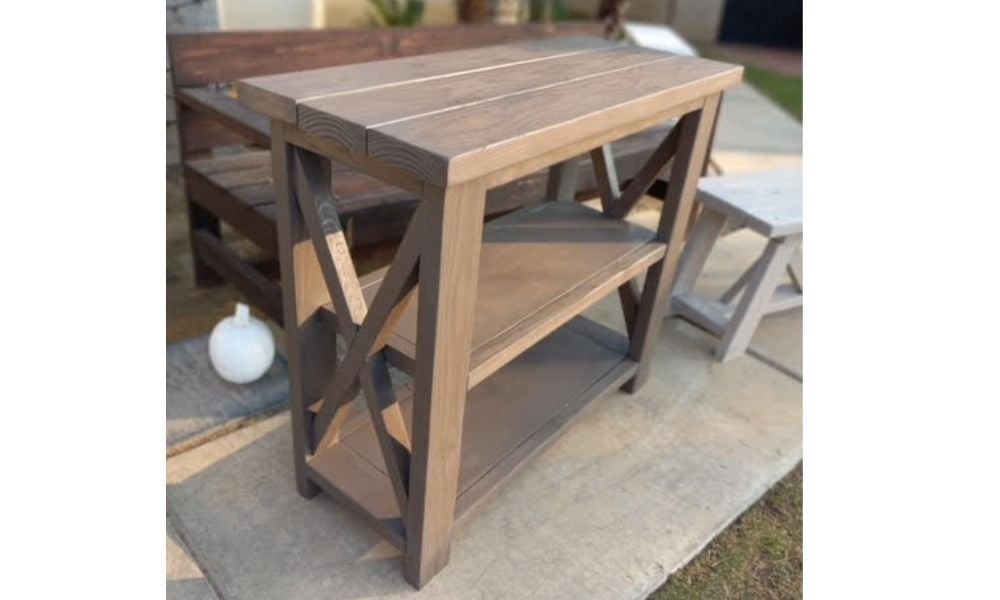
Single wide rustic x console table build
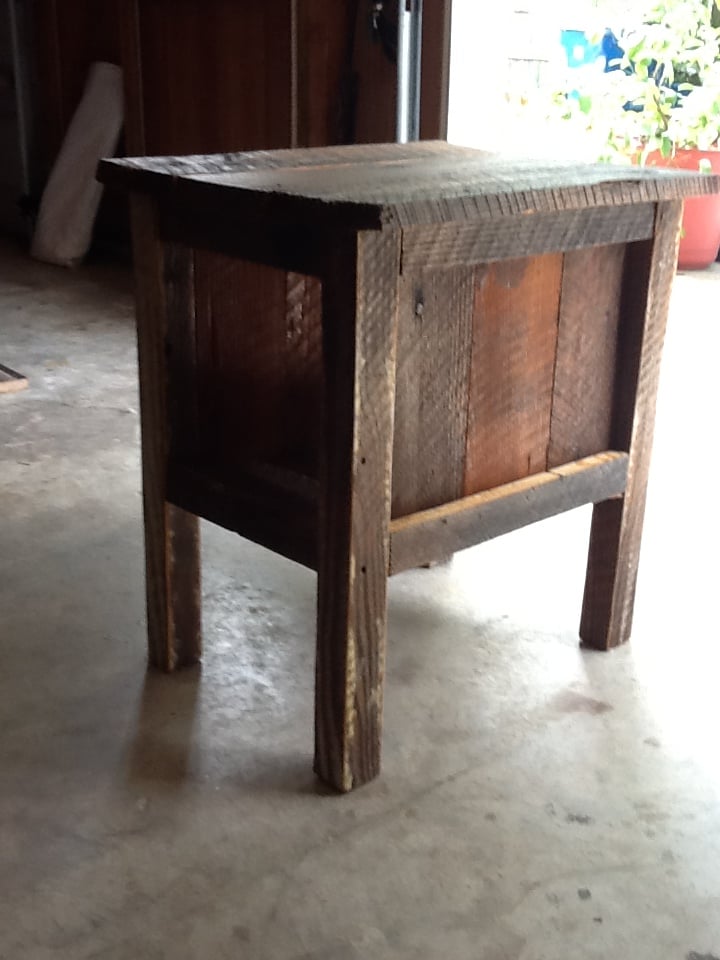
I was given old reclaimed wood from a house built in the 40's or 50's. Old rough cut pine 1x12's. I cut the wood to size to match the plans, however, I did have to modify the plans due to the actual true dimensions of the wood. After assembly, I appled 2 coats of shellac to the entire table. It may need a few more coats, but not wanting a glossy finish, I left it alone. Splinters were and are an issue, and the shellac did help to hold down the splinters.
Not having the 2x2 legs required glueing the 1x's together and glueing a veneer to the sides. If i had the legs the project would have taken less time.
Sat, 09/08/2012 - 14:30
I love what you did with this, and that you used salvaged wood. The legs would totally fool me, I'd never know that they were pieced together!

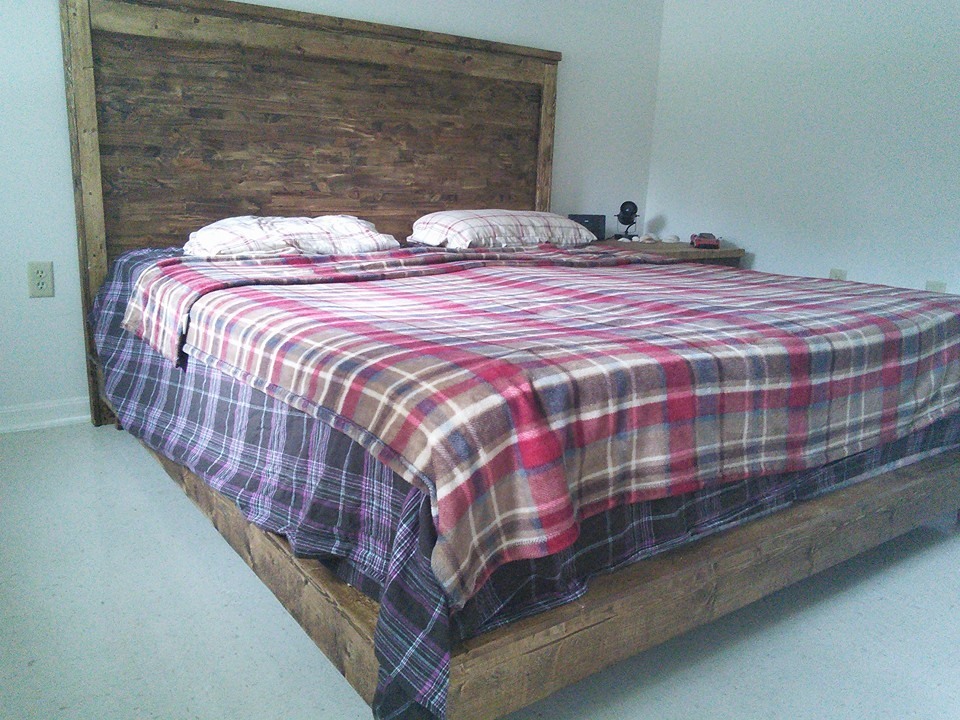
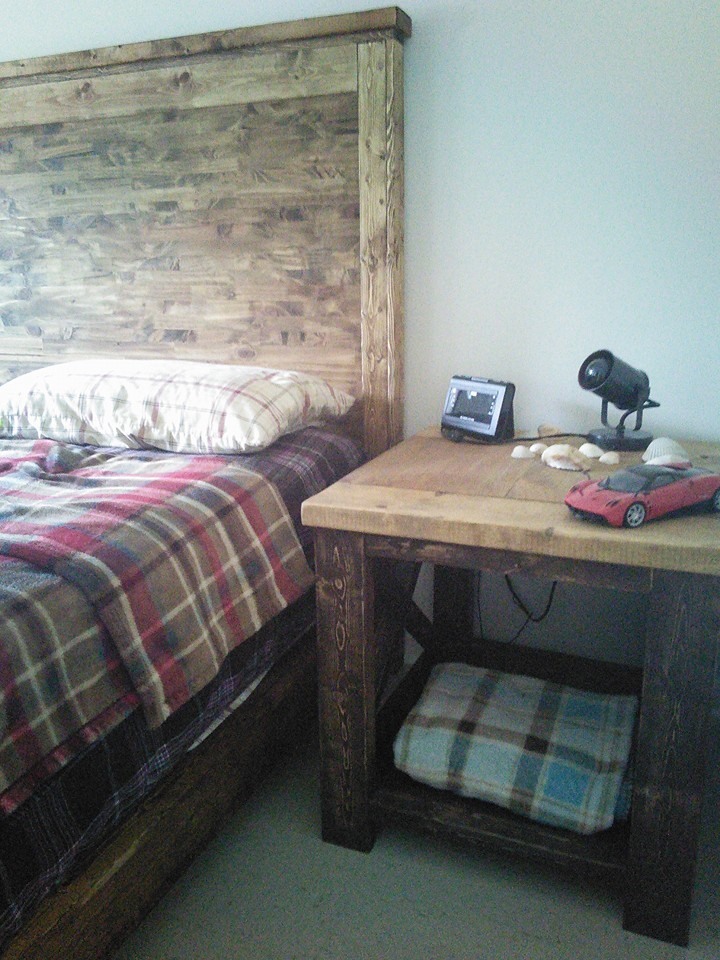
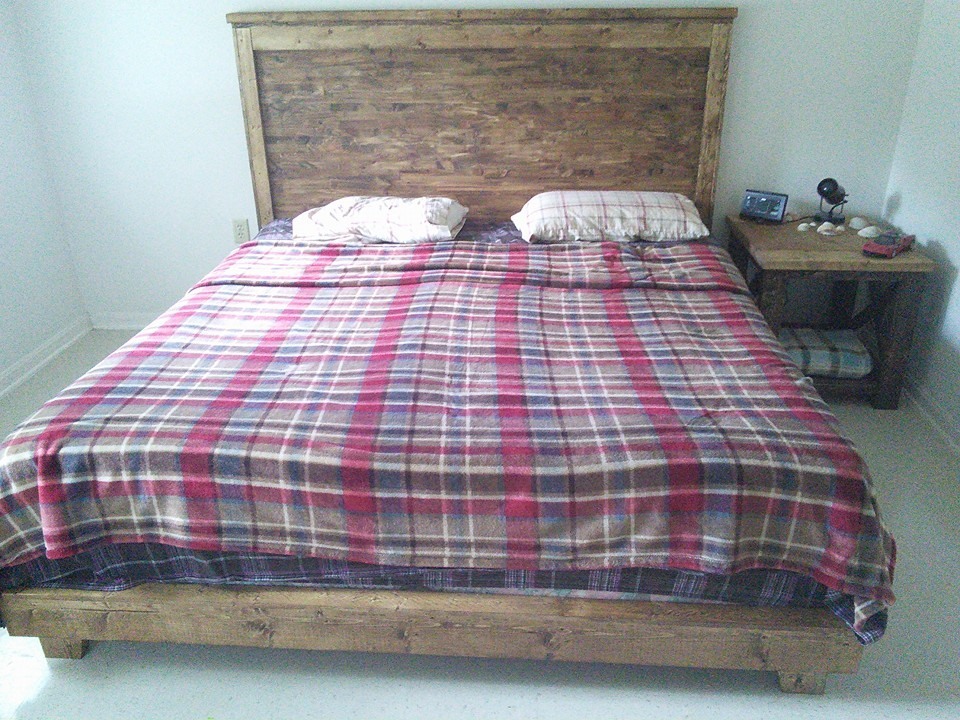
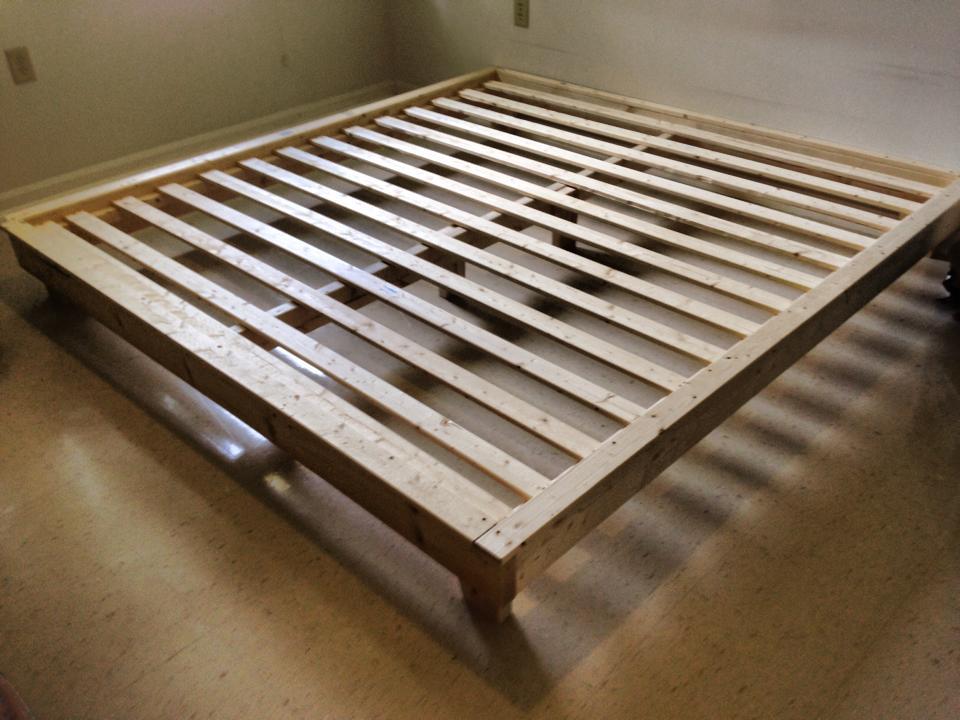
i made this king size head board using Ana's website and for the bed frame i used Shanty 2 Chic's website. i just had to convert the measurements to king size when cutting the boards. thats a rustic x leg end table next to the bed, i built using Ana's website also.

Wishing well back yard art.
Jwrobel904
This was the best piece I have made so far, I had some trouble getting the angles right with the x's but in the end it worked out great and everyone can't believe its just plain old wood! Keep up the great work!
Moving on to the end tables!

Wed, 09/26/2012 - 22:46
Fantastic work! It looks gorgeous. What kind of poly did you use?
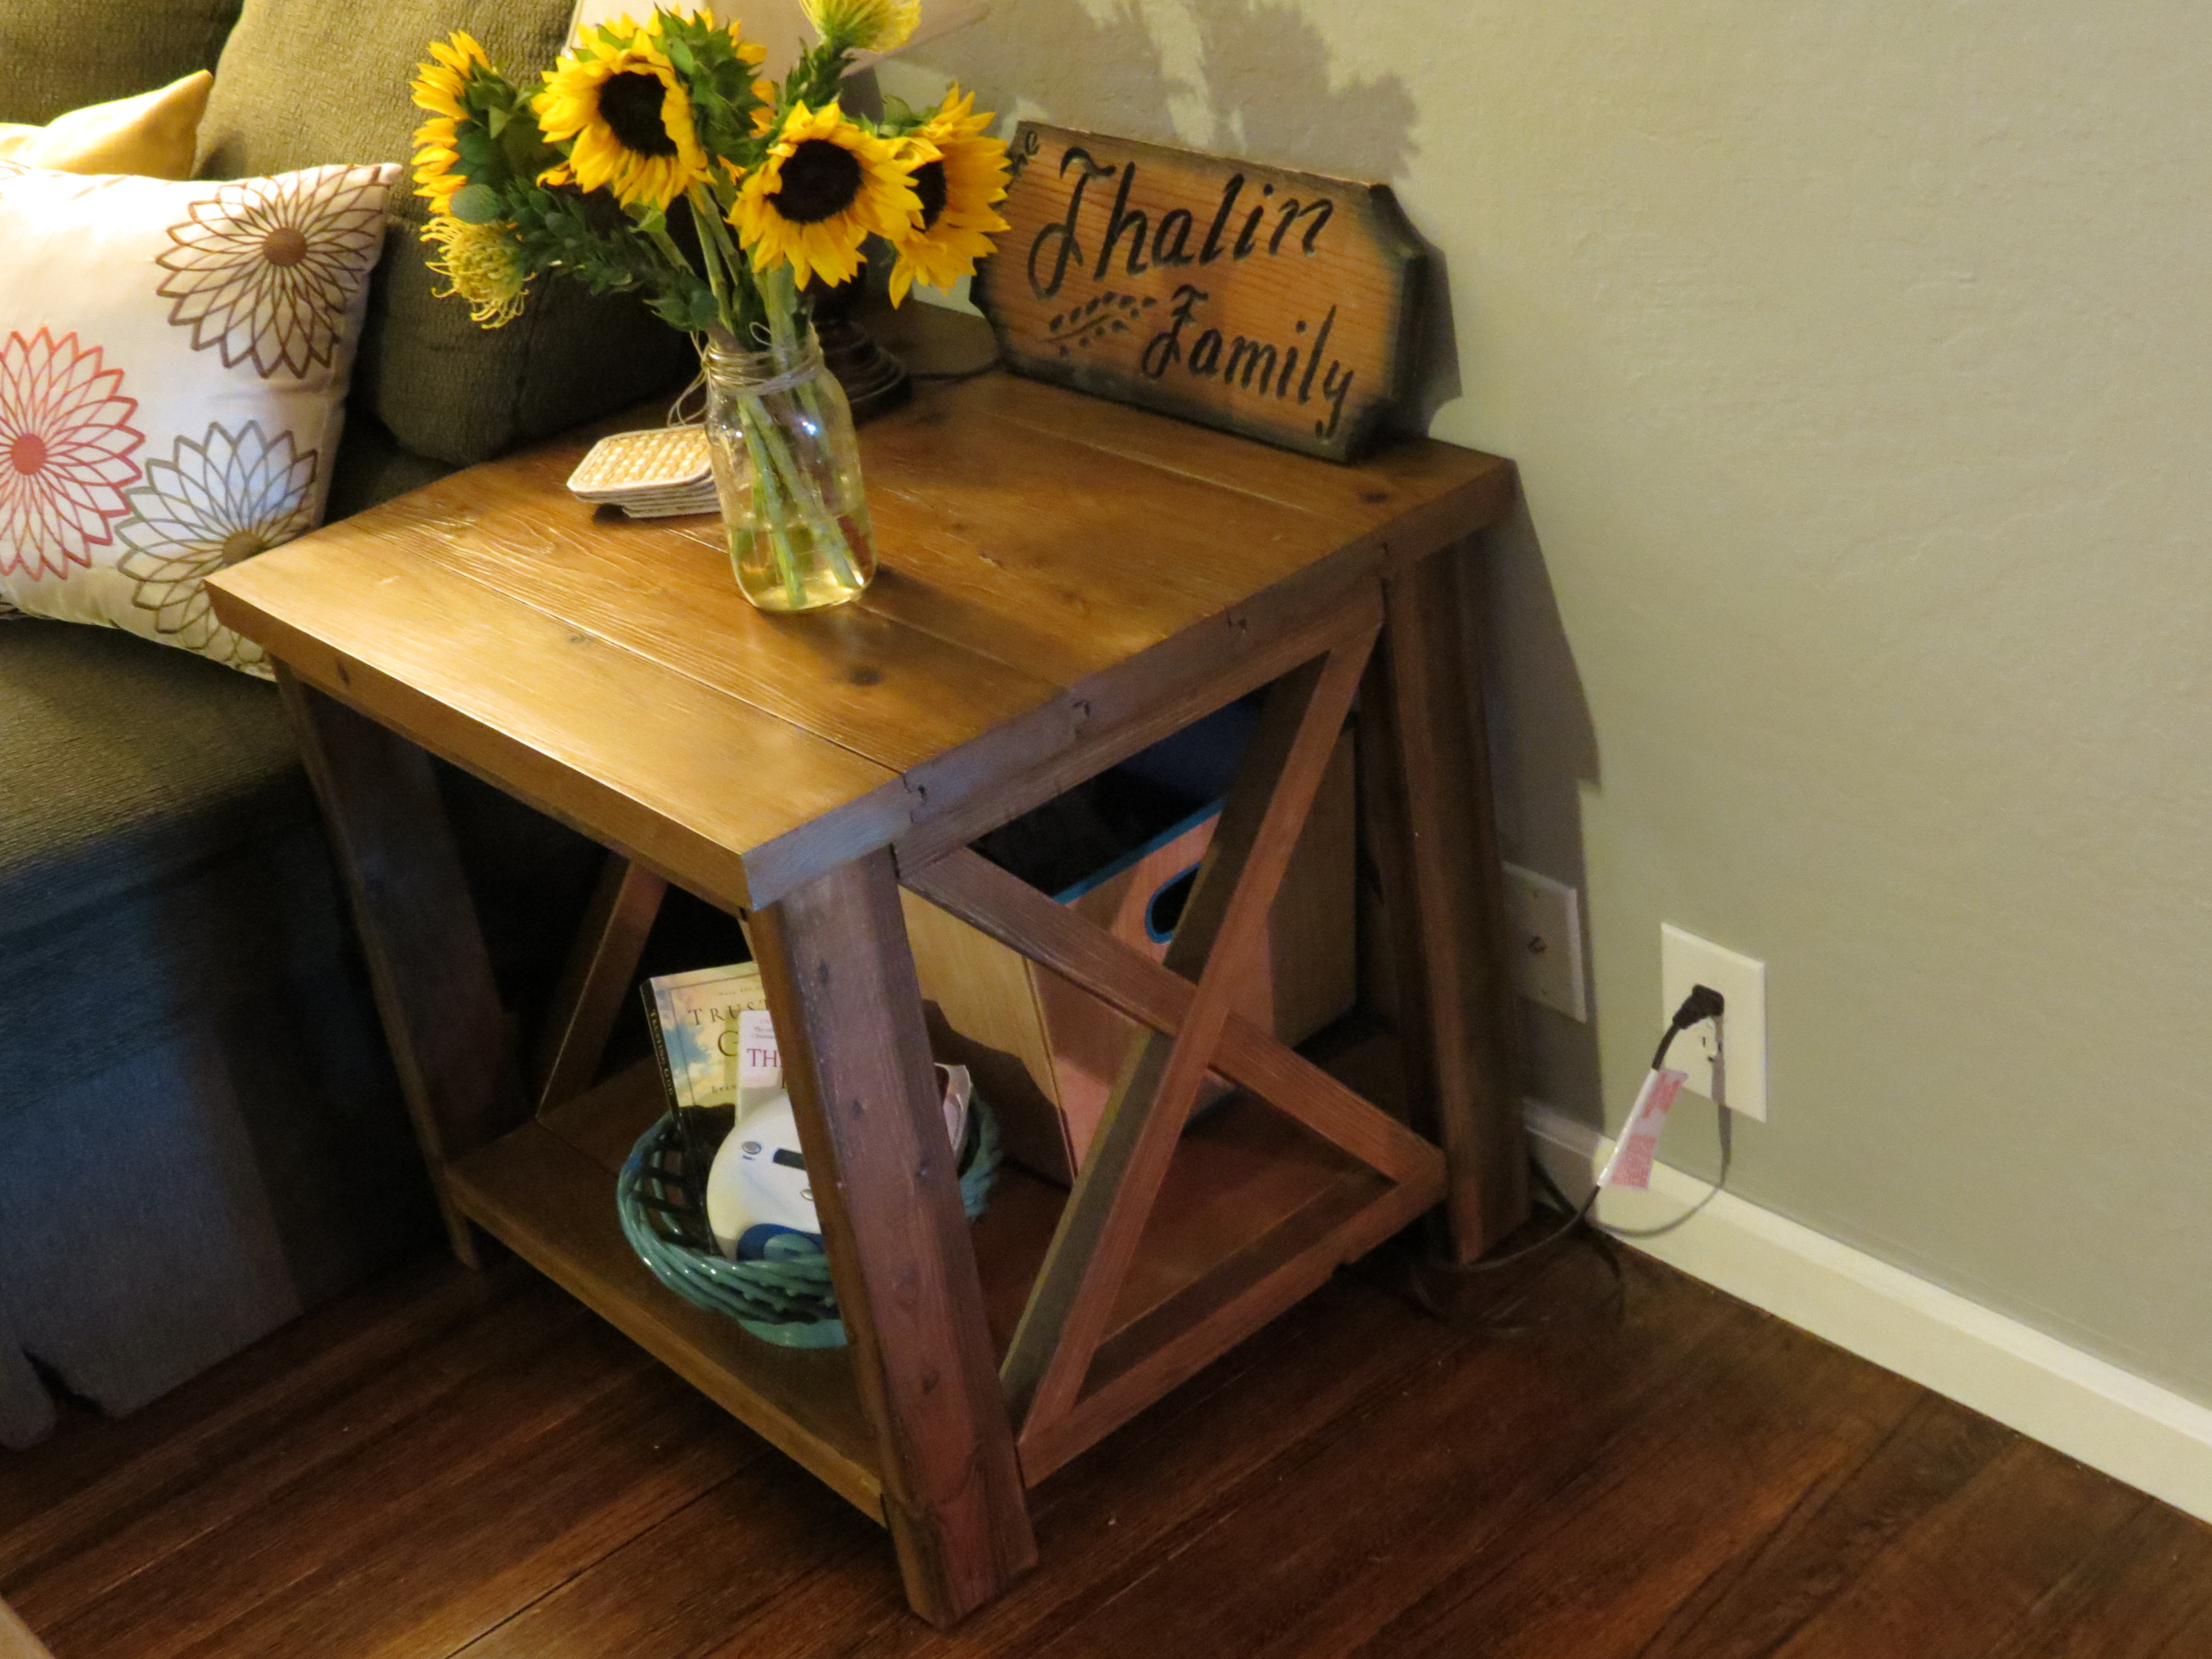
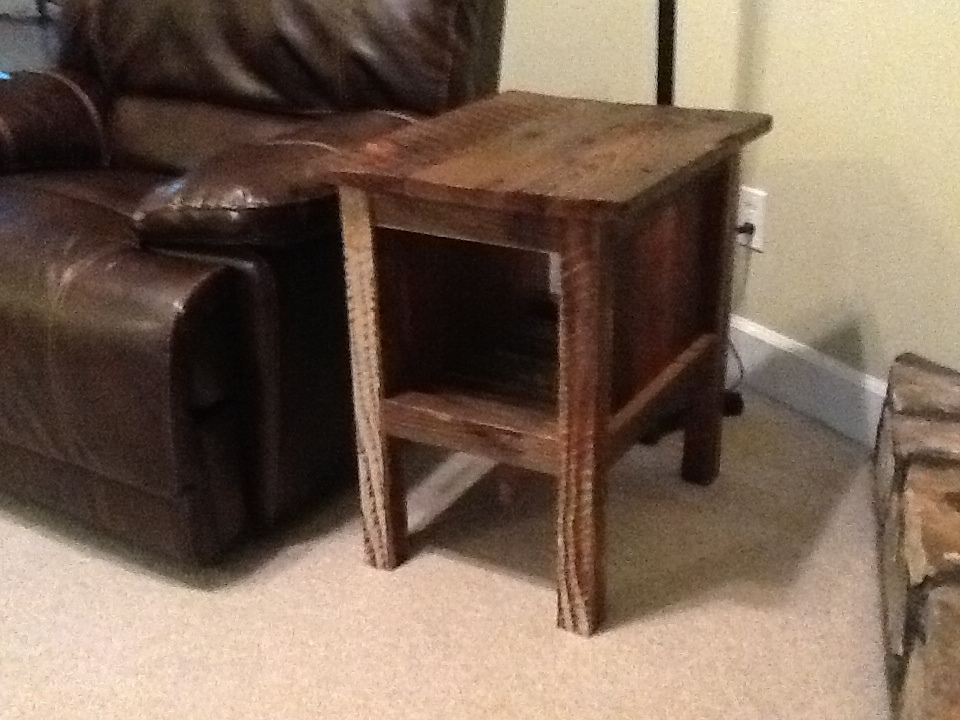
This was my first project from Ana's site and I have to say I was quite pleased how it turned out. This is a very sturdy/heavy duty end table that I am sure will last a very long time. I made mine essentially straight from the plans except changed the X's a little bit to compensate for my limited miter saw.
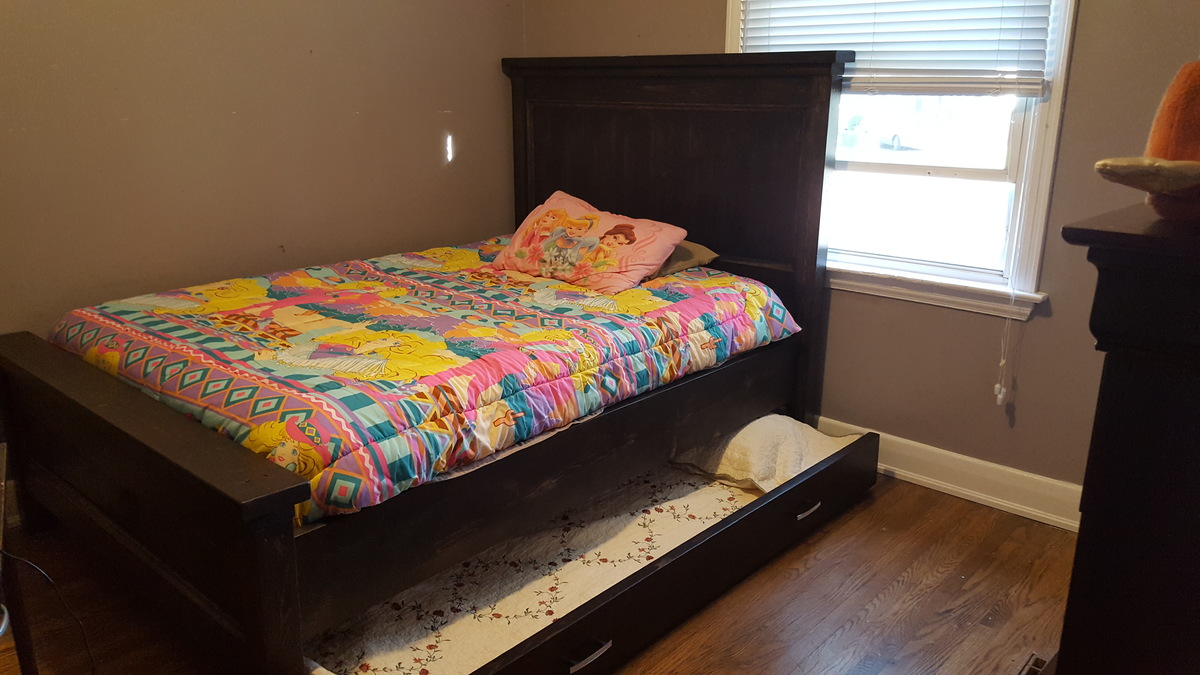
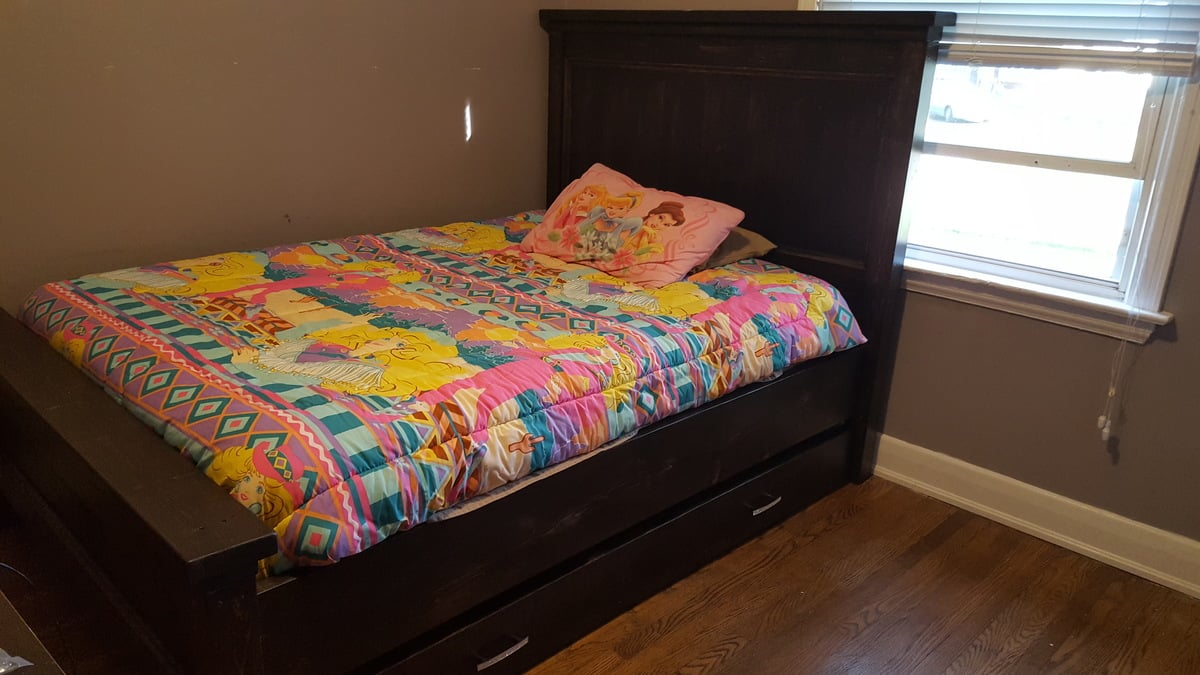
This was the first Farmhouse bed I have ever built! I am totally in love with it! I found the plans very easy to understand and follow. I used the Twin Farmhouse bed and adapted it for a double and also added some trim details in the head and foot boards. I also changed the way I attached my bed frame as I wanted to be able to take apart easily if ever needed. So I used 2 by 10s and attached them to my posts. I also made a trundle for underneath it. Finally totally complete!! Love the way it turned out.

Thu, 10/06/2016 - 10:10
Great job! Glad the plans were helfpful! Love the trundle.
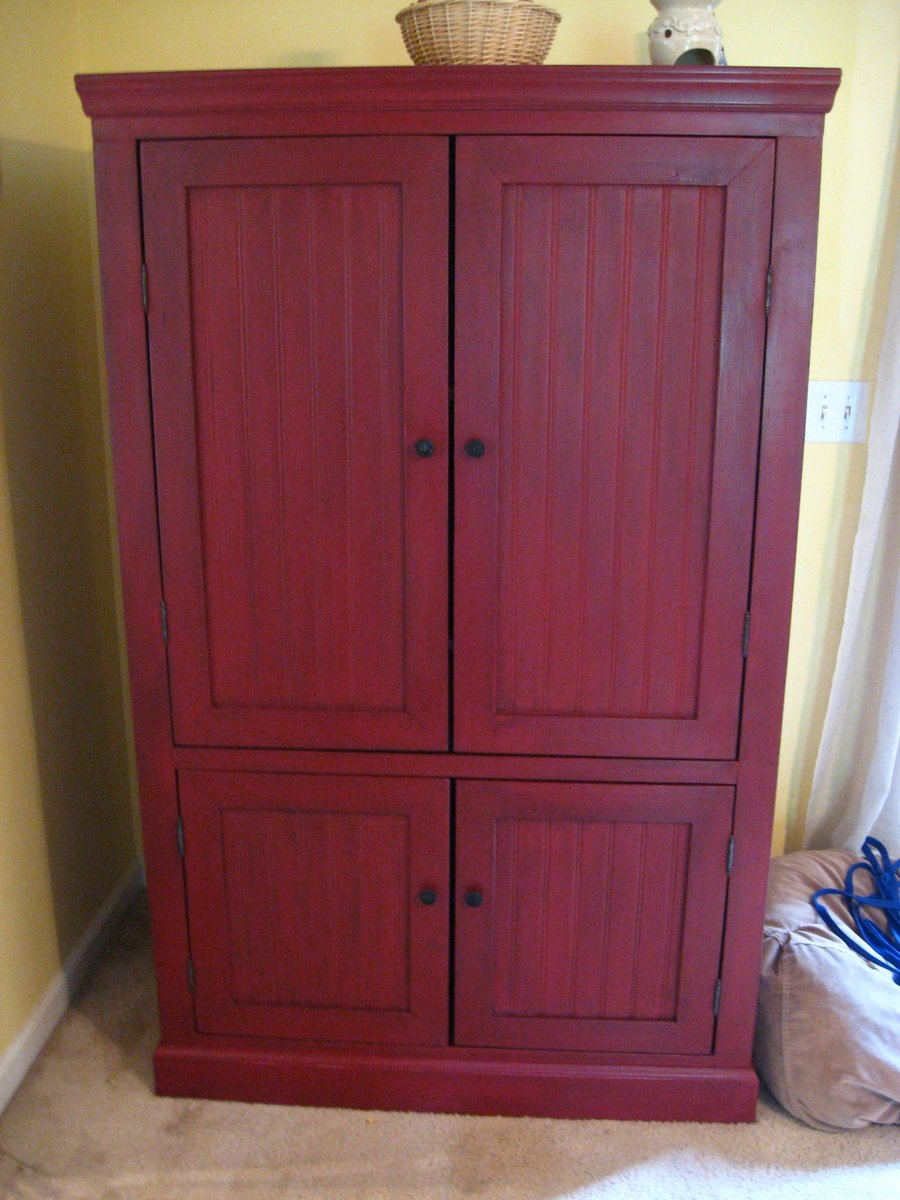
This was the nursery armoire design we used. My husband modified it slightly. Beautiful isn't it.