Community Brag Posts

First project Nicest thing in my house
Submitted by chomuth on Fri, 04/11/2014 - 17:33

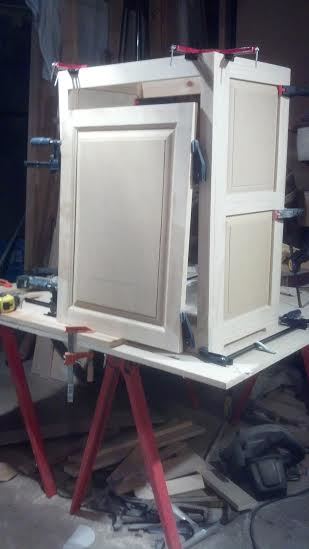
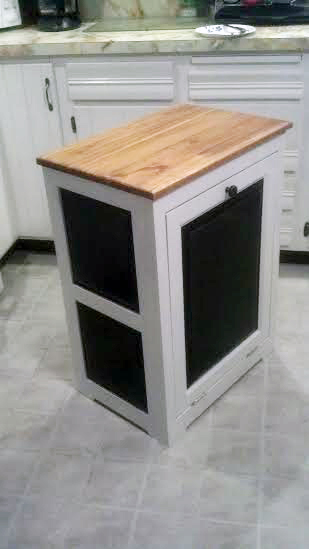
Well this is my first project and it took me a long time. I have to think way to long before I actually do something. I redrew the drawings to fit my garbage can but it still didn't fit.
Oh well, it was a good idea at the time.
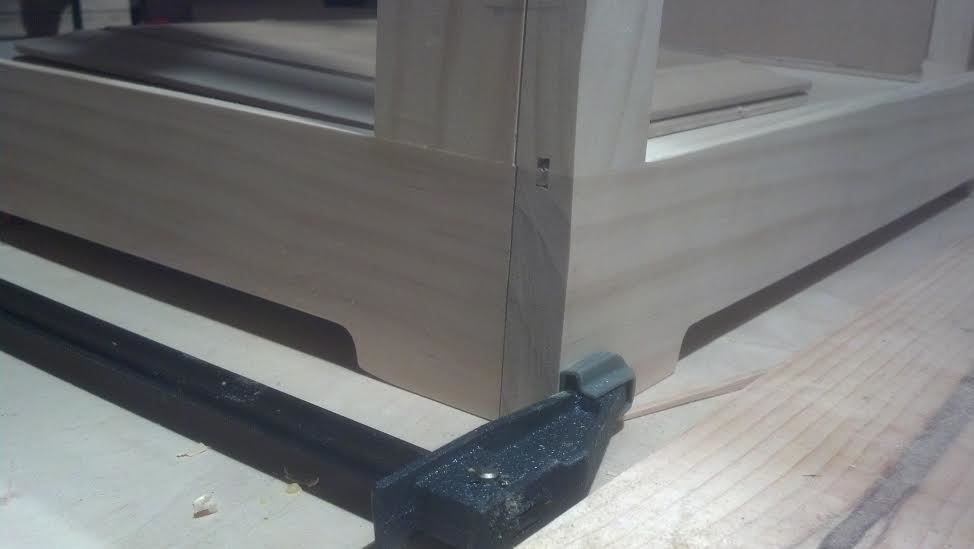
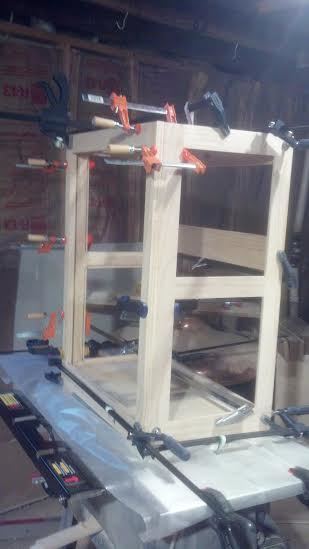
I used a biscuit joiner and glue to put everything together. For the door I used rail and stile bits. The panels are made of MDF, I used a bit made just for raised panel doors on the router table to make them, Oh by the way MDF makes a very big dusty mess, Please wear a mask it has to be really bad to breath.
I also added a slow close piece that is mainly used on kitchen cabinets, I just had to do that and it works very well.
Thanks Ana for such a helpful website

Chuck
Estimated Cost
$100 or so
Estimated Time Investment
Week Long Project (20 Hours or More)
Finish Used
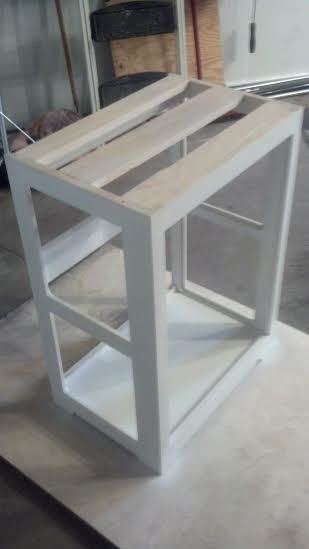
Primed and spray painted all the pieces. I also sanded between the coats of paint
Some pieces needed to be painted before assembly. The top is pine that was stained and varnished.
Spray painting in a basement really make the house smell bad, Ok Ok I am not always the smartest person.
Recommended Skill Level
Starter Project

Comments

JoanneS

Sat, 04/12/2014 - 07:01

You did a beautiful job on this! The finishing is lovely, and those raised panels are impressive!

chomuth

Thu, 04/17/2014 - 15:51

Thank You JoanneS
I am on my next project now. I need a place to hang my coats and not see all of the shoes, lost almost everything in a divorce including almost all my tools.
LOL
A small price to pay for serenity.

Smaller modern farm table

Submitted by Anonymous (not verified) on Fri, 07/08/2016 - 19:36

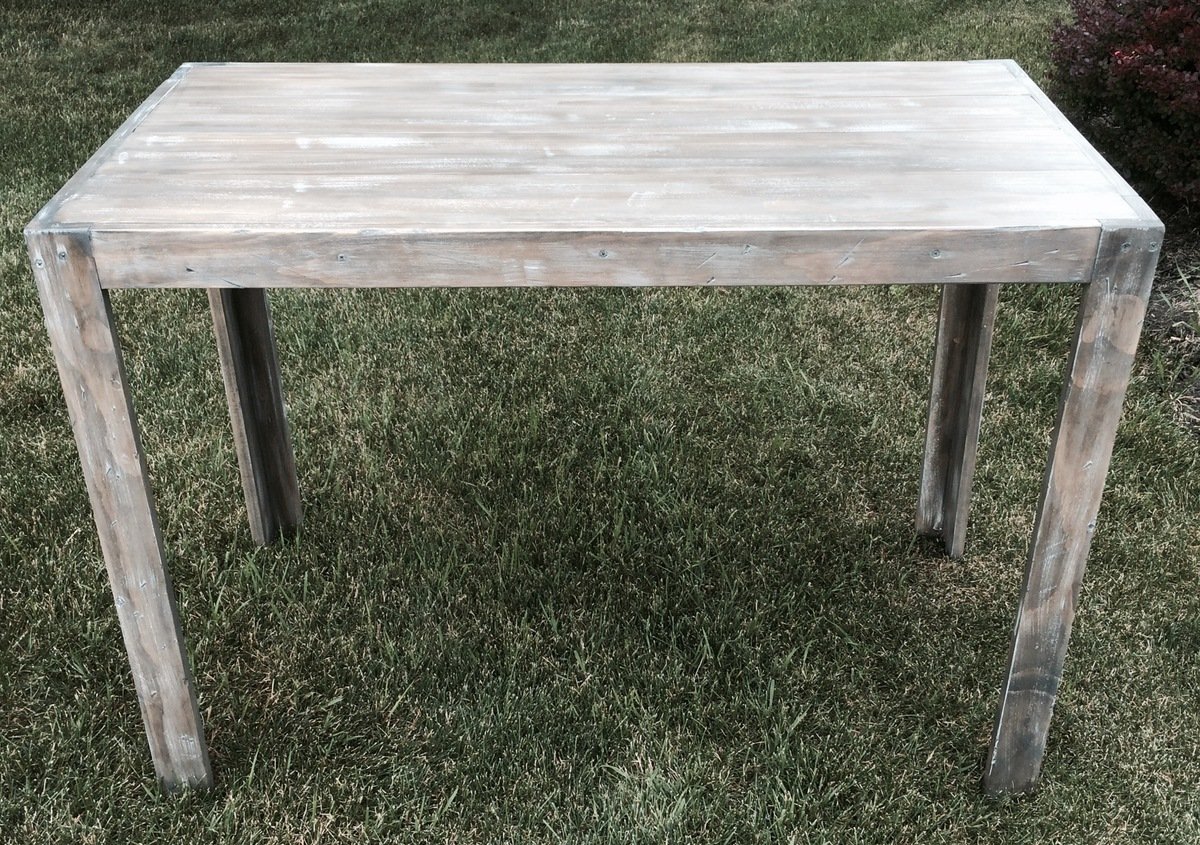
smaller version of modern farm table at counter height

Built from Plan(s)
Estimated Time Investment
Afternoon Project (3-6 Hours)
Finish Used
Minwax classic gray
Minwax Jacobean
White latex paint dry brush
Recommended Skill Level
Beginner

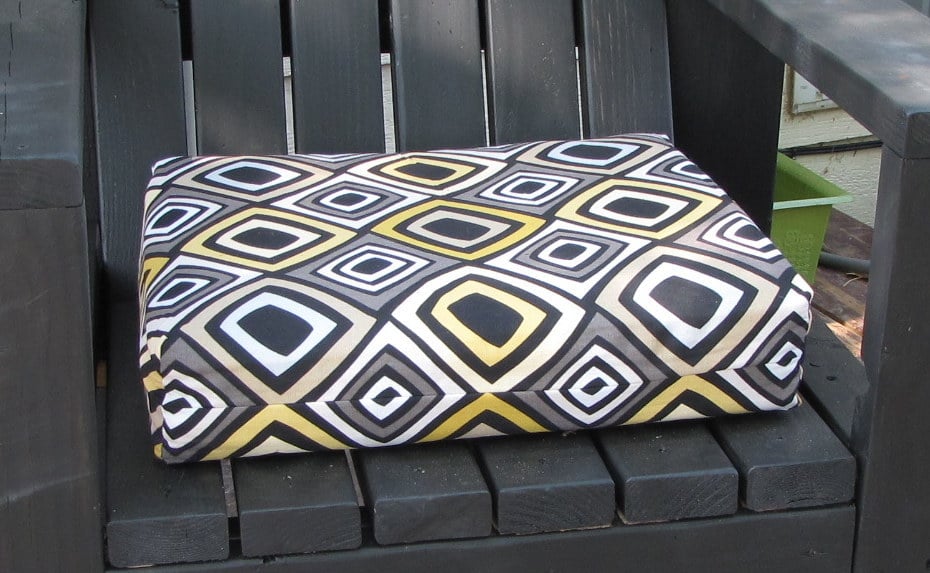
Simple Outdoor Lounge Chair - Beefed Up

Submitted by Radcrafter on Sun, 06/24/2012 - 10:55

Loved building this chair. Super simple to put together and very sturdy once everything came together.

I modified it to create a larger and taller chair, using 2x6 and 2x4 lumber. Because of this change I felt like my math challenged brain was completing some sort of quiz, but to keep things simple I cut the pieces step by step recalculating lengths as I went.

I marked up the plan as I went, so if anyone is interested just let me know & I'll add the changes.

http://radcrafter.com/2012/06/simple-outdoor-chair-beefed-up/

Built from Plan(s)
Estimated Cost
$20-30
Estimated Time Investment
Afternoon Project (3-6 Hours)
Finish Used
outdoor stain in solid slate
Recommended Skill Level
Beginner

Comments

spiceylg

Sun, 06/24/2012 - 18:18

I thought it looked beefier and I prefer that look. I'm curious, what size cushion is that?

J (not verified)

Sun, 08/19/2012 - 08:29

I would love to see your changes and build the beefier version! Please share!

Tammyctr

Thu, 07/26/2018 - 07:05

I have a large (400+) family member who I need to make chairs for.  This plan looks perfect (even though I will have to probably adjust width and add additional support)  Can you please send me your plans?

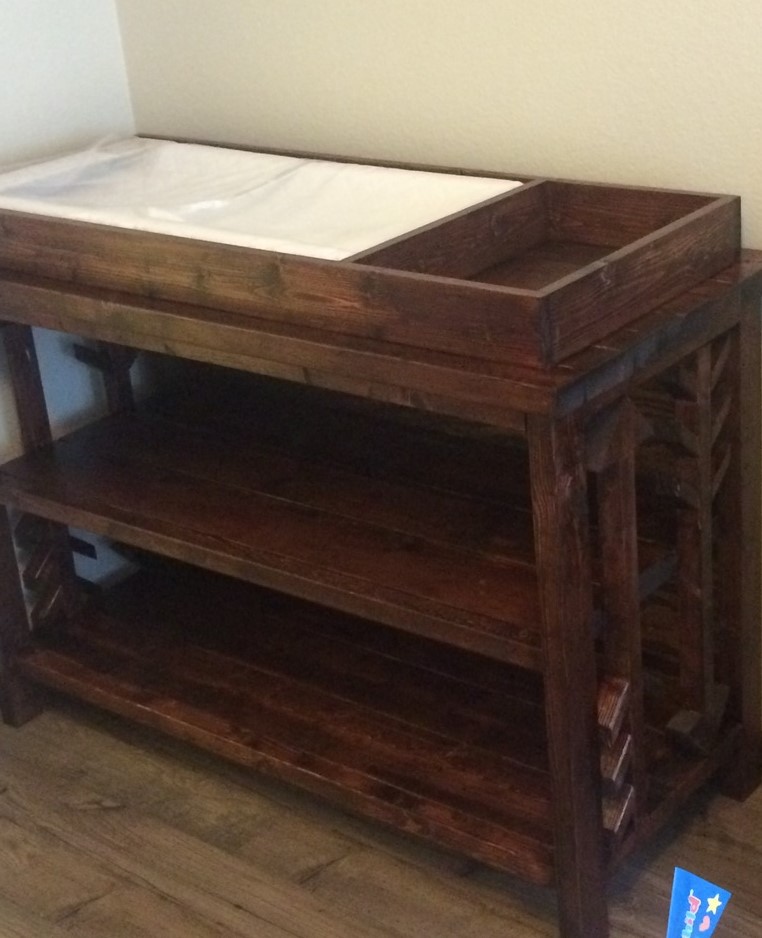
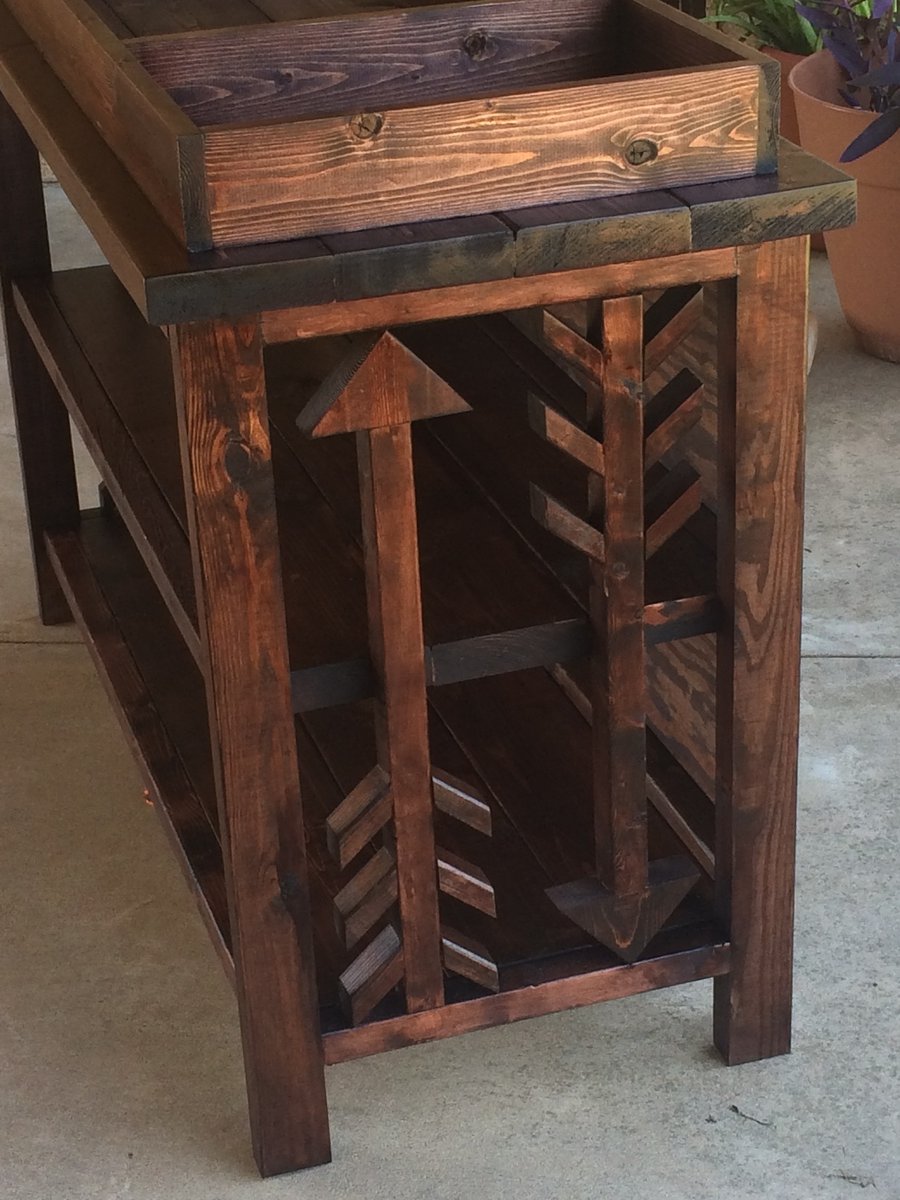
Changing table

Submitted by Anonymous (not verified) on Mon, 07/11/2016 - 20:25

Modified with arrows to go along with theme for baby room

Estimated Cost
50.00
Estimated Time Investment
Weekend Project (10-20 Hours)
Finish Used
Red mahogany with polyurethane semi gloss finish
Recommended Skill Level
Beginner

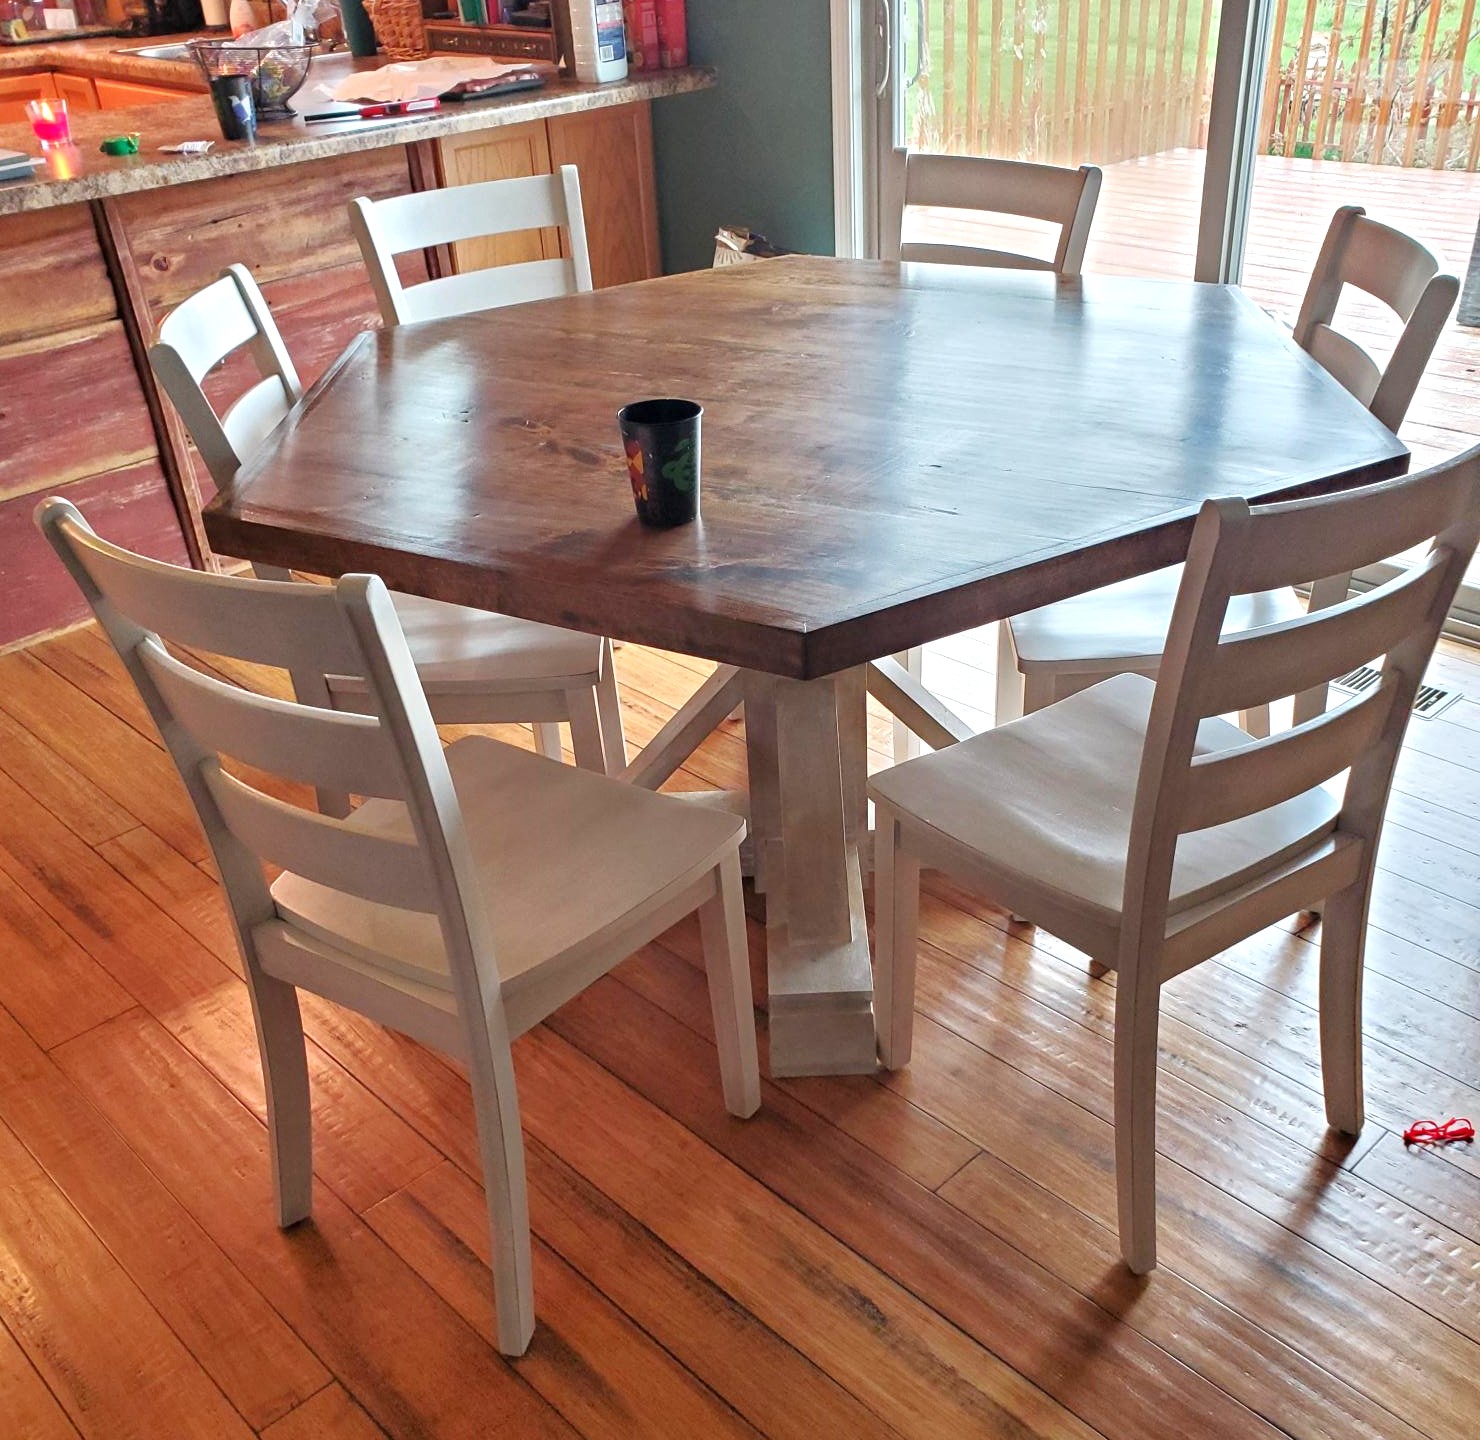
Cherry top dining table

Dad and I milled out a cherry tree 3 years ago. After drying out it was time to build. Google dining room tables for a design and found Ana's site. Found an octagon shaped table and changed to a hexagon. Great plans and had so much fun building.
Estimated Cost
$100
Estimated Time Investment
Week Long Project (20 Hours or More)
Finish Used
minwax (honey) varathane (poly) rust-oleum chalk paint for base
Recommended Skill Level
Beginner

Modular Barbie Playhouse

Submitted by Anonymous (not verified) on Sun, 12/31/2023 - 13:27

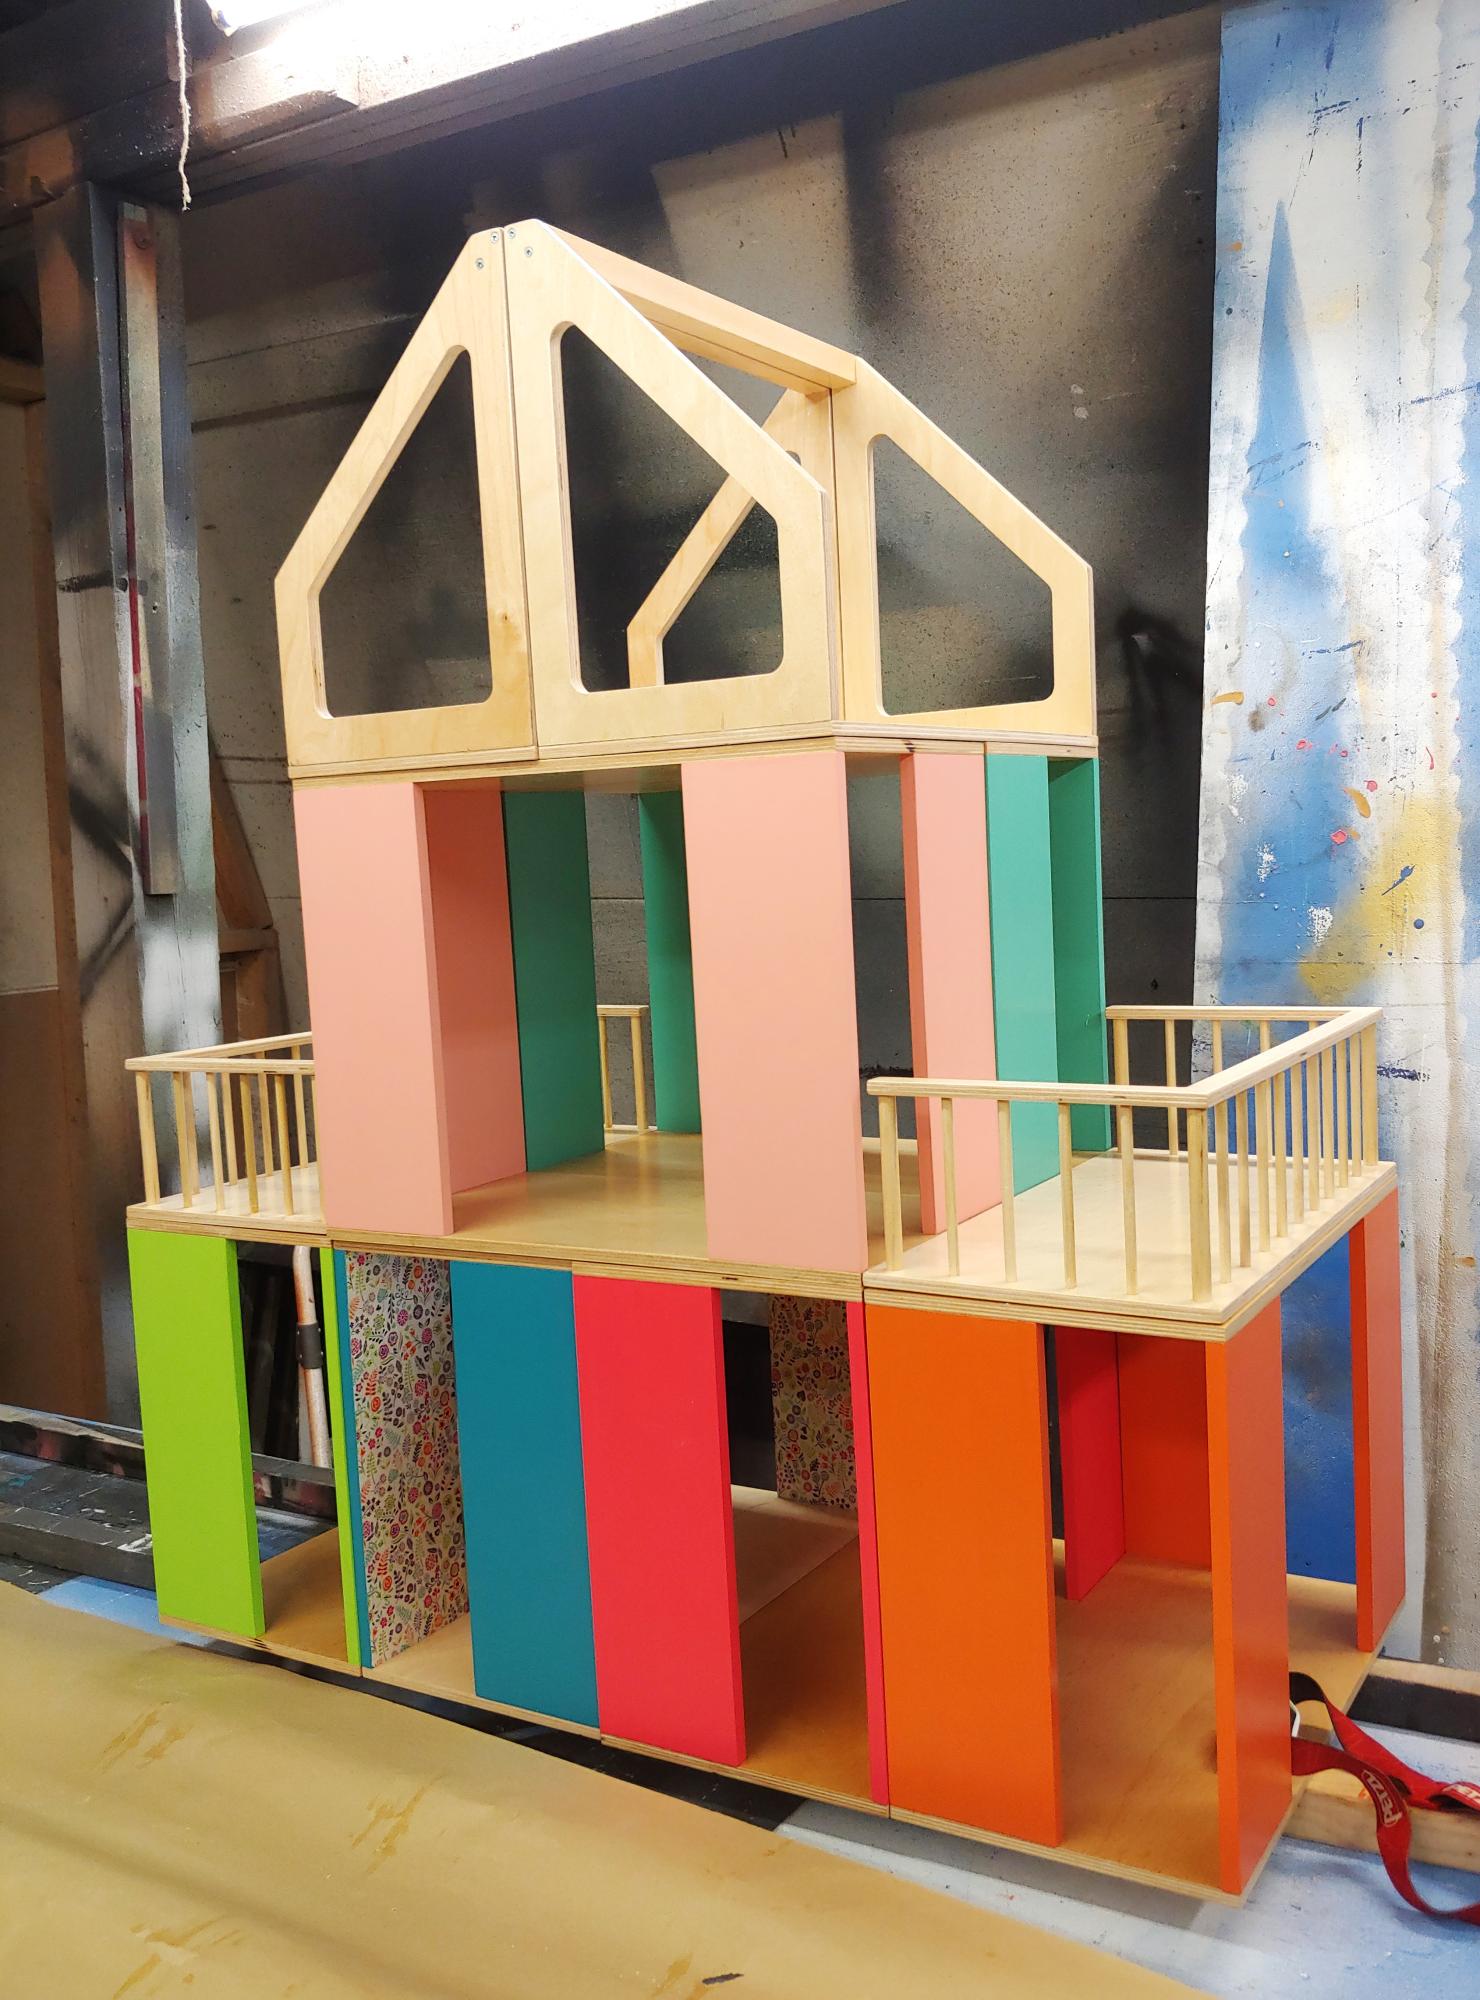
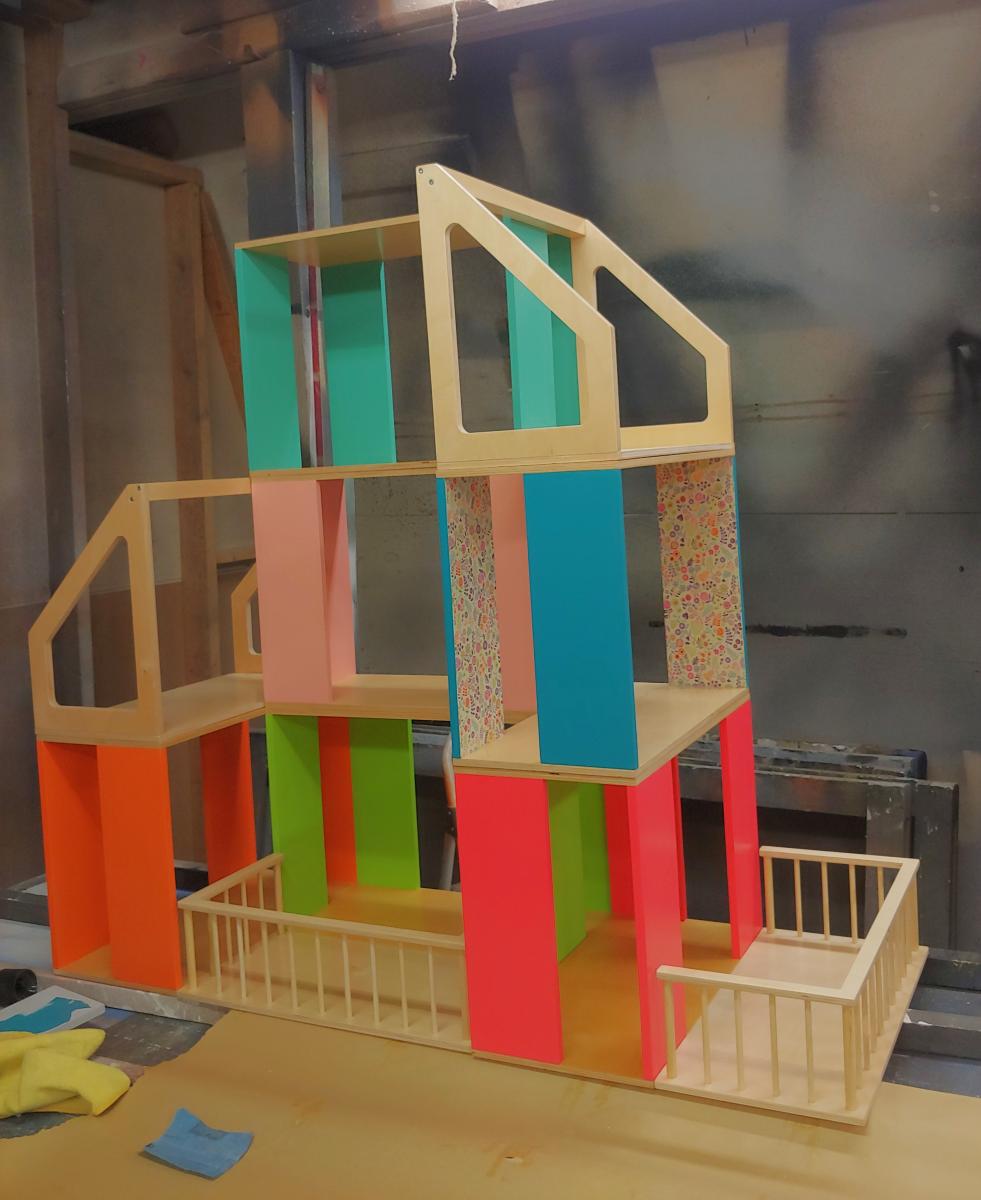
We modified the Ana-White modular dollhouse meant for small dolls to build this Barbie size house! (Please ignore the workshop walls in the background of our pics! Lol!) Our daughter loves to set up all sorts of houses/school/hospital/stores, and commercial modern barbie houses are all covered in specific printed paper that restricts what a room can be used for. This way she can make buildings however she likes! It isn't much bigger than her old barbie house, and the pieces/room boxes are easy for her to move/stack. Each room box is 9" (w) by 18"(L) by 13"(h), with wall panels 4.5" wide. We also love that these room boxes can become bookshelves once she outgrows barbies! Thank you!

Siemens Family, Alberta CA

Big Kids' Picnic Table

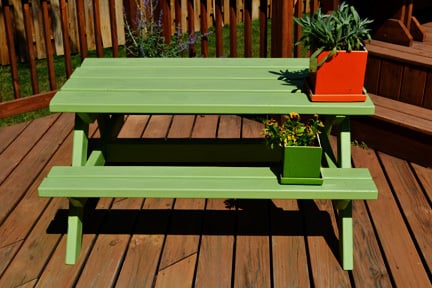
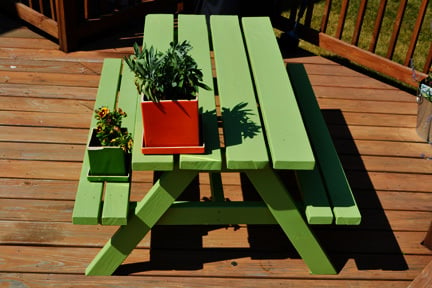
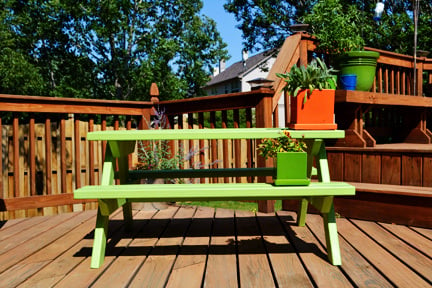
This ended up being a very easy project to complete; Ana's instructions were very straightforward. I probably spent four hours altogether on the project, although that was spread over the course of several days. We had several 2x4s left over from other projects, and I was able to use a quart of exterior Behr Premium Plus Ultra (with primer included) that didn't get used for its intended project. So altogether, we spent about $20. You can't even buy a plastic kids' picnic table for that price! As for advice, I found that the best way to avoid wobbling was to firmly attach three of the legs while leaving the fourth leg somewhat lose. Upon flipping the table, you should be able to move that fourth leg into a place that prevents wobbles before firmly screwing it in as well. I painted all the boards before assembling the table, and I feel like that is the best approach, as the space in between boards is slim.

Built from Plan(s)
Estimated Cost
$20
Estimated Time Investment
Afternoon Project (3-6 Hours)
Finish Used
Behr Premium Plus Ultra, exterior, custom color
Recommended Skill Level
Intermediate

DIY Patio Table & Bench

Submitted by madore07 on Wed, 04/16/2014 - 18:47

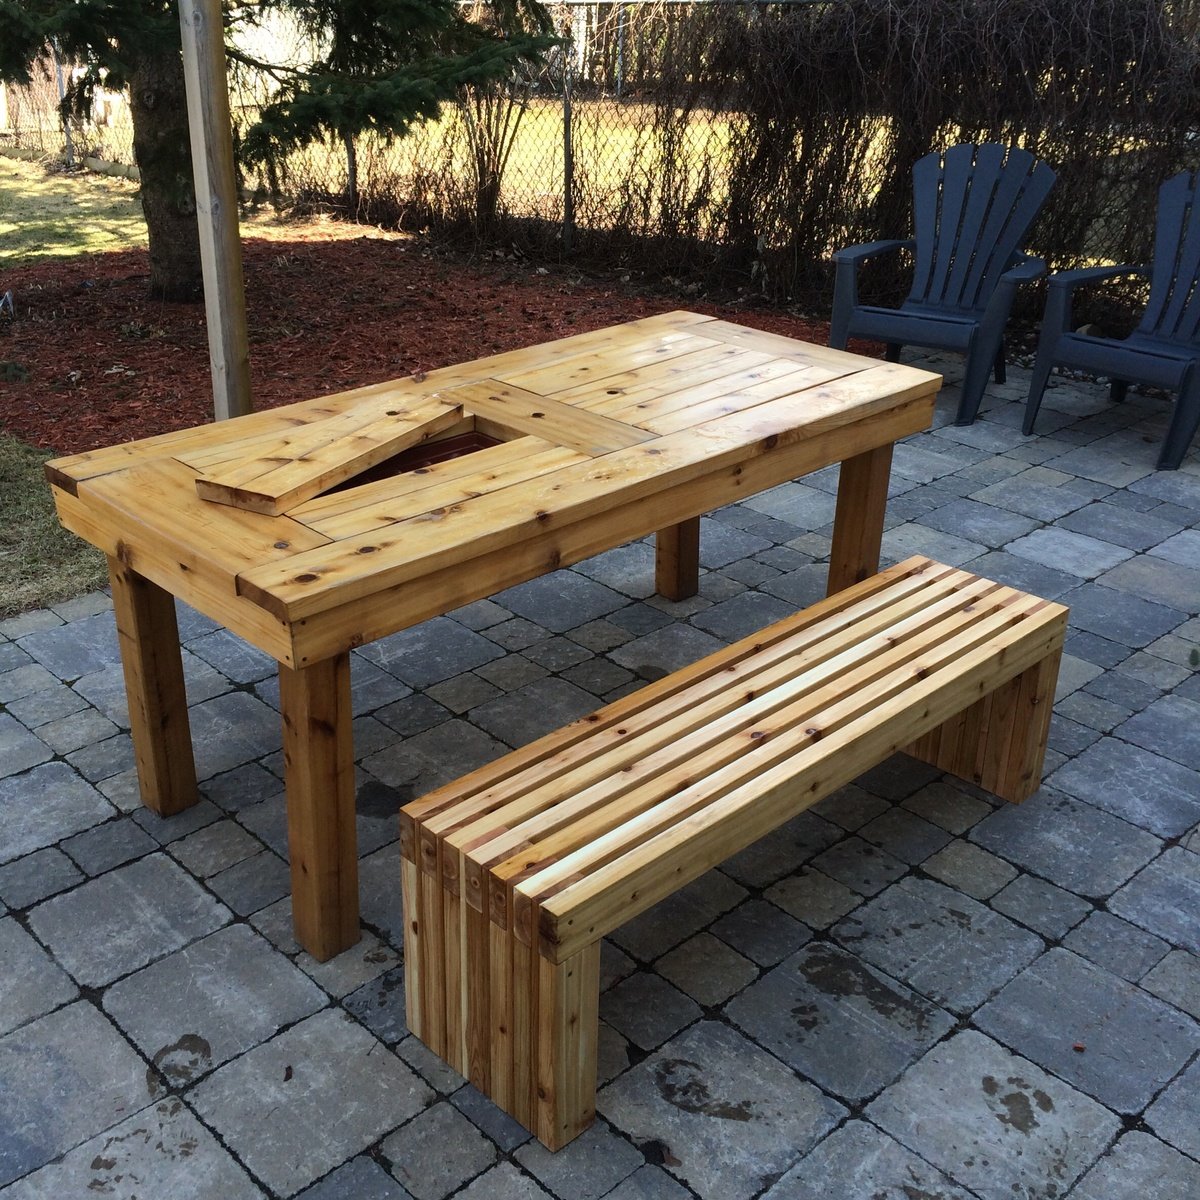
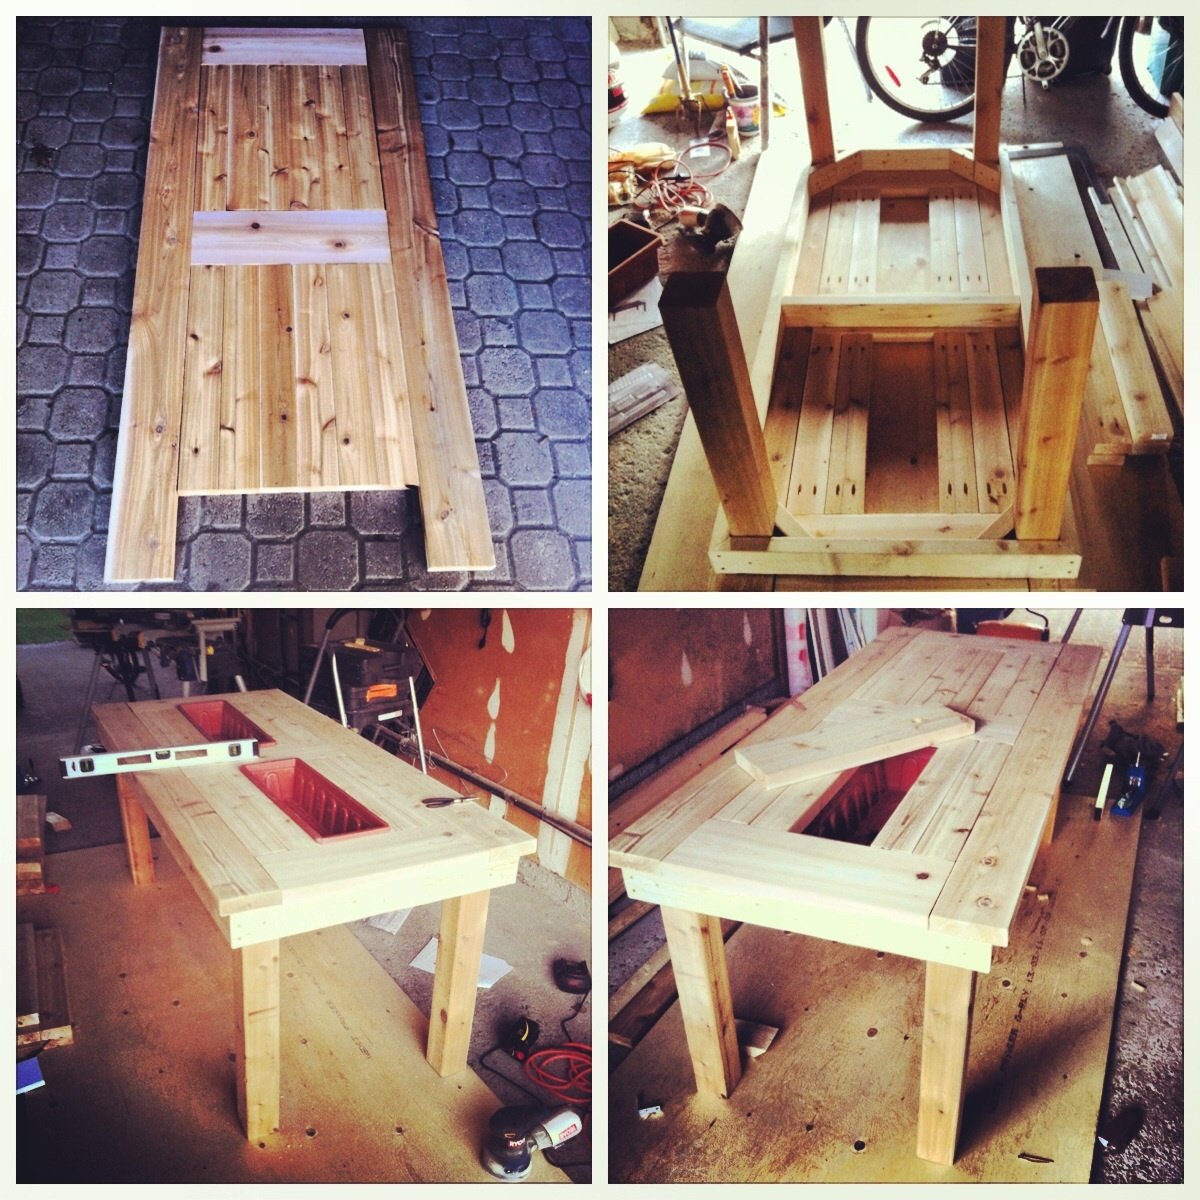
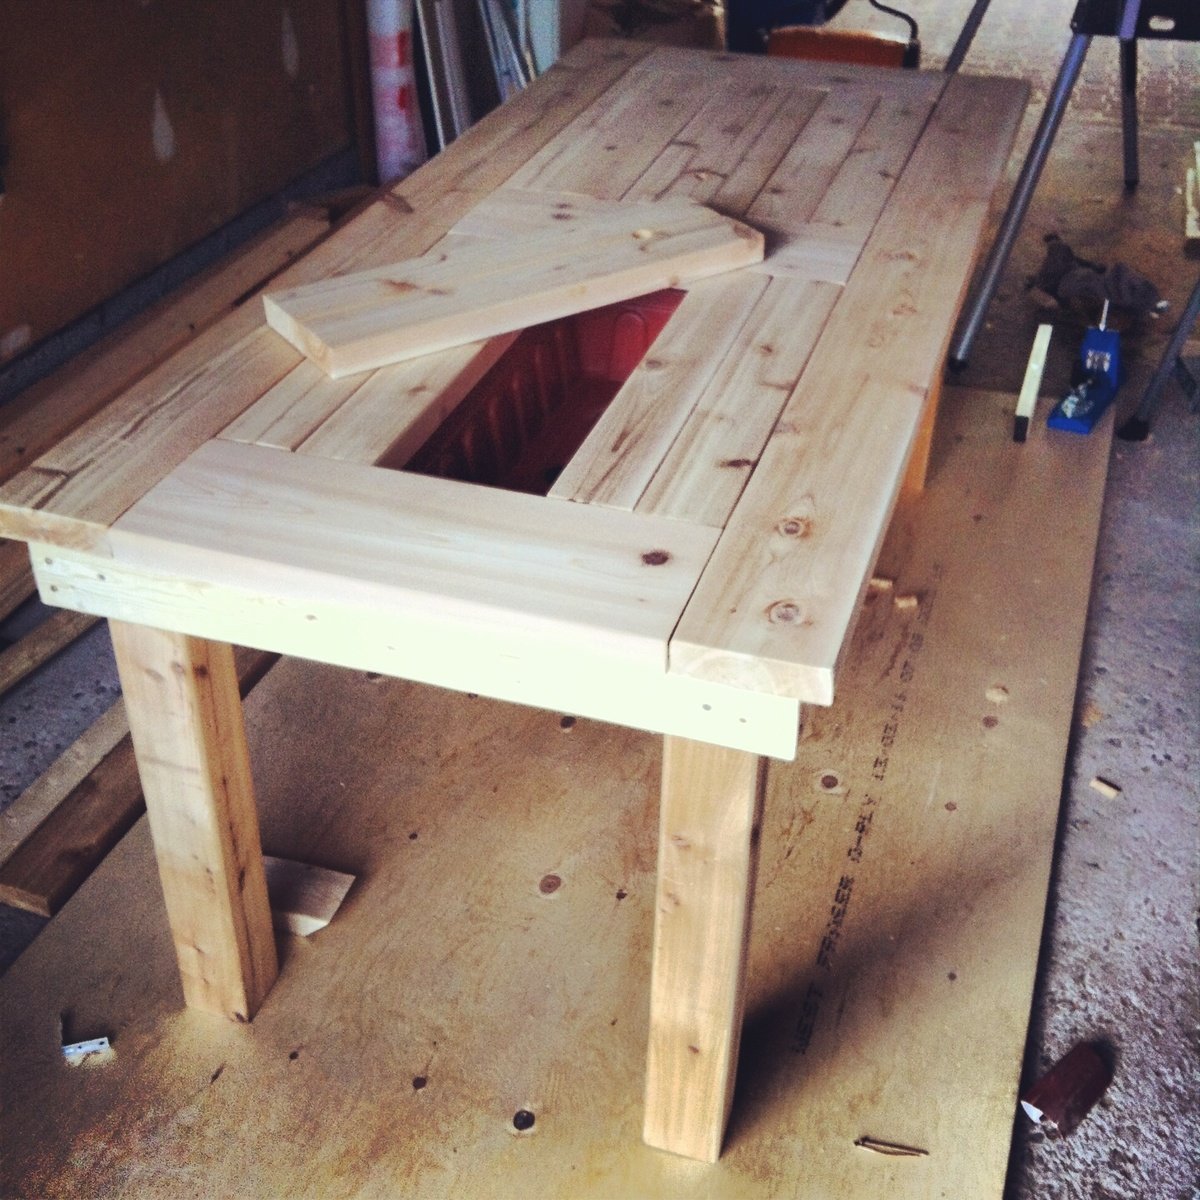
Great projects for any beginner. Make sure you're working on a level surface for the table. I purchased simple planter boxes from a local hardware store, and worked around those. For the bench, my only suggestion is to verify you are square at each step- other than that it's pretty straightforward.

Estimated Cost
350
Estimated Time Investment
Weekend Project (10-20 Hours)
Finish Used
Teak Oil
Recommended Skill Level
Beginner

Built the Console Table - Wife Loved it!

Submitted by Anonymous (not verified) on Fri, 07/15/2016 - 00:13

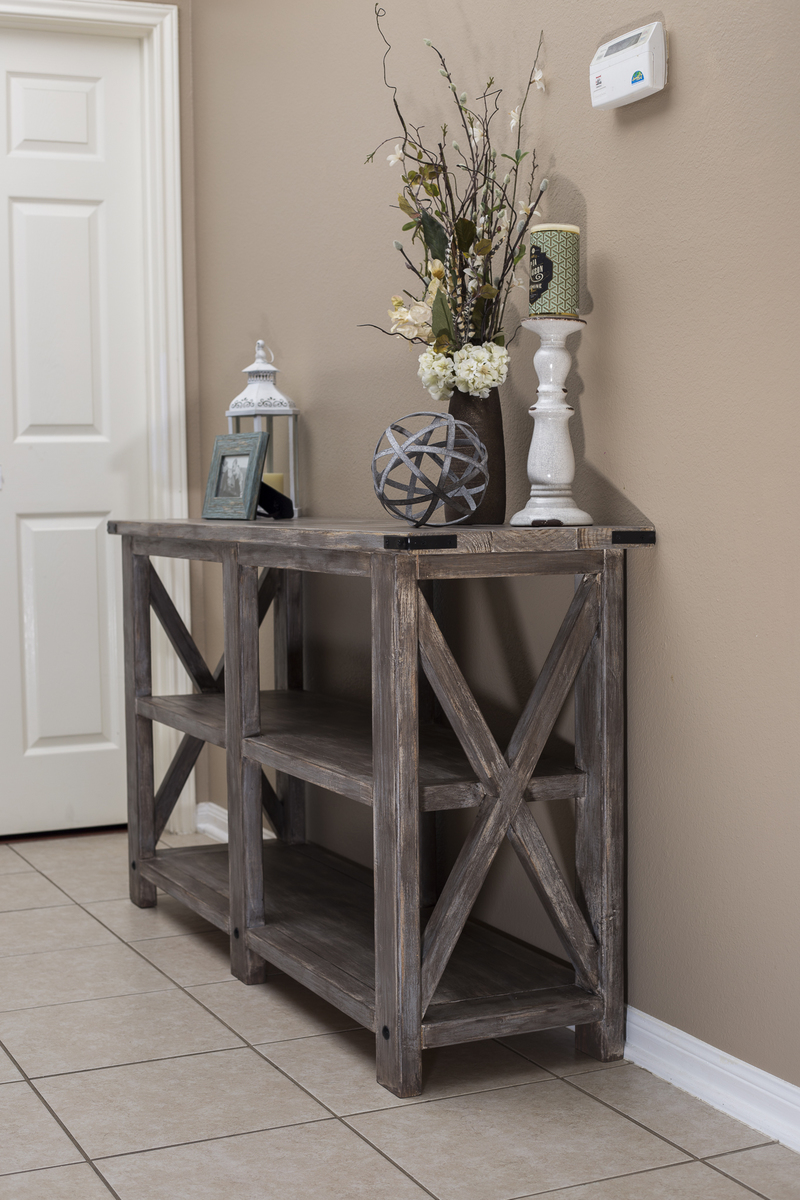
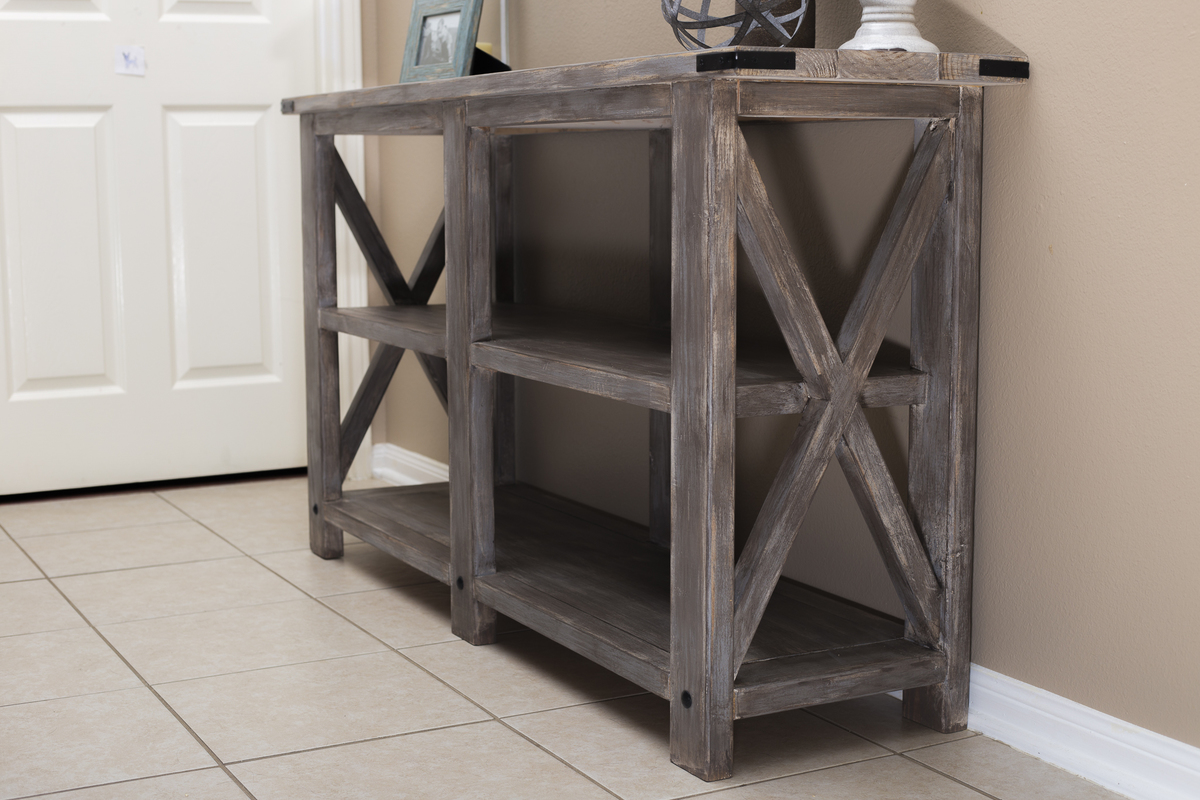
Had to try to build the Patrick Rustic Sofa Table and though it was my first time trying something like this, it looked very do-able.  Modified to 60" instead of the original length.

Estimated Cost
$70.00
Estimated Time Investment
Weekend Project (10-20 Hours)
Finish Used
3 coats of Paint and Wax to seal
Recommended Skill Level
Beginner

Rustic X Farmhouse Console

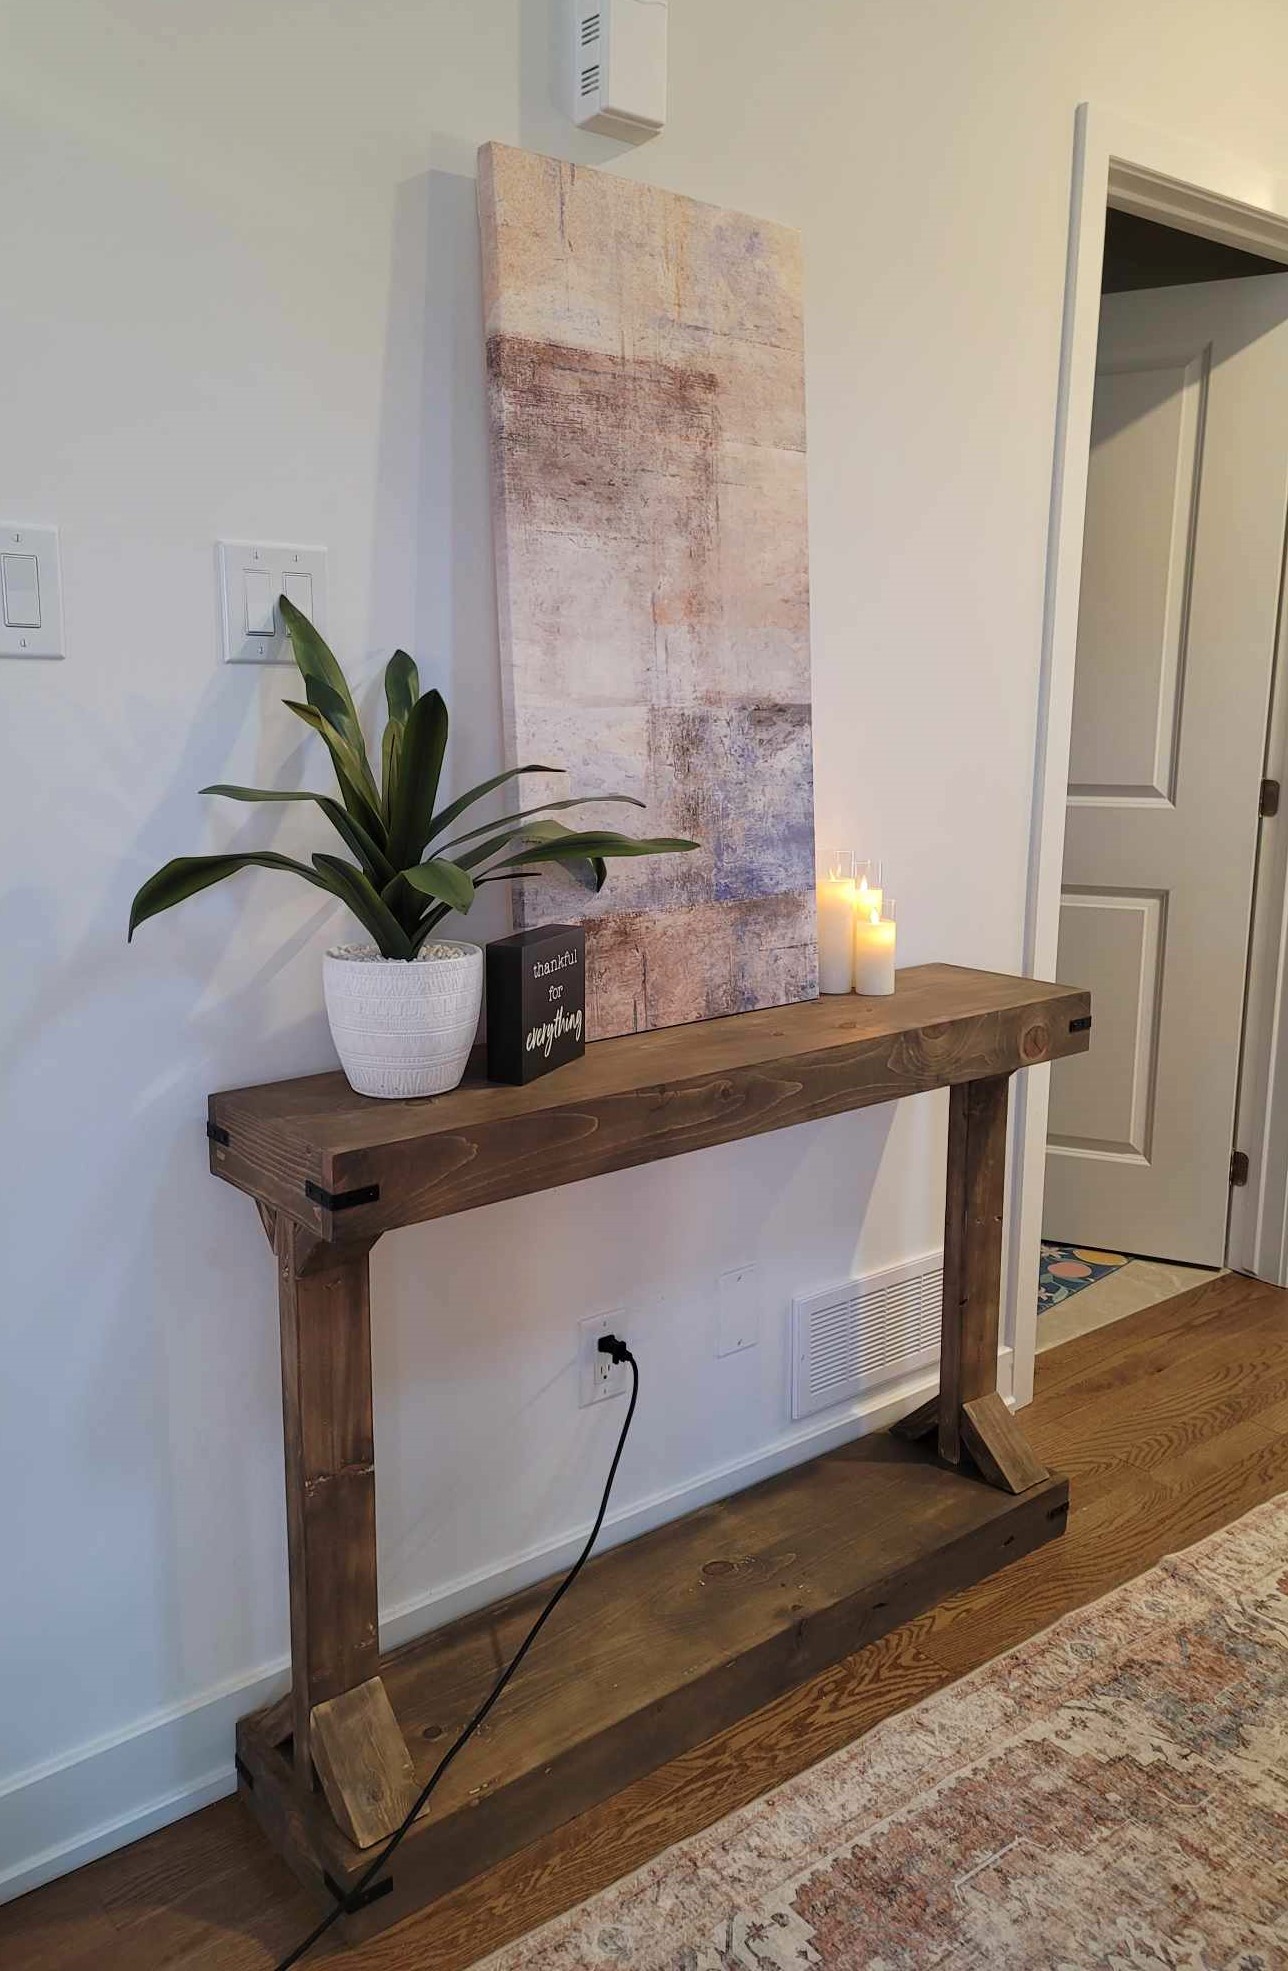
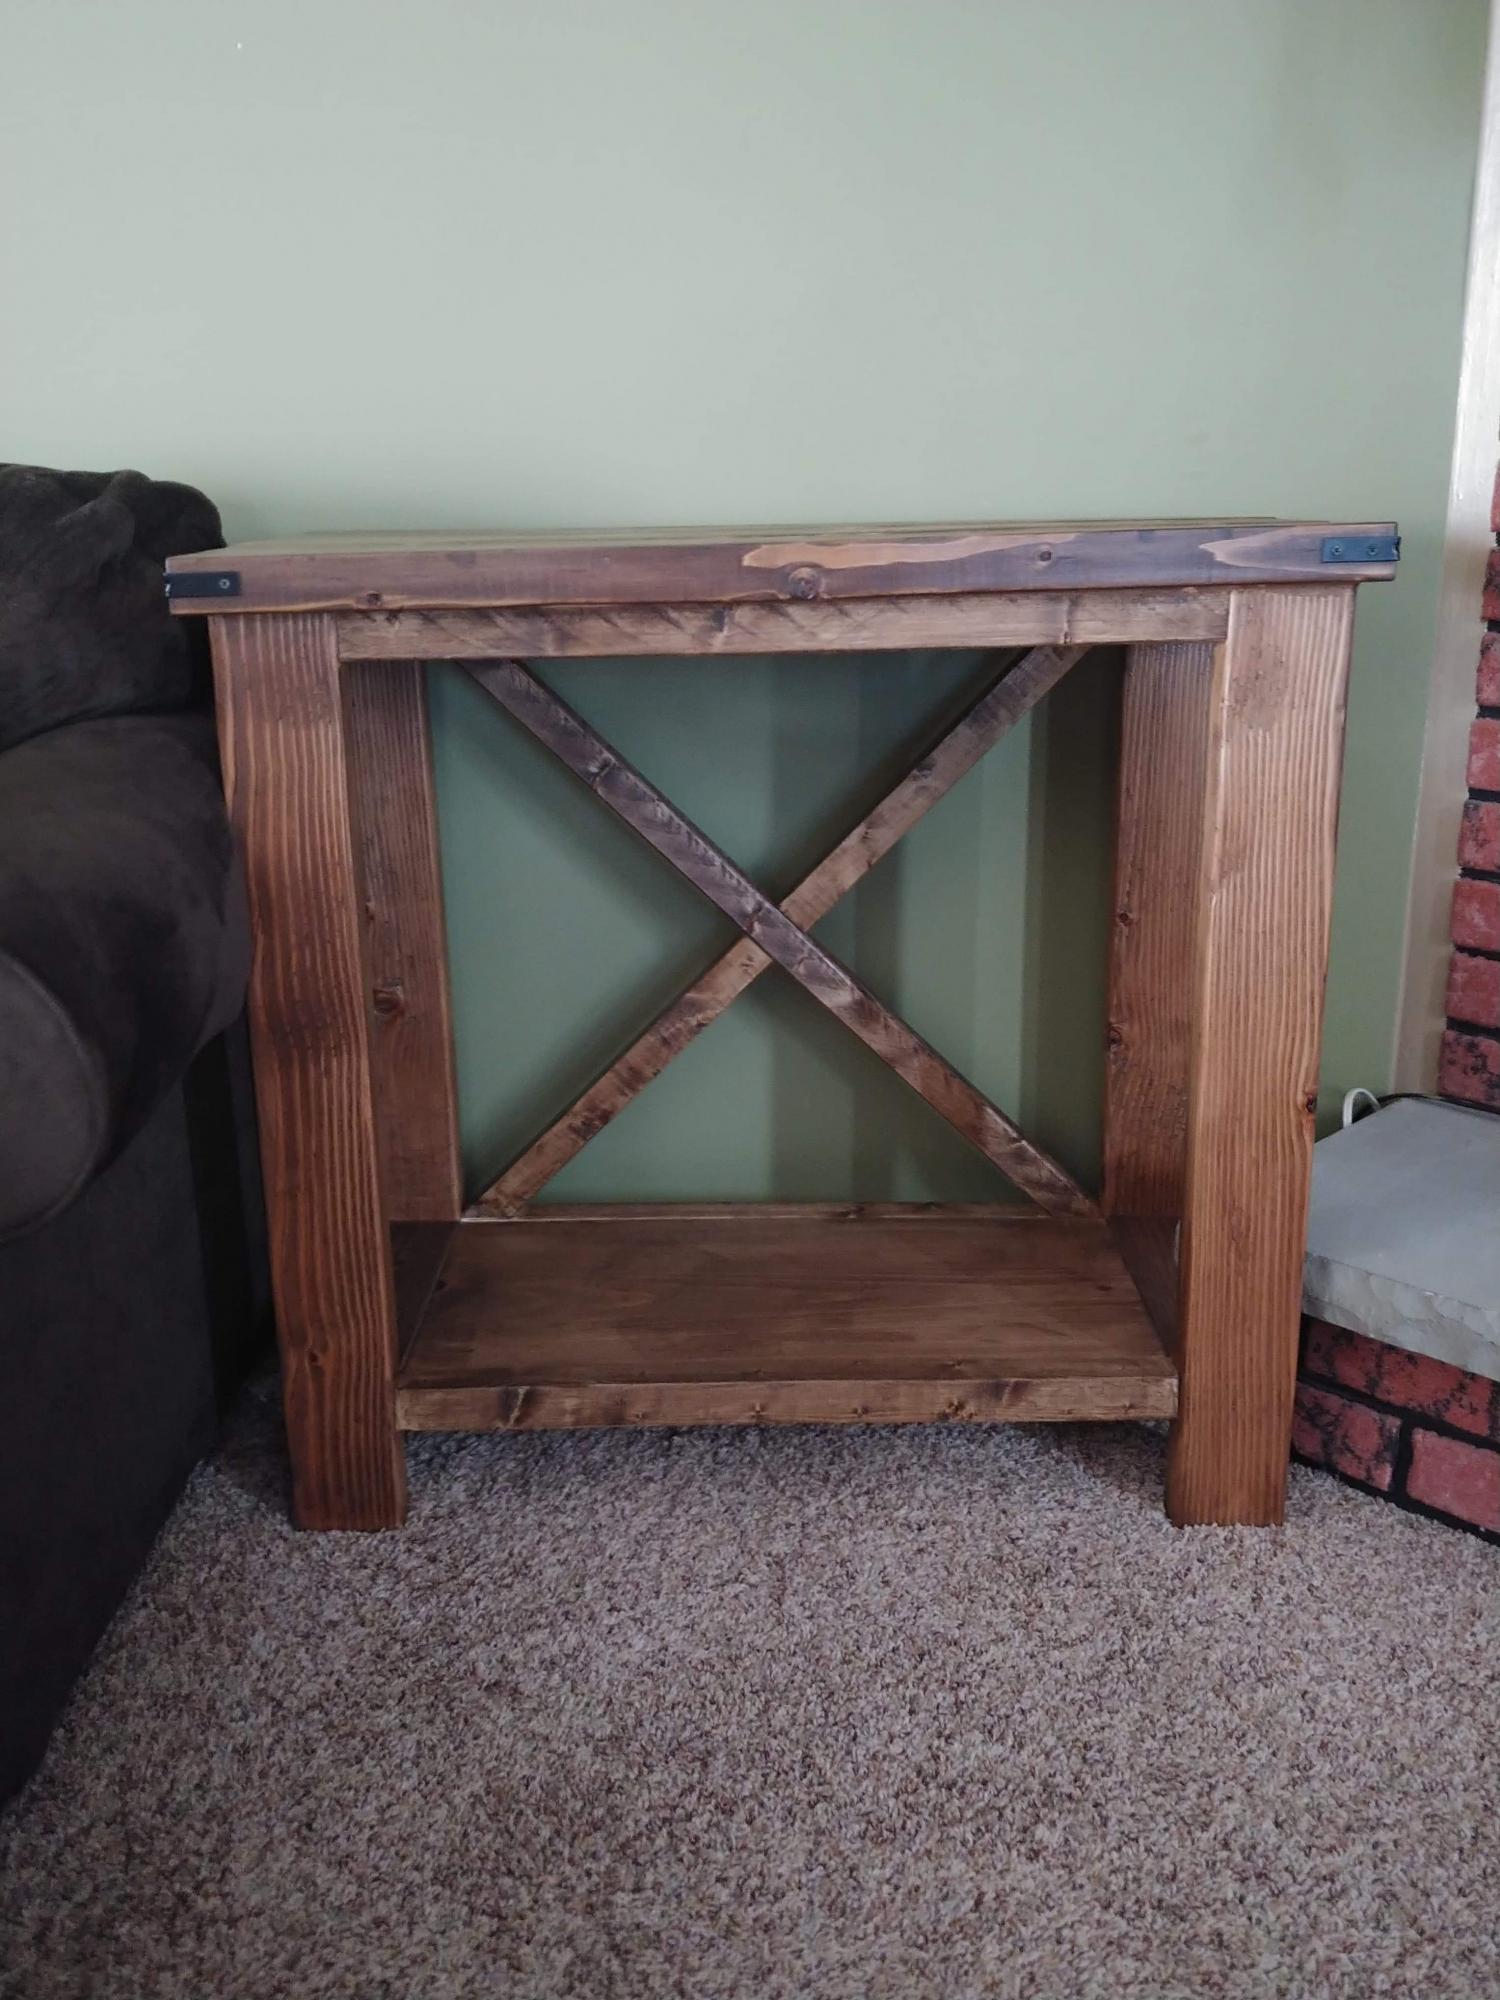
I love how this table turned out.

Estimated Cost
60
Estimated Time Investment
Day Project (6-9 Hours)
Finish Used
Minwax Special Walnut stain
Minwax Polyurethane
Recommended Skill Level
Beginner

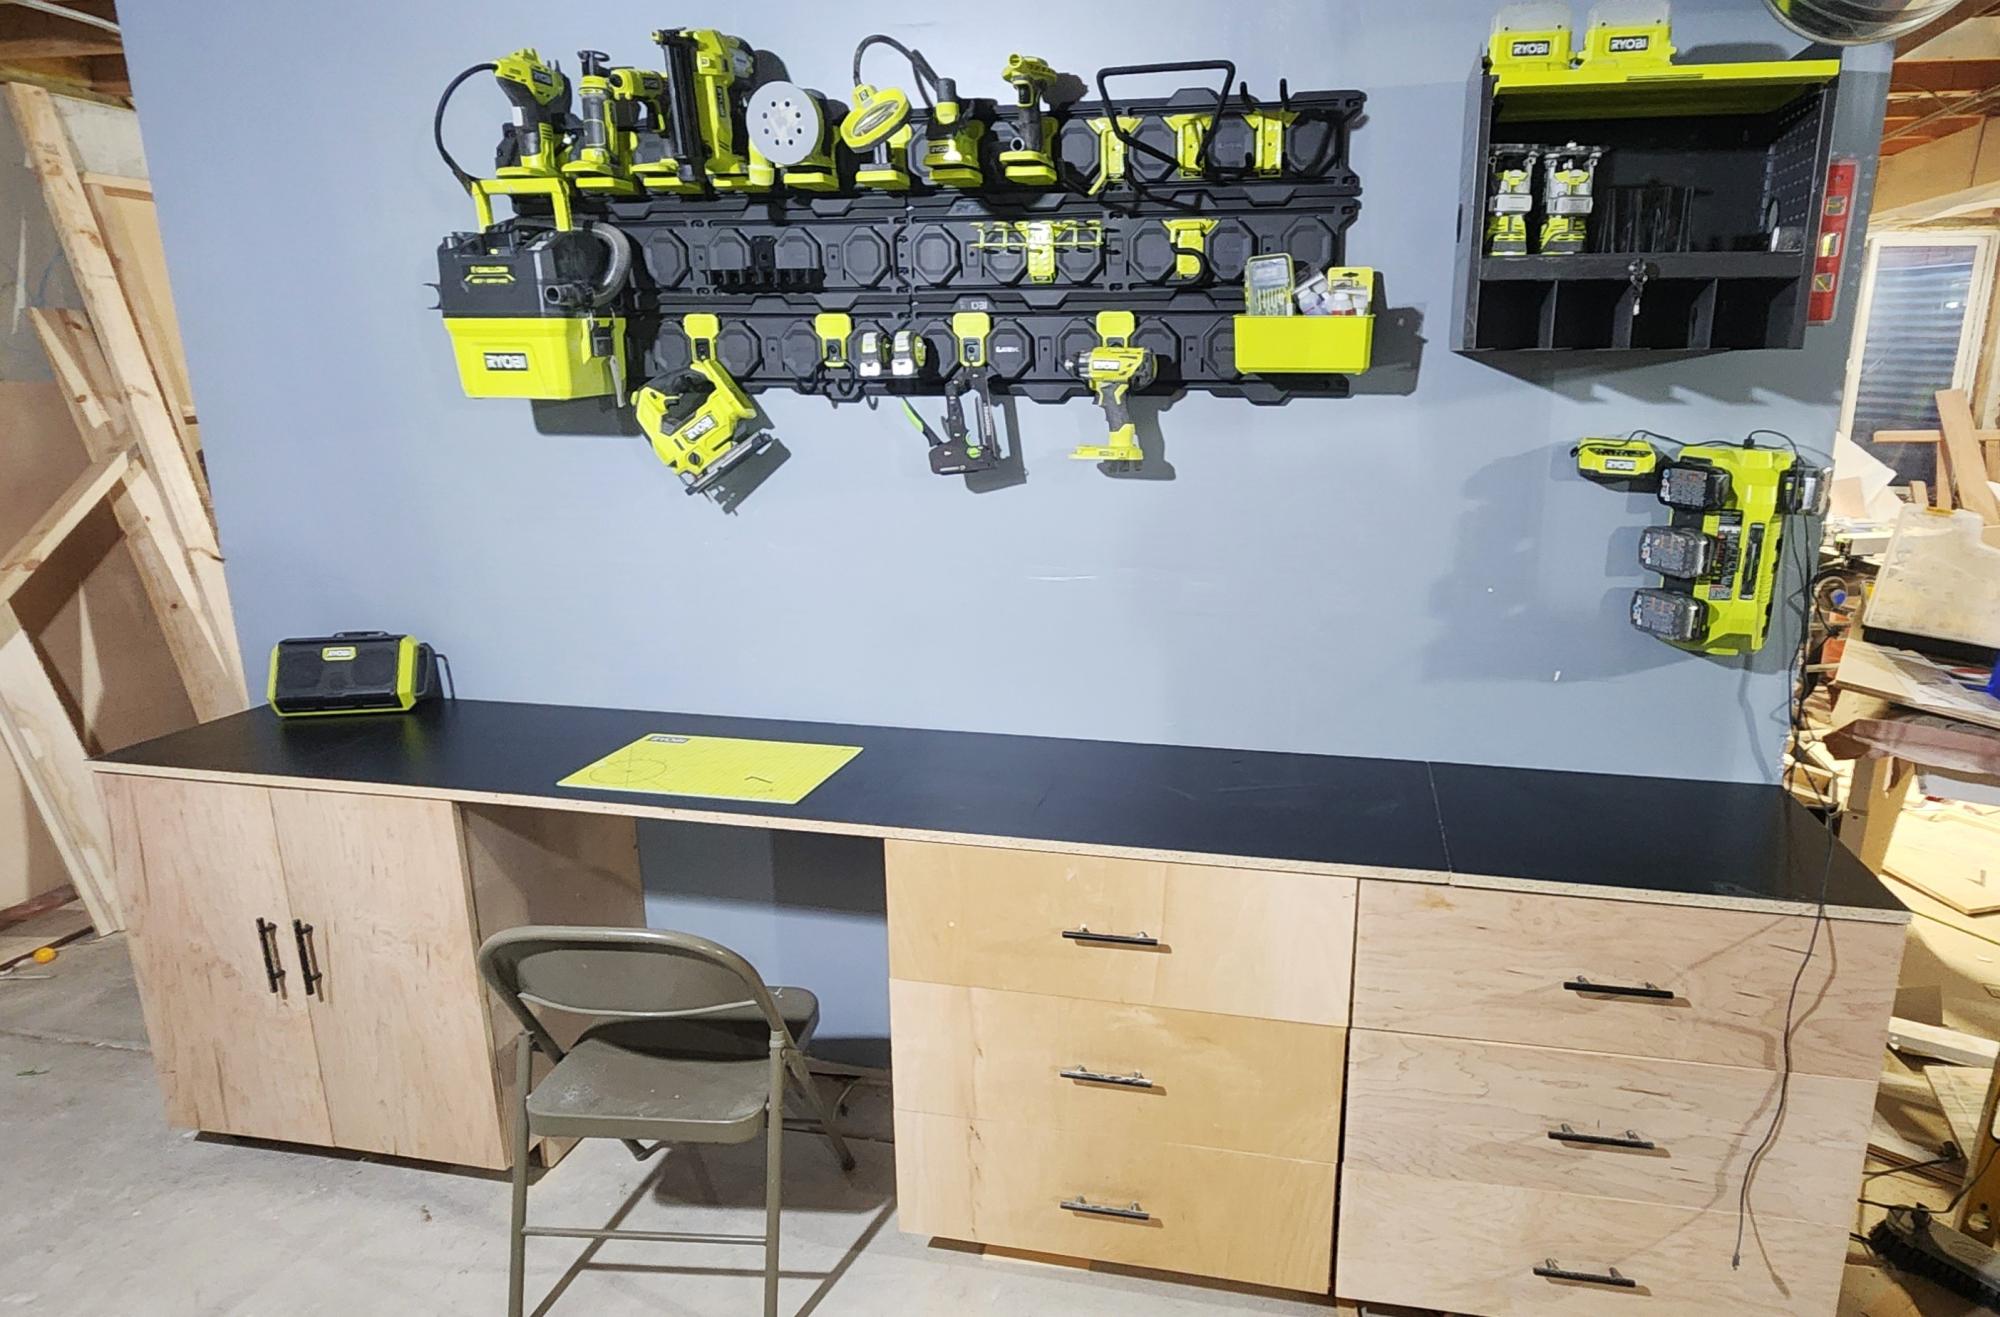
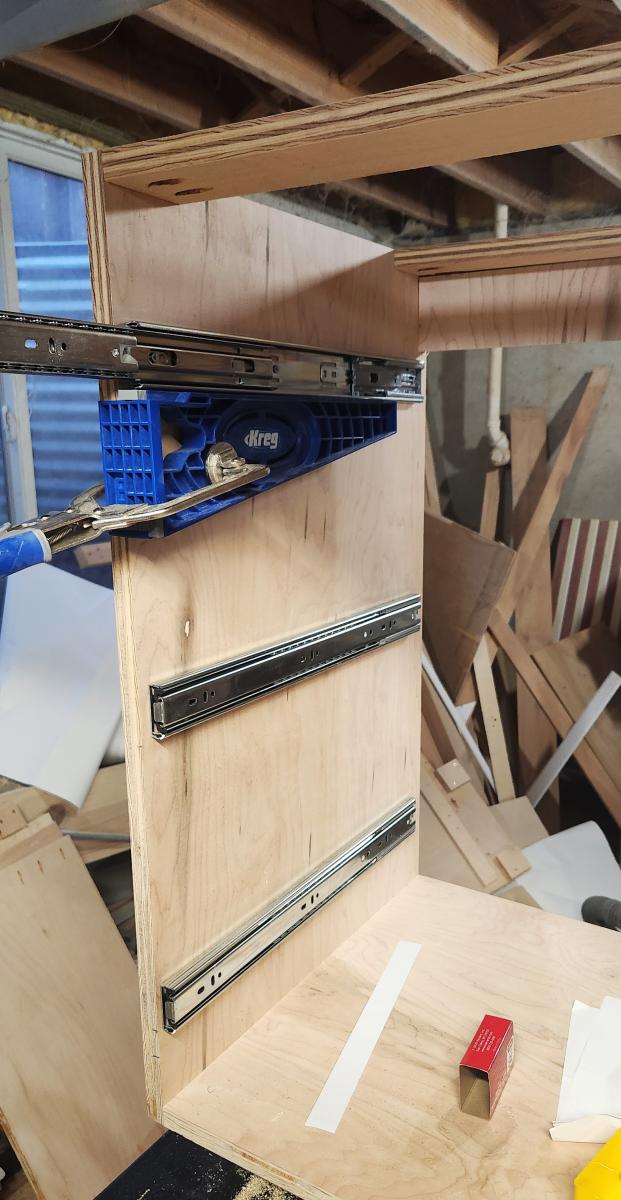
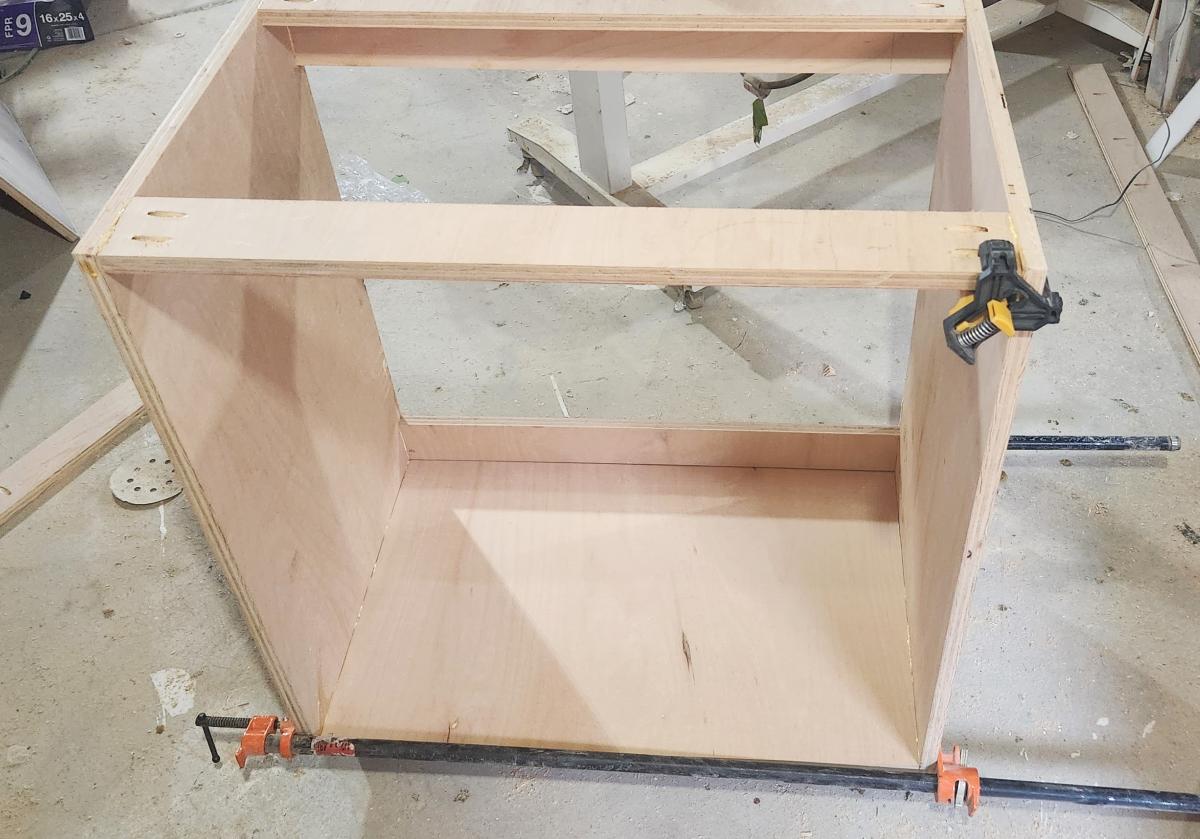
Shop Cabinets with Drawers

Submitted by Anonymous (not verified) on Wed, 01/03/2024 - 08:37

Shop was a mess and needed some organization. Beginner workworker so I decided to make some shop cabinets. Took awhile and they are not perfect but they work. Now I have plenty of storage for my tools.
Jeff DeVries

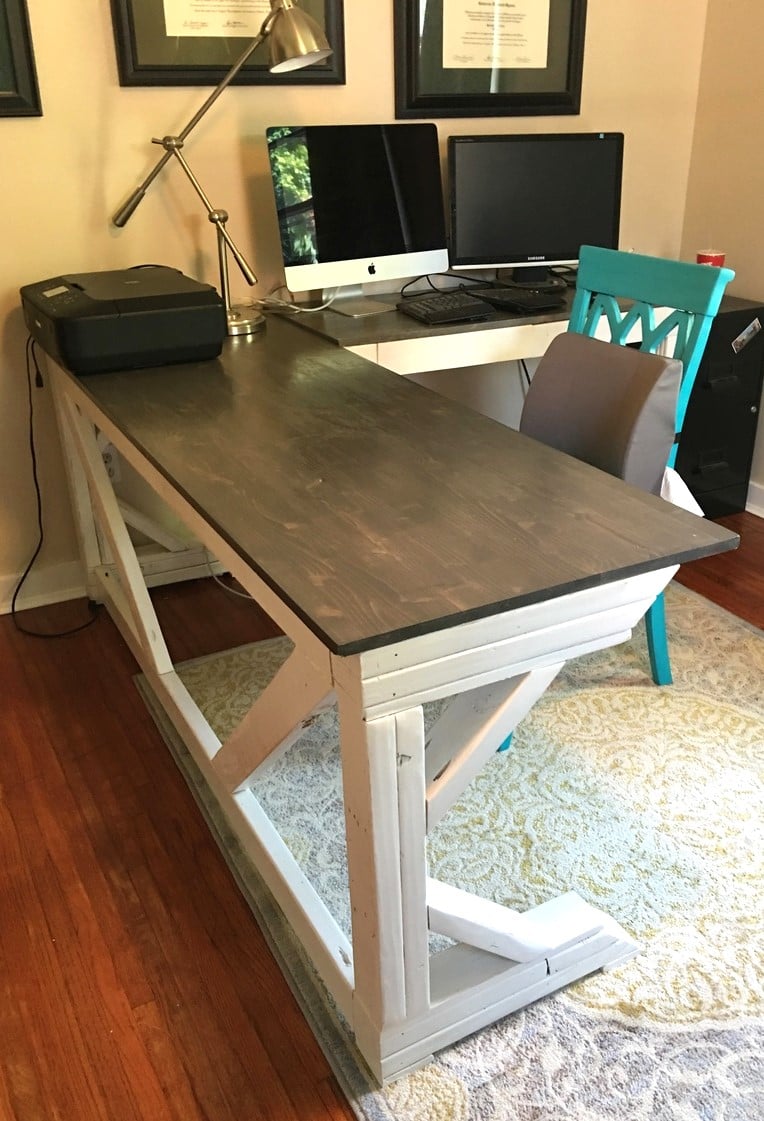
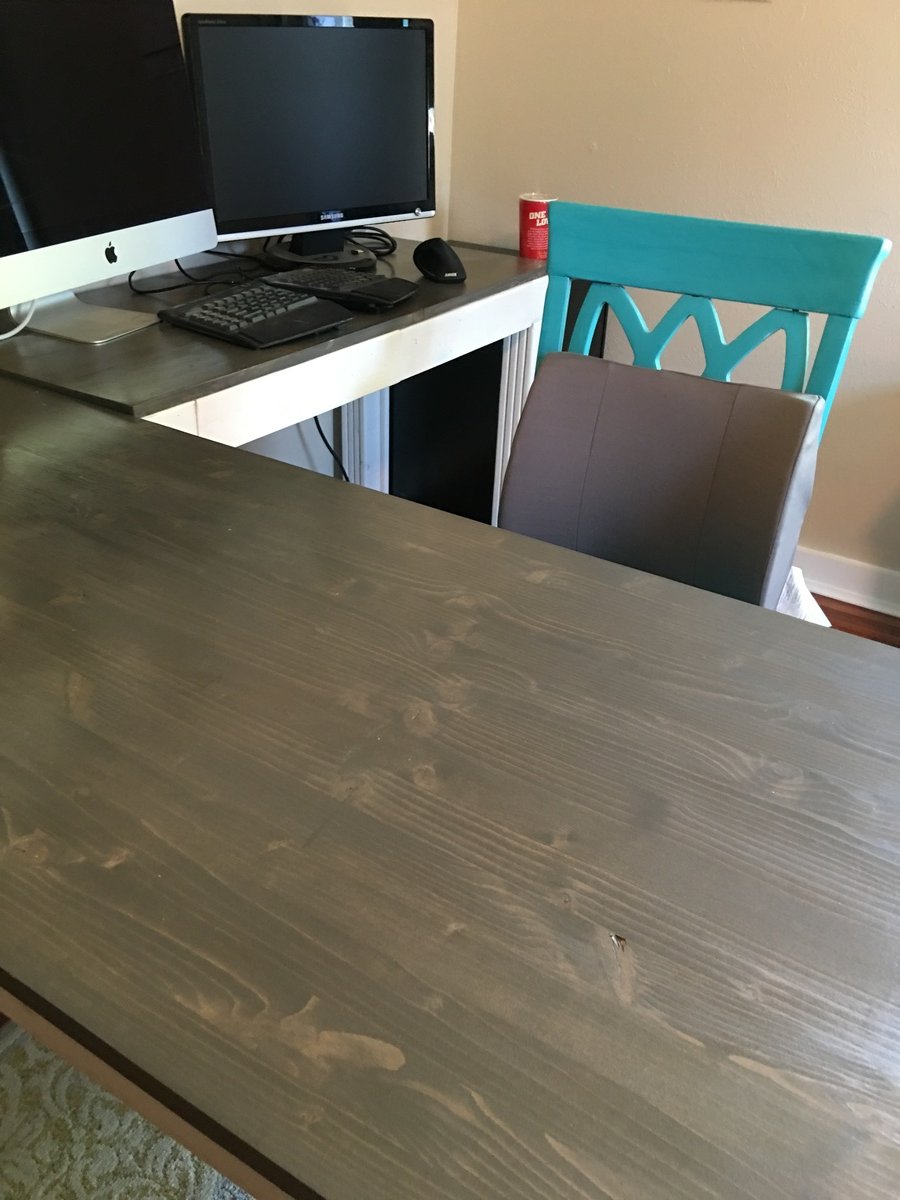
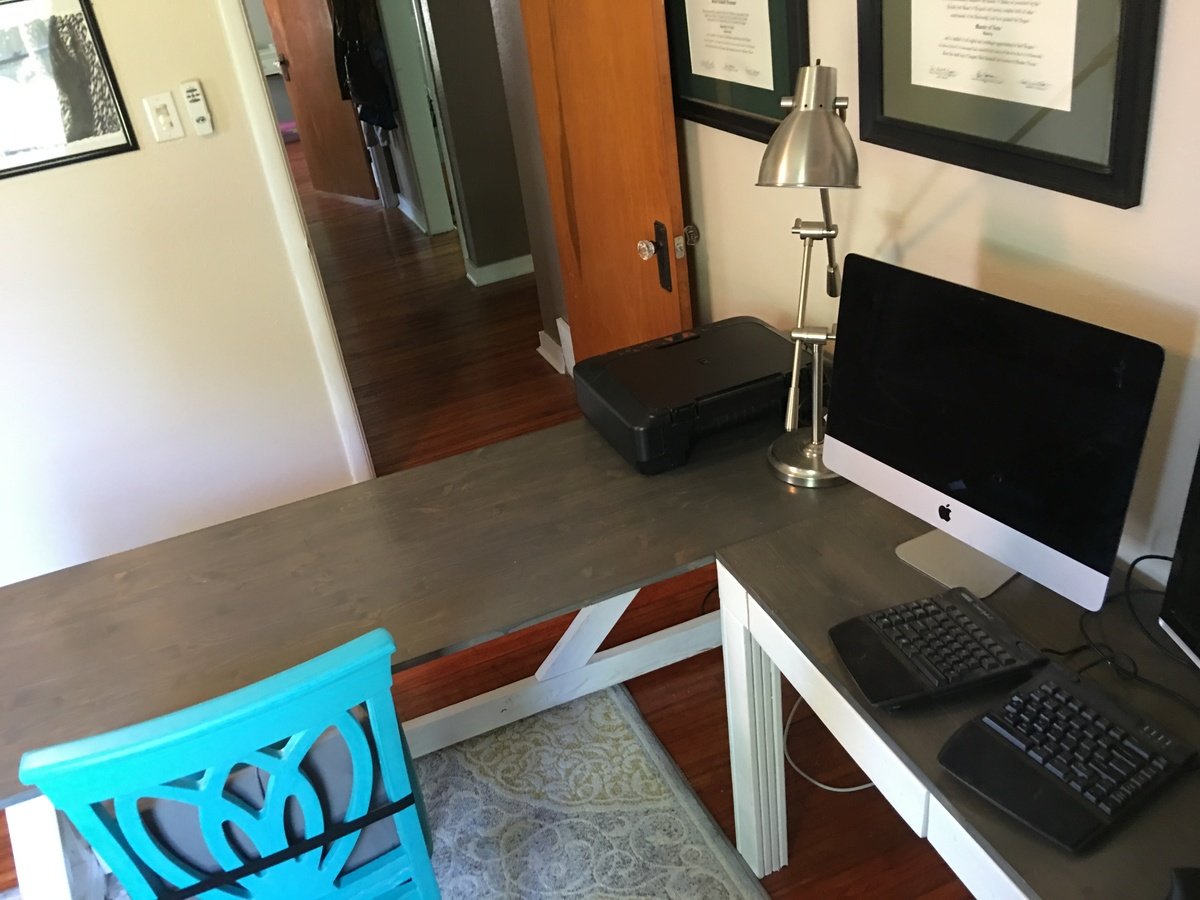
Modified desk

Submitted by bef0016 on Sun, 07/17/2016 - 17:25

Modified table to desk. Built the original table plan for a friend and it was too big, so I had the frame in my shed for a year. Repurposed it to office desk. 

Estimated Time Investment
Weekend Project (10-20 Hours)
Recommended Skill Level
Intermediate

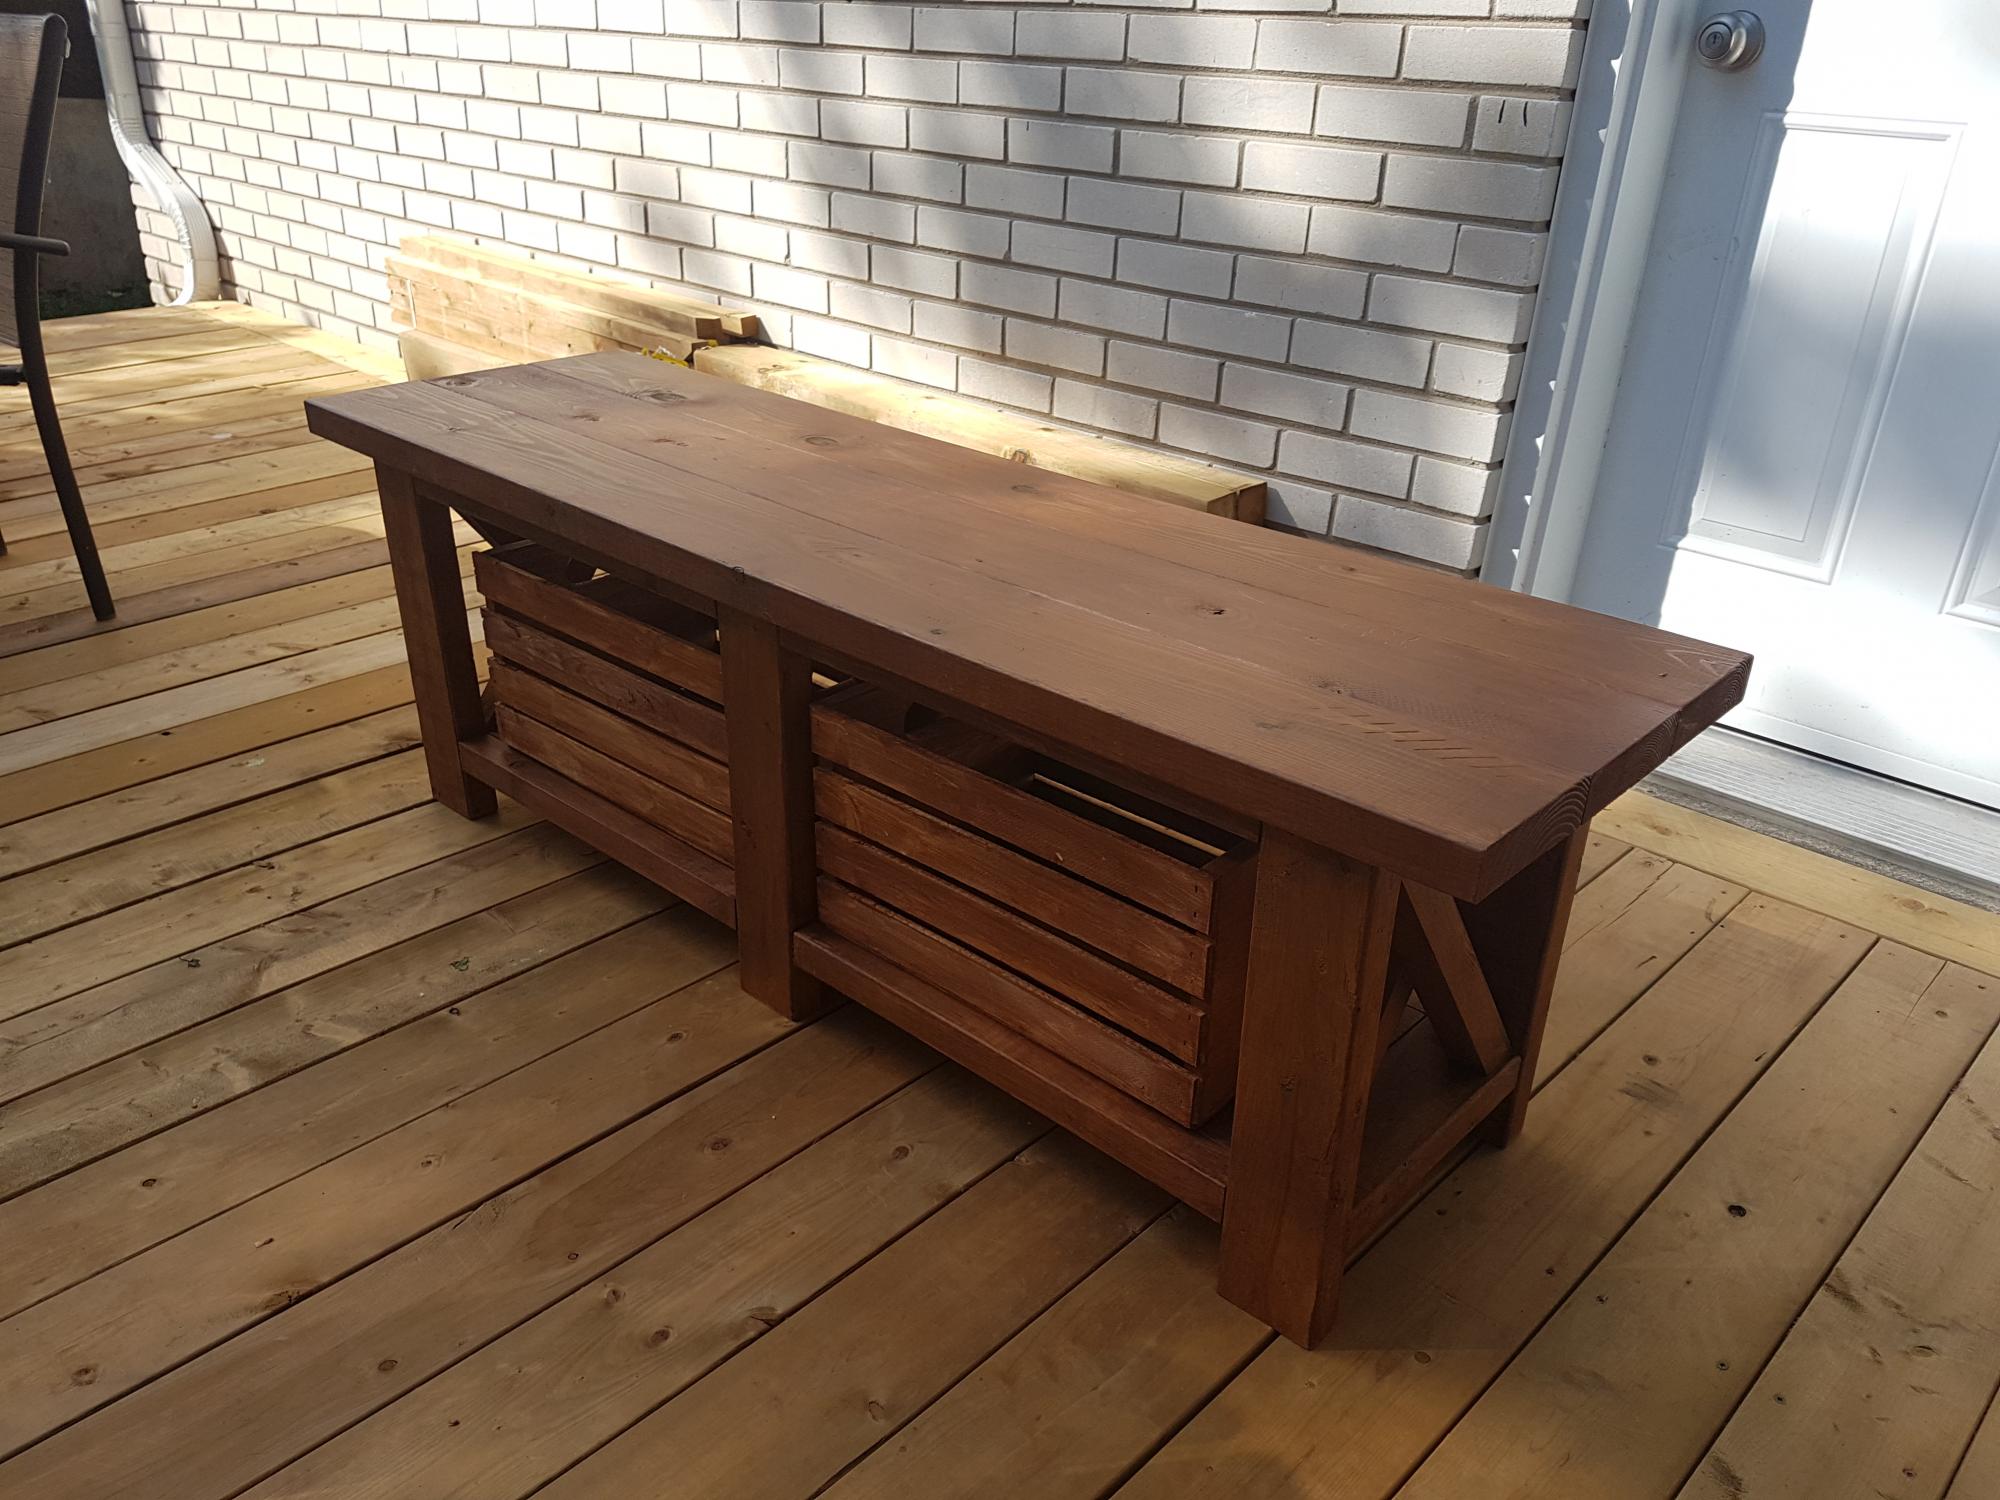
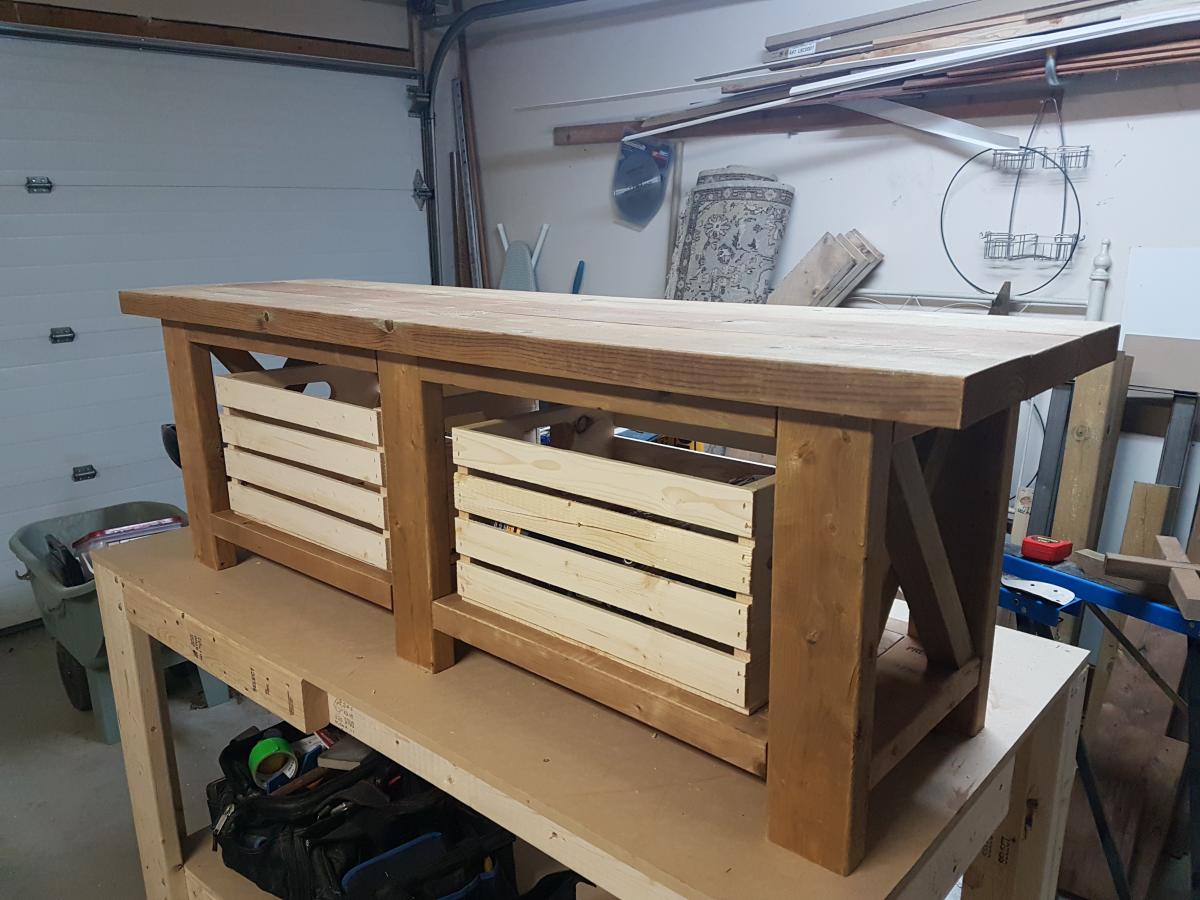
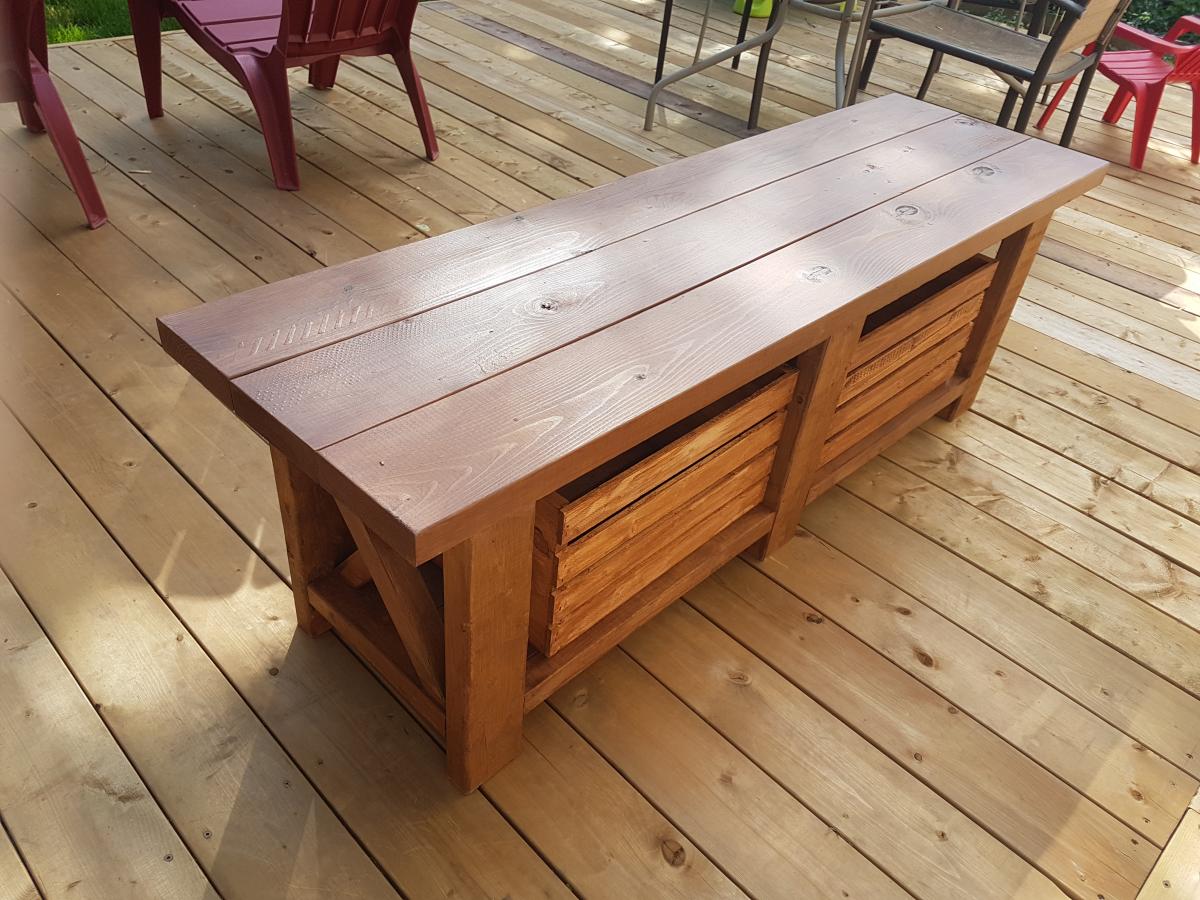
Garden Bench Storage

Cut down the Farmhouse Console Table to make a garden bench with storage

Estimated Cost
$70
Estimated Time Investment
Afternoon Project (3-6 Hours)
Finish Used
Presuure treated Cut & Seal with a Saman Poly finish
Recommended Skill Level
Starter Project

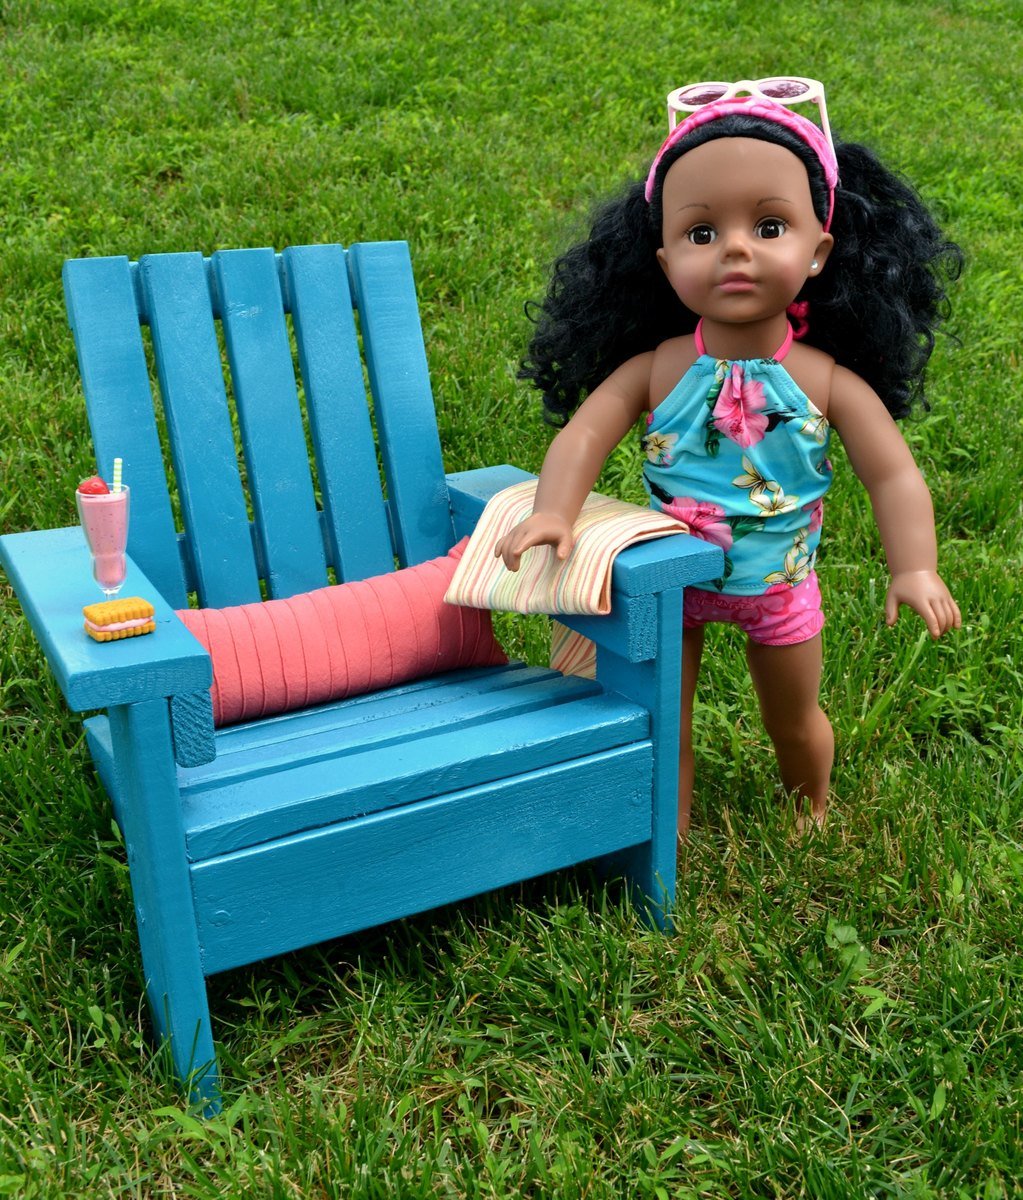
Adirondack Chair for dolls

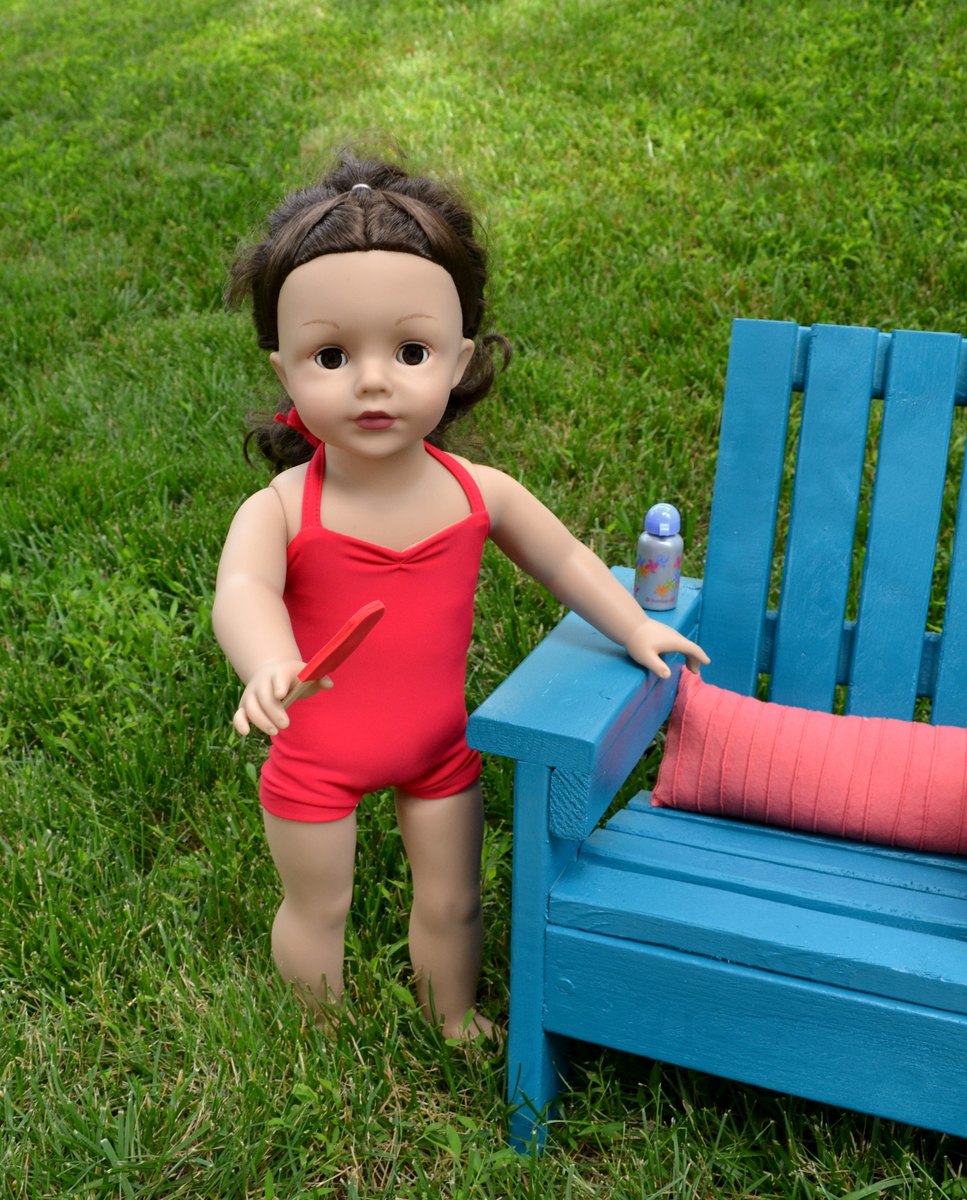
It was a fun project and it went well.
It took me longer to make than Ana, but I am still new at this!
The girls love it and my daughter is very pleased.

Built from Plan(s)
Estimated Cost
$10 with the cost of spray paint
Estimated Time Investment
Afternoon Project (3-6 Hours)
Finish Used
lagoon spray paint
Recommended Skill Level
Beginner

Easel

Submitted by Moses13 on Thu, 07/21/2016 - 23:49

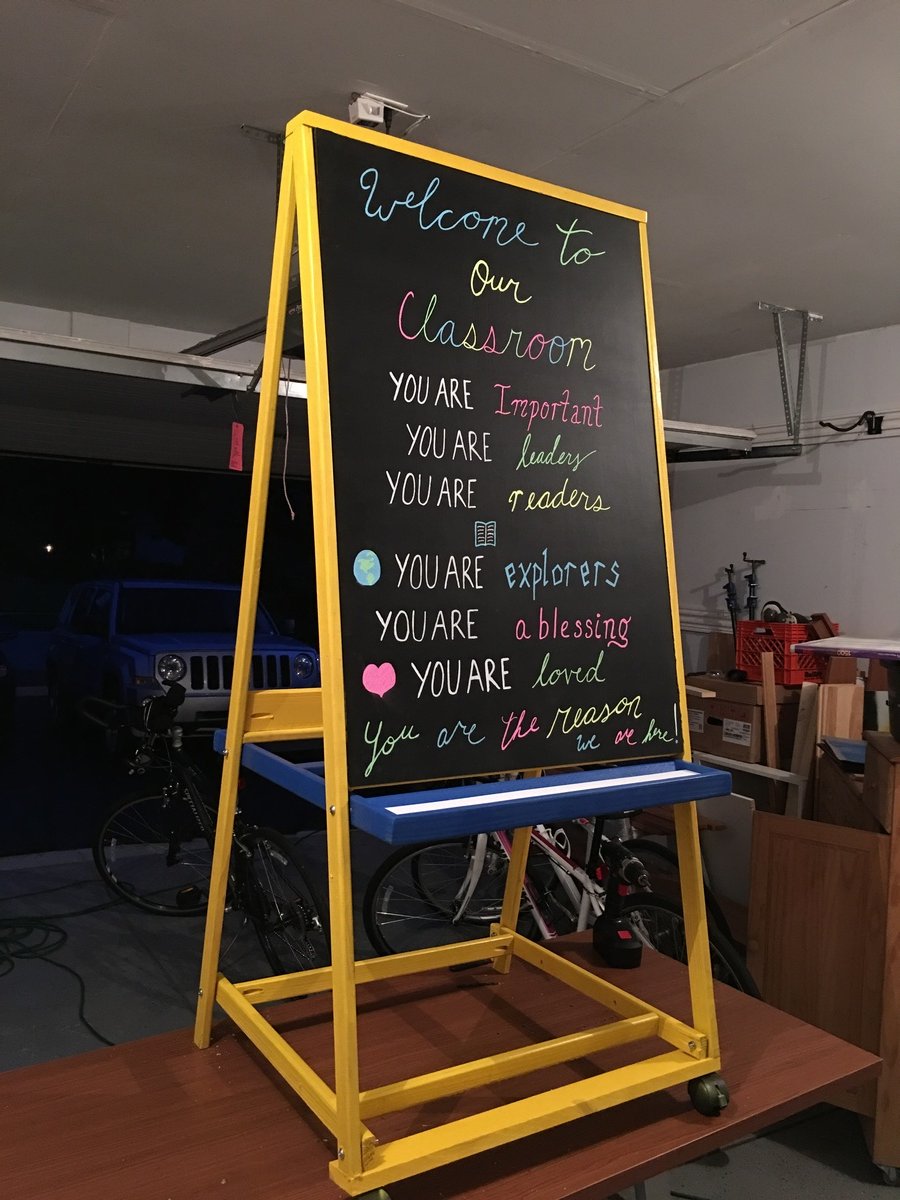
Thank you for allowing us to use your plan this is a great gift.

Recommended Skill Level
Starter Project

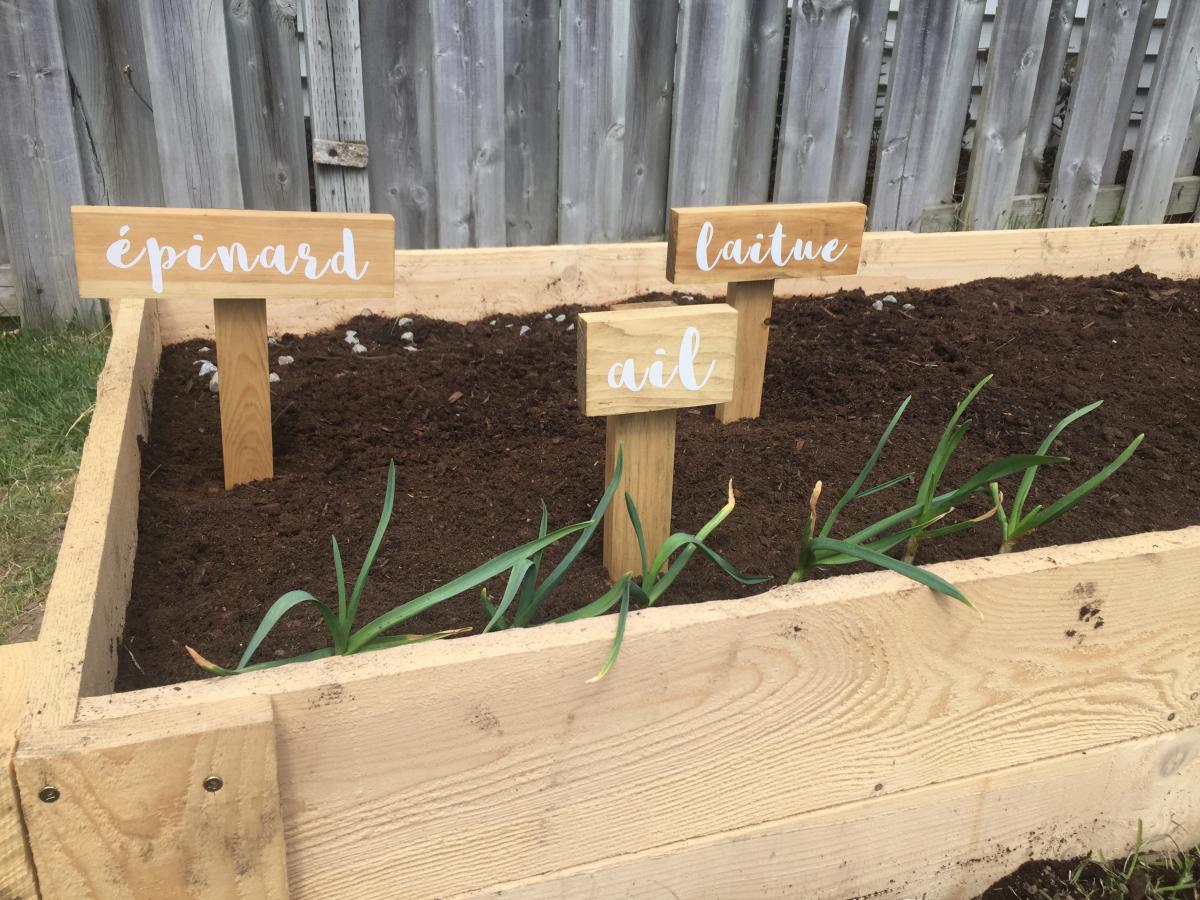
Scrapwood garden markers

Submitted by Kate_14 on Tue, 05/12/2020 - 15:07

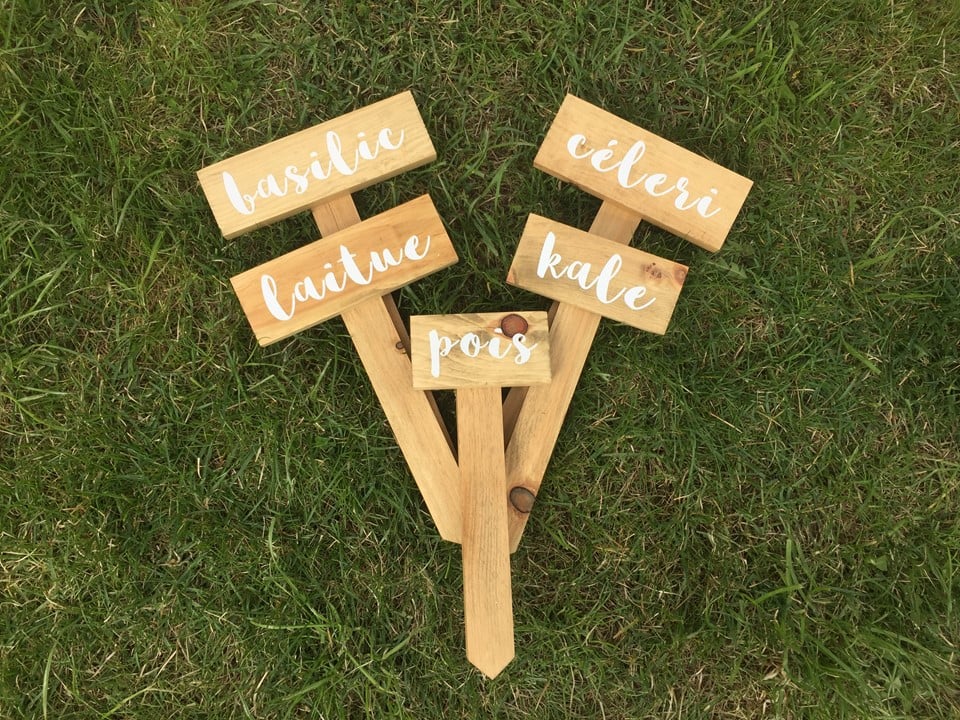
Who doesn't like a great scrapwood project? I made these beautiful garden markers with pine, but cedar would have been even better! I just didn't have any on hand. I used 1x3 to put the name of my vegetables and 1x2 for the pickets. I screwed them with 1 1/4 inch exterior screws.

Estimated Cost
0$
Estimated Time Investment
Afternoon Project (3-6 Hours)
Recommended Skill Level
Starter Project

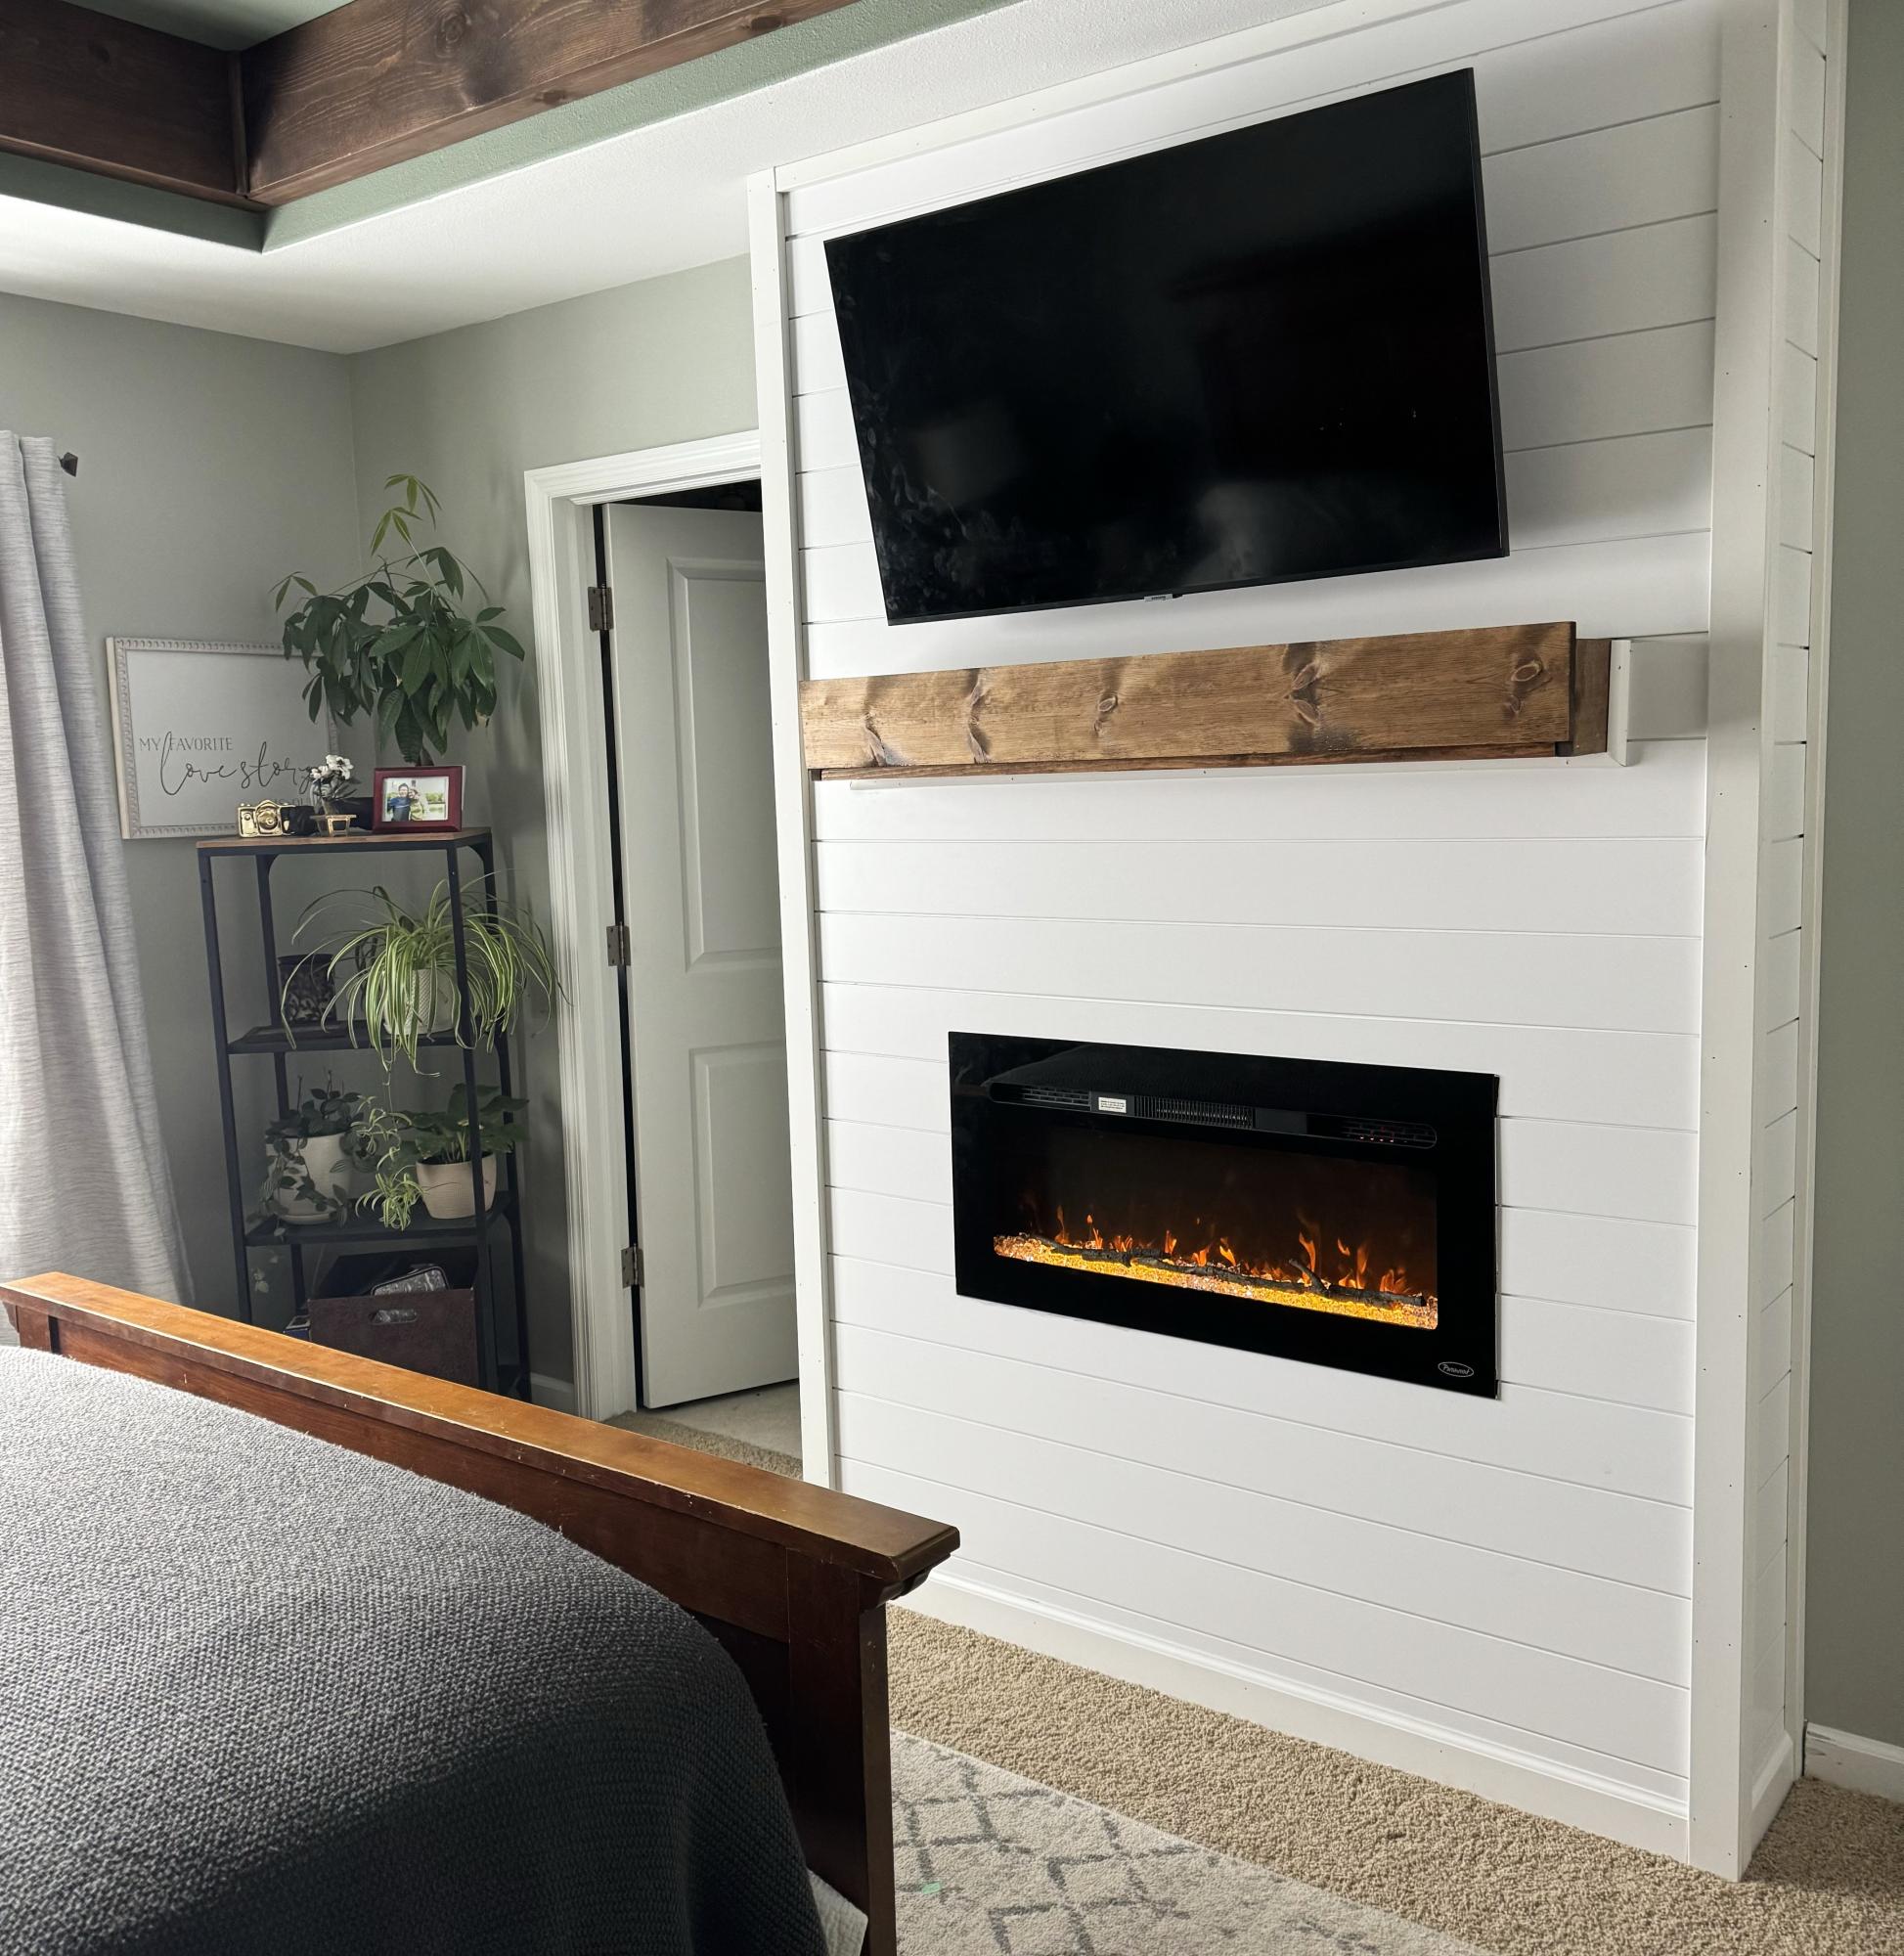
Master Bedroom Fireplace Wall

Submitted by Anonymous (not verified) on Wed, 01/10/2024 - 07:37

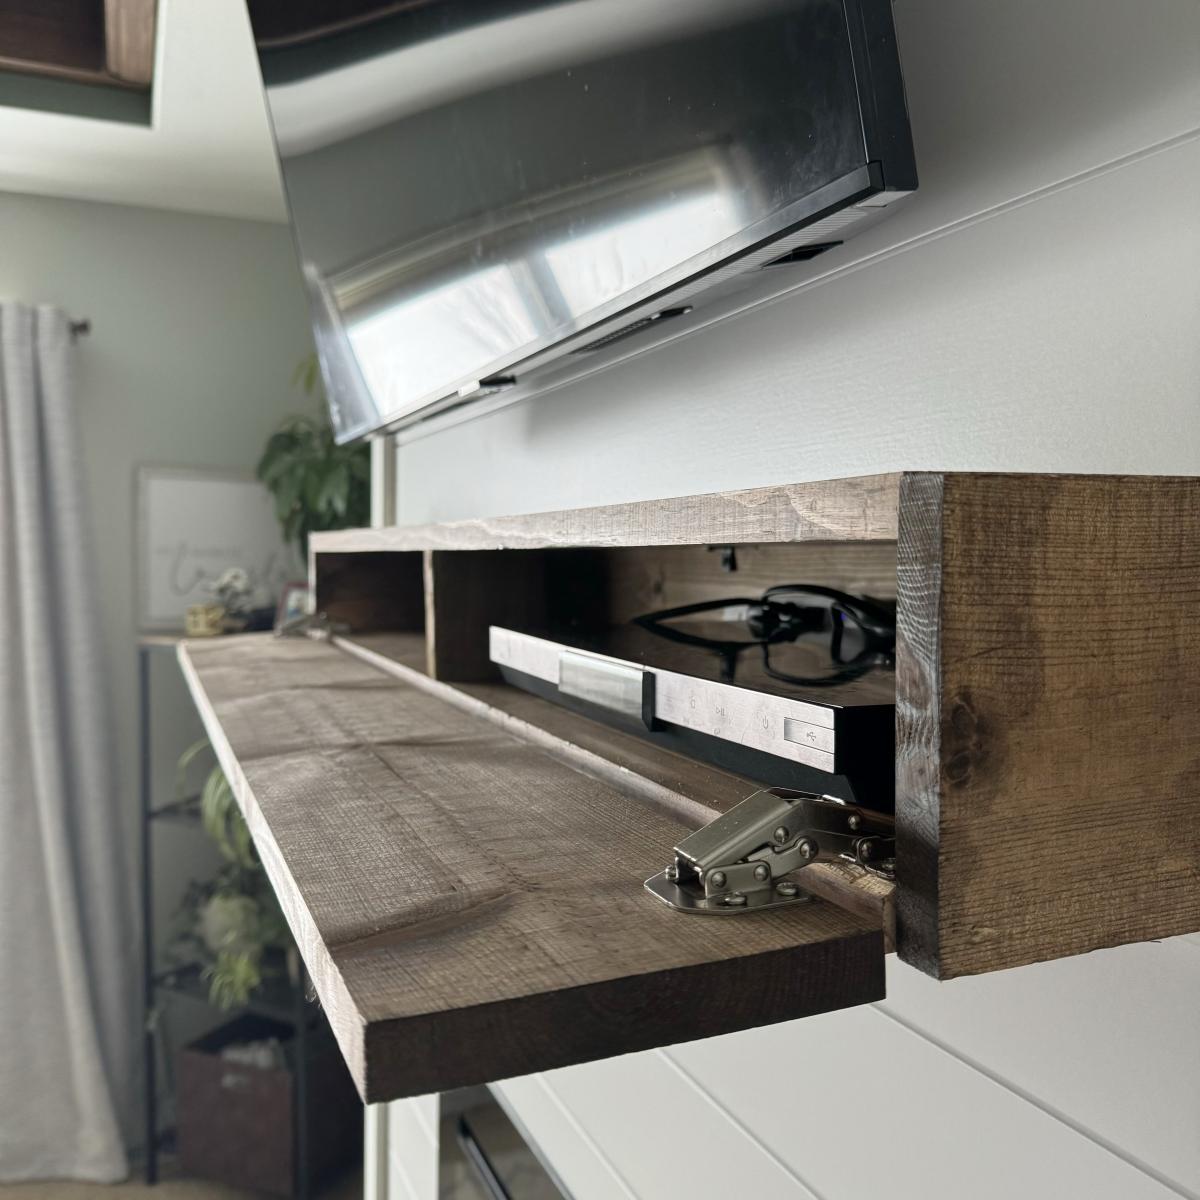
My husband and I had so much fun building this together! Your plans were easy to follow and has given me confidence to tackle other projects. The addition of the storage mantle was perfect for our needs. Love our cozy bedroom!

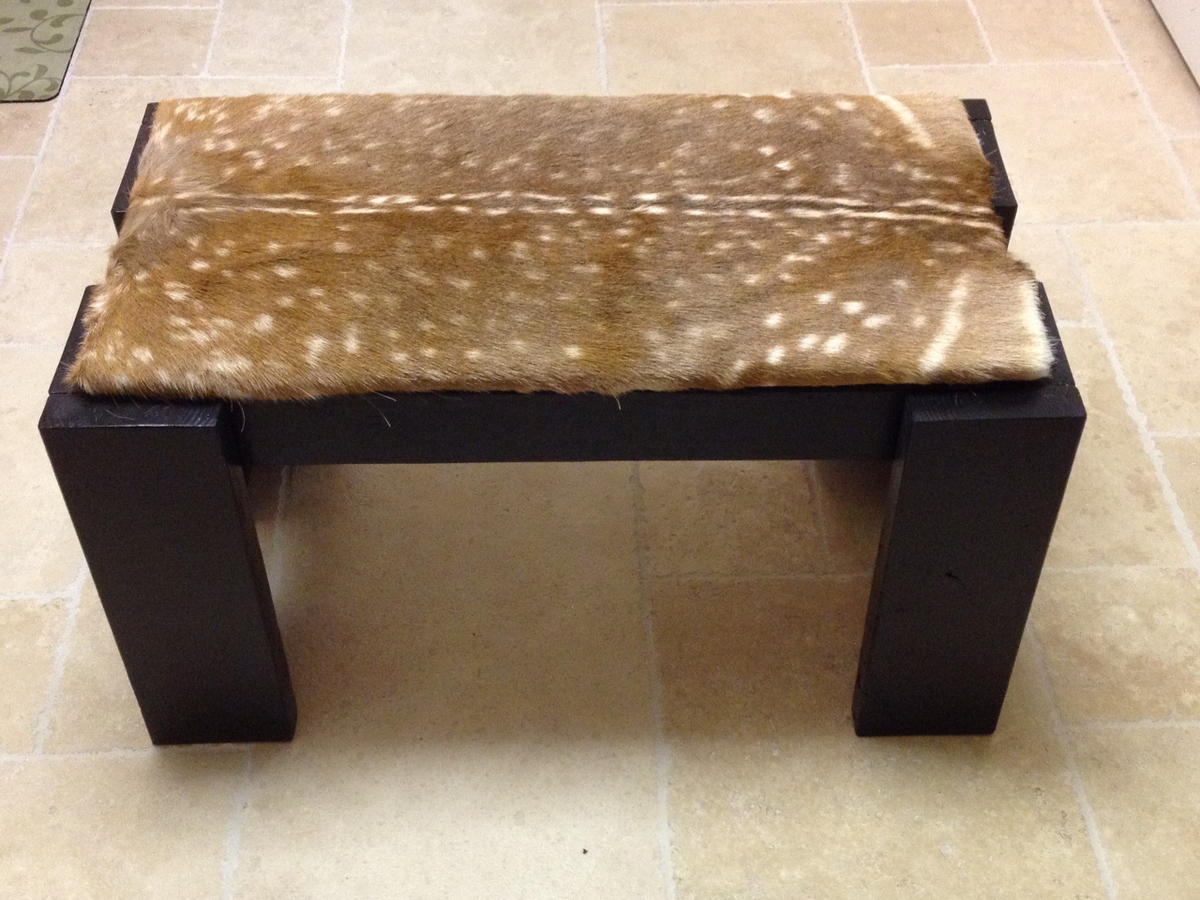
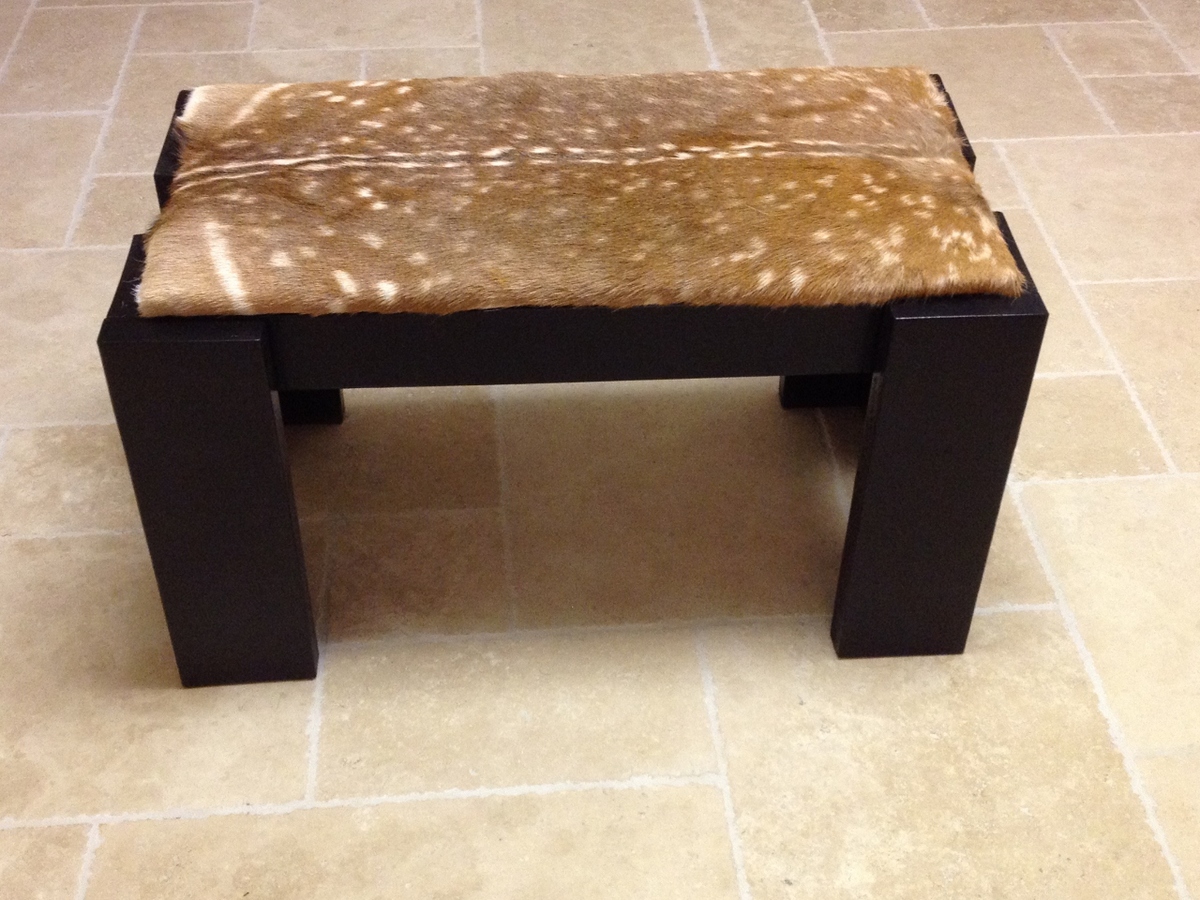
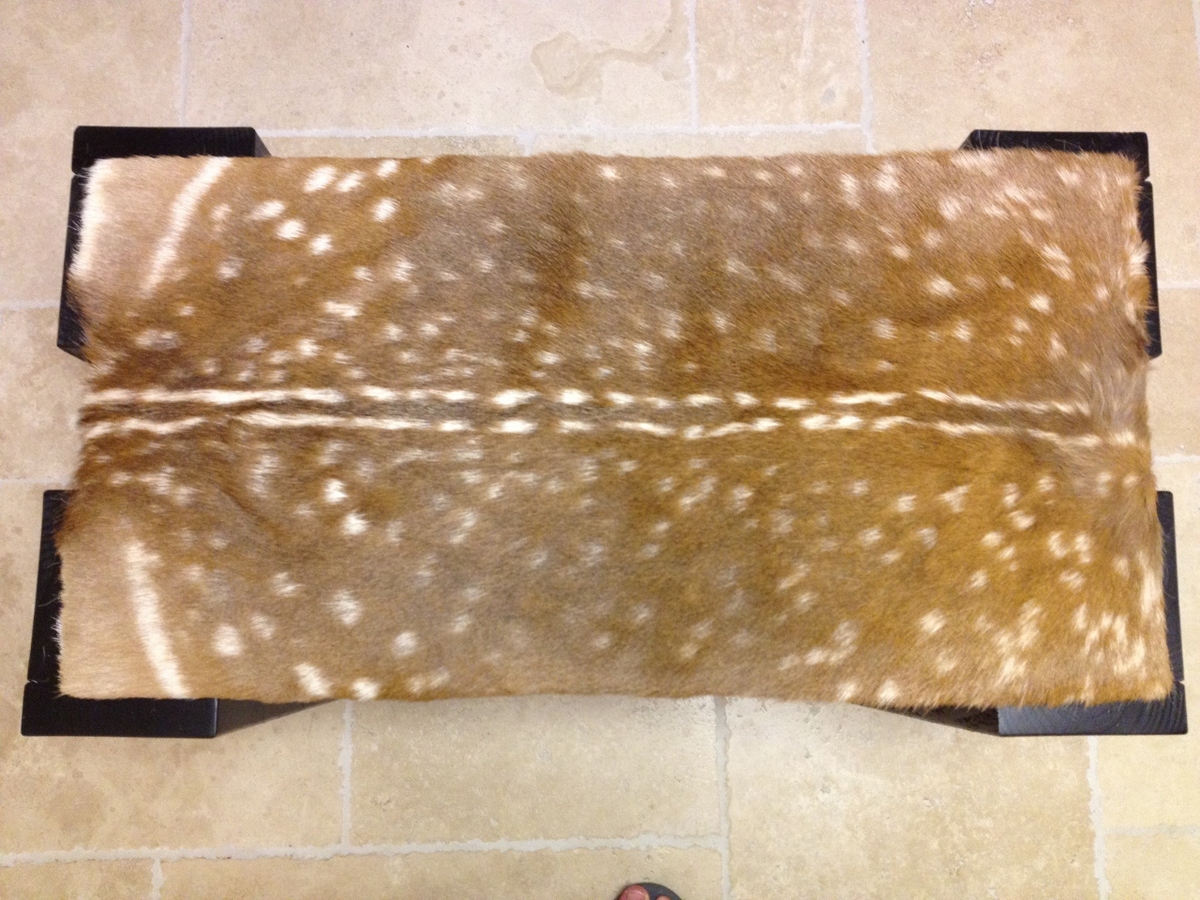
Modern Farm Bench with a Twist

Submitted by GrahamD on Fri, 07/06/2012 - 20:22

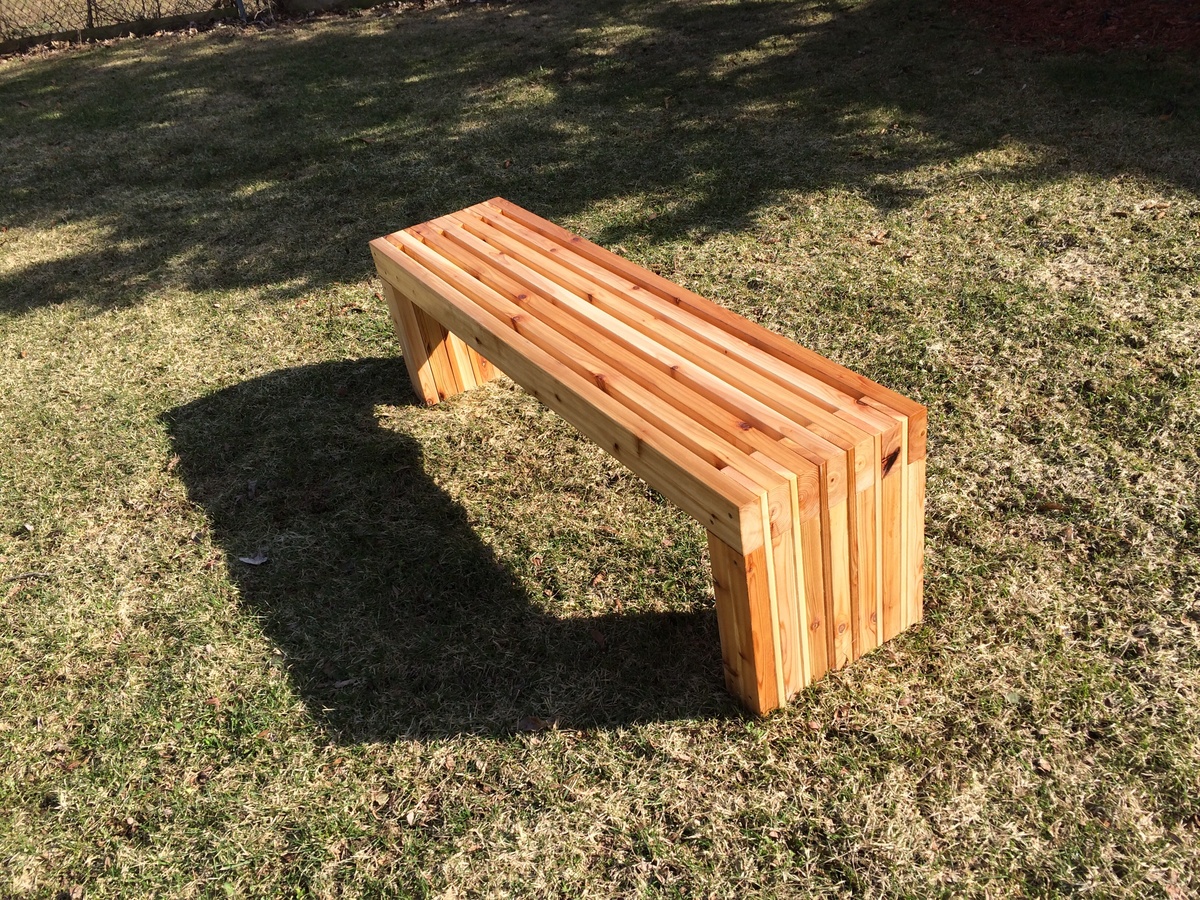
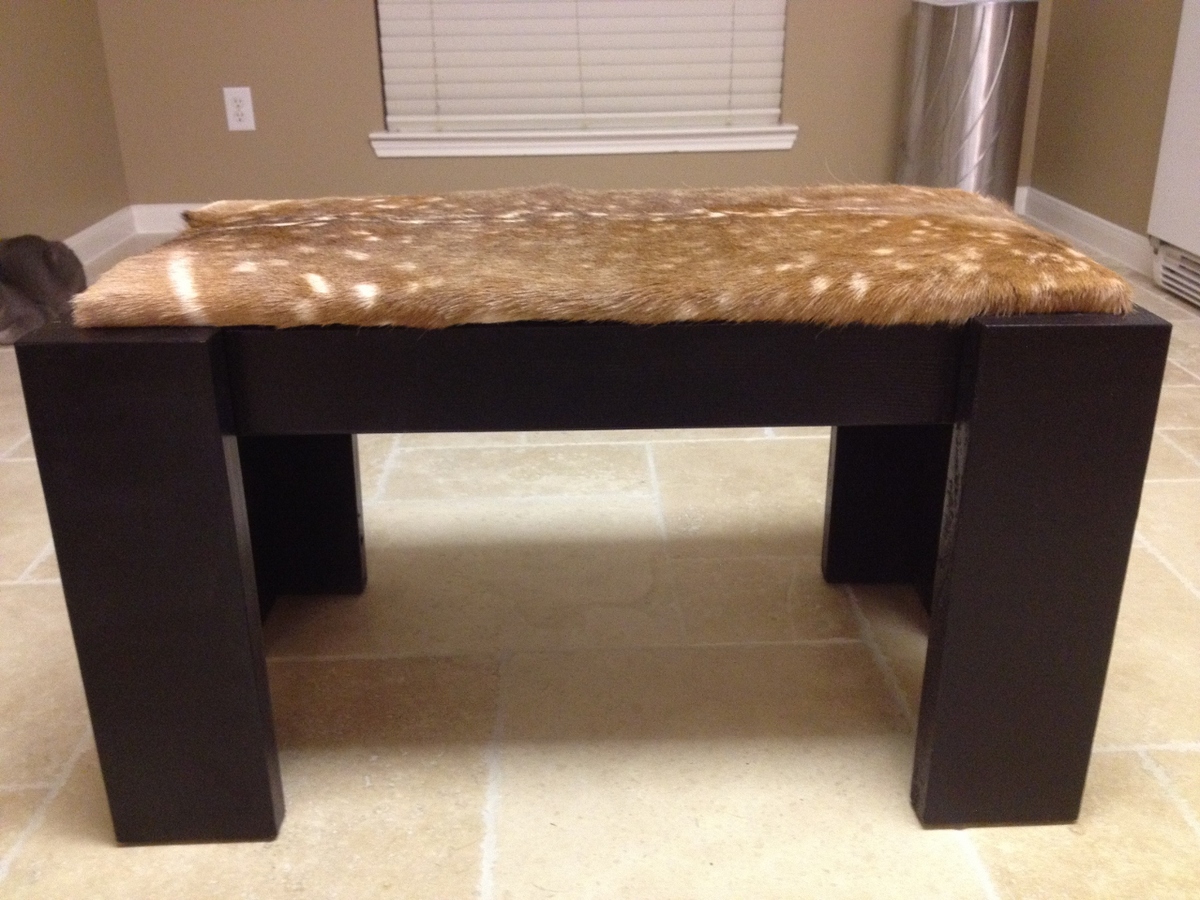
I am new to furniture making and my neighbor and Friend showed me this website. I wanted a piece a bit more modern looking with a rustic flair so I picked this bench for the ease. I did however change the dimension of the bench to accommodate a Fallow that I shot last year and had tanned. I look forward to building the next piece.

Built from Plan(s)
Estimated Cost
65.00
Estimated Time Investment
Day Project (6-9 Hours)
Finish Used
2 coats primer
2 coats black paint
2 coats poly
Recommended Skill Level
Starter Project

Comments

Boys Dorm Bunks

Submitted by moonprysm on Wed, 04/23/2014 - 09:26

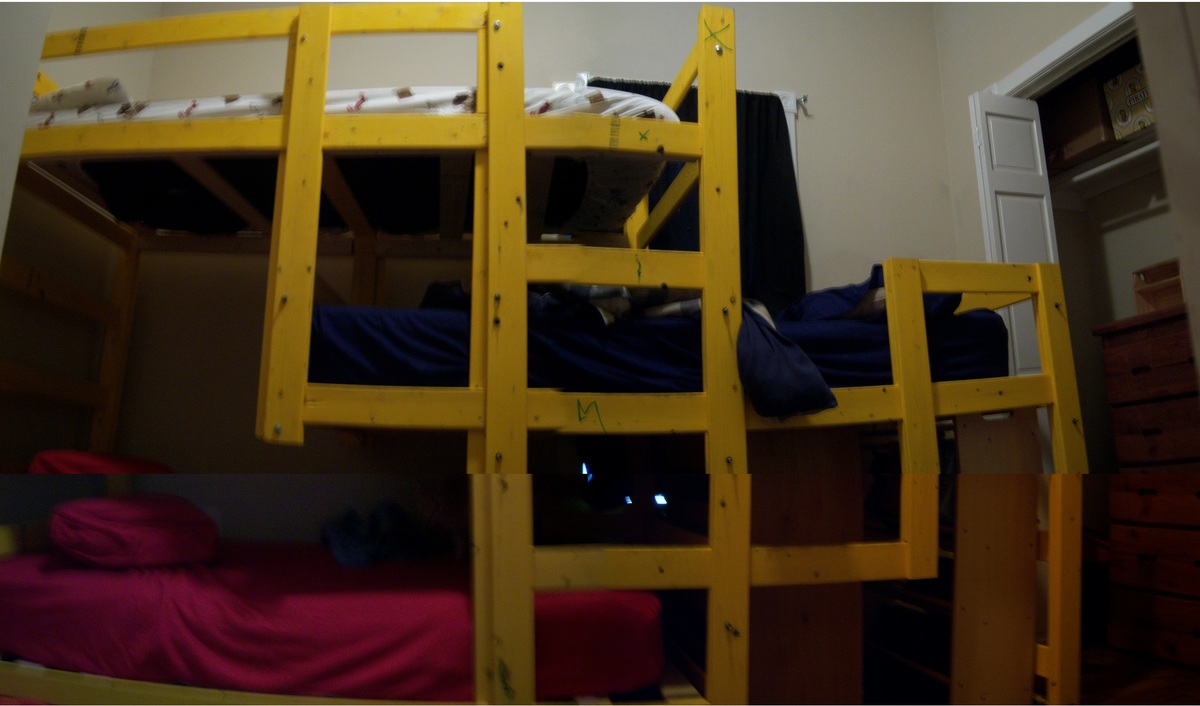
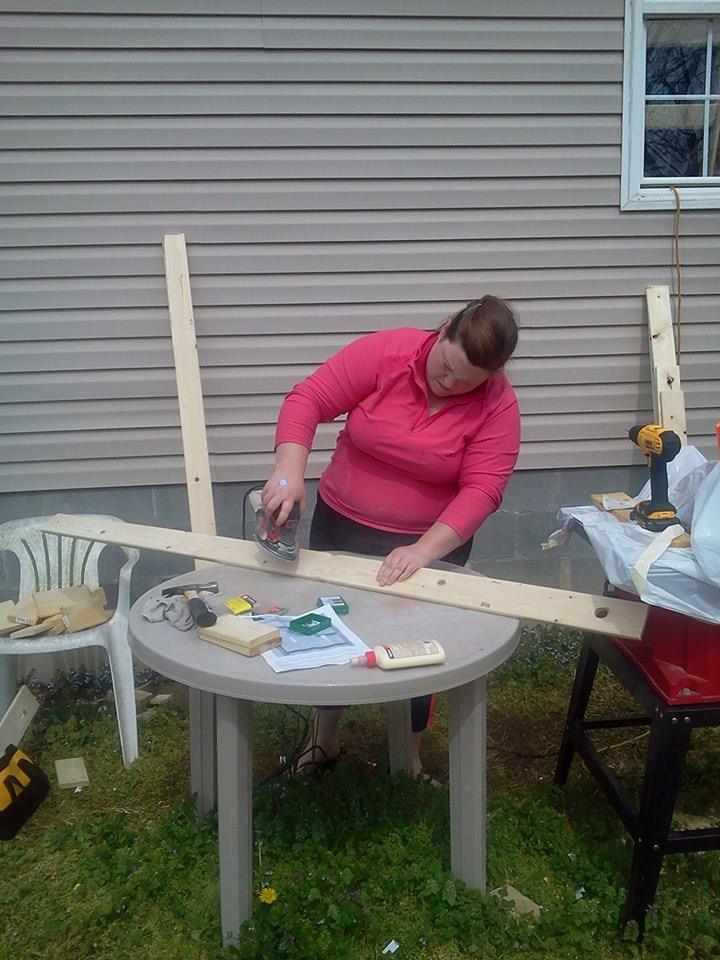
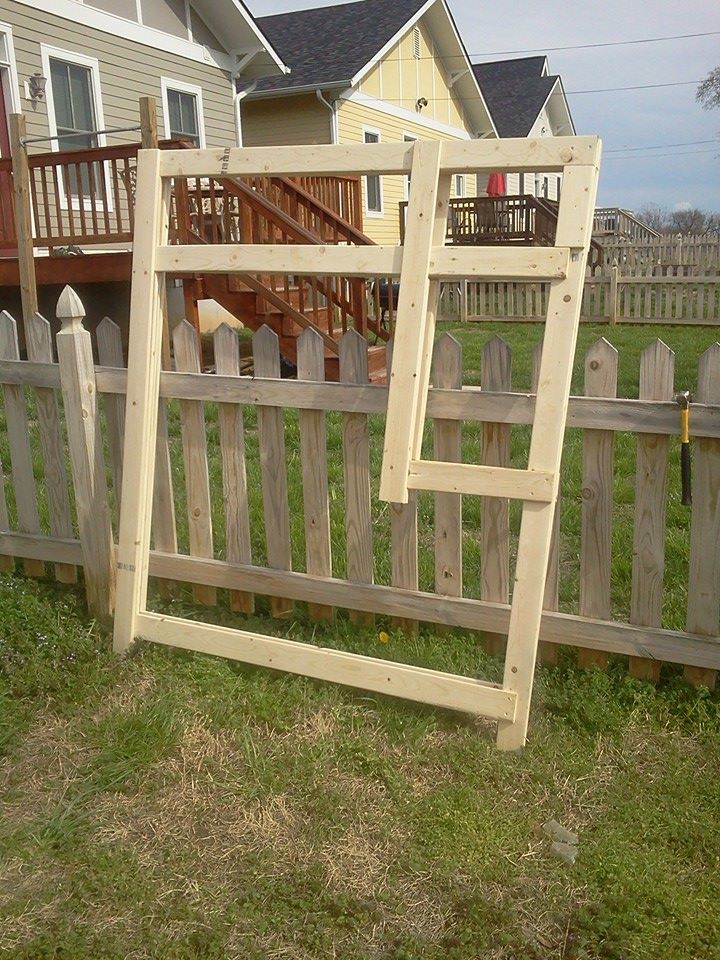
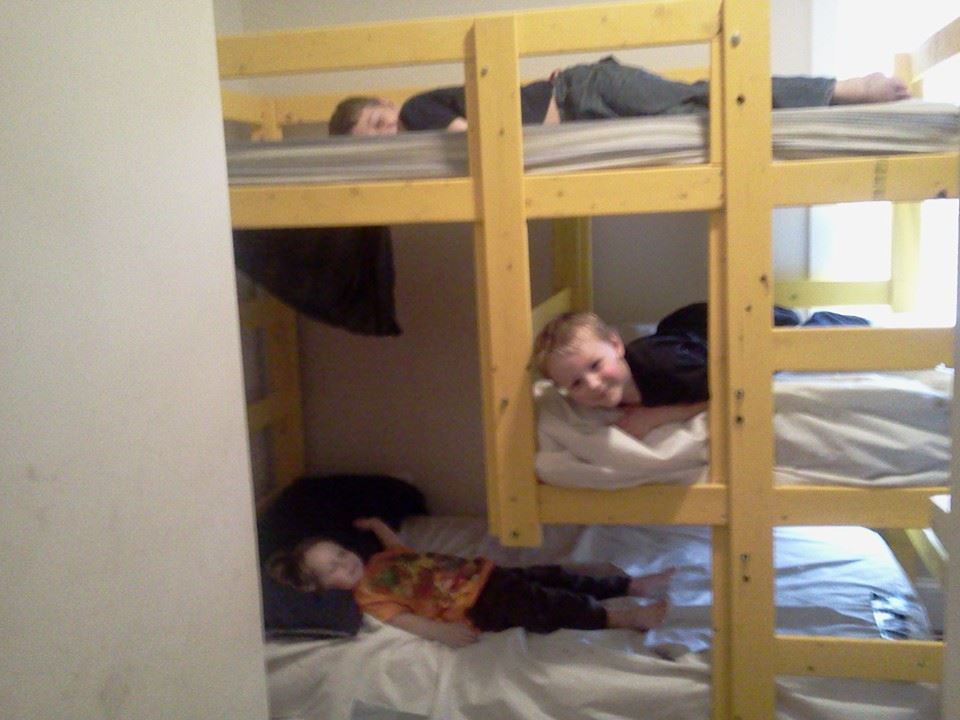
For starters, I apologize for the quality of the photo - the bed is so large and my sons' room so small that I had to splice together 4 different pictures to get a picture of the entire thing. Now, onto the project!

I found the details lacking in the instructions quite often. I definitely recommend having sketch-up installed on your computer so that you can turn the pieces around and see them from both sides - in many parts you're layering wood and attaching pieces on different sides. So being able to rotate the pieces in sketch-up was a huge must for us.

It took myself and my girlfriend about a week or so of working several hours a day to finish this up. Since most of the bed is made in sets of 2, the second set always went faster than the first, since we knew what we were doing.

I also found we needed different size materials than the instructions suggested. 1 1/2" screws were just long enough that they came out of the other side if they were countersunk at all, so we ended up switching to 1 1/4". The plans call for 32 3" bolts and 4 2 1/2", but we needed 32 2 1/2" and 4 2" - when we first put it together we had 1/2 of bolt hanging out of all of the holes - obviously not ideal for 3 little boys running around.

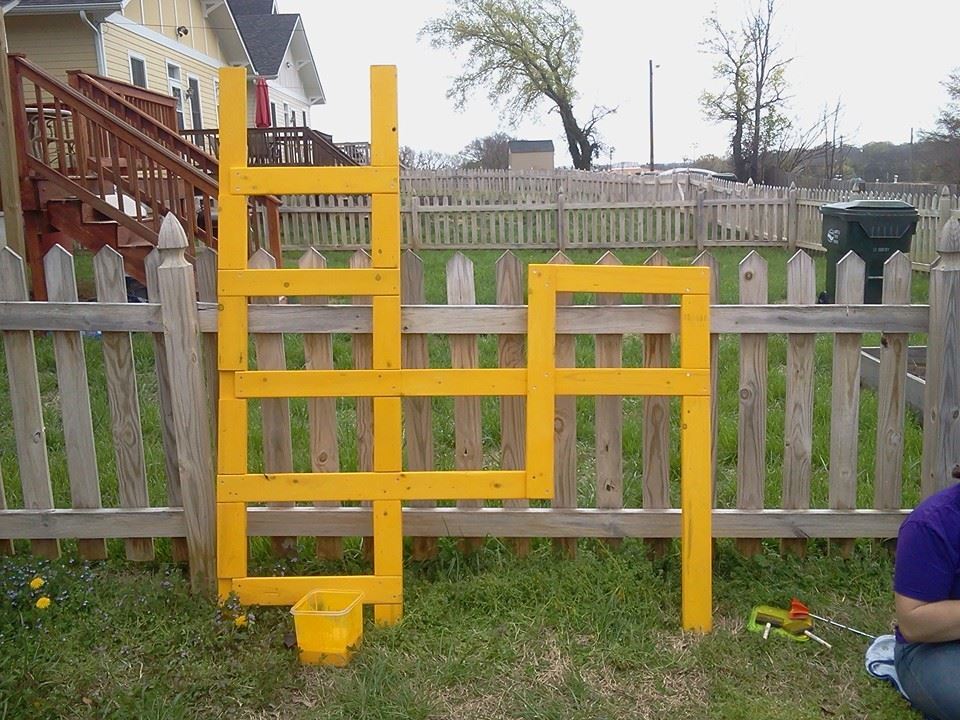
All told this project cost us somewhere between $250 and $300. I had to run out for new 2" screws at least twice, so make sure you buy a lot. We got lucky with the paint and found this super bright yellow/orange in the oops bin for $7, and decided to do a wash instead of painting so we could still see the wood grain. (And my 8 year old promptly took a marker and wrote each boys' initials on their beds - kids!).

All-in-all I'm incredibly happy with the bed - it fits the exact need we had, and unlike the only other plan I found online for a set of 3, it doesn't attach to the wall (which is important as we rent) and will be fairly easy to disassemble when we move.

Built from Plan(s)
Estimated Cost
$250-$300
Estimated Time Investment
Week Long Project (20 Hours or More)
Finish Used
Mixed paint 50/50 with water, brushed on thin layer with sponge brushes
Recommended Skill Level
Intermediate
Back