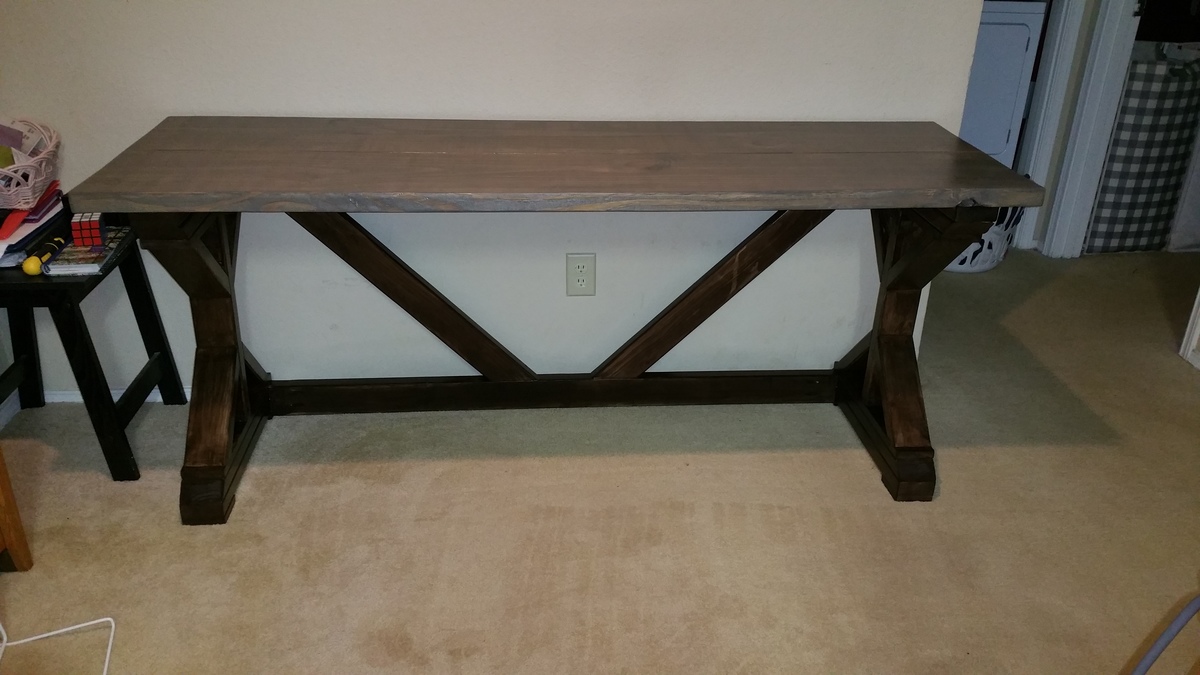
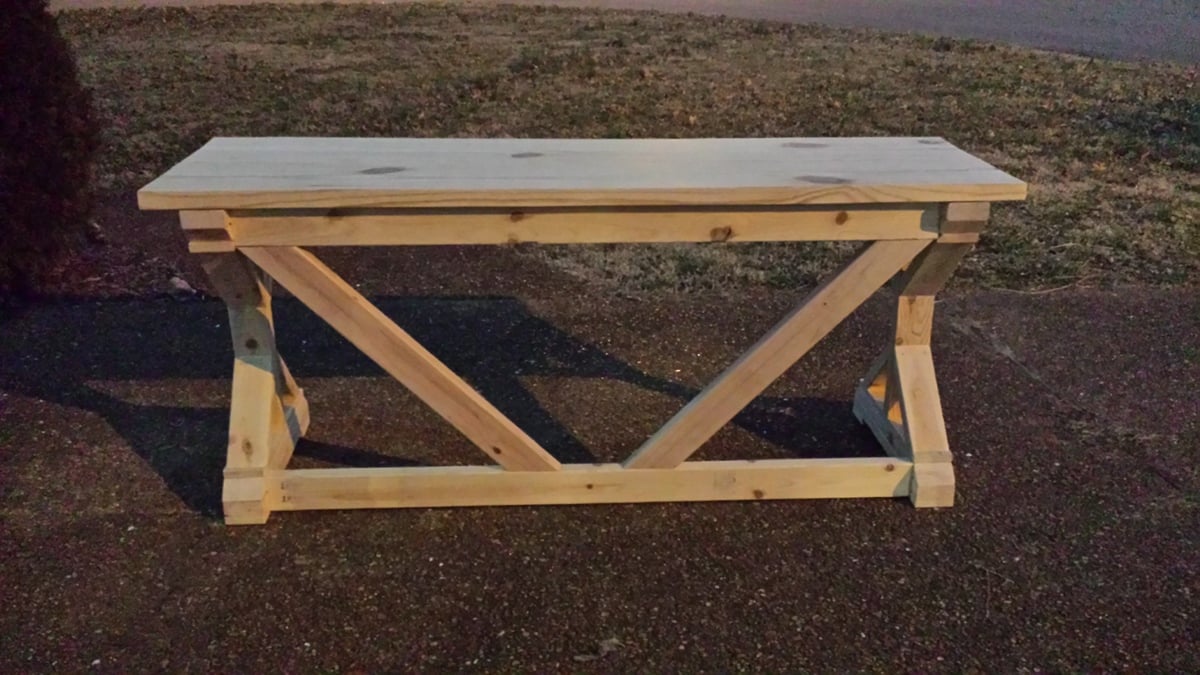
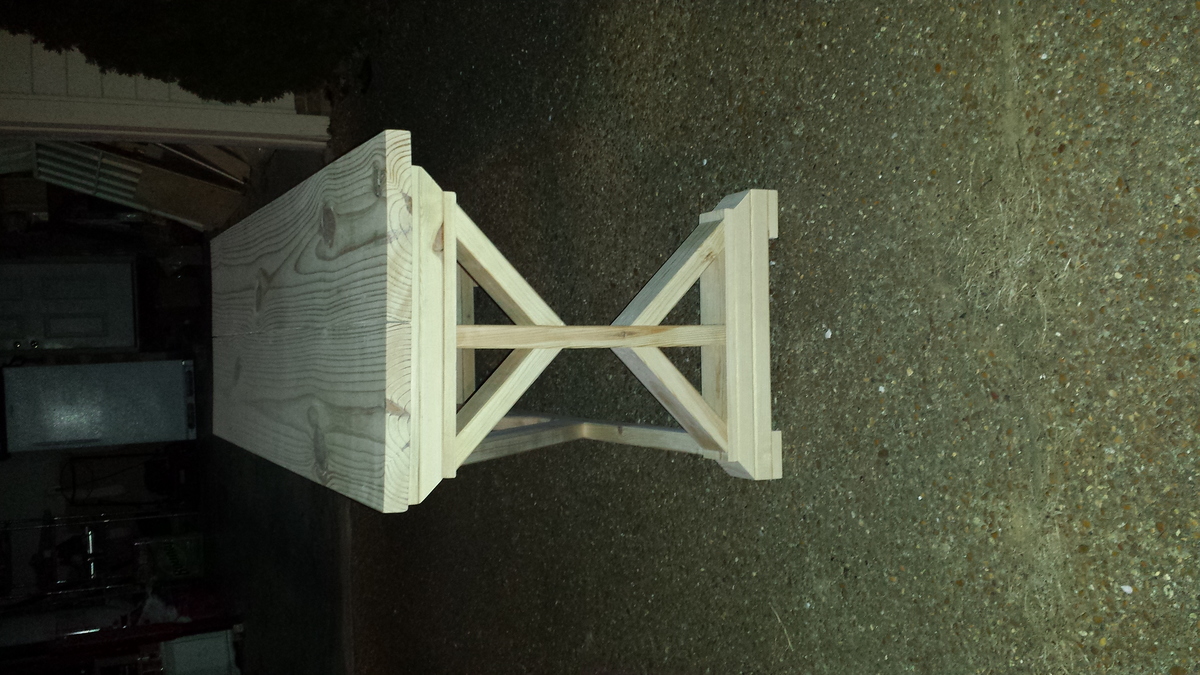
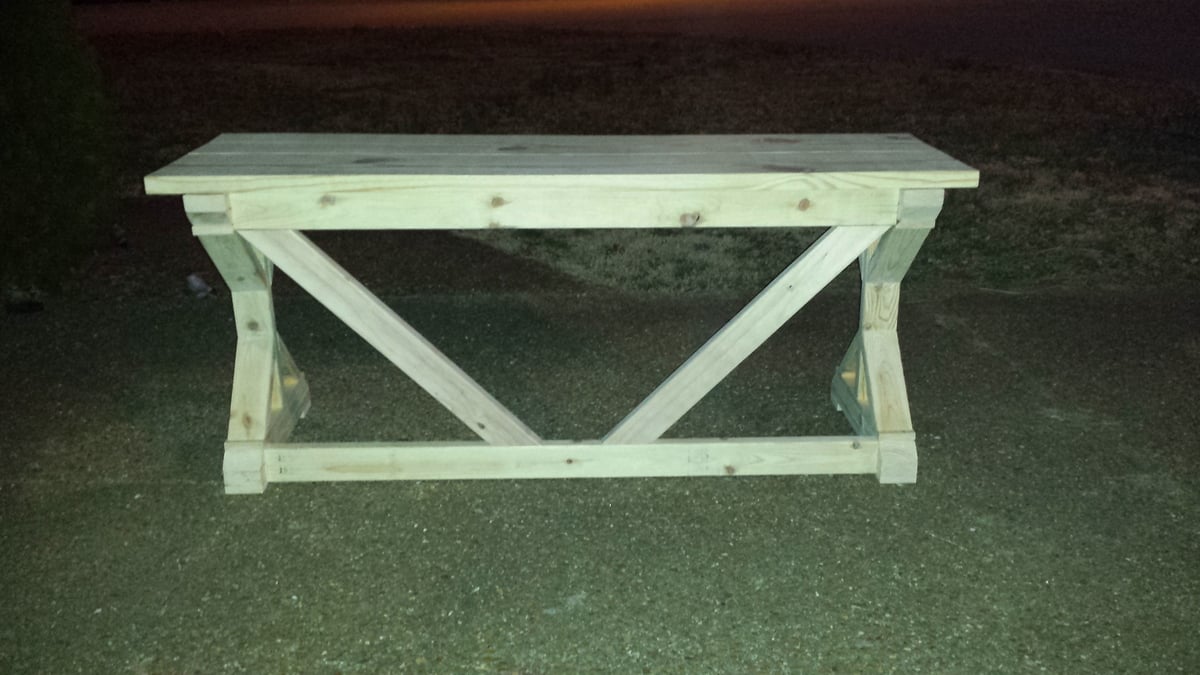
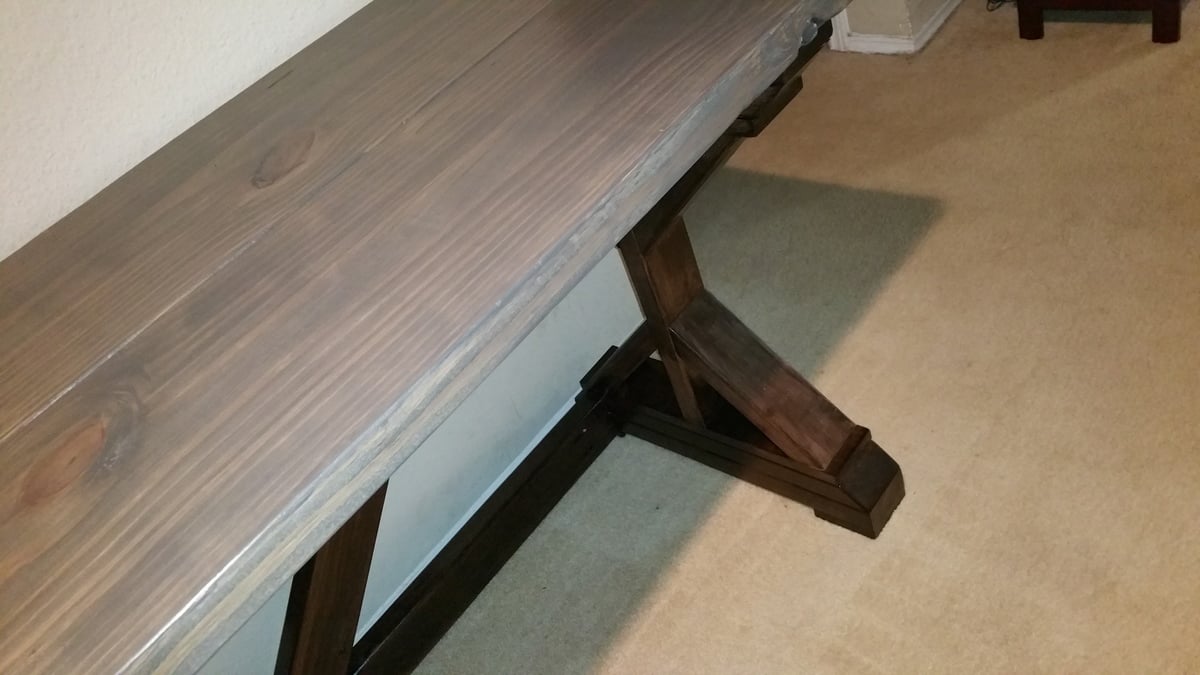
My new entertainment stand
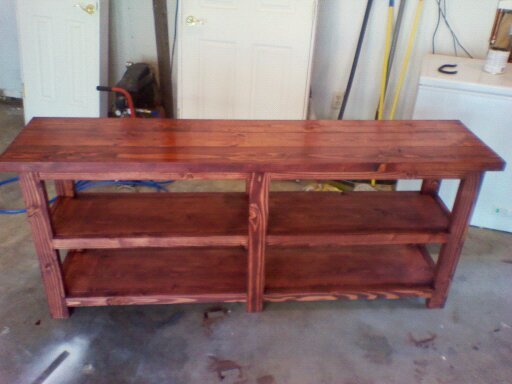
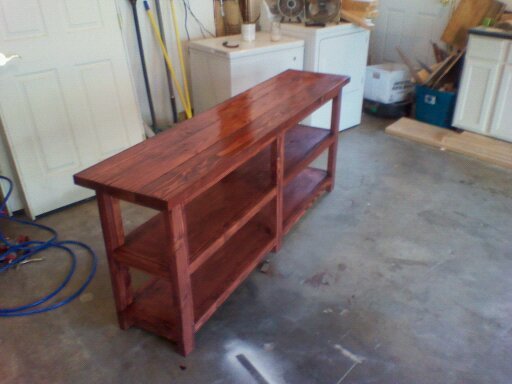
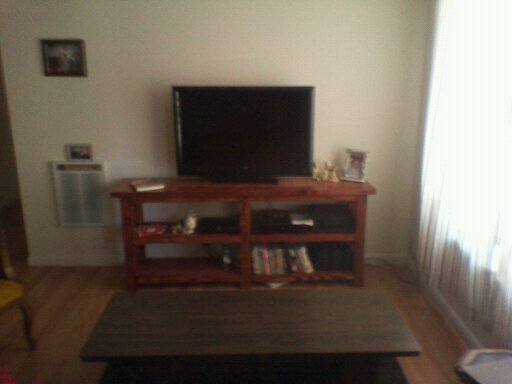
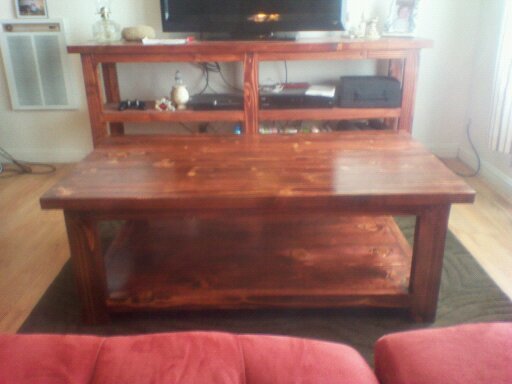
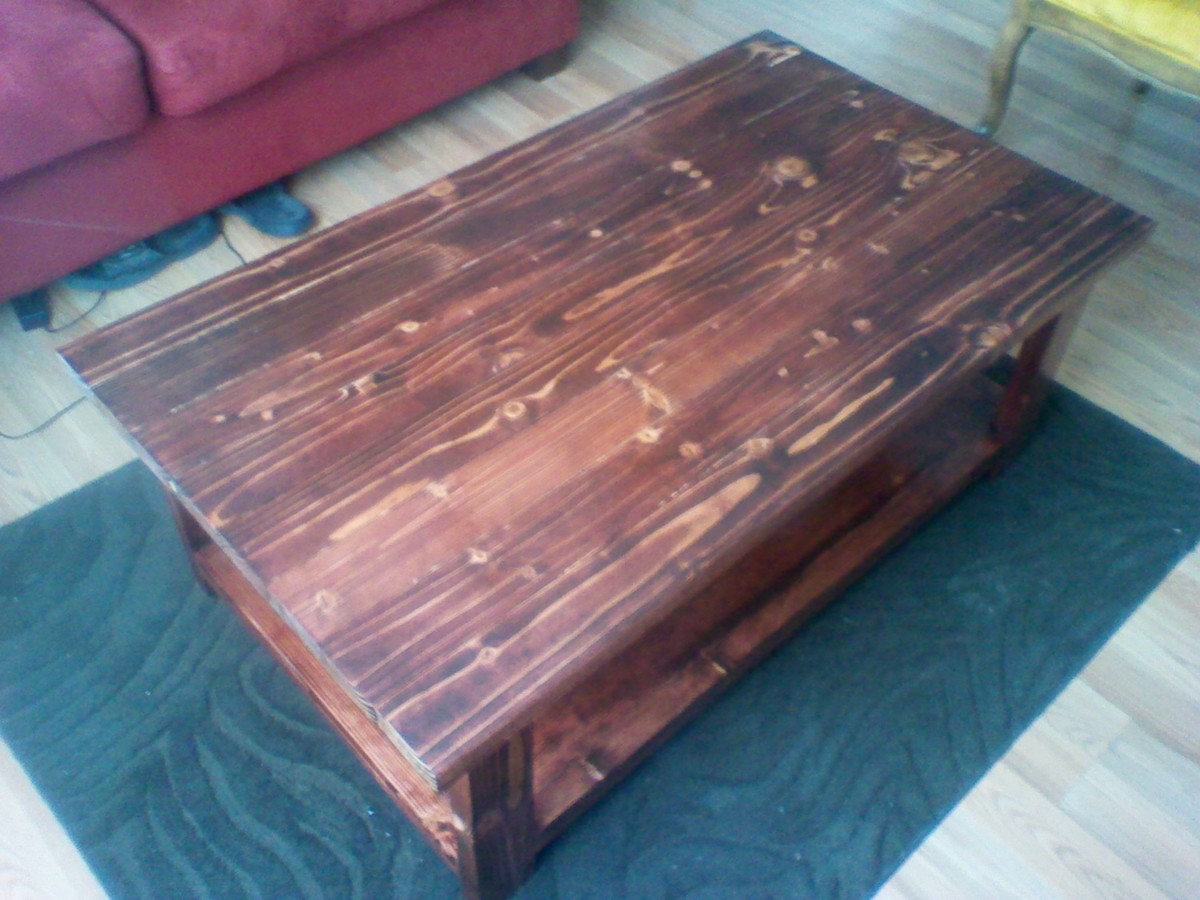
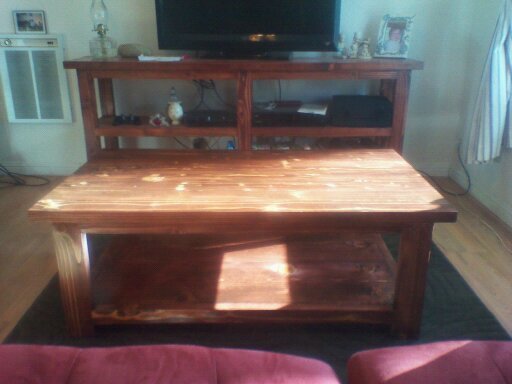
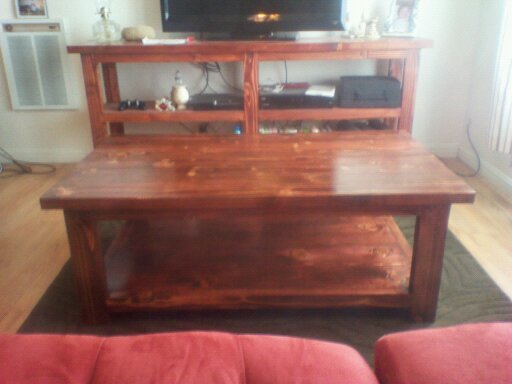
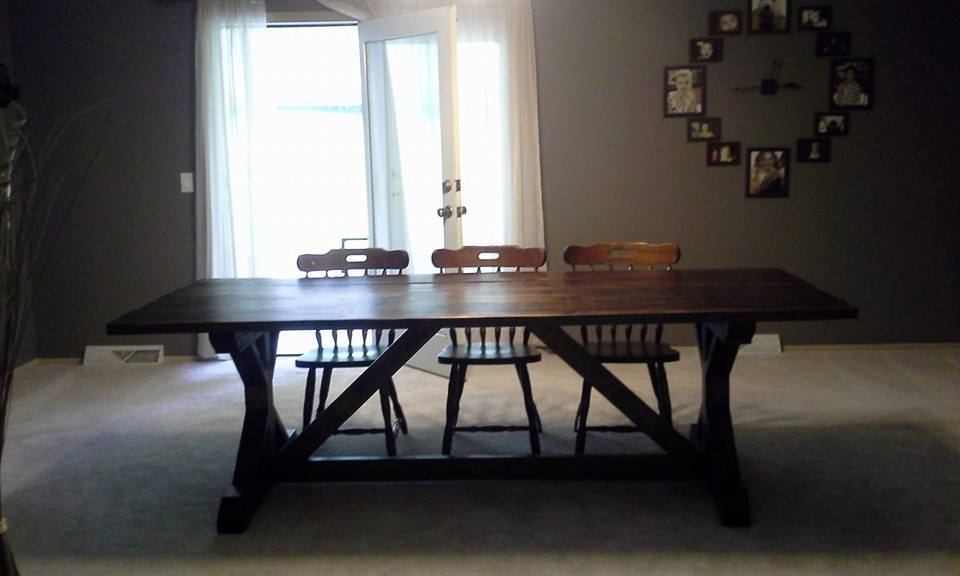
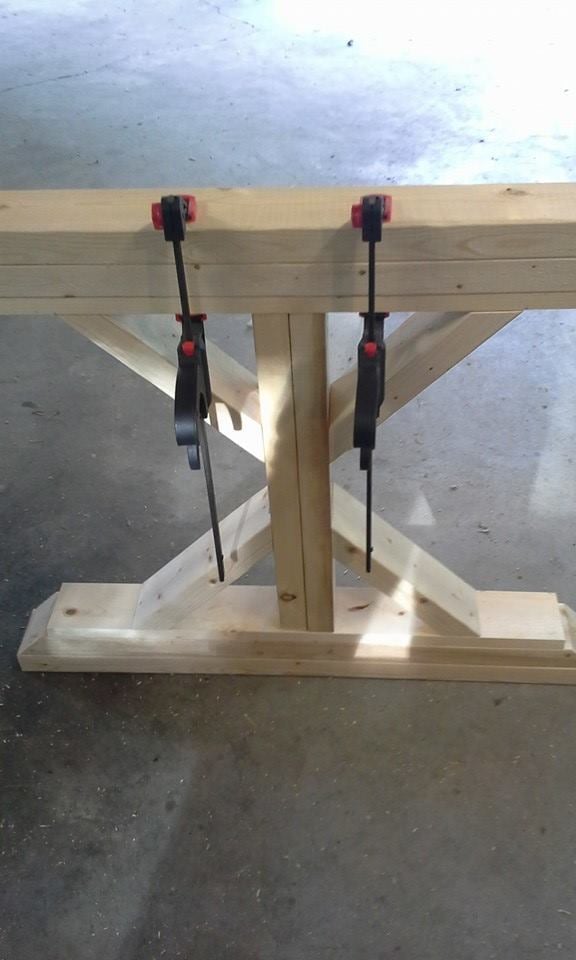
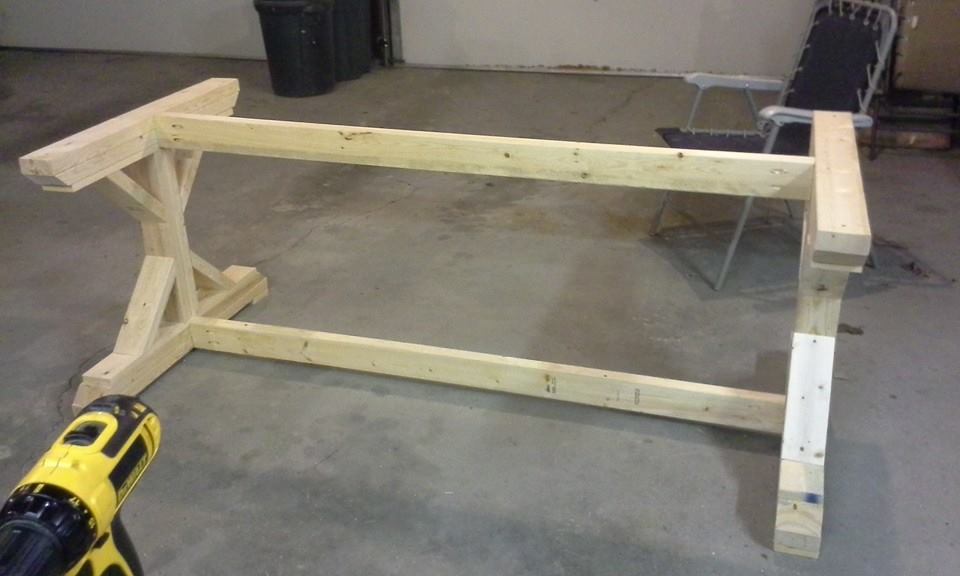
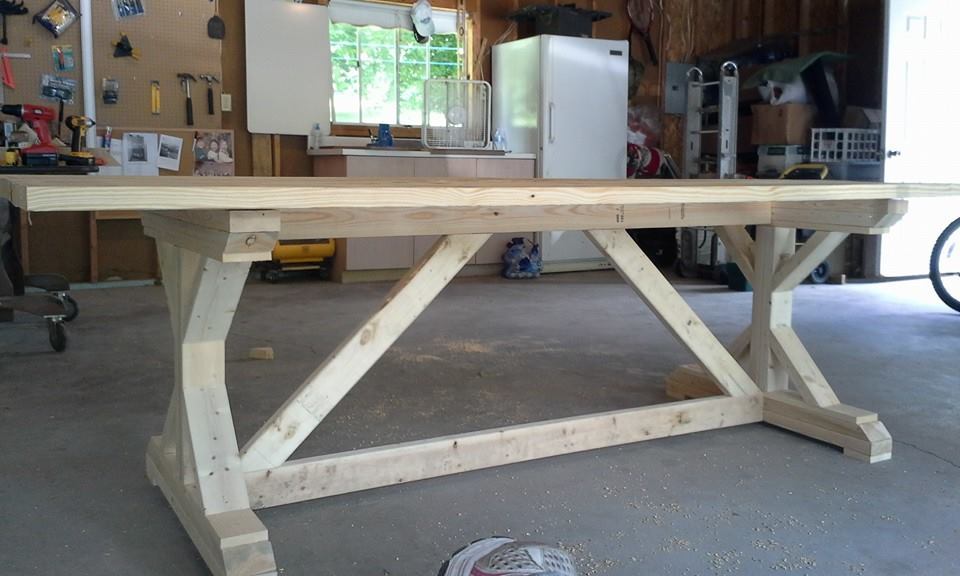
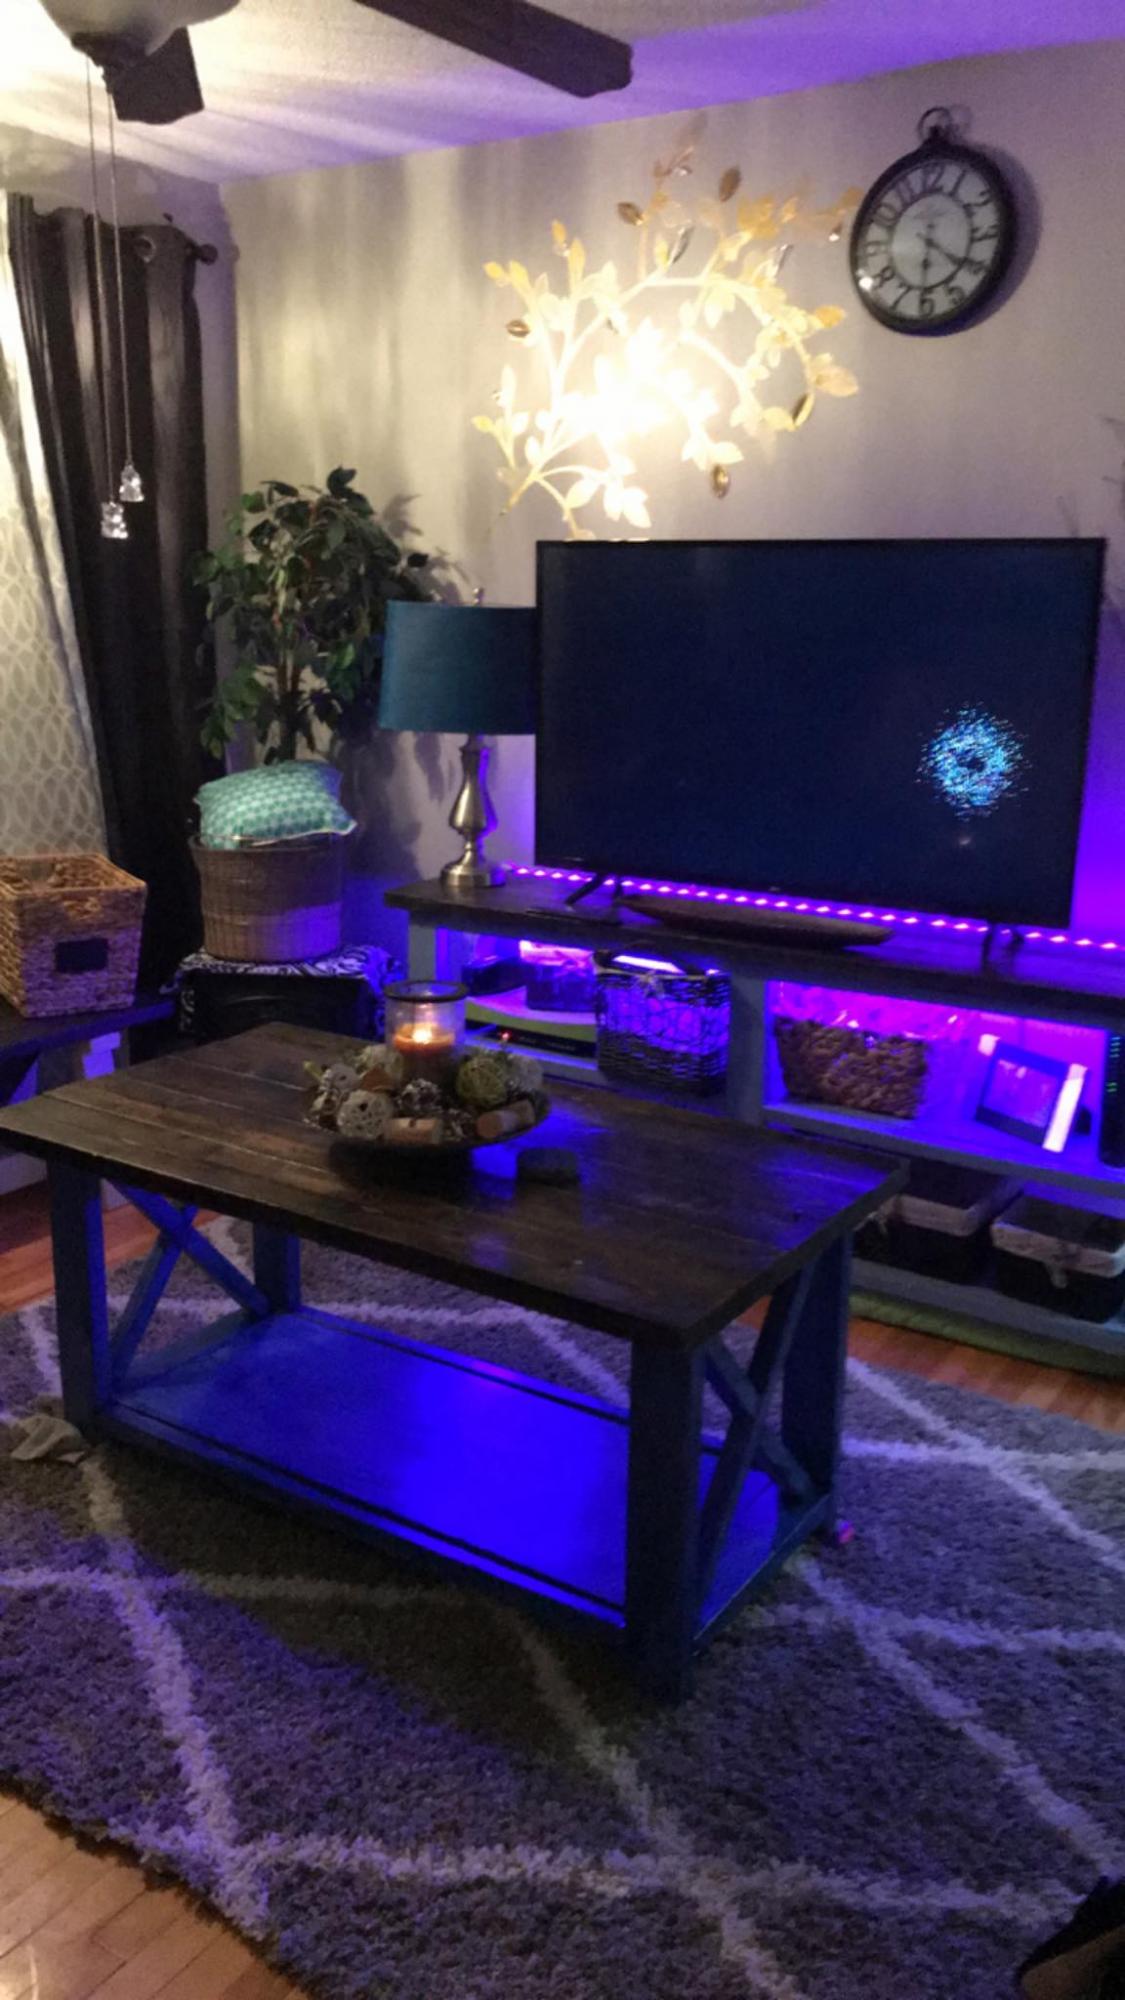
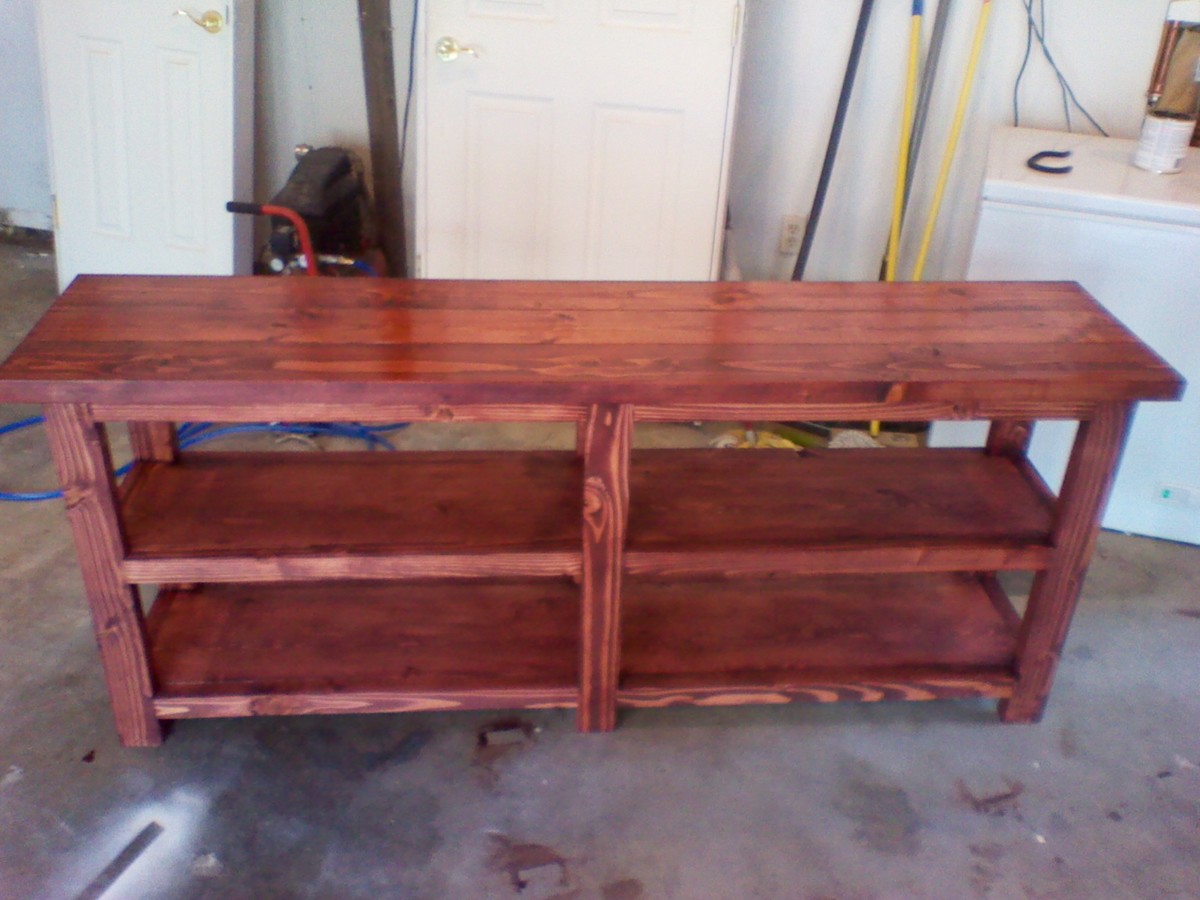
Built the Rustic X console table to use as my entertainment center it works perfect for my 42in flat screen, PS3, and dish receiver. I did not use the x's and stained it with red mahogany stain and gloss brushing lacquer.
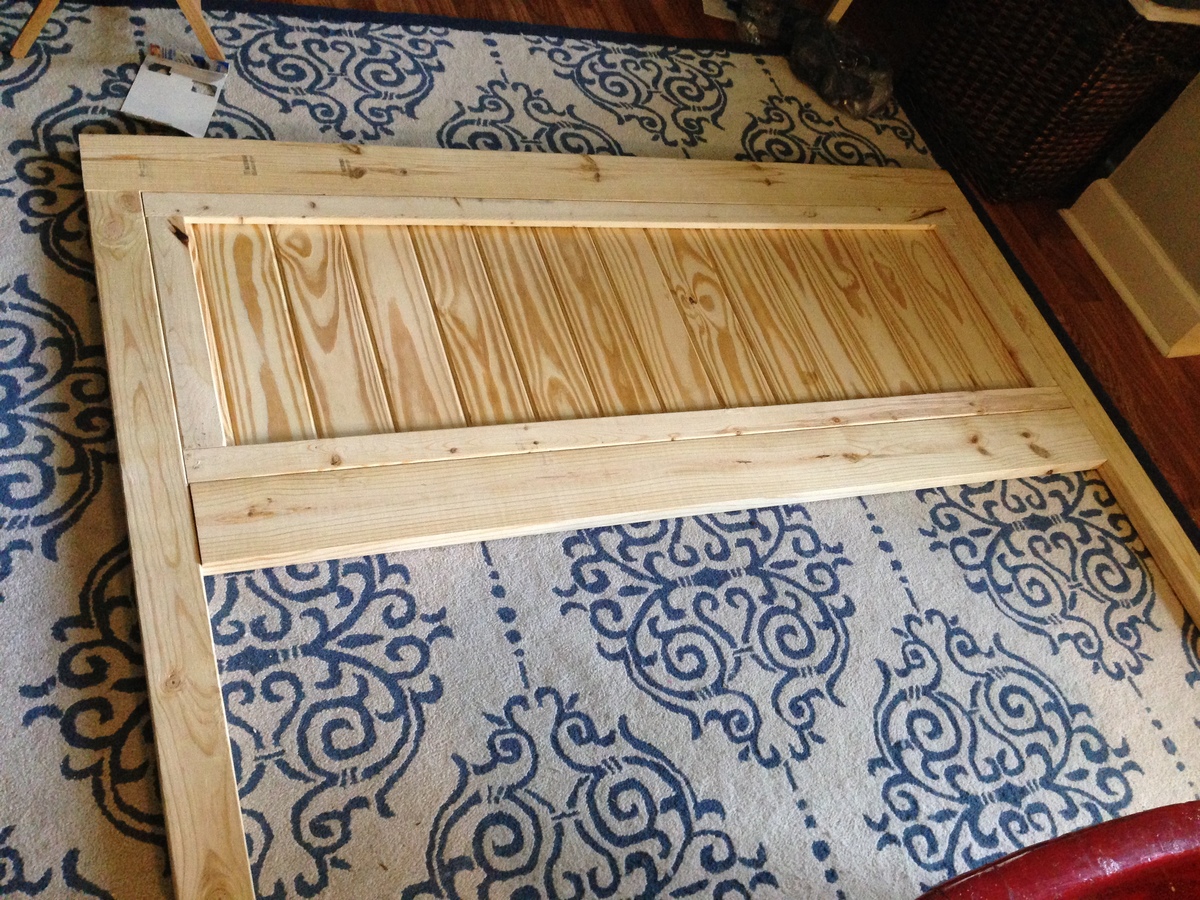
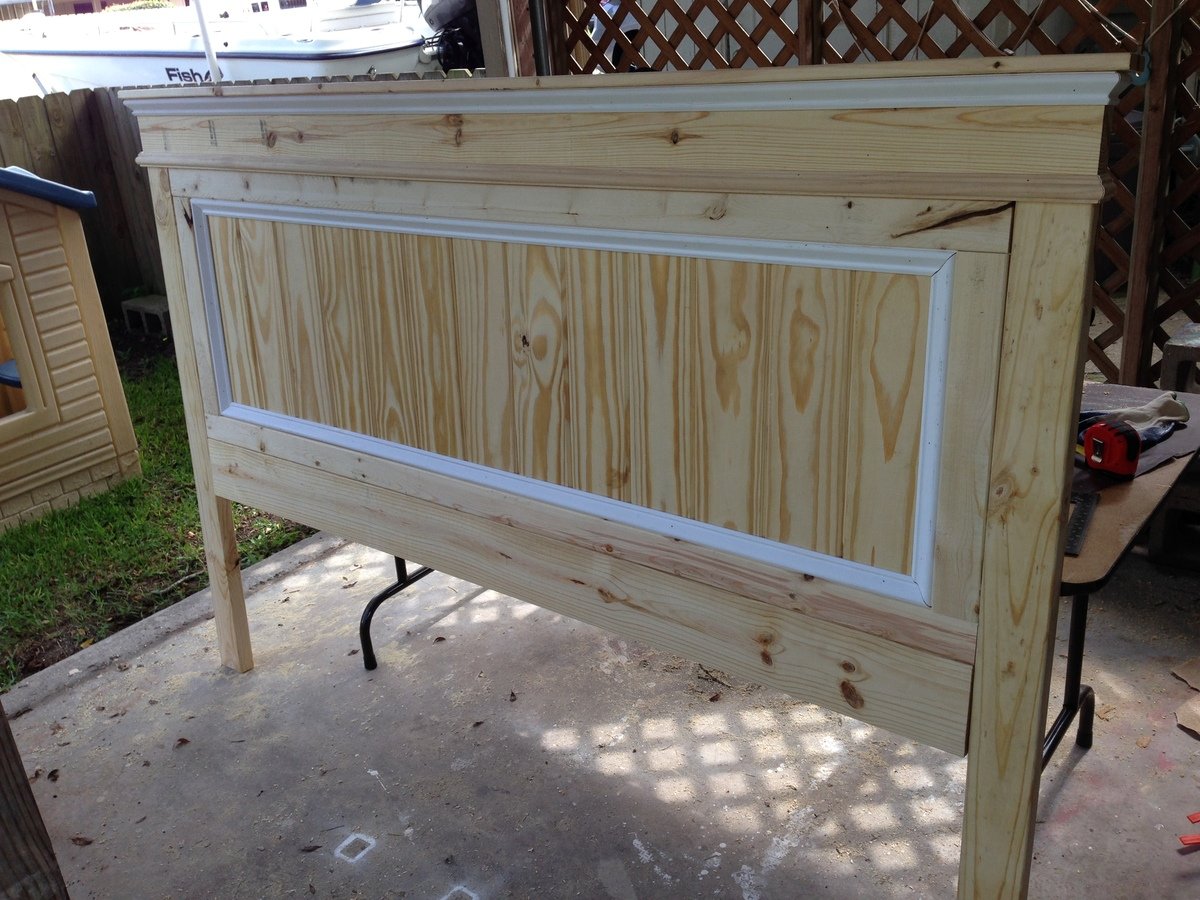
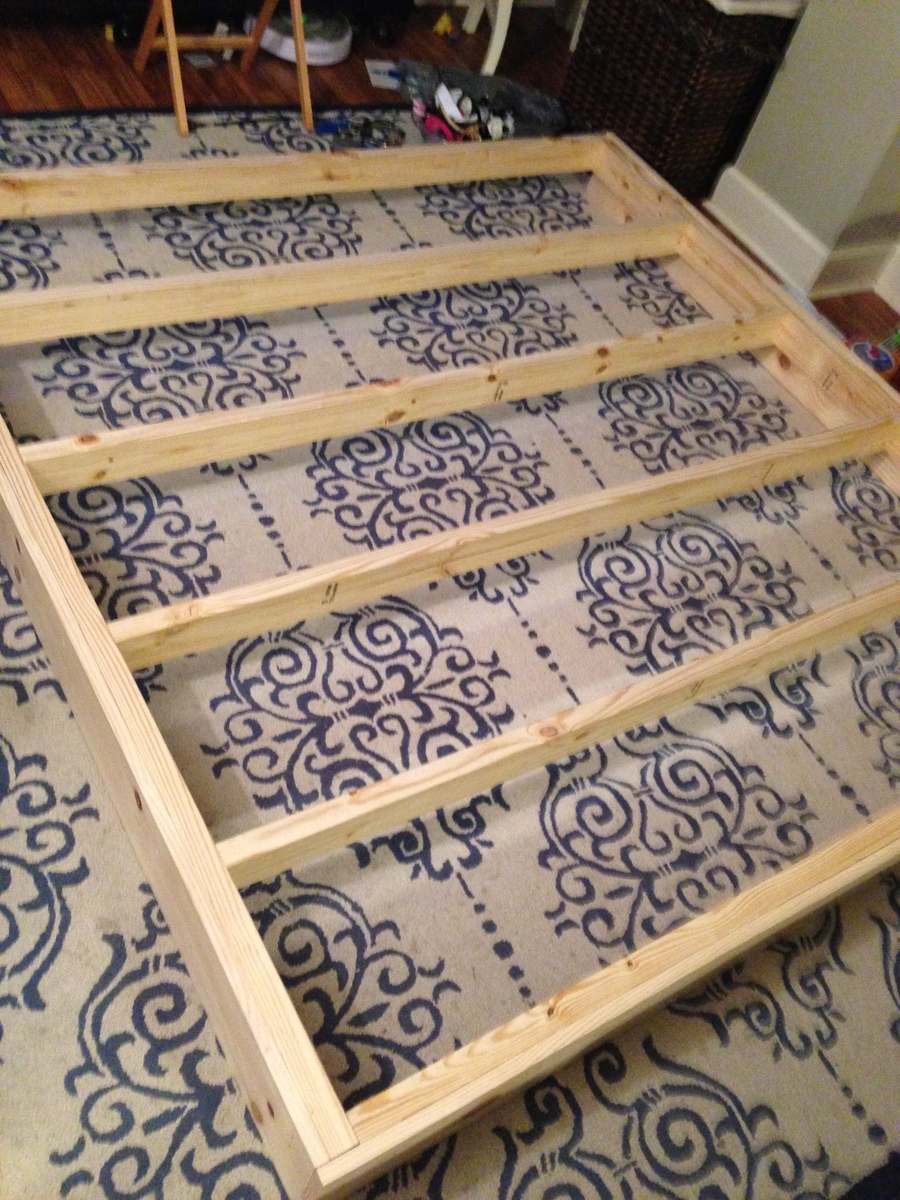
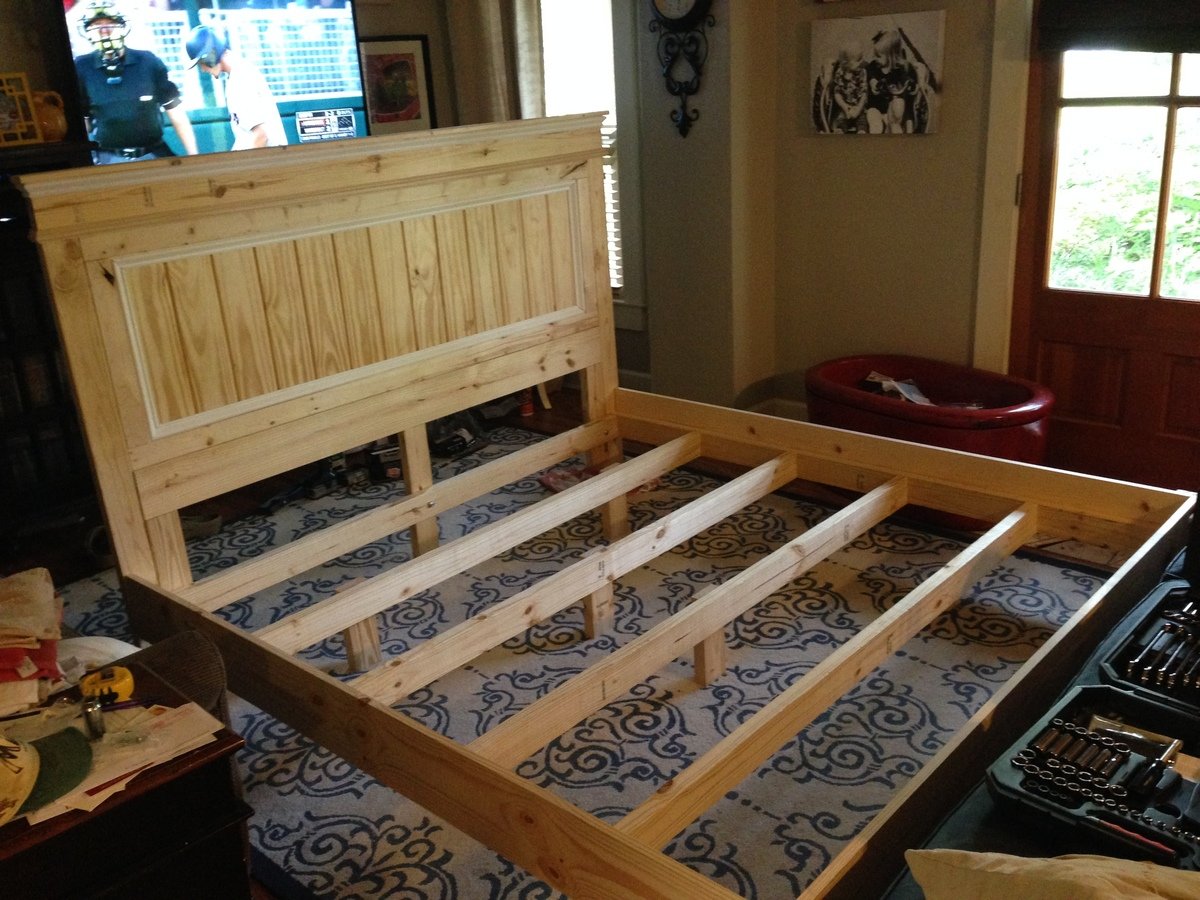
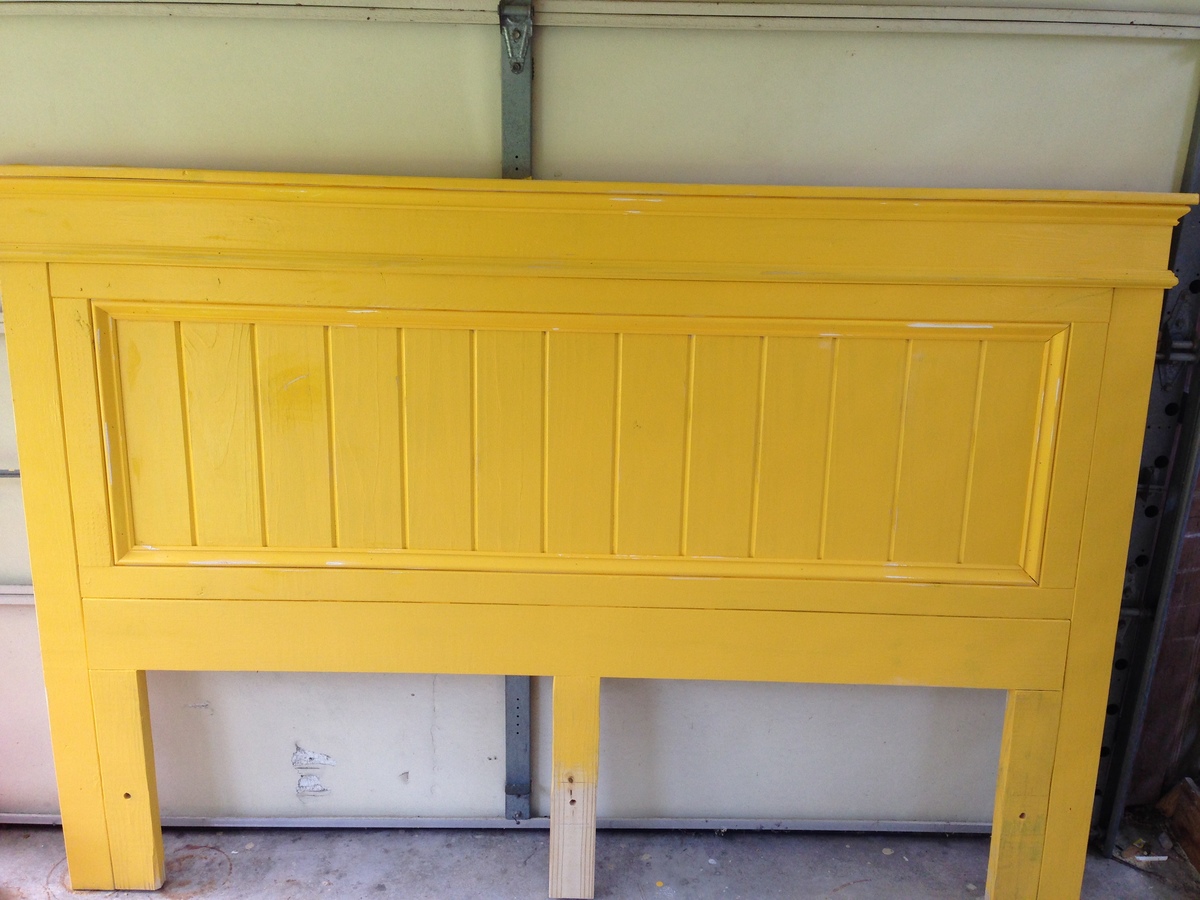
We've had our bed on a small metal frame for years with the hopes of someday finding a bed frame that we liked. With the family out of town, I decided to try and build one after getting this site from a friend (LSU Builder). The steps and materials were a HUGE help! I only had to make a small amount of changes from the original plans....most notably adding additional 2x4's to each headboard leg along with one in the middle. This created more space to connect the headboard to the body of the frame with the bolts. This was the first time I'd ever used a Kreg jig to create pocket holes. I will definitely use these for other projects as they seem to be extremely strong.
All in all, I will definitely be using the site for additional plans. I'm an intermediate "wood worker" and really enjoy tackling projects. Thanks!0
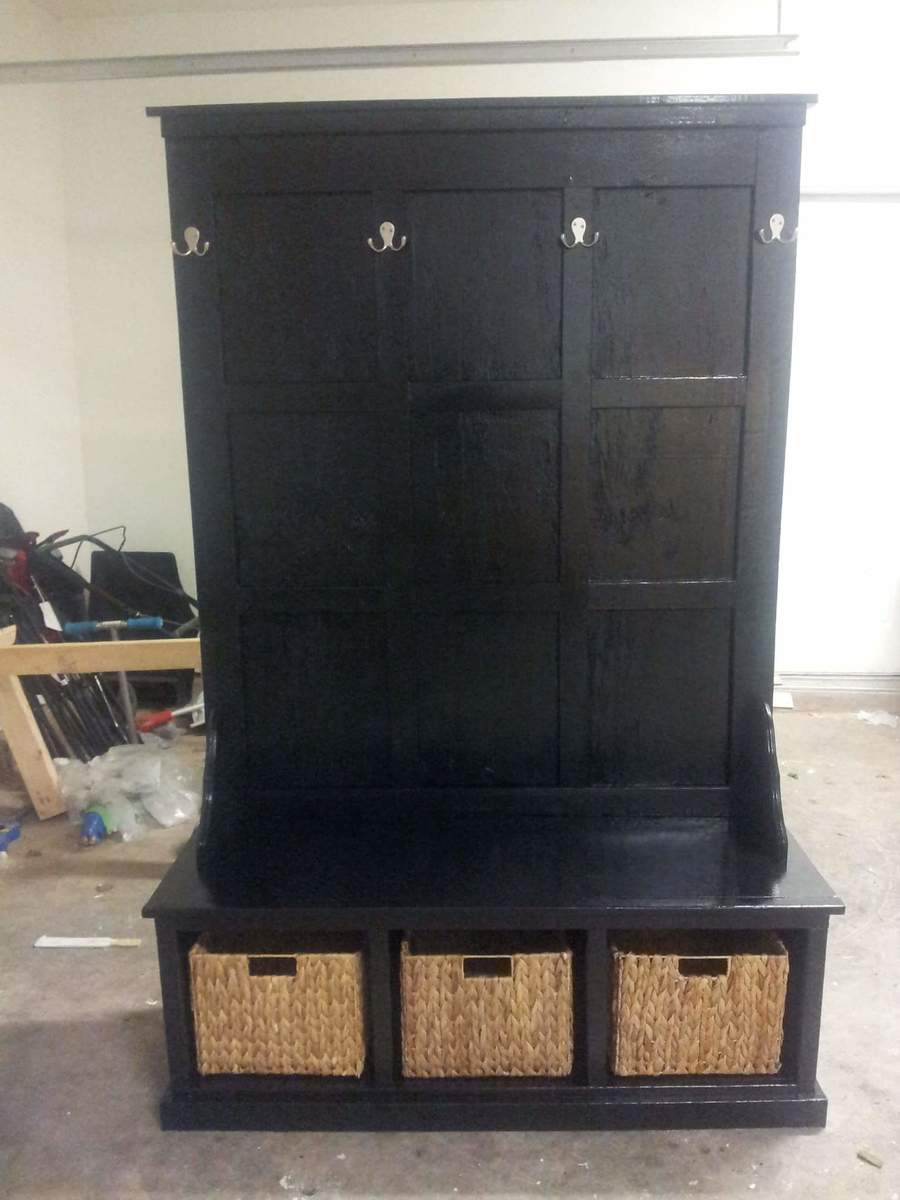
This the is first time I have ever built a peice of furniture. My best friend made all of her furniture in her house using her kreg jig and visiting Ana's website. I ended up building this in her garage since I was still in an apartment at the time. It was a total labor of coldy freezing love. :D Now I want to build EVERYTHING! We had to adjust some of the numbers on the plan and it cost a little more than $75 but totally worth it!
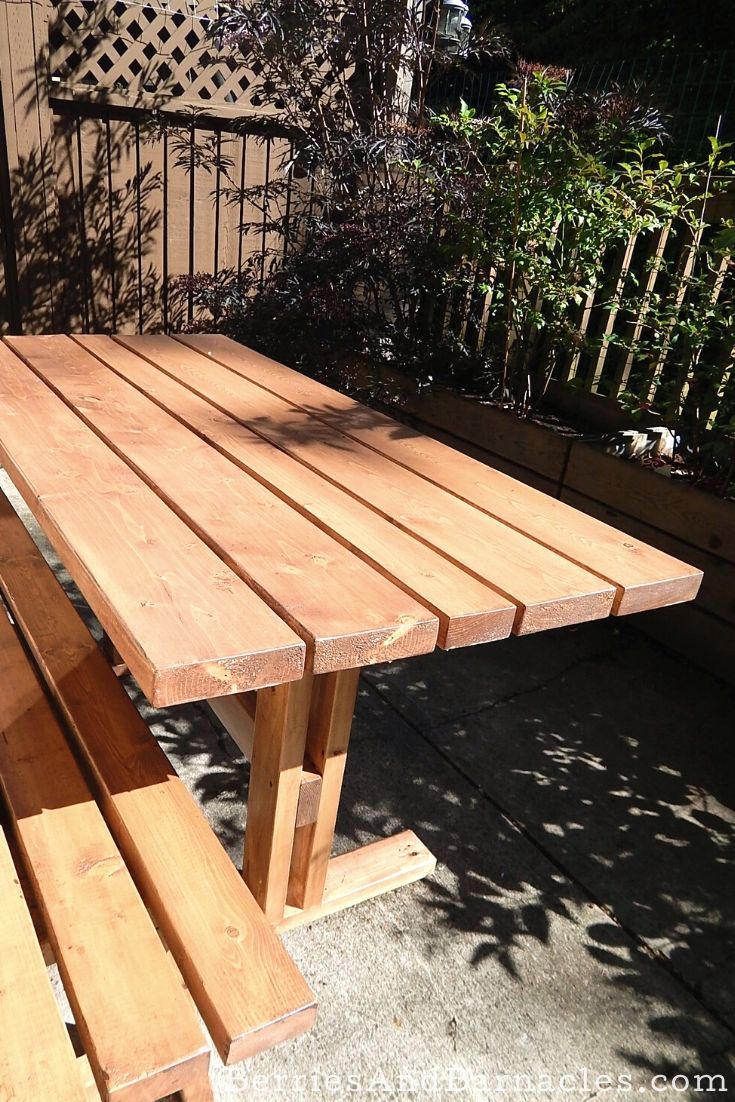
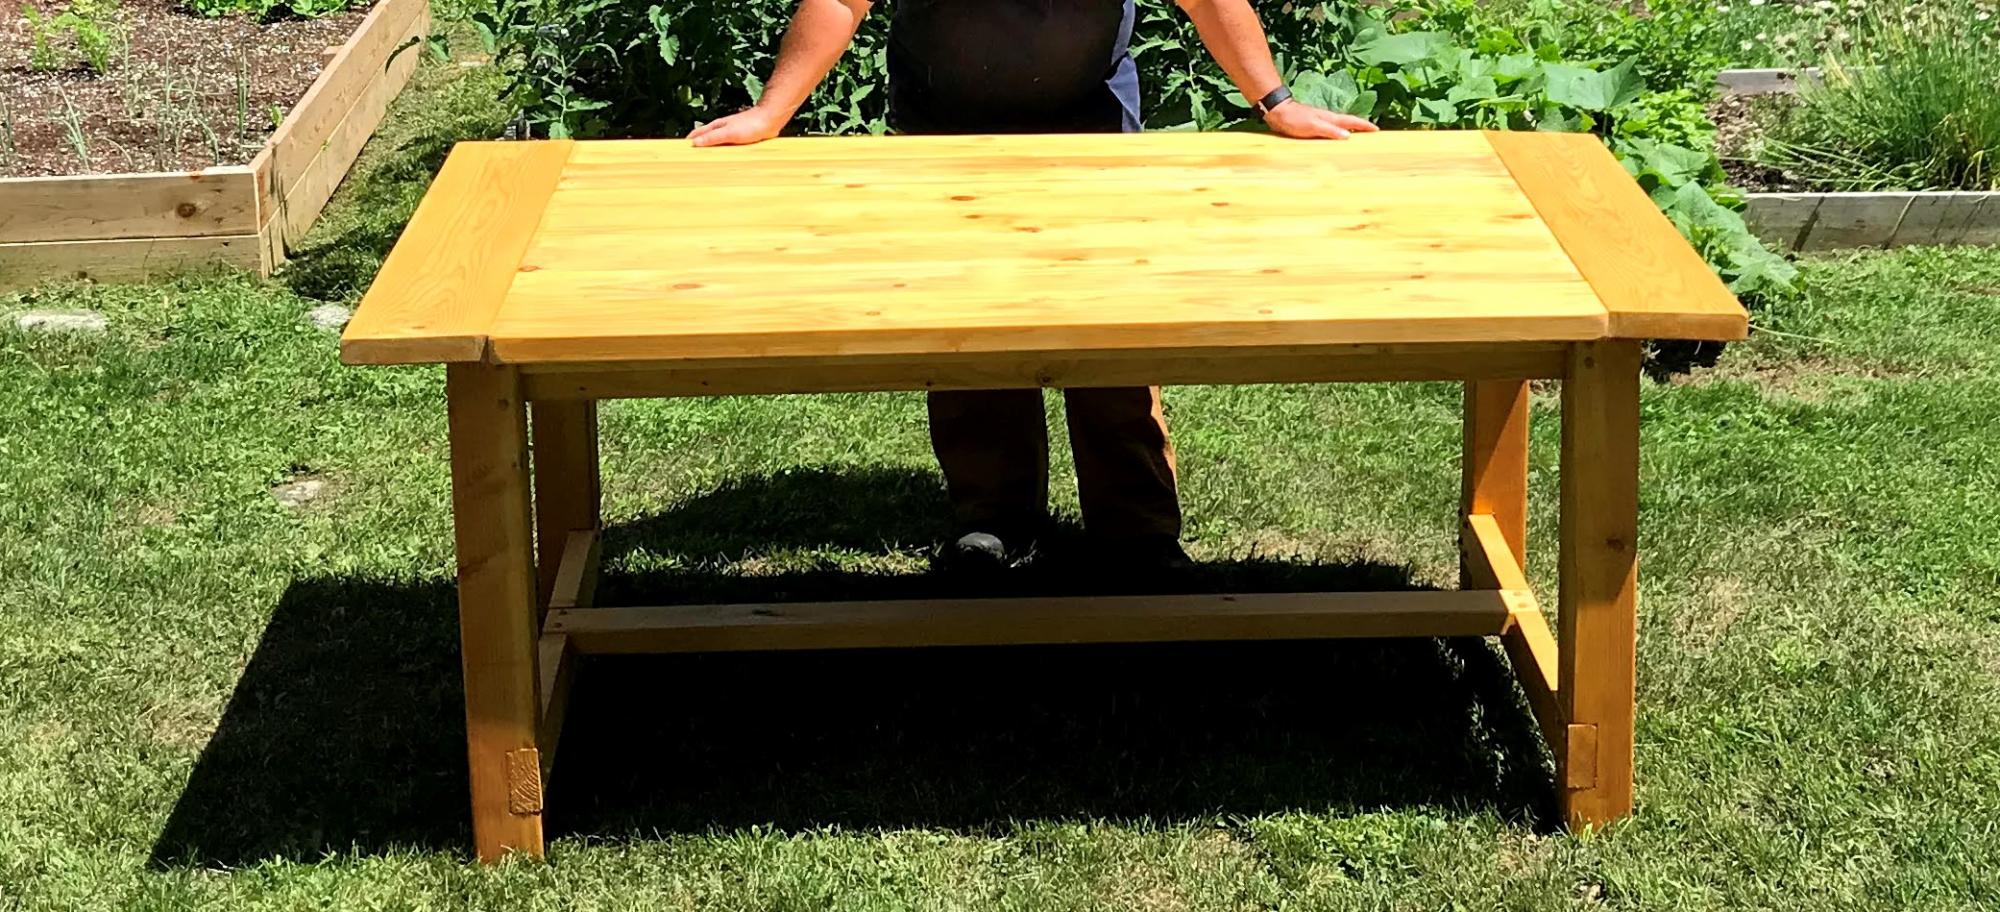
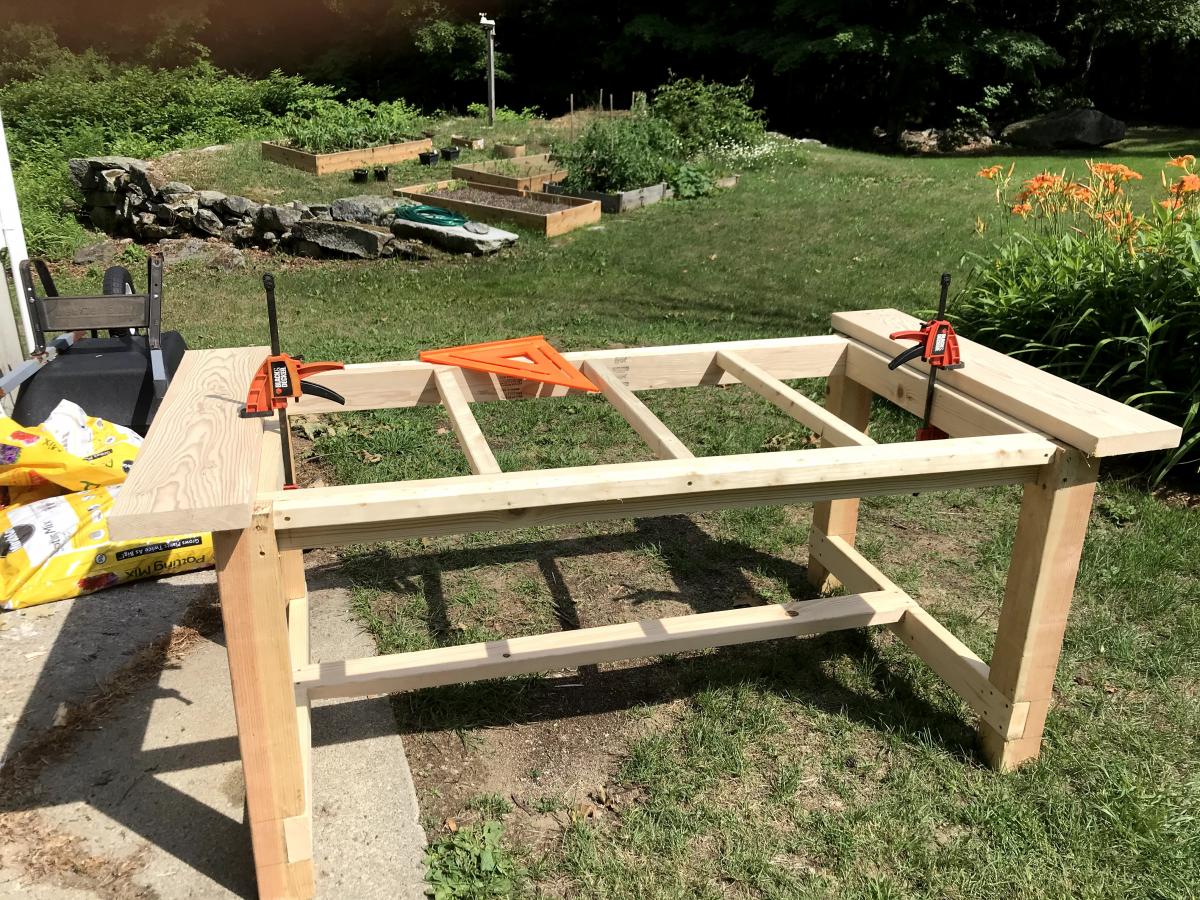
We needed a long and narrow table for a patio, so we designed a table to fit! This simple Trussel table is made out of constructional lumber for an affordable outdoor dining option. Small enough for our tiny patio and large enough to comfortable seat 6, it is the perfect table!
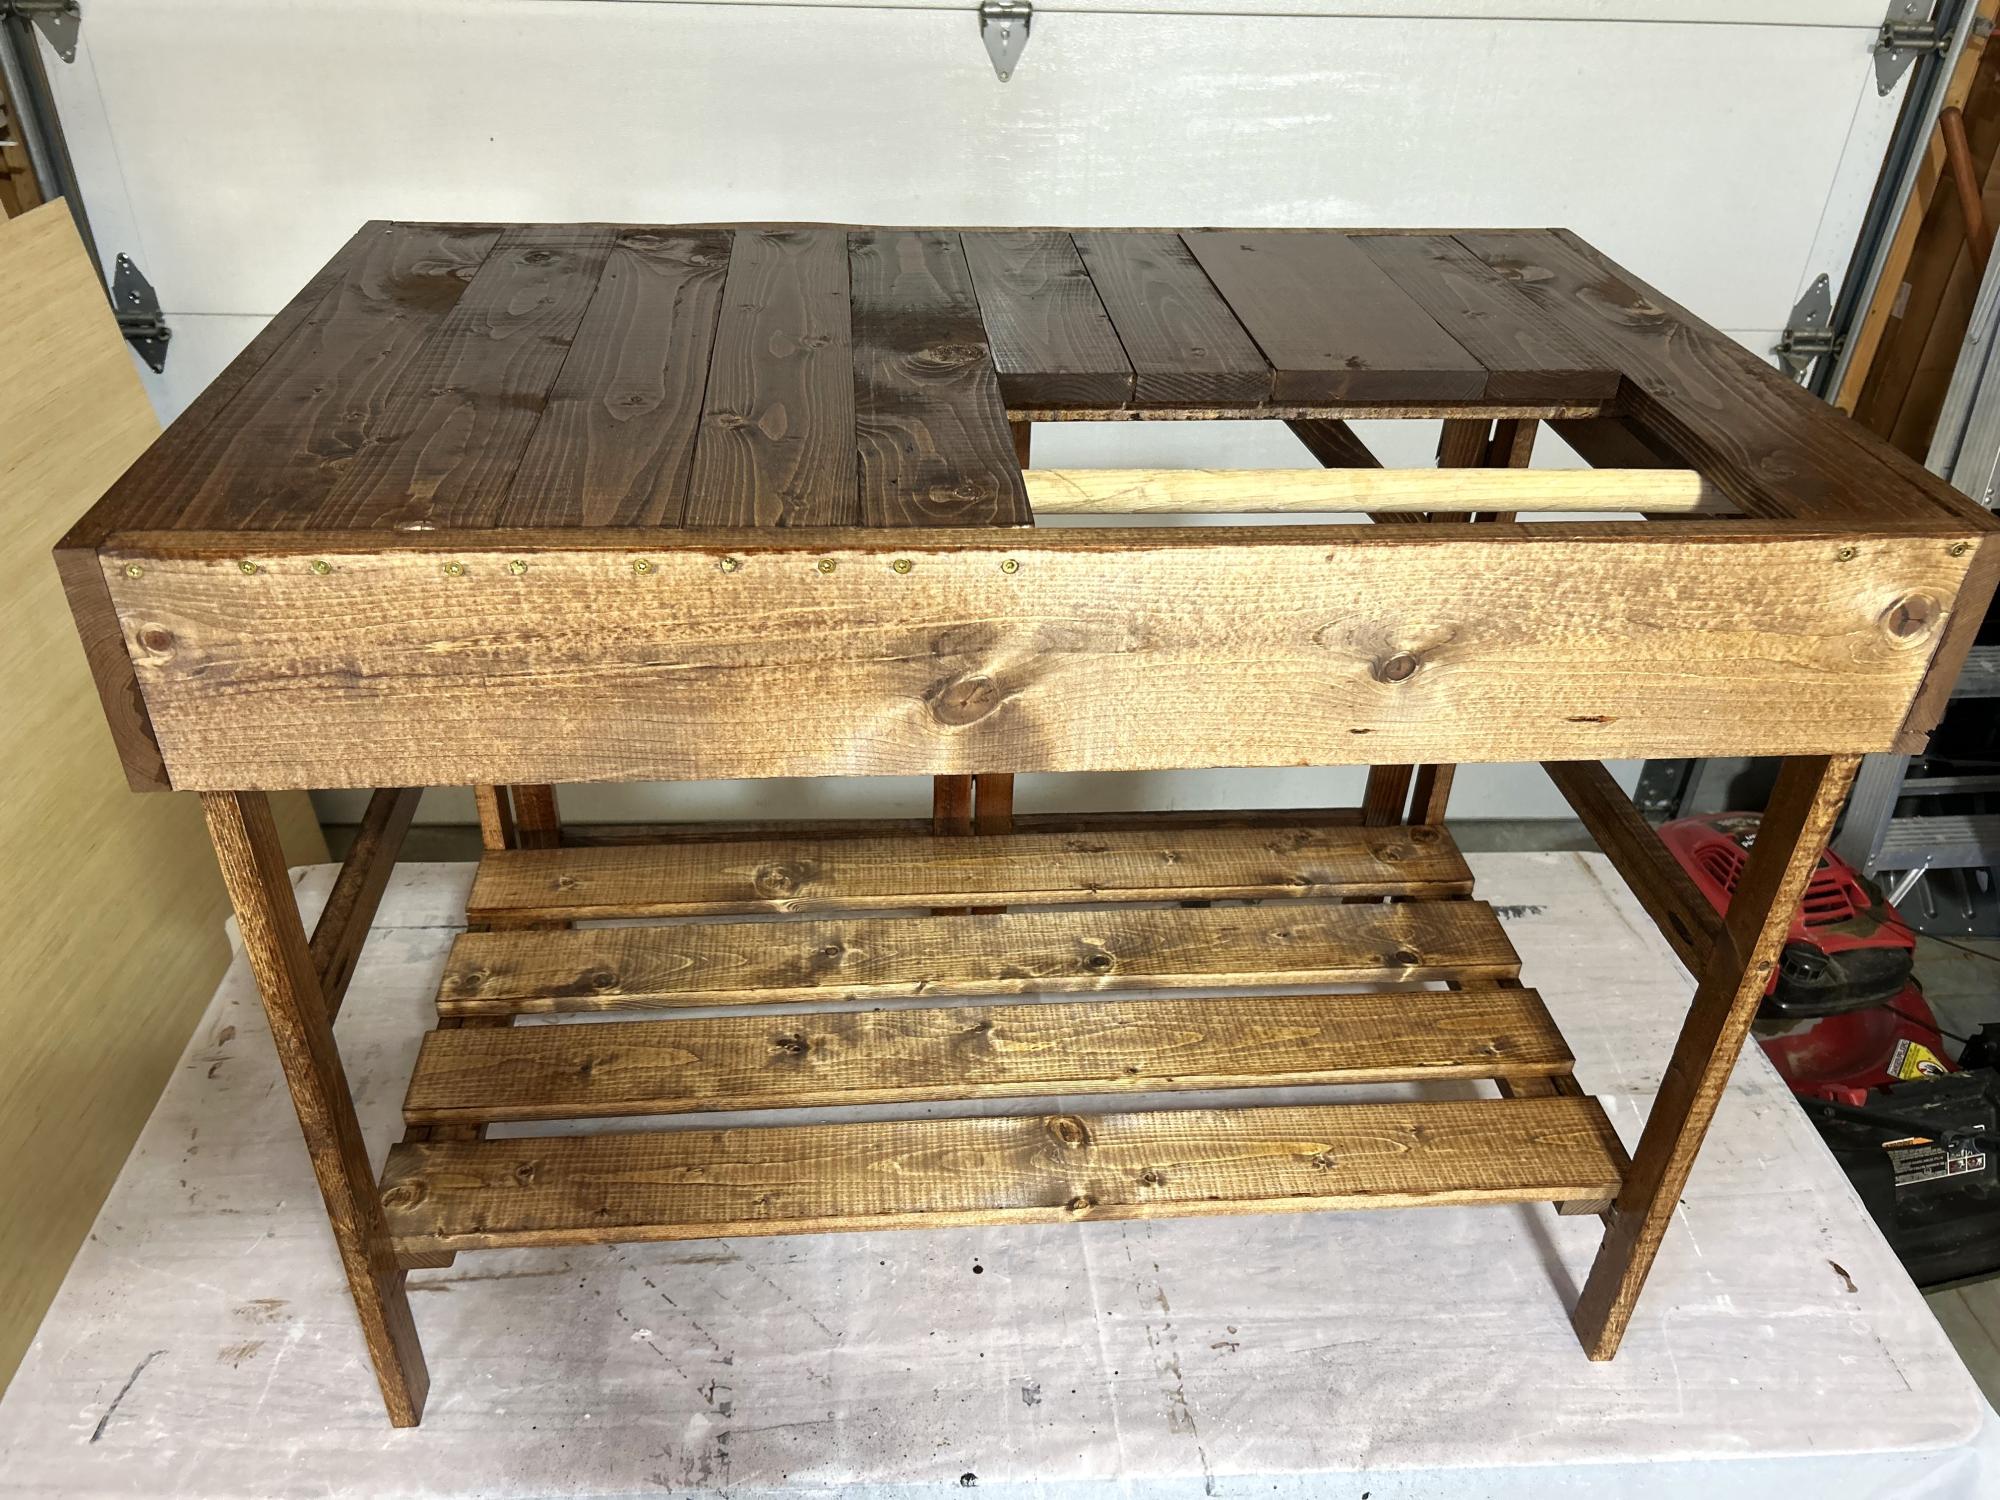
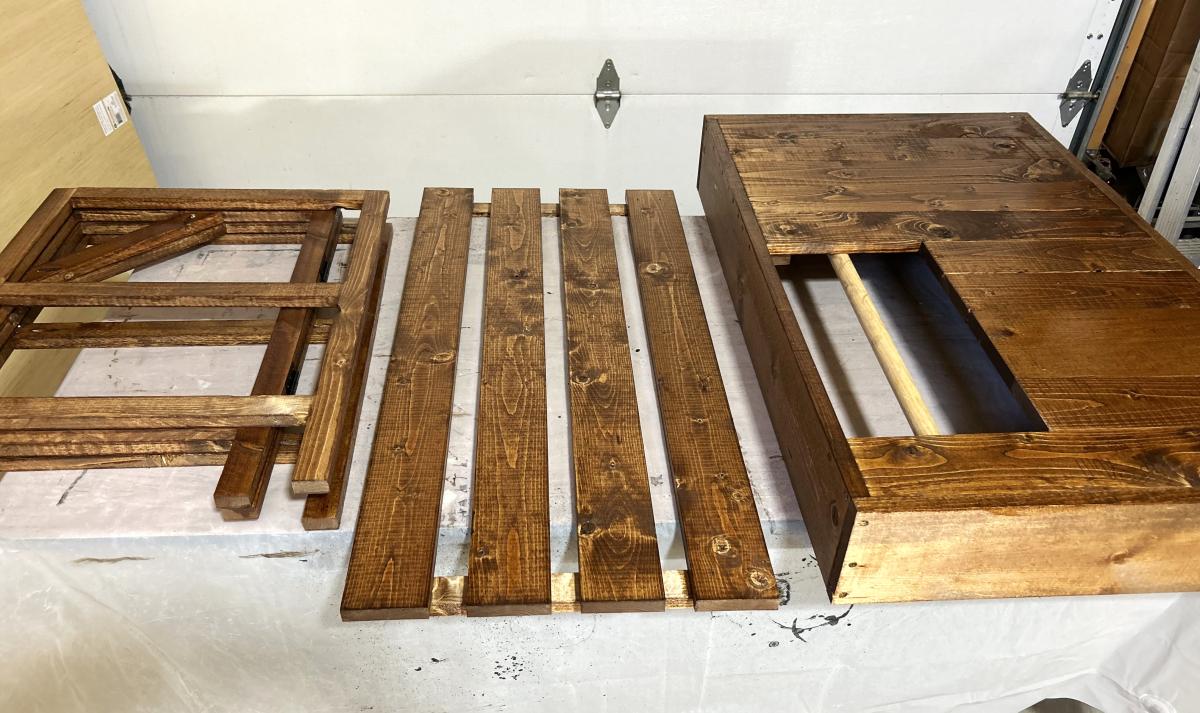
My wife wanted a collapsible table for her craft fair sales. I put a wooden dowel in the opening for her to drape packing paper over and hooks on the sides for gift bags. Easy plans to follow and it turned out great!
Todd Martens
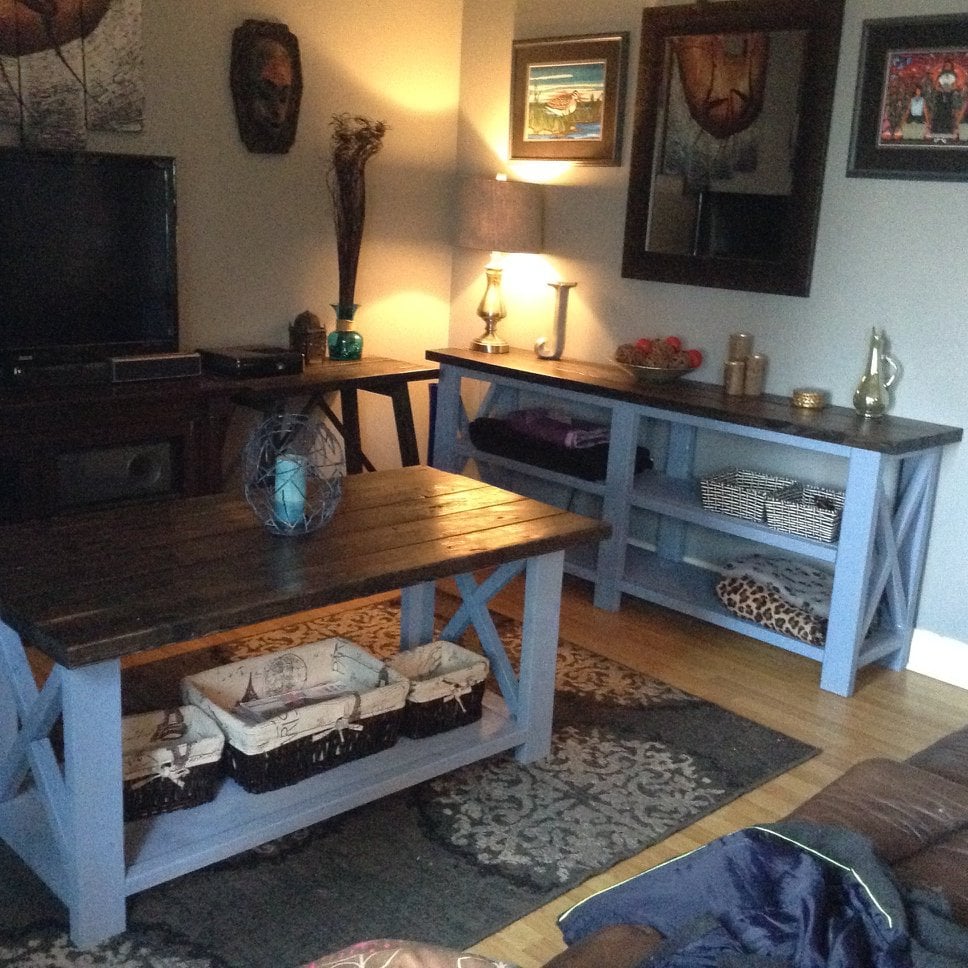
i used the a modified rustic x coffee table plan. i did not use the x and used kiln dried 2x4s for most everything except the bottom shelf i used 2 1x12x4 because they are $6.50 each compared to $20-25 each for 8ft and i cut the 2x2 out of the kiln dried 2x4s there was a fair amount of waste but the kiln dried 2x4s are much nicer to work with then green 2x6s.i stained in a red mahogany stain and gloss brushing lacquer. The top took 8 2x4s cut to just shy of 48" do i could get two from each piece. i shorted the table frame to match. if you are using green wood like i did on my first table the rustic x console table you will notice cracks forming in knots especially. using kiln dried lumber is recommended to ensure your project will last.
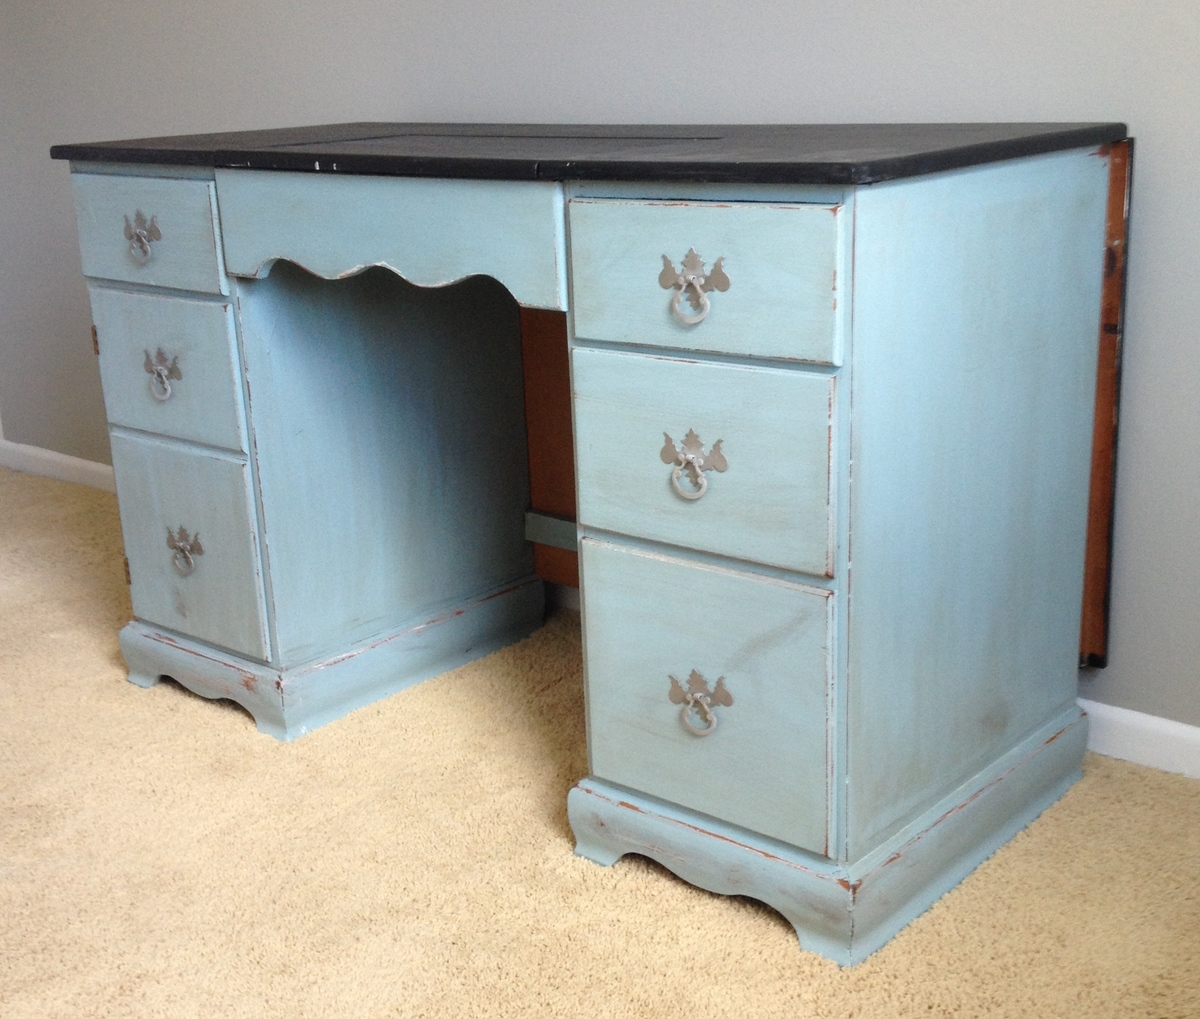
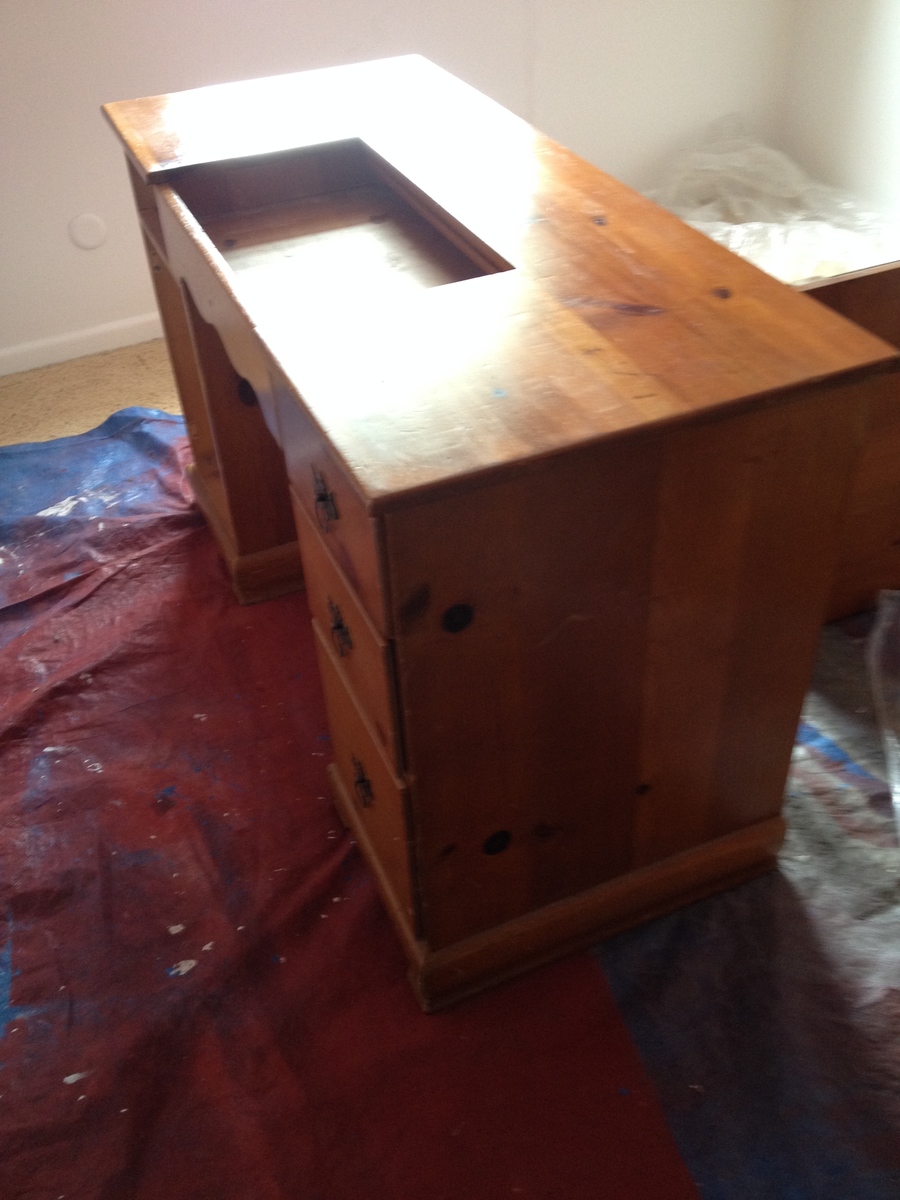
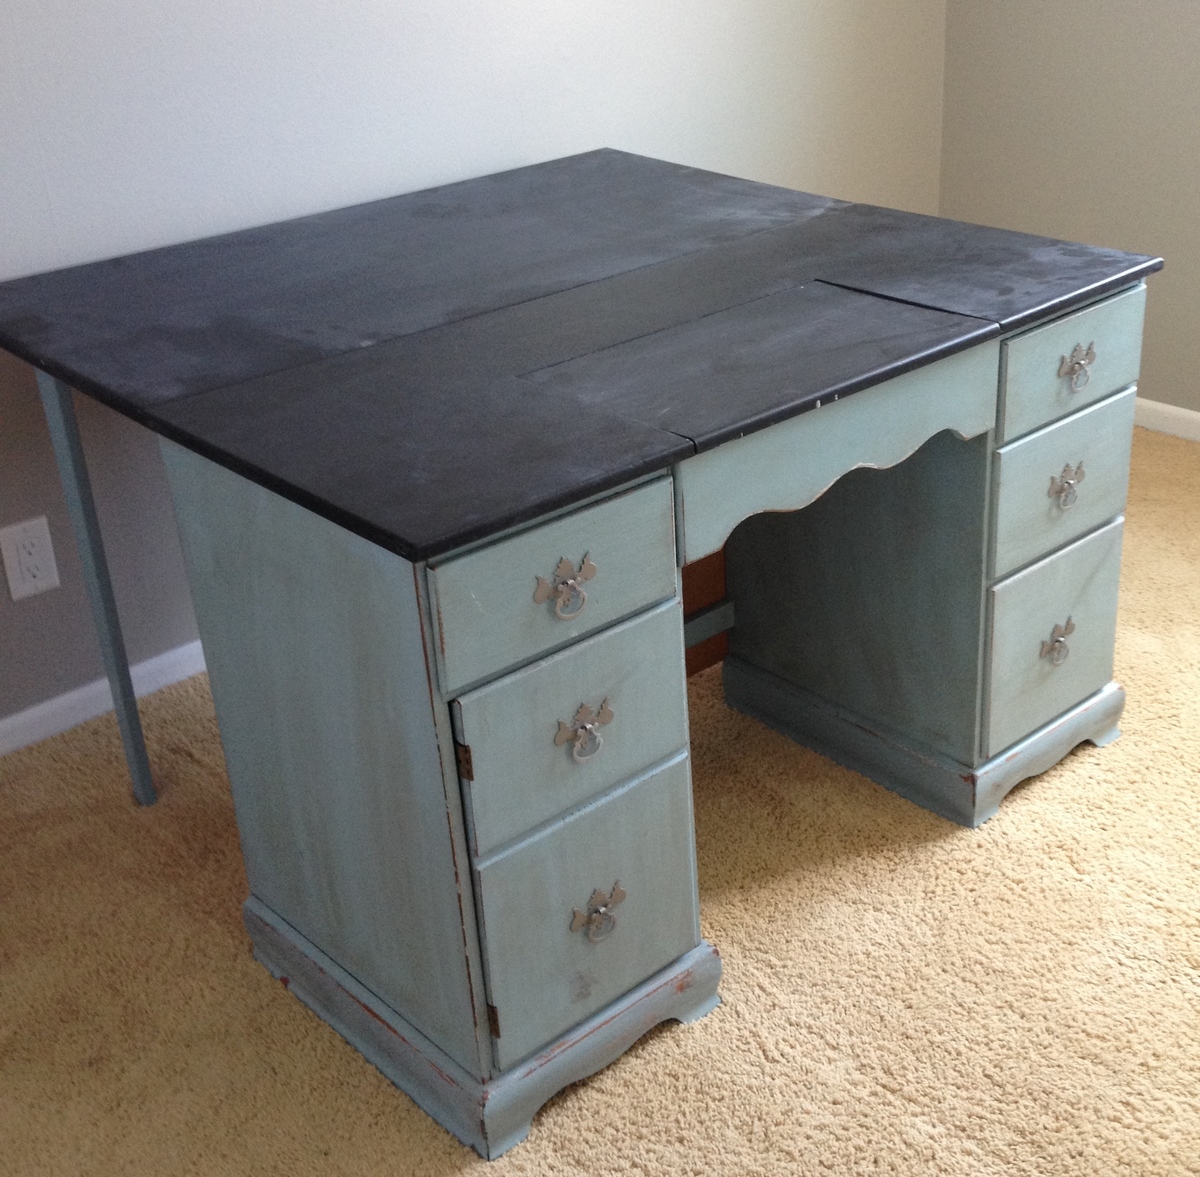
This desk was originally my great aunt's sewing desk. After 47 years it's been passed down to me. I decided to paint it blue with a chalkboard paint top. I antiqued it using my little sander and some Minwax Red Mahogany stain. I spray painted the drawer pulls to update them and finished everything with Minwax Furniture Wax on the blue and chalk on the chalkboard finish. Now I just need to get up and sew.
We needed some more storage in our basement so I made these shelves. They are 10 feet long. I couldn't get the 10 foot long 2x4s into the basement through the house, so my husband helped me slide each board through a tiny window one at a time. I also decided to paint the shelves to make them look nicer since they are in the finished part of our basement. Overall, I think they turned out great and they can hold a lot more than I expected.
Sat, 10/22/2016 - 09:43
Great job, that's amazing you figured out how to get the materials through the tiny window! Thanks for sharing!
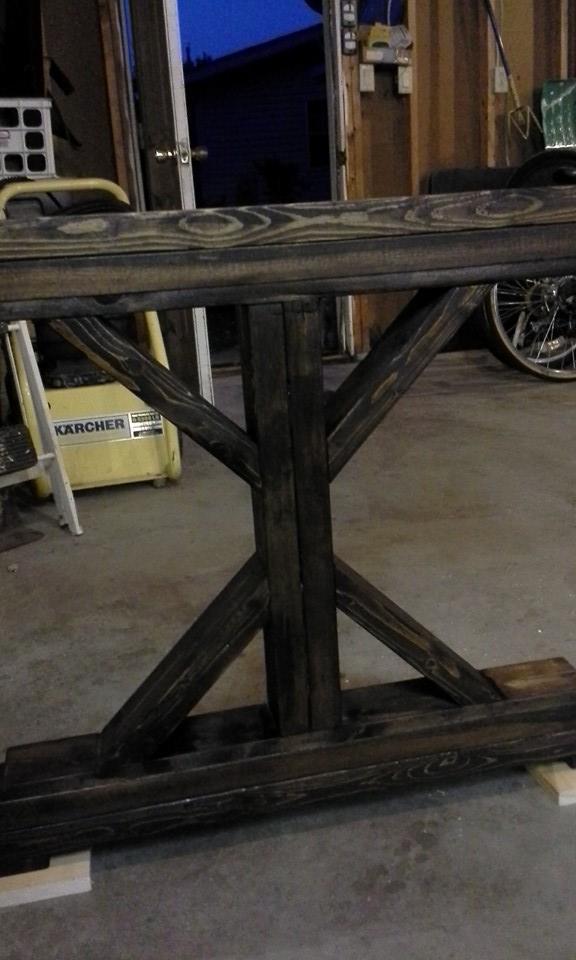
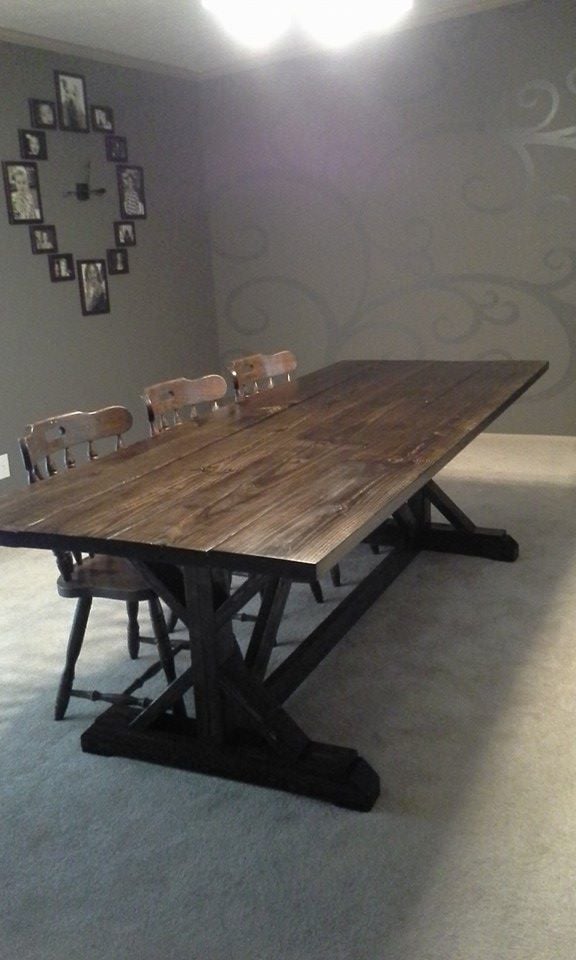
The published plans for this were great. This was my first attempt at a project like this. I have always liked the idea of dining at a large table outdoors and the farmer's style is appealing to me. I adjusted the length to fit my deck, but also made a few changes for aesthetic purposes. I notched 4x4s rather than join a pair of 2x4s for the legs. Added caps to the screw holes rather than filler and used pegs to secure the top planks in addition to screws from the bottom. The frame and top were stained/sealed with Cabot Australian Timber Oil.
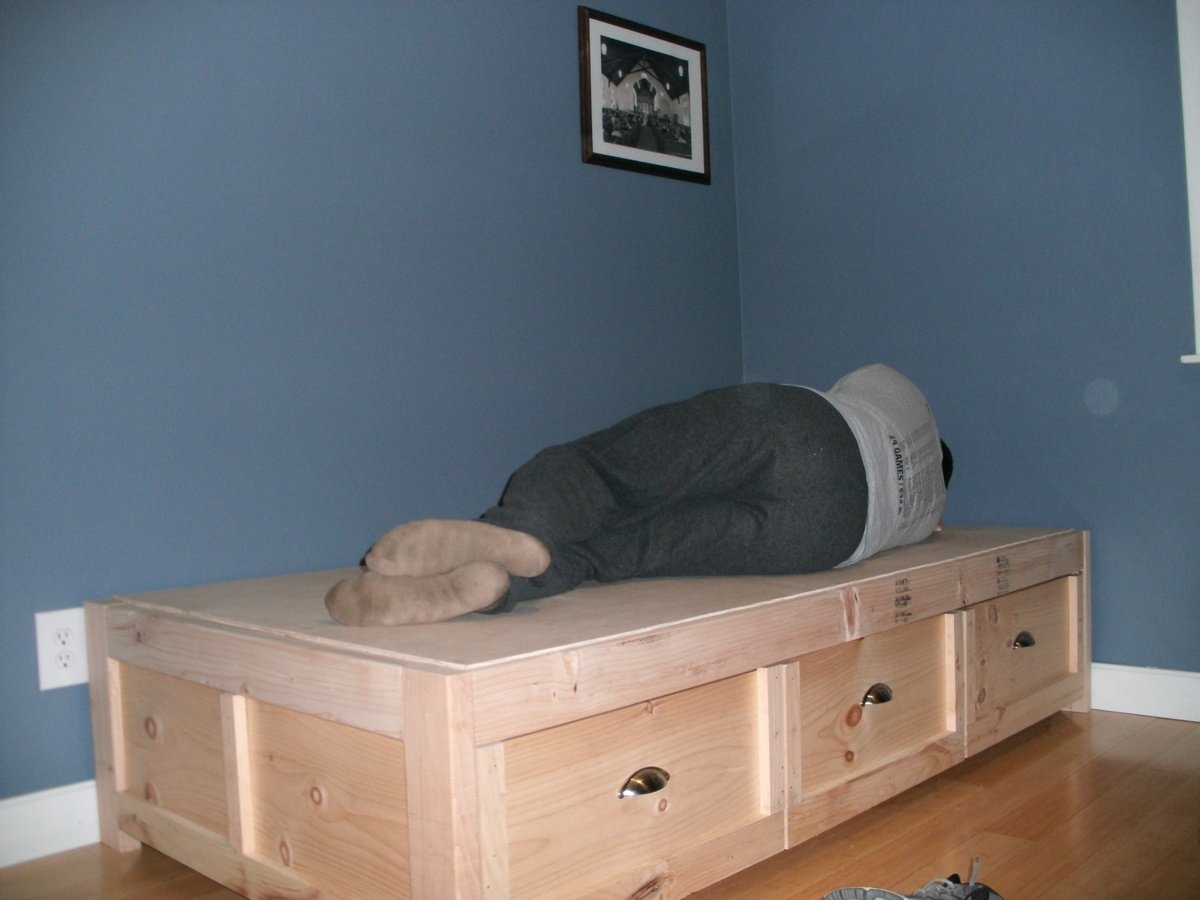
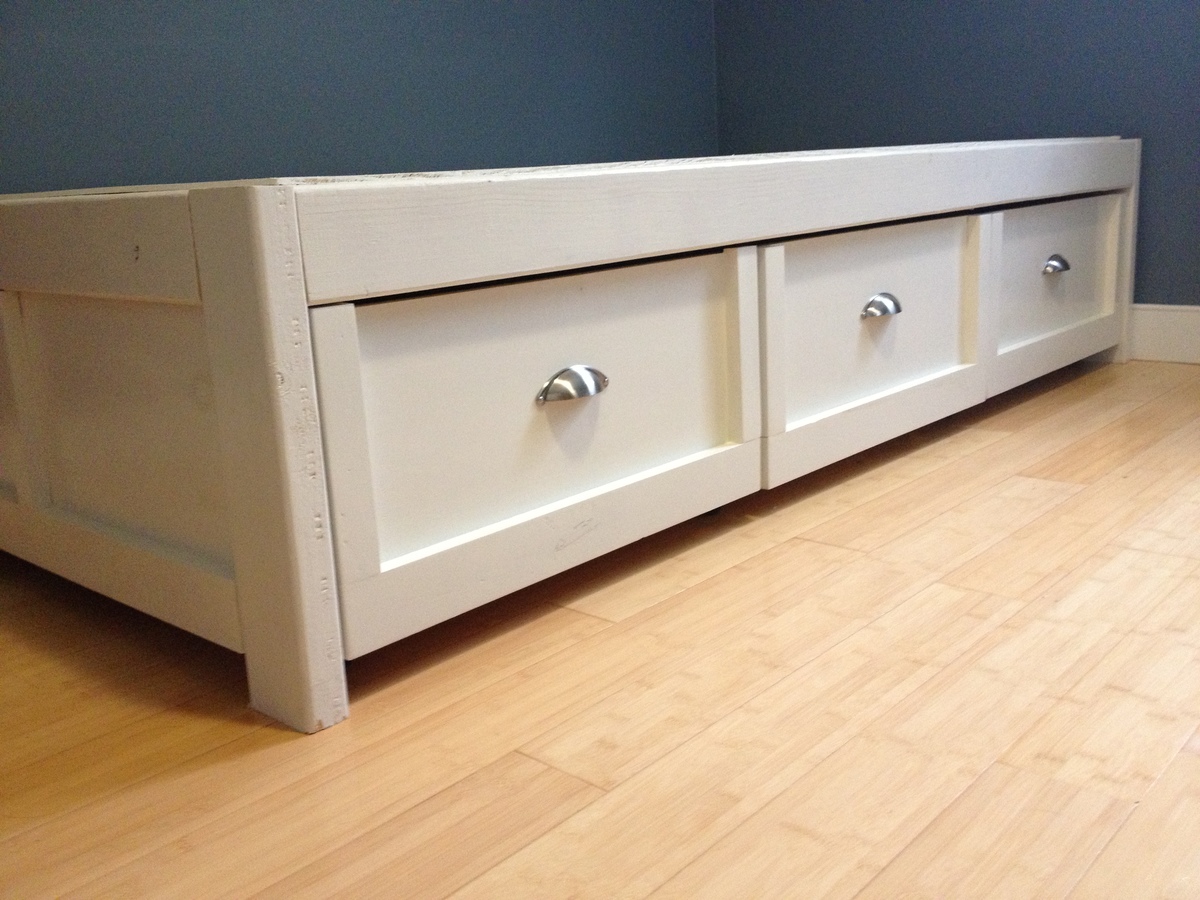
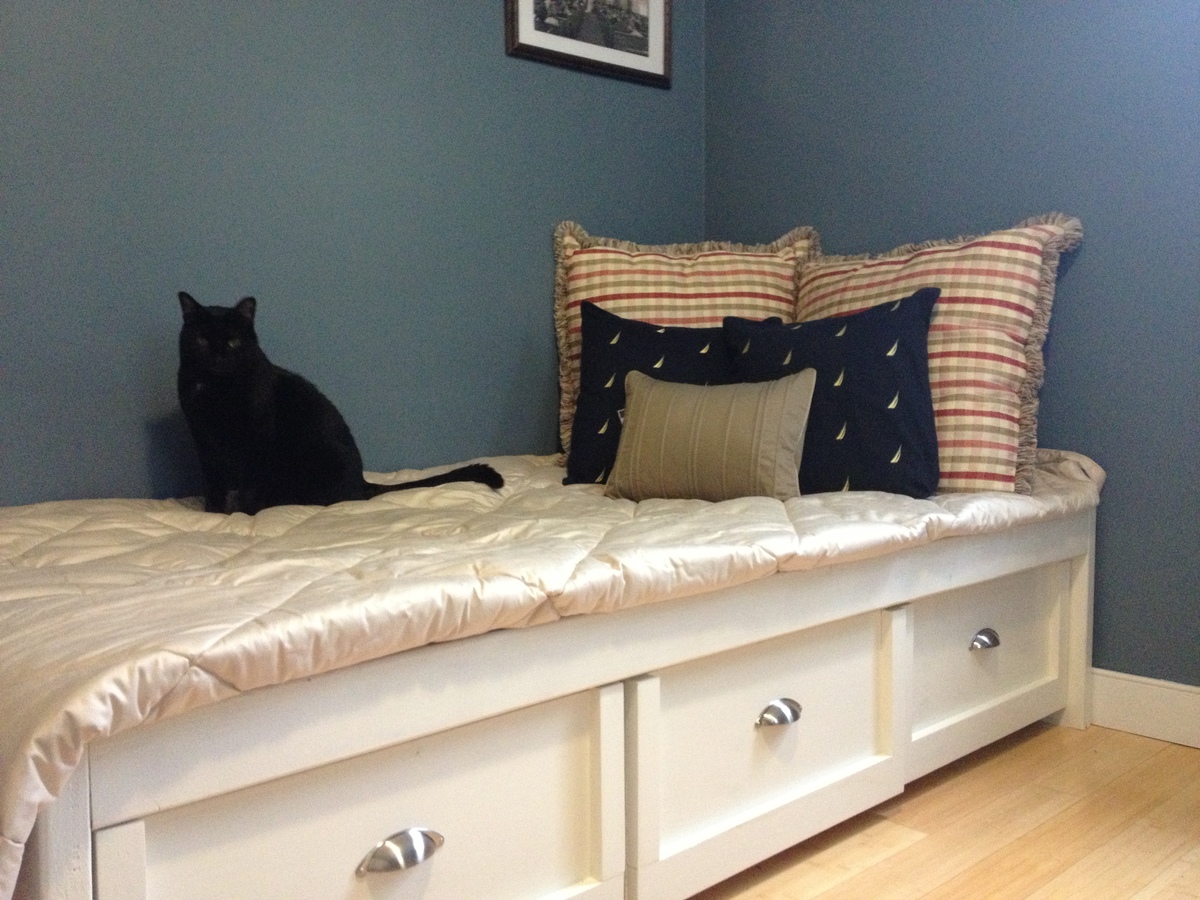
This was my and my husband's first project and it was easier than expected. There were slight imperfections with the drawers, but they were hidden by the faces and trim. It was our first time using a Kreg jig and we LOVED it!! We will be building furniture for Christmas presents this year, we are hooked!! The project took one weekend to build, and we spent around 4-5 hours a day.... remember we are newbies so we had to refer to the plan ... a lot! We went with the plywood top and it is sturdy and we can't wait to paint it and get it looking like a finished product. My husband was testing the daybed sans mattress.
Mon, 01/11/2016 - 23:06
Great job!!! I can't believe I didn't see this until now. Thanks so much for sharing, glad you liked the plans!
Easy and fun plan for a great looking coffee table. I changed the top a bit by adding two 2x2's and a 1x3 in the center, the five 2x6's looked a little plain to me. I also added an X in the front, I don't know why but really I really like it, almost gives it an open storage feel. The strain is "weathered gray" by rust oleum.
Built using the Simple, Cheap znd Easy Console Table Plan. I utilized a scrap piece of granite for the top that I cut to size and polished and poplar wood that I had laying around the shop.
Here is my version of the Cyndi Console Table. Made from poplar with oak backing. Took me about a week working on it in the evenings.
Wed, 02/11/2015 - 08:37
Love the look of this. Great job. What did you use for the drawer faces? 1 x 6?
This was the biggest project I had ever built at the time. I was so happy with how it turned out!!
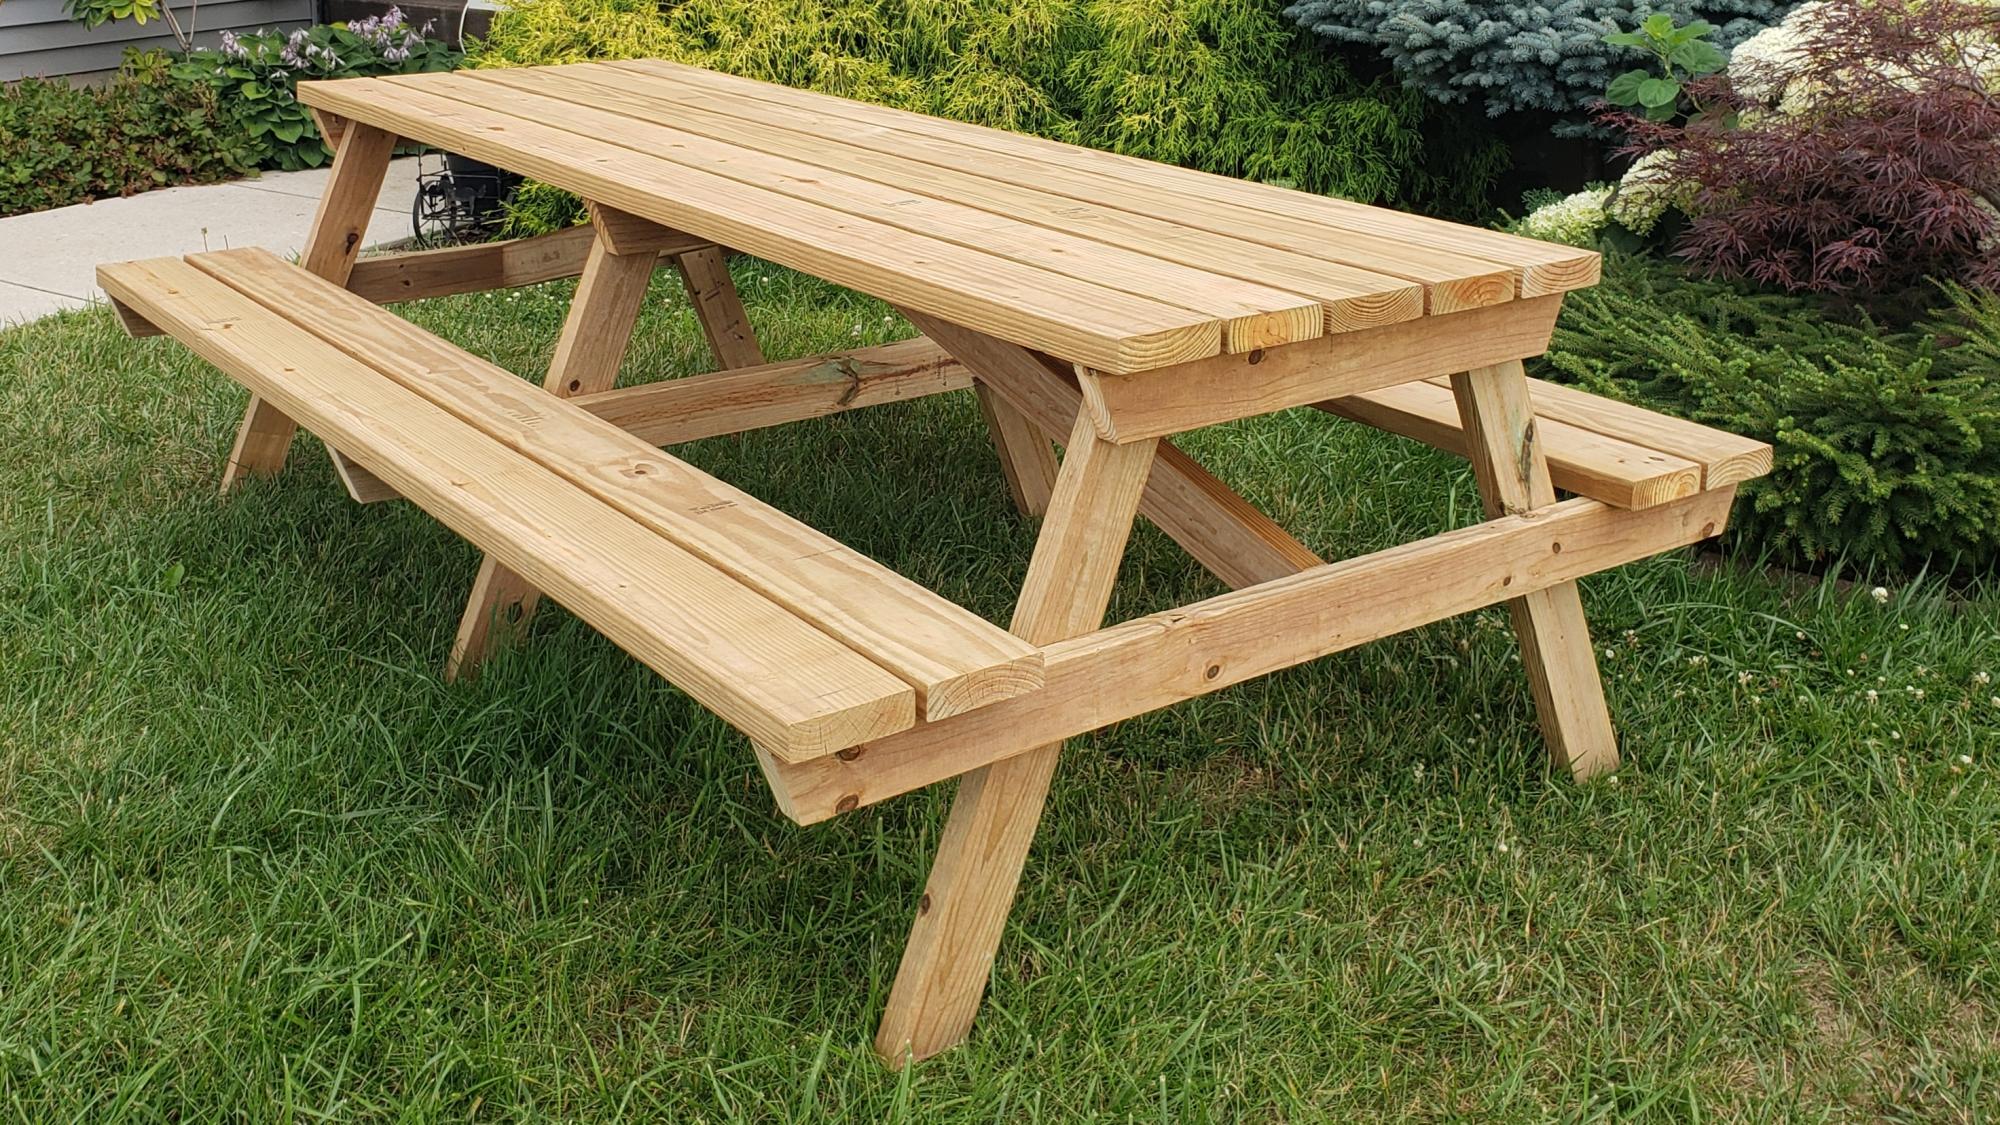
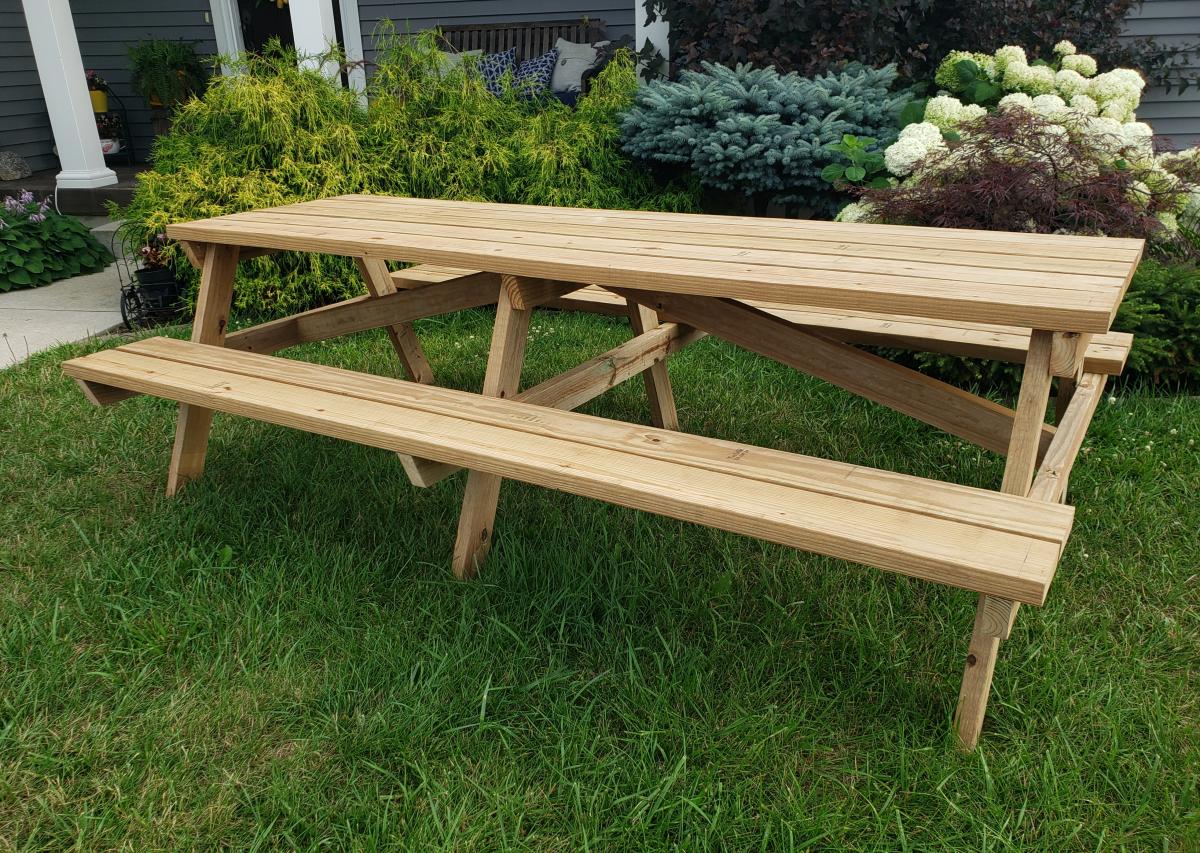
My teenage son and his father took over the bulk of the building duties this time. We chose to use treated lumber as untreated lumber with finish applied doesn't do well in Michigan weather in my experience. We made it more beautiful by using the treated lumber in cedartone. We used pocket holes to attach the top and seats to the supports to make for a smooth appearance. This is one large and heavy table! The plans were accurate and the build was fairly simple, but having many hands made working with the large piece easier.
Wed, 07/22/2020 - 12:10
This is BEAUTIFUL!!! Thank you so much for building this table and sharing photos!
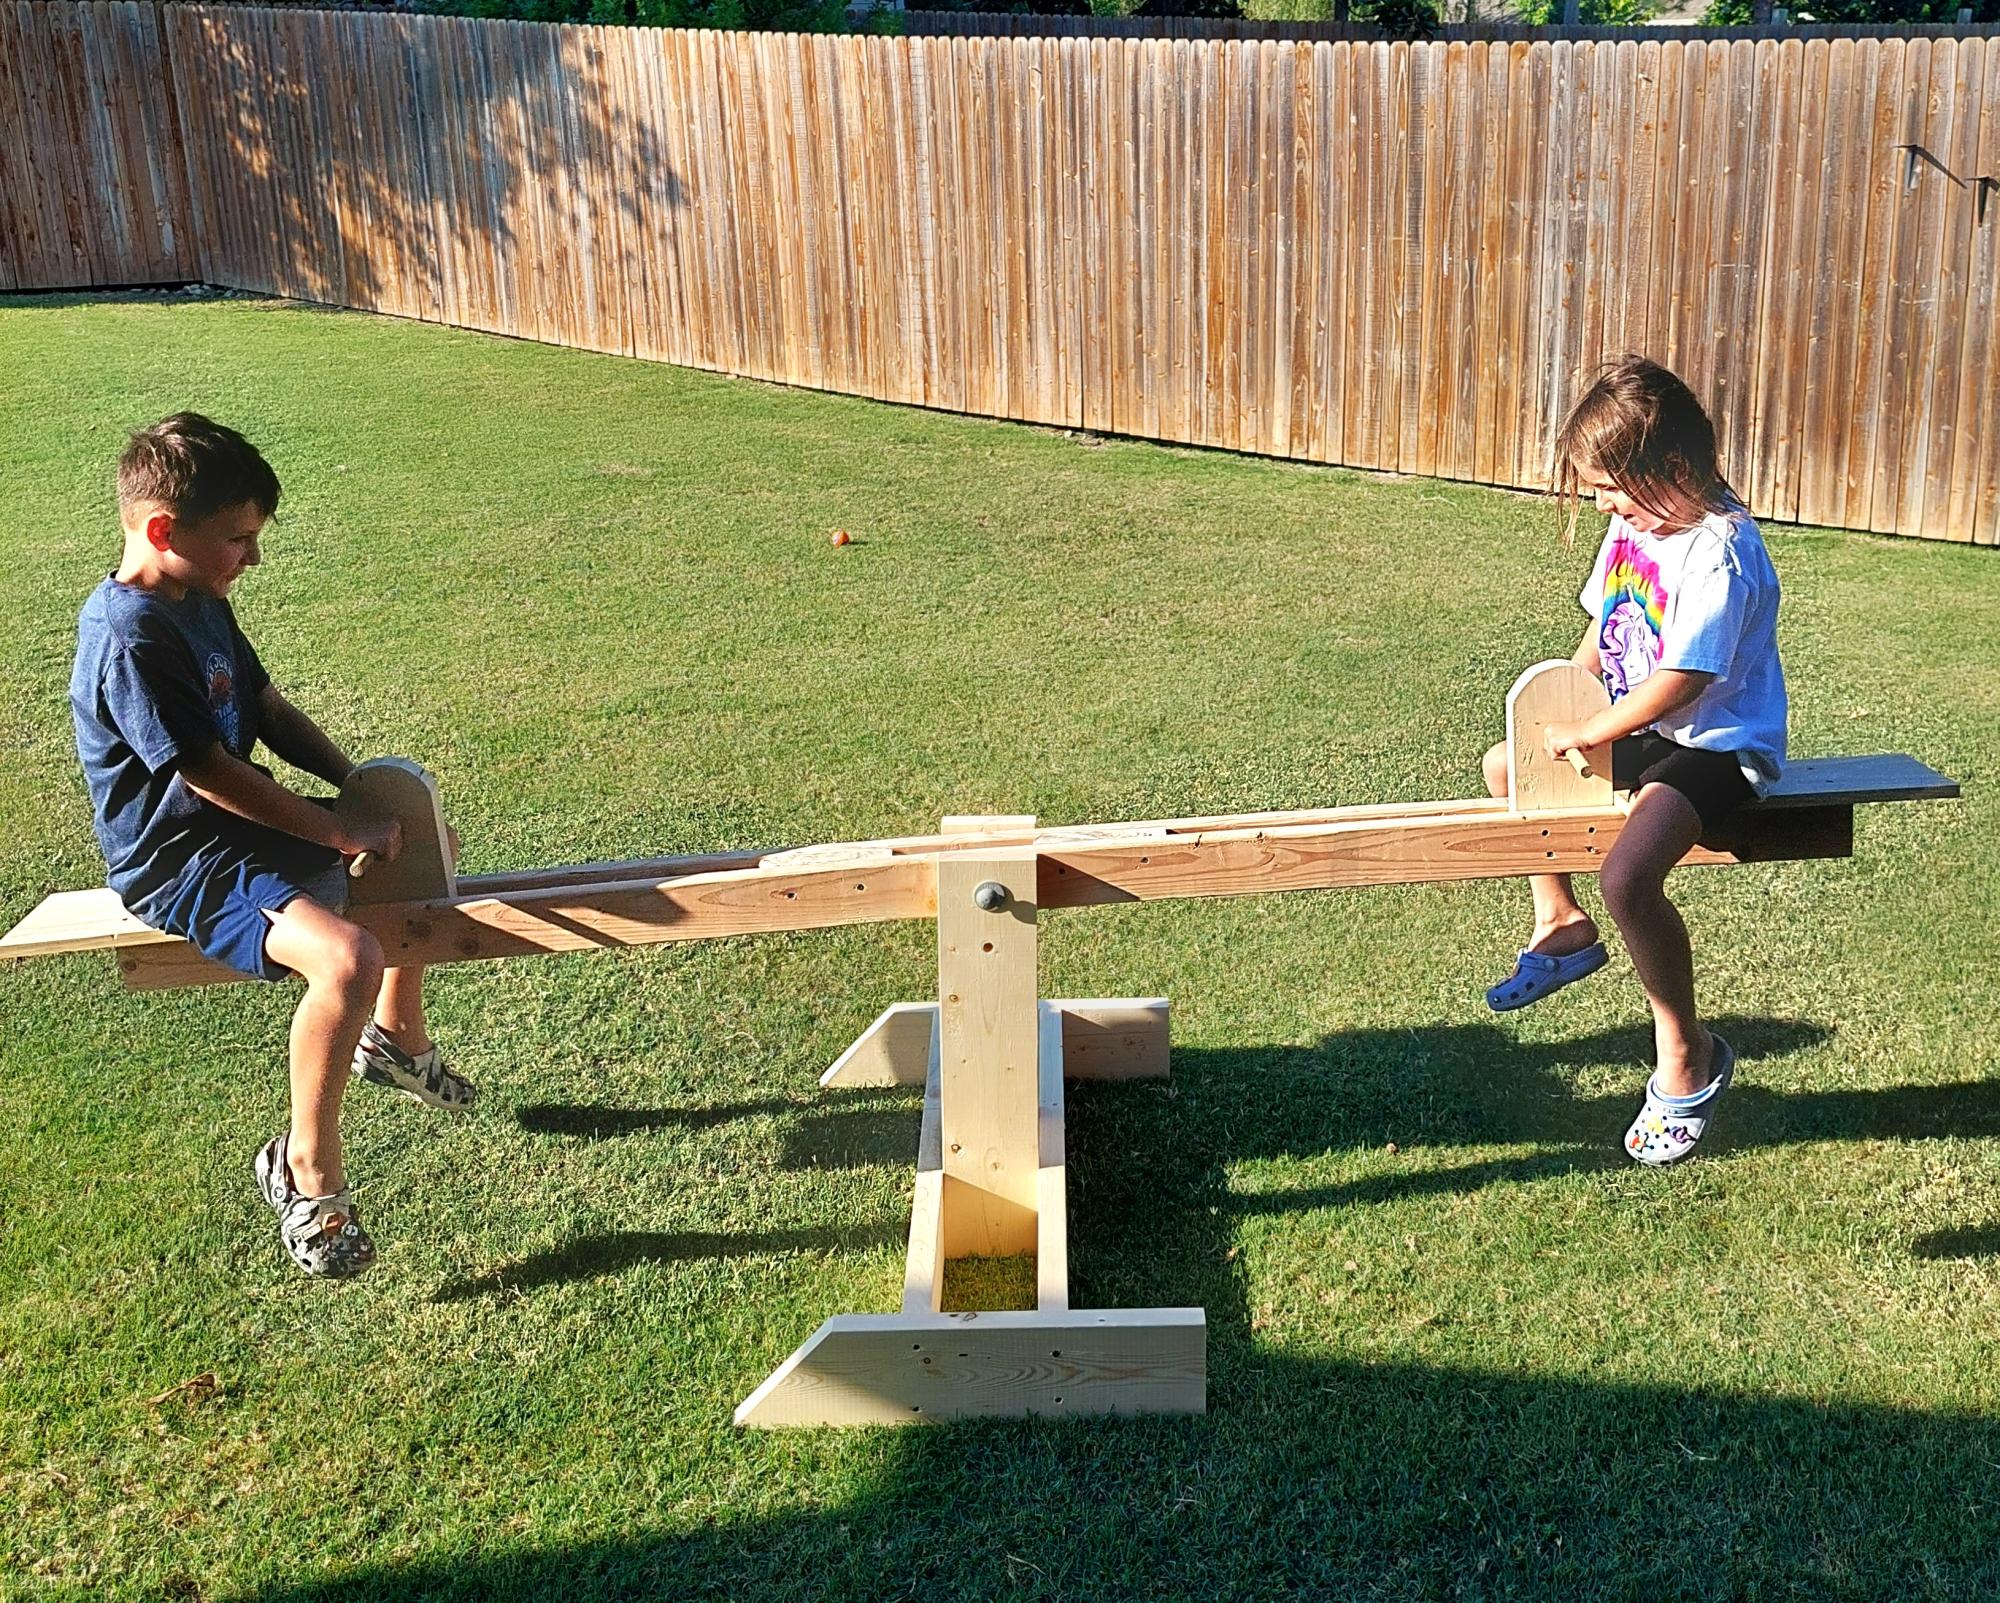
I made this with my grandson today. It was so much fun and very easy. My grandbabies love it!
Carol (Gigi to my grandbabies)
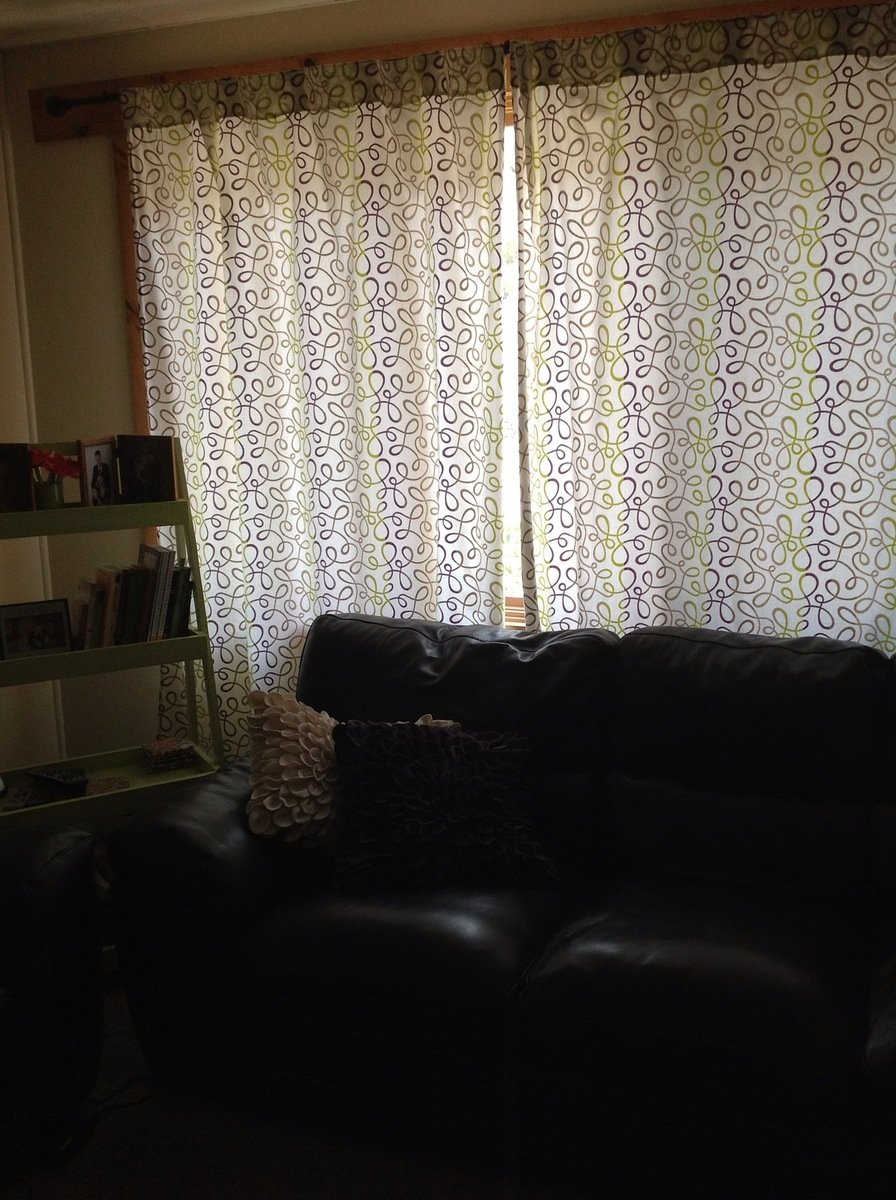
I just swooned when Ana posted her Tab-top curtain tutorial! I decided right then and there I'd be tackling all of the window treatment-less windows in my new home using her instructions. I'm no whiz on the sewing machine but I couldn't be happier with the way my curtains turned out!! No joke, if I can do this, so can you!!
I made the green shelf in my living room all by myself a couple years ago from Ana's Painter's Ladder Shelf plans. :-) It used to be red but I refinished it to match the decorating scheme in my new house. I love how everywhere you look in my home you see some piece of furniture or project that came about as a direct result of finding and embracing Ana's DIY spirit!! My curtains are no exception. :-)
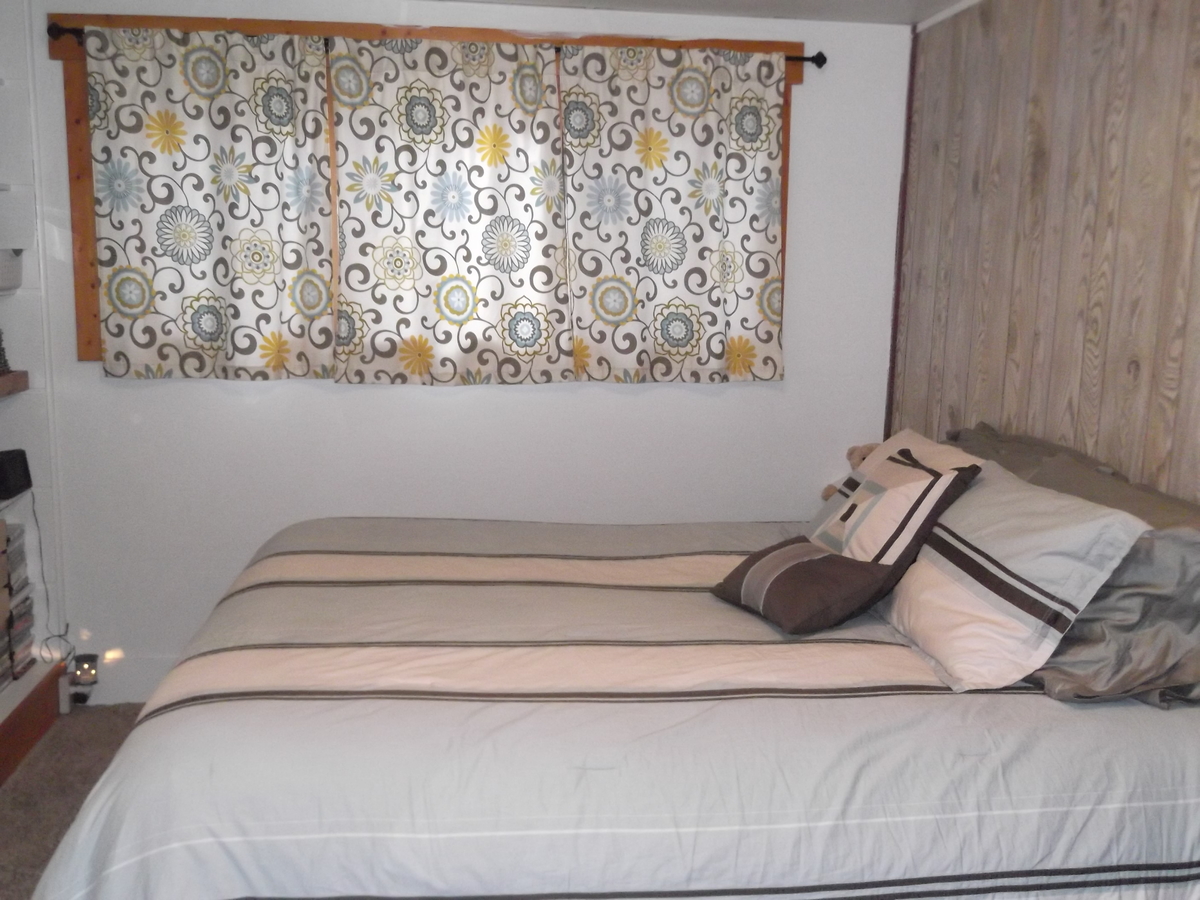
I've made the curtains for my living room and my bedroom, and I just started the set for my boys' bedroom tonight. I've gotten better with each set, and this third time around I'm pretty confident in what I'm doing. Lucky for my kids, they're going to get the best set, lol!
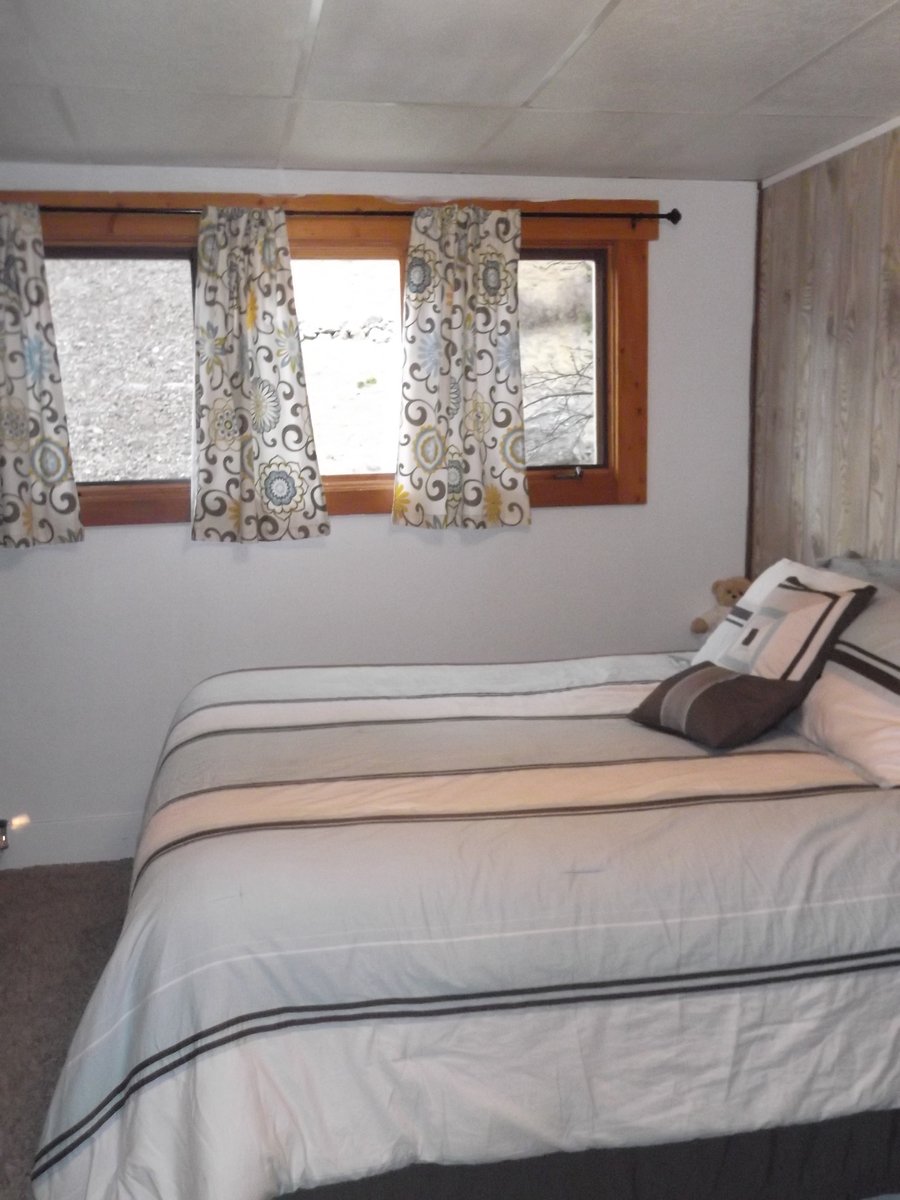
I'd already been agonizing over what to do for curtains in my bedroom and I fell instantly in love with the fabric Ana used for hers. I already had bedroom linens that would match perfectly so I went ahead and snagged a few yards. All three of the fabrics I've used have been in the Waverly Home Decor line. The patterns are fun and modern, the price is right, the quality is great and I've always been able to find the perfect design. I usually buy from Fabric.com as it tends to be cheaper once you search for readily available online coupons.
I've really enjoyed making my window treatments! I get to have exactly what I want, in a better quality for a better price than I would ever be able to find in a store. It takes me about a day to finish a set (or at least the first two did) and I have relished the excuse to watch girly movies or listen to music while I get these babies sewn. I've had my first two sets done for 4 & 6 months respectively and they still bring me such joy every day.....give it a try, you wont regret it!!
Thu, 10/17/2013 - 01:14
Its better to have a window blinds than curtains when your window is made of glass but anyway its a nice bedroom of Danielle.
This was not my first build, but it was the first time I have done miter cuts. It was an easy to follow plan. The hardest part was trying to decide on the stain color! I am thrilled with the way it turned out. This table will easily seat 10 people which will be perfect for parties and dinners.
I modified this plan to fit a 27"x 25" chunk of butcher block that my mother-in-law gave me. The finished height is 36 & 1/2". I didn't have any special tools to make the notches for the shelves. I simply lowered the blade-stop on my 7&1/4" miter saw and fastened the screw with hair ties (or in other words, I jimmy-rigged it ;)). I practiced on scrap wood until I reached the depth I needed. There is a 9&1/4" clearance between both shelves, and the shelves have a 1" overhang off the sides. I mainly used pocket holes to connect the pieces. The shelves (3-2x6s each) were fastened together with wood glue and pocket holes, then I slid them into place and screwed them into the side aprons/supports from the top, then filled with wood filler. For the top, I added support from underneathe (2x2s that I had on-hand), then used 2&1/2" screws from underneathe through the 2x2s into the butcher block. At first I used zinc wood screws, but learned quickly that they strip extremely easily, so I switched to sheet rock screws. Fun project!!
Made exactly as according to Ana Whites plans. Easy to build and very pretty once completed
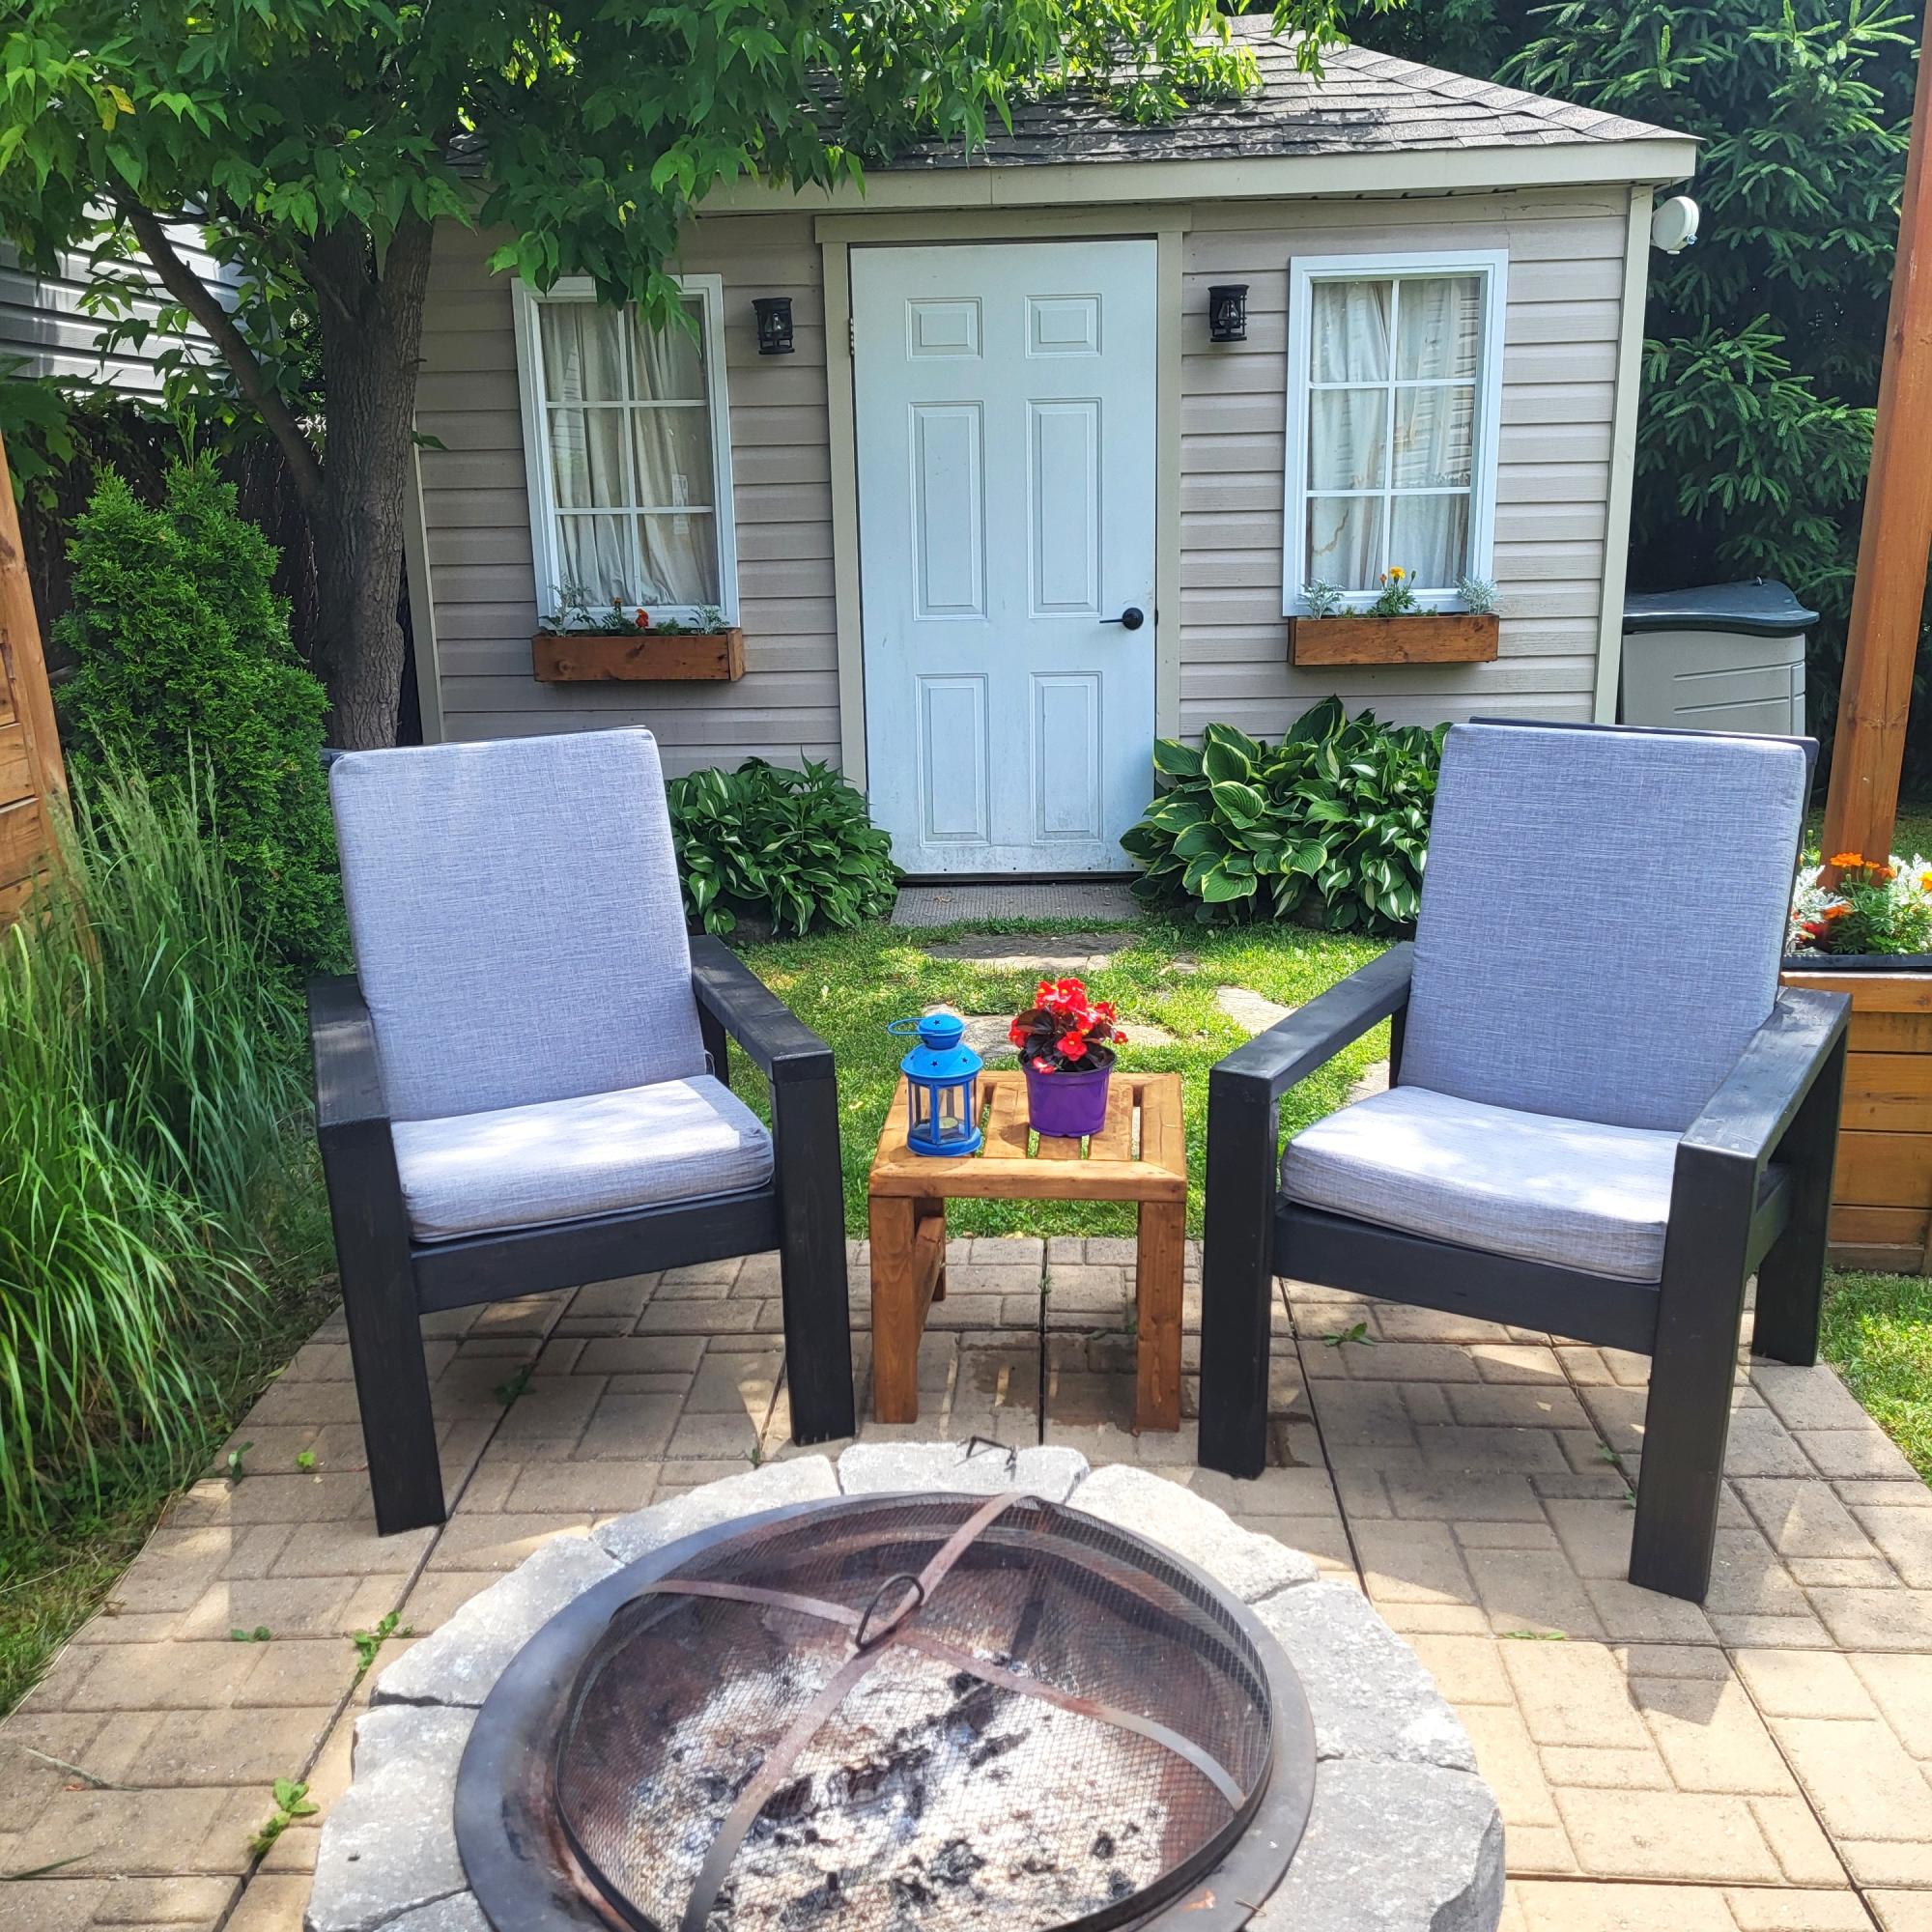
These chairs are very easy to make. I ordered the cushions online and made the chair from those dimensions so they would fit perfectly. Going to make 2 more soon. They are cheaper than the plastic ones.
Eddy