DIY Craft Desk.
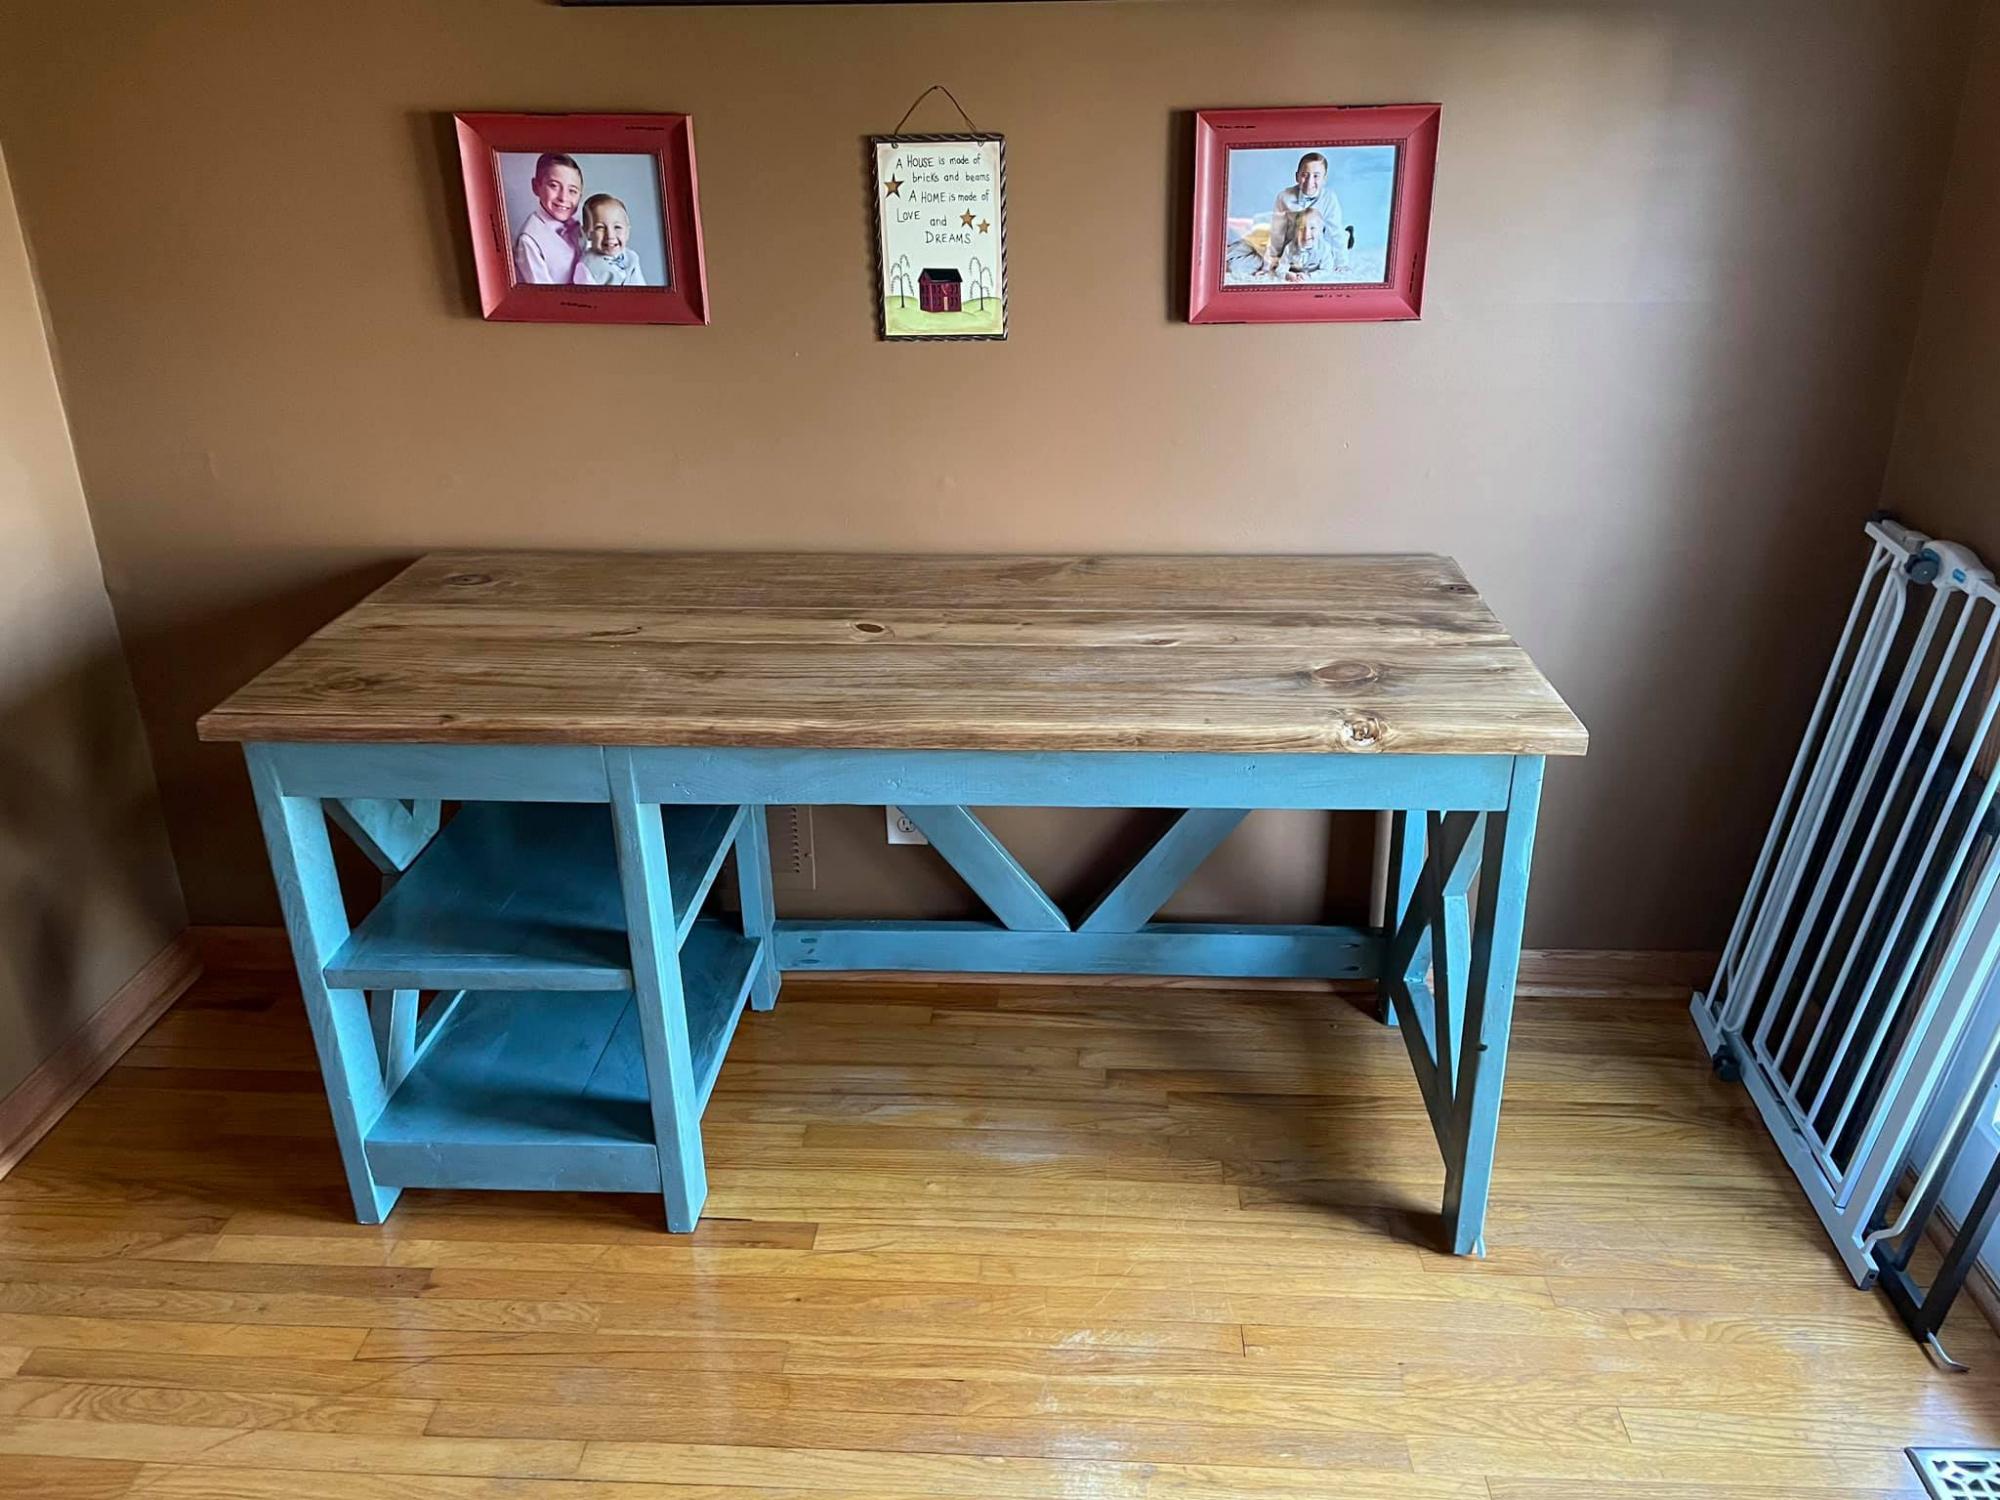
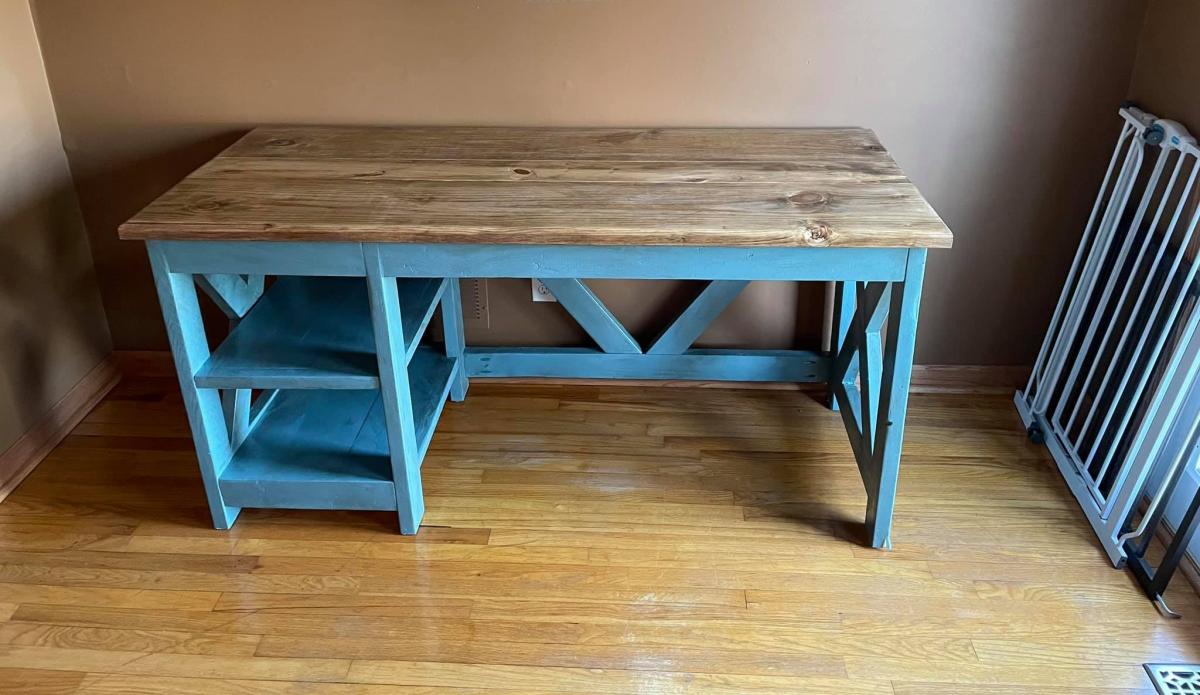
I built this desk for my wife to give her more space to create her crafts. I meshed a couple designs that I had researched to give her a unique design. This project took me 1 week to complete by only working on it in the evenings but it could be done faster if you have more time available than I did!
Materials Needed:
2 - 6 foot 1x4" pine or Poplar wood
1- 8 foot 1x4 pine or Poplar wood
4- 2x2" pine wood 29" long
2- 1x2" pine wood 24" long
1- 12"x48" pine board (pre cut craft wood in Lowe's)
1- 24"x 72" pine board (pre cut craft wood in Lowe's)
Box of 1 1/2" wood screws
Wood glue
Wood stain and/or paint
8- 1" corner braces
1). Cut the 12"x48" craft board in half (2- 12"x24"boards.)This will be your shelves. Sand all of the wood prior to staining.
2.) Stain shelves and desk top. We used two coats of gray stain. Finish with one coat of Polyacrylic. Sand. Then one more coat of polyacrylic.
3.) Cut the 1"x2" trim to 2- 24" long strips.
4.) Attach the 2x2" posts to the 1x2" trim with wood glue and wood screws. You will end up with an upside down U shape. This trim piece will give added support for desk top. Do this twice and then Paint your posts.
5.) Mark where you want your shelves on the posts and screw in your corner braces to hold the shelves up. I placed the shelf inside the posts to give me 12" of width for baskets. Screw your braces onto your shelf and then attach to the posts. I recommend doing the bottom shelf first so it stabilizes the posts.
6.) Do the same thing with the top shelf. Mark where you want them and attach with corner braces.
7.) Moving on to the cross box base.... Build the 4 sides of the box first with the 1"x4" boards. This desk is 24" deep and 29" tall. Use wood glue and wood screws to assemble. I predrilled the holes then, placed glue on then screwed together.
8.) Make sure your top 1x4" is the full depth of the desk so the weight of the desk top is spread evenly on box.
9.) I used this guide for the interior cross pieces. http://sawdustgirl.com/x-leg-office-desk/#aa
10.) Paint your cross base.
11.) Attach desk top to bases with wood glue and wood screws and you are all set!
It was a fun project! - Jen





Comments
spiceylg
Thu, 03/14/2013 - 10:47
LOVE THIS!
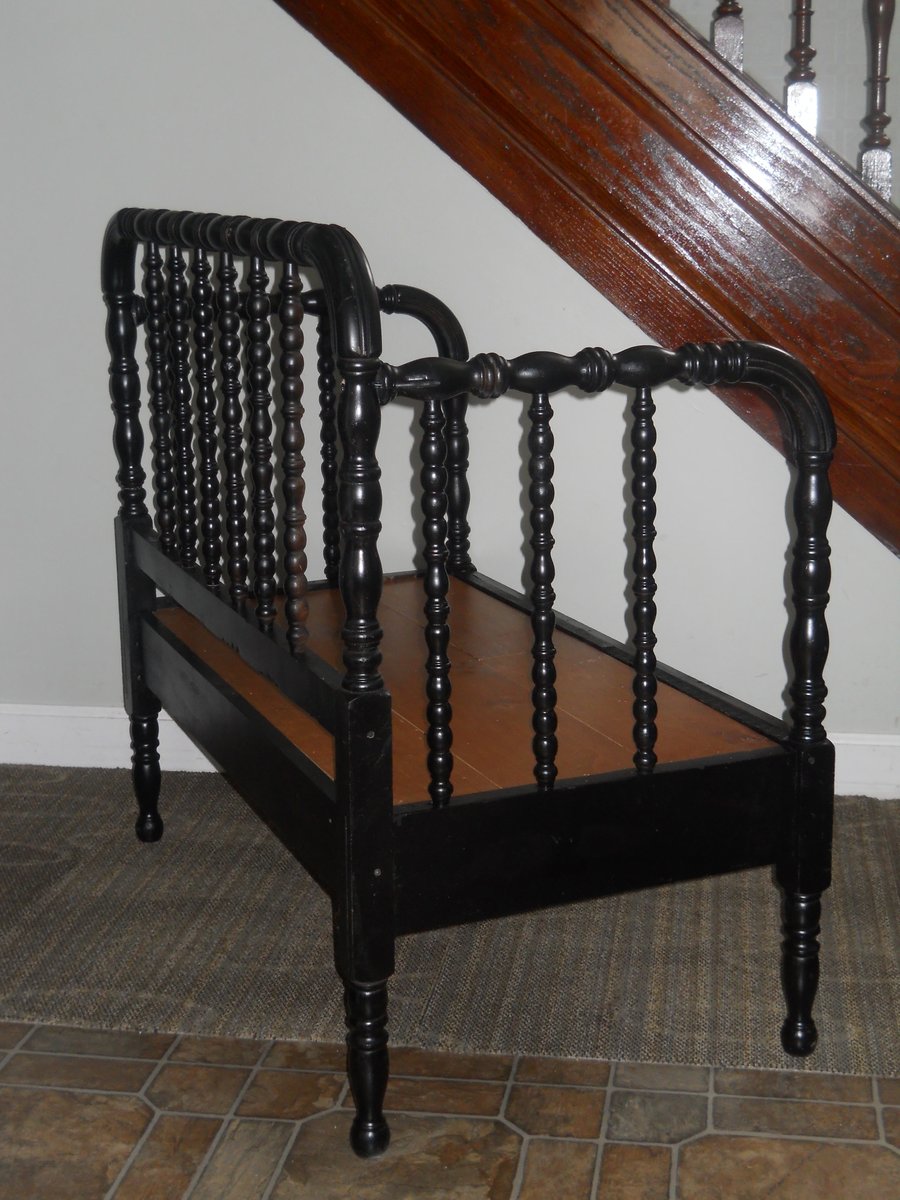
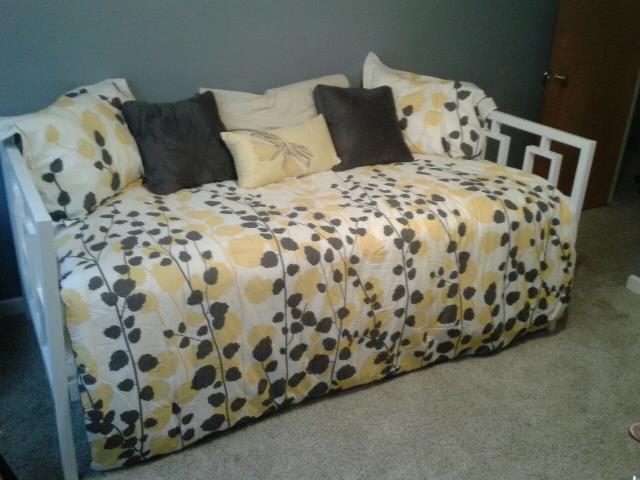
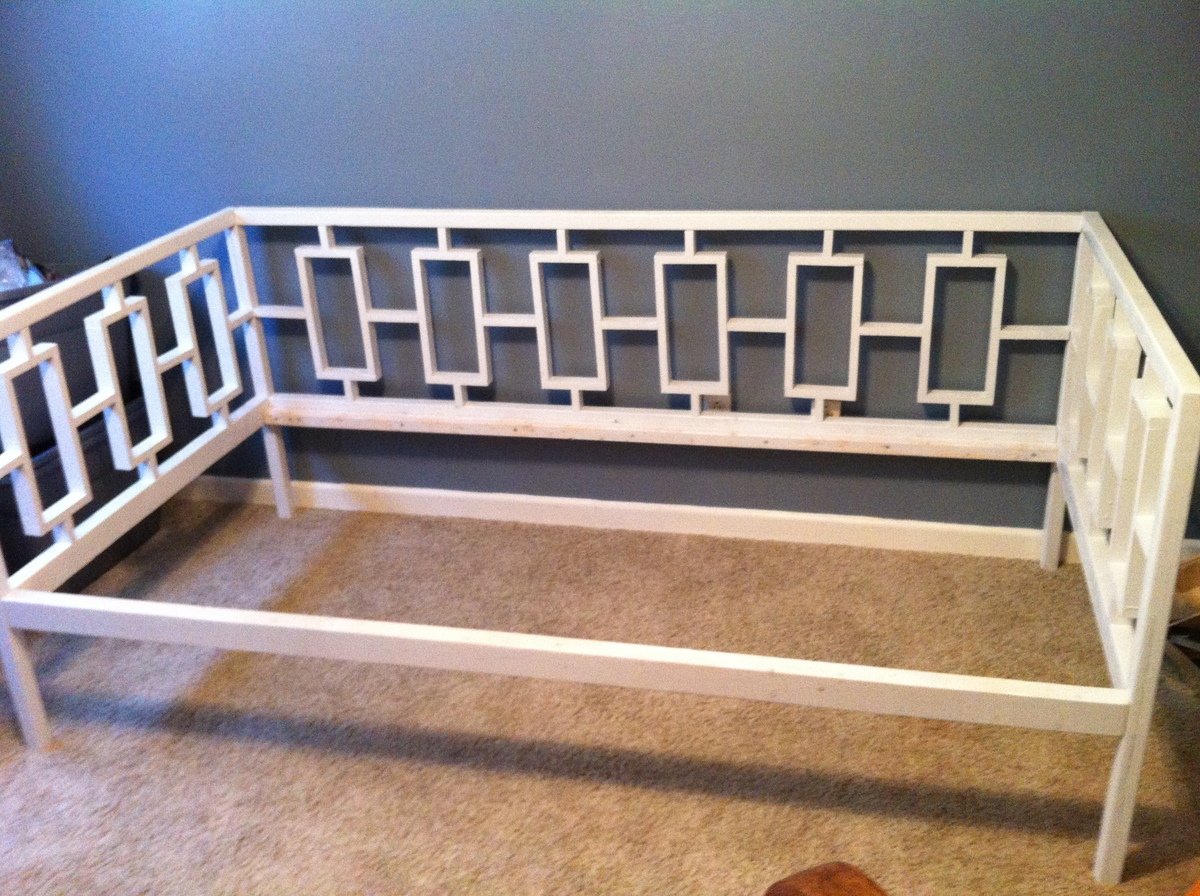
I have a twin head and foot board I got at Savers (thrift store) a few months ago to do just this. Just have to get my other projects out of the way (and out of the hubby's way as well) first. Great job!
agarrigan
Thu, 03/14/2013 - 13:28
Nice!
I also have this type of project on my TTB list, using an old waterfall style bed frame. I already cut it apart and everything. Seeing how well your's turned out might just give me that little push I need to get mine finished. Thanks for sharing!
birdsandsoap
Sat, 03/16/2013 - 16:51
I LOVE IT!
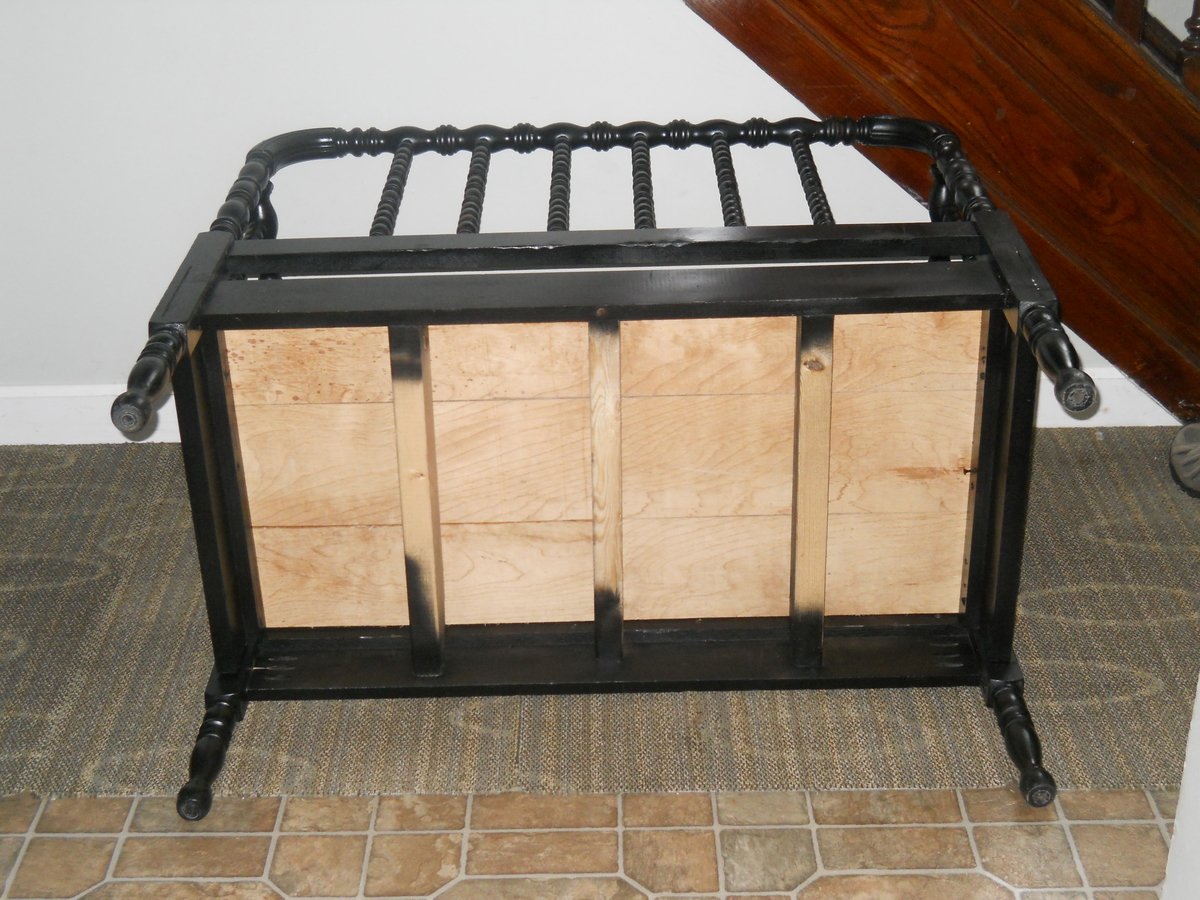
This turned out great. I did my first curbside stop and pulled an old crib out of someone's trash pile last summer. I just happened to be borrowing my mom's truck at the time...If I owned a truck, there would be no stopping my hoarding! Your bench turned out excellent. I plan on making mine a bench too. My husband has been complaining about the old crib leaning against the house in the driveway for a while now. Yep, better get started.
LARMO
Sun, 04/07/2013 - 10:00
THANKS
Thanks for the comments its easy!!!!