Community Brag Posts

Media Console
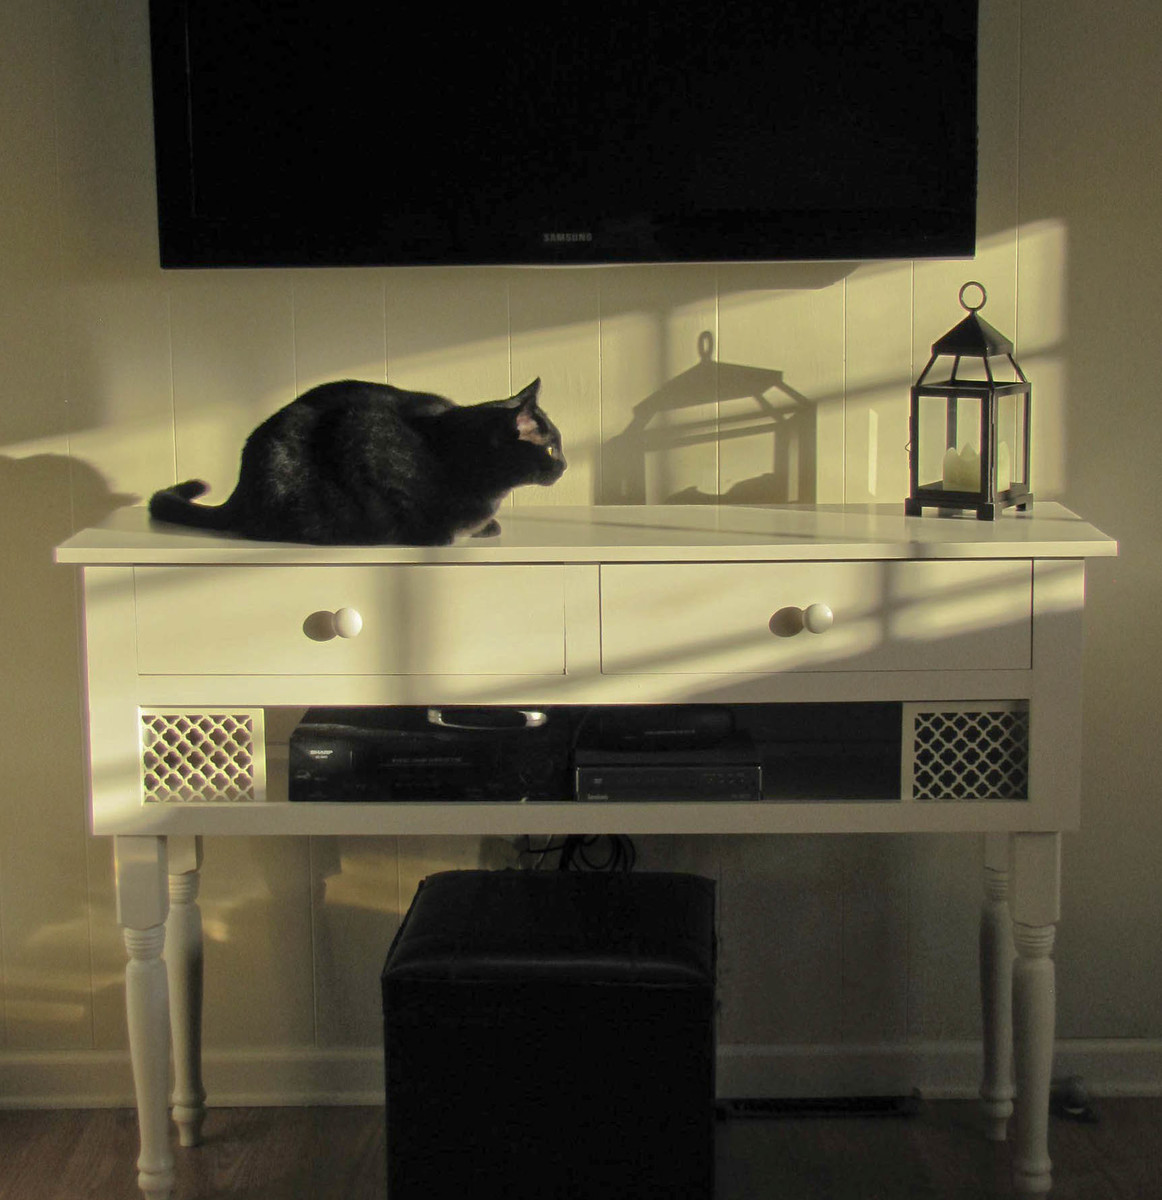
Media Console--My first build! Read all about it at http://isthisloadbearing.com/2012/01/15/media-console/
Built from Plan(s)
Finish Used
Behr Swiss Coffee
Recommended Skill Level
Beginner
Comments

Sat, 02/04/2012 - 15:36
Beautiful!
I love the legs and the lattice detail. The cat is pretty cute too!
Mon, 02/06/2012 - 13:31
The details
The details really make the piece unique. The additions of the lattice panels and the legs look like simple additions, but they make a bigg difference. It looks great.
Mon, 04/09/2012 - 15:40
Did you follow Anna's plans
Did you follow Anna's plans for this? Some other comments on the plan had suggested the measurements were off. Did you find this was the case?
Thanks,
Randy
Sun, 04/07/2013 - 22:42
well i have read about you r
well i have read about you r project and i really like this in simply i want to say that good work you have done.
Sanford Locksmith
Mon, 05/06/2013 - 03:58
Great Idea
I like the idea you have in there. It is quite simple but it expresses such coolness and neatness to the place. Simplicity is beauty. It is better that you make your media console not occupied with a lot of stuff.
------------------------
dragon city hack
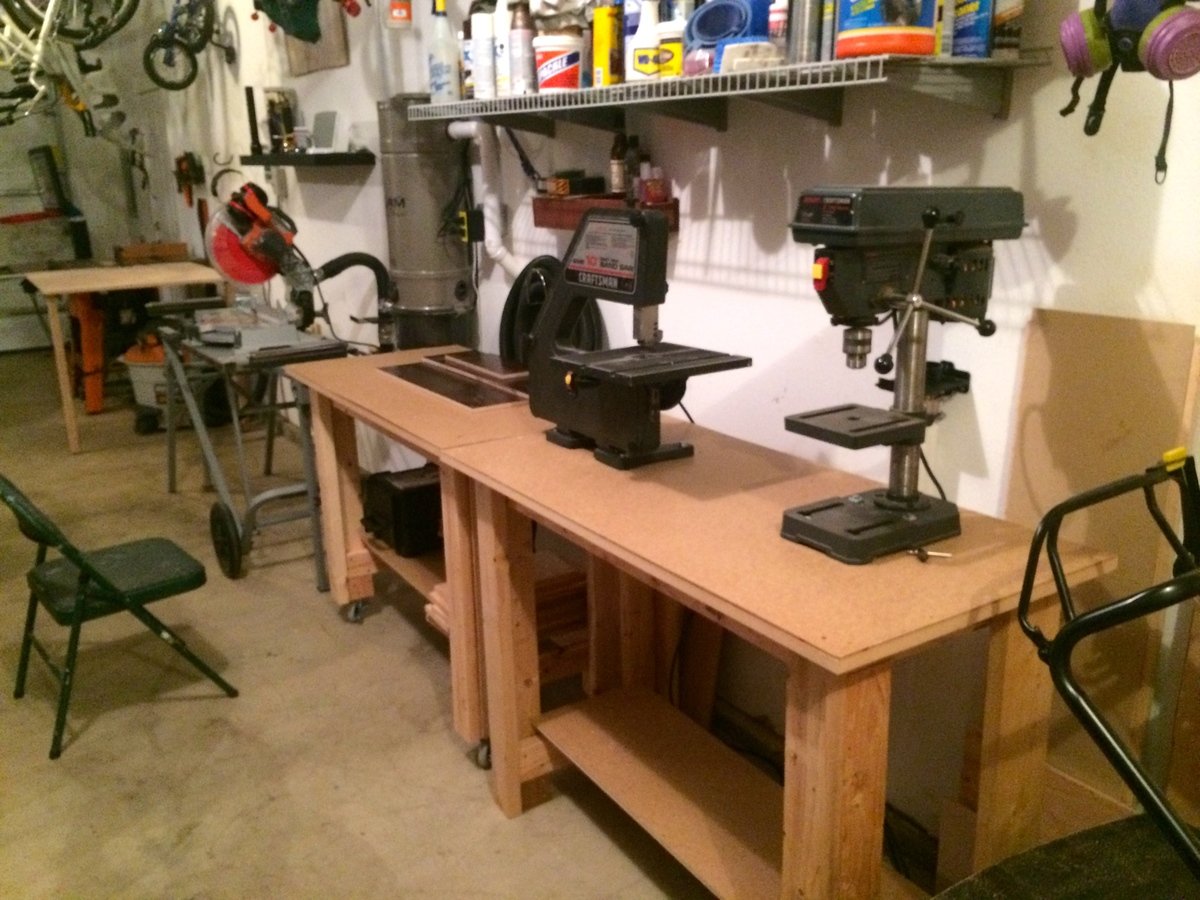
Simple Work Bench
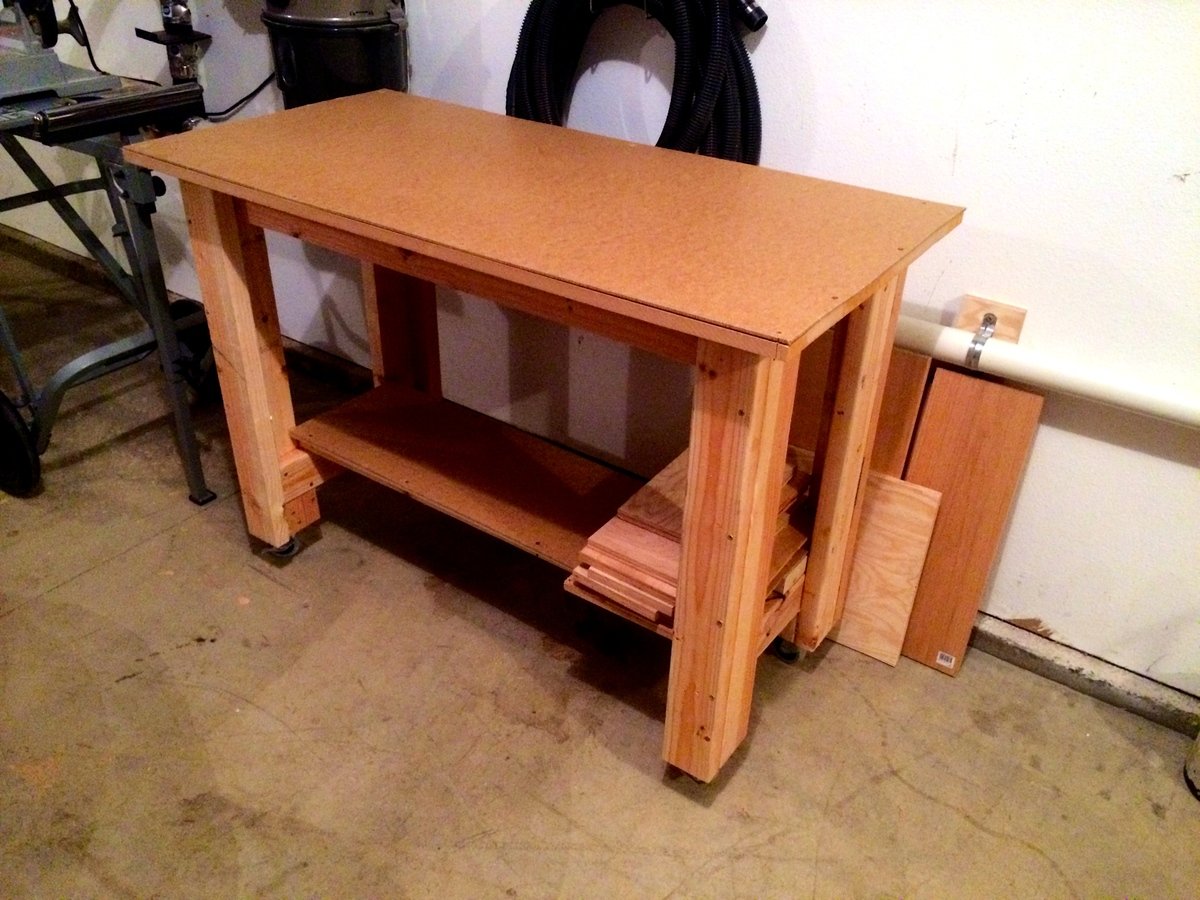
This is my spin on the sturdy work bench. I needed some more work space for building projects and for a few tools I acquired. My main work bench always seems to be covered in stuff so the extra space is great!
The first one I made I matched the height of the rollers for my chop saw, so I would have room for longer pieces of wood. I also put it on casters, so I can roll it onto the driveway when do things that should be done outside! The second one is fixed at the same height!
I used 2x4's with MDF on the shelves. I covered the bottom shelf and top with masonite, so it could easily be replaced when it gets nasty!
Built from Plan(s)
Estimated Cost
40-50??? (extra for casters)
Estimated Time Investment
Afternoon Project (3-6 Hours)
Finish Used
None
Recommended Skill Level
Starter Project
Rustic farmhouse bed
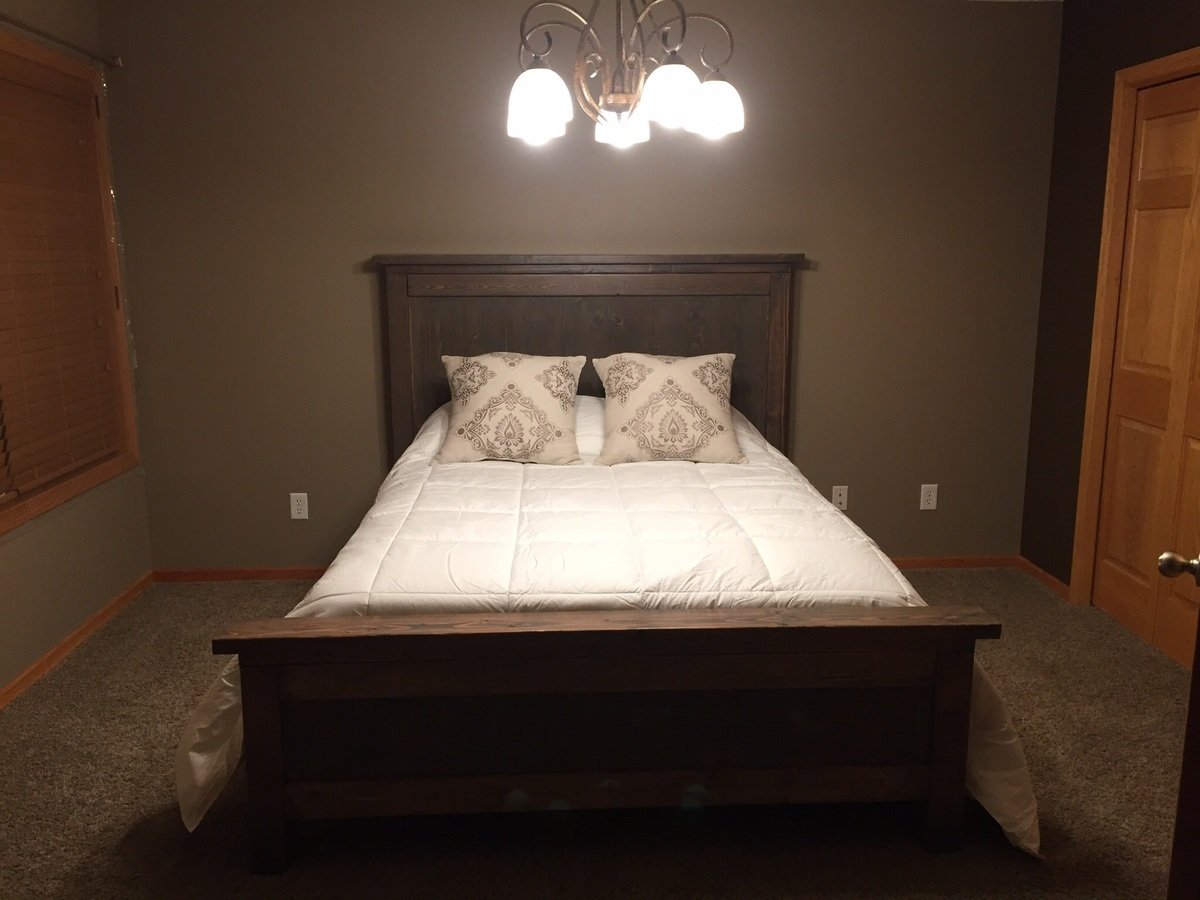
My second Ana project. Only modifications I made where to use 2x10 for side rails with a cleat system. Heavy duty bed rail hardware purchased from Amazon....Used 2 coat stain process followed with matte poly to finish
Built from Plan(s)
Estimated Time Investment
Weekend Project (10-20 Hours)
Finish Used
Weathered grey stain initially. Light sand. Followed by dsrk kona stain
Recommended Skill Level
Beginner
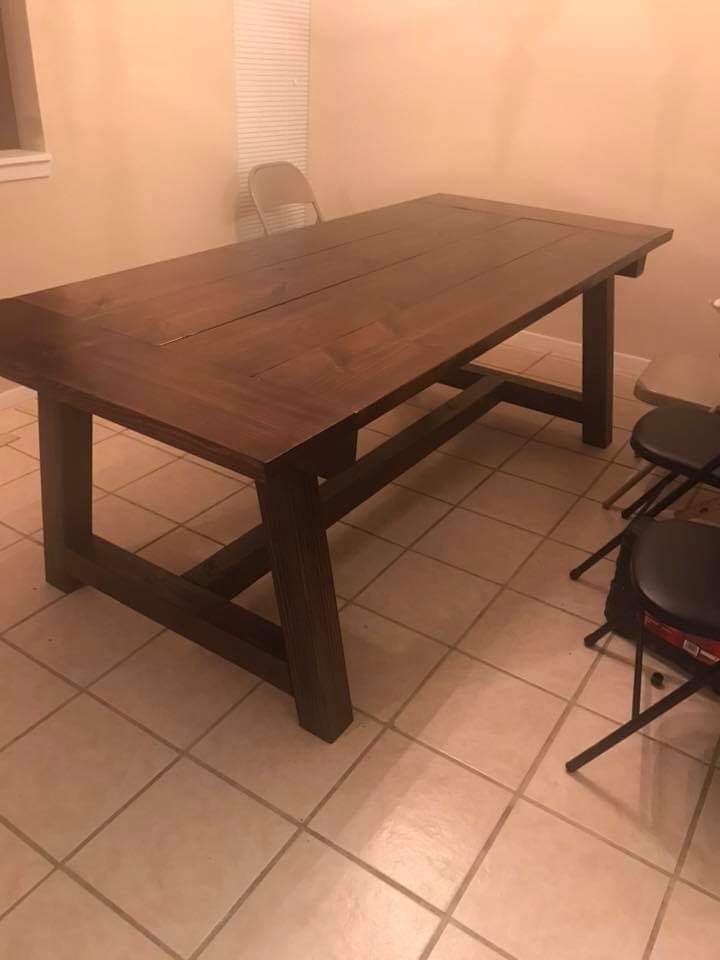
American Made Woodworks Trestle Table

This amazing trestle table seats 8 people with the “not pictured” matching bench. The table legs are jointed with mortise and tenon and the ends of the table top are lose slot jointed to the 4”x4”s to prevent unwanted warping if there is any. The table top is secured to the apron frame by table top fasteners to allow for wood movement and easy disassemble for transport. All wood planed to required thickness and sanded to 220 grit. Then finished off with an 80/20 mixture of “carbon grey stain and Ebony stain”. 3 coats of oil based satin polyurethane to top it off.
Estimated Cost
$140
Estimated Time Investment
Week Long Project (20 Hours or More)
Finish Used
Oil based polyurethane(satin)
Recommended Skill Level
Intermediate
Adirondack Chairs
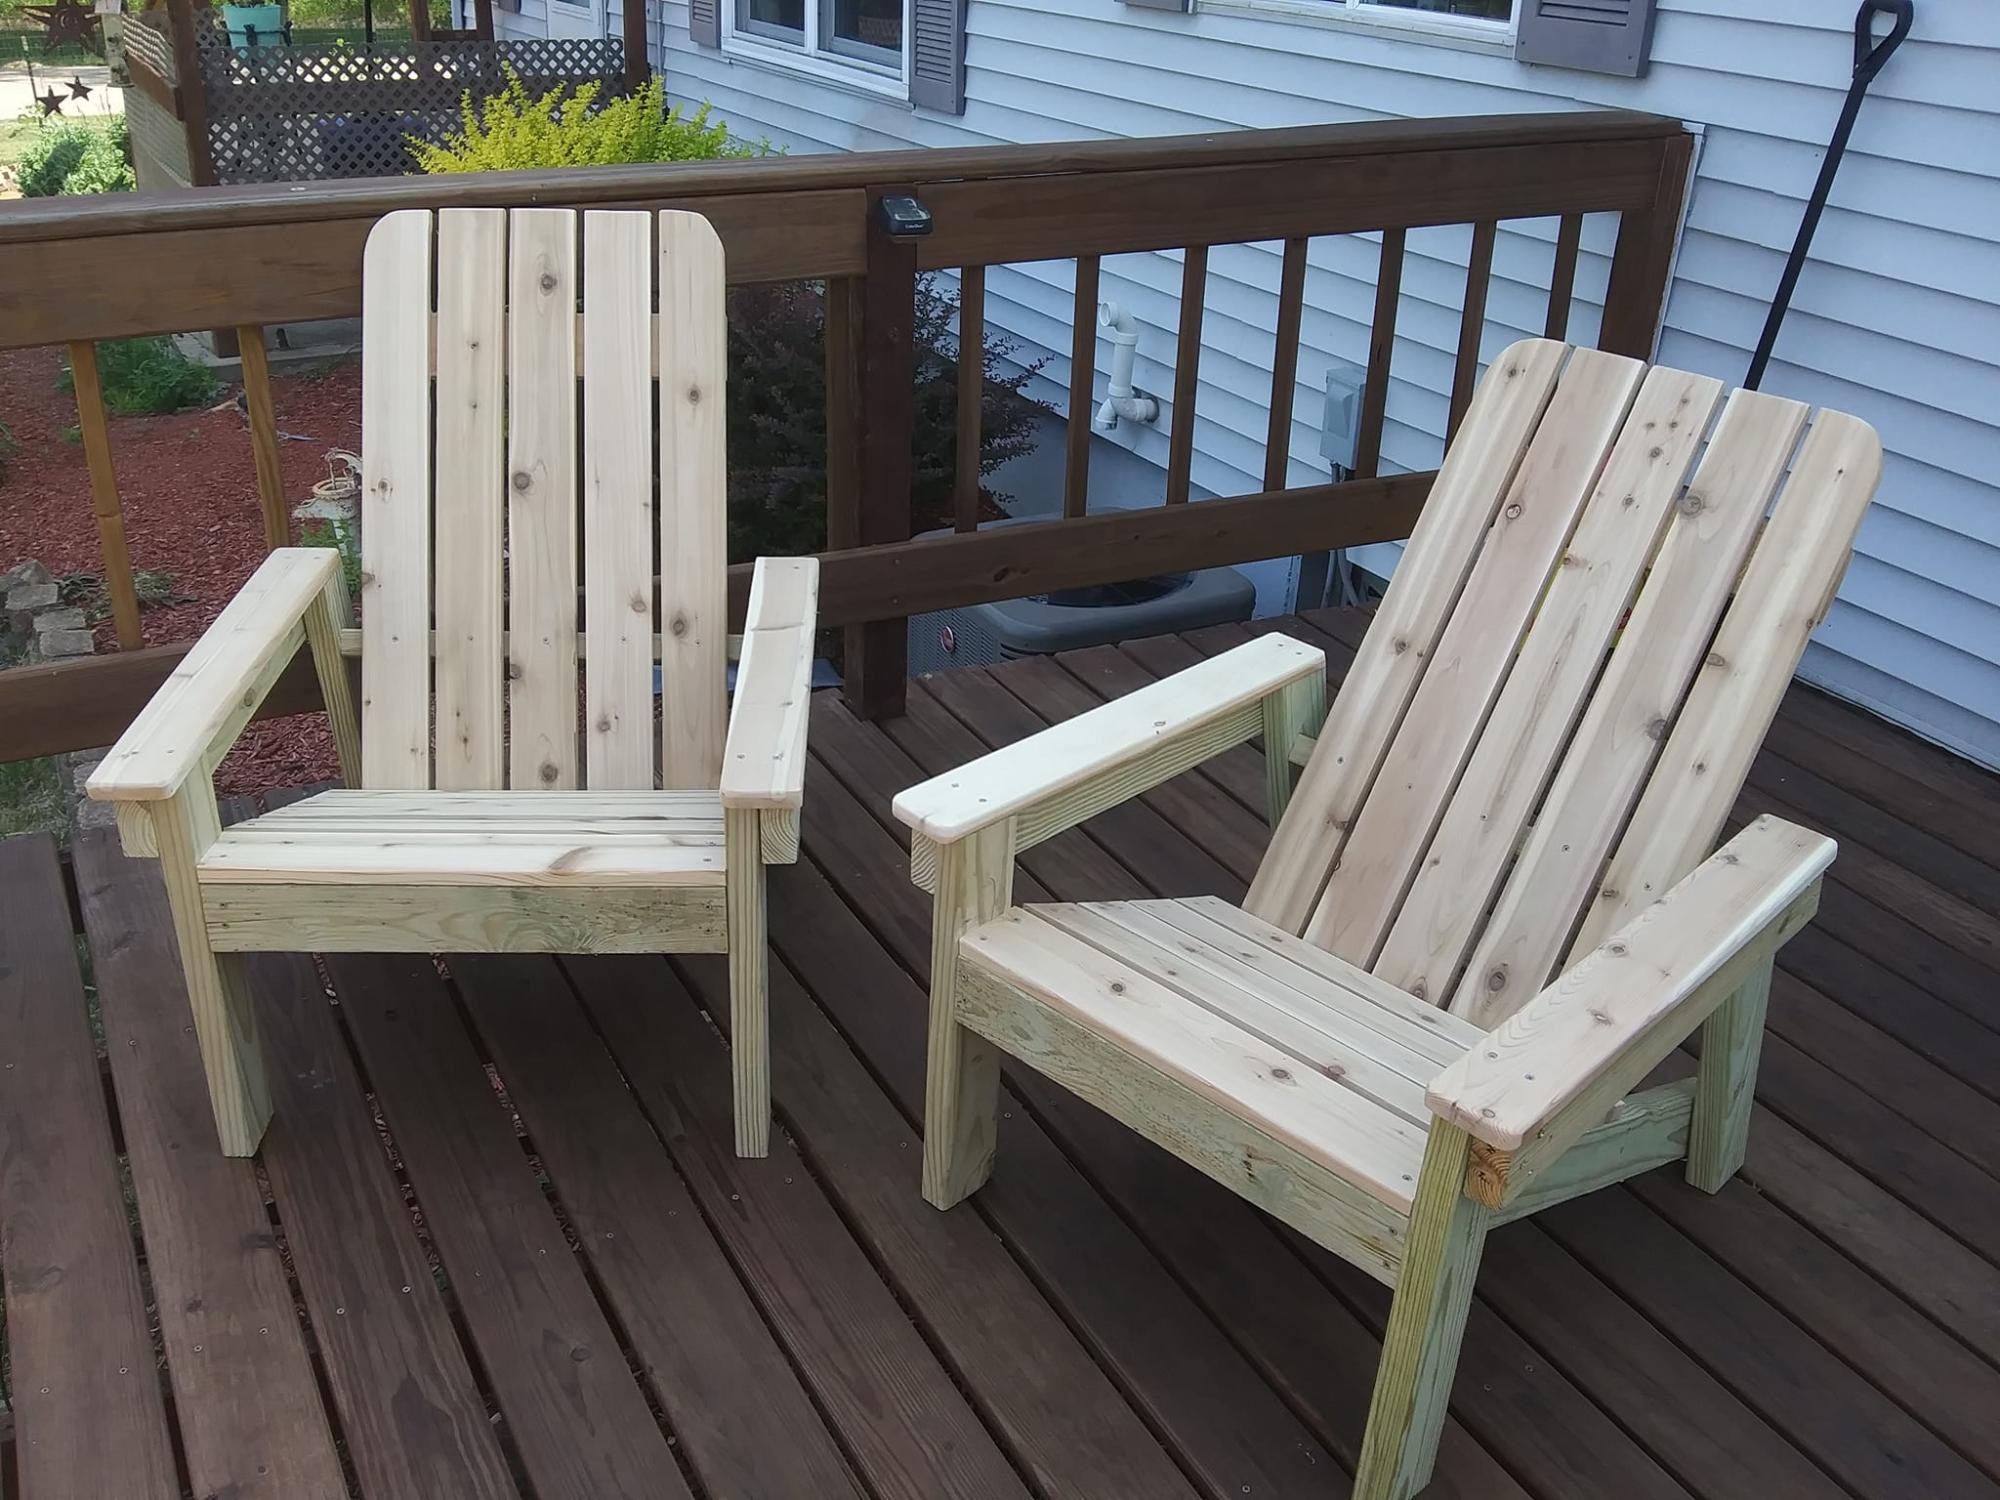
I made a pair of Adirondack chairs for my nephew and his fiancé. I use the old Home Depot plans (not sure if they're still online). I used treated 2x4's and cedar 1x4's.
Built from Plan(s)
Comments
Sat, 06/24/2023 - 19:16
Great outdoor chairs!
I'm sure they love them, well done! Thanks for sharing.
Modified Fiona Chair, we call it a Nintendo Chair

Started out making the Fiona Adironback doll chair, and when my niece saw it in this state, she dramatically screamed, STOP! she's 8, lol. She brought it in to the house, sat her doll in it next to her game chair, gave her dolly the game controller, and began to play 2 player Nintendo, Wii, and xbox.
I've built 5 of these, all for friends of hers, who see her and Sarina (her Doll) playing video games together.

Built from Plan(s)
Estimated Cost
20
Estimated Time Investment
Afternoon Project (3-6 Hours)
Finish Used
sanded and sprayed with clear polyurethane to protect it in case dolly spills her drink
Recommended Skill Level
Beginner
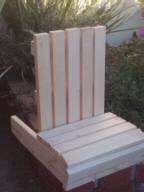
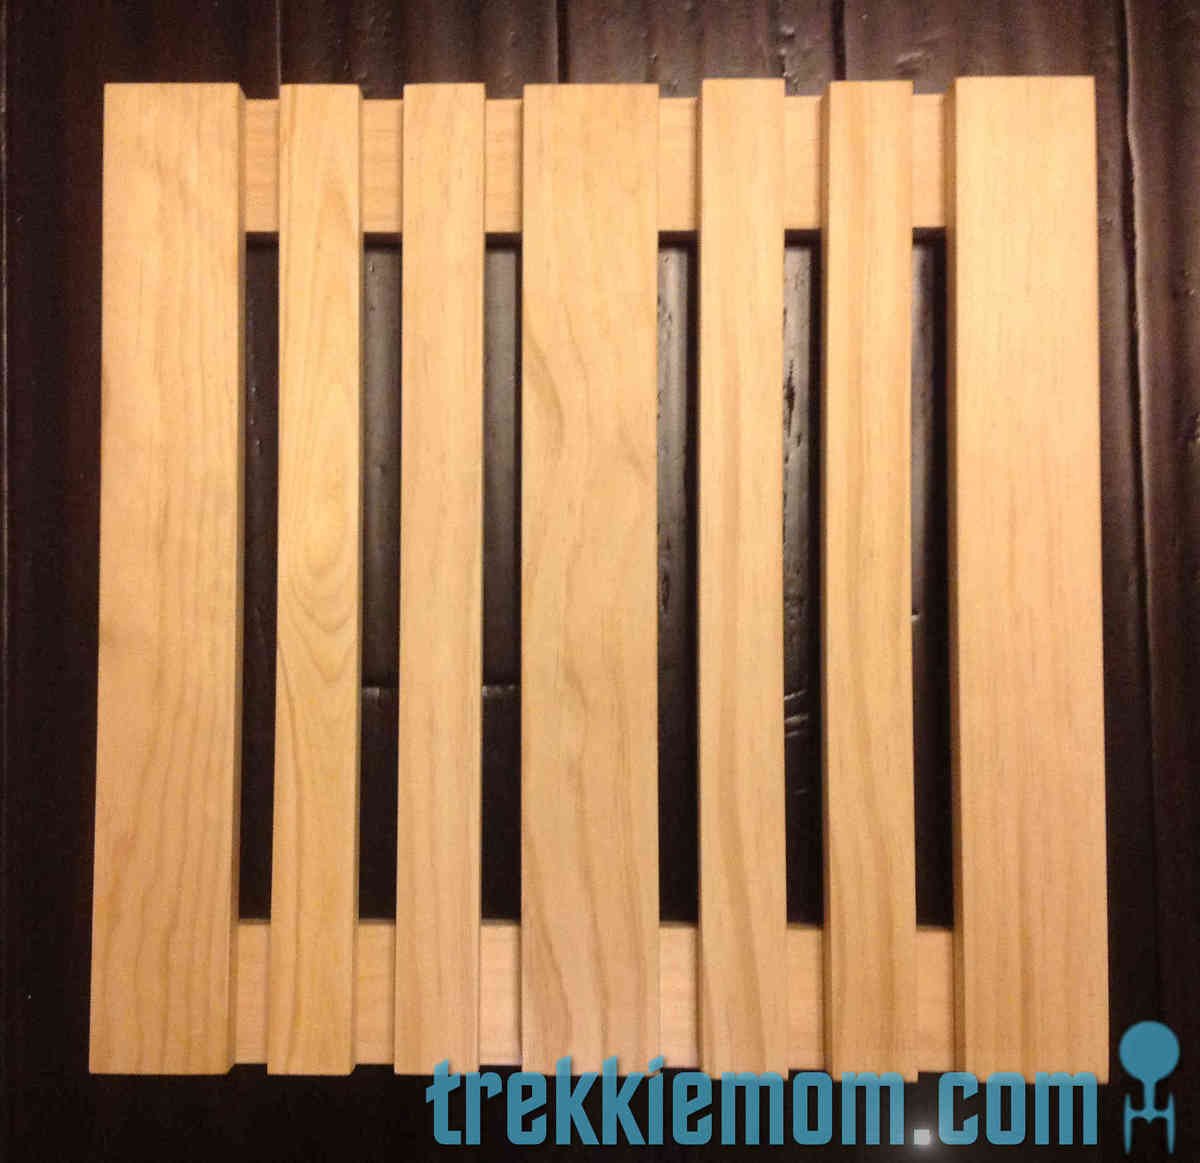
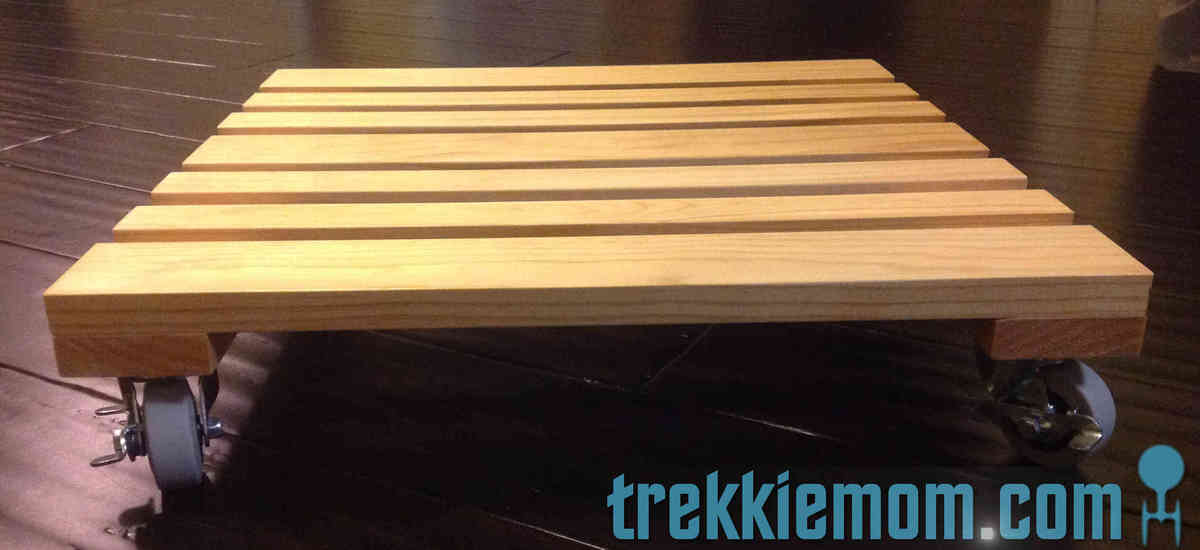
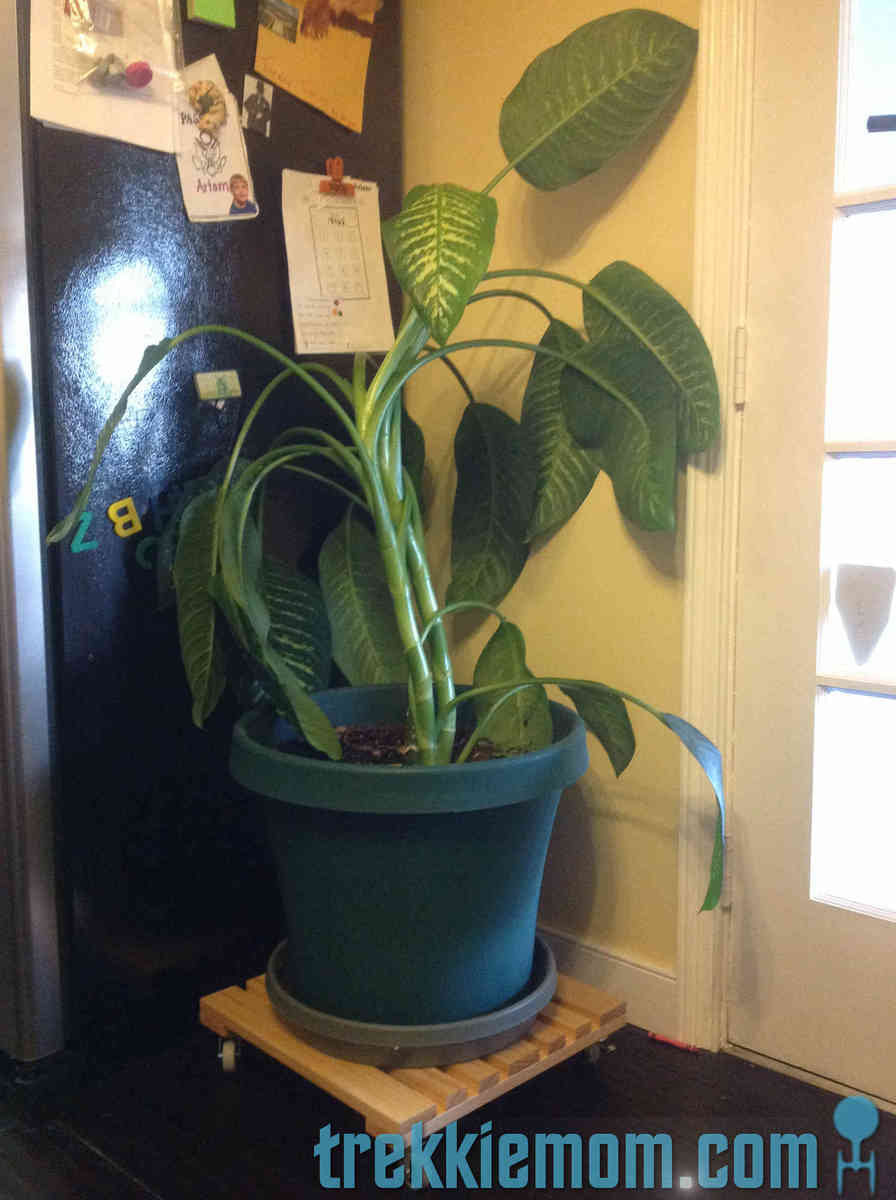
Plant Stand with Casters
I have 3 very large house plants that are a pain to move, say when you want to put your Christmas tree up in your largest window, which is usually where they sit. Two of them are so large that I cannot move them without fear of hurting myself or my house, so I decided to build my own flower pot stands with casters.
I used one 1x3x8 and one 1x2x8 of yellow, 5 1x3 cut to 18in. and 4 1x2 cut to 18in.
When she was all put together, I applied Minwax's Golden Pecan with 2 coats of Polyurethane to seal it from any water mishaps. I struggled between just sealing it and adding a little color with the stain. I think the Golden Pecan did the trick, highlighting the pretty wood grains of the top pieces, even though my big ol' pot will cover up most of it.
More pictures and a tutorial are available on my blog.
Estimated Cost
$15-20
Estimated Time Investment
Afternoon Project (3-6 Hours)
Finish Used
Golden Pecan, 2 coats of Polyurethane
Recommended Skill Level
Beginner
My version
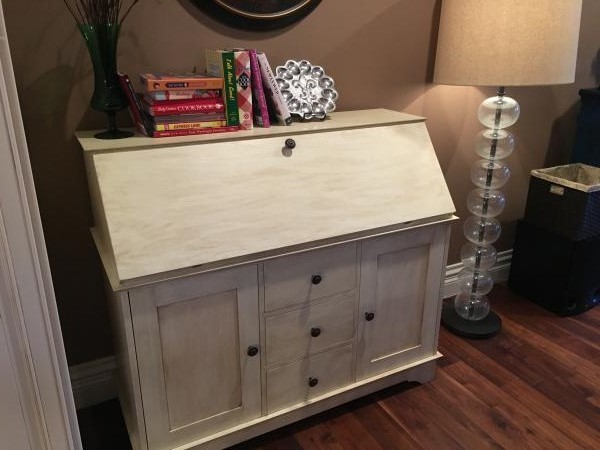
My version of this project using so advanced joinery and under mount self closing draw guides
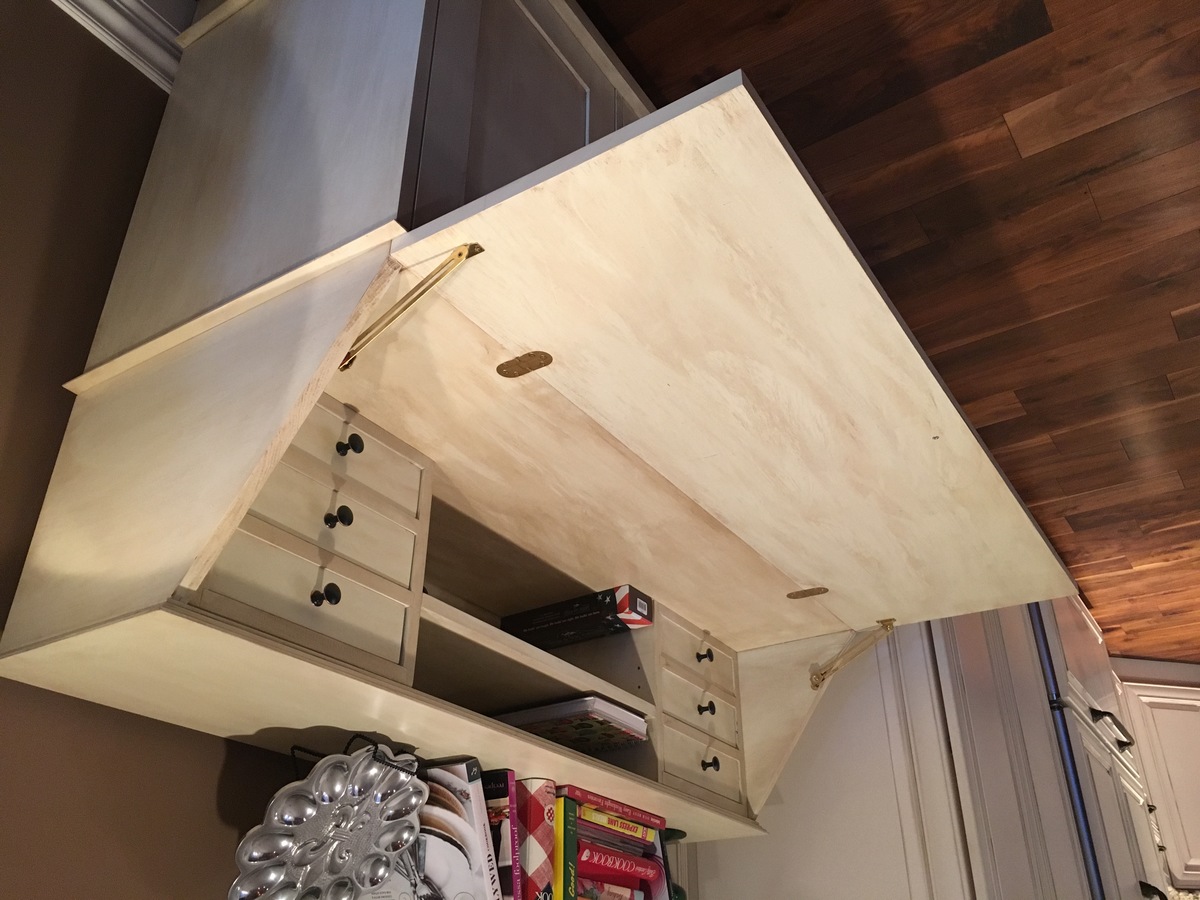
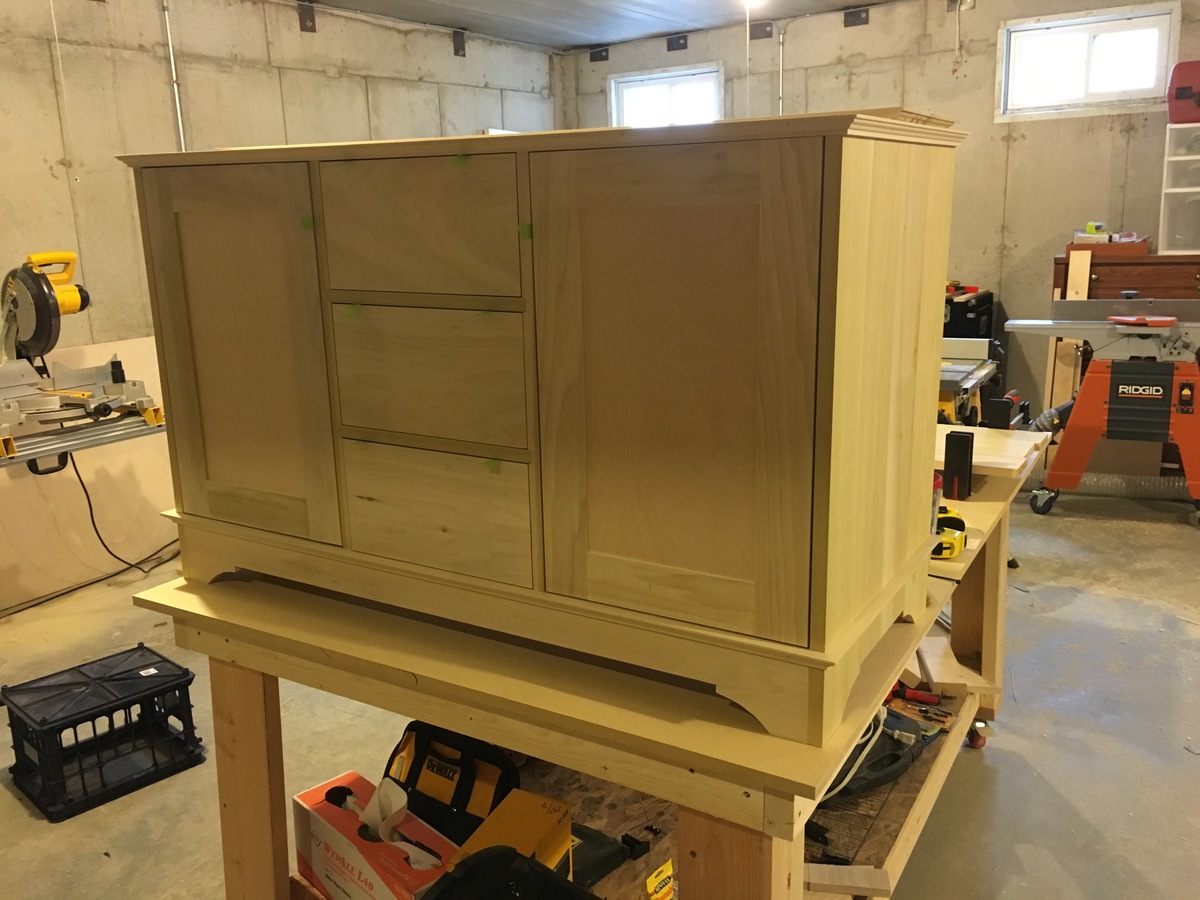
Built from Plan(s)
Estimated Cost
$350 for the Poplar and hardware plus lots of tools!
Estimated Time Investment
Week Long Project (20 Hours or More)
Finish Used
Sherman Williams Pro Classic, polycrylic, and general finishes glaze
Recommended Skill Level
Advanced
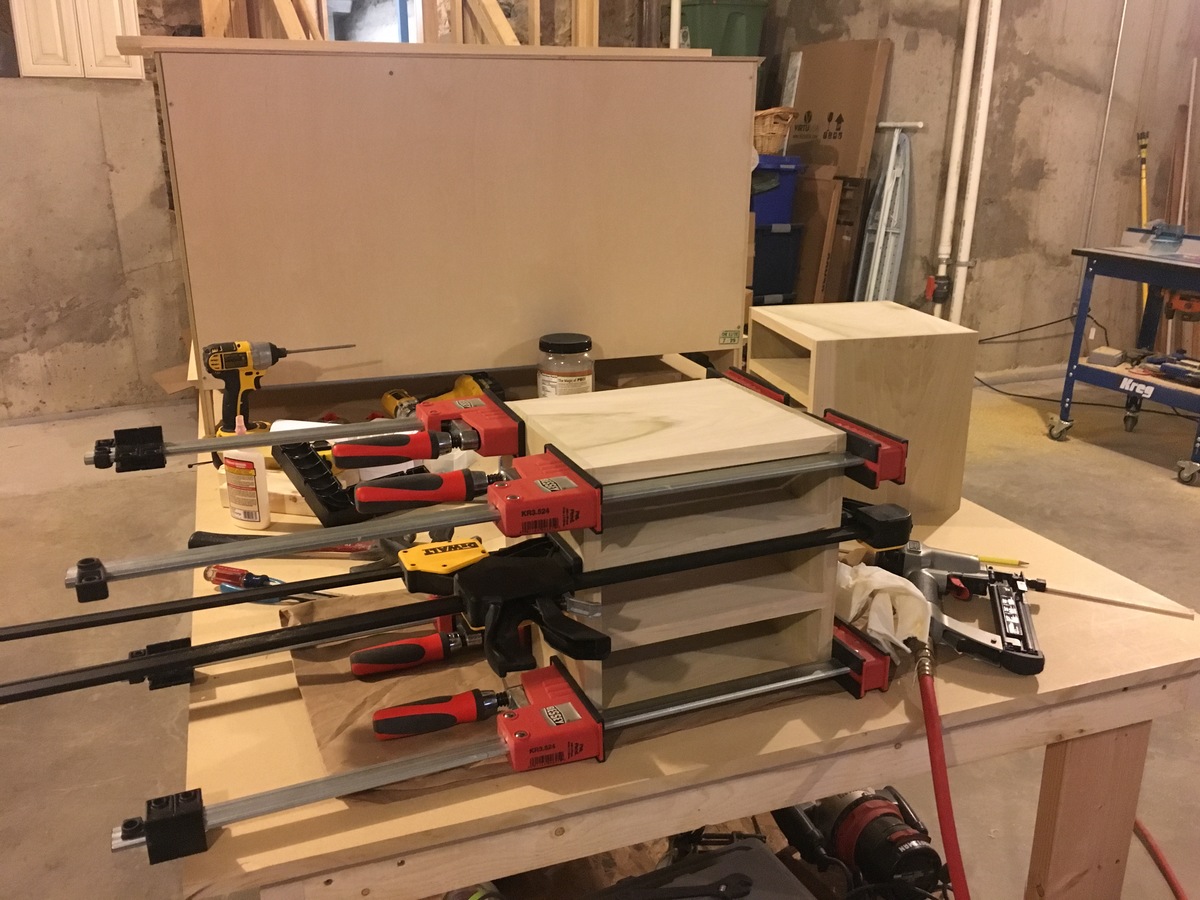
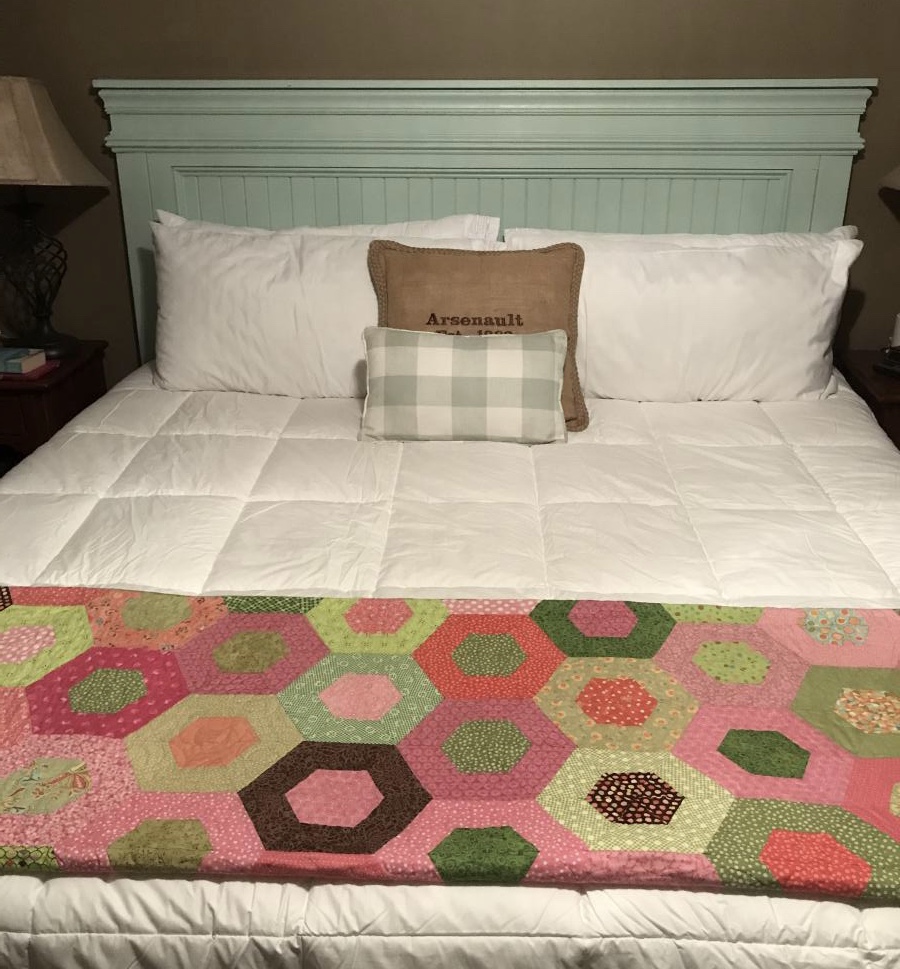
King Size Fancy Farmhouse bed
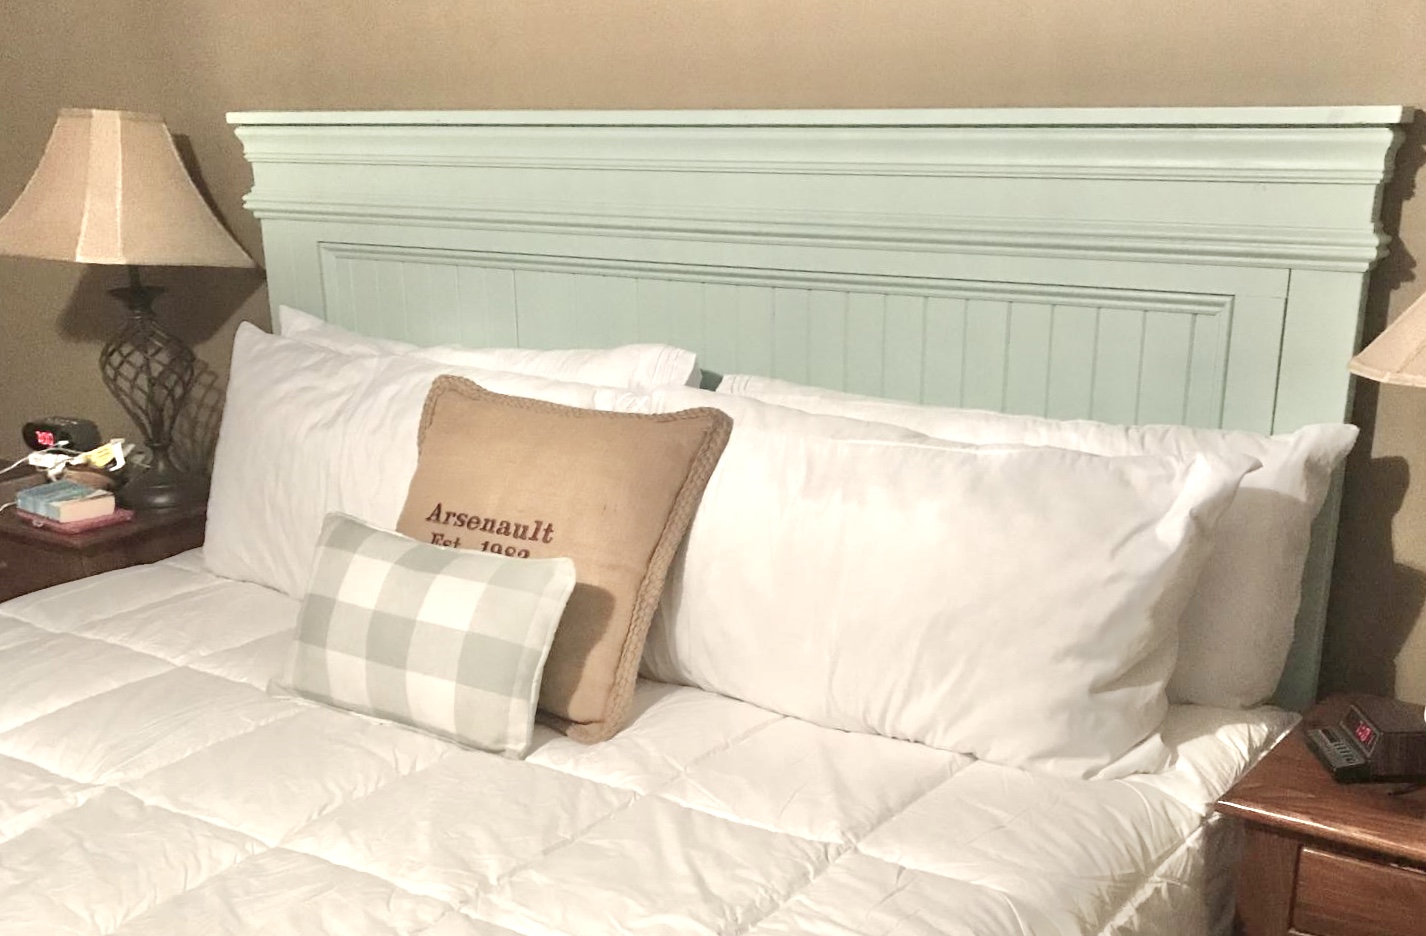
My hubby and I never really wanted a king size bed until we had grand babies and the bed just wasn’t big enough. I found the Ana White Fancy Farmhouse bed plans, ask if he thought he could make it....he did not disappoint!!! I love our new bed and it’s ready for Honey and Pepe’s first sleepover.
Built from Plan(s)
Estimated Cost
$300
Estimated Time Investment
Weekend Project (10-20 Hours)
Finish Used
Painted
Recommended Skill Level
Intermediate
Outdoor Furniture Builds
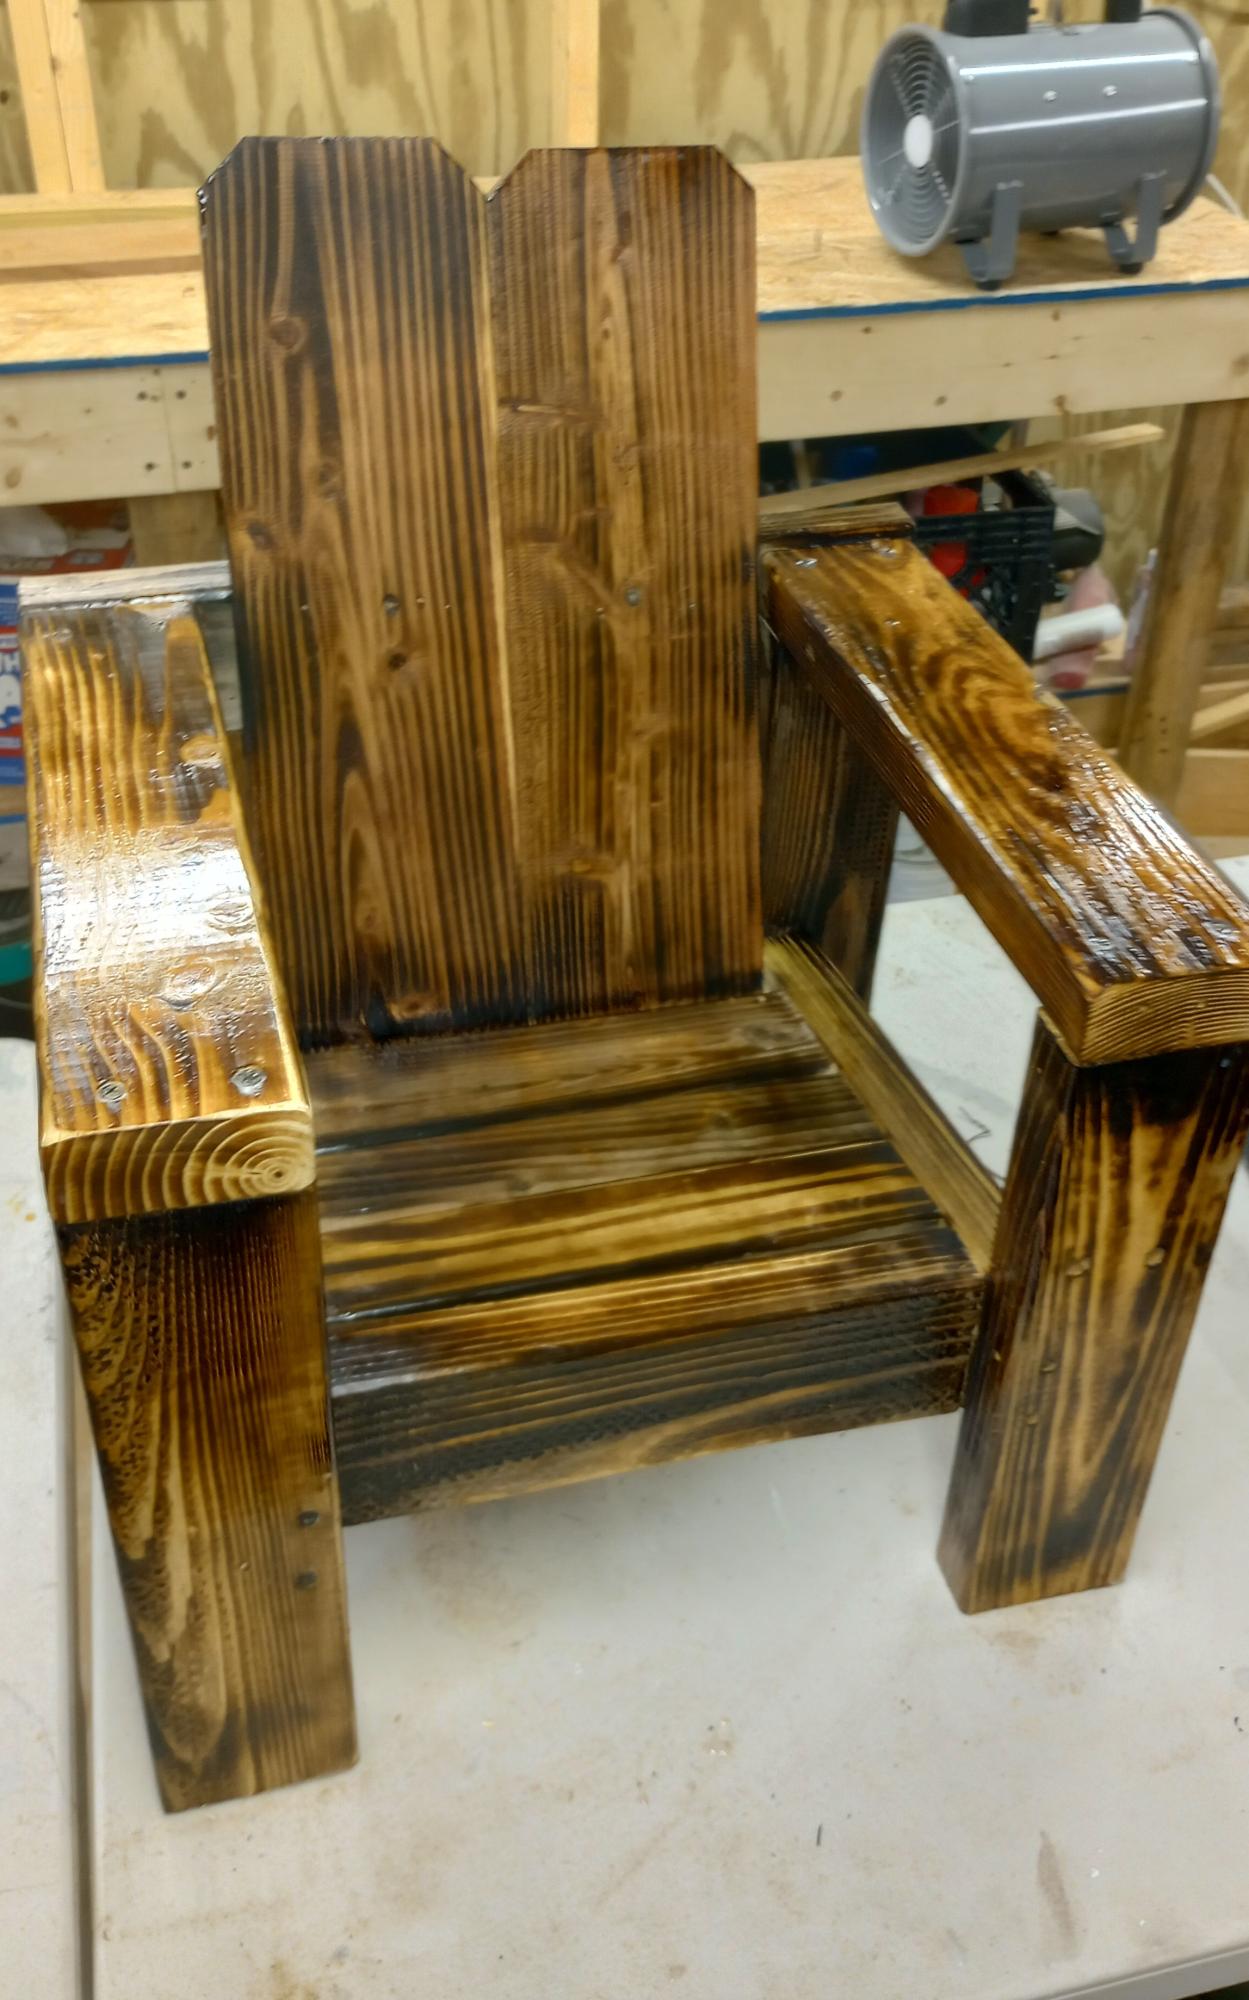
Hi Ana, after building your essential chairs I decided to build my grandson a small one I burned it with a torch and then clear coated it and it turned out so sweet. I also built a picnic table and added a different crossmember to it for strength. I also built a glider swing that I used from an old pattern from many years ago. Still without going to your site and watching you build on YouTube I would not have attempted any of this. I love all of the things that you build and you have inspired me so much. Thank you for all you do and keep those wonderful plans coming! My next project is going to be that little workshop that you build in panels and put together that you made for your friend. I'm going to make one and turn it into a lawn mower shed.
Darlene Sudderth the Twiddlebug woodshop

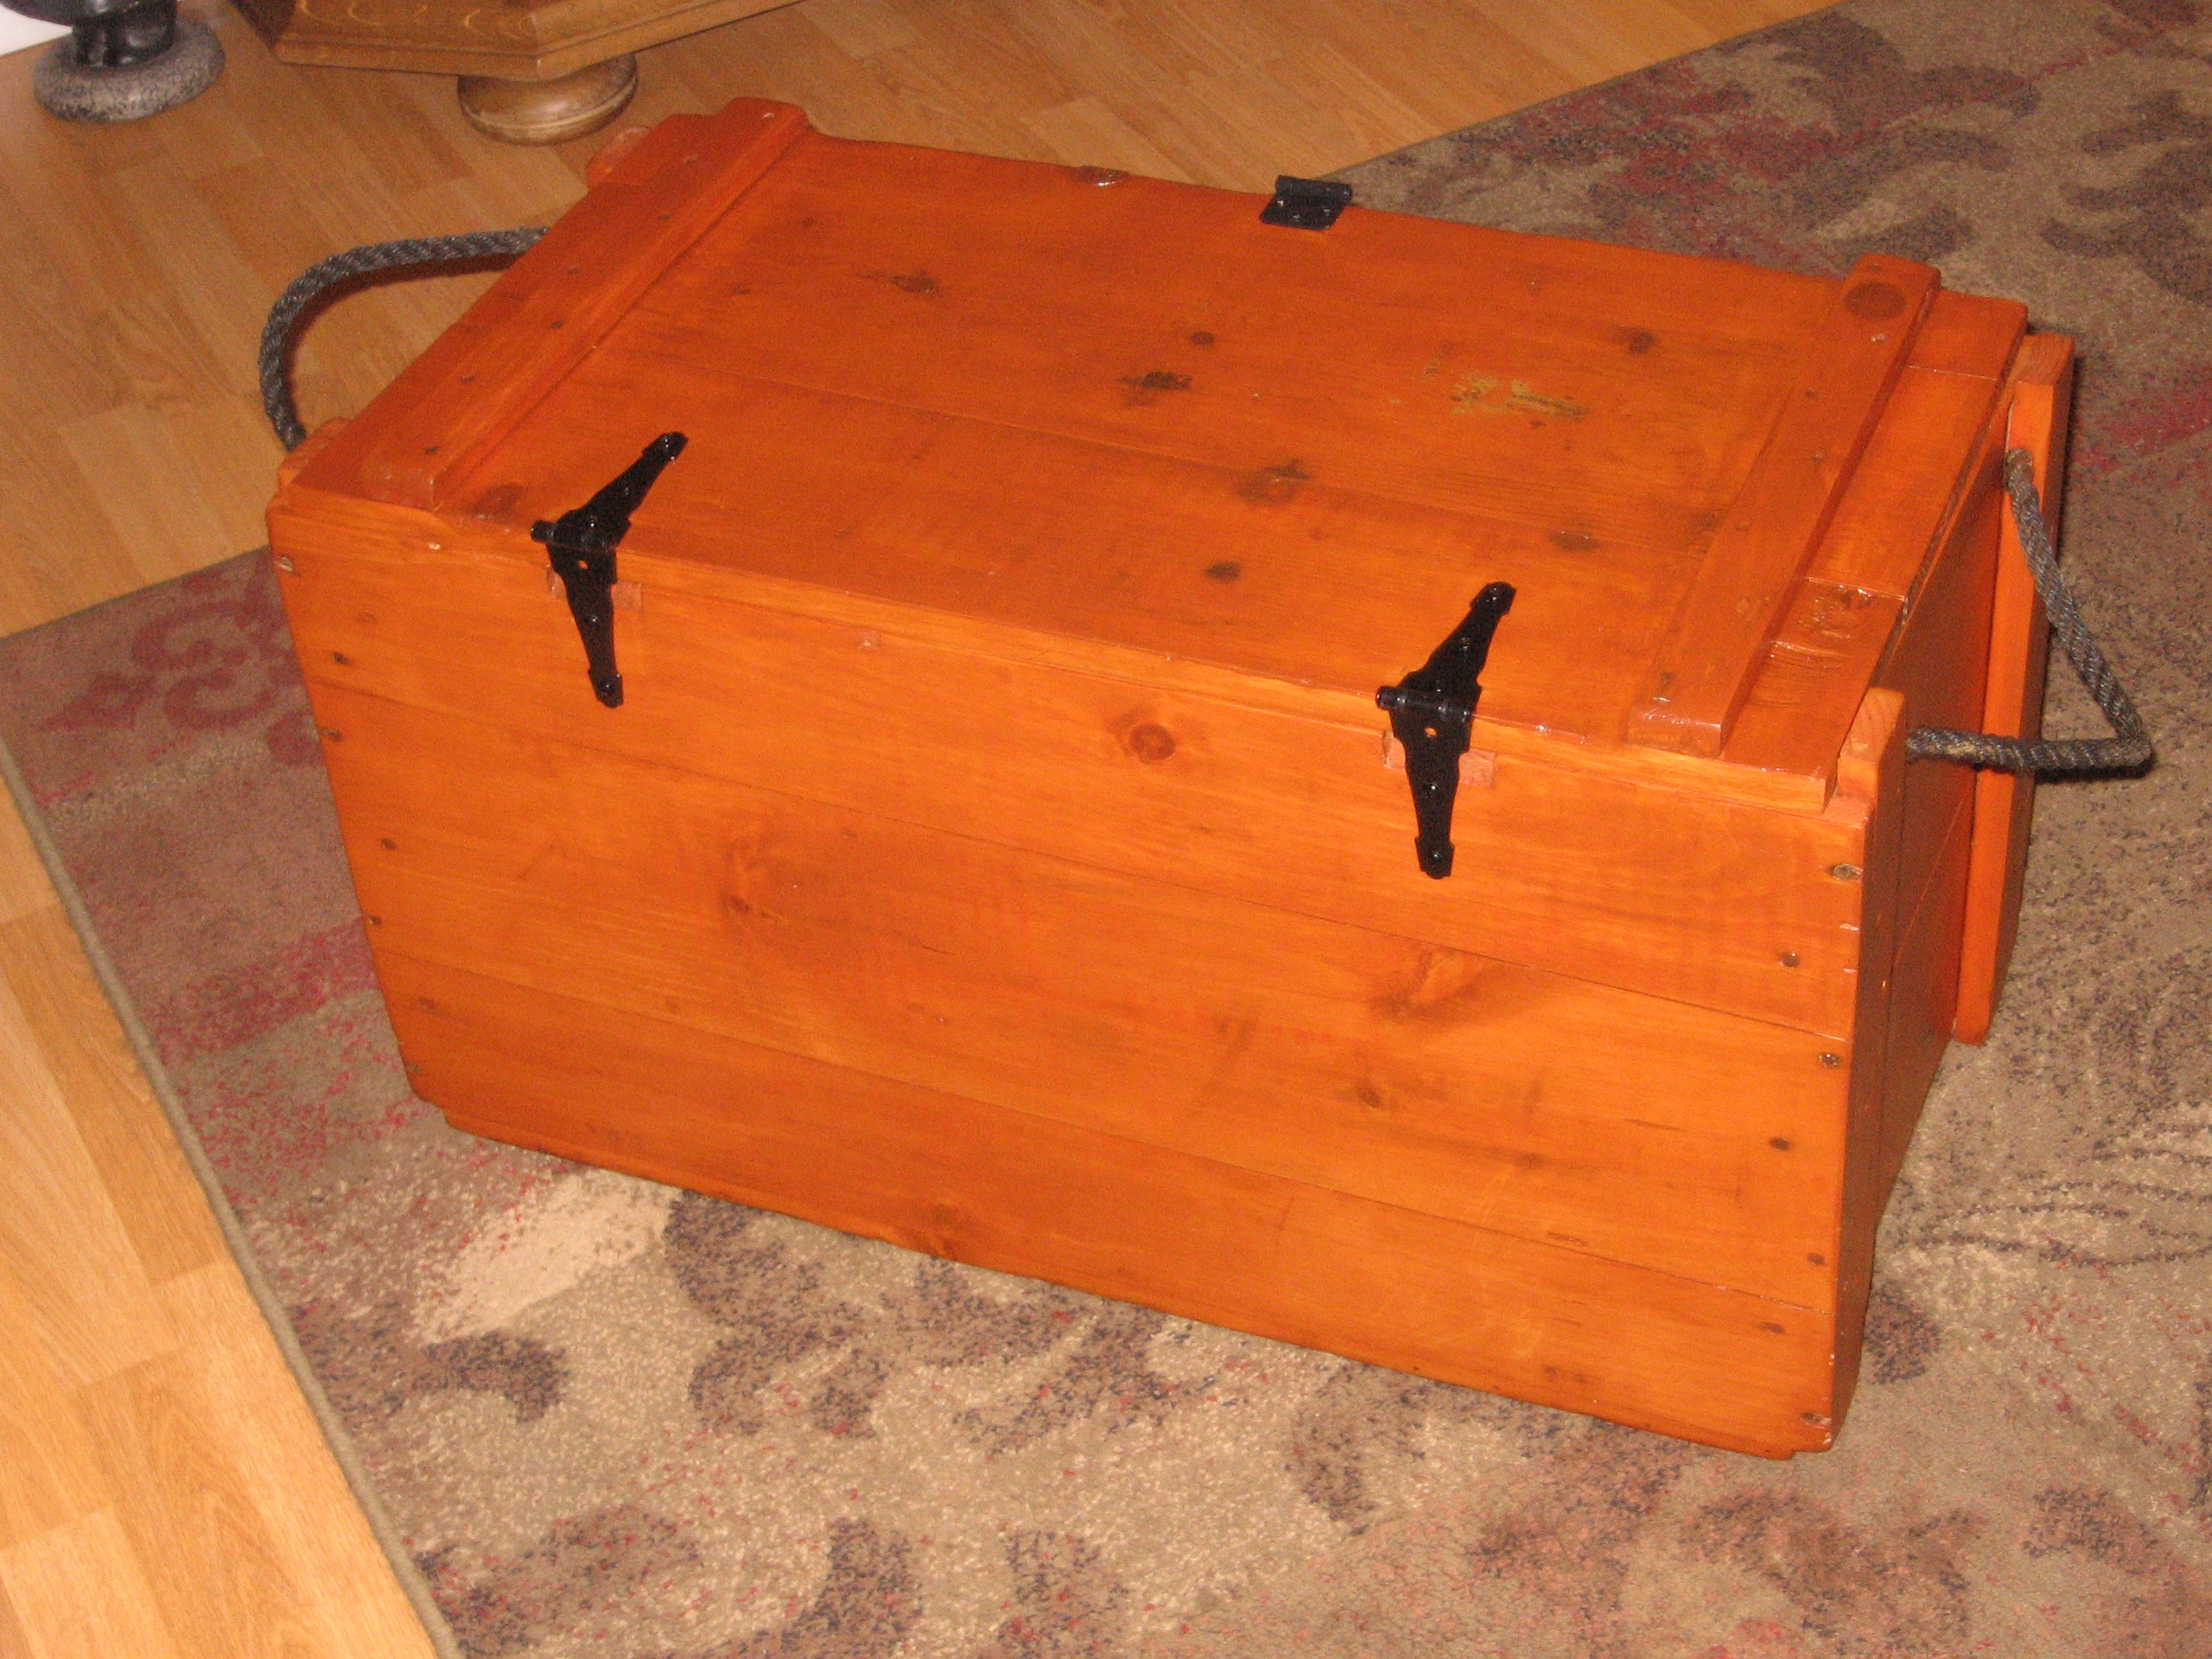
Repurposed Demolition Trunk

I had an old chest I had gotten from the Army many years ago that was used to pack explosives. I had been using it to store some tools until I built a new tool shed. I went ahead and power washed it and then stripped it. I gave it a good sanding and then applied 2 coats of Minwax Antique Maple gel stain. I then top coated it with 2 coats of Minwax fast drying polyurethane. It turned out better than I expected. One of my sons uses it to store his book bags from school.
Estimated Cost
$30
Estimated Time Investment
Weekend Project (10-20 Hours)
Finish Used
2 coats of Minwax Antique Maple stain. 2 coats of Minwax fast drying polyurethane. I applied the stain with a brush. After 15 minutes I wiped it with a cotton cloth. The poly was applied with a brush. I used 320 grit sandpaper between coats. I stripped the old paint off with a cheap paint and varnish remover I purchased at Walmart. I did have to power wash it first because it had quite a bit of oil/grease that was in the wood. I dried the trunk by placing an electric heater next to it over night.
Recommended Skill Level
Starter Project
Comments
Thu, 03/01/2012 - 02:28
minwax poly
Just wondering, I always use 3 coats of Minwax fast drying polyurethane on my furniture builds or refinishes. The trouble that I have is the lingering odor. I recently built my son a bed and then finished it and he cant stand the smell and refuses to sleep in it and it has been about 2 weeks or more. Any ideas on how to get rid of the smell quicker. Everything that I have read says it just takes time but surely there has to be a quicker way!! Any suggestions from anyone would be greatly appreciated.

Thu, 03/01/2012 - 06:39
Cowboy Up
At least, that would be my suggestion for him. The smell will dissipate when the smell dissipates, and that's all you can do. You can speed that if the bed is stored in a very well ventilated space for a while, but it's just a matter of the urethane needing to fully cure. That manufacturer estimates four weeks for full cure.
Urethane has a distinctive smell. You can avoid it by using an acrylic finish instead (the water-borne finishes), but acrylic has its own smell that's probably equally offensive.

Sat, 03/10/2012 - 02:27
Poly Odor
It does take a little time to cure and eliminate the odor. Any oil based finish; poly, paint, etc. does have a little stronger smell than water based. Try an open box of baking soda. An open window also works wonders. Ever notice how wonderful sheets smell whenever you dry them outside?
Farmhouse King Bed - knotty alder and grey stain
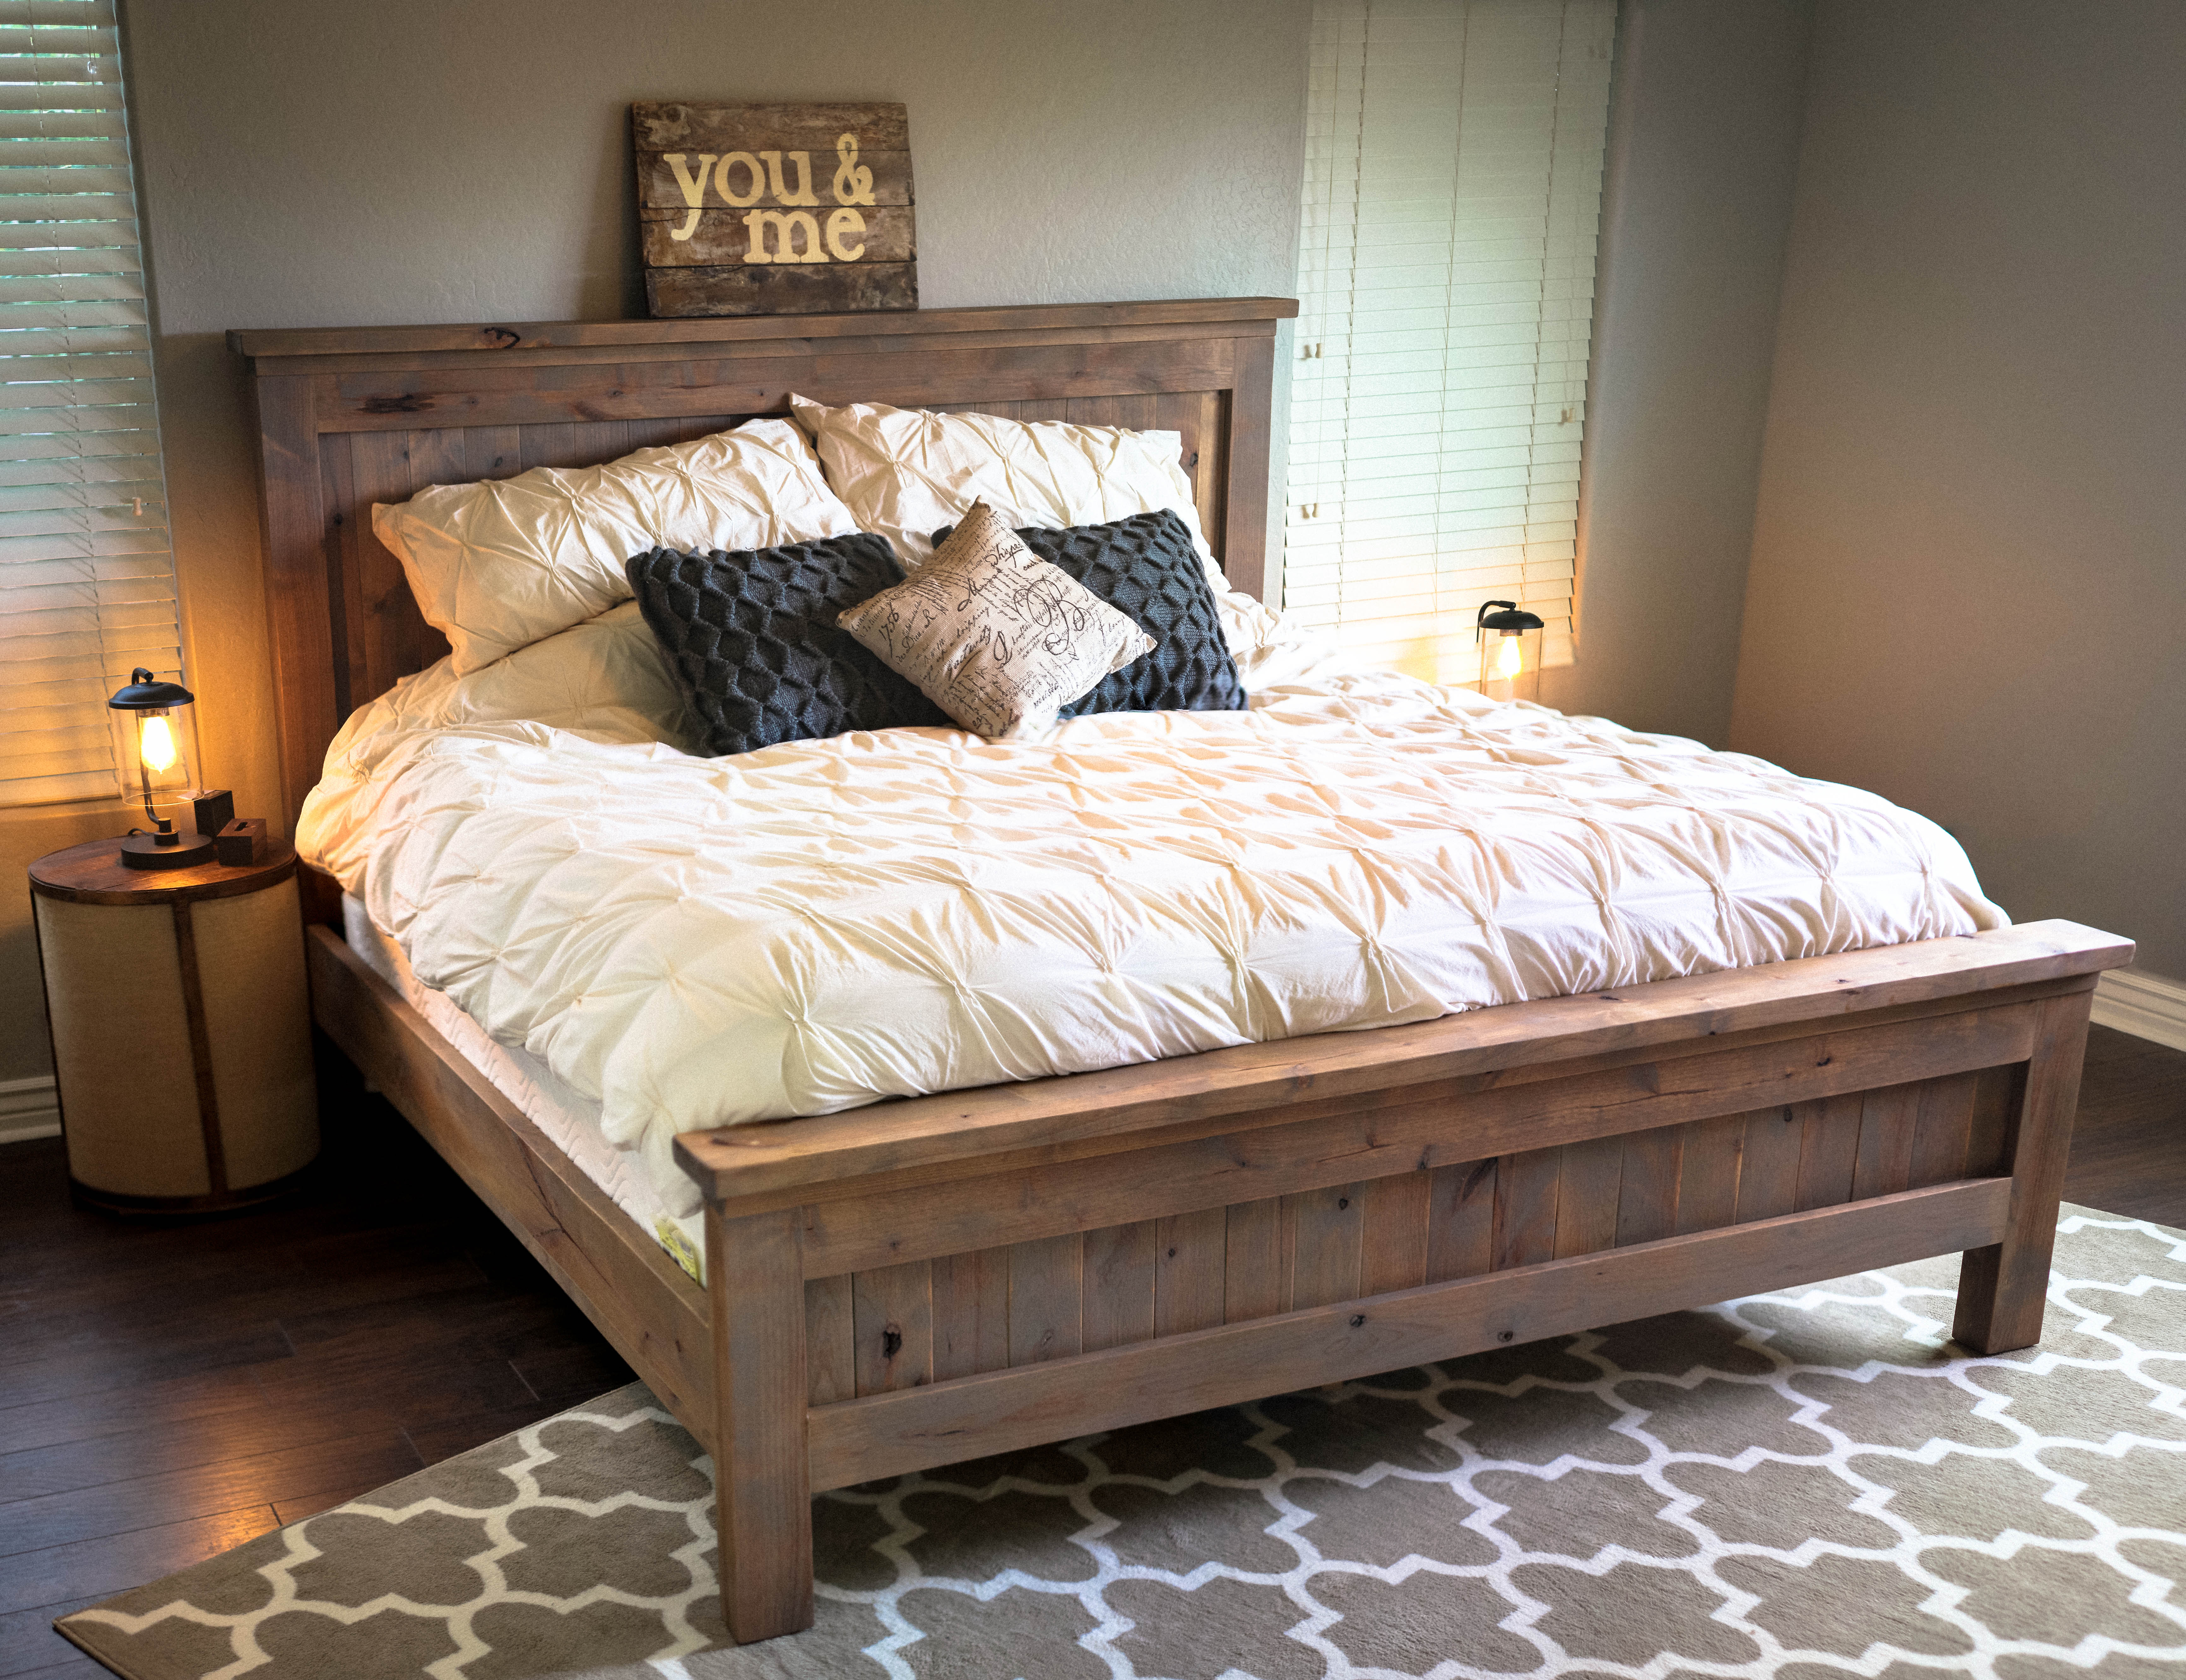
This was my first building project! I had so much fun with it ... for a guy that can't even hang a photo on the wall! My dad helped and he had all the tools. I spent a few weekends with him so not only was a good father/son project we had something to show off at the end. I think I've caught the woodworking fever.
Estimated Time Investment
Week Long Project (20 Hours or More)
Finish Used
prestain, weathered oak stain, danish oil finish
Recommended Skill Level
Intermediate
Comments

Sat, 12/21/2013 - 18:55
well done!
Your bed turned out beautiful. I love the finish, that grey stain ads so much character!
Mon, 12/23/2013 - 12:10
Nicely Done
I really like the look of the stain. I would be interested to know what changes you made to the original to achieve this look. Also, where did you find the lumber? I can't find knotty alder around here.
Thu, 10/23/2014 - 06:32
instructions
Is there a way to find the materials needed and specific instructions on how to make this bed? I LOVE IT!
Tue, 11/25/2014 - 19:22
Instructions
Hello,
This is awesome, I've been looking to build a bed frame for my new apartment. Does anyone know where I can find the plans for this project.
Similar to the person above me, I am new to this and not quite sure what to do. If anyone can provide me with a little insight to this project I would really appreciate it!
Thanks!
Sun, 11/30/2014 - 20:41
Plans for the knotty alder farmhouse beds
I would love to see the plans for this bed. Please post them if you can! Thanks
Tue, 12/23/2014 - 09:23
Plan
Here is the plan http://ana-white.com/2009/10/farmhouse-bed-save-158100_7467.html
Thu, 02/26/2015 - 15:36
Love the bed! Where did you
Love the bed! Where did you get the lumber? Specially ordered or just regular pine from the store like Lowes or Home Depot?
Chalkboard Wood workers planning desk
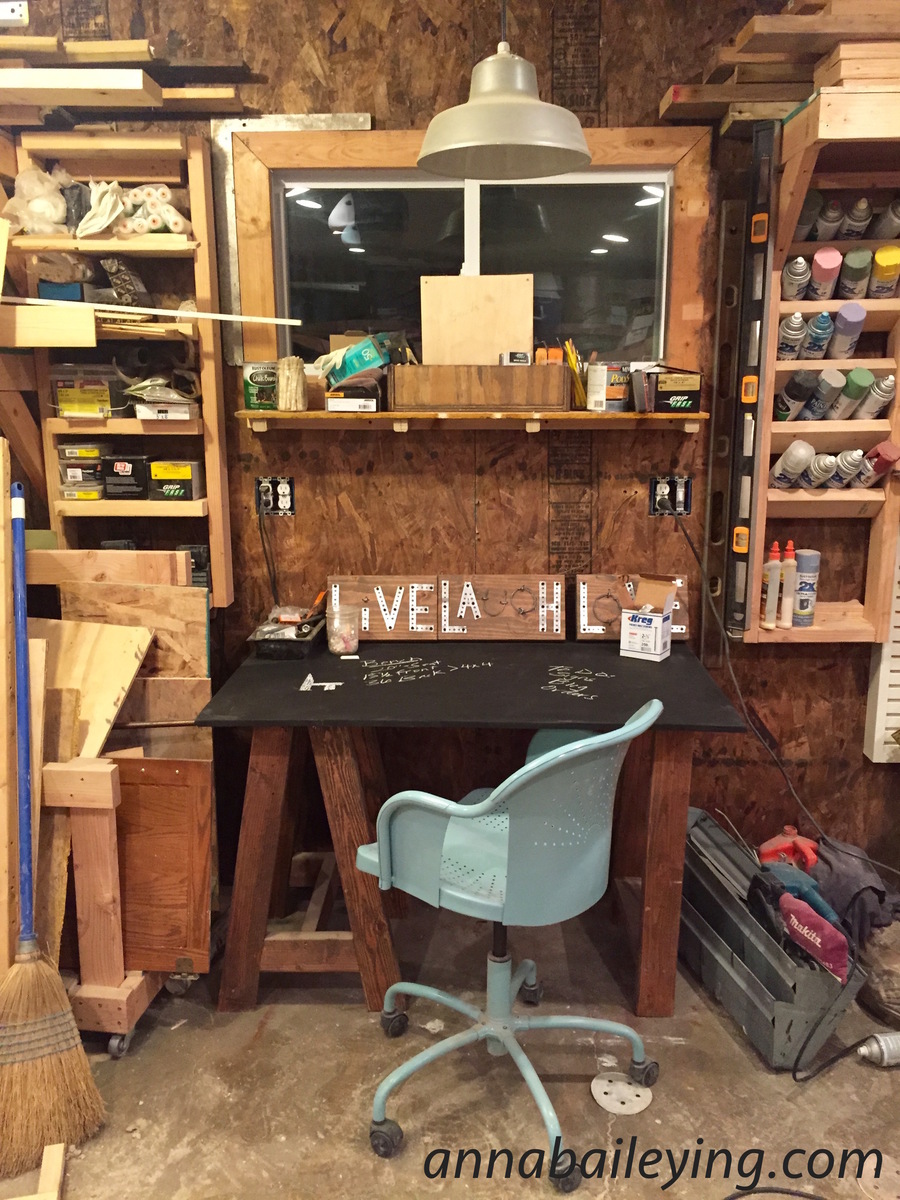
I needed a new desk for my office workspace in the garage. I wanted something inspired, and that would BE inspiring to me as I sit at it. So, I made this chalkboard surface woodworking planning desk with mismatched legs. I love that the legs are mis-matched. LOVE IT. IT would make type a people squirm, but me. Nope, I love it. I quick made some set of sawhorse legs, and a box leg. Attached a 3/4 piece of plywood cut the the size I wanted. Stained the legs dark brown, and rolled on 3 coats of chalkboard paint on the top. Boom!! And the best part of this design, when it gets messy, I just sand it down. And clean it up again with chalkboard spray paint.
Built from Plan(s)
Estimated Cost
$15-$20
Estimated Time Investment
An Hour or Two (0-2 Hours)
Finish Used
brown stain and chalkboard paint
Recommended Skill Level
Beginner
4x4 Truss Beam Table
Used Kreg Jig HD screws and pocket holes with glue. Stained in Dark Walnut.

Built from Plan(s)
Estimated Cost
250
Estimated Time Investment
Weekend Project (10-20 Hours)
Finish Used
Dark Walnut Stain
Recommended Skill Level
Intermediate
Sliding Door Console
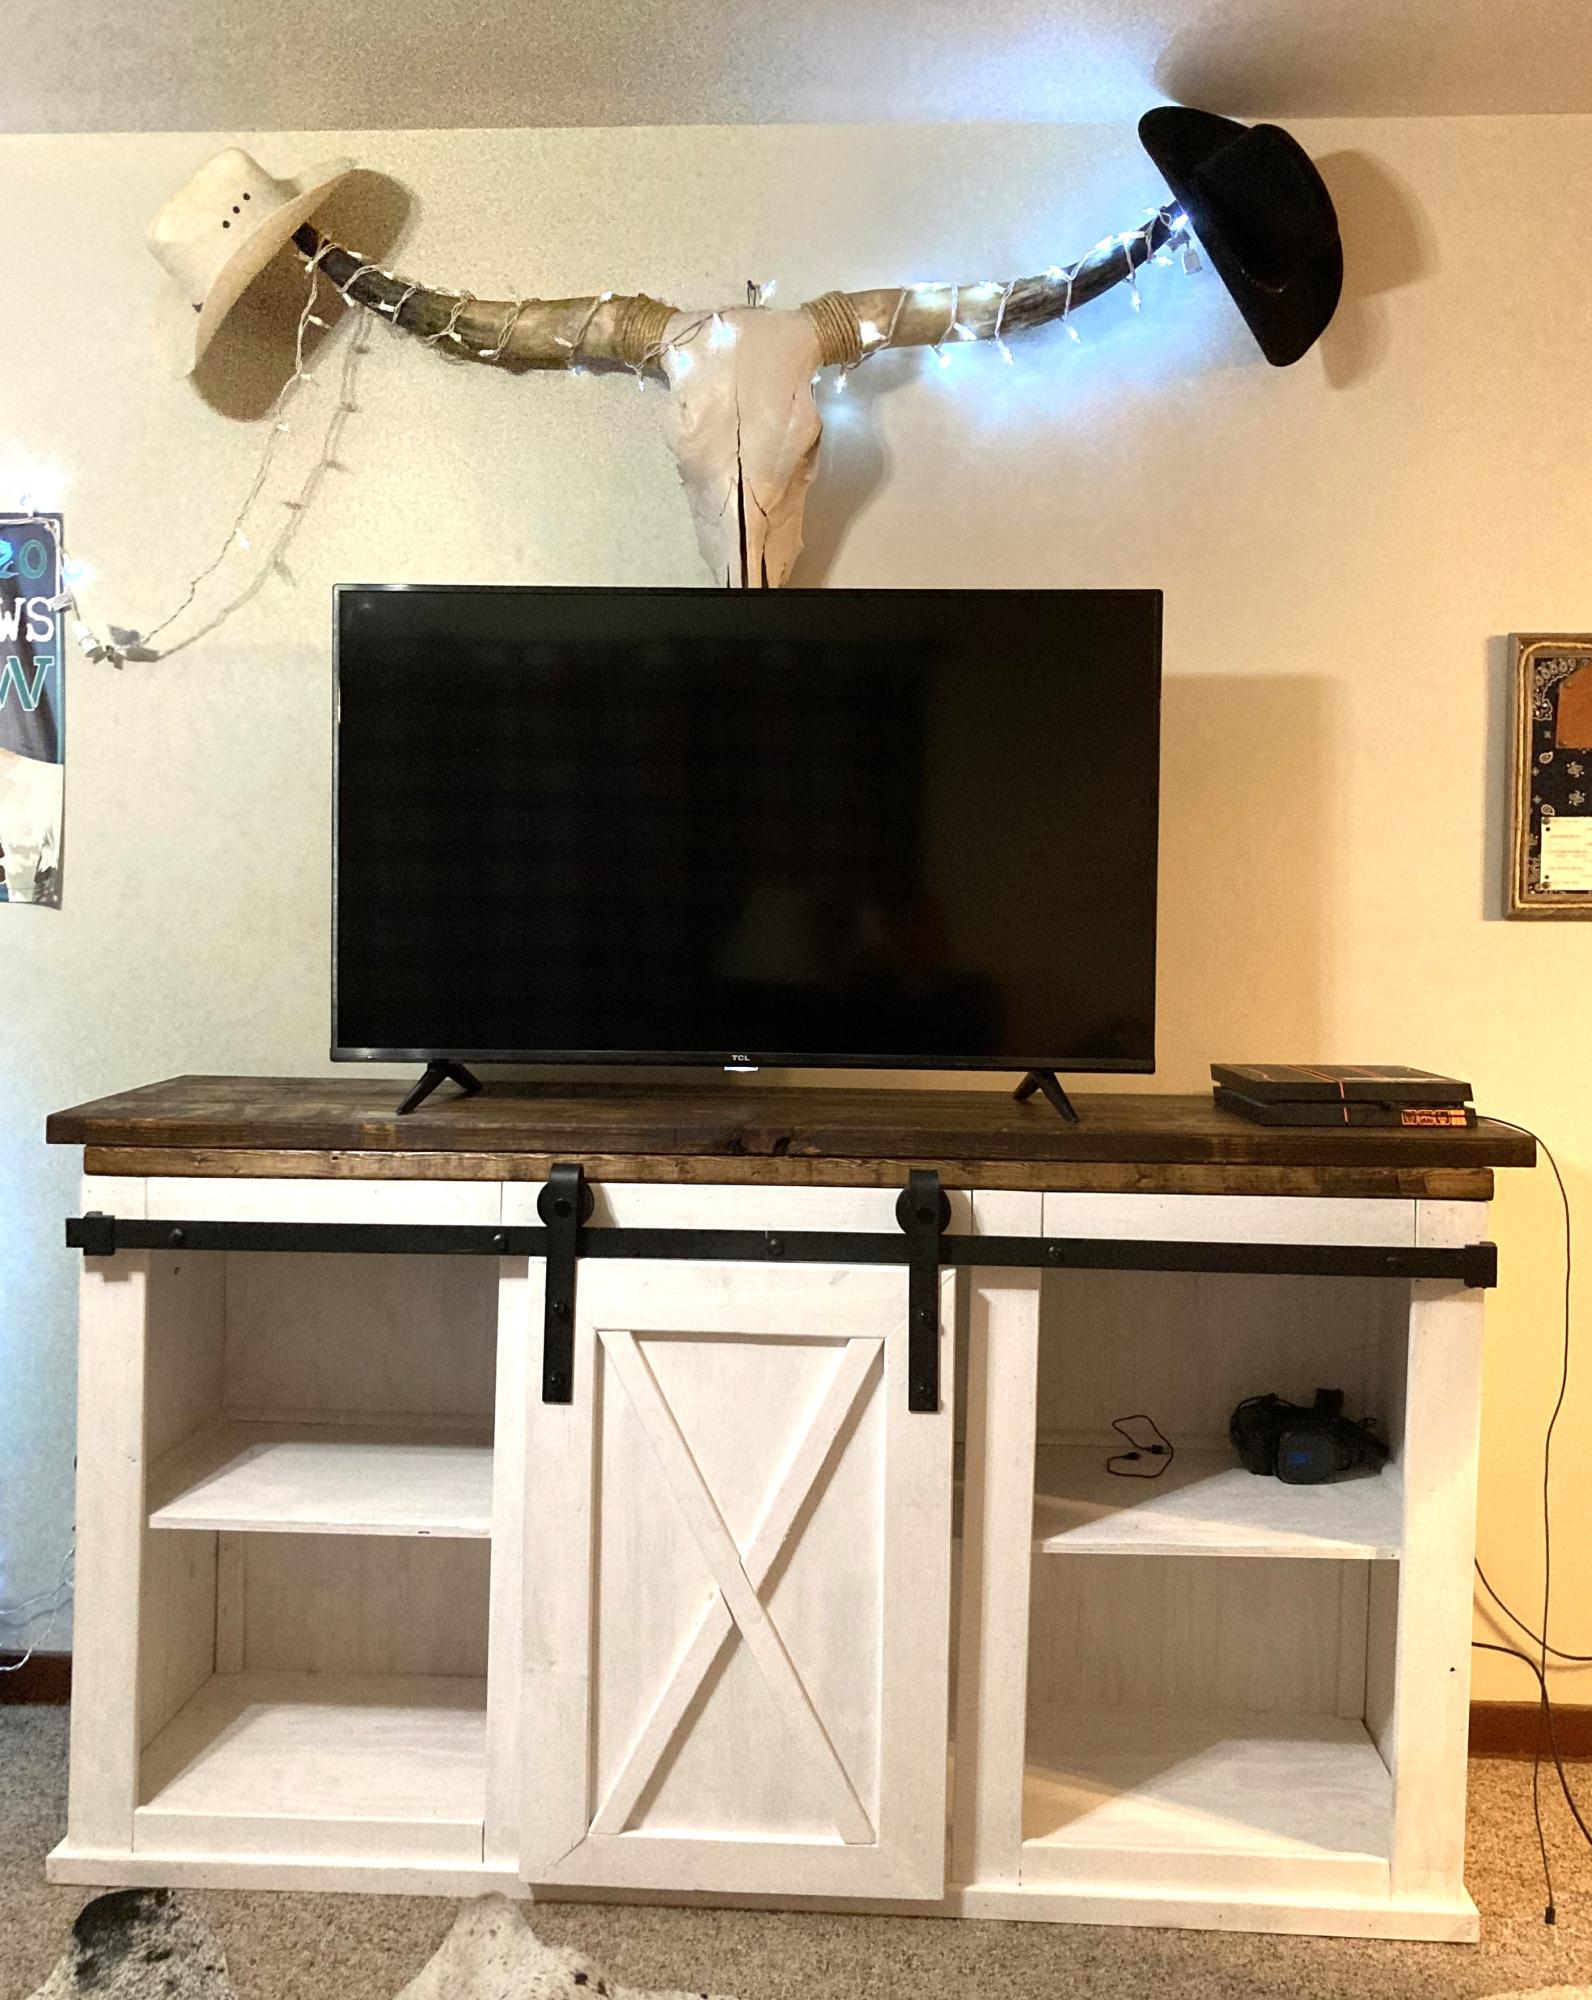
Easy entertainment center that I made for my son
Sue Herriott
Built from Plan(s)
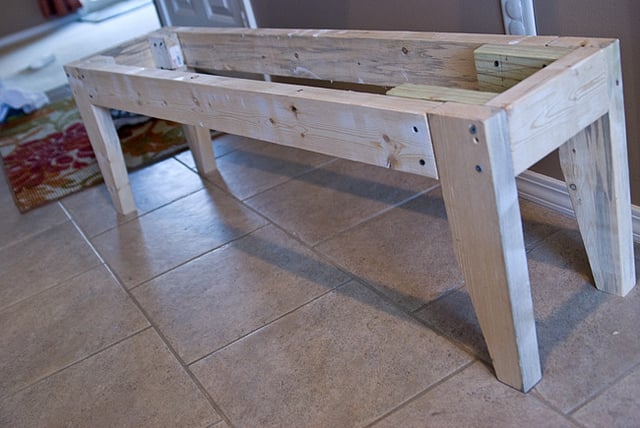
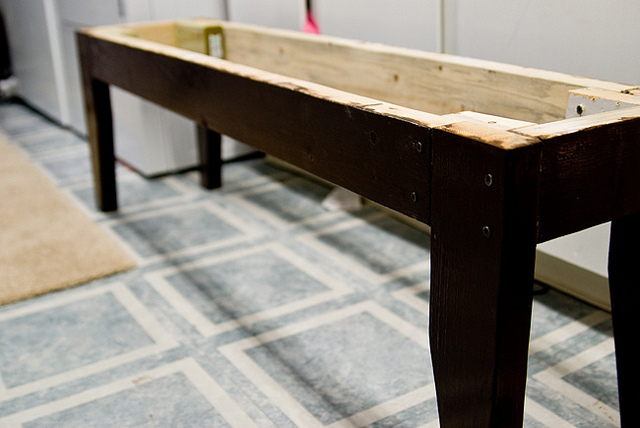
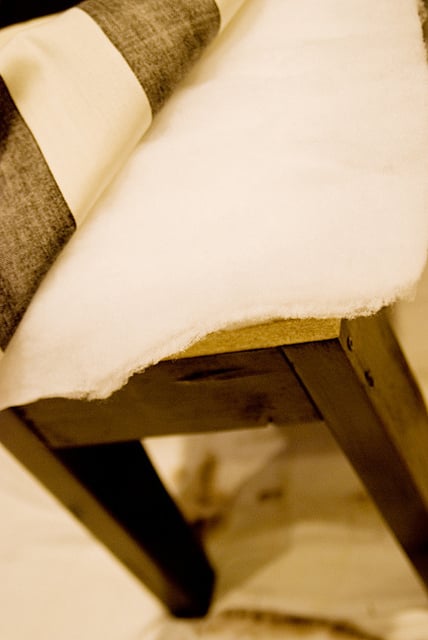
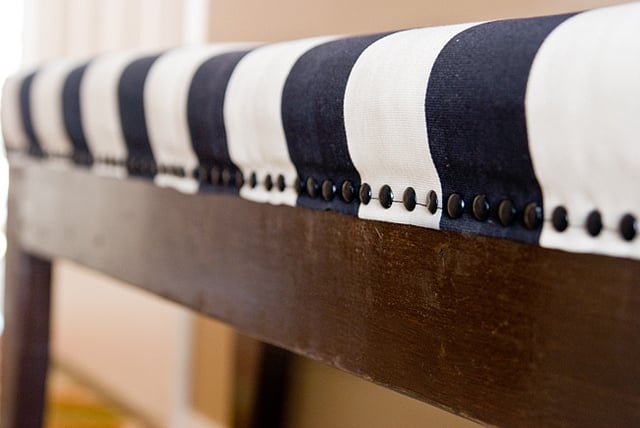
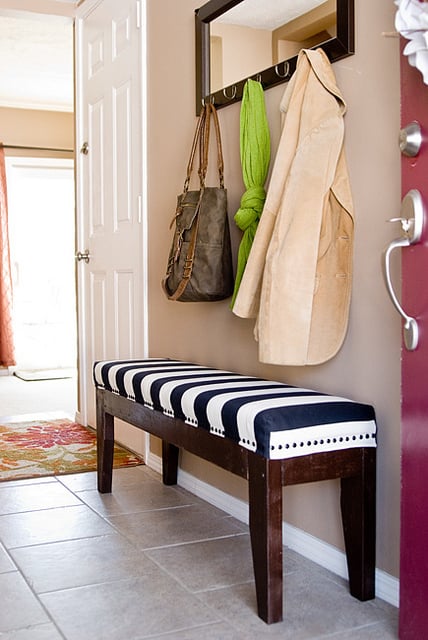
Easy Upholstered bench
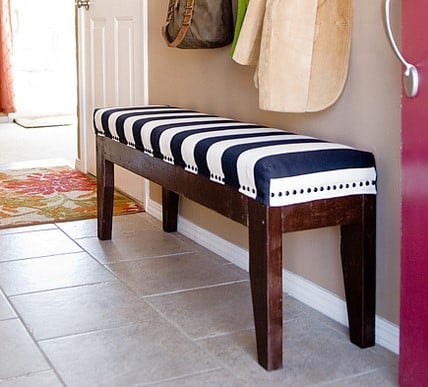
Wonderful project! Very fun. Built a bench from scrap 2x4s (left in the garage by our home's previous owner, so they were free!) and a piece of MDF shelving. Perfect for our entryway. The bench itself was incredibly easy to build. The hard part, in my opinion, was finishing it. So many pretty things to choose from! I used a piece of 2-inch foam plus a double layer of batting for the top, some striped upholstery fabric, and 160 nailheads to finish it off. Love it.
Built from Plan(s)
Estimated Time Investment
Day Project (6-9 Hours)
Finish Used
Minwax stain in cognac, and then two coats of minwax poly.
Recommended Skill Level
Beginner
Comments

Tue, 02/14/2012 - 12:45
This really came out nice,
This really came out nice, and lovely selection of fabric.
Sun, 02/19/2012 - 12:54
Love it! Wondering if I could
Love it! Wondering if I could build it and have some type of slipcover on it. (house with three kids under 5 years old does not go well with permanent upholstery! haha)
Fri, 03/09/2012 - 09:06
slipcover for bench
If you check out Ana's original plans for the Easiest Upholstered Bench, you'll see that she DID use slipcovers! You could make different ones for each season, or for holidays like Christmas or birthdays...
Wed, 10/30/2013 - 08:36
fabric question
Hi Katie, I am having a difficult time finding fabric (hard to believe)! did you get yours online? How wide are the stripes? most fabric I am finding is not wide enough to cover the top and sides. Thanks for the help! Great build!
Mason Jar Centerpieces

We decided this year to make gifts for our family's Secret Santa!
Thanks again for the plans!
Built from Plan(s)
Estimated Cost
$4 for the handles
Estimated Time Investment
An Hour or Two (0-2 Hours)
Finish Used
2 coats of Minwax Dark Walnut
Recommended Skill Level
Starter Project

bird Feeder
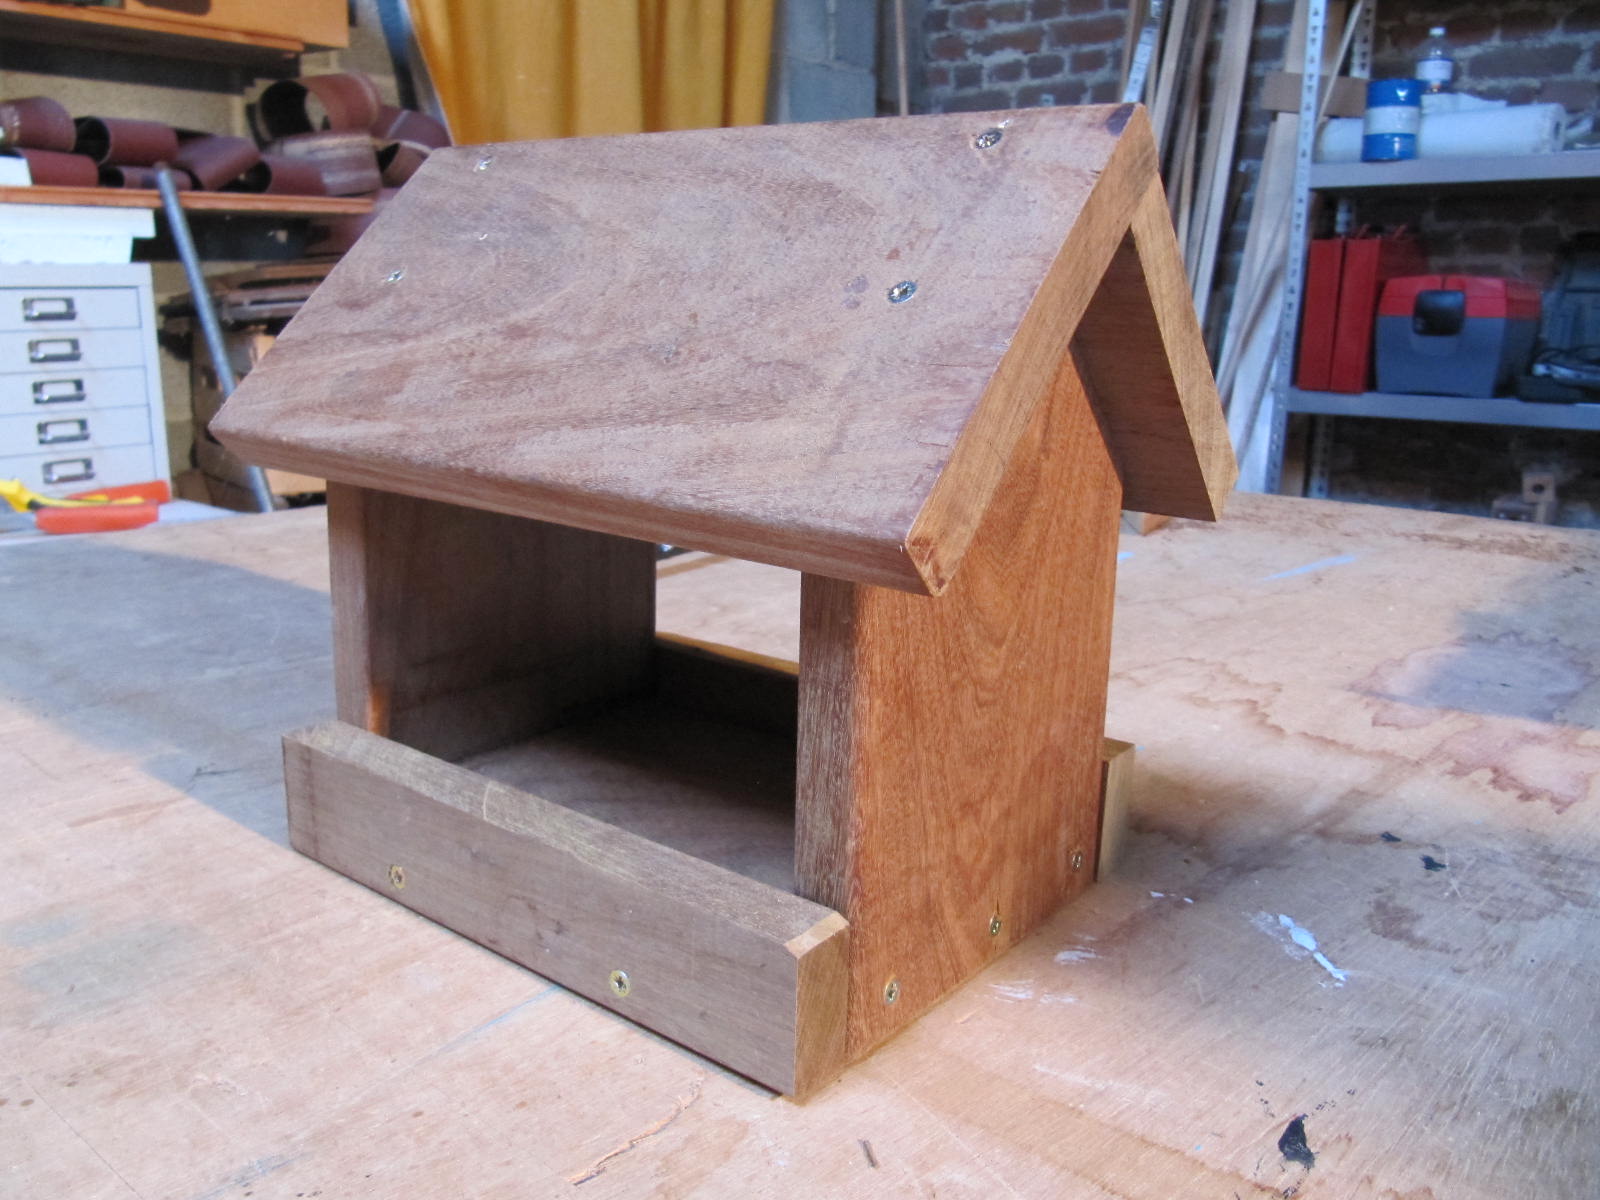
Bird feeder aksed by my mother. I used rest of IPE wood used for a deck. The thickness is a little big! 22mm but its strong and 30years waranty :) I changed a little bit the dimensions to convert in mm.
Estimated Cost
0
Estimated Time Investment
An Hour or Two (0-2 Hours)
Finish Used
not necessary this wood very smooth
Recommended Skill Level
Starter Project
DIY Famhouse Table
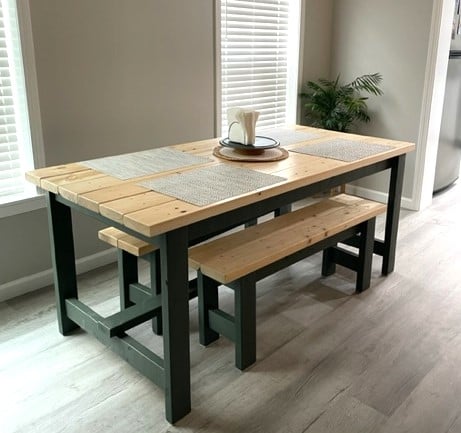
I used the farmhouse table plans, with a few modifications. I made two benches to go along with it. This was my first big wood project and I'm pretty proud of it. My daughter bought her first home and needed a table custom sized to her space so this was perfect. I love all of Ana's plans, so easy to follow.