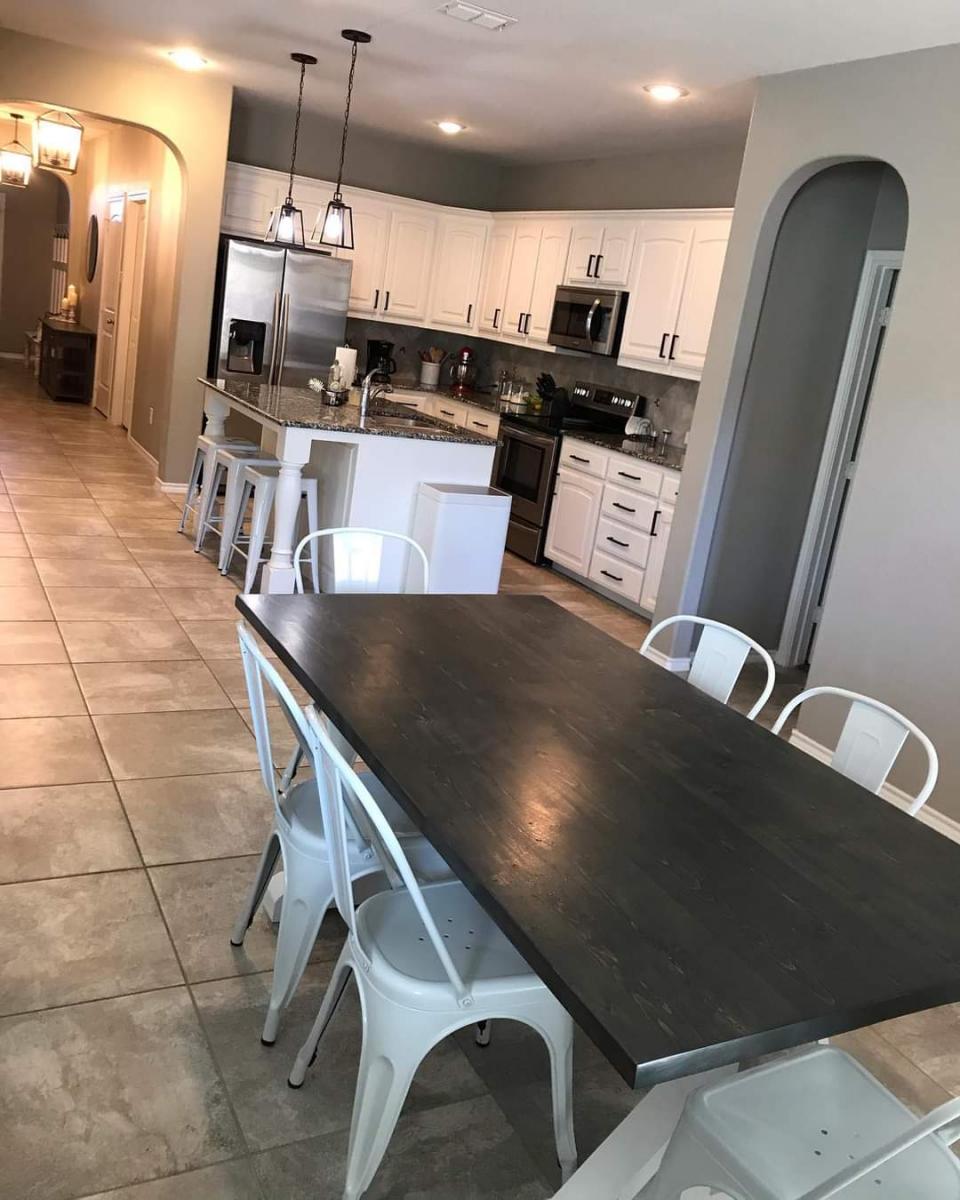
Double X barn door
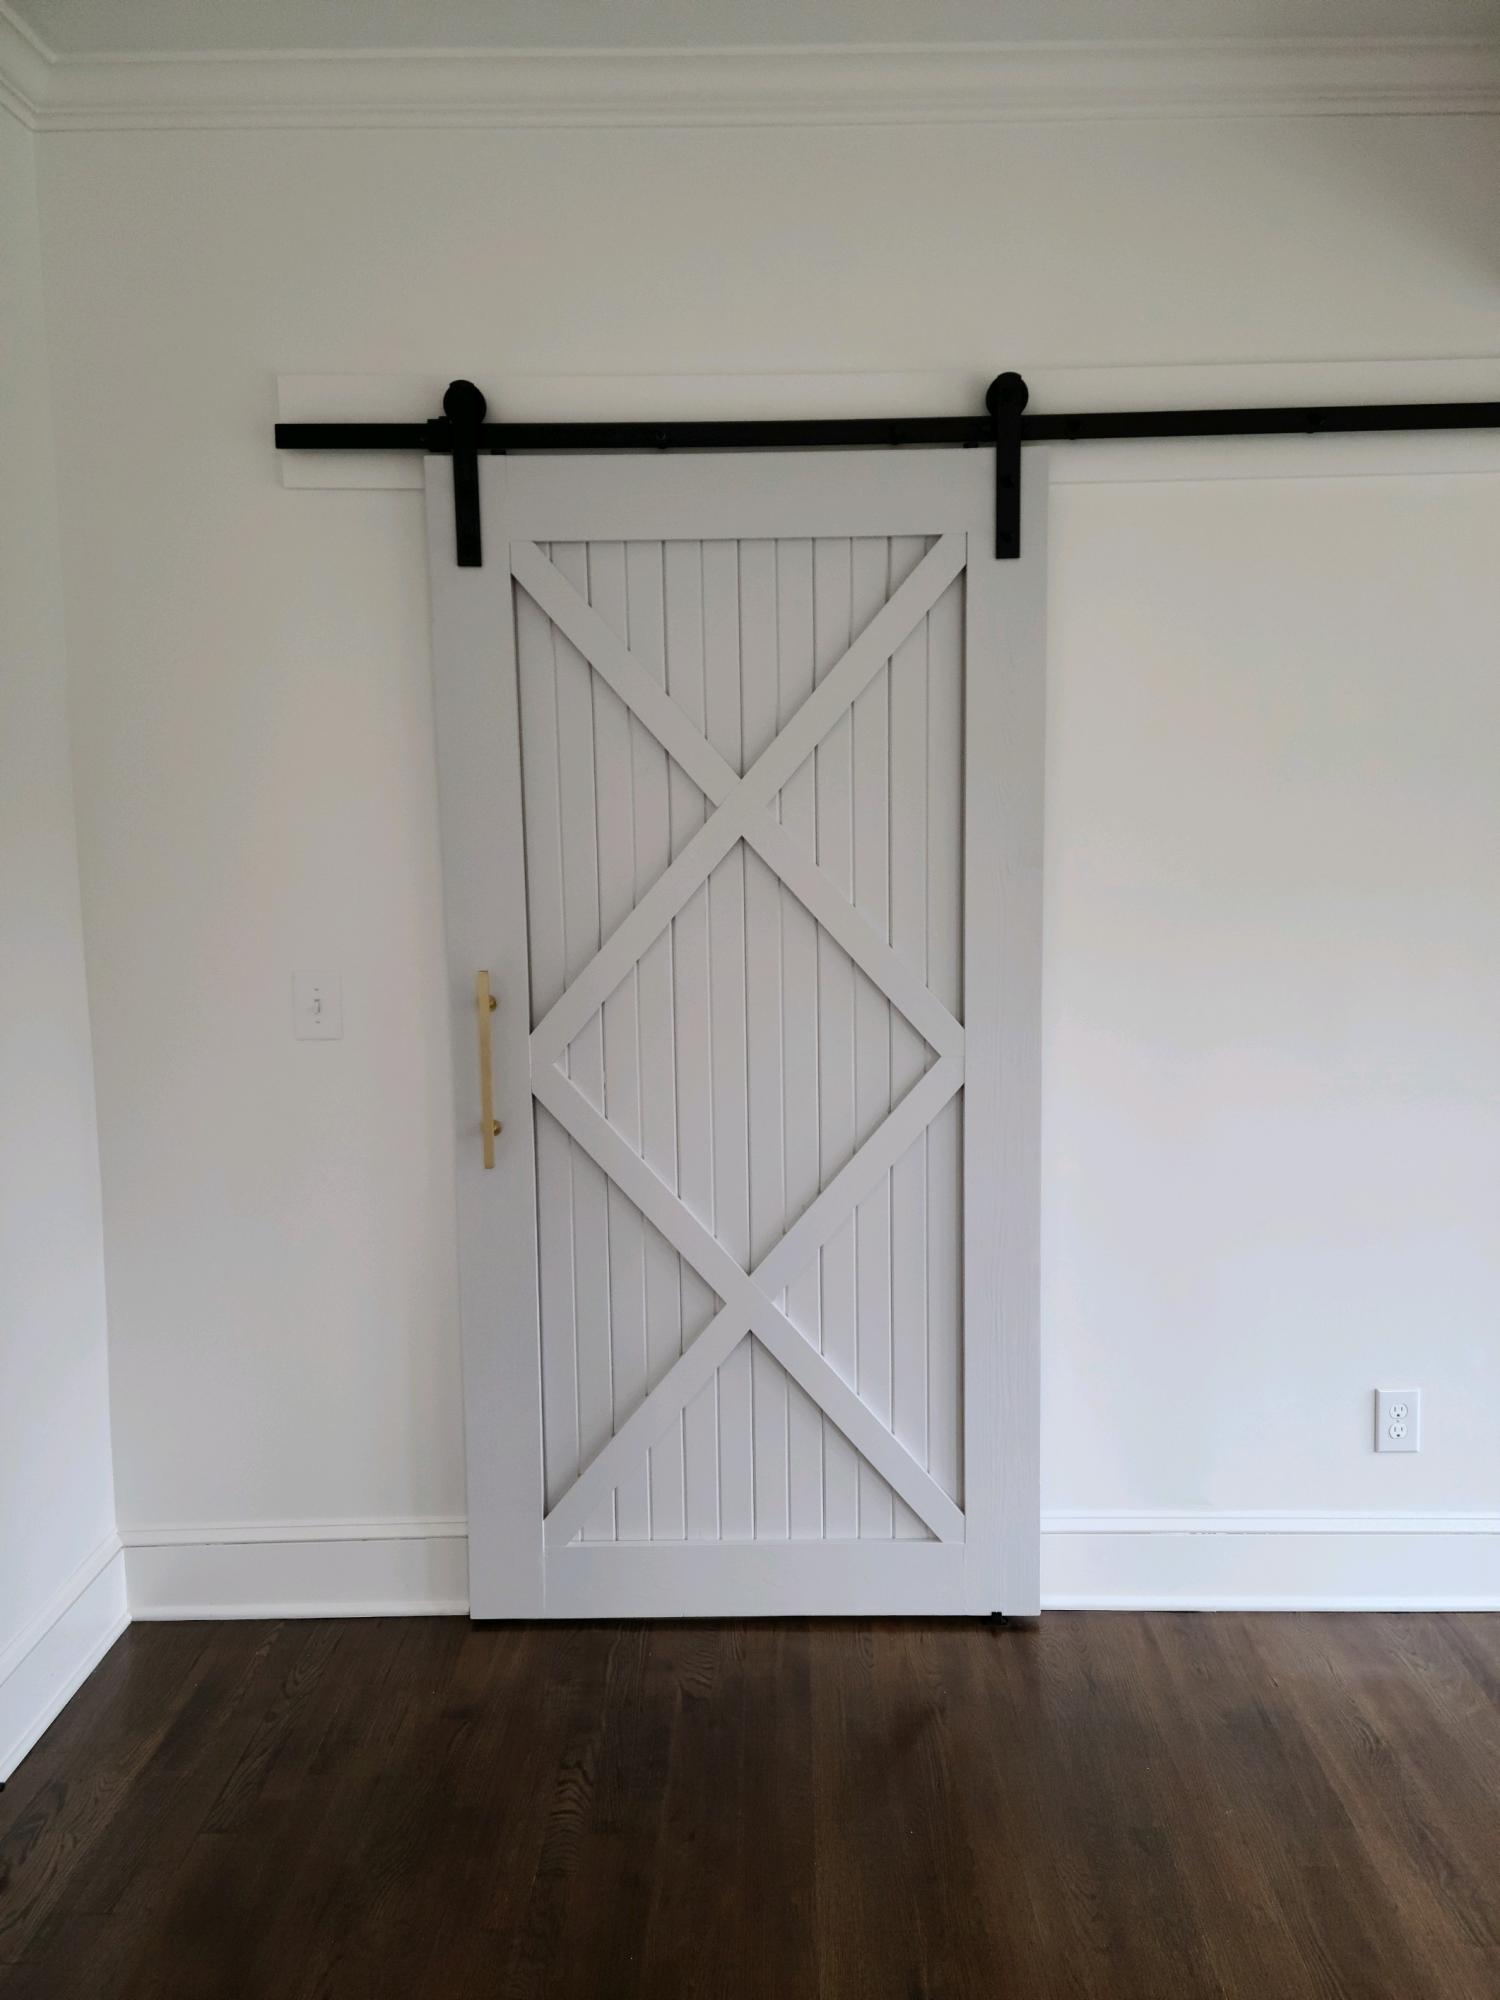
This is a sliding barn door I built for some friends. It's constructed from standard pine boards and premade tongue and groove beadboard planks.
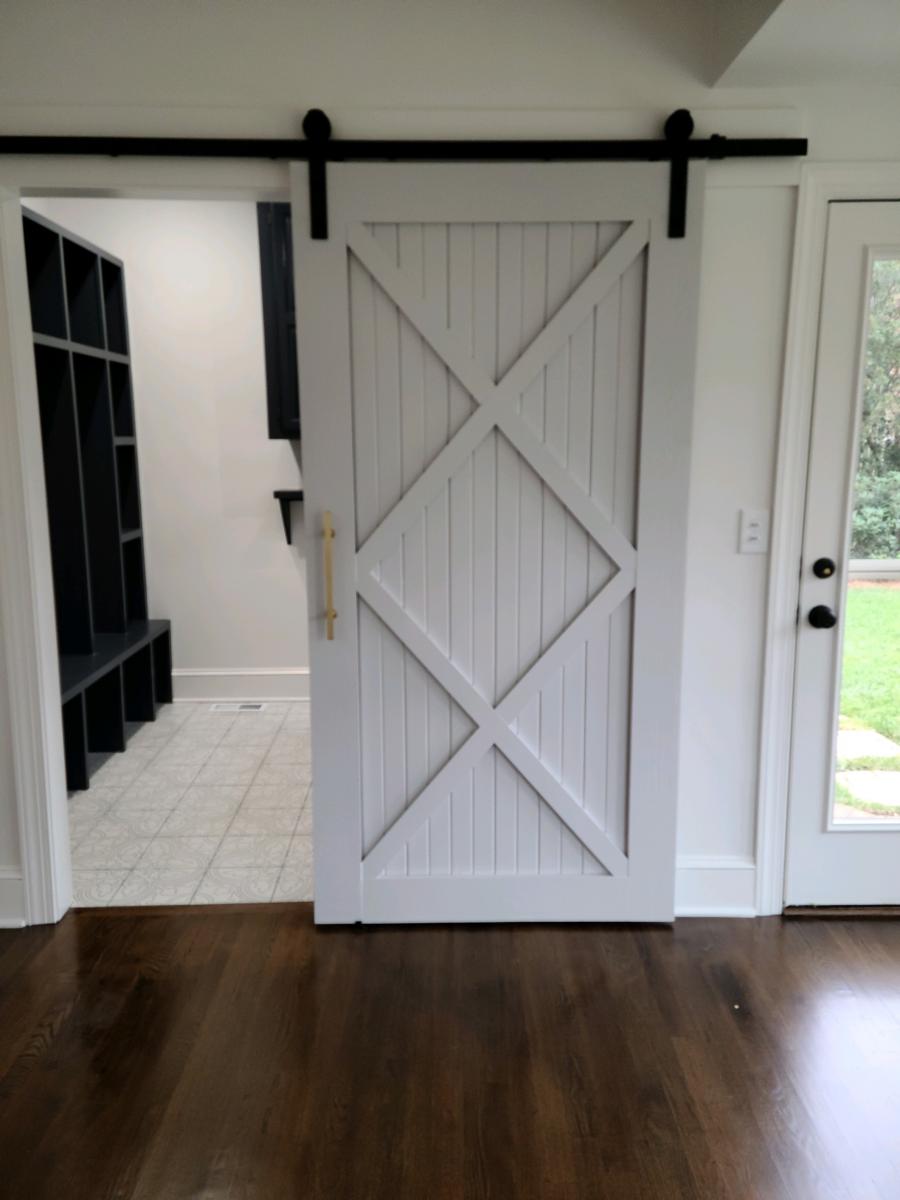
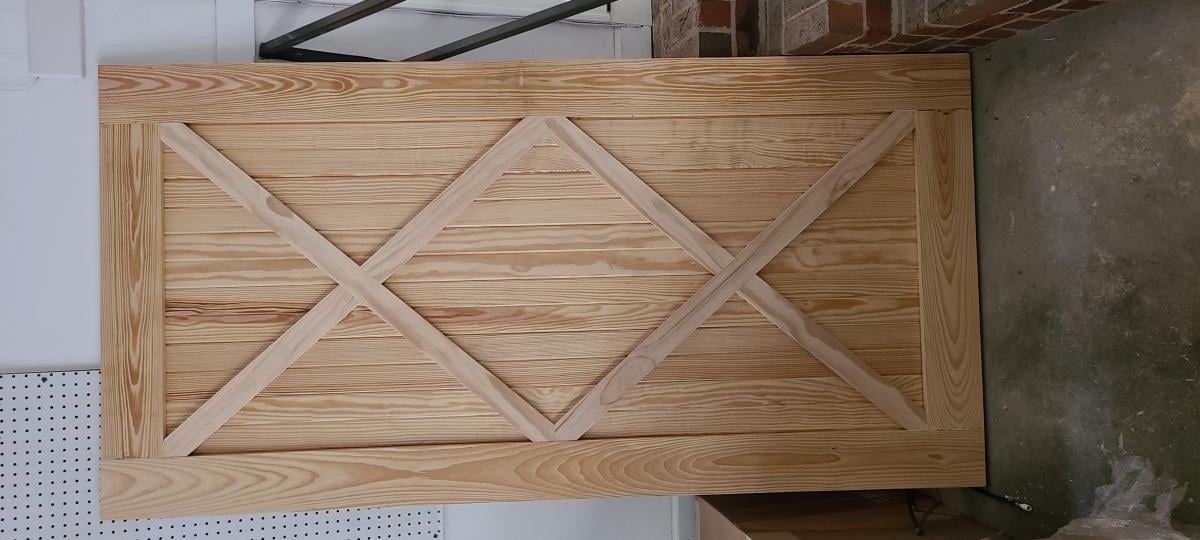

This is a sliding barn door I built for some friends. It's constructed from standard pine boards and premade tongue and groove beadboard planks.


I had a wall in our living room that was bare for almost 4 years. SO happy with the results of my "Ten Dollar Ledges"!!
Mon, 02/04/2013 - 10:59
I was wanting to make a small one under my bathroom mirror, but wondered if it would be too bulky. Seeing yours, I can see they look pretty sleek and I am probably going to go for it. (if I don't like it, I am sure it will get use somewhere)
I love how you admit you are a lazy painter, I am getting more patient the more I am building...hehe
Mon, 02/04/2013 - 13:22
The colour you chose is really nice. They shelves look great on that wall, I am making some for a hallway with 1 x 3 instead to make them stick out less.
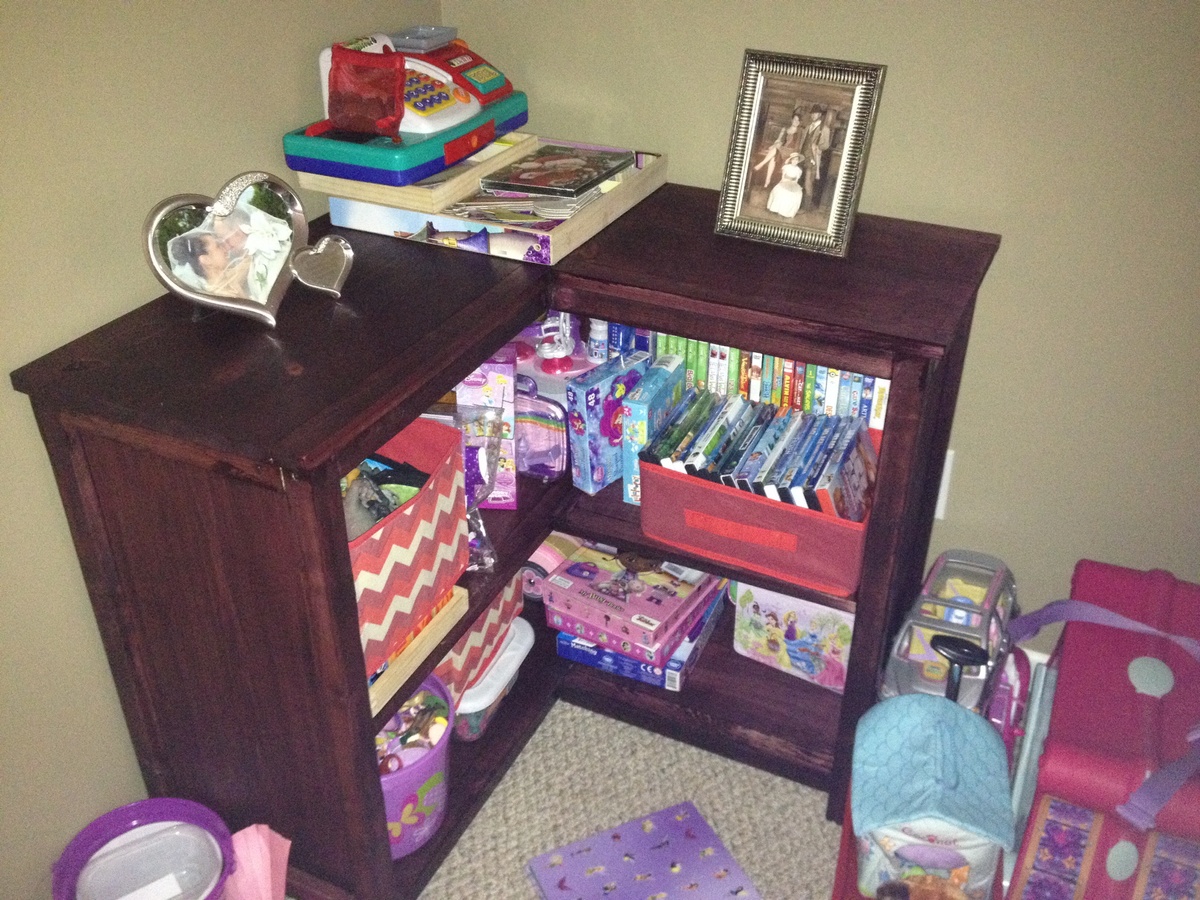
This is my first project using a Kreg Jig and I'm hooked. Easy build and great storage! Looking forward to doing more projects!
Tools you basic design, made some changes to how the sides were built. I also used Mahogany.

Since I've been working at home, I needed a desk with space for both my work station and for my personal use. This plan was quite easy to adapt into a two-position desk. On the left side I substituted a keyboard tray for the drawer. I also made mine 2" deeper than the original plans, since that fit my needs better.
Sun, 01/03/2021 - 10:14
This looks amazing, I really like the added keyboard slide out!
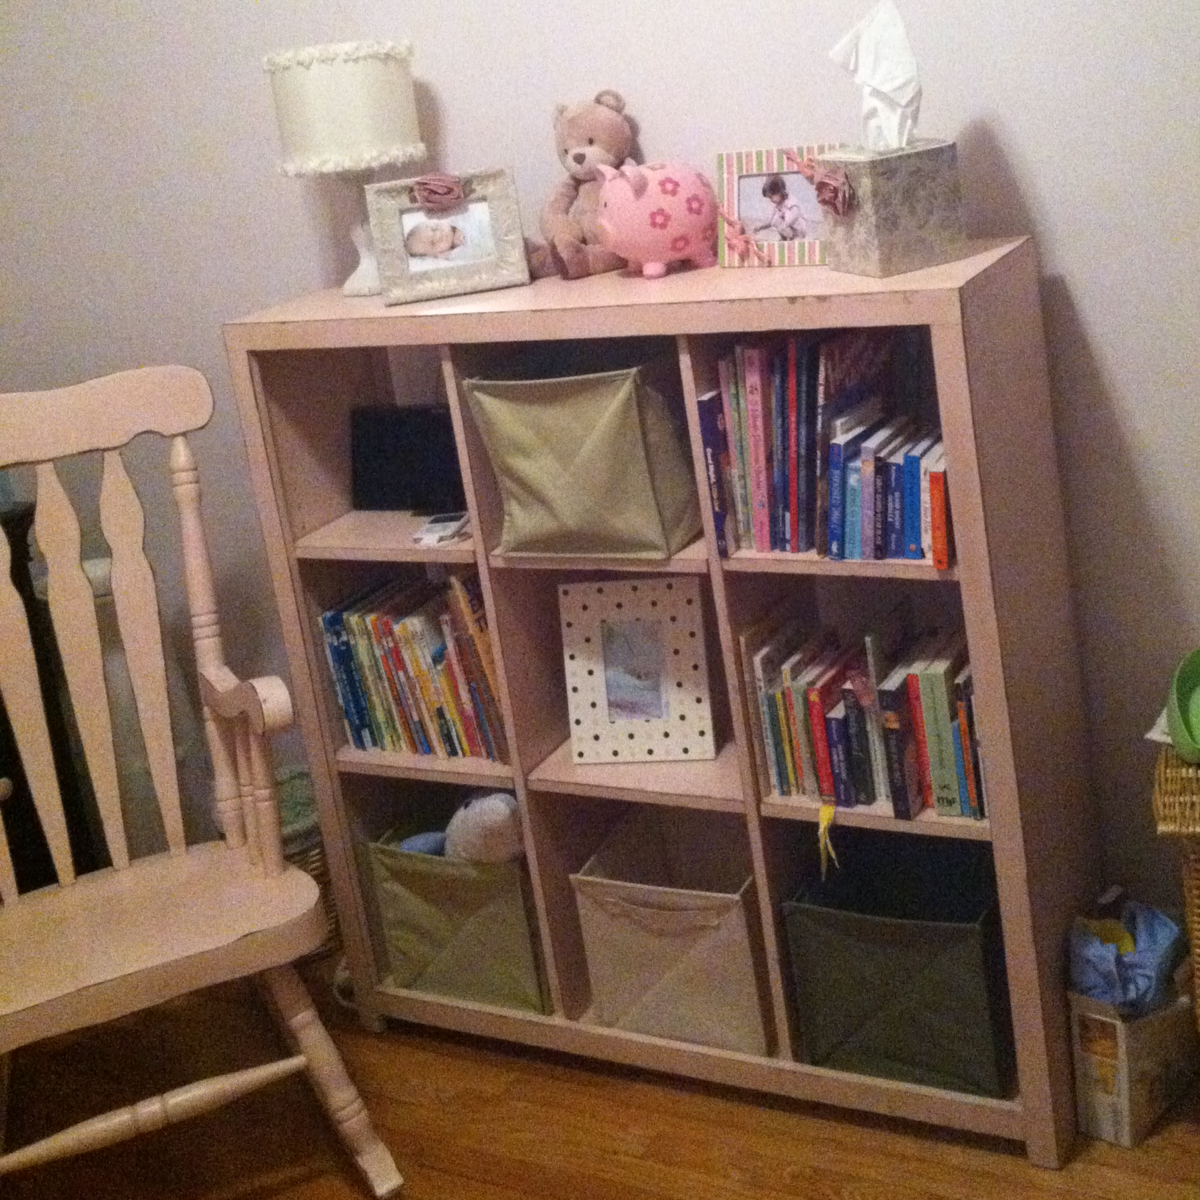
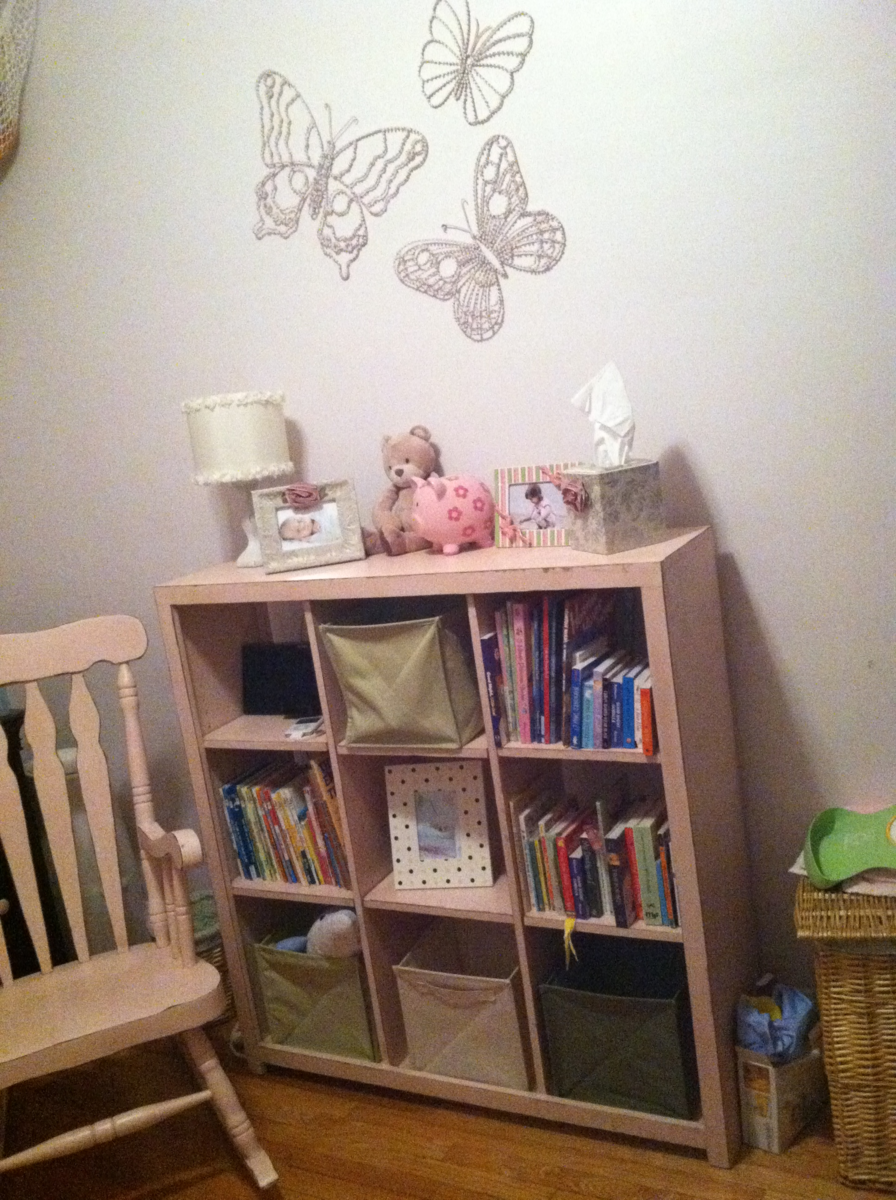
First Project...
Different aspects of the project took a lot longer than they should since I was trying to figure out how to use all of my new toys, e.g. circular saw, kreg jig, adjustable shelf jig, sander, etc., but I think it ended up turning out pretty good.
I ended up buying an unfinished rocking chair on Craigslist for $20, which I finished the same way.
This is my first full sized table project. I wanted to make an inexpensive dining table with nice looks and this one fit the criteria. I deviated from the plans by making the legs frames and the middle truss using rabbit and dado joinery. As a result the middle truss and leg frames did not have to be fastened together with any screws. This design modification made it easier to build in the garage and be able to move easily into the house for final assembly. Top is made of SPF lumber stained to match the natural colour of the cedar legs and truss frame. Thanks Ana for the inspiration to build this beutiful piece.
Thu, 12/11/2014 - 17:11
Love how you rounded the edges of the 4x4s and taylored the cross beam underneath. Just simply fabulous
Fri, 12/12/2014 - 11:07
Great job on this build, looks fabulous! Thanks for sharing!
Mon, 07/24/2017 - 05:24
Hey Dangerdad! Wife and I bought cedar for the base and have all sanded, but are torn on how to stain. I liked your table, and was reading your description of your finish. Did you stain your cedar? You say you stained the top to match the natural cedar, so am thinking maybe you just sealed it without any stain?
Could you clarify? Thanks so much!
Thu, 11/02/2017 - 11:39
sorry for the late response. I didn't have to stain the cedar at all. Just applied a natural satin poly finish. Hope yours turns(ed) out good!
Mon, 07/24/2017 - 05:25
Hey Dangerdad! Wife and I bought cedar for our table base and were discussing how to finish it. Did you stain your cedar? Your write up seems like you may have just finished it and not stained at all, and only stained the top? Just curious
Thanks so much!
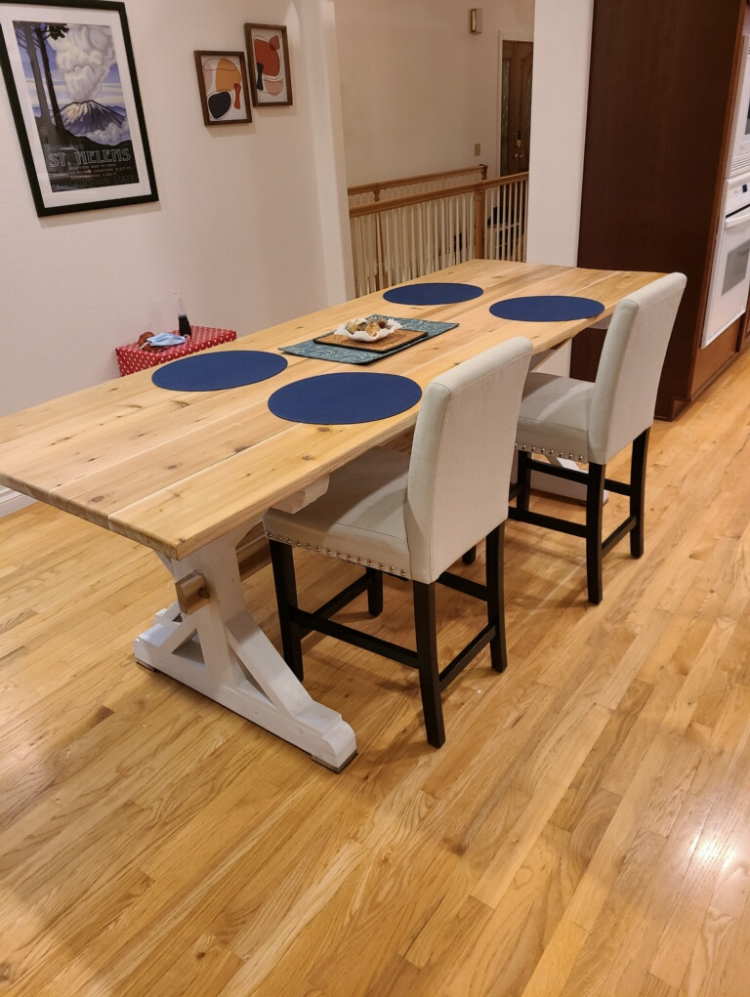
Wife found a post where someone did a riff on farmhouse X table where instead of supports at the floor and top of the base, there was one support in the middle of the X. The riff made the table taller than the original (which I didn’t realize till we had the x bench put up against the ‘riff’ table - about 3 inches too low which I’ll fix this weekend. It only works ok for my 6’7” brother law lol.
Other alterations i made - turned the X support into through tenons (my first - future ones will be cooler) and decorative cross 2x2 under the table top similar to the way they are on the bench.
Turns out, looks pretty cool with taller bar chairs!
Fri, 01/08/2021 - 10:21
It's absolutely beautiful, love the height with the taller chairs!
This was our first major project, so we learned a lot while we were doing it. We painted our bed white, and rather than using metal bed rails (which no one seemed to sell), we improvised and fastened 2x4s to the inside of our side rails. Then we cut slats to rest on the 2x4s and run the width of the bed. The 2x4s lend great stability to the side rails, and are much less costly, not to mention easier to obtain. ($10 vs. $75) This bed is sturdy and solid. I think we will be handing it down to our grandchildren in fifty years!
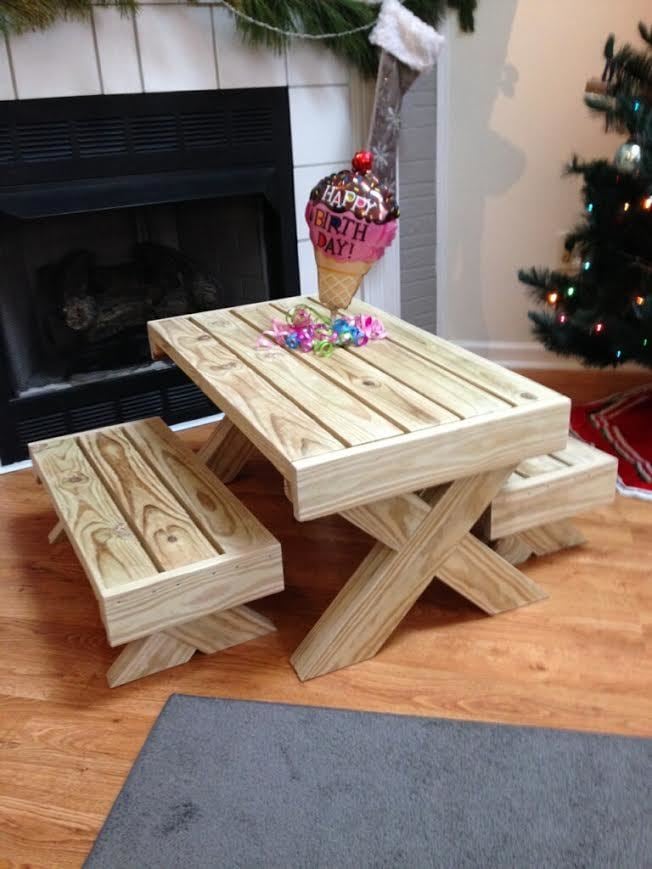
Did a couple modifications but this turned out great and she loved it. Now we wait until spring so we can stain it.
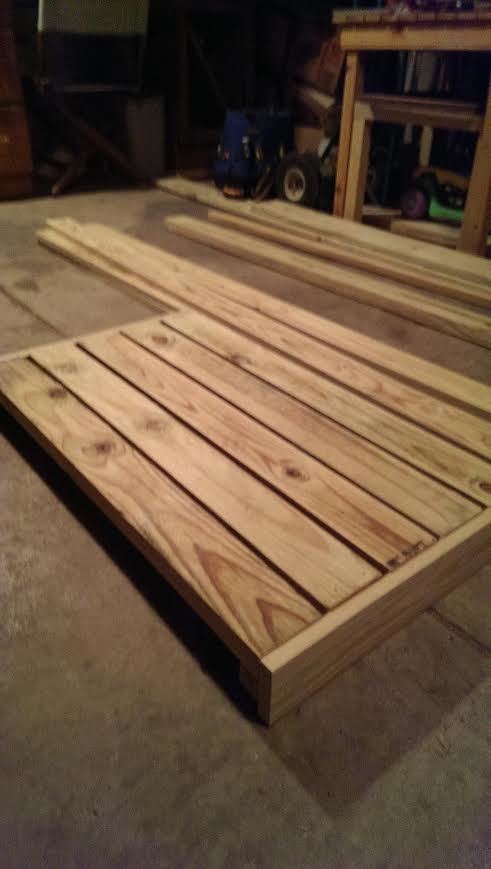
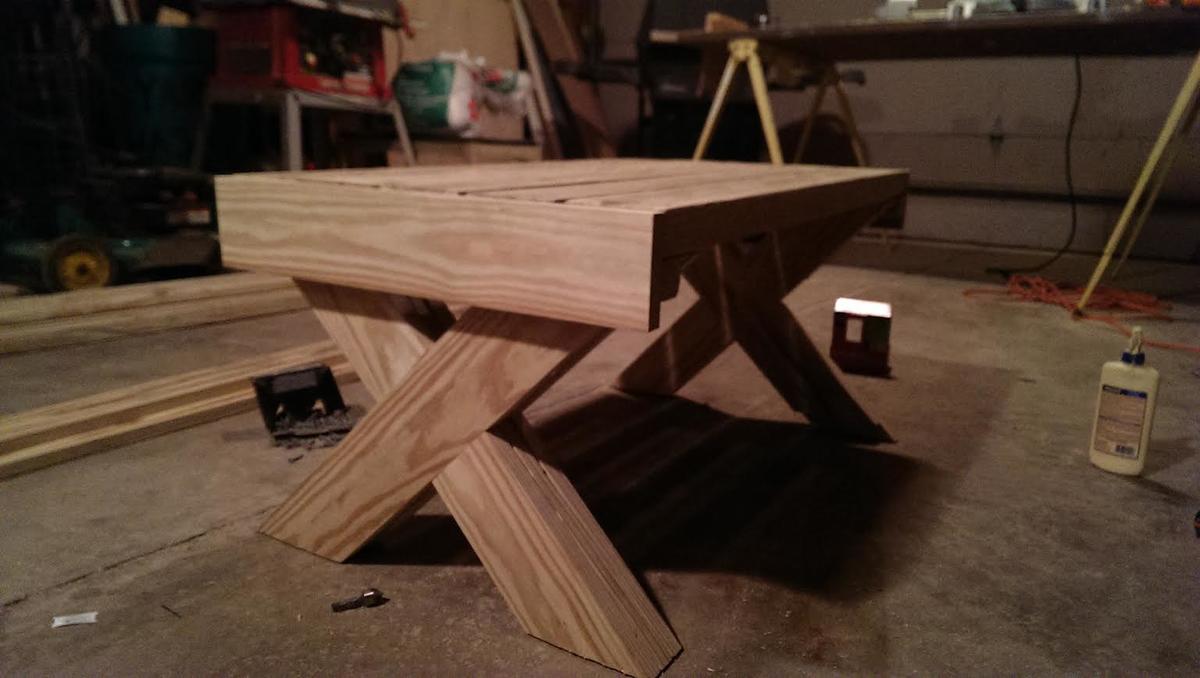
As the dolls I have were very small I scaled the plan to half size, and finished with some leftover garden paint.
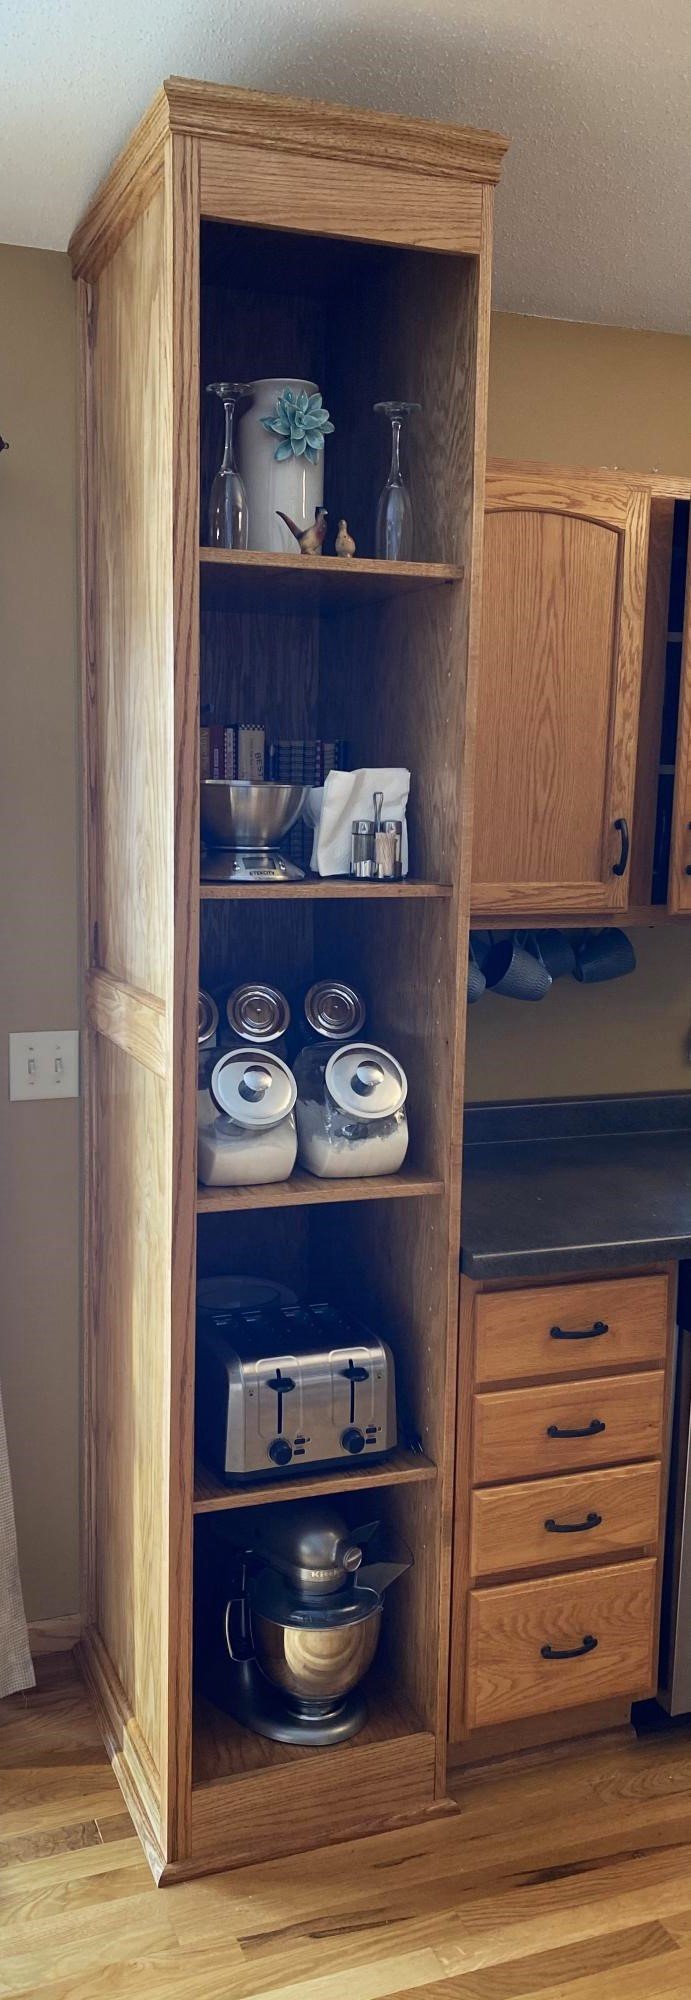
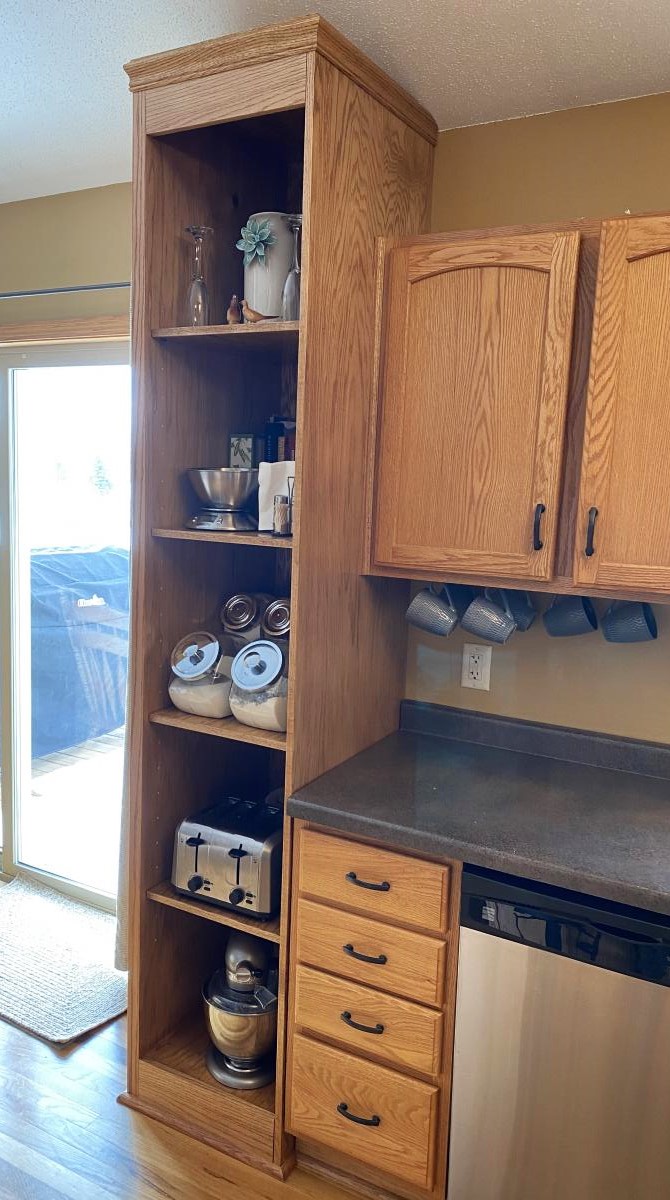
I took some ideas from an Ana White wine rack I saw and made this Pantry for our kitchen. Pretty happy with how it turned out.
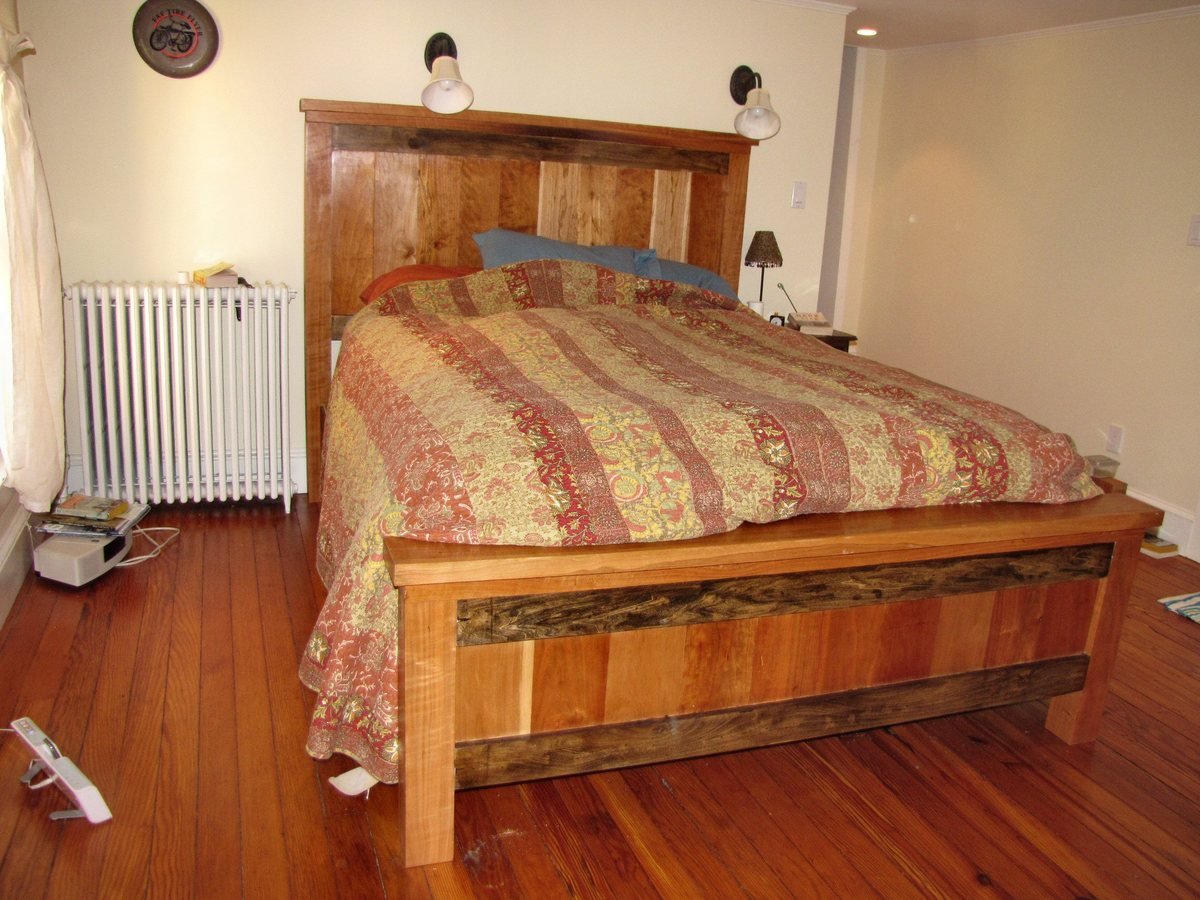
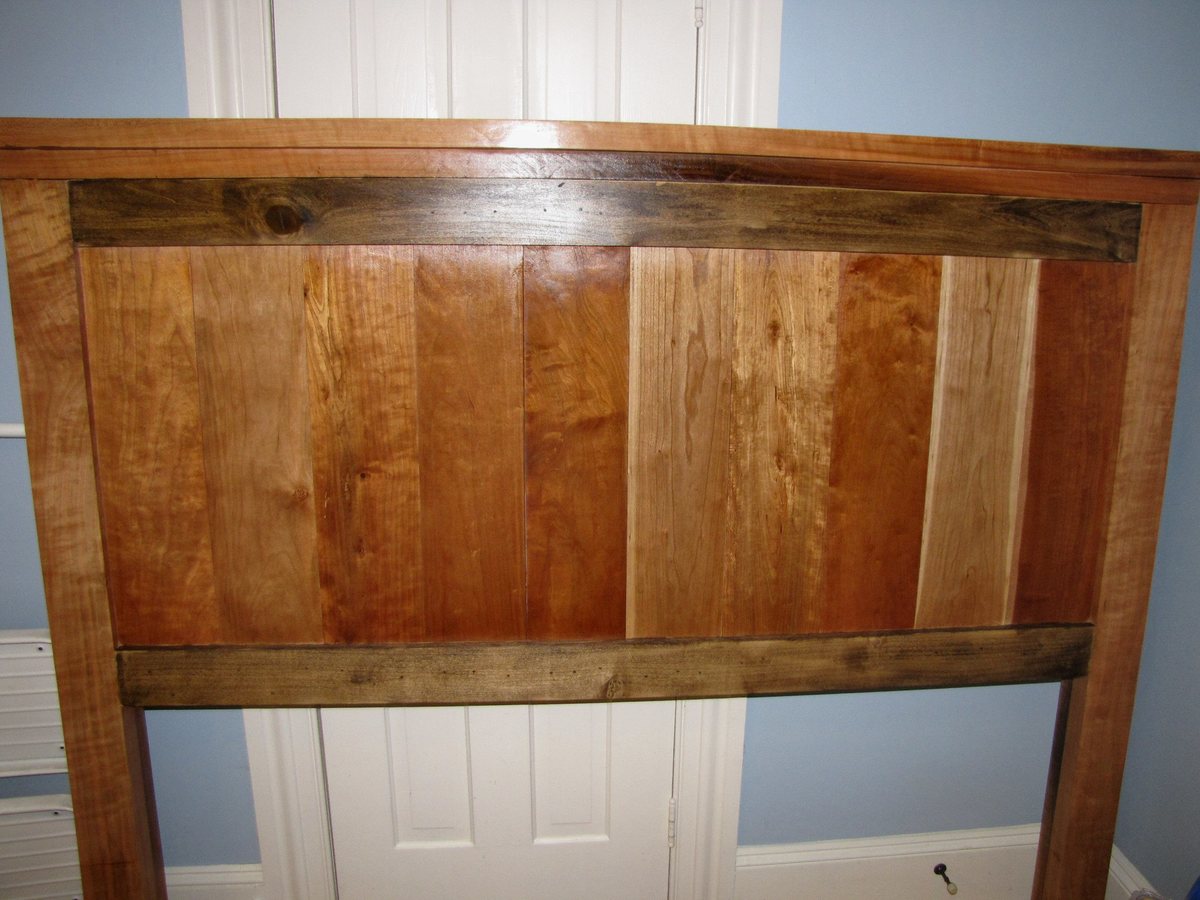
I followed Anna's incredibly easy to follow plans pretty darn closely. I used Cherry for 90% of the bed and the cross-boards on the headboard and footboard are poplar. I used lumber that I had been holding on to for some time and purchased construction-grade lumber for the frame. Anna's plans allowed me to bring to fruition my dream to build my own bed. This was the largest project I'd built to date, and I was incredibly happy with the outcome. For a mattress I ordered foam from http://www.mattressbymail.com/ I ordered 5" of high quality foam and 4" of the 5lb viscomax memory foam and it is the most comfortable bed I've ever slept in for
built for grand daughter for christmas
Tue, 12/16/2014 - 15:42
This is a beautiful project. :) I especially like the scroll work on the top and bottom. Nice attention to detail.
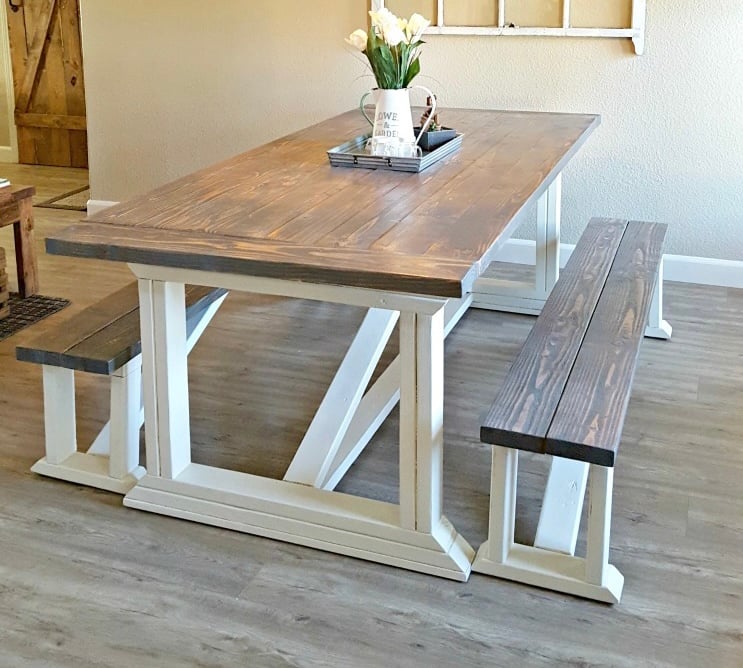
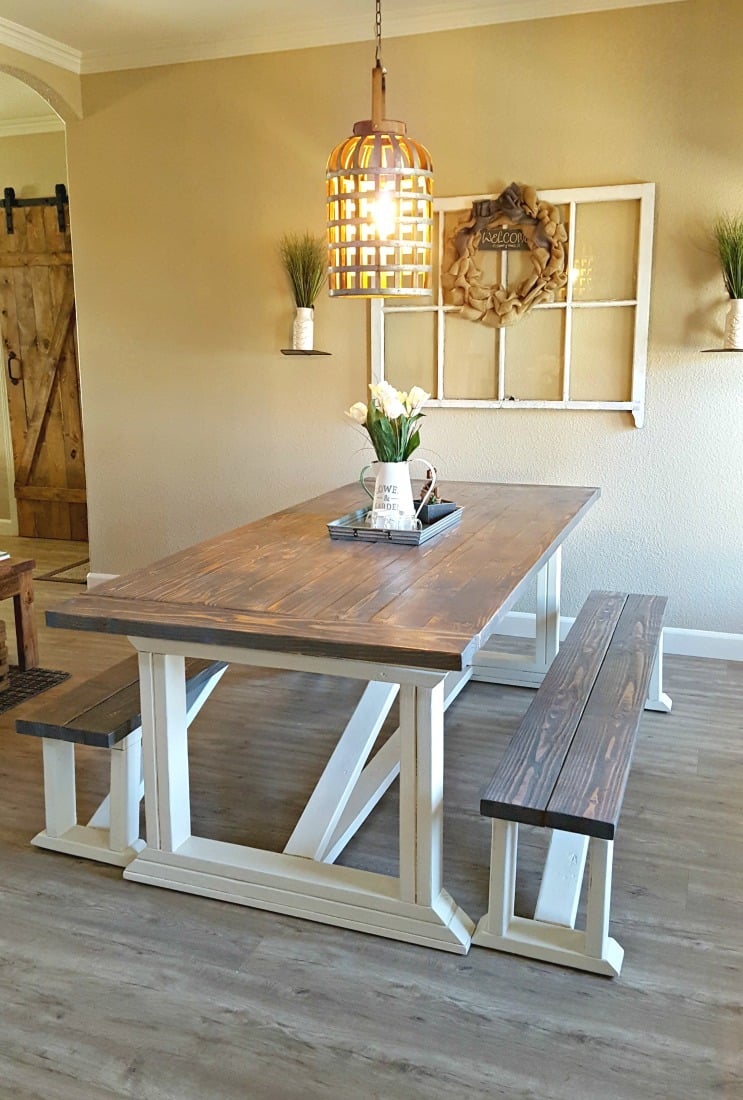
This was my first big build and I love how it came out! Thank you Ana White for amazing and straightforward plans to follow for both the farmhouse table and benches.
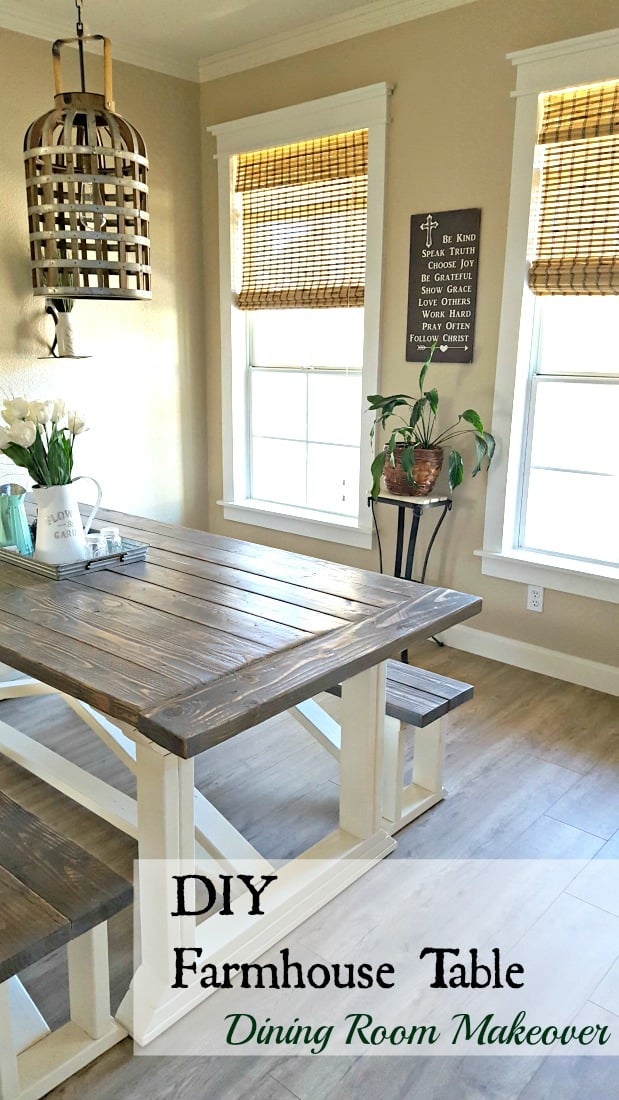
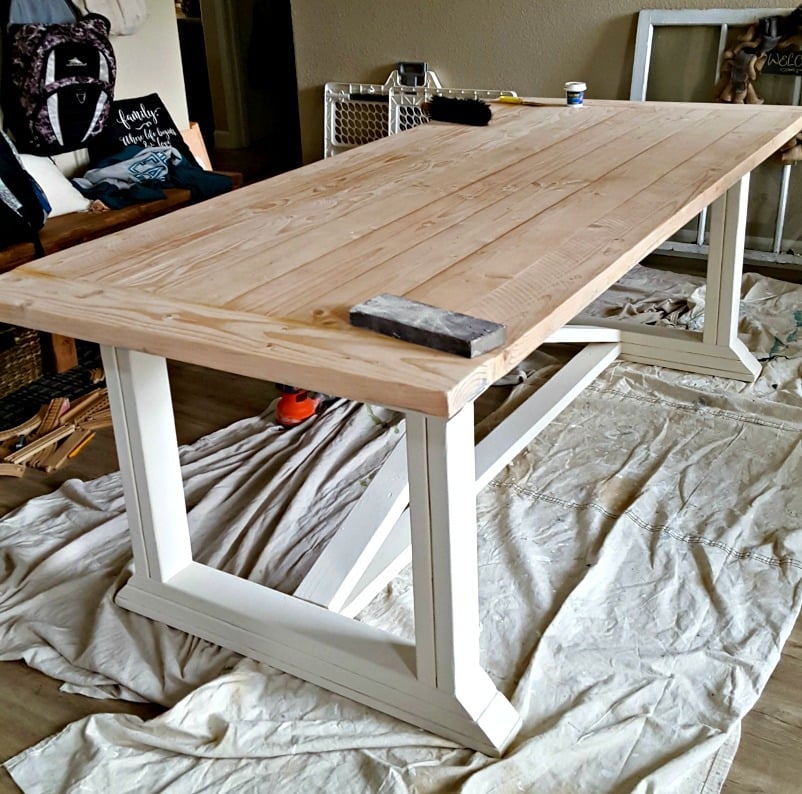
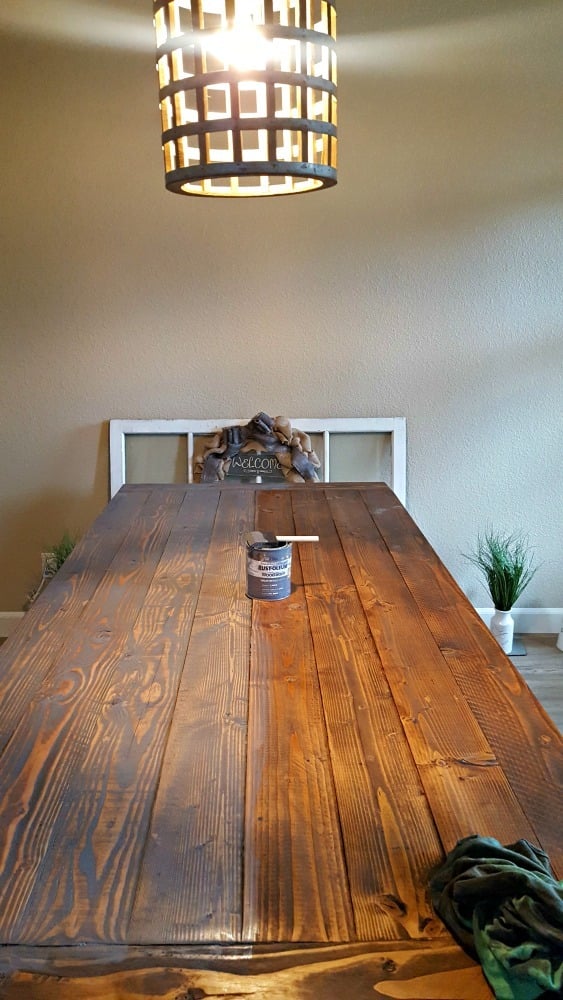

My 1st coffee table and I'm in love with how this came out. Really proud of myself for this one!
Mon, 01/18/2021 - 11:09
Gorgeous, thank you for sharing your first coffee table, it turned out amazing!
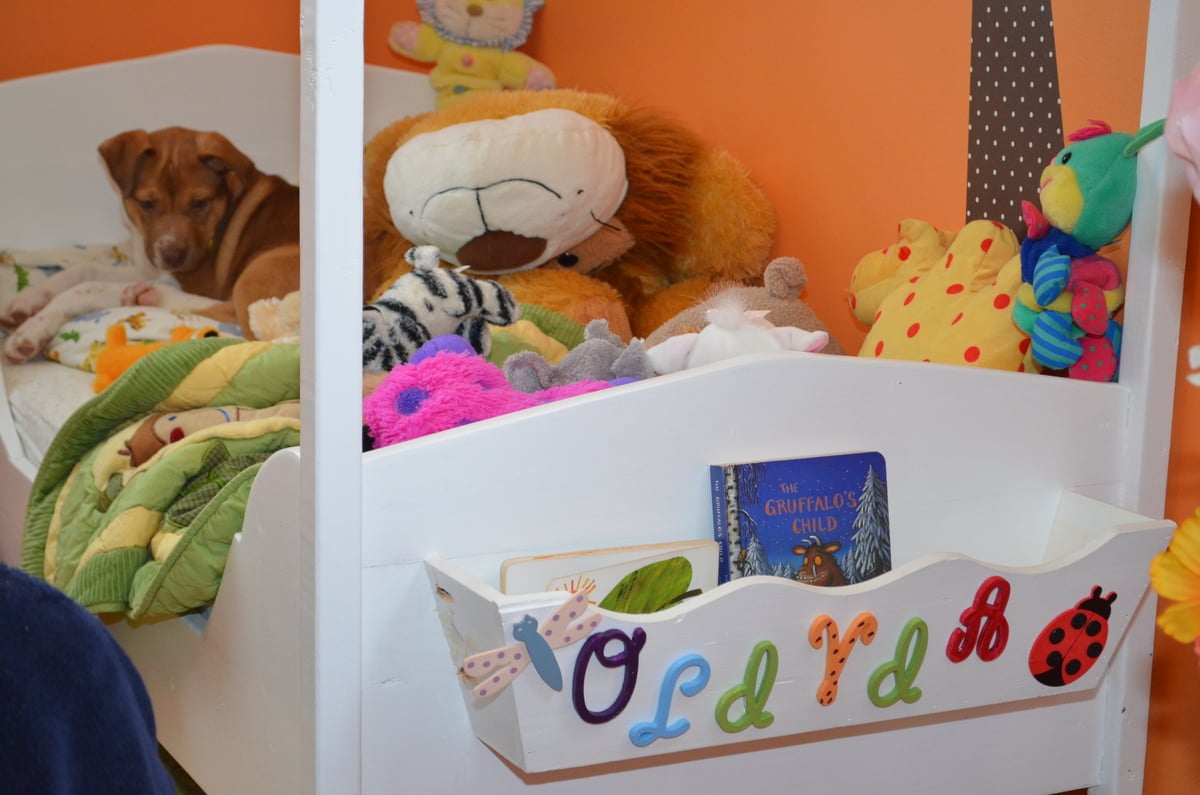
Our baby's turning 3 and is ready for a twin bed, having slept in a toddler version since 18mo... but we just HAD to build this adorable canopy toddler bed for her while she can still use it. We added a small window box that had been above her previous bed to the footboard, she stores her stuffed animals/bedtime books in there. Just need to pick out new sheets and fabric for the canopy :) Both she and the puppy love it, Thanks Ana!!
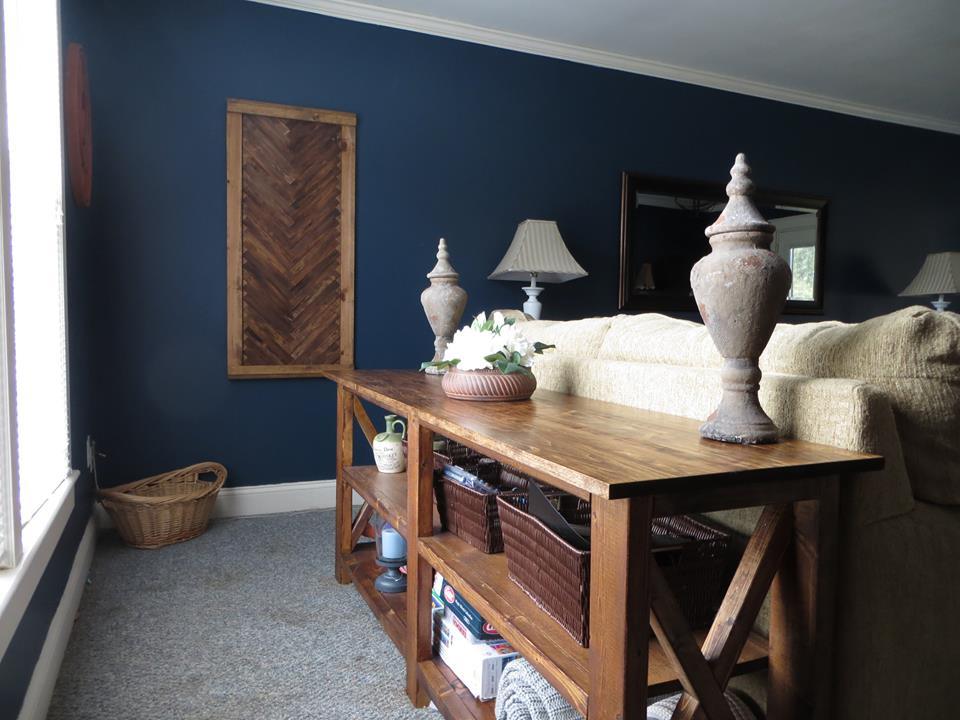
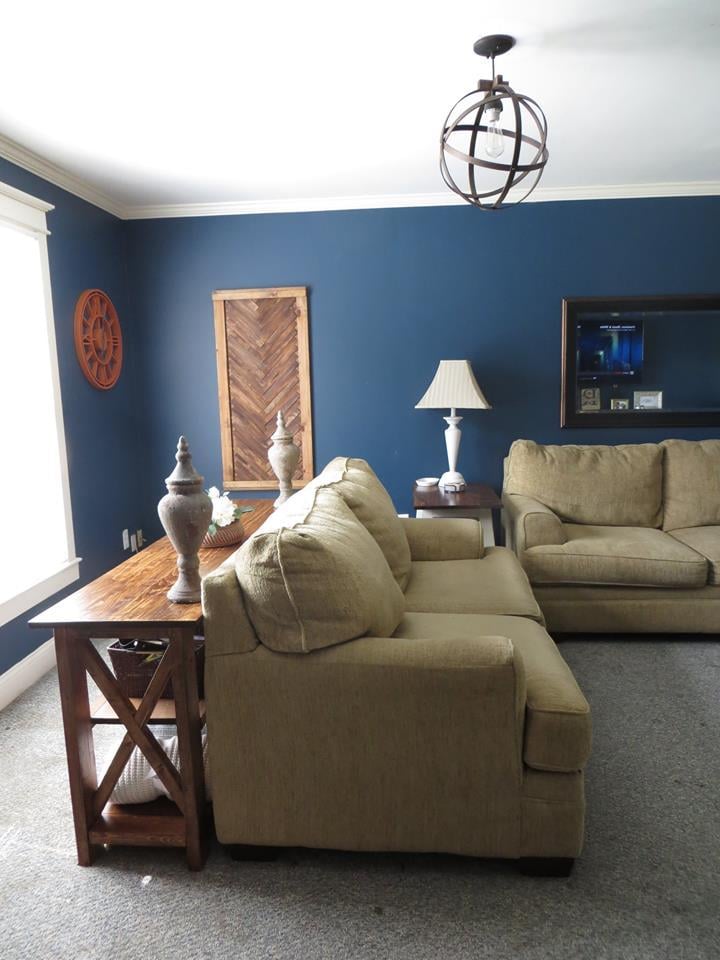
This is by far my favorite build. I couldn't be more happy with it! I spent several days on this. The majority of my time was spent on the finish. It really is a great plan if you are just getting started.
I saw http://www.ana-white.com/2013/02/plans/wall-kitchen-corner-cabinet and knew this was the project I wanted to do in our new home. The side cabients are from http://www.ana-white.com/2013/12/plans/36-wall-cabinet-double-door-momp… project, redesined to fit the wall-kitchen-corner-cabinet plans. This was my first cabient build. Still have to install doors. I am happy way it came out and so is wife.
Thanks Ana for your great site and plans. My next project is the storage sofa :D
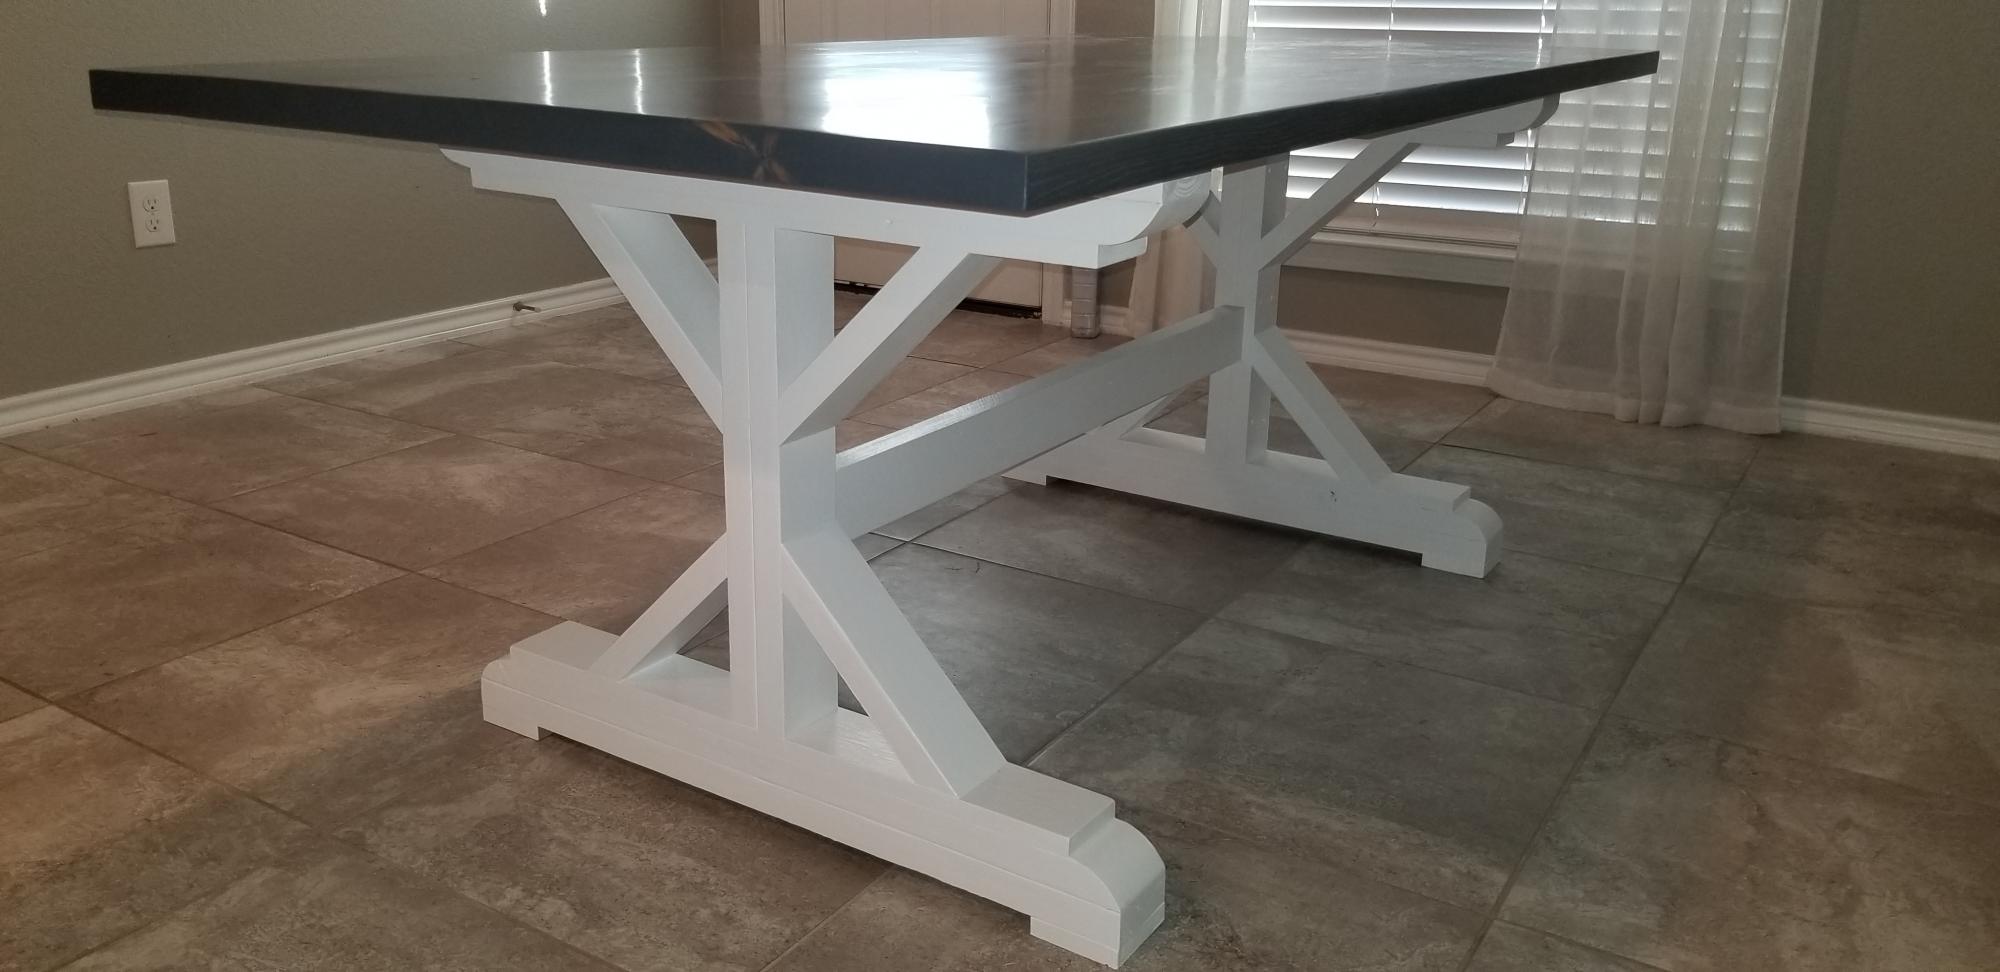
This was my very first table. We could not find one in stock so I found these plans from Ana White. The base was easy enough if you take your time and make sure you are oriented right before cutting.......not that I made any mistakes by not double checking before plunging that saw into my work piece. The top was modified to be 6 feet long. I edge jointed, using an electric hand planner, the 2x6s after planning the faces flat. This helped my hand planner to ride flush and make a pretty straight edge after a few passes taking off very little each time. This actually took longer than building the base. I pocket holed the underside to squeeze the top together with some glue. It turned out almost perfectly seamless. I mixed some fine sanding dust with some poly for any cracks or blemishes. That allowed the stain to actually take, unlike with wood filler.
