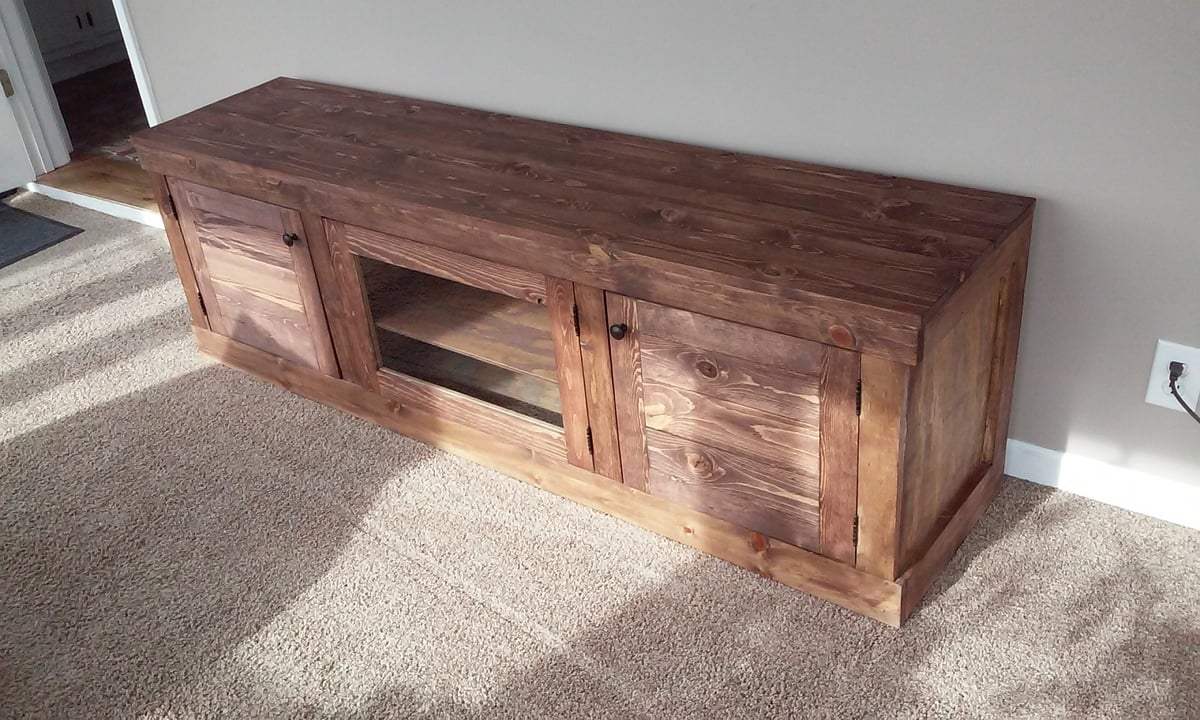
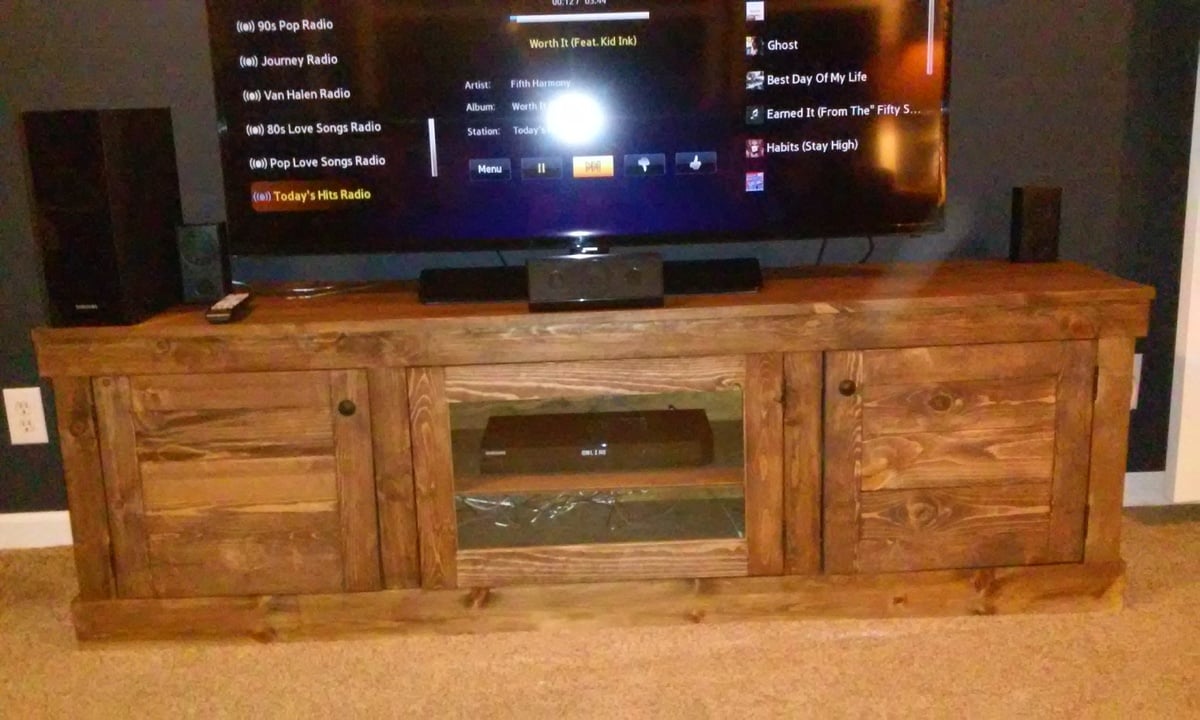
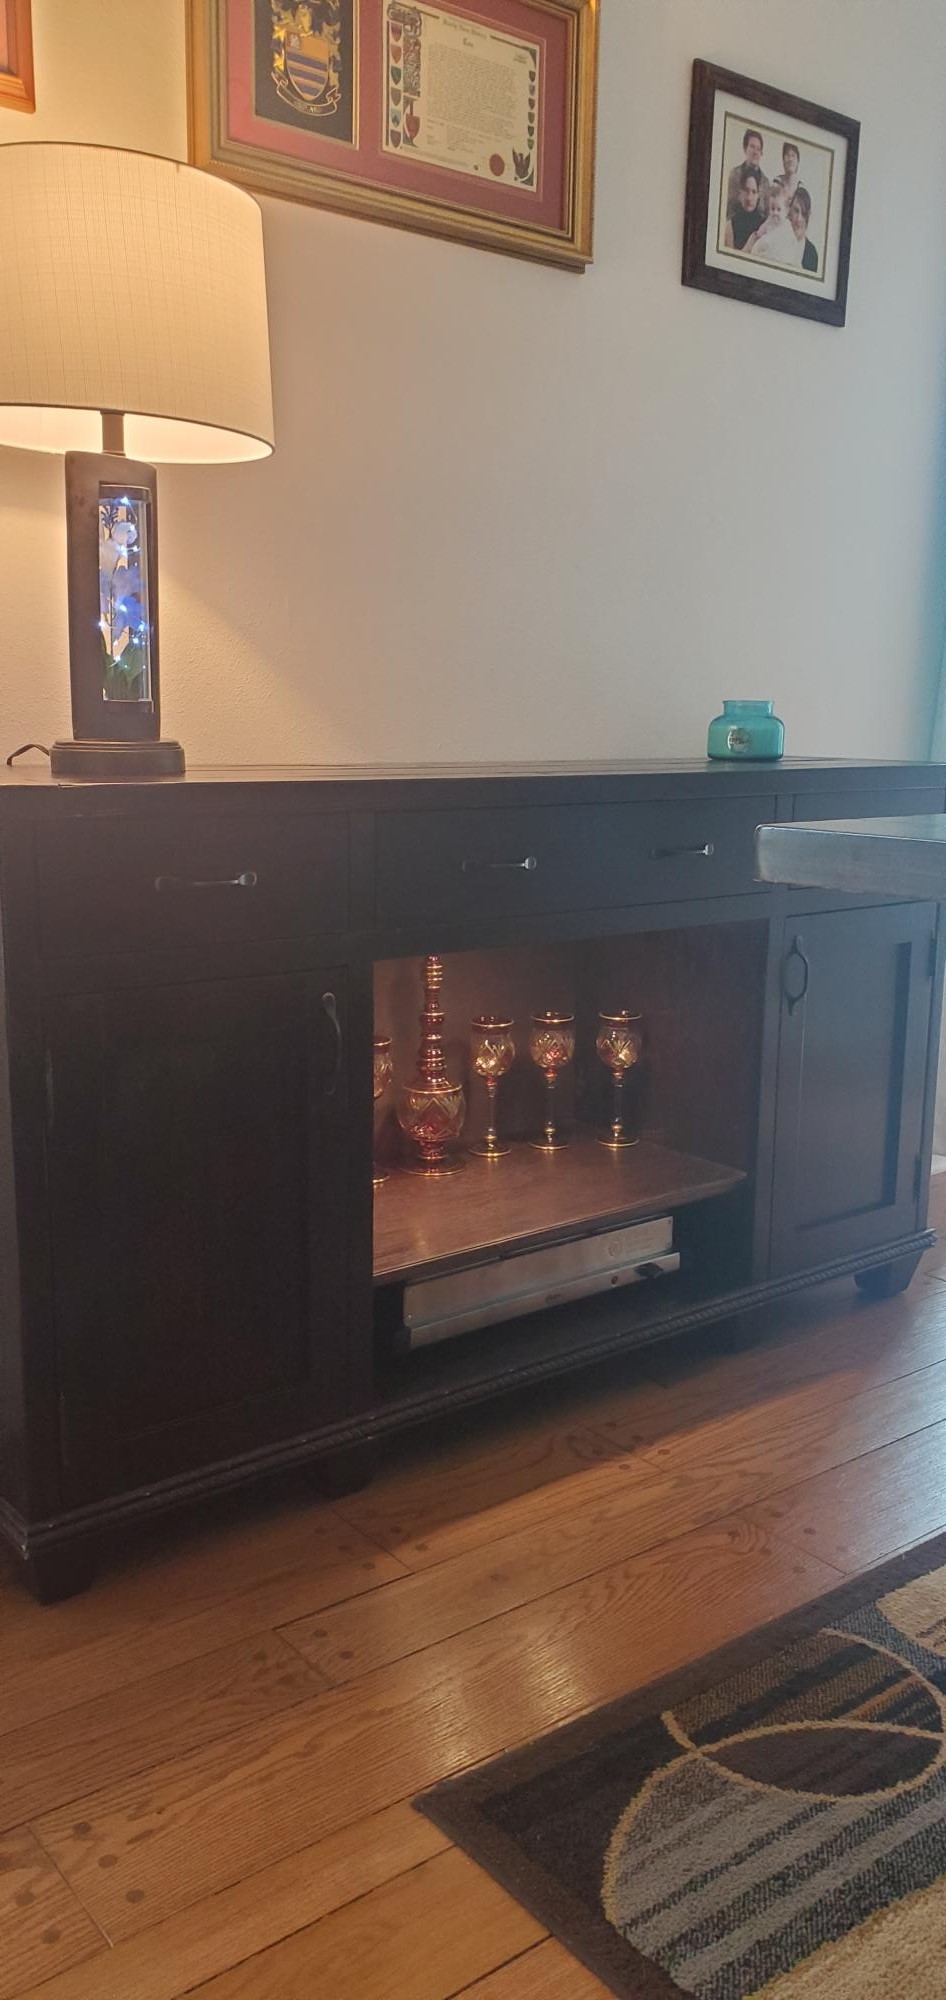
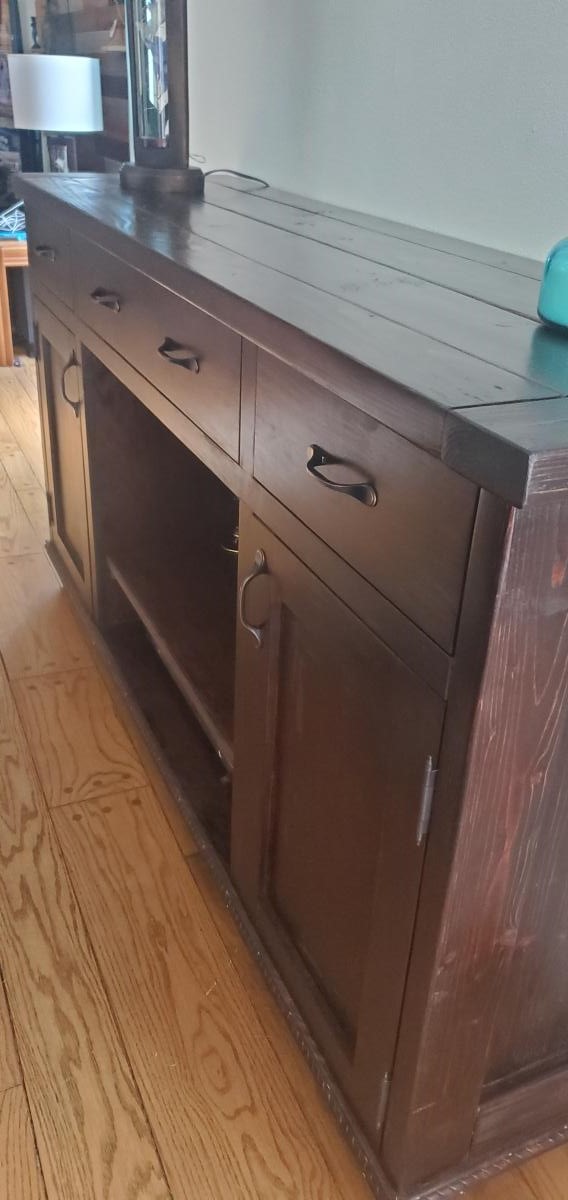
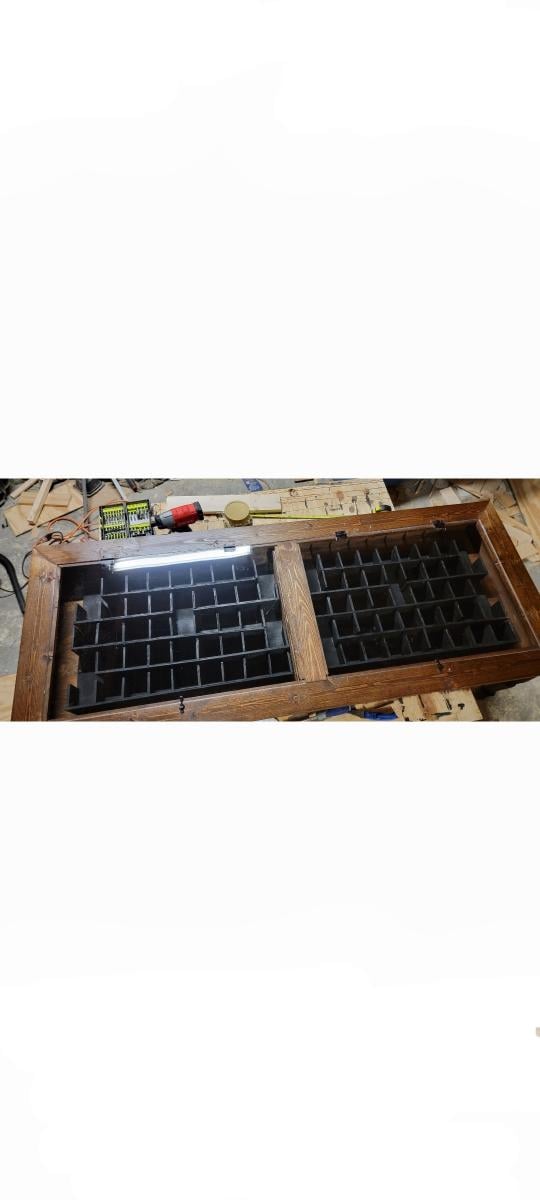
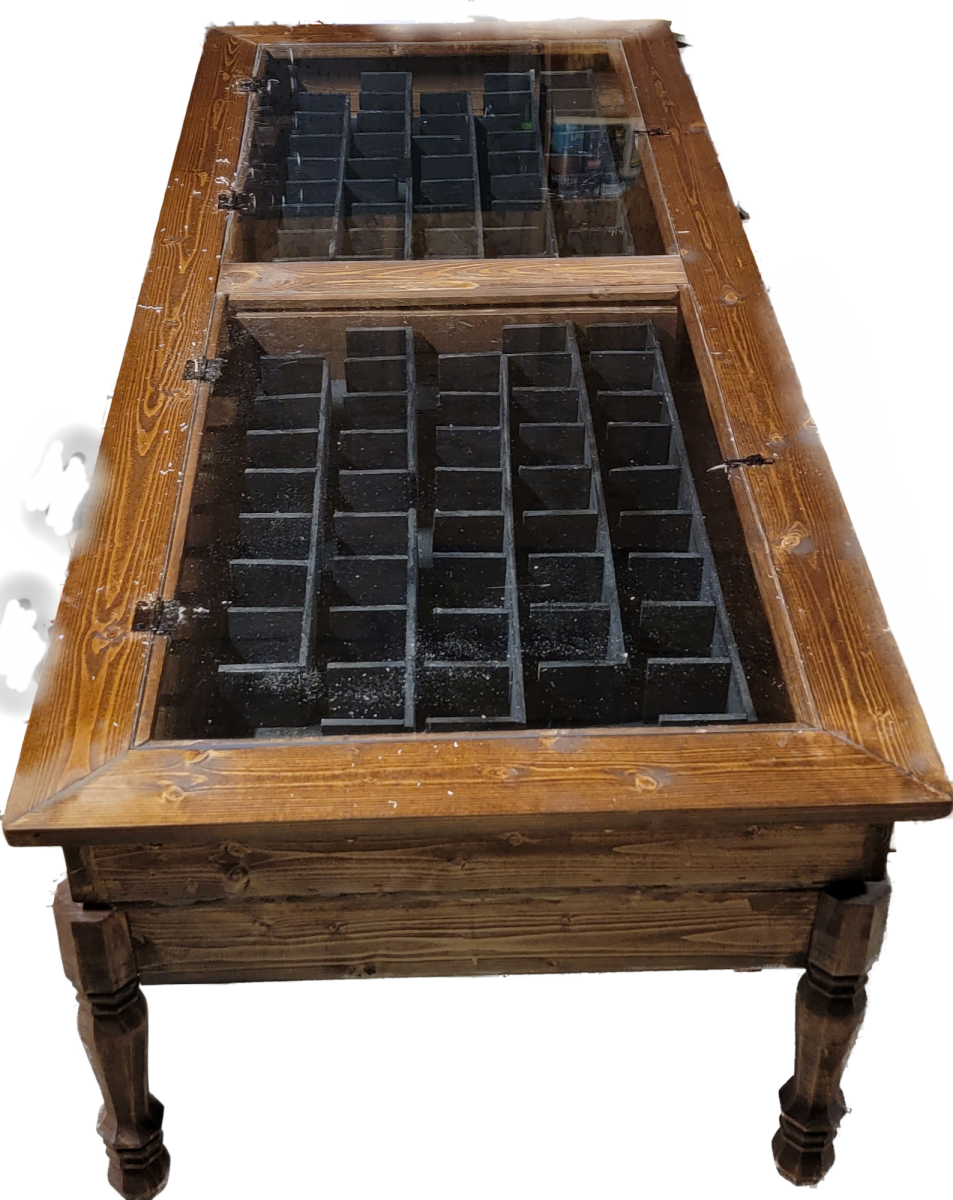
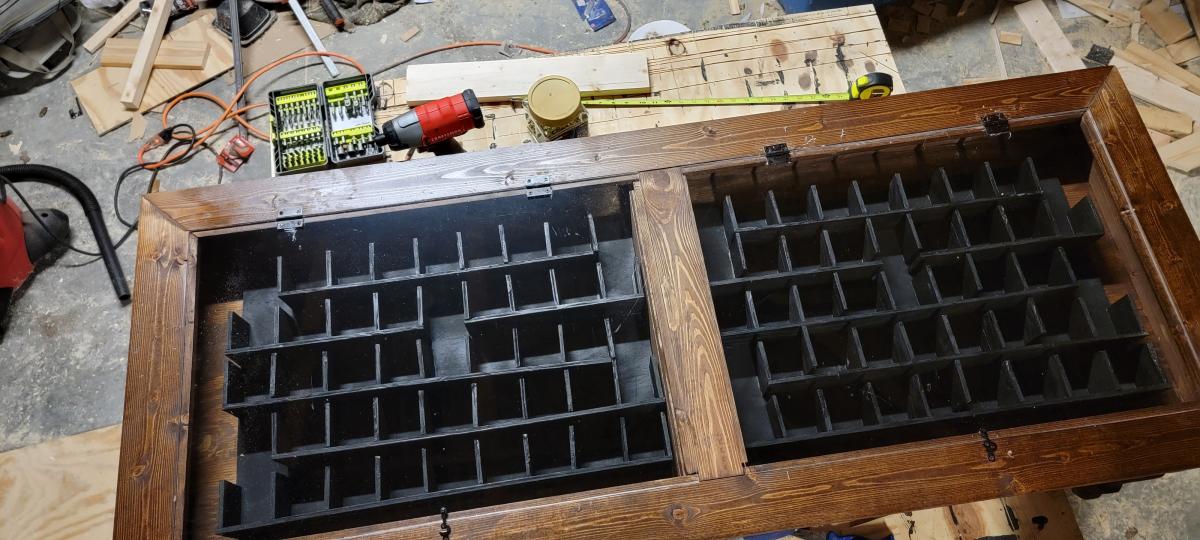
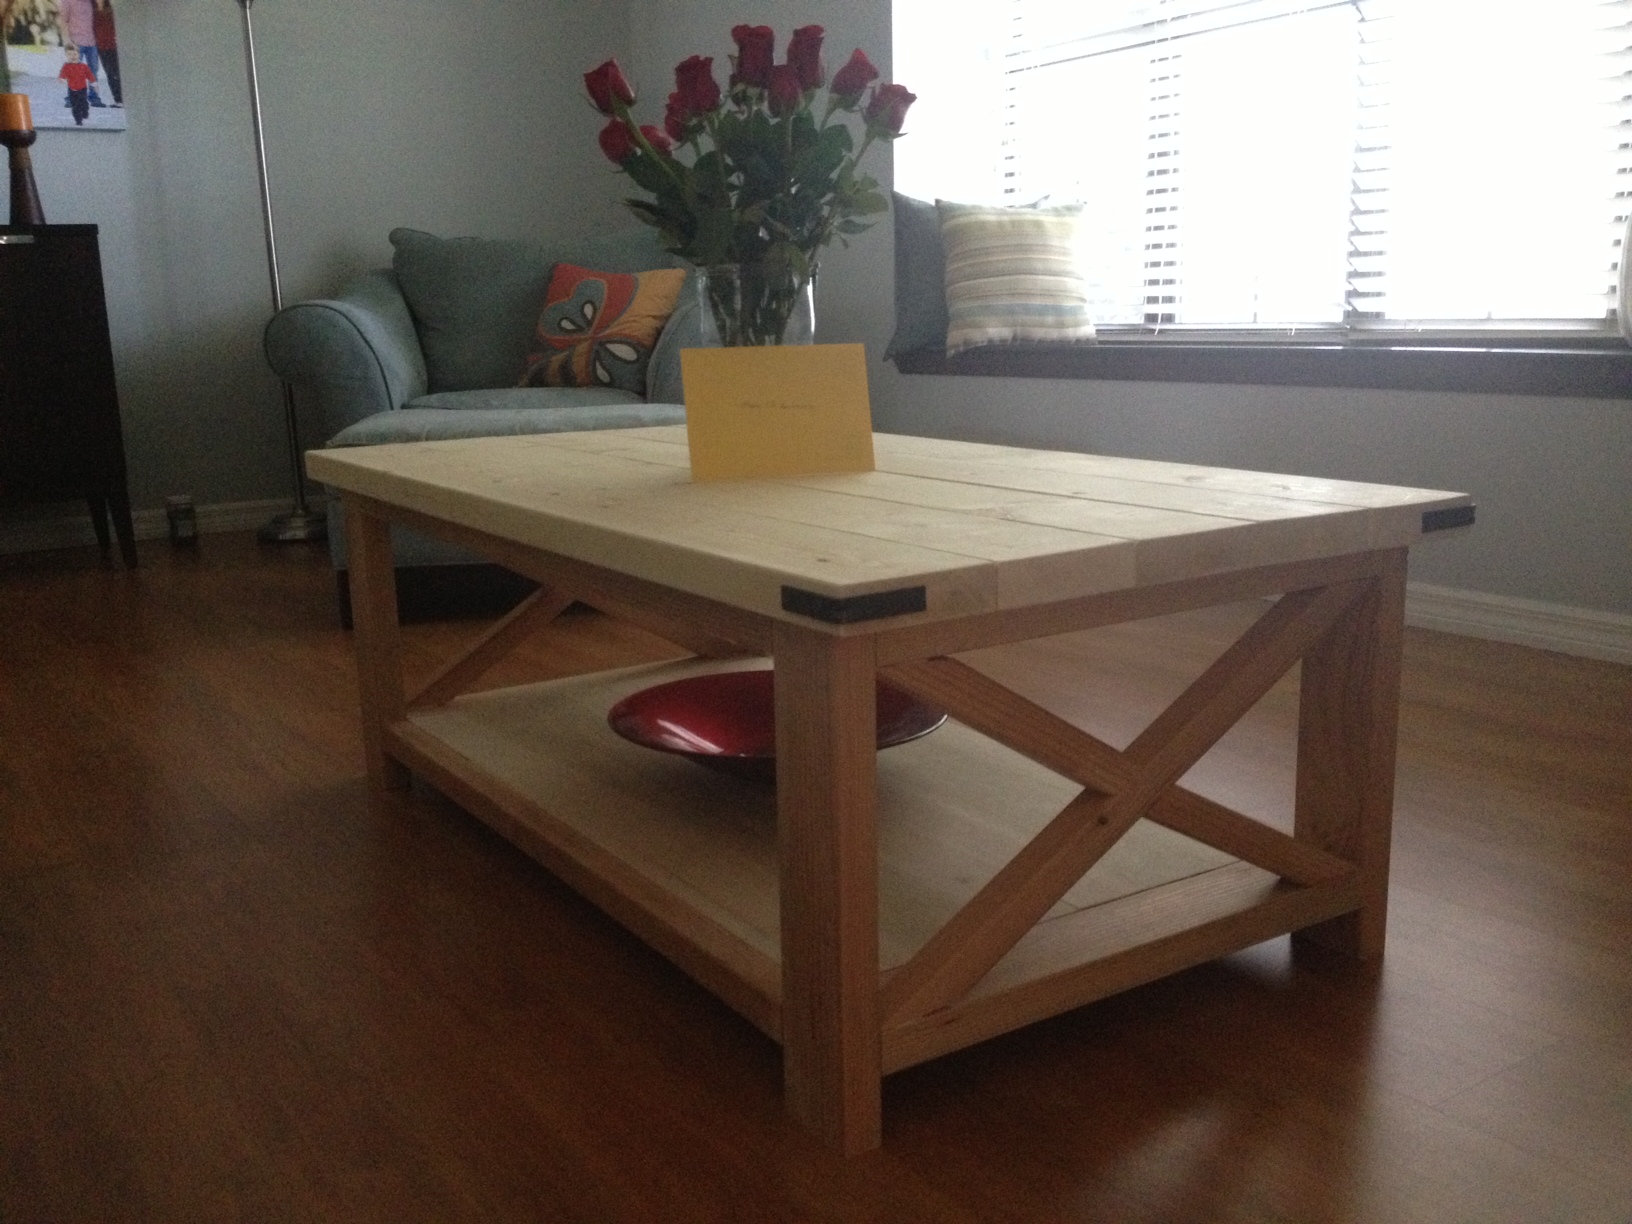
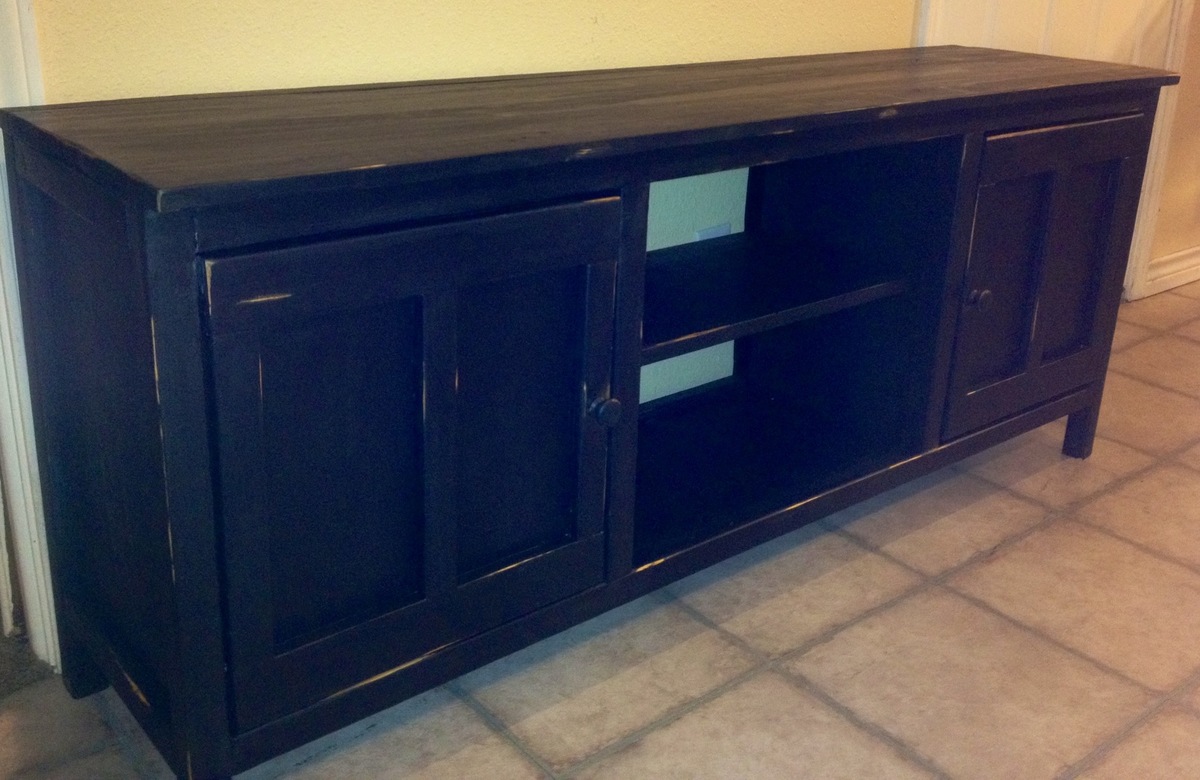
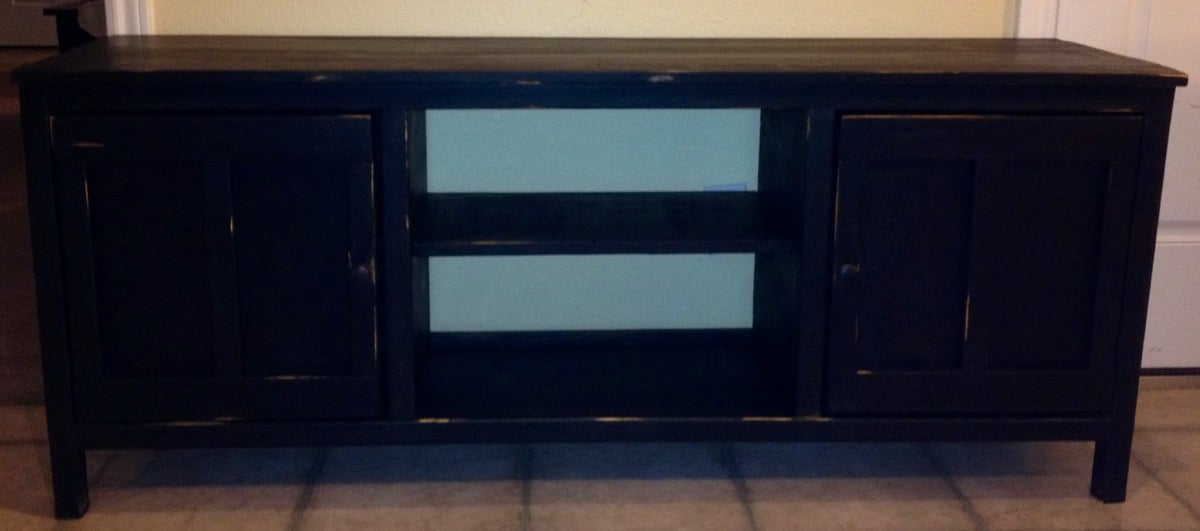
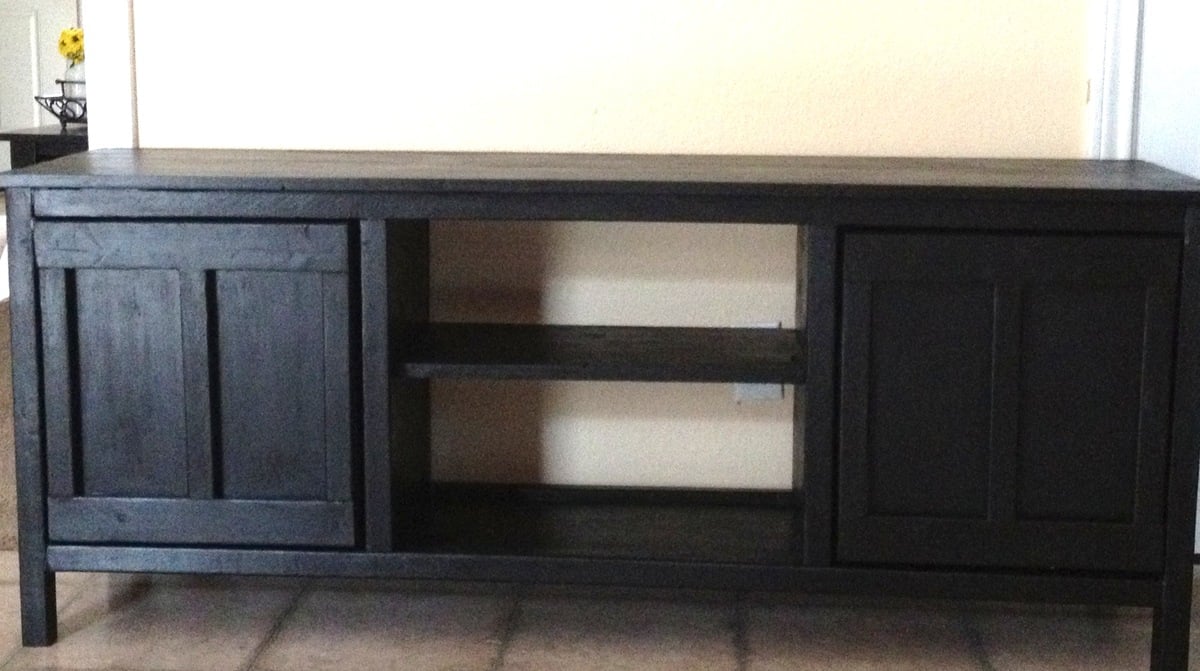
This was built using Ana's media console plan with slight modifications. I decided to forego the drawers for simples shelves, like so many on the brag posts did. I also added shelves in each of the cabinets for extra storage. And, I added some scrap 2x2s for vertical trim on the cabinets. I opted for knobs instead of handles, because I thought it looked better and they were recycled from another project of mine.
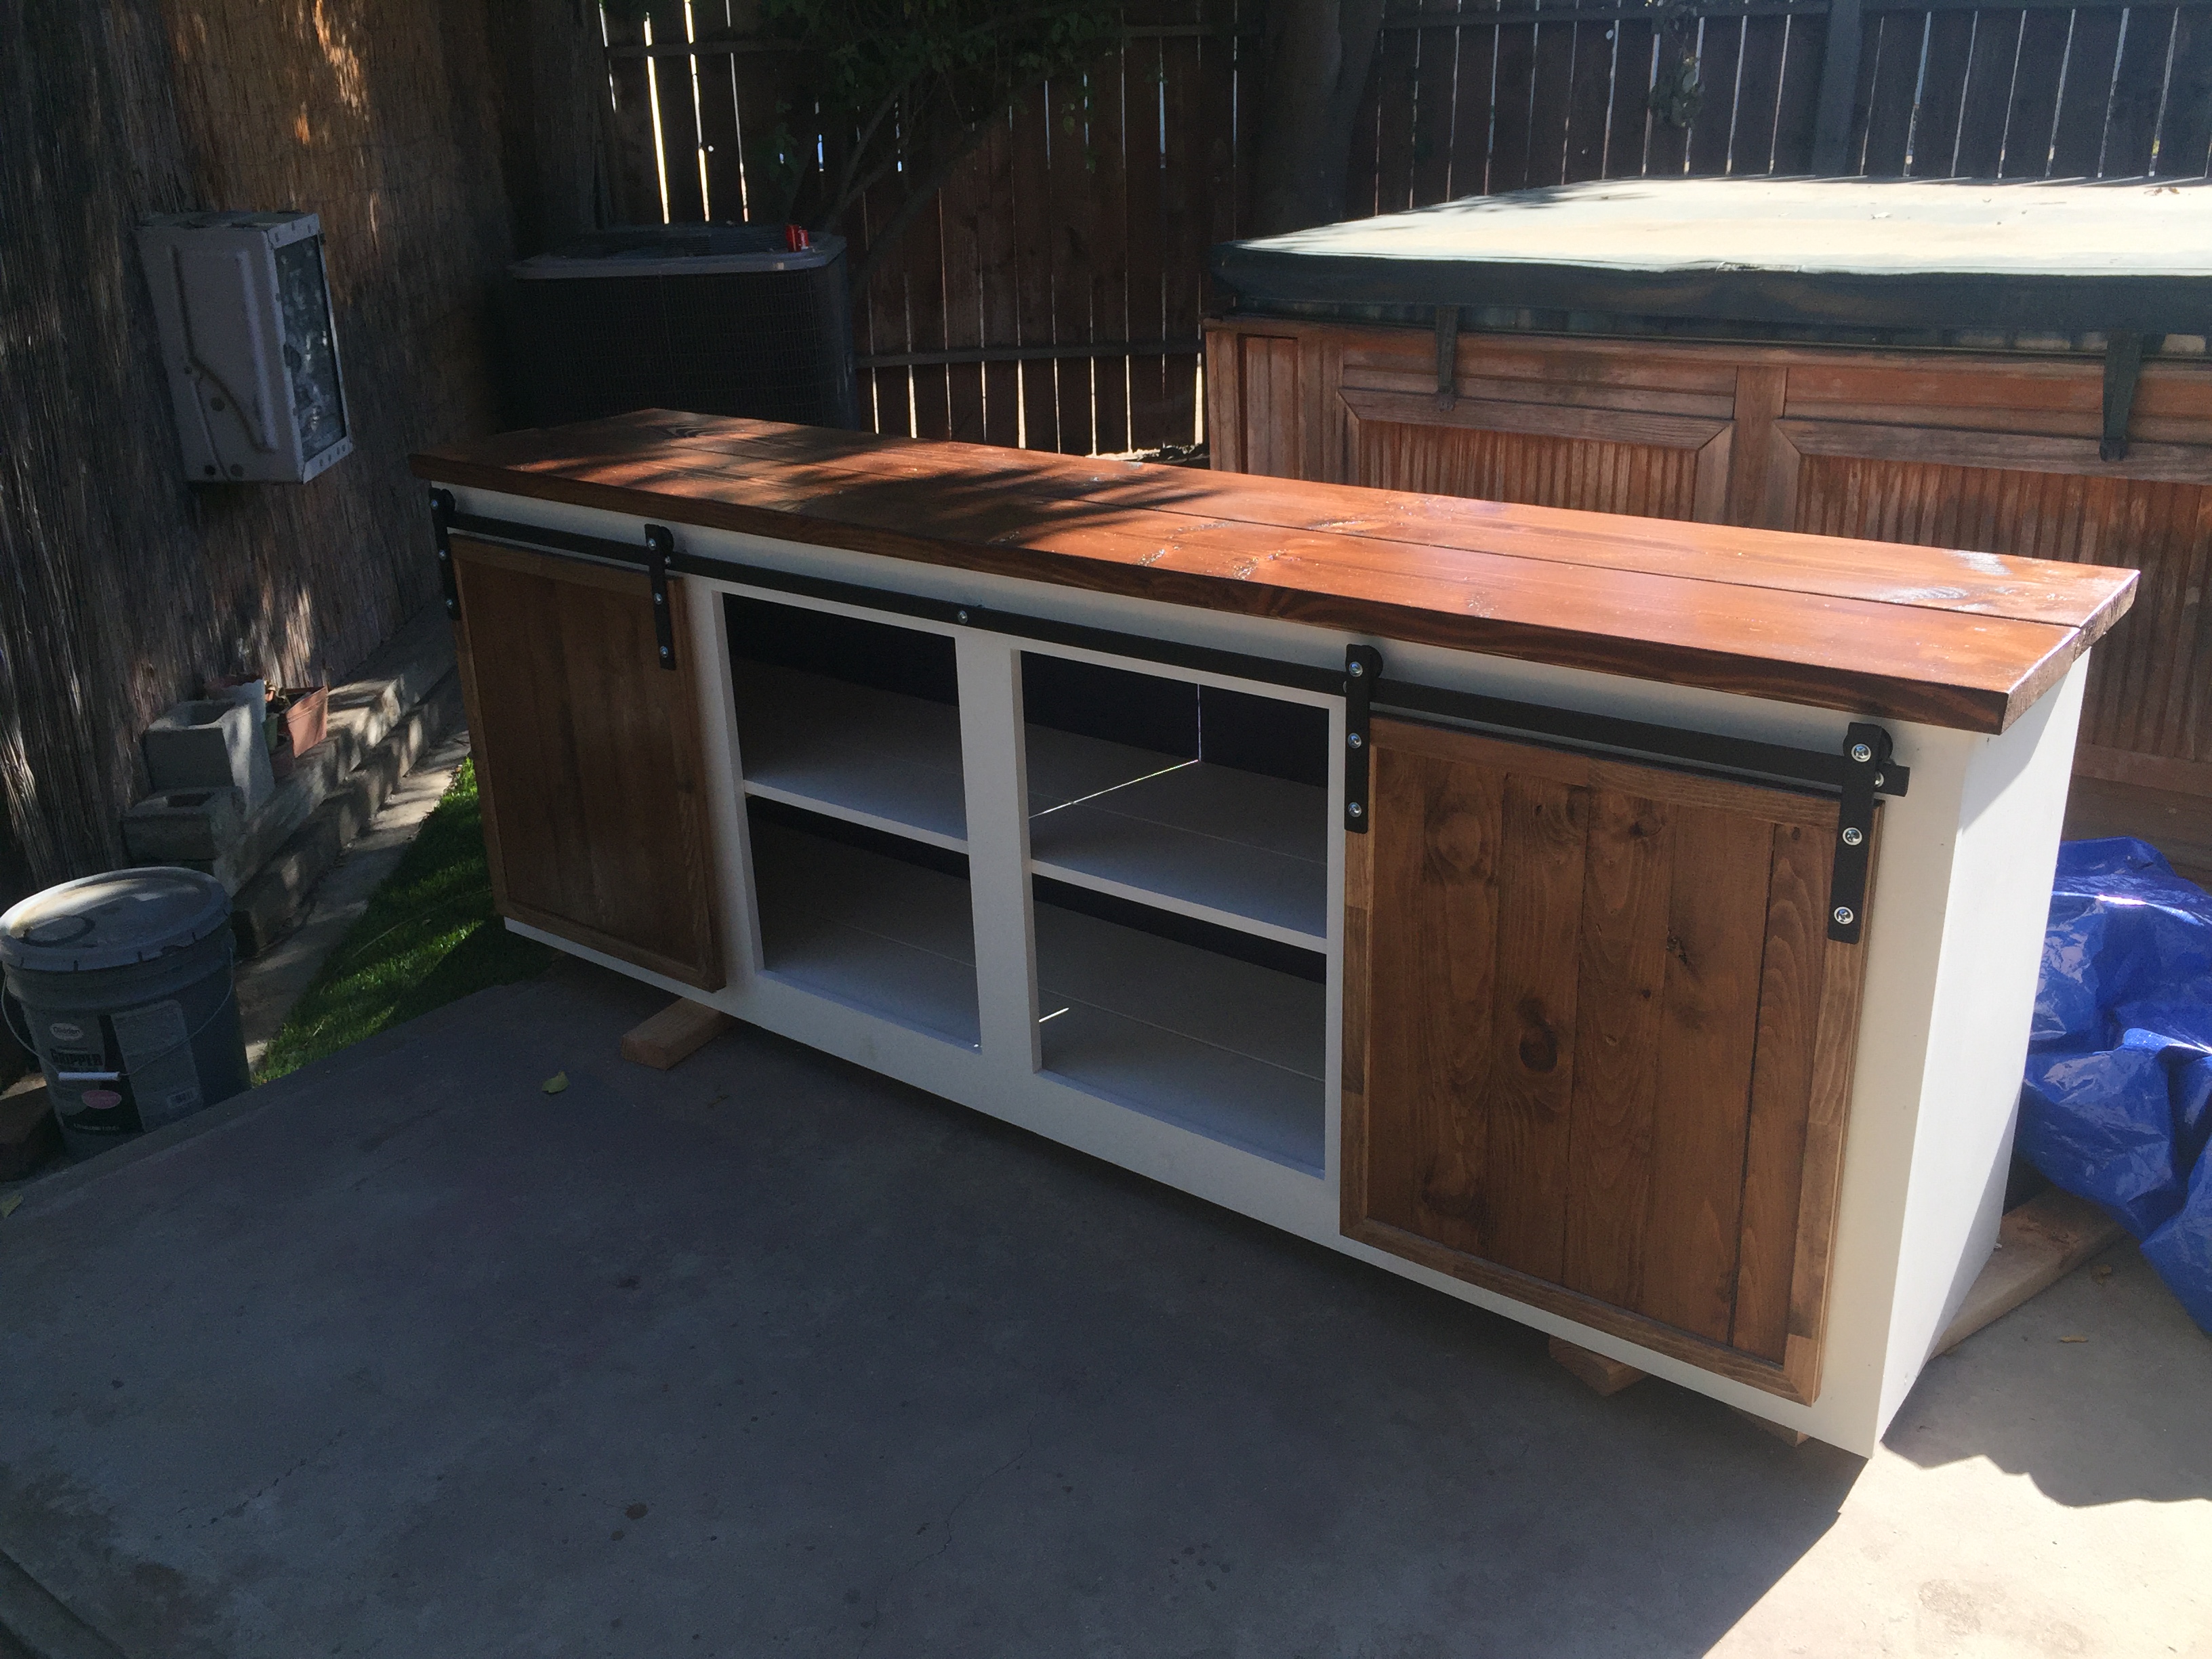
I painted black, since that's my thing and it's seemingly safe, but distressed with my sander and used a q-tip to stain the "weathered" parts. For whatever reason, I let my husband select the stain and he chose the Minwax Classic Gray. This is a gorgeous stain, but do not use it on black as a distress stain. This color takes a bit of manipulation, as it doesn't take on certain pieces of wood as it does others (Ana does a tutorial on this color--watch it and you'll see what I mean). From there, if you get any excess on the black paint, it looks a sloppy mess--I had to wipe it down with a wet cloth as best I could, repaint it, sand it, and restain with Rustoleum Summer Oak (I personally prefer all Rustoleum products to Minwax, but that's my preference).
Also, I wish I had used higher-quality wood and/or spent more time finding better cut pieces. I used pine, and some of the pieces (especially the 2x2s) were very wonky.
This was my first "big" project and it took a really long time because I made a ton of mistakes. But, it's wood, and mistakes can be corrected. Just like life, mistakes are learning experiences--some more costly than others. While this isn't the most beautiful piece of furniture, it was a great learning experience, and that's why this console is so valuable to me.