Community Brag Posts
The New Dollhouse
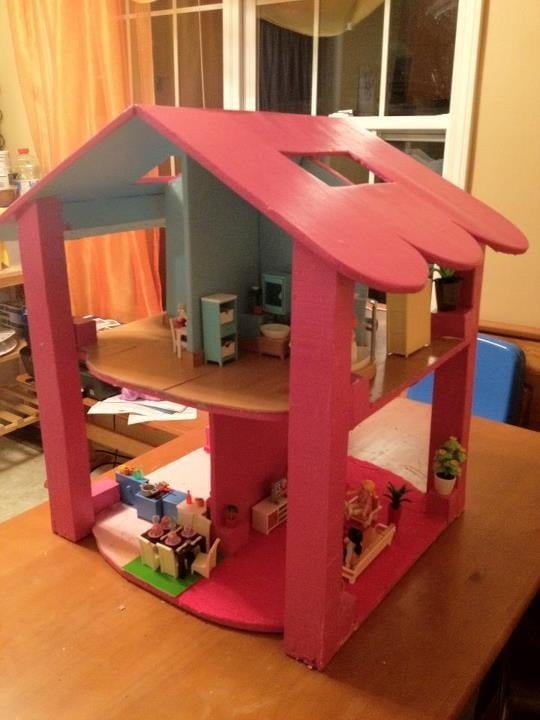
I made this dollhouse a couple months ago from scrap wood I had in my garage. It was my third build! I used felt for carpet on the bottom level and I used a laminate scrap that was laying in our garage for the upper level to look like a hard wood floor. I used leftover paint that we had from other projects, and I didn't spend a penny on this project other than screws and glue, etc. I didn't think it would come out as nice as it did, and it provides hours of entertainment for my daughters! I'm going to be making another one of these as a Christmas gift this year! What I liked best about this project was the endless amount of creativity that could be used. I'm going to try to make handmade furniture for the next one I build!
Playhouse

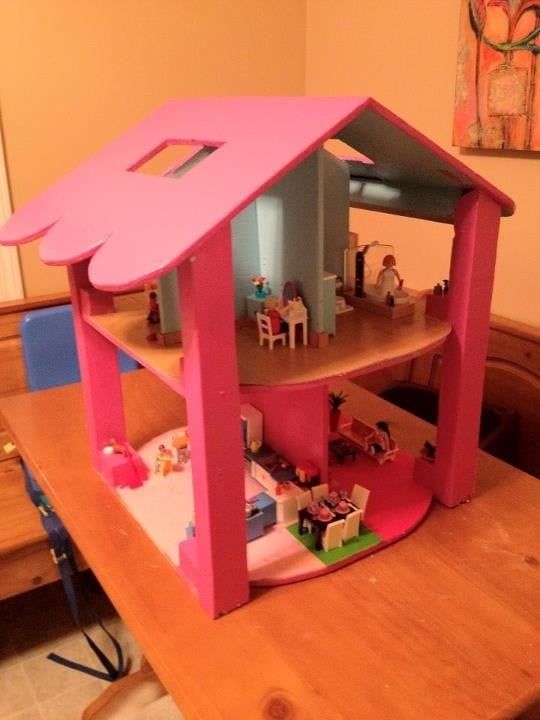
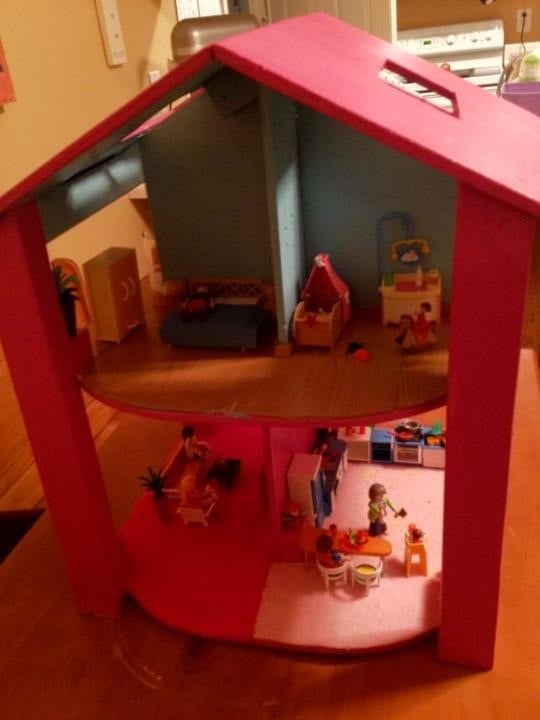
After looking at how much a play set was for my kiddos, I decided I wanted to play with some tools and build it myself. With a family of four and busy schedules, this took a little longer than I expected, but I did finish it and I'm happy with the results.
Total cost was around $650.

Washer and Dryer Pedestal
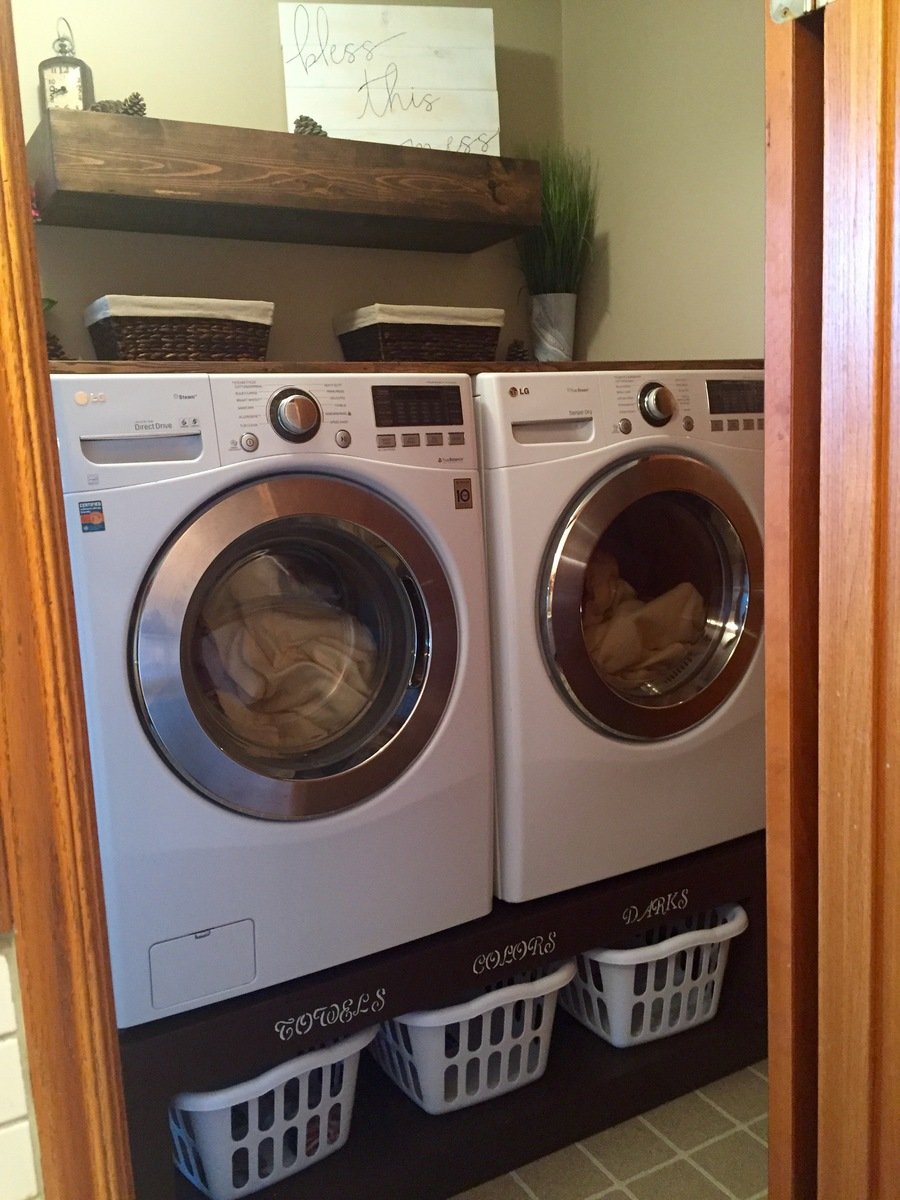
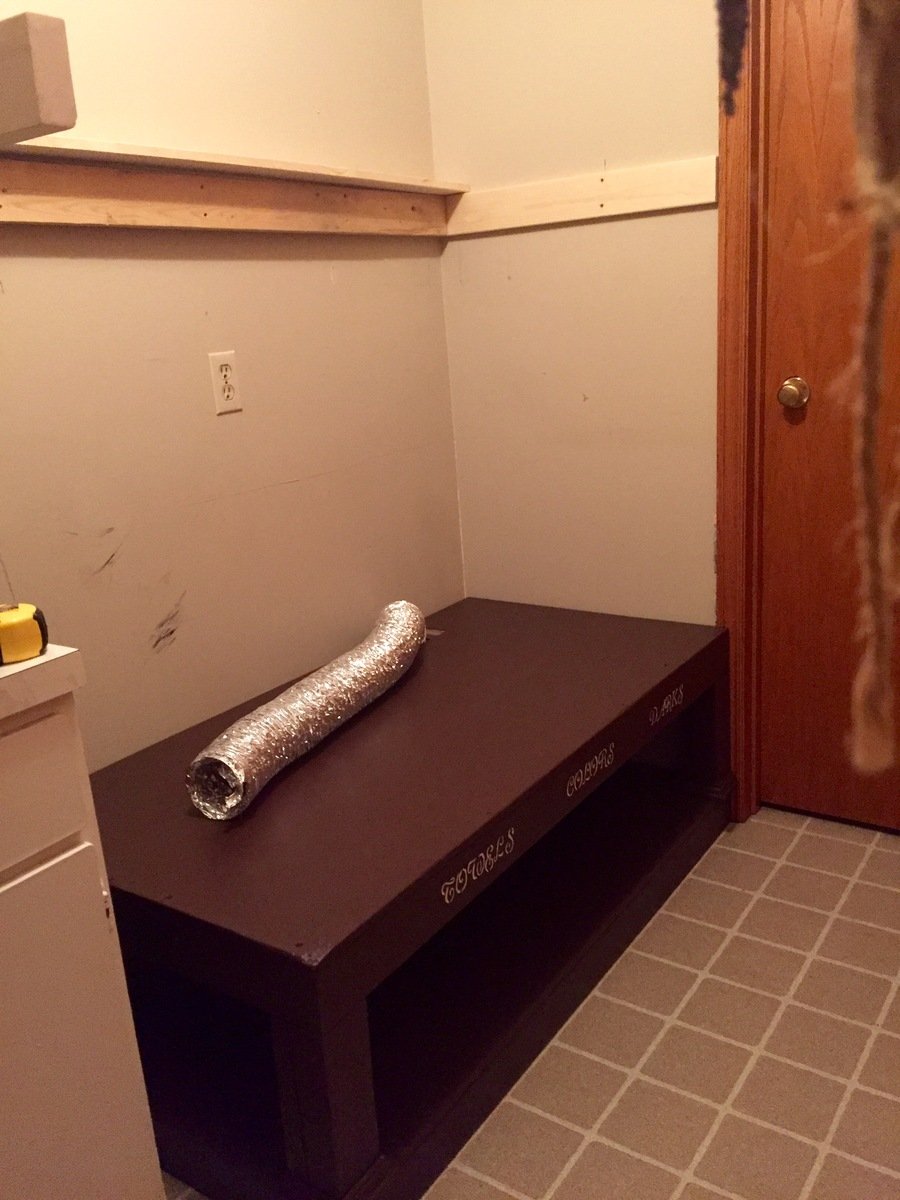
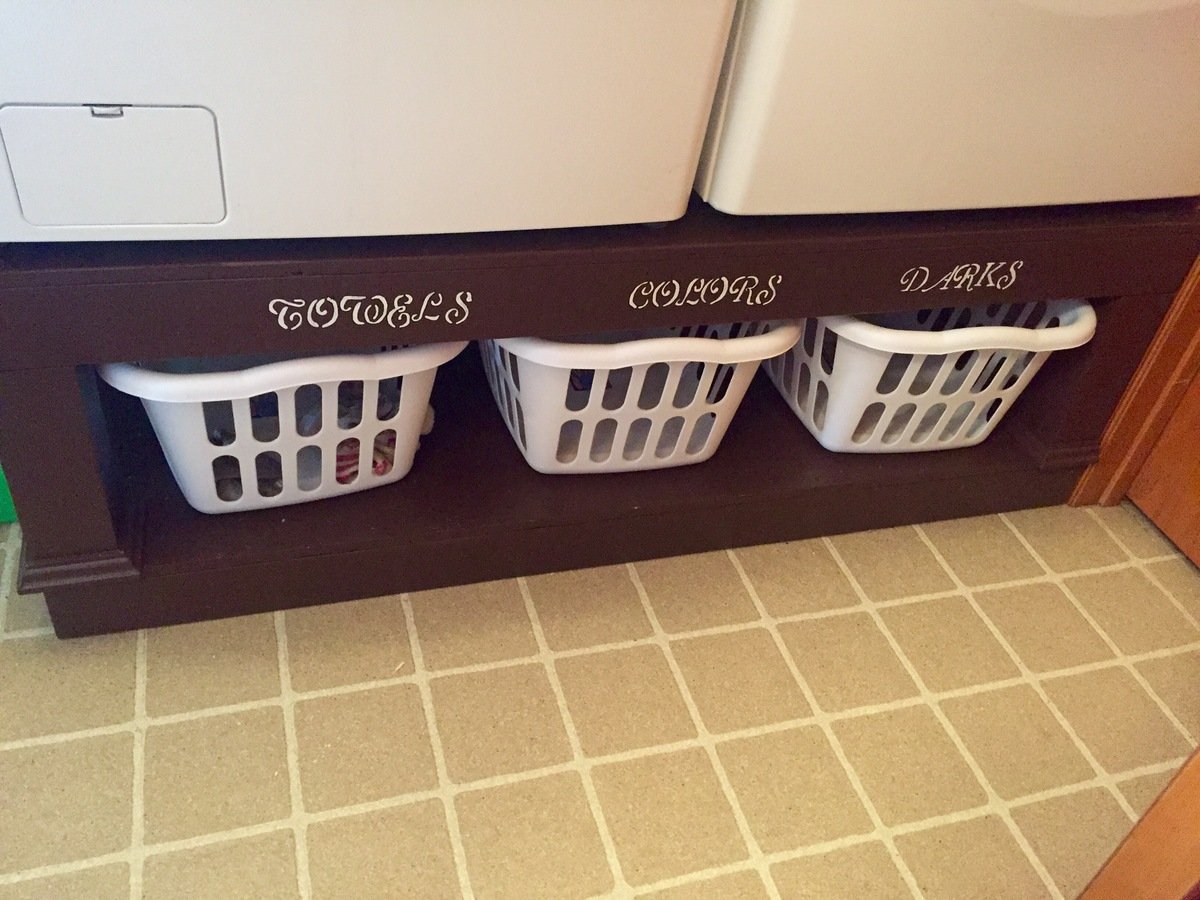
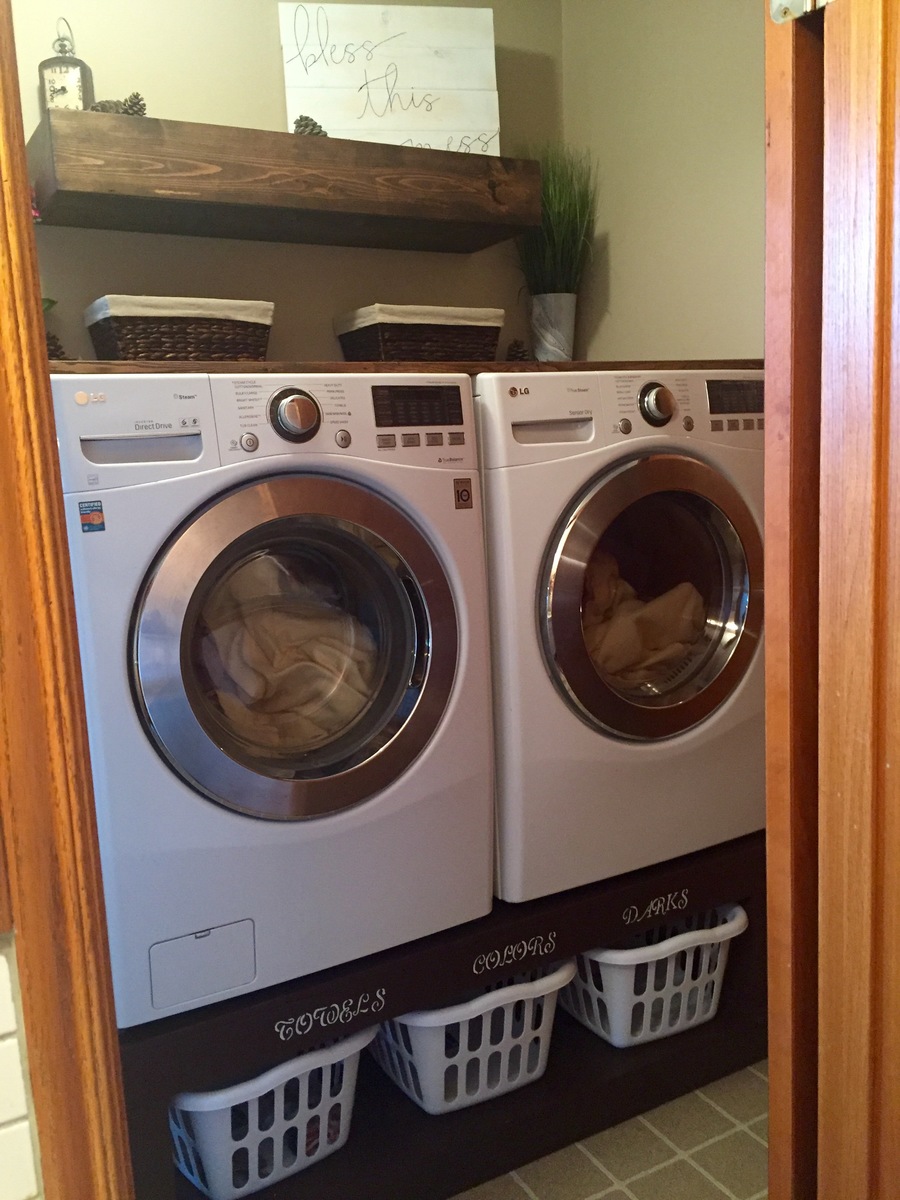
Found these awesome plans from Ana's site here and thought I could definitley make that! My mother needed a new laundry room makeover so it was the perfect opportunity. I made my stand only 56" long to fit perfectly into the spot. Which still allowed enough room for washer and dryer to be on there and enough room if they shook a little. I had to adjust my plans as I wanted it to fit snug against the wall but needed to allow for the dryer hose to connect to wall so I cut out a 4.5"x 5" spot on both the bottom and top platforms to allow for hose and cord to plug in. I put in extra supports going vertically and horizontally to replace the strength for the holes being cut. The result was perfect!
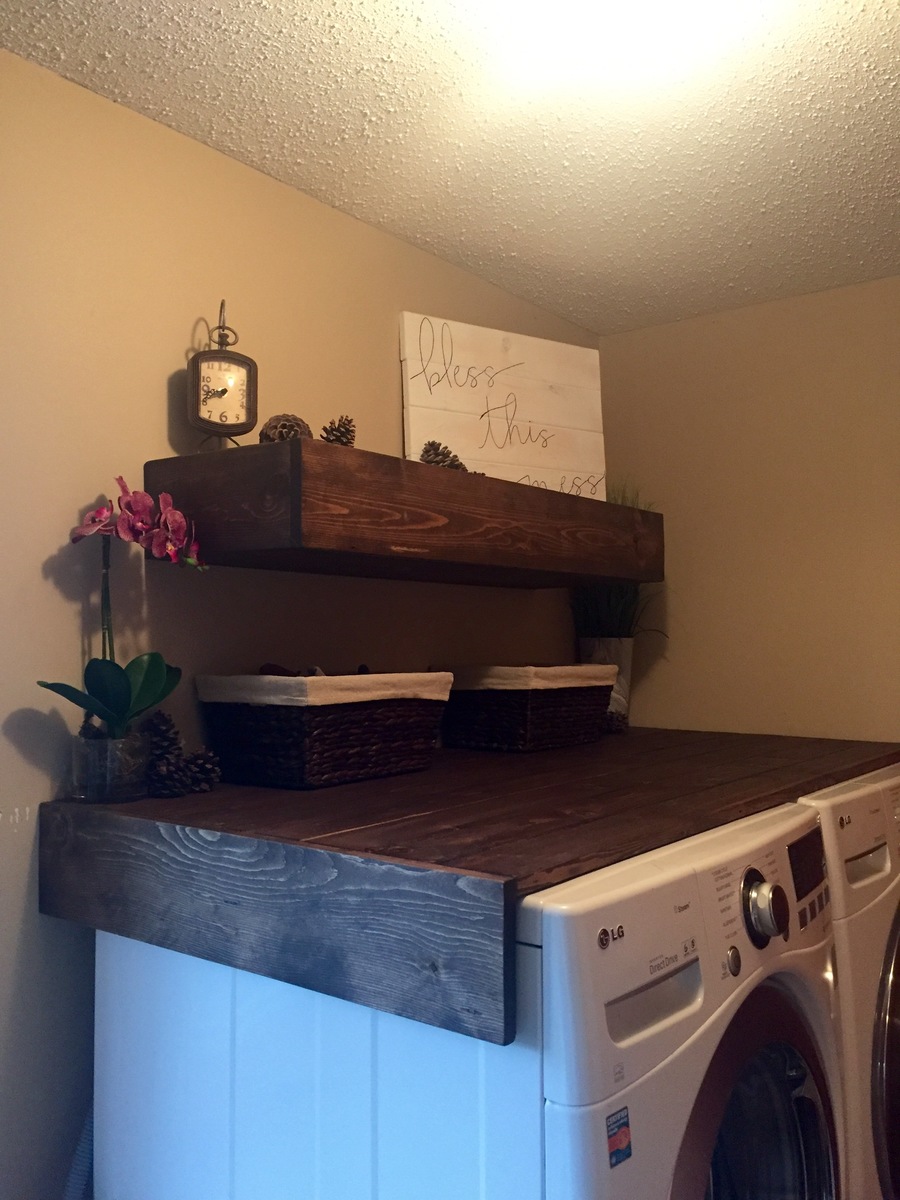
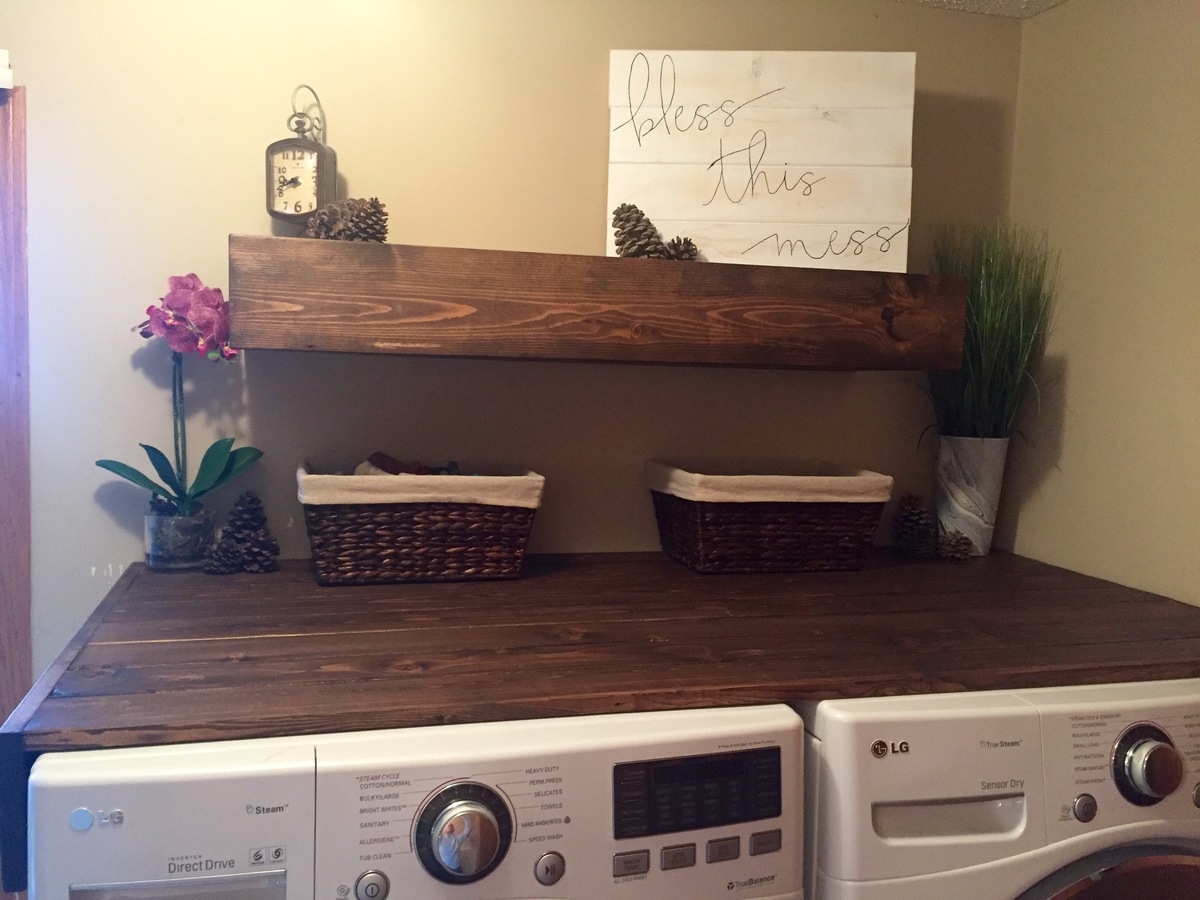
I got creative and added a floating rustic tabletop to the washer and dryer to make the space useful and also added a floating shelf above that. Both stained in a dark walnut.
Happy builder right here!!!
Tiered planter
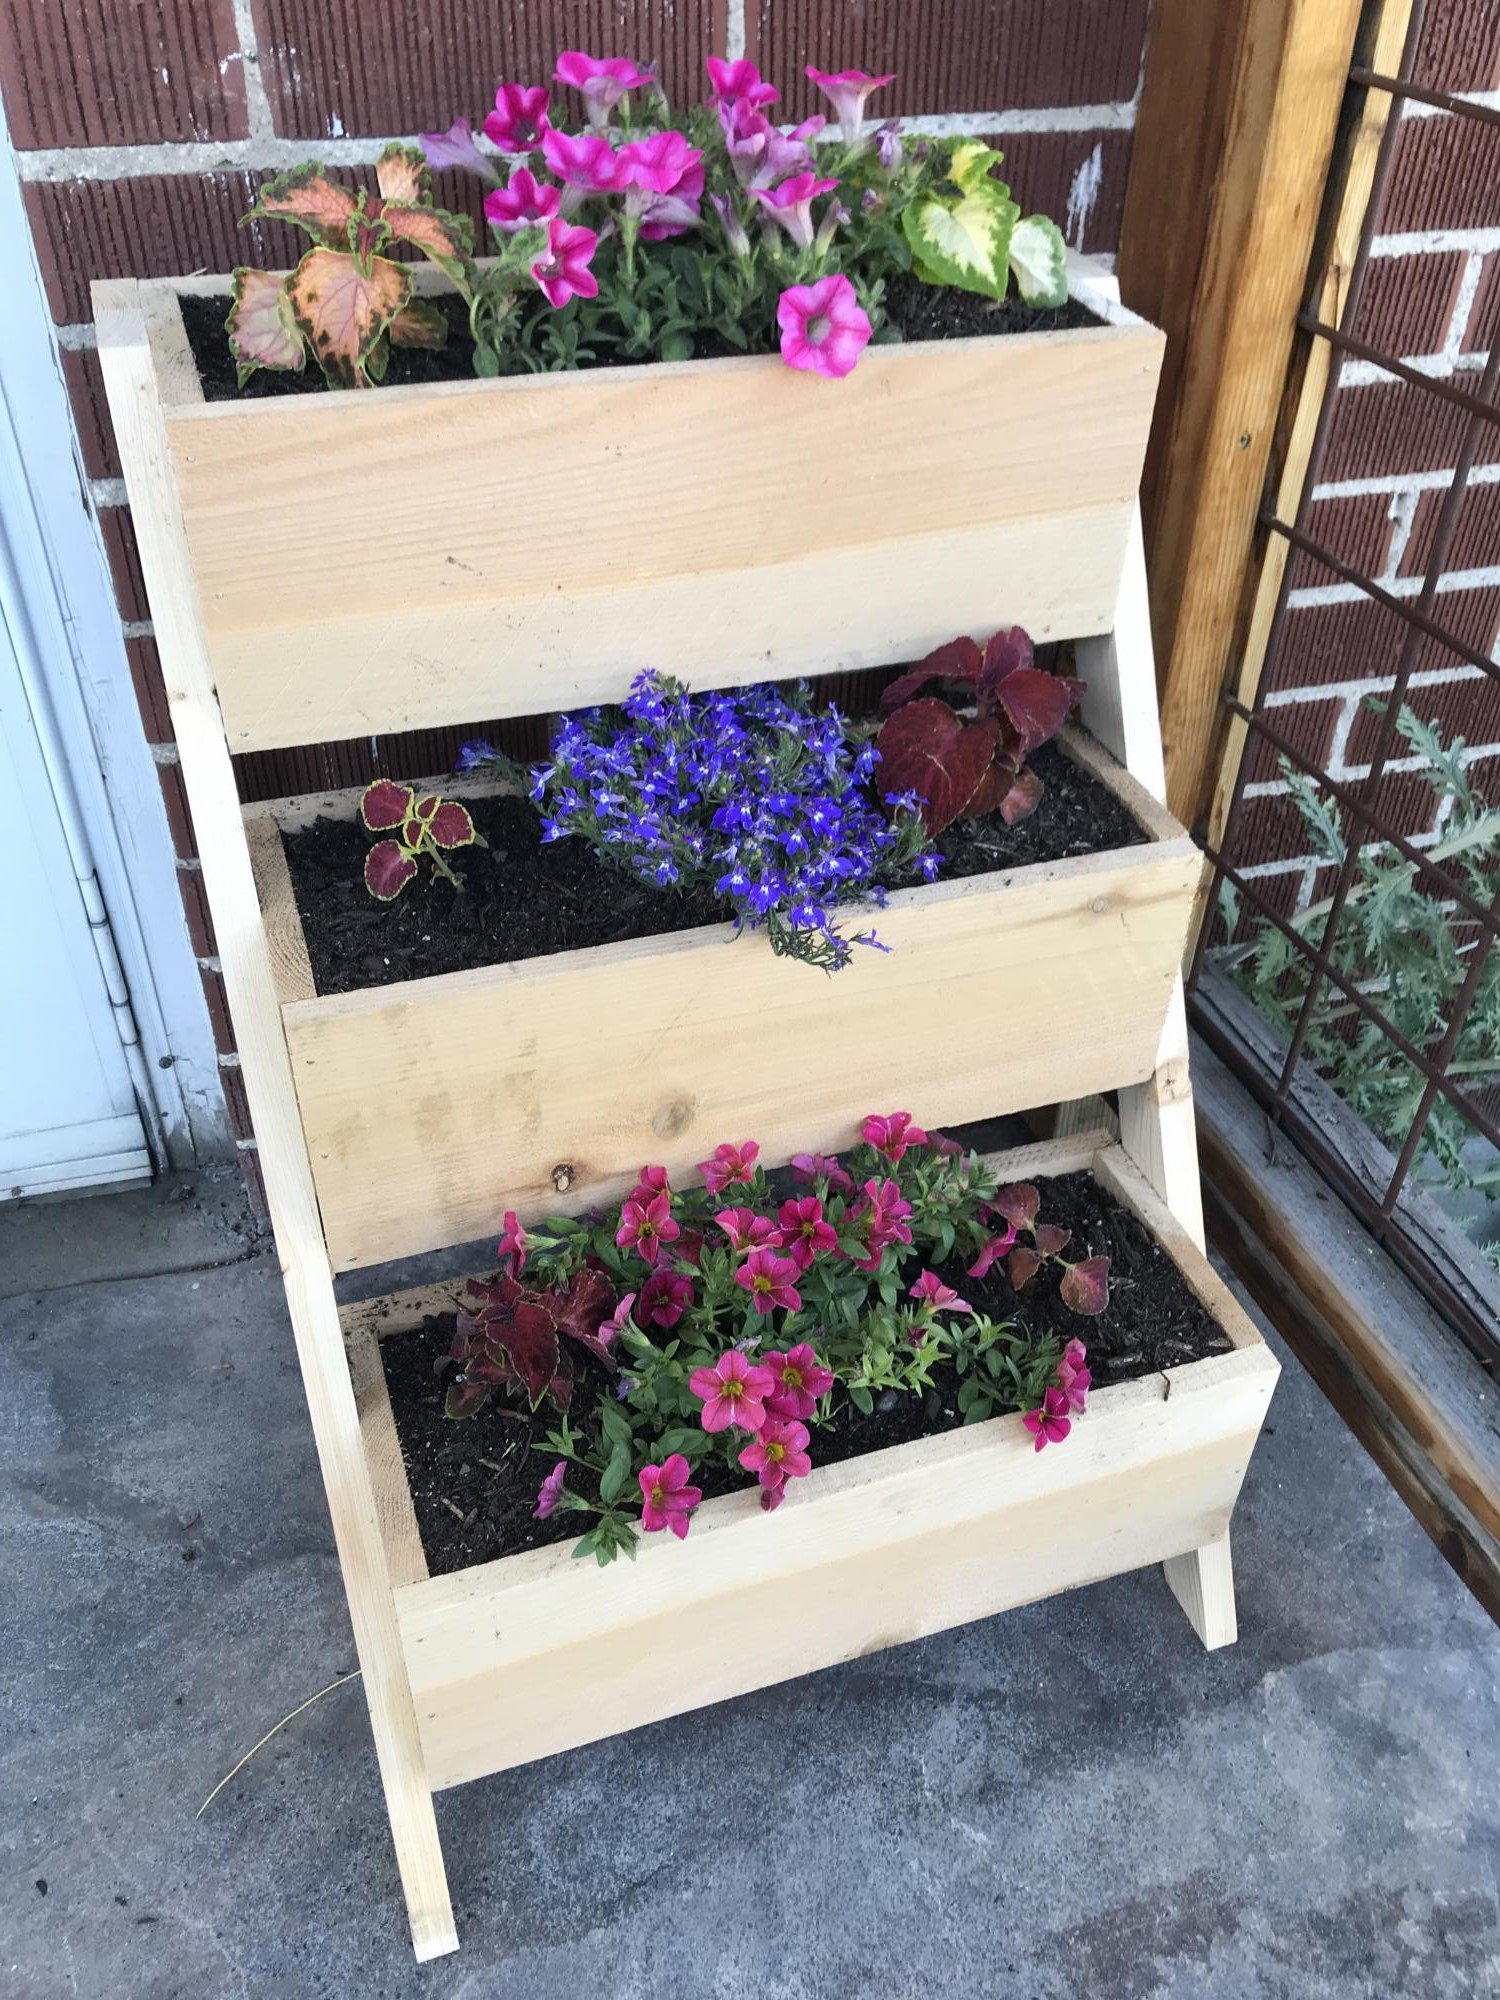
Super easy to build and looks great. We did not stain the wood. Quick assembly.
St. Patty's Day Cornhole Boards
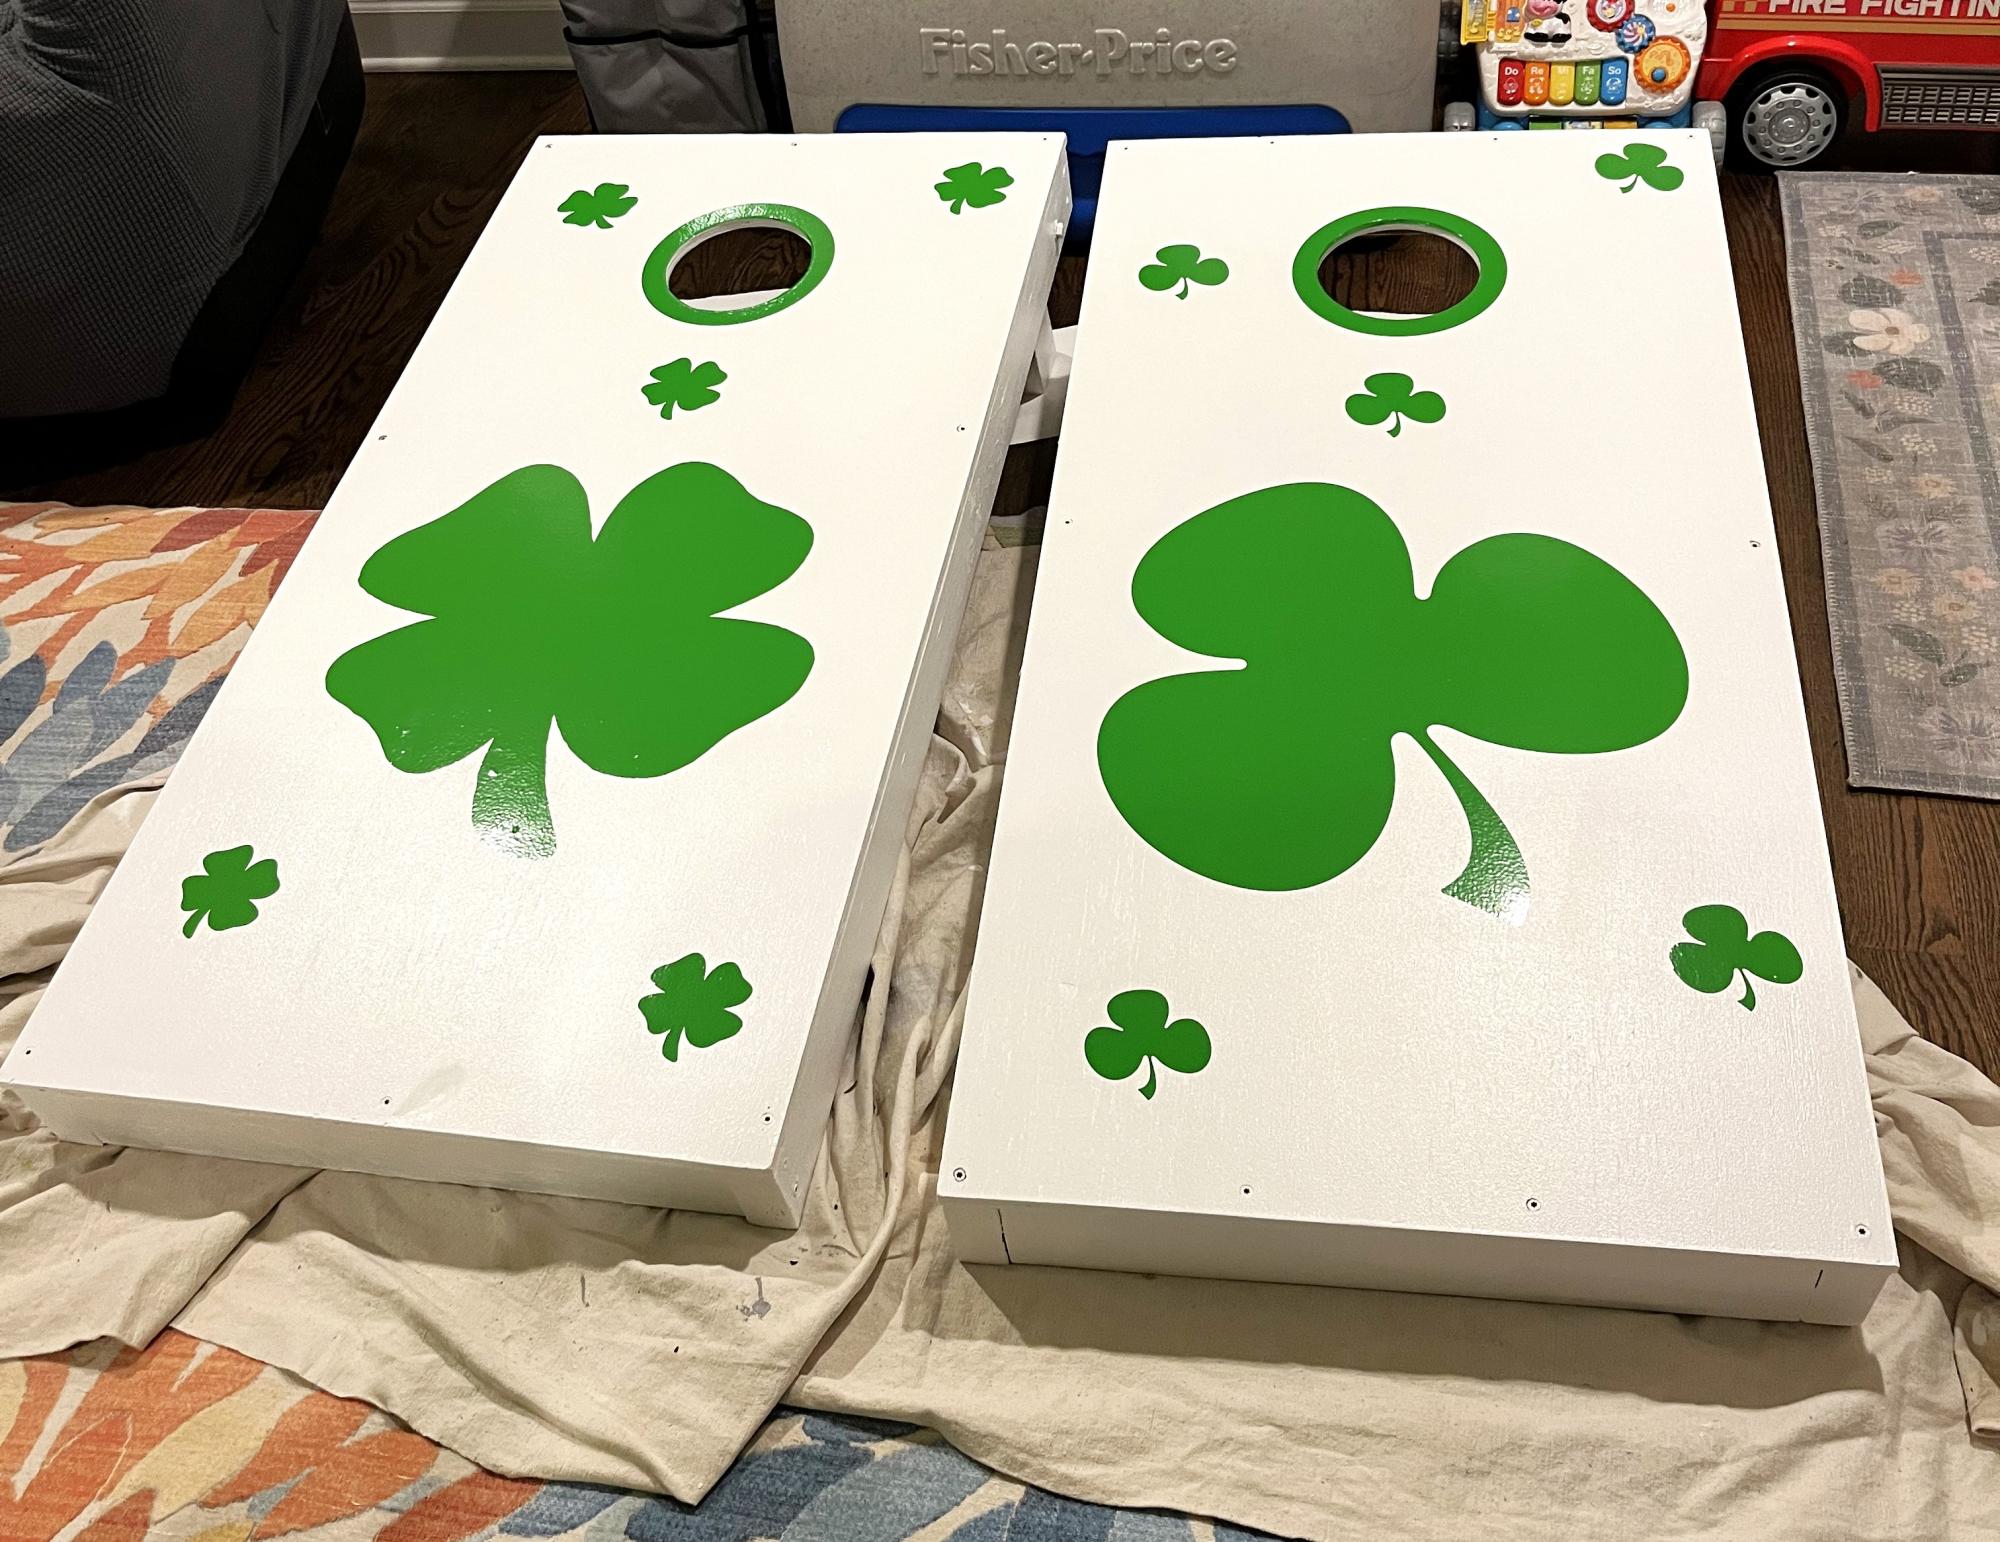
This was my second project and the step by step guide labs make everything doable. Ordered stickers and used them at a St Patrick’s Day party. Love
DIY Outdoor Chaise Lounge
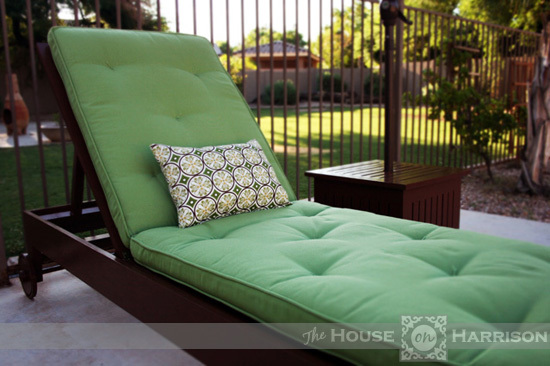
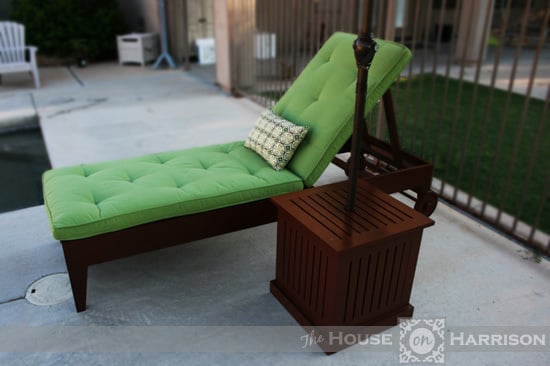
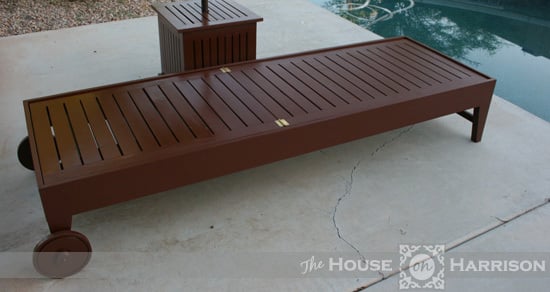
My husband and I made this outdoor chaise lounge using a combination of Ana's plan and another we found on the Internet. We wanted to be able to move this easily, so we added wooden wheels that we turned on our table saw. All in all, this project took us about two weekends. We are hoping the next one goes a little faster.
You can see more pictures of the build process on my blog.
Comments
PERFECT END TABLE
I saw the post and loved the table. I changed the dimensions to fit our couch and living room. The wood for the shelves was reclaimed from two old house that were eventually torn down. The houses were 90+ years old. Great old oak wood!
Ryobi Nation Bathroom Ladder
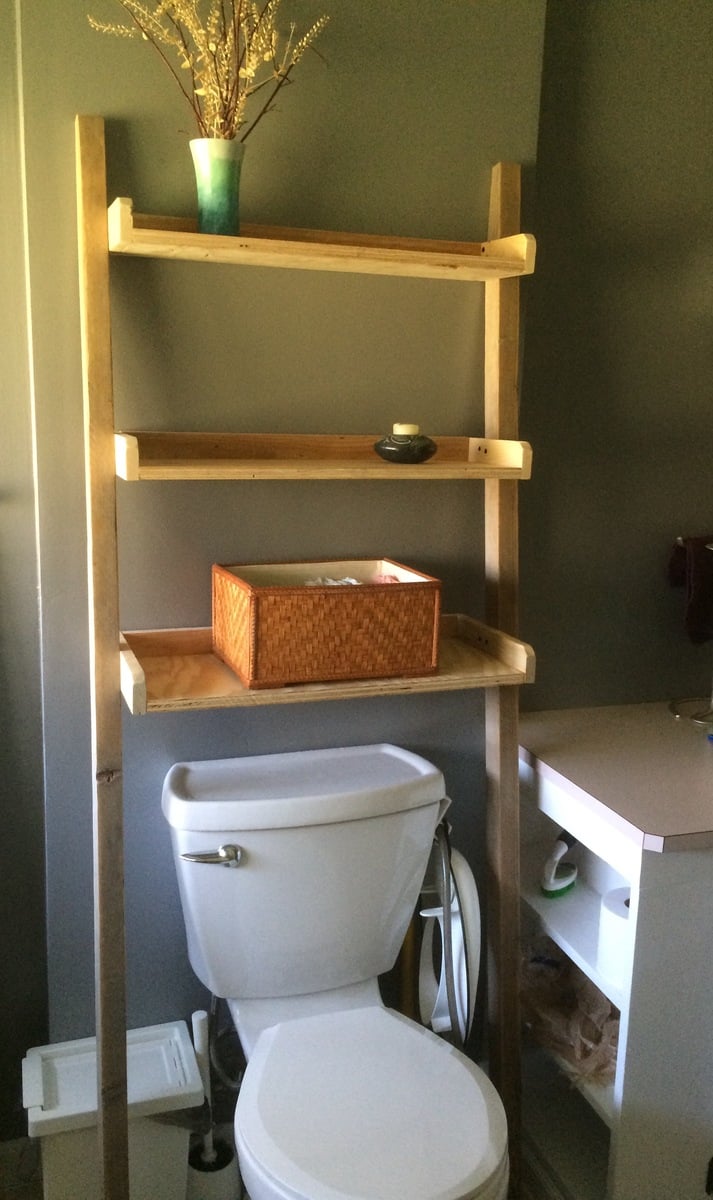
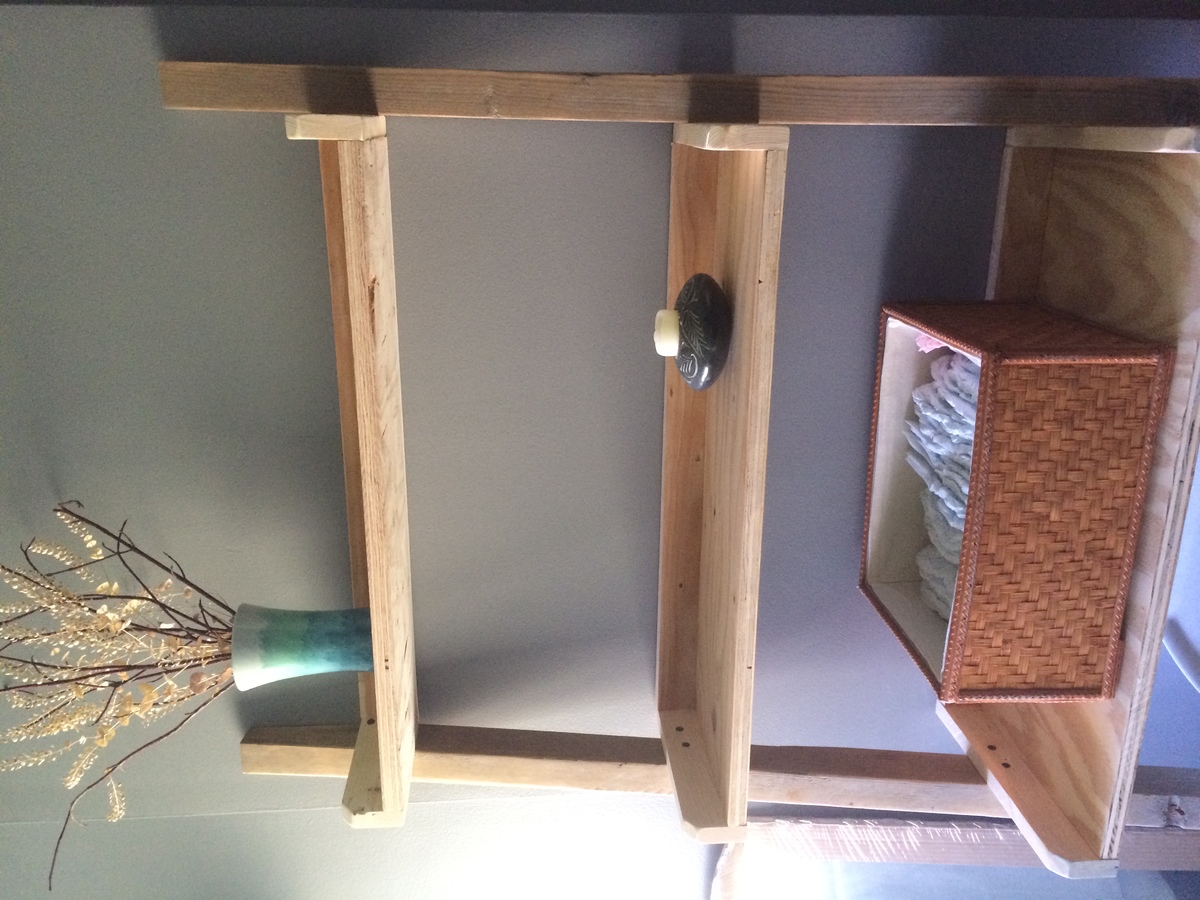
This leaning bathroom ladder was the perfect final touch to our budget bathroom re-do.
I used all reclaimed wood - old barn wood, pallet, and scraps - and had the nails/screws on hand. The only cost will be for stain, which the jury is still out on. Likely I will use the Danish oil in medium walnut. Loved doing this project and the result!
Comments
Fri, 09/09/2016 - 11:01
My first brag post!
I posted this brag post before registering with a user ID. I'm not sure how to "claim" my (first ever!) brag post. Anyone know if this can be done?
Fri, 09/09/2016 - 16:44
Thanks for adding! We fixed
Thanks for adding! We fixed it. Great job, love that most of the project is reclaimed!
4x4 Truss Beam Table
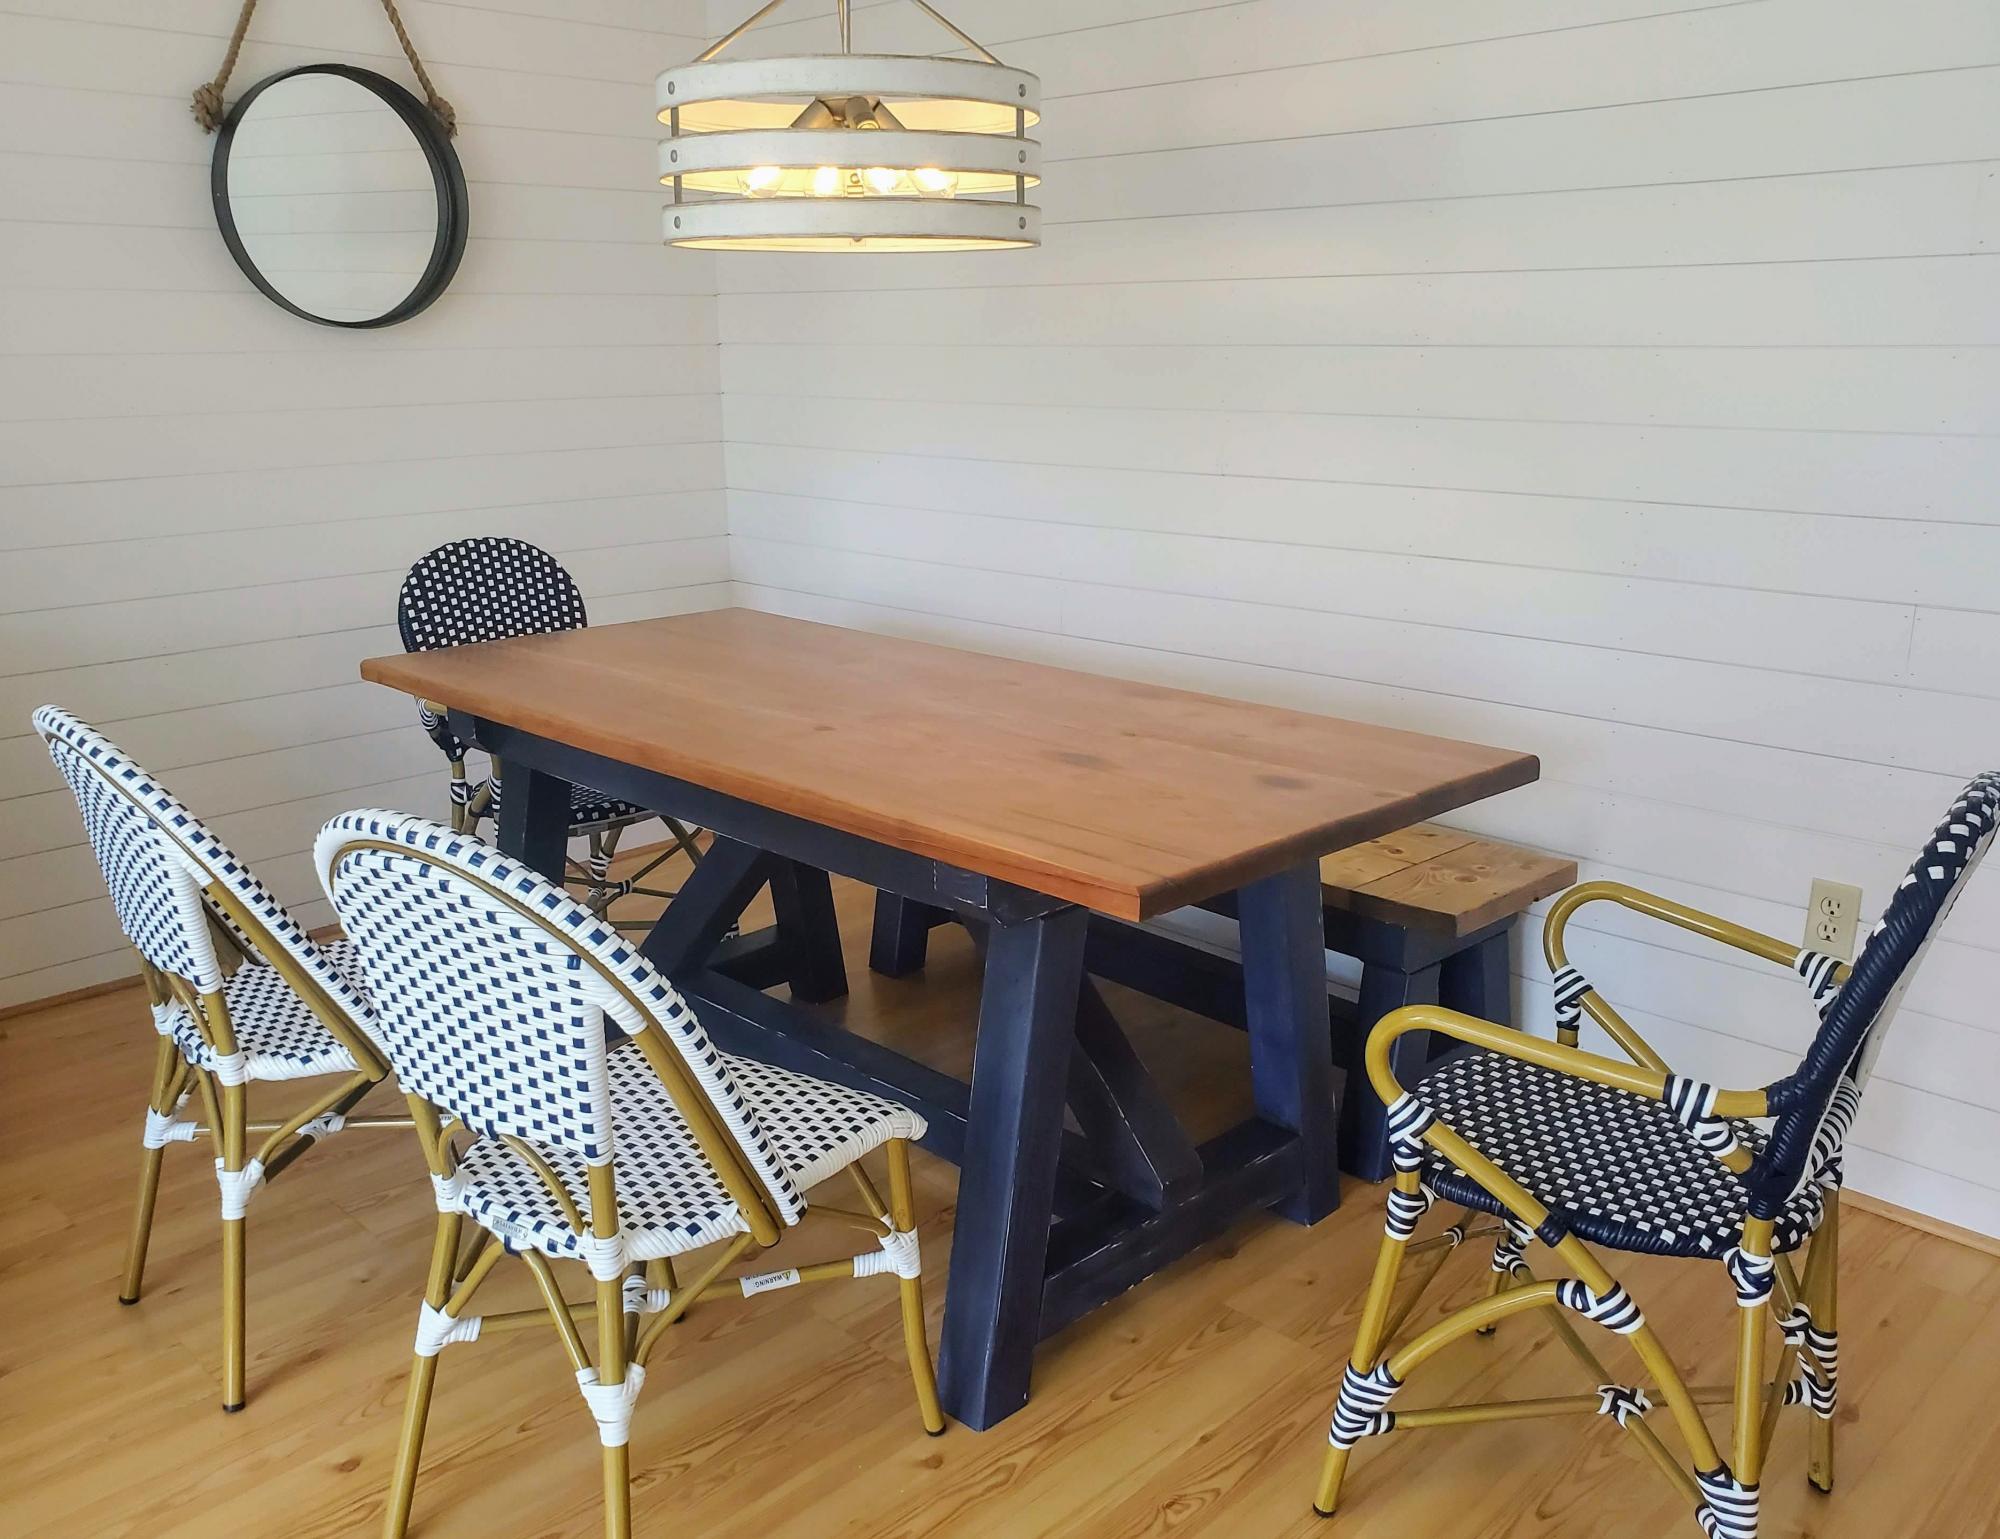
I followed this plan to create our new dining table and bench. I went with a distressed chalk paint for the base, and the top is made from 100 year old douglas fir barn rafters. They look great with our blue/white cafe chairs. Thanks for the great plan!
Simple Wood Island
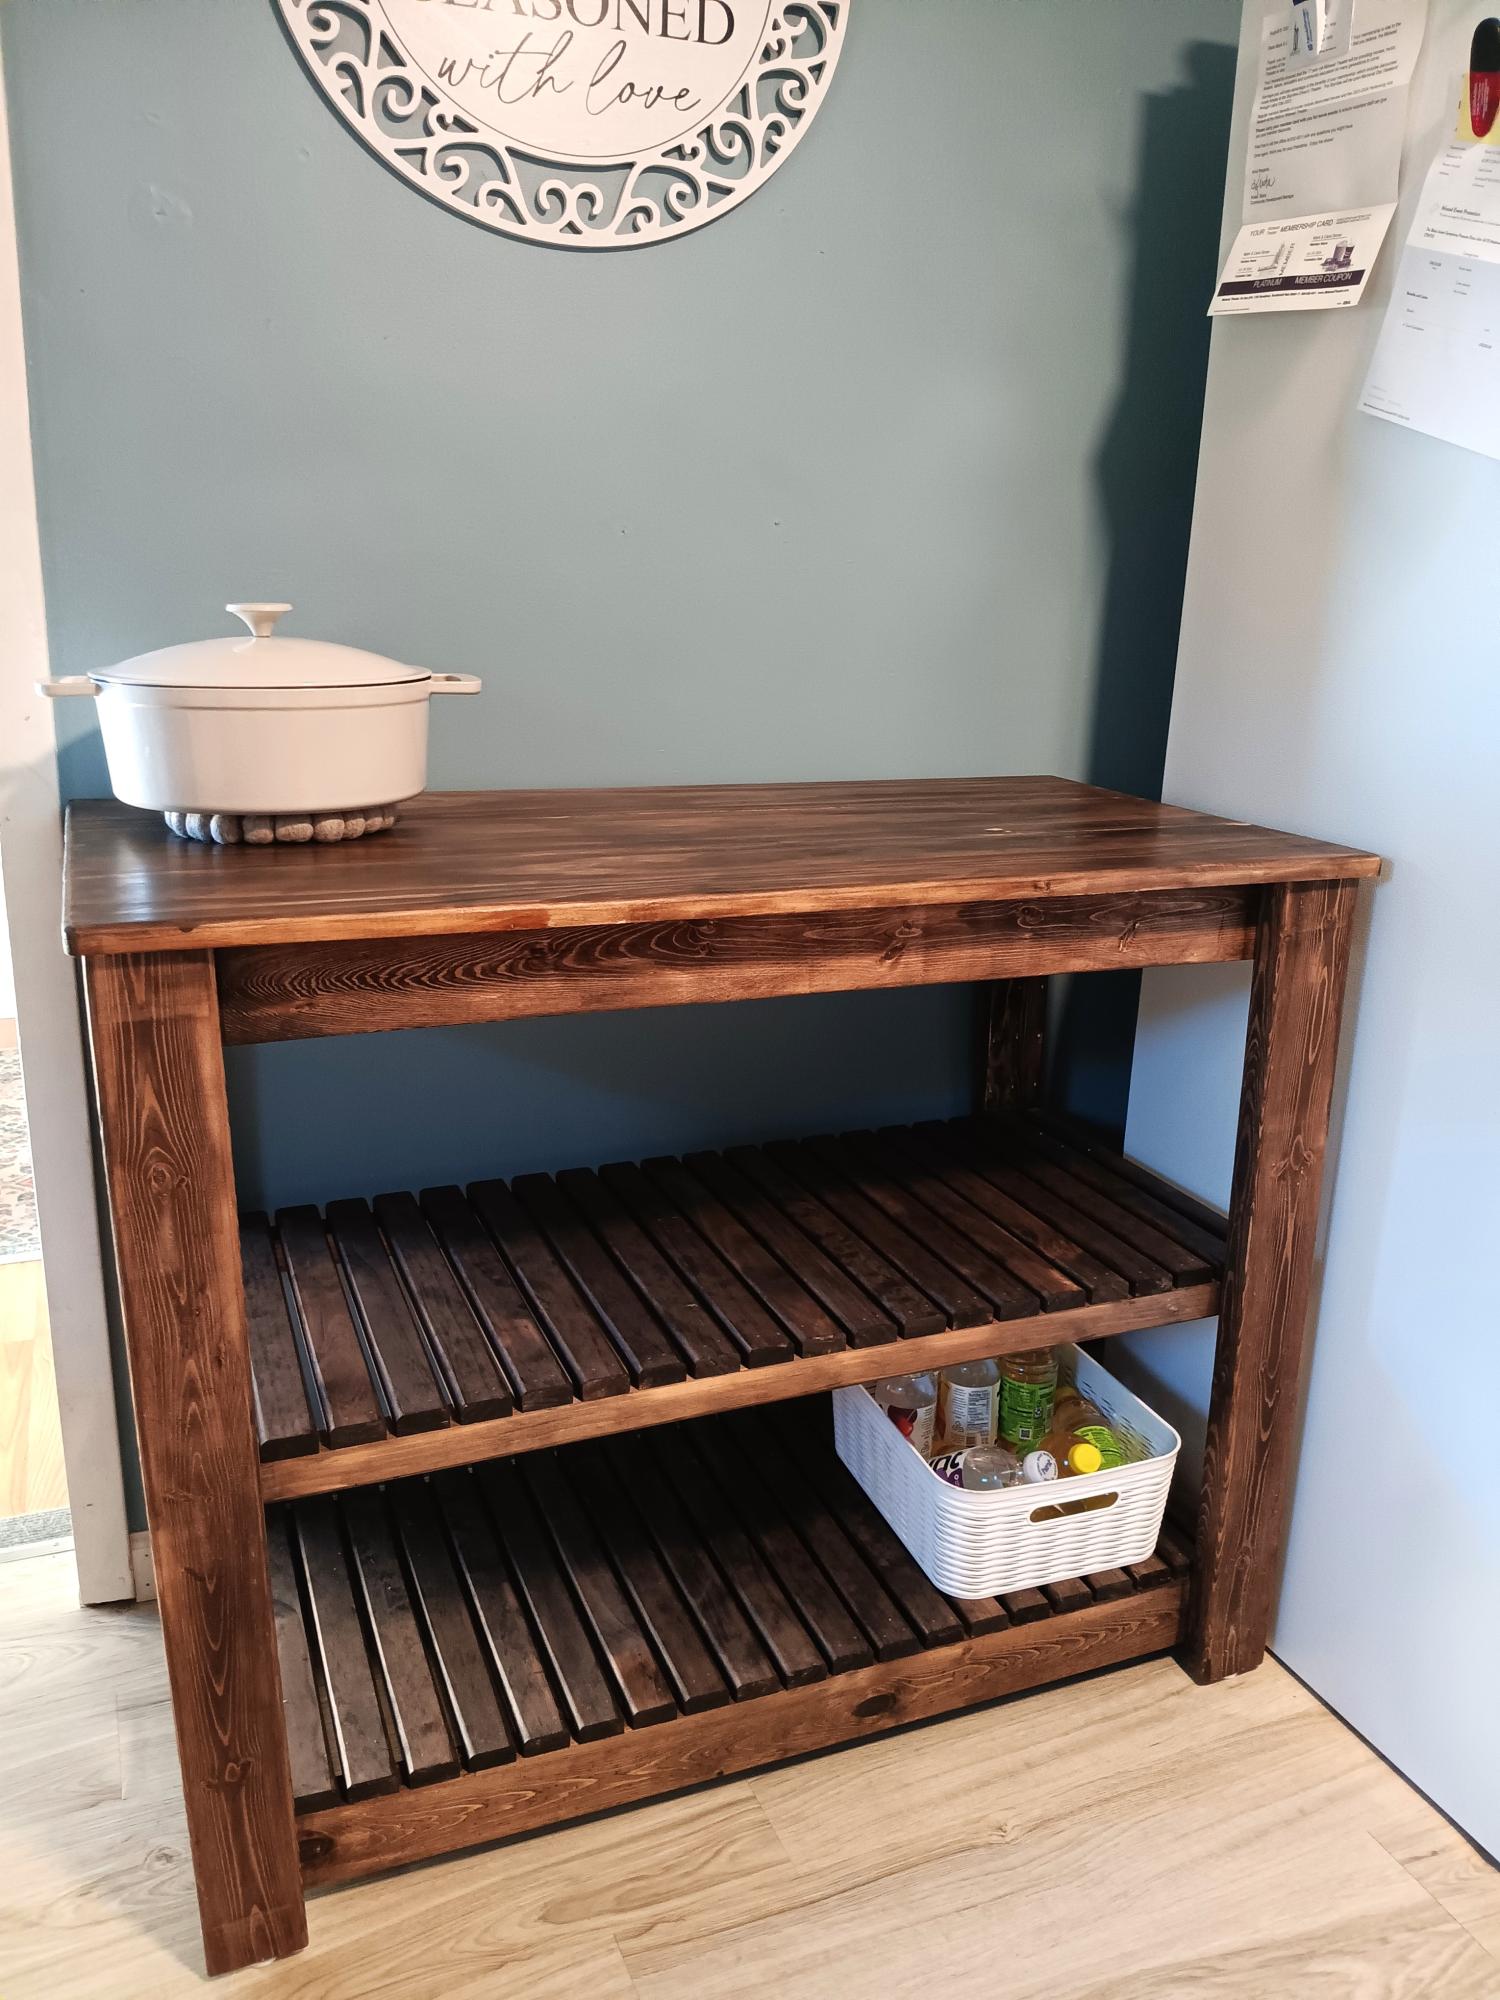
This was a fun project. Not difficult to build, just a lot of pieces. Added counter space near to the stove.
Rectangles Daybed
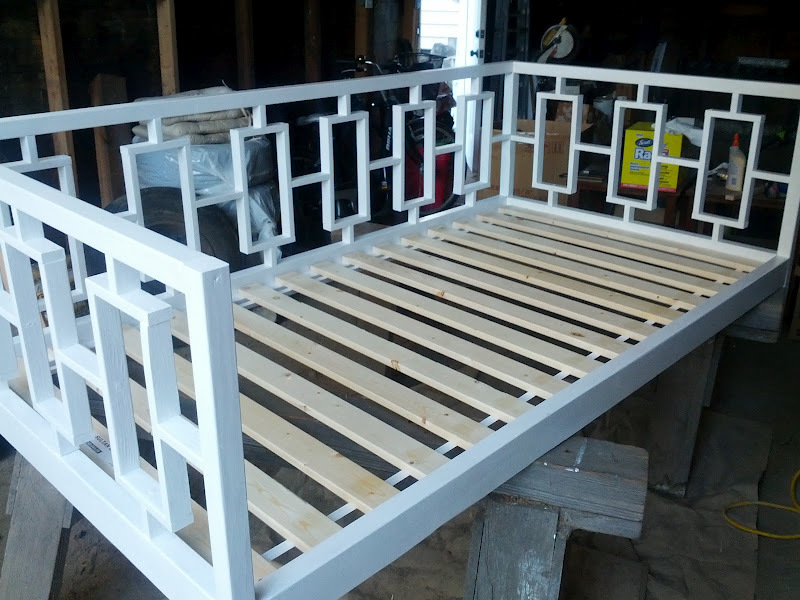
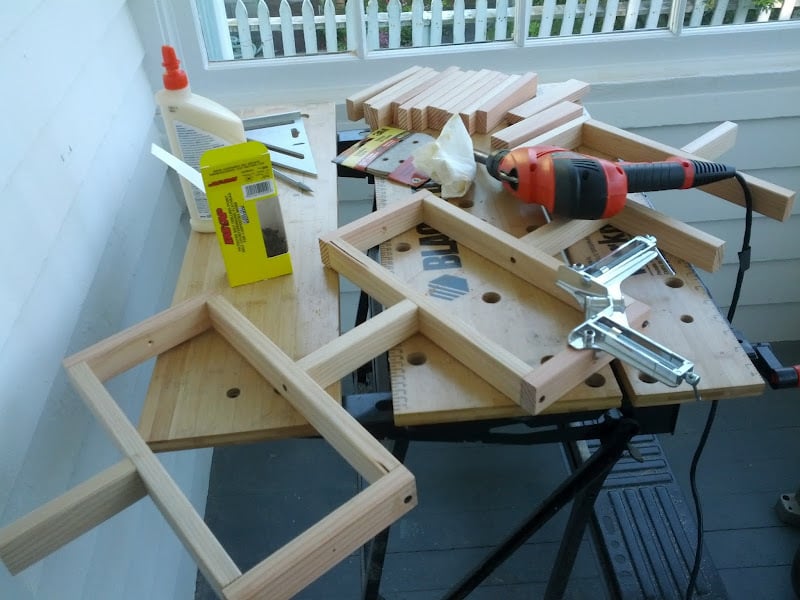
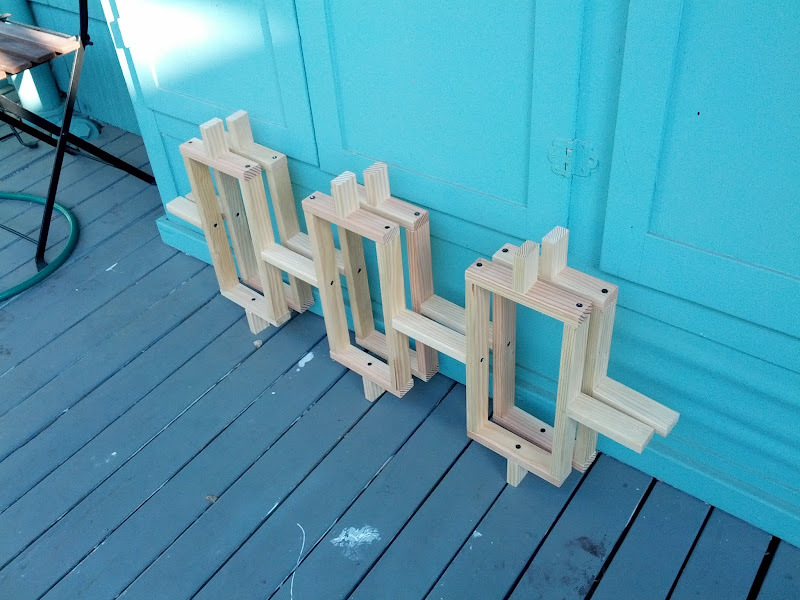
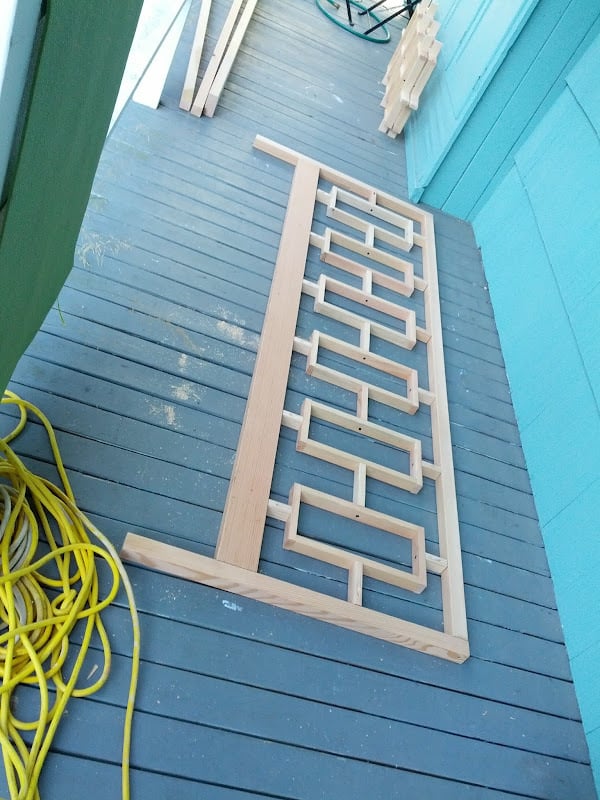
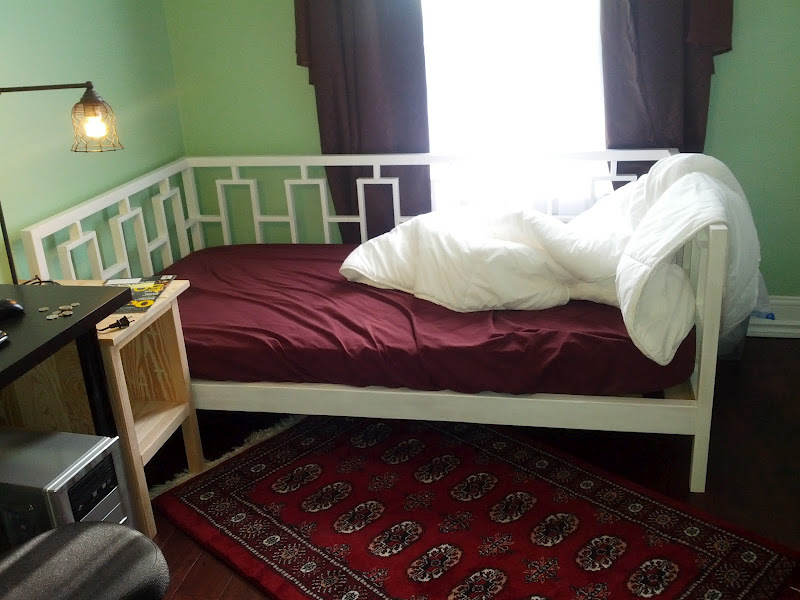
For my first woodworking project ever, I decided to make the Rectangles Daybed. I have not handled a power tool before, except the drill. So, over all, I'm quite happy with the result.
I got odd lot fir, which was more expensive, but prettier and easier to work with. I would probably not do that if I had known I was painting it. I also decided to put in IKEA slats instead of making my own.
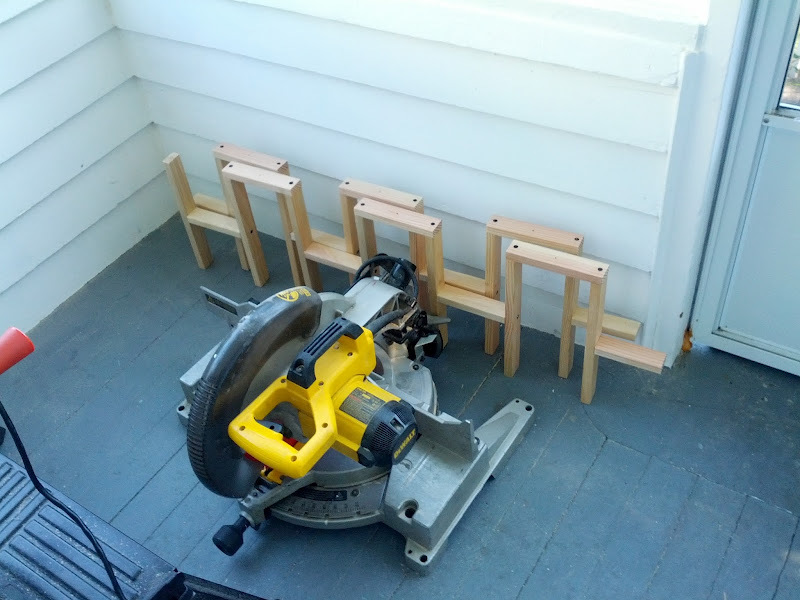
I put more details in my blog posts.
Comments
Sun, 09/16/2012 - 17:12
Is there any chance you are
Is there any chance you are making this to sell? if so, how much? Email me at [email protected]
Providence Table
We shortened the original table plans by 2 feet to fit it inside our breakfast nook and it turned out perfectly!
Comments
Wed, 06/11/2014 - 08:41
So Cheery!
Love the bright beautiful space! Great build and mod, thanks for sharing!
Mud room Lockers
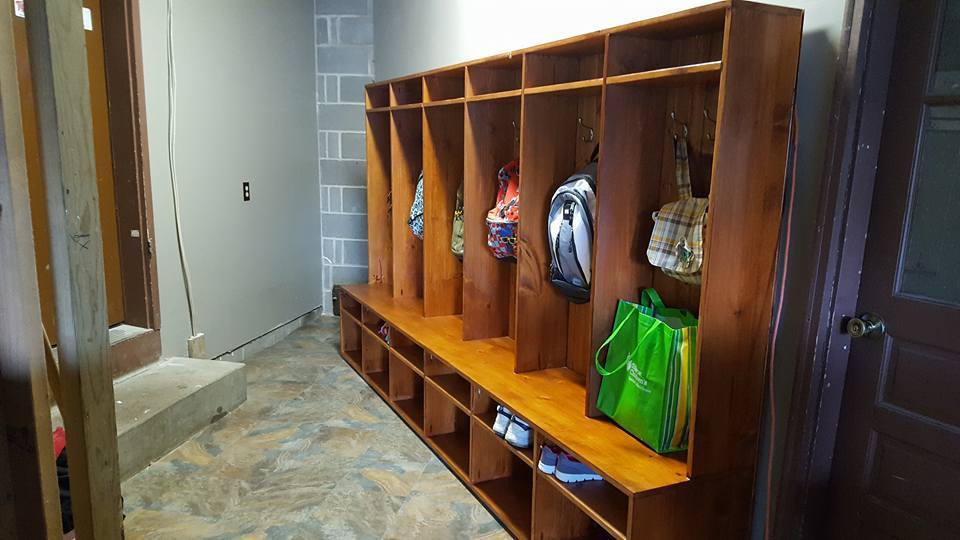
This is 10 feet long and 5 1/2 feet tall. Made using a Kreg Jig.
Comments
DIY Tryde Table
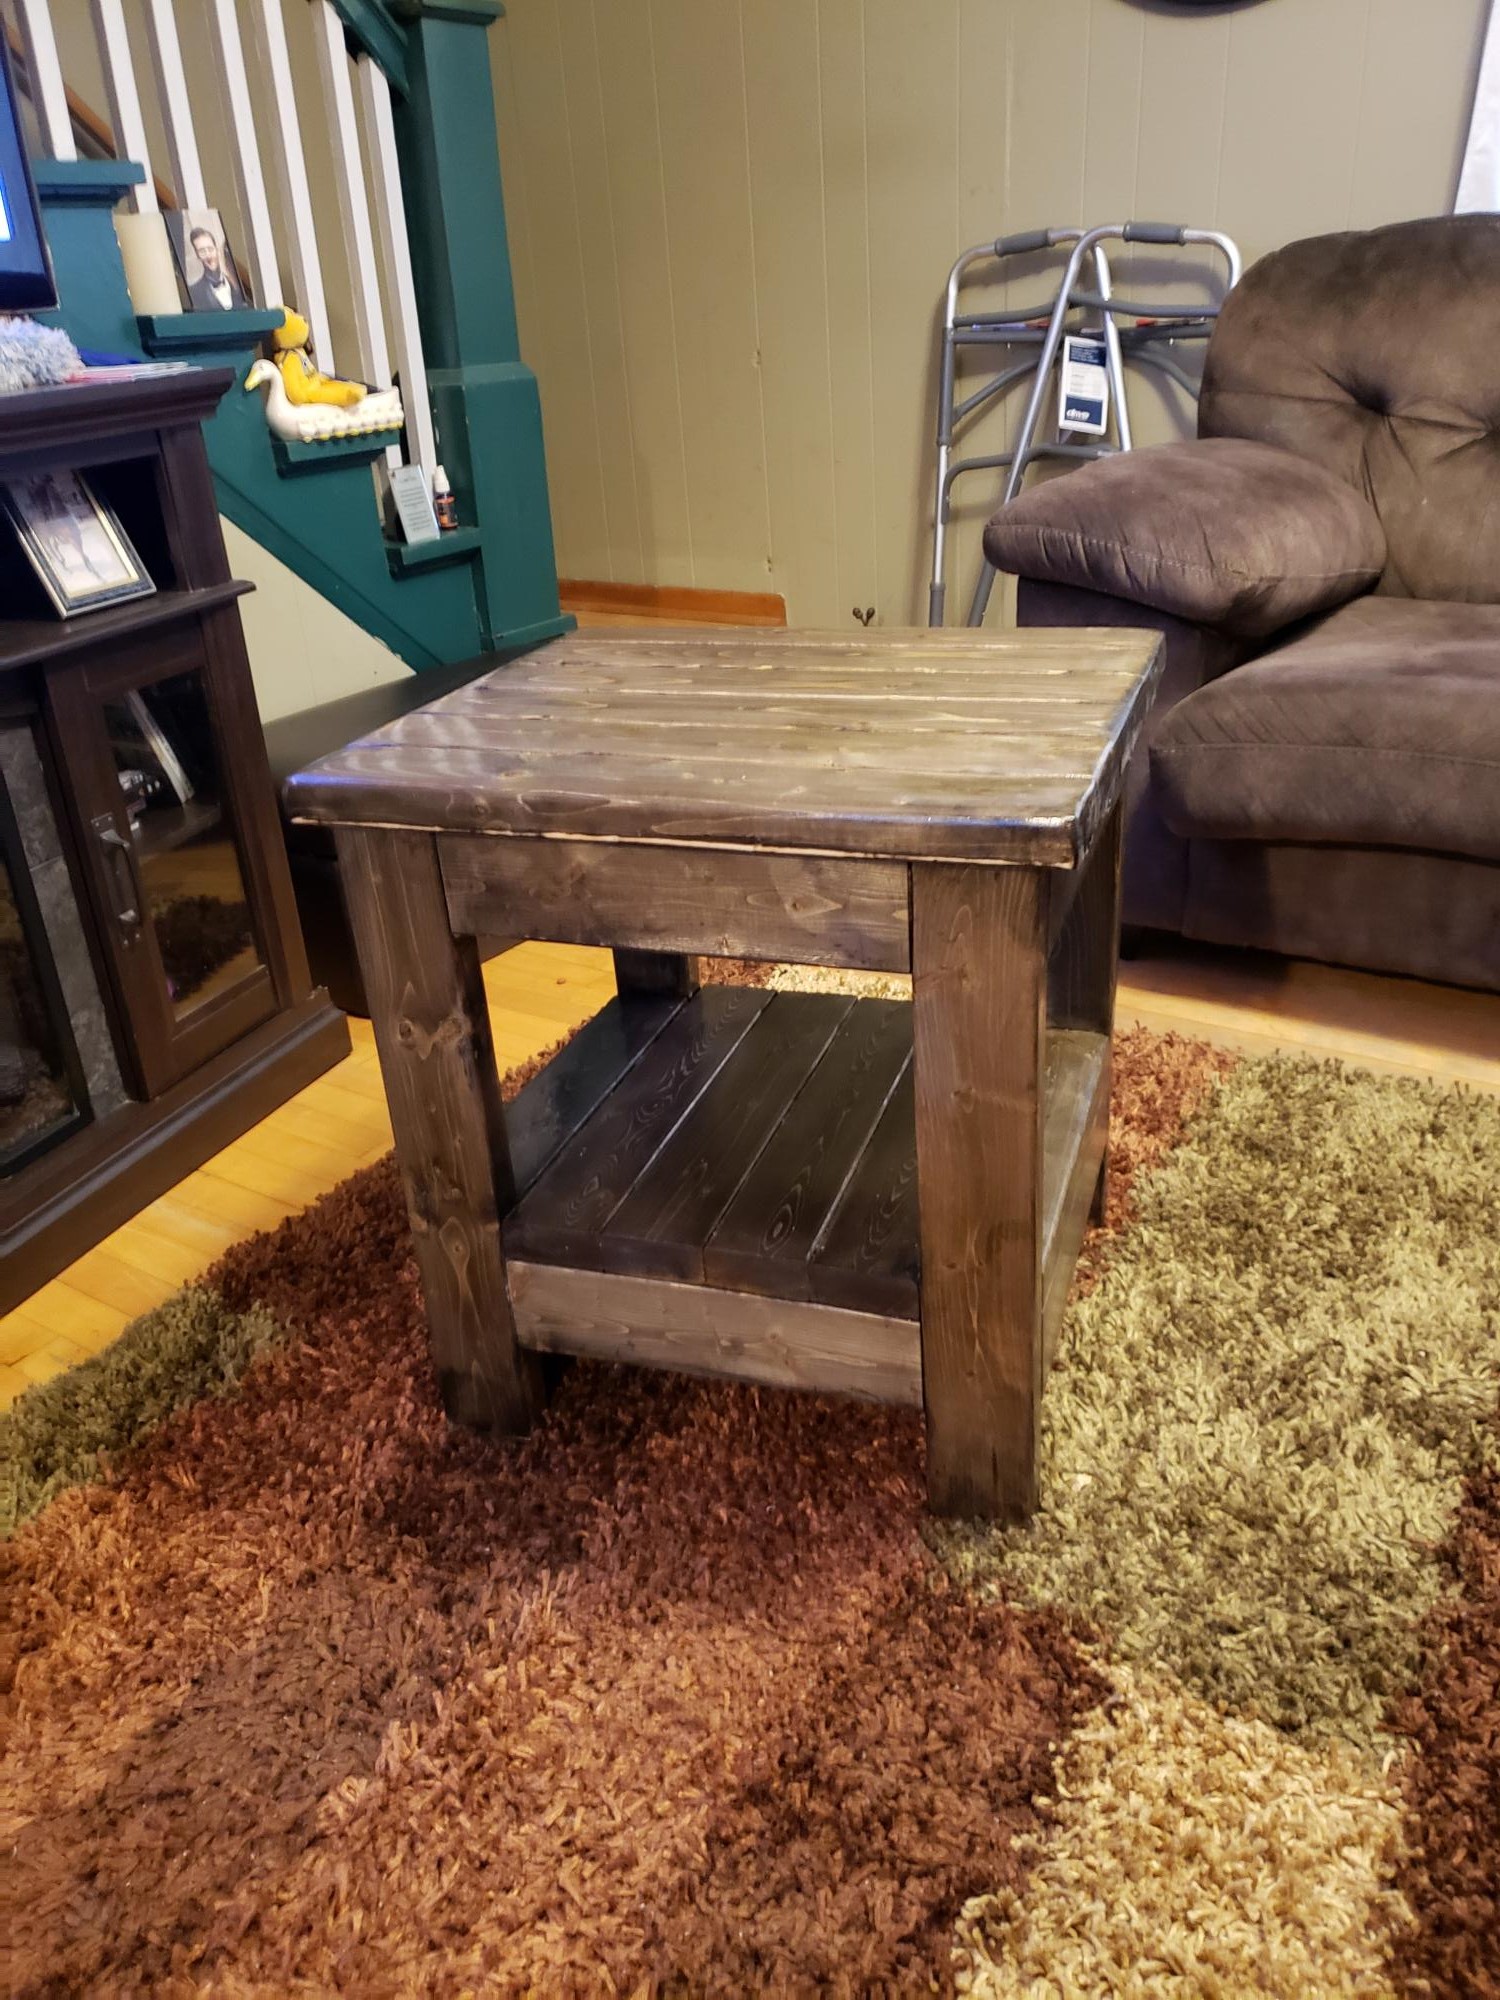
Thank you Ana for a great design. I was looking for a gift idea for my Dad on Father's Day and your design was perfect for what I wanted to make. My Dad really loved it! My name is Nathan and kinda new at builders with wood. You see, I am a brain tumor survivor of 20 years and I lost most of my vision from it. For the longest time I was told that I couldn't do this or that. Note, I am very careful and take safety seriously. Your ideas and designs have helped me a great deal with developing confidence with my newly learned skills and I wanted to thank you for that. Also, your designs are reaching people out there and they're bringing joy to a lot of people. Keep up the great work and I look forward to your next inspiration.
Vertical Toybox
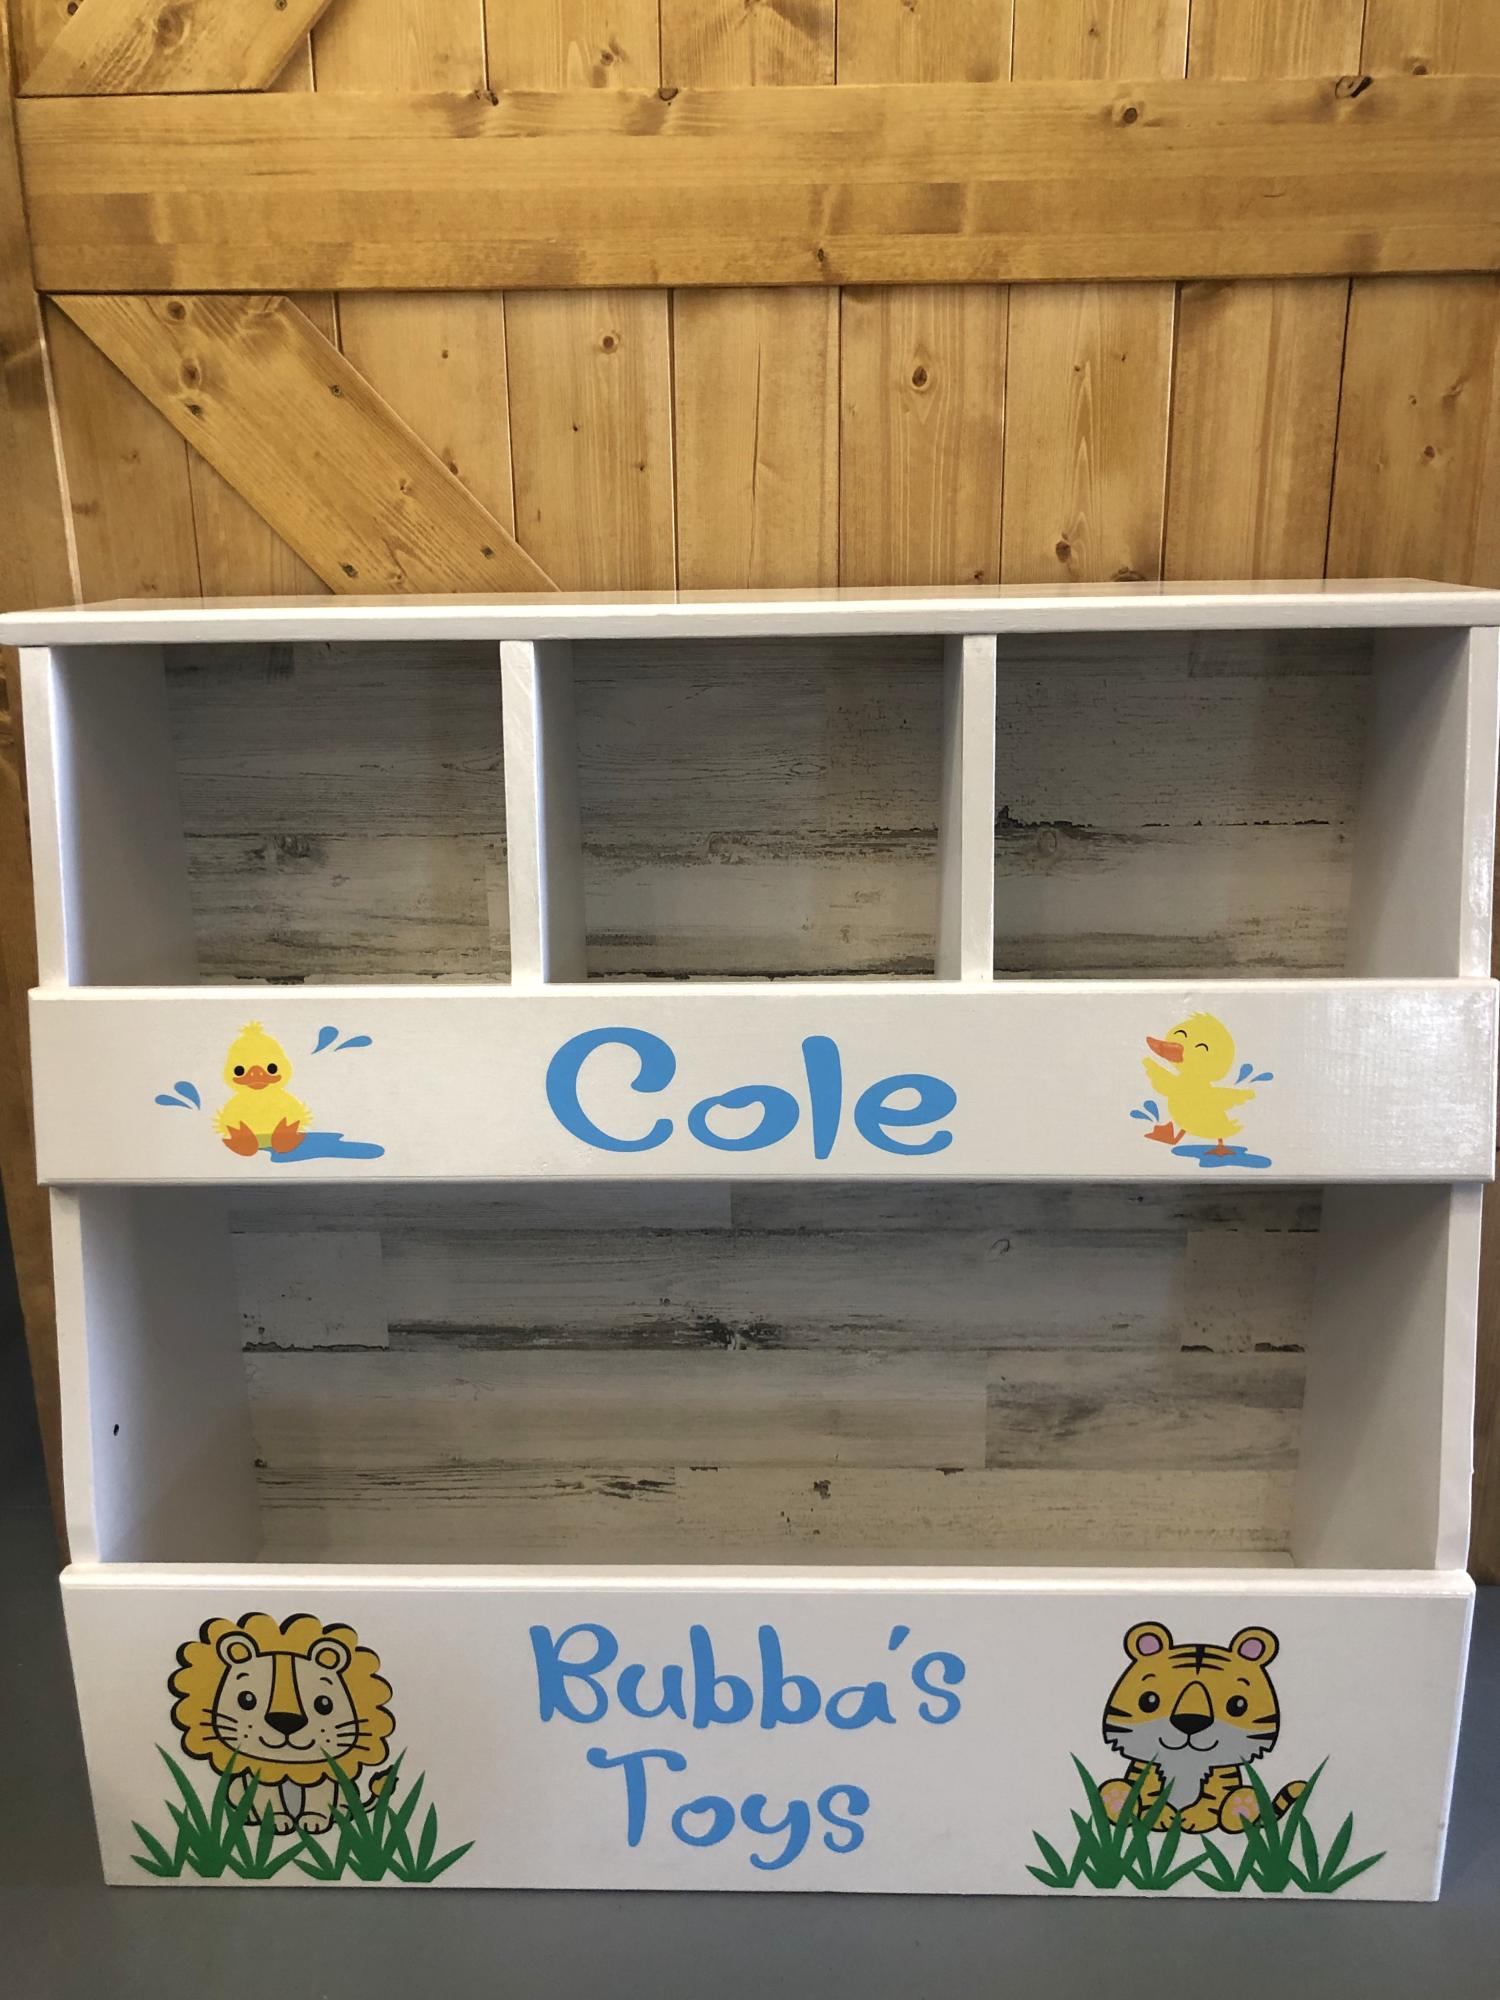
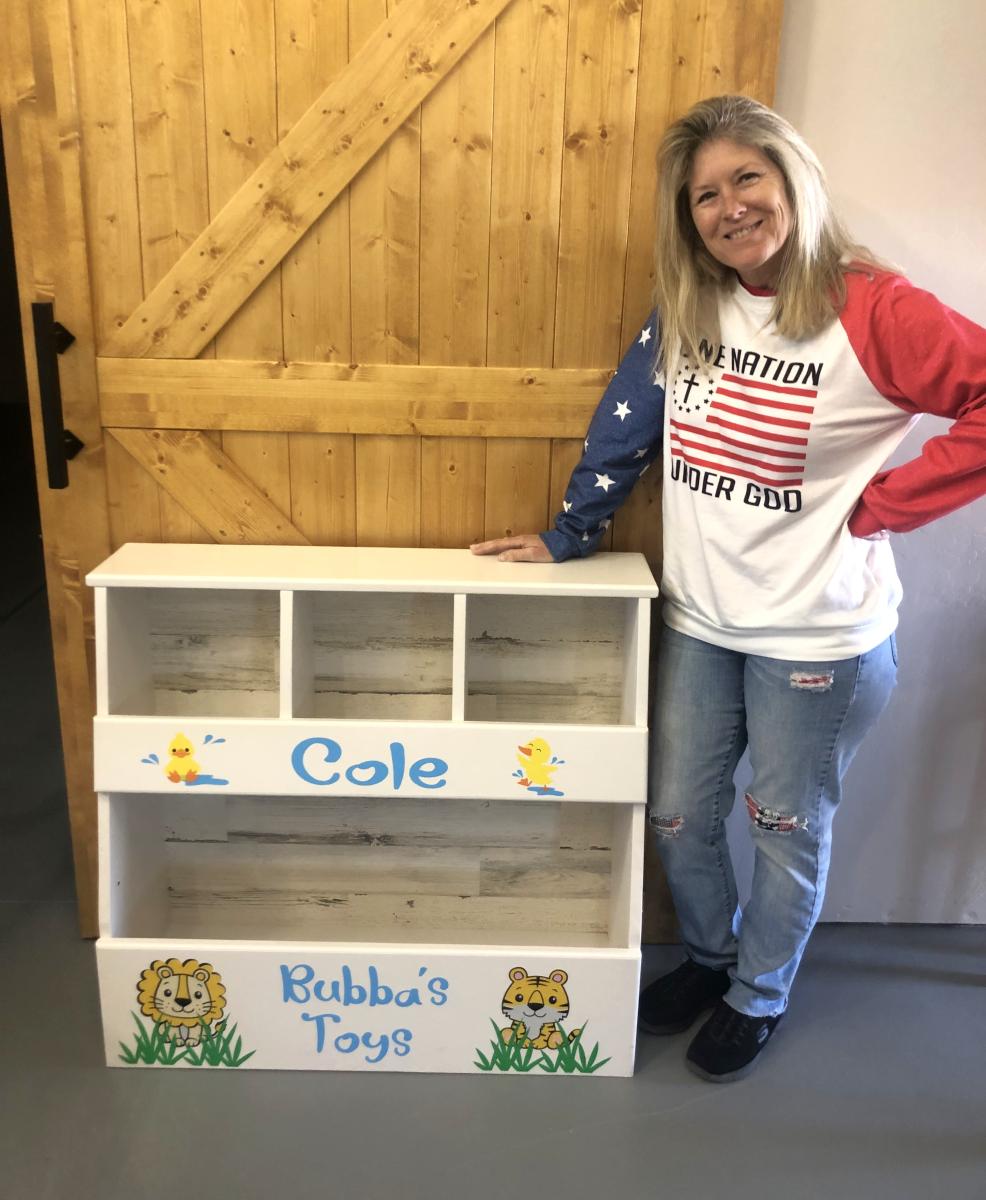
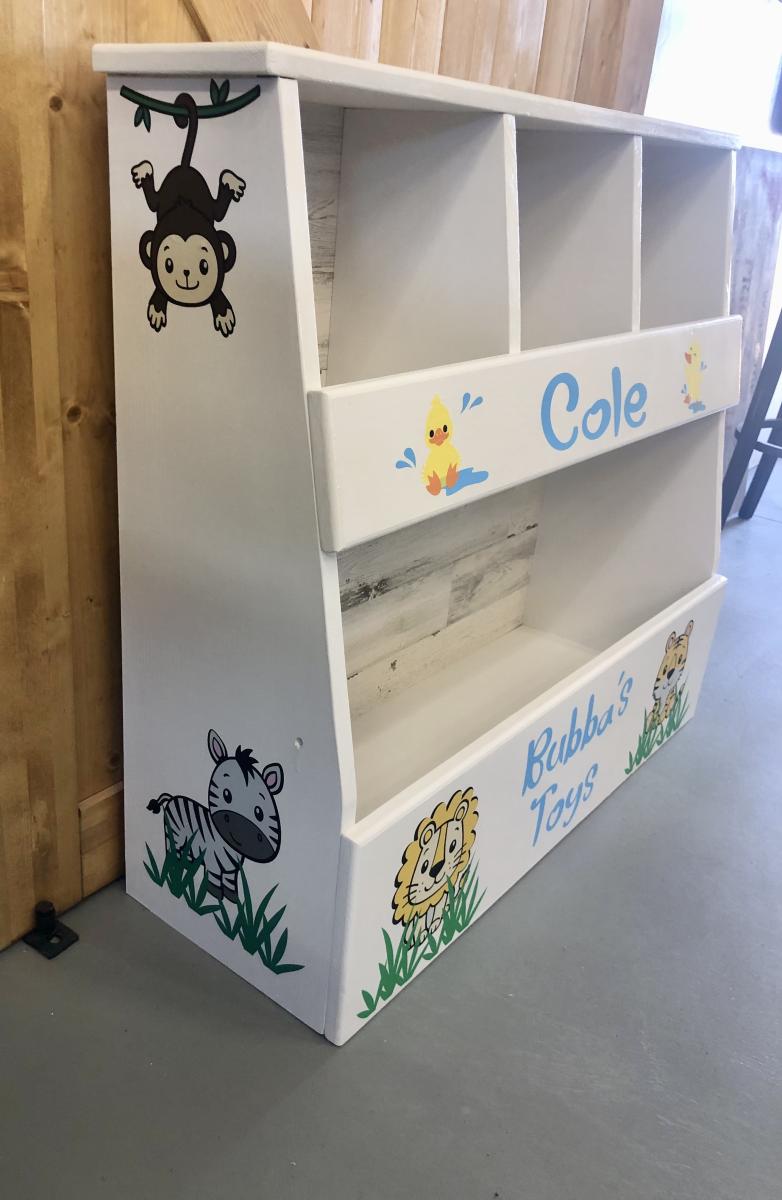
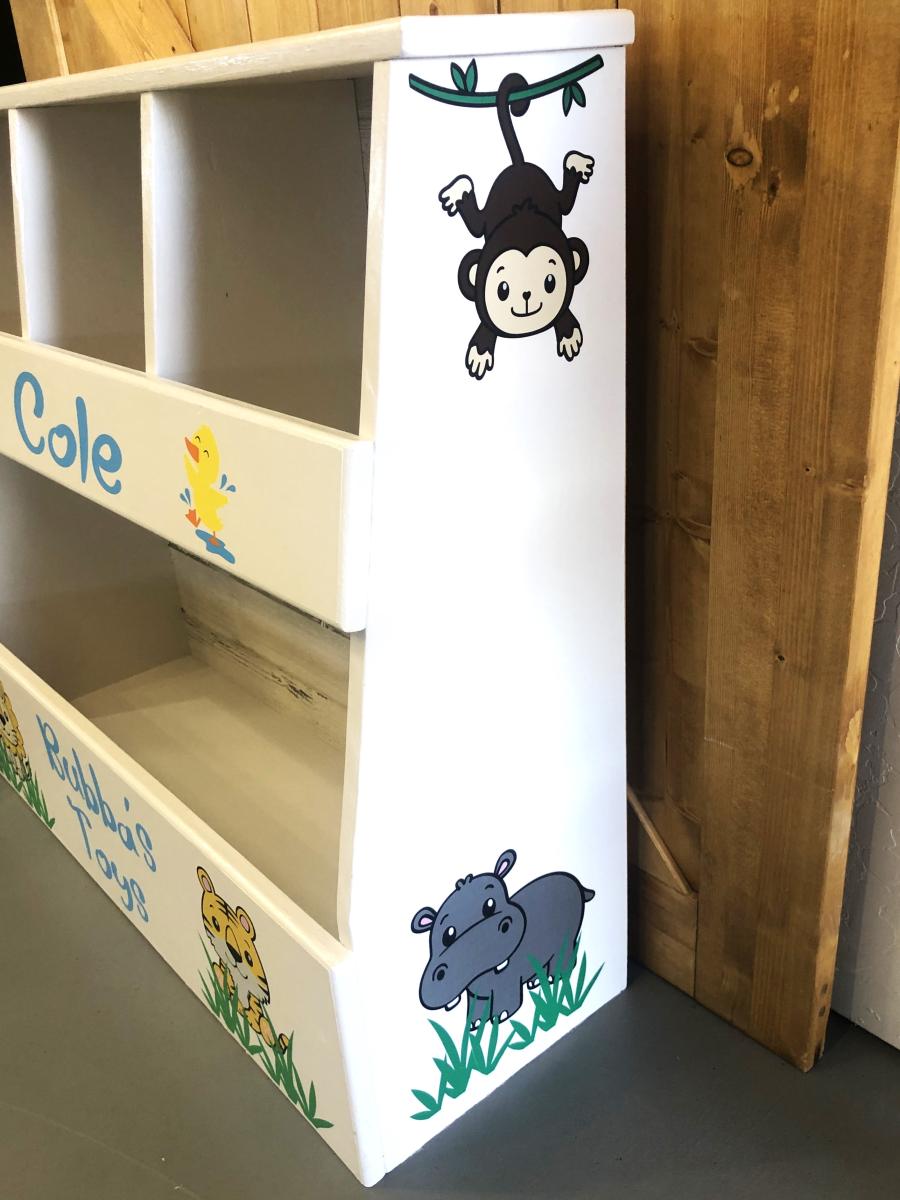
We loved making this easy and simple vertical toy box! Thanks Ana
Angie & Scott Proffer
Farmhouse Table

We decided to build the Farmhouse Table after our 30 year old dining table began to crack and just wasn't working so well for our family of 5. This was our first project, so we made a lot of mistakes but also learned a lot. One of the hardest things was finding decent lumber that wasn't warped or split. We also made two Farmhouse Benches but they aren't included in this photo.
Wood Working Apron
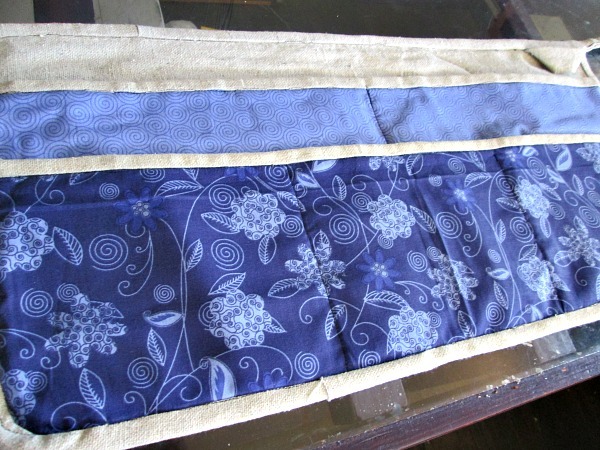
Thank you soo much for the apron plans. I've used a sewing machine about 5 times in my life, and I didn't know what "stitch in the ditch" or bias tape or trim was, but with the plans and some web searching, I was actually able to sew this apron. It took me considerably longer than others, especially because I don't have an iron, pins, or a seam ripper (ripping a seam took me over an hour). Again, thank you sooo much! I hope to never lose my pen and tape measure at the lumber yard again with this handy creation :)
Comments
Sun, 06/15/2014 - 05:27
Looks great!
Great job on the work apron, Yvonne! Congrats on conquering the sewing machine!
In reply to Looks great! by JoanneS
Tue, 06/17/2014 - 00:27
So much to learn
Thank you, Joanne. :) There is so much I want to learn, and for some reason, I feel like I need to learn it all now, when my life is busier than ever. Hah!
In reply to Amazing job by spiceylg
Fri, 06/27/2014 - 10:55
Like a jigsaw :)
Thank you so much. It reminded me of using a jigsaw, and vice versa. :)
CaitCouch
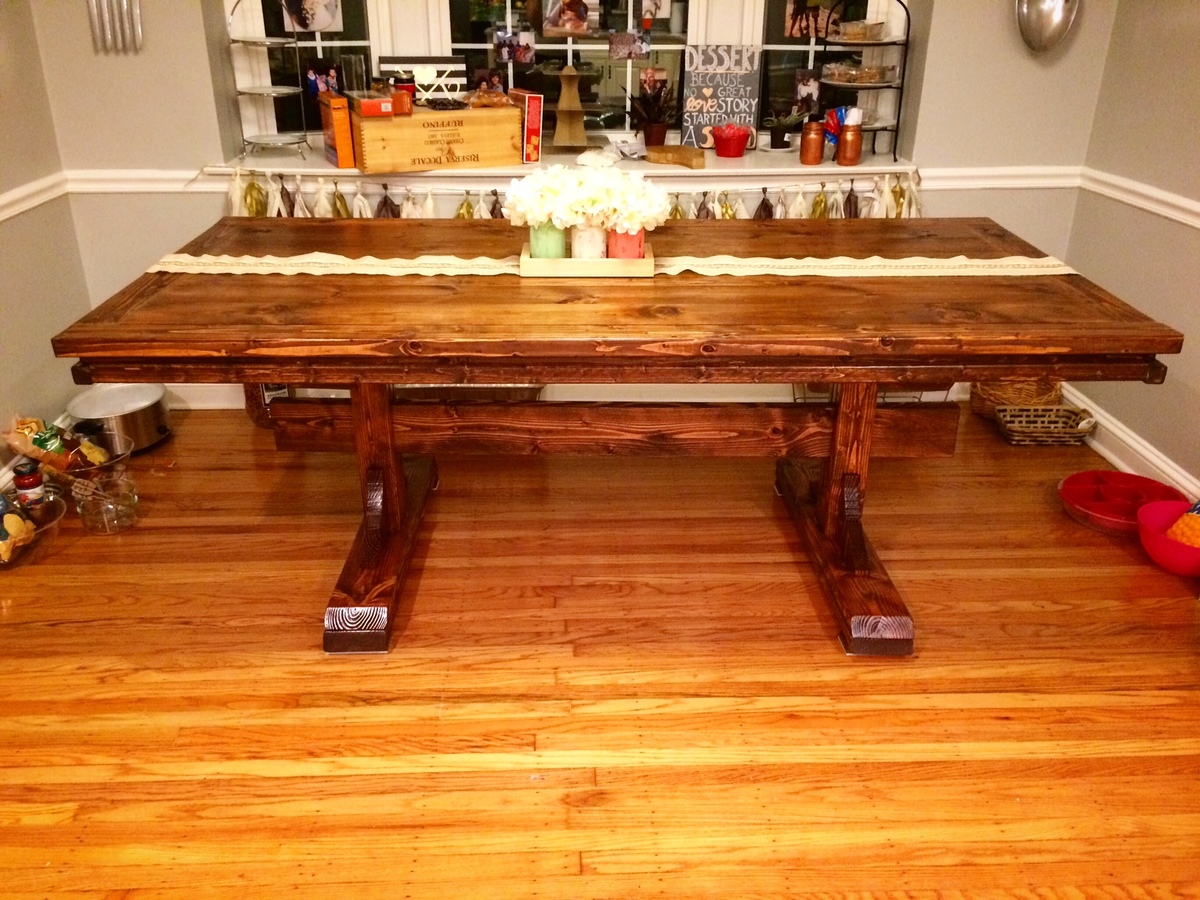
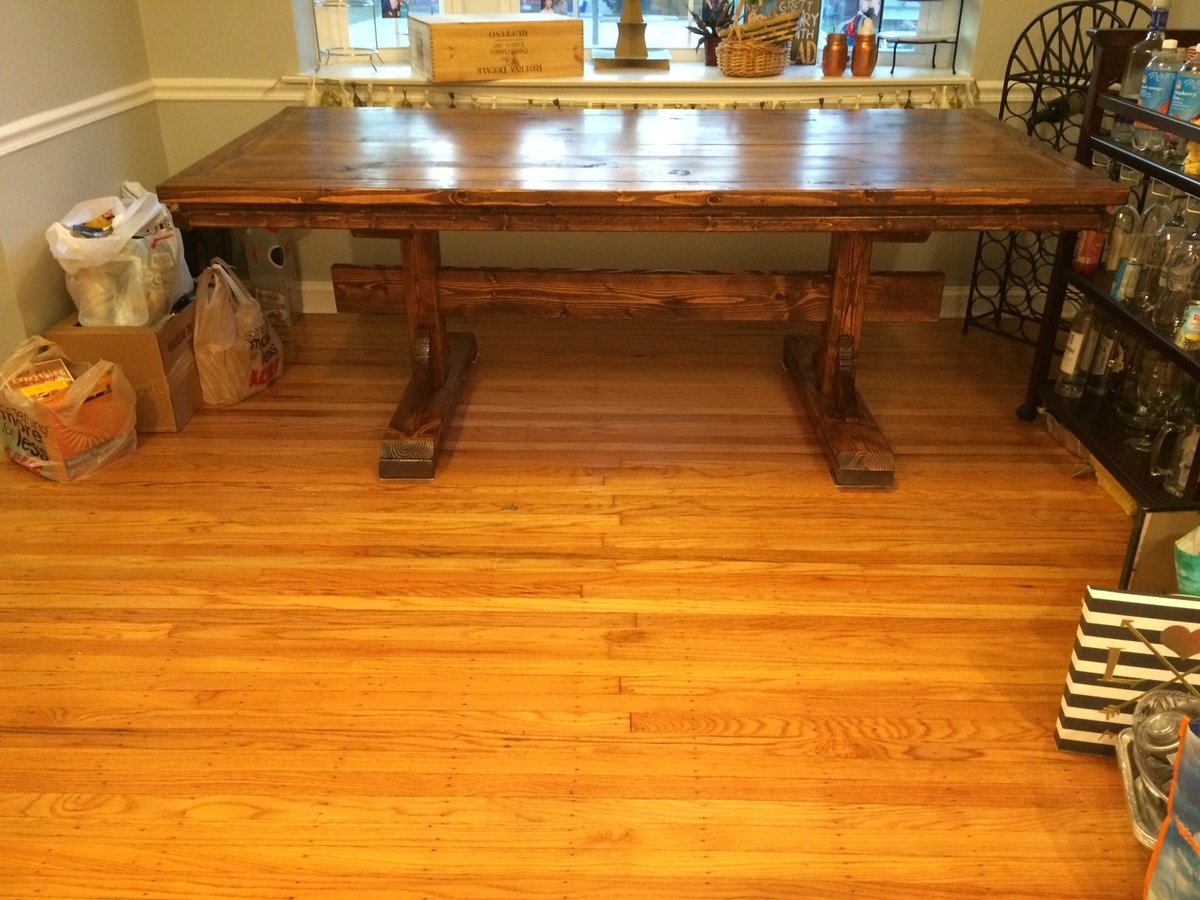
We altered our plans as my dining room could only accomodate a 7 ft table! This was out first DIY that was this large of an undertaking and we love the way it came out. If we can do this as woodworking novices you can definately do it!
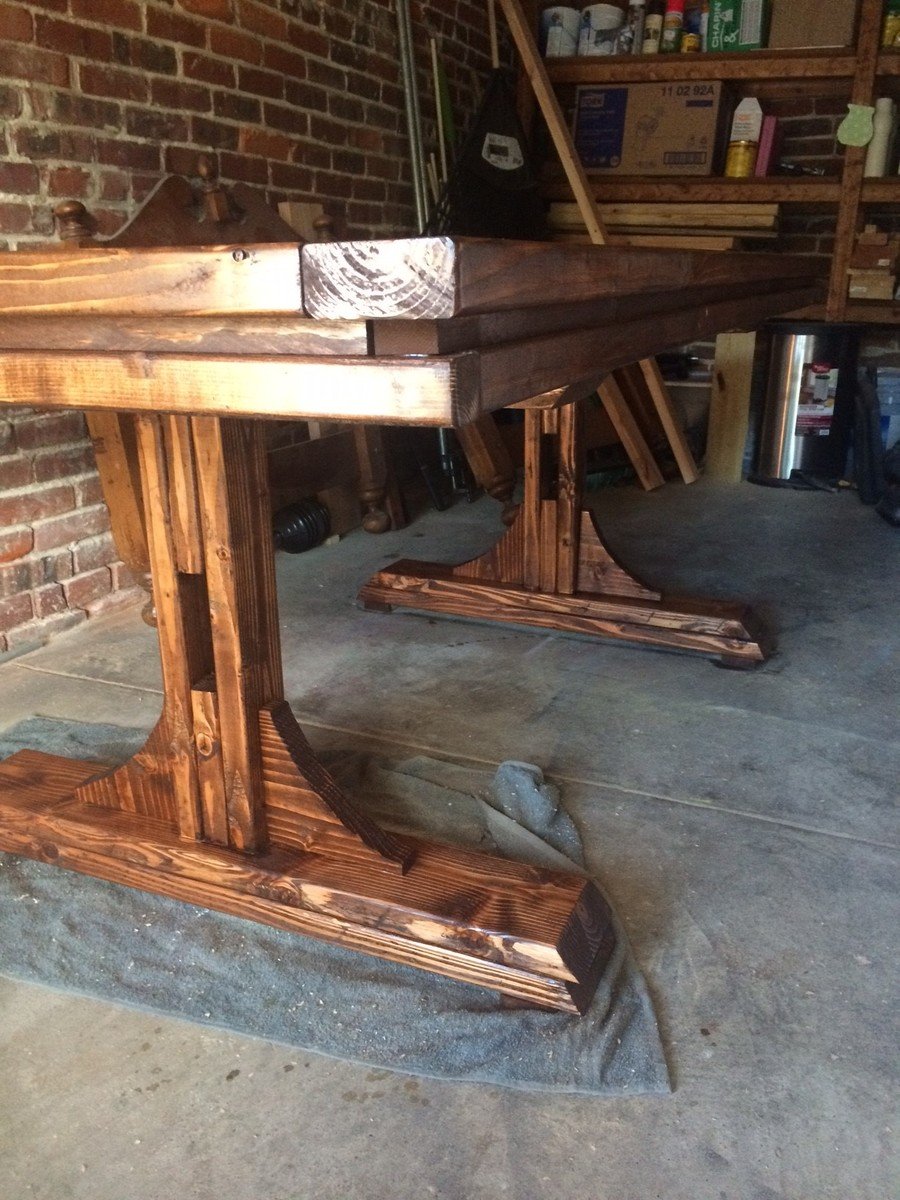
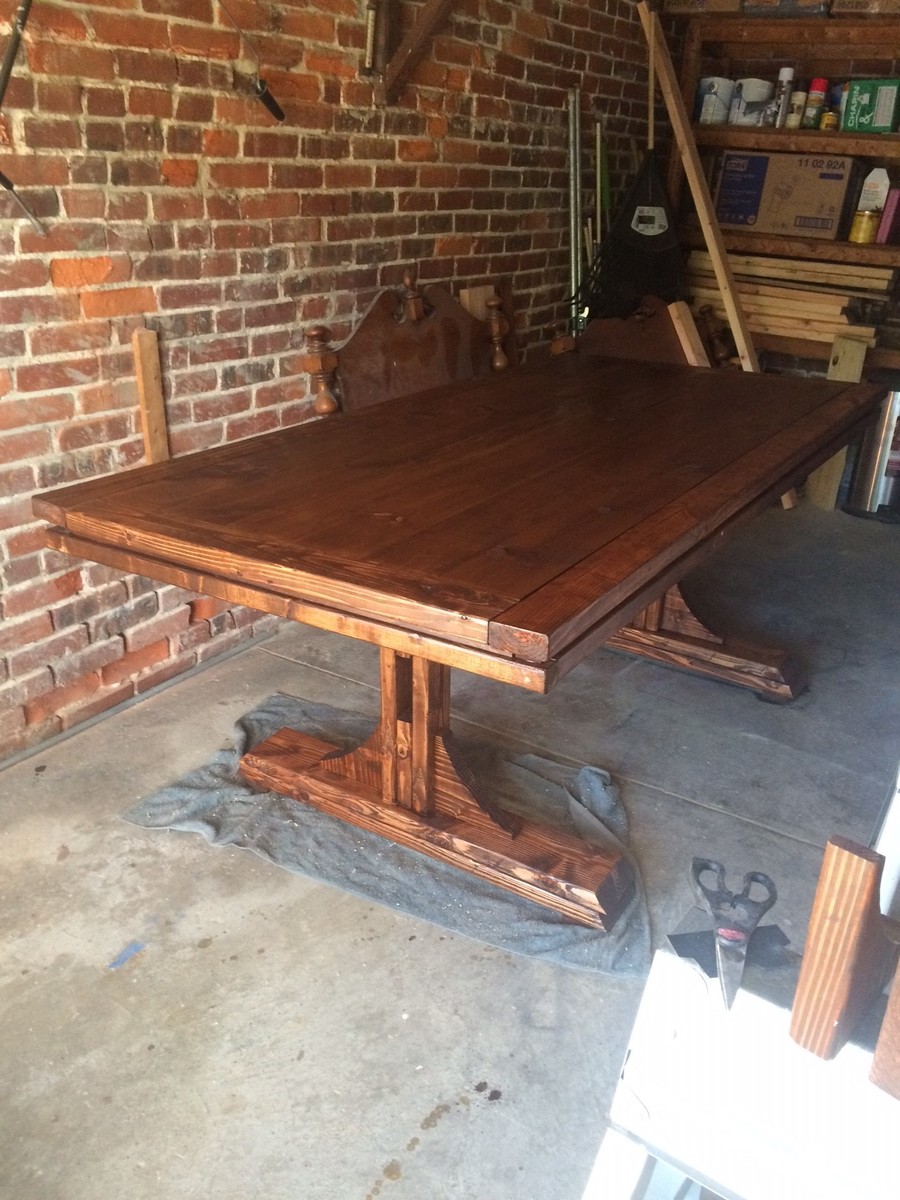
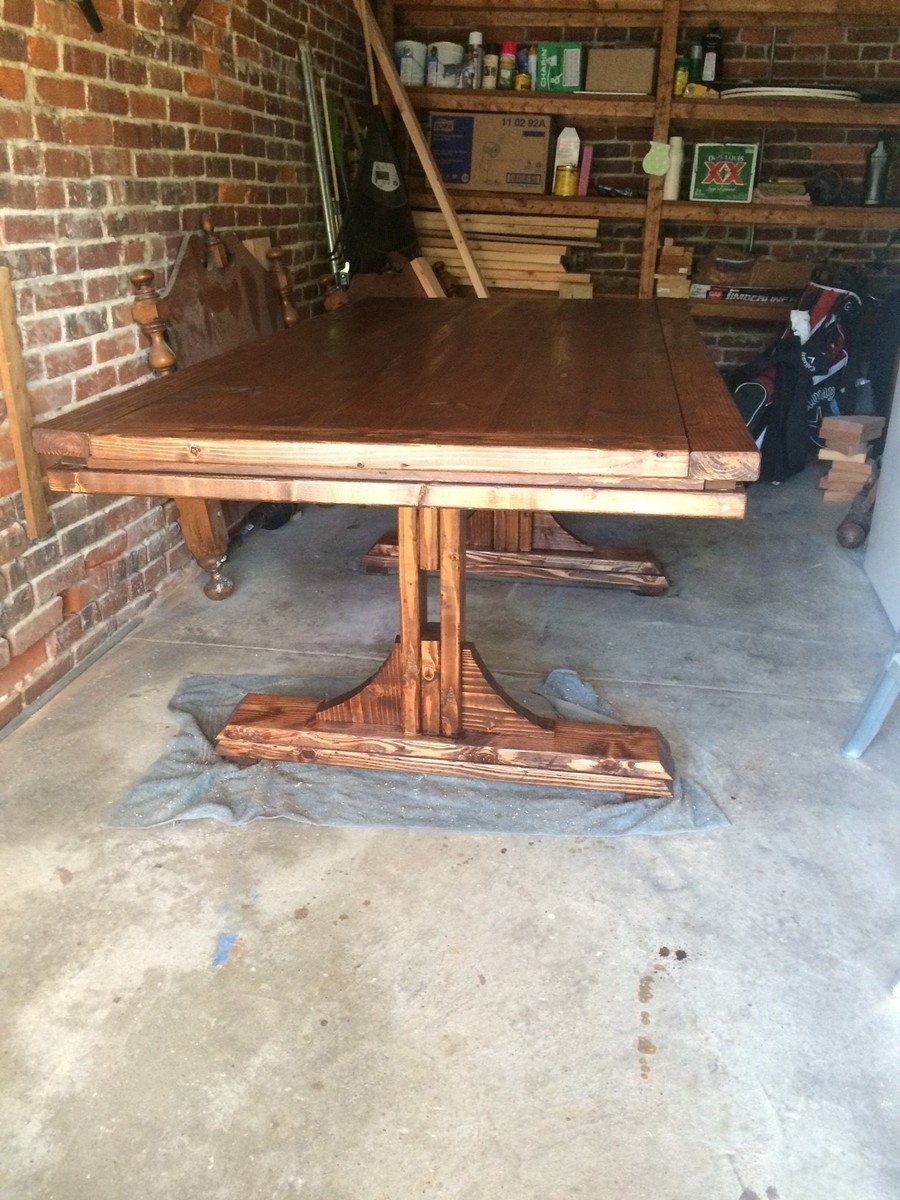
It was suggested to us that before attaching we should sand, stain and seal the legs. We didn't follow this advice from a friend and we should have!! being down on the ground with the table is all together was very hard on our backs and bottoms (and were in our 20s!). that is the only thing i would have done differently.
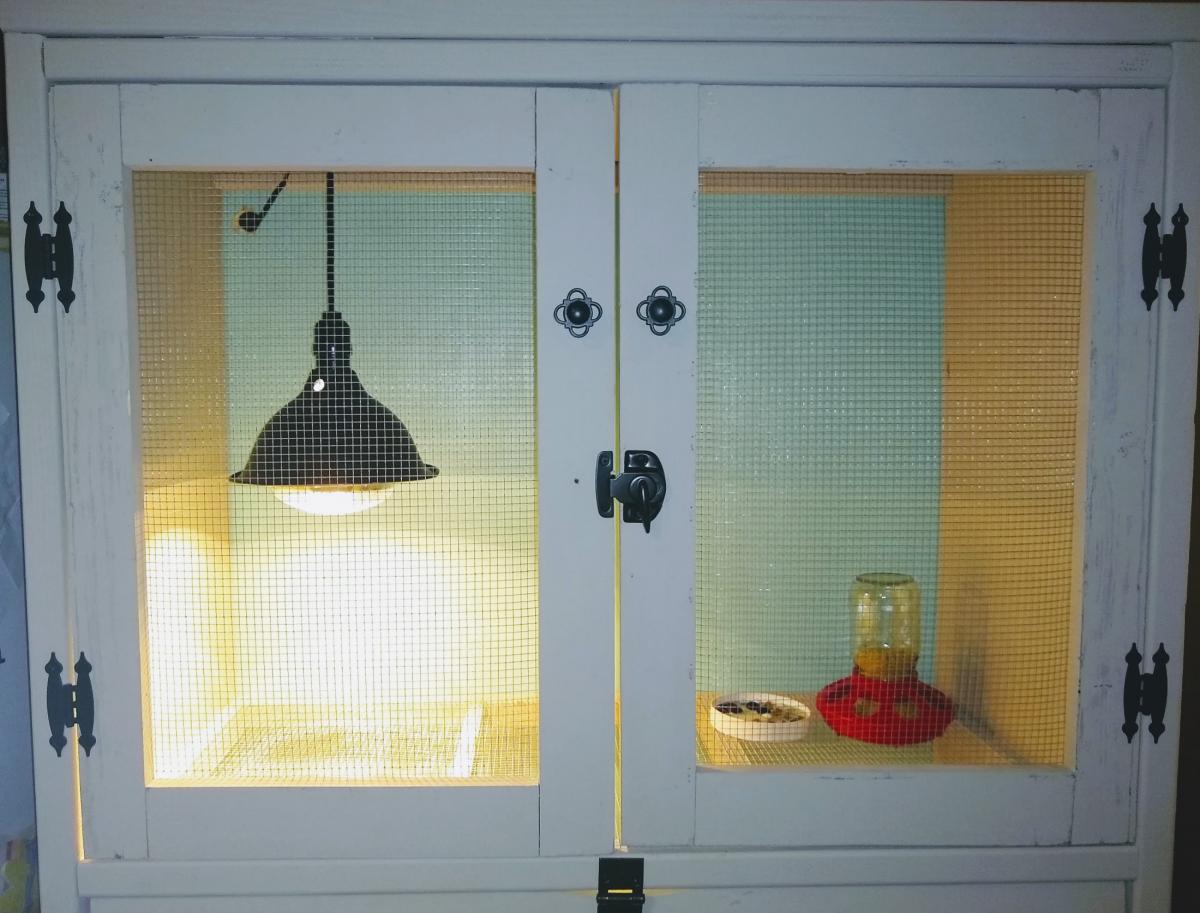
Chick Brooding Cabinet for Quail
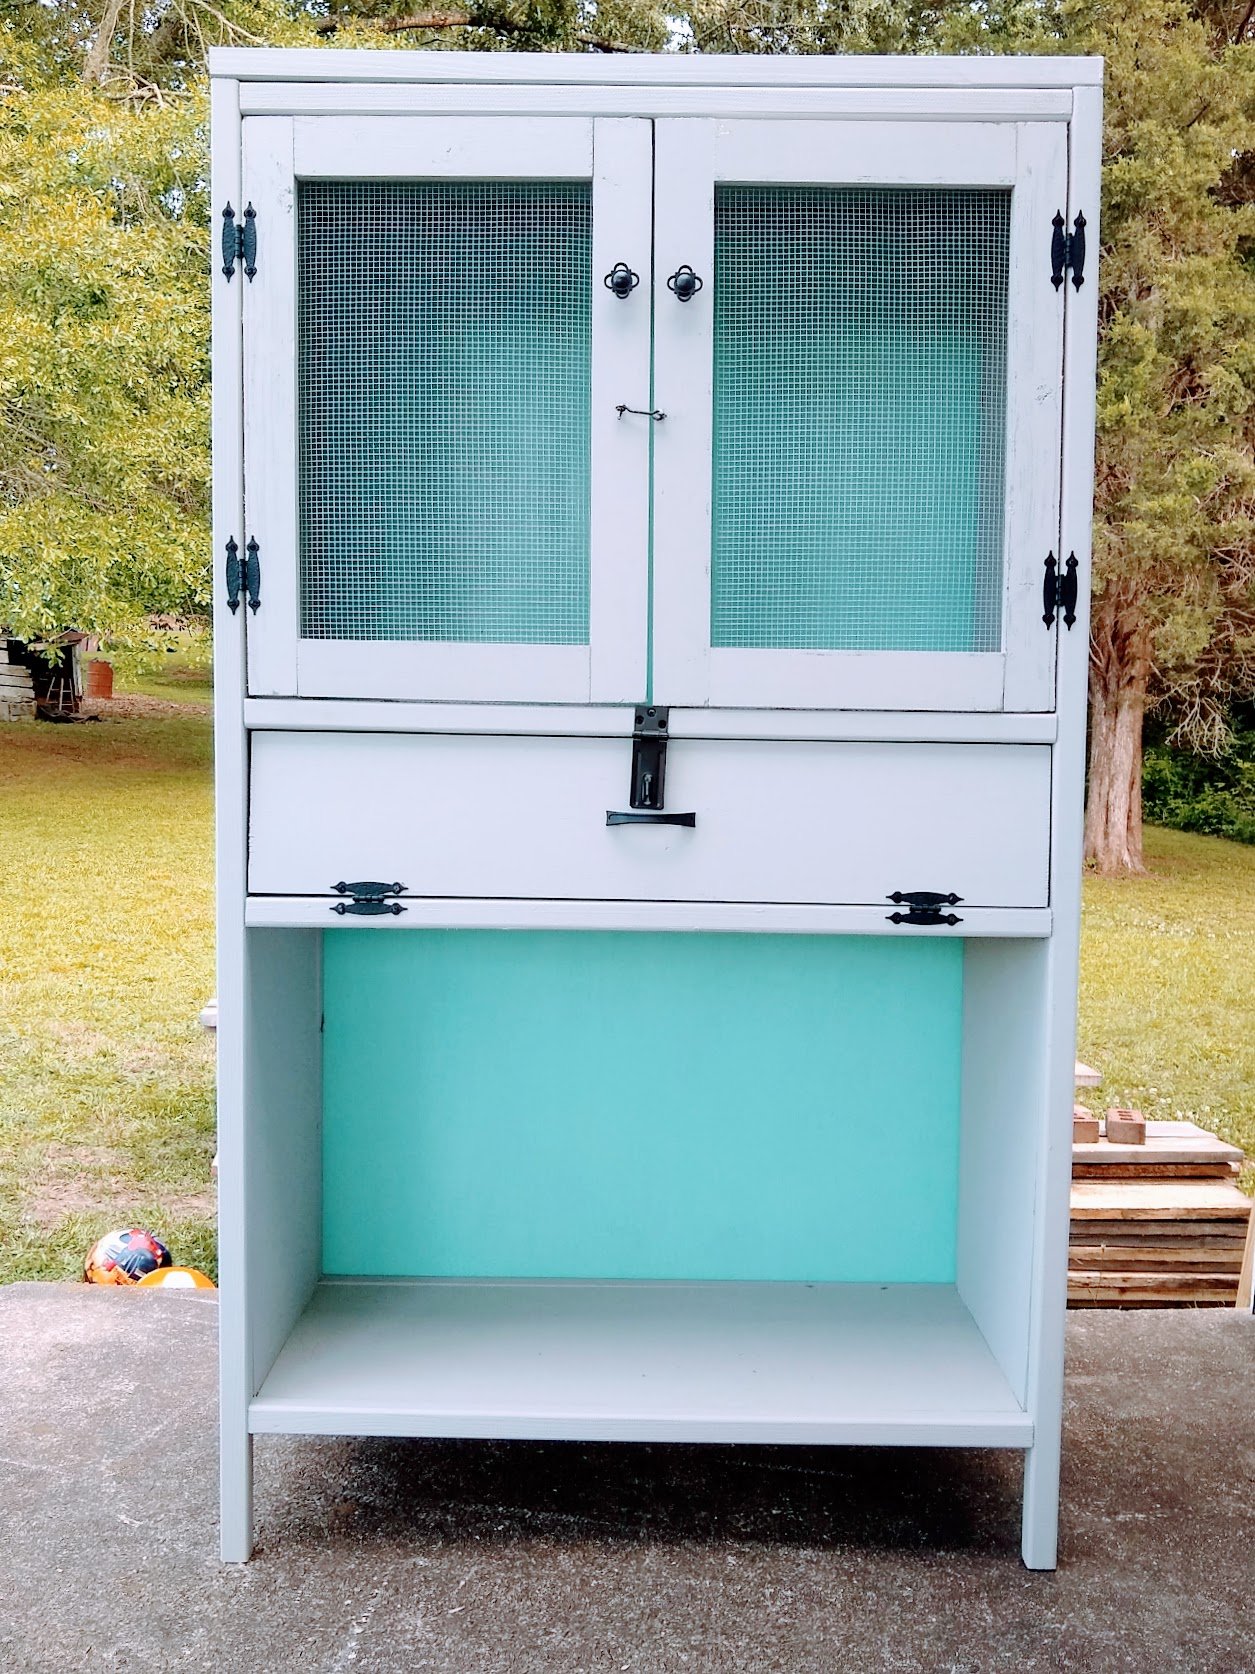
My family has started raising quail recently and I built their first home while they were still in the incubator. I have never done any wood work before, so this turned out much nicer than I expected! I followed the suggestion of having the brooder part on the top instead of the bottom and omitted the extra shelf. Two 5-gallon buckets fit nicely below the chicks. Since the quail are so small when they hatch, I used 1/4 inch hardware cloth for the "floor" but it wasn't long before that was too small so we had to change it to 1/2 inch. I am going to make a tray with each size of hardware cloth on it to make it easier to change out for next time, because they really do need both sizes.
