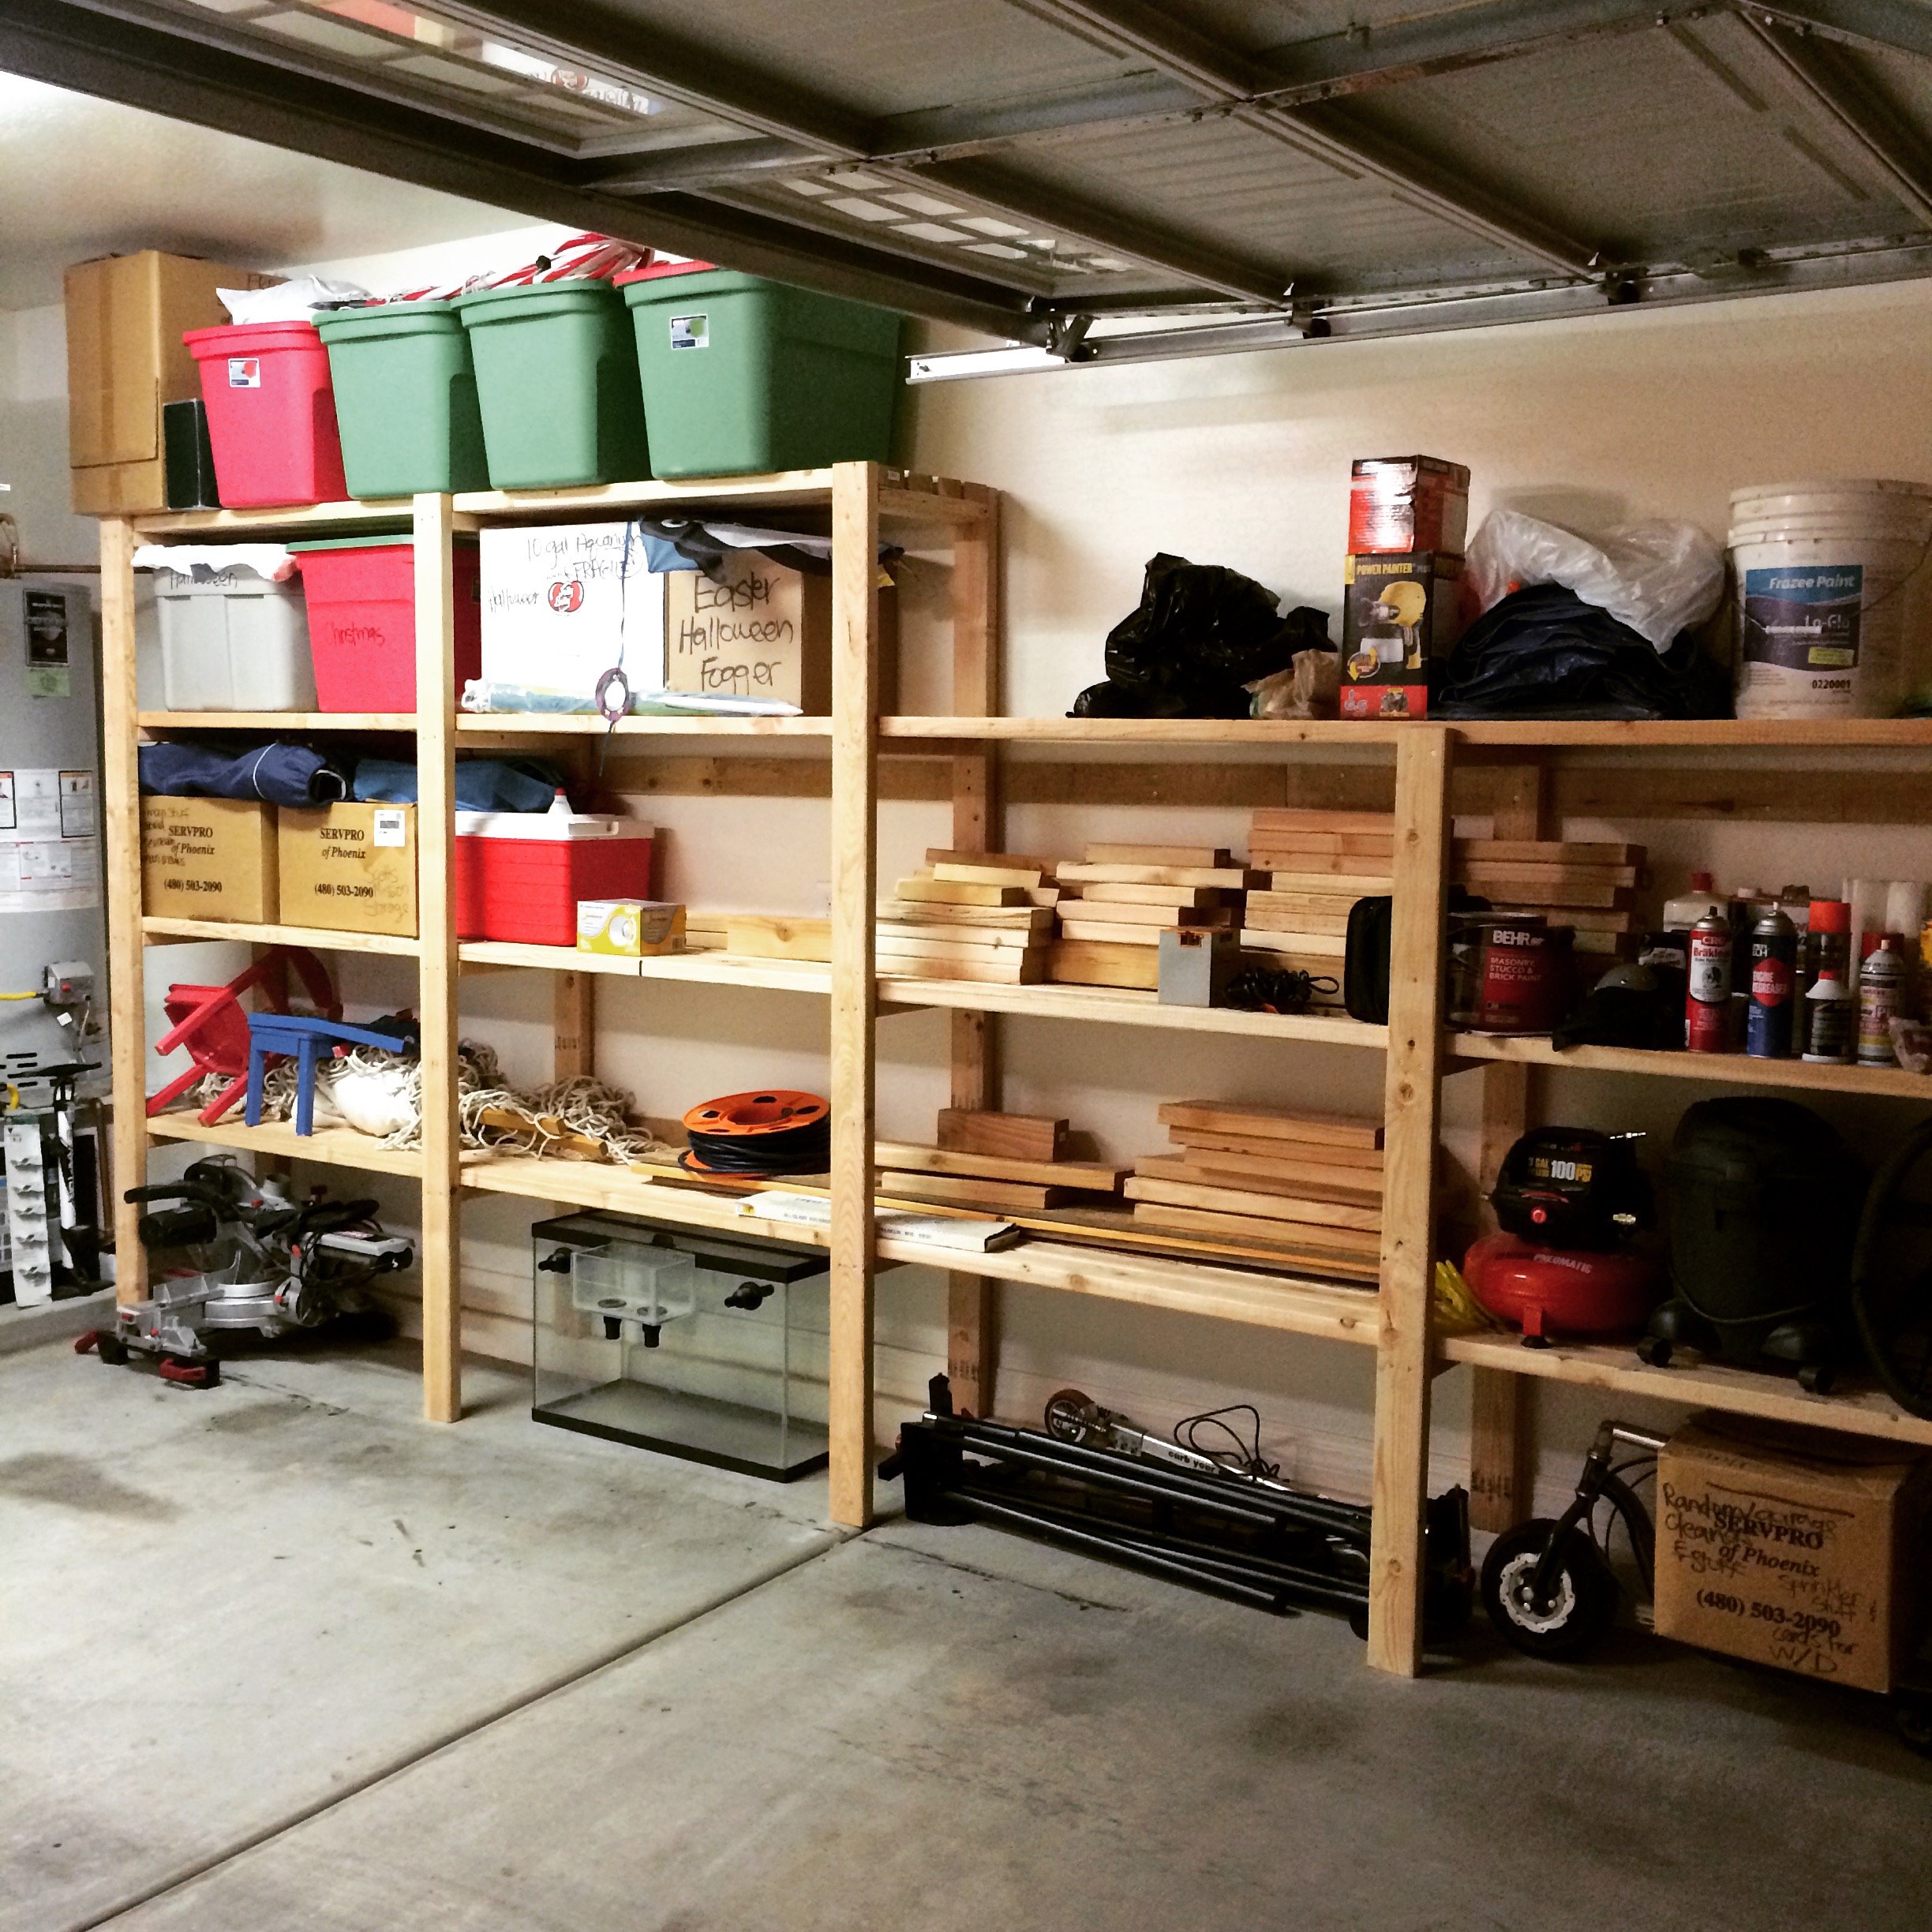
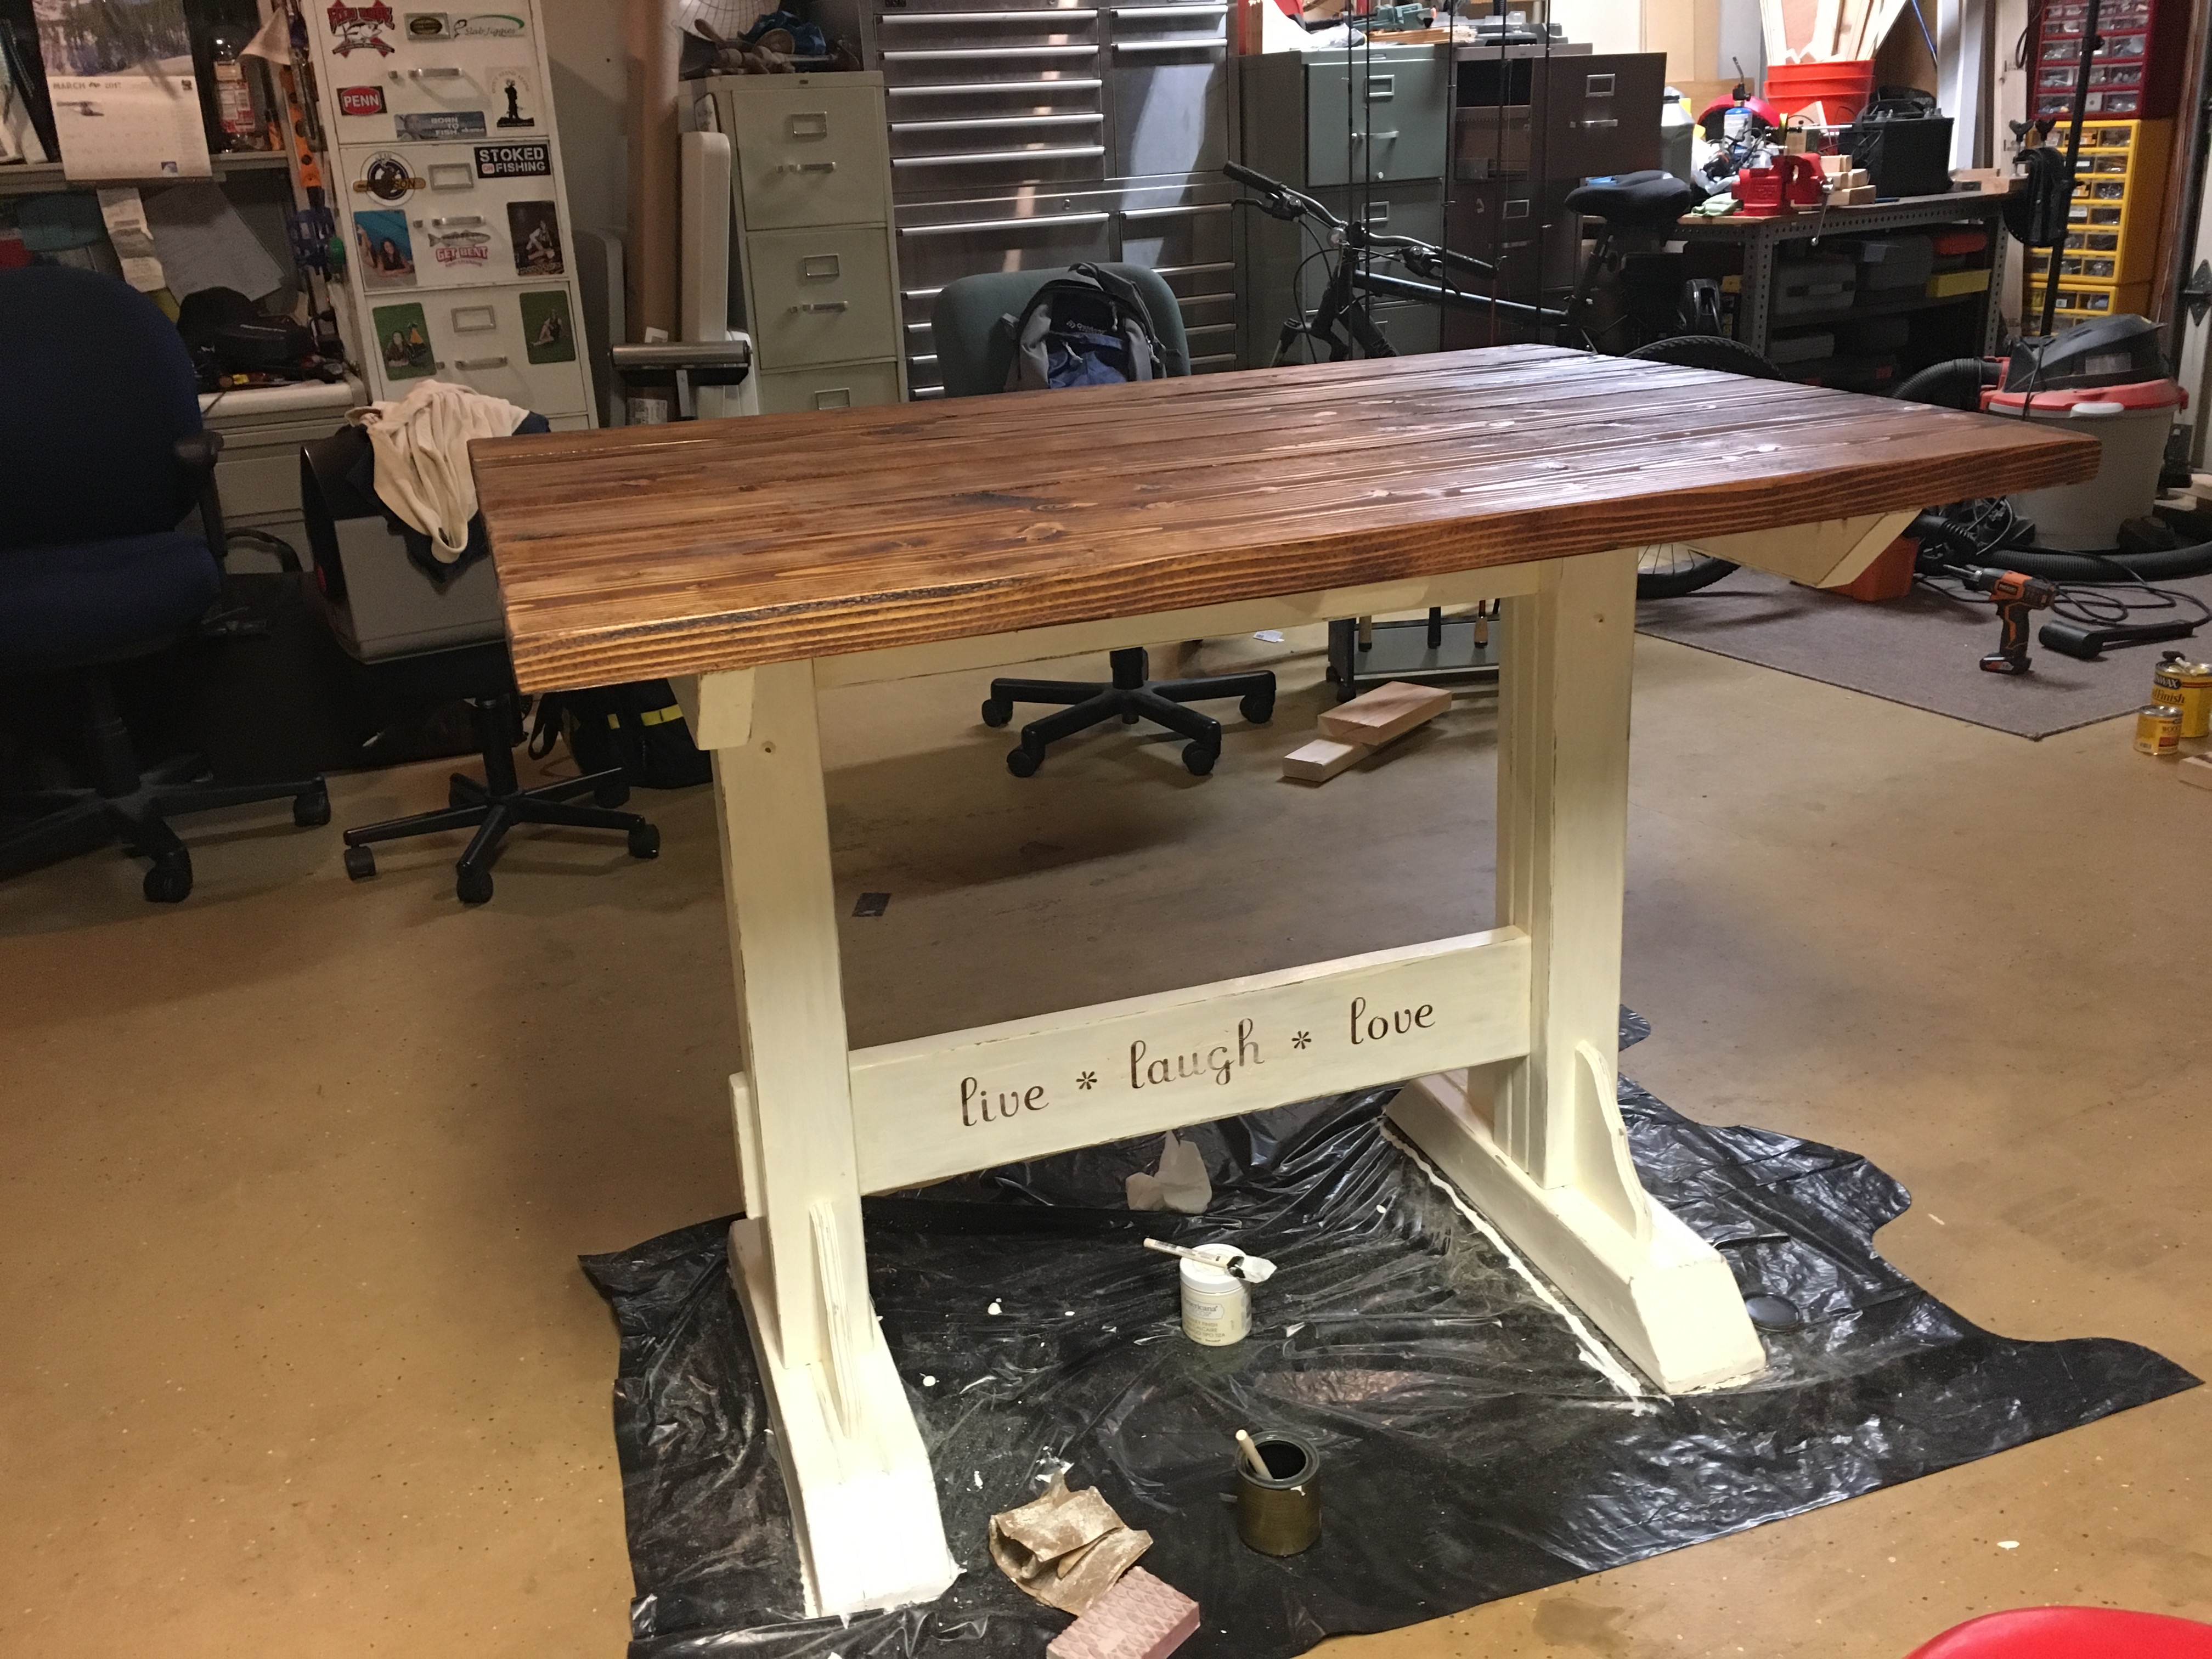
These were built to demo the Sunday Trinket Box plan using 3 different wood types – 1/2" thick craft board, 1x scrap wood, and cedar 1x. On the 2 that I made with 1x boards, I used some ¼” hardwood plywood scrap for the inner lids, which kept the top nice and light and worked very well. I think I prefer this for the inner lid when working with the 1x material and would recommend that for the build. My craft room work table looked like a mad scientist’s laboratory with all the cans and tubes of finishes I’ve been trying out, and projects at different levels of completion.
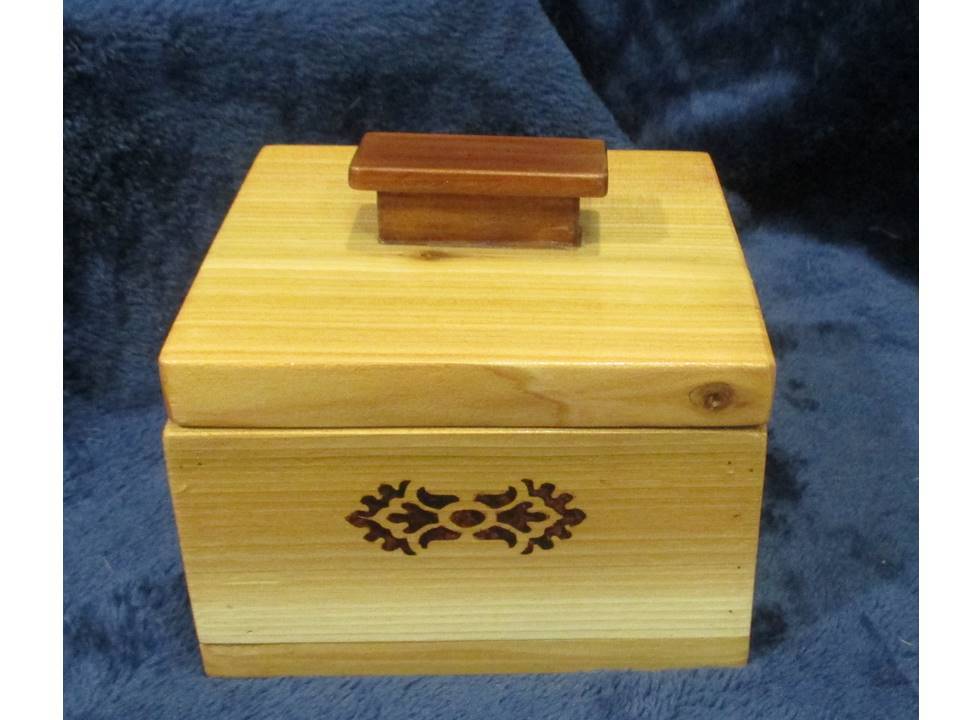
The craft board box is finished with 1 coat of Rustoleum Stain + Poly in Walnut (the kind in the tube, I had picked this up at Michaels to try it out), and 3 coats of gloss polycrylic. The radiata pine craft board took this stain really well, even without wood conditioner. The inner lid for this one is the same ½” craft board used for the box. The pull for this one is a rectangle of cedar, with a light coat of Varathane stain + poly in Walnut, and a coat of gloss poly. Cost: Wood: $8.47 for craft boards, Finish: $0 (used finishes already on hand).
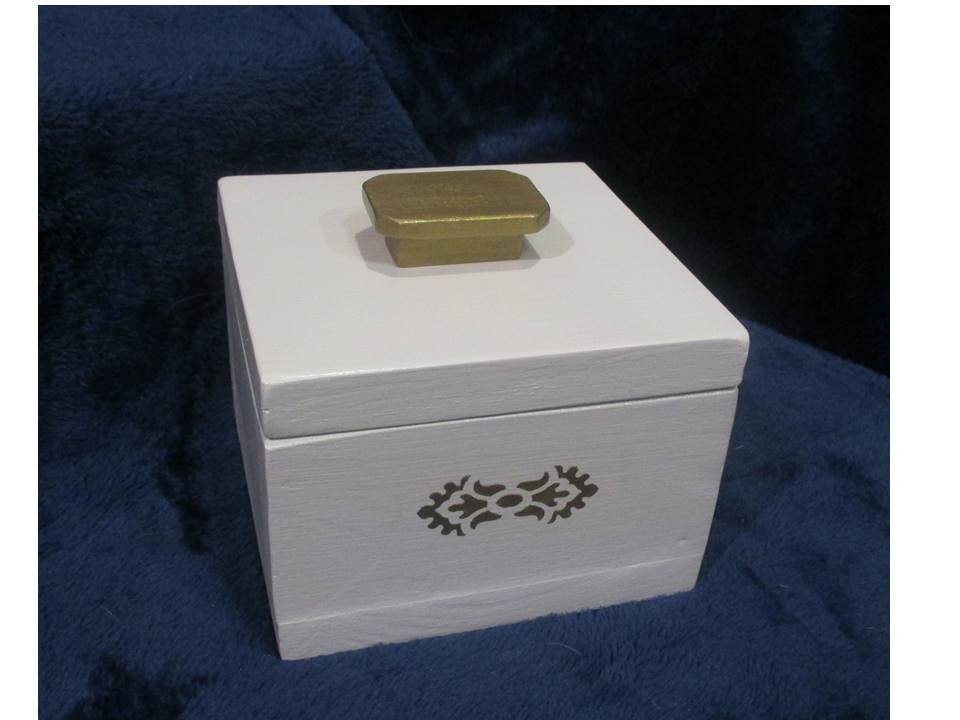
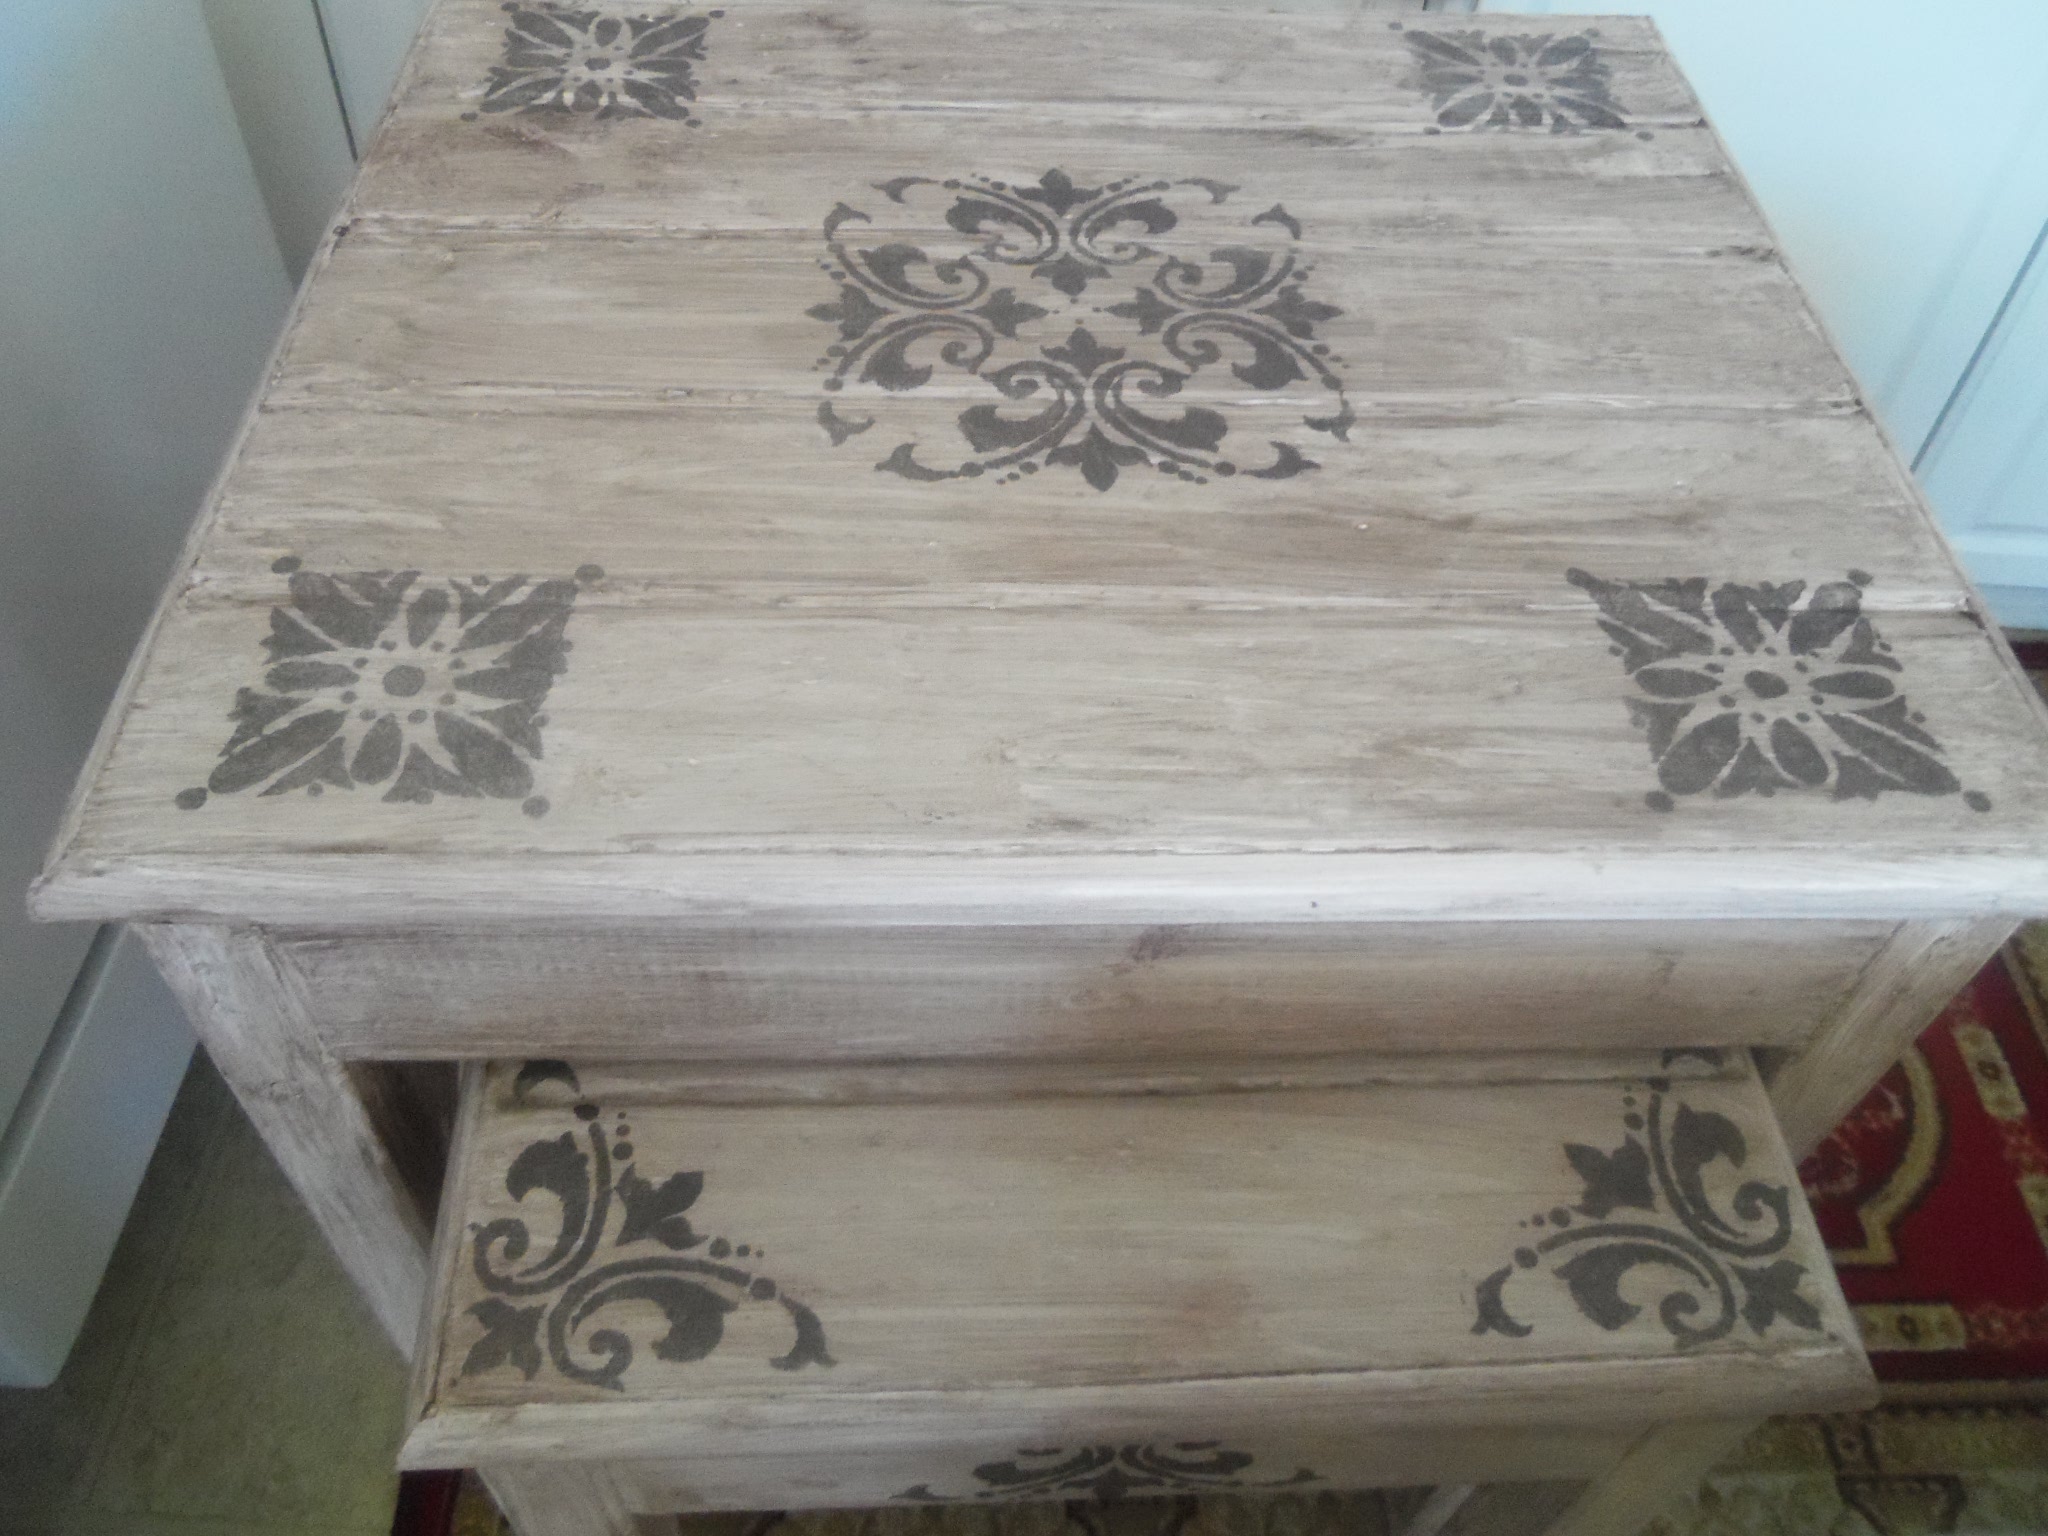
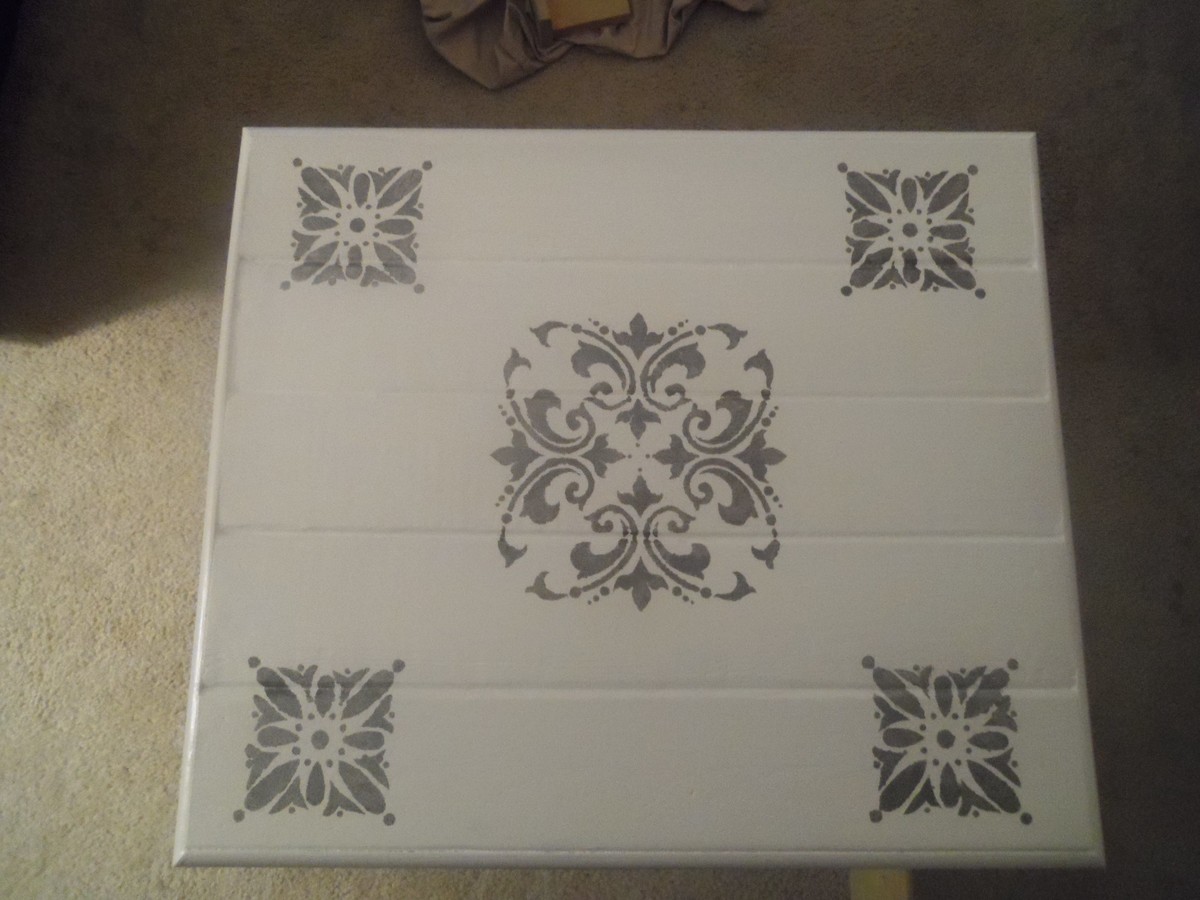
The scrap wood box is finished with 3 coats of Clark & Kensington semi-gloss in Crushed Peanut, a stencil design added on the front in gold craft paint, and a DIY pull made from a ¾” wide “slice” of the ½” thick craft board, topped with a scrap of ¼“ x 1 ½” poplar craft board, super-glued and pin-nailed together, and finished with 2 coats of gold craft paint and 2 coats of gloss polycrylic. The pull is attached with crystal clear super-glue. Cost: $0 for wood (scrap), $0 for finishes (left over), $4.99 for the stencil (which I am re-using) and $4.99 for a pkg of 4 stencil sponge brushes (also re-using these).
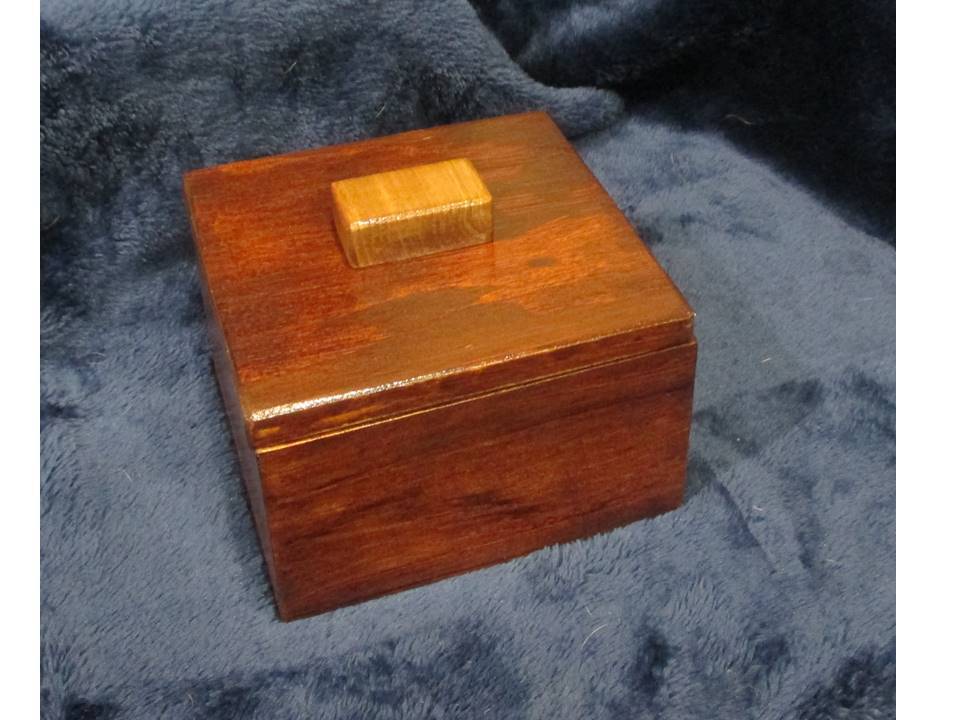
The cedar 1x box is finished with 3 coats of gloss poly. The knob is another DIY – a ‘slice’ of the 1x cedar, topped with some ¼” aromatic cedar, glued and pin nailed together. This received 1 coat of Rustoleum Walnut Stain + Poly on the top part and 2 coats on the bottom part, topcoated with 2 coats of gloss poly, and was super glued to the top. The inner lid for this one is a piece of ¼” plywood, glued and clamped in place. The front design re-uses the stencil, in the same Rustoleum Walnut as the pull. Cost: Wood: about $5 worth of a cedar 1x8 (cut down to size on the table saw). Finish: $0 since the finishes were already on hand.
These were a super easy and quick build – I built and sanded all three in an afternoon. I’m sure the finishing could all be done in a day too, but I spread mine out a few minutes here and there as I had time to work on them, while changing my mind several times on the pulls and embellishments. These were all given as gifts.