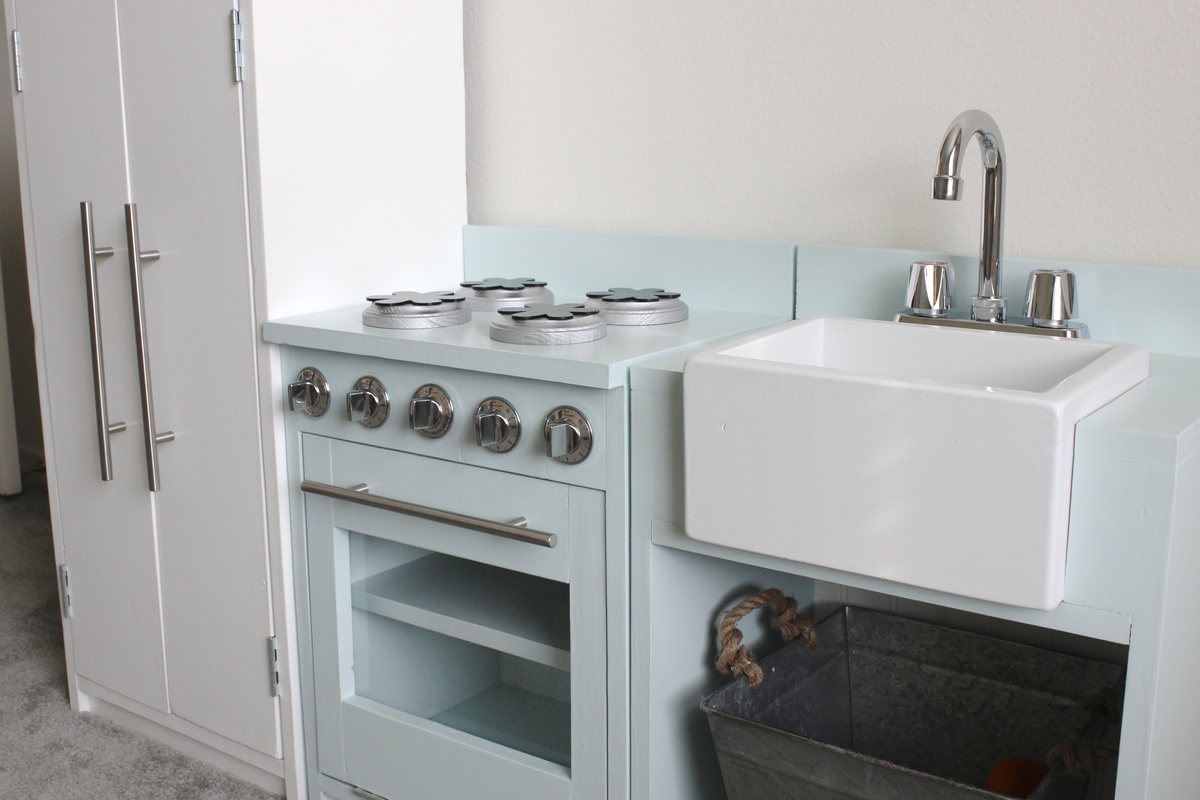
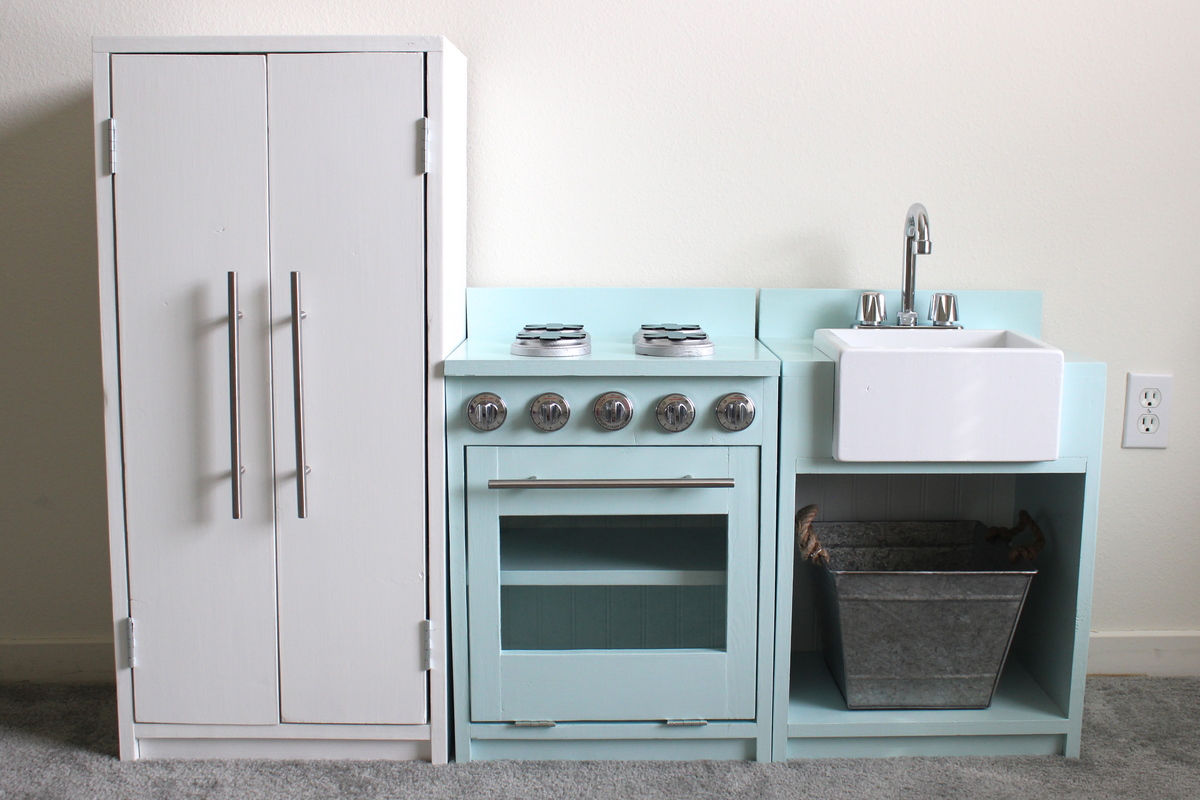
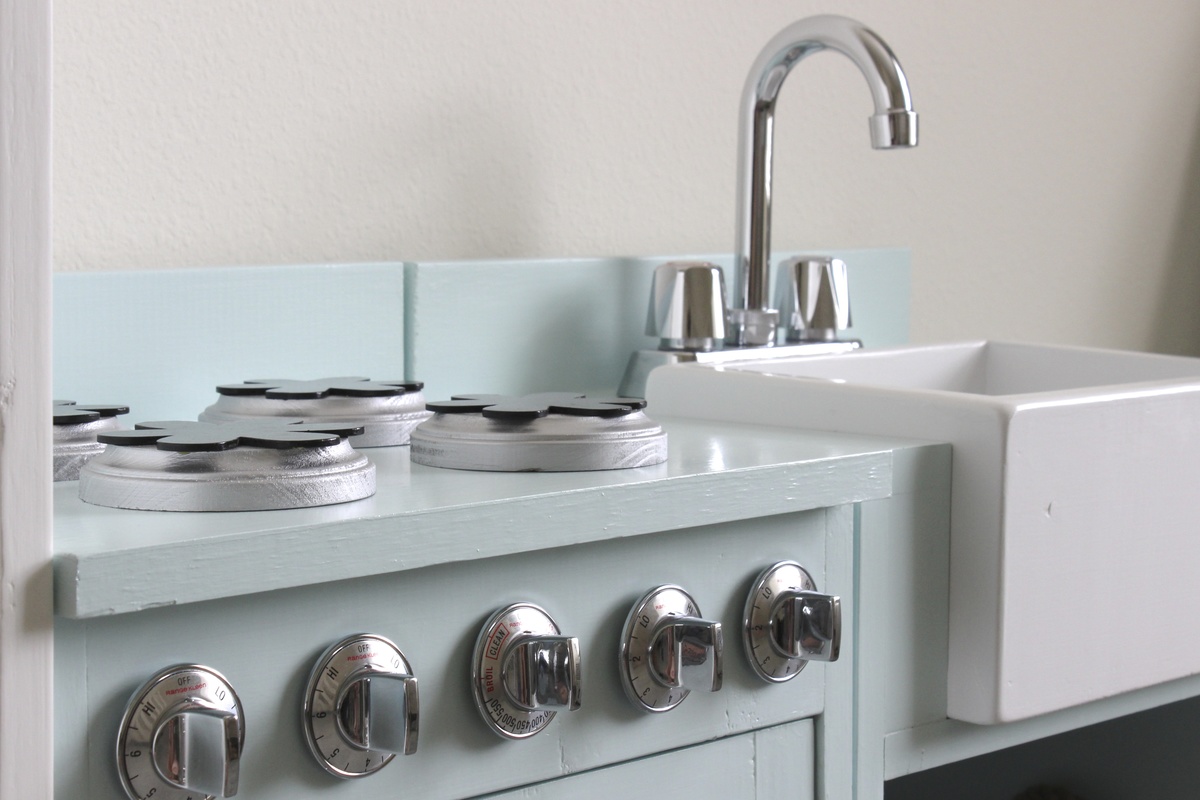
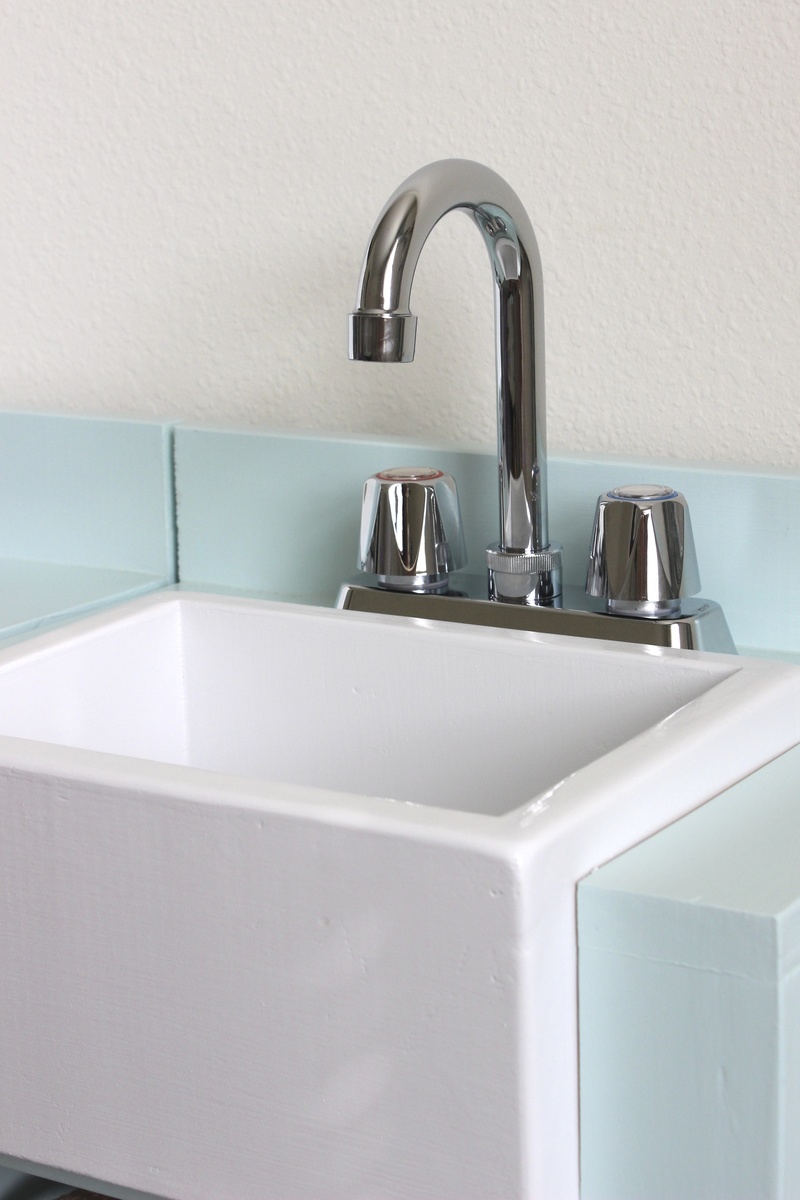
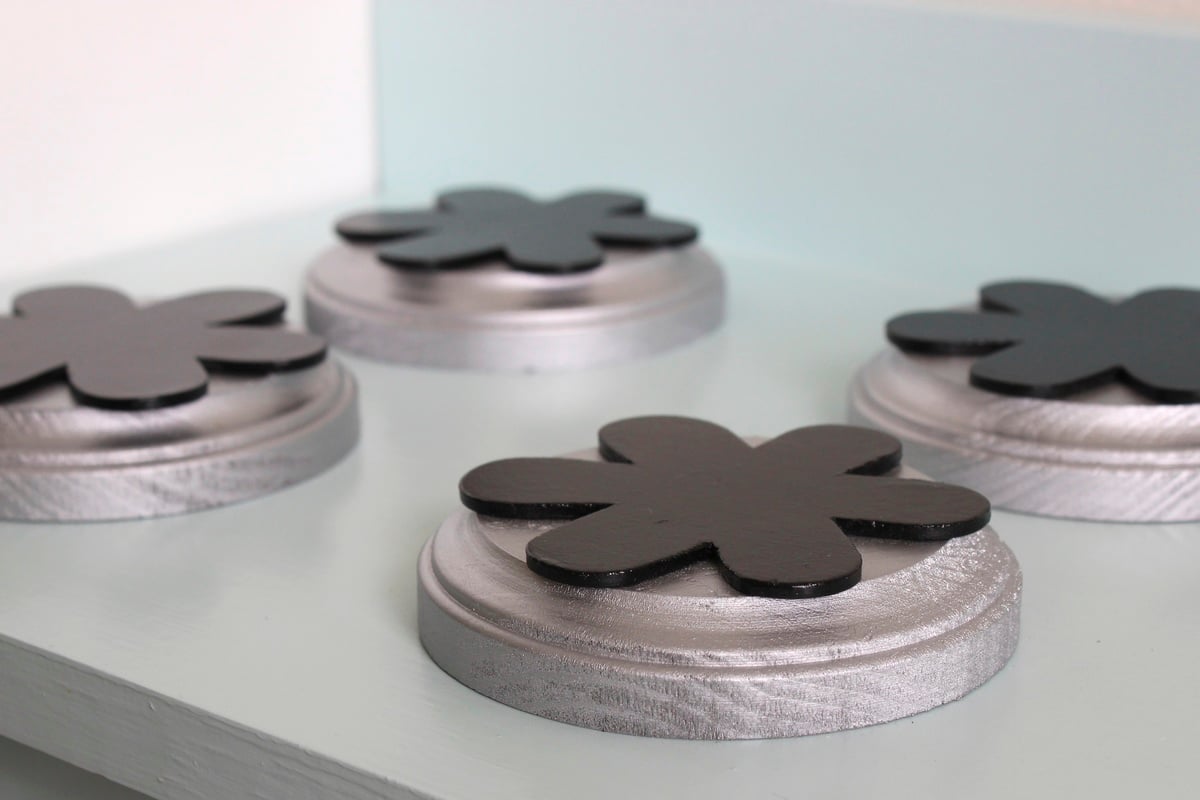
This was so fun. My little girl loves it and we have another on the way, so I am thrilled with how it turned out. The assembly wasn't hard, but it took FOUR coats of paint and three coats of finish. That was the most tedious part. I made a box for the apron sink, rounded off the edges, sprayed it with a white lacquer, and modified the countertop so it fit in nice and snug. It's my favorite part. I love that it tied in the white fridge. It ended up costing me 130 bucks. 50 in wood, 35 in paint/supplies, 45 in handles, knobs, faucet, hinges, stovetop etc.
COUNTERTOP AND SINK MODIFICATION:
I hope this isn't too confusing. It's hard when you can't see it, so don't hesitate to email for clarifications.
Countertop
(2) 1x3 @ 10 ½” (these boards go on either side of the sink when looking from above)
(1) 1x4 @ 11“ (this is the board the faucet sits on)
Put the backsplash on the same way the original plans say.
Sink box
11” wide, 8” deep, 5.5“ high (Using all 1x6 boards)
(2) 1x6 @ 11” (front and back)
(2) 1x6 @ 6.5” (left and right sides, on the inside of the 11" boards)
6.5x9.5 inside bottom (cut down whatever board you need to to get this size. This should fit snuggly inside the walls of the box)
Because a 1x6 is really 5.5 inches wide, and the countertop is 3/4" thick, and 3/4" of the sink sits above the countertop, that means 4” of the sink will be under the countertop. So looking at the sink from the front, you need (2) 1 ¾” wide x 4” long blocks of wood on either side of the front part of the sink. Then I just put a 1x12x14 1/2" shelf under the whole thing to hold it up. I built the sink box first and spray-painted it with a white lacquer, then I built the entire sink countertop and base, and then shoved the sink in last. It was a very tight squeeze so I didn't have to nail or glue it in or anything. About an inch of the sink should be sticking out of the front, and 3/4" should be sticking out the top.
Good luck!
Email me for questions!
[email protected]
Or visit my blog for details where I got all the accessories
carlyandjordan.blogspot.com/2013/08/play-kitchen.html









Comments
dananryan
Fri, 07/15/2011 - 15:15
Beautiful!
Looks great! Did you make any changes? It looks taller...
In reply to Beautiful! by dananryan
jazberg
Fri, 07/15/2011 - 23:16
beautiful
We had to make some changes, especially in its depth as it needed to hold a sink. It came out at 31 3/4" tall, 57" wide and 20" deep. We also added a shelf at the bottom. Thanks for the compliment!
Pam the Goatherd
Sat, 07/16/2011 - 08:22
Ditto on the "beautiful"!
Ditto on the "beautiful"!
briggsy13
Wed, 08/10/2011 - 12:41
Top?
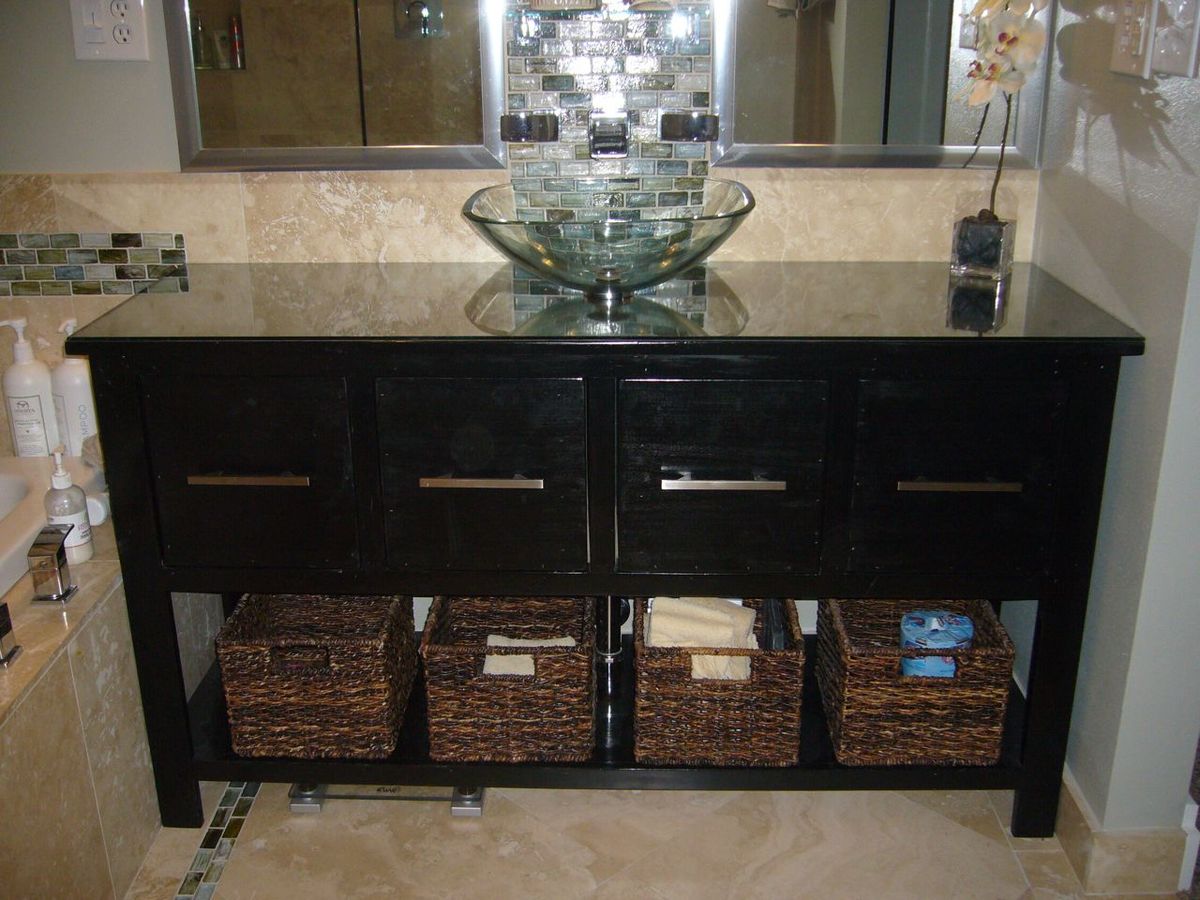
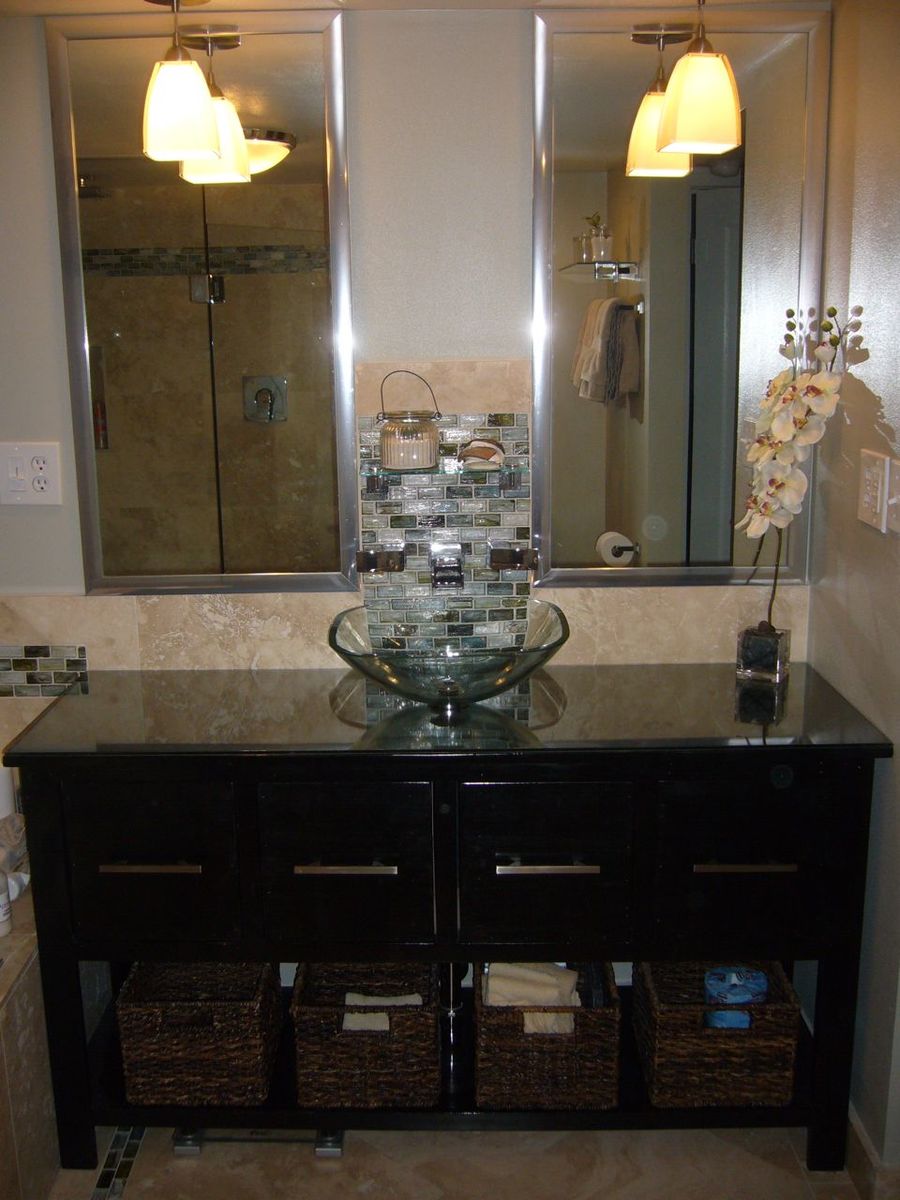
It looks like you have a glass top on this vanity? Or maybe its just the finish? I am very interested in doing this build for our bathroom remodel. I too would like the shelf for extra storage, and advice on how you added that?
I'm going to have to shorten it some as we only have like 53 inches for the vanity. Might just make it 48 inches which is still a plenty big vanity and just make 3 drawers instead of 4.
It looks awesome!!! Great work!
Guest (not verified)
Sat, 08/13/2011 - 14:04
Glass Top?
Yes, it has a glass top. We had the glass guy cut it to size and sand the edges and put a sealing sticky tape around the edges to make it safe and water proof. We also had to have a hole drilled in the middle for the drain and I put a bead of clear caulk to water seal that spot.
The shelf was easy. Just a couple of ledger pieces nailed with a nail gun (or screwed if you pre-drill) to the legs on each side (from back to front). Then glued the ply wood for the shelf on to the ledgers. I then measured and cut facing to cover the plywood edge and add stiffness to the plywood. I just glued and clamped those on. You may have to cut out a slot in the shelf if your drain pipes are low on the wall (I had to).
Careful is you're going to do three drawers. You'll have a drain pipe going down the middle of the vanity! I had to offset the inside drawers so that they would not hit the drain pipe. I offset them about an inch on both sides (one offset to the left, the other to the right). You can't tell from the front as I sized all four drawer faces the same. If you do three drawers, that middle drawer might need to be less deep (6" verses 12 or more) or you might just make it a false drawer...one that doesn't open at all. Either way, the four drawers (12x12x10) are plenty large enough for our needs. if I had just two drawers i would make them deeper. Good luck! Share a picture with us when you're done!