British Telephone Booth Bookshelf
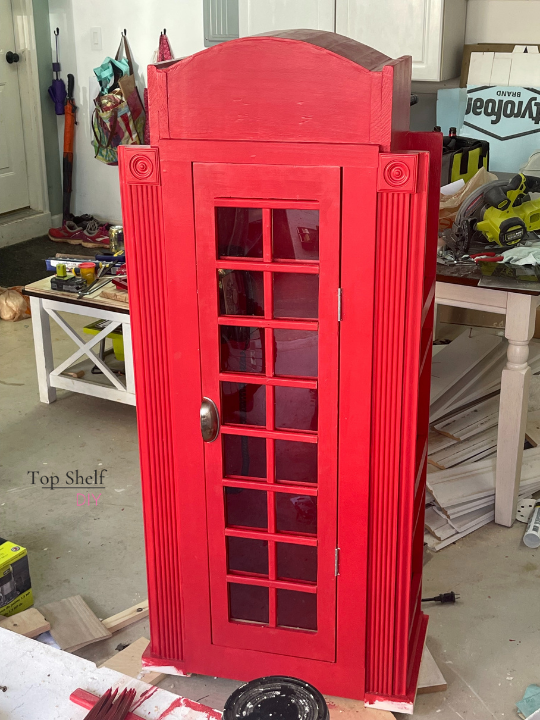
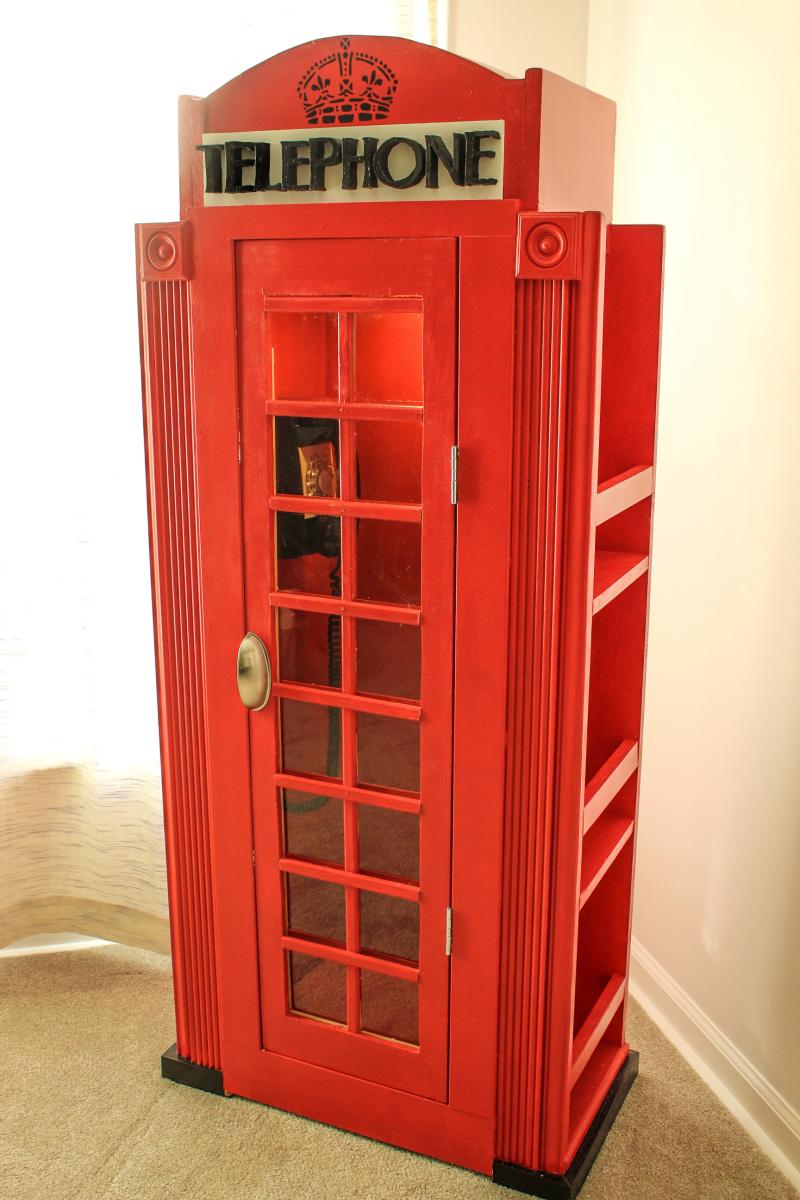
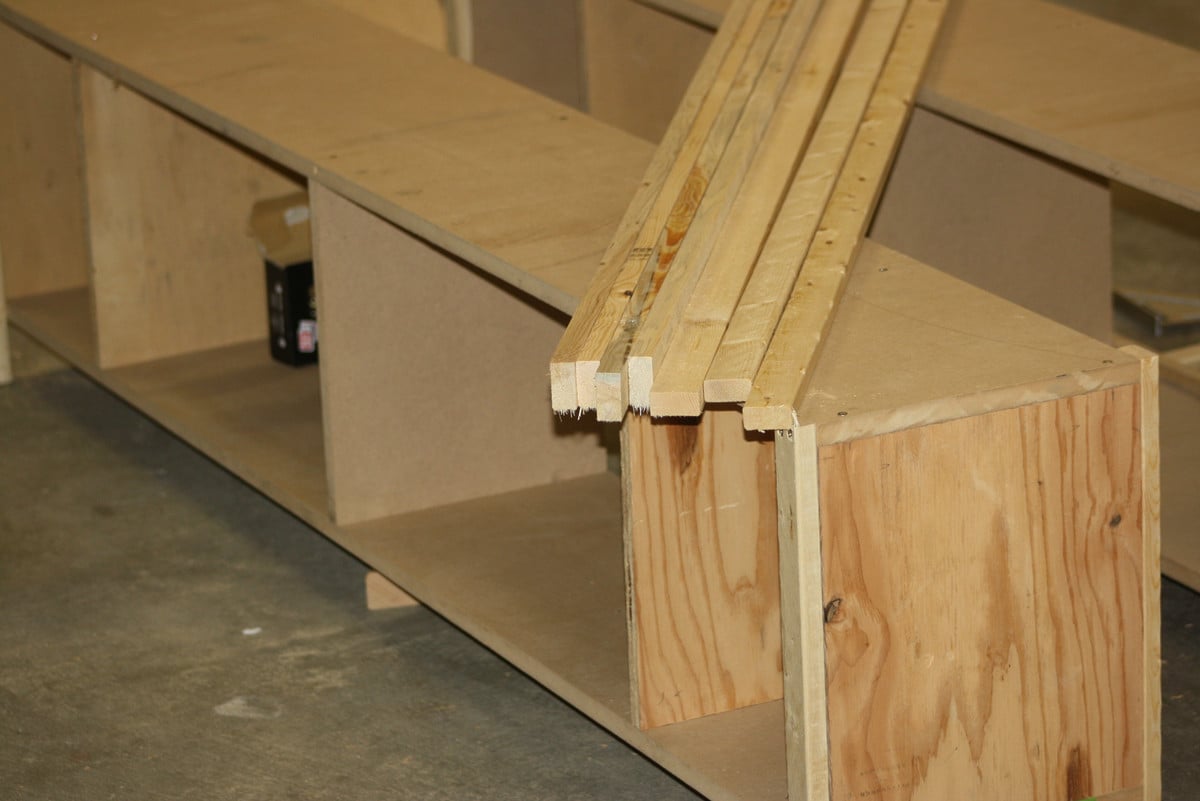
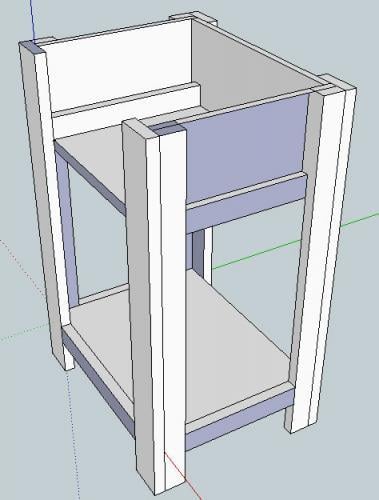
So I wanted to make a bookshelf for a friend who's having a baby. Her husband is British. The invite to her baby shower said, "Bring a book, not a card" so I knew she was going to have a lot of books. I took the gas pump bookshelf plans and added an arched roof, plexiglass door, and some fluted trim to make it look authentic. I found a vintage rotary phone for $20 and added a battery operated puck light to complete the look. My kids loved it!


Comments
Ana White Admin
Sun, 03/06/2022 - 10:14
Amazing gift!
WOW, that is so special and sweet! It is sure to be cherished for years to come!
In reply to Amazing gift! by Ana White Admin
Erin at Top Sh…
Mon, 03/07/2022 - 16:28
Thanks Ana! :D
Thanks Ana! :D