Community Brag Posts

Truss Shelves

Submitted by watrfall86 on Mon, 04/01/2013 - 19:16

This was my first attempt at building furniture, and I could not be any happier with it. Definitely a learning experience for me and my husband, but totally worth it.
It has it's imperfections (some of the shelves are a little lopsided) but I built it!
We desperately needed a new bookcase, and I have the hardest time picking things out.
We are very happy with the results. I saw a similar concept shelving unit in a store for over $100, and it was smaller!

Built from Plan(s)
Estimated Cost
$75
Estimated Time Investment
Afternoon Project (3-6 Hours)
Finish Used
Glidden Interior Satin Paint in Dusty Gold.
I probably should have spent some more time sanding between coats, but I finally decided that I just needed to get it done after it had sat in my living room for 2 months unfinished. It's a little rough around the edges, but it still turned out beautifully.
First I primed with a standard latex primer, and coated twice with the Dusty Gold with a small smooth surfaces roller. I then went in with a small sponge brush to get into the smaller crevices.
Recommended Skill Level
Beginner

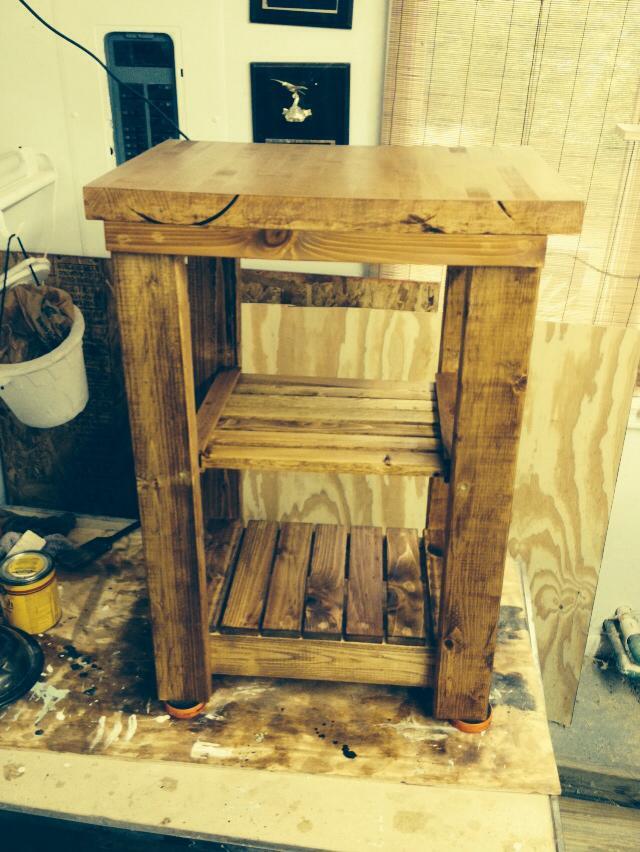
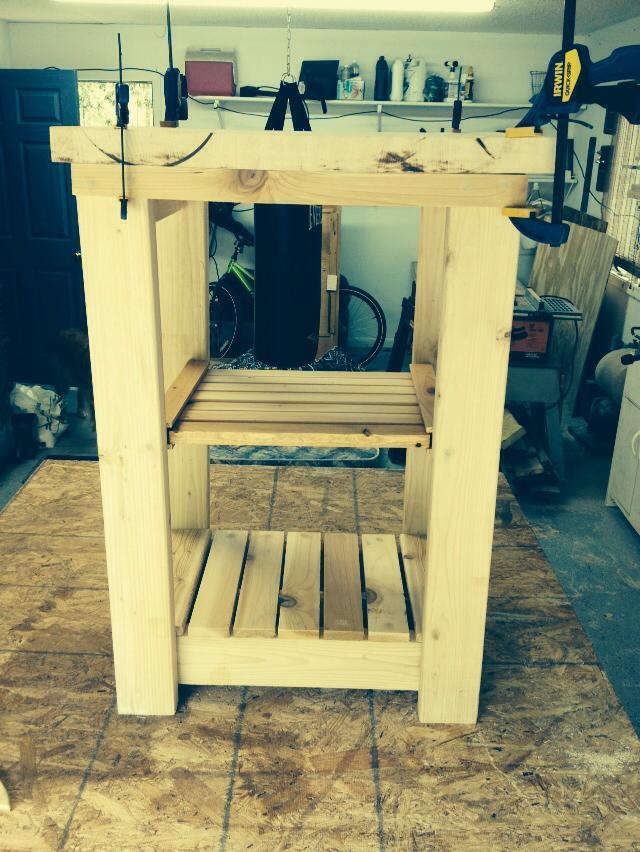
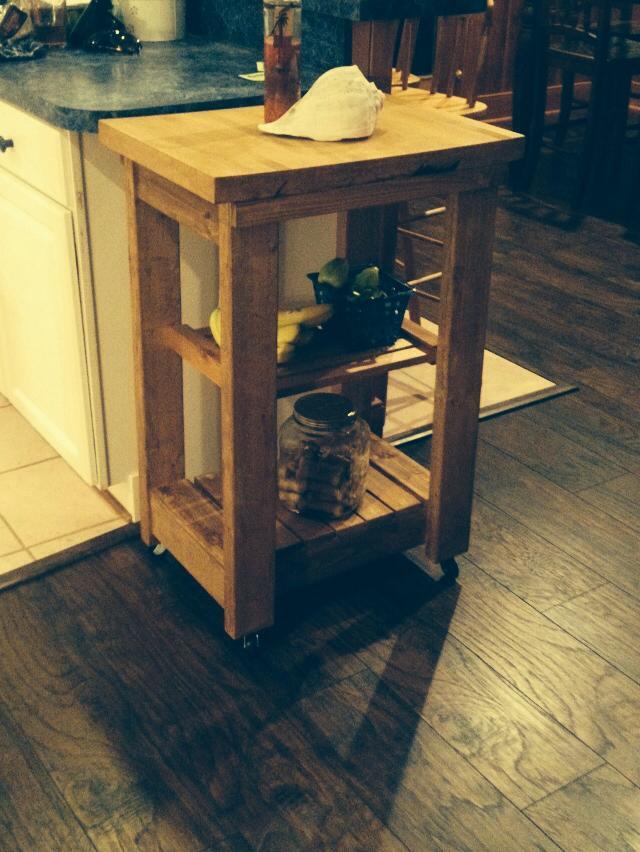
Rustic small rolling kitchen island

I modified this plan to use wood that I had and also a piece of kitchen counter top that was left over from my daughters new house.  


Built from Plan(s)
Estimated Cost
Scraps
Estimated Time Investment
Weekend Project (10-20 Hours)
Finish Used
Golden Oak
Recommended Skill Level
Intermediate

Comments

Anna's Outdoor Sofa

Submitted by Anonymous (not verified) on Sat, 05/13/2017 - 22:26

We used Anna's outdoor Sofa plans, which were very easy to read. For wood, we kept costs low by using pressure treated wood, and staining it with Minwax Colonial Walnut stain. We did use the lumber cutting service at Home Depot- only $15 for the cuts, and it made the project time very quick.  The cushions were from Lowes, and throw pillows were purchased the previous season at Homesense. We are so happy with how it turned out. Thanks, Anna!

Estimated Cost
$95 for wood, including cuts done by Home Depot
Screws and wood glue $15
Lowes cushions $ 200
Stain $0 (used for previous project)
Total cost $310 CDN
Estimated Time Investment
Afternoon Project (3-6 Hours)
Finish Used
Minwax Colonial Walnut
Recommended Skill Level
Starter Project

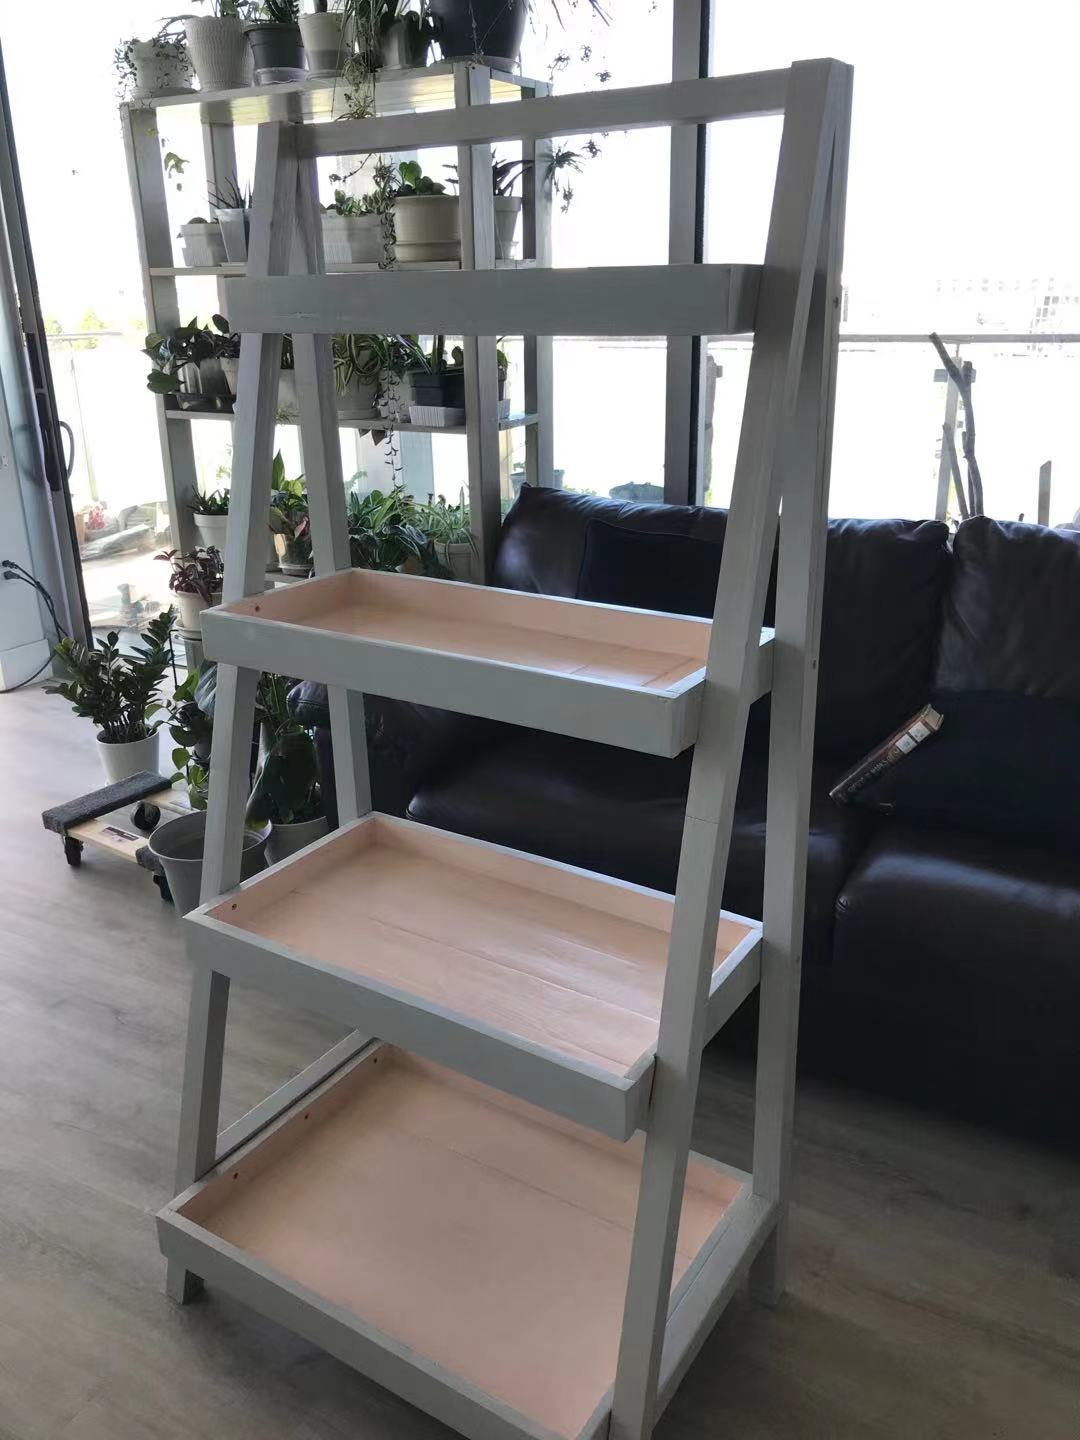
painter's ladder shelf

Submitted by Anonymous (not verified) on Thu, 05/20/2021 - 13:28

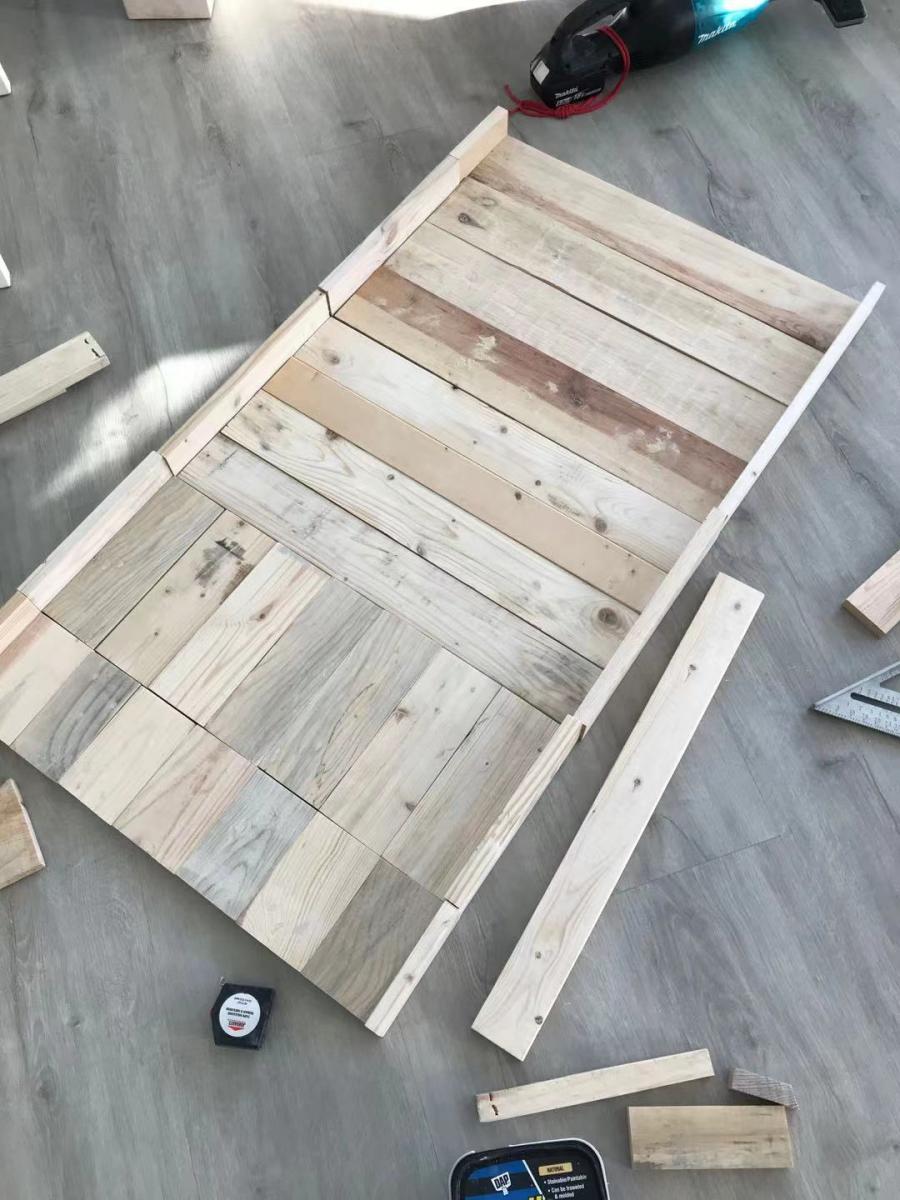
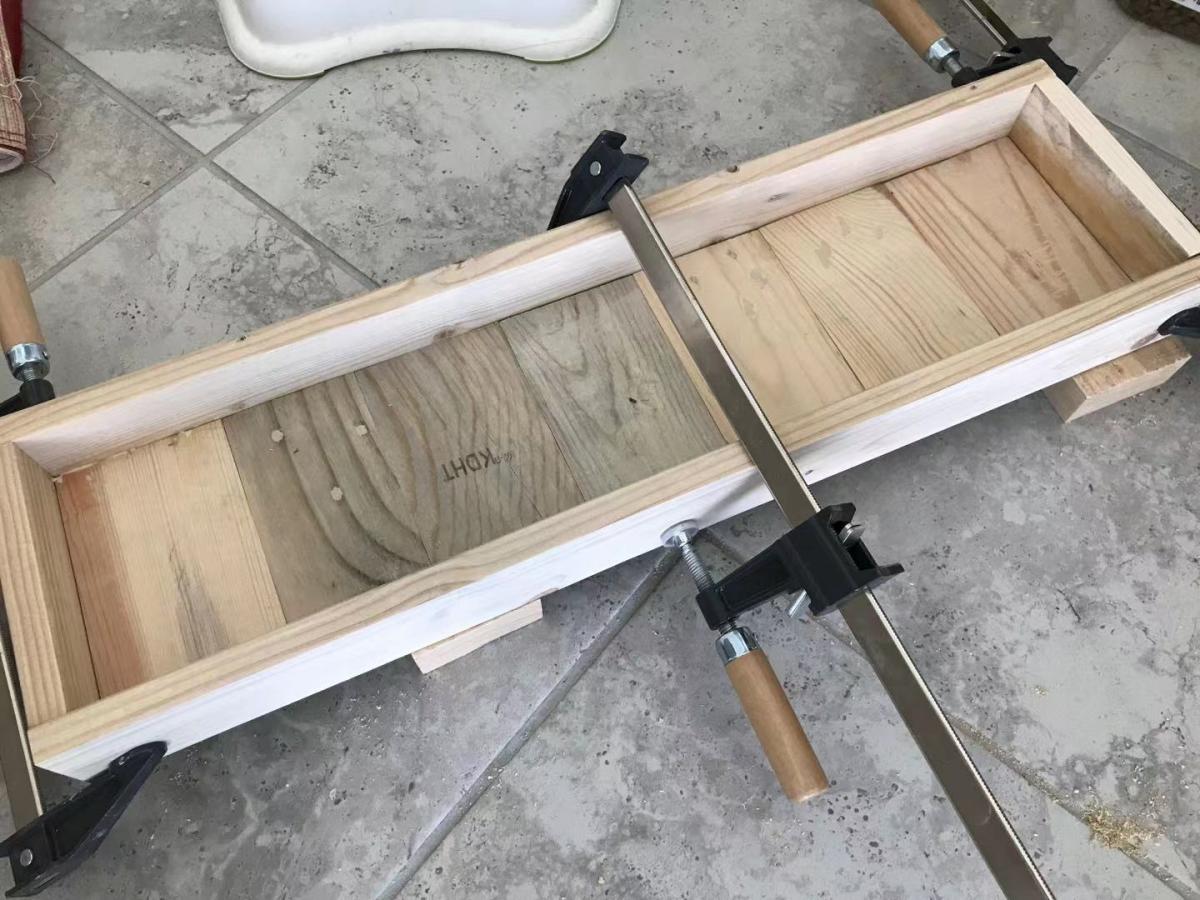
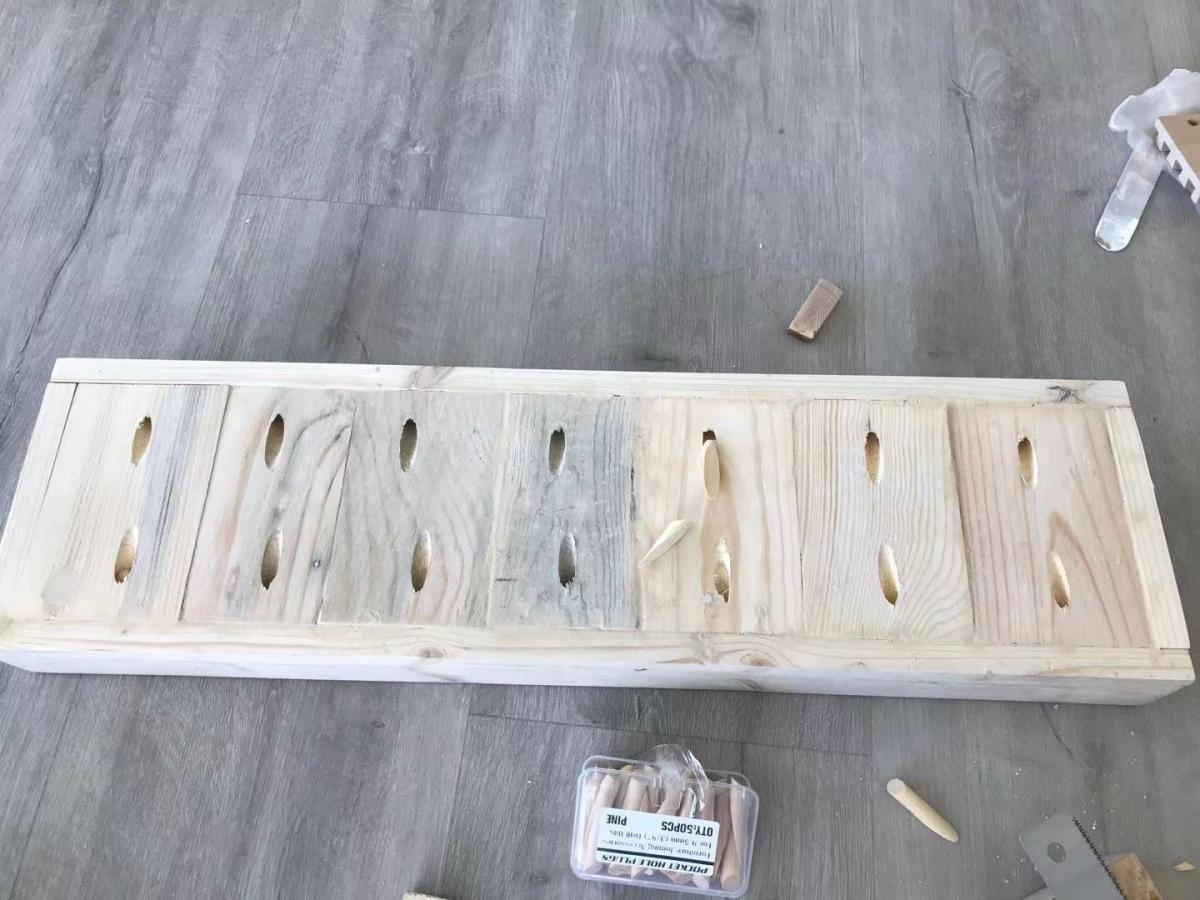
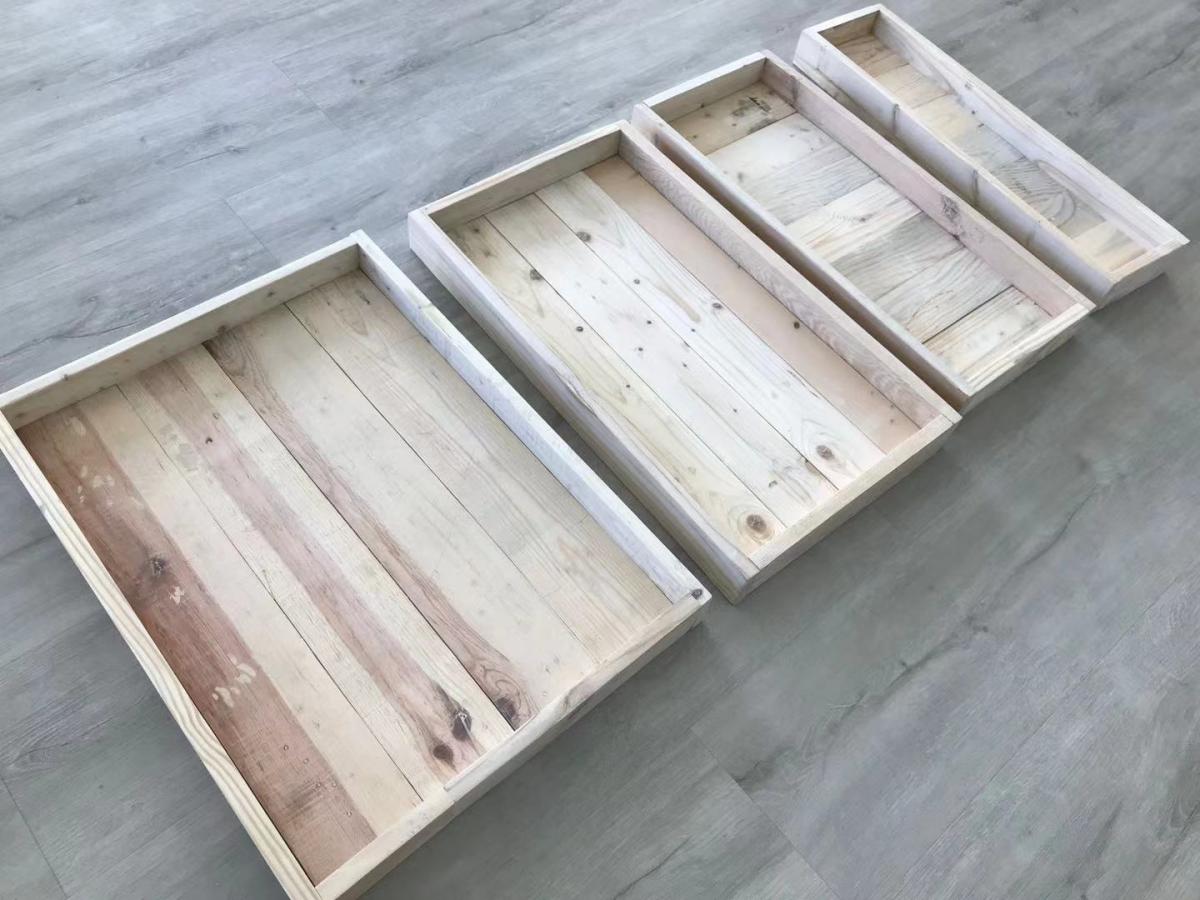
I made this shelf from some old pallet wood, it took me long time to sand them.
I also made it about 5 inch higher, 1 inch deeper.
The result is perfect, I've already put my plants on it, love it! thank you Ana!

Built from Plan(s)

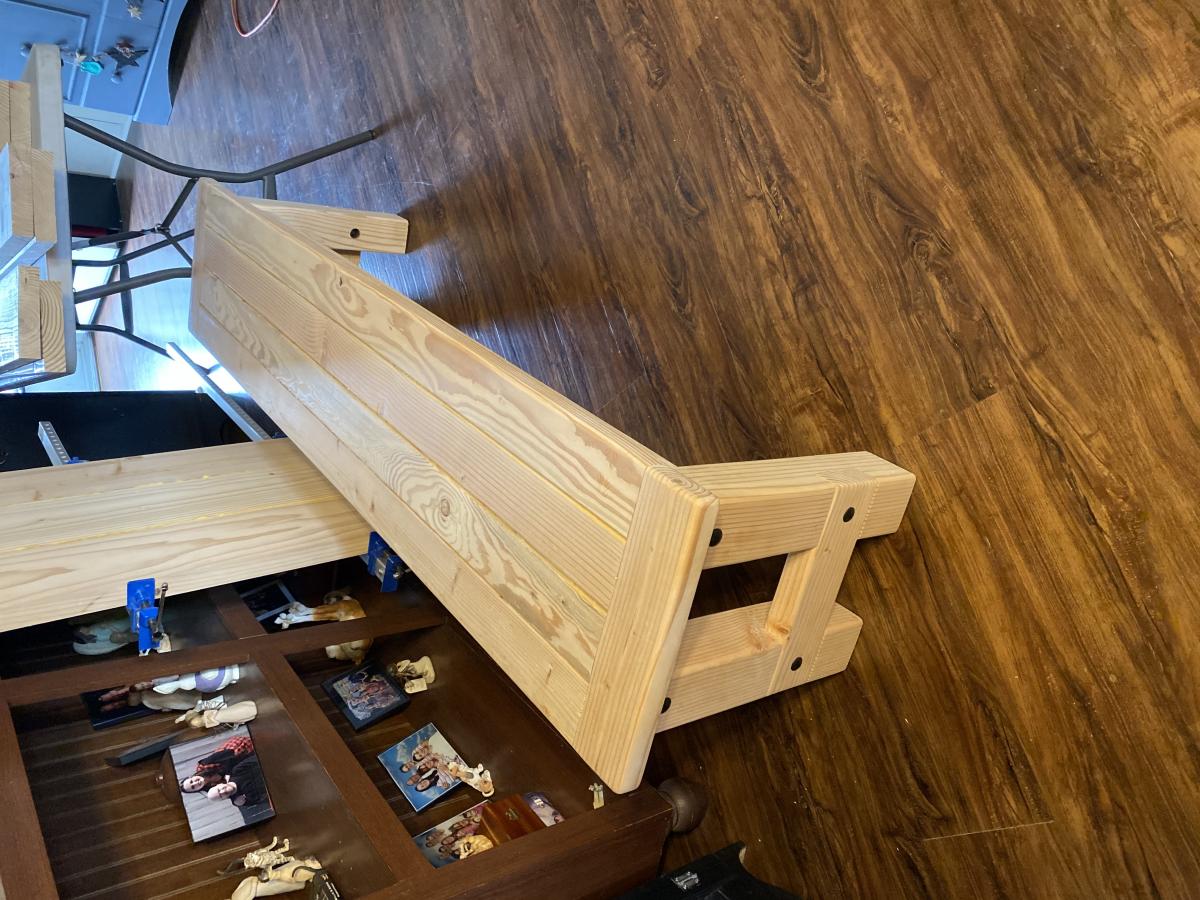
Farmhouse Bench

Submitted by jasonD on Thu, 04/04/2013 - 17:46

Bench was an experiment. Wanted to see how the style looks in the kitchen. The wife loved it, so onto the farmhouse table.

Estimated Cost
$30
Estimated Time Investment
Afternoon Project (3-6 Hours)
Finish Used
watco danish oil dark walnut with a coat of poly for top.. Black paint for bottom.
Recommended Skill Level
Beginner

American flag rustic coffee table

Thanks so much for the plan!

Built from Plan(s)
Estimated Time Investment
Weekend Project (10-20 Hours)
Recommended Skill Level
Beginner

Comments

Stonewall711

Fri, 02/20/2015 - 09:35

This looks INCREDIBLE!!!!! I was hoping you could possibly share how you painted on the American Flag, and gave it the rustic look to match the coffee table? I'm new to this site, so I'm not sure if you can reply directly to this comment or not. If you can't, would you mind emailing me at [email protected]?

Thank you so much!

cristy118

Wed, 10/07/2015 - 13:59

Hi.  I love this coffee table.  I have read through all the directions.  I have one quick question.  After I have built the coffee table and then oxidize the wood, do I then paint the flag with regular red white and blue paint and then seal it with the wax?  Thank you 

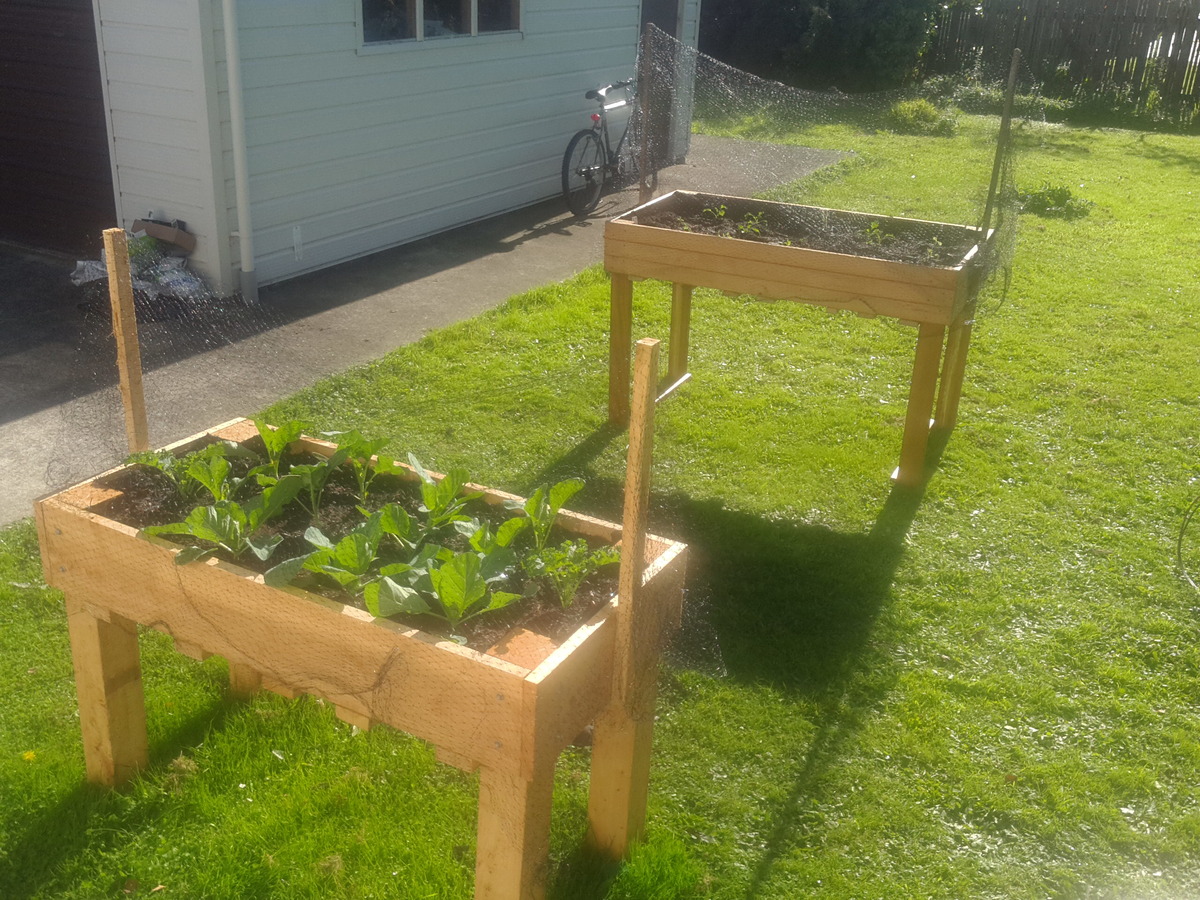
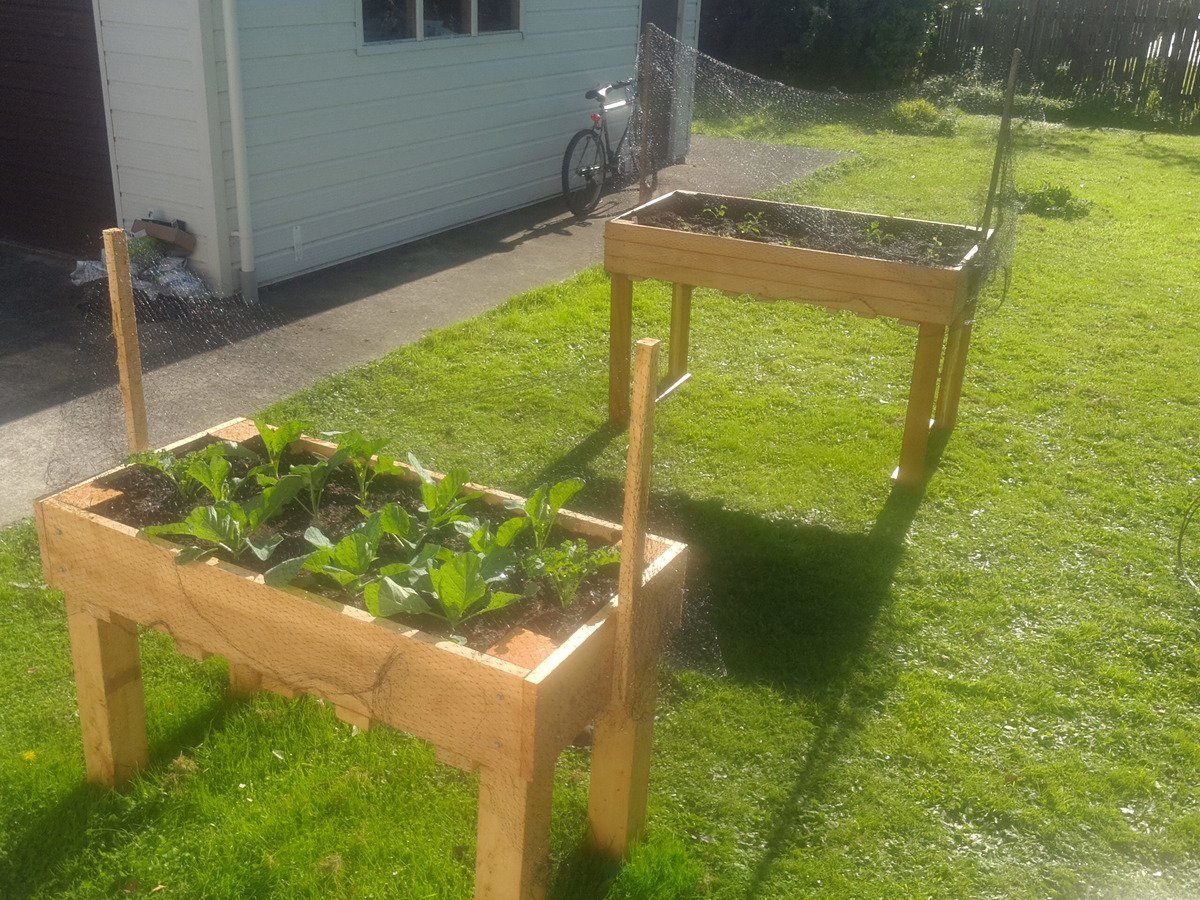
Planter

Submitted by Neil B on Wed, 05/17/2017 - 00:39

Thanks for the easy to follow plans!

Estimated Time Investment
Day Project (6-9 Hours)
Recommended Skill Level
Intermediate

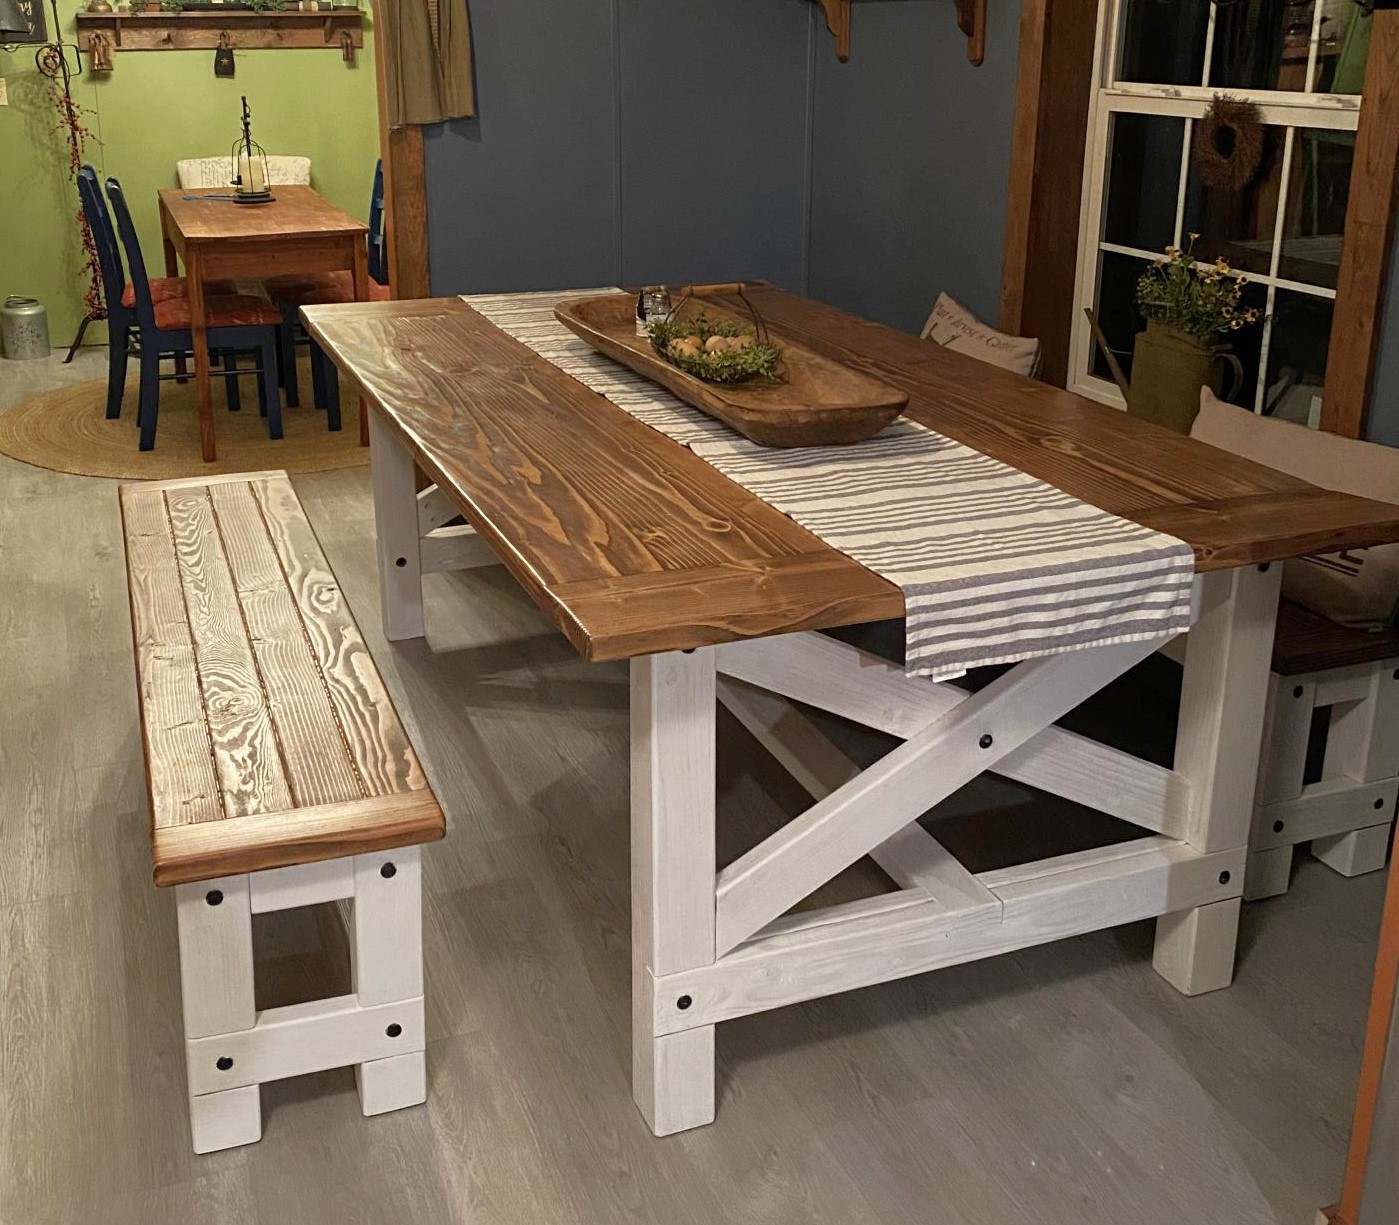
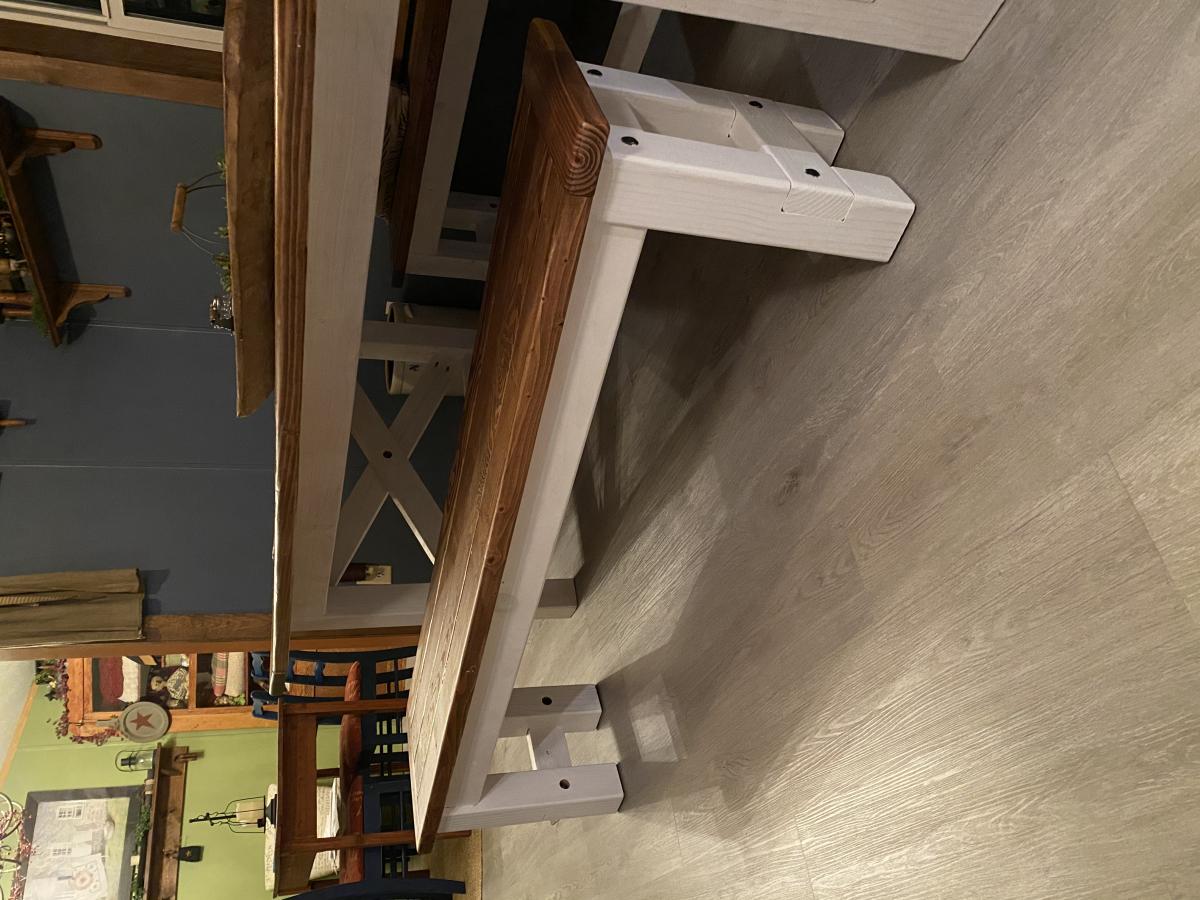
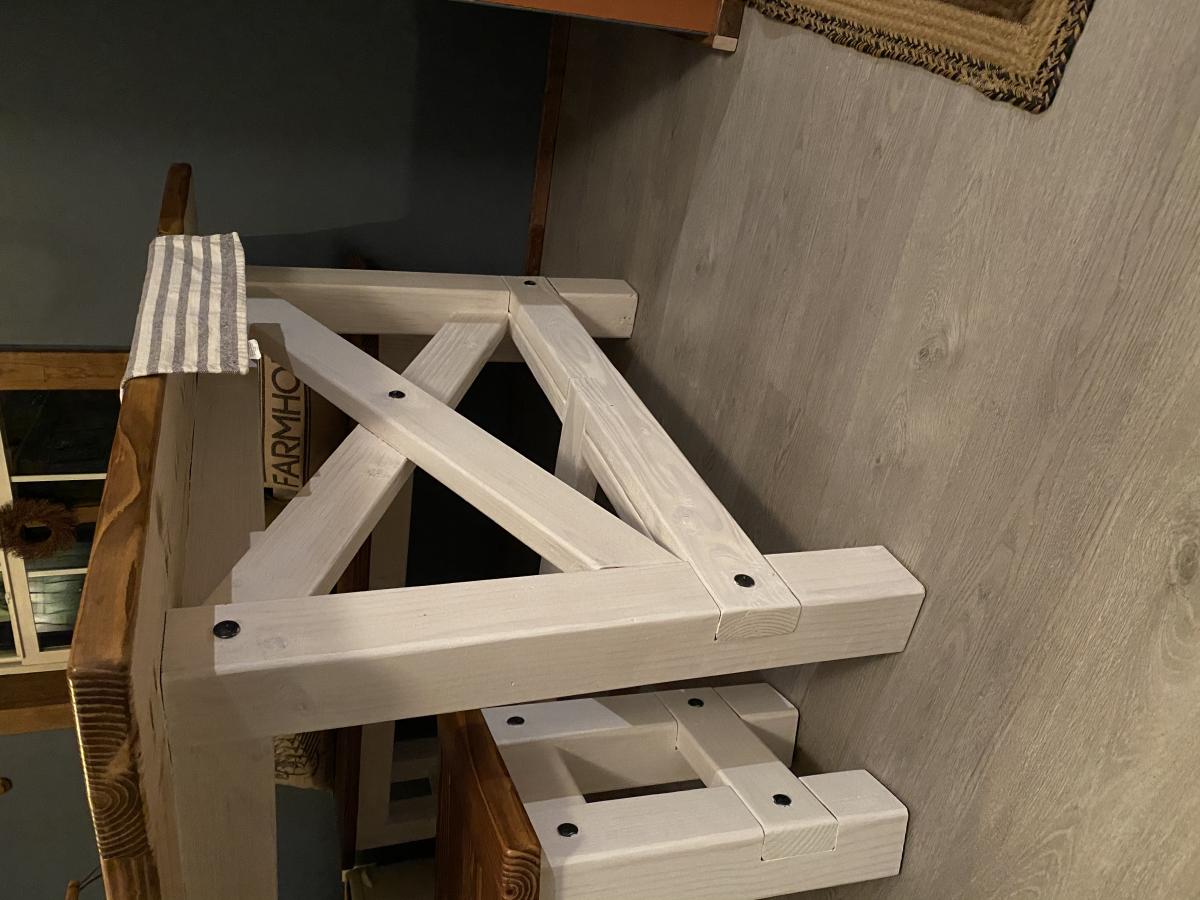
Farmhouse Style X table and benchea

Submitted by Rbmalatt on Sat, 05/29/2021 - 19:11

This is a Farmhouse X style table I build my mother in law. This was the first project I’ve done this big. Love the way they turned out.

Estimated Cost
$750
Estimated Time Investment
Week Long Project (20 Hours or More)
Finish Used
Special Walnut stain on the top. The bases are white washed.
Recommended Skill Level
Intermediate

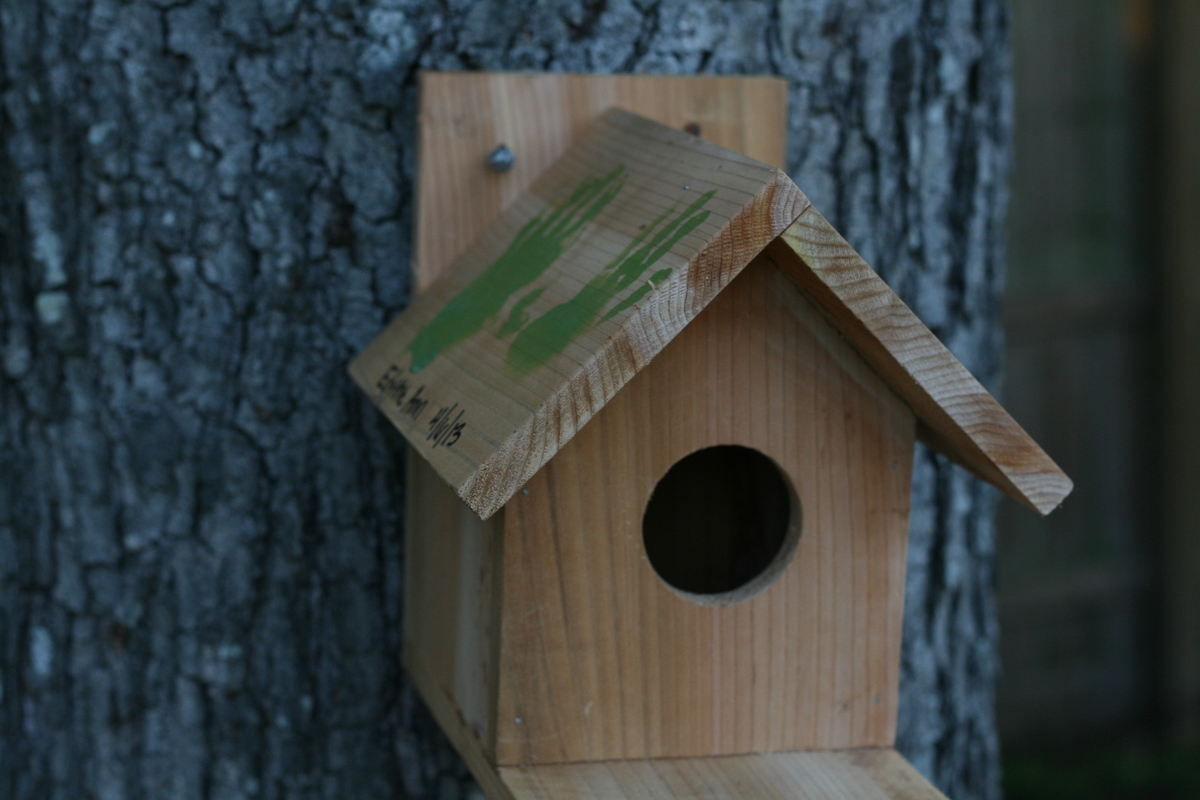
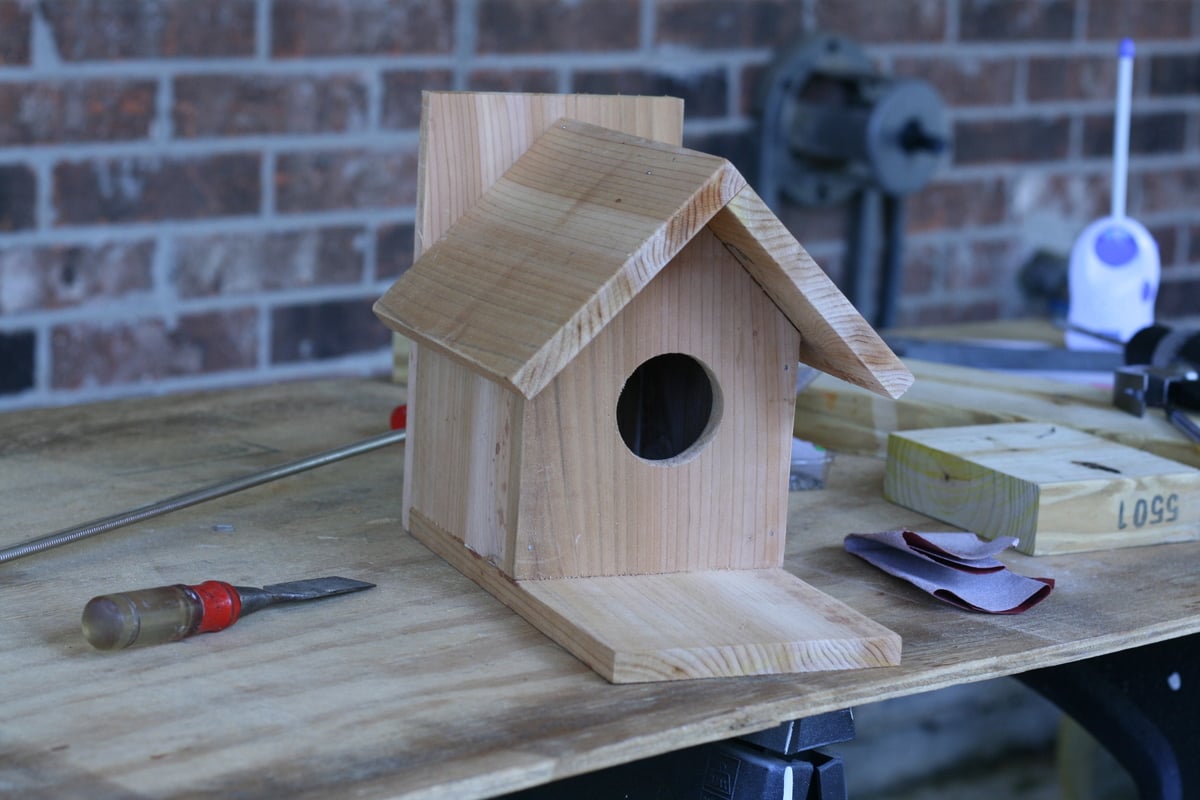
Traditional Bird House Brag Post

Submitted by MMTruncale on Sat, 04/06/2013 - 19:15

My very first project using the Compound Miter Saw. Easy Cuts. Easy assembly. Cost was about $1.50. I think I am going to make kits (as suggested in the sister plan) for a couple of birthdays coming up!

Estimated Cost
$1.50
Estimated Time Investment
An Hour or Two (0-2 Hours)
Finish Used
No finish. Used spray paint to put Little One's hands on the roof.
Recommended Skill Level
Starter Project

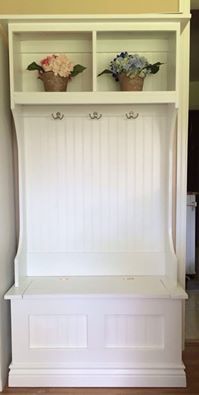
Hall Tree

Submitted by Papa Dana on Sat, 02/21/2015 - 11:40

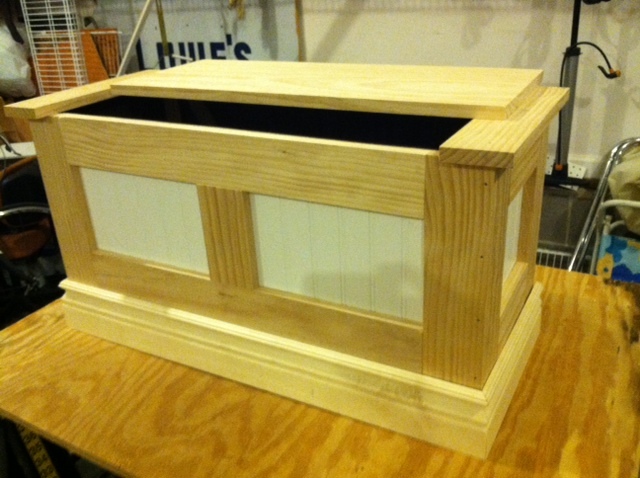
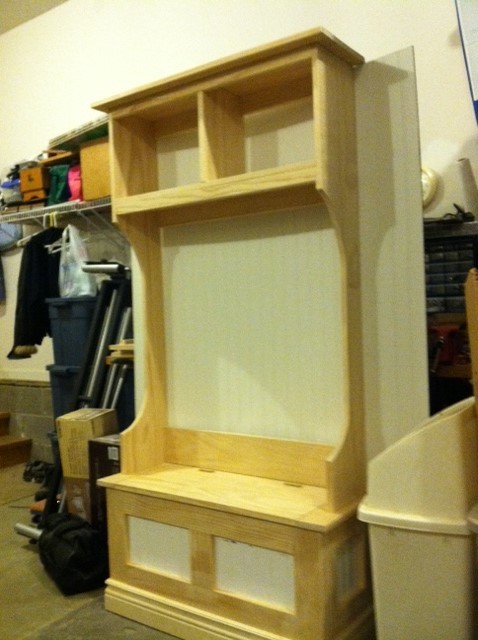
Papa Dana's version of Mimi's Coat Bench!

This was my first project!  I learned a lot while doing it, and I look forward to building more projects in the future!


Estimated Cost
$200.00
Estimated Time Investment
Week Long Project (20 Hours or More)
Finish Used
Latex Paint
Recommended Skill Level
Intermediate

Planter

Submitted by Anonymous (not verified) on Mon, 05/22/2017 - 09:08

Instead of mixing pine and cedar, I used all cedar.  I mounted the panels to the legs flush at the top so that I could add the trim pieces.  Finised with Cedar Timber Oil.

Trim and all cedar increased the price to about $35 each.  Of course cedar prices are really high right now.


Estimated Cost
$35
Estimated Time Investment
Day Project (6-9 Hours)
Finish Used
Thompson's Timber Oil Clear Cedar.

http://www.homedepot.com/p/Thompson-s-WaterSeal-1-gal-Clear-Penetrating-Timber-Oil-Exterior-TH-047801-16/300766448

Recommended Skill Level
Beginner

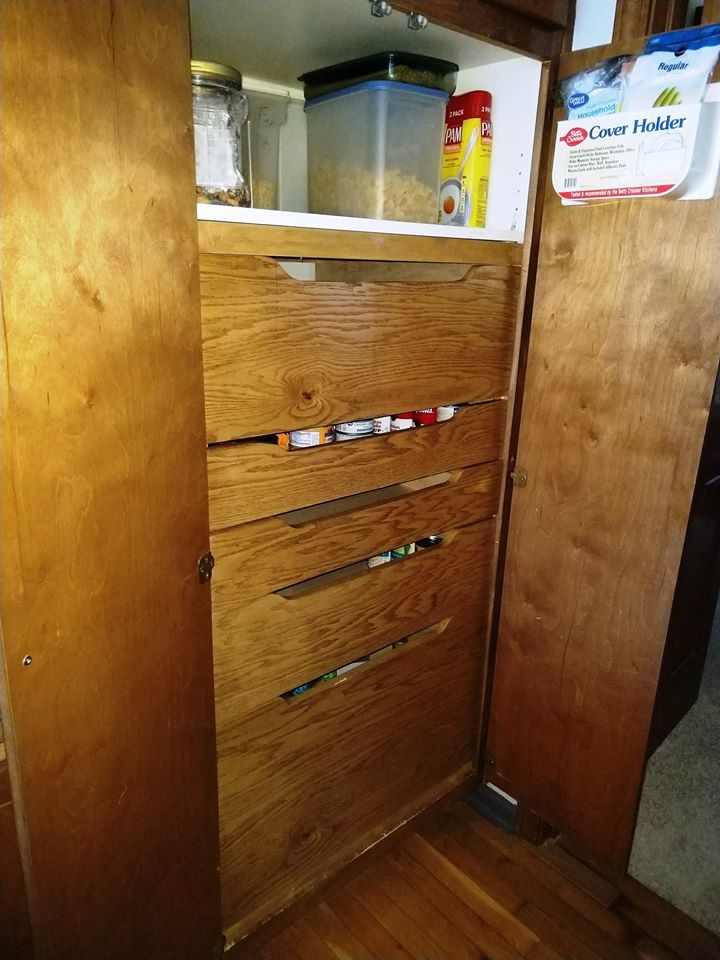
Made the wife happy with a kitchen cabinet alteration

Submitted by essjaypee on Thu, 06/03/2021 - 13:42

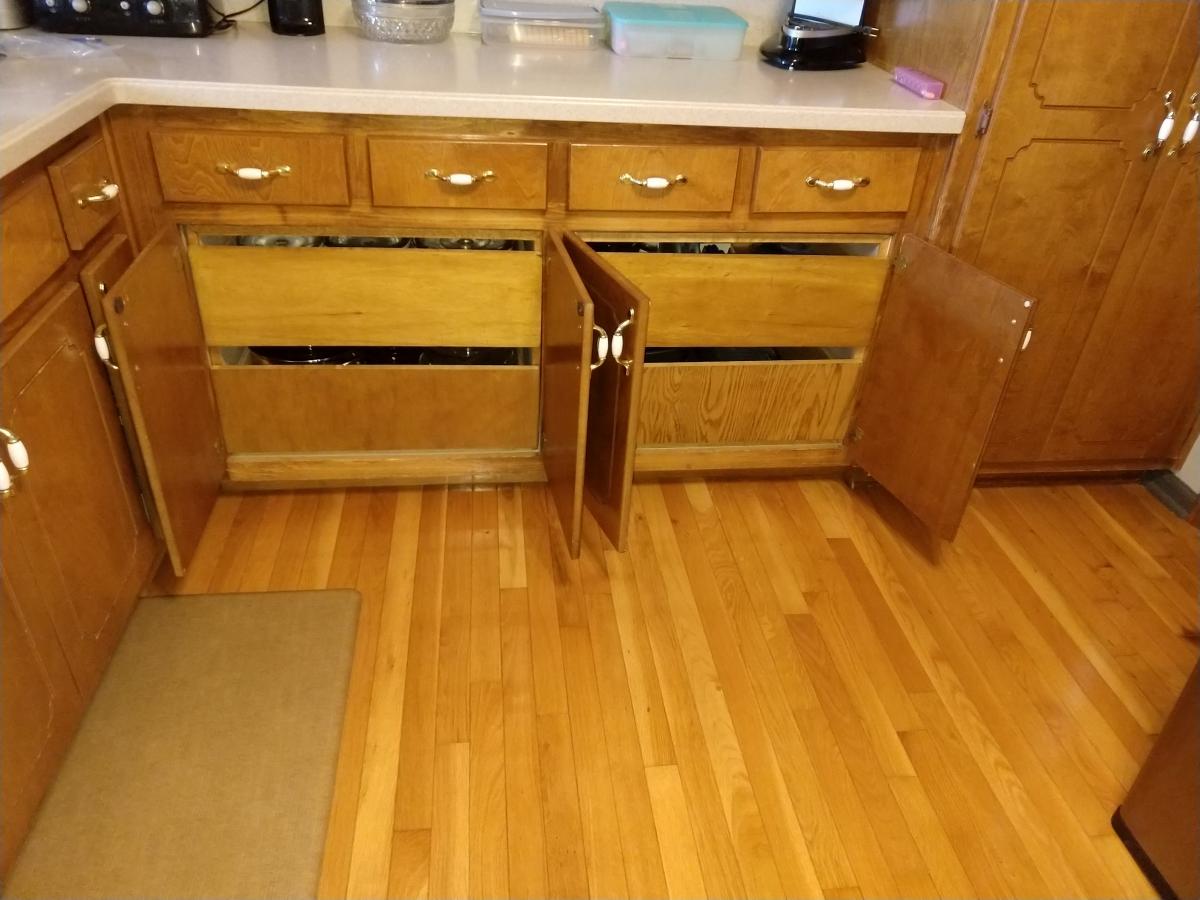
Our pantry had shelves 29" wide by 24" deep which made it difficult for my wife to see what was in the very back of the pantry. At her request, I replaced the shelves with full extension drawers at her suggested heights. Now, she can pull out the drawers and get whatever it is she needs.

She has more useable space and my life is a whole lot easier.

I used 3/4" birch plywood scraps left from an earlier project (4'W x 8'H x 18"D, 3-bay cabinet) in the laundry room.

I used self-designed plans and modified them as needed during the build.

She liked the pantry drawers so much the two base cabinets between the sink and the pantry also got the conversion from shelves to drawers.

Finish Used
provincial stain with polyurethane finish
Recommended Skill Level
Intermediate

Comments

Camp Loft Bed

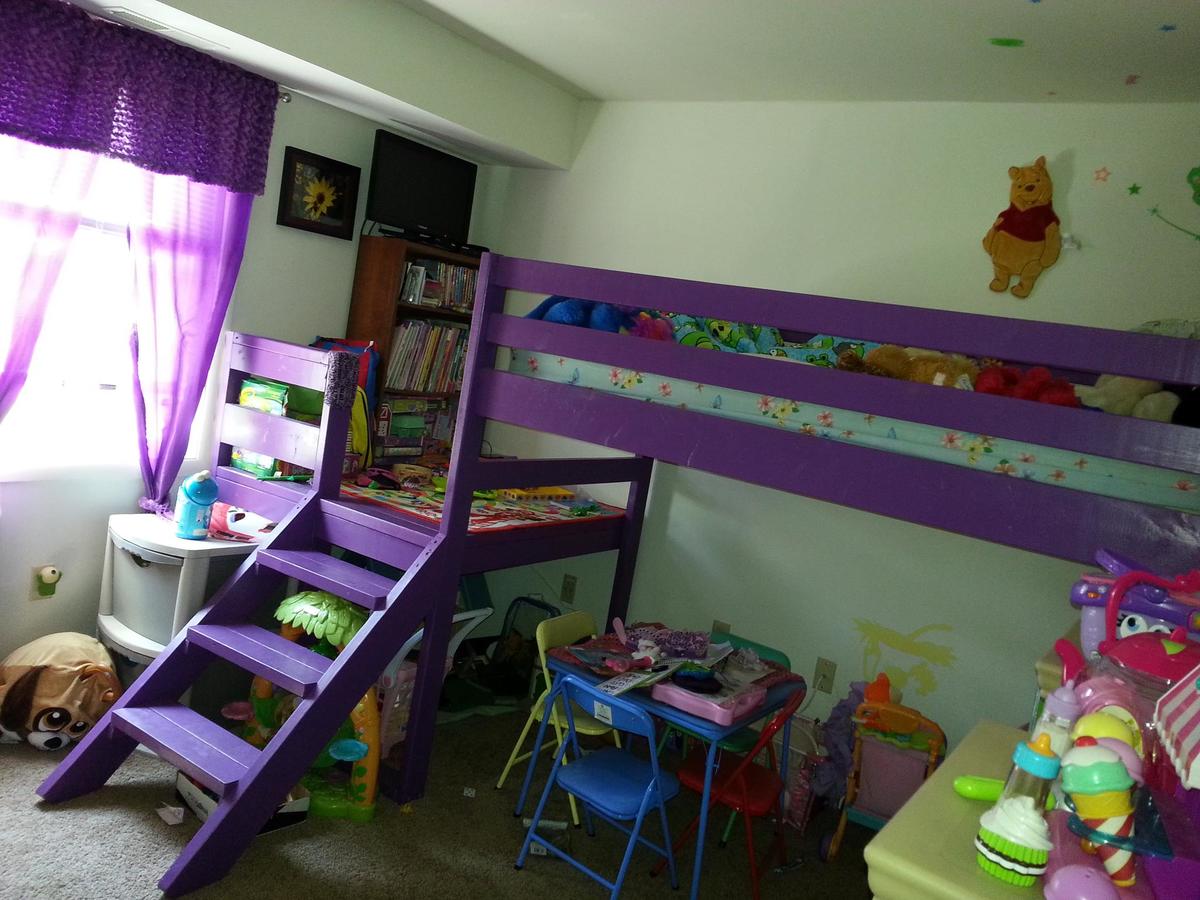
When we moved to our 3 bedroom apartment from our 4 bedroom townhome we knew having a place for all my daughter's stuff was going to be an issue. Finding this plan was the answer!! We extended the "porch" so we could put her bookcase up there and her tv. It's her pretty purple princess bed. = )

Estimated Time Investment
Weekend Project (10-20 Hours)
Recommended Skill Level
Intermediate

Comments

CandiD

Wed, 07/03/2013 - 12:10

I'm getting ready to build this bed (in a modified taller & for a full size mattress) for my 9 yr old, I've also been considering letting her have a tv in her room but wasn't sure where to place it. This looks like a perfect idea!

Lbjorn

Wed, 03/05/2014 - 14:49

I'm thinking about making this for my daughter but I'm curious how much longer the platform is than the original. We have an extra 14 inches from where the bed would bed and the wall so we figured we would extend the platform like you have done. Thanks for the great idea!

Patio table with built-in cooler

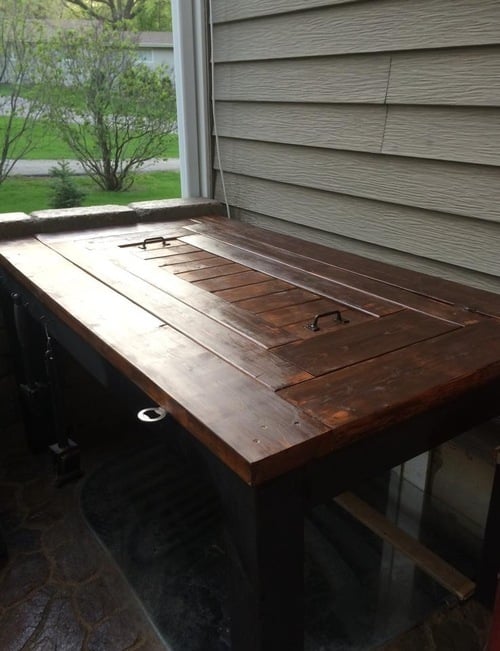
My husband wanted a table next to the grill and he wasn't going to build one after working on our deck for 2 weeks. I thought to myself maybe I could build one that had a built-in cooler. Of course, my source of inspiration came from Ana White. I had to detour a little from her exact plan to accommodate our need. We had a basement egress window coming right at that corner near the grill so we would need a table that cover that area perfectly to make a good use of space, hence the measurements and plan had to be altered a bit. Ana White’s plan has 2 built-ins, ours has only 1. It turned out great and we enjoyed it ever since. Now if only the weather just got warmer!

Estimated Time Investment
Weekend Project (10-20 Hours)
Finish Used
Dark walnut stain with outdoor poly.
Recommended Skill Level
Beginner

Comments

Octagon picnic table

Submitted by Anonymous (not verified) on Wed, 05/24/2017 - 20:34

I love our new table. 

Built from Plan(s)
Estimated Cost
$150
Estimated Time Investment
Week Long Project (20 Hours or More)
Finish Used
Thompson deck stain (cedar) and black Laytex paint.

Recommended Skill Level
Intermediate
Seasonal And Holiday

How to Build a DIY Mobile Triangle-Shaped Chicken Coop

Submitted by thediyplan on Thu, 06/10/2021 - 10:41

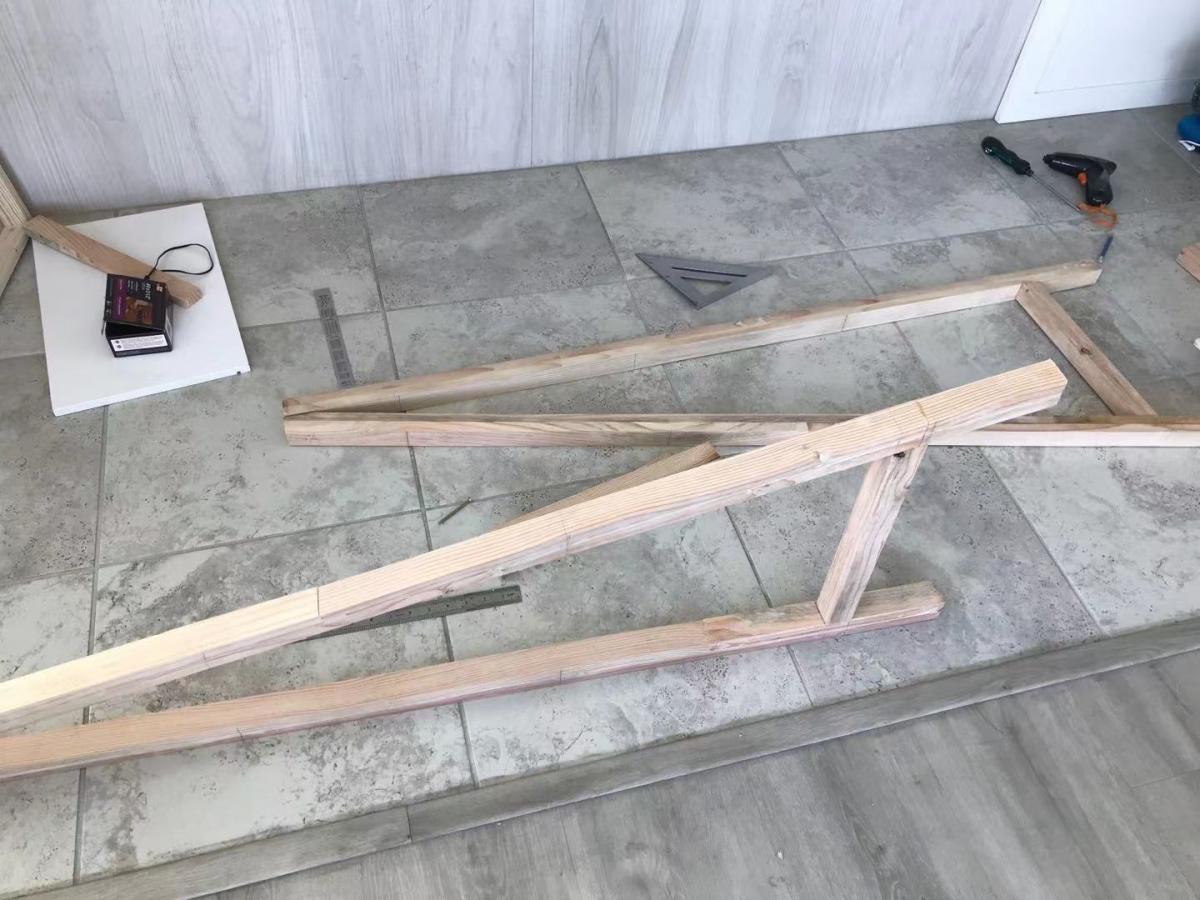
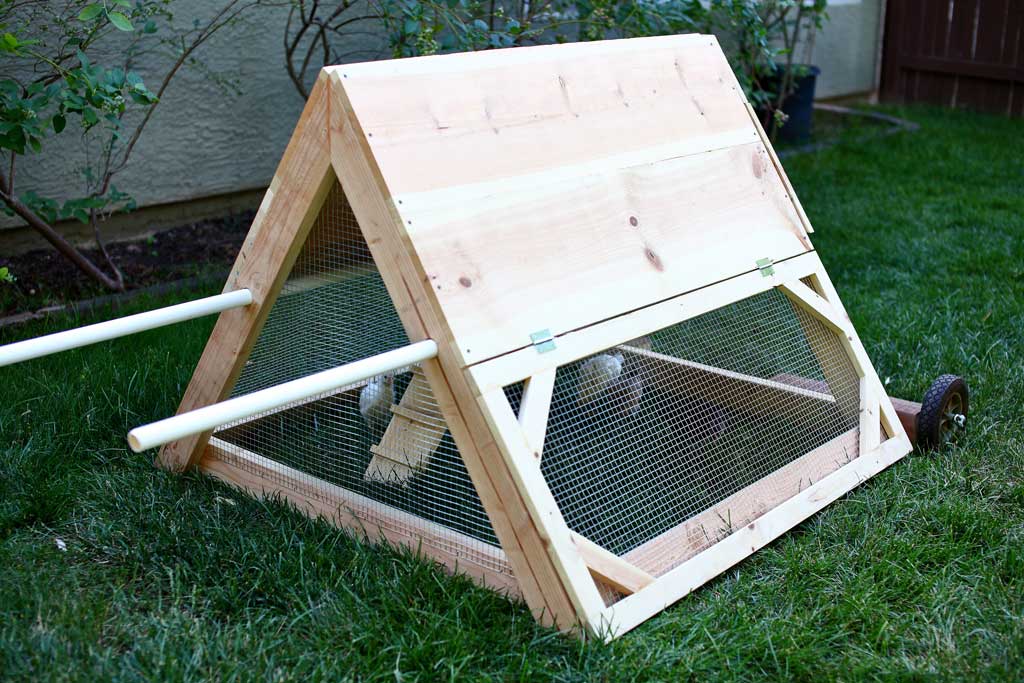
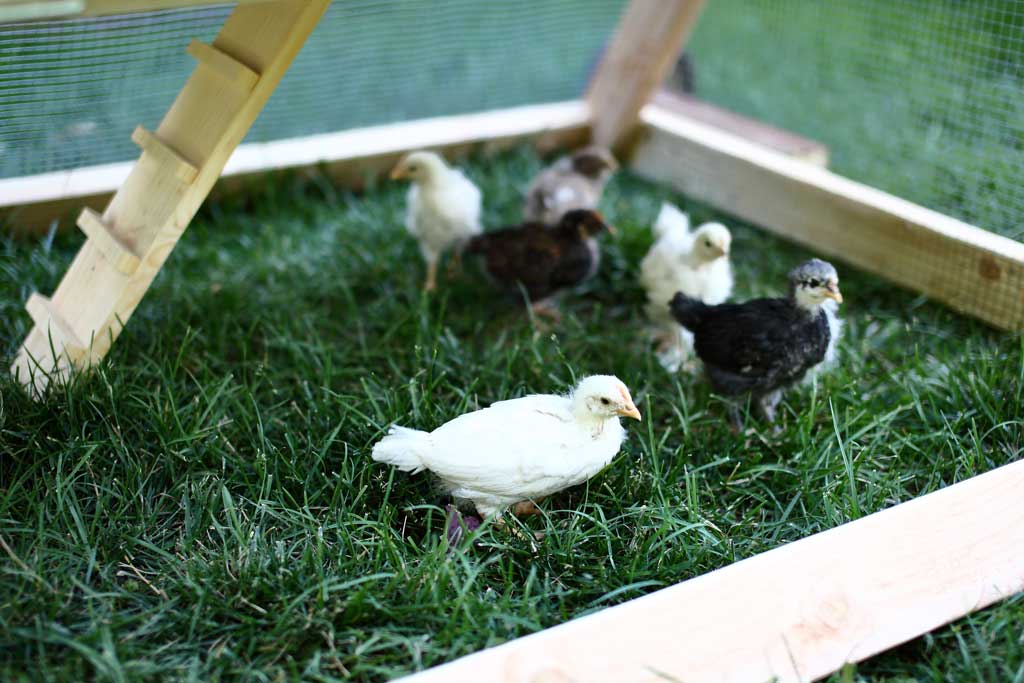
Every so often, we purchase several baby chicks. Our kids really enjoy watching them grow and develop throughout their growth phases. When the chicks were old enough to spend the night outside, I’ve built them a Mobile Triangle-Shaped Chicken Coop to live in. Once they are full-grown, they will be moved to a larger coop. I wanted to have a mobile chicken coop so that I could easily move it around the backyard.

There are so many different chicken coops out there. They come in various shapes and sizes. Most of them are built to be stationed in one place, but I wanted to try a mobile coop.

see my website for additional pictures and how I've built it, href="https://thediyplan.com/mobile-chicken-coop"

Estimated Cost
$ 200
Estimated Time Investment
Day Project (6-9 Hours)
Recommended Skill Level
Intermediate

Comments

Loft Bed for the girls' room

My girls originally wanted a bunk bed but I didn't want to give up the storage that comes with the twin bed (it's an Ikea bed that has a lot of storage underneath the mattress). This loft bed was the perfect solution. I chose not to build a ladder as they use the lower bed and window sill, without any trouble, to get to the top. This was my first build.

Built from Plan(s)
Estimated Cost
$100
Estimated Time Investment
Weekend Project (10-20 Hours)
Finish Used
I used an off white paint from Behr (called Faux) and then hand distressed it to help disguise the beating it will take over the next few years.
Recommended Skill Level
Starter Project

Loft Bed

Submitted by plewis on Sun, 03/01/2015 - 13:52

First I'd like to say THANK-YOU Ana for this incrediable site and for all the work that you do.  You are an inspiration to us all!  

This was my very first project.  I have been stalking this website for about a year working up enough courage to build something - anything for that matter!  Finally my husband bought me a great Drill / Driver for Christmas and VOILA!  I am putting it to great use.  

My son's room is rather small so I opted to eliminate the stair leading up to the landing area and just added a couple of 2 x 4 for him to climb up to the landing area

I love it - He loves it.  Before I could never get him to play in his room or sleep throught the night without coming into our bed at 4am.  Well let me tell you...Since I built this bed last week he sleeps like a charm and actually wont leave his room!  Hhahaha  


Estimated Cost
$100.00
Estimated Time Investment
Weekend Project (10-20 Hours)
Finish Used
2 coats of Dark Walnut Stain and finished with 2 coats of Clear Shellac.
Recommended Skill Level
Beginner

Love my table!

Submitted by Anonymous (not verified) on Sun, 05/28/2017 - 23:14

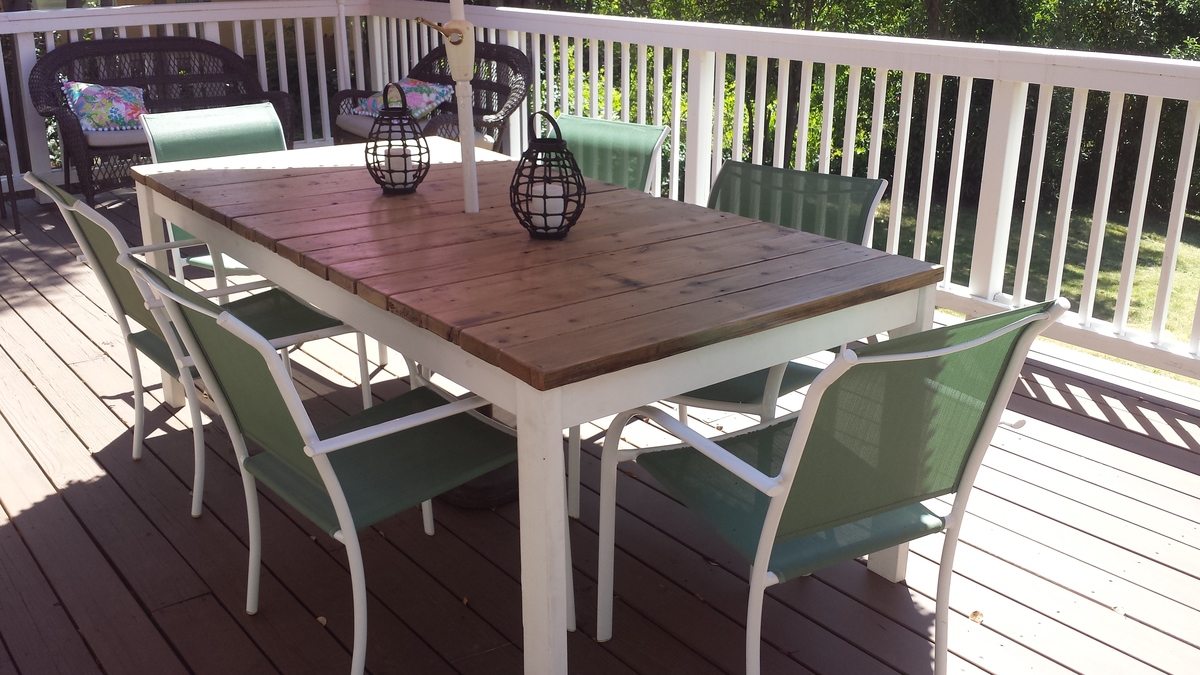
This is my one and only woodworking project so far, and I am so proud of it. I used reclaimed 2x6 redwook deck boards for the top and had to modify the design to make the table a little bigger. I also added an umbrella hole to the center. I'm hoping to add benches one of these days, but with two daughters and a baby, I'm not sure when that will be! Thank you, Ana, for your design!

Built from Plan(s)
Estimated Cost
Less than $100
Estimated Time Investment
Week Long Project (20 Hours or More)
Finish Used
Satin water-based polyurethane on the redwood top, primer and flat white paint on the legs.
Recommended Skill Level
Starter Project

Queen size Farmhouse bed and night stands

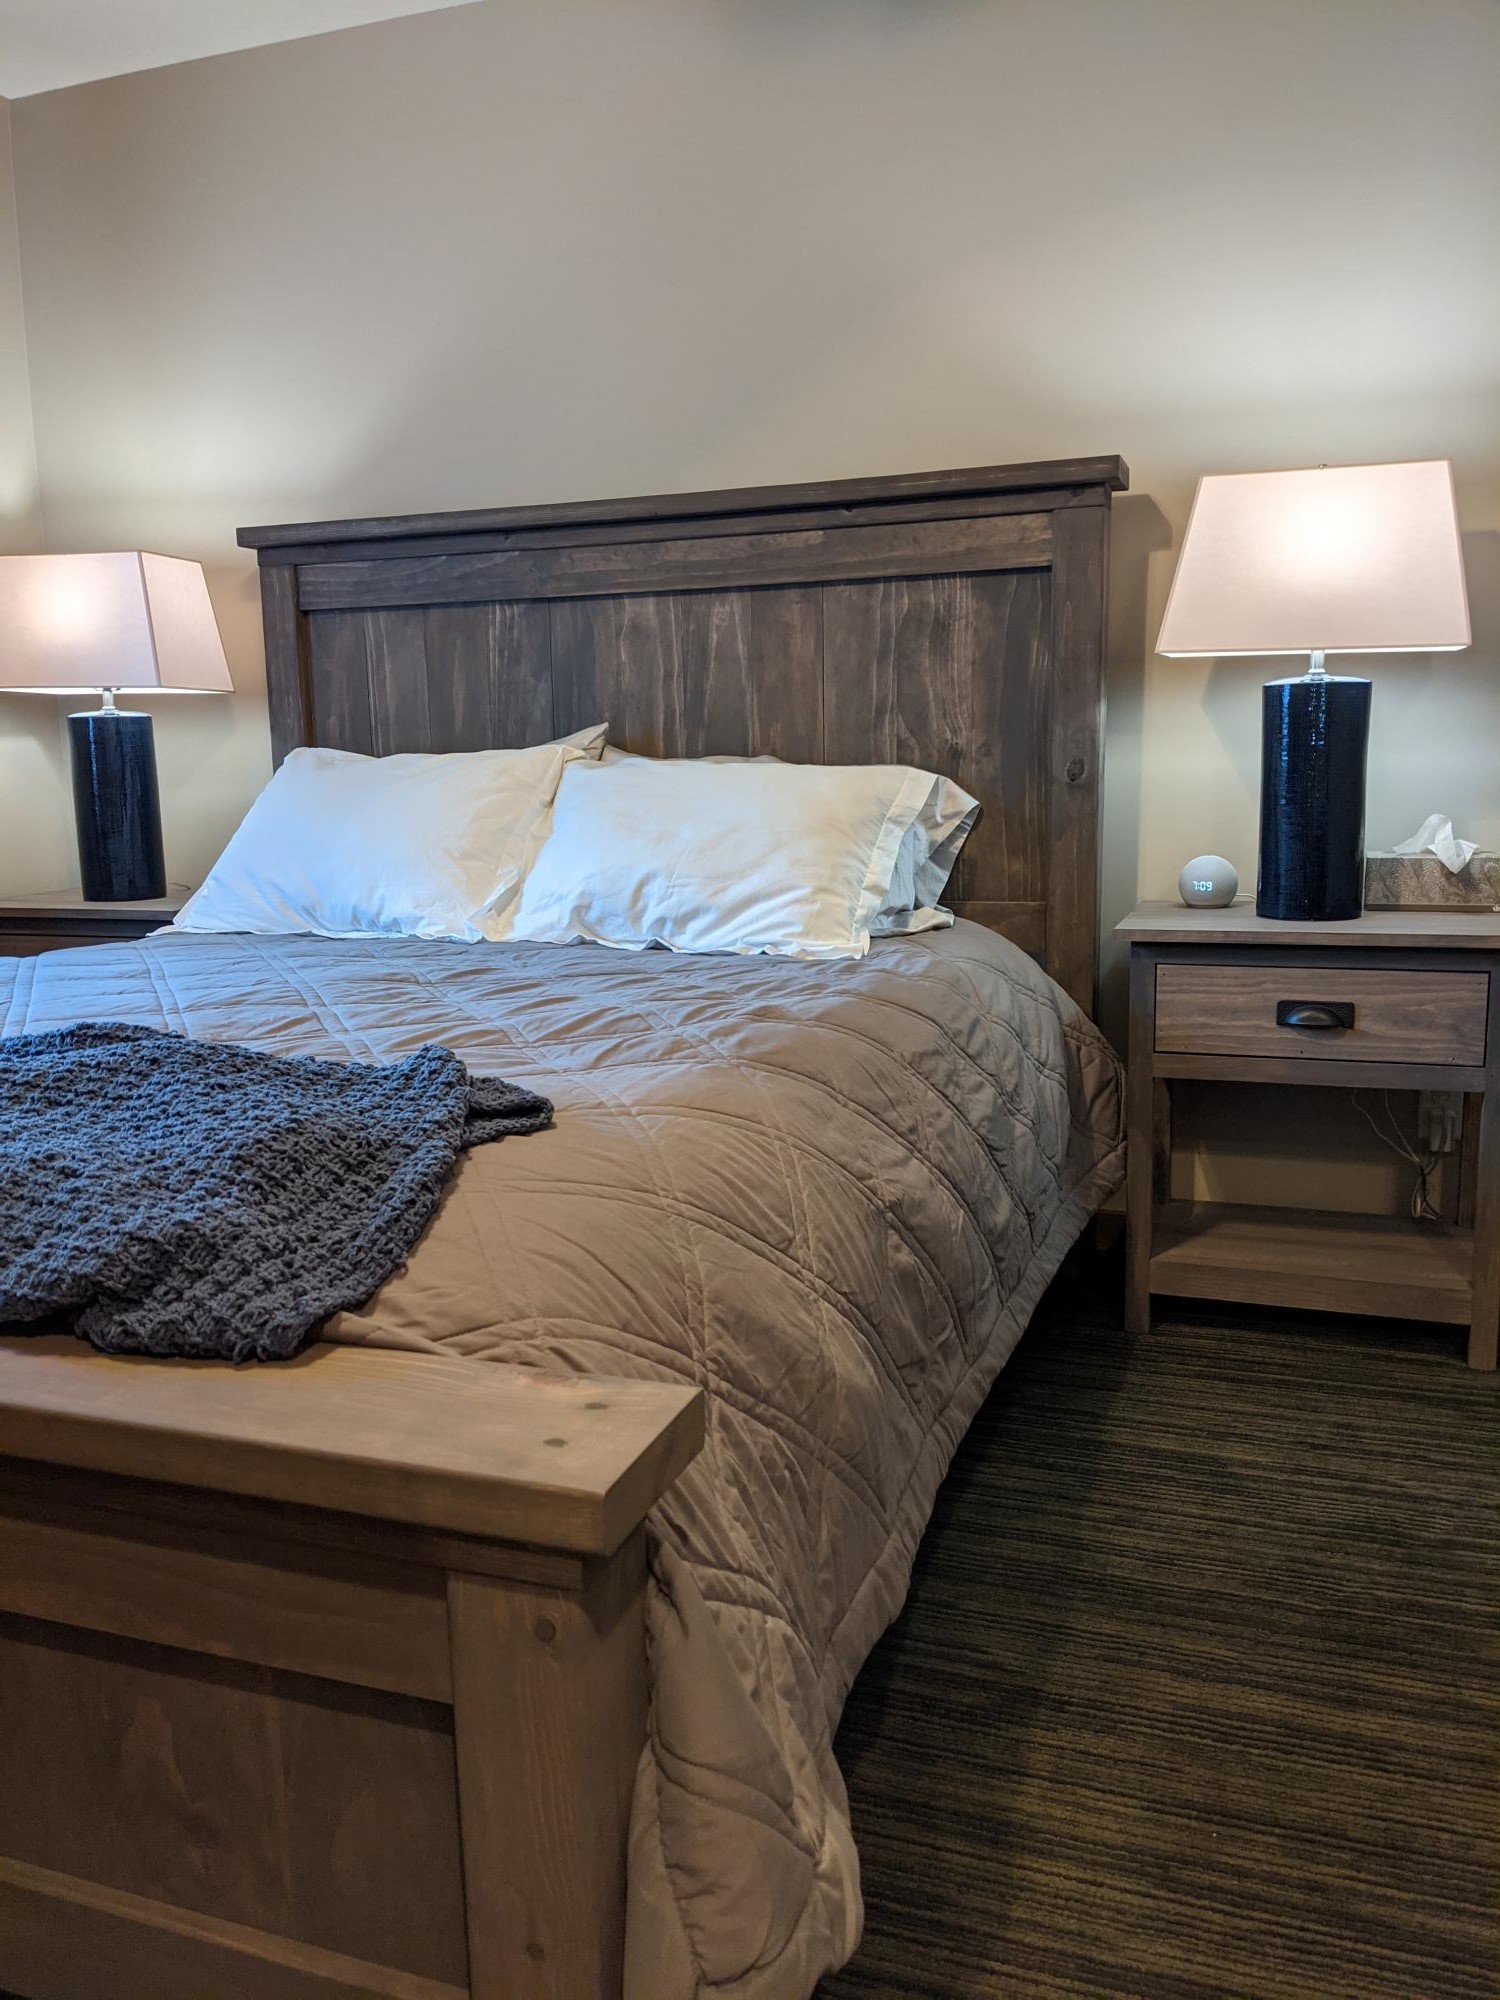
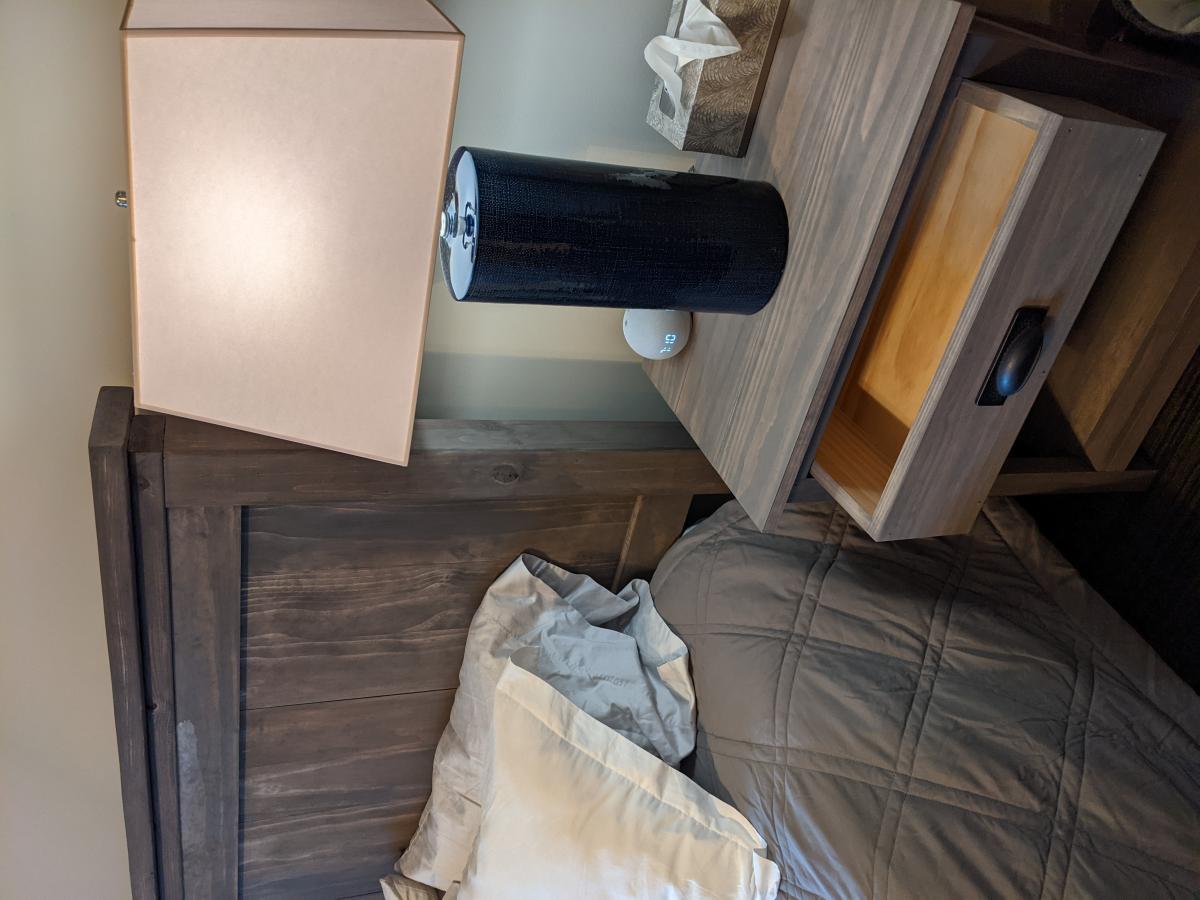
With no experience but a lot of time during Covid, we tackled this project and love the results. Queen bed and nightstands. Made from pine, stain is Saman Wood Stain 013 - IRON EARTH. We modified the night stands to be 4 inches narrower to fit the room a little better.

Finish Used
Saman 013 - IRON EARTH
Hard to find but worth it, water based stain, had no odor and I stained it in the basement in the winter. No special instructions, apply and wait a minute and wipe off. I am planning to use a matte polyurethane when I have more time to protect the finish.
Recommended Skill Level
Beginner

Comments

Hanging daybed

Submitted by hponce28 on Sun, 04/14/2013 - 14:24

I wanted to make a large porch swing but just couldn't find the exact design. I wanted to be able to stretch out and take a nap but also be able to have a back to lean against. Most plans that I found were just basically a box you could put a mattress in and then hang. So I found Ana's plan for a basic daybed and chopped off the legs and raised the back just a little. It's perfect!! Thanks Ana. The plans were very simple to follow. This is my first project and I think it turned out great.

Built from Plan(s)
Estimated Cost
$250
Estimated Time Investment
Weekend Project (10-20 Hours)
Finish Used
Colored stain in cocoa. Applied two coats.
Recommended Skill Level
Starter Project

Comments

melimew

Sat, 07/26/2014 - 07:37

Looking forward to do one like this !
Do you still have the measurement for the back you have raised ?
Really nice !

Thanks :-)

jdaybama

Tue, 11/18/2014 - 17:38

We made the bed and it looks awesome!  Thanks for making the plans easy to follow and providing the picture, which was a fantastic reference.  I do have a question for you in regard to how you hung the beg.  We would like to hang this from our porch, but can see that we simply have 2x4 roof trusses.  We are concerned that the weight of the bed (pretty heavy) plus mattress and support plus a person may be too much.  Any additional information you could provide on how you hung the swing would be greatly appreciated!  Thanks!