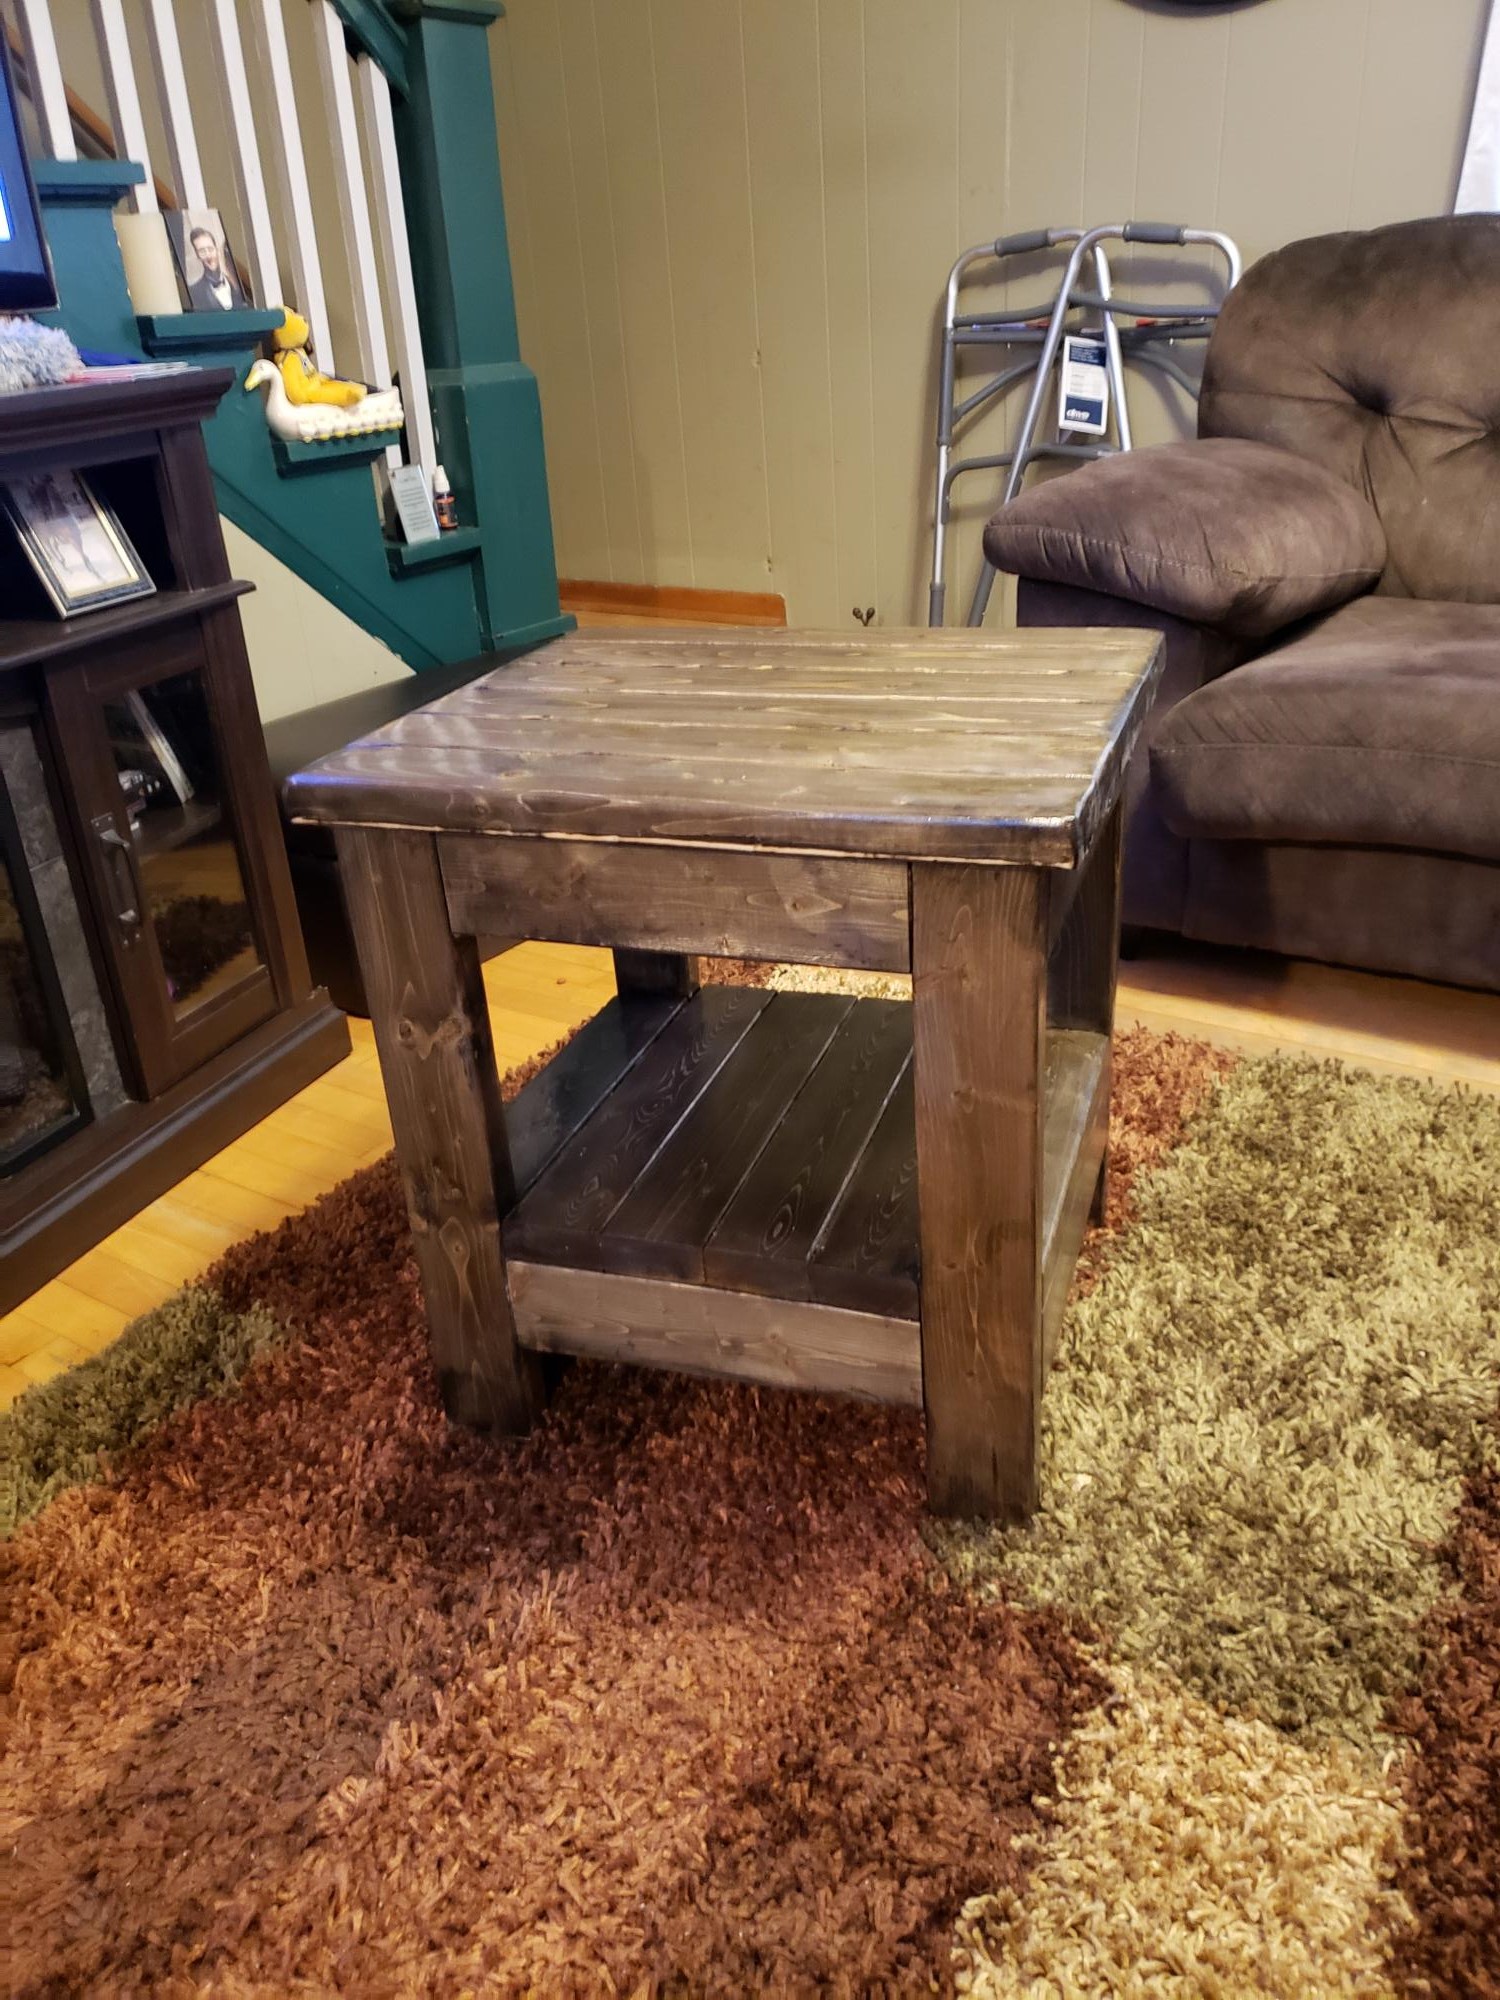
Floating Bedside Table
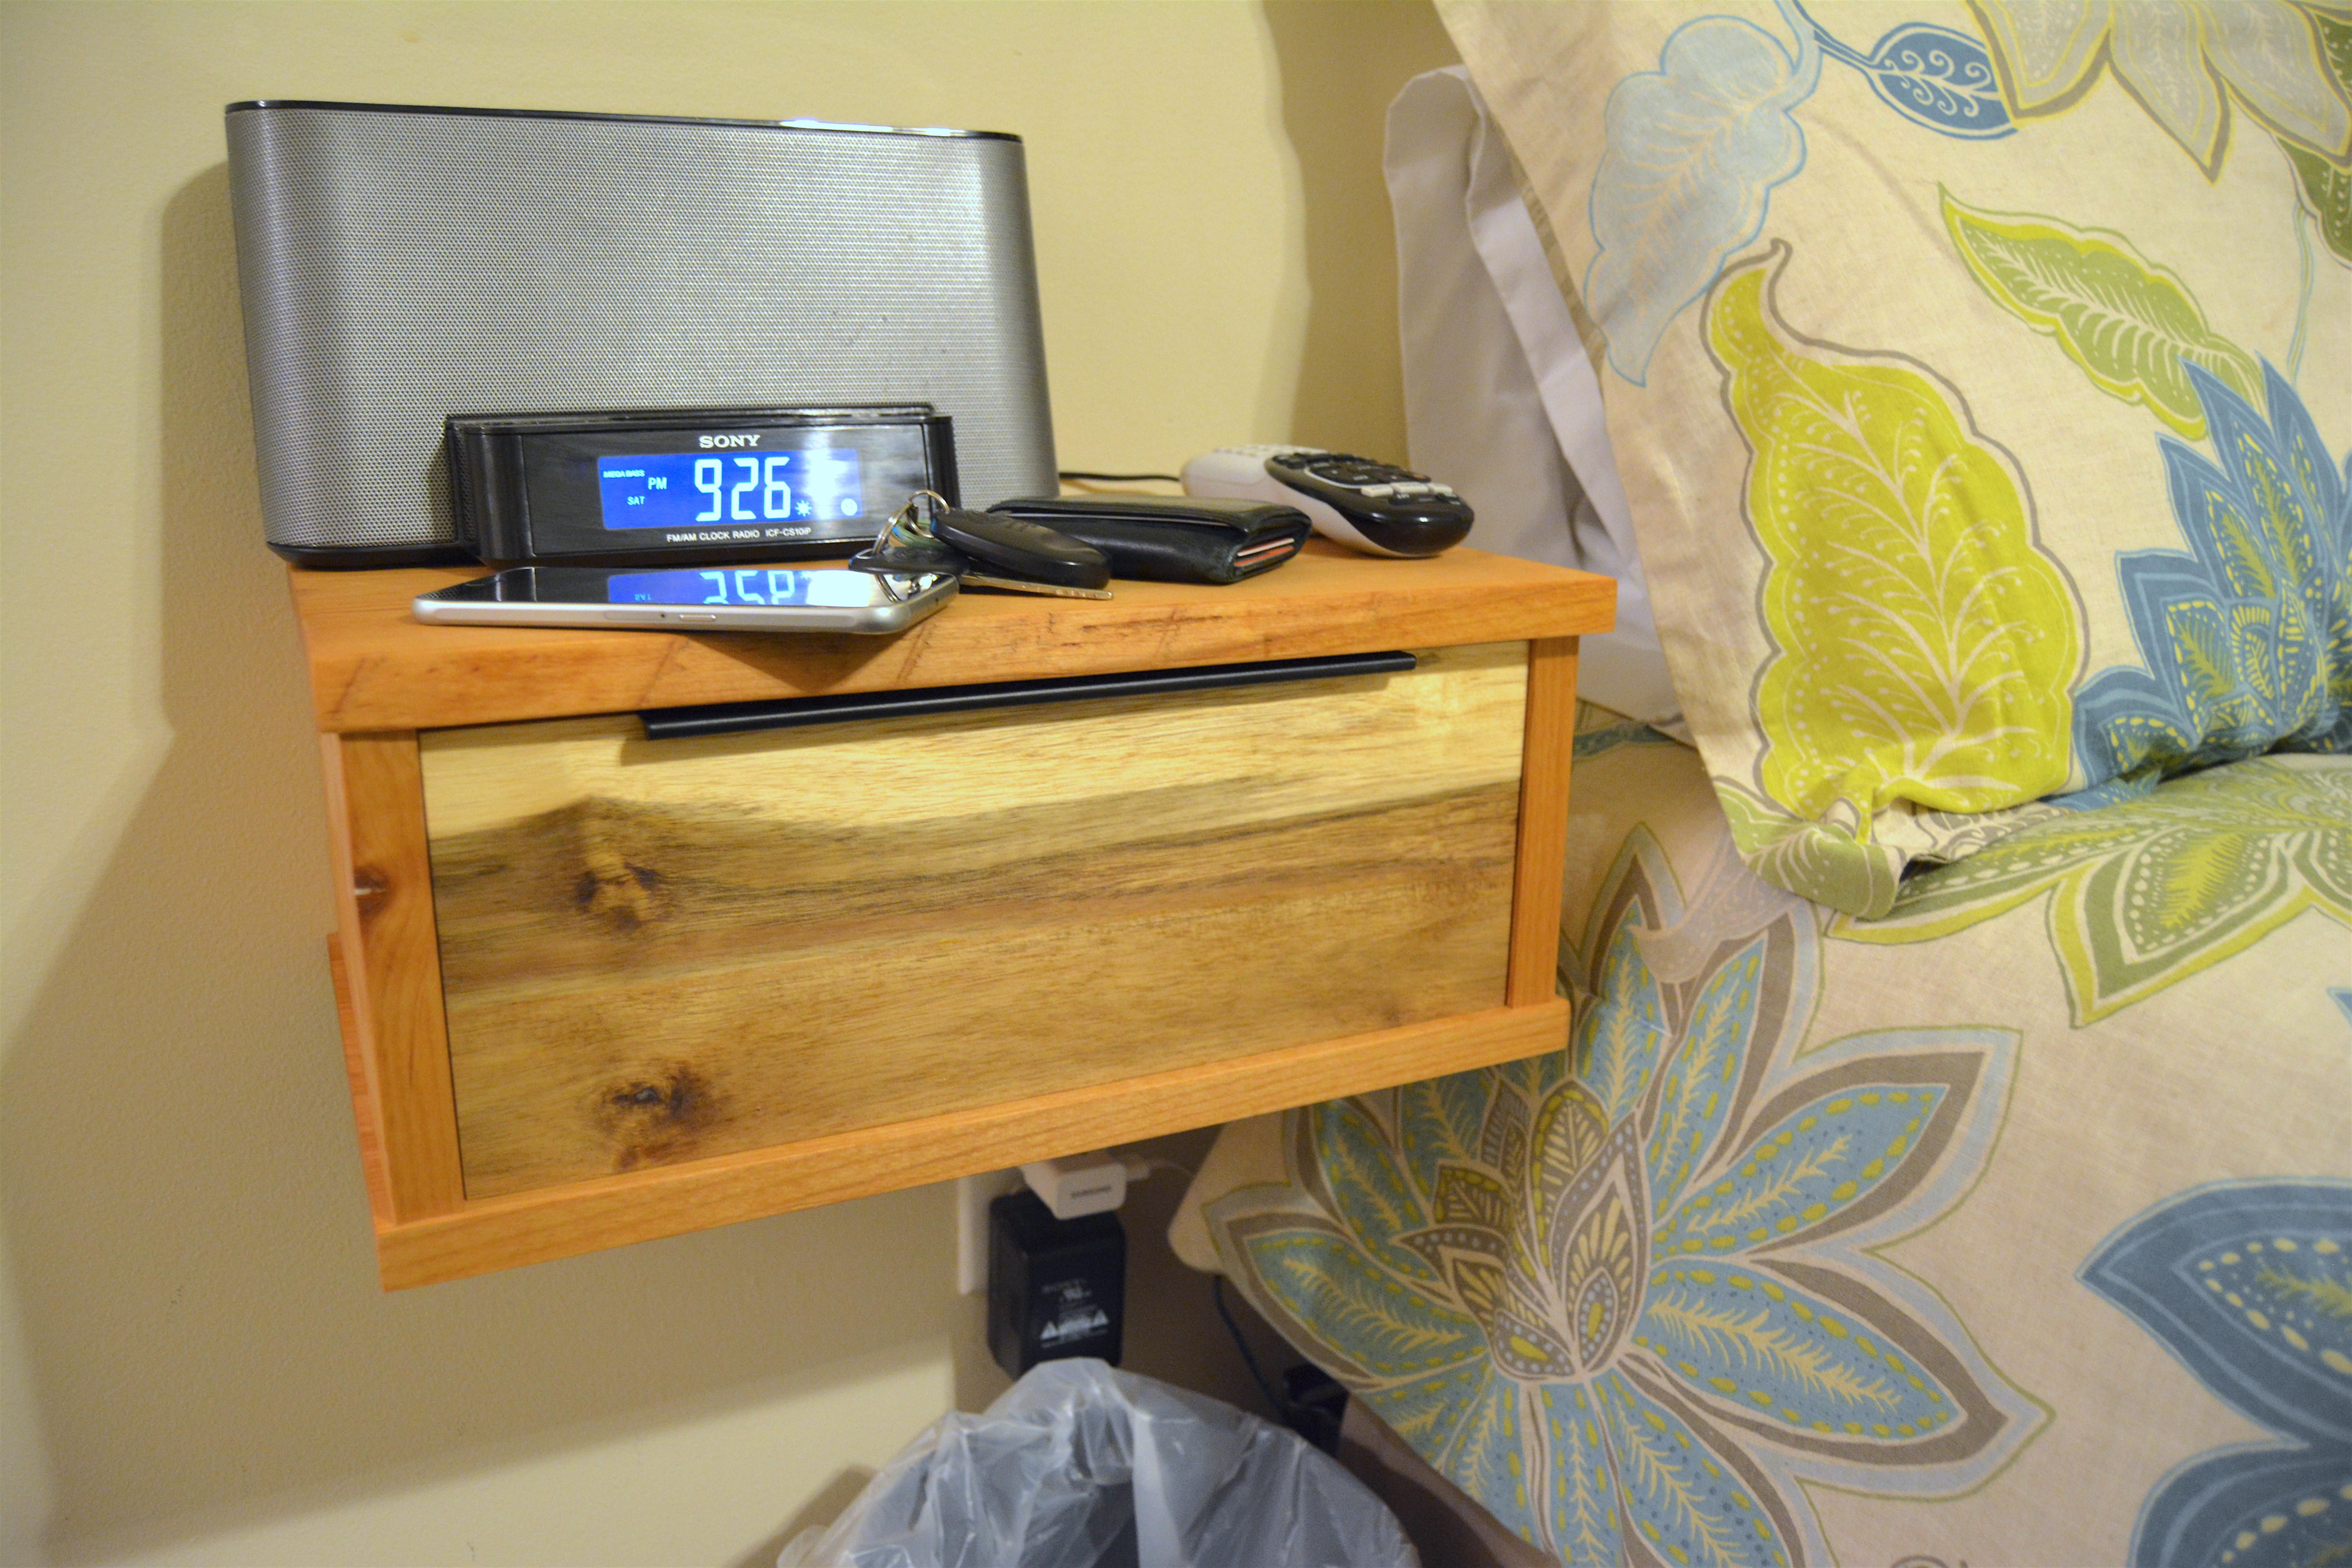
I’ve been in need of a bed side table in my room for quite some time now. I need storage for things like my keys, wallet, the remote, as well as other little items that seem to get kicked around and lost. I figured it would also be nice to have a place to keep my alarm clock, I’m guessing it will be a lot more convenient to hit the snooze button in the morning if the clock is closer to me.
Estimated Time Investment
Day Project (6-9 Hours)
Recommended Skill Level
Intermediate