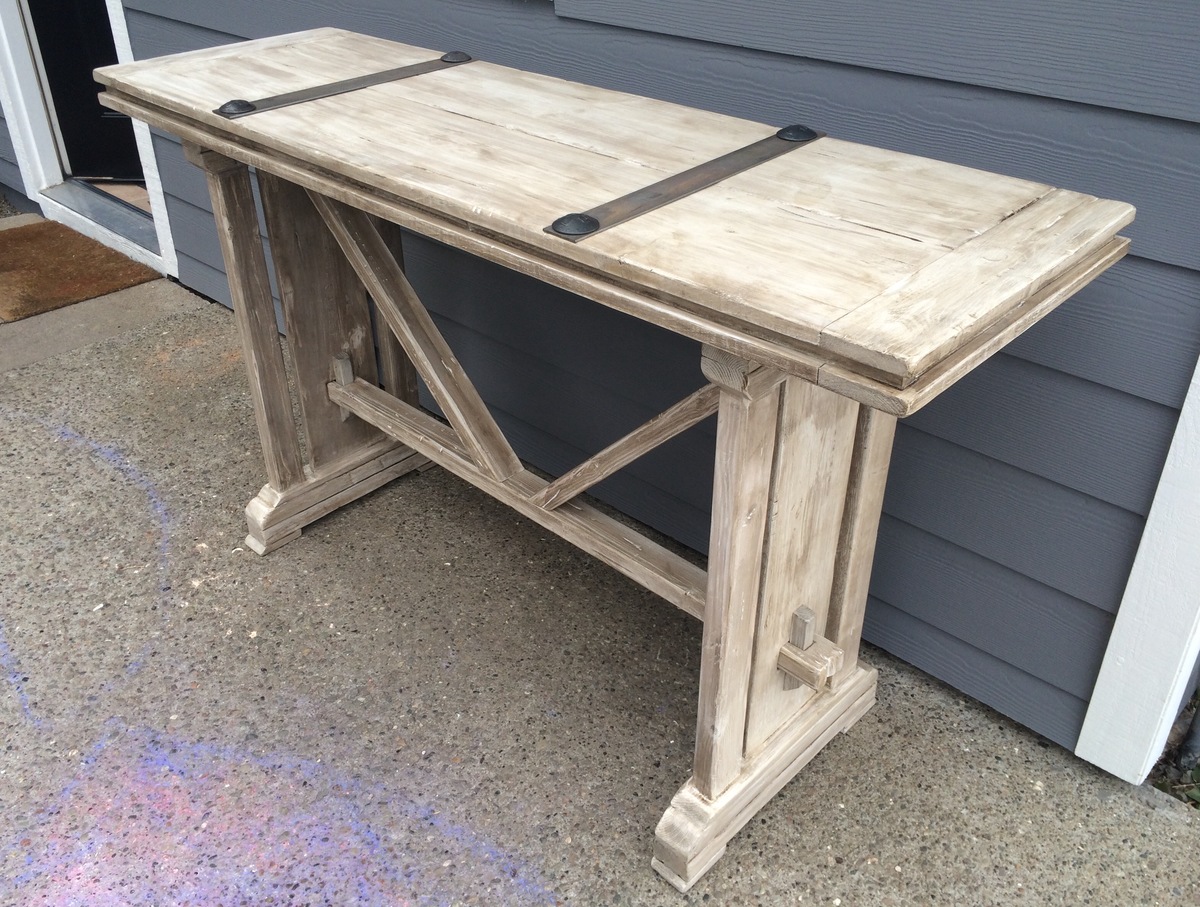
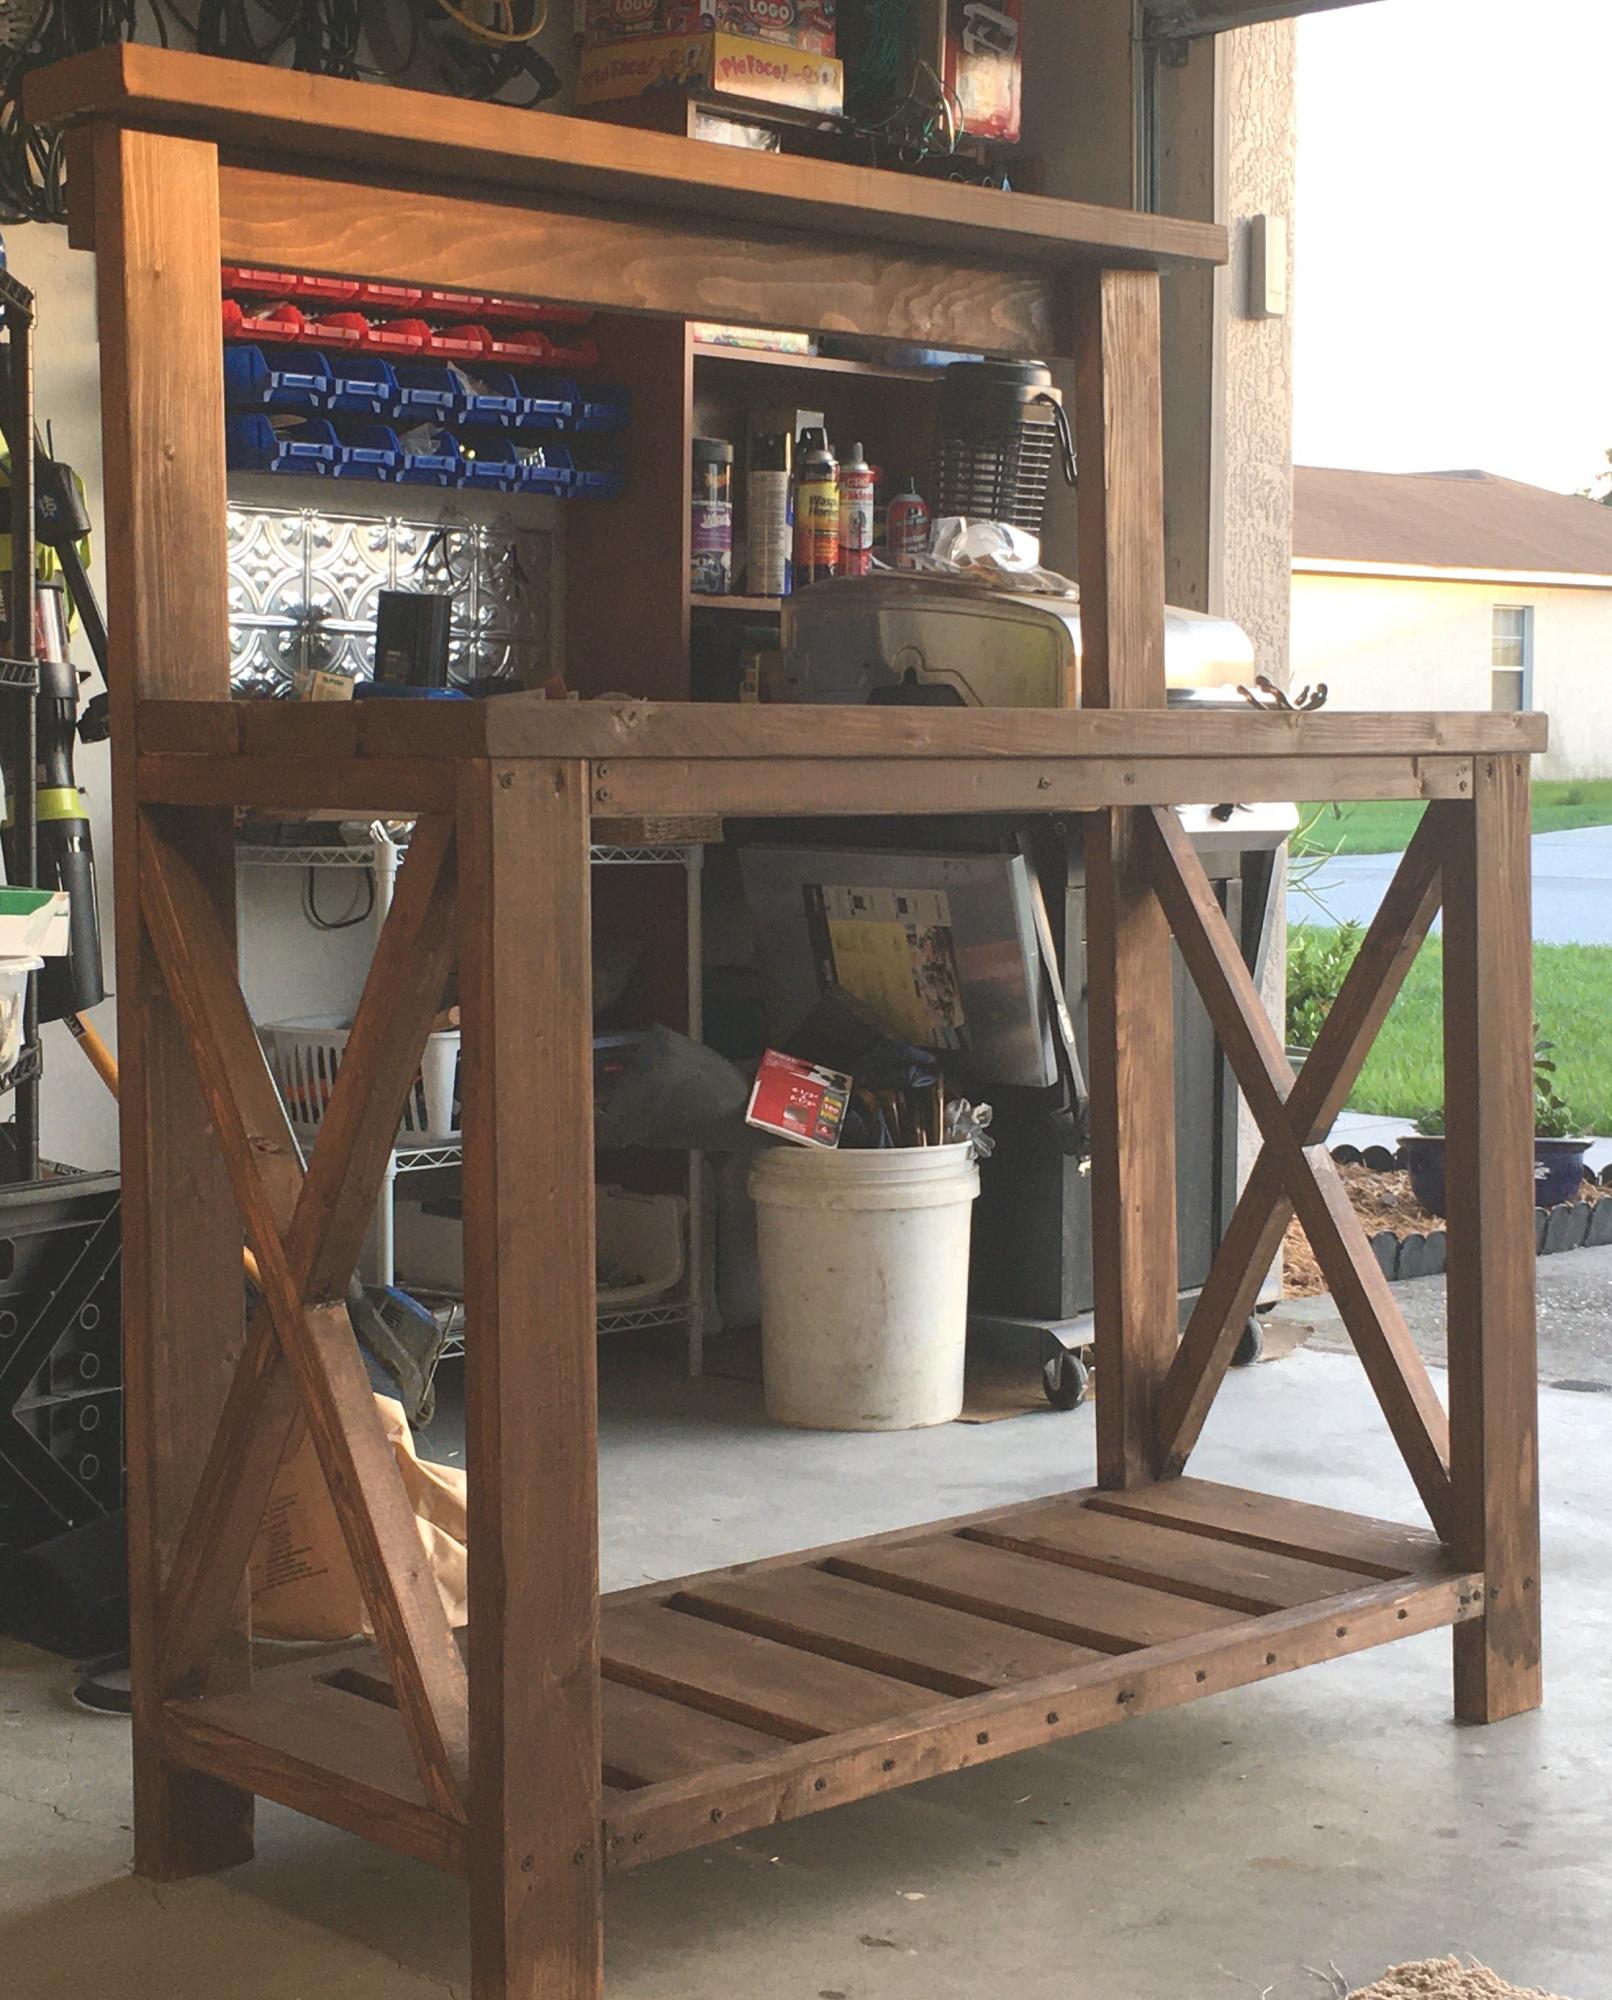
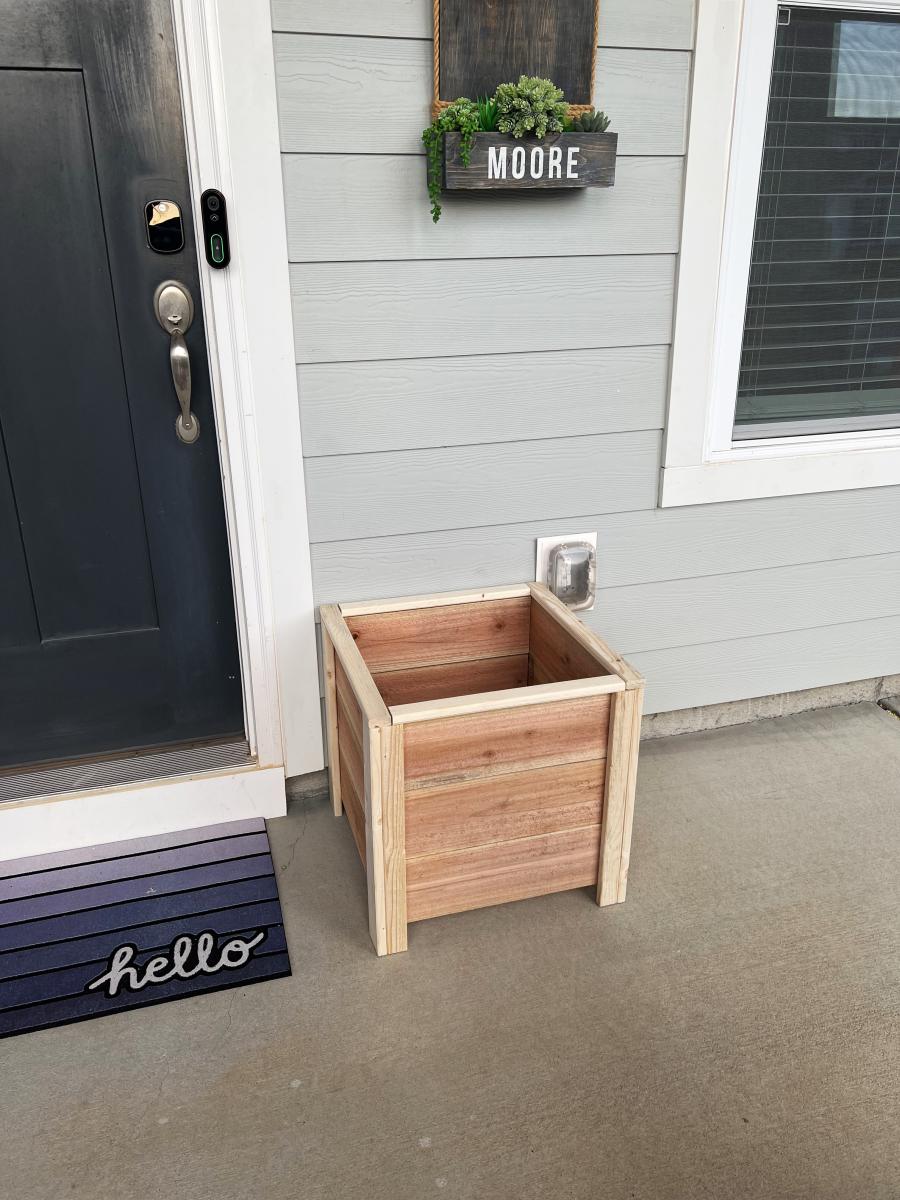
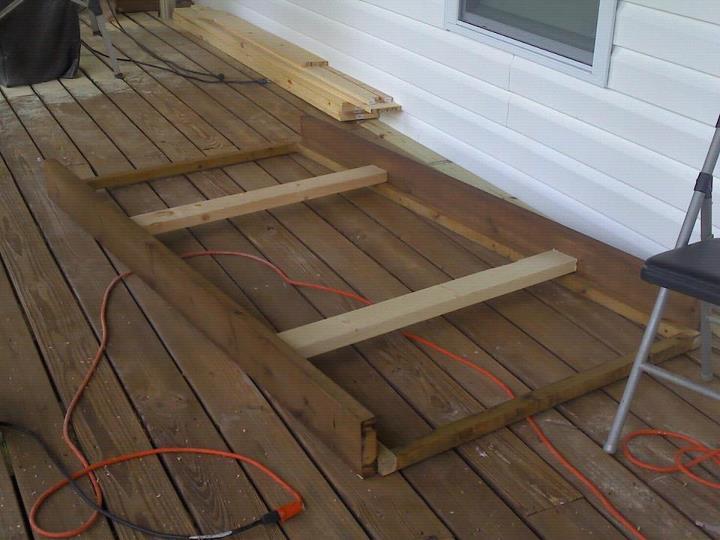
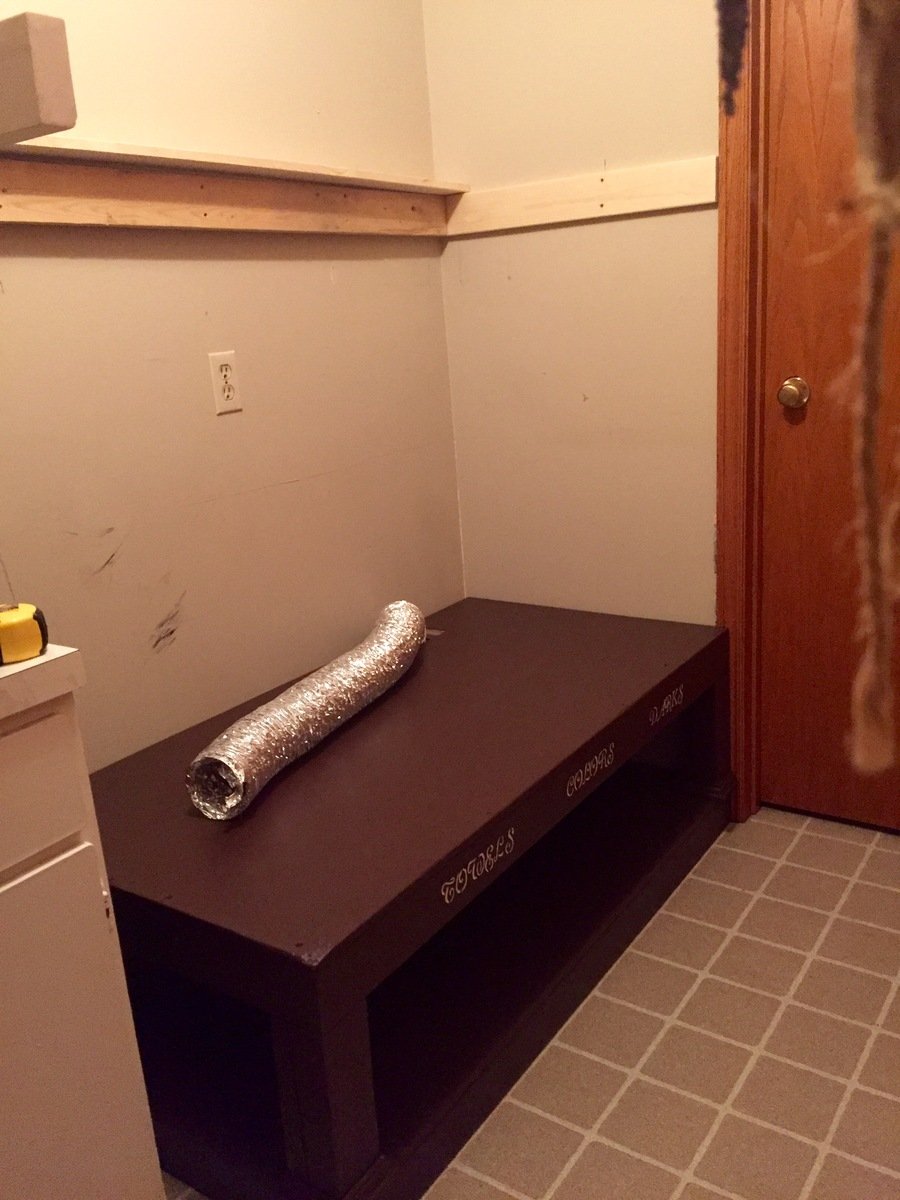
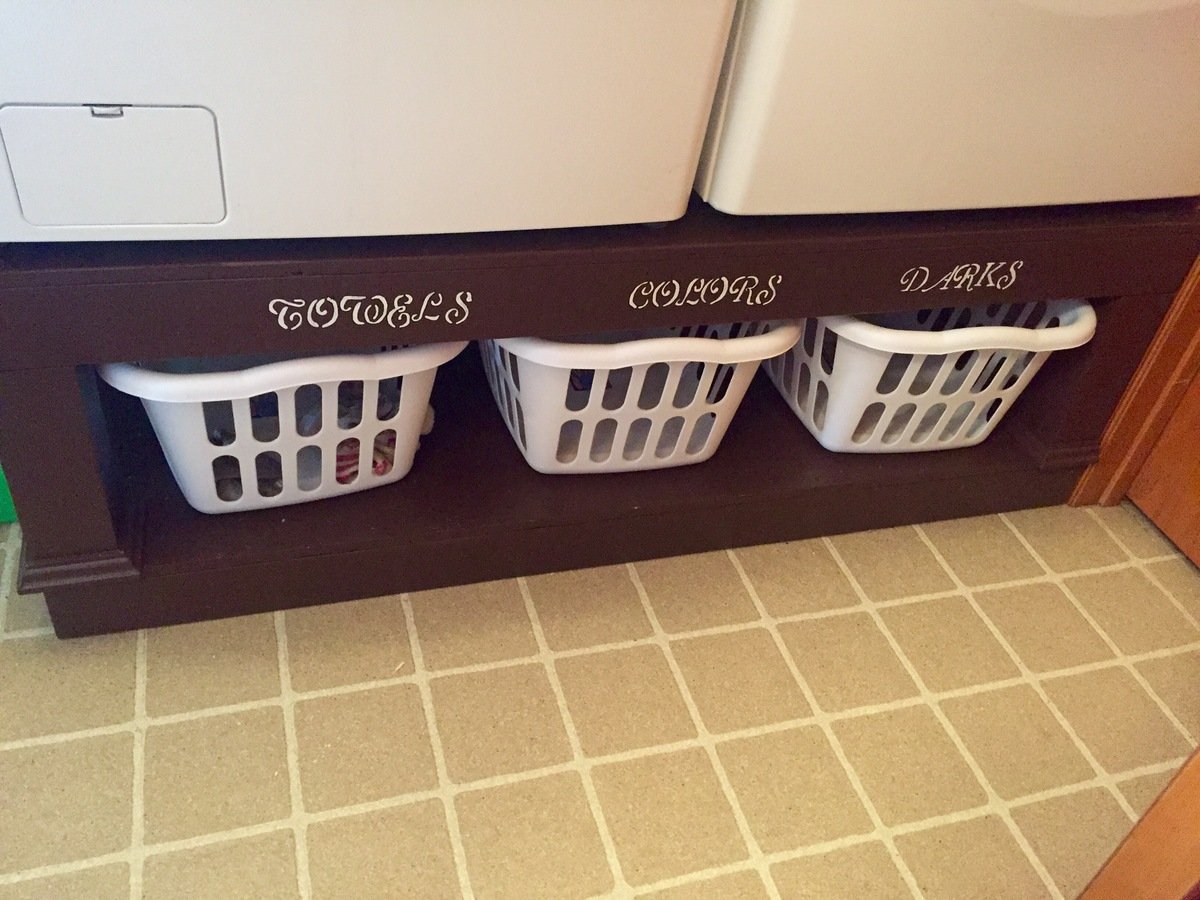
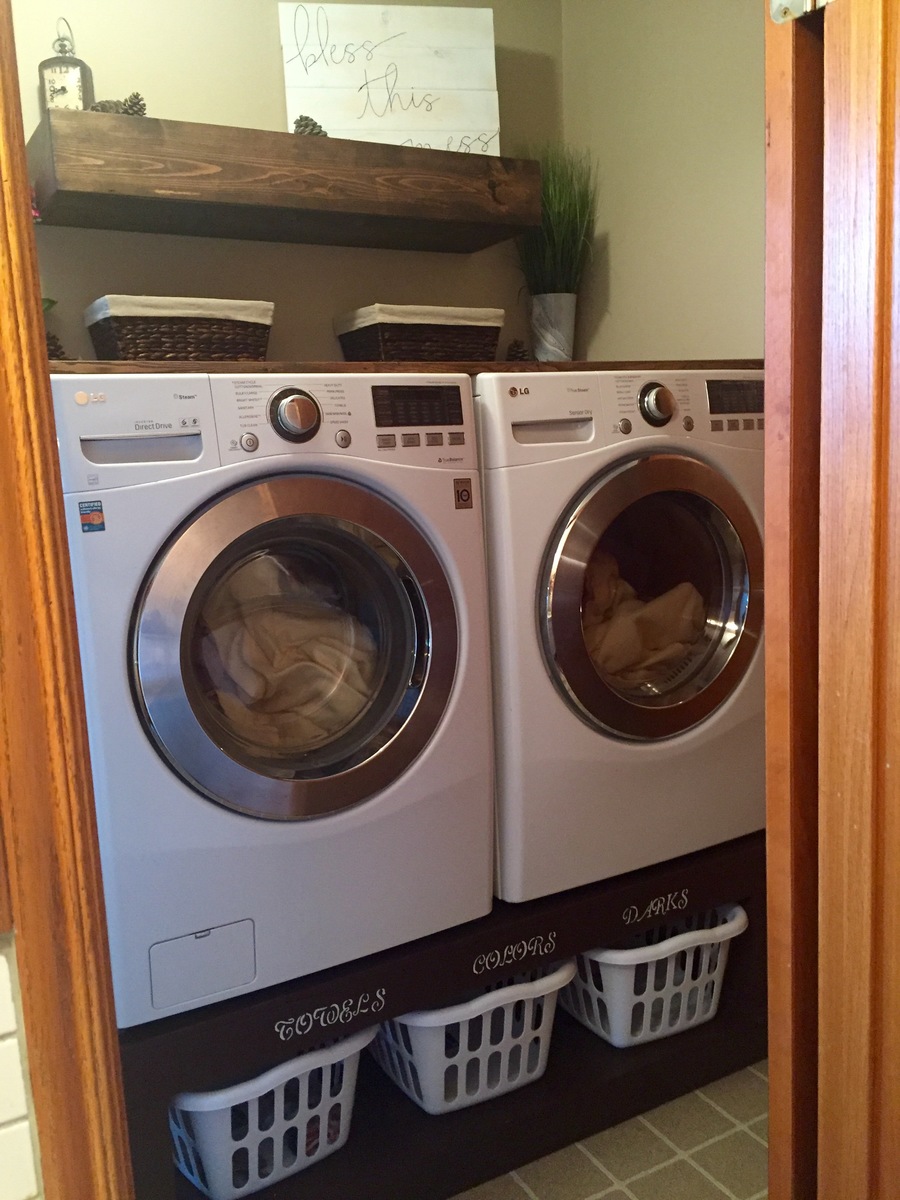
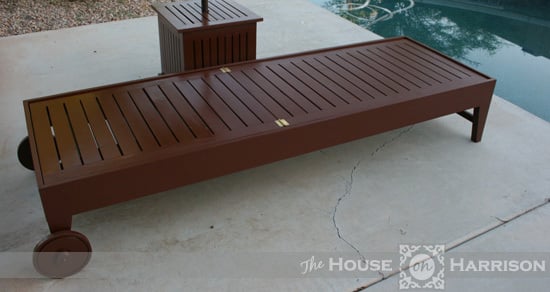
Found these awesome plans from Ana's site here and thought I could definitley make that! My mother needed a new laundry room makeover so it was the perfect opportunity. I made my stand only 56" long to fit perfectly into the spot. Which still allowed enough room for washer and dryer to be on there and enough room if they shook a little. I had to adjust my plans as I wanted it to fit snug against the wall but needed to allow for the dryer hose to connect to wall so I cut out a 4.5"x 5" spot on both the bottom and top platforms to allow for hose and cord to plug in. I put in extra supports going vertically and horizontally to replace the strength for the holes being cut. The result was perfect!
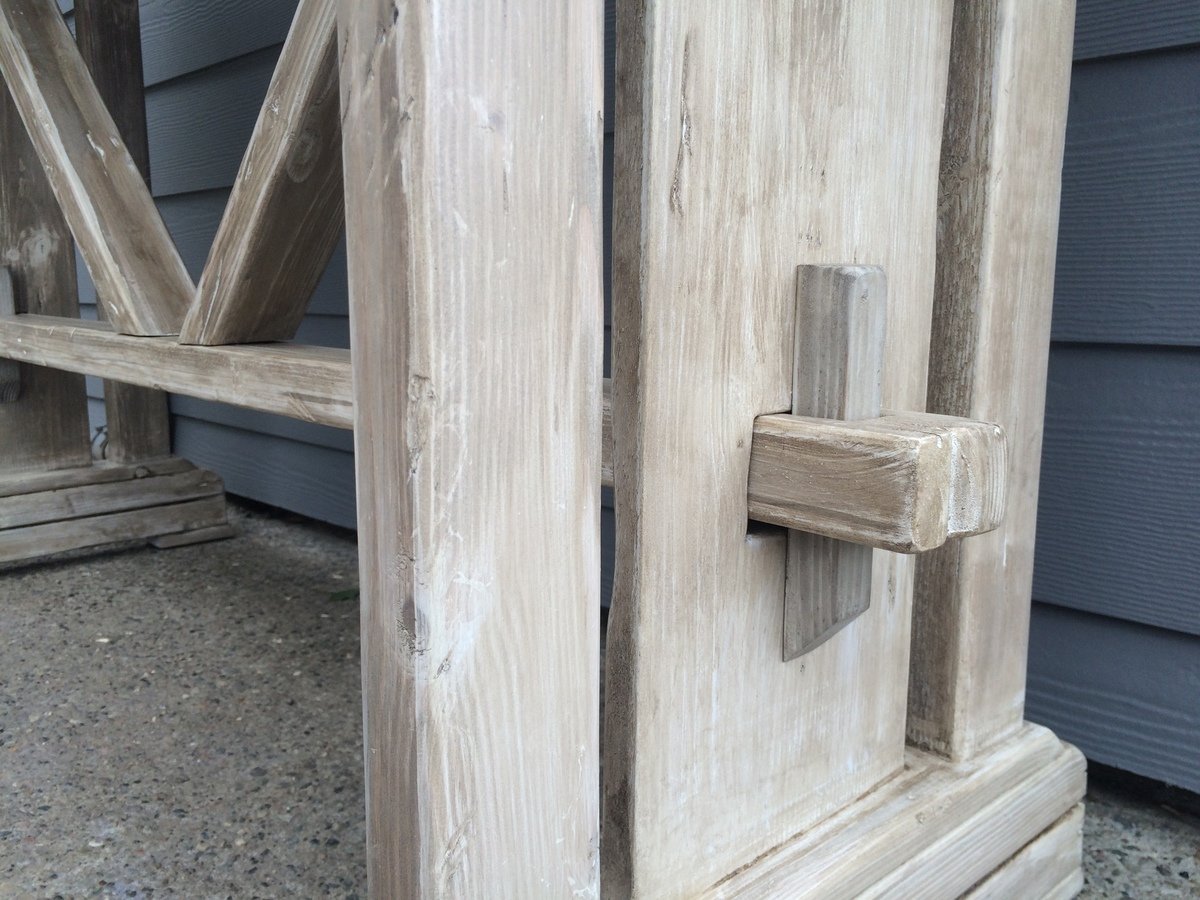
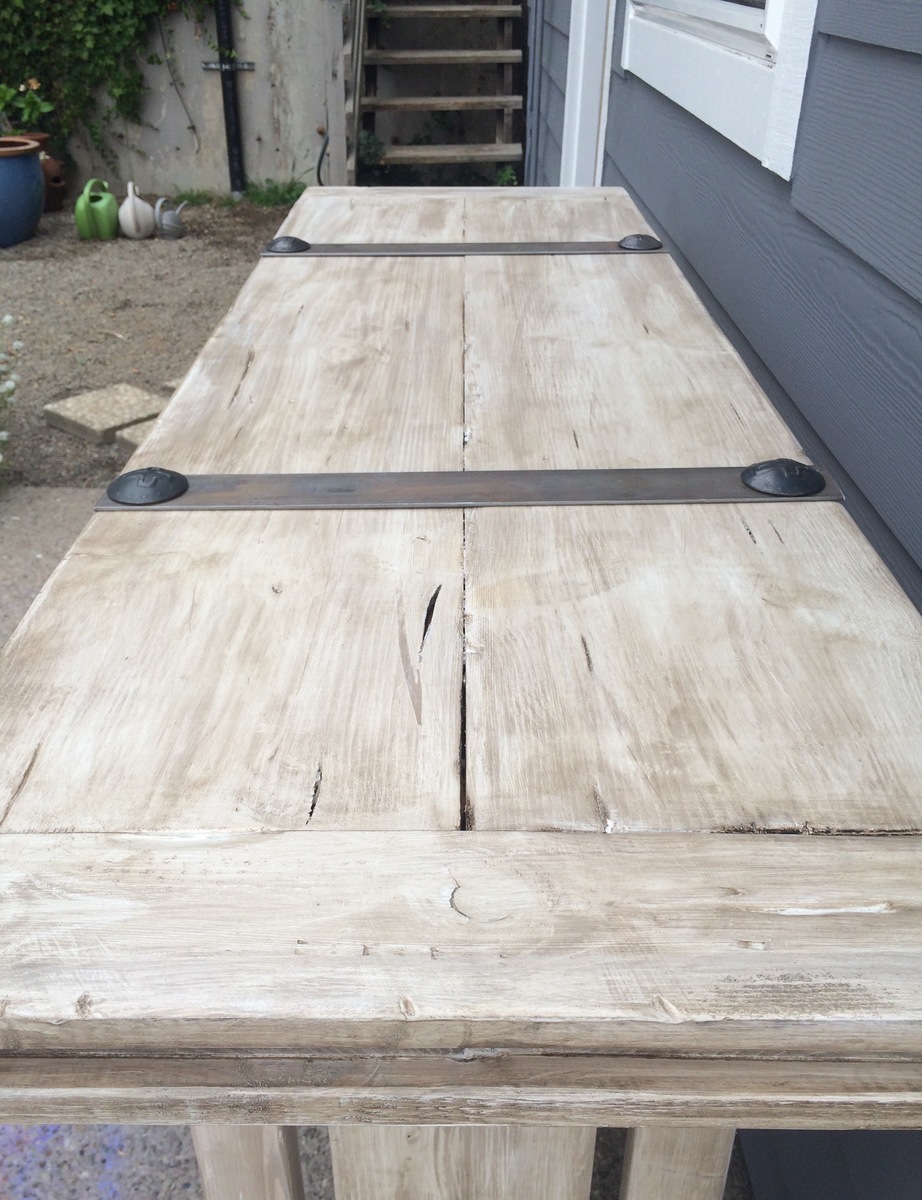
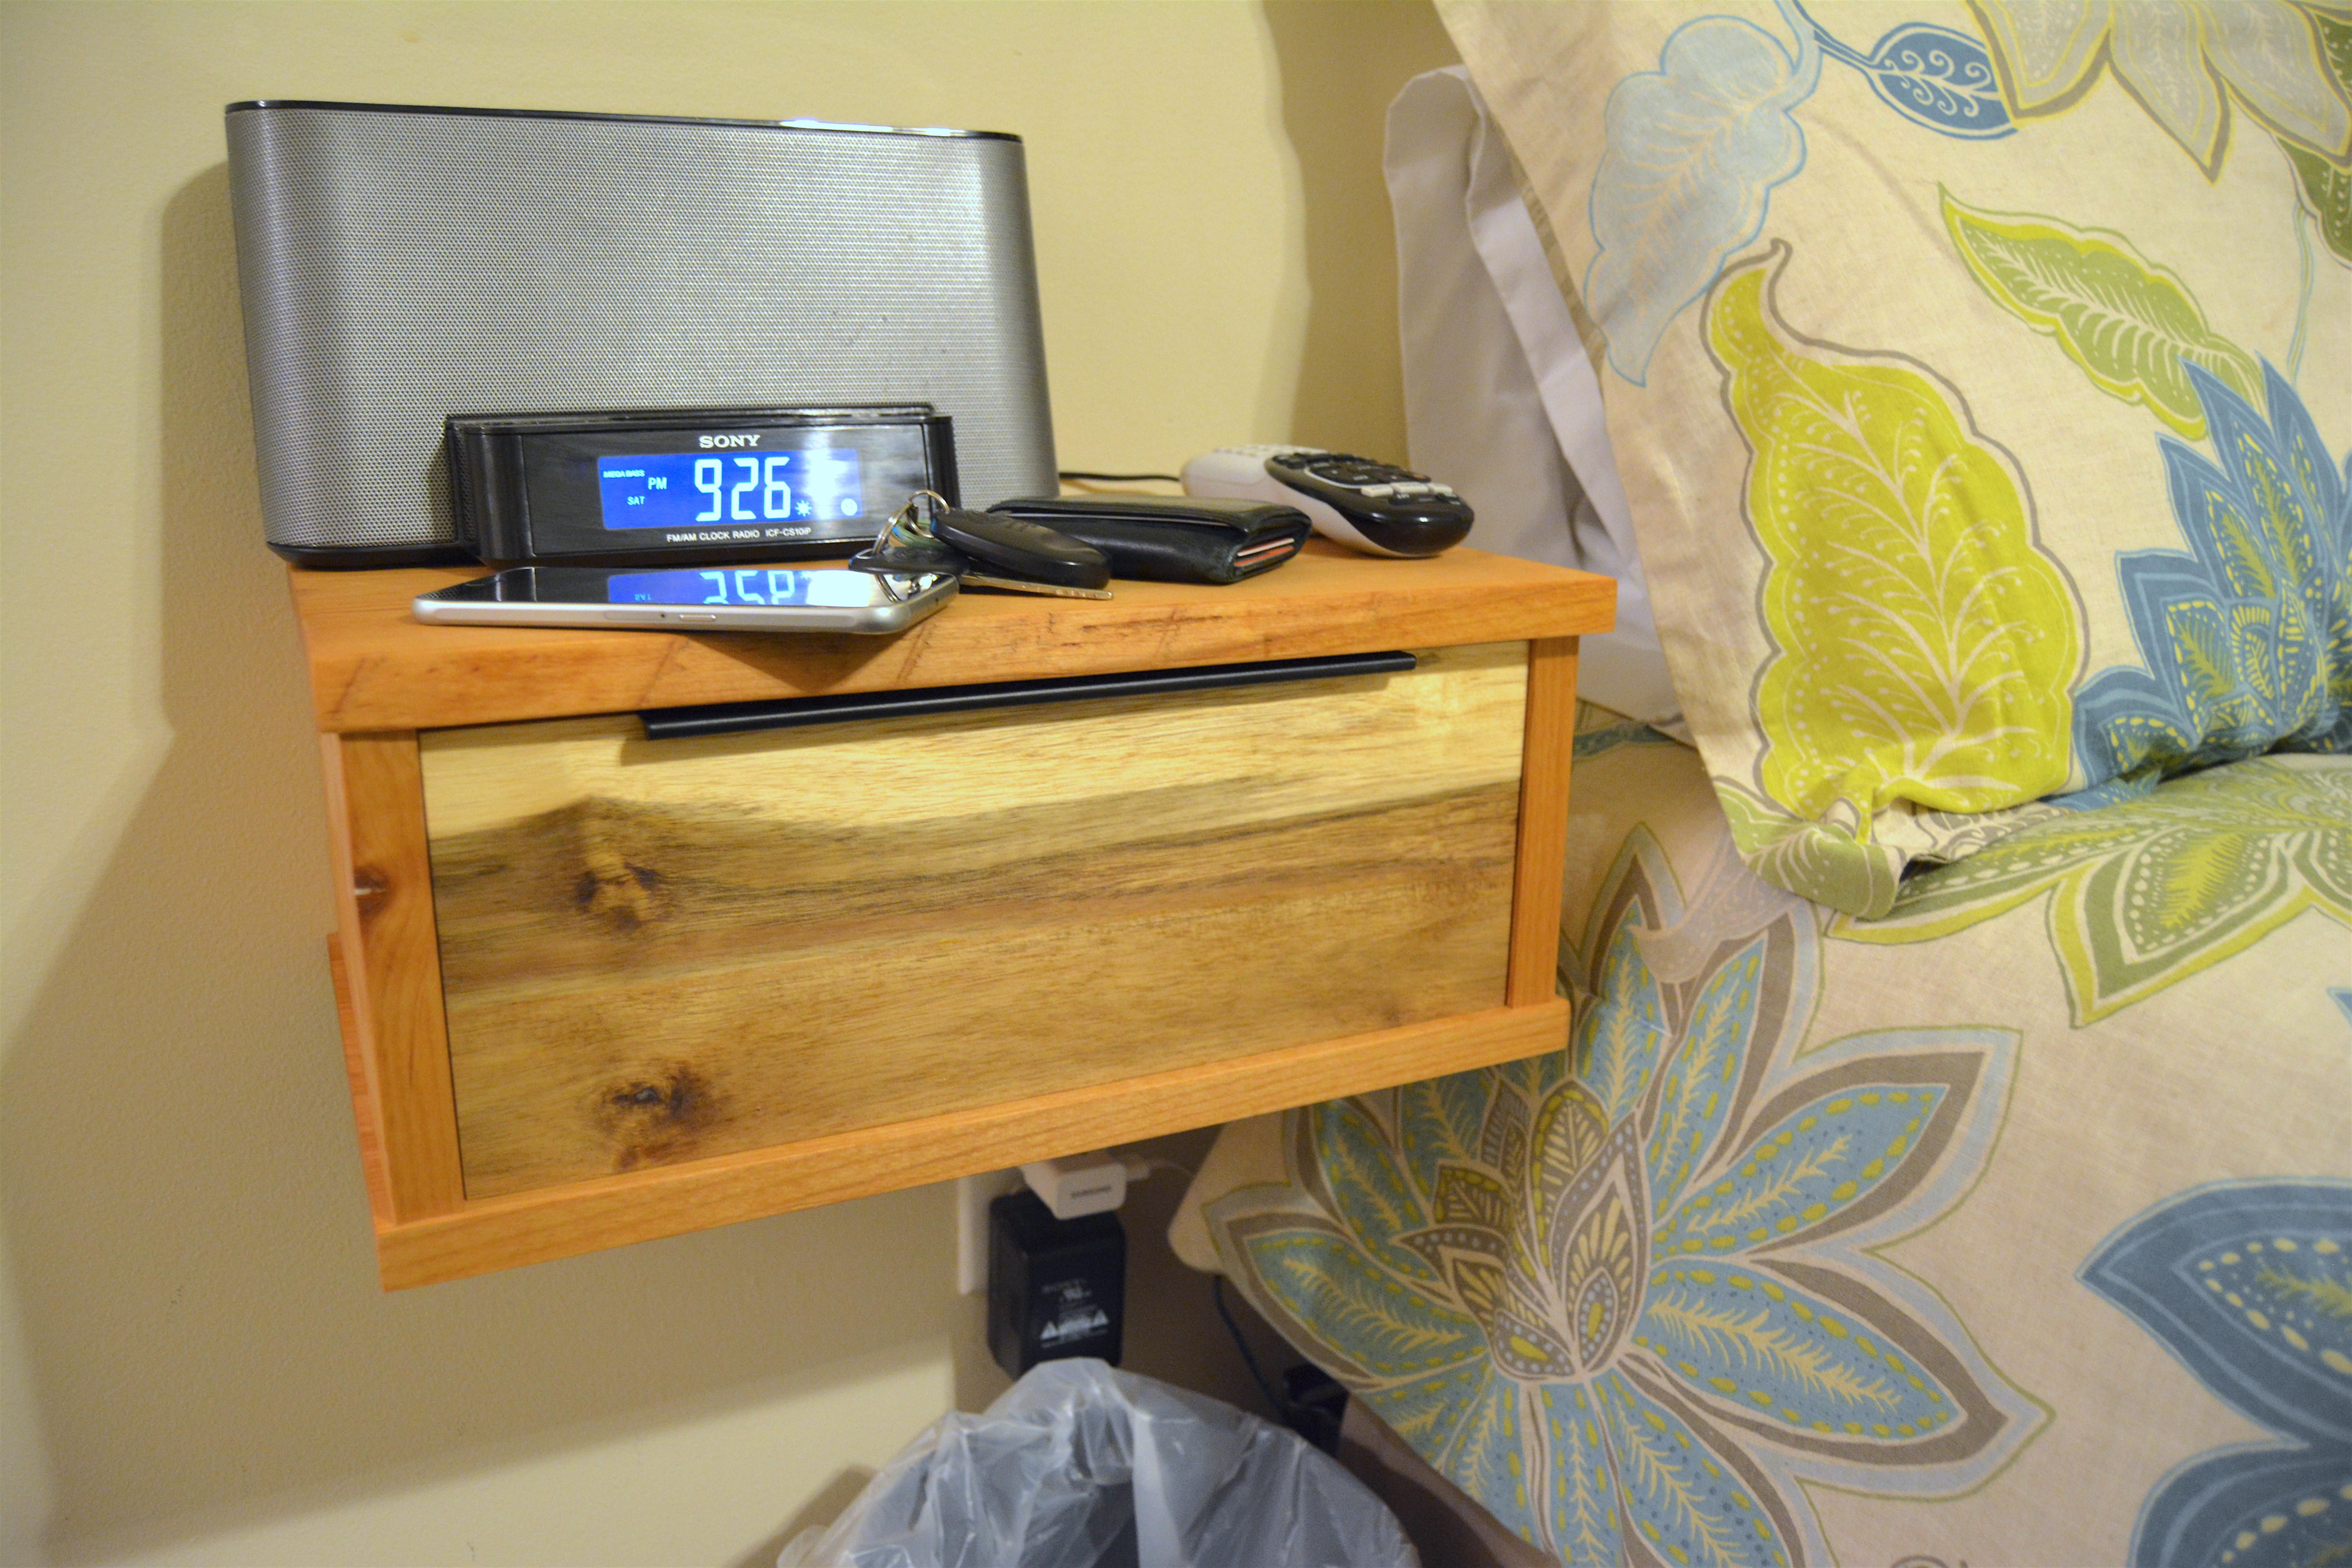
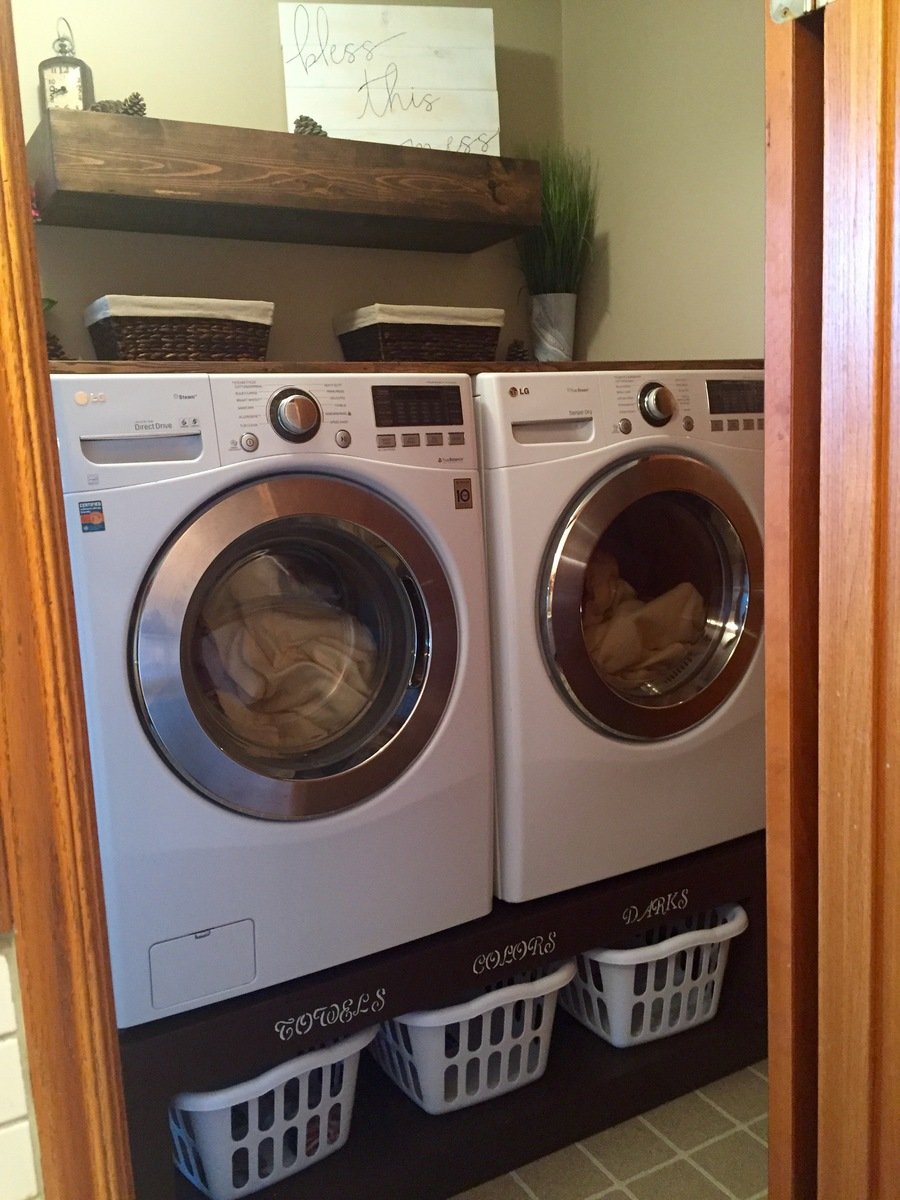
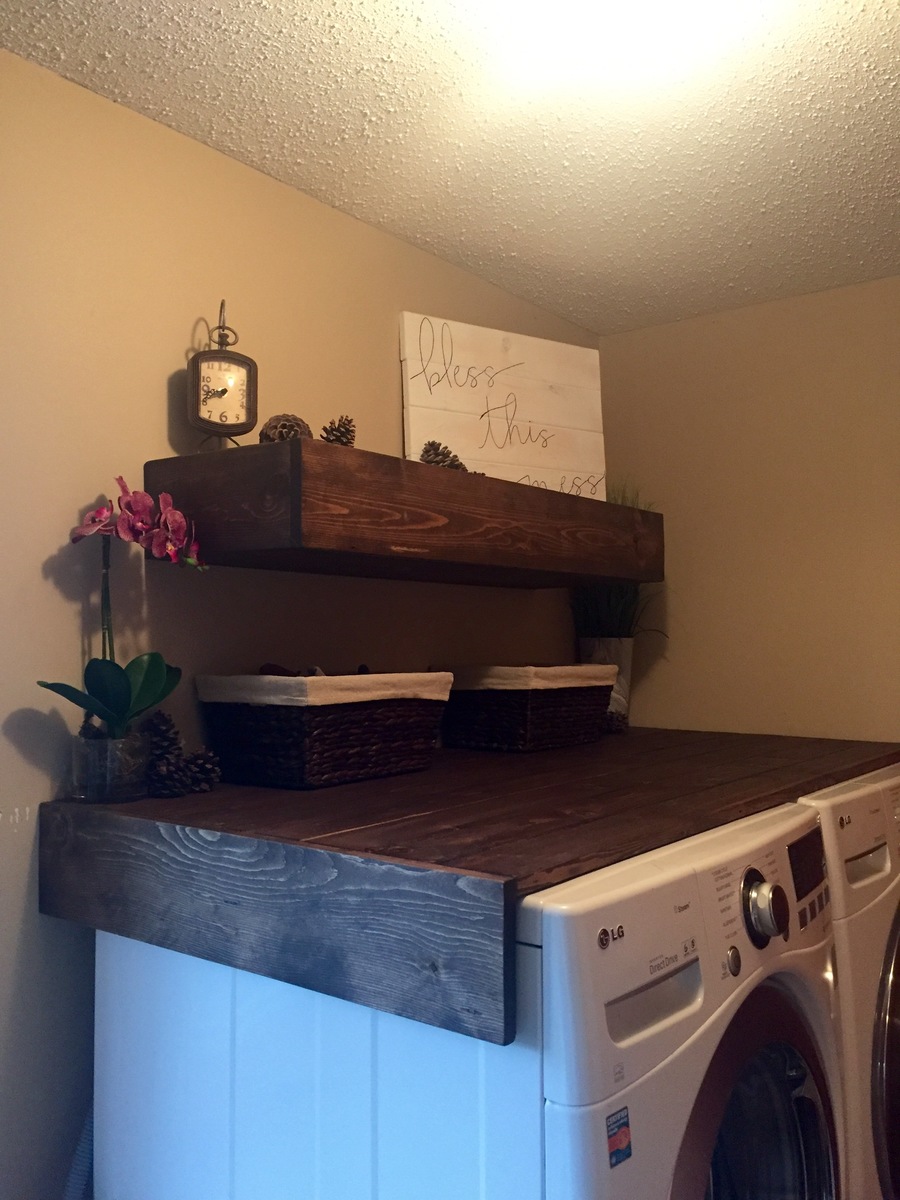
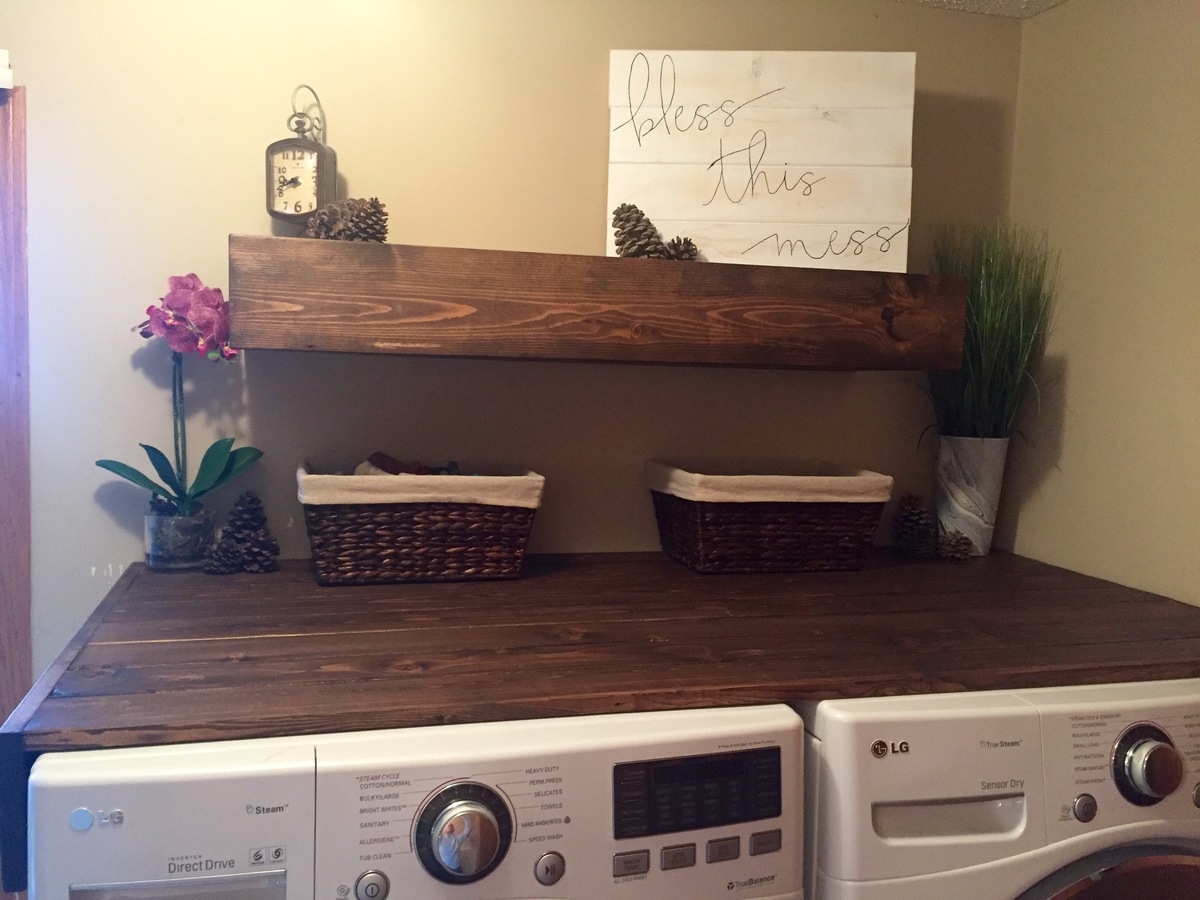
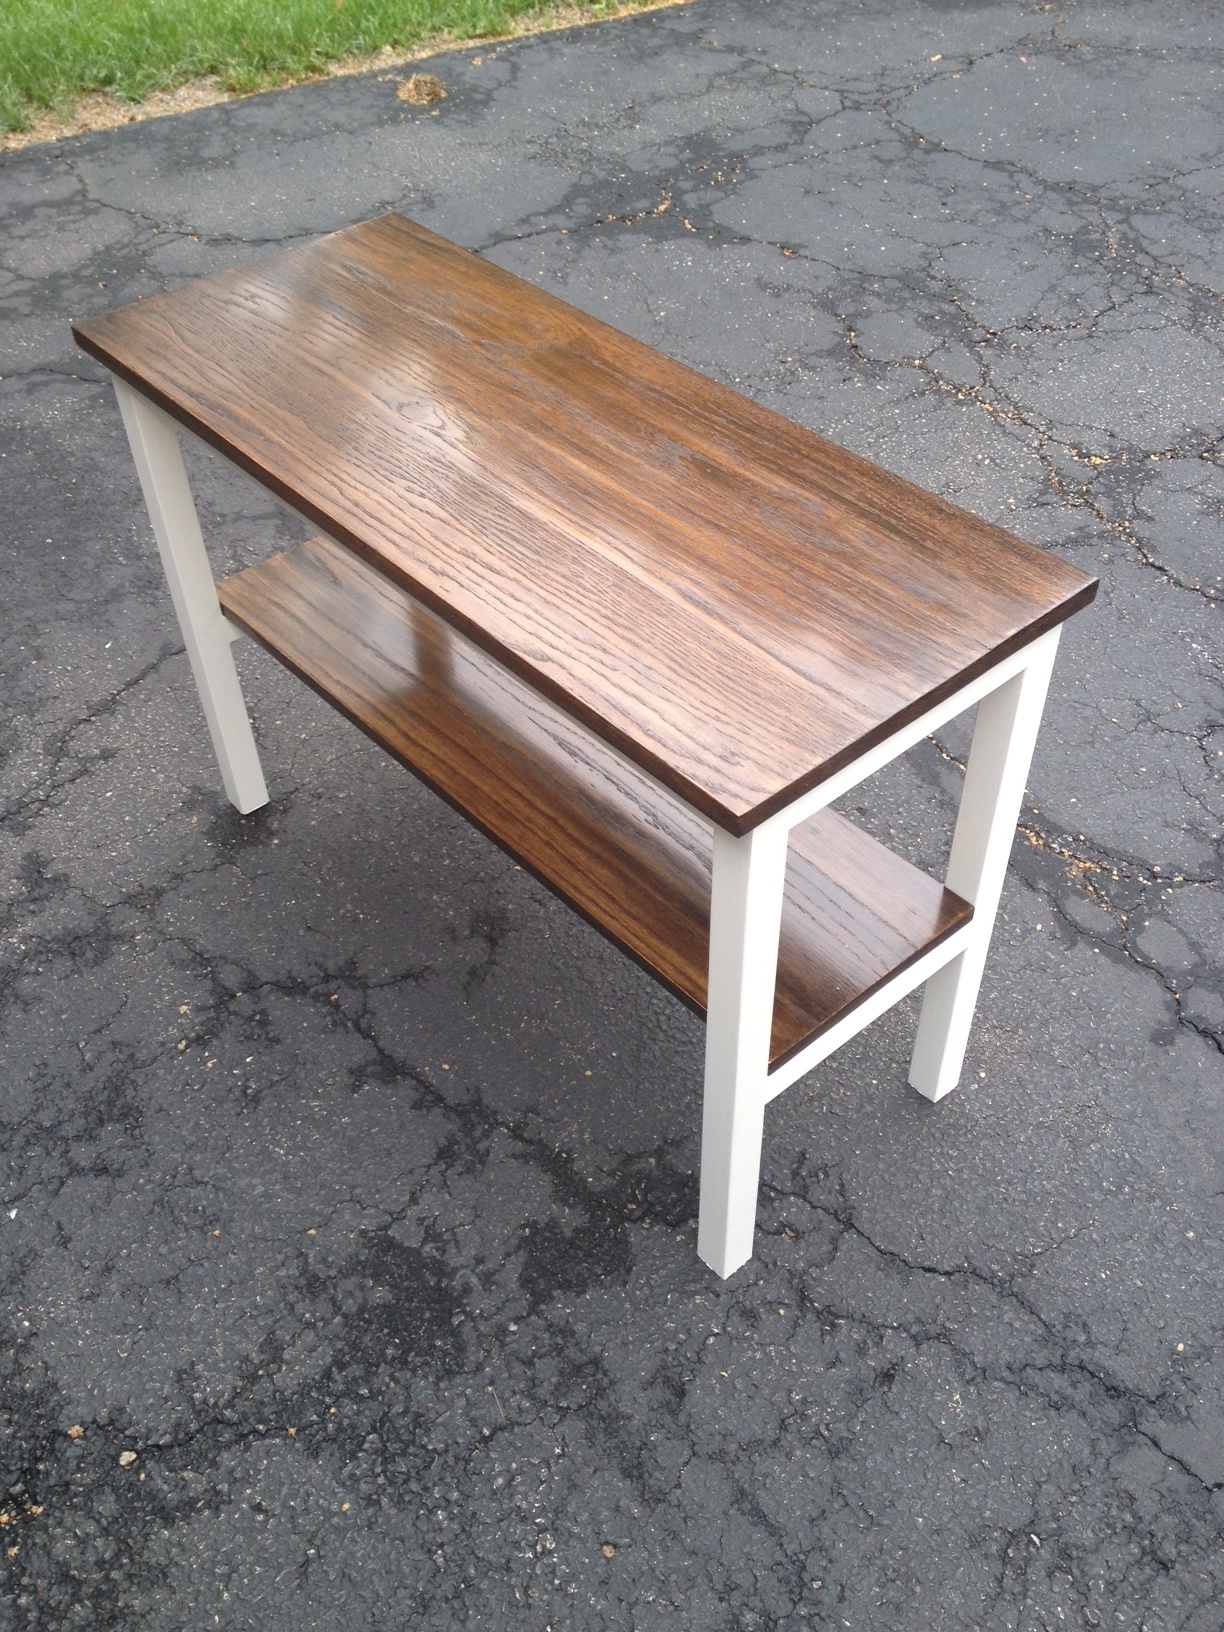
I got creative and added a floating rustic tabletop to the washer and dryer to make the space useful and also added a floating shelf above that. Both stained in a dark walnut.
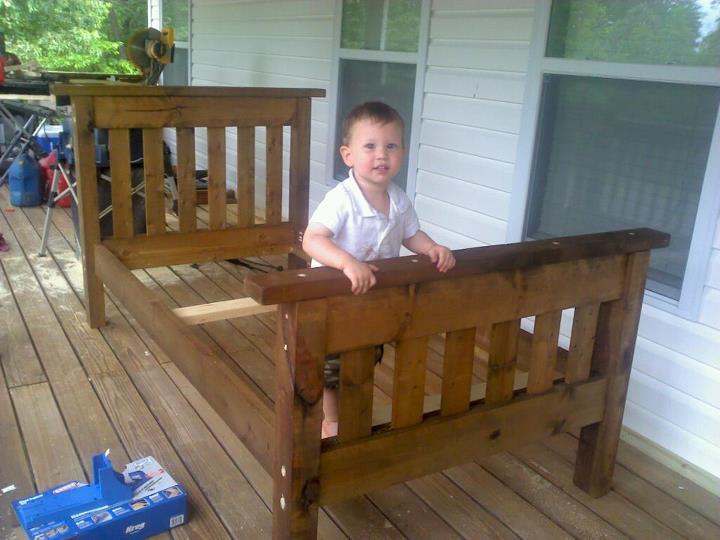
Happy builder right here!!!
www.facebook.com/RW.Creations.Blackfoot.AB