Southeast Alaska Rough Cut Farm House Bed
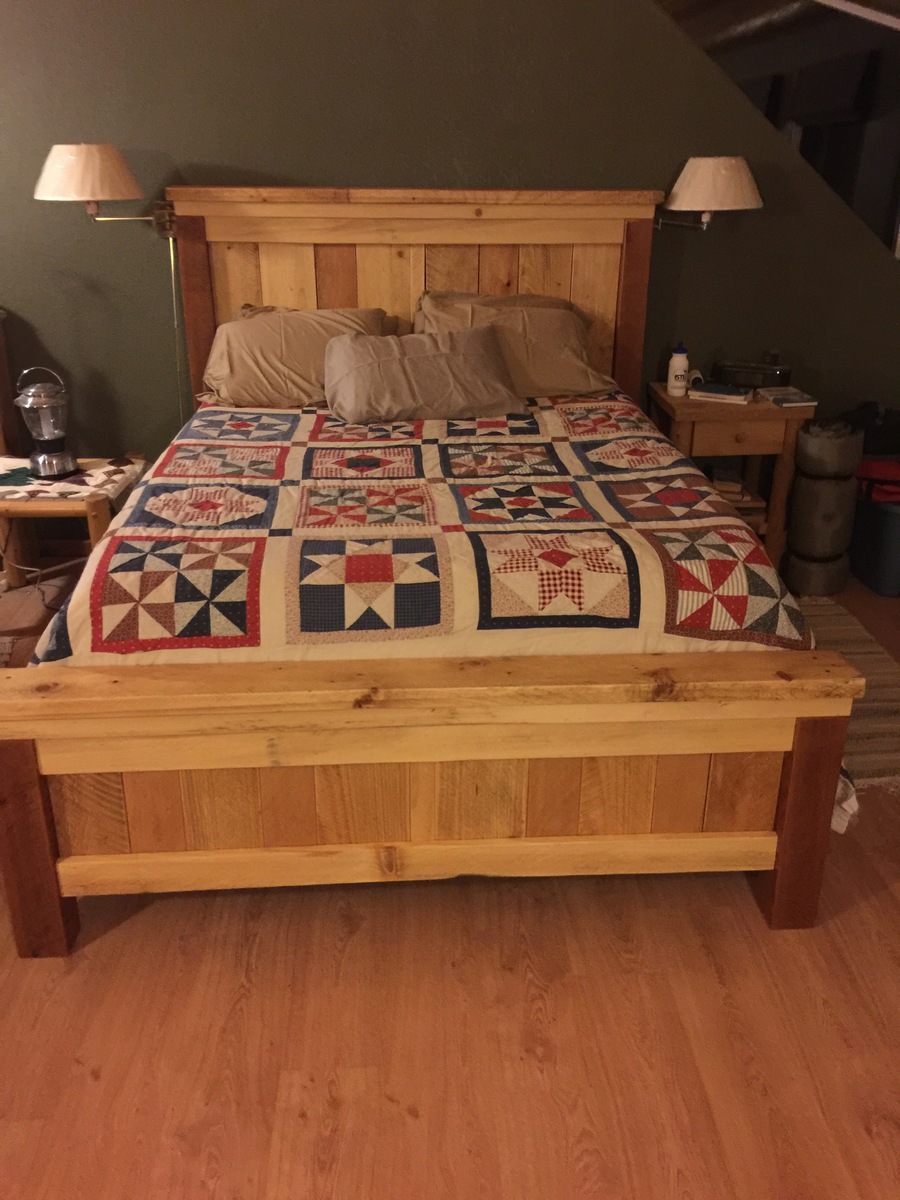
I used Ana's queen size bed plan with a few variations. I used my local red cedar and white spruce rough cut lumber scraps and lots of sandpaper. Rough cut lumber has differnt deminsions and it made for a very rustic sturdy bed with nice contrasting colors thoughour the projec. I love my new bed.
Built from Plan(s)
Estimated Cost
I spent $8.00 for side rail attachments from Amazon. I used left over materials for the rest of the project.
Estimated Time Investment
Weekend Project (10-20 Hours)
Finish Used
Satin Finish Clear Varathane
Recommended Skill Level
Beginner