Bar Height Table and Chairs
Decided to use mortise and tenon on the chairs to make for a clean look since I was staining and not painting. I did use a lot of pocket holes on the table.
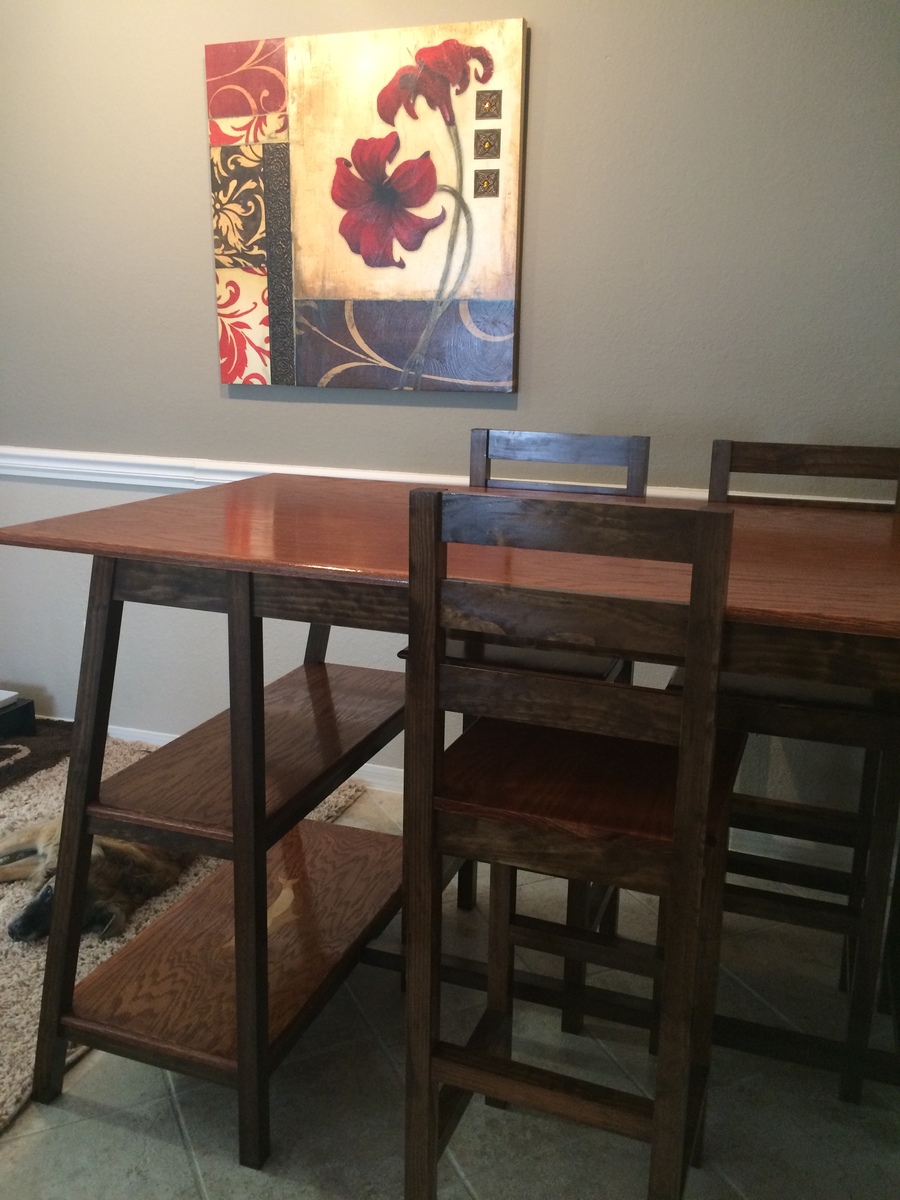
Decided to use mortise and tenon on the chairs to make for a clean look since I was staining and not painting. I did use a lot of pocket holes on the table.


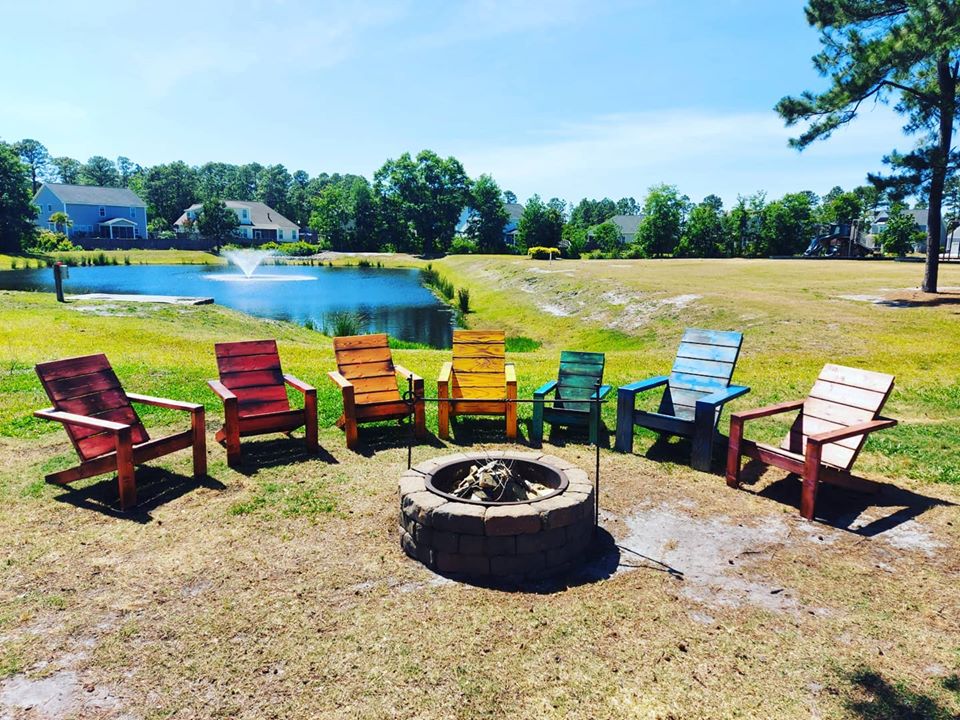
Such a fun set to make! We switched out 1x6 for the back and seat, stained and torched. Gotten lots of compliments and even have some in the works for our neighbors :)
Thu, 05/21/2020 - 11:06
These are amazing! Love the mini chair - I'm going to have to make a few of those for my kids too!
Fri, 05/29/2020 - 08:37
What modifications did you do to make the kids chair?
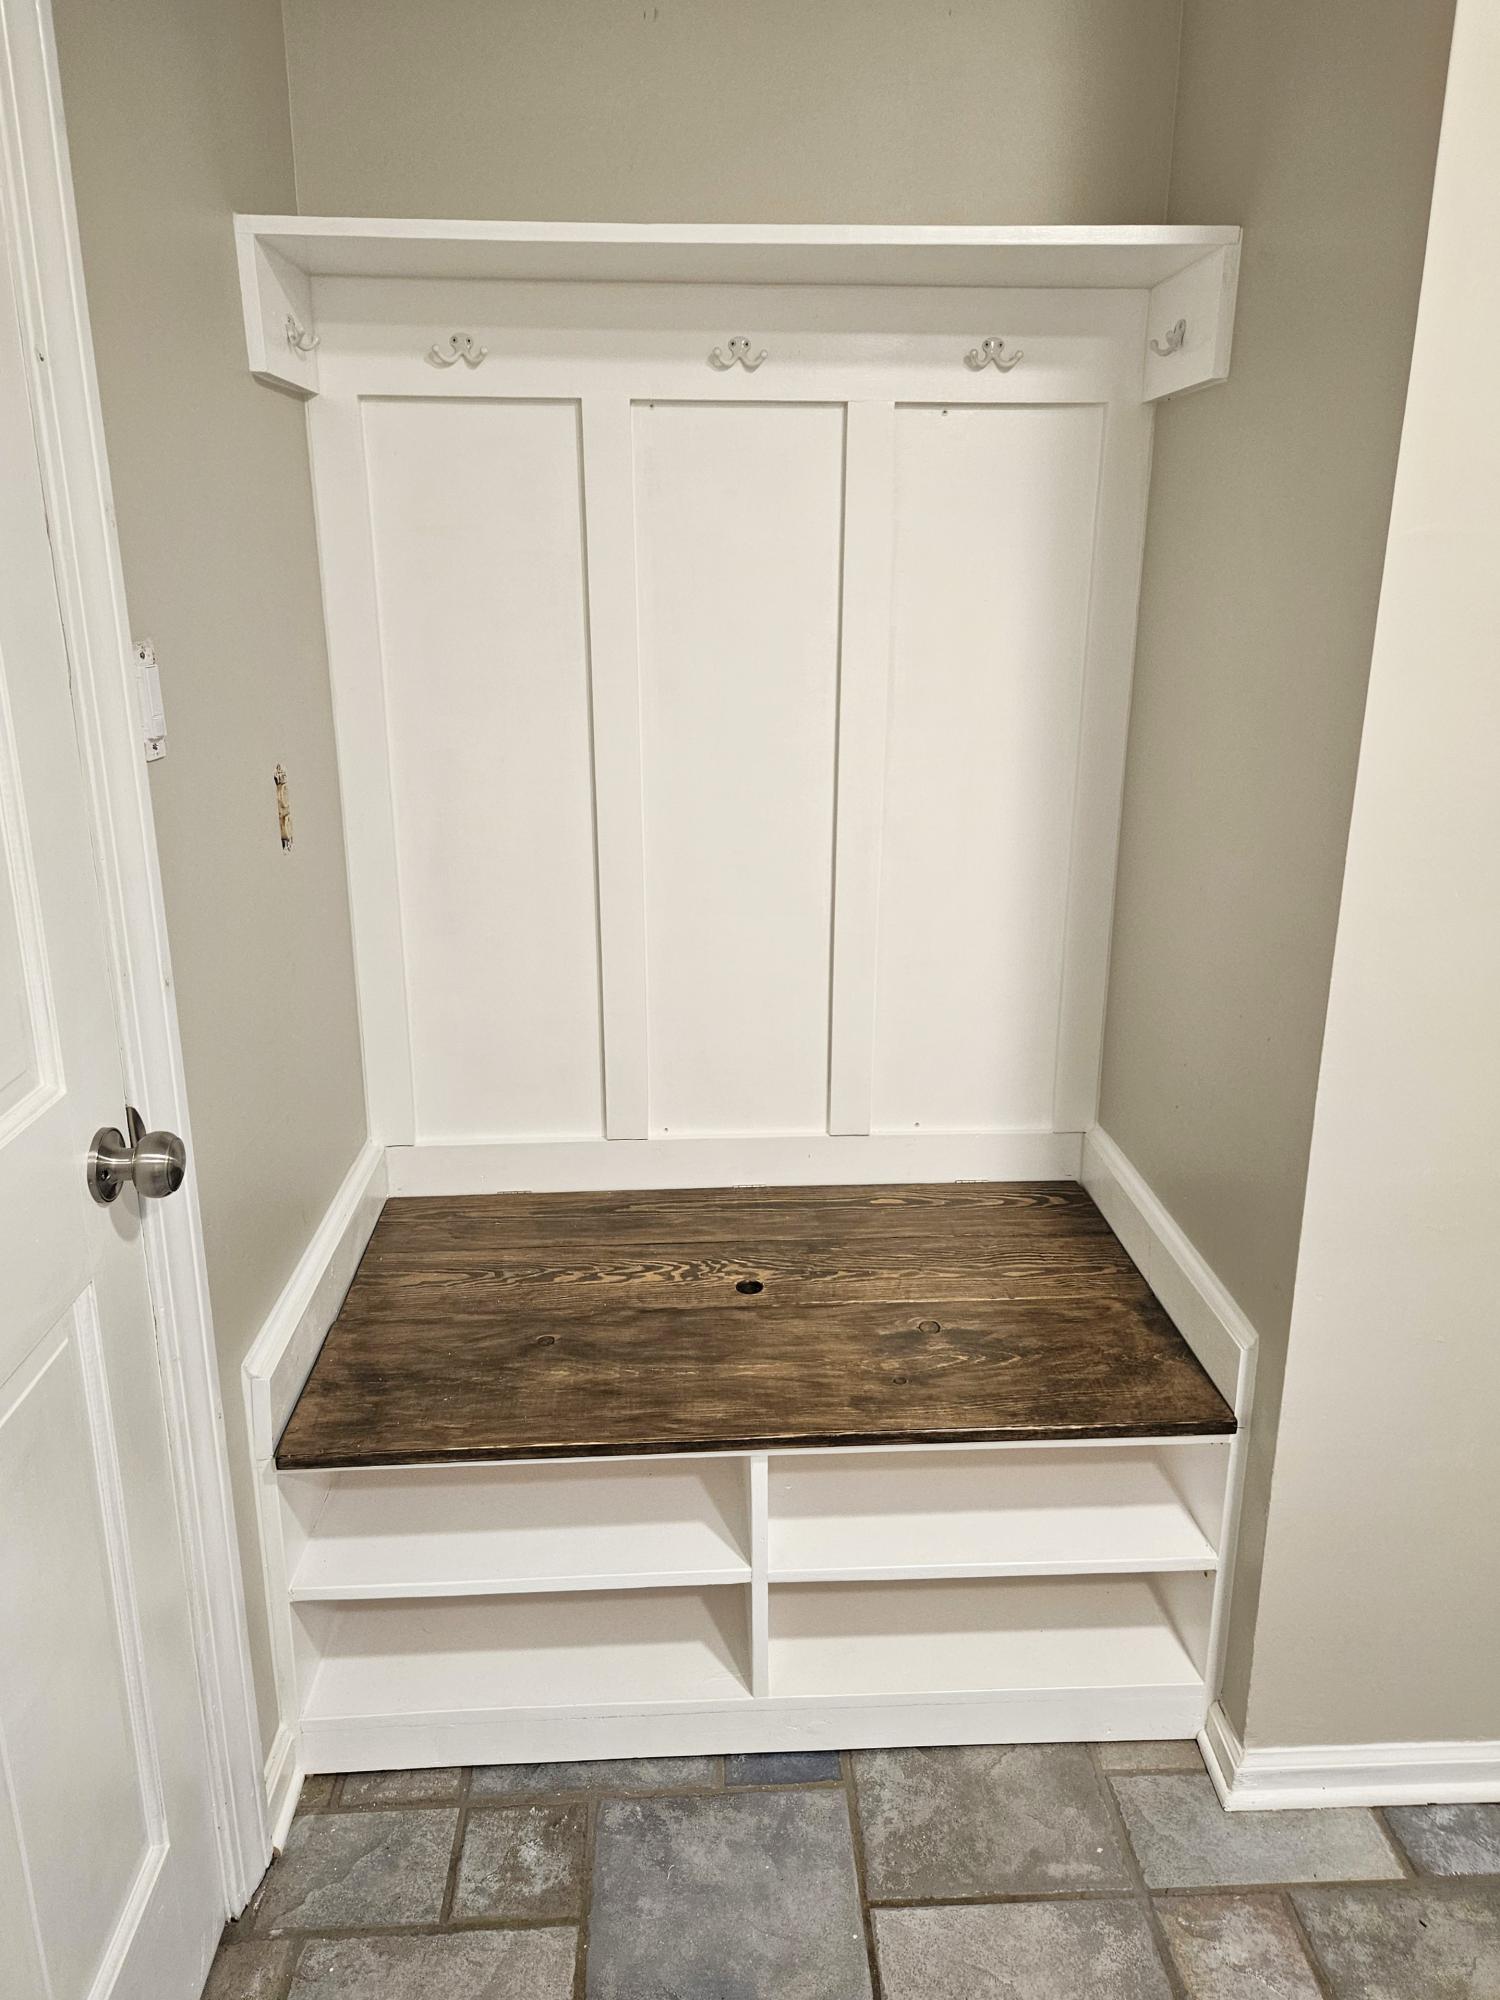
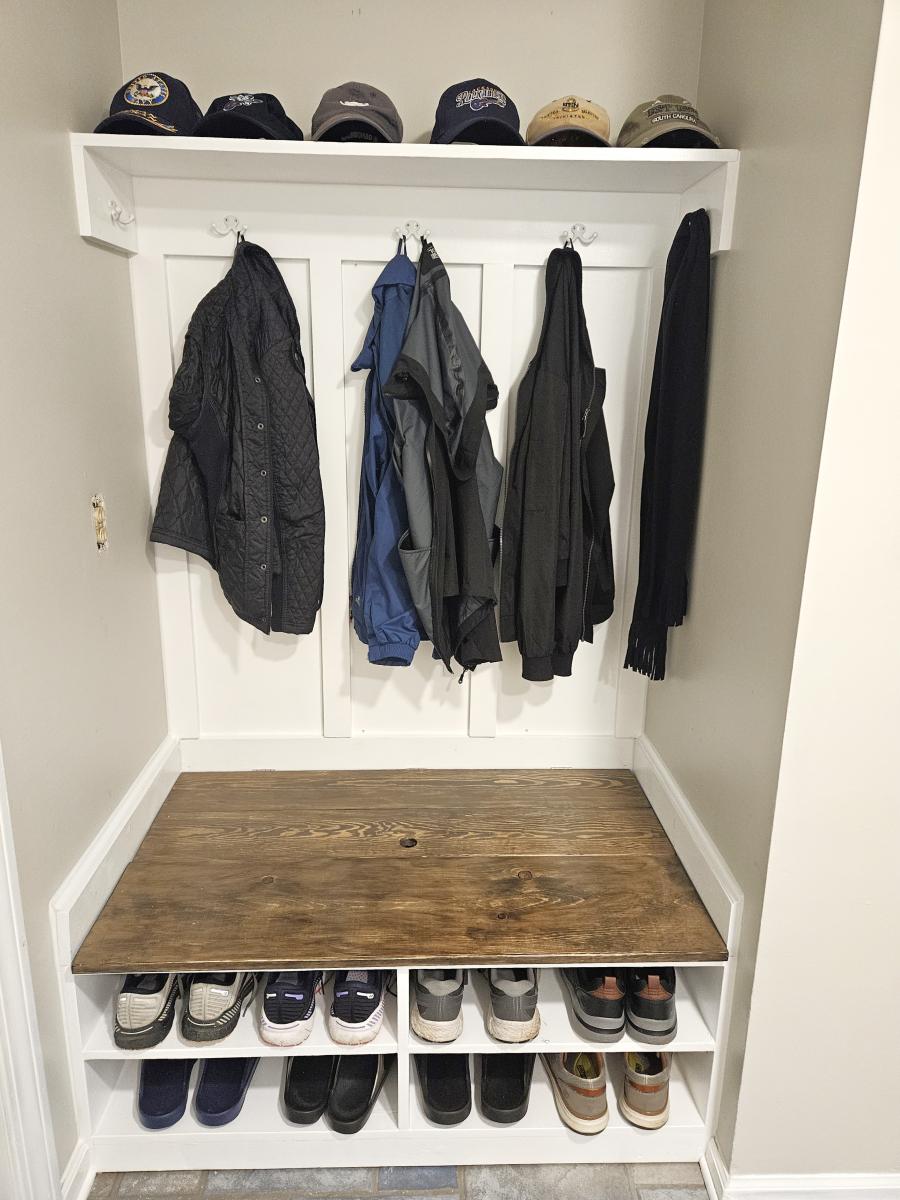
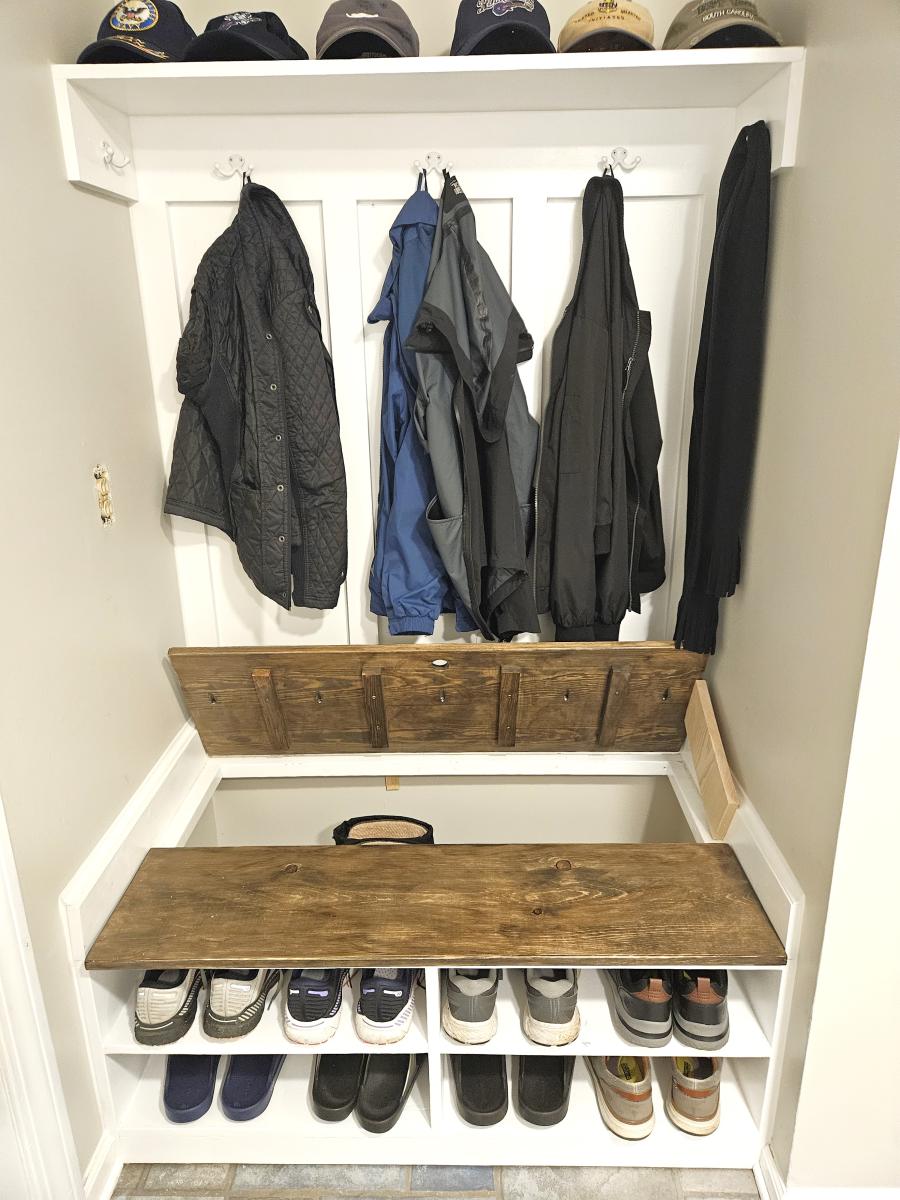
Built the drop zone bench with hidden storage in the laundry room. Modified to fit in 45 inch space where a built-in desk was. A fun and easy build. Thanks Ana for the great ideas and plans.
Don Toy
We chose to use 2x4 construction because we simply needed a sturdier build. Enough said. :) I wanted to use cedar, but when we went to the lumberyard, they didn't carry 2x4s in cedar, just 1x4 and said it was hard to find. Being that I had wanted this built by Labor Day and it was already July, we bought the pressure treated wood. I know, I know, chemicals galore. We worked on it a little at a time. We modified it for a higher back, but now I wonder if that was needed, because although the cushions are deep they do go down some when you sit on them. Ah well, we are still happy with it. Because of the higher back, we opted to just use the armless section on the end, however we might build a modified arm later on. We'll see how it goes.
Sat, 07/14/2012 - 08:04
So proud of my talented sister. Love to see more. My cat Keko is still loving his bed
In reply to So proud of my talented by Debbie Gregory (not verified)
Sat, 07/14/2012 - 11:24
Aww, thanx Deb!
Sat, 07/14/2012 - 14:47
Very nice work, hey I’ve been sitting on and eating off treated lumber for years ( Maybe that’s what is wrong with me LOL )
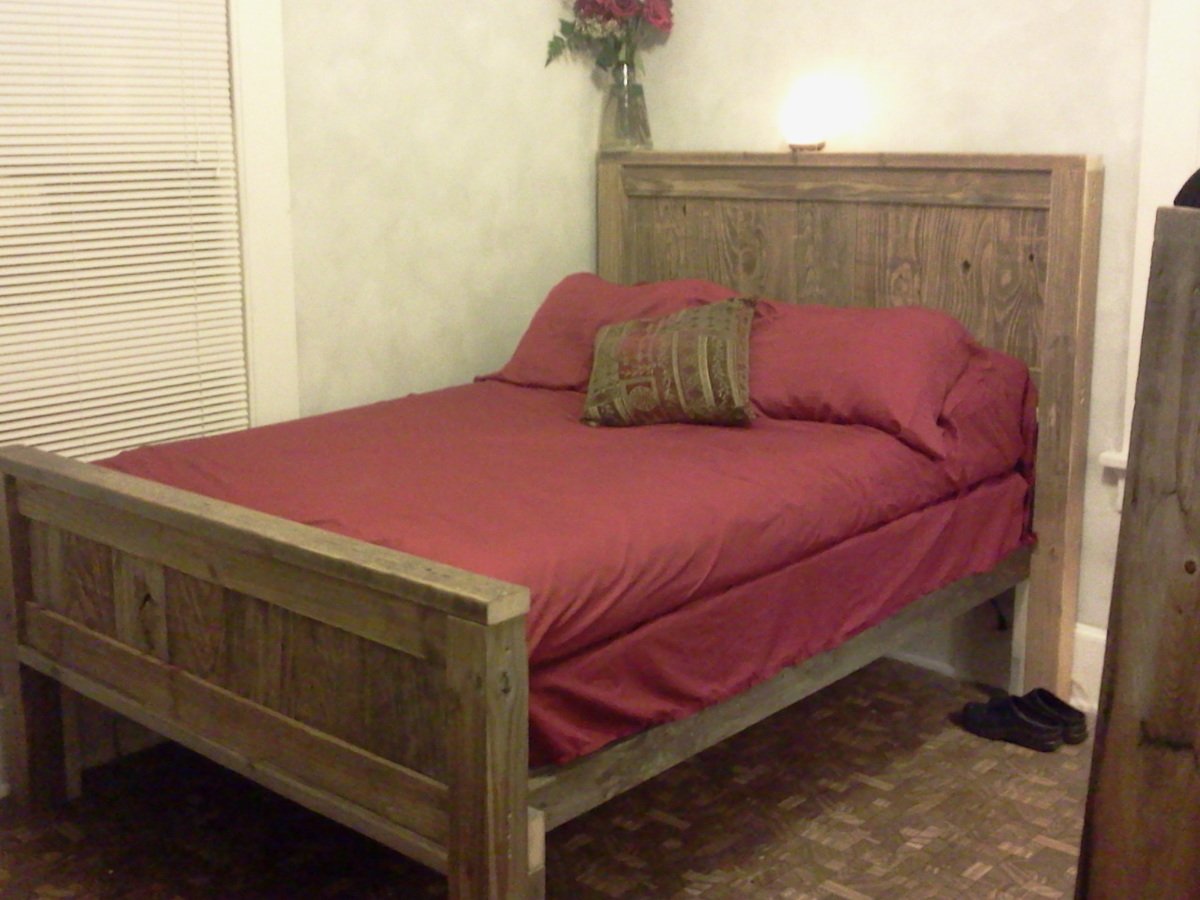
I live in a very old house with very little storage space (only 2 tiny closets!) so i made the bed higher and am going to build the trundle drawers on casters for under the bed. I also liked the version i saw with the higher footboard panel. Though i kept the original height measurements for the headboard posts (because it actually ends up to be the same height as the fireplace mantle, which adds a nice design harmony to the room) the headboard panel is shorter to make up for a bigger space under the bed.
The panels are made from weathered fencing and the 4x4s are discards from a sign company that i pass by on a regular basis. So my only monetary investment was for the long screws and a new drill bit. ! I have not decided on a finish yet, i'm going to sleep on it a while. (grin)
i started out with everything just a little bit bigger because i knew that discrepancies in old wood are better off being trimmed to square rather than assuming everything will fit.
I love how the raised grain of the weathered wood creates such dramatic abstract organic designs; i went over it ever so lightly with a sander. This is the second bed i have built, but the first one that cost me virtually nothing.
There's still plenty of fencing left and i am planning a dresser and a desk. :)
Thanks so much for your inspiration and influence on the world!
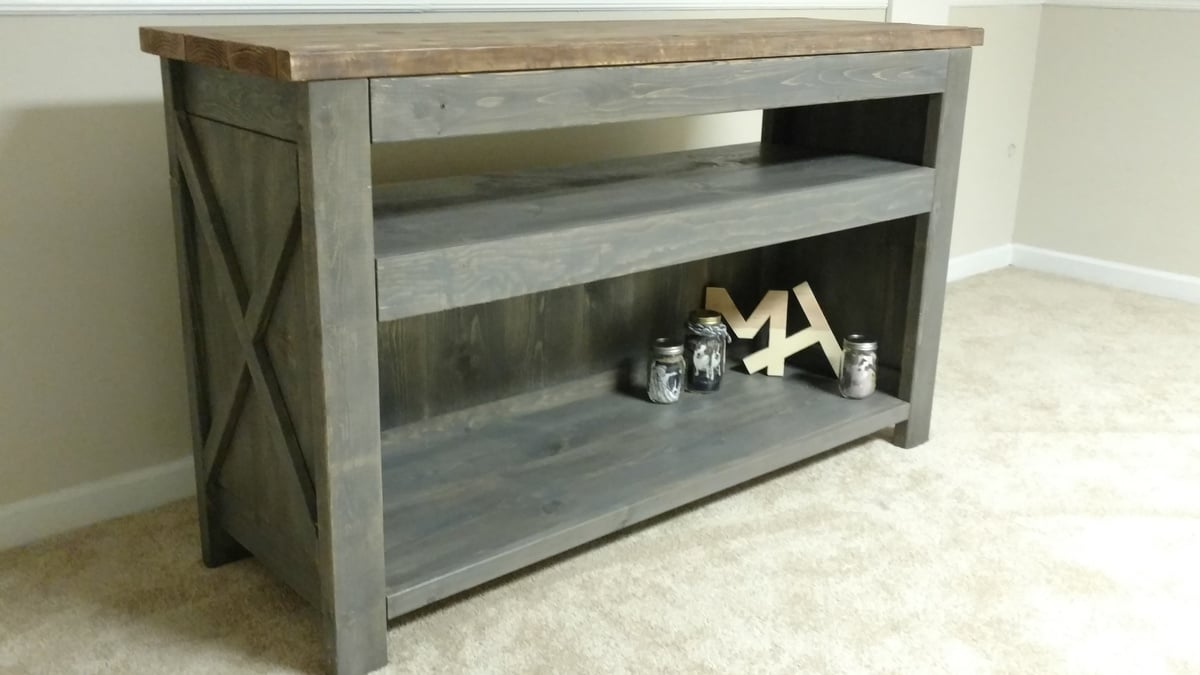
This was a super fun project and didn't cost much at all.
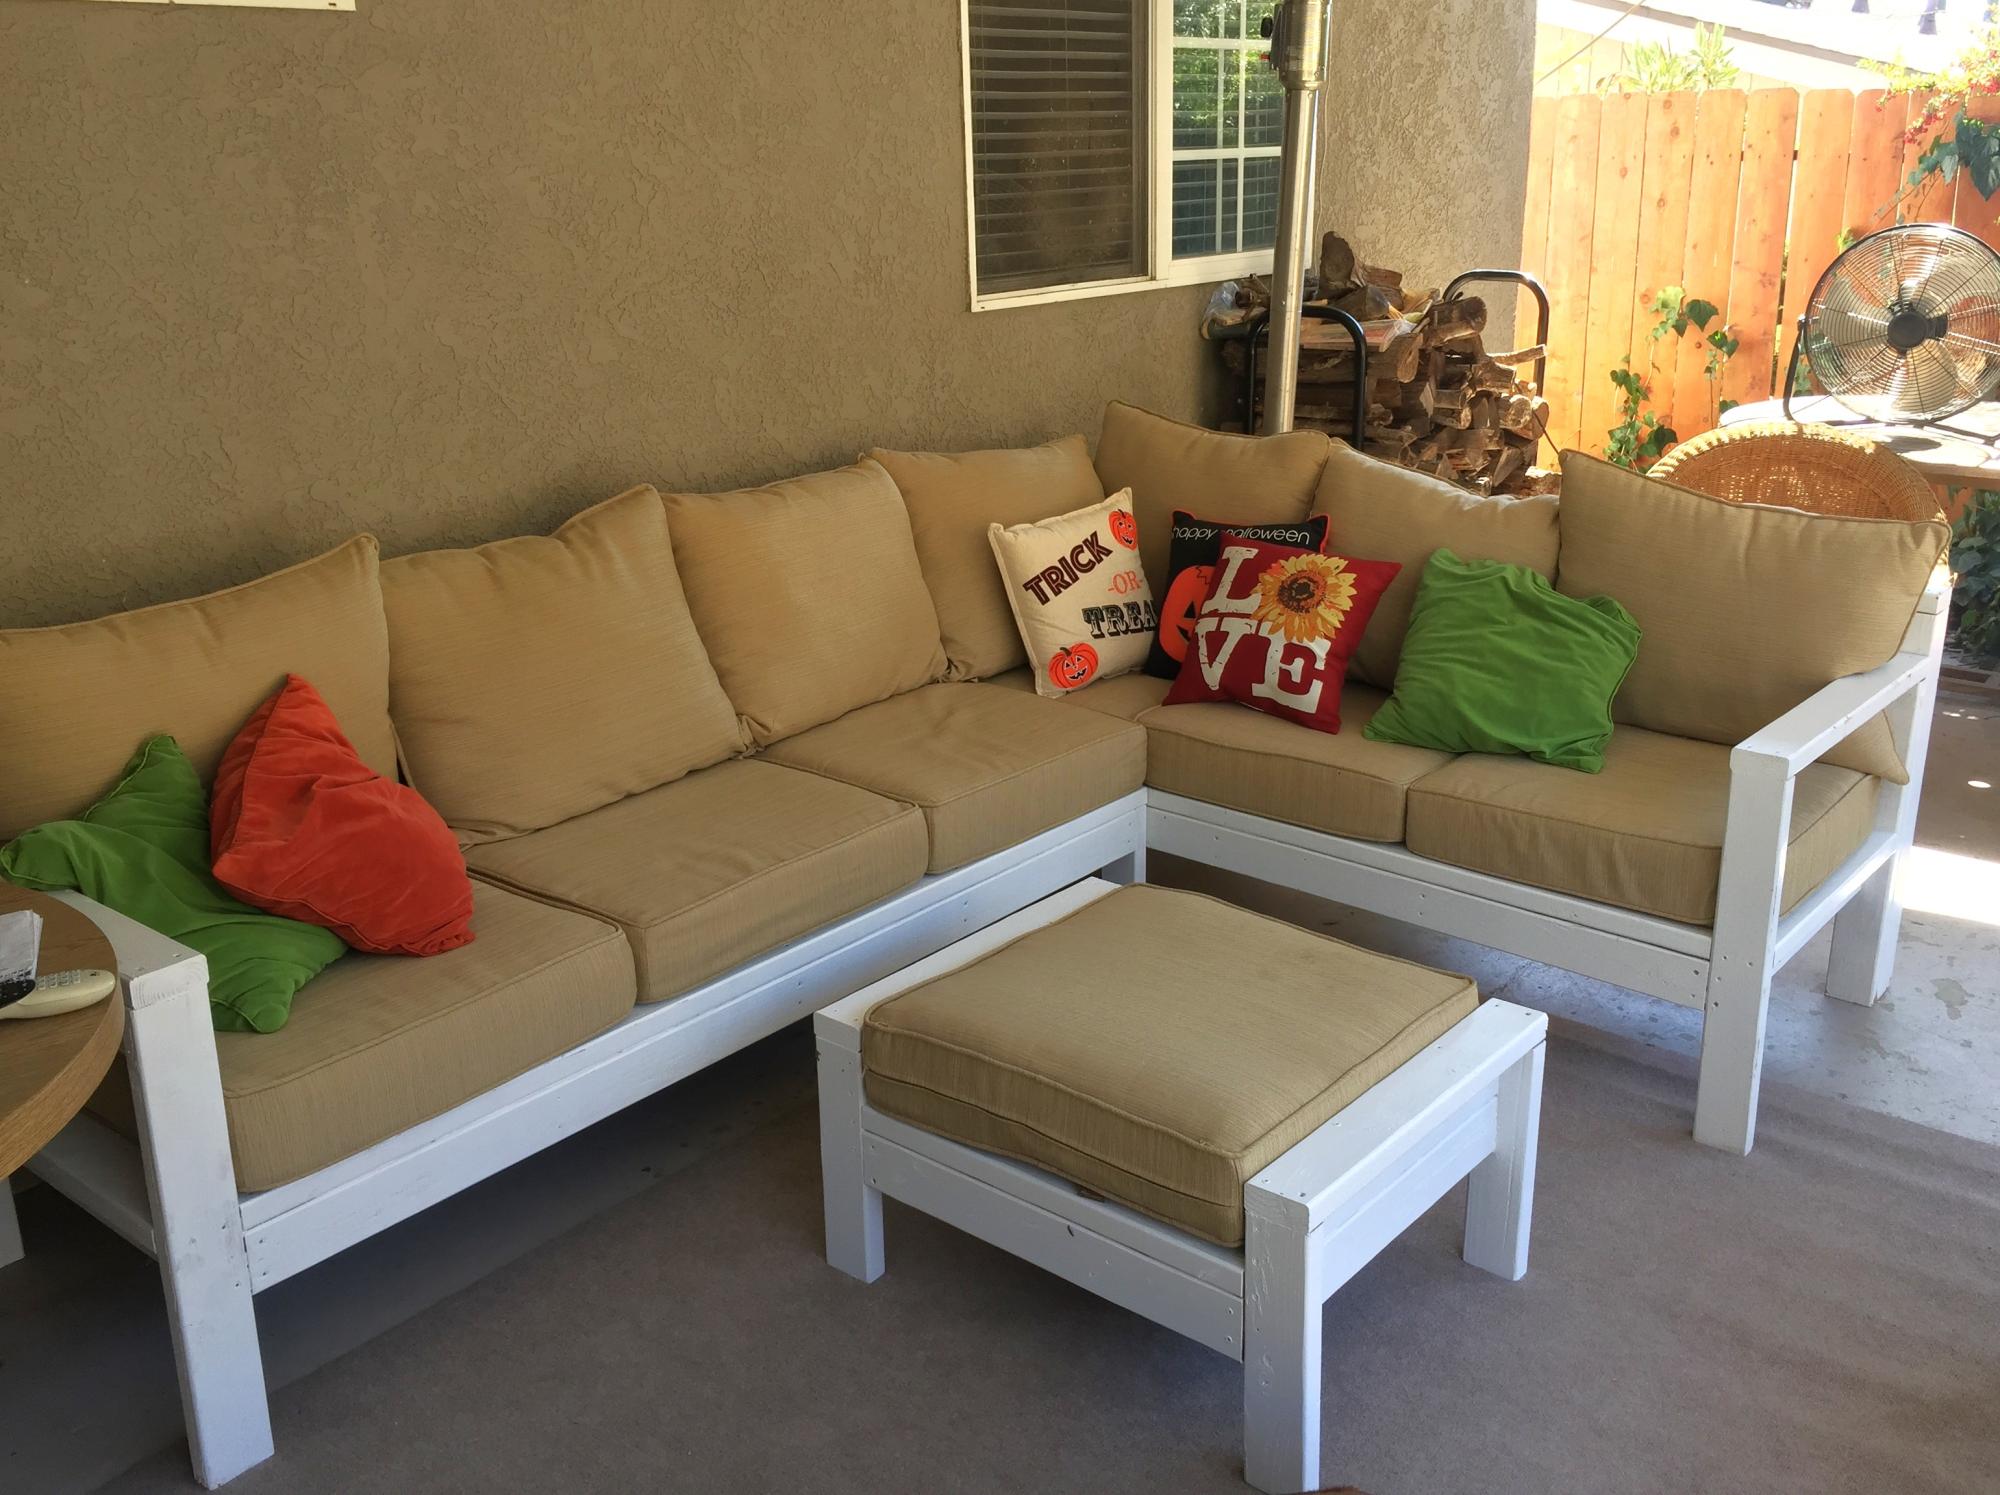
I made this a few years back for my brother, such a fun build.
Natasha M
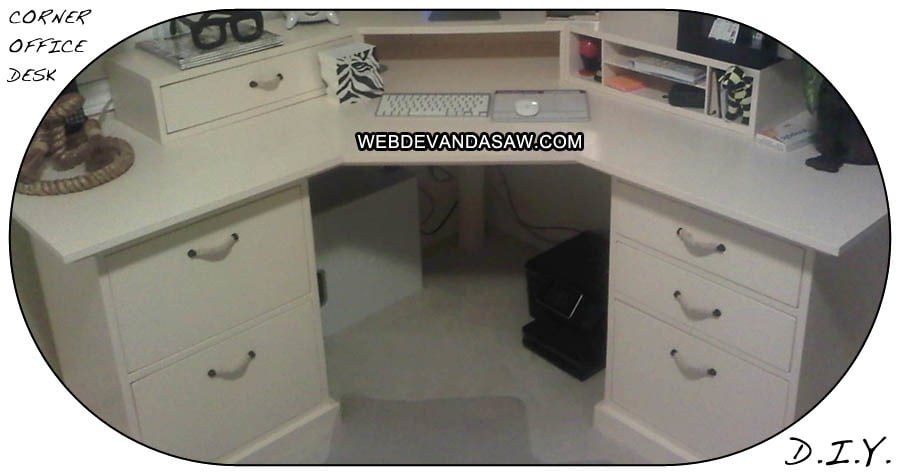
Being my first DIY project - it was a pretty big task not using a saw before or doing any building. Following the plans was easy, just took a lot of time to learn how to do things for the first time.
I modified her plans to have 3 drawers on the one side to match the pb design.
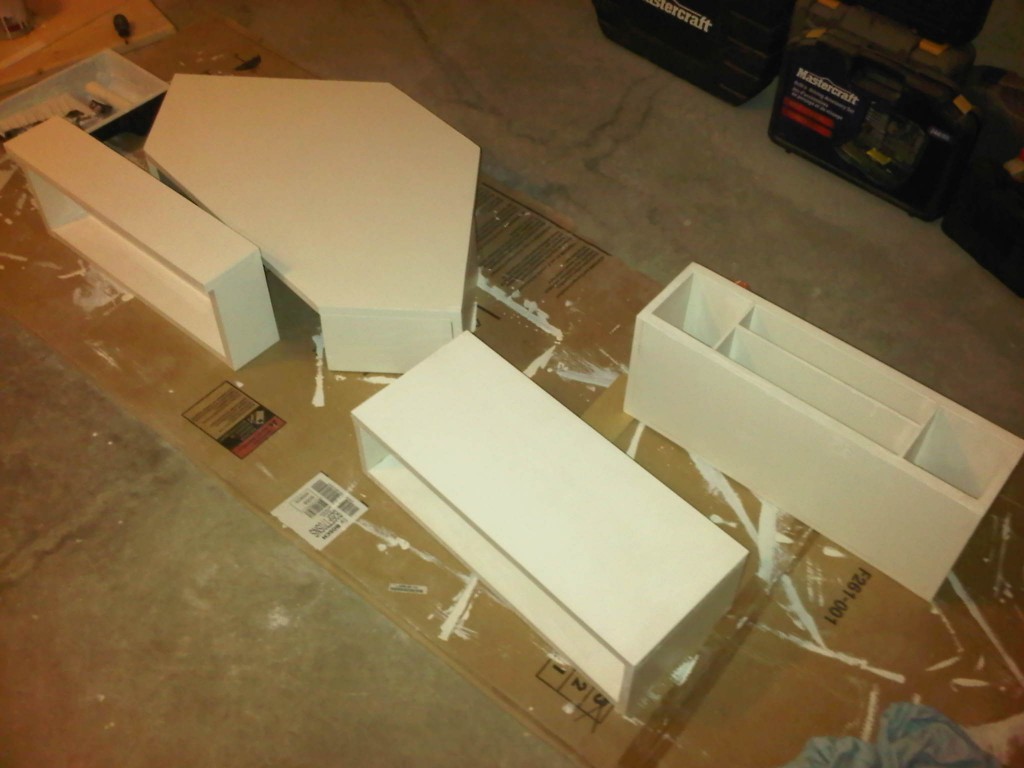
After finishing the table, I knew I needed to create the hutch that is sold along with this desk. After some rough paperwork estimates I went ahead and built the hutch.
Looks pretty amazing and similar to the real deal.
Check out my blog for further pics and details of paint, primer and drawer slides I used. Leave a comment if you'd like me to work on getting a hutch plan organized.
With doing the hutch without real plans, this project took me a while to get those cuts organized and completed.
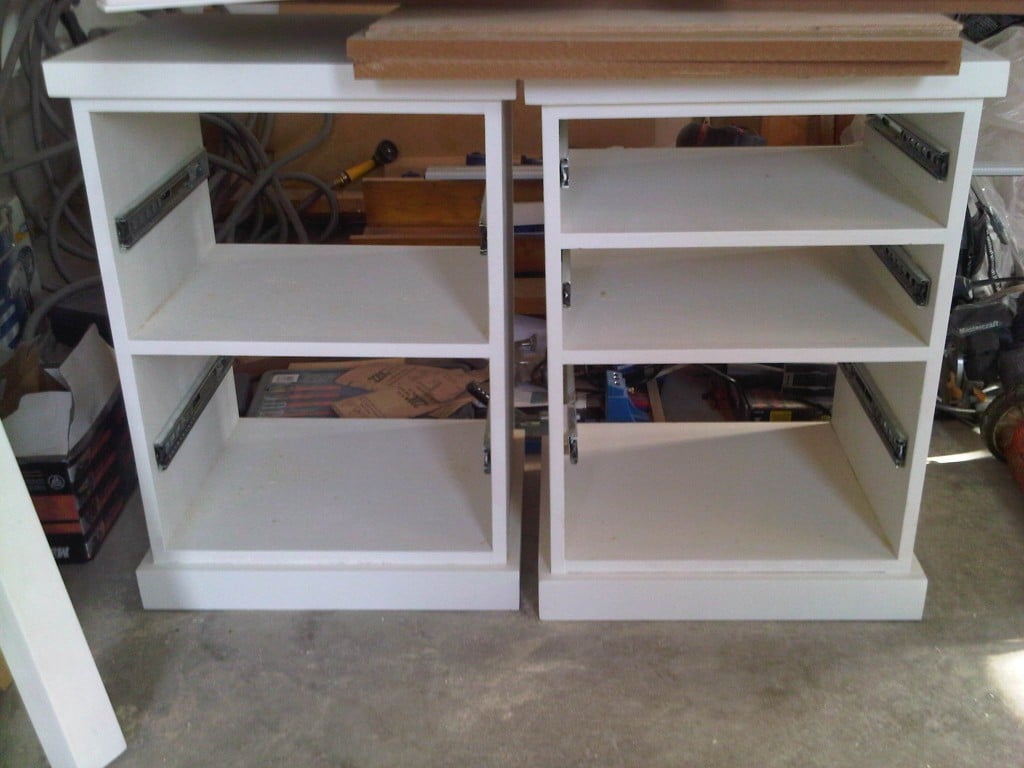
Sat, 07/21/2012 - 15:08
I will work on getting some hutch plans up.. I did it sort of on the fly from a rough estimate on paper.. I will post up on my website and a link here when I do.. might take a bit of time to get it up and learn how to draw it up all nicely on the computer. Not sure why the website won't load for you? http://www.webdevandasaw.com/ should work. Had a few people test it :S
The desk is pretty heavy and solid. I was able to bring each part up a flight of stairs myself (all three parts of the hutch are seperate) - and the desk top is seperate, as well as each drawer I took out before bringing it up the stairs.
Tue, 08/28/2012 - 00:35
Thanks for sharing this great article!I love reading and I am always searching for informative information like this!
Mon, 08/08/2016 - 19:50
It's been a while since you built the corner desk with hutch that is posted on Ana White website, and I had a question. do you have a new blog or website where you have posted details on the paint and drawer slides you used as well as the plan for the drawers and hutch that you create? Thanks.
Maureen
Fri, 02/09/2018 - 12:22
I love this desk so much but I couldn't find a plan for this. If you could update your website, it'd be greatly appreciated!
"Beginner" doesn't begin to describe me! I didn't know the difference between a skill saw & a miter saw before starting this project, but thankfully, my husband is a Mechanical Engineer & knows his way around a few tools. We're very happy with the end result, but they're not perfect. We learned a lot & I'm confident that the next project will be better. A couple of things I learned along the way--no need to buy exactly double the wood for two chairs. Probably obvious for those that are experienced, but I bought exactly double & could've saved a little $$ if I knew what I was doing. Not counting the investment of the saws & other equipment (that will now last my lifetime!), the chairs were less than $50 each for the wood, paint, screws, etc. We used the cheapest wood (whitewood, per the recommendation) available & now that I'm a bit more knowledgeable, I'll upgrade for my next project. The paint is regular Glidden Exterior, & the Home Depot reps were kind enough to mix samples of the two lighter colors so that I didn't have to buy a quart for such a small amount. Colors are Peach Crayon, True Peach, & Tropical Coral. It should be noted that samples aren't available in exterior, but the chairs will be used mostly on a screened porch--out of the direct sun and rain--so I didn't worry too much about it.
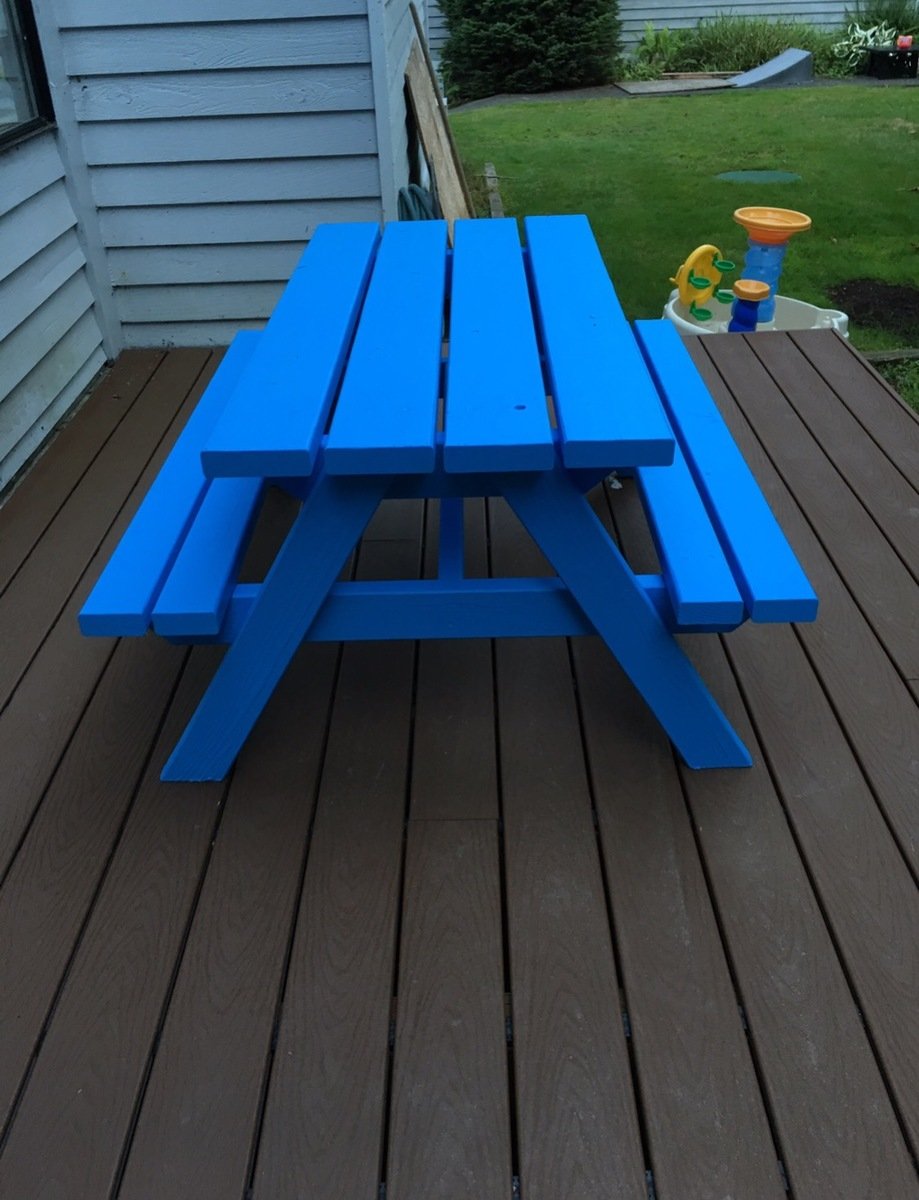
I primed and painted all of the boards before I cut them. Then I just had to do some touch up when I was done. This is my first woodworking project and the instructions were clear and easy to follow. I already have my next Ana White project picked out.
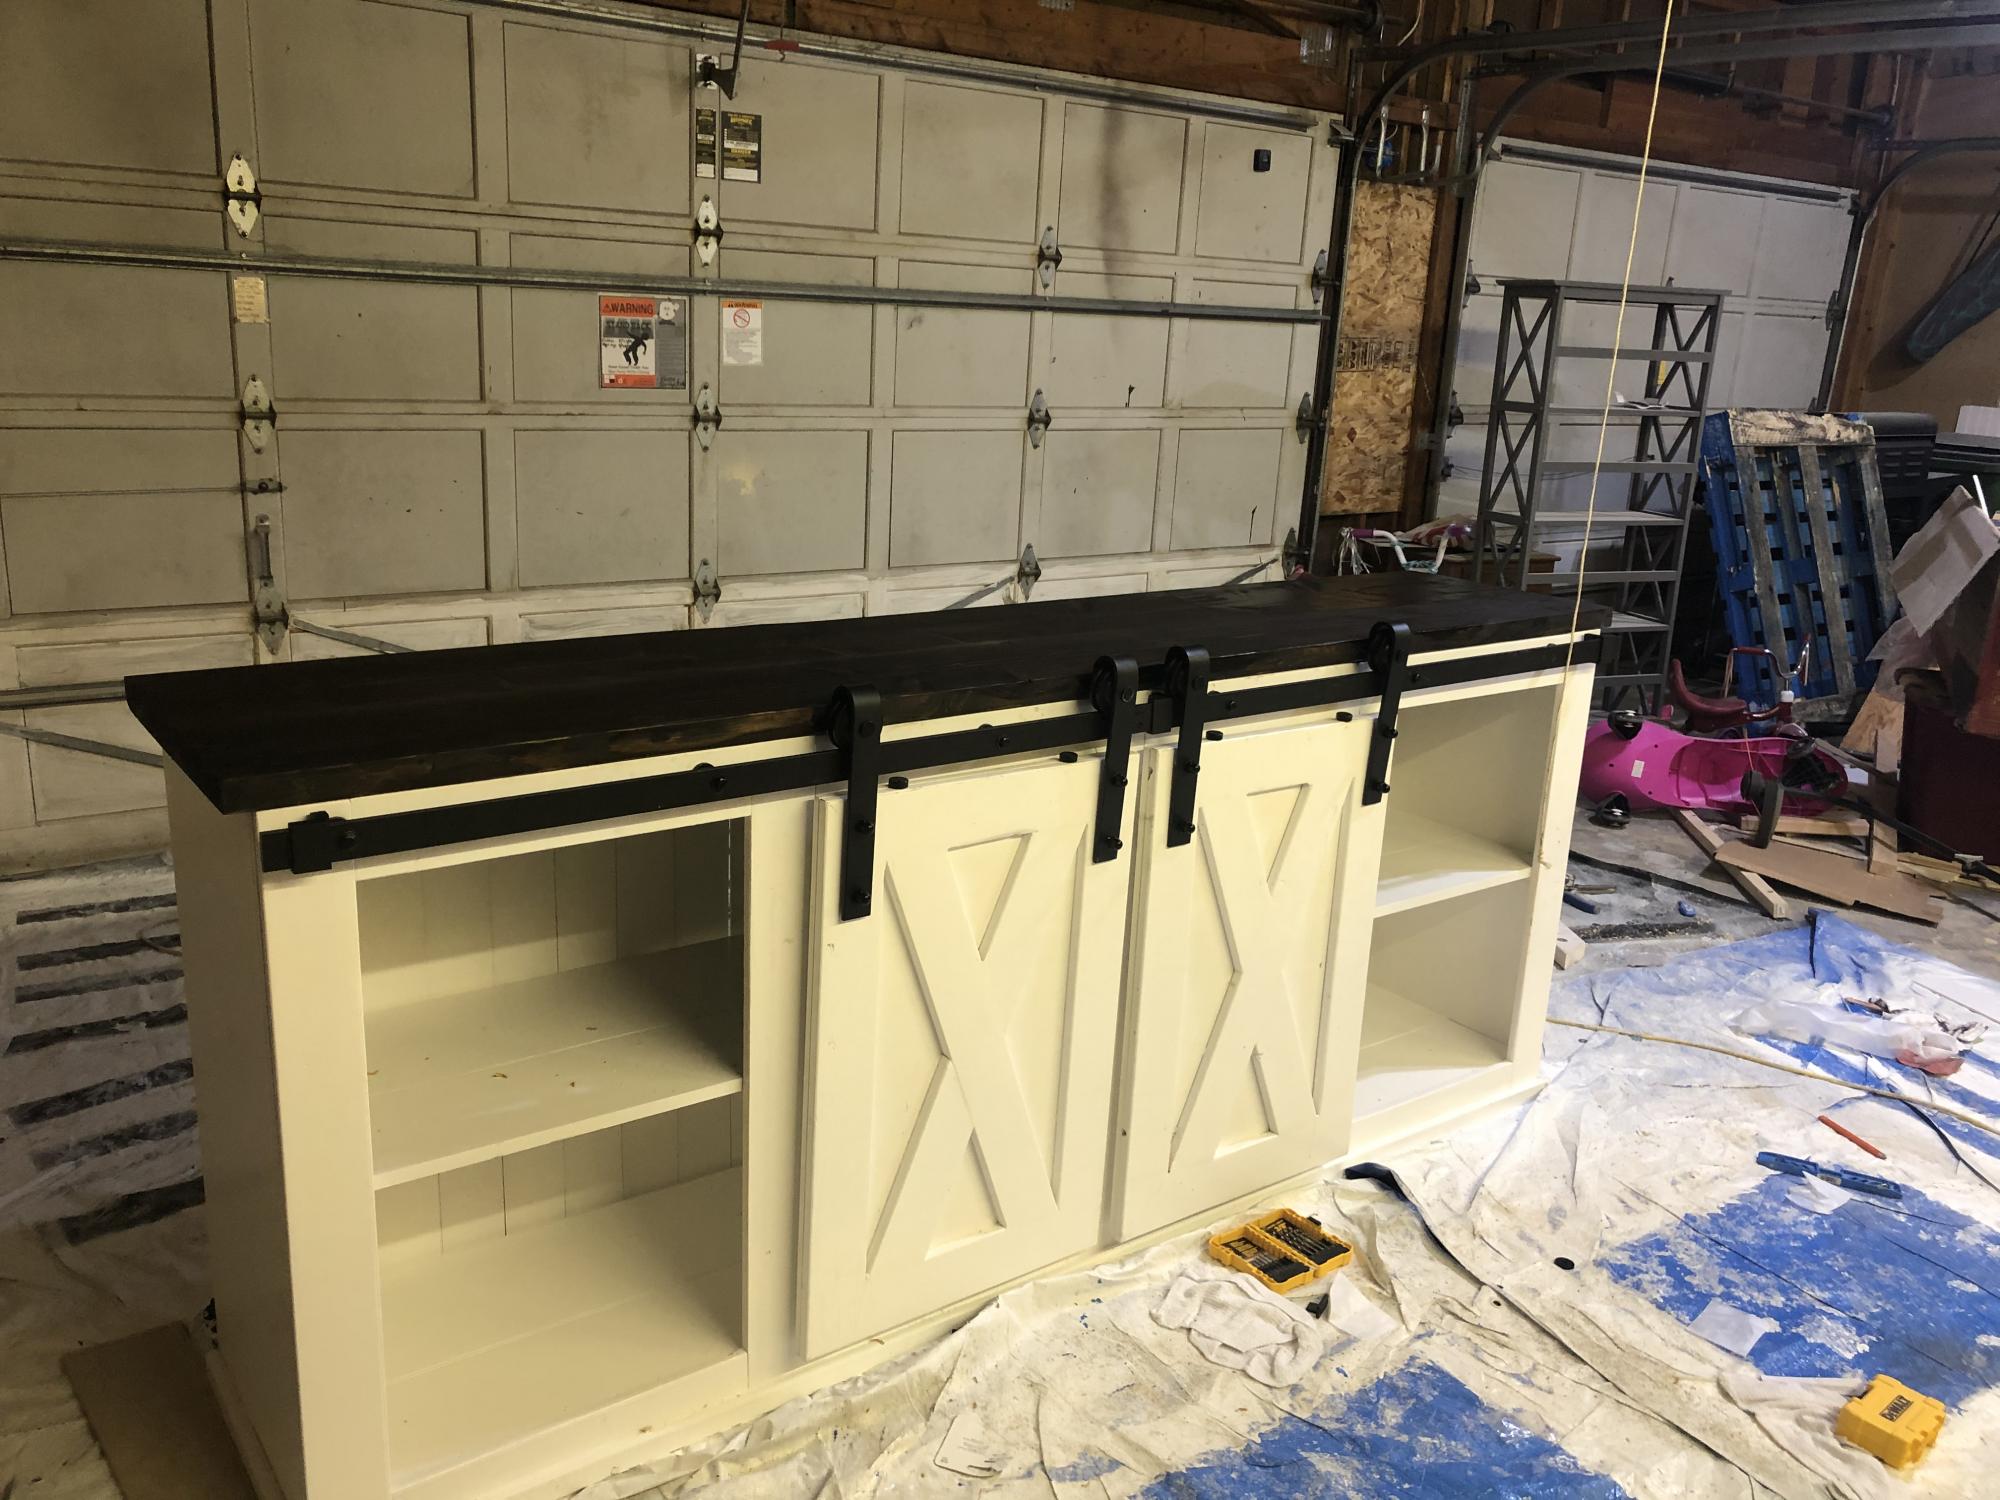
My one of my first projects. Followed the plans here, https://www.ana-white.com/woodworking-projects/grandy-barn-door-console
Doors are 1x4 frame on 1/2” plywood and got the hardware from amazon
WINSOON 8FT Antique Double Sliding Barn Door Hardware Roller Track Kit Black, 4-18FT for Choose https://www.amazon.com/dp/B014SMIWTQ/ref=cm_sw_r_cp_api_i_bH1YEb890KWDF
A little beefy but worked. Had to trim the track a little bit to fit the build.
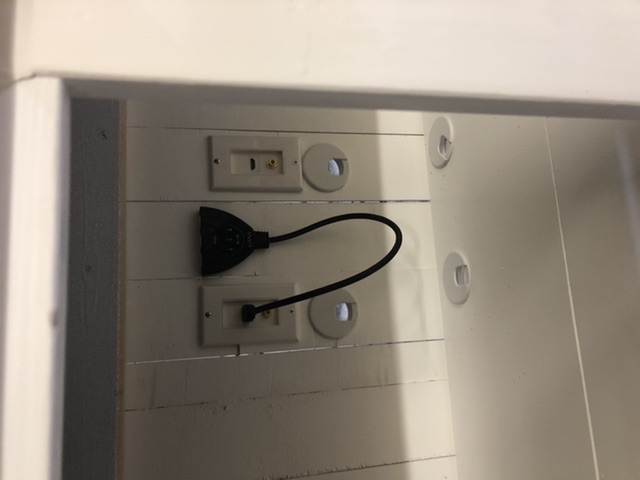
Also added hdmi/coax ports for easy plug ins. And an hdmi splitter since our tv only had 2 inputs.
Overall very happy with the outcome on this one
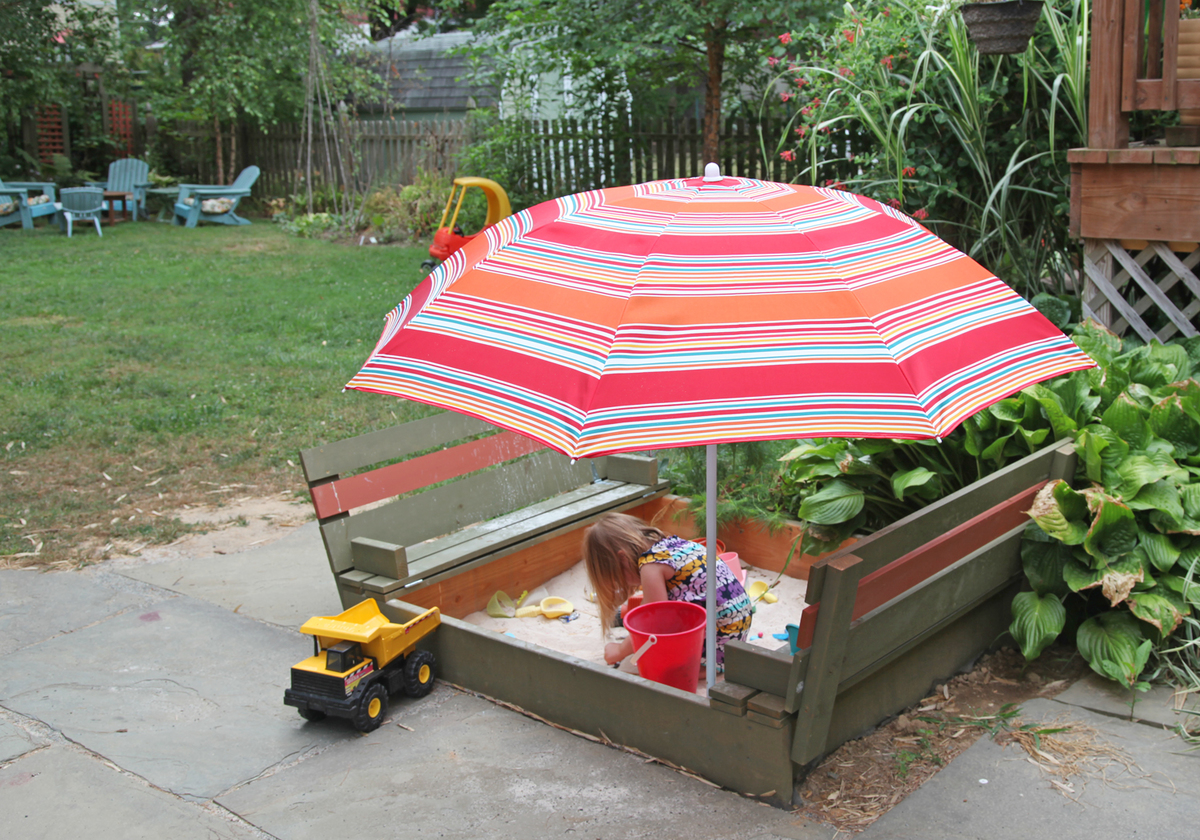
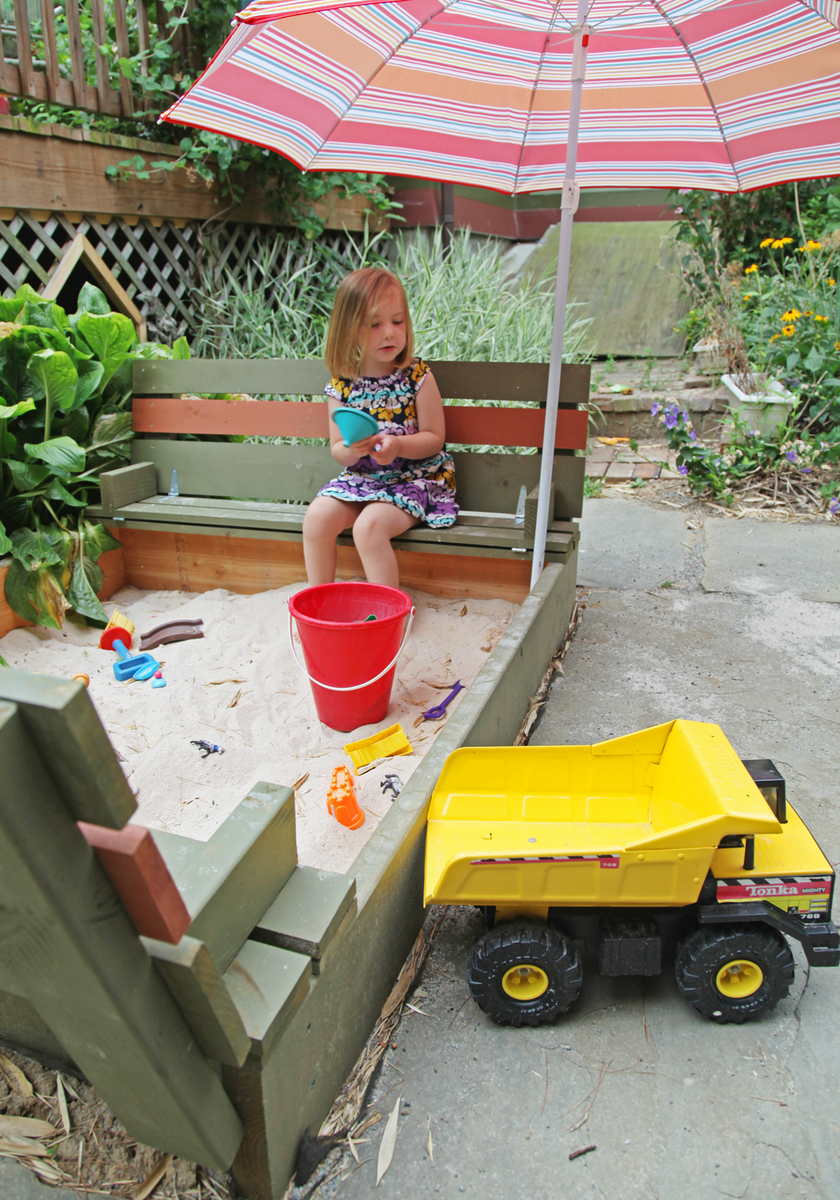
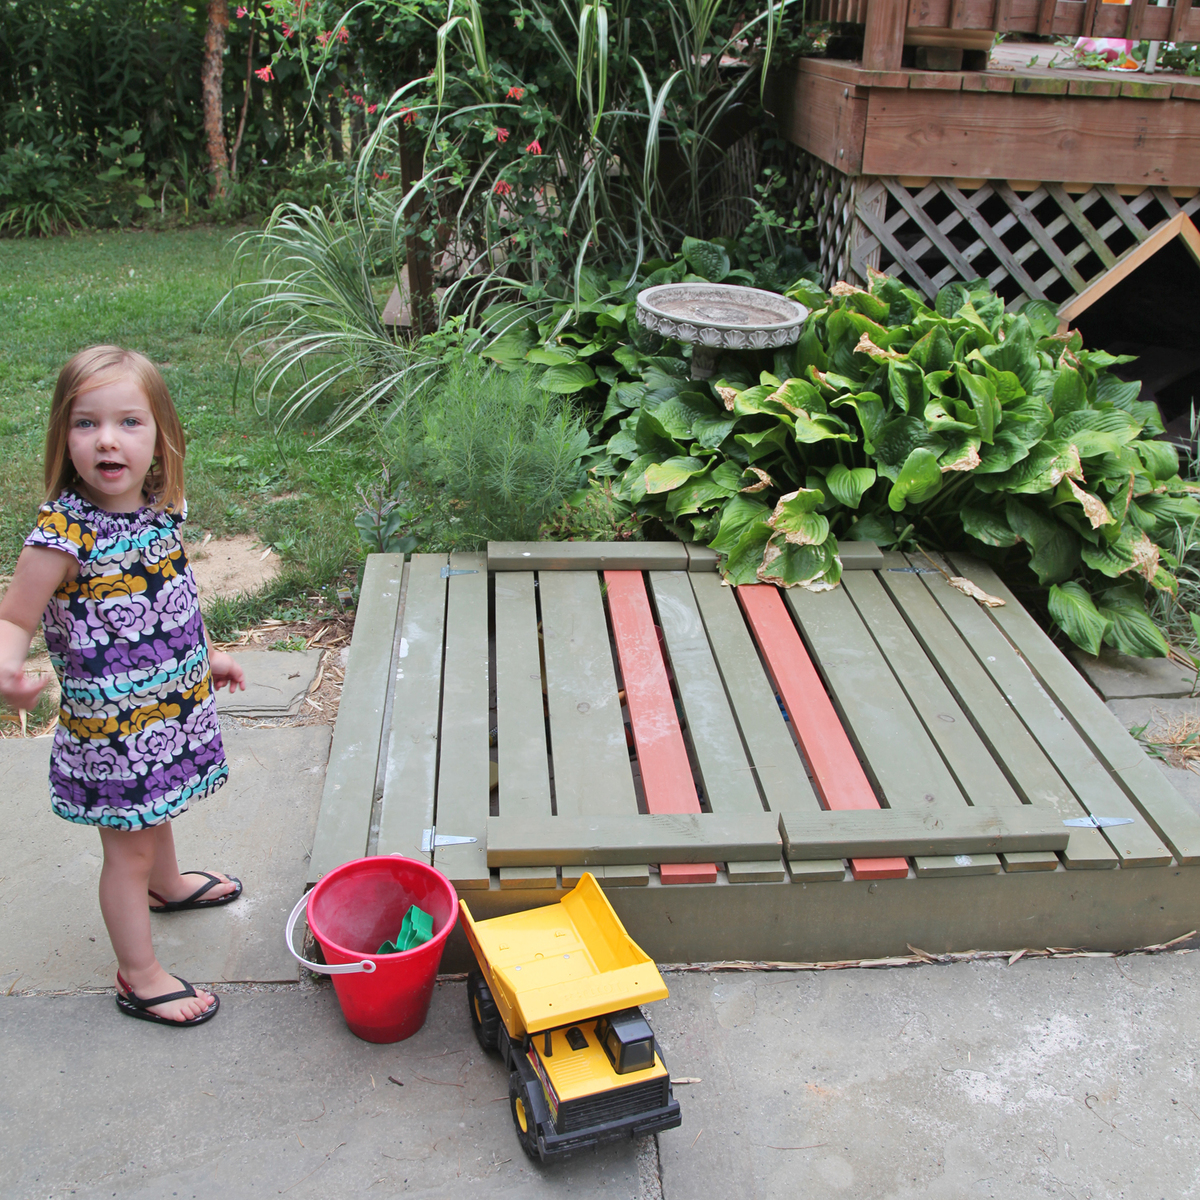
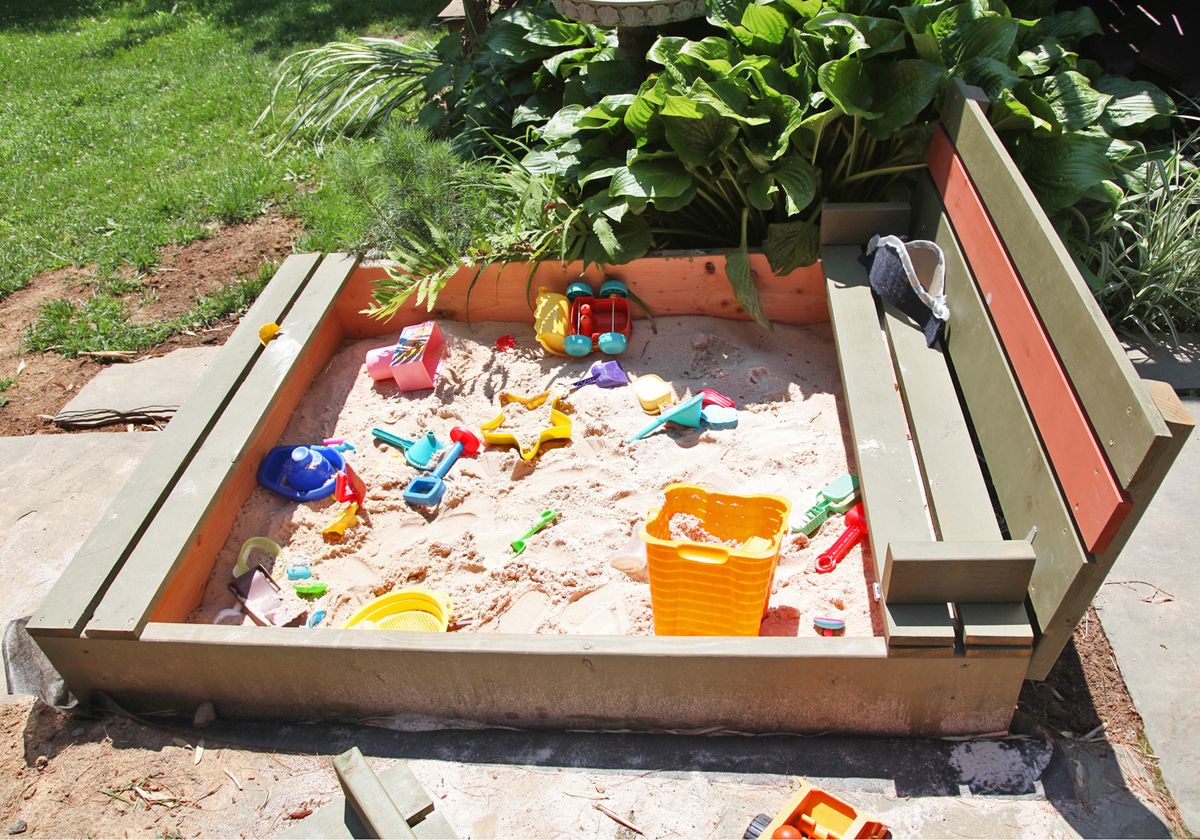
I followed lady goat's instructions but made the seat back taller and the sandbox wider (4'x5'). I have more details here:
Wed, 07/18/2012 - 22:06
Maisie looks like she loves it, too! Love the umbrella addition :-)
In reply to Looks amazing by Lady Goats
Thu, 07/19/2012 - 05:02
The kids do really like it but it has been so hot it hasn't gotten much use yet. I am hoping once the weather cools off they will be out there more. The one other addition that I haven't gotten around to is adding a pvc pipe on the inside so that the beach umbrella will stay in place better.
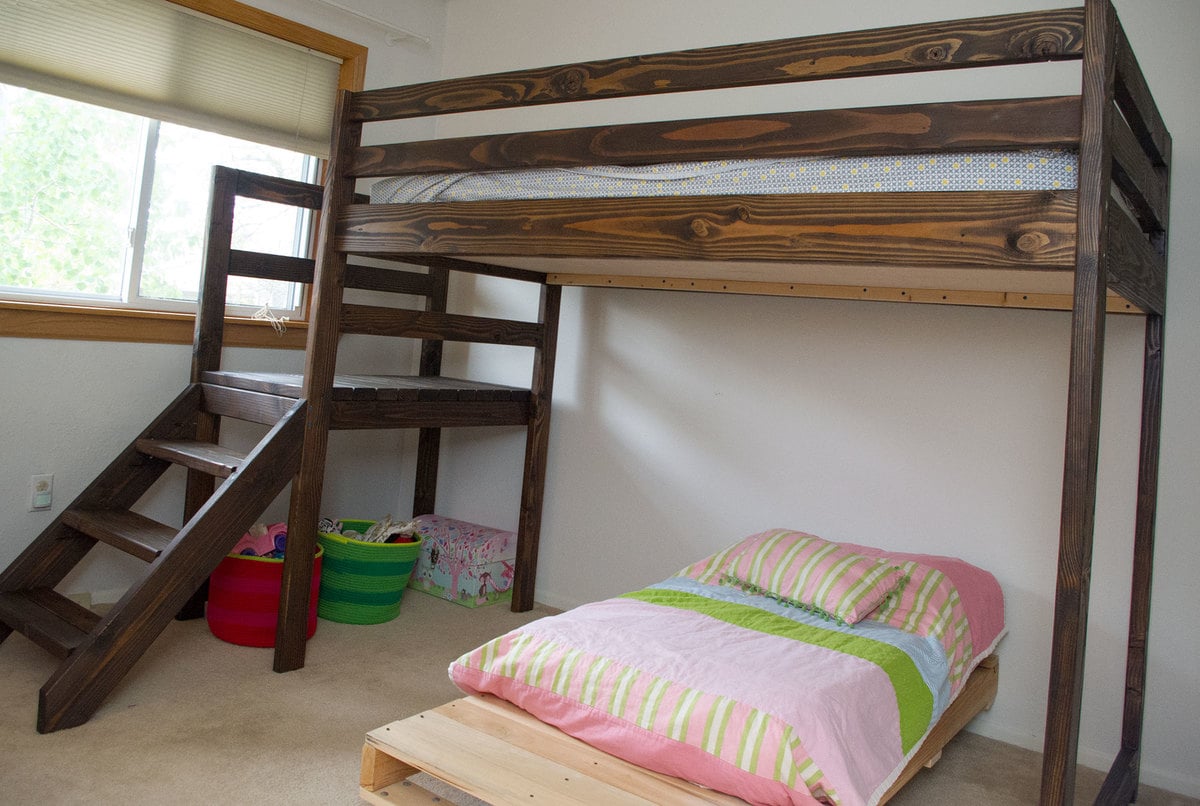
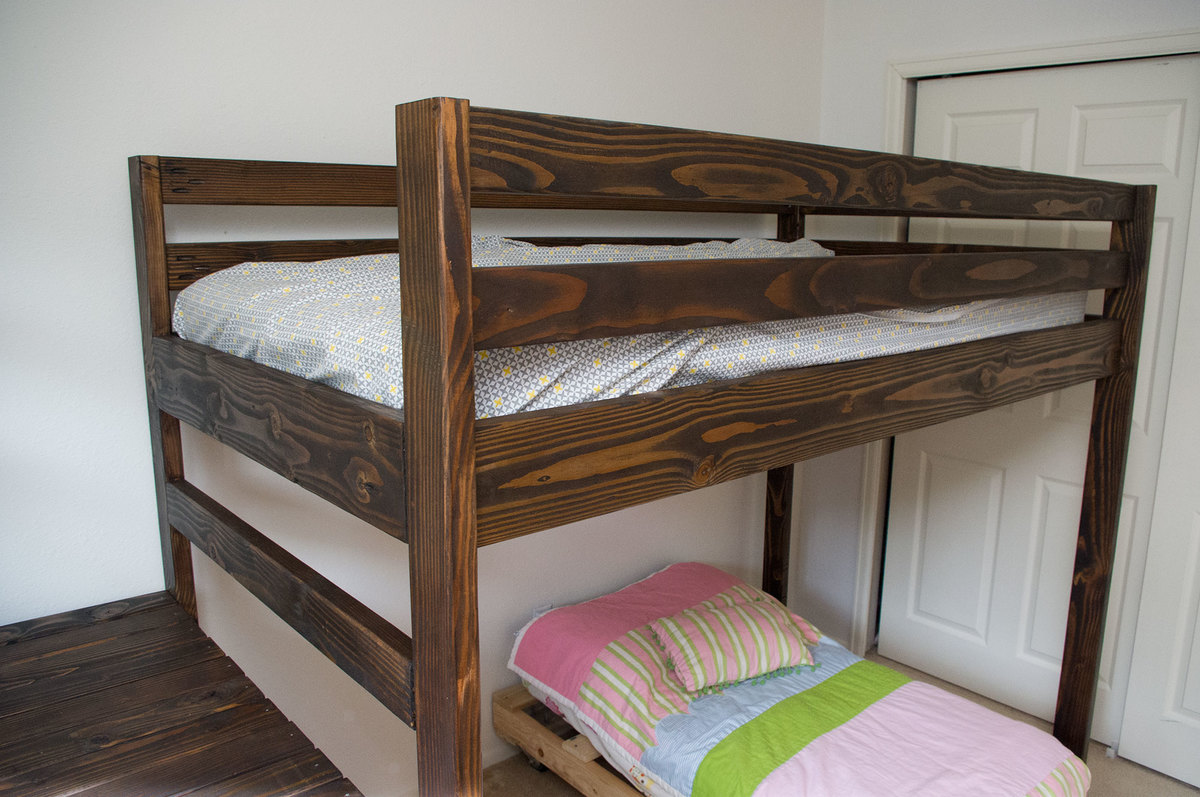
I had my dad and father-in-law come help with this project. We are all pretty much beginners, but have done some building in the past.
Because I'm not experienced, I didn't find the plans to be in depth enough. Some parts weren't not fully explained and took some guesswork.
I also didn't know what a Kreg Jig was or how expensive it was! This upped my cost by $100. It was well worth buying however, and will be used again in future projects.
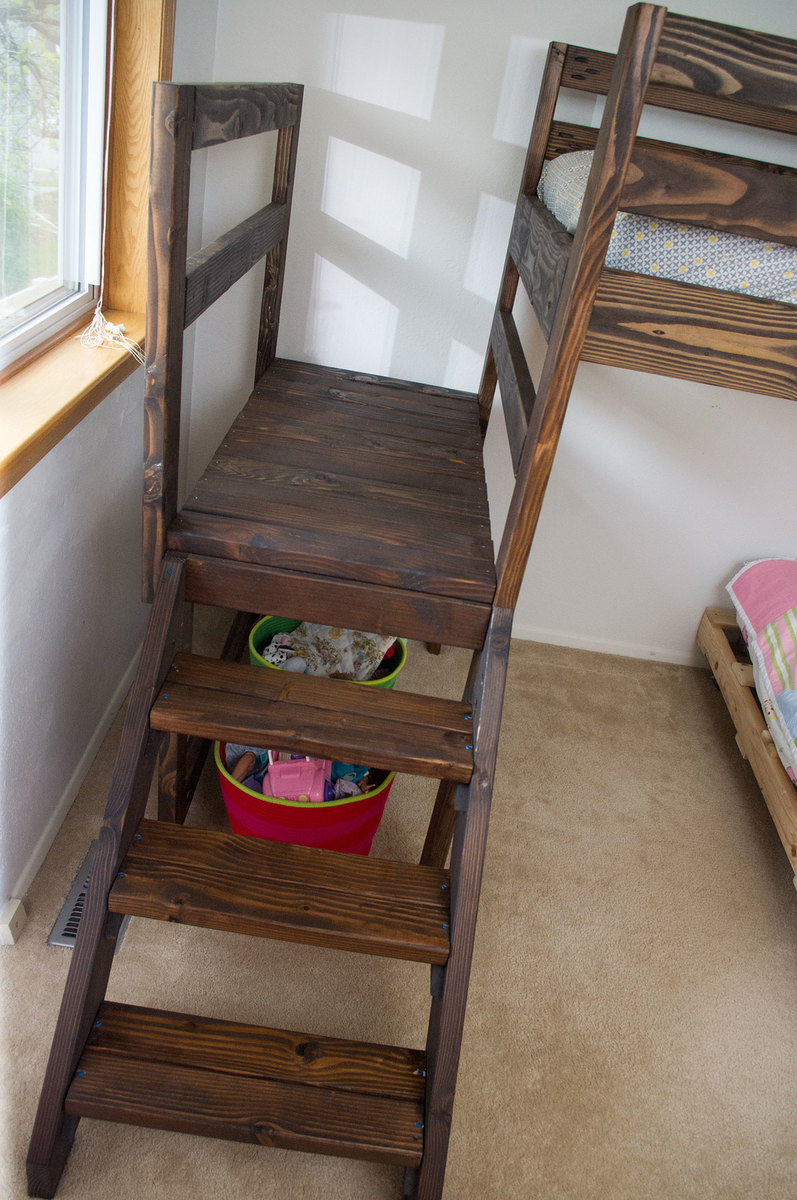
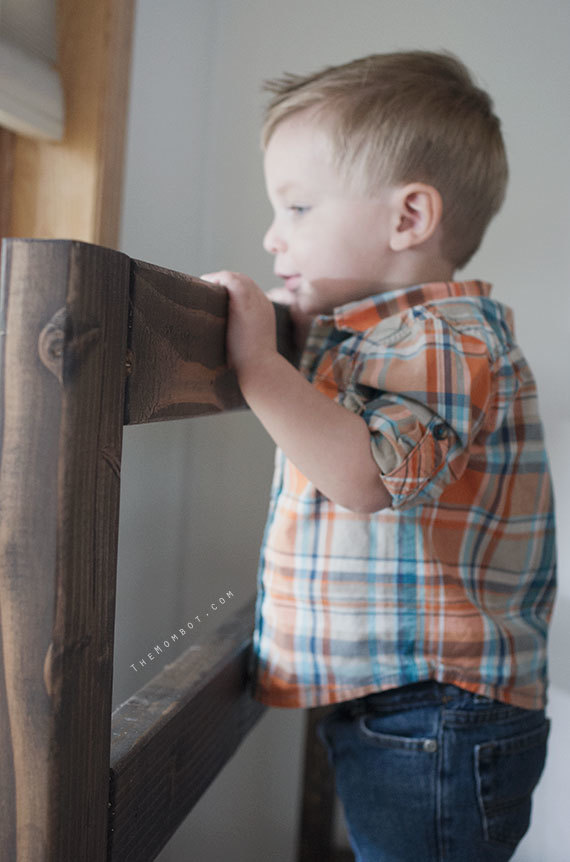
We added a railing to the platform since the bed is up against a window with a screen. If the kids were to fall off the platform and hit the screen, they could fall 2 stories. The railing is just screwed into the side of the platform and can be removed at any time.
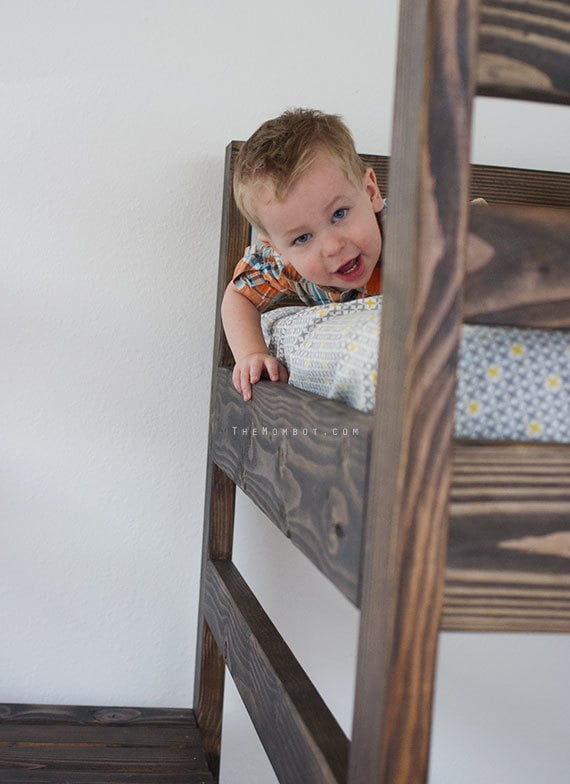
Overall, I love how it turned out and so do my kids! It fits the toddler-sized DIY bed that my husband and I built right underneath so my 4 year old and 2 year old can now share a room.
More details and pictures are on my blog: http://themombot.com/crafting/2014/05/09/details-our-diy-bunk-bed

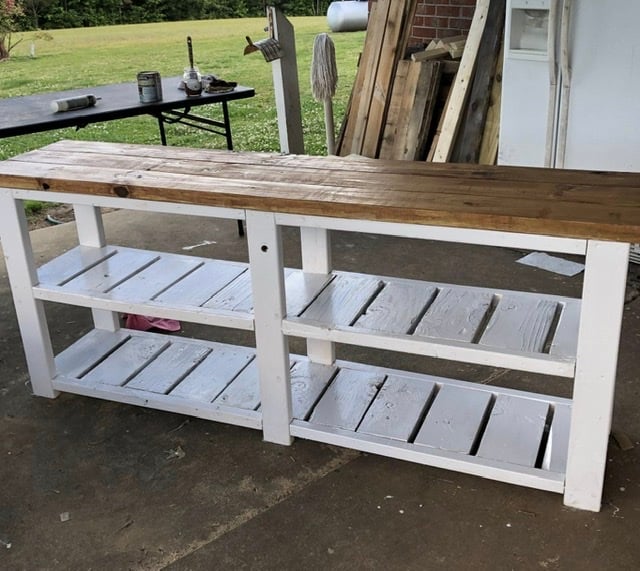
I created a different top out various size select pine boards joined by biscuits and glue and then added utensil hooks on both ends and a bottle opener
I have never so much has touched a saw before, but got a wild hair to build something. This is my very first attempt. I didn’t put the X on it, but I did the rest. There are soooo many flaws and I’ve since made several other pieces. But I wanted to post this to show that if you put your mind to it, you can do anything! I’m in love with this piece. Thank you so much for the plans!
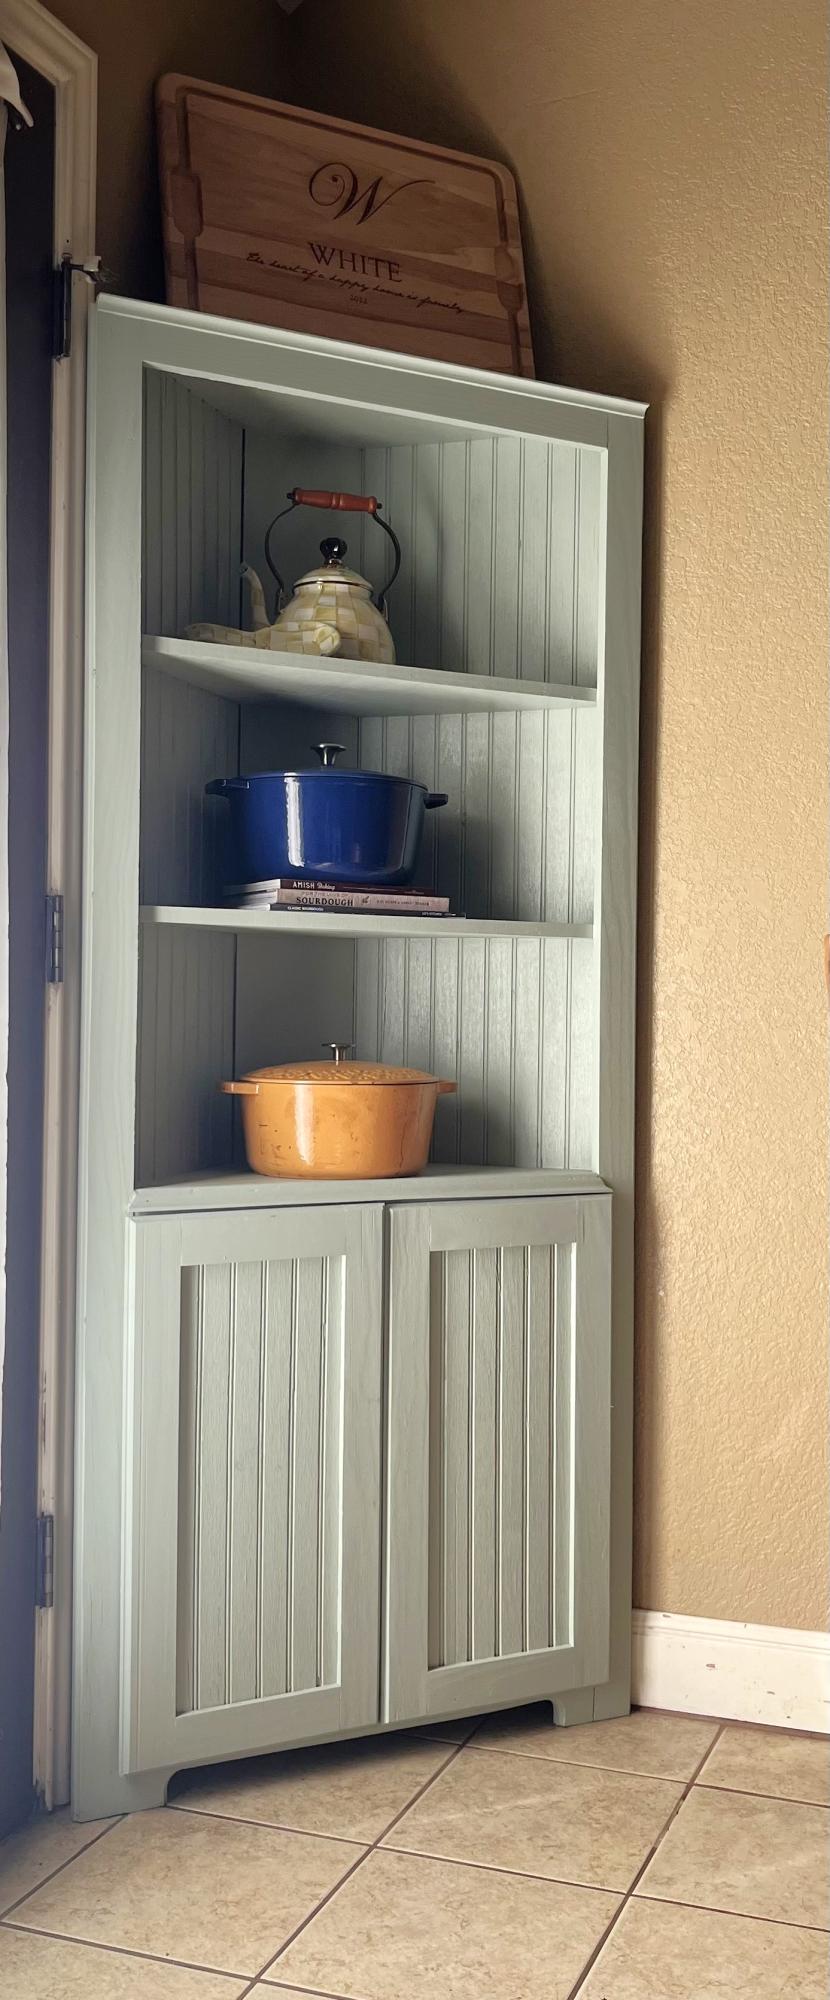
This was so much fun to make, now my neighbor wants one 😁
Dale White
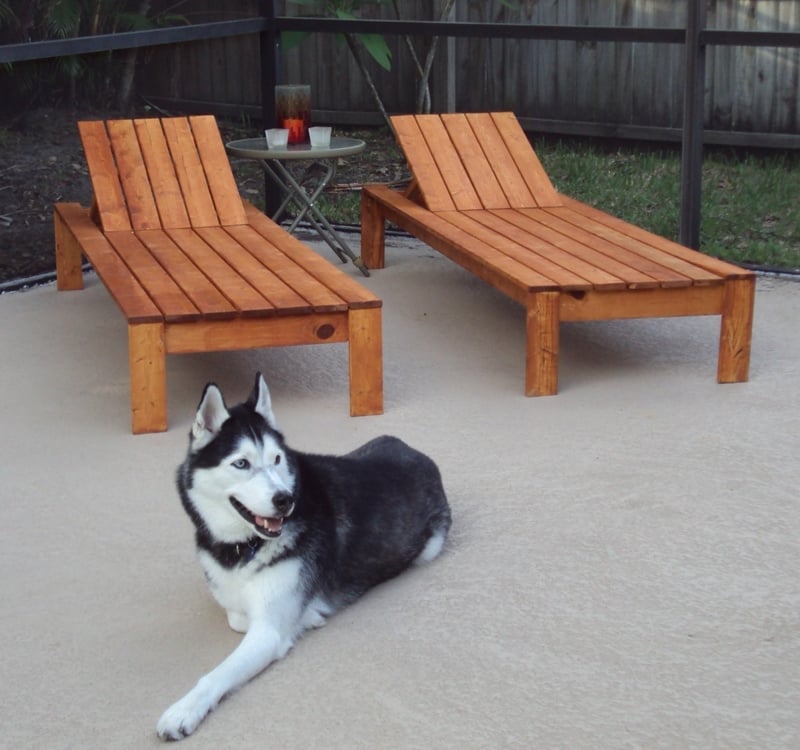
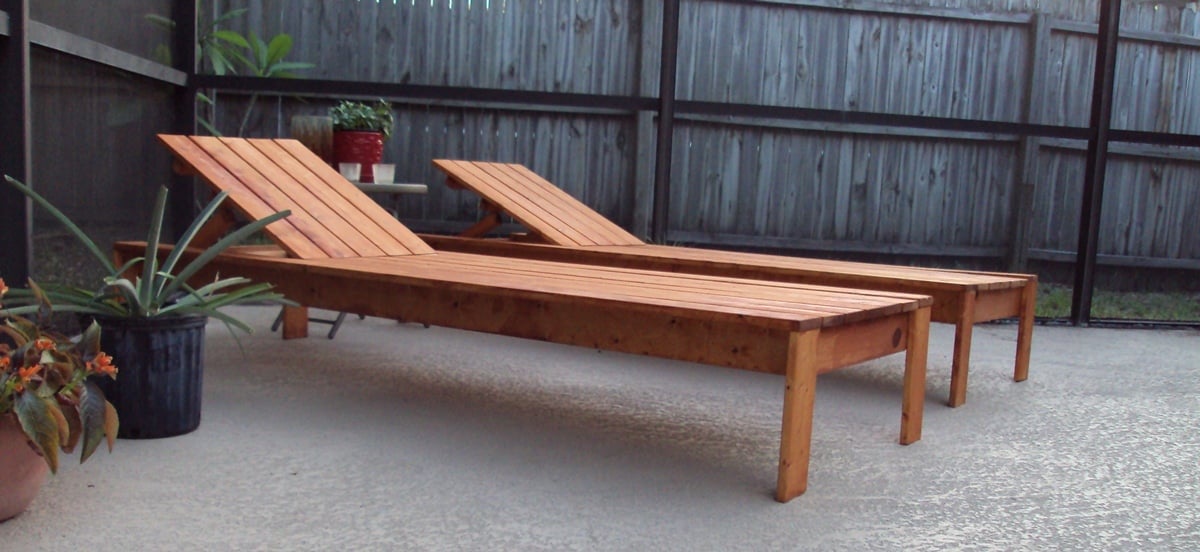
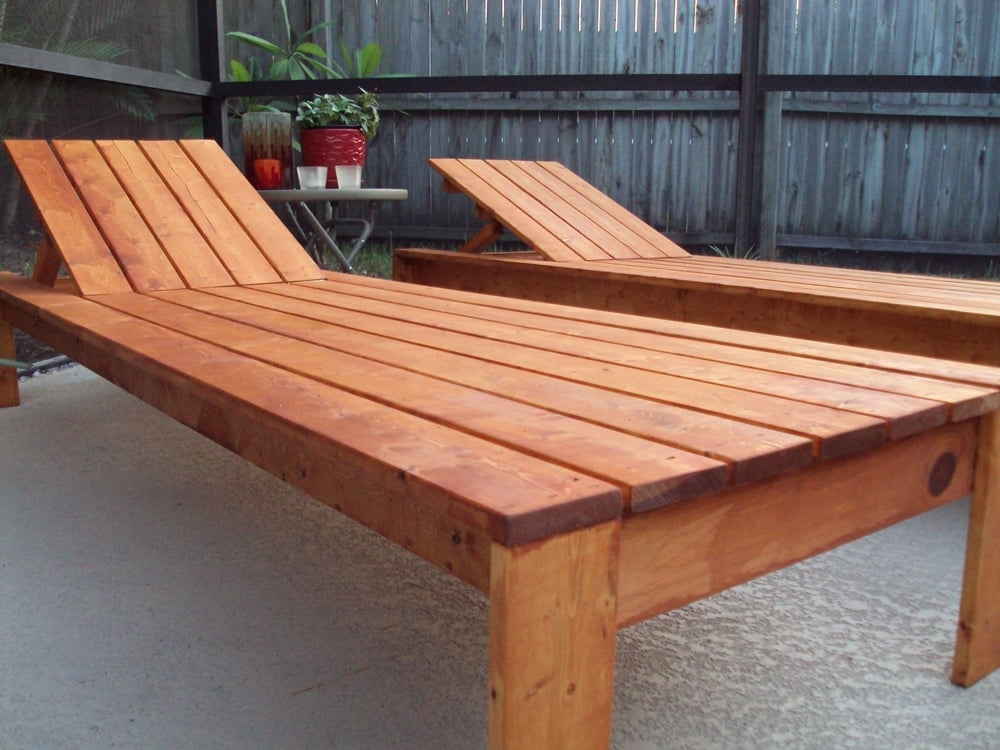
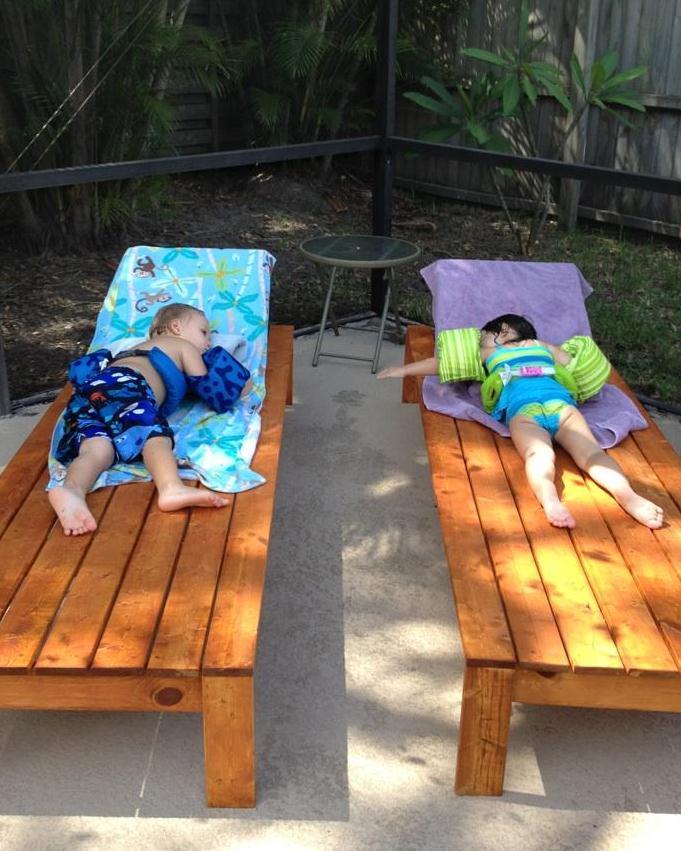
This was a very straightforward and easy build. As soon as they were compled, I wanted a dining table and chairs to coordinate. These chairs were intended to be used without cushins (is there anything better than laying out on a warm lounge chair when stepping out of the pool?) so I recessed the hinge completely below the deck. They were cut adn assembled in two evenings after the little one went to sleep. As you can see, my daughter and her friend approve.
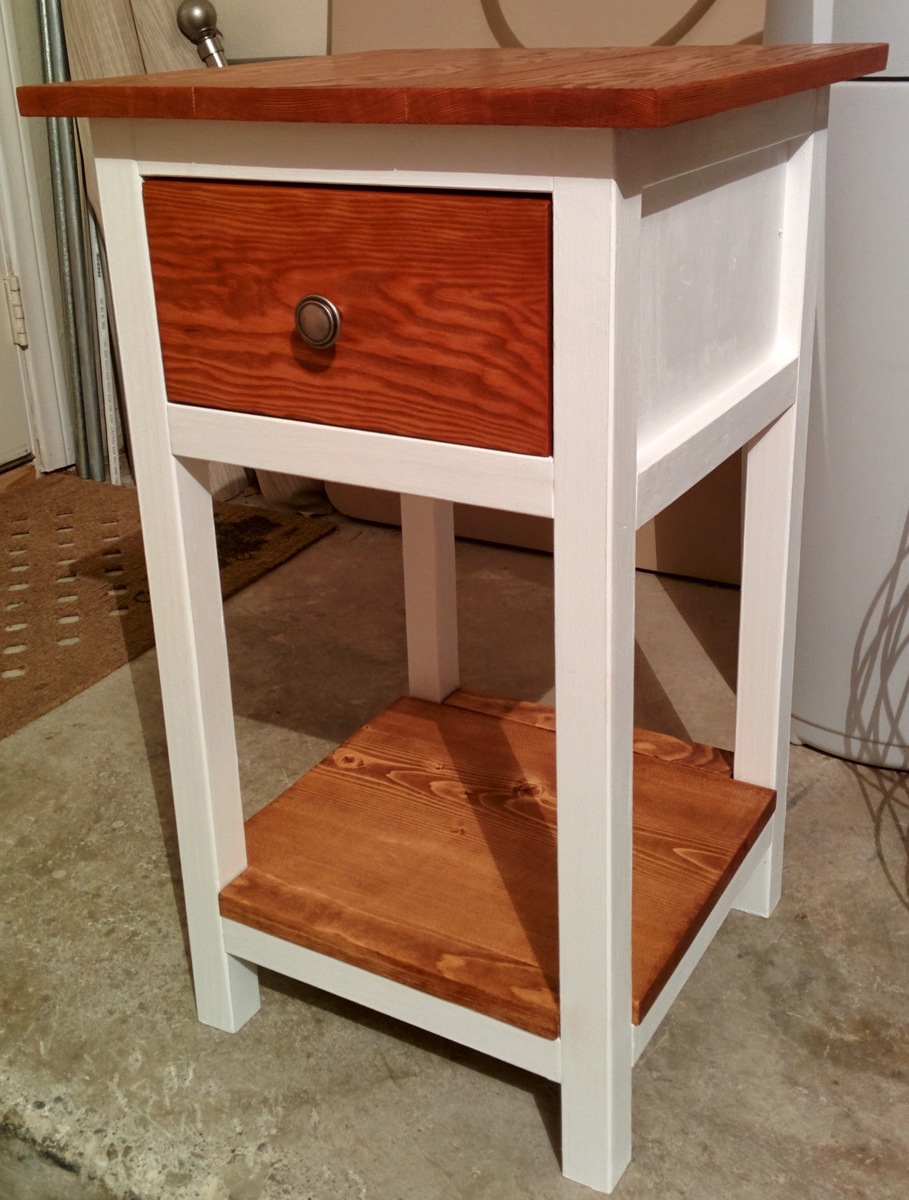
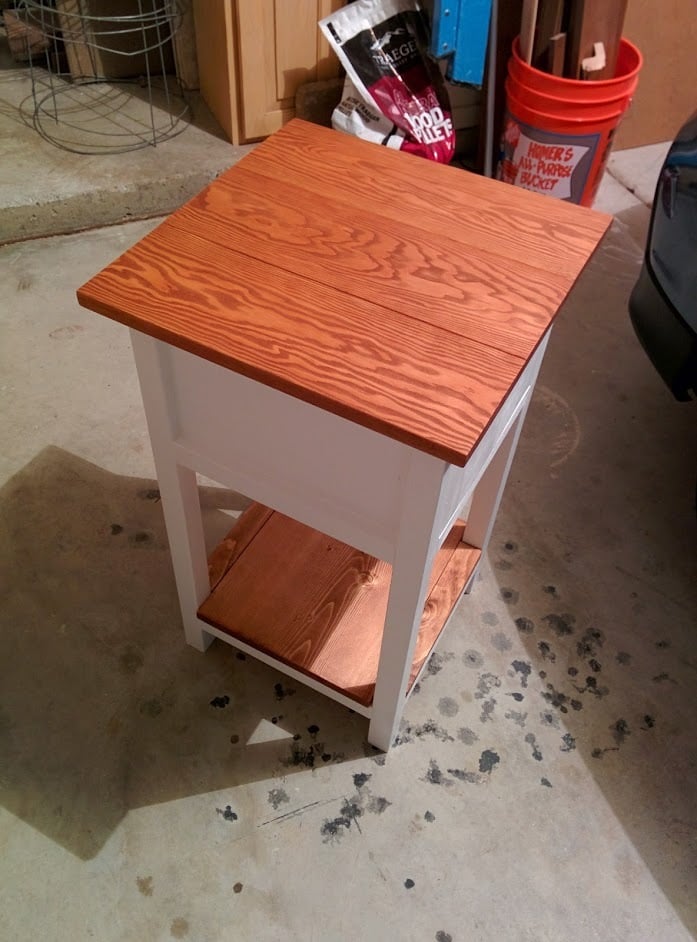
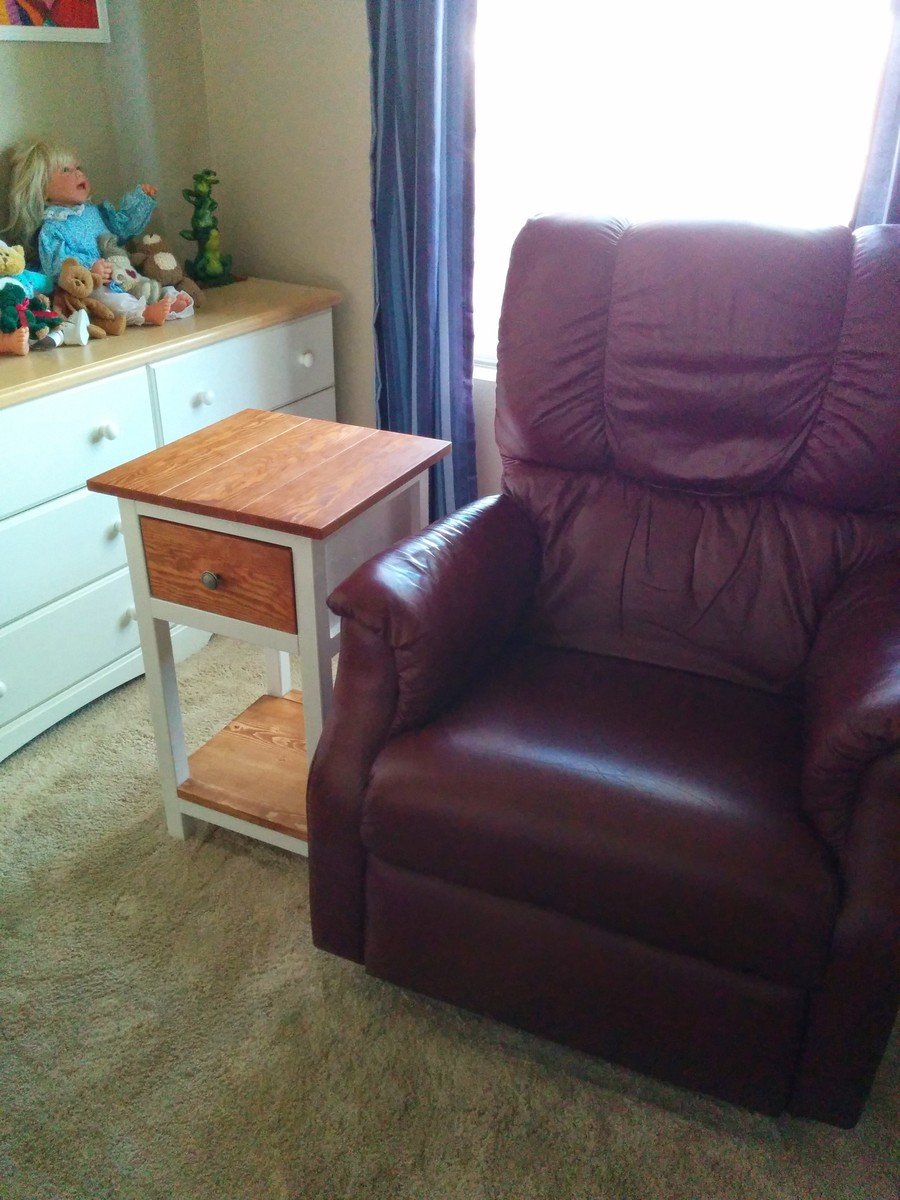
I made this for my Mom for Mother's Day. She has been wanting a little table to put next to her recliner (where she knits, reads and watches TV). For the top and drawer, I used Douglas Fir from Lowes. The rest is whitewood and redwood (legs). Overall the wood cost me about $50. I painted the body with high-gloss white paint and the stain on the wood is a mixture of min-wax Golden Pecan and English Chestnut. The finishing took the longest, but the build went very quickly.
I did notice that the cut list is a little off. You need 4 of the 1x2 pieces for the sides, not just two.
I may put a layer of varnish on it, but as of now it is not varnished.
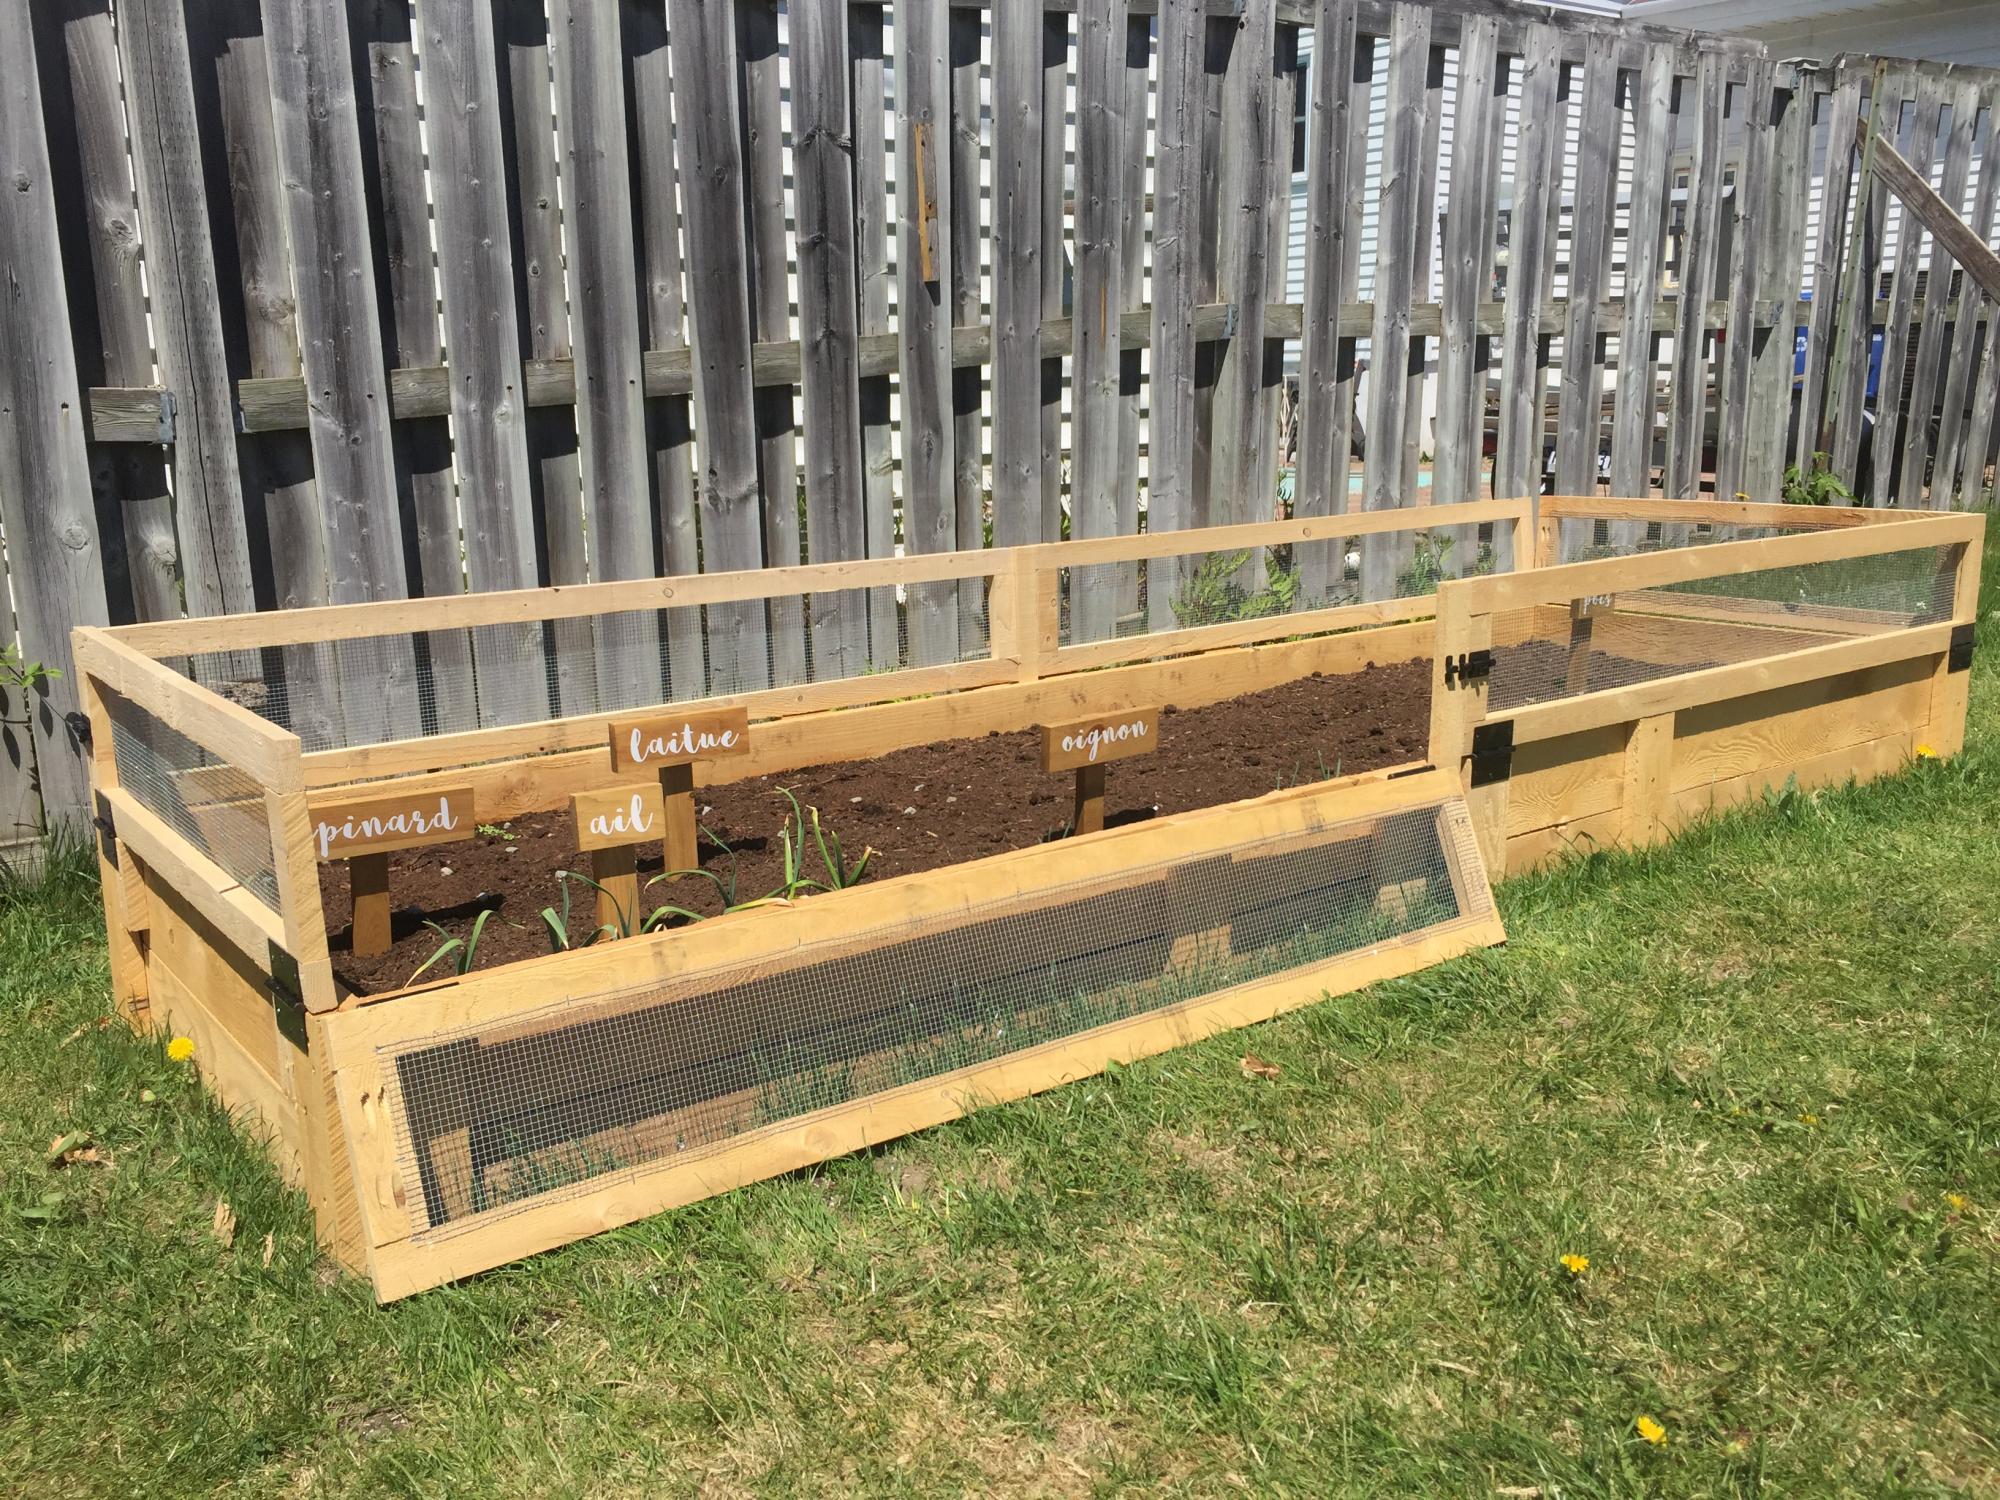
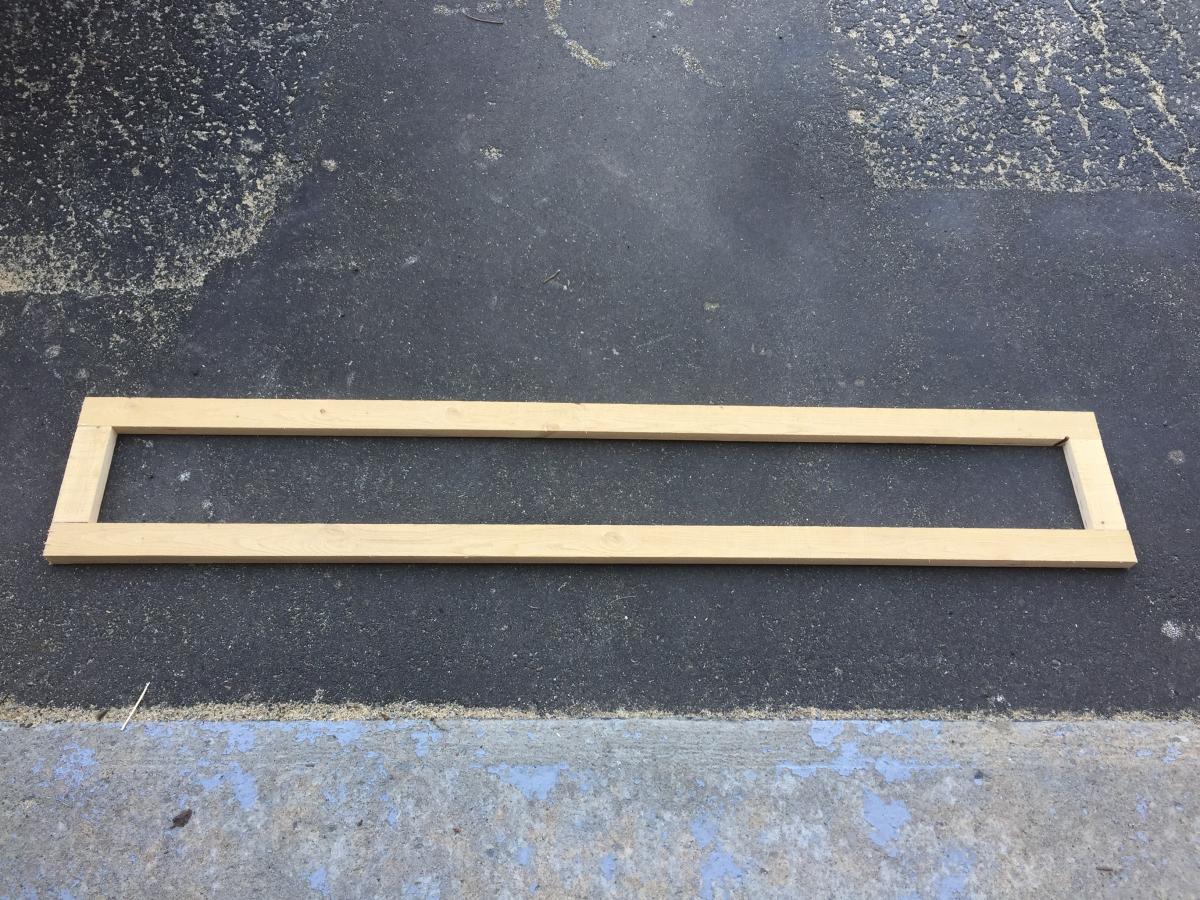
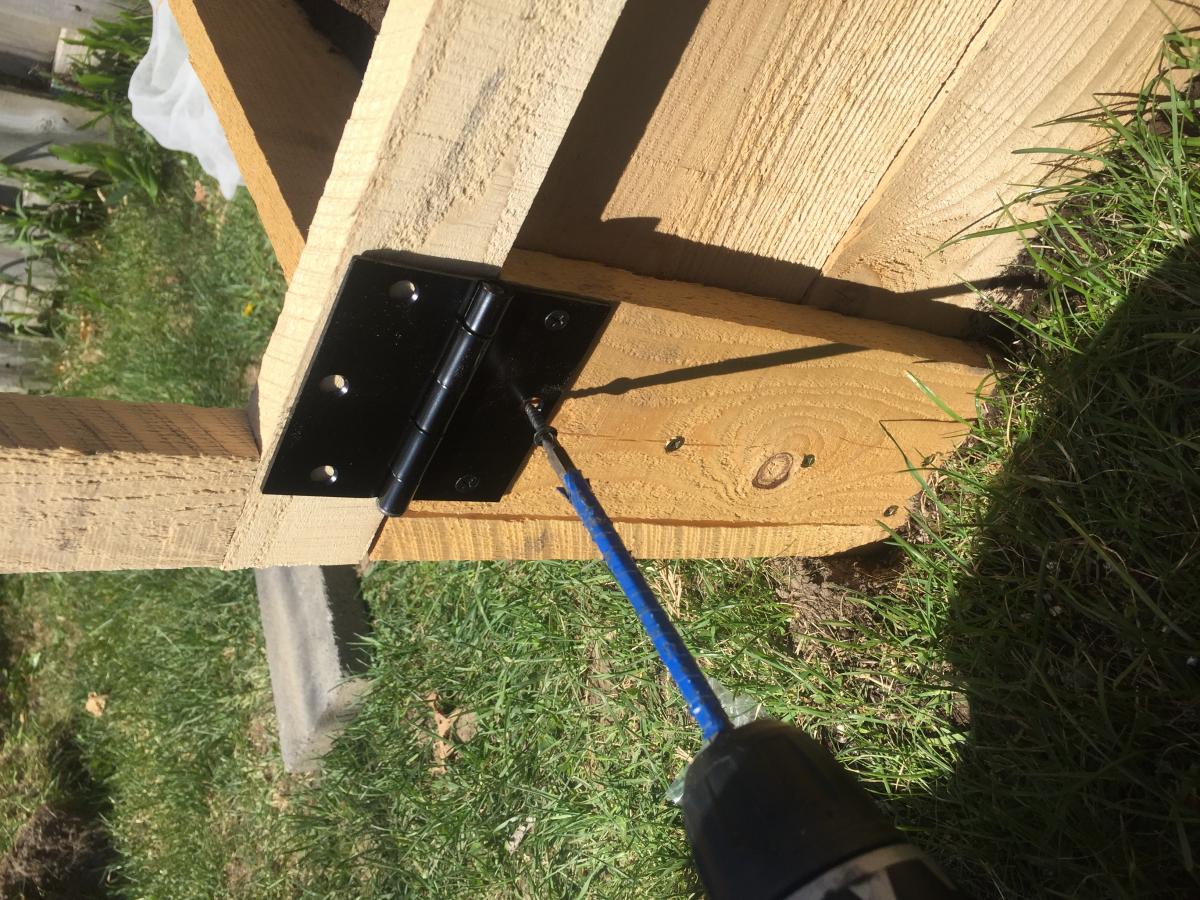
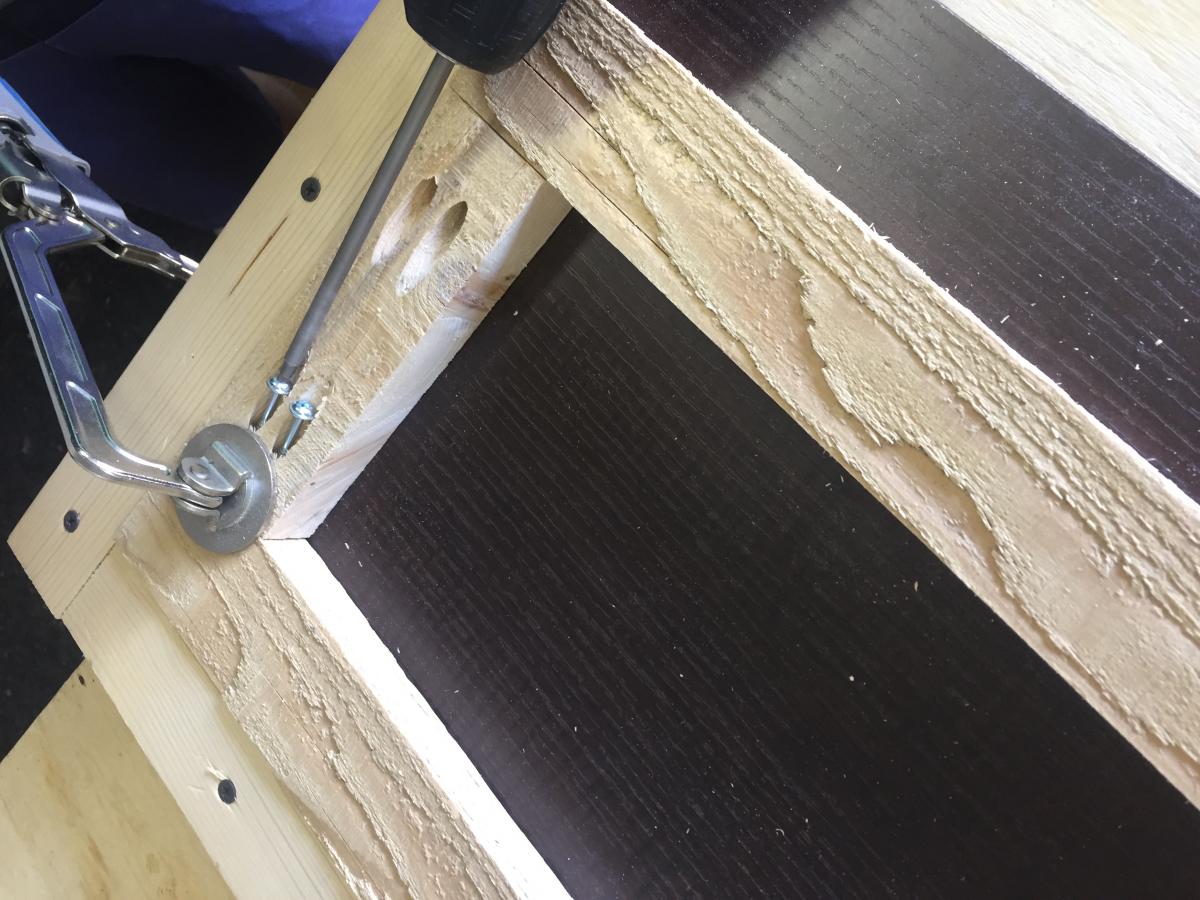
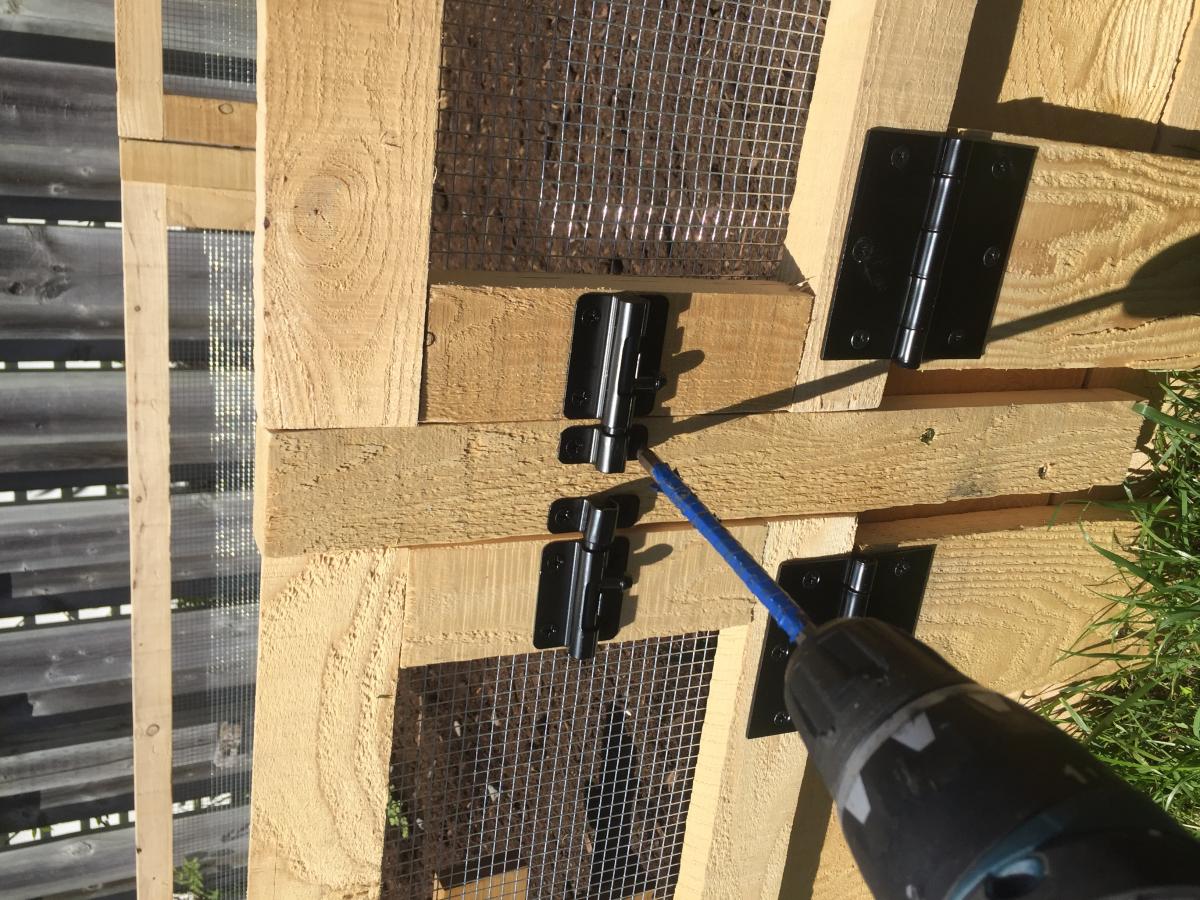
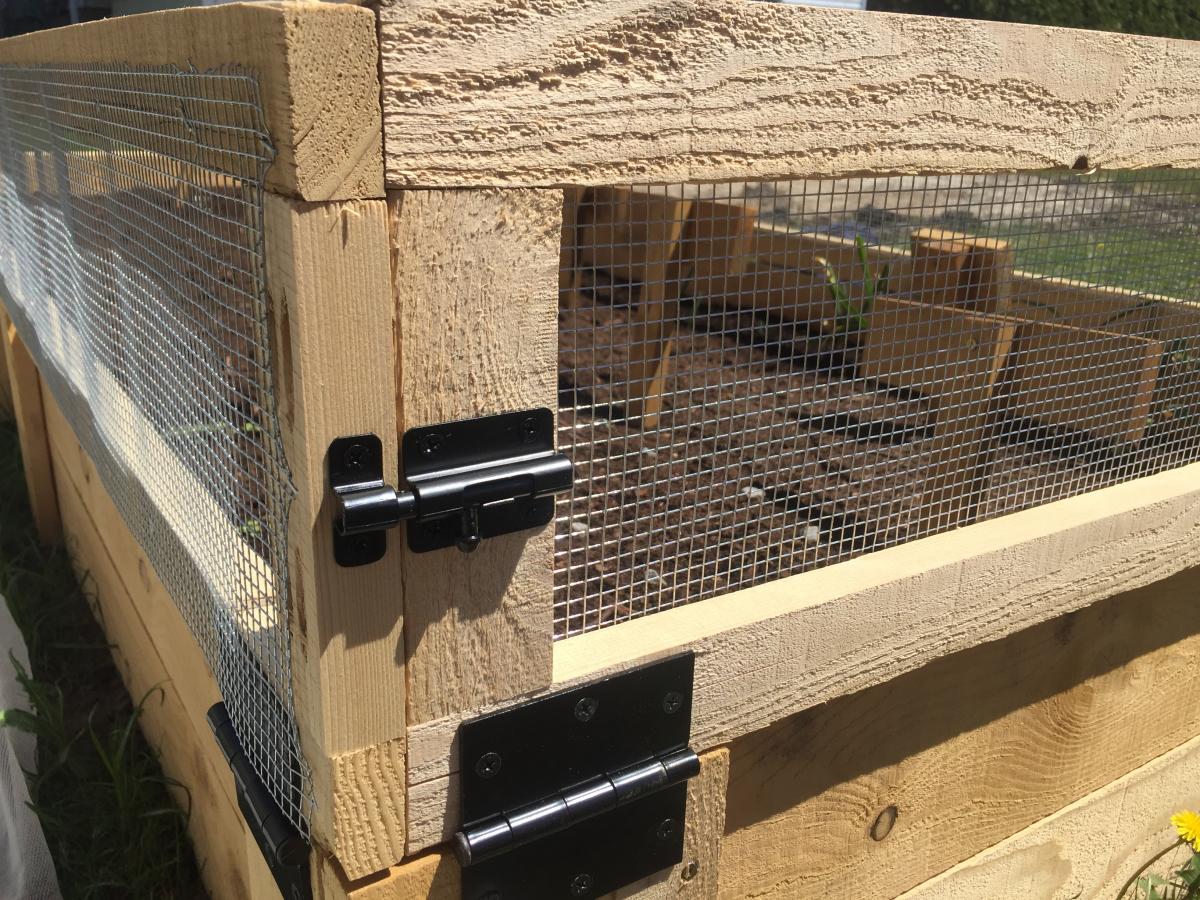
I added folding screens to my garden bed to prevent my dog to go in it. It can also discourage hares, cats and other animals. The folding screens make it easy to work in your garden.
