Community Brag Posts

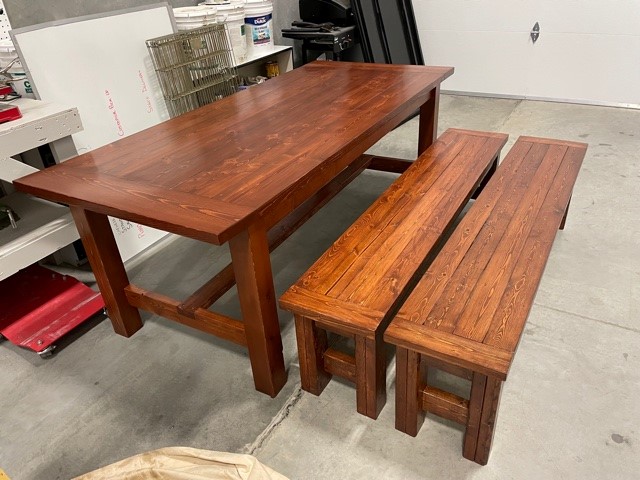
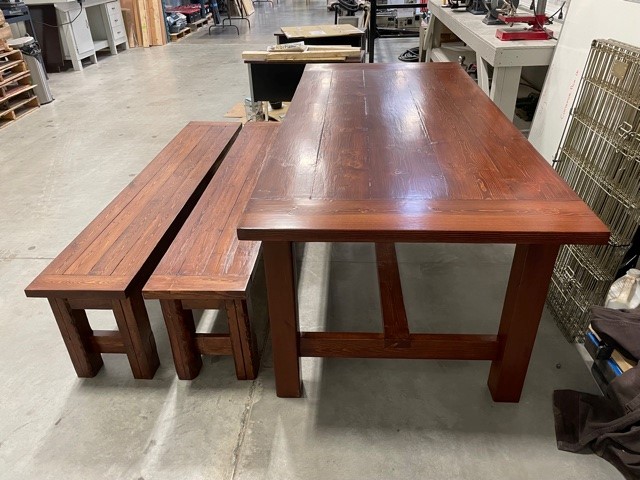
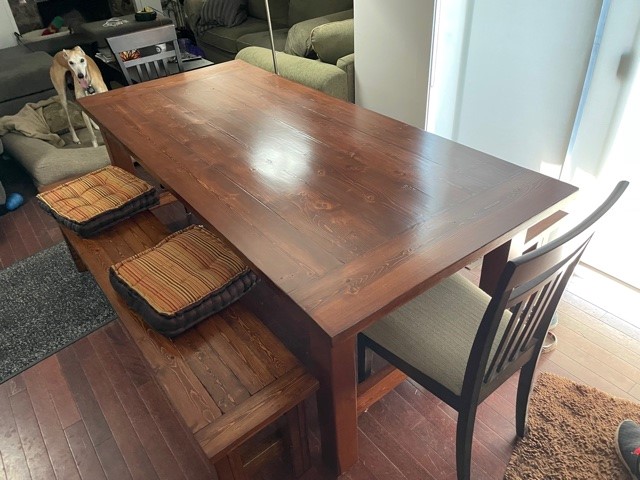
My first big woodworking project - a farmhouse table!

Submitted by jfleming on Wed, 06/30/2021 - 12:02

I used the no pocket hole plans and as per someone's great recommendation - I moved the stretcher supports to the inside of the legs to give a little more room when the chair is pulled out and someone is sitting on an end. I also made a planer tool for my table saw so I could square off the edges of the table top boards and the bench seat boards. The boards then sat closer to each other so I don't have places for crumbs to fall down between the boards. I did have a couple of sections that didn't quite match up and used resin to fill those areas after staining the boards. I then used a lacquer finish (Watco clear satin lacquer). The stain is Minwax English Chestnut but I did use the Minwax wood conditioner prior to the stain for a more even uptake of the stain. All great recommendations from folks on this site!

Comments

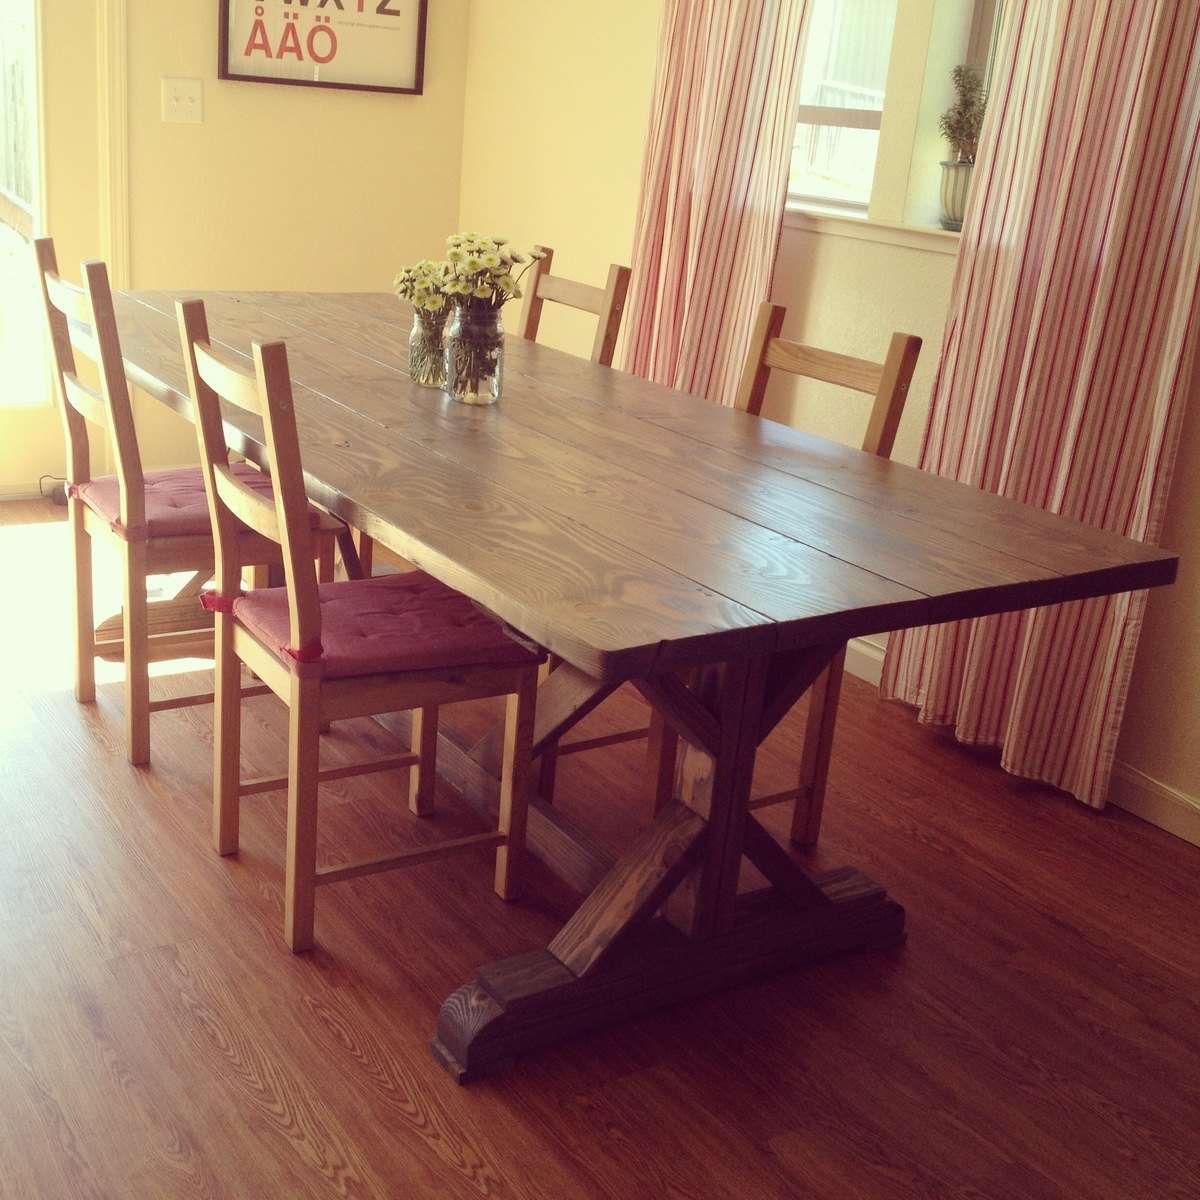
Anthropologie inspired Fancy X Farmhouse Table & Benches Part 1

This project was super easy, my husband and I did this together while I was 9 months pregnant with our other 2 kids and dog running around the whole time! We made the table and 2 benches for $250 including lumber and finishing supplies. Check out my blog for details.

Estimated Cost
$250
Estimated Time Investment
Weekend Project (10-20 Hours)
Finish Used
Grey Stain
Recommended Skill Level
Beginner

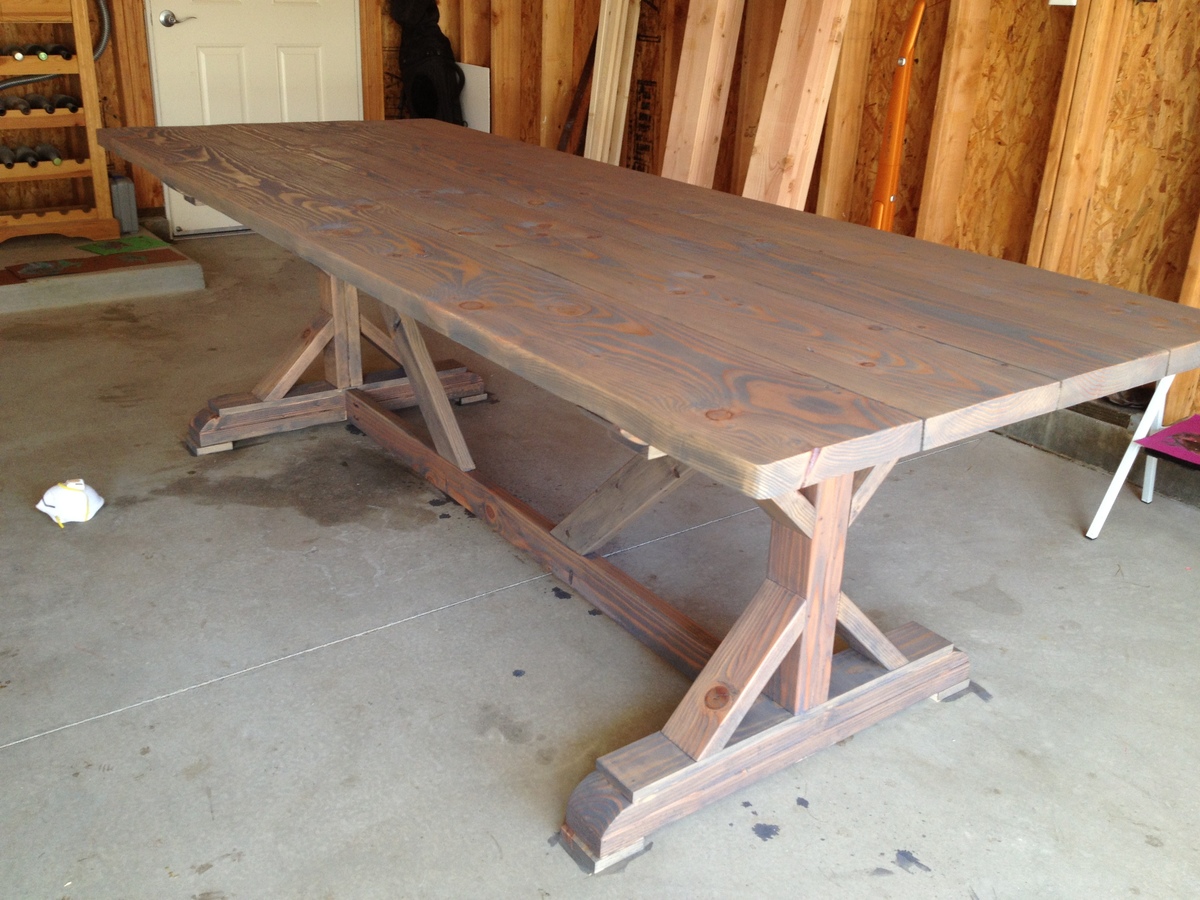
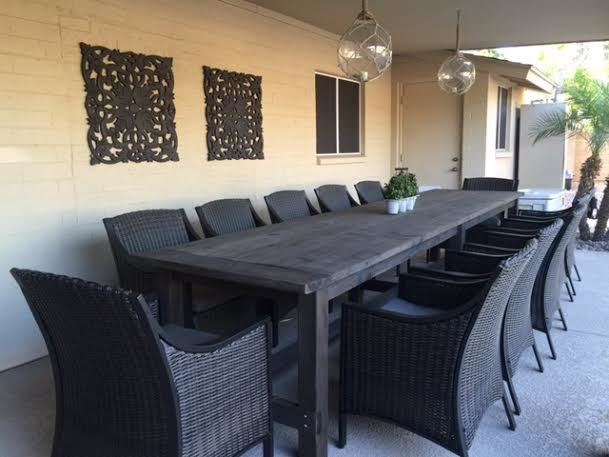
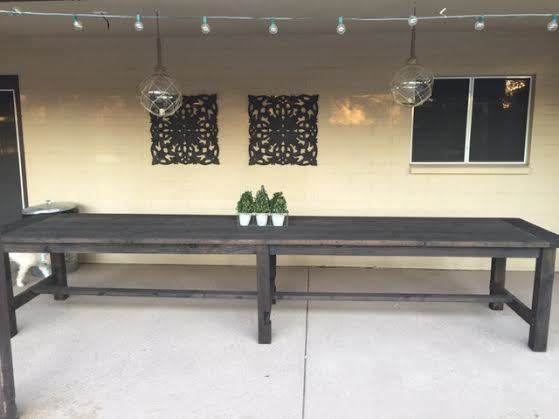
I doubled the recipe and built a table that seats 12!

Submitted by JMRojas on Fri, 03/06/2015 - 14:07

I used the Farmhouse Table plans and just extended the measurements to build an extra-long outdoor table that seats 12.


Estimated Cost
$250
Estimated Time Investment
Weekend Project (10-20 Hours)
Finish Used
Tea, vinegar, and steel wool
Recommended Skill Level
Intermediate

Comments

Child's Folding Sling Chair with Headrest

Submitted by Anonymous (not verified) on Sun, 06/04/2017 - 17:41

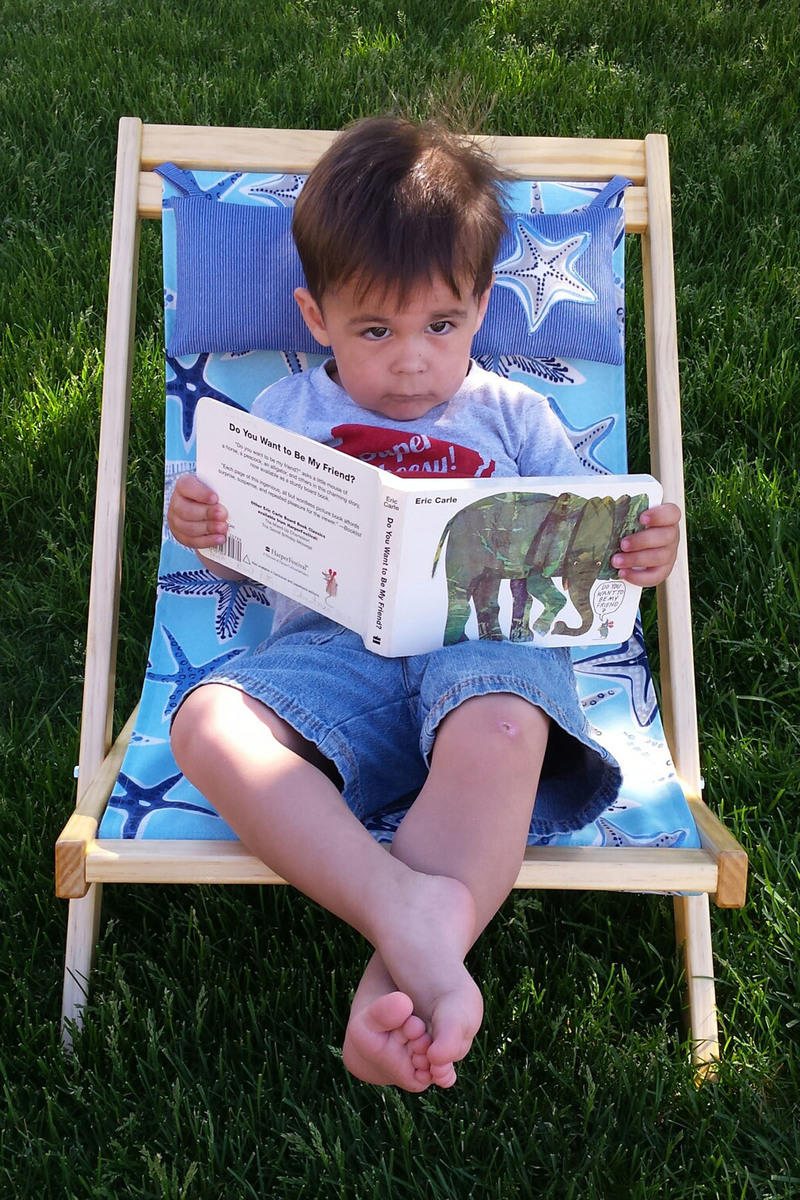
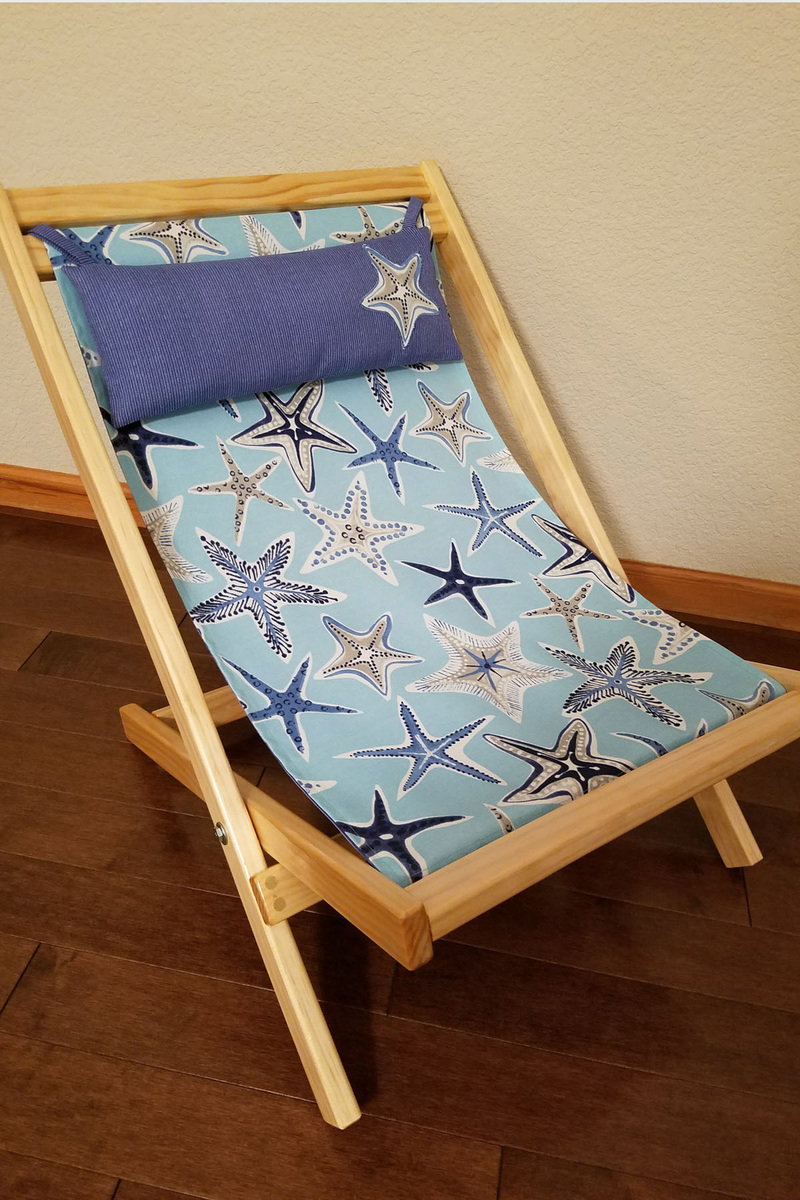
We made this sling chair for our 2 year-old grandson, Cedric.  As you can see, he loves relaxing in it as he 'reads' his books. My husband made the frame and I made the sling. I also added a headrest, made from the same fabric as the sling backing with an appliqued starfish and stuffed with a bit of polyeser fiberfill I had on hand.  The frame was made from select pine and was sealed with clear outdoor varnish. I made the sling and headrest with indoor/outdoor canvas from JoAnn Fabrics so they can be easily cleaned and will hold up to outdoor use. Fabrics are P/K Lifestyles Outdoor Fabric Stars Collide Nautical (front) and Solarium Outdoor Canvas Fiera Marinem Outdoor Canvas Fiera Marine (backing).  Since they are 54 inches wide, I have enough fabric left to make slings for two more chairs.  Now, I just have to talk my husband into making more frames! 

Estimated Cost
$20
Estimated Time Investment
Day Project (6-9 Hours)
Finish Used
Clear outdoor varnish
Recommended Skill Level
Intermediate

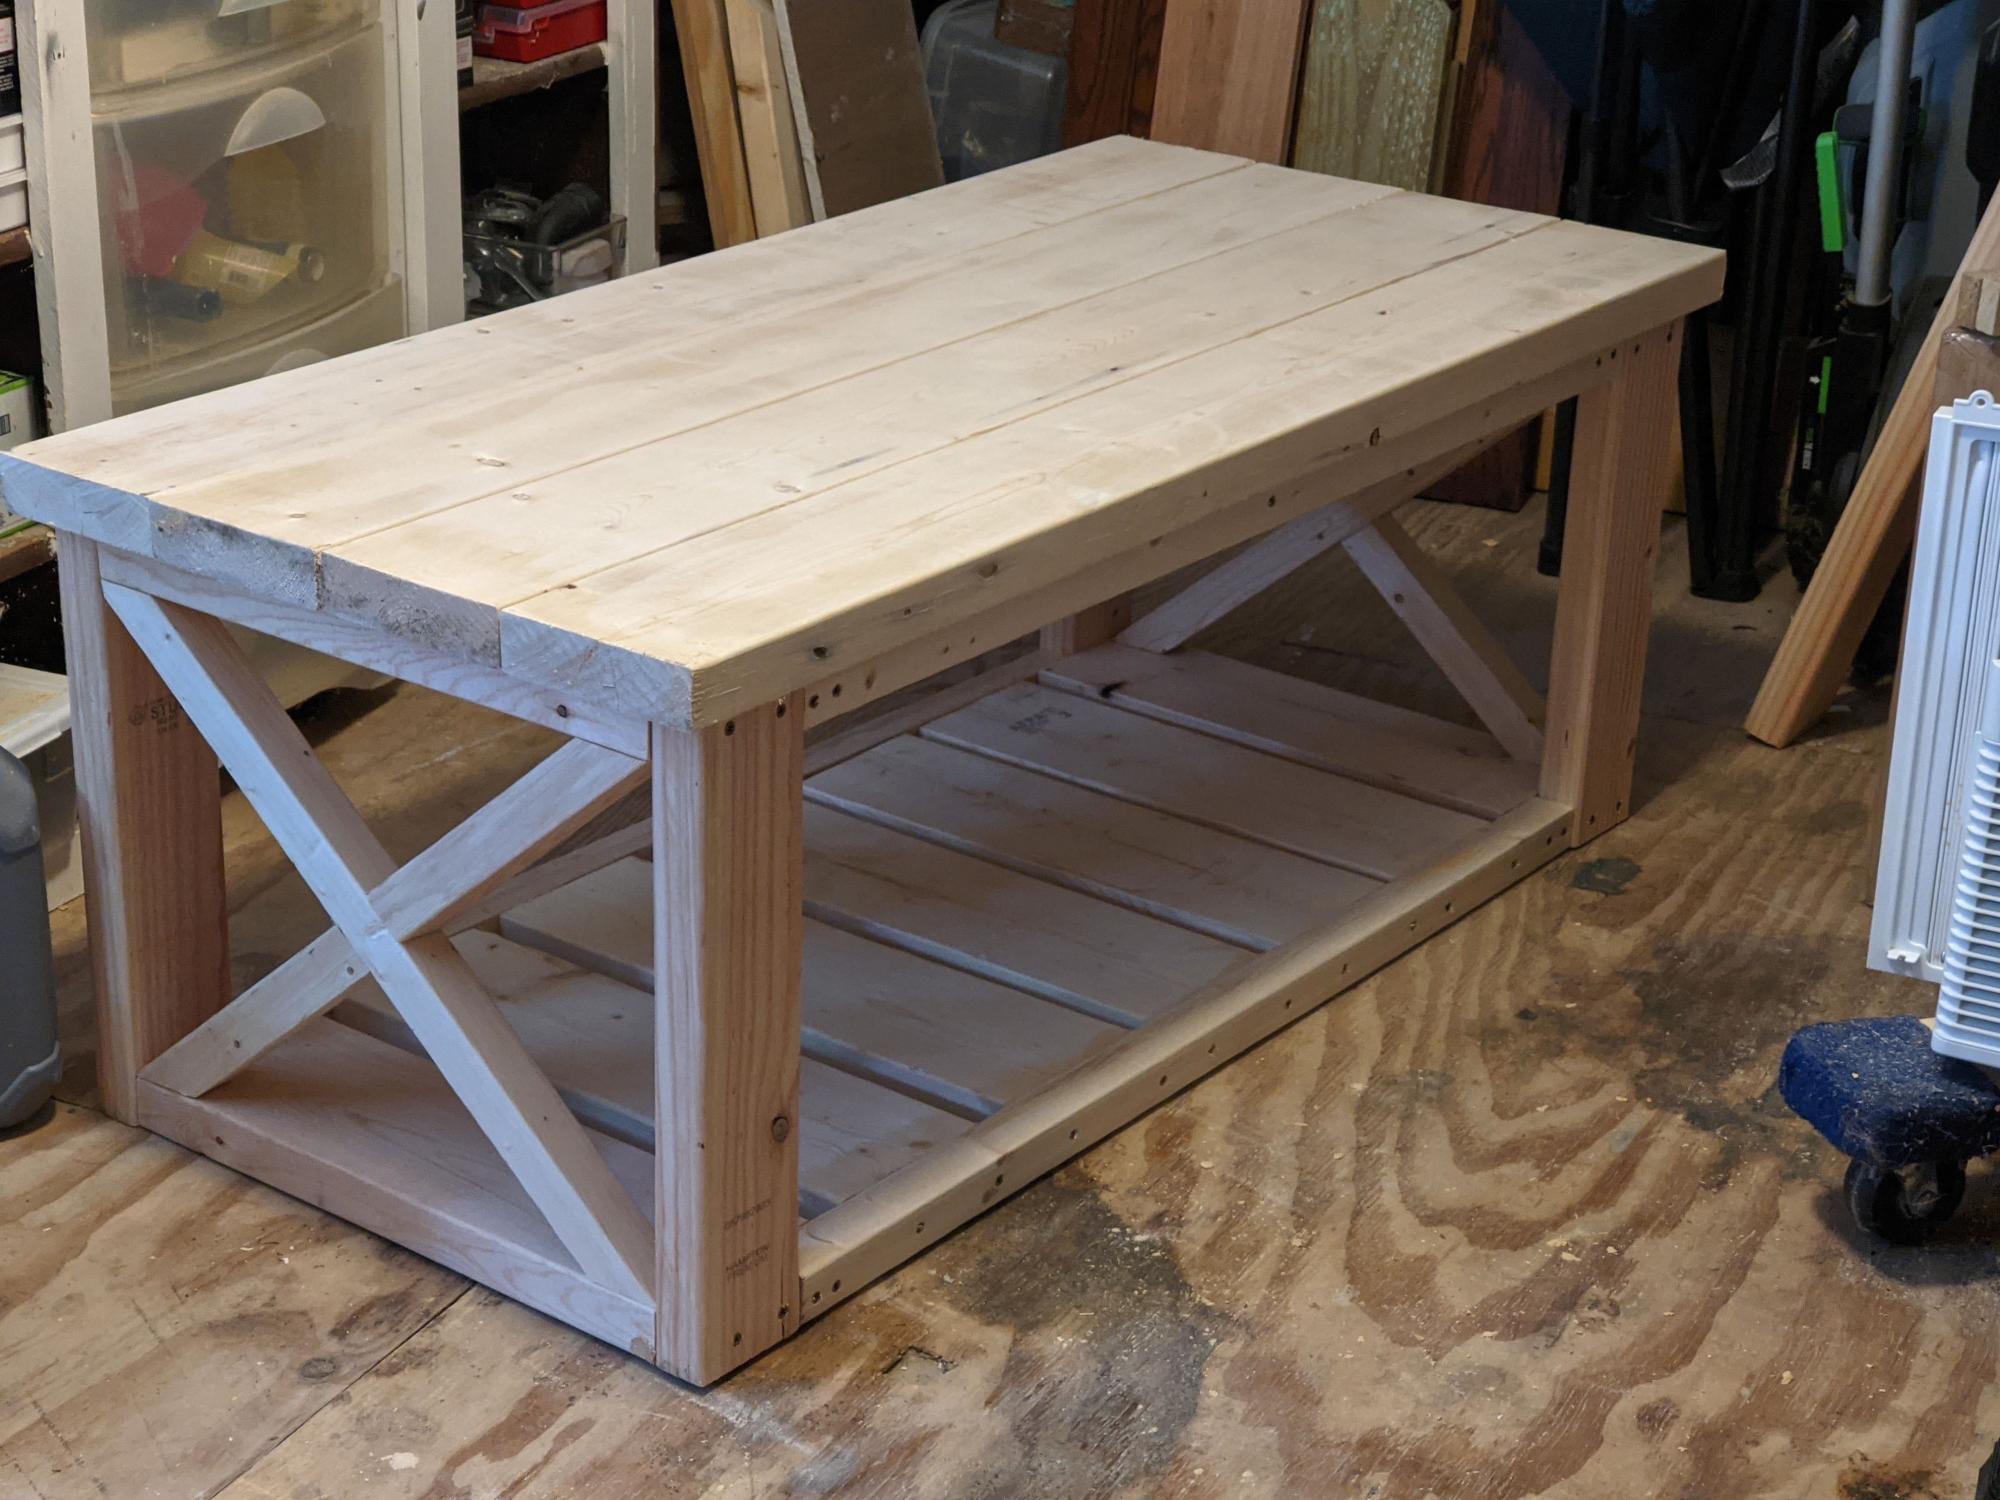
Coffee table for the win!

Submitted by sidian3 on Sun, 07/18/2021 - 08:11

This was by far my favorite project! I haven’t decided on a finish yet. I think i will stain it but still trying to decide.

Comments

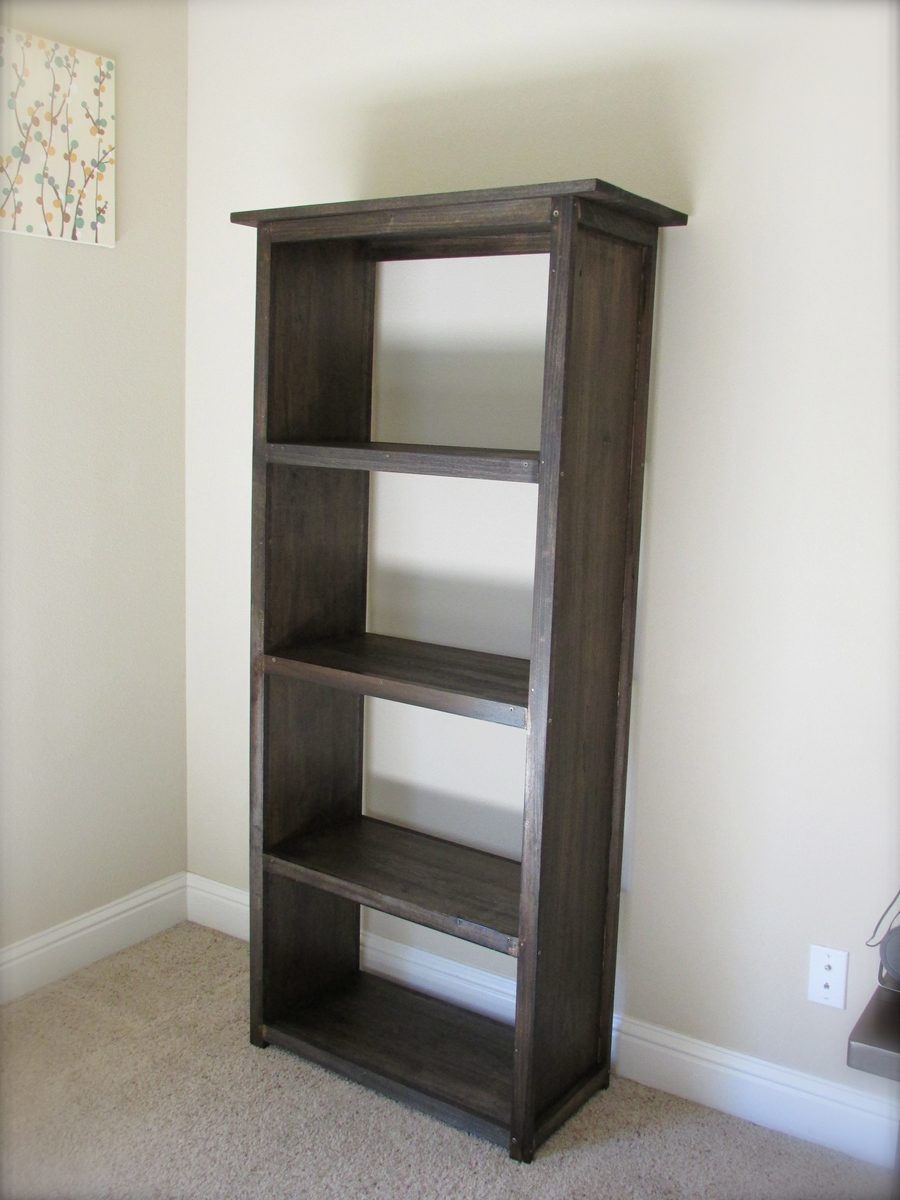
COMPARTMENT DEPOT BOOKSHELF

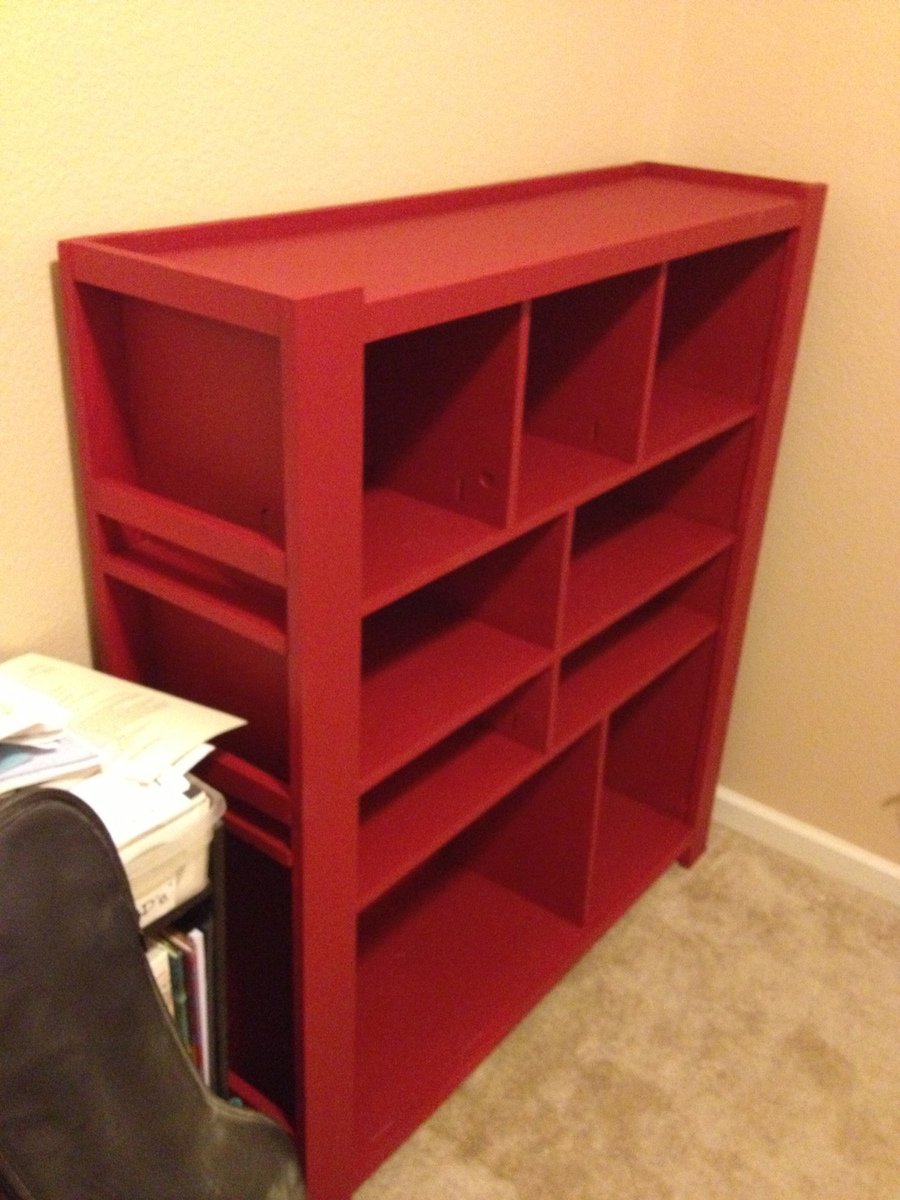
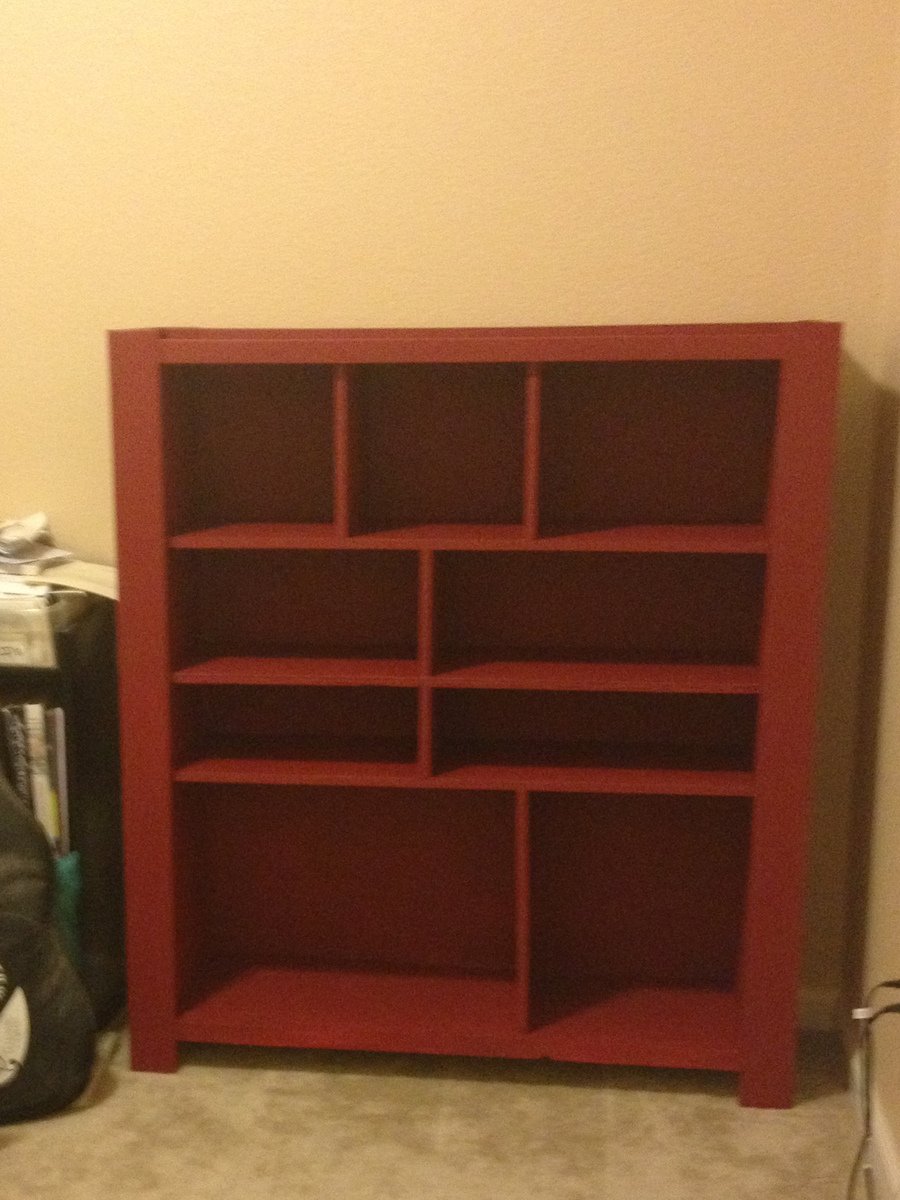
I love how this bookshelf turned out! I made the bottom part 6" taller so I can fit my shredder in there. I'm using this in my office/guest room so I can have office type stuff, but have it all contained in one place, so it doesn't take over the whole room. Ana's instructions were great! There are slight issues but they are so minor it still turned out great! Overall I am very happy with how this turned out. :)

Built from Plan(s)
Estimated Cost
$80
Estimated Time Investment
Weekend Project (10-20 Hours)
Finish Used
Red Oops Paint! :) I just sanded it all down really well, and painted 2-3 coats on the whole thing.
Recommended Skill Level
Intermediate

Comments

Patio Coolbox Box

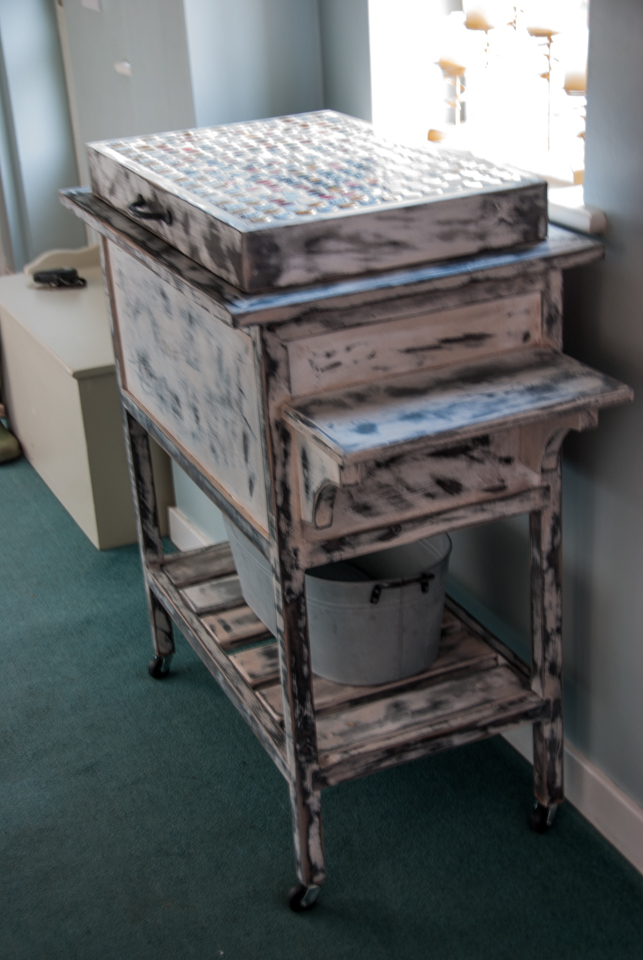
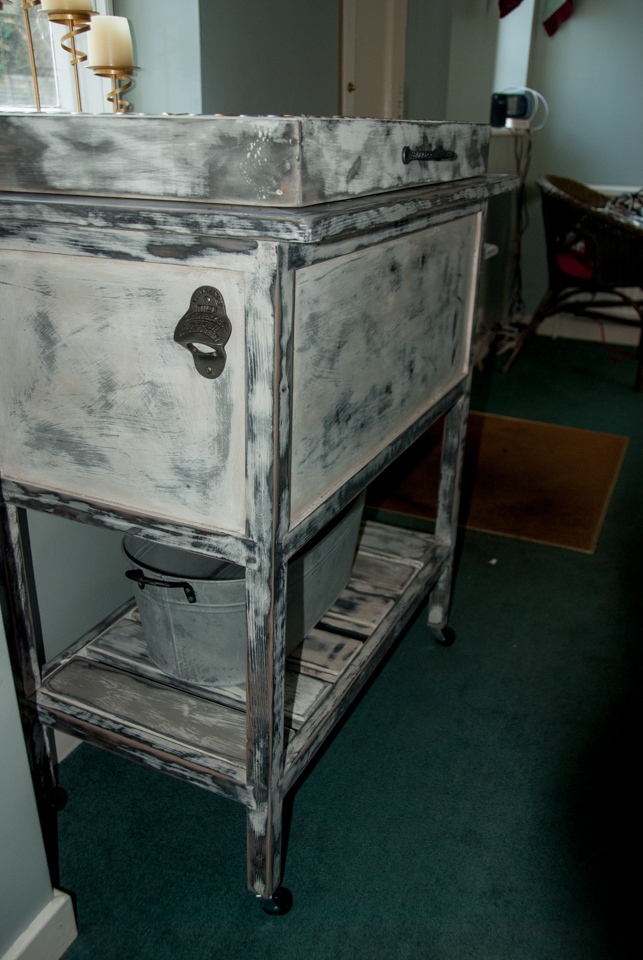
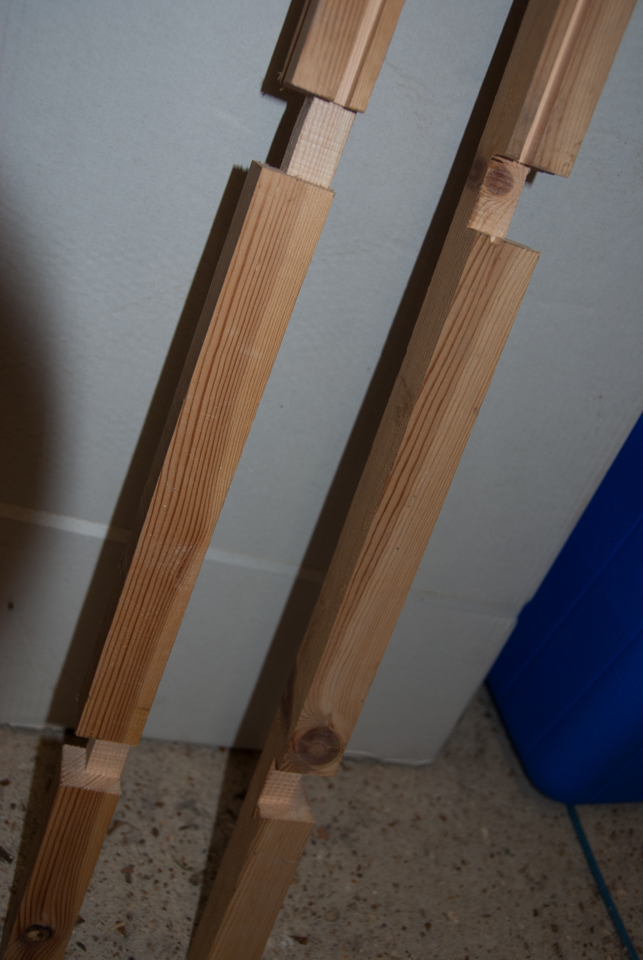
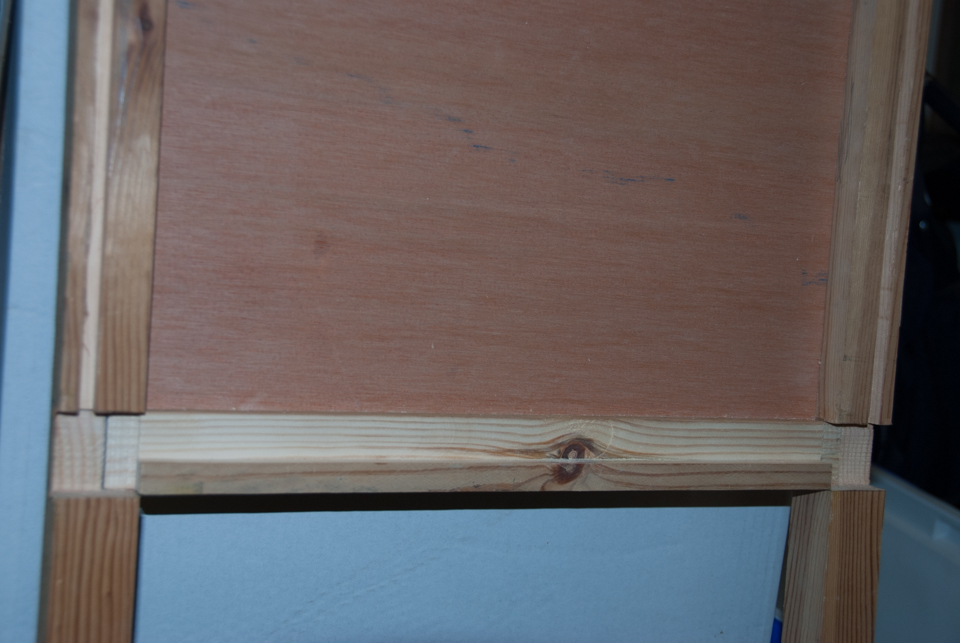
I wanted to make this project for my son-in-law for Christmas and use up wood I already had in the garage.  I also thought using 2x4's was a bit chuncky for the size of the coolbox, so while I used the idea, I did not really use the plans and made up my own.  I only used screws to attach the wood for the two shelves, all the other joints were cut and glue joints and at one point I felt I was making a jigsaw puzzle! 

Other changes I made were:

No water drain tap - The drain in the cool box is set slightly above the base of the coolbox.  I loved the idea of a tap for the external look of the finished project but for a practical purpose, it is very fiddly to install and you would still have to emply the bottom of the coolbox with a cloth as the water would not completely drain from the box.  I did not remove the handles and made the wooden box slightly bigger, just big enough to raise the handle and remove the coolbox for emptying and cleaning.

Decorative Bottle Caps -  Instead of putting these on the front, I designed the lid so that it could be covered with a layer of bottlecaps and grout (having first glued the caps on).  The provided a surface for putting hot food on should you want to use it as a 'hotpad' (although you would not be able to open it if you did) - but mostly, I thought they would be less likely to fall off, it povides a rain/weather barrier, and futher insulates the box. So the lid in my version is framed with wood, then has a layer of insulation, a layer of 3/4" wood, then the bottle caps/grout.

Bottle Cap Catcher -  I added a bottle opener to the side opposite the shelf and attached below it a 1/2 circle terricotta planter which comes with a hole in the bottom to catch bottle caps.

The whole thing was painted in 3 different layers of Anne Sloan chalk paint, waxed and sanded to give it the distressed look.

I have a list of the wood used (with sizes) if anyone wants it.  I plan to write the plans up better, but for now this is what I have.   
Built from Plan(s)
Estimated Cost
Just the price of the coolbox as made from scraps already to hand.
Estimated Time Investment
Week Long Project (20 Hours or More)
Finish Used
Anne Sloan Chalk Paint
Recommended Skill Level
Intermediate

Comments

New outdoor sofa

Submitted by Anonymous (not verified) on Wed, 06/07/2017 - 17:57

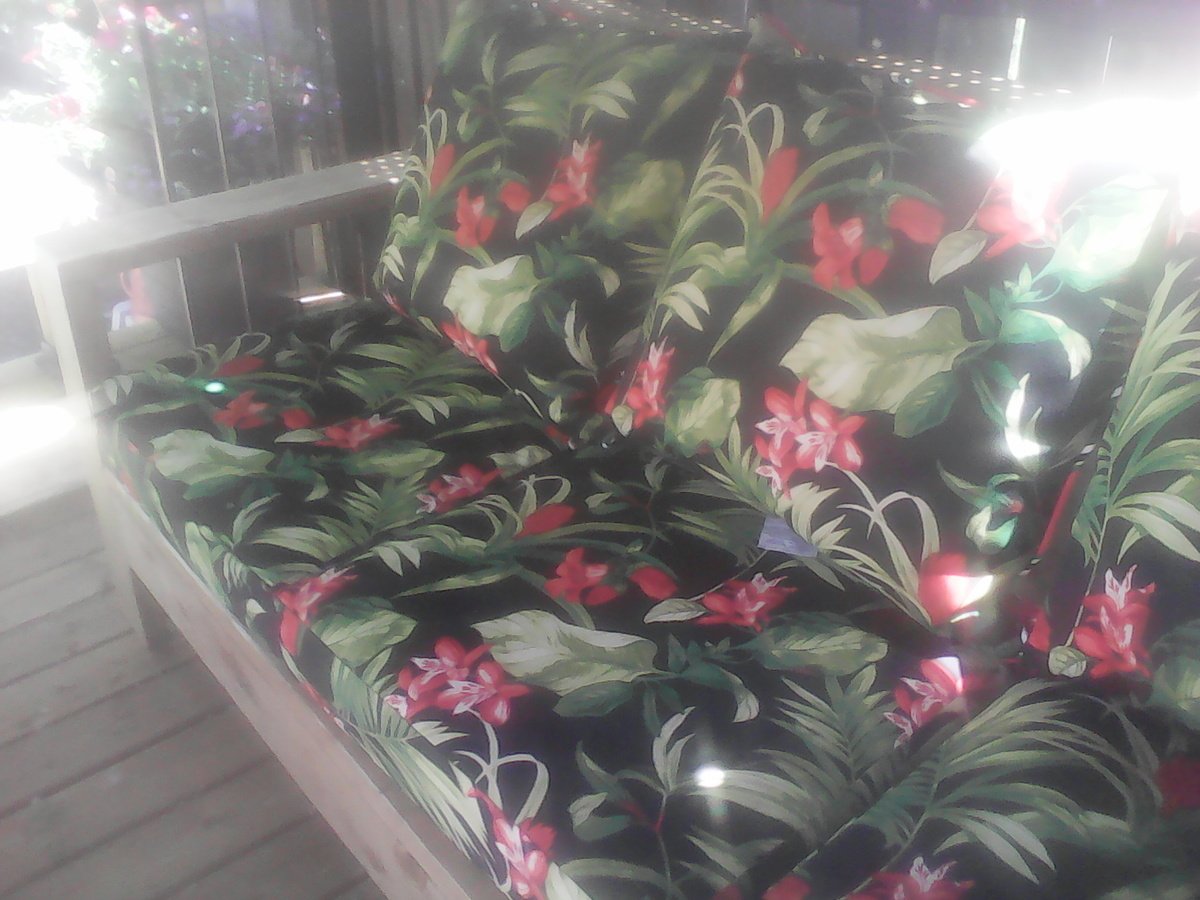
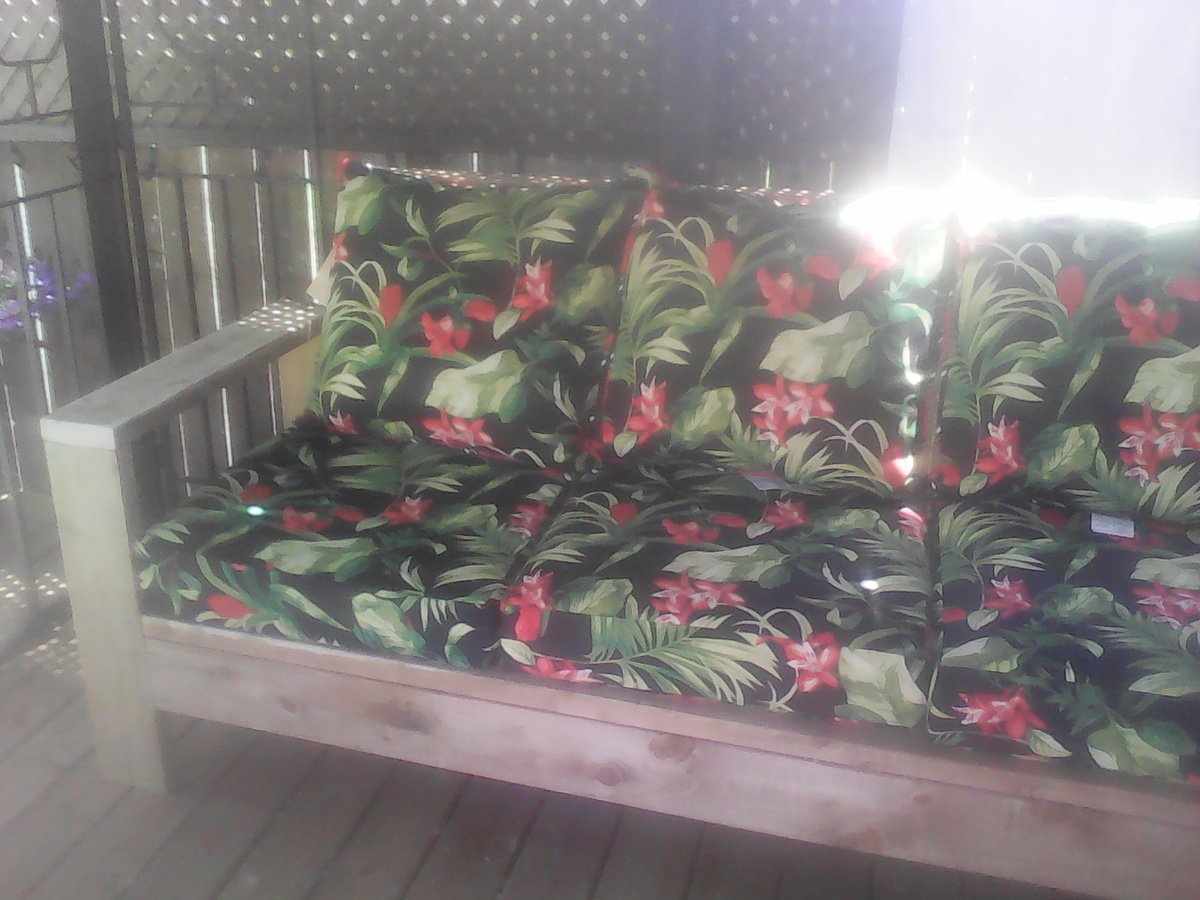
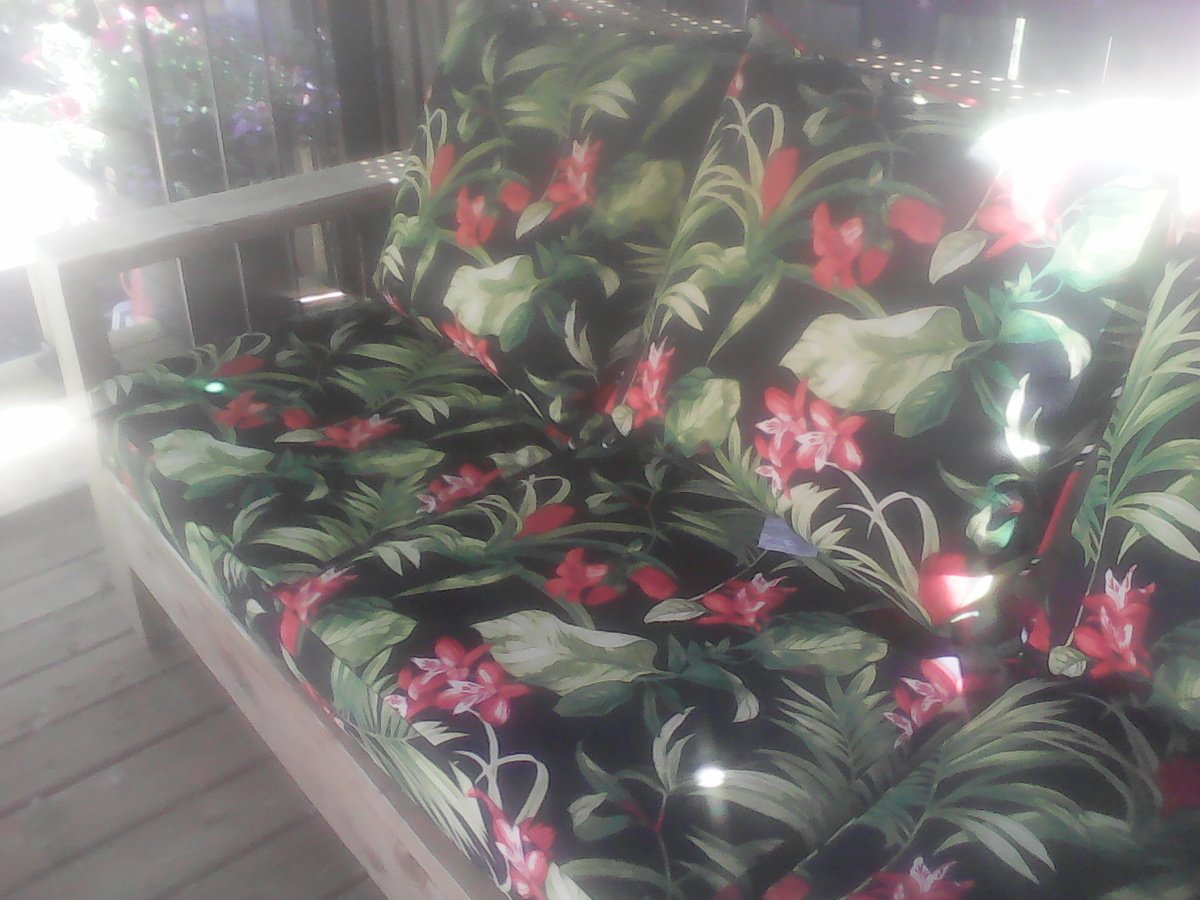
Our new 2x6 outdoor sofa looks great, We liked the look of the 2x6s better then the 2x4s, and we added a taller back to support the cushions better, plus we gave the back a 12 slant for more comfort. Cushions are from Lowe's, 3 fit perfect.

Estimated Cost
140 for PT wood, 140 for 3sets of cushions, $280
Estimated Time Investment
Afternoon Project (3-6 Hours)
Finish Used
The picture is plain PT wood so far, will stain later
Recommended Skill Level
Beginner

Play Kitchen and Refrigerator

Submitted by Brandi35 on Sat, 07/31/2021 - 09:05

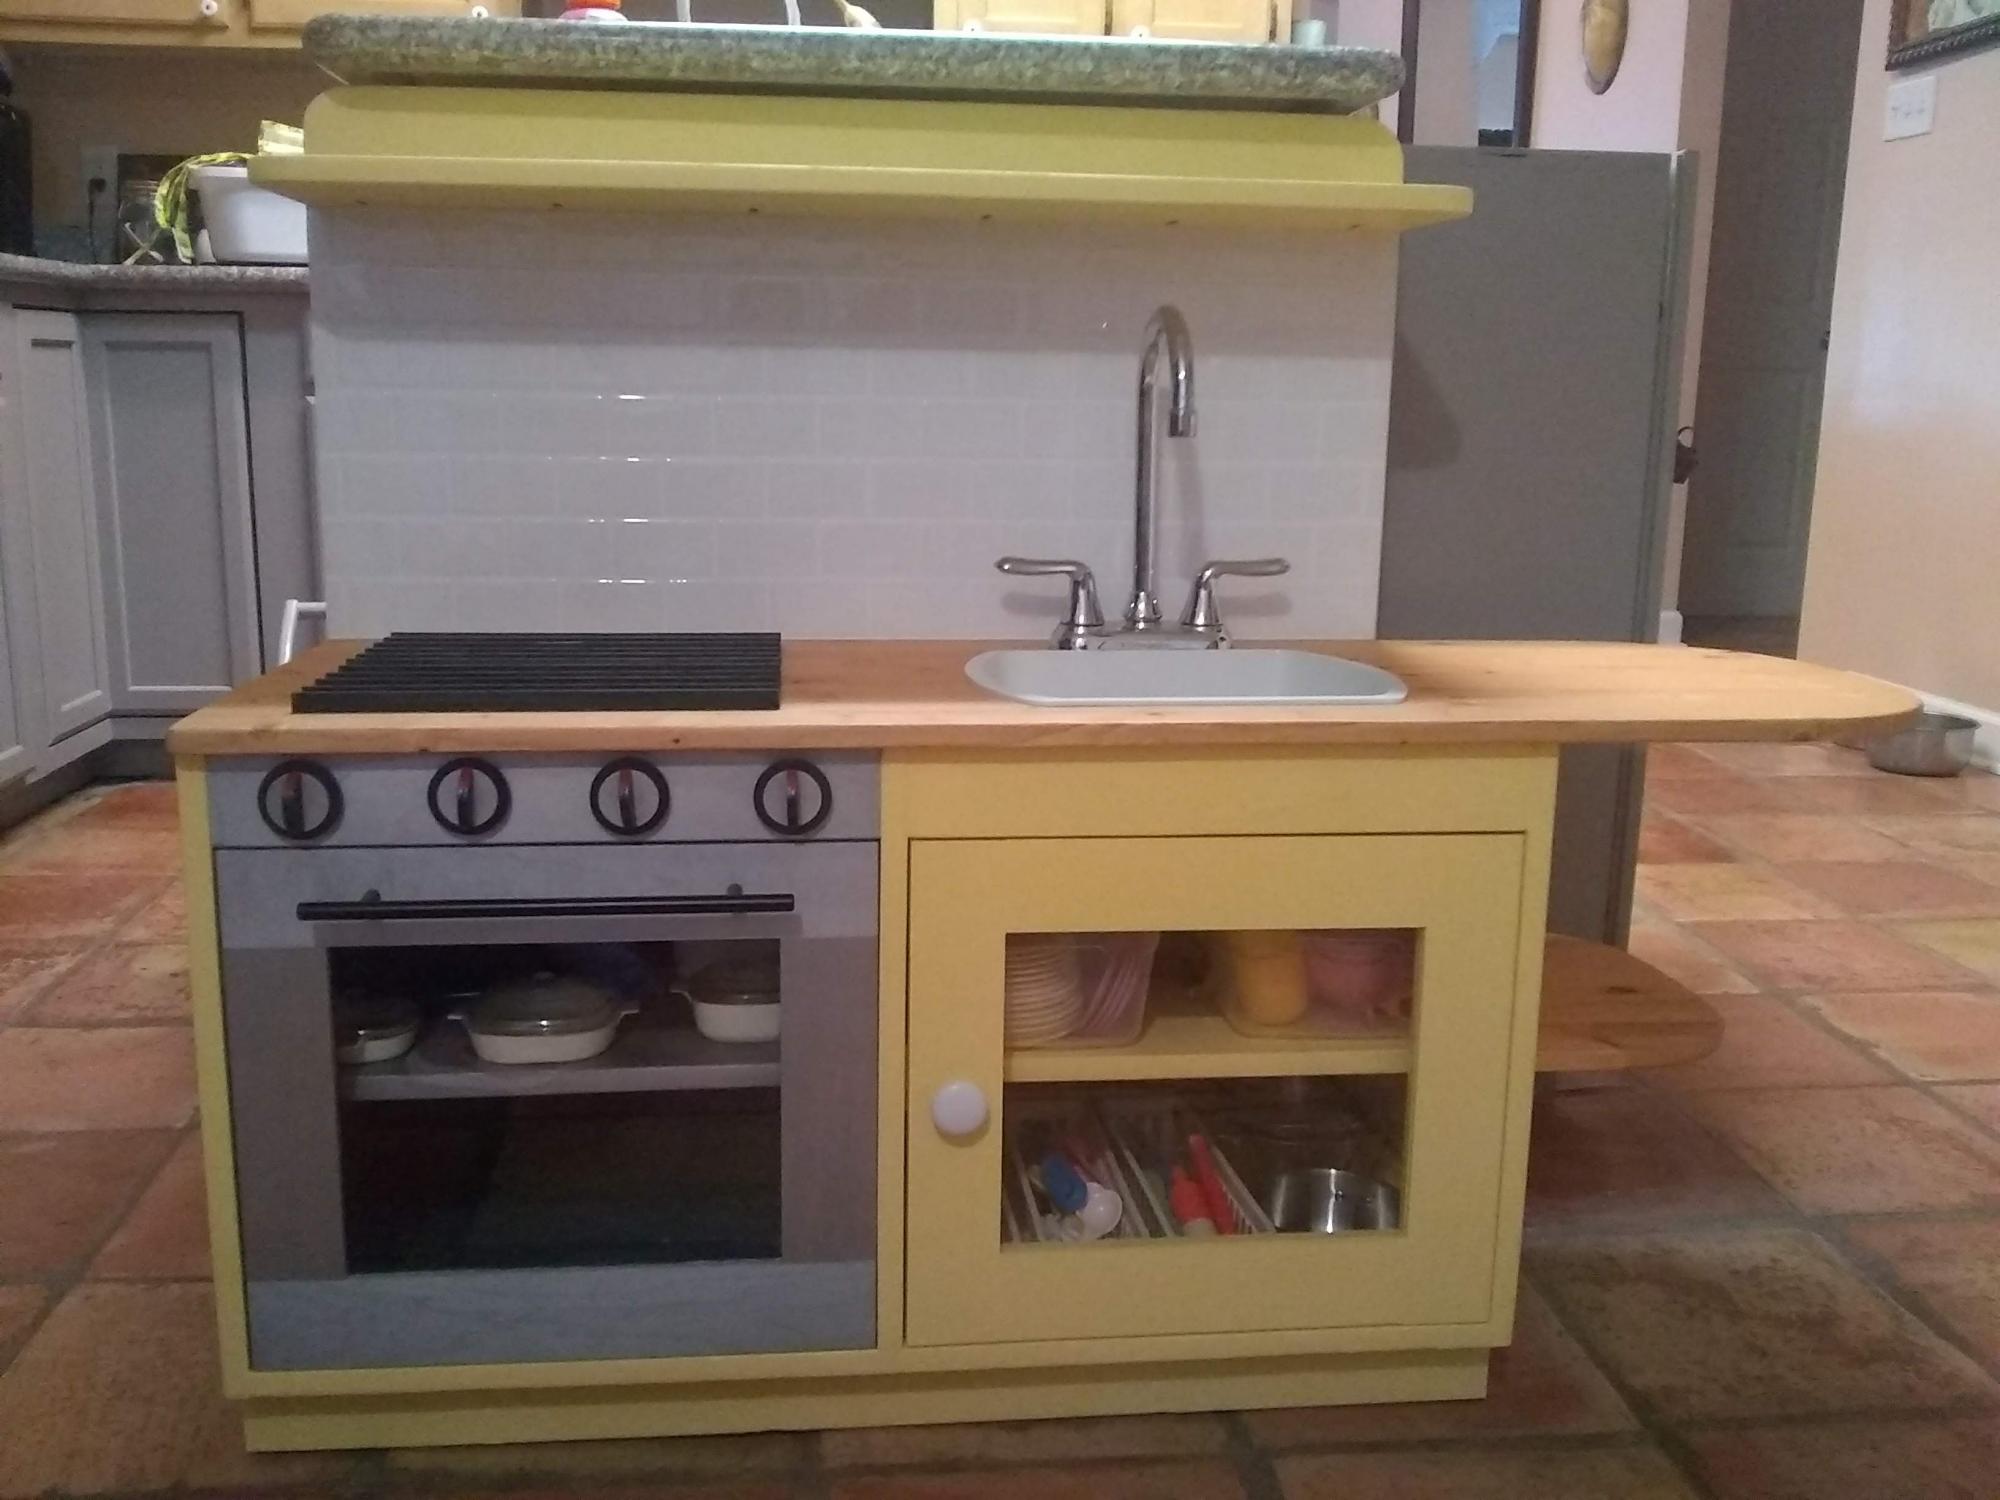
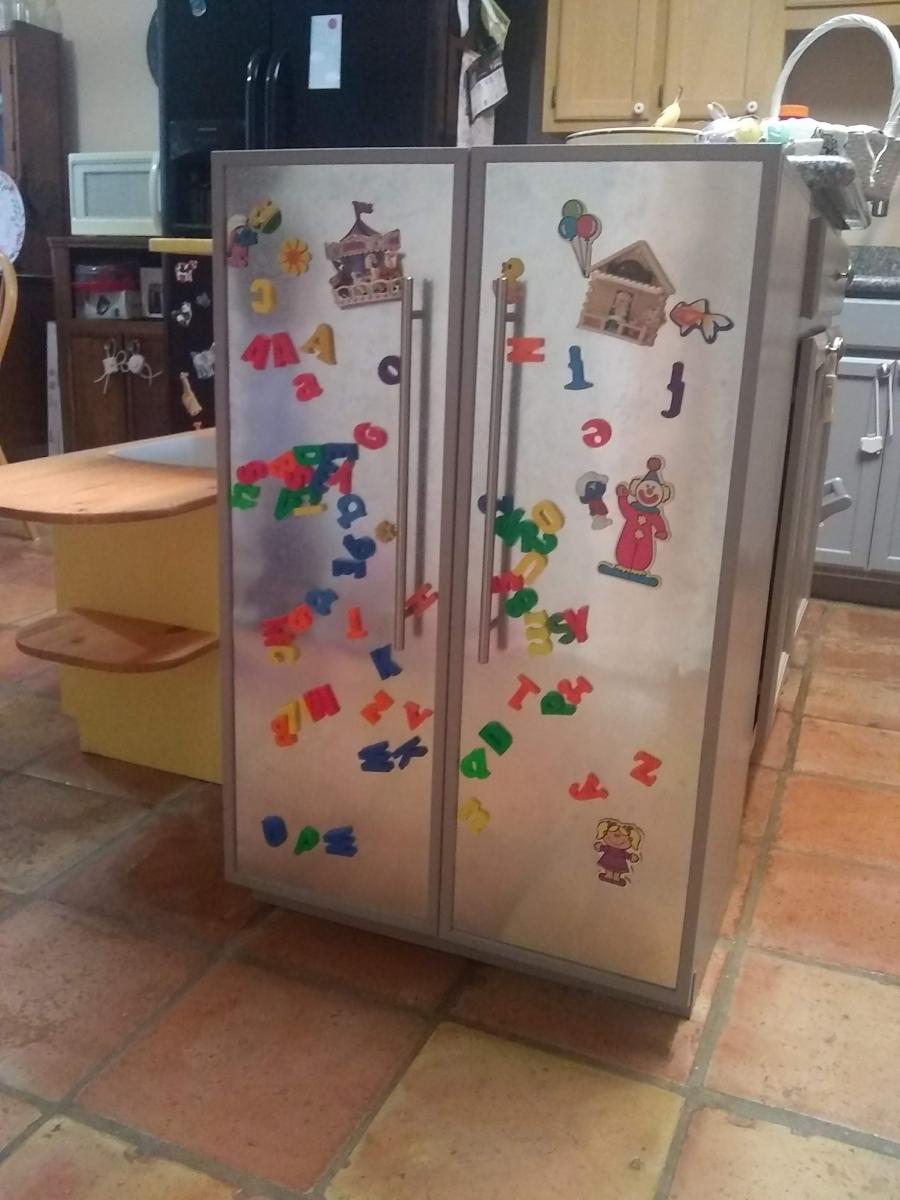
Play kitchen for my 2 year old. She especially loves turning the stove knobs and her own magnetic refrigerator! Used the plans as a base model and modified them for my specific needs and wants.

Estimated Time Investment
Weekend Project (10-20 Hours)

Comments

Wine Cabinet from Barn Boards

Submitted by whittlevin on Fri, 03/13/2015 - 10:20

I used the plan more as inspiration. Most of the boards are from an old barn and had to be planed down. The cabinet holds 30 bottles. I also found some old hardware on a couple of drawers that were in the barn. 

Built from Plan(s)
Estimated Time Investment
Weekend Project (10-20 Hours)
Recommended Skill Level
Intermediate

Comments

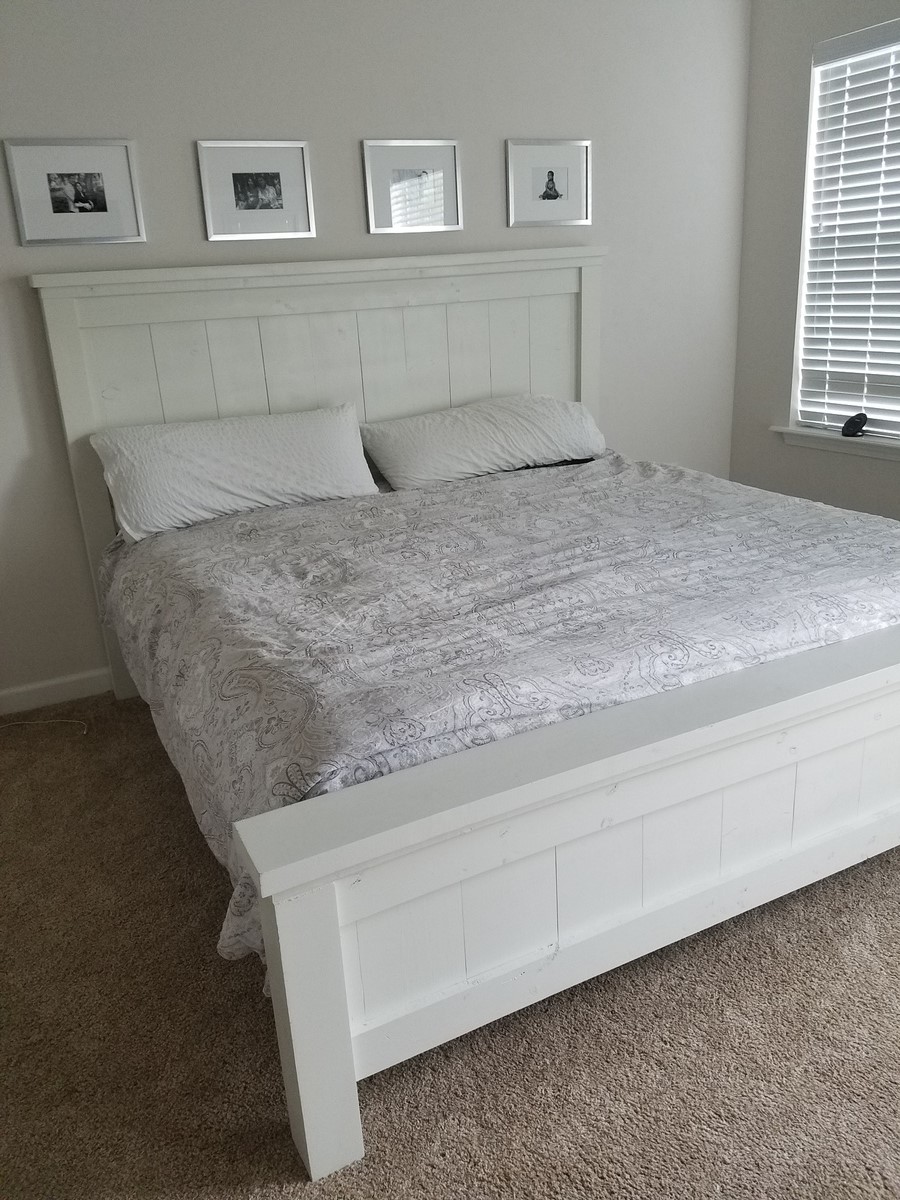
Farmhouse King Bed

Submitted by wangbw on Sun, 06/11/2017 - 15:36

Took a little longer than I anticipated.  By far the hardest part was finding straight boards at Home Depot.  Used Cedar 4x4s for the post to avoid treated wood.  Had to make a few adjustments for our king mattress, but well worth it.   Bed and platform came in right at $300 for the wood, screws, paint, etc.  Thanks for the plans!

Estimated Cost
$300
Estimated Time Investment
Weekend Project (10-20 Hours)
Recommended Skill Level
Intermediate

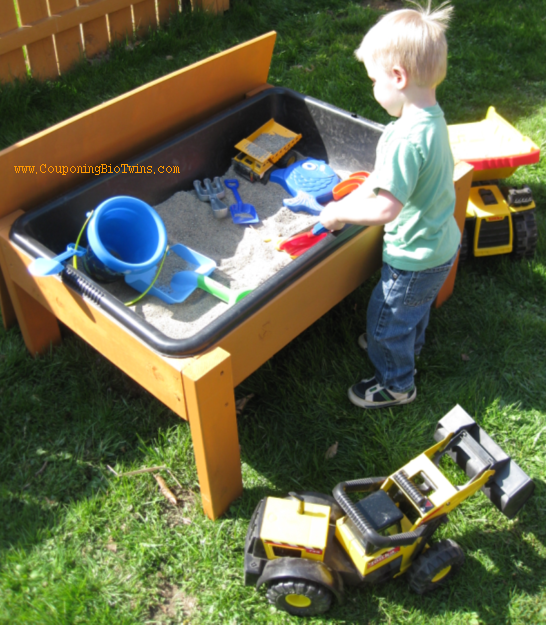
Sand or Water Table

Submitted by lehcar01 on Wed, 04/24/2013 - 21:08

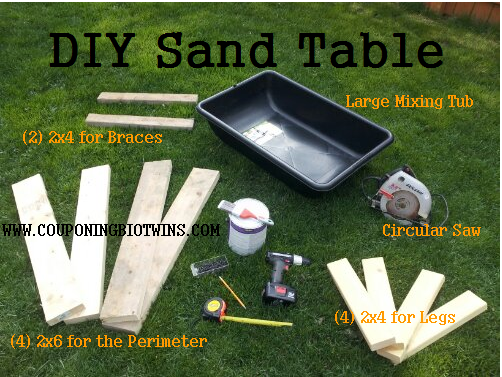
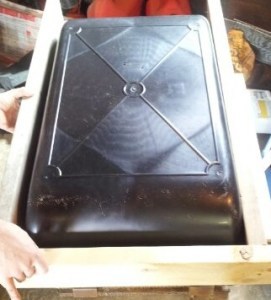
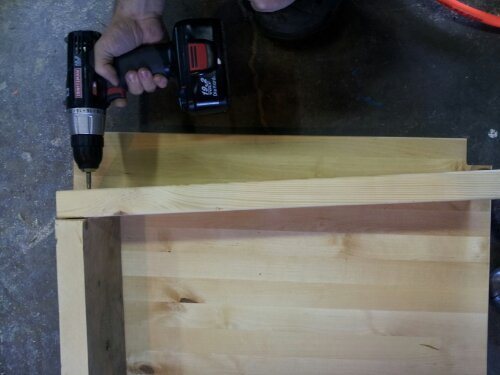
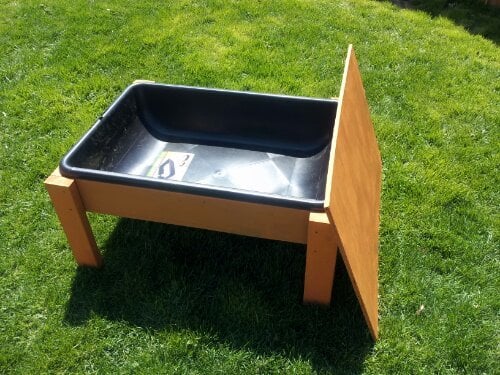
This is a very easy way to create a sand or water table for your kids and it only takes a few hours from start to finish. A few pieces of wood, some screws and tub to hold the sand or water and your set. Enjoy!

Estimated Cost
$25-$30
Estimated Time Investment
An Hour or Two (0-2 Hours)
Finish Used
Behr wood stain
Recommended Skill Level
Starter Project

Comments

TV Stand with Storage

Submitted by Phillip G on Mon, 03/16/2015 - 09:14

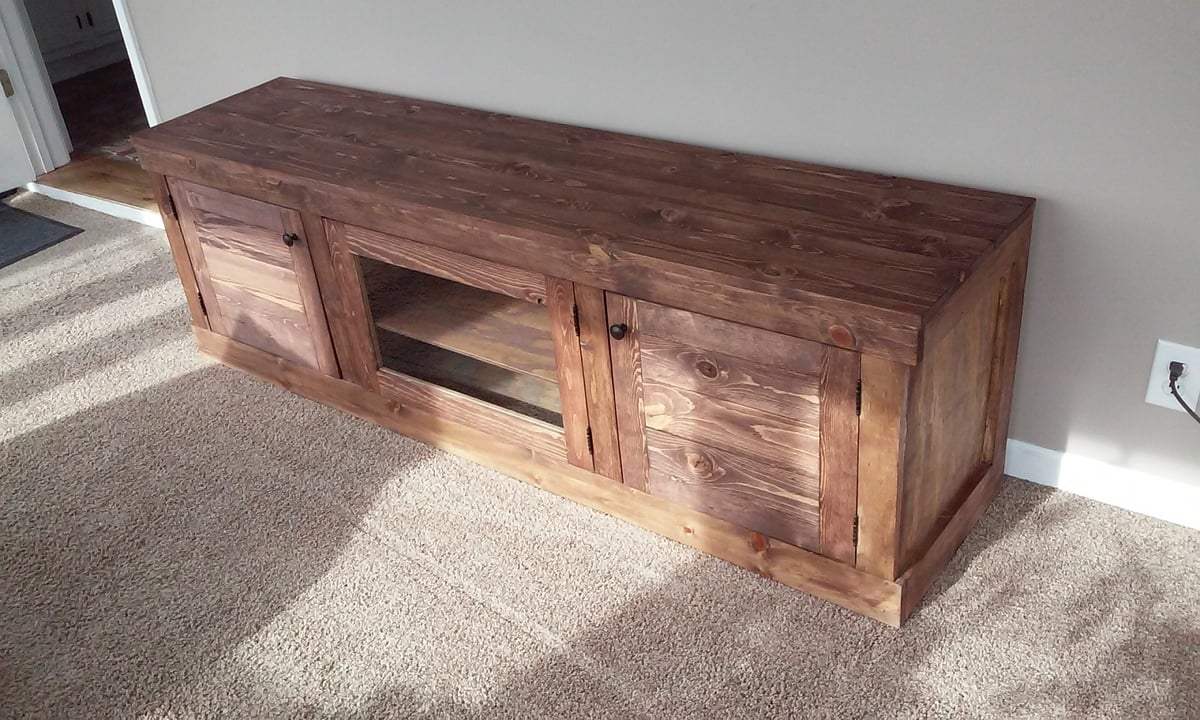
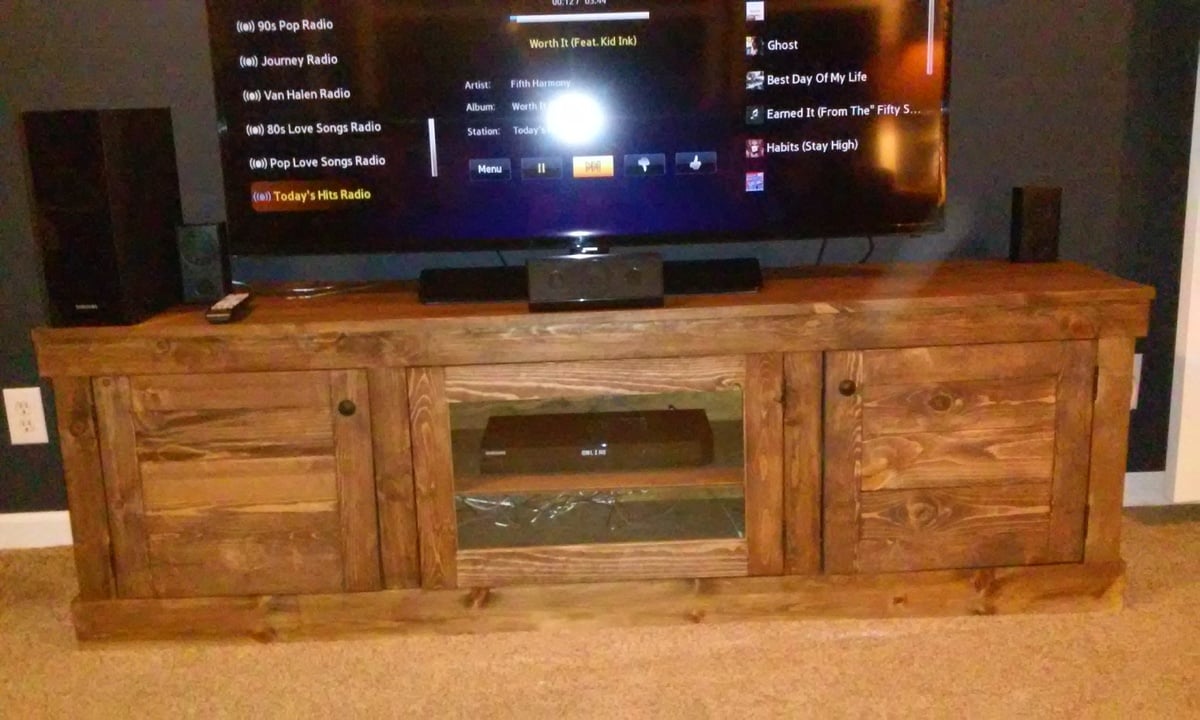
Loved the extra long buffet cabinet but did not need it, however I did need a television stand.  Here is my inspired project.


Removed the center drawers and added a glass door, adjusted the dimensions to 60x16x20... and this is what I've created.


Thank you for the inspiration!

Built from Plan(s)
Estimated Cost
$175.00
Estimated Time Investment
Week Long Project (20 Hours or More)
Finish Used
Early American
Recommended Skill Level
Intermediate

Comments

Entryway Table

Submitted by Anonymous (not verified) on Tue, 06/13/2017 - 11:58

Great plans. Made a height adjustment to fit better in the space. I'm pretty new to the game but this was a great project to work with the Kreg Jig. Make sure if you are going to use the Kreg Jig to attach the table top, drill your pocket holes on the under side of the frame BEFORE you install your middle shelf... I made that mistake and had to live with counter sinking 2 1/2 screws from the top. For the door hardward: Home Depot had awning pulleys that allowed you to take the pin out for easy extraction, make sure to find some that have little spacers in the middle so you can keep the wheel from locking up. 
 

Really excited to keep on building!

Built from Plan(s)
Estimated Cost
$300
Estimated Time Investment
Weekend Project (10-20 Hours)
Finish Used
White Paint
Dark Walnut Semi-Gloss Stain with Poly
Recommended Skill Level
Beginner

Sweet Pea Bunk Bed

Submitted by johnnylaws on Sun, 08/22/2021 - 06:07

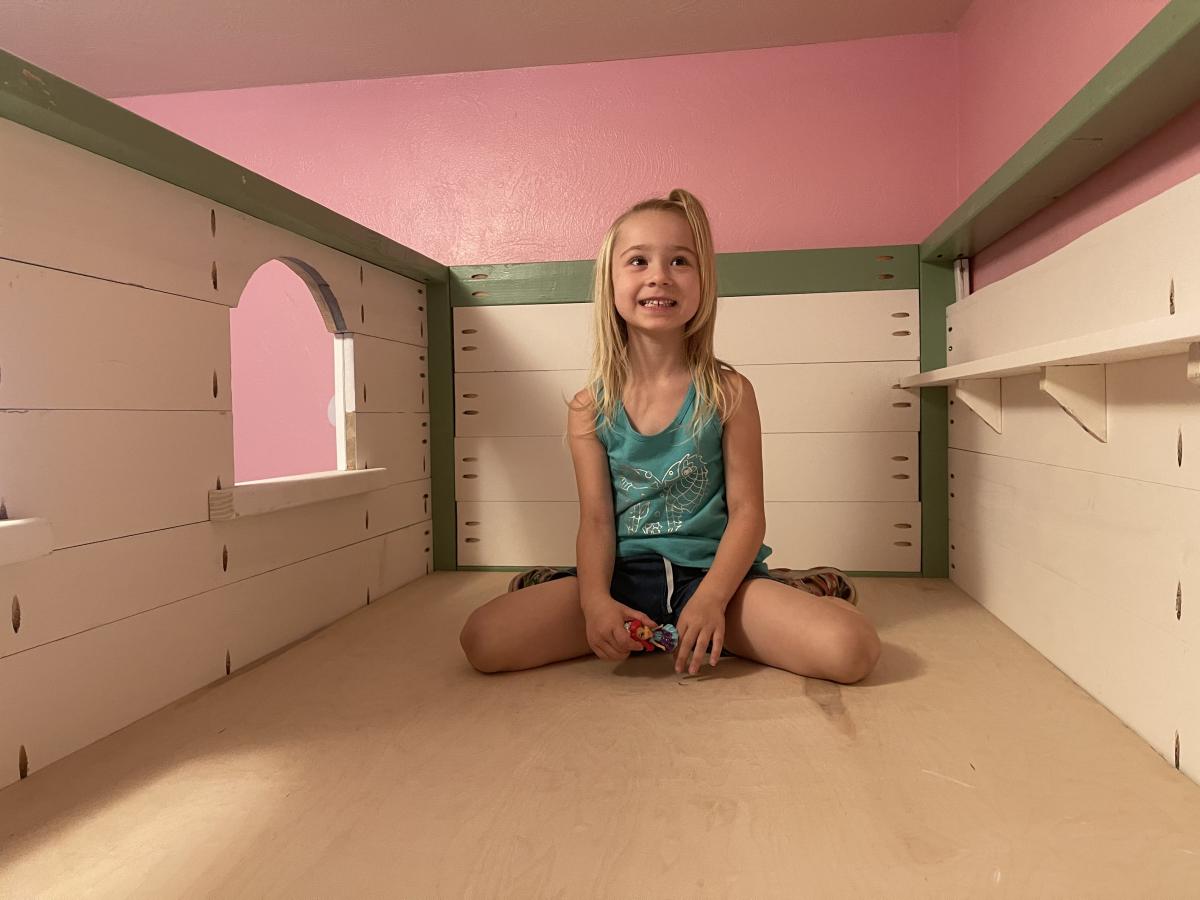
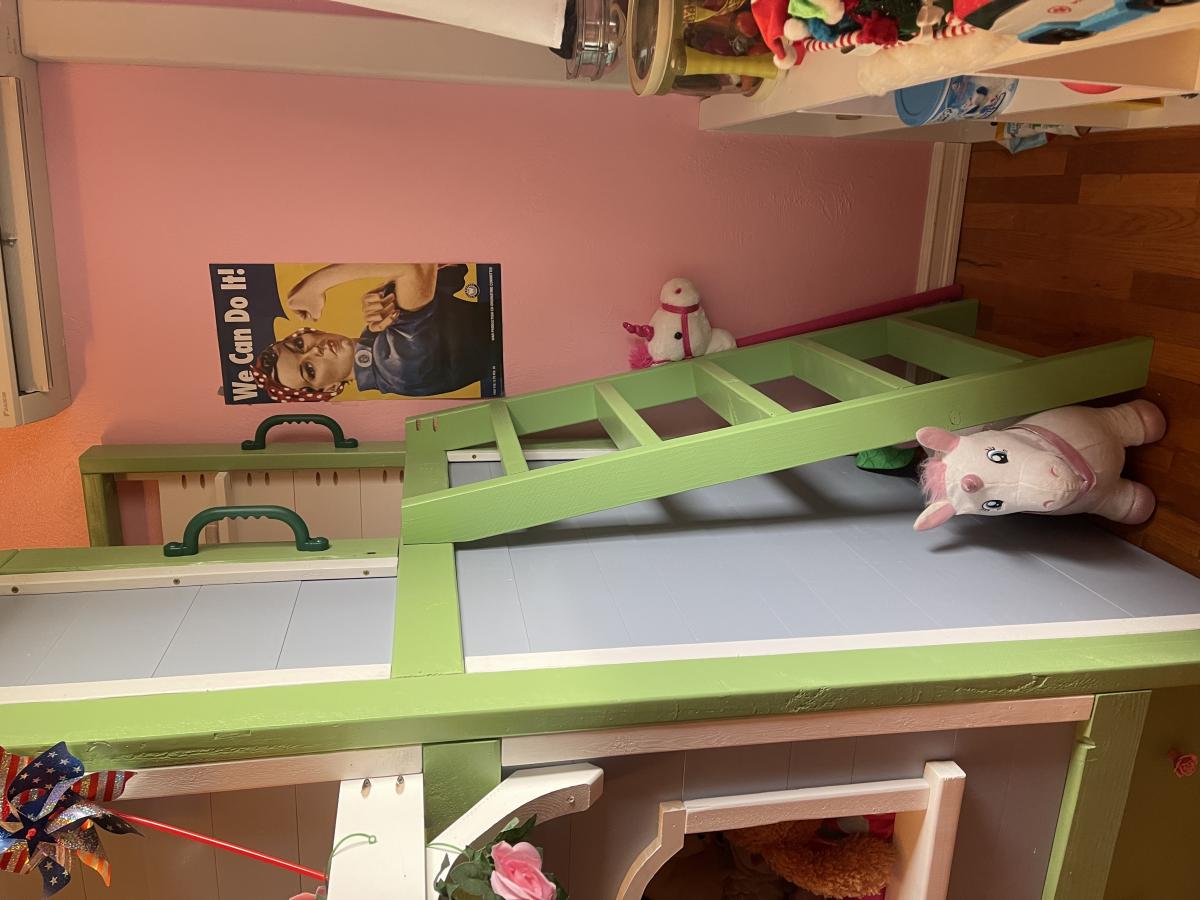
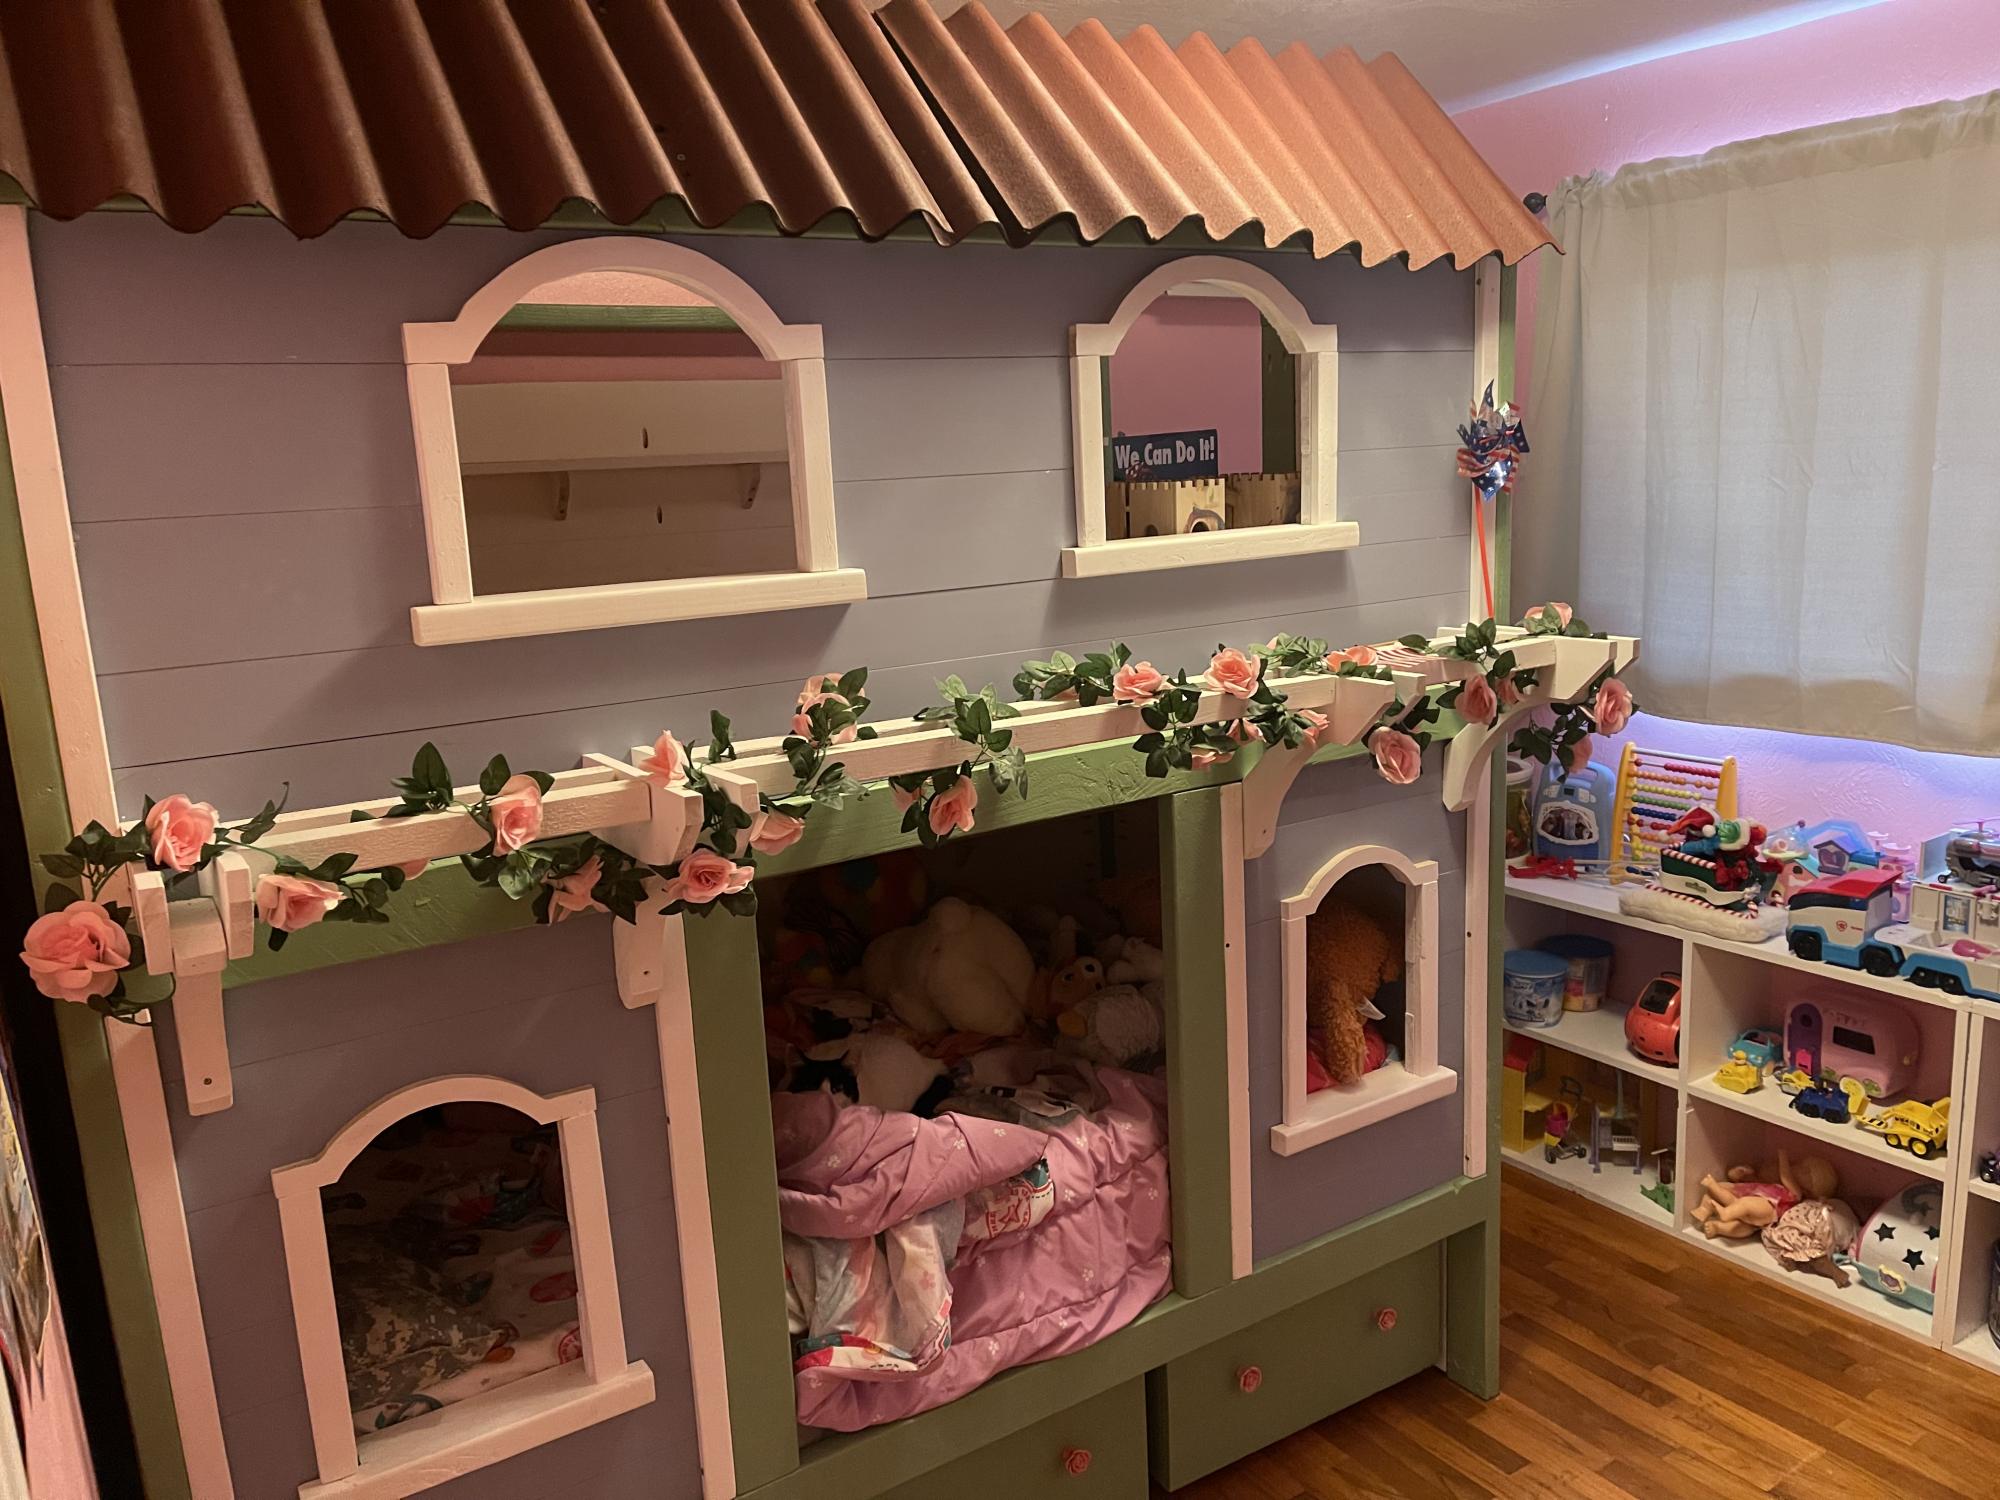
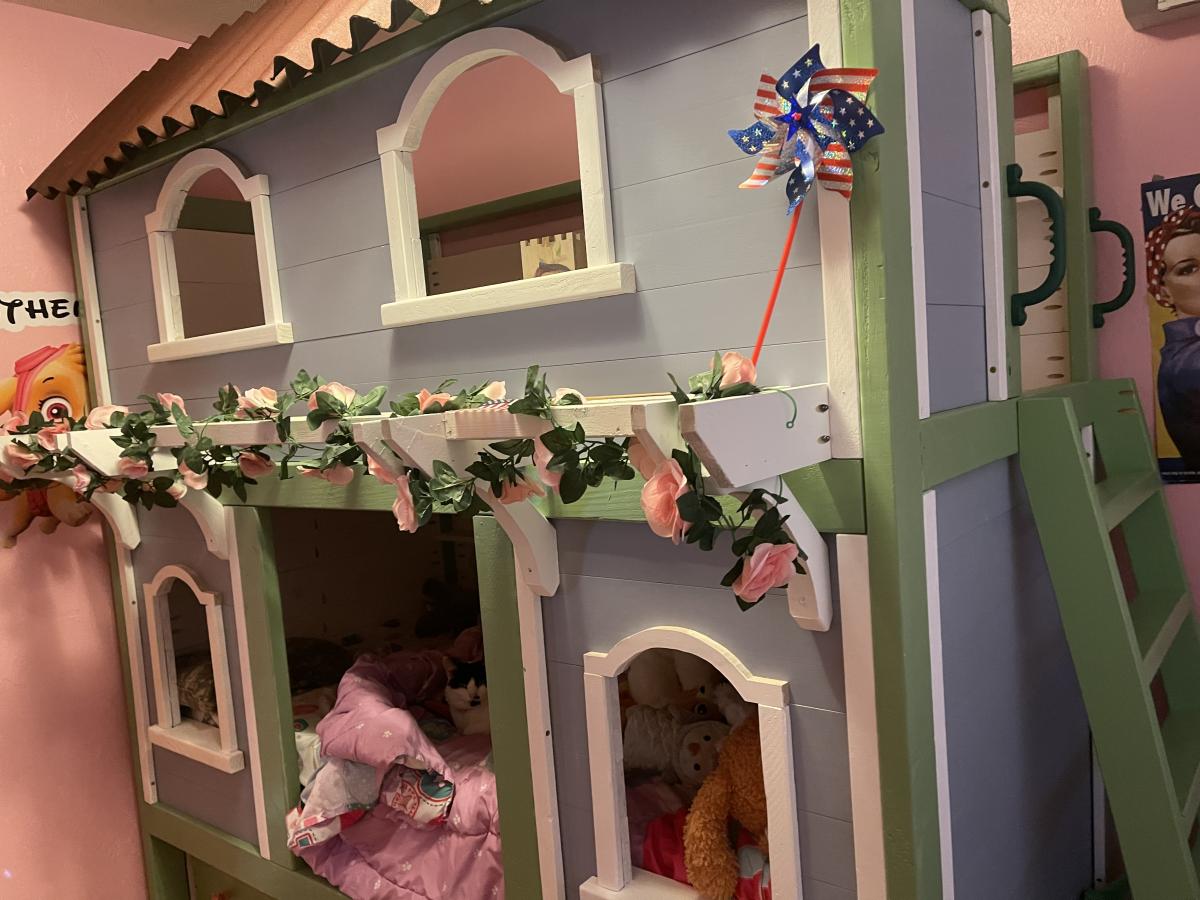
So thankful for these plans. Took me weeks of on-again / off-again work - I’m slow and have a busy schedule. At times frustrating and challenging (I think I overestimated my abilities when I chose this project). But totally worth it.

Made the upper story a play area. Added a ladder due to limited space. Storage boxes are awesome and provide ample storage. Daughter couldn’t be happier.

Estimated Time Investment
Week Long Project (20 Hours or More)
Recommended Skill Level
Intermediate

Comments

Bunkbed

Submitted by megan_m on Fri, 04/26/2013 - 12:59

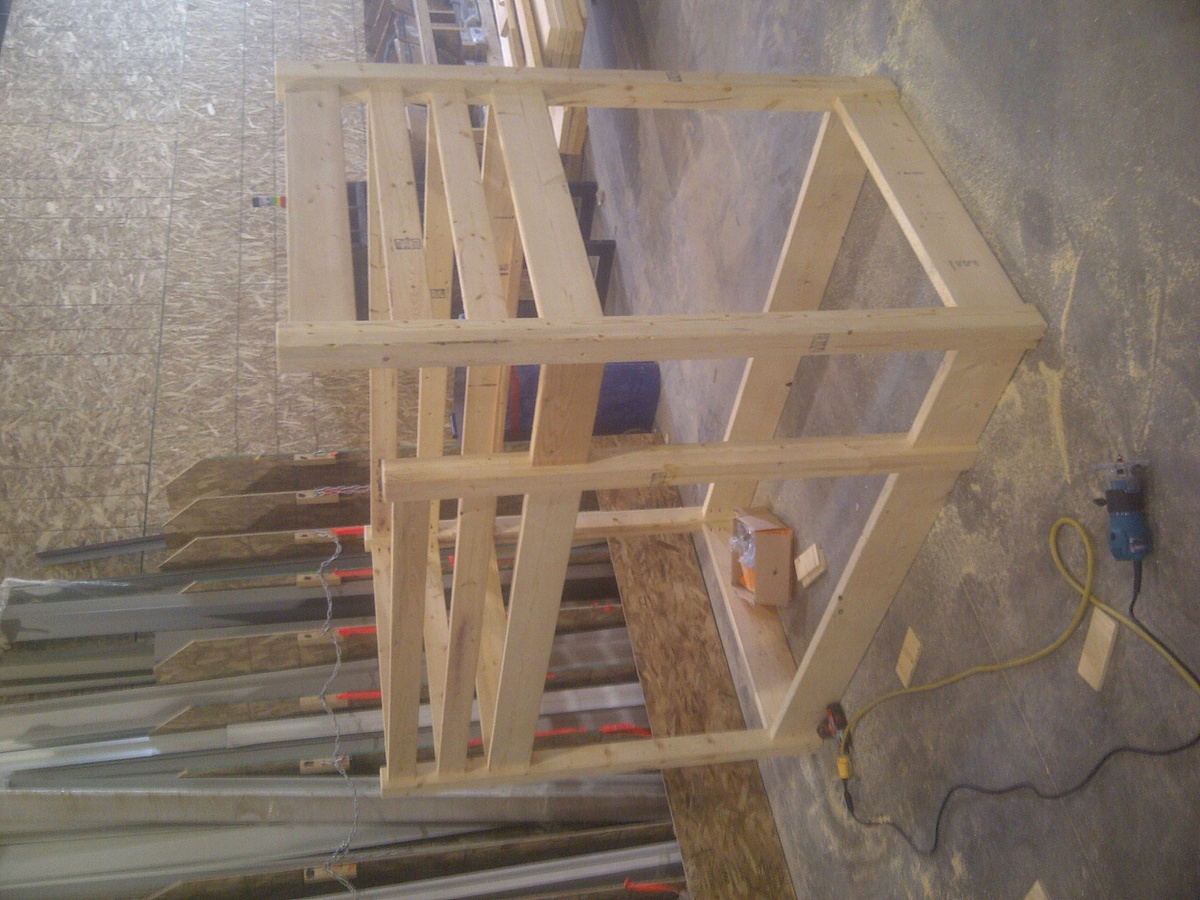
I designed this bed that we built with inspiration from Ana's camp loft bed plans, but without stairs and second bed underneath.

We couldn't find untreated 4x4's for the legs so my husband glued two 2X4's together. In the end you can hardly tell that they aren't one piece.

Estimated Cost
$100
Estimated Time Investment
Day Project (6-9 Hours)
Finish Used
Wood Conditioner
Varathane Dark Walnut Gel Stain
Spray-on Lacquer
Recommended Skill Level
Beginner

Comments

mezzopiana

Sat, 04/27/2013 - 05:34

This is absolutely beautiful. I love the design and the stain colour is gorgeous too.

Husky Farmhouse Table

Submitted by jleigh333 on Wed, 03/18/2015 - 12:56

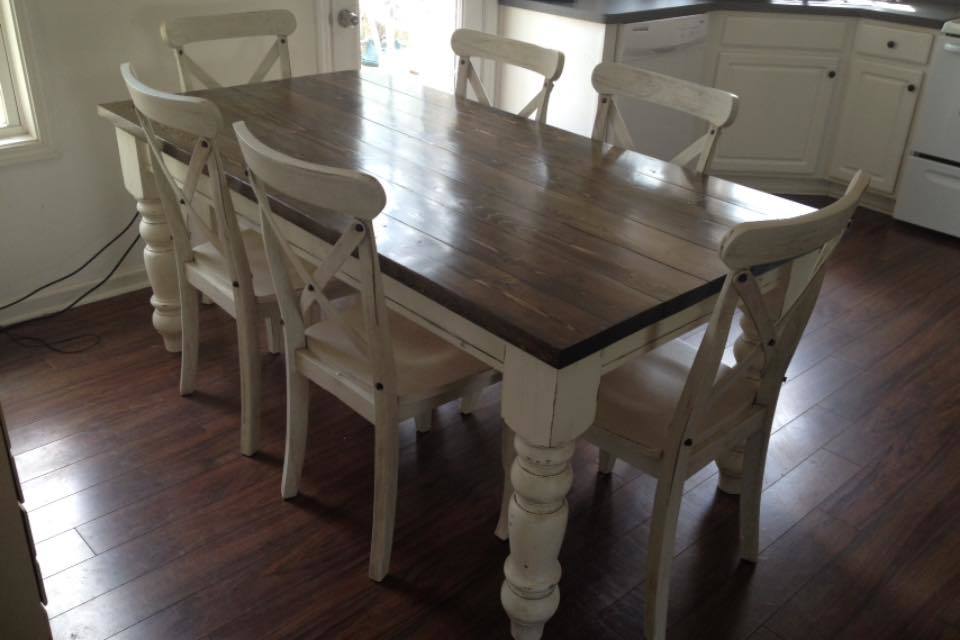
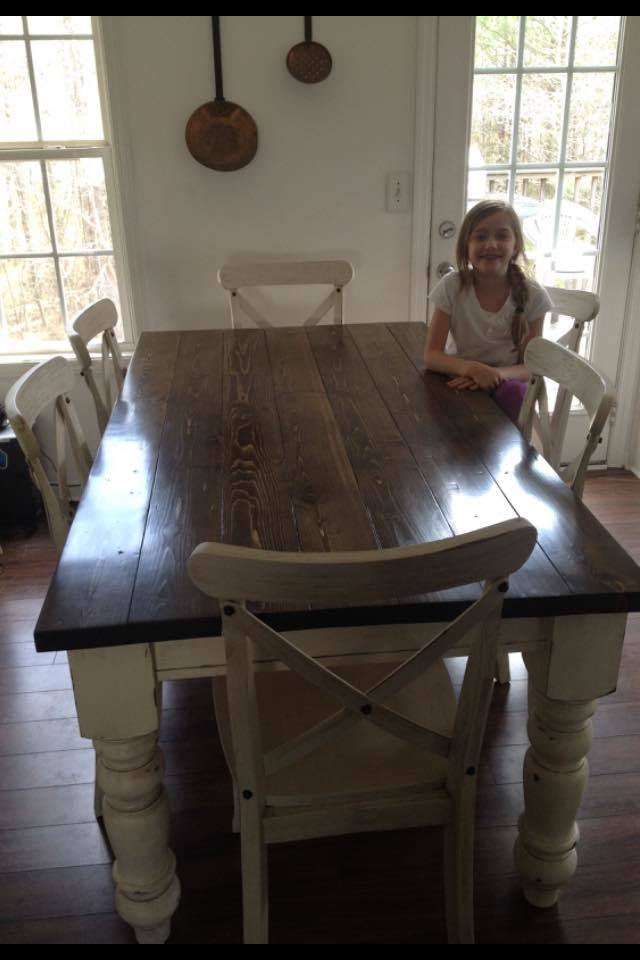
I fell in love with this table as soon as I saw it! I made another farhouse table last year (first table I'd ever built) and liked it okay but I had made a lot of mistakes. The old table is now my work table in the garage- which is great because I needed a bigger work surface anyway! I tried to make my table just like Ana's version but I used regular latex flat paint over the stain instead of milk paint (couldn't find the type she used). I was impatient and didn't want to order it and wait for it to be shipped. I was kinda hoping it would flake/crack a little but it didn't. Oh well, I still really like how the legs turned out. I stained them (and the top) with a 50/50 mixture of Minwax stain in dark walnut and classic gray. I used three coats of Minwax fast drying poly on the table top and just rubbed the legs/base with a furniture wax to give them a little bit of a smooth sheen. I also distressed them a little bit. I like how the dark stain kinda bled through the paint. It really helped to add to the antique effect. I wish I had taken more pictures throughout the building process but I was so focused on the job that I just didn't think about it! Anyway, I just love this table! It was really fun to build and the turned legs take it to the next level! 

Built from Plan(s)
Estimated Cost
$400
Estimated Time Investment
Weekend Project (10-20 Hours)
Finish Used
Minwax dark walnut and classic gray mixed 50/50
Minwax fast-drying polyurethane
flat latex paint in an antique white/cream
clear furniture wax
Recommended Skill Level
Beginner

Comments

tammyj

Thu, 02/01/2018 - 10:37

Love this table!!!! Can you tell me the wood species that you used?Love the stain color!!!

tammyj

Thu, 02/01/2018 - 10:38

Love this table!!!! Can you tell me the wood species that you used?Love the stain color!!!

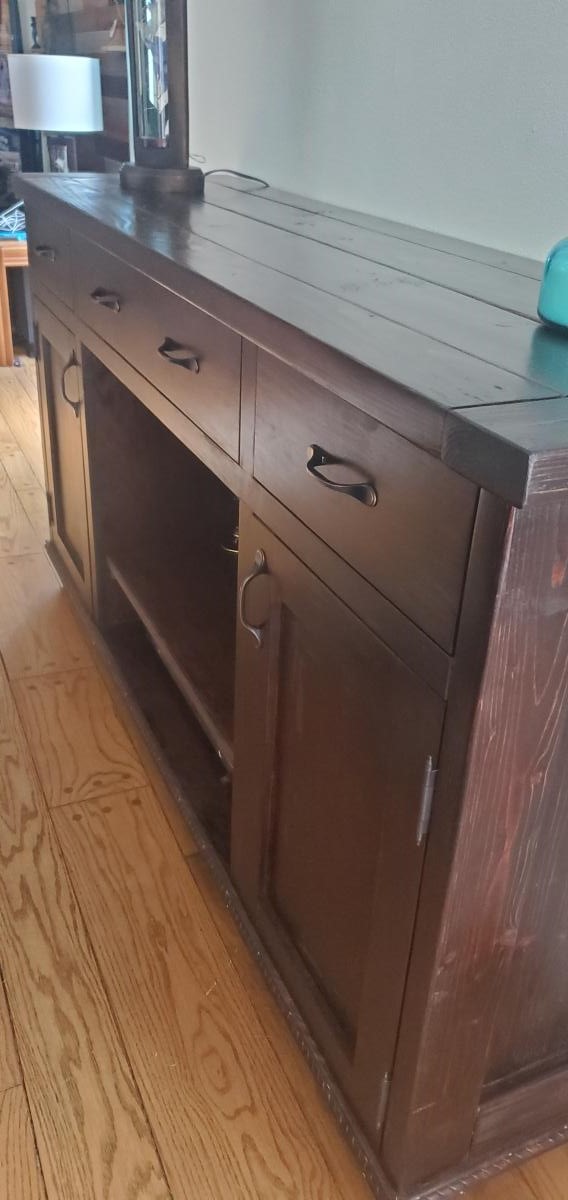
Modified plans of planked side board. First ever wood work project.

Submitted by Karin T on Tue, 08/31/2021 - 10:23

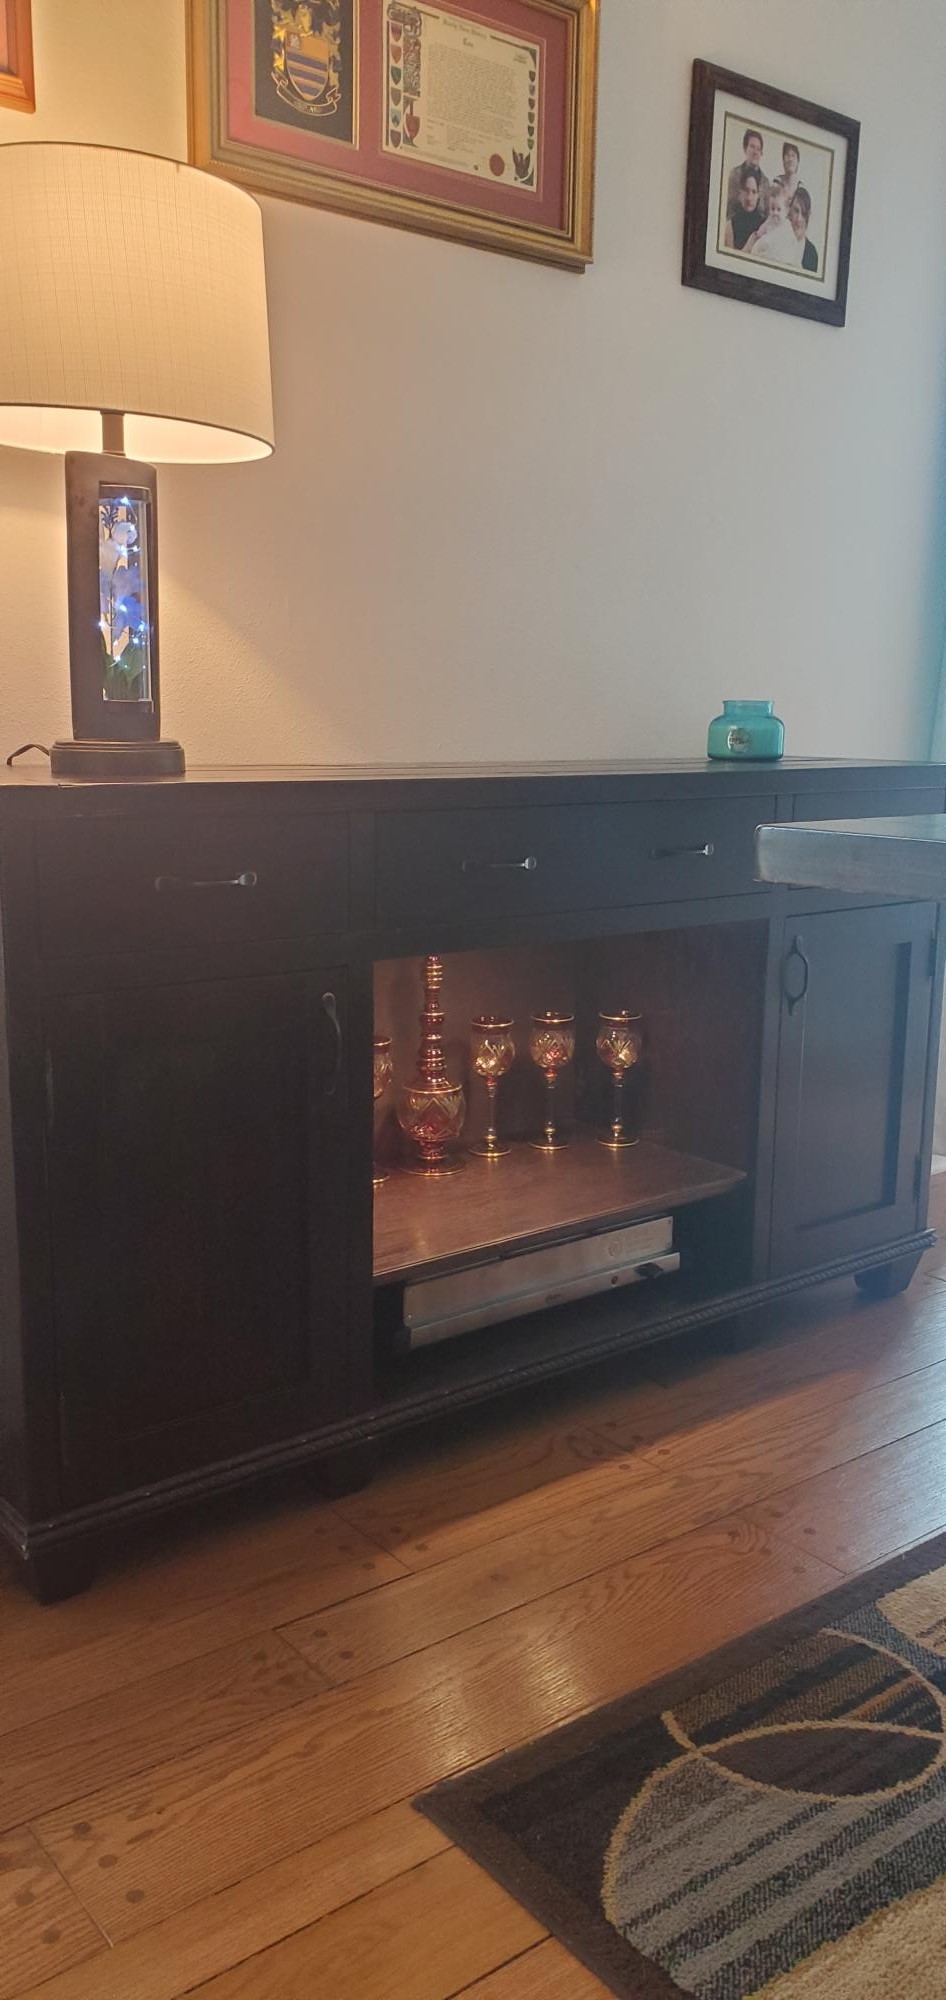
I looked forever for a sideboard which matched my planked dining room table and this was it, so decided to build it. It took me 3 months as I had no prior woodworking experience. Behind the drawer panels I actually wrote on the drawers 'Maybe should have started with a birdhouse!'. I could not love it more if I had given birth to it. LOL On to the next project...

Built from Plan(s)

Comments

Surf Shack Loft Bed

Submitted by chrissywe on Mon, 04/29/2013 - 11:22

Taken from inspiration from the original Clubhouse Bed and from the "Treehouse Bed" in the Pottery Barn Kids catalog, my daughter's "Surf Shack" bed was created. Total cost for supplies (mainly lumber) ~$300. Pottery Barn's version: $1,500. Yikes!

Wicker turtles from Pottery Barn Kids (size: SMALL). Fishing Net from Oriental Trading Co.

Built from Plan(s)
Estimated Cost
$300
Estimated Time Investment
Weekend Project (10-20 Hours)
Recommended Skill Level
Intermediate

Comments