DIY Outdoor Wood Chairs
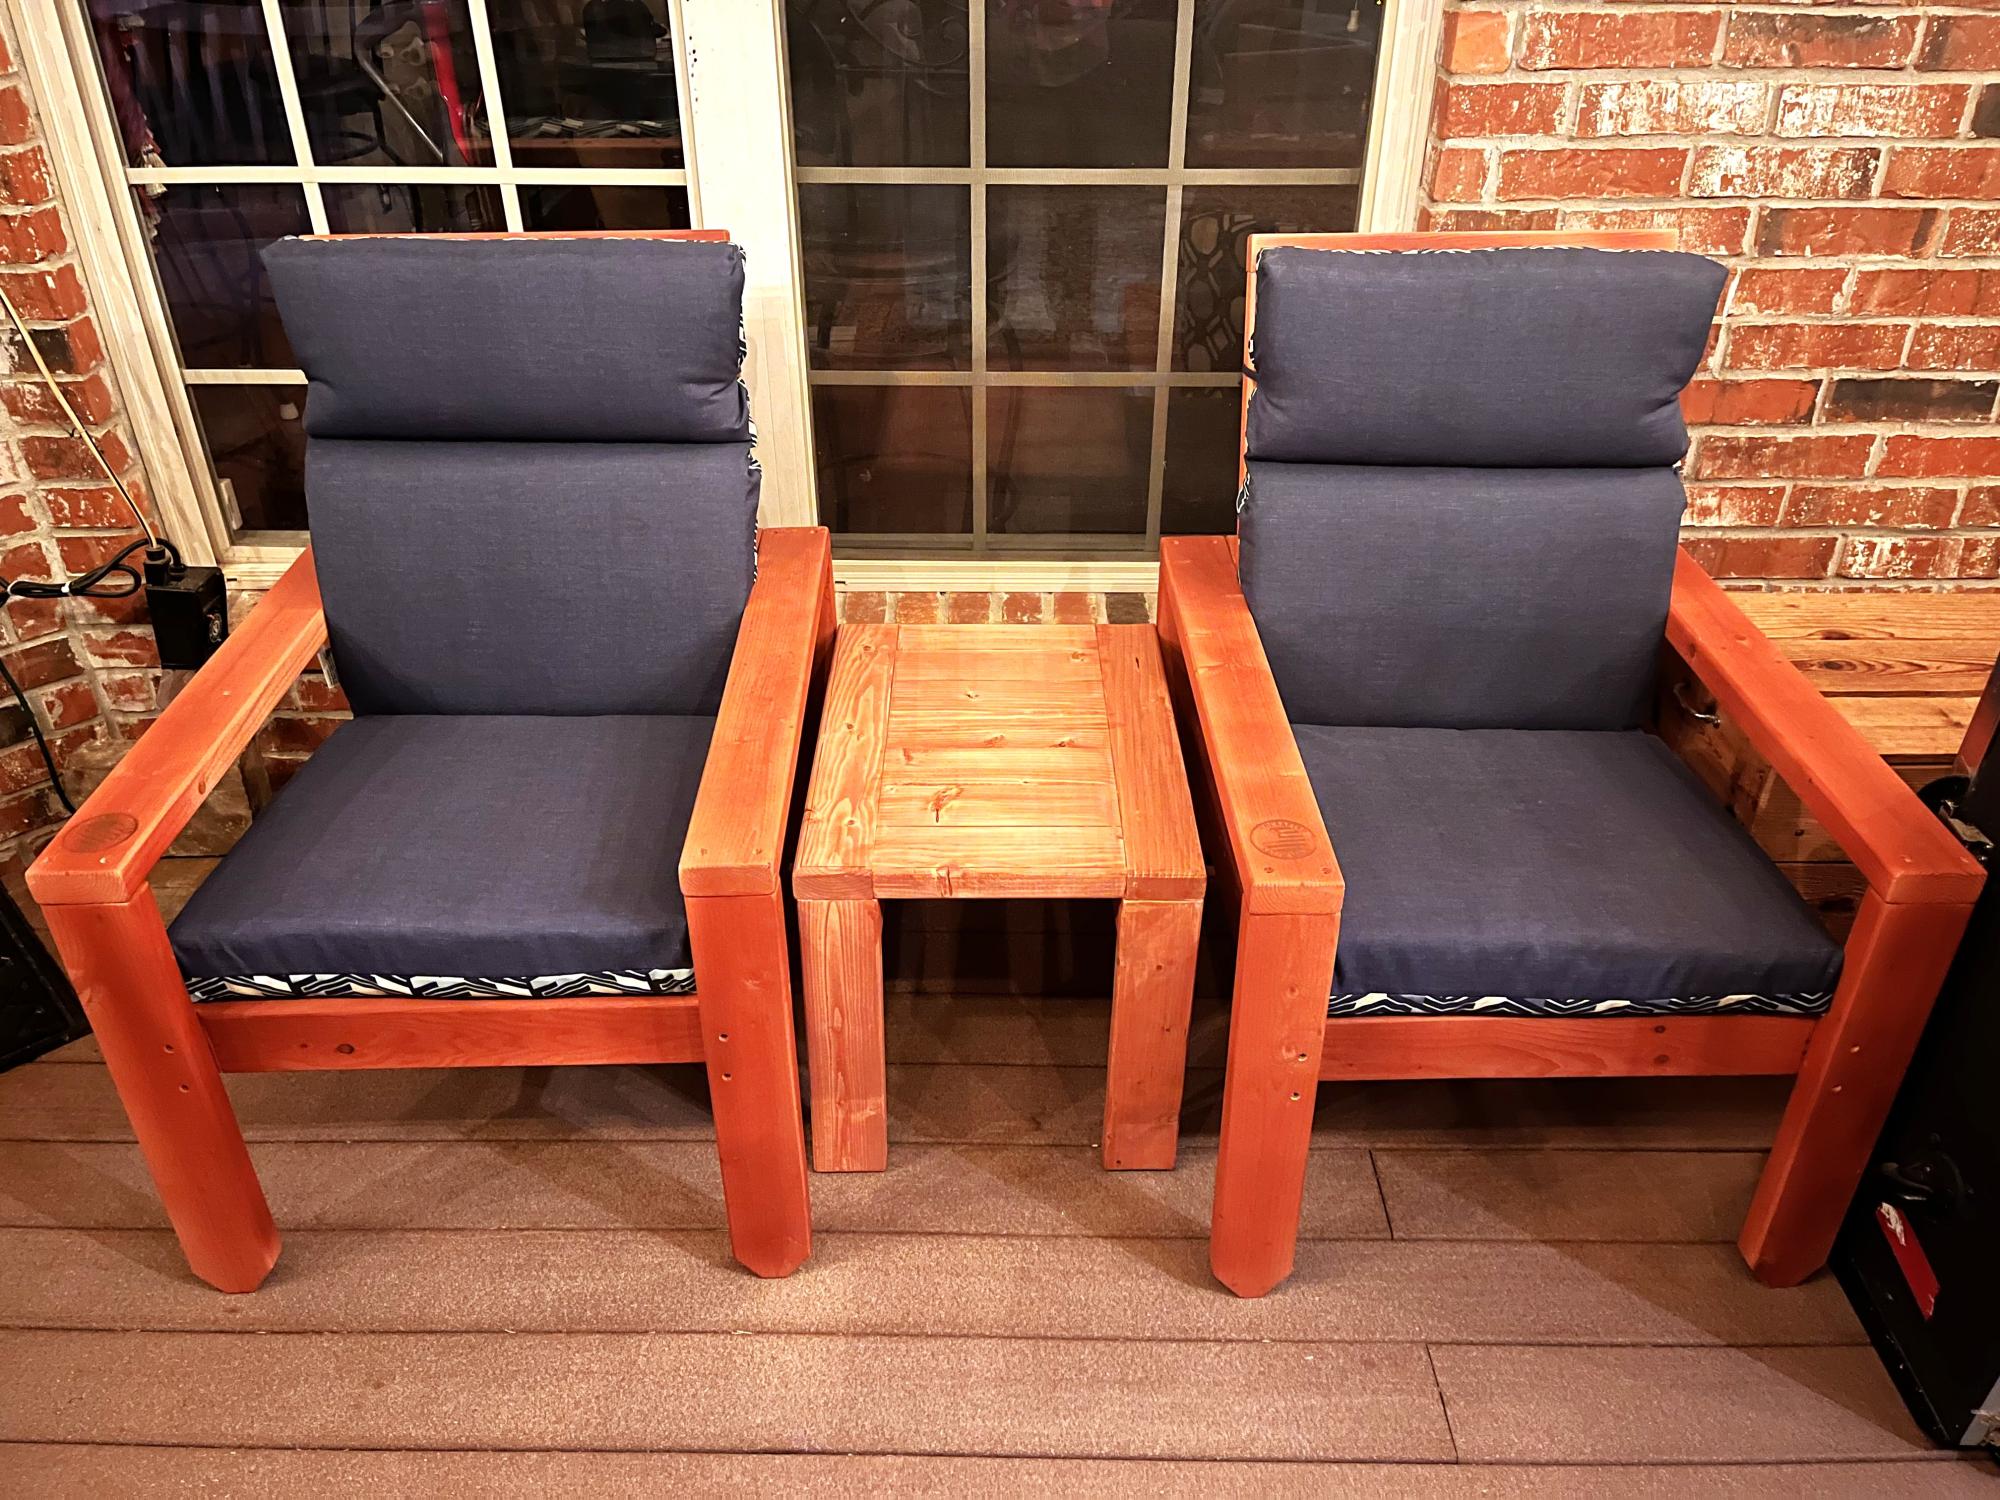
Posted the chairs recently. Here they are with the side table. Side table used 100% pocket holes.

Posted the chairs recently. Here they are with the side table. Side table used 100% pocket holes.
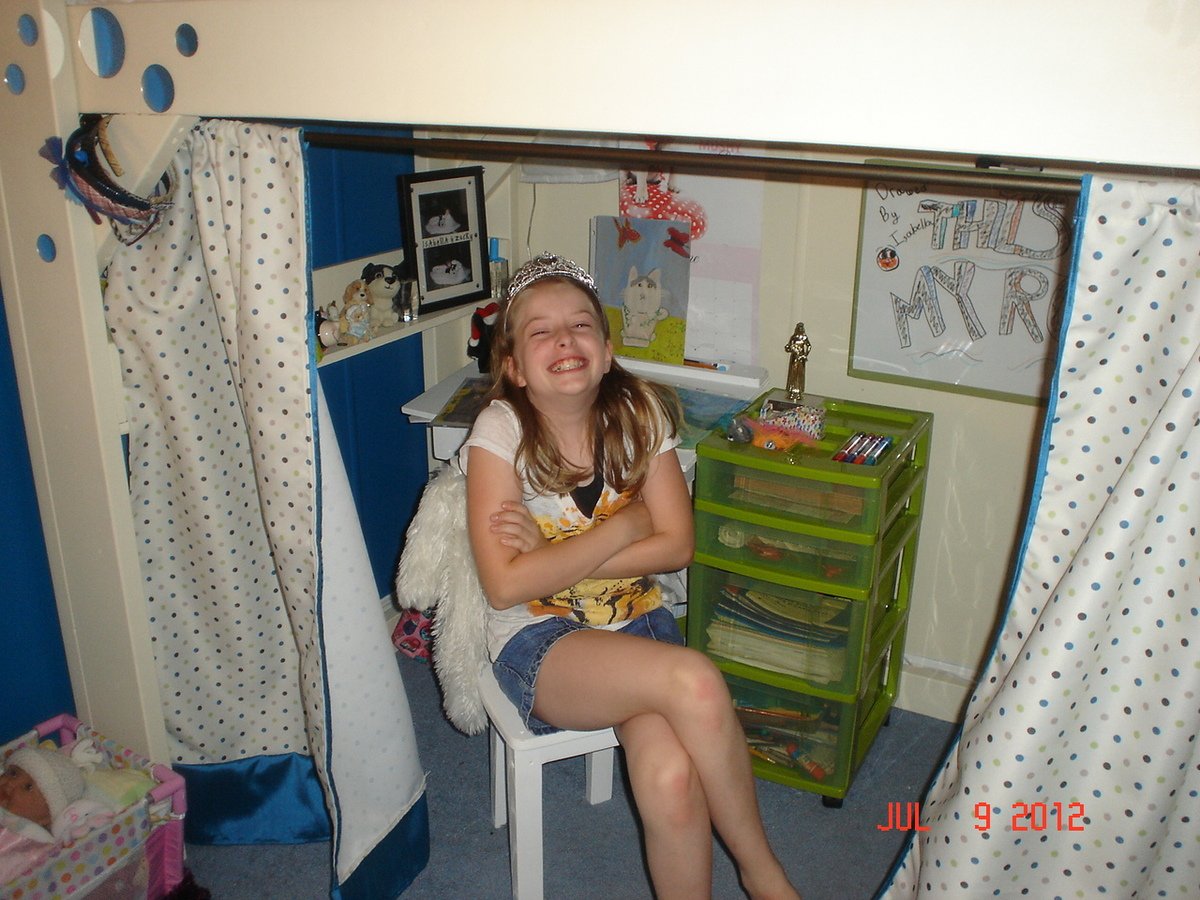
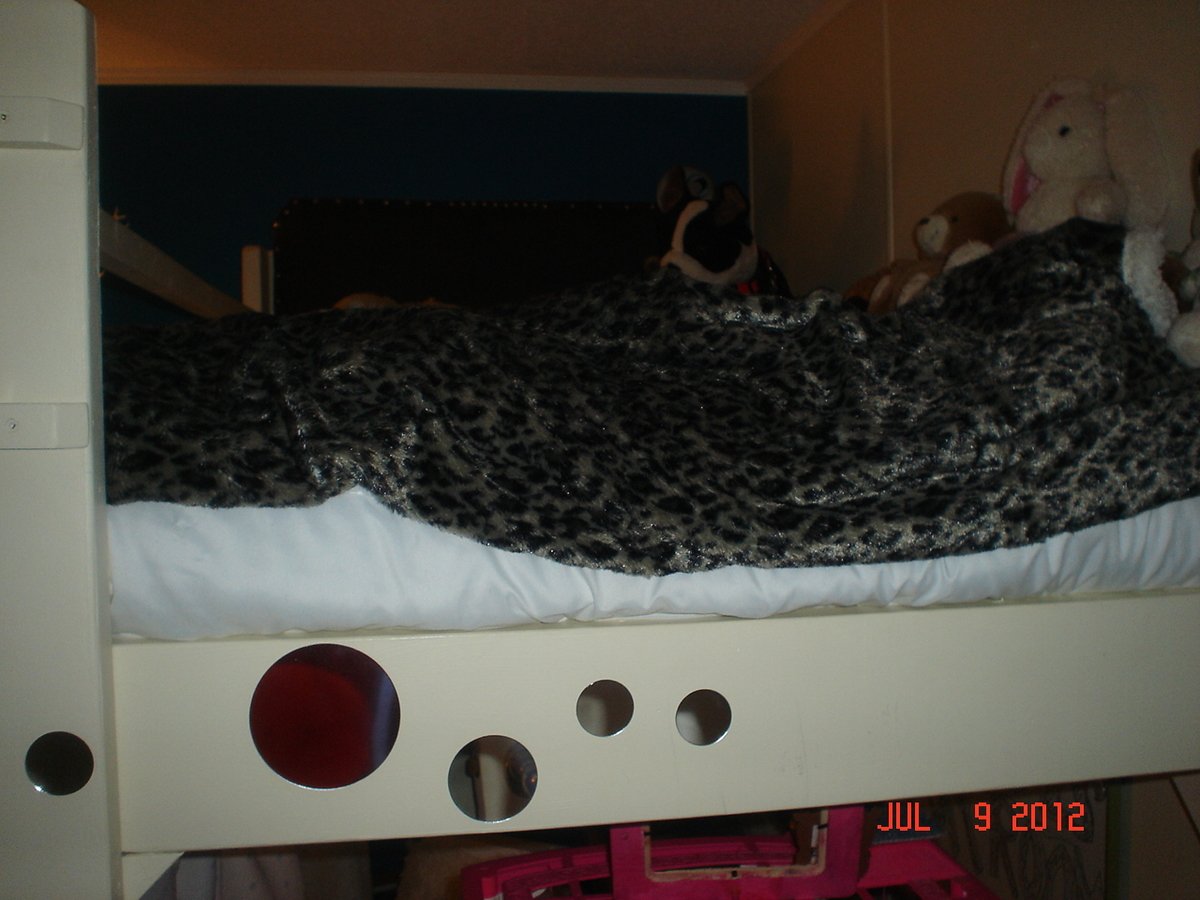
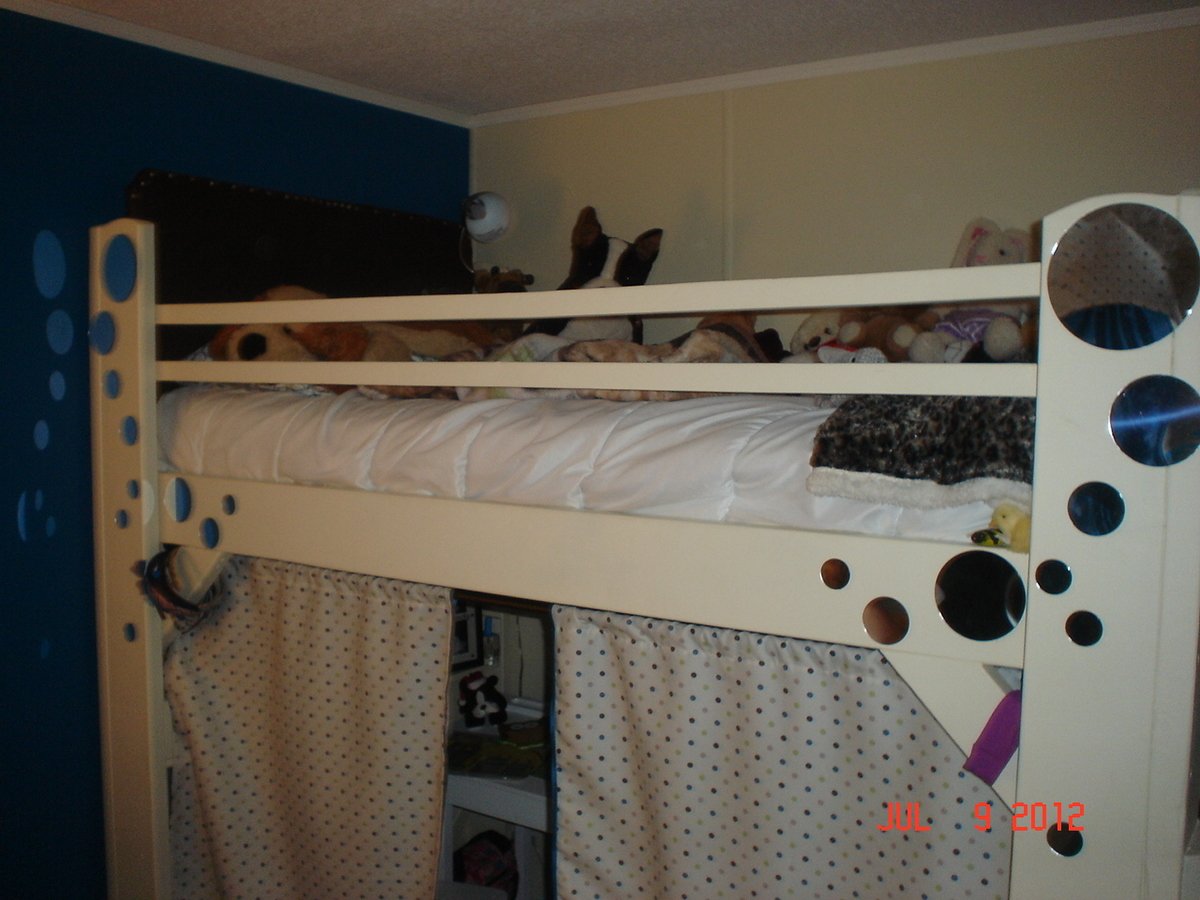
Seen the plan on another site....cannot for the life of me remember which one.....but I made my own out of the one I seen online. Sorry pictures are not that great!!! But my daughter loves it!!!!
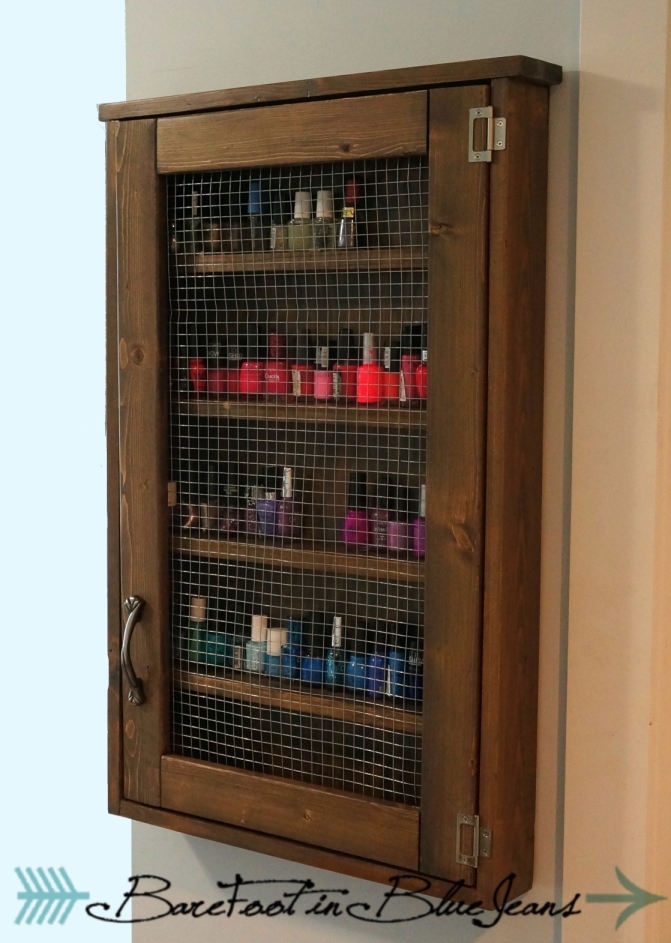
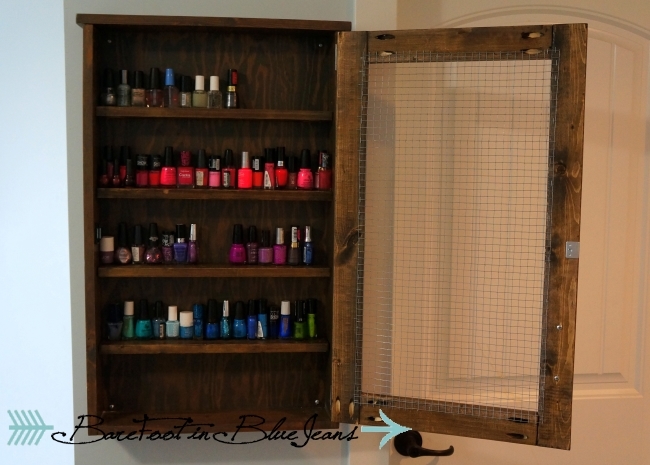
So another super awesome project from miss Ana. I dont have a lot of jewelry, but I make up for it with nail polish. I made a few minor adjustments and viola and wicked cabinet to hold all of my piggy painters!

Tue, 06/24/2014 - 10:55
Did you use 1x3s for the shelves and doors, and 1x4s for the rest? I've been needing a nail polish shelving unit, so I may copy you. :)
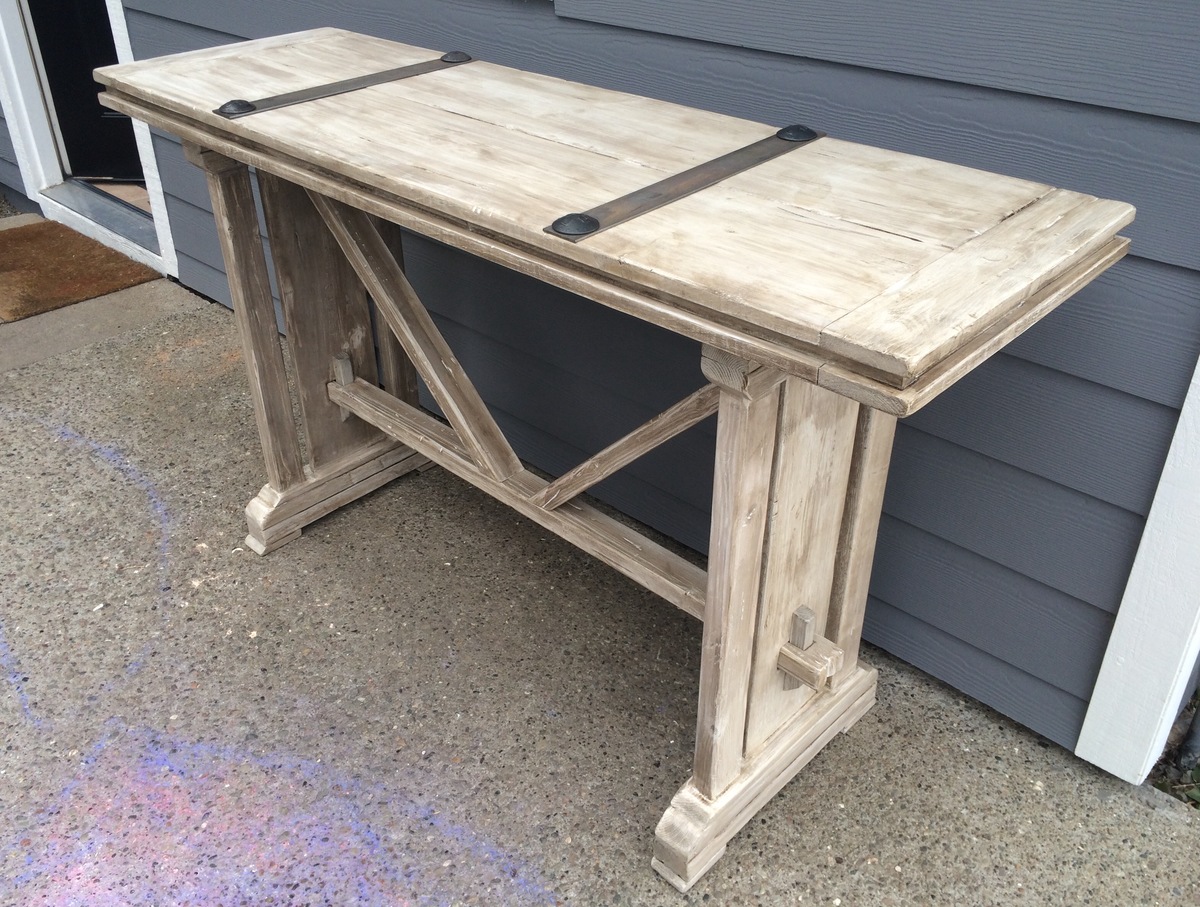
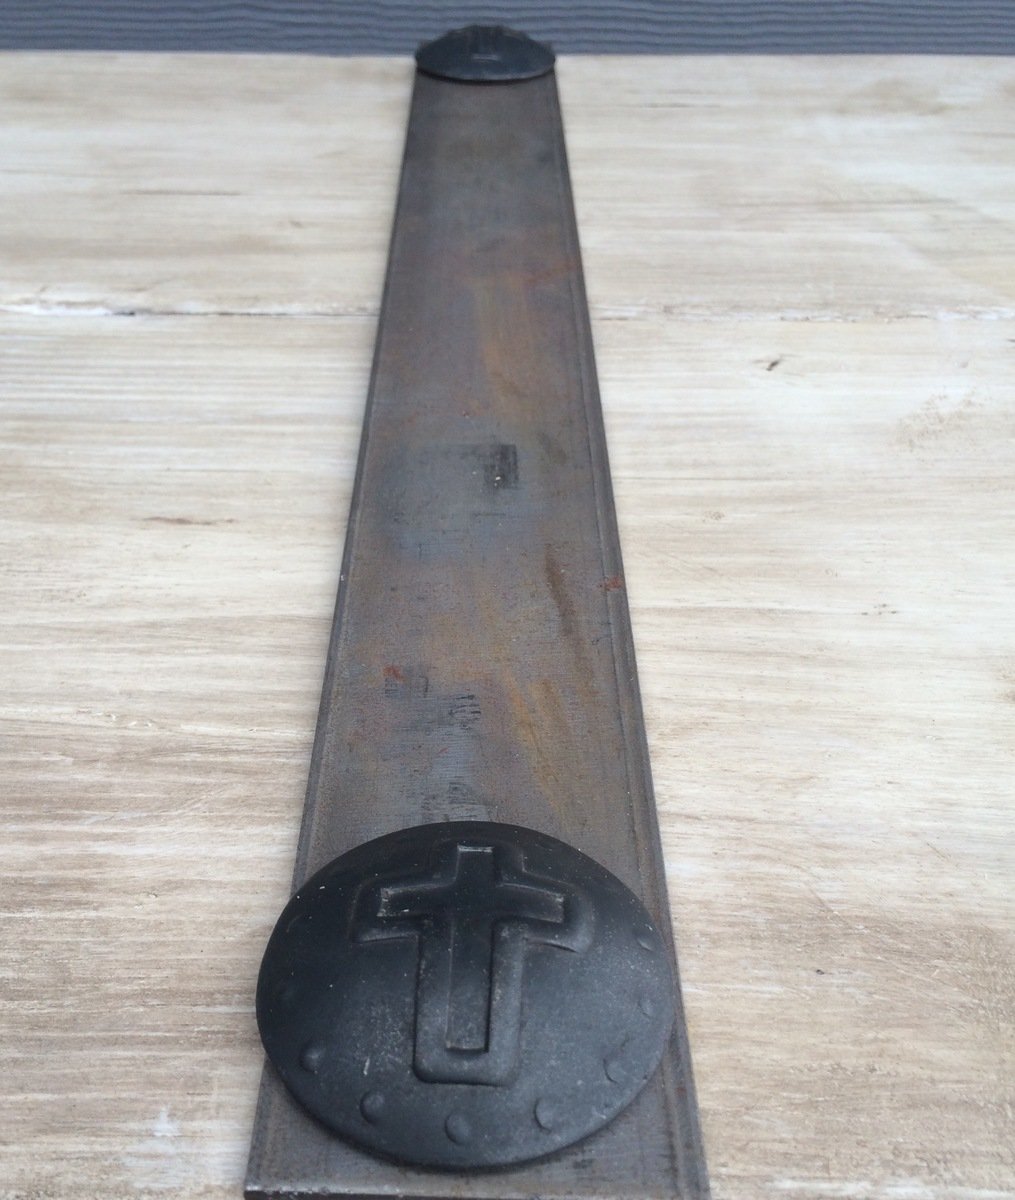
Built this entry table as a gift for my aunt. She has a beautiful Spanish style home, and I wanted to create a piece that looked as though it would have come from one of our California Spanish missions. I used the Honey Bear Lane staining technique. I used HD pine lumber and accented with metal straps from HD and clavos. This was a challenging but very fun project!
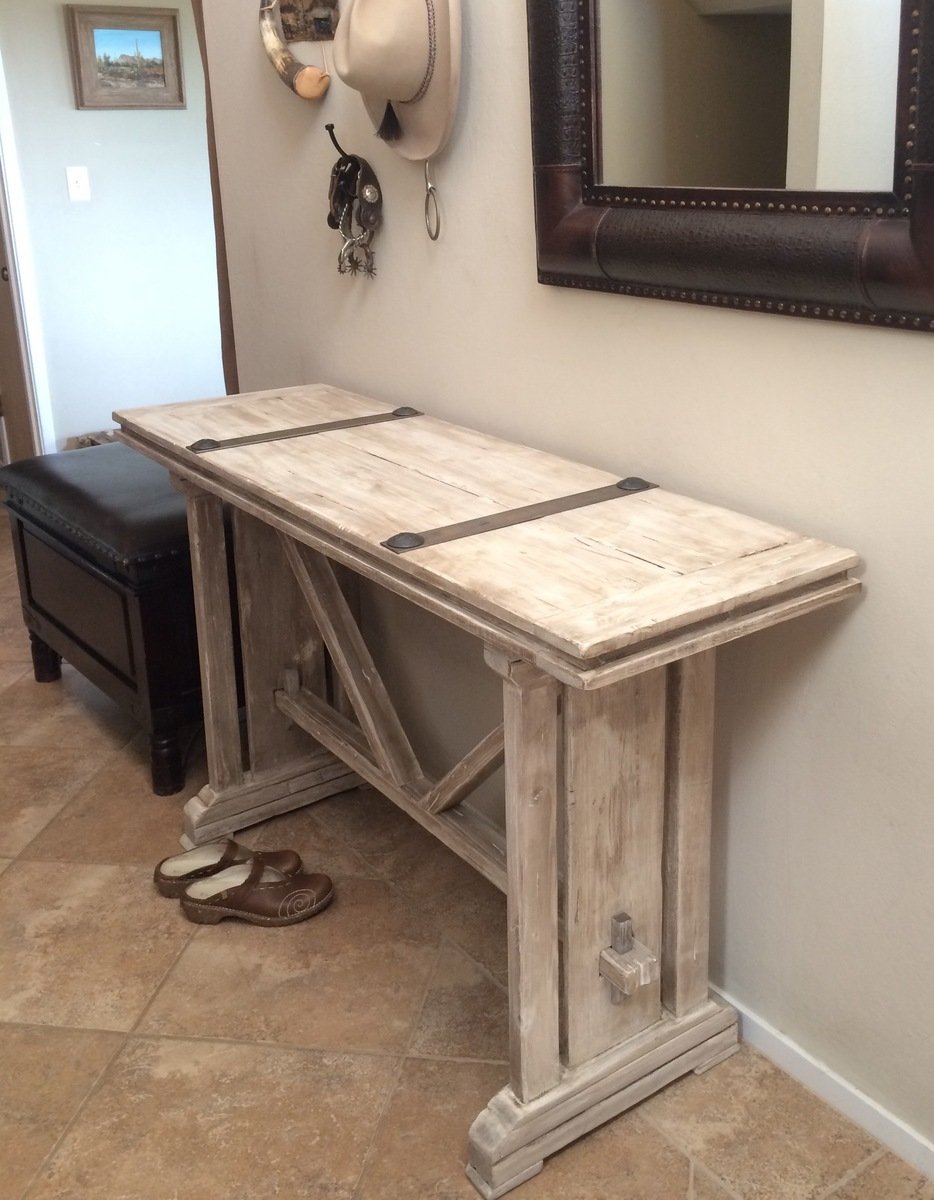
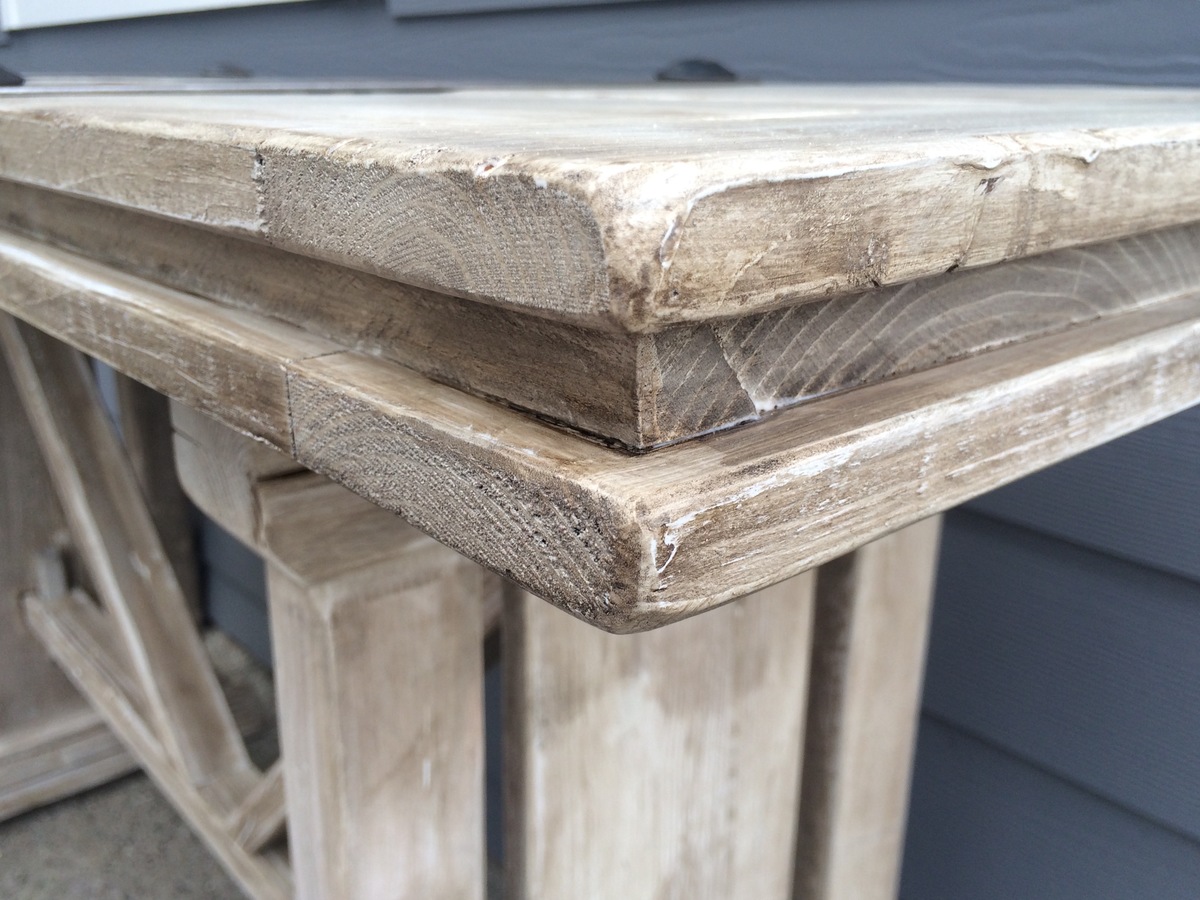
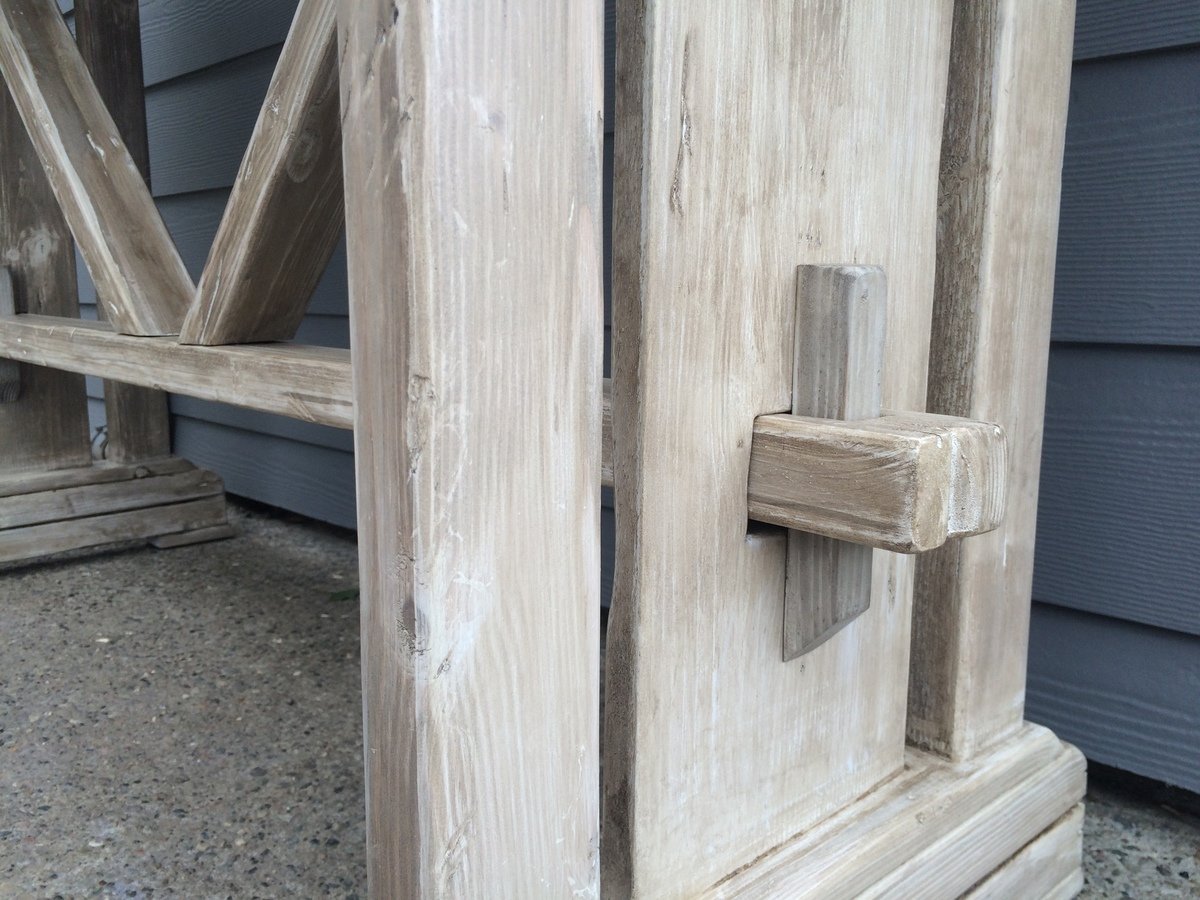
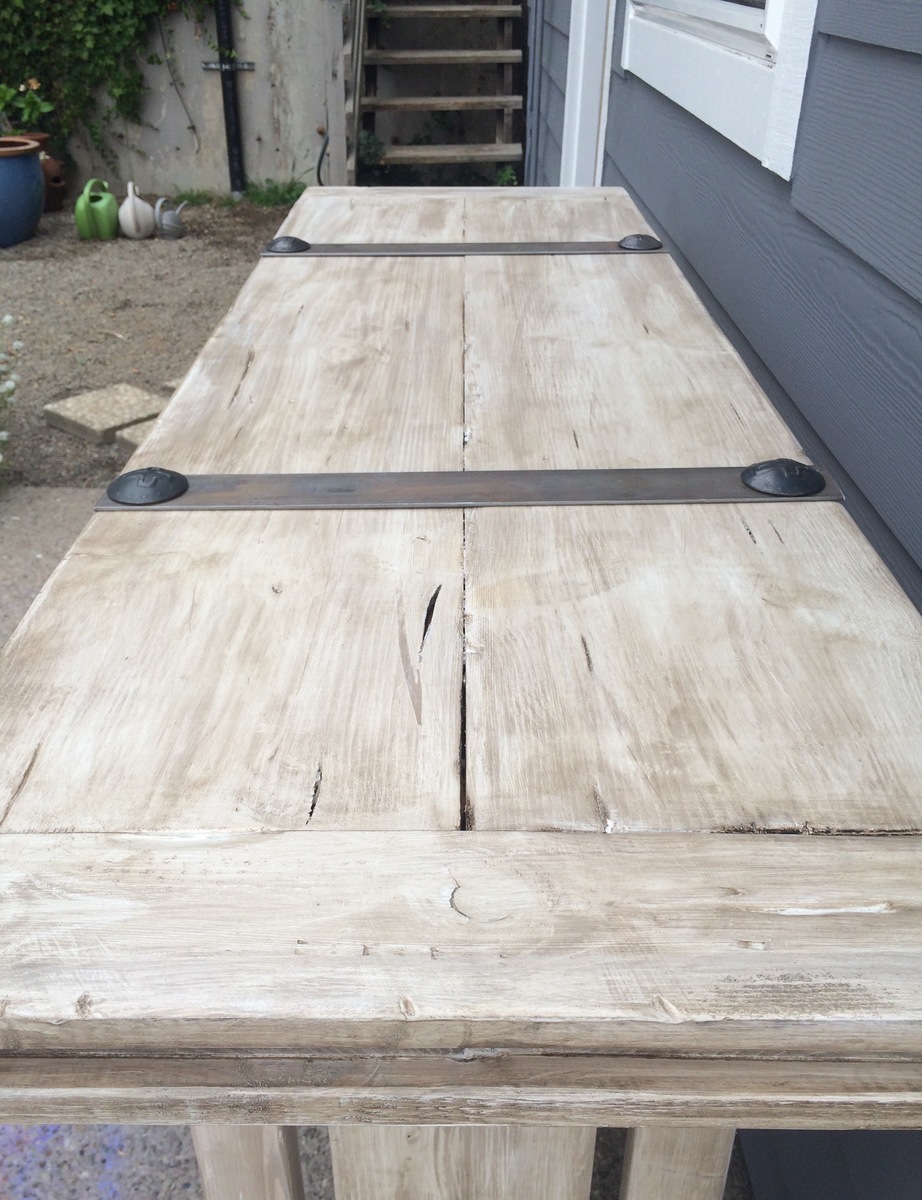

This was my first woodworking project and I absolutely love it !!
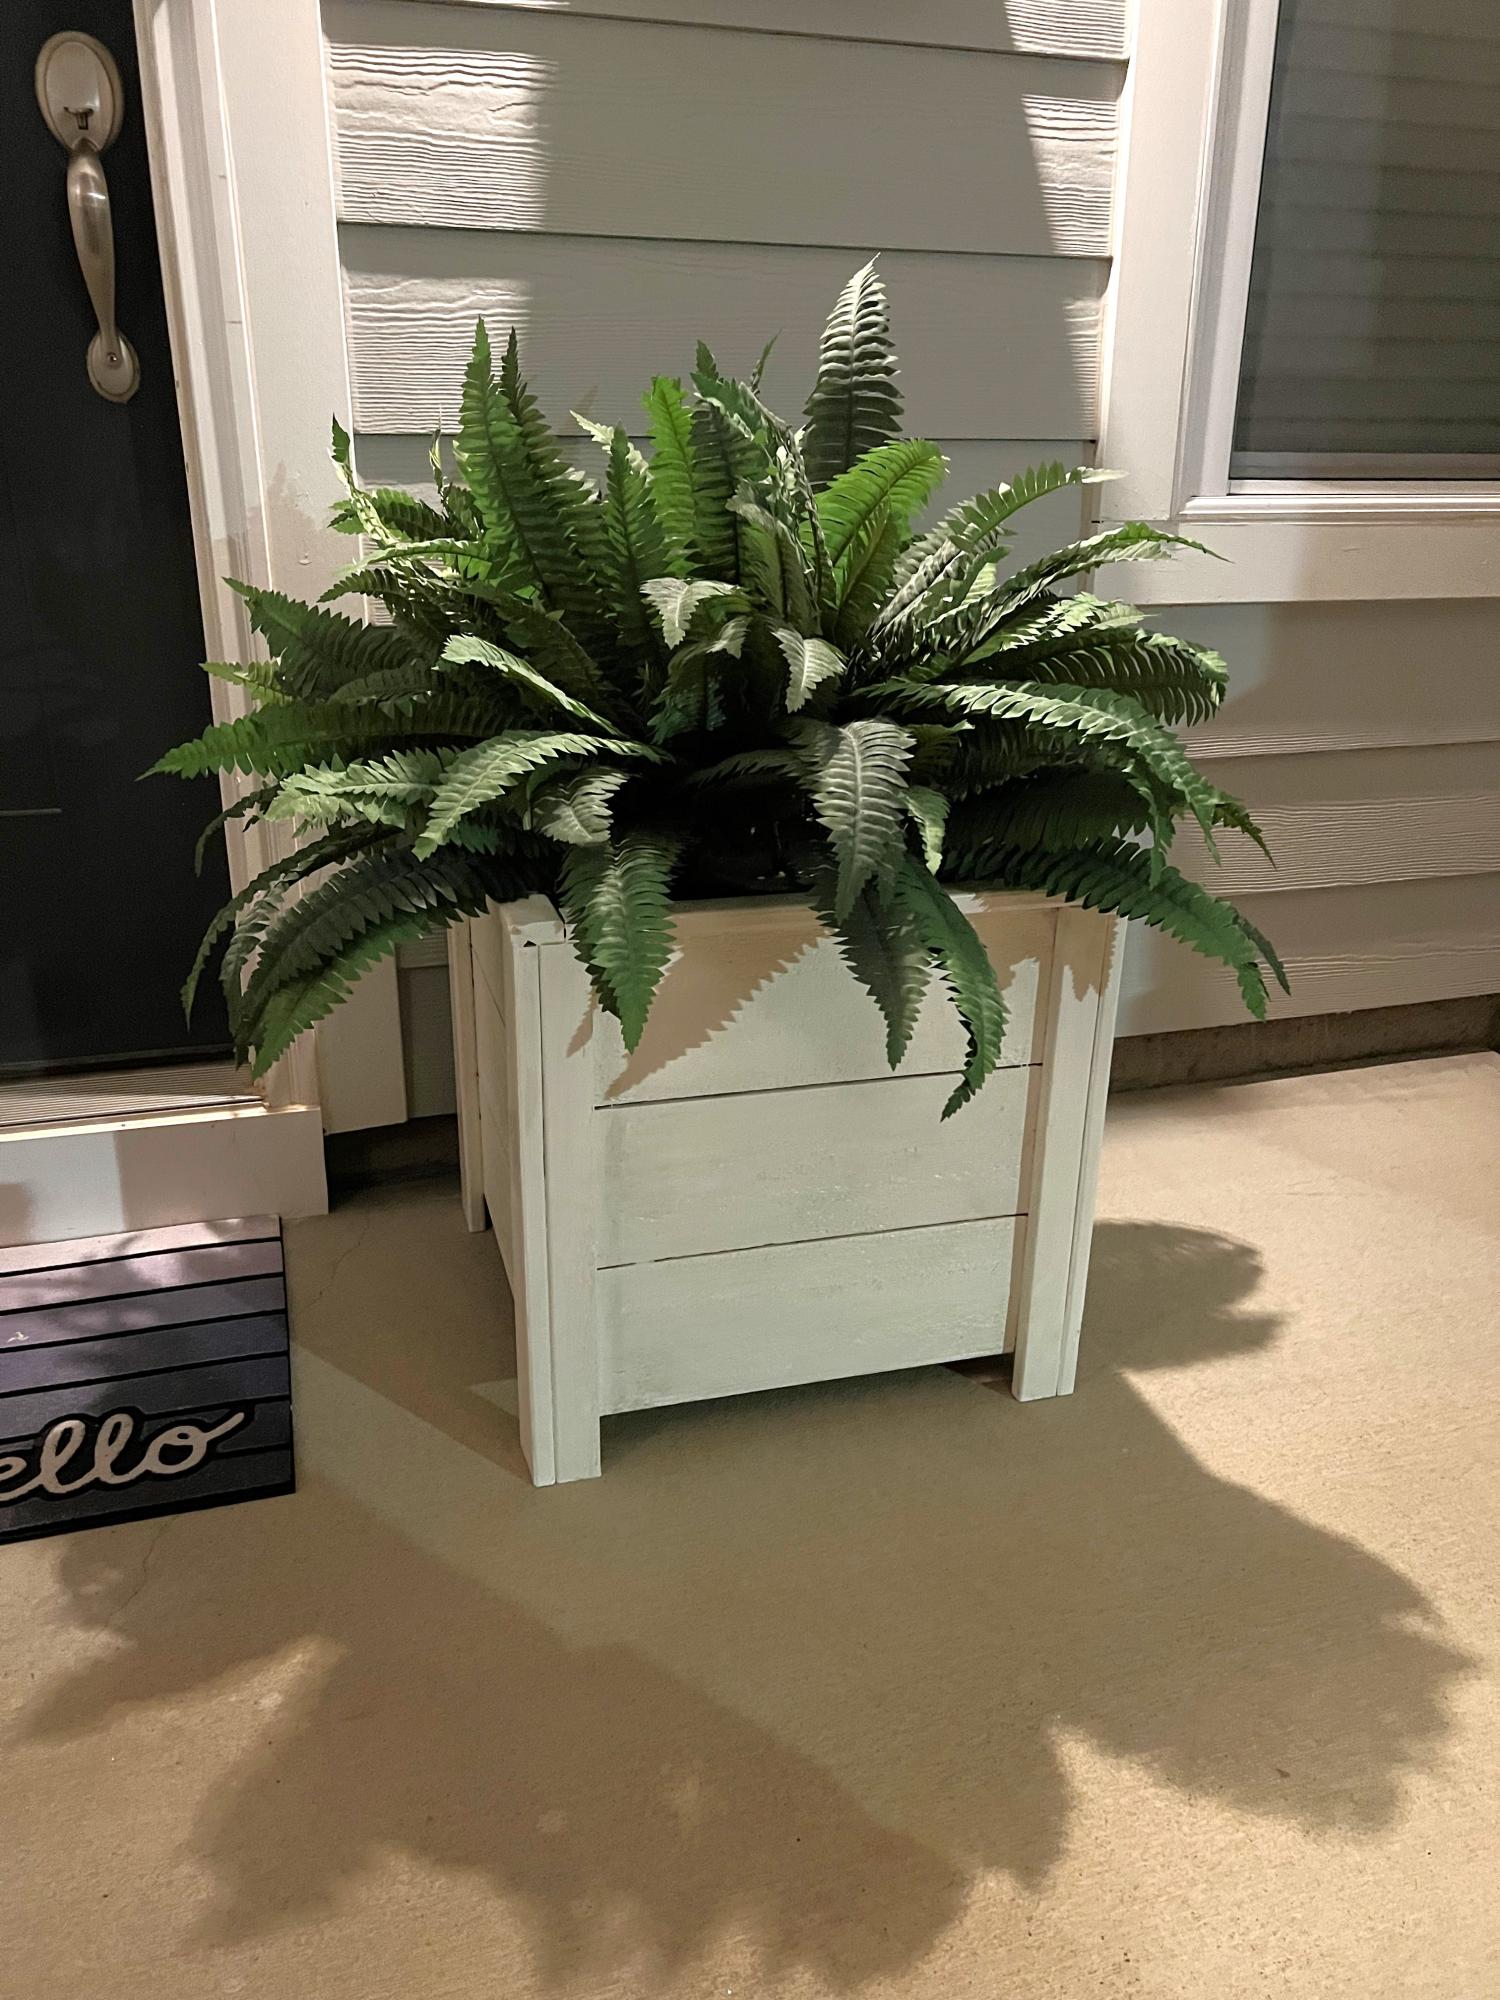
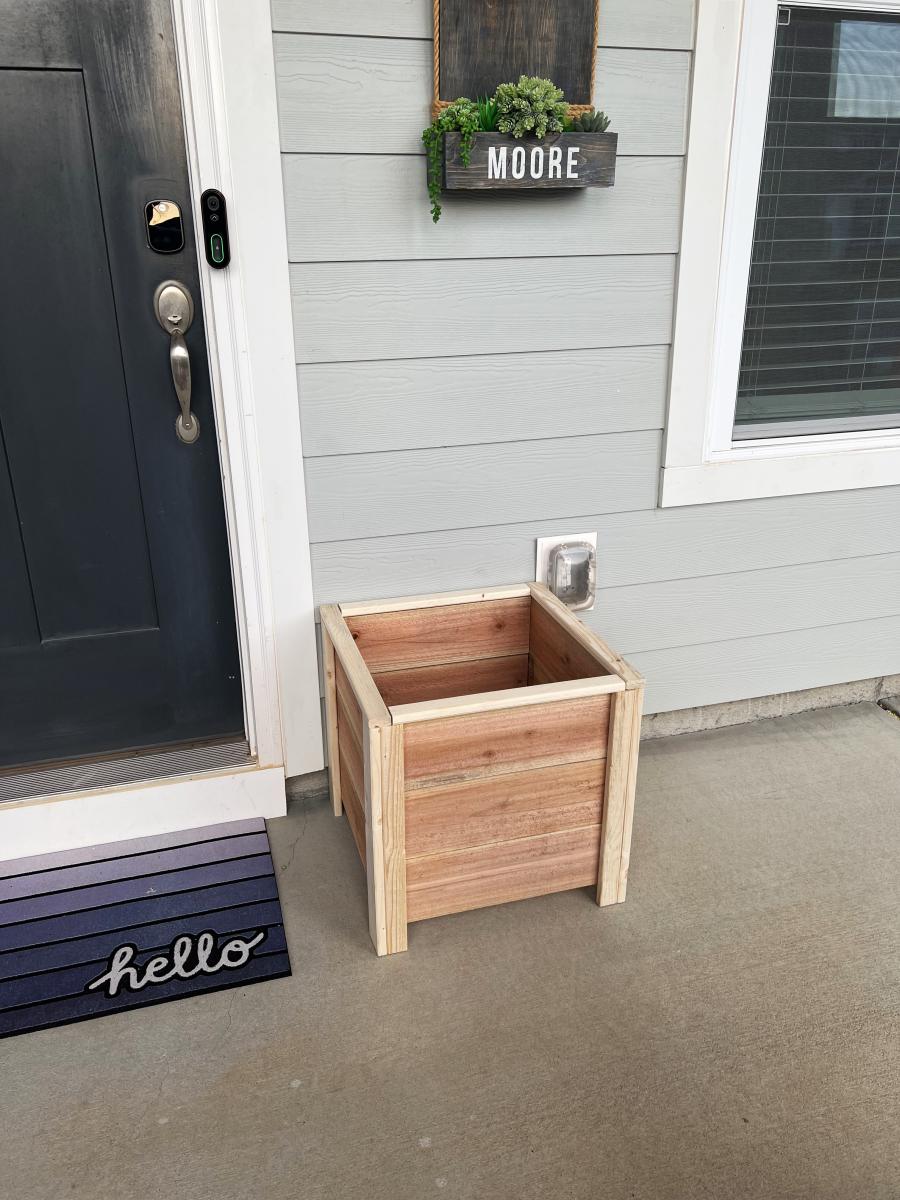
I have used other people's plans when building furniture and I find that yours are so easy to follow and the videos are perfect. I built this in a few hours and LOVE IT.
Shontelle Moore
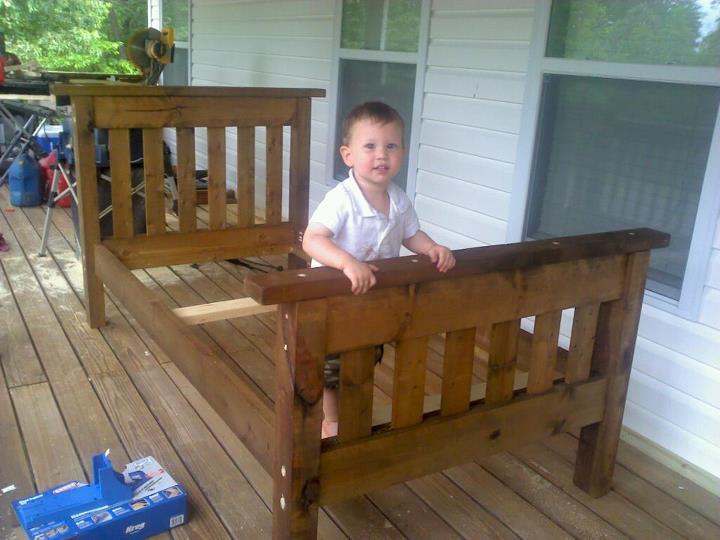
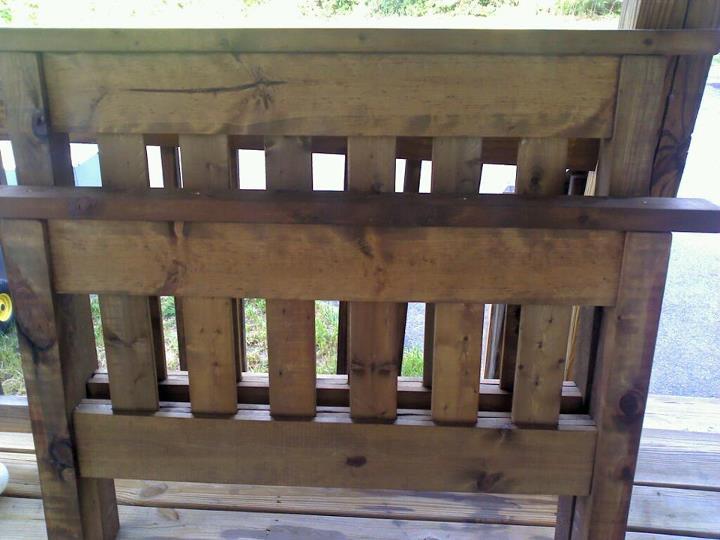
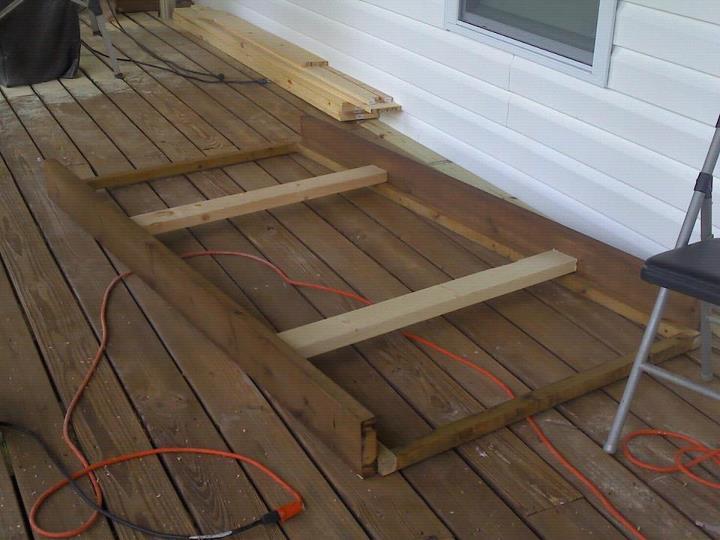
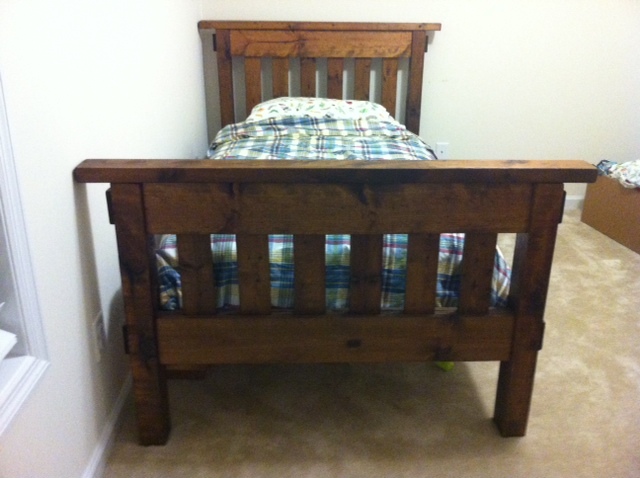
This was my first Ana White project! There was a learning curve so it took longer than it probably should have but over all the build went pretty fast. The finishing was the part that seemed to drag forever! I used a tea followed by vinegar/steal wool treatment to make it look rustic. Finished with a wipe on poly that looks great but smelled atrocious for weeks! Looks great and smells fine now. The bed is super heavy and sturdy, which shocked everyone. Not only did I build something, I built something really well and its all thanks to these awesome plans that made it too easy!
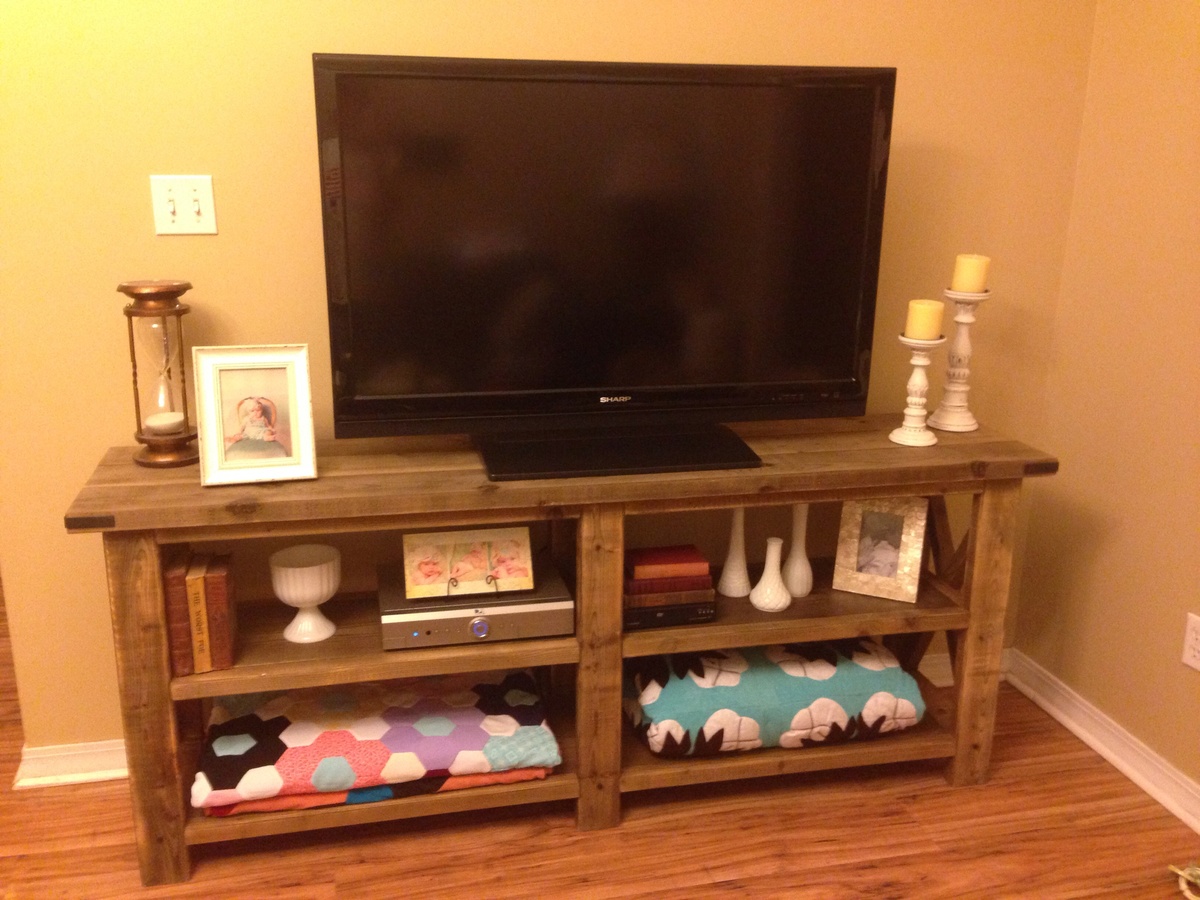
X console table with steel wool and vinegar treatment distressed and sealed with wax
I’ve been in need of a bed side table in my room for quite some time now. I need storage for things like my keys, wallet, the remote, as well as other little items that seem to get kicked around and lost. I figured it would also be nice to have a place to keep my alarm clock, I’m guessing it will be a lot more convenient to hit the snooze button in the morning if the clock is closer to me.
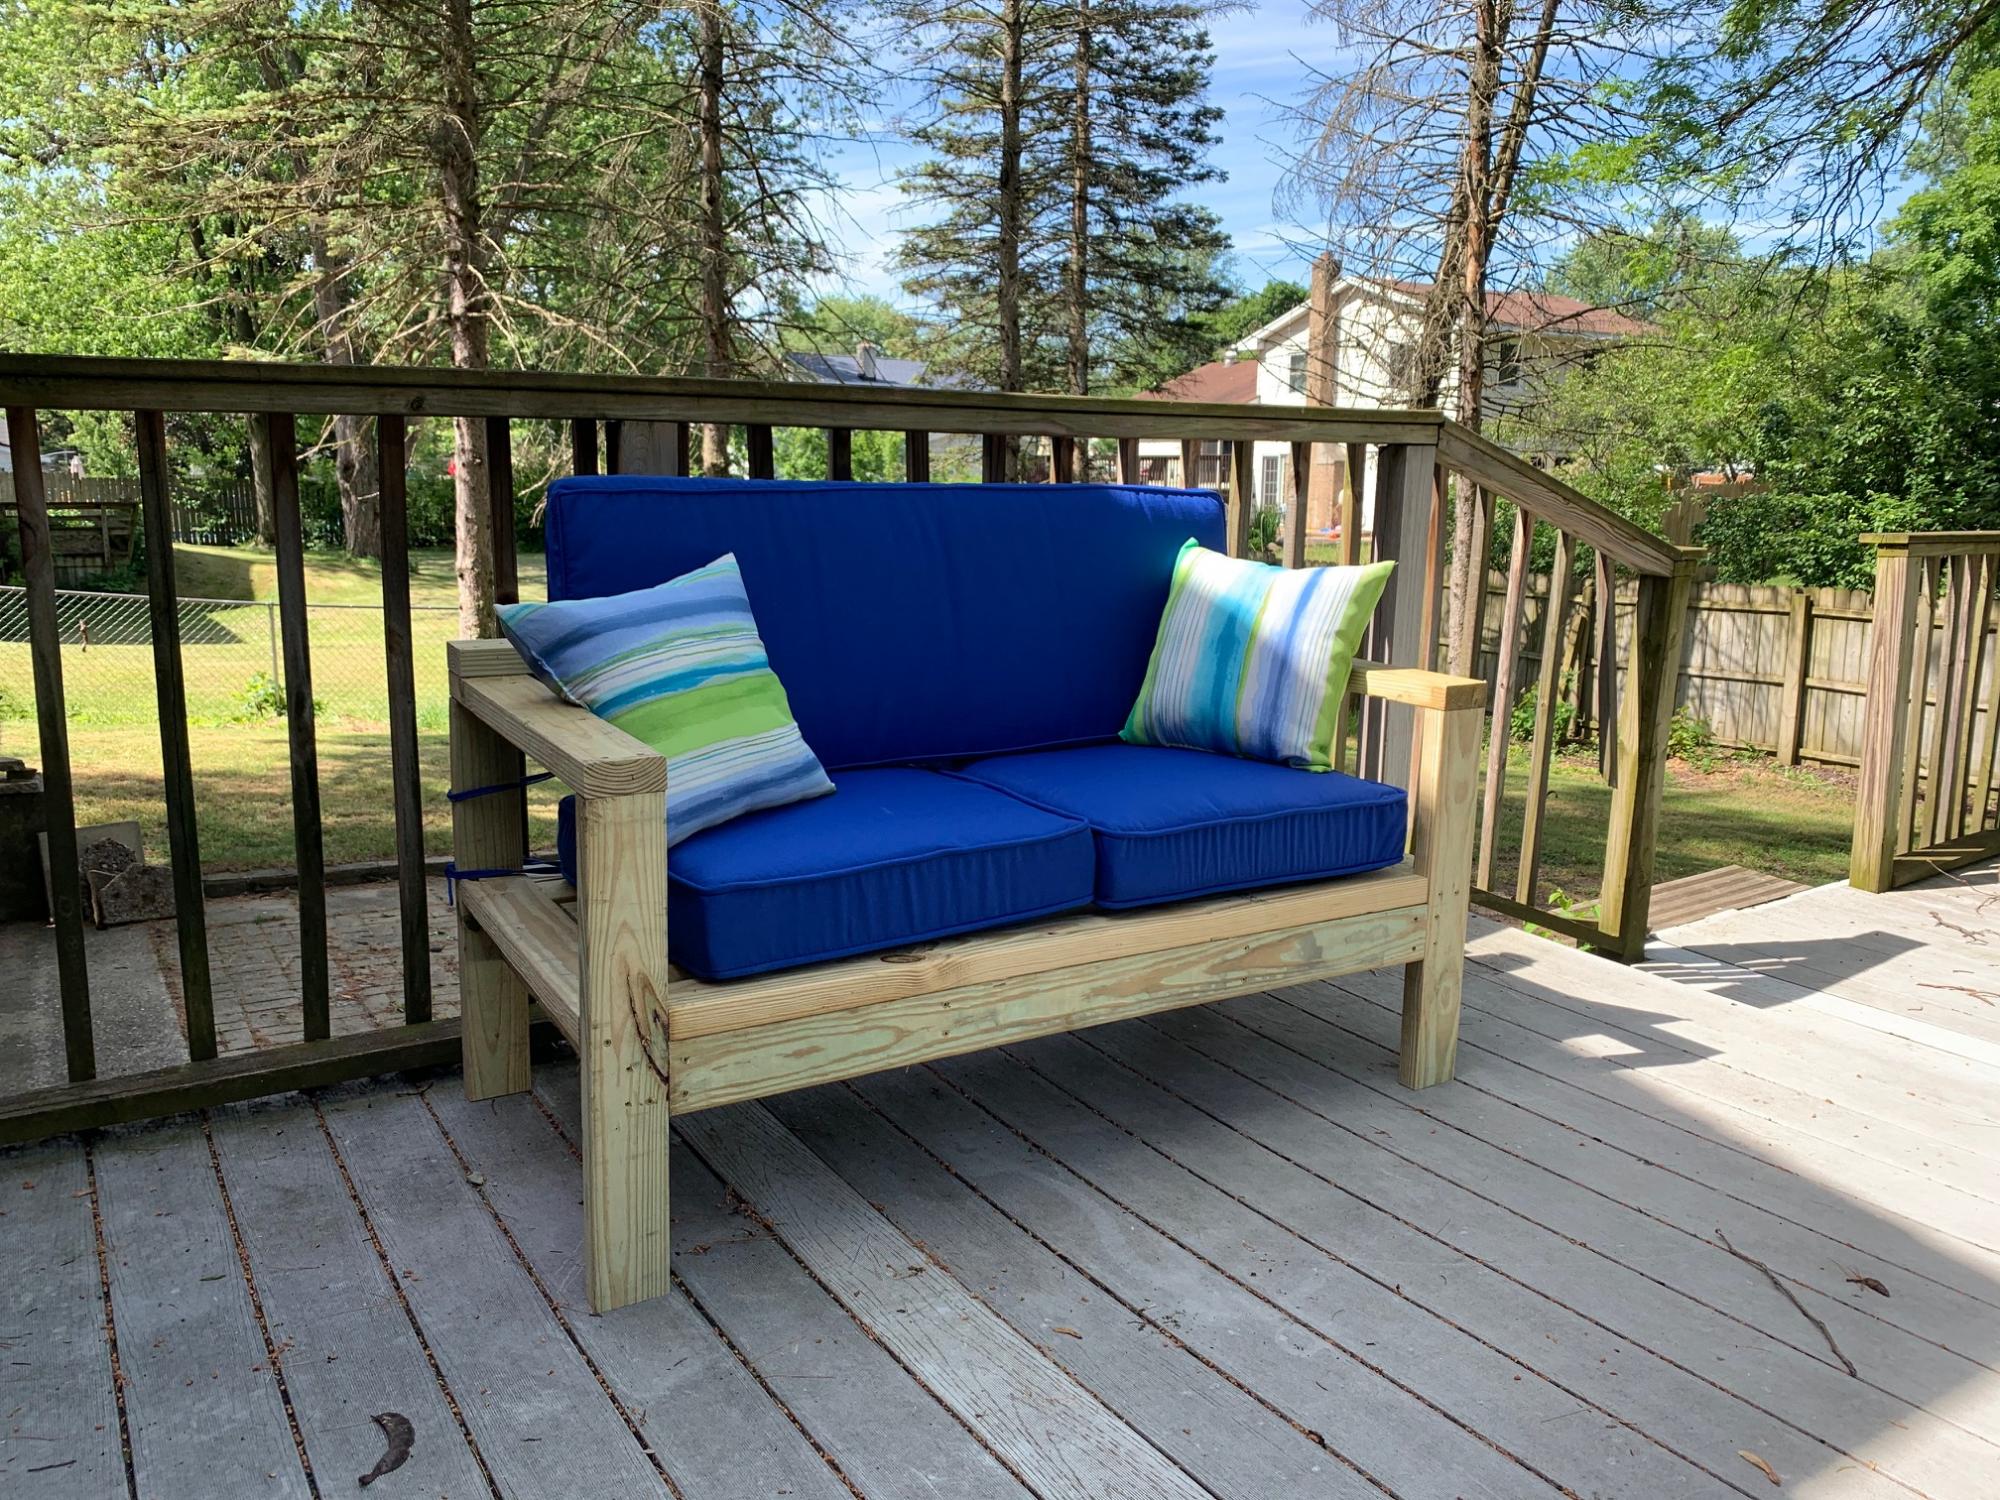
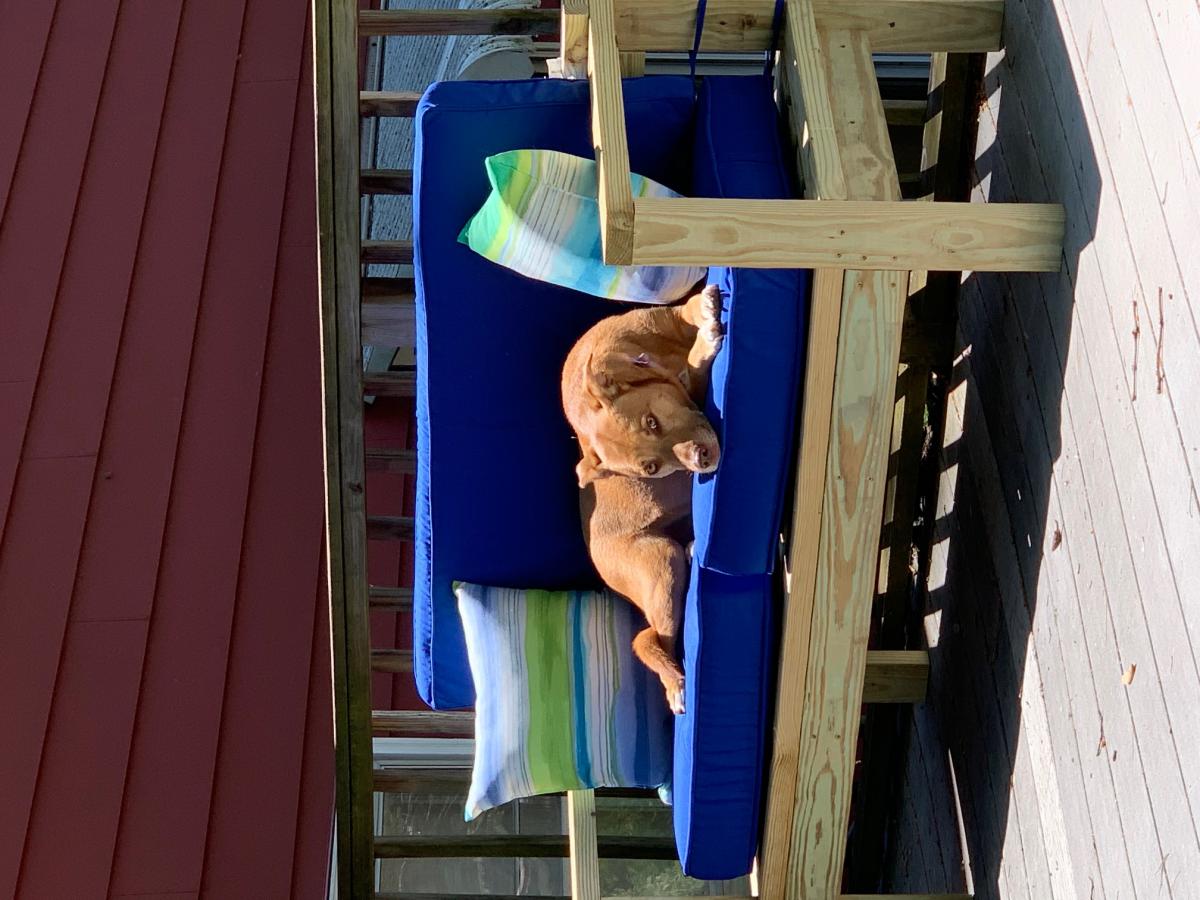
Had some leftover lumber from a friend's deck rebuild and decided to make a love seat for our deck. Modified the 2x4 Outdoor Sofa plans slightly to make it a little smaller but essentially built directly from your plans. My wife loves it! Only downside is we have to fight the dog for room. Thanks! I'll be using your plans again!
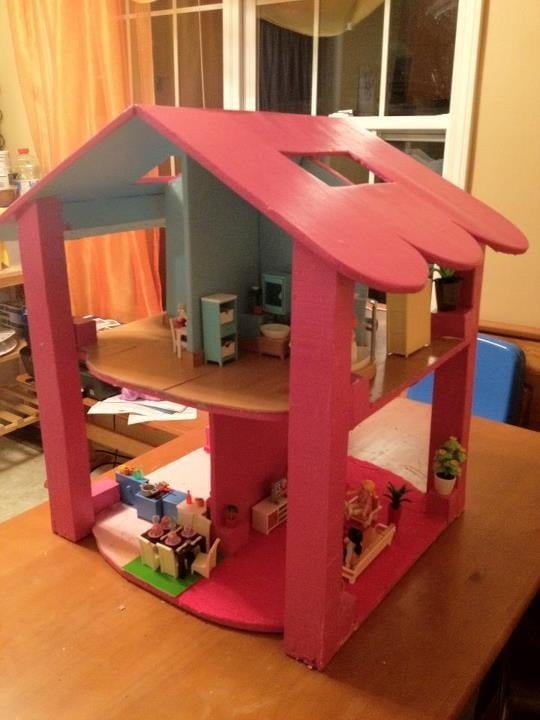
I made this dollhouse a couple months ago from scrap wood I had in my garage. It was my third build! I used felt for carpet on the bottom level and I used a laminate scrap that was laying in our garage for the upper level to look like a hard wood floor. I used leftover paint that we had from other projects, and I didn't spend a penny on this project other than screws and glue, etc. I didn't think it would come out as nice as it did, and it provides hours of entertainment for my daughters! I'm going to be making another one of these as a Christmas gift this year! What I liked best about this project was the endless amount of creativity that could be used. I'm going to try to make handmade furniture for the next one I build!
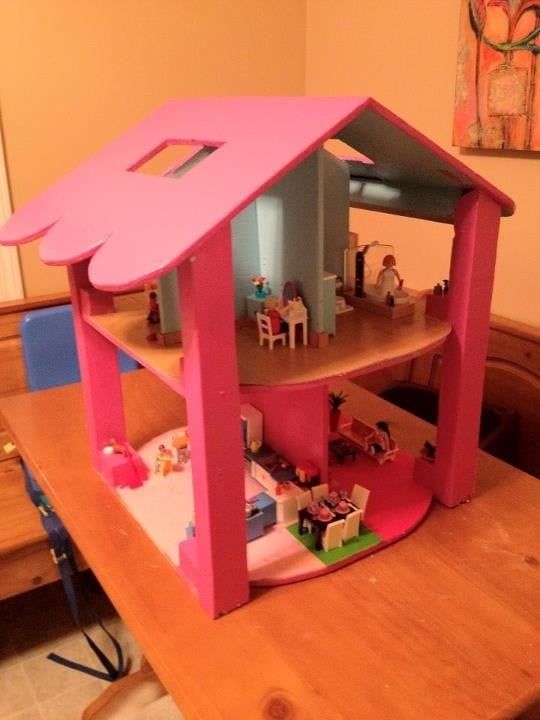
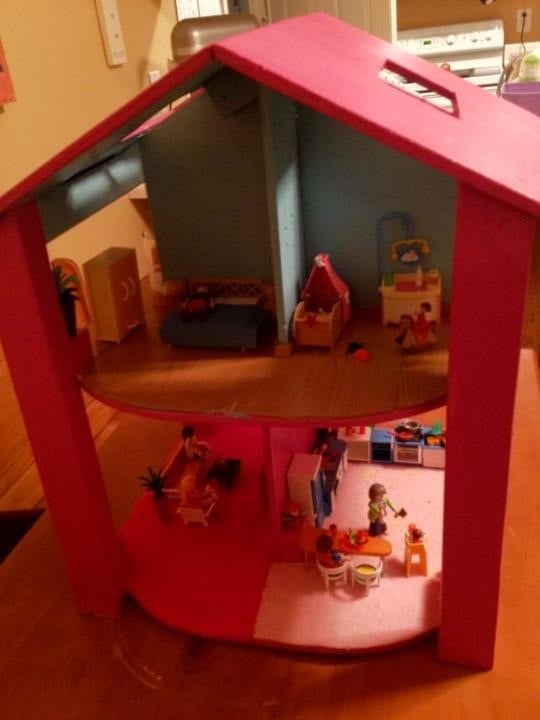

After looking at how much a play set was for my kiddos, I decided I wanted to play with some tools and build it myself. With a family of four and busy schedules, this took a little longer than I expected, but I did finish it and I'm happy with the results.
Total cost was around $650.

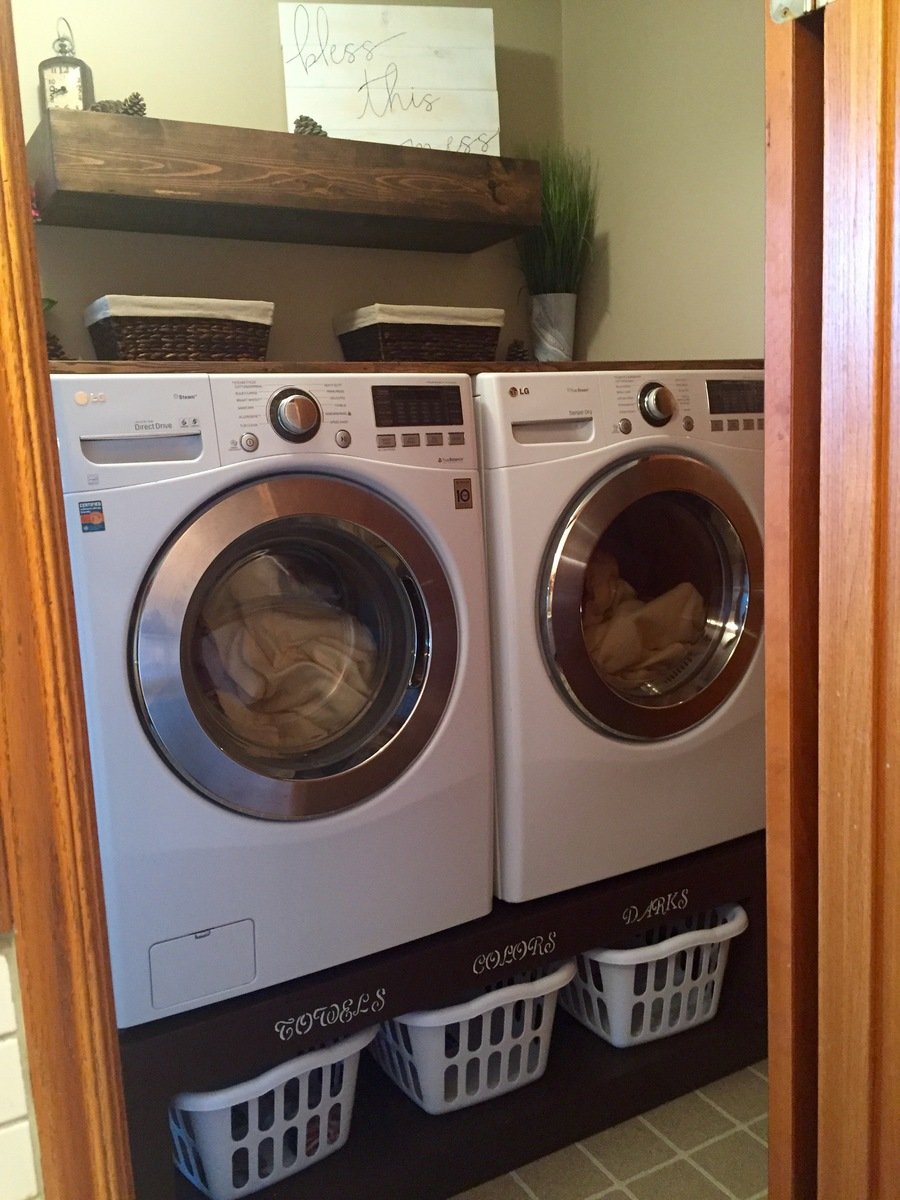
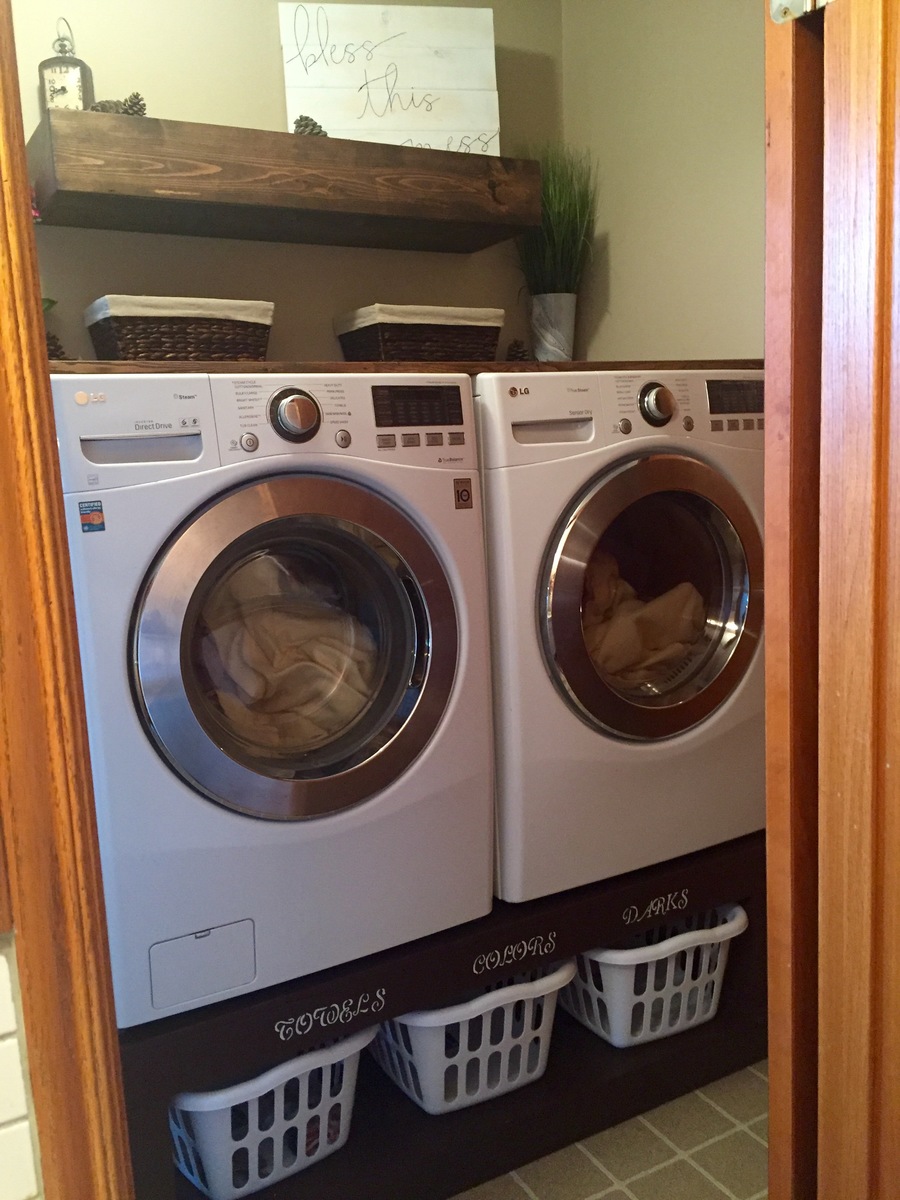
Found these awesome plans from Ana's site here and thought I could definitley make that! My mother needed a new laundry room makeover so it was the perfect opportunity. I made my stand only 56" long to fit perfectly into the spot. Which still allowed enough room for washer and dryer to be on there and enough room if they shook a little. I had to adjust my plans as I wanted it to fit snug against the wall but needed to allow for the dryer hose to connect to wall so I cut out a 4.5"x 5" spot on both the bottom and top platforms to allow for hose and cord to plug in. I put in extra supports going vertically and horizontally to replace the strength for the holes being cut. The result was perfect!
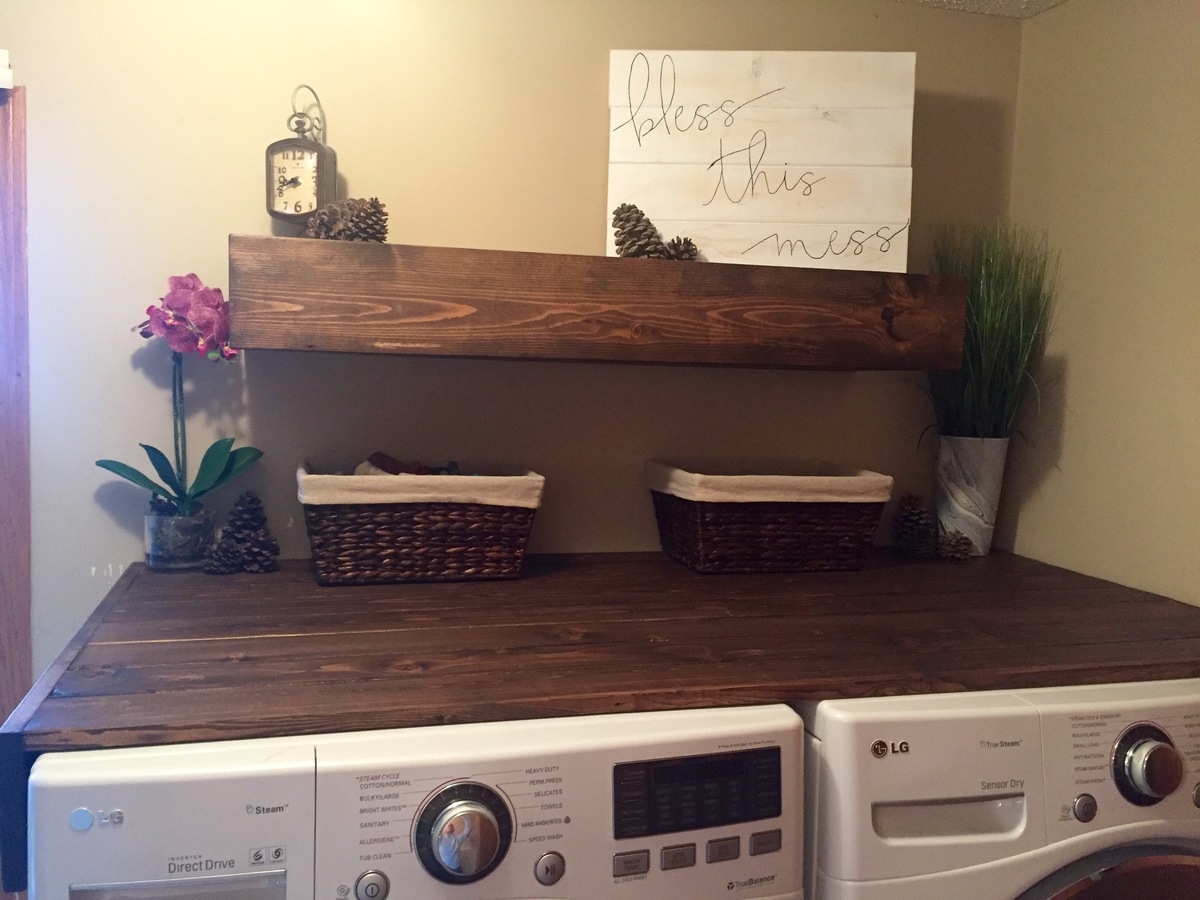
I got creative and added a floating rustic tabletop to the washer and dryer to make the space useful and also added a floating shelf above that. Both stained in a dark walnut.
Happy builder right here!!!
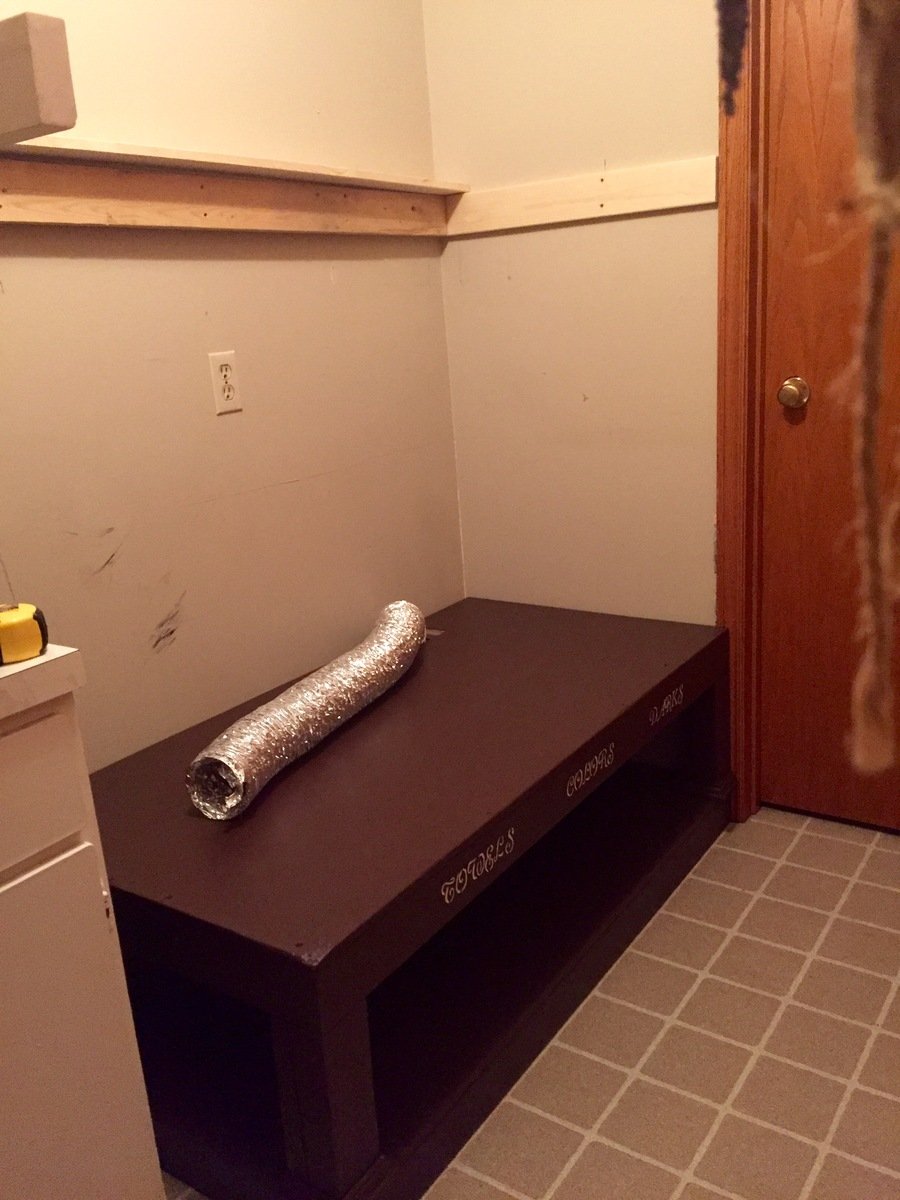
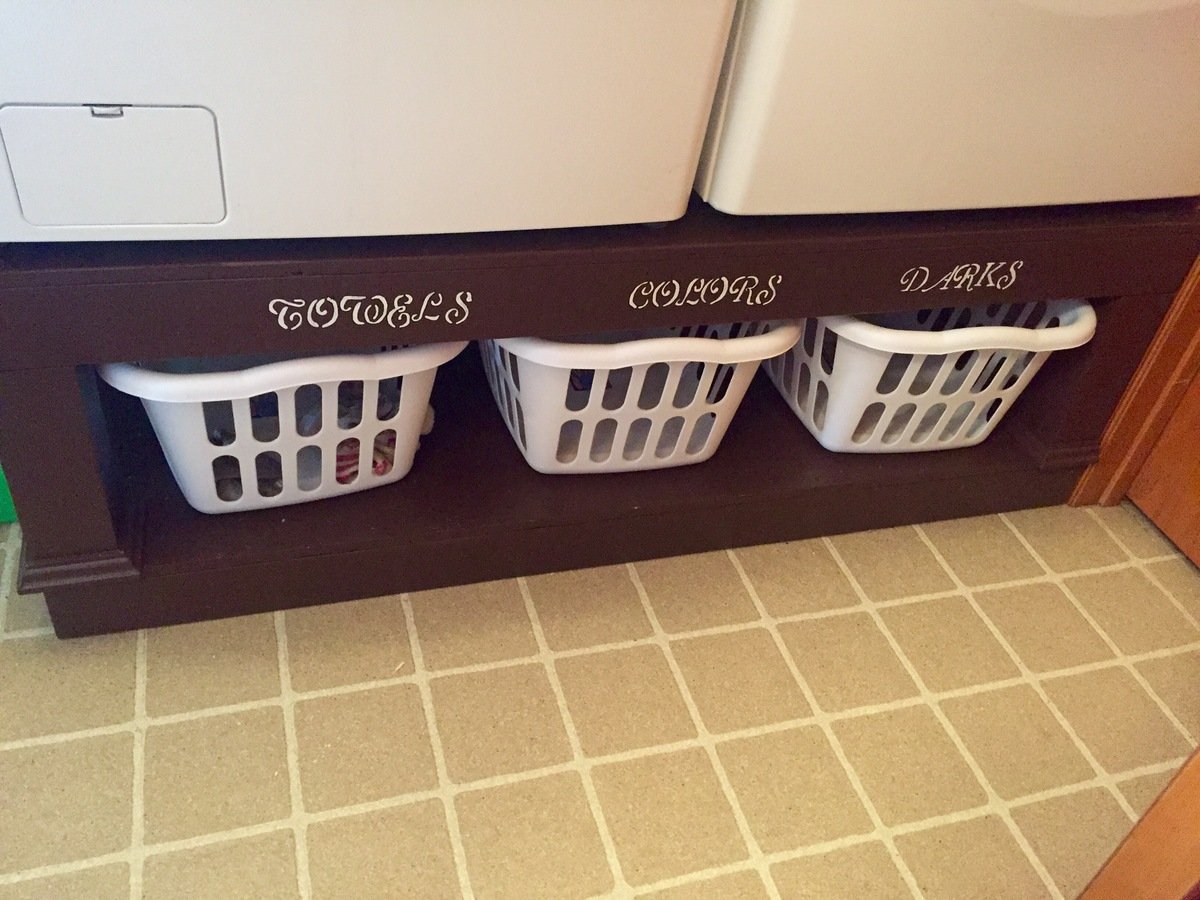
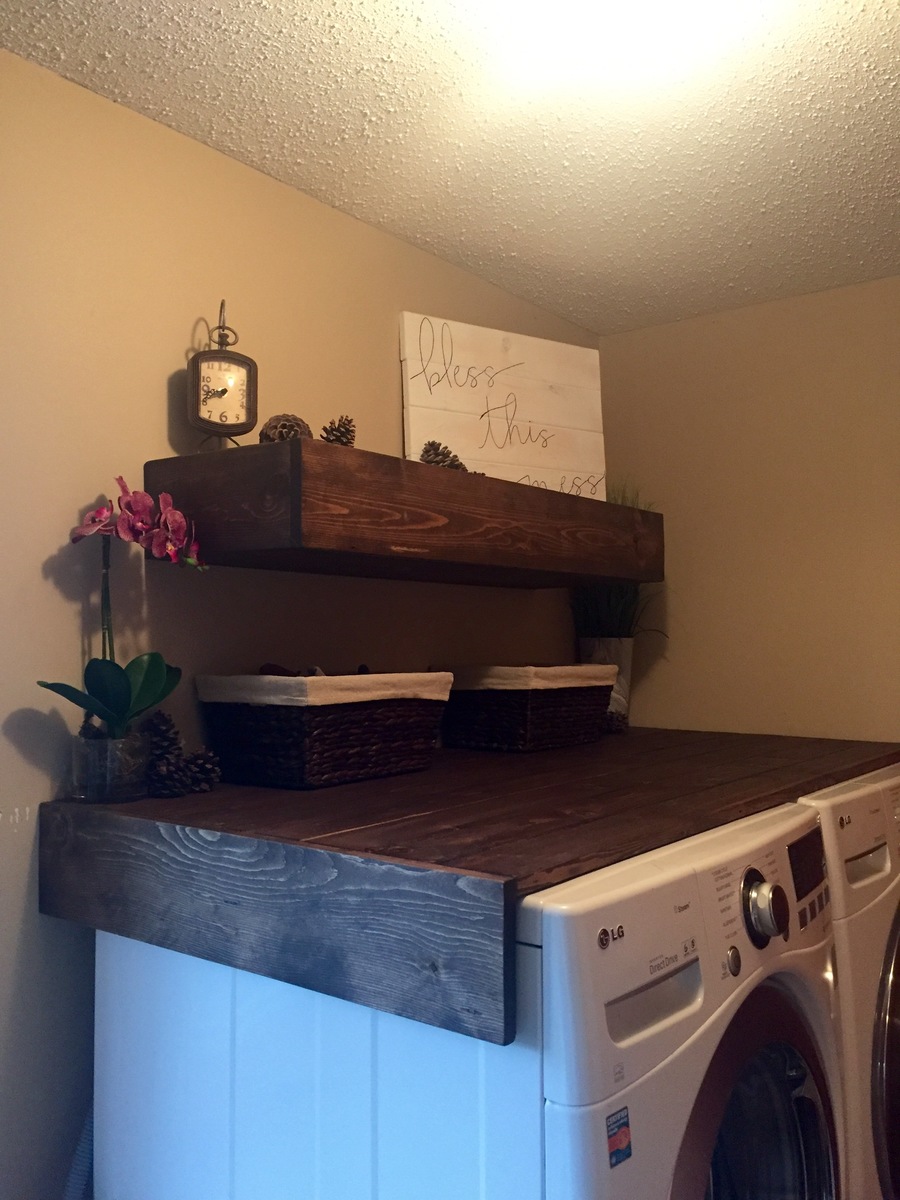
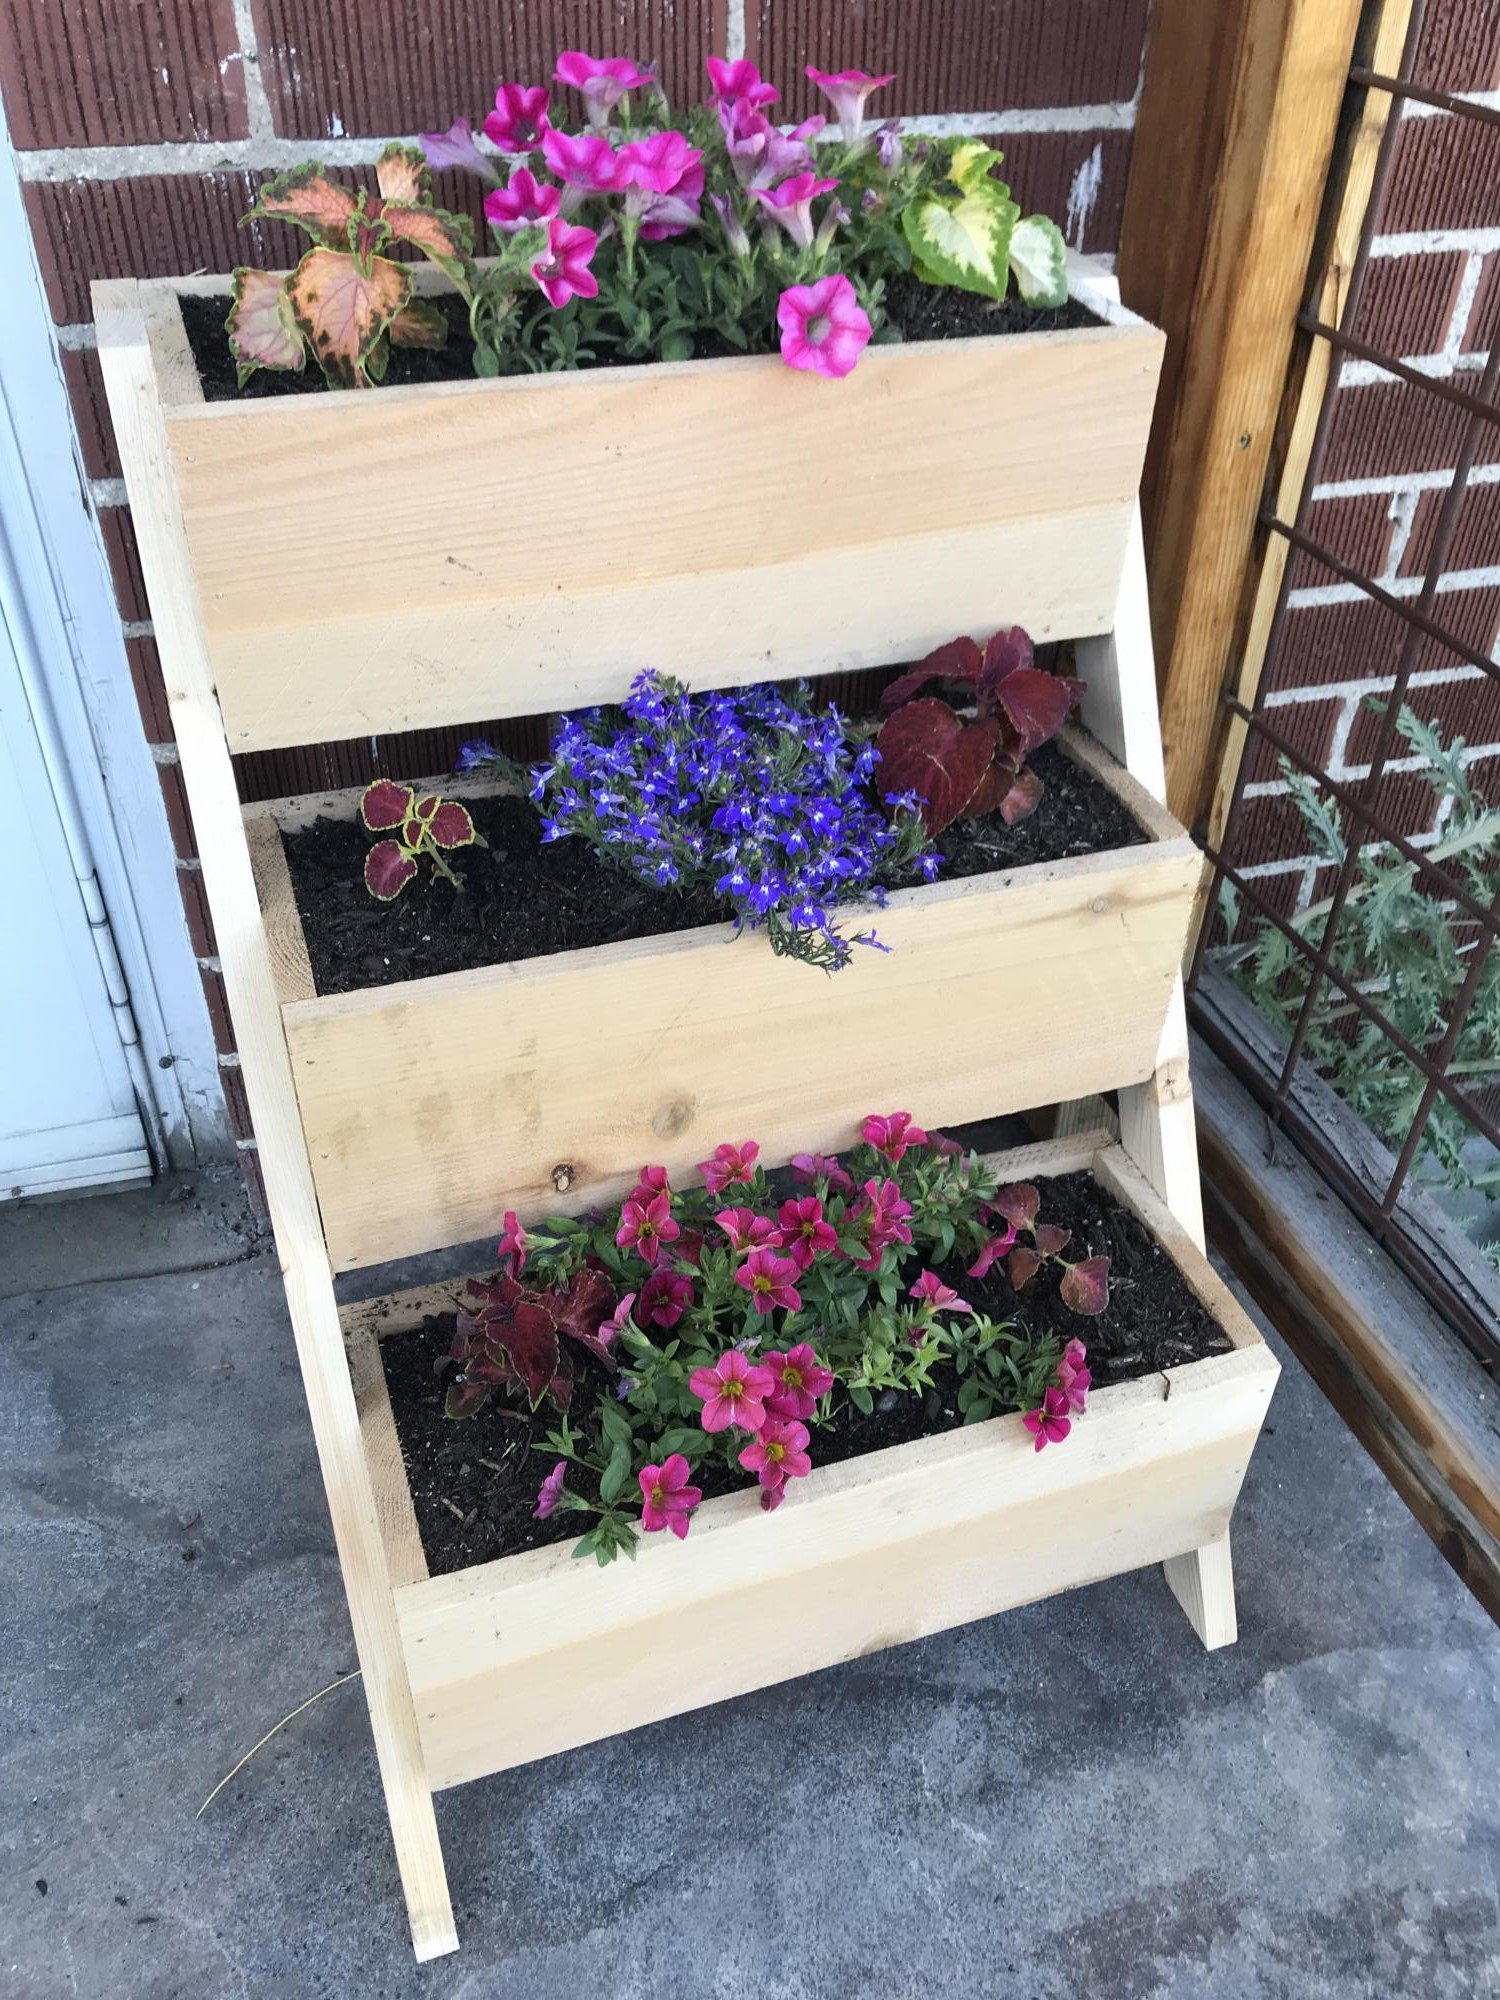
Super easy to build and looks great. We did not stain the wood. Quick assembly.
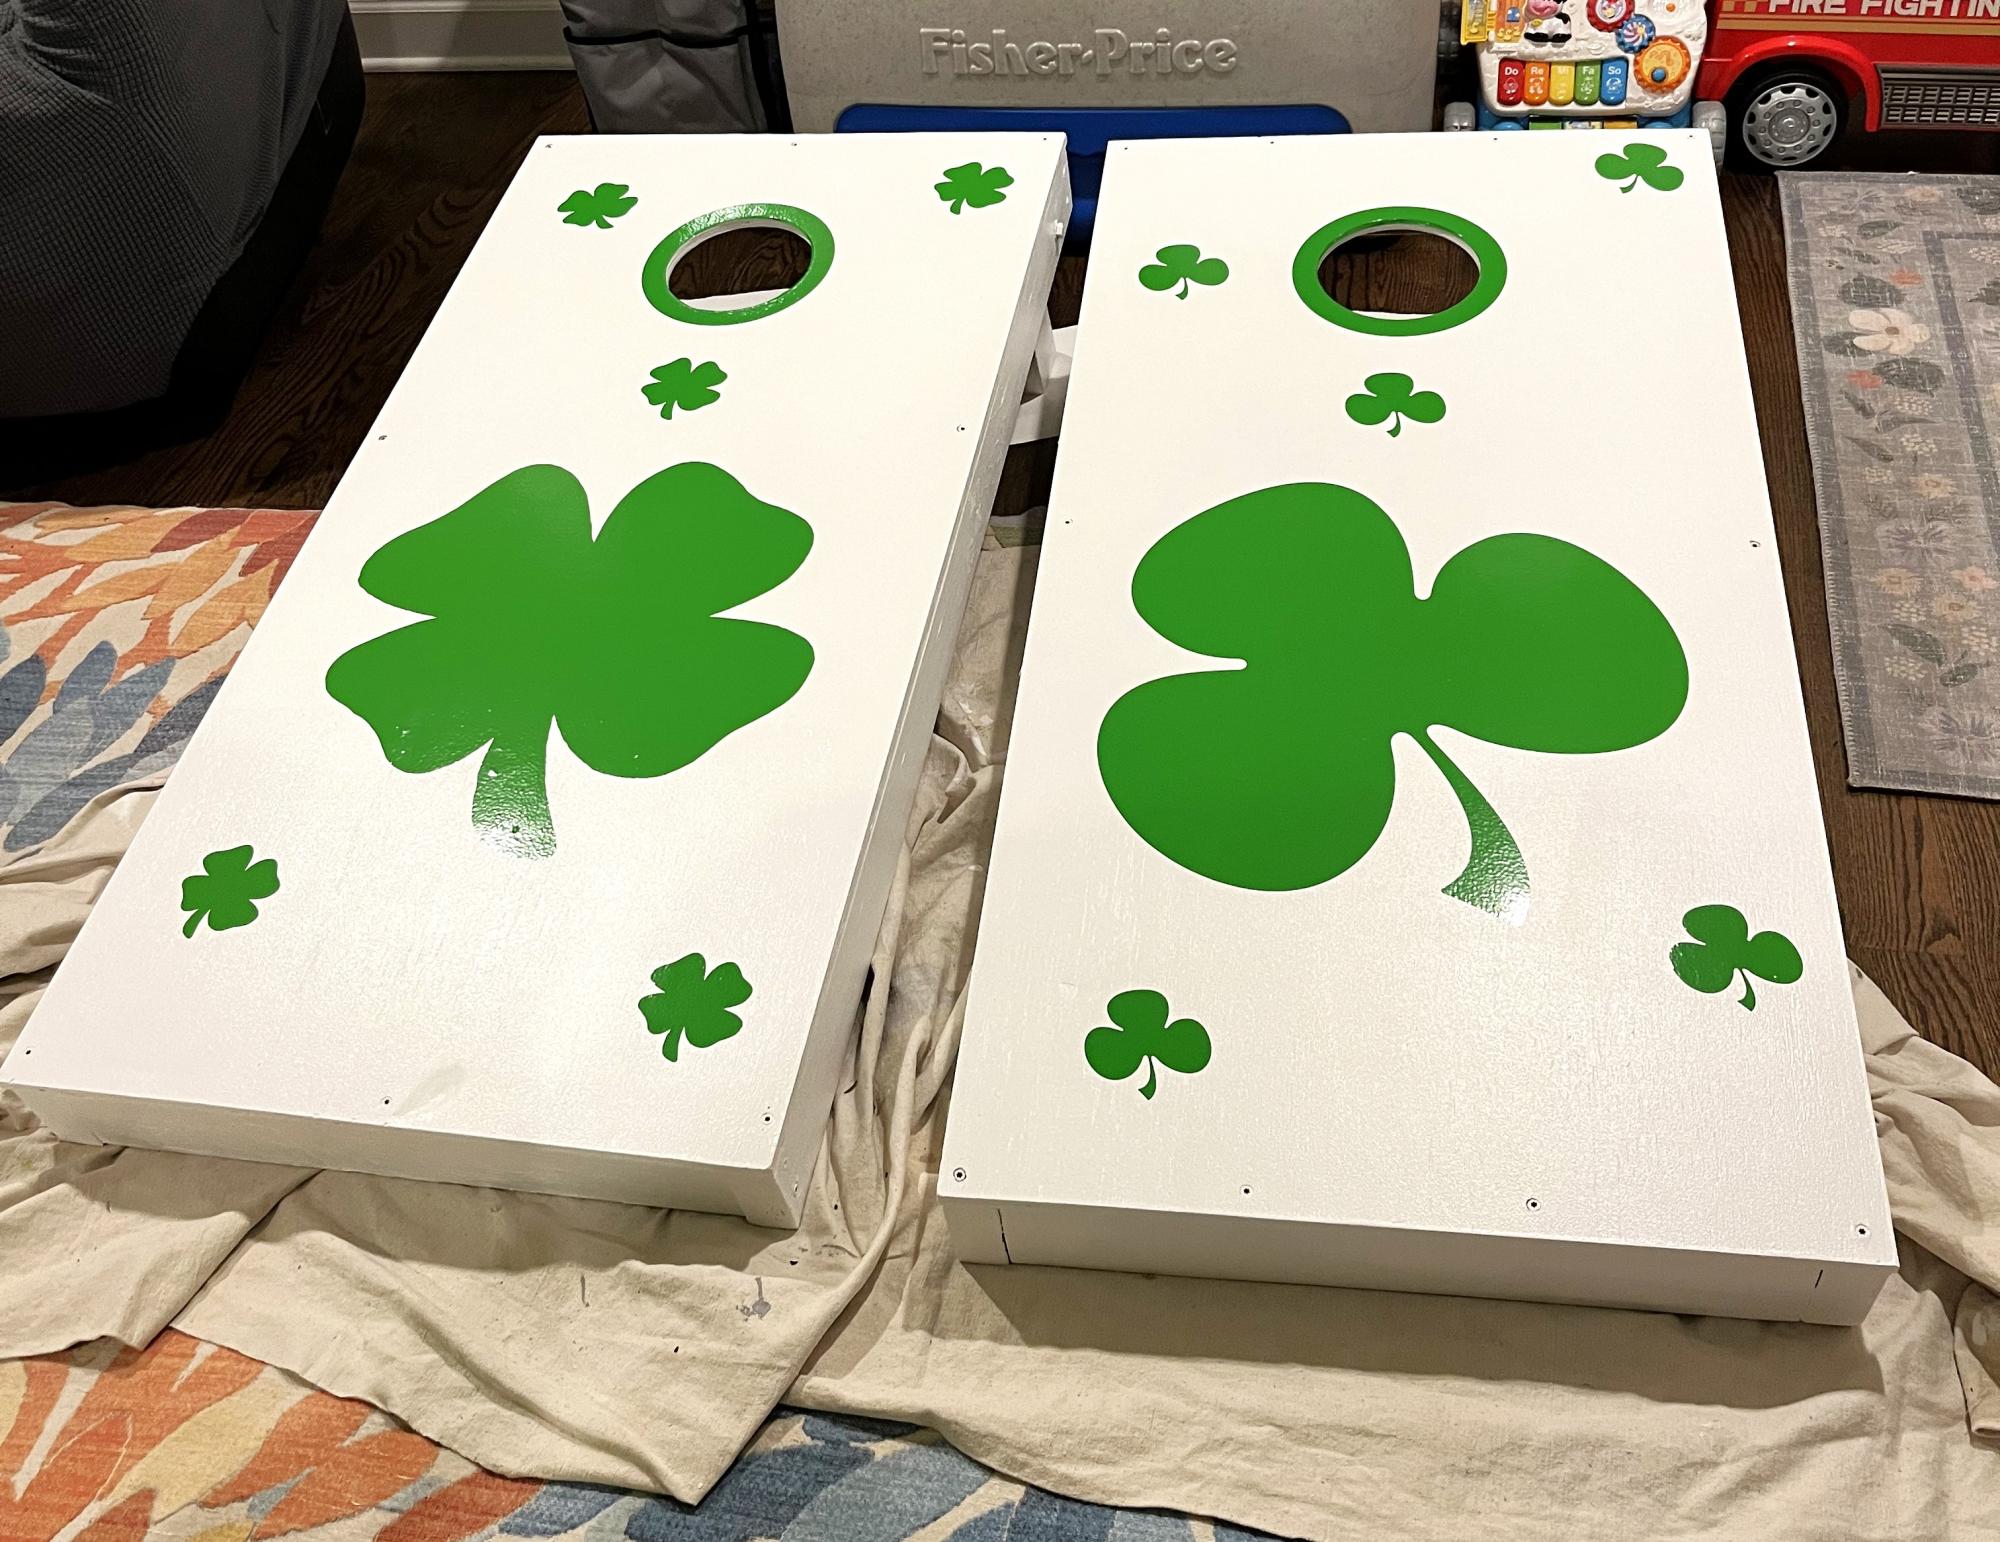
This was my second project and the step by step guide labs make everything doable. Ordered stickers and used them at a St Patrick’s Day party. Love
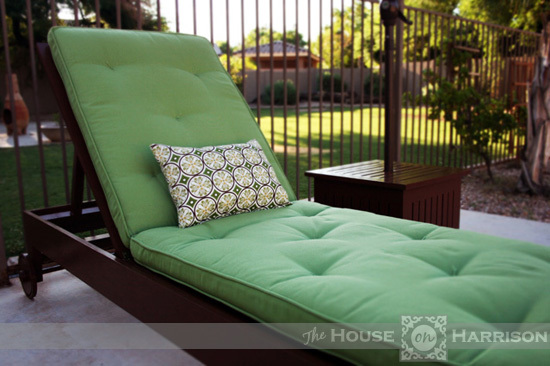
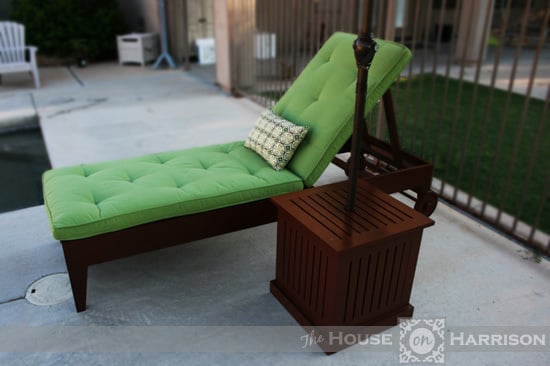
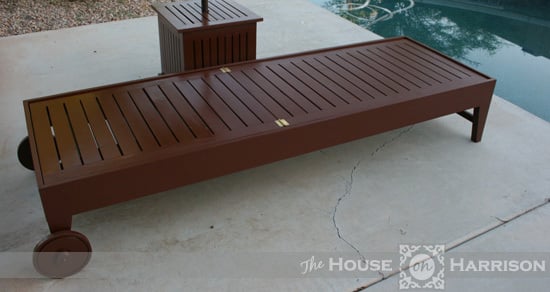
My husband and I made this outdoor chaise lounge using a combination of Ana's plan and another we found on the Internet. We wanted to be able to move this easily, so we added wooden wheels that we turned on our table saw. All in all, this project took us about two weekends. We are hoping the next one goes a little faster.
You can see more pictures of the build process on my blog.
I saw the post and loved the table. I changed the dimensions to fit our couch and living room. The wood for the shelves was reclaimed from two old house that were eventually torn down. The houses were 90+ years old. Great old oak wood!
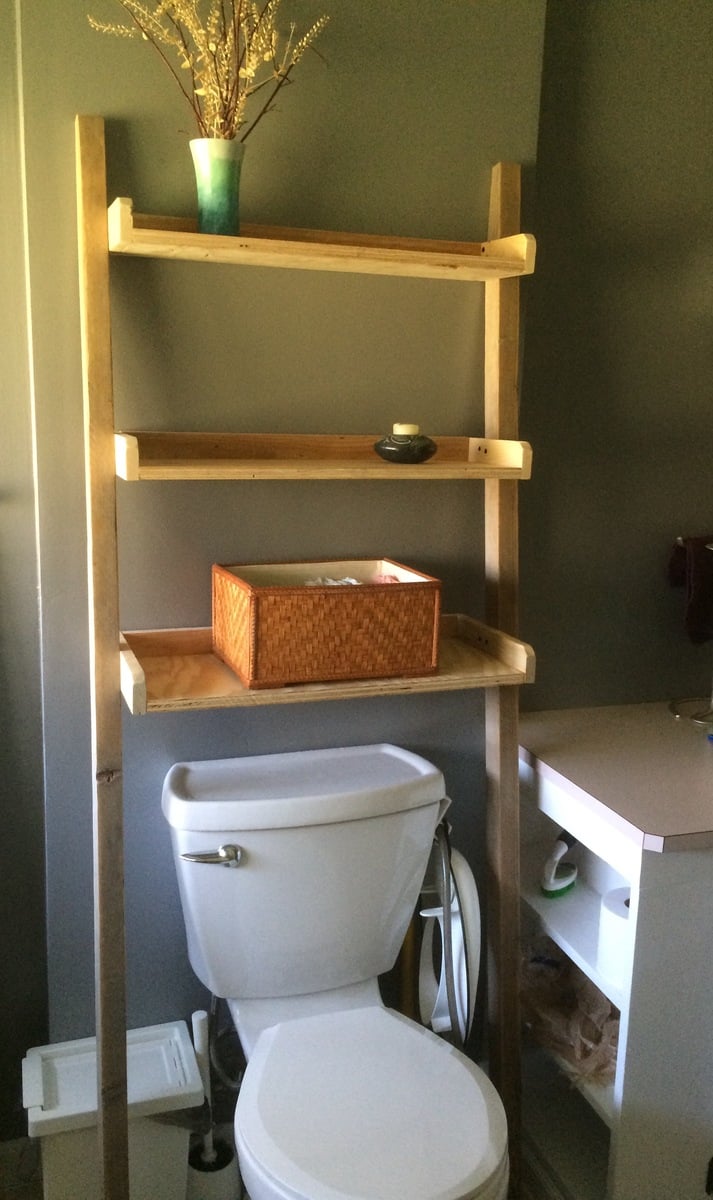
This leaning bathroom ladder was the perfect final touch to our budget bathroom re-do.
I used all reclaimed wood - old barn wood, pallet, and scraps - and had the nails/screws on hand. The only cost will be for stain, which the jury is still out on. Likely I will use the Danish oil in medium walnut. Loved doing this project and the result!
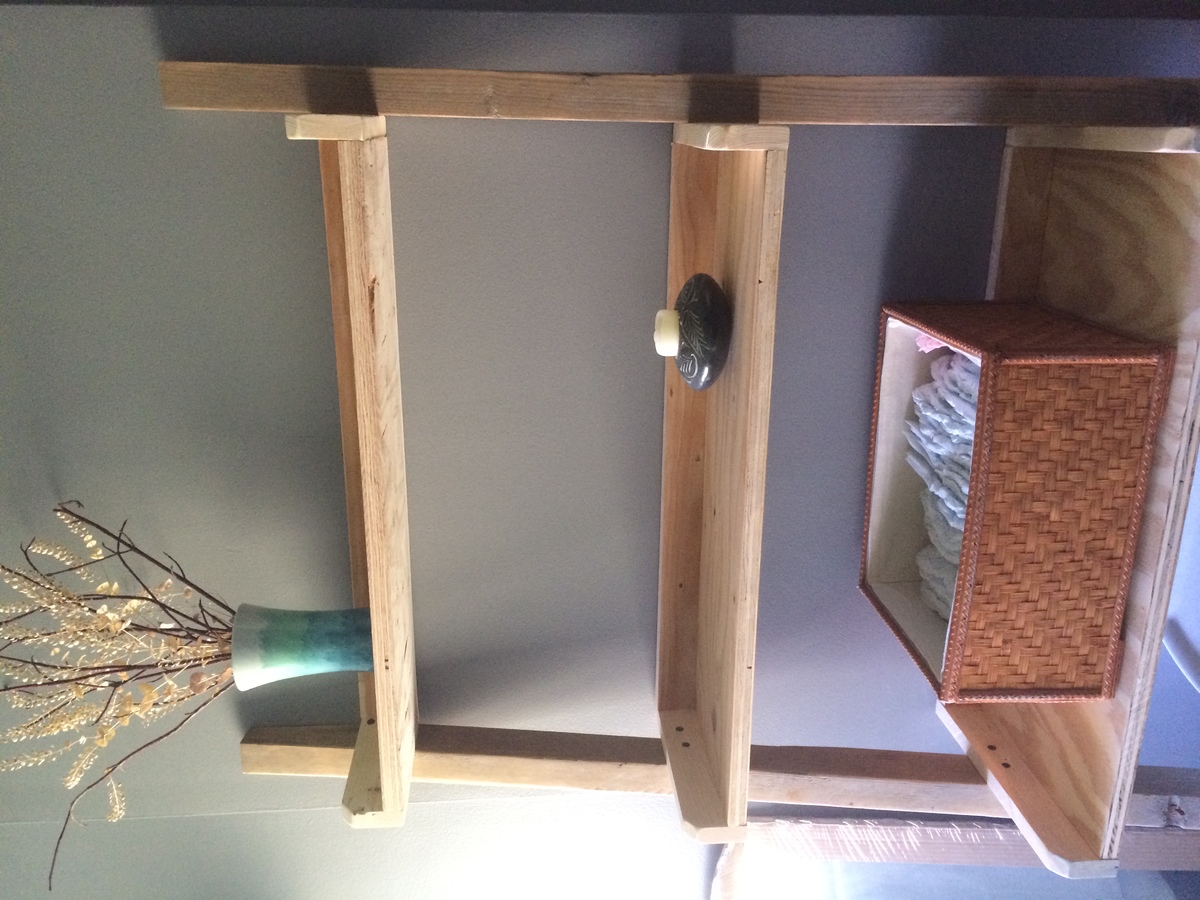
Fri, 09/09/2016 - 11:01
I posted this brag post before registering with a user ID. I'm not sure how to "claim" my (first ever!) brag post. Anyone know if this can be done?
Fri, 09/09/2016 - 16:44
Thanks for adding! We fixed it. Great job, love that most of the project is reclaimed!
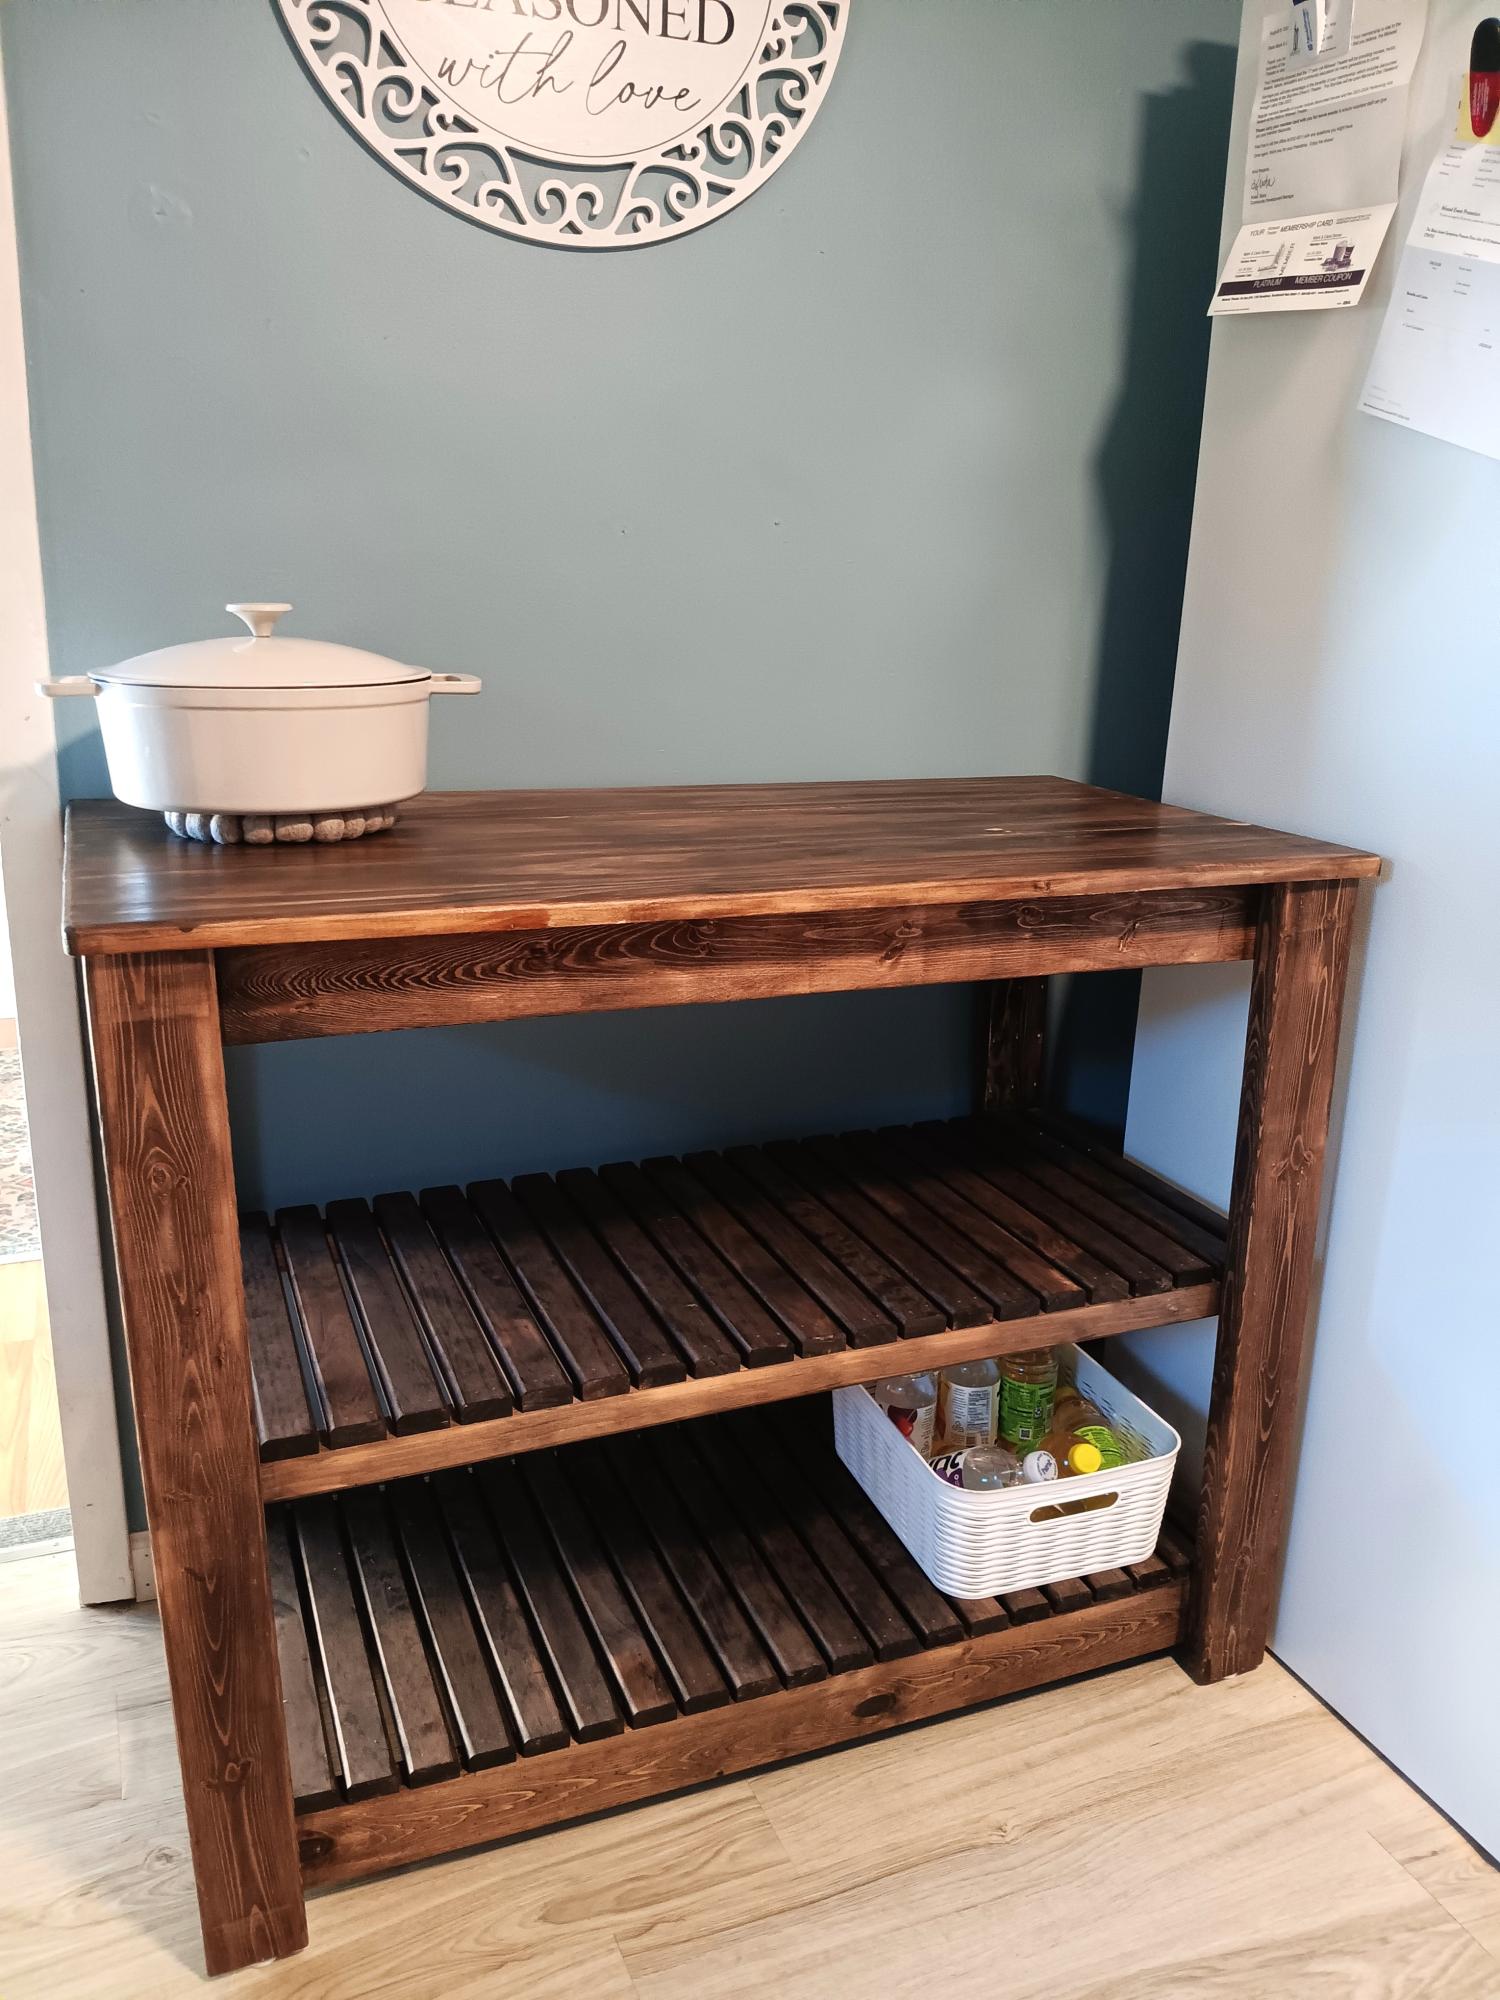
This was a fun project. Not difficult to build, just a lot of pieces. Added counter space near to the stove.
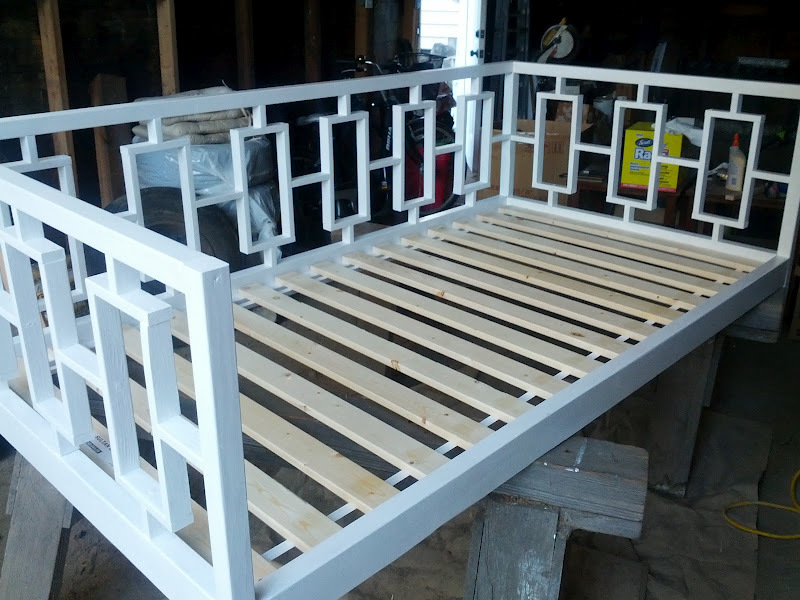
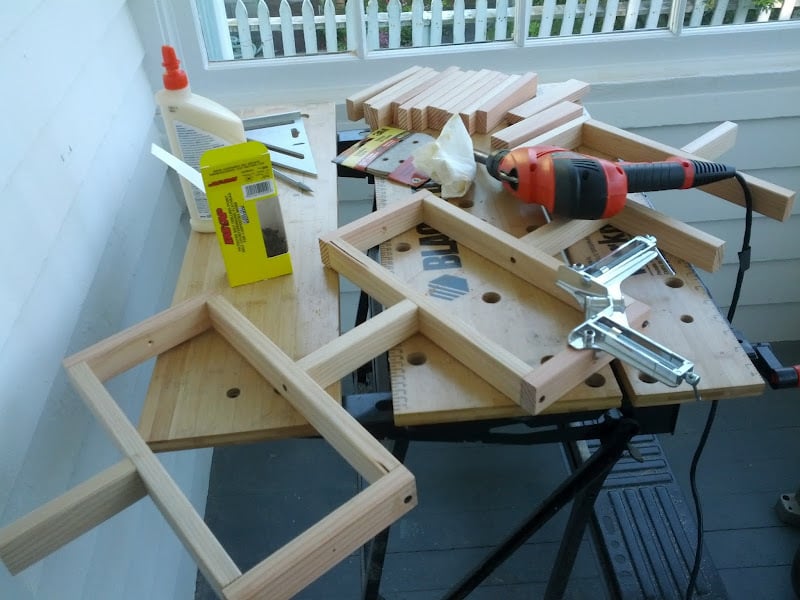
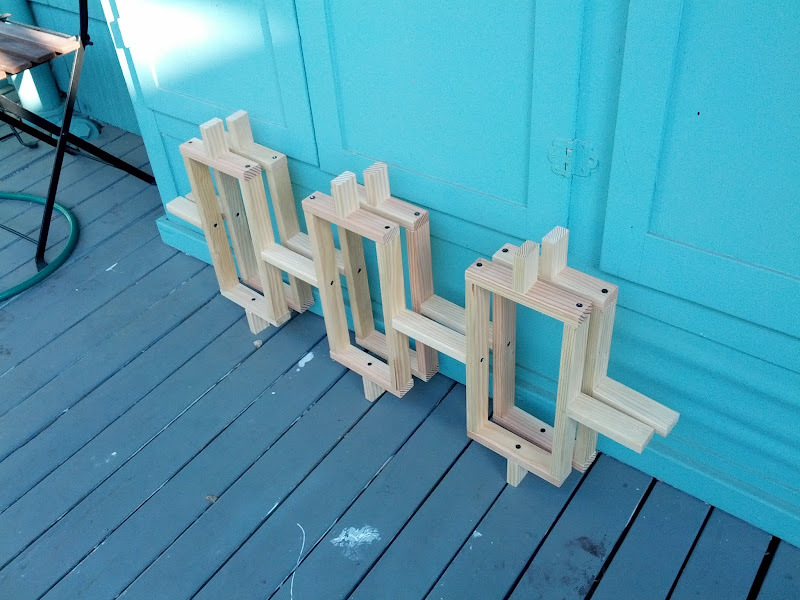
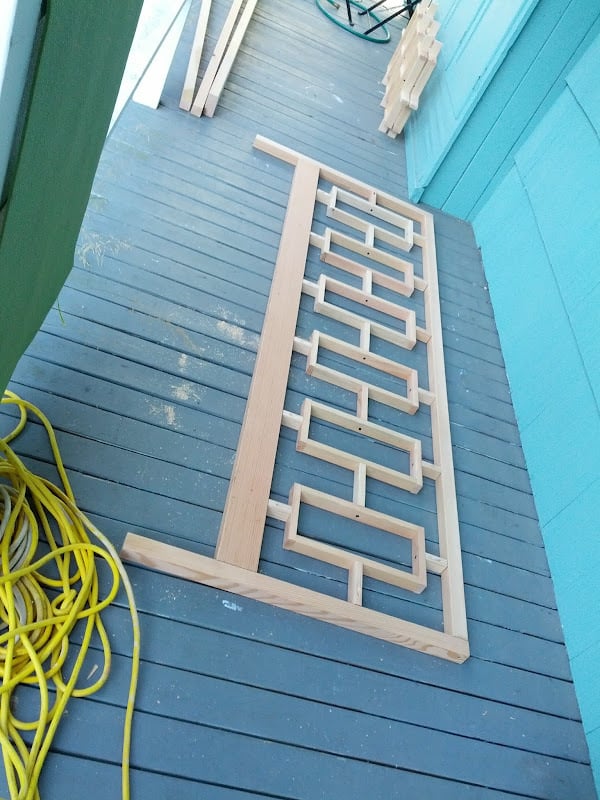
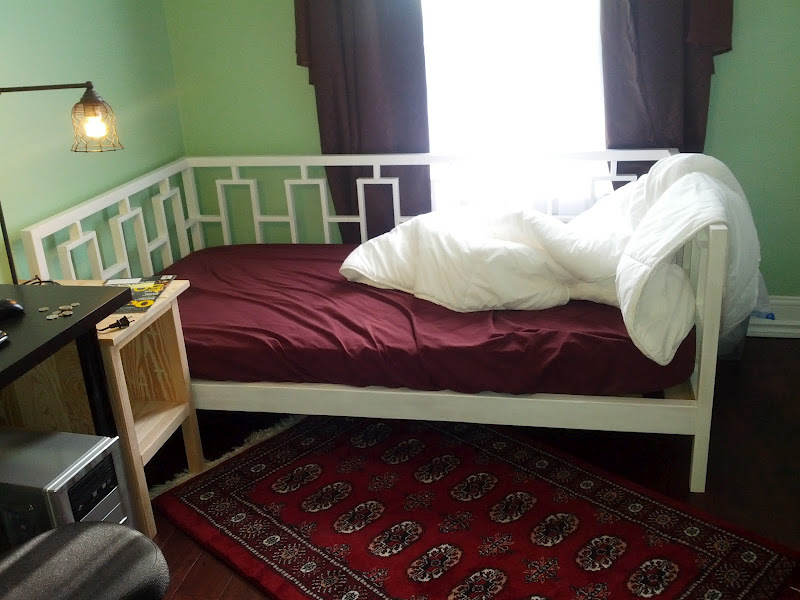
For my first woodworking project ever, I decided to make the Rectangles Daybed. I have not handled a power tool before, except the drill. So, over all, I'm quite happy with the result.
I got odd lot fir, which was more expensive, but prettier and easier to work with. I would probably not do that if I had known I was painting it. I also decided to put in IKEA slats instead of making my own.
I put more details in my blog posts.
Sun, 09/16/2012 - 17:12
Is there any chance you are making this to sell? if so, how much? Email me at [email protected]