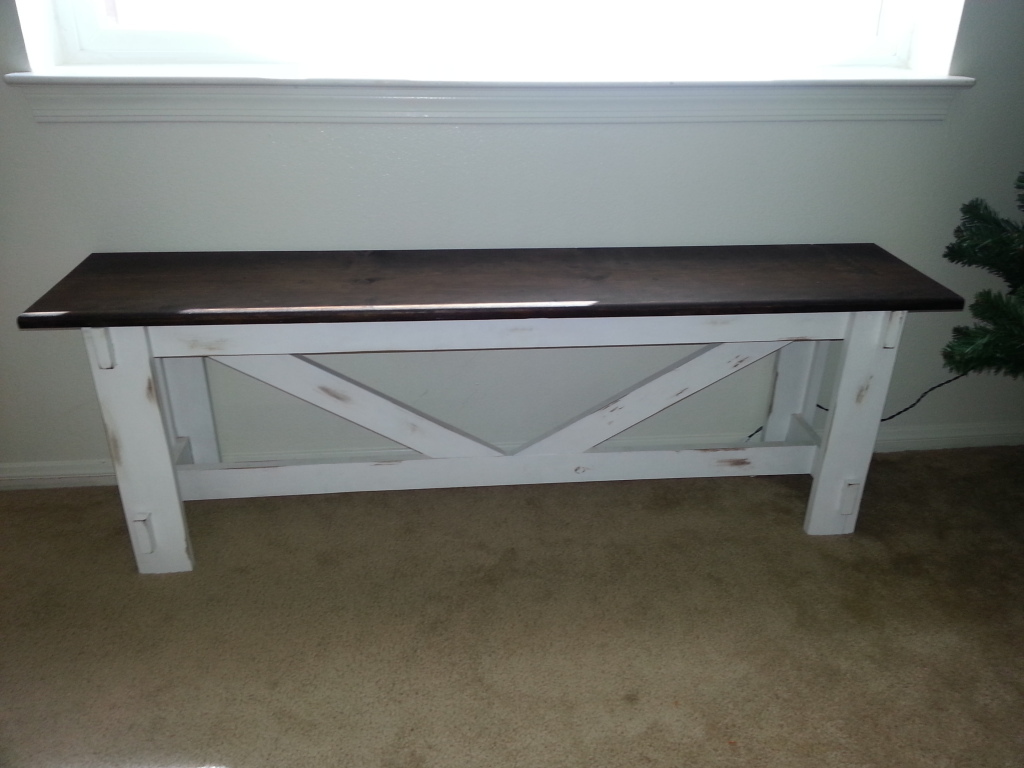
Upholstered Farmhouse Bed - Modified Plans
Apologies if the photos are upside down - they were rightside up when I uploaded, but flipped on me ????
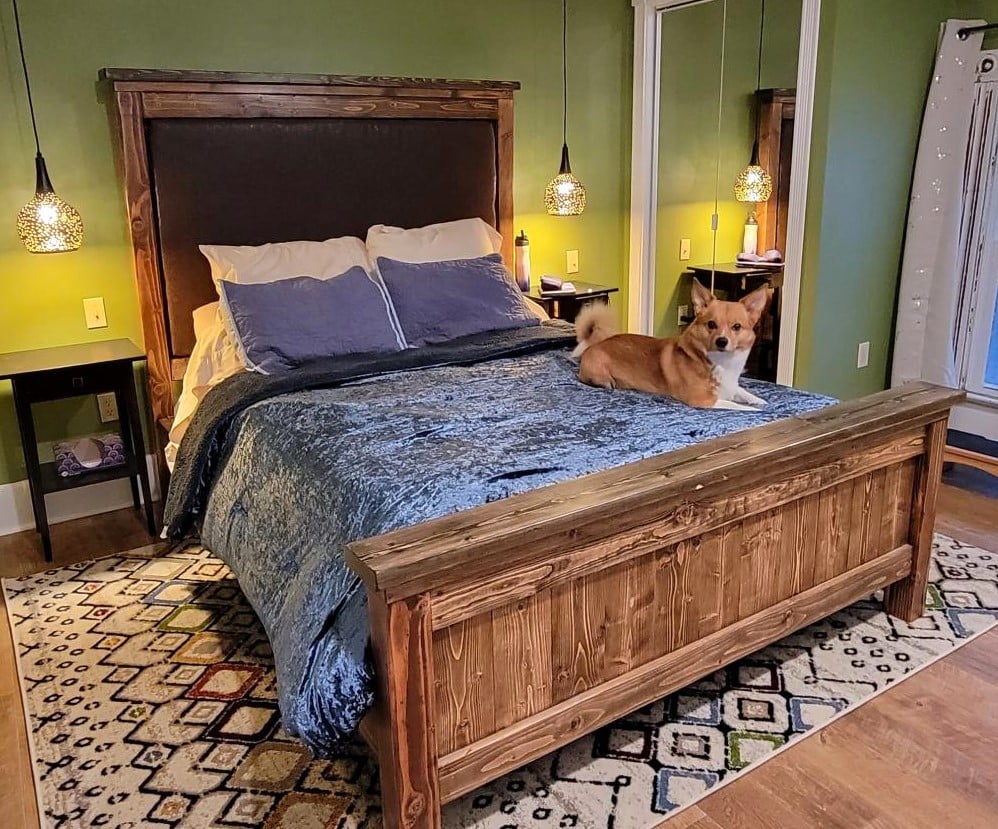
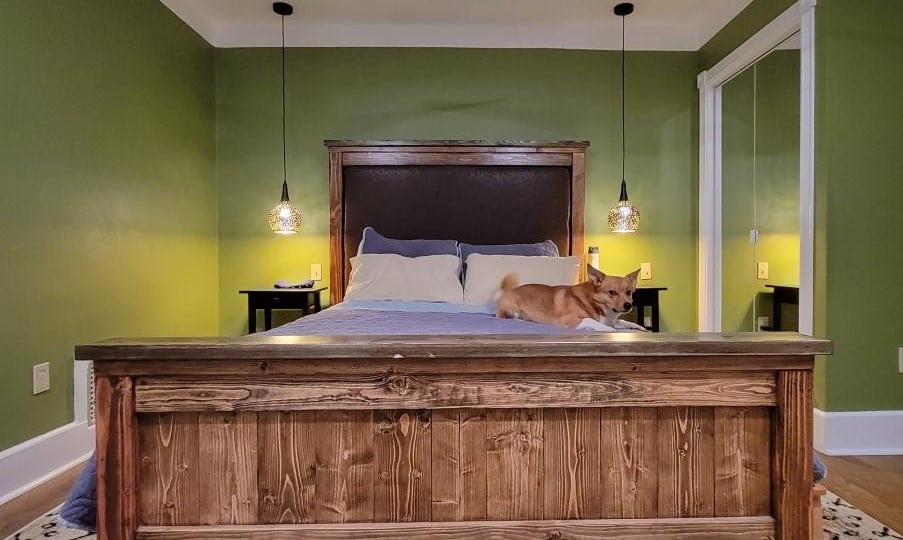
I wanted an upholstered headboard, and my house is 121 yrs old, so a farmhouse vibe fits.
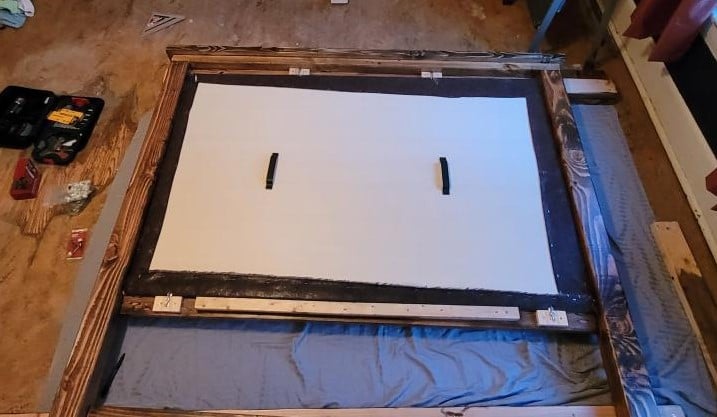
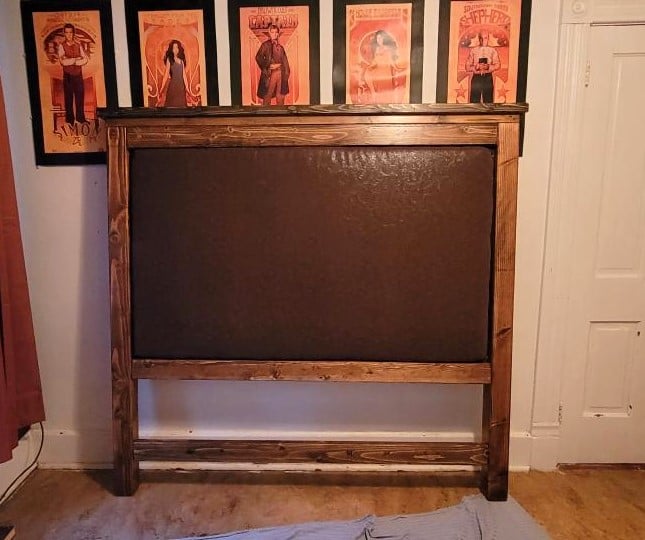
I modified Ana's Queen Farmhouse Bed Plan so that instead of mirroring the footboard design for the headboard, I created a foam-and-upholstery-covered plywood panel that inserts from the back, like a picture frame. It's held in place with storm door toggles, with a support cleat on the back, and and low-profile handles to make manhandling it easier. The insert comes out so it can be re-upholstered easily enough if ever desired. I made the entire unit 3" taller than Ana's plans so that when sitting up against the headboard, my skull is supported by foam instead of wood. It's also anchored to the wall with anti-tip hardware for safety.
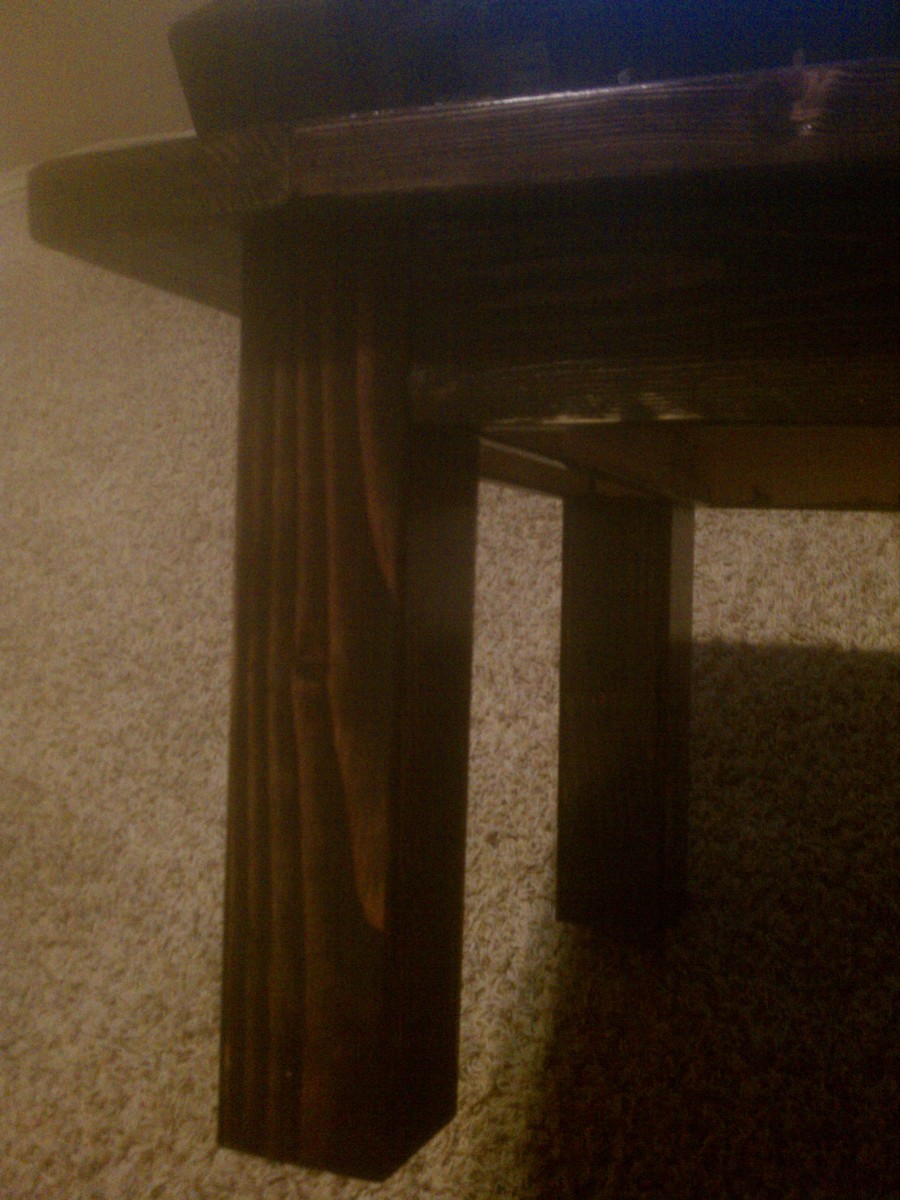
The entire bed comes apart into 6 pieces for moving: Headboard frame, upholstered panel, footboard, center support, and the side pieces. The slats are screwed only to the side boards, and fit together like combs across the top of the center support beam. The sides are attached to headboard/footboard with standard bed frame hardware, and I had some joist-hangers from another project that I used as cleats for the center support beam to connect it to the head/footboard.
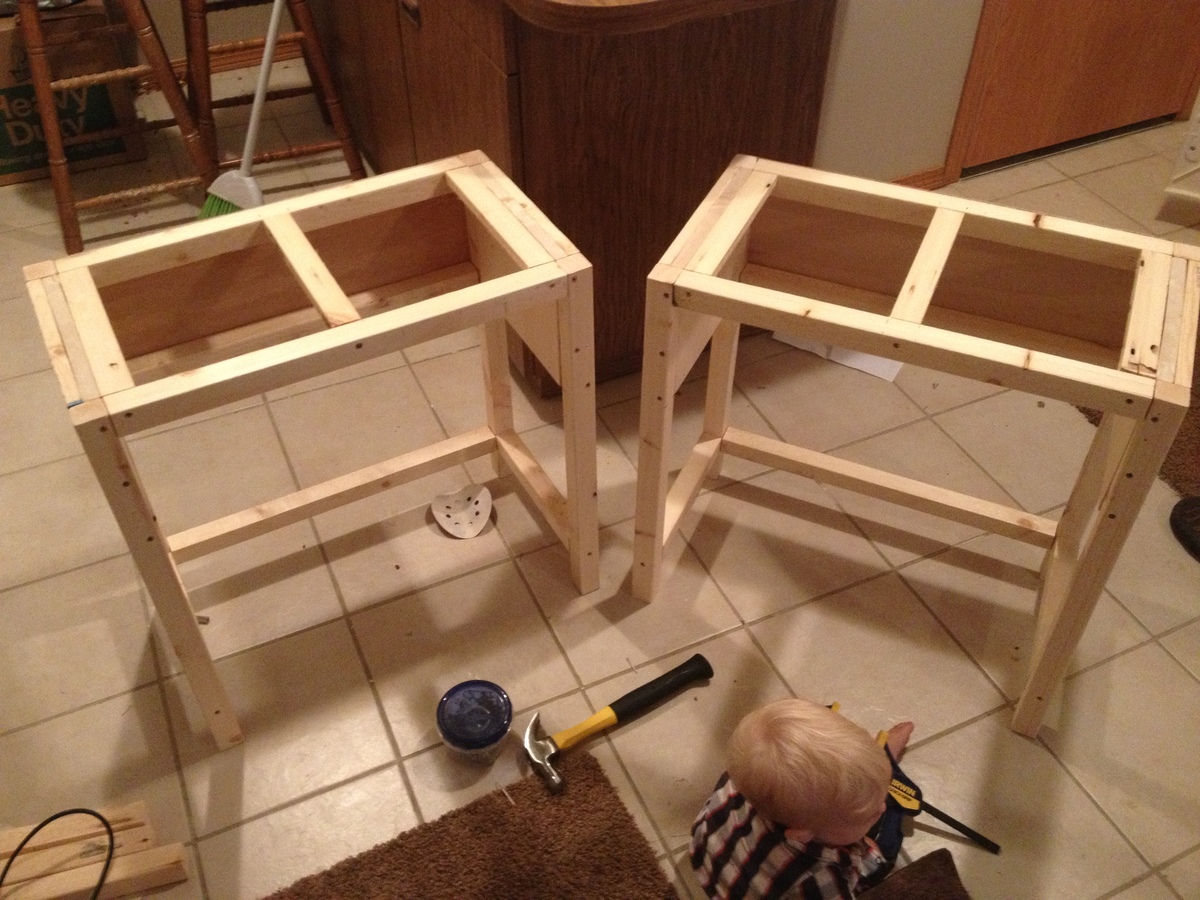
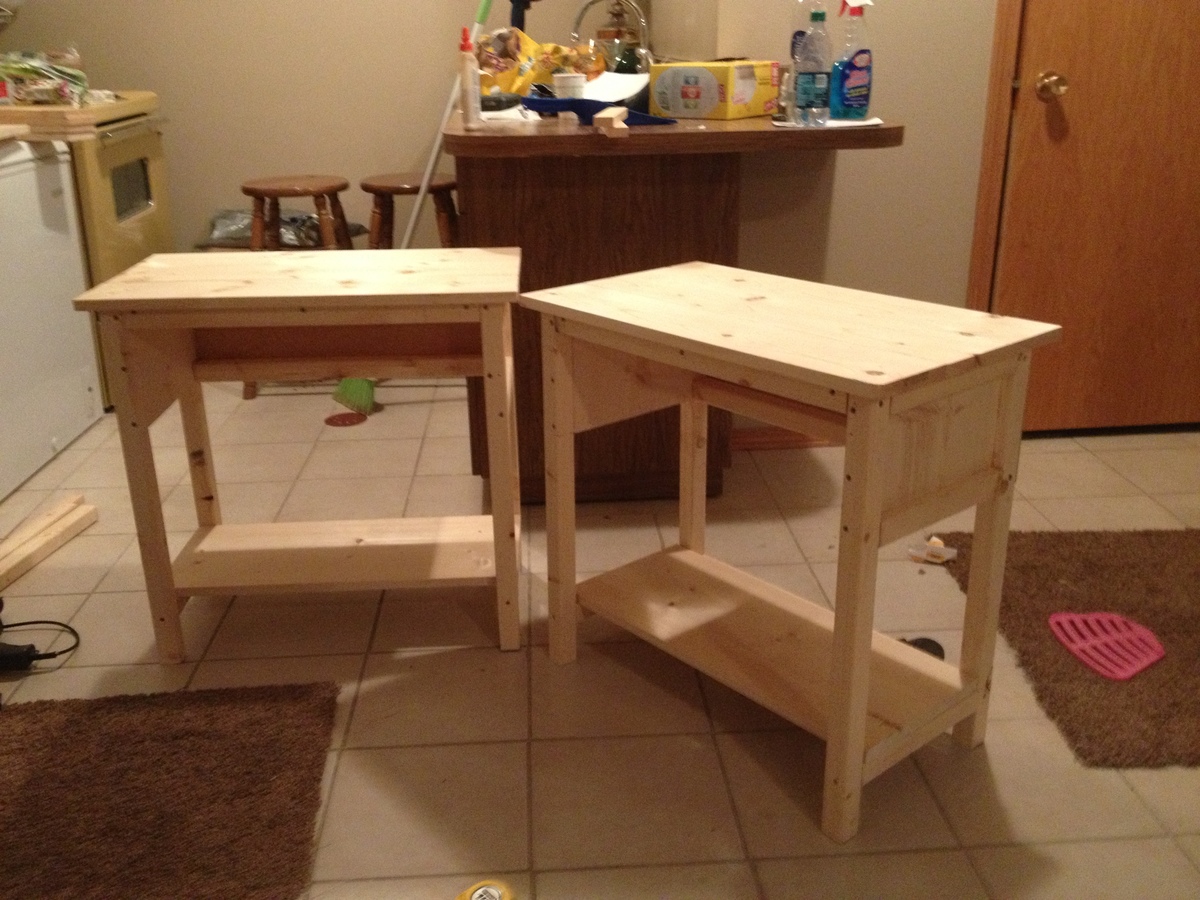
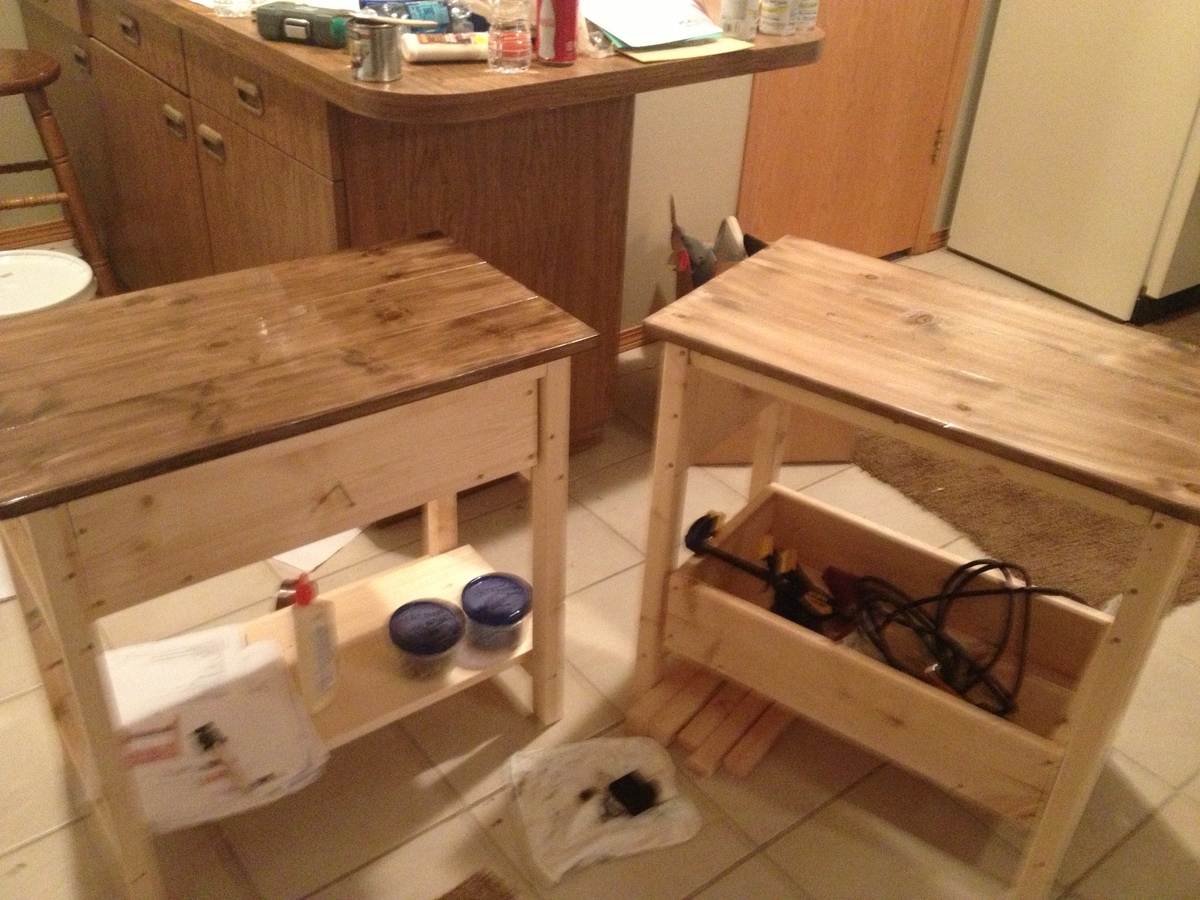
I designed the modifications in SketchUp, and my mum and I built it during our weekends over about a month using tools borrowed from other family members. Total cost, including the lumber, upholstery foam, fabric, hardware, etc, was about $350 in 2019.


Comments
Ana White Admin
Tue, 02/21/2023 - 08:52
So pretty and clever!
Love this and the way you framed it out to easily change the look with the upholstery portion! Thank you for sharing, I got those photos fixed for you:)