Grandson toy box
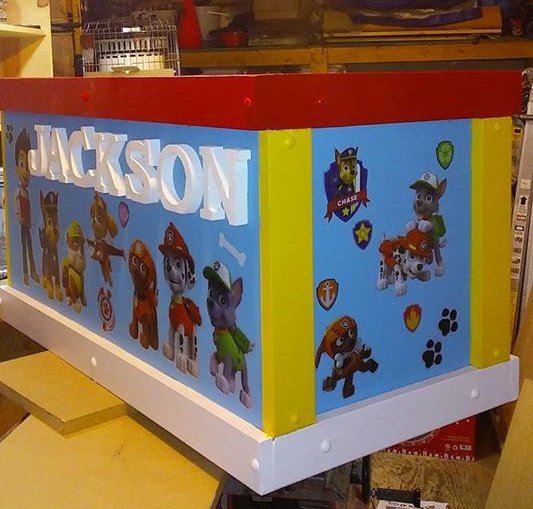
I used the plans from this site with just a couple changes but the idea came from this plan here

I used the plans from this site with just a couple changes but the idea came from this plan here
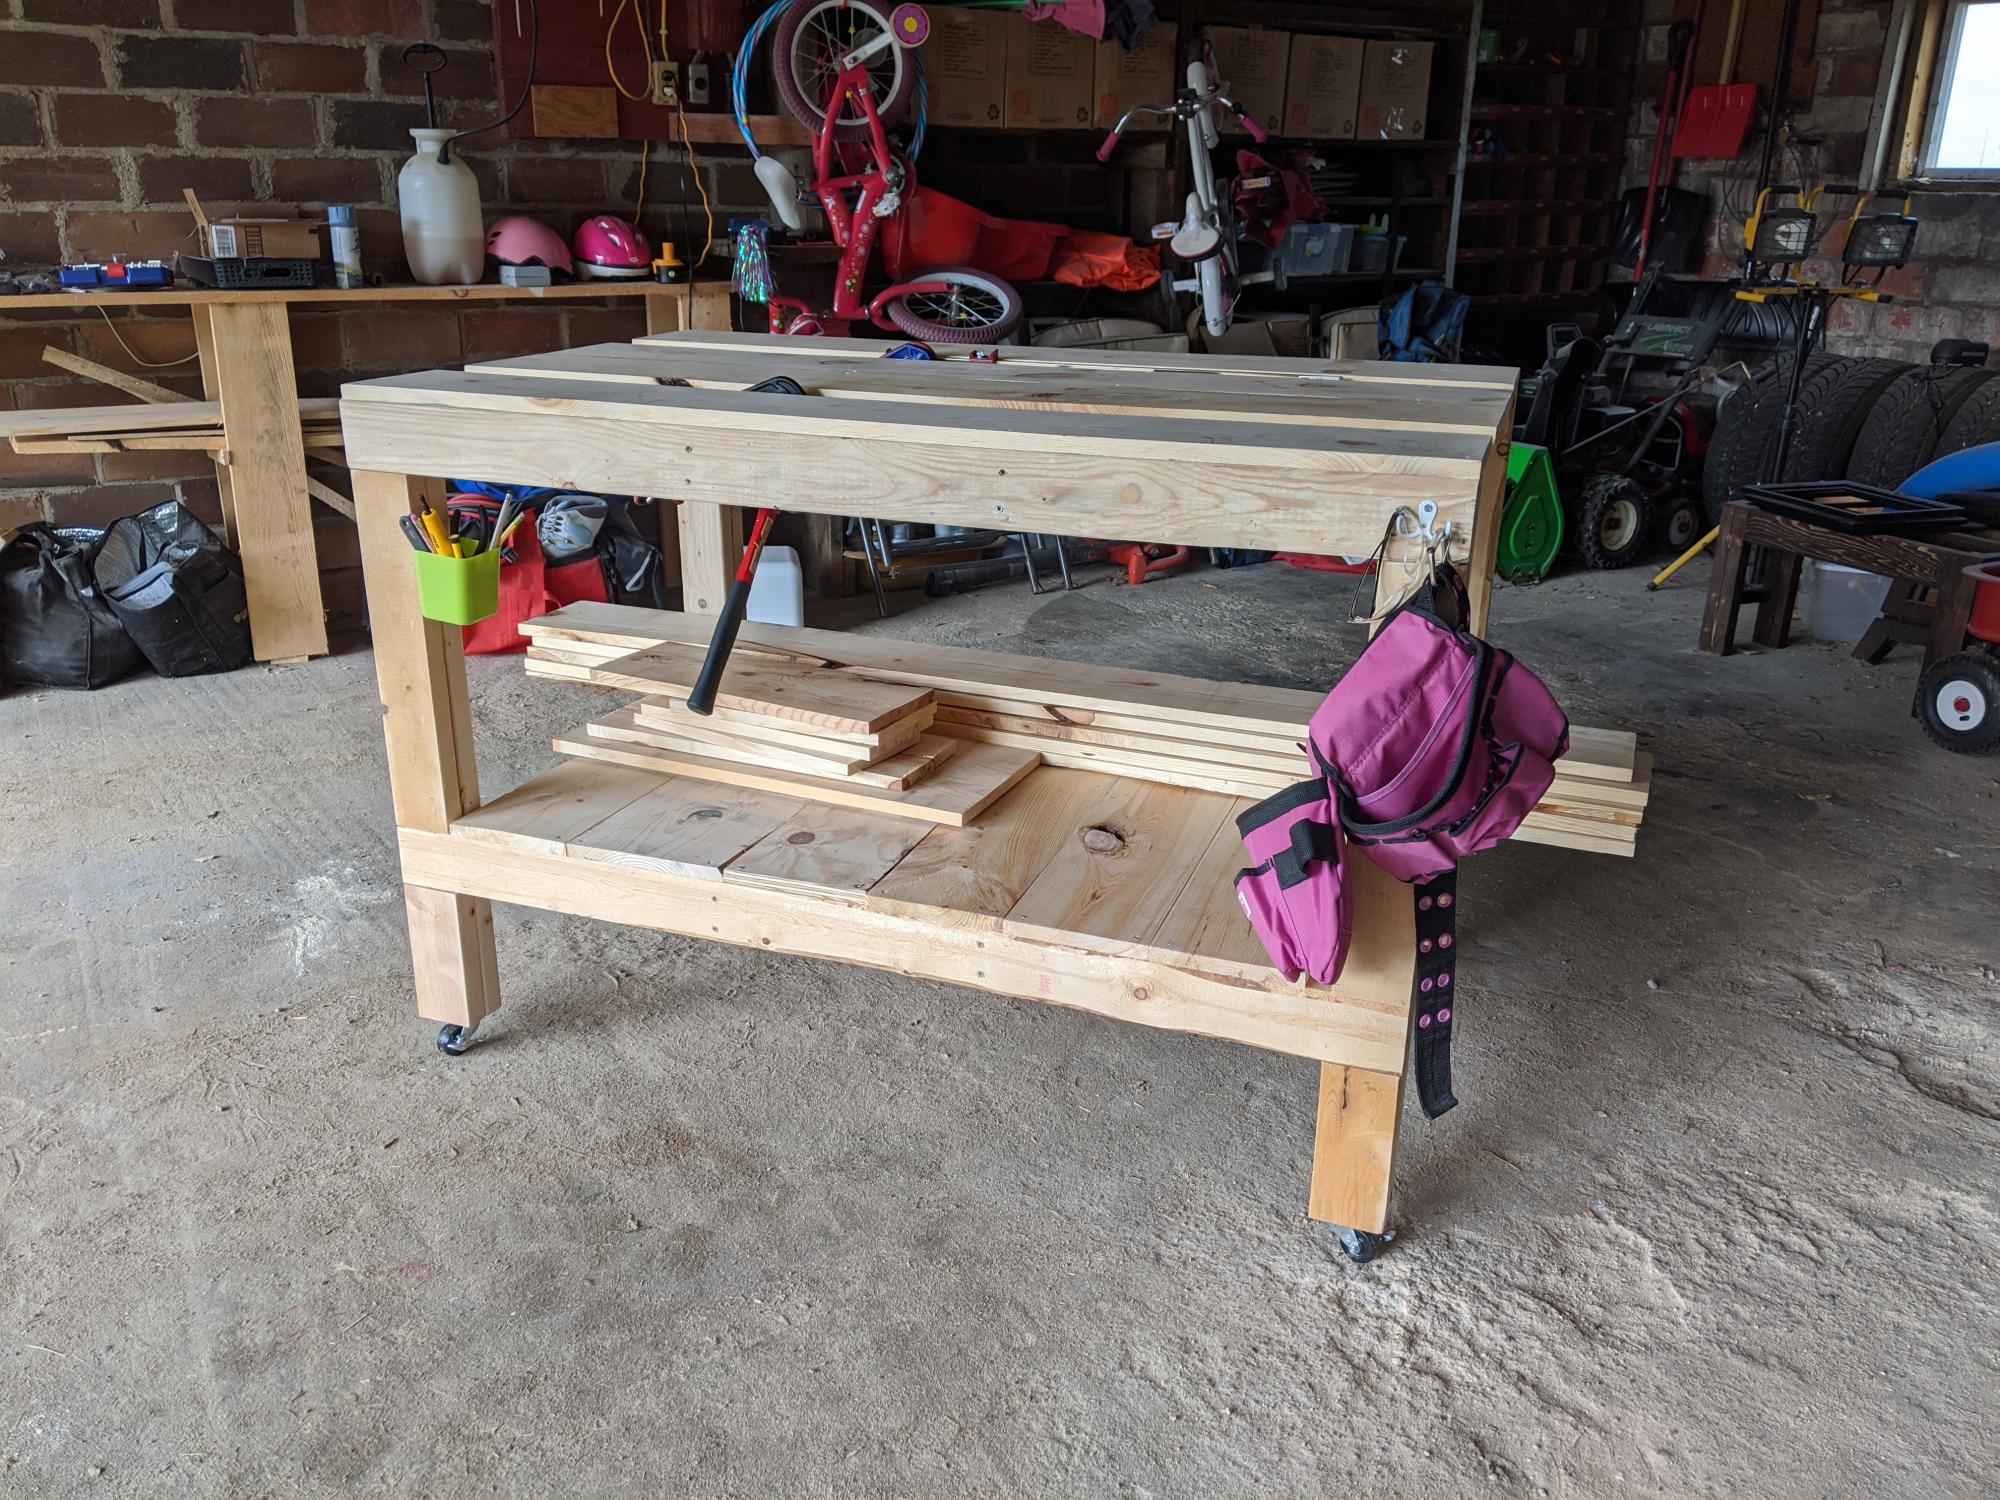
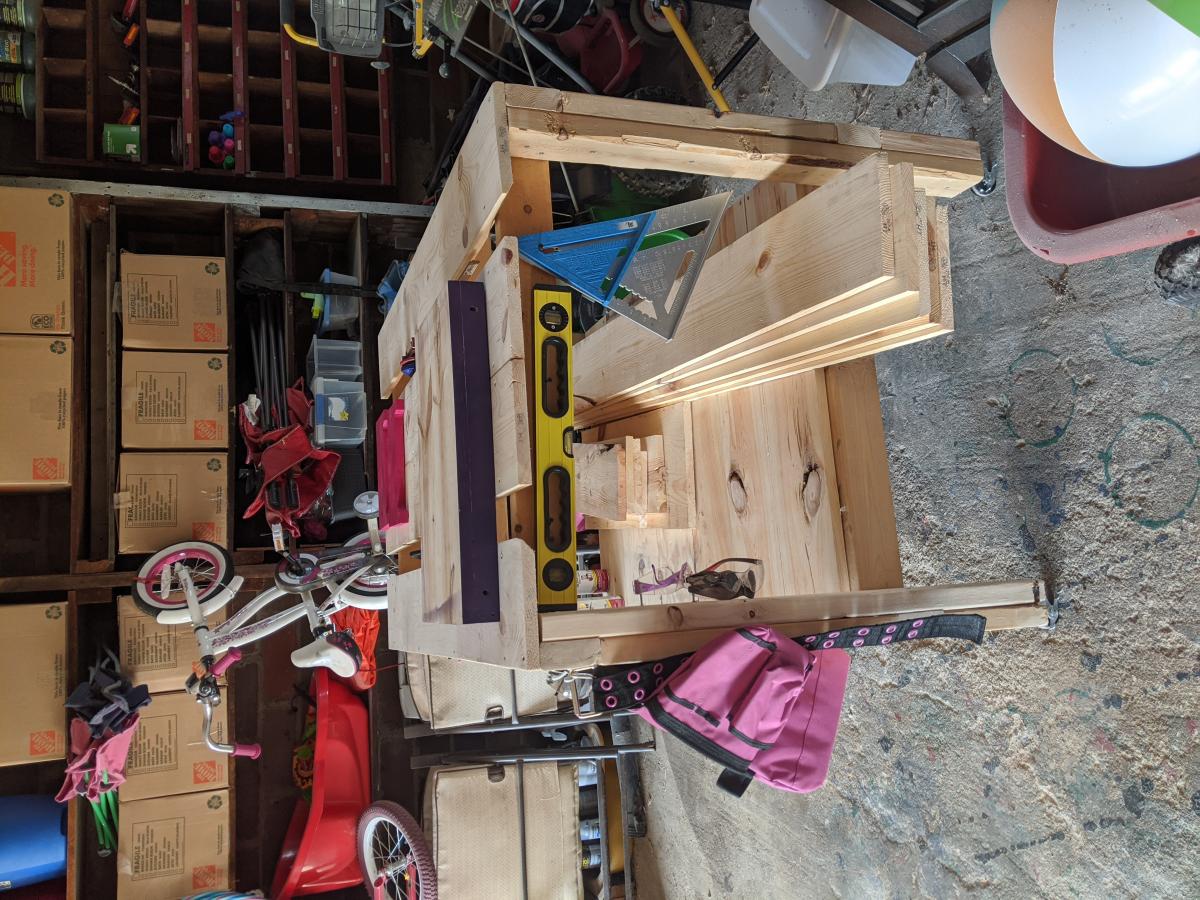
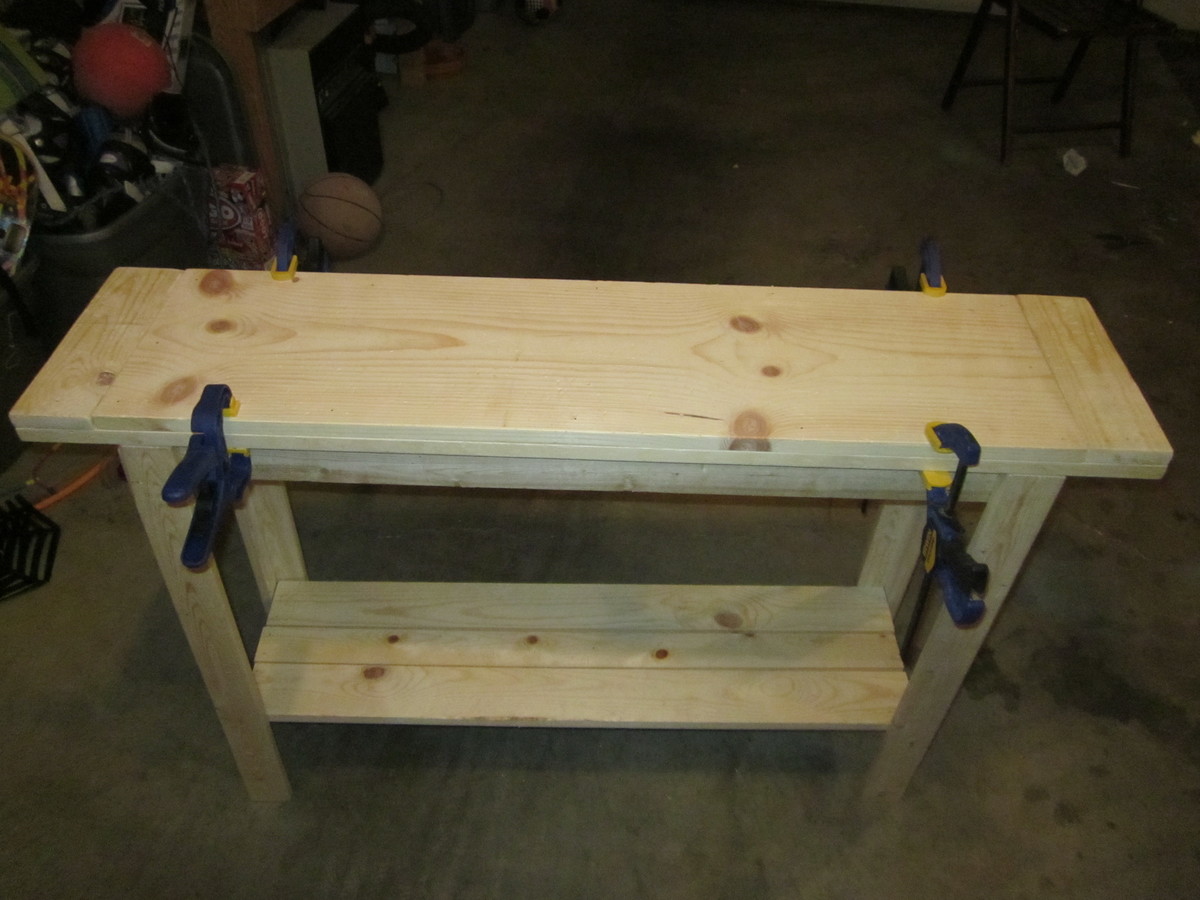
I needed a legit workbench and I had a bunch of wood to use up. I got a bunch of 1x8x6s from my local hardware store's scrap pile. There's a reason they were free... But I couldn't just toss them. I used all scrap, from the hardware store, my garage, and my brother-in-law's farm, except 3 2x4s that I bought new.
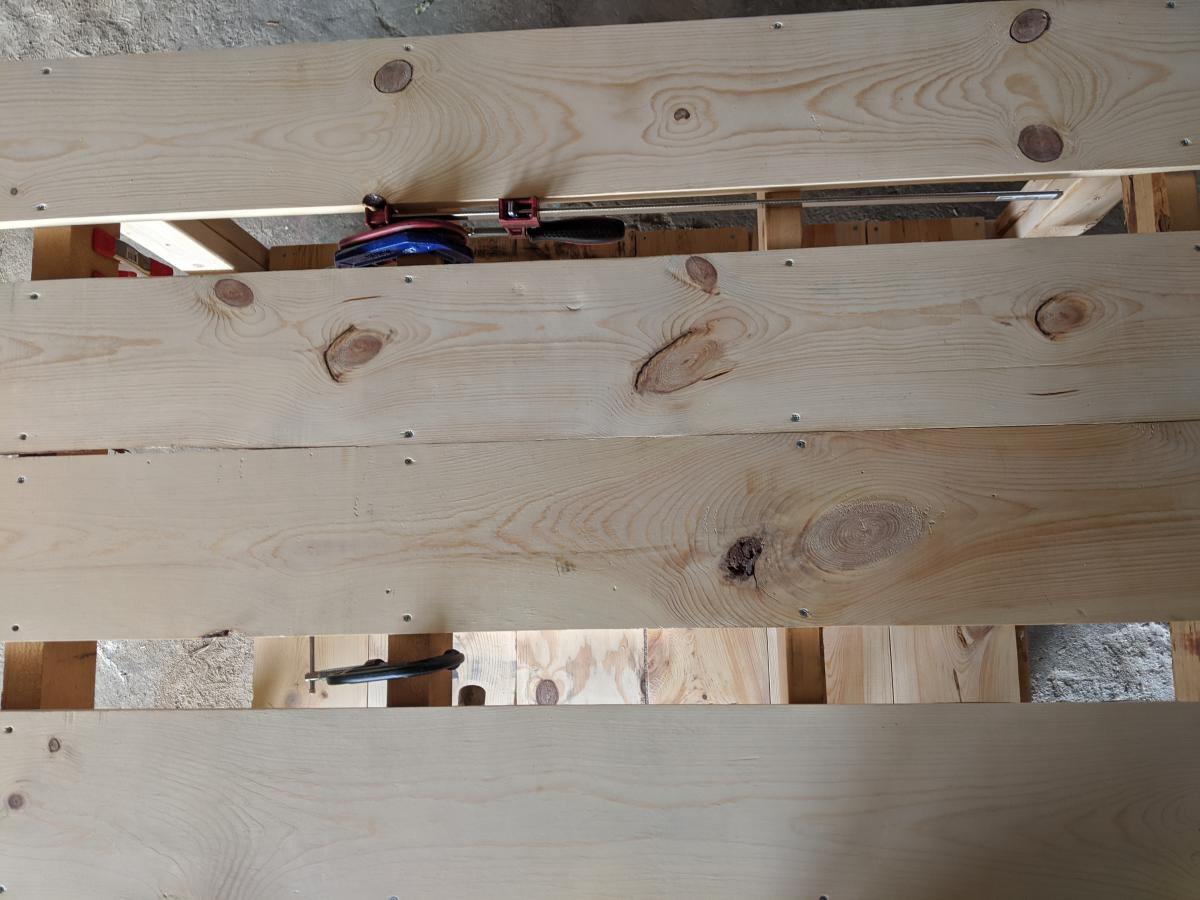
For this workbench, I used slats on the top and the bottom shelf. The frame is 2x4s. I had some idea I could use the space in between the slats to cut wood, but after adding 2in casters, it appears it might be a bit too tall. Even still, the spaces in between the slats make for excellent clamp storage.
And now I finally have a legit, mobile workbench to keep all my chaos somewhat contained.
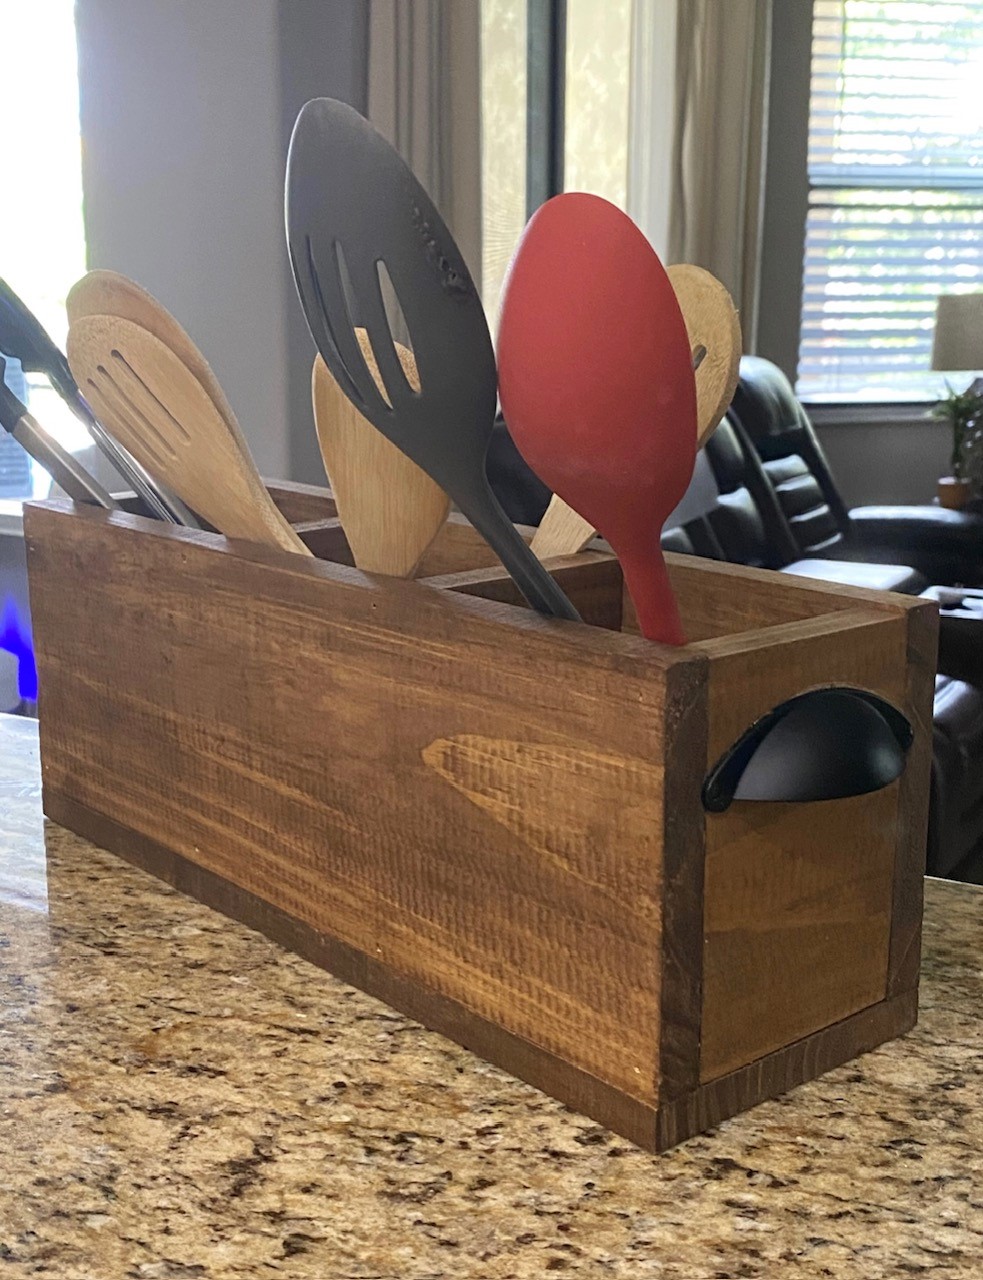
Easy project to make.
Tue, 08/20/2024 - 04:29
Thank you so much for sharing these amazing DIY projects! I'm especially excited about incorporating a *wooden world map* into my home decor. Your ideas have truly inspired me, and I can't wait to start my next project. Keep up the fantastic work!
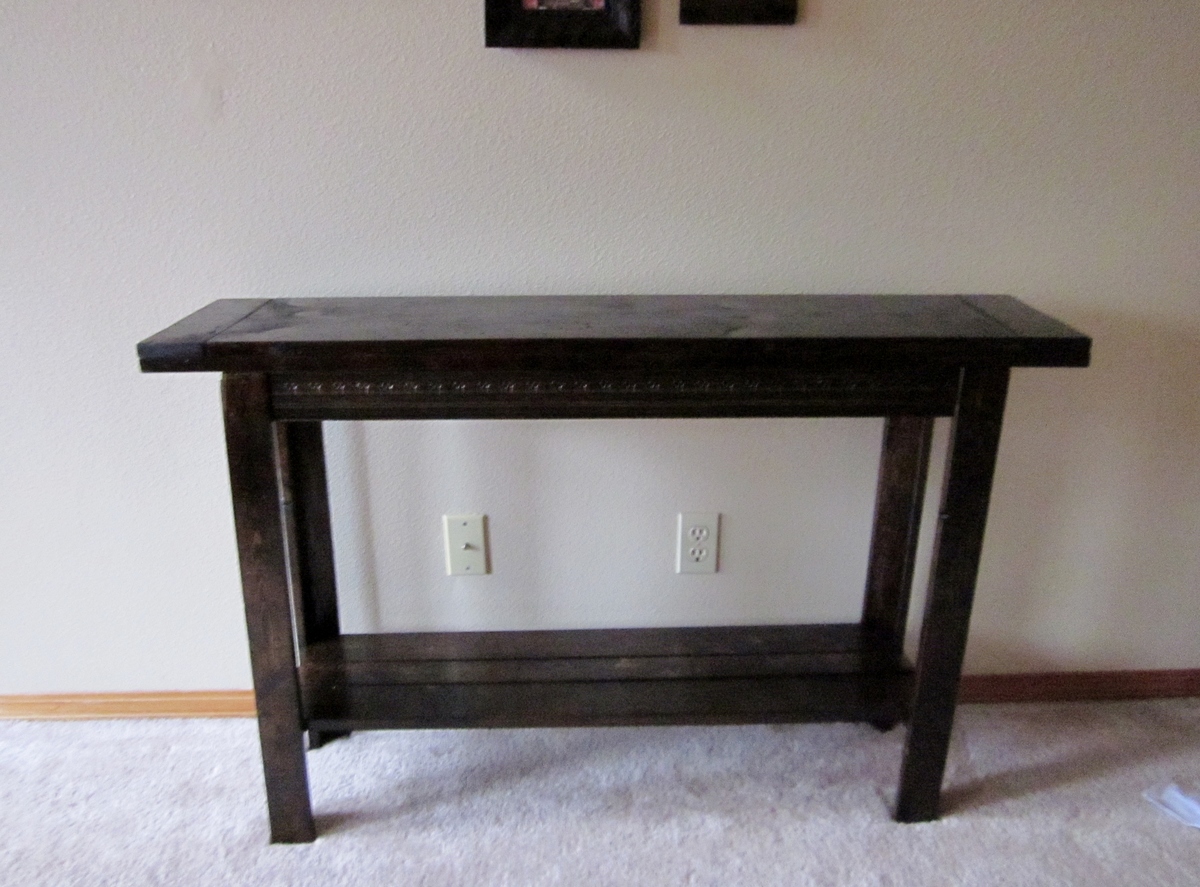
Here is my first woodworking project. I followed the plans (that were so user friendly) for the cheap and easy console table. I spent 40 in material only because I bought a 8 ft board of decorative molding for the aprons that cost 20 bucks. I used a circular saw (that was scary and fun) and I hand nailed everything. Ugh My hands are sore. I really am in love with Spanish Colonial furniture and really dont have 300-3000 dollars to spend on a piece.
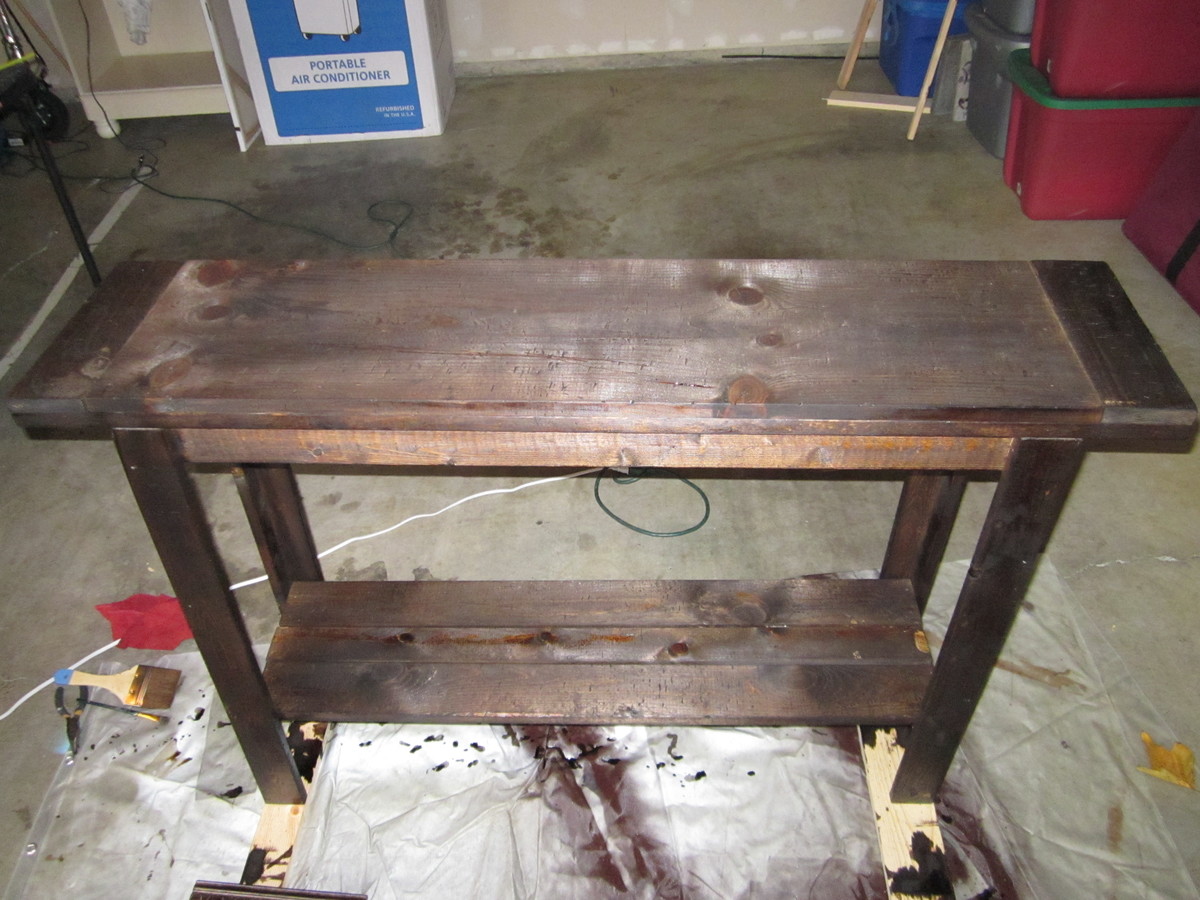
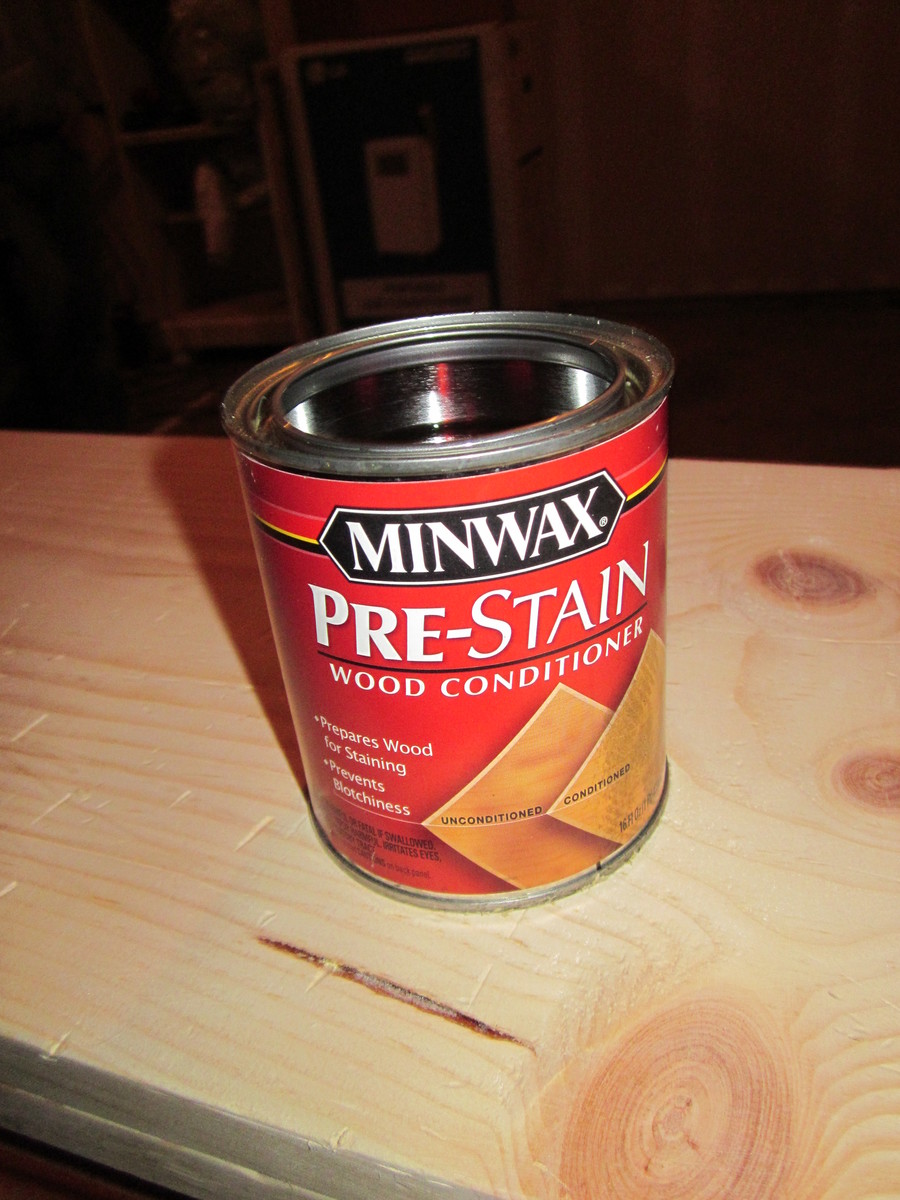
I beat the peices of wood with a metal chain and gouged it with the back side of a hammer. The kids had fun helping me with that! I also added more boards to the bottom shelf. Then used a wood conditioner. The stain i used is a dark walnut 2 coats and a satin poly on top.
This was the best web site for me!
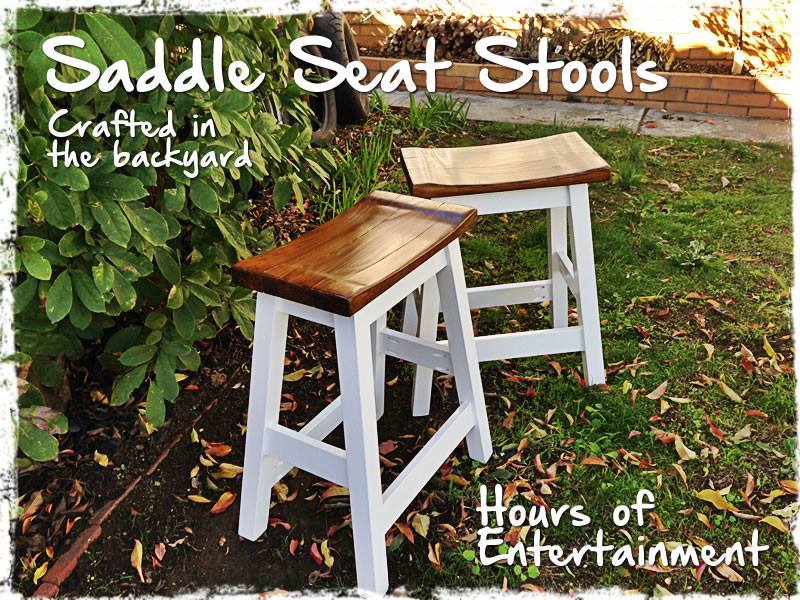
After a lot of cutting, screwing, chiseling and sanding... oh and a lick of paint! My new little Saddle Seat Stools are complete. Time will only tell whether they will hold up to the abuse the boys give them especially Brodie! These new stools only cost me $48 to make the pair and I got all the timber from Bunnings
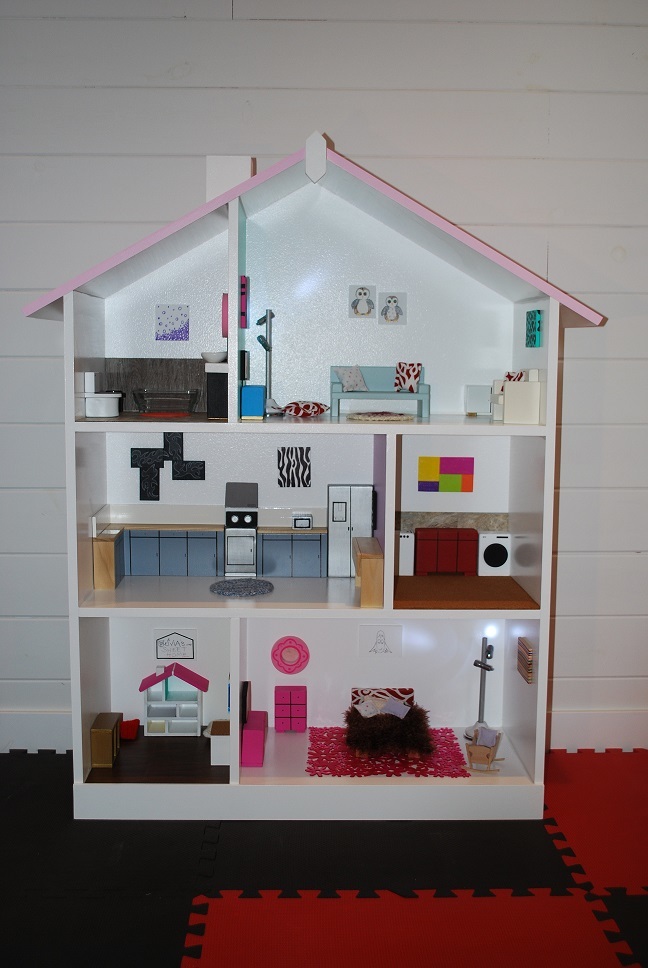
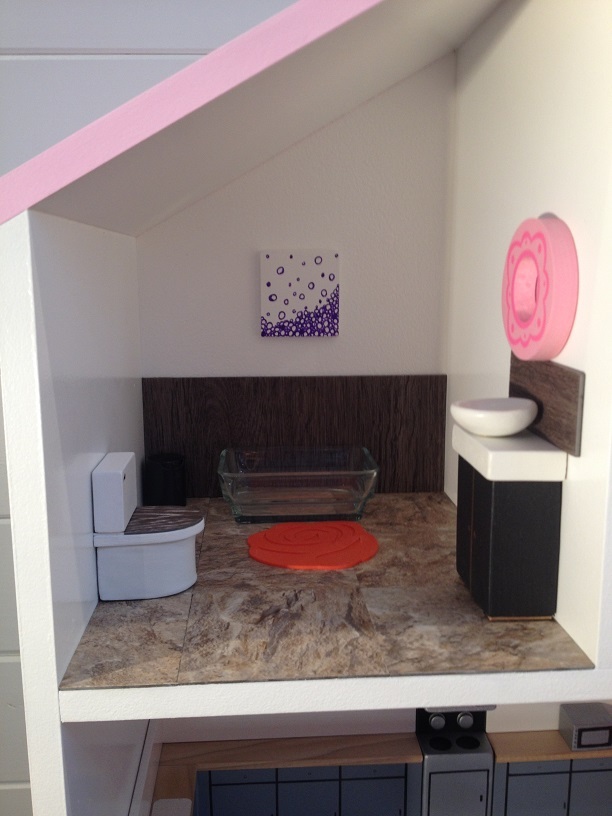
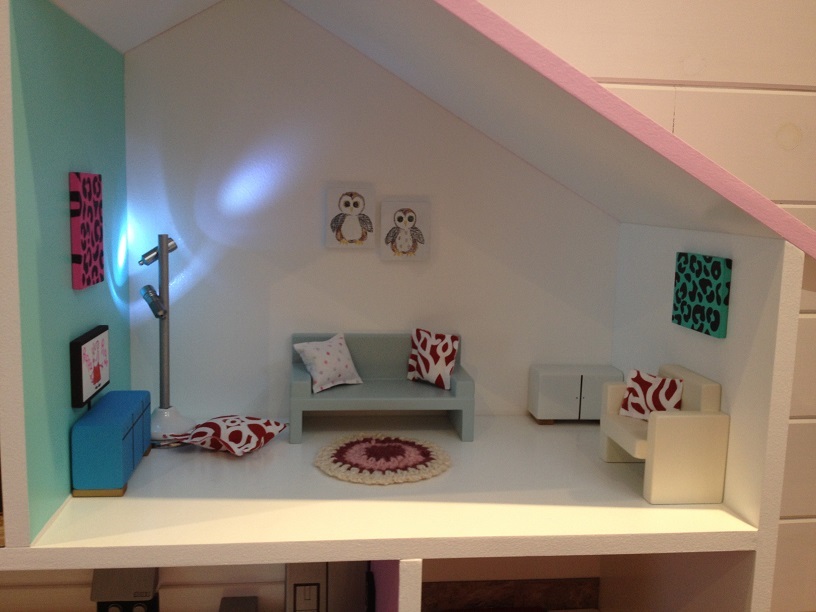
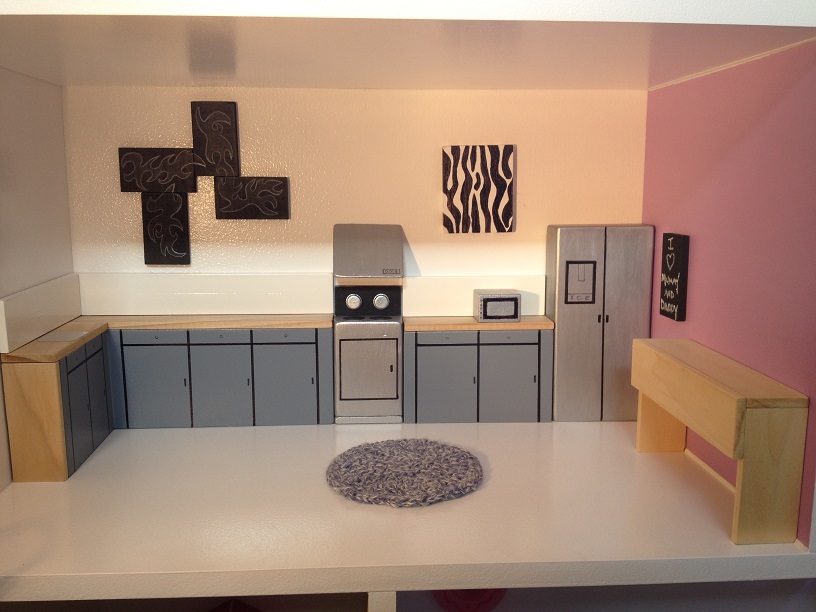
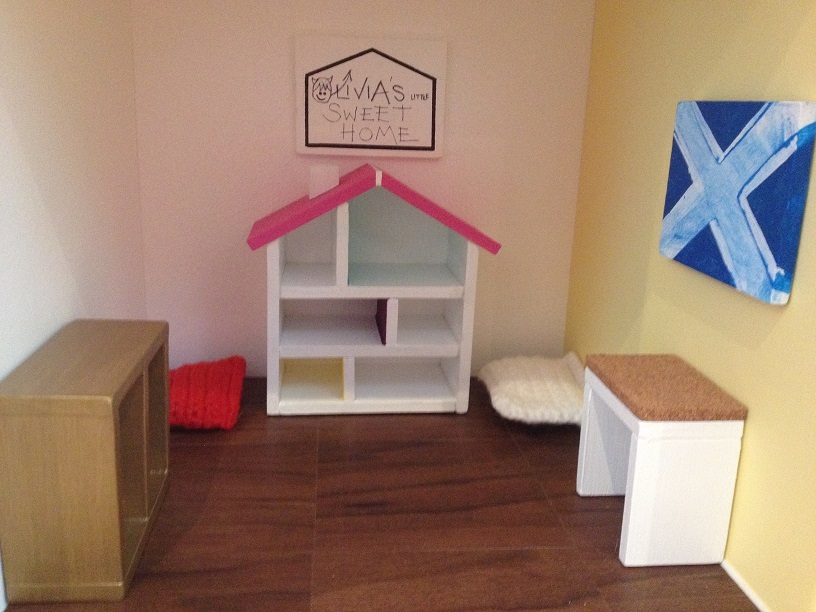
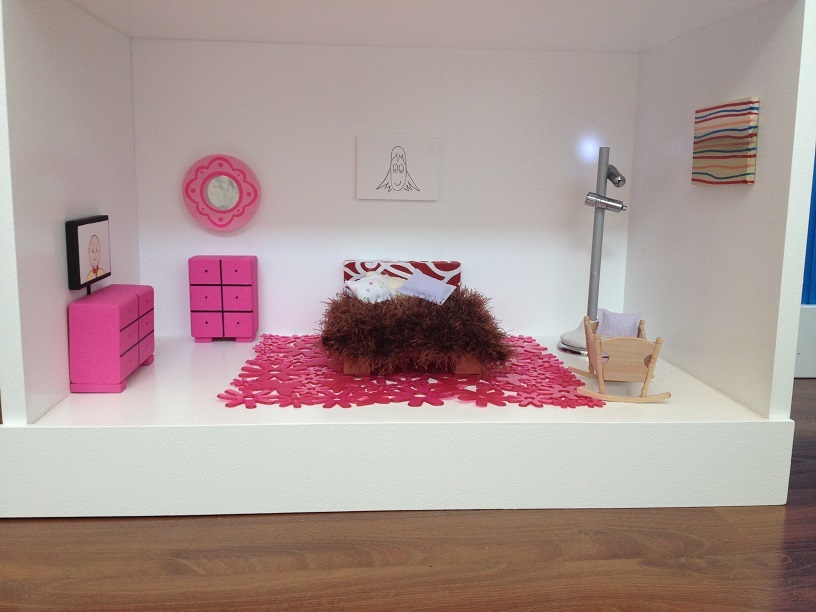
When my daughter was born I promised that I would make her a dollhouse. A few weeks ago I found these plans, and absolutely loved the visual layout of the rooms. I stuck with this layout and tweeked the dimensions according to what worked best for the space it would proudly sit in. It is 46 inches high and 31 inches wide at the walls, and is made from 12 inch wide MDF which I primed with a latex primer and then finished off with a semi-gloss white on the majority of the walls. I also mixed the colors for the roof and also the 3 accent walls to give it an extra wee shot of color.
I was very, very happy with the end result, and haviong caught what I now know as the "dollhouse bug" I though "what about if I added a chimney ?". So I added it. I then thought what about adding a roof ridge and something to cover my dodgy gable on the roof front . The house looked even better. Progressing onto full-blown "dollhouse-flu", I then decided to make a chair for what would later be the living room. That was it, fully addicted now I couldn't stop and found myself obsessively planning, designing, messing up, re-designing, cutting, building and painting until I reached the point where last night I attended my first "DA" meeting.
I found Dollhouse Annonymous very helpful and although not cured, I realise that it is perfectly acceptable for a 44 year old Scotsman to build a dollhouse for the daughter (naughty 2 1/2 year old daughter) that is the love of his life. If she is happy when she unwraps it on Christmas morning, then all of the work shall be worth it.
This site is top of my bookmark list and I love it. !
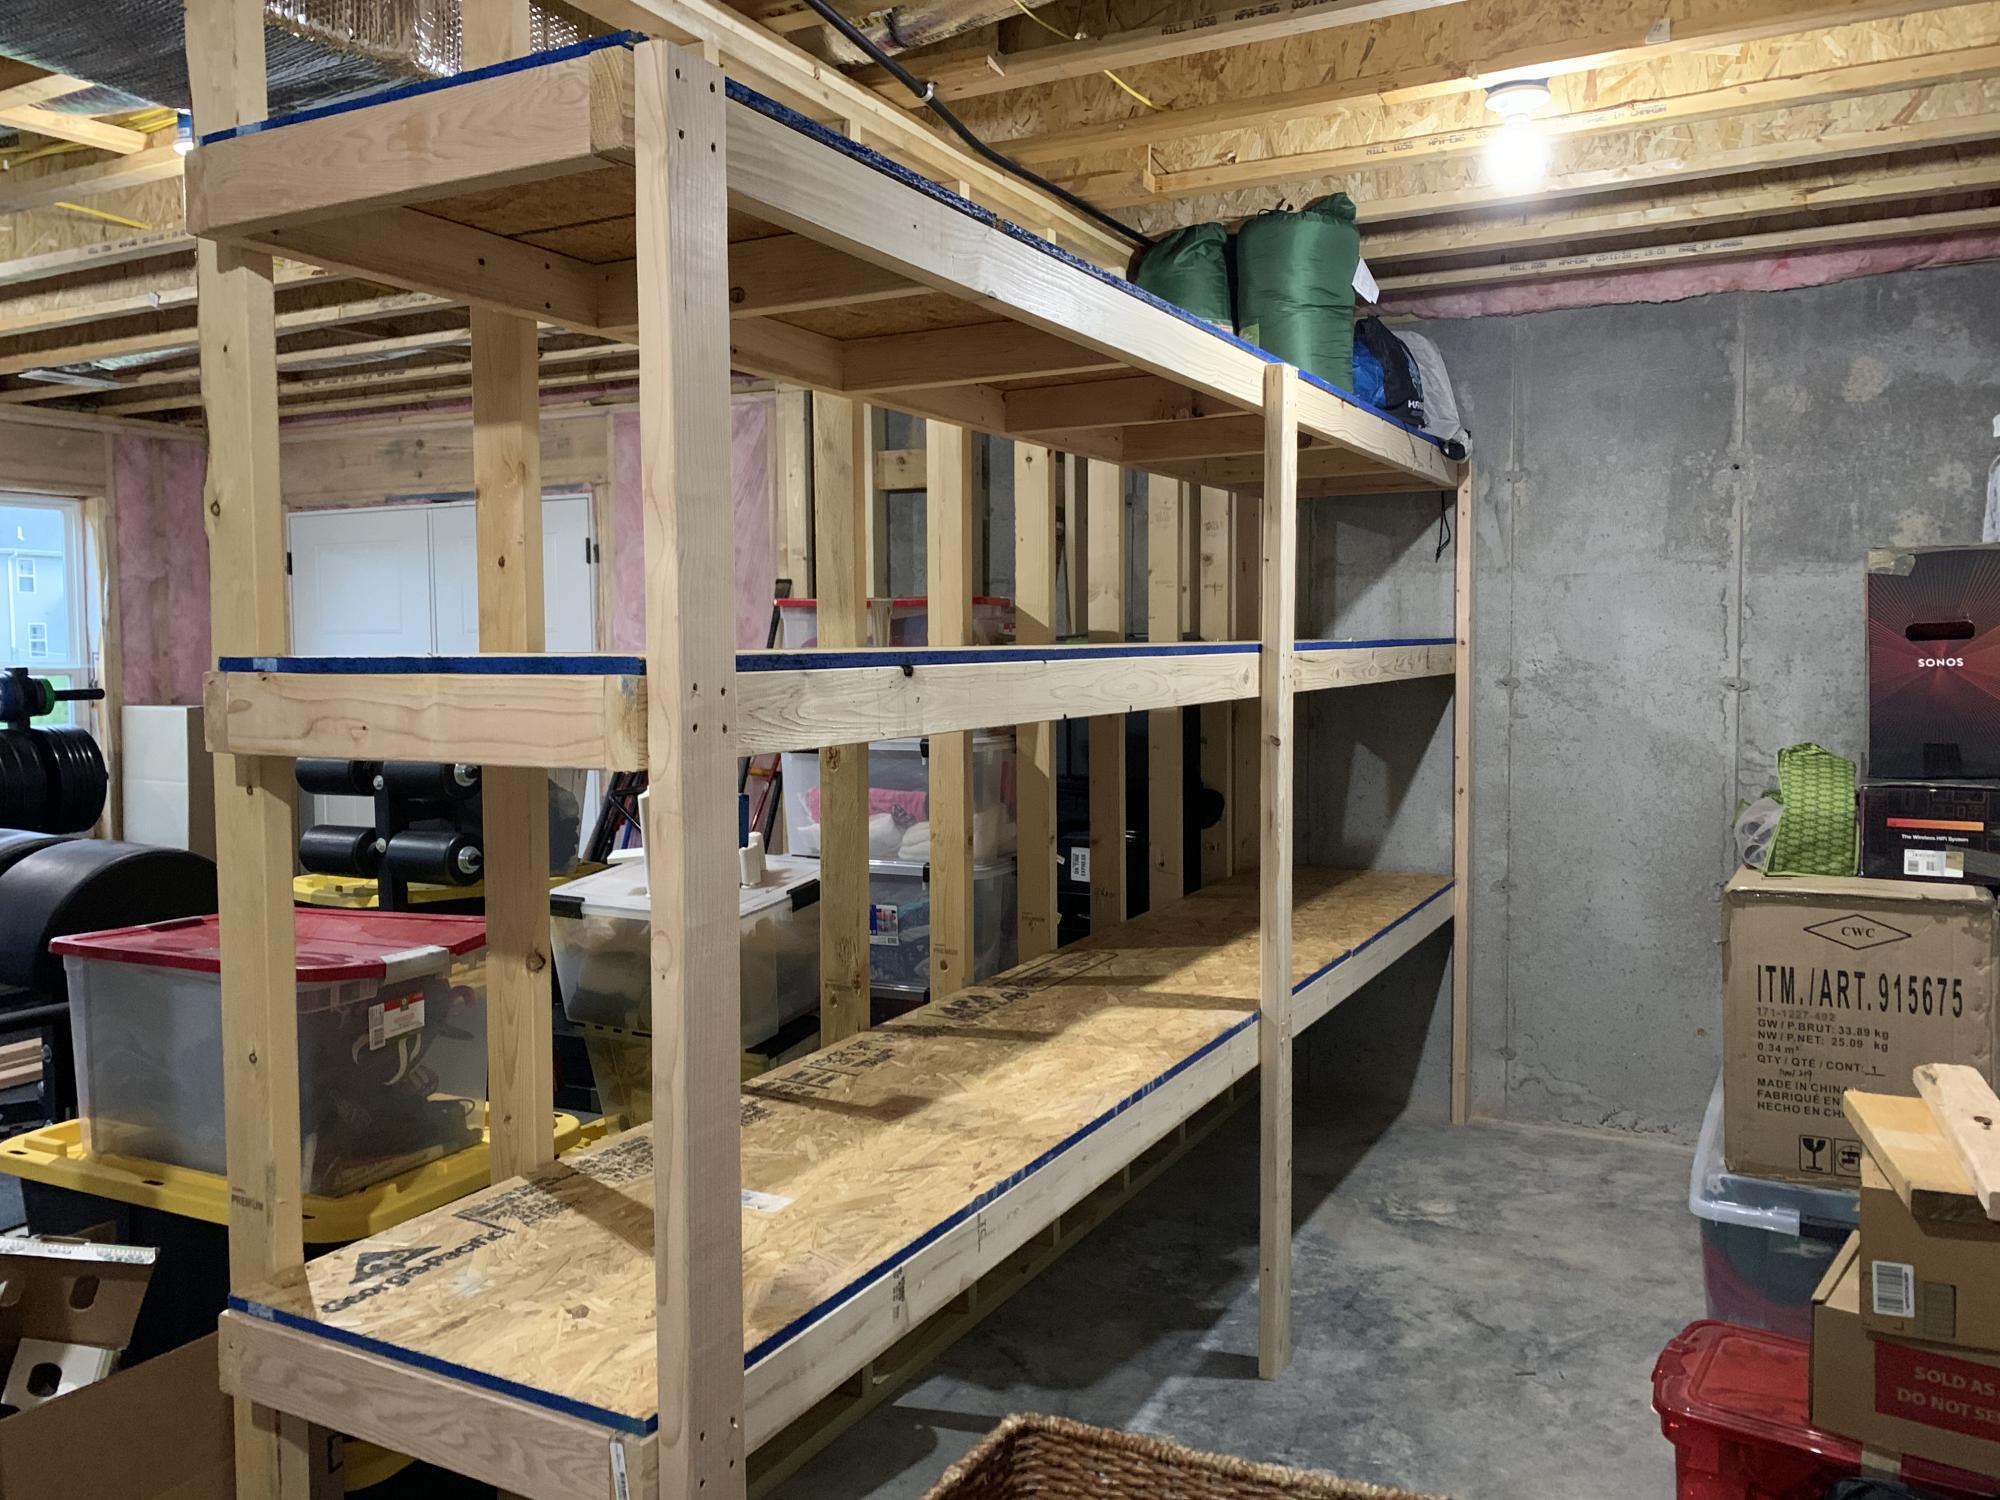
We just moved onto a new house with ample unused space I. The unfinished part of the basement so I decided to make a 12’ wall of storage shelves, altering Ana’s plans just a little bit. I did two 24” tall shelves on bottom and two 18” y’all shelves up top. It was a fun project and I got to use my Kreg HD Jig for the first time! These shelves are SOLID!
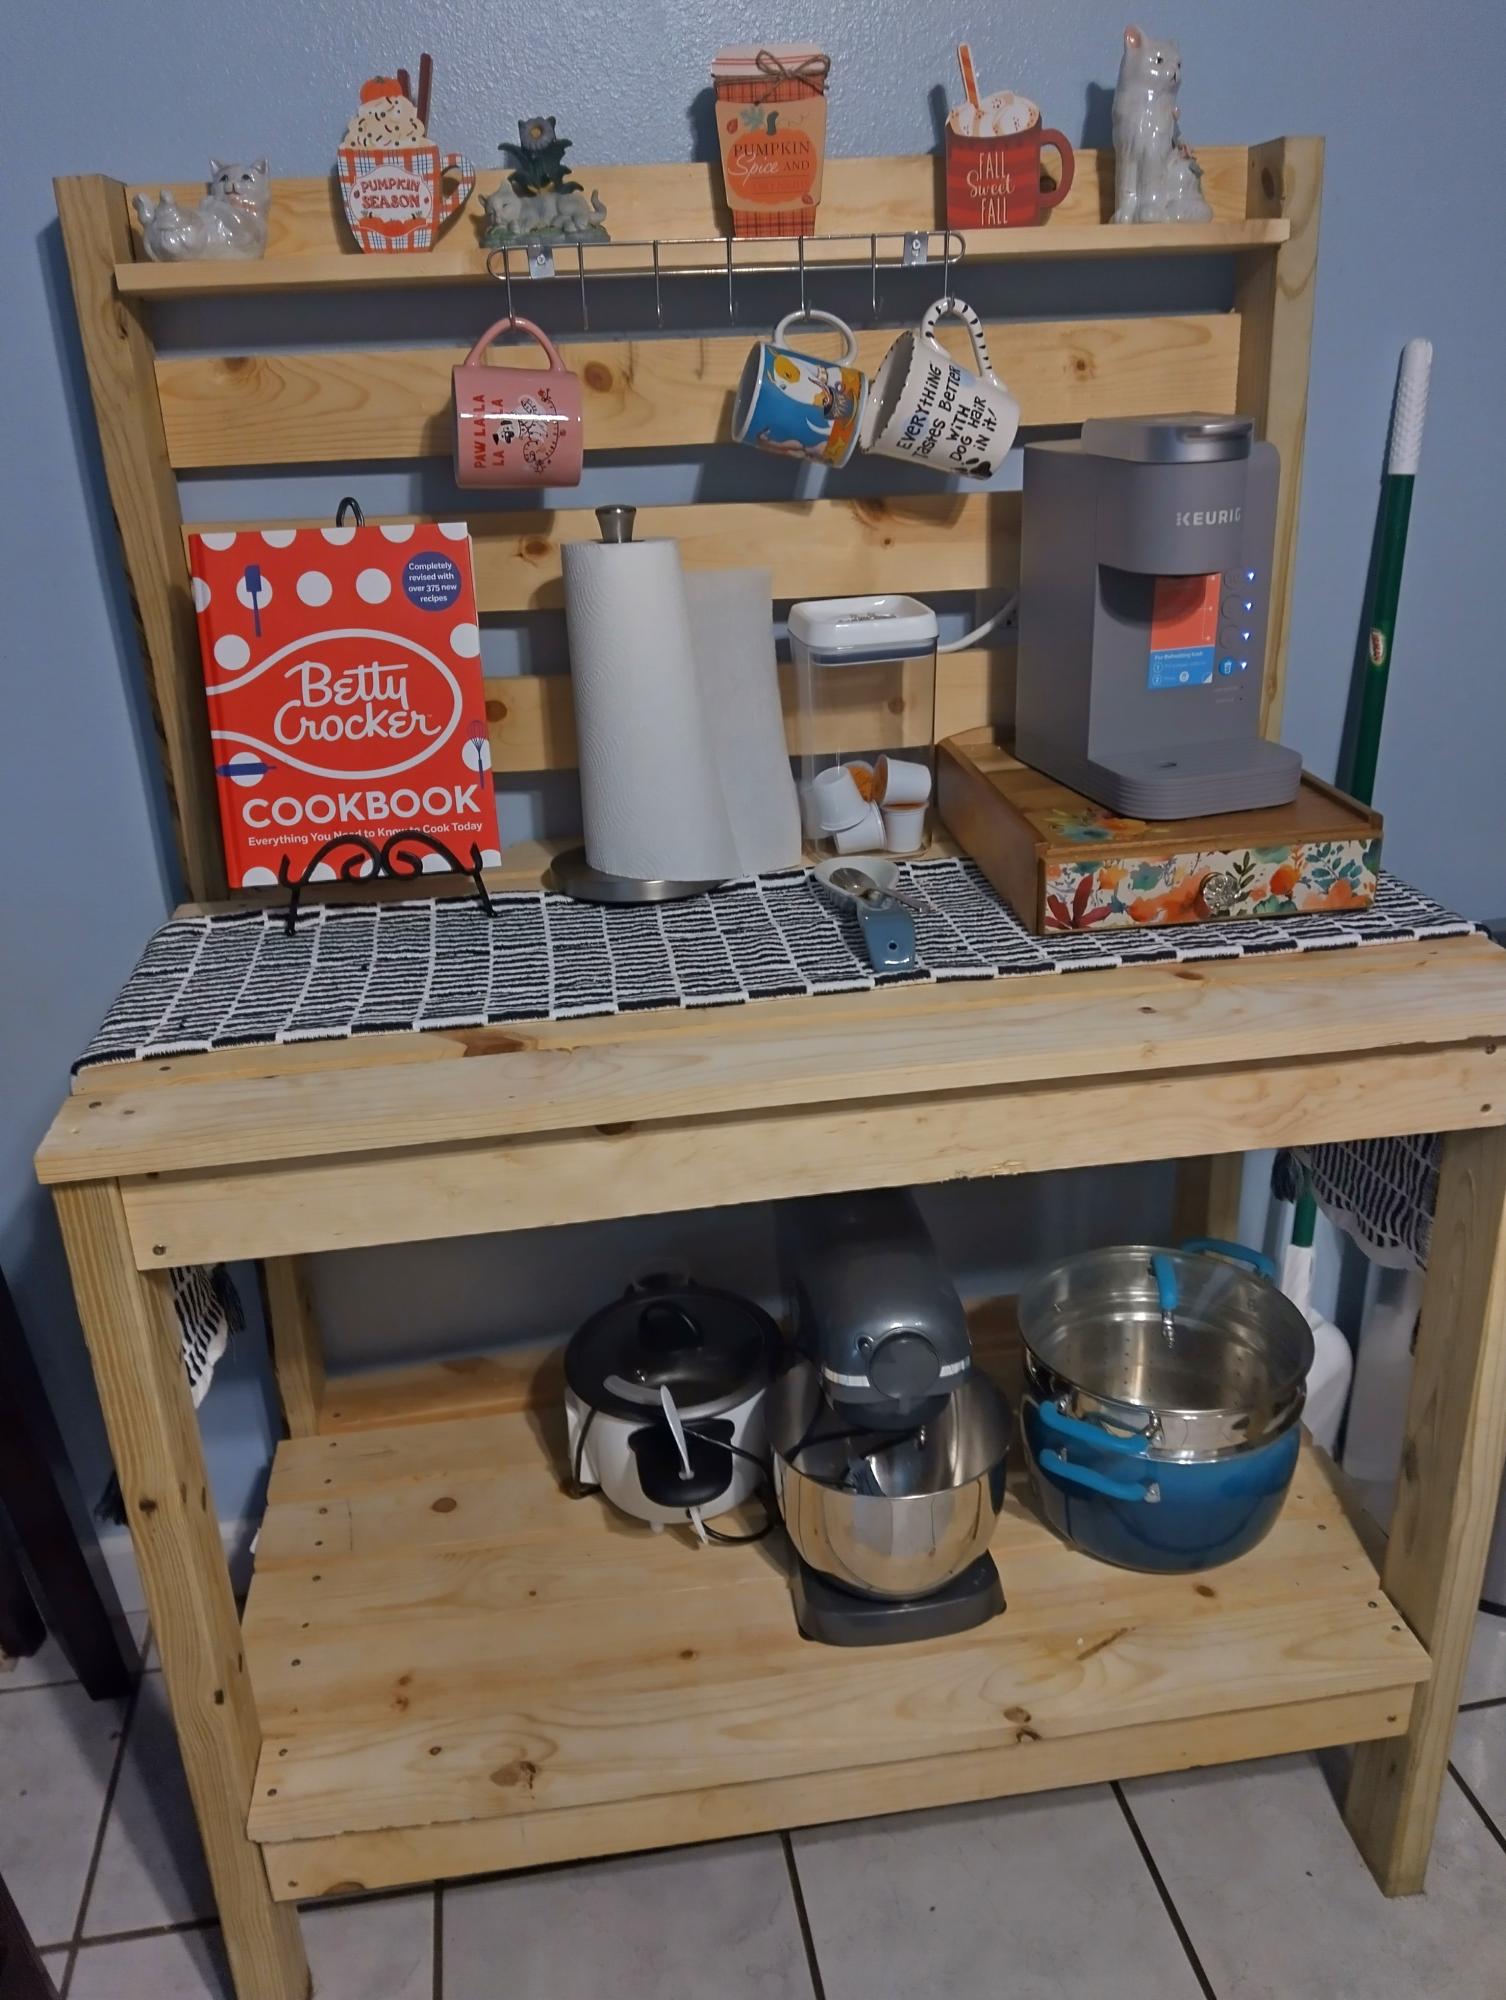
Using as a coffee bar.
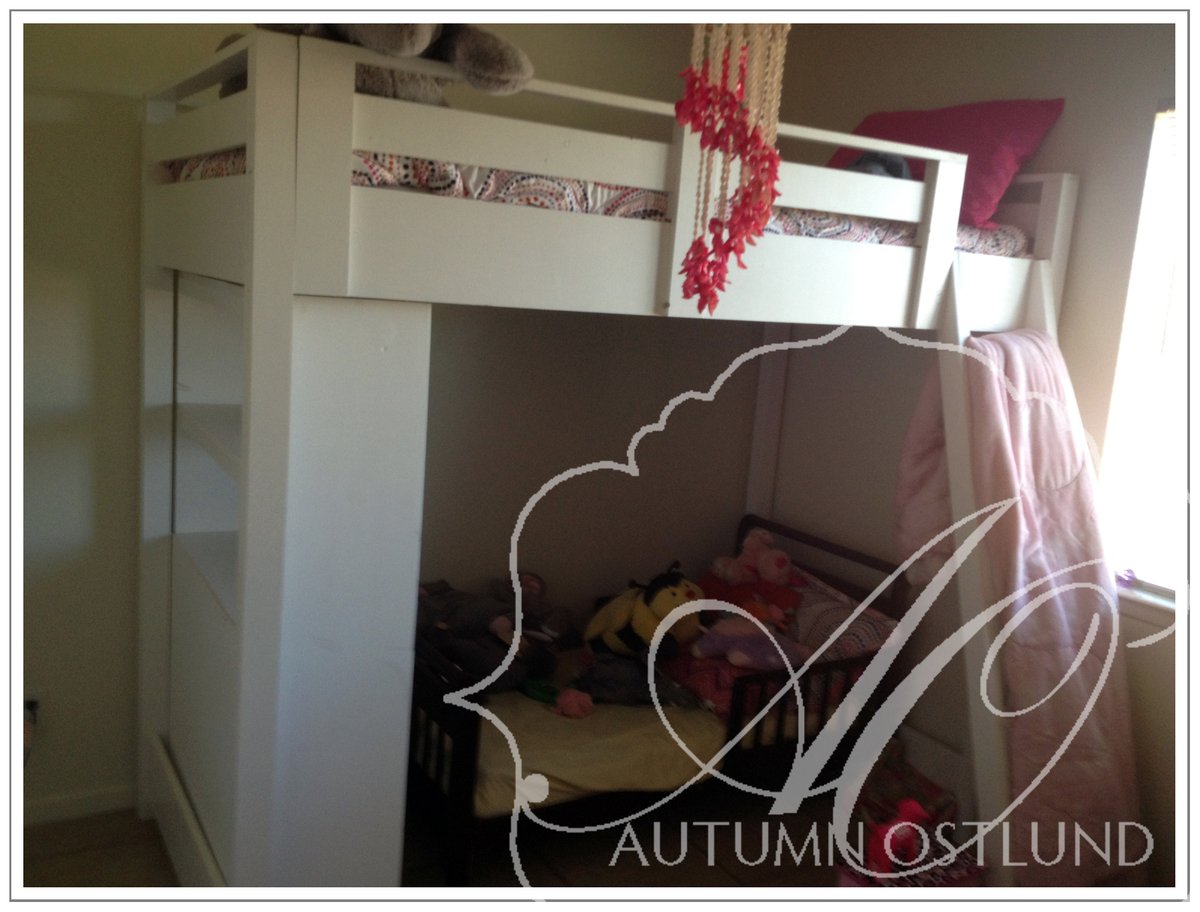
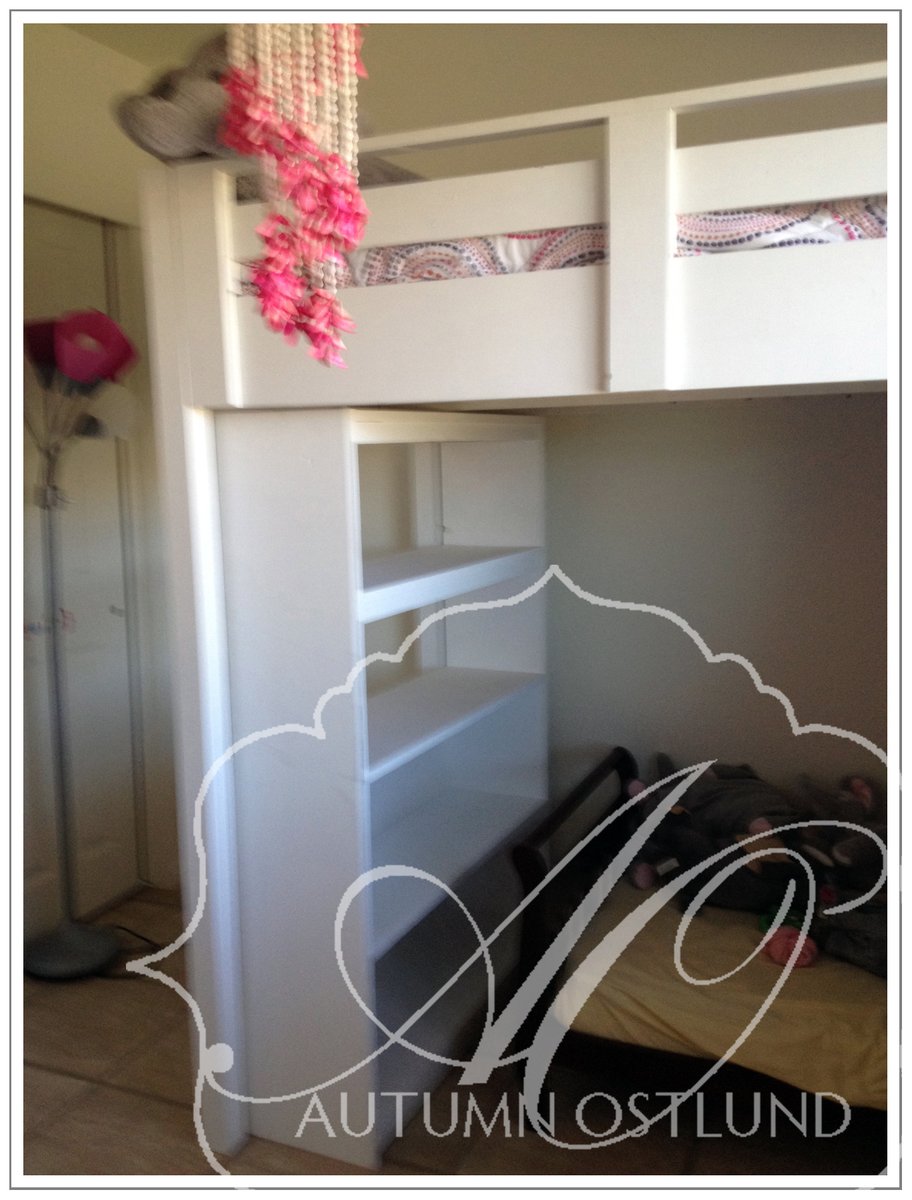
I built the loft bed and bookshelf for underneath.

This project was a challenge because of the instructions regarding the "recommended" pocket holes for the aprons. I soon realized you can't put a 3/4 pocket hole on a 45 degree mitred edge, and when I adjusted the depth of the pocket hole, I could not for the life of me screw it into the legs without the apron getting sucked past the edge of the legs. I ended up putting the pocket screws on the outside which I know is a major faux pas for wood workers, but because I used Kreg wood plugs and painted it, you can't see the little ovals where the screws are.
The photos are just for scale. The little girl is a big 2 1/2 year old, and the dog is not a St. Bernard.
We love the table and it works great for baby brother's room.
Thank you Ana for another great project!

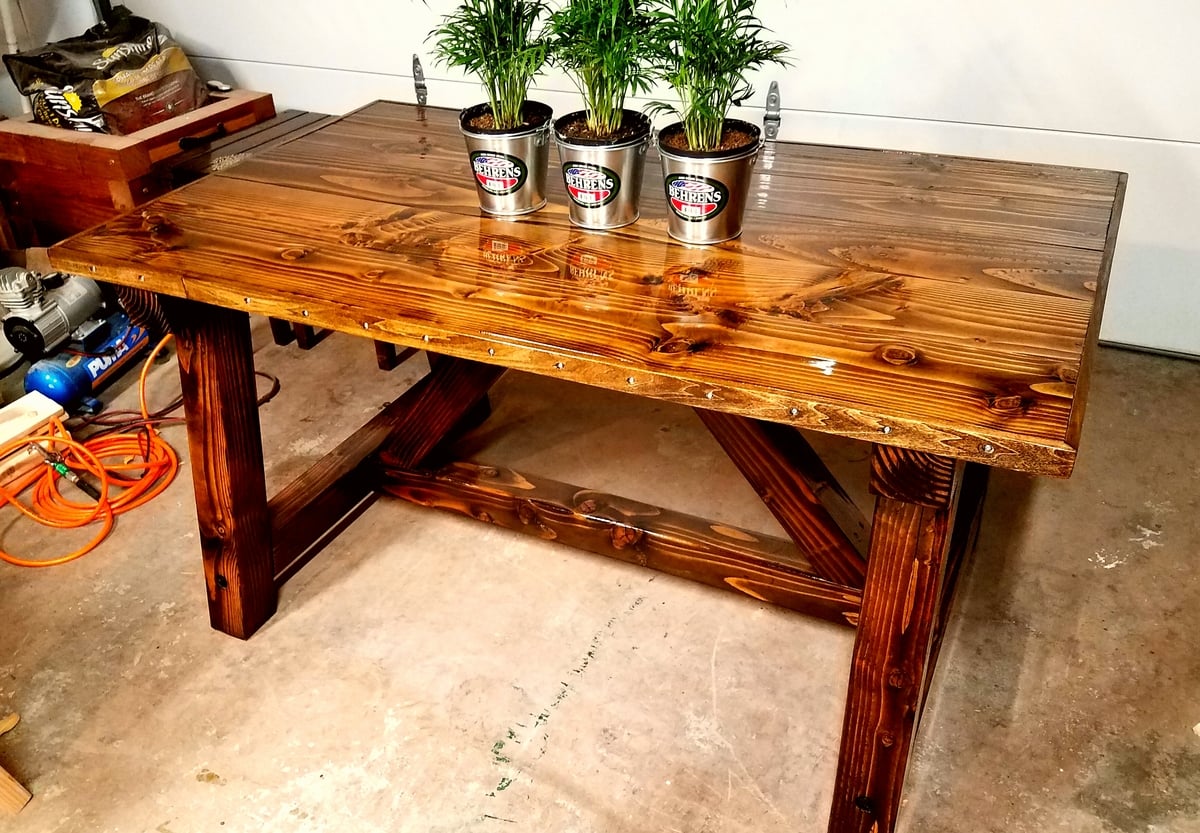
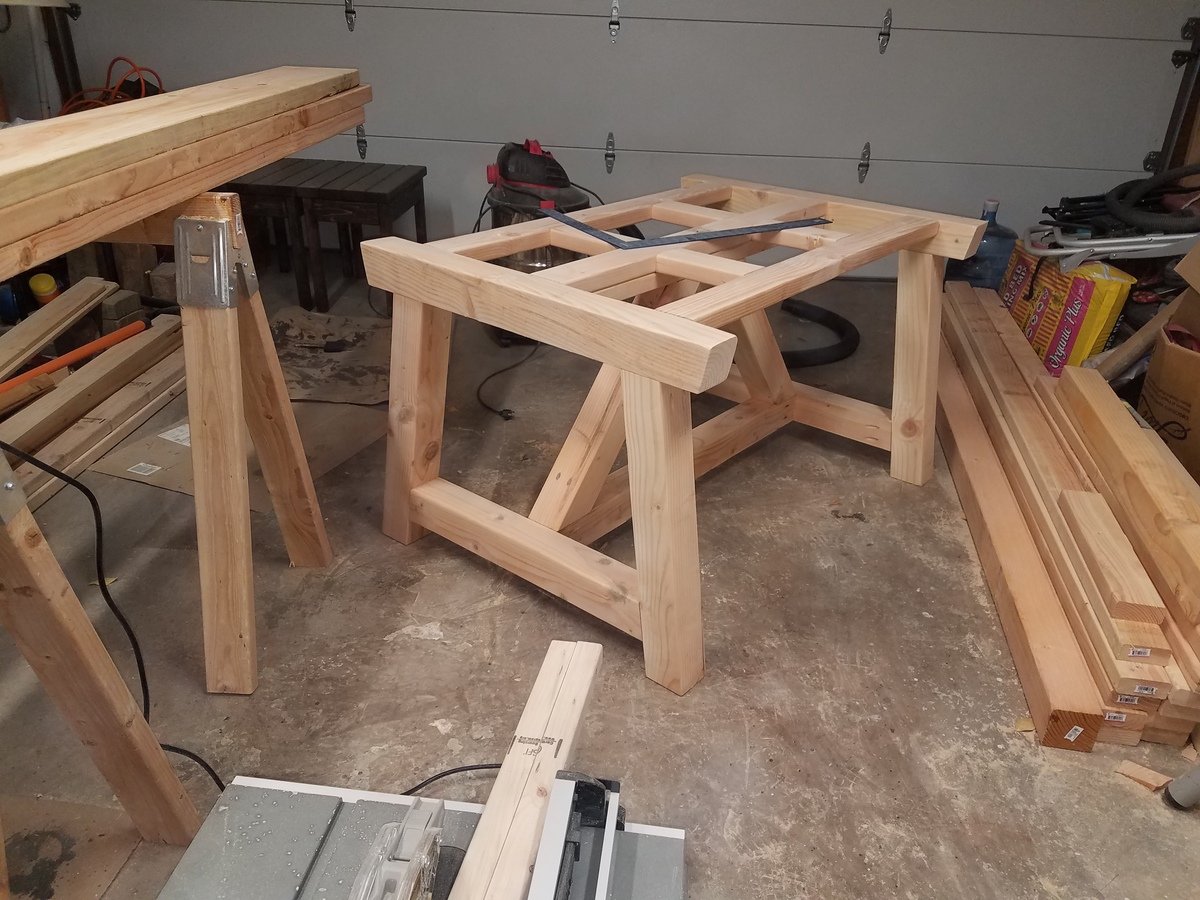
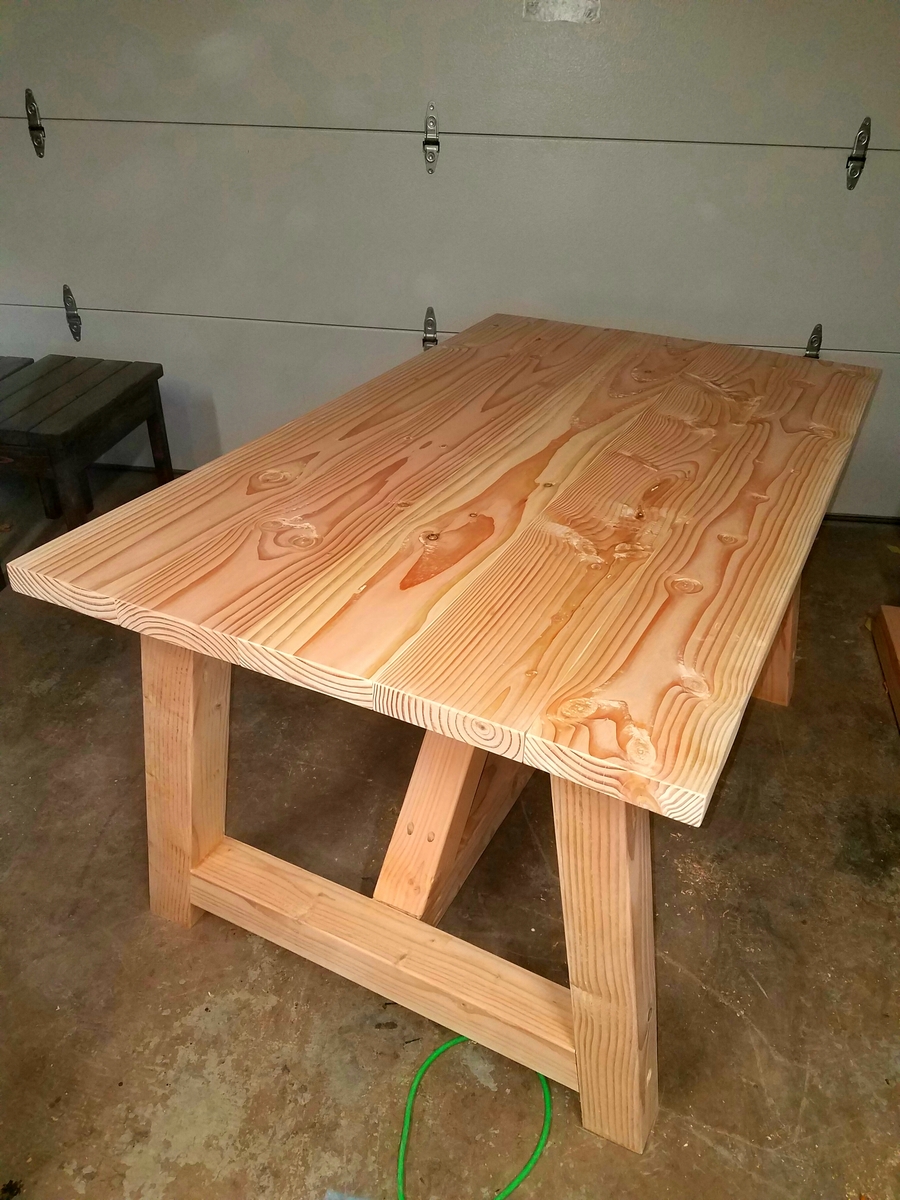
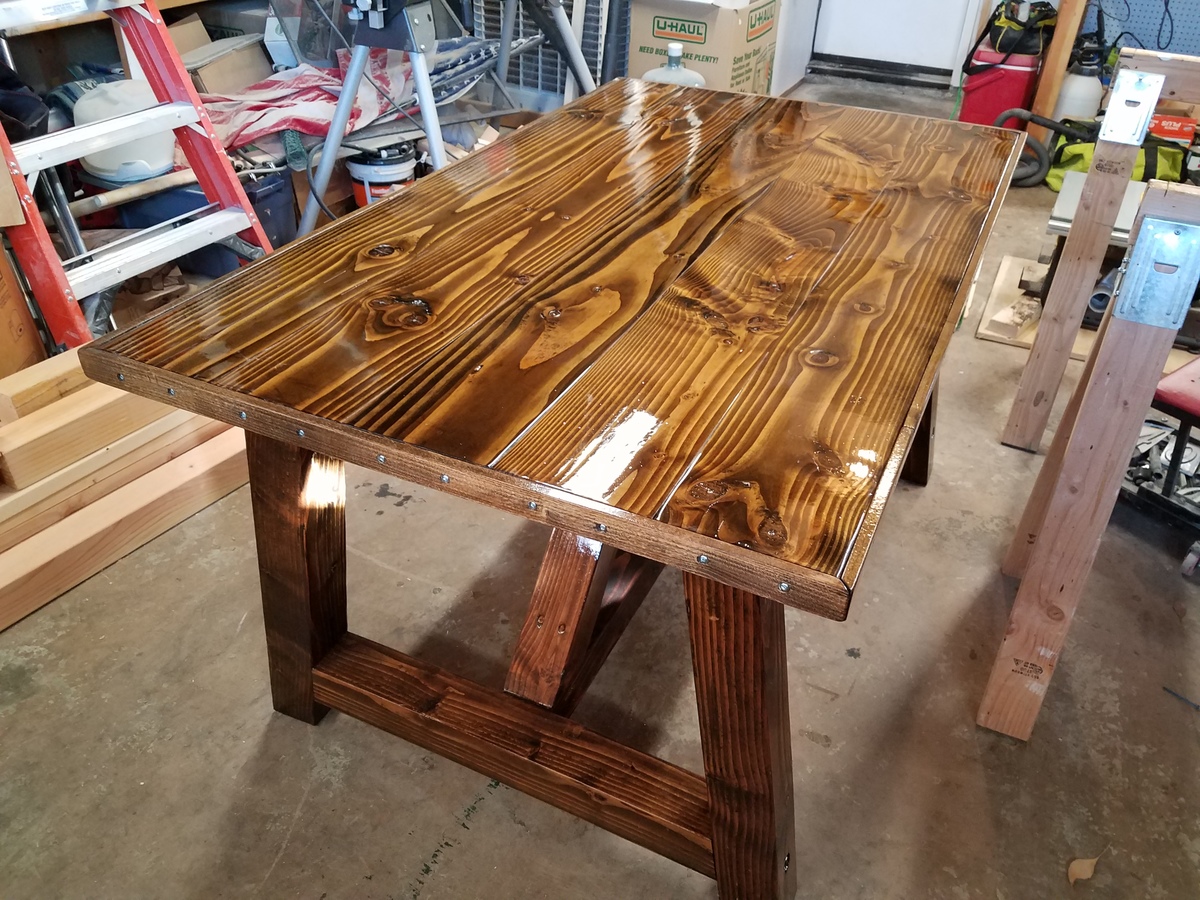
Truss Beam Table size 35x60
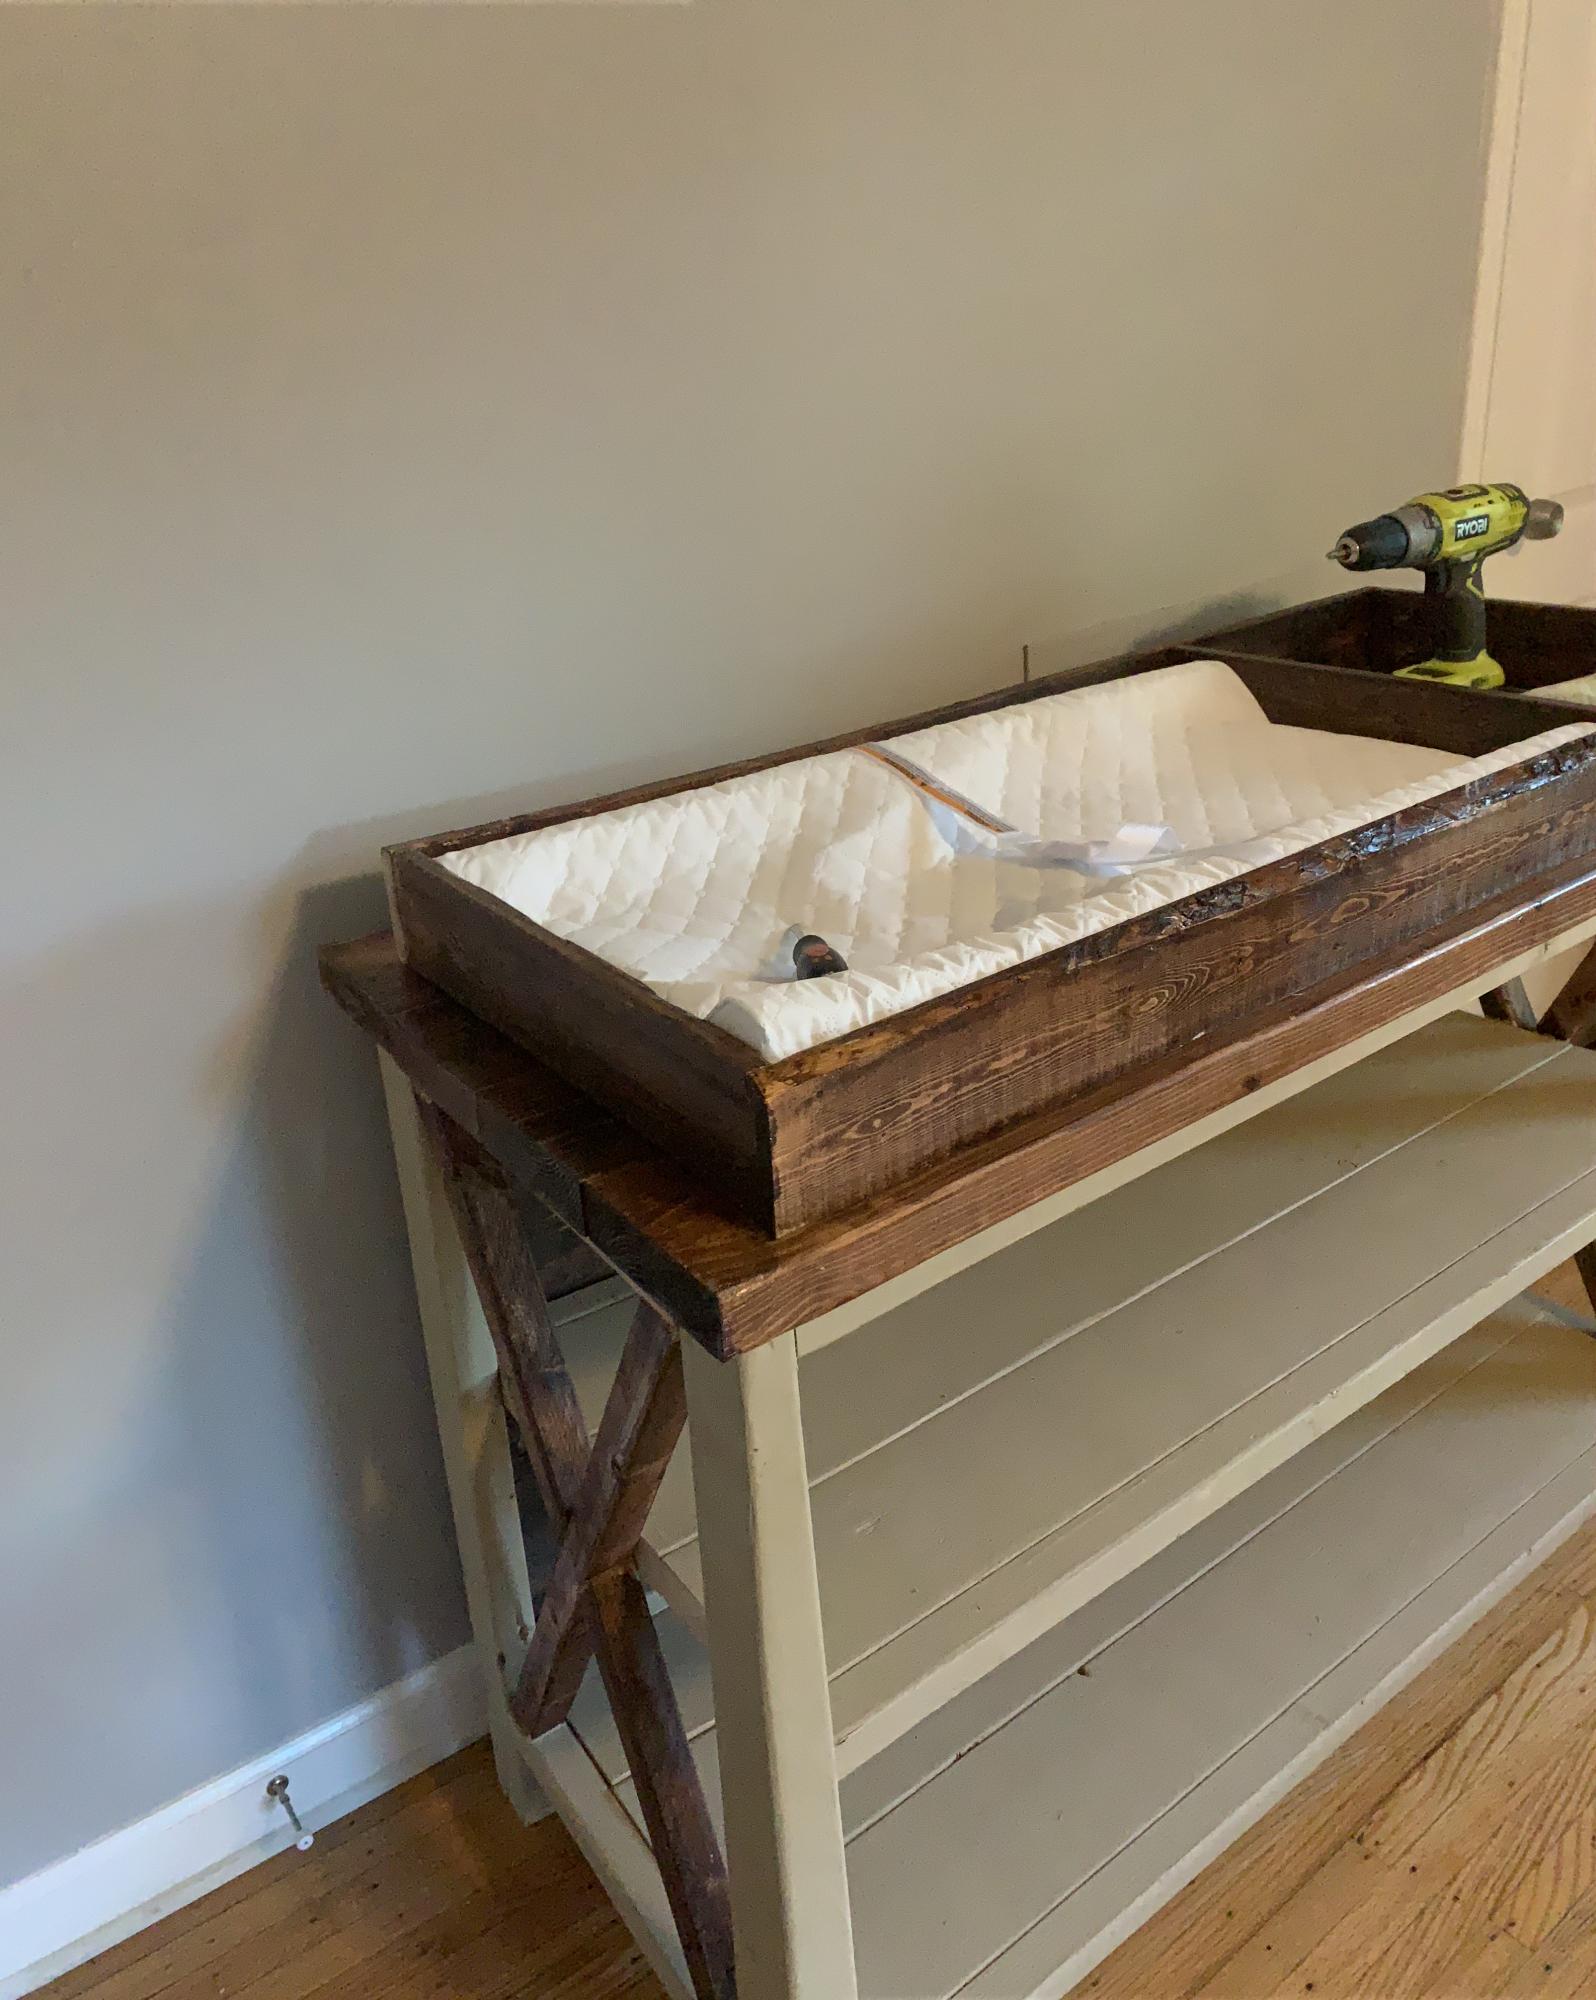
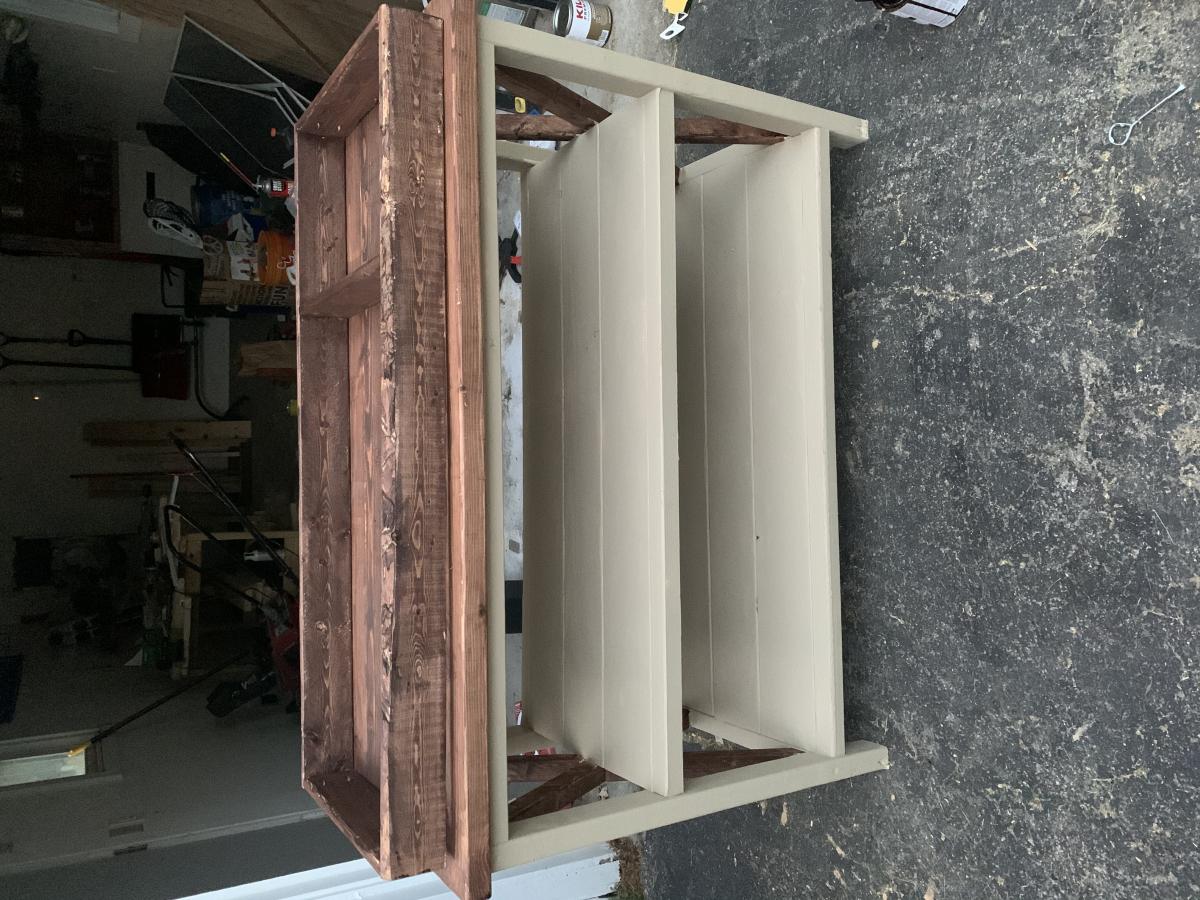
Followed the DIY changing table plan!
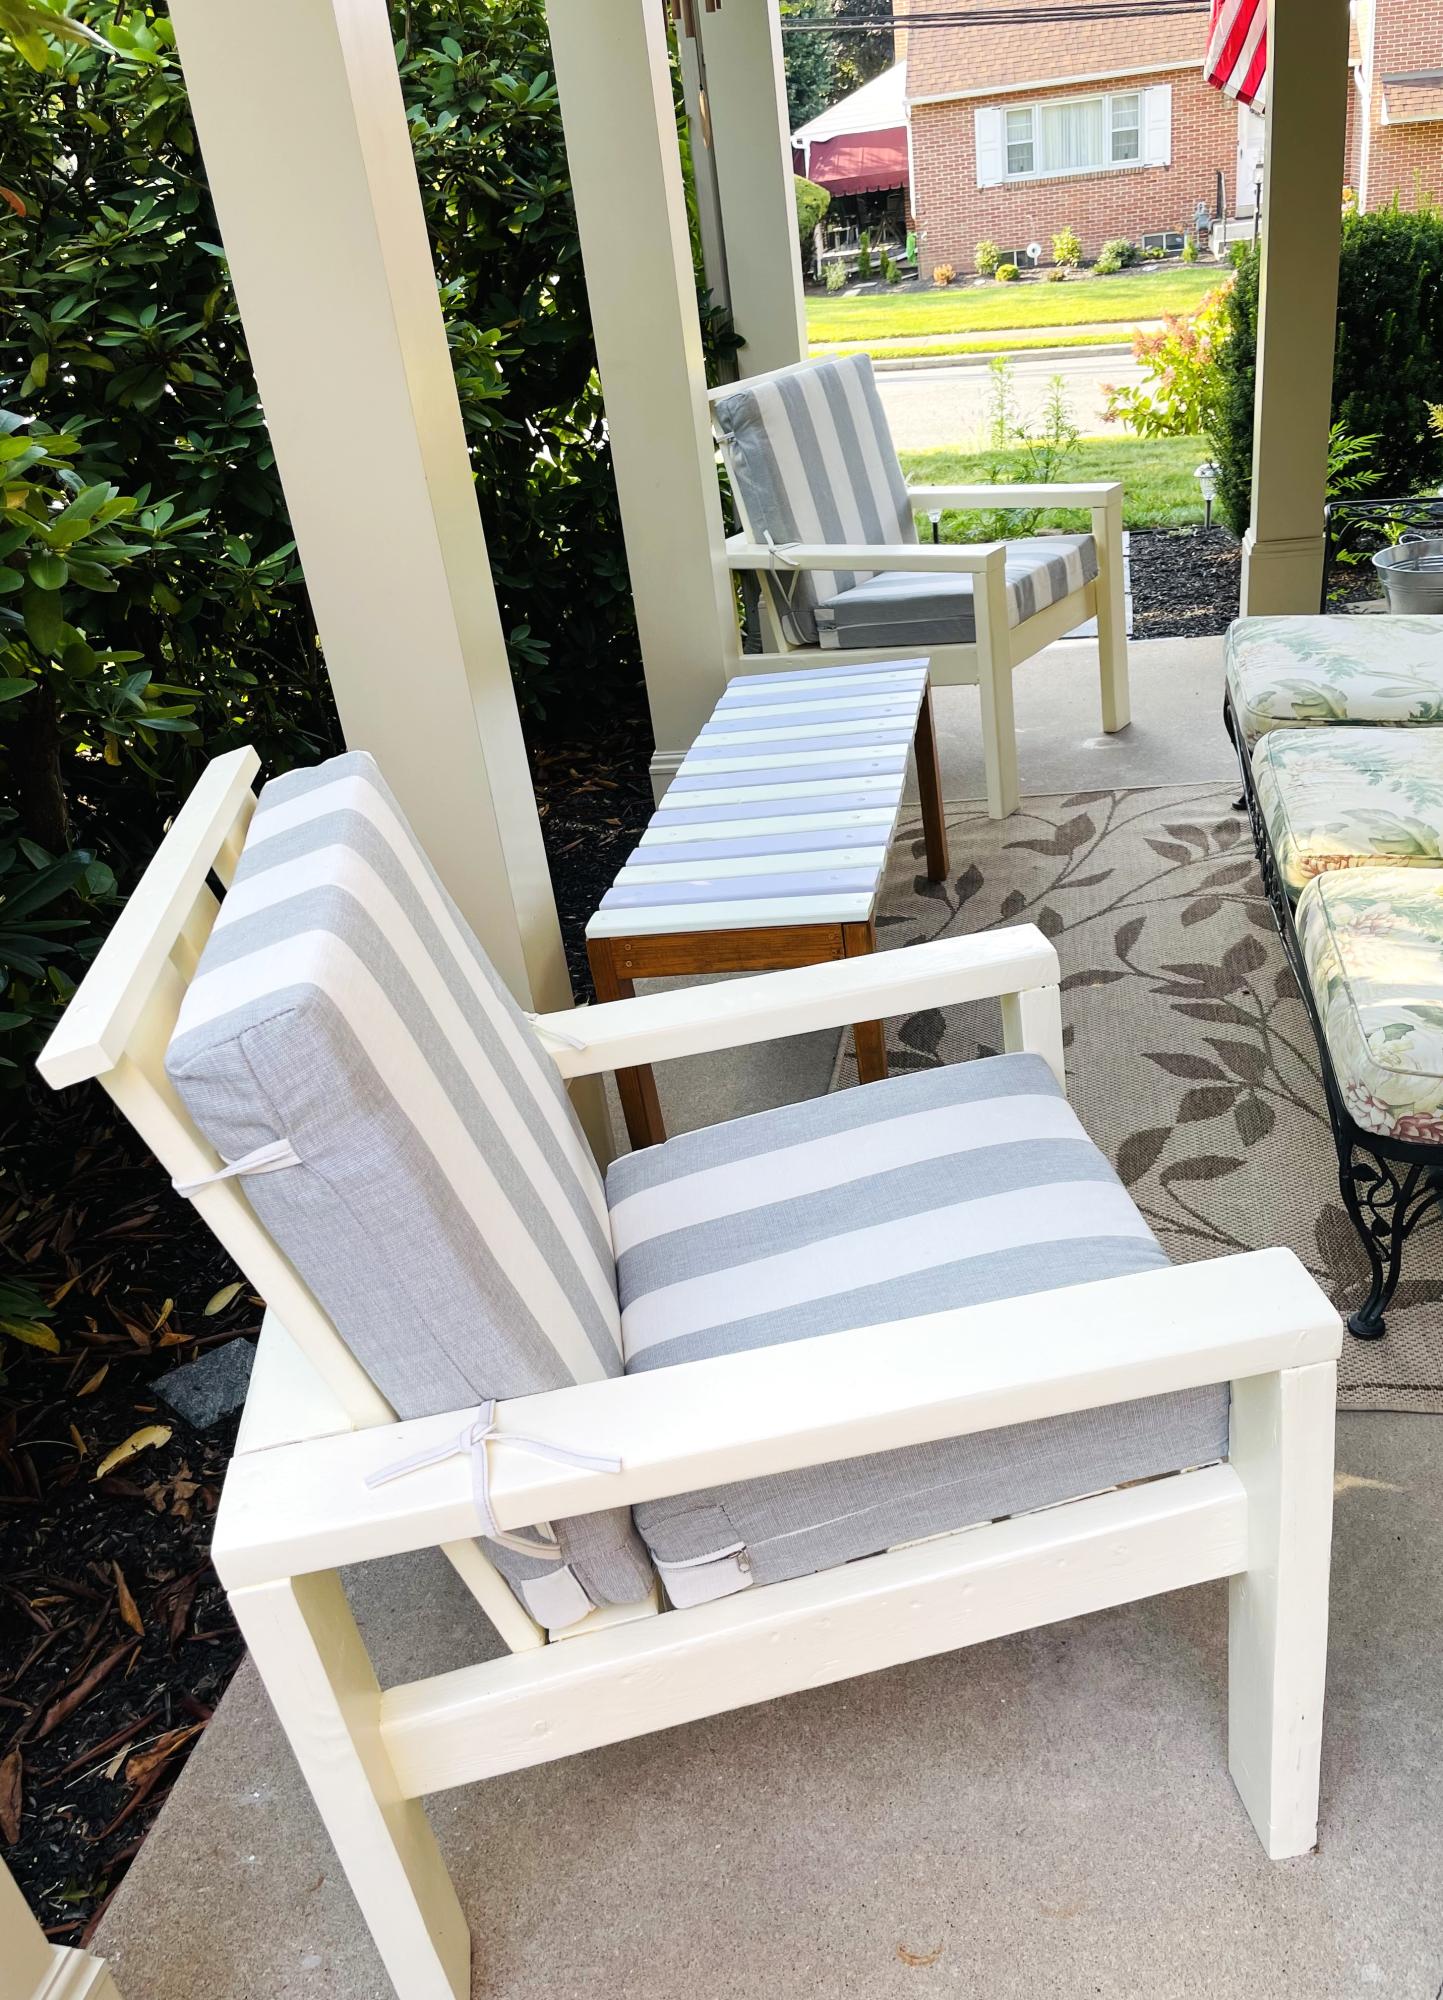
I made these chairs with 2x4s and some leftover decking for the back strips. I must say they turned out pretty good and it only cost me $17.00 to build. I followed Ana White’s plans. These chairs are very sturdy and comfortable. Thank you so much Ana for your free plans and video. I’m hooked! I also made the bench/table last year. Love it. - Maryann
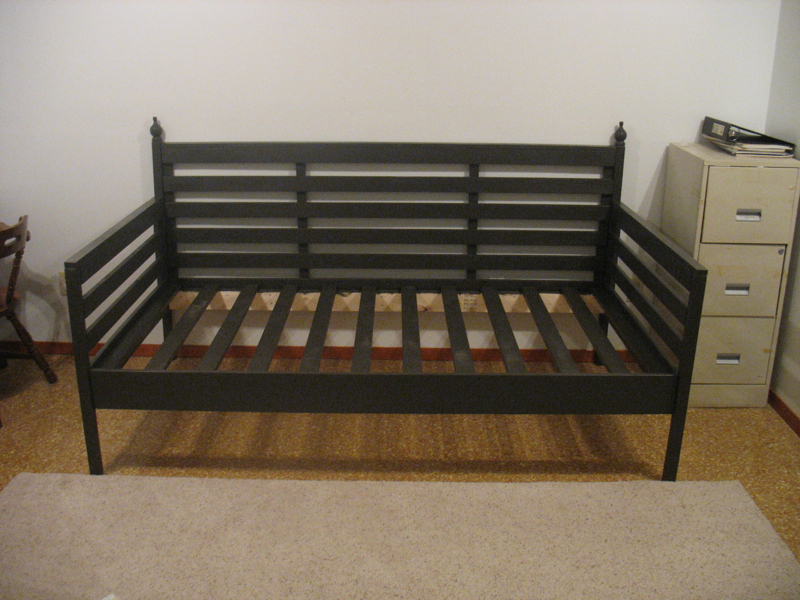
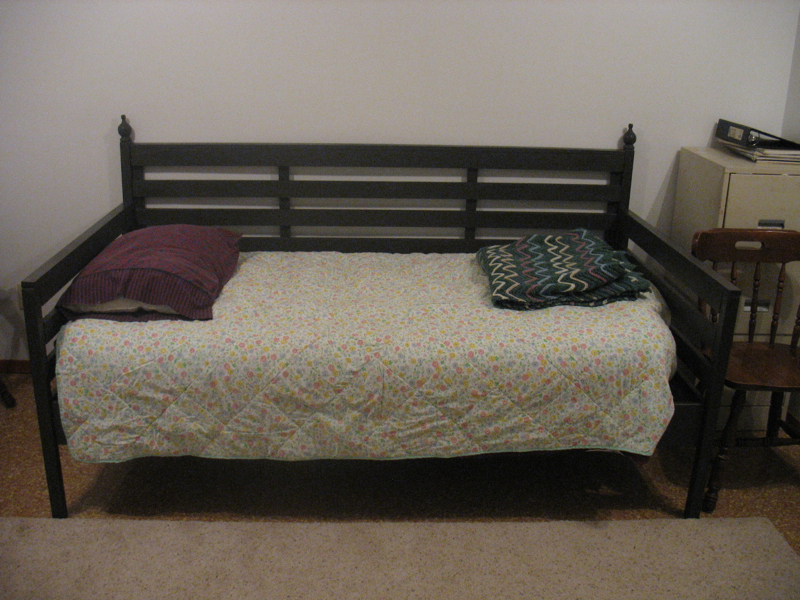
I chose to modify the outdoor daybed with canopy for my finished basement, to replace a secondhand sleeper sofa.
The only power tool I used was a drill, including screwdriver bit -- with hand tools it took longer, but wasn't impossible.
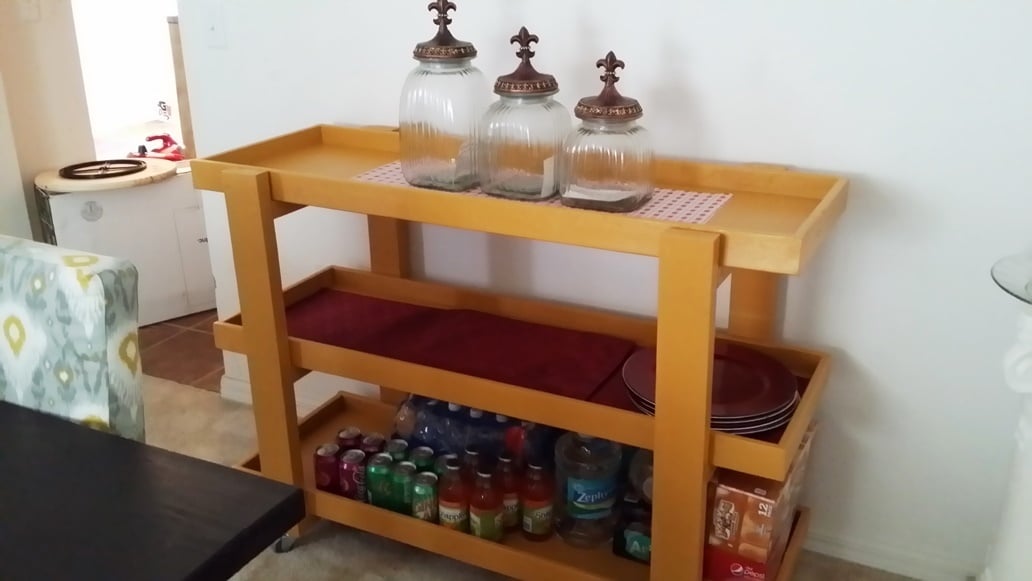
So I went to the DIH Workshop held at my local Home Depot and finished my cart over the weekend. I had the guy at HD cut my plywood down, won't make that mistake again. He made each one about a inch shorter than I asked for so I had to make my adjustments for everything else based on that. Next time I will take a tape measure with me to make sure instead of lugging everything to my car, taking it home and then measuring.
All-in-all I like the way it came out even with the minor adjustments still a fantastic cart.
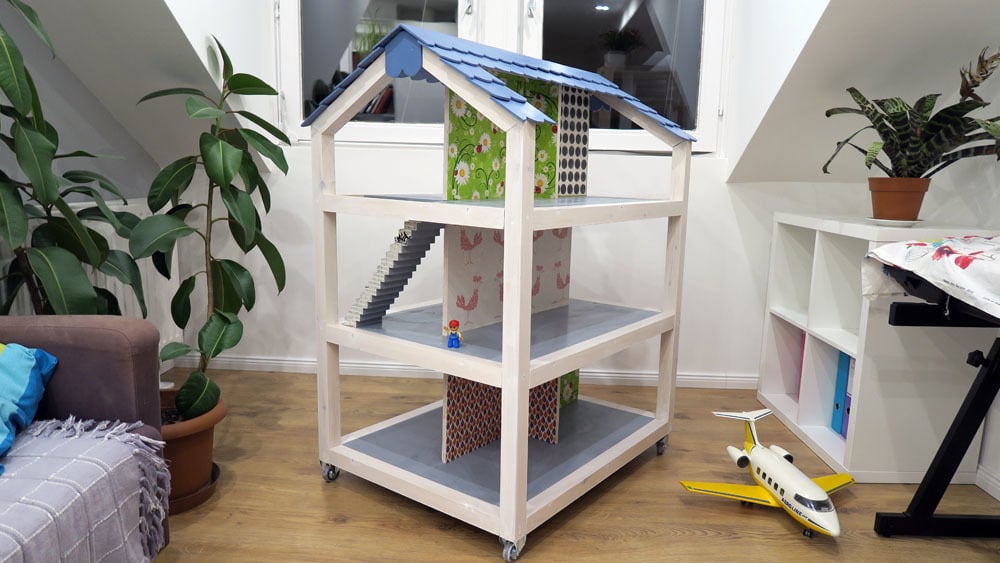
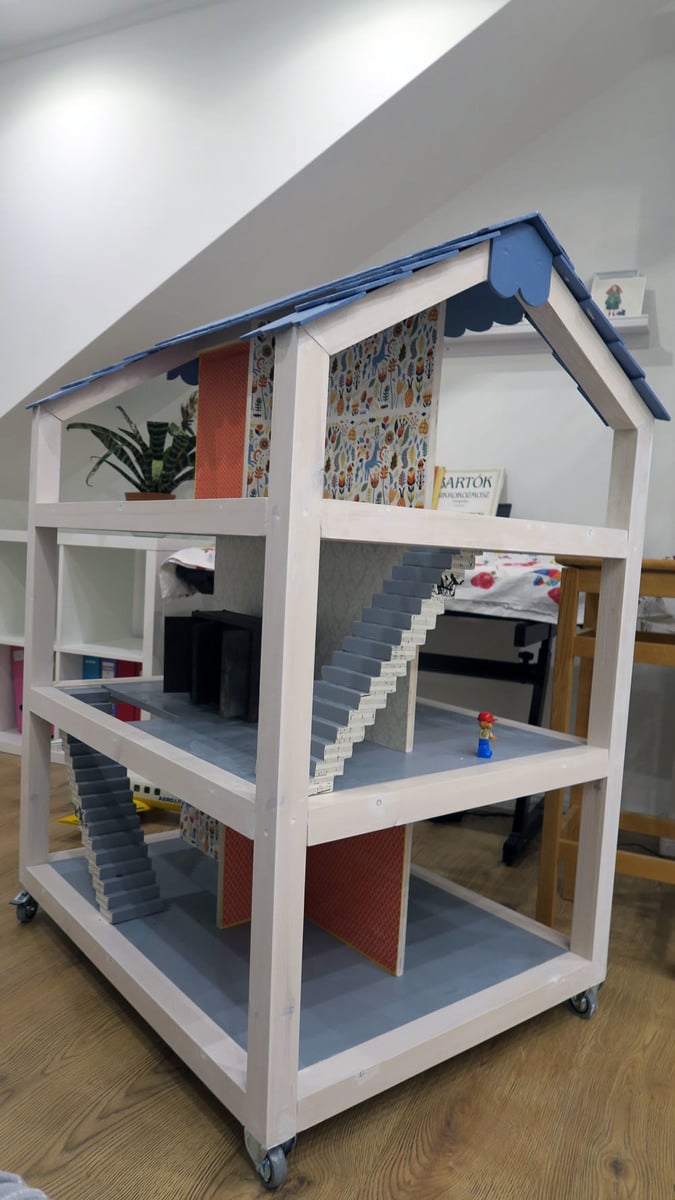
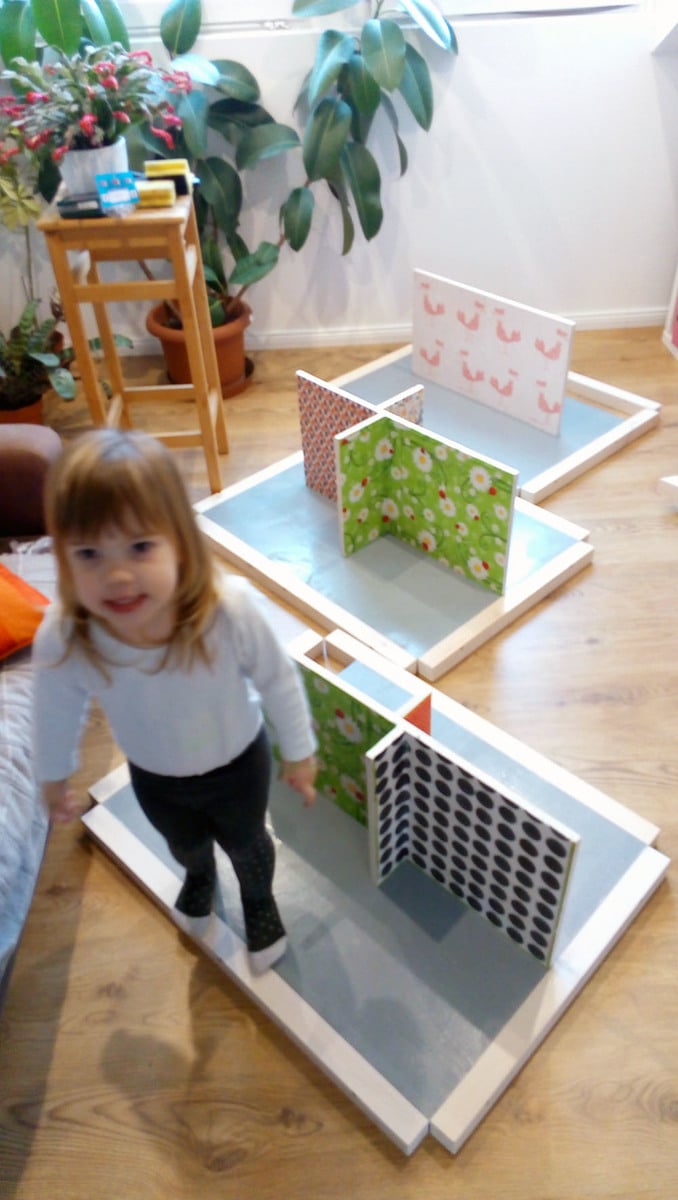
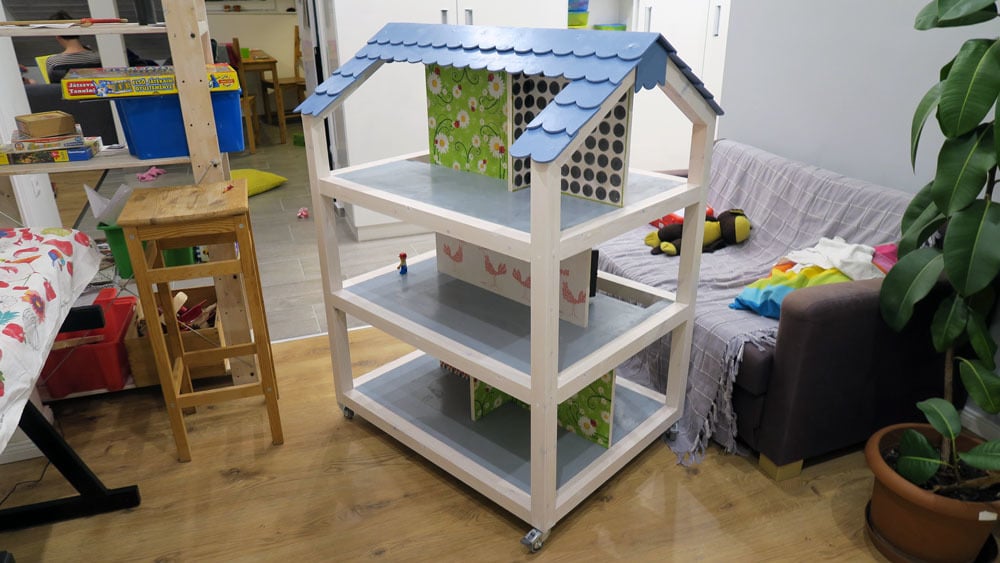
Thanks Ana for the plans, it was big fun to build! Had to do it while babysitting after work hours in our Budapest appartment, so all our neighbors had a lots of fun too while sawing and drilling in the night!
At the start I had some difficulties with your inches and feet, but at the end I had to realize that milimeters weren't my thing either... but it looks good from the distance. Still needs to be filled with furnitures and dolls, but that will be the task of Rozika.
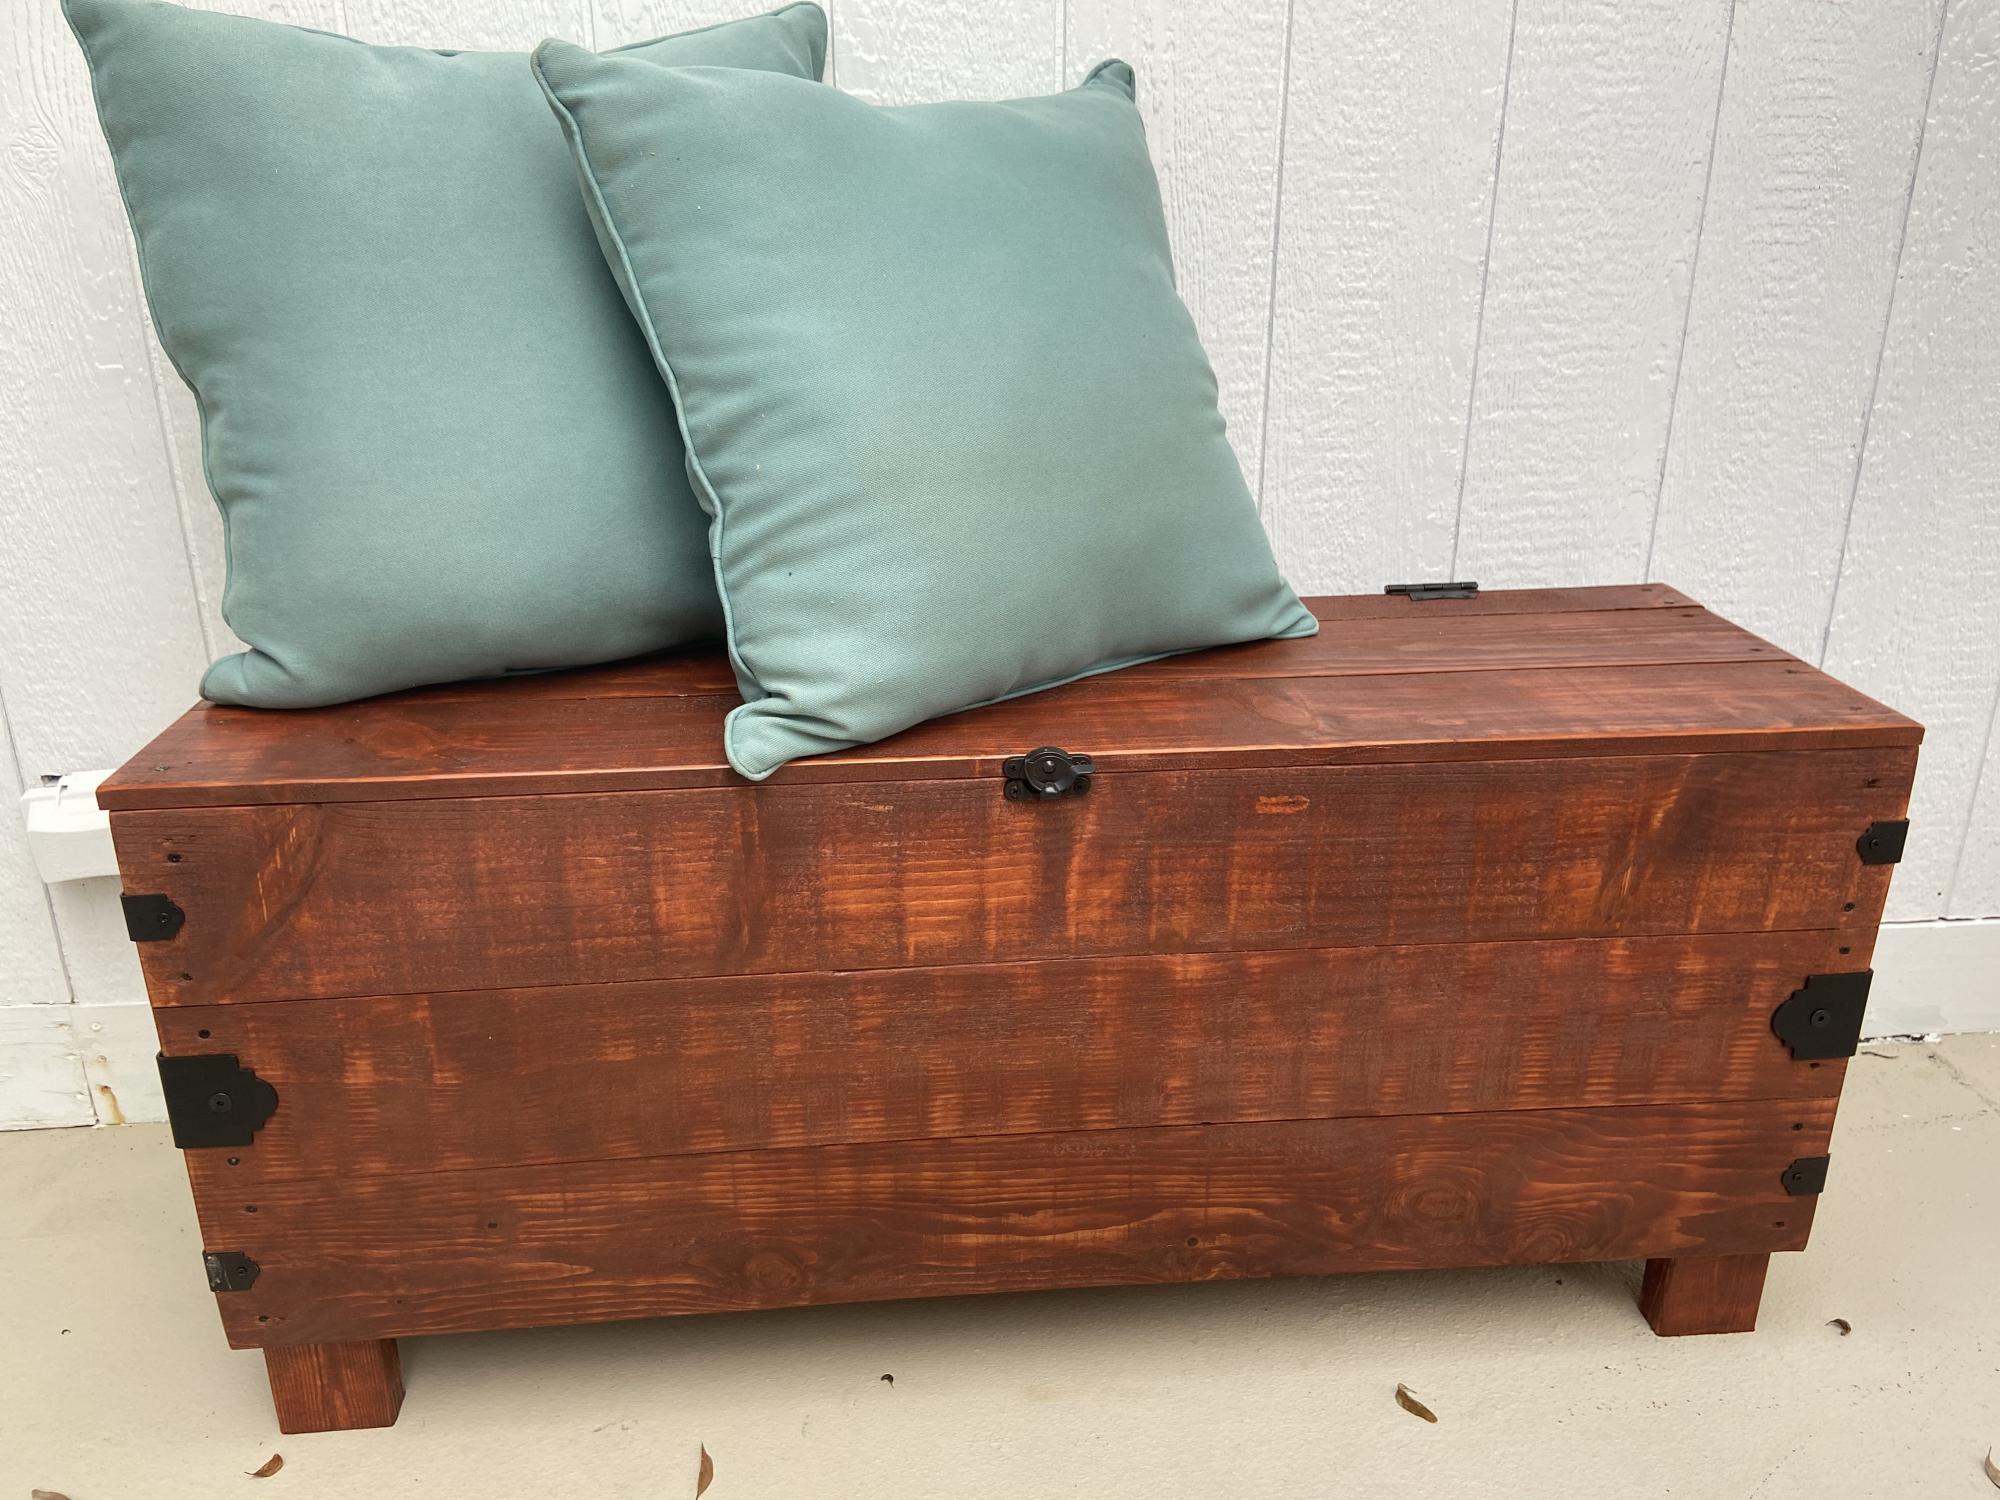
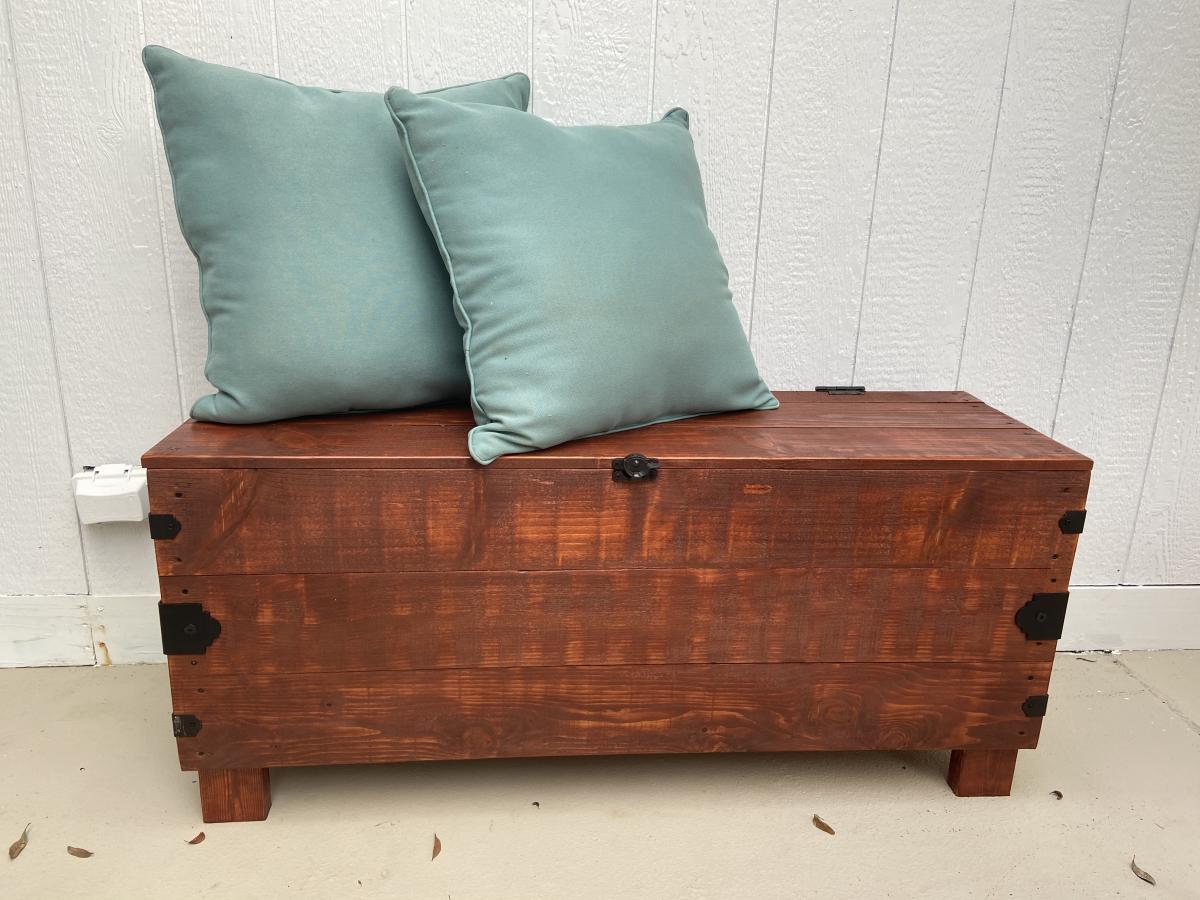
I used Ana Whites plan and modified to fit my our space and outdoor pillows.
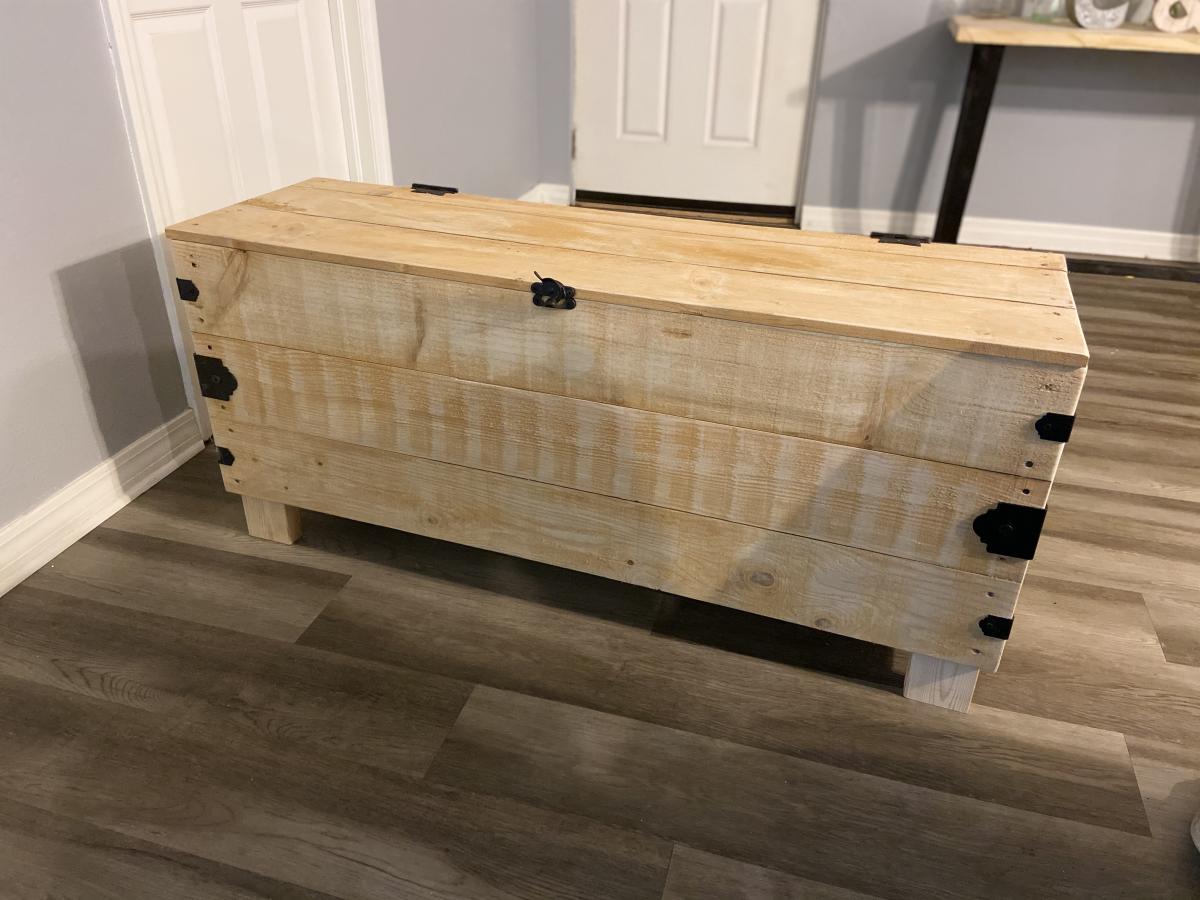
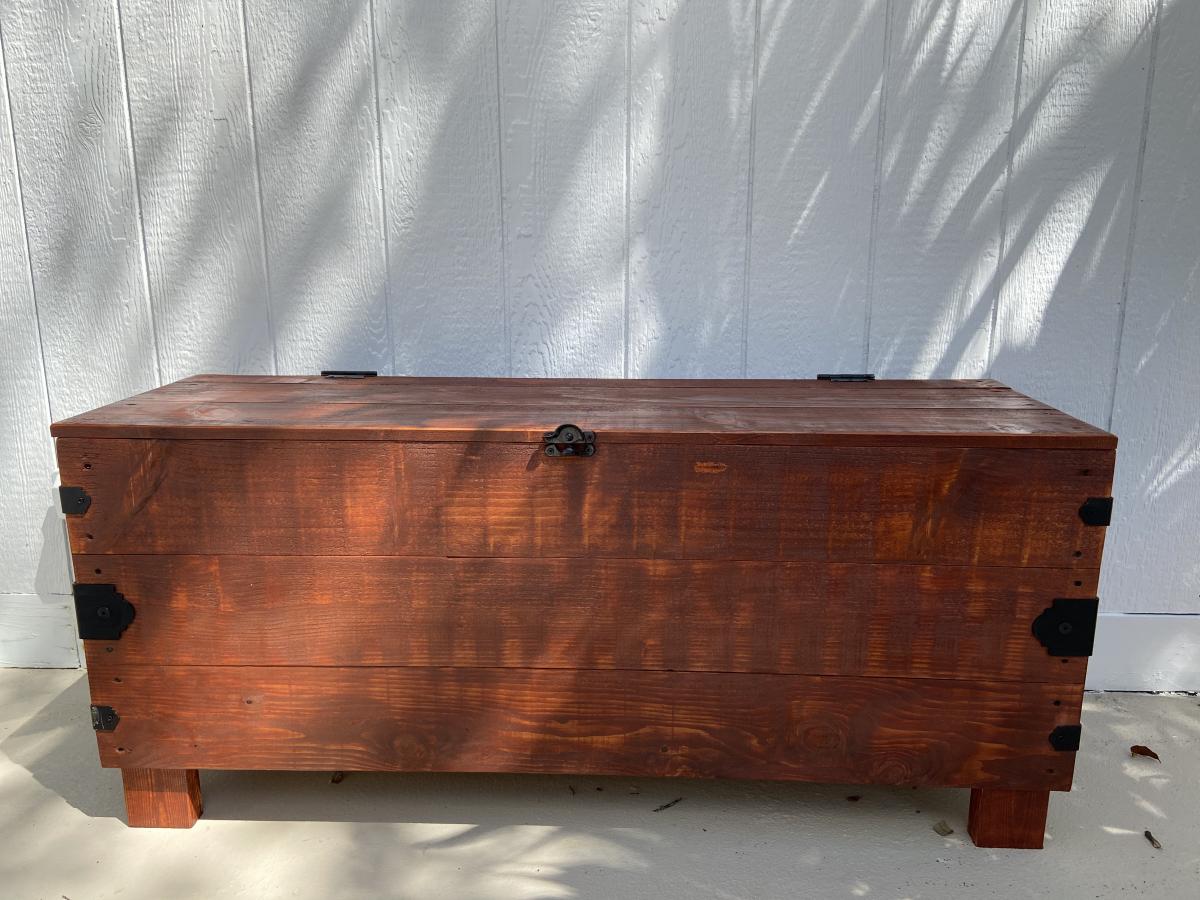
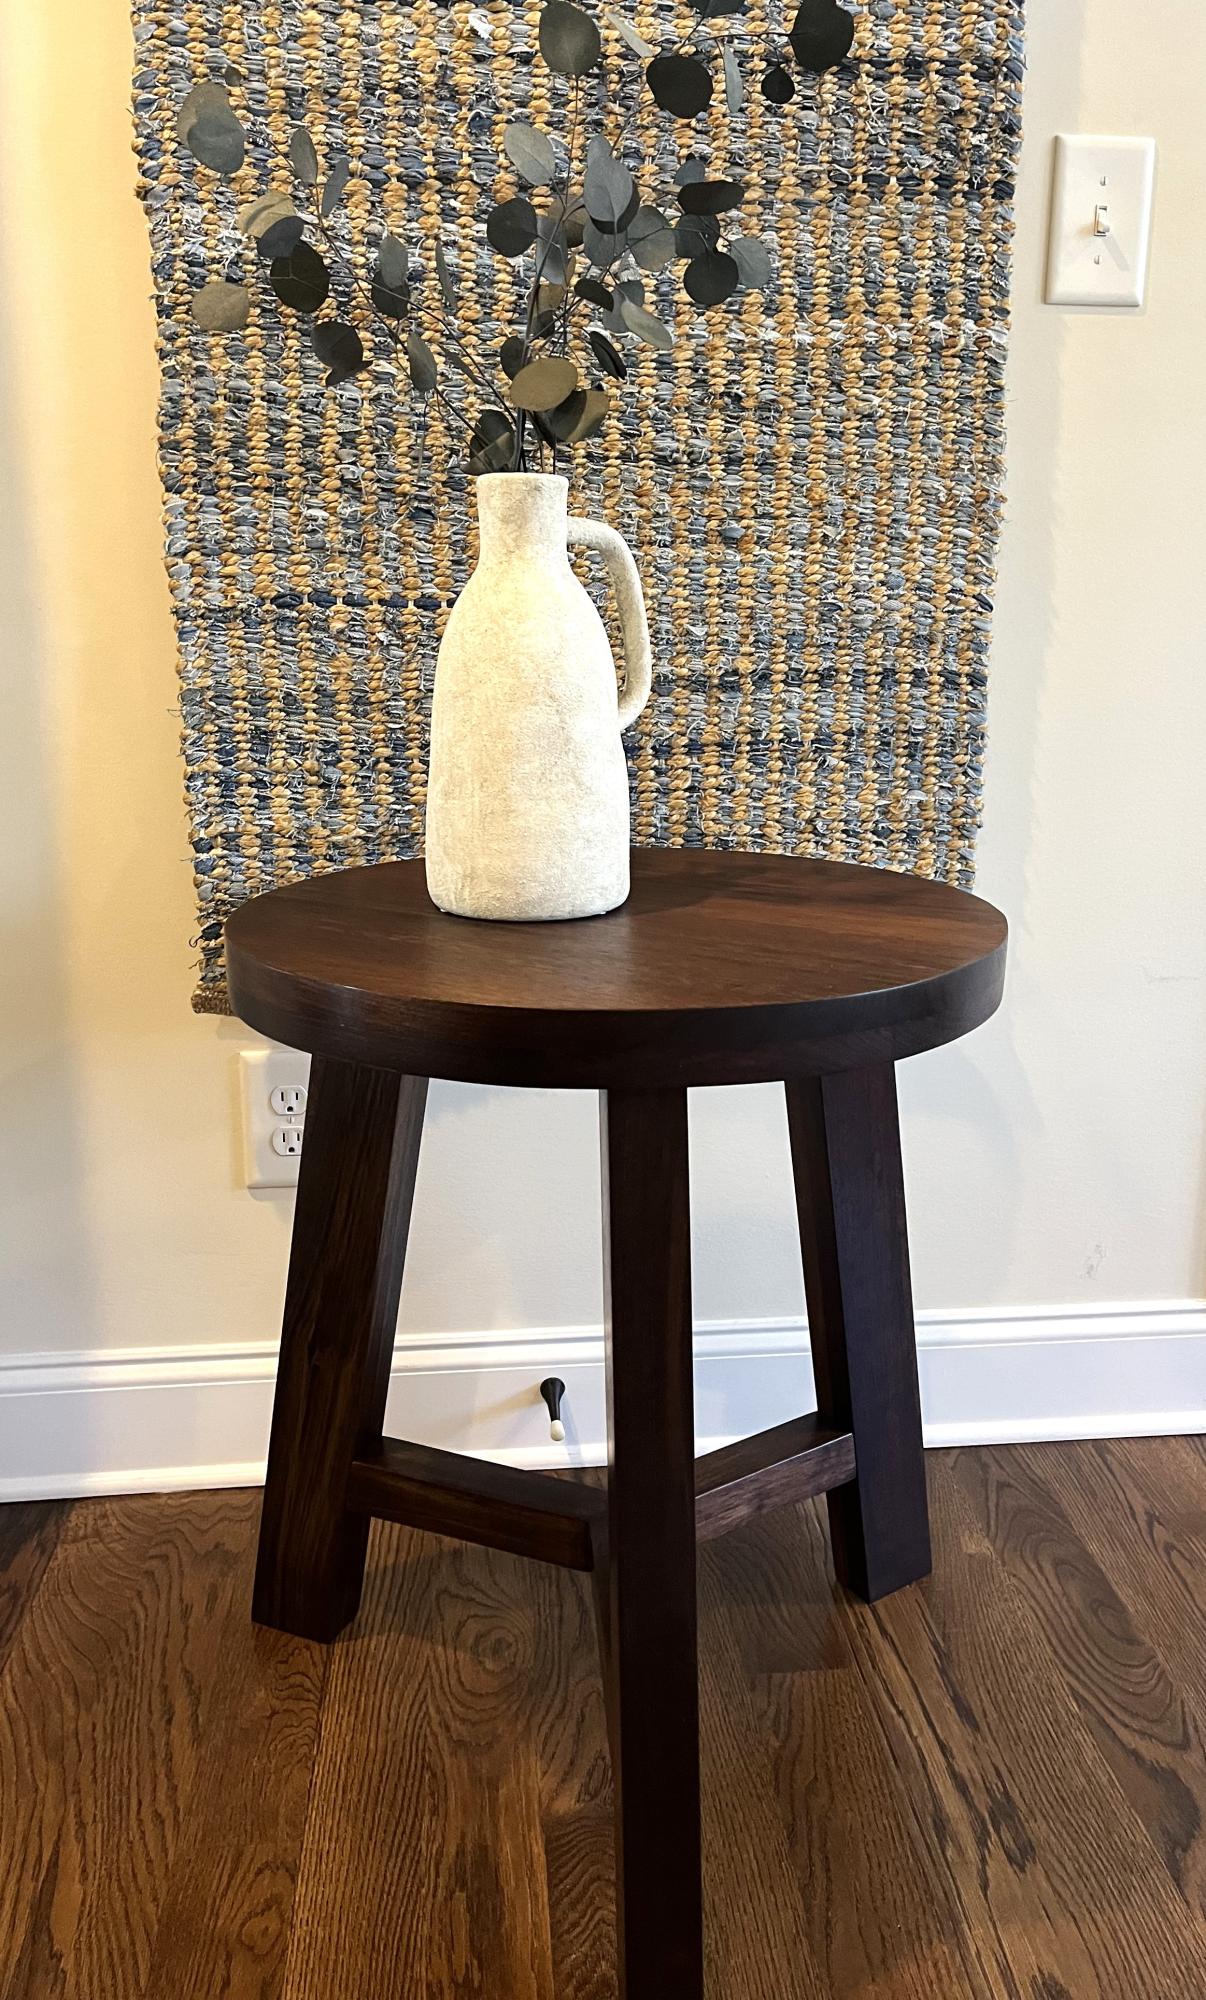
Made from Peruvian Walnut. Finish was wet sanded with danish oil, dewaxed shellac and then satin spray lacquer. - Deb S.
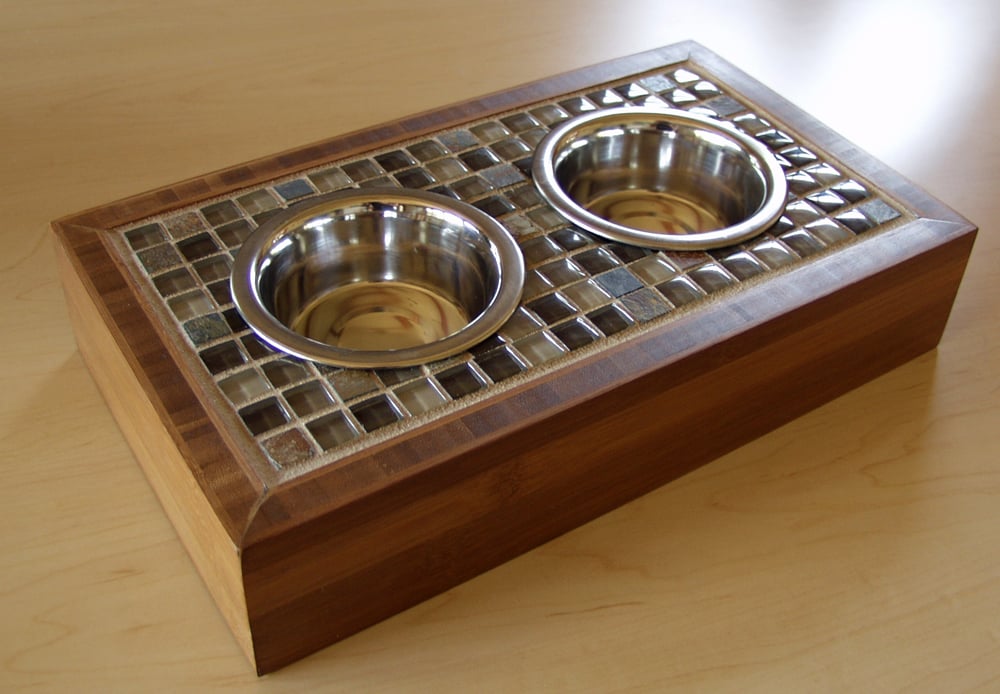
When I couldn't find the exact right size wood that I needed, I grabbed a piece of bamboo from my wood pile. When I ripped it in 2 pieces, there was this cool edge that resembled inlaid wood. I avoided staining it because it would have "muddied" the edge. I applied a transparent glaze on it, which kept the edge look intact. I had never worked with bamboo before -- I love it, as it required little sanding and took the finish beautifully.
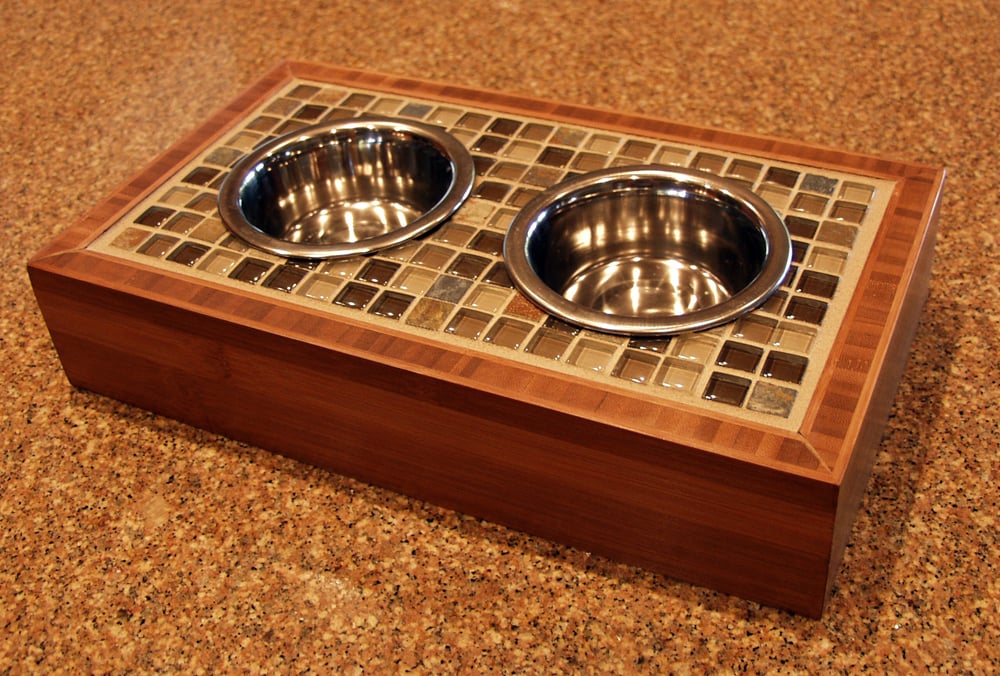
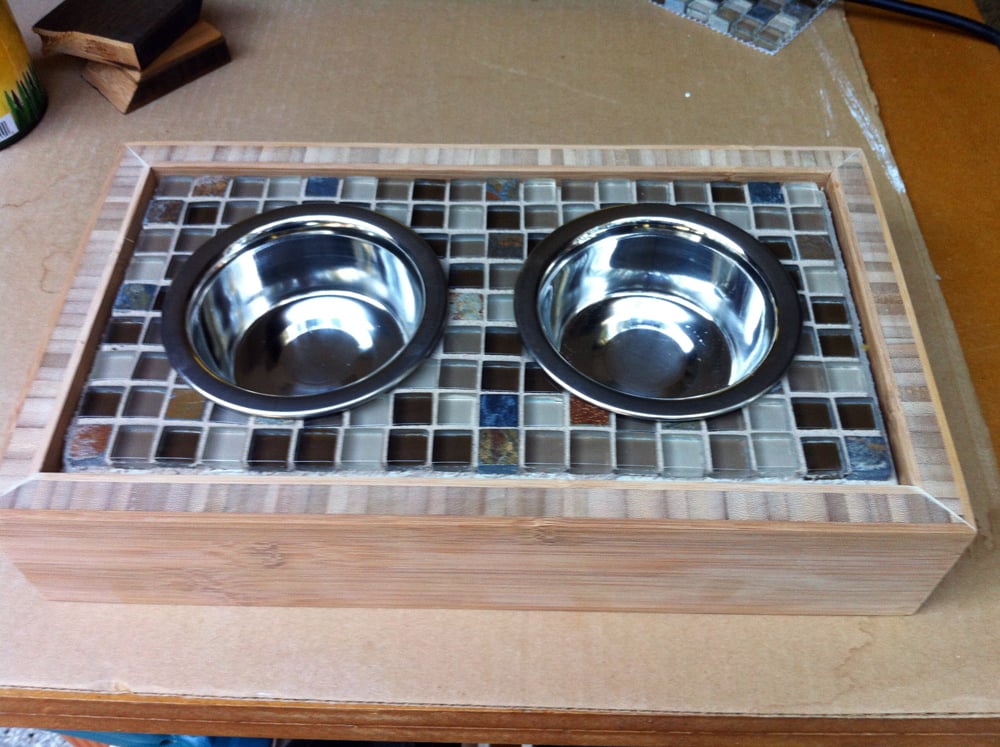
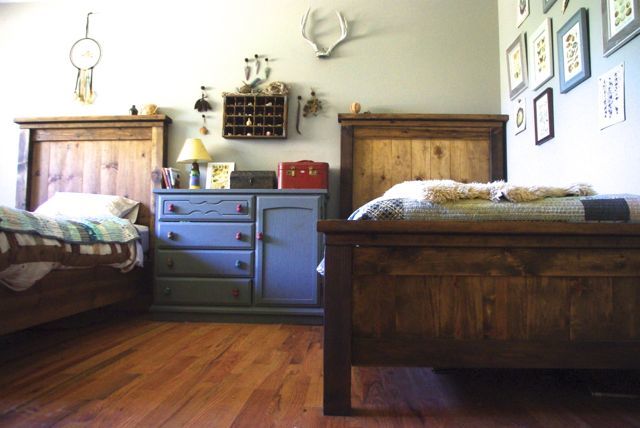
This was so fun to build! Finished with Steelwool & vinegar.
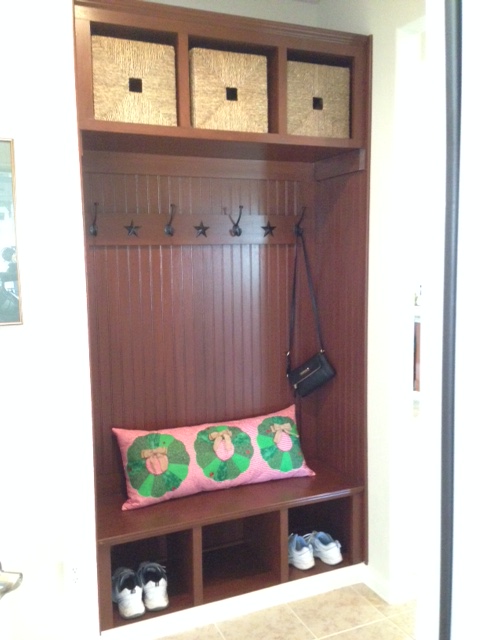
I started with your Hall Tree plan and added some upper storage. The only trick there was to make two of the lower storage units and I turned one upside down to create the upper storage. The extra space makes for double the storage. Instead of using the pine for a back wall I substituted Wanescoting on the back and side walls. I added 1-1/2' base moulding and a 1" moulding to finish off the seat edge and the top of the Cabinet. Also had to put moulding on the sides of the Wanescoting tofinish off the exposed edge. I applied Rustoleums Cabinet Finishing kit to the bare wood. This is a 3 step process and is similar to antiquing with a polycrylic finish. The finish took as long as the build process but was well worth the time. Finally I added the coat hooks that are black with brushed copper highlights. I picked up some stamped rustic stars on-line for $3.50 for a set of 5 and painted them black and applied them with a hot melt glue gun. Feedback from the family and our friends has been great and they all love the finished project.