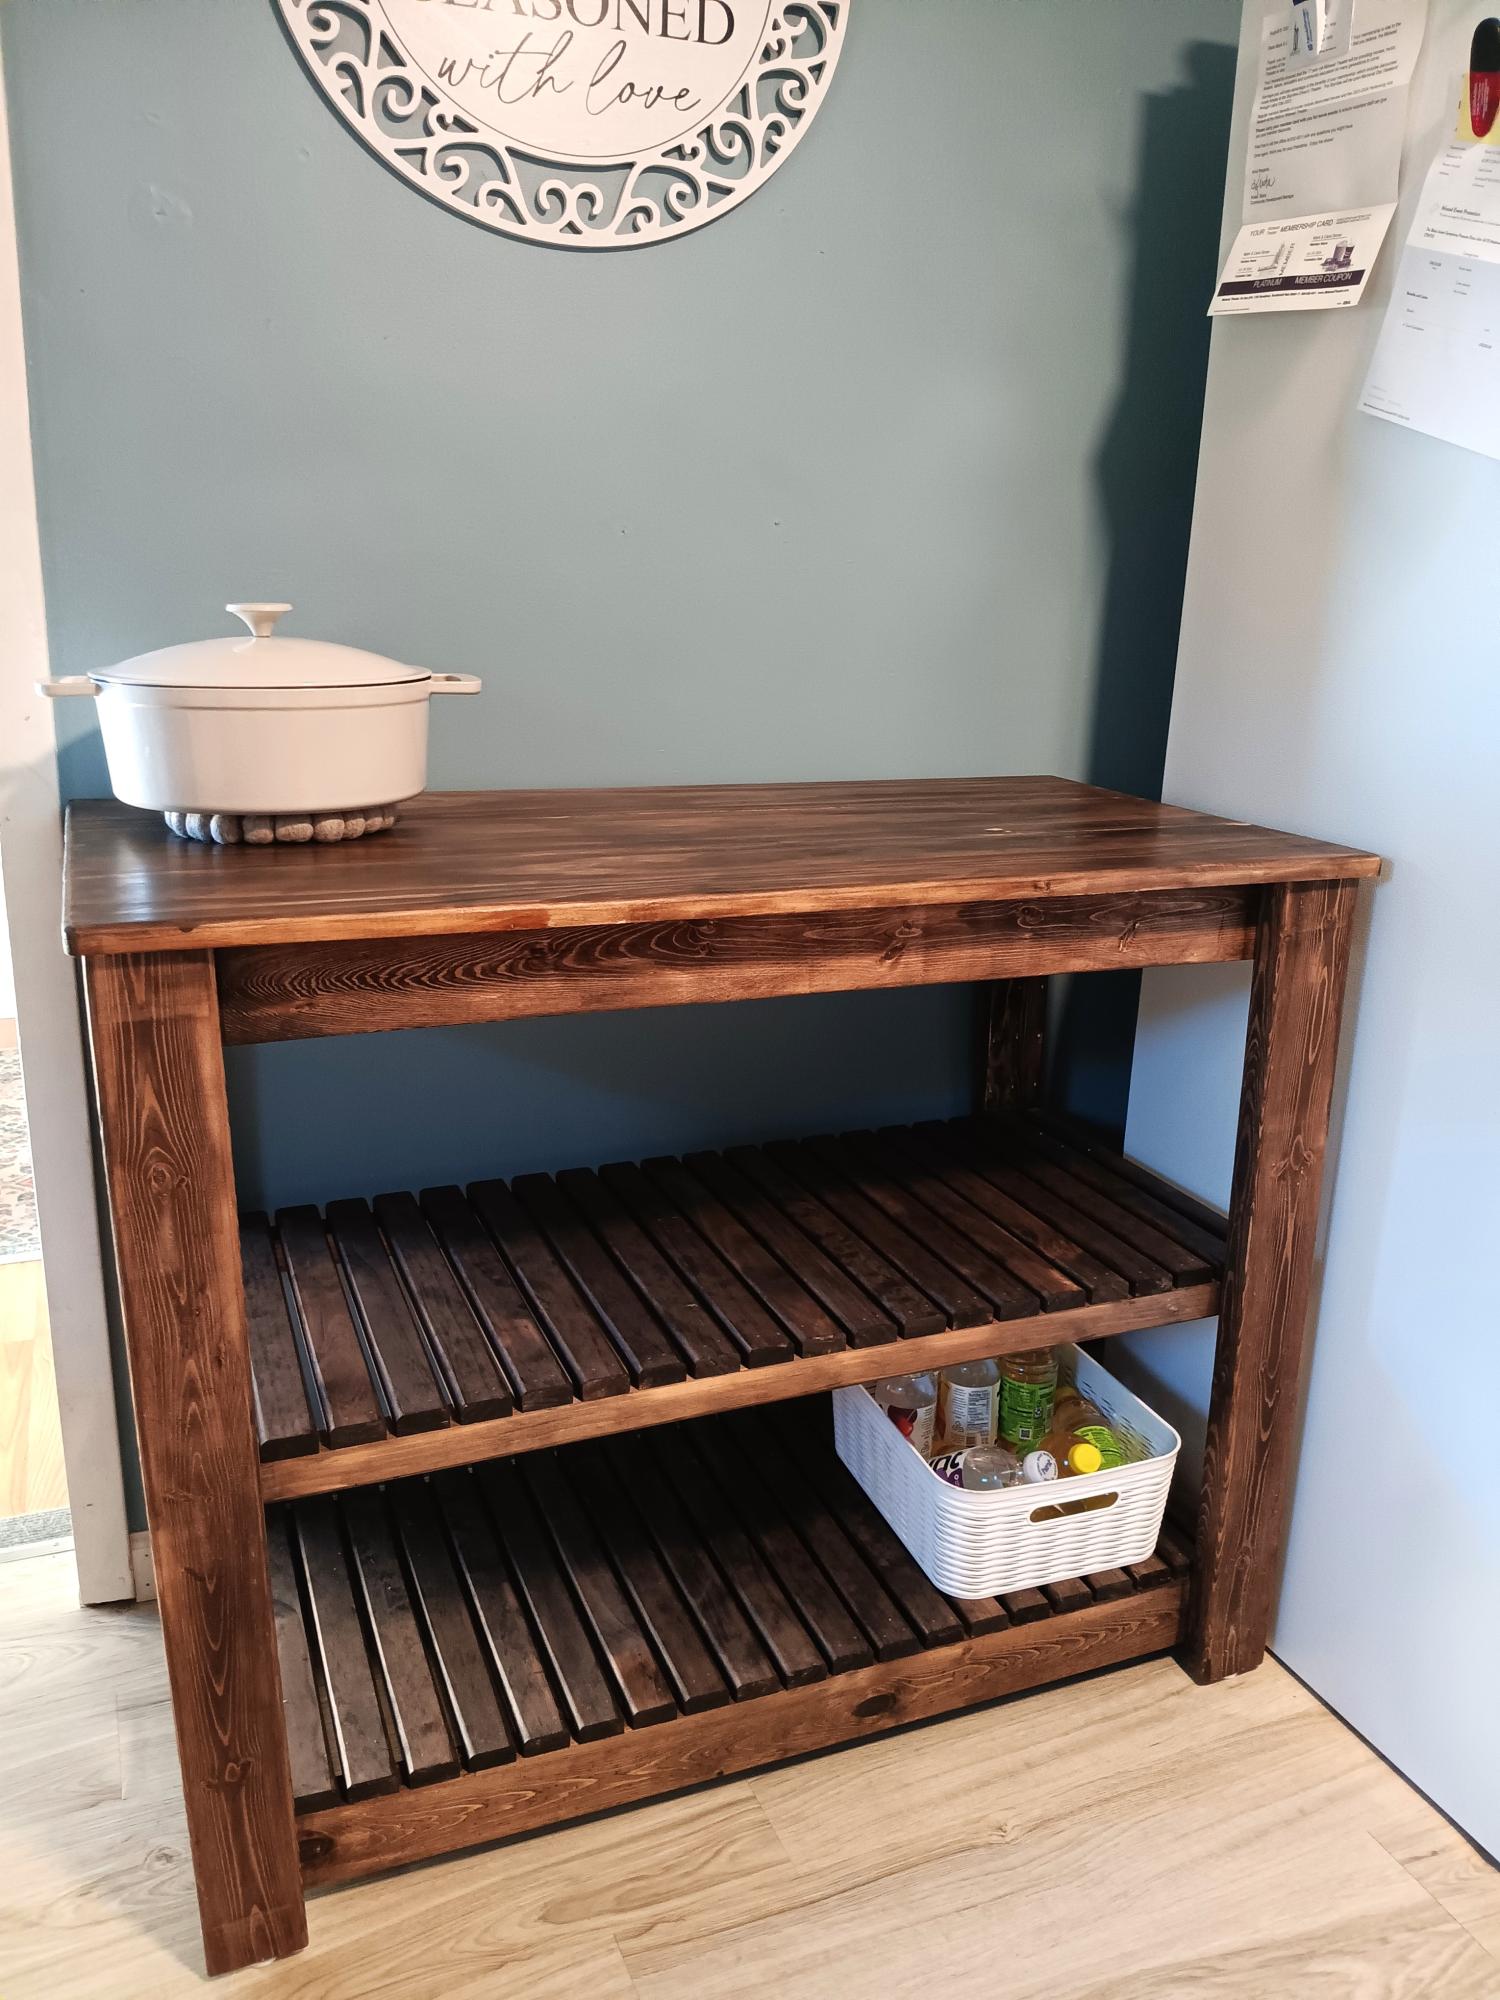
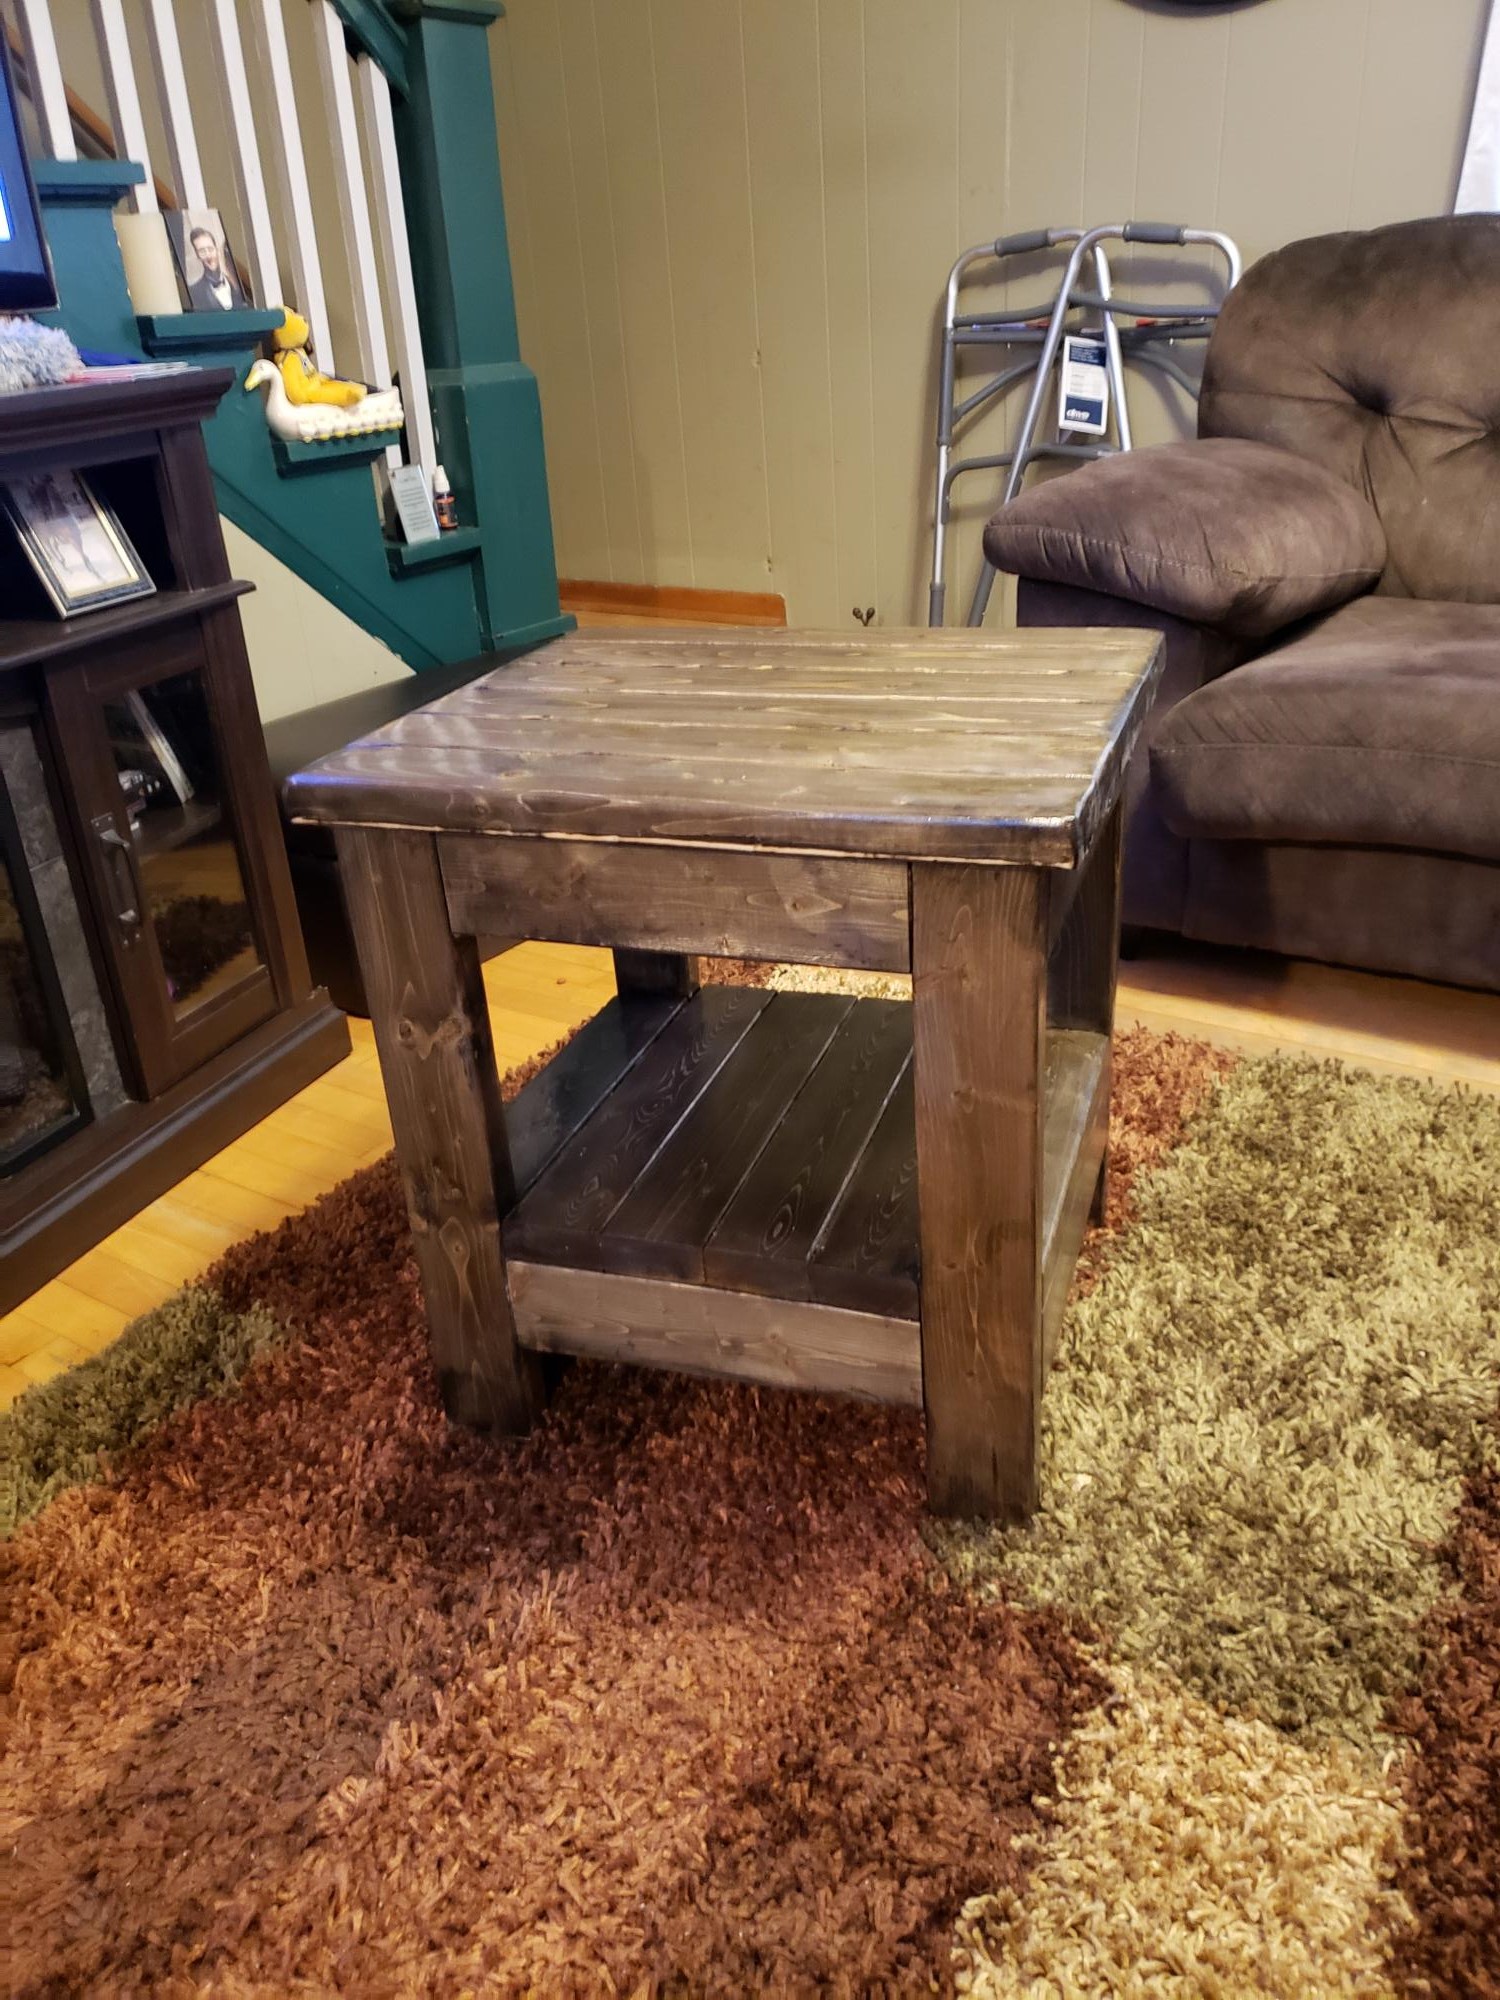
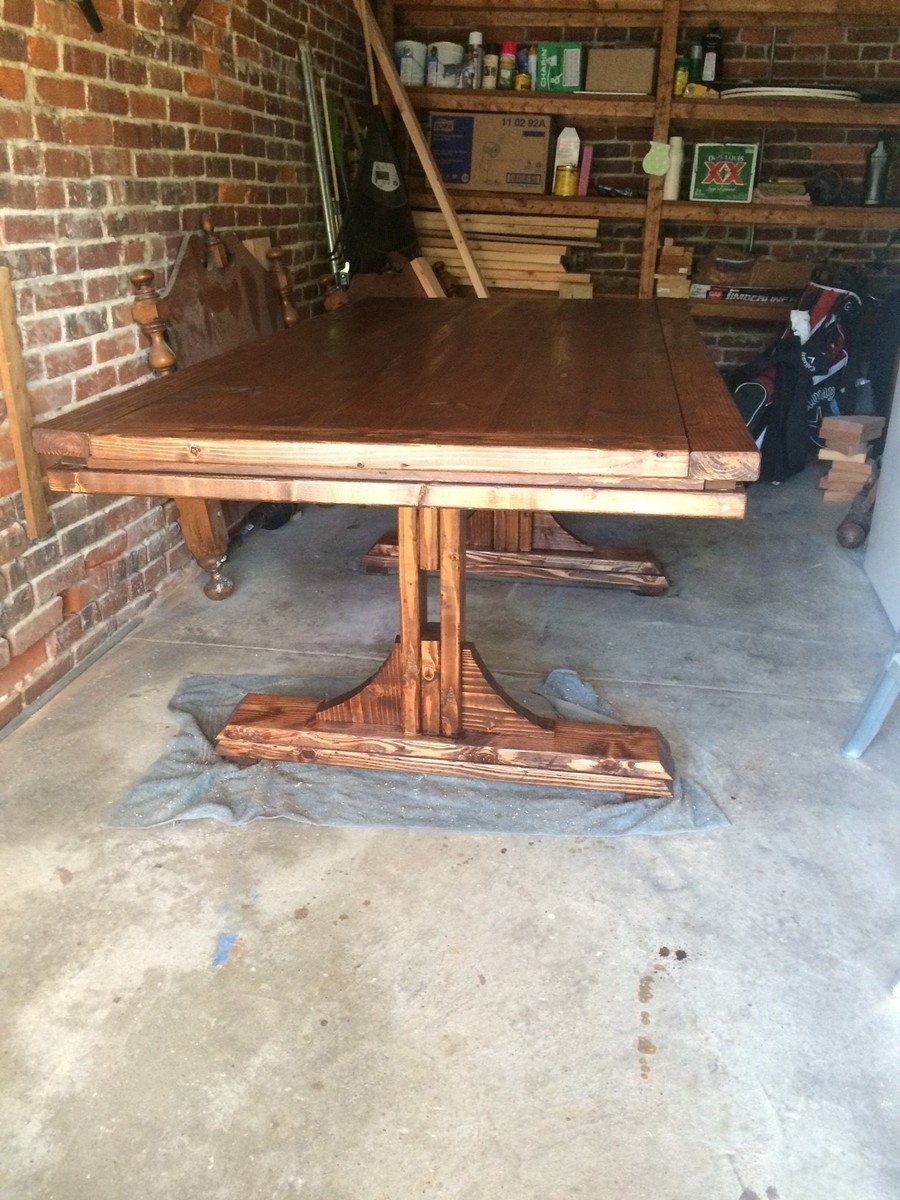
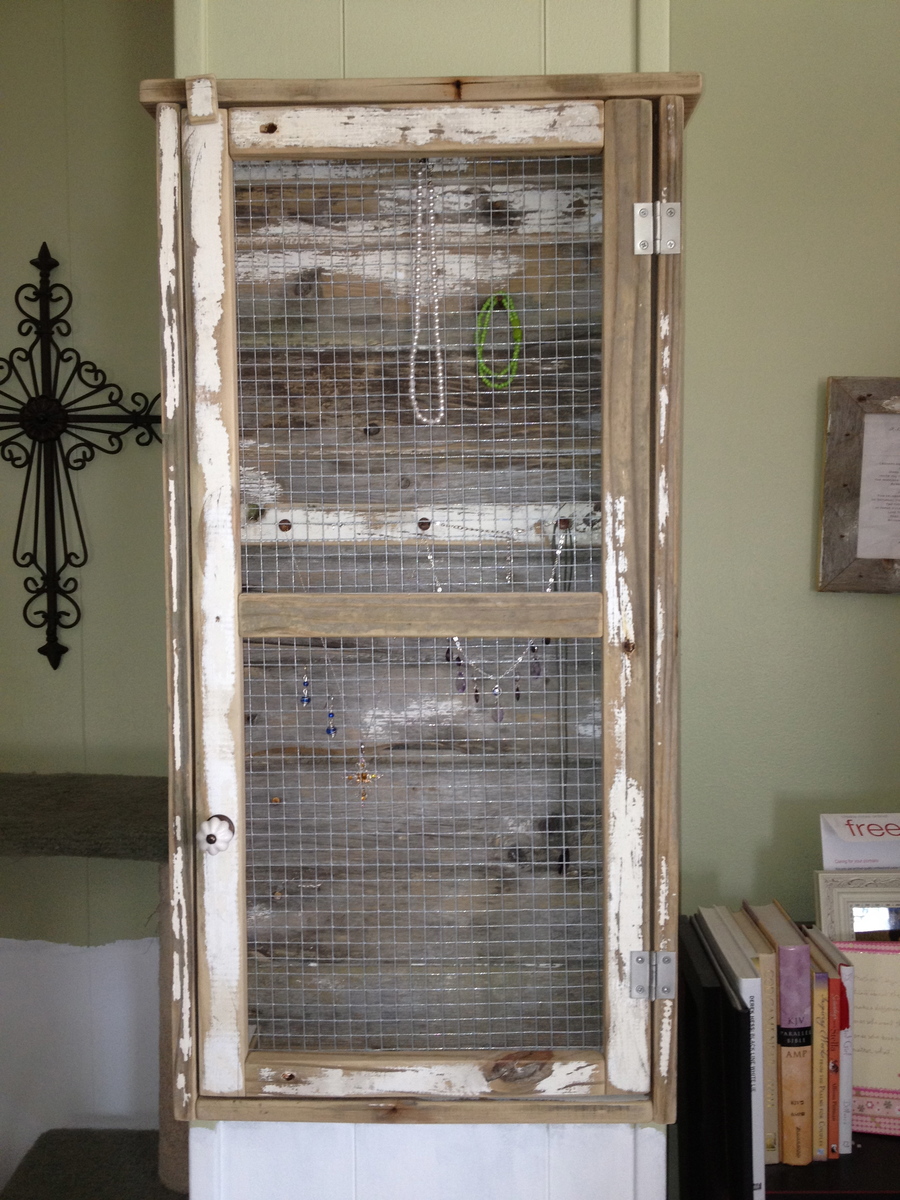
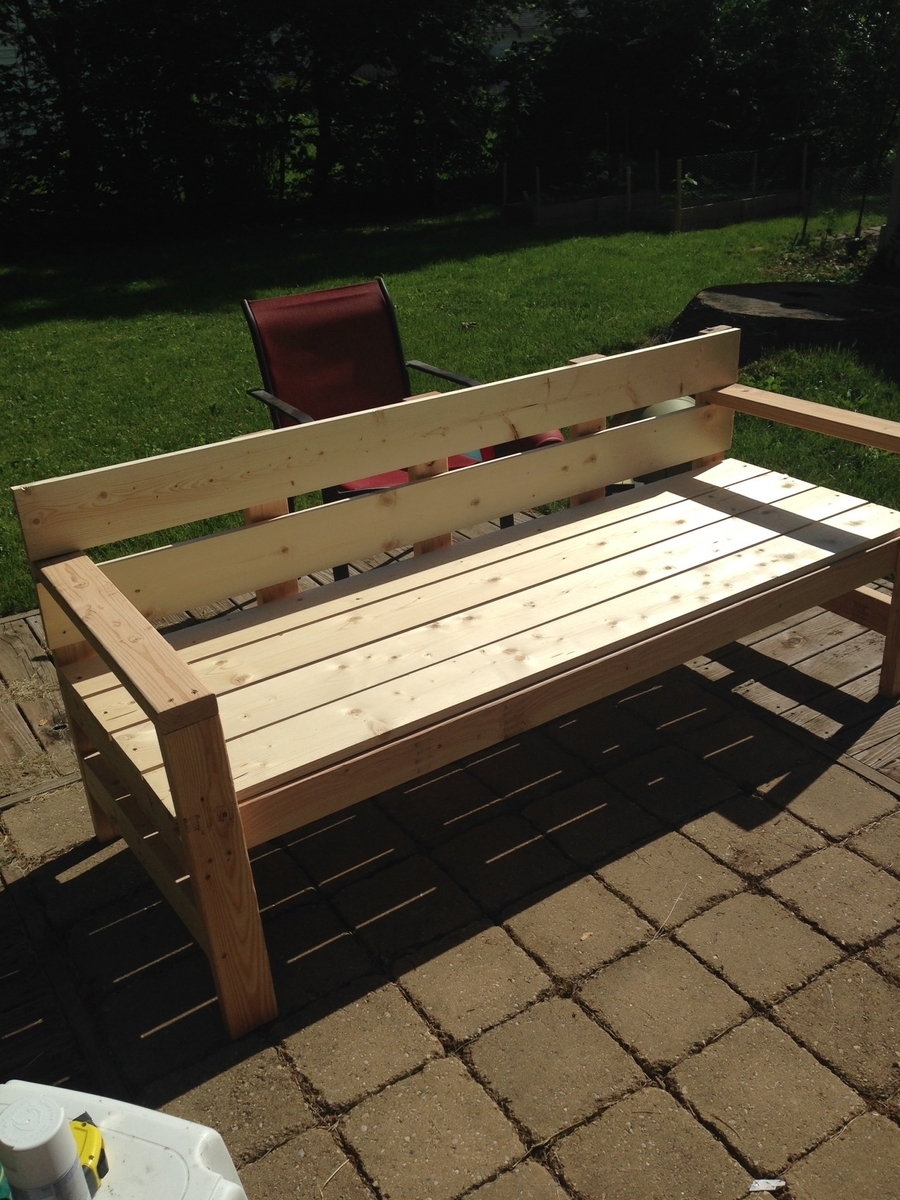
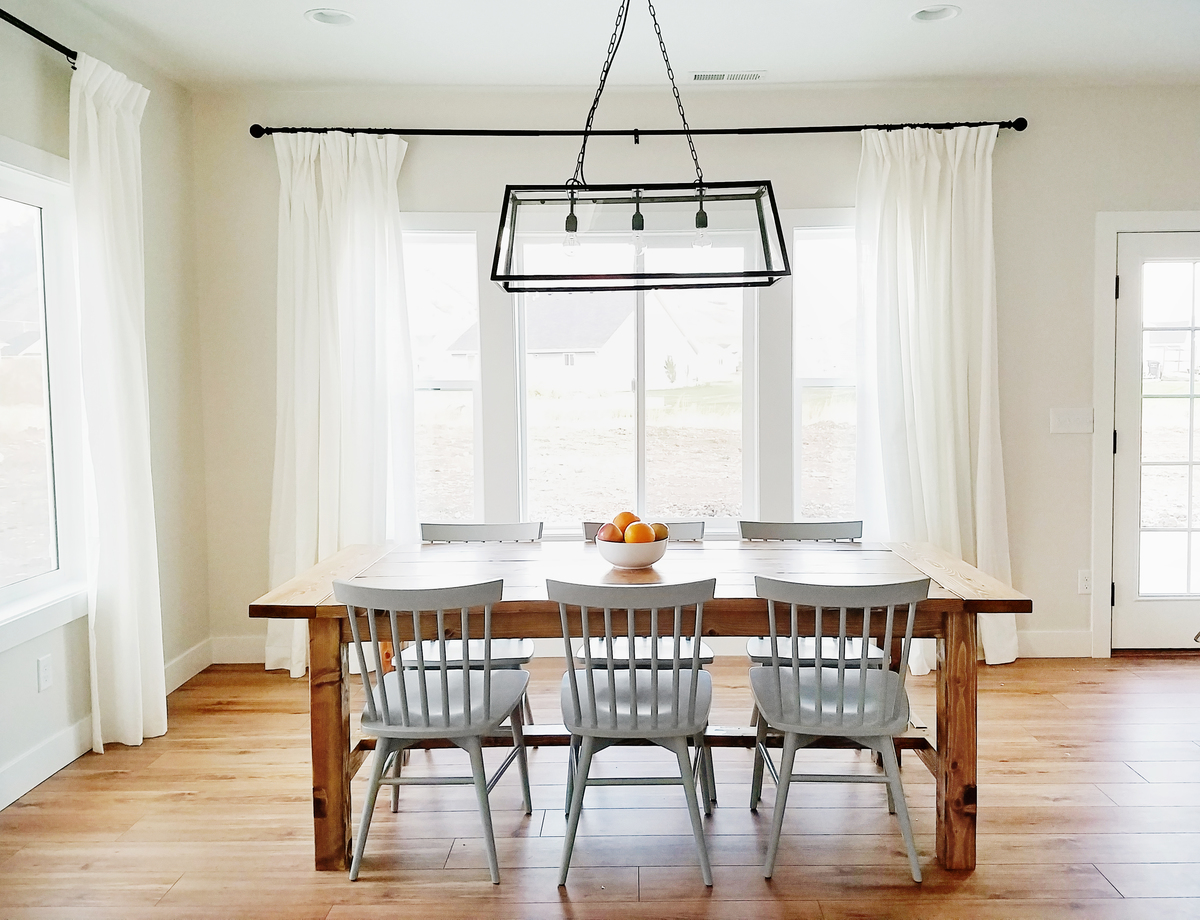
PERFECT END TABLE
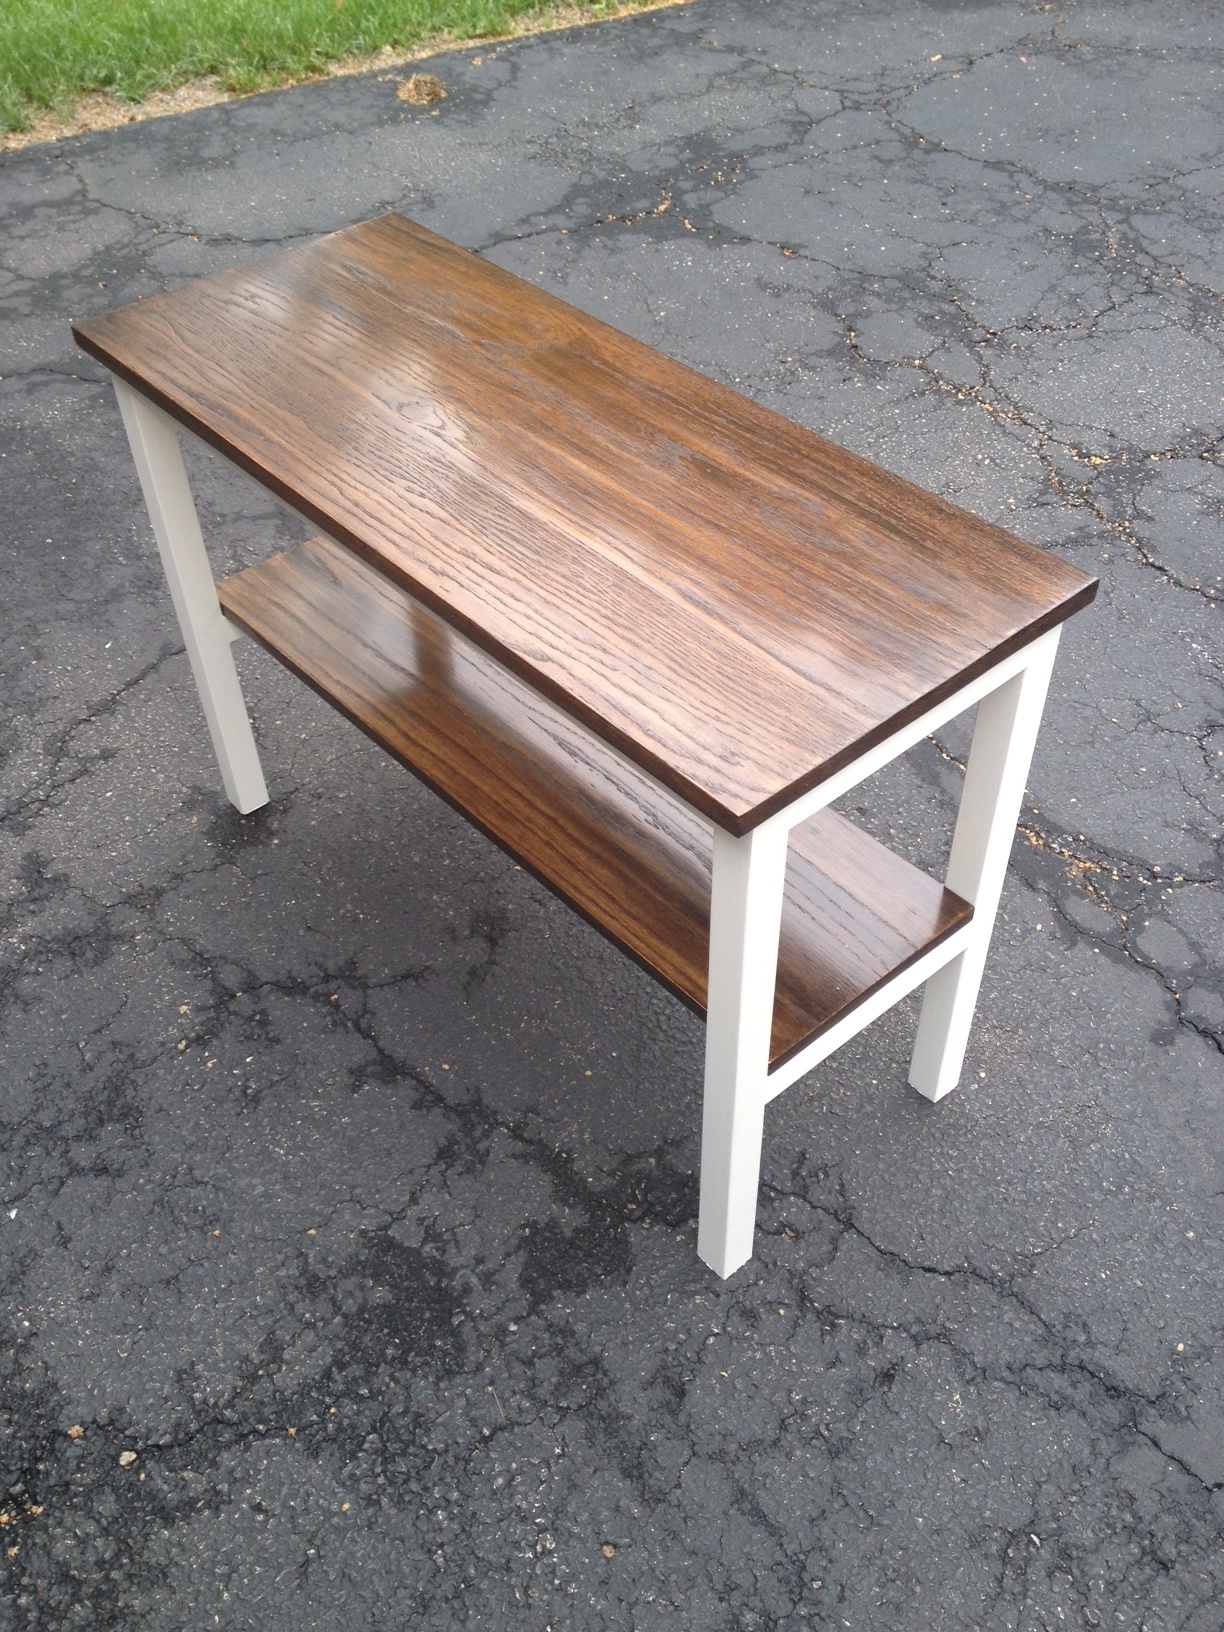
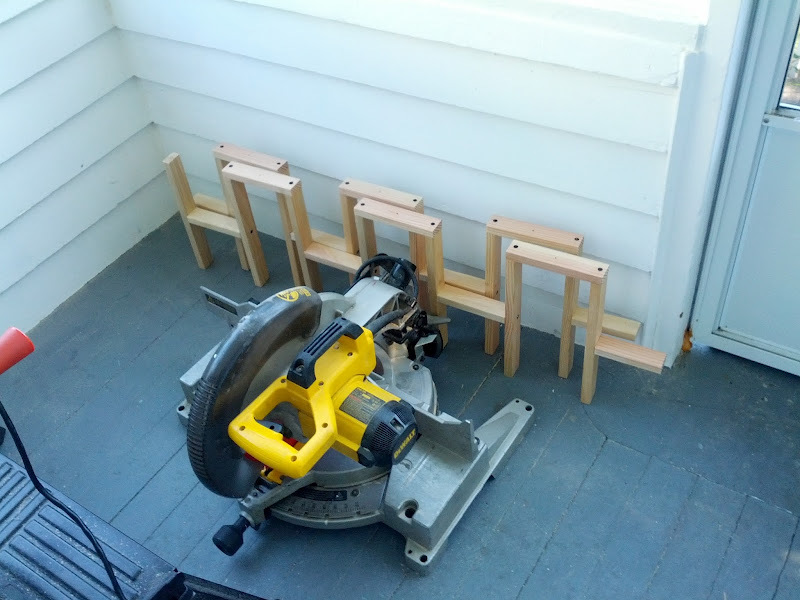
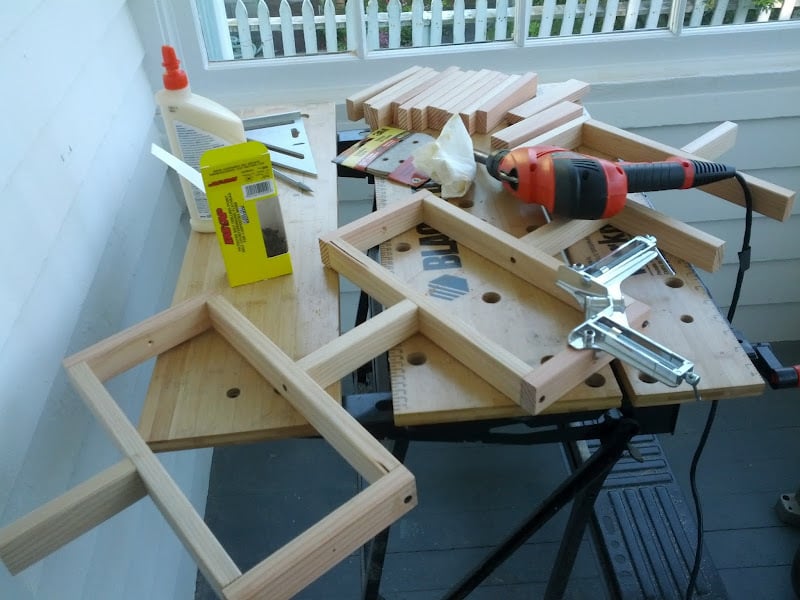
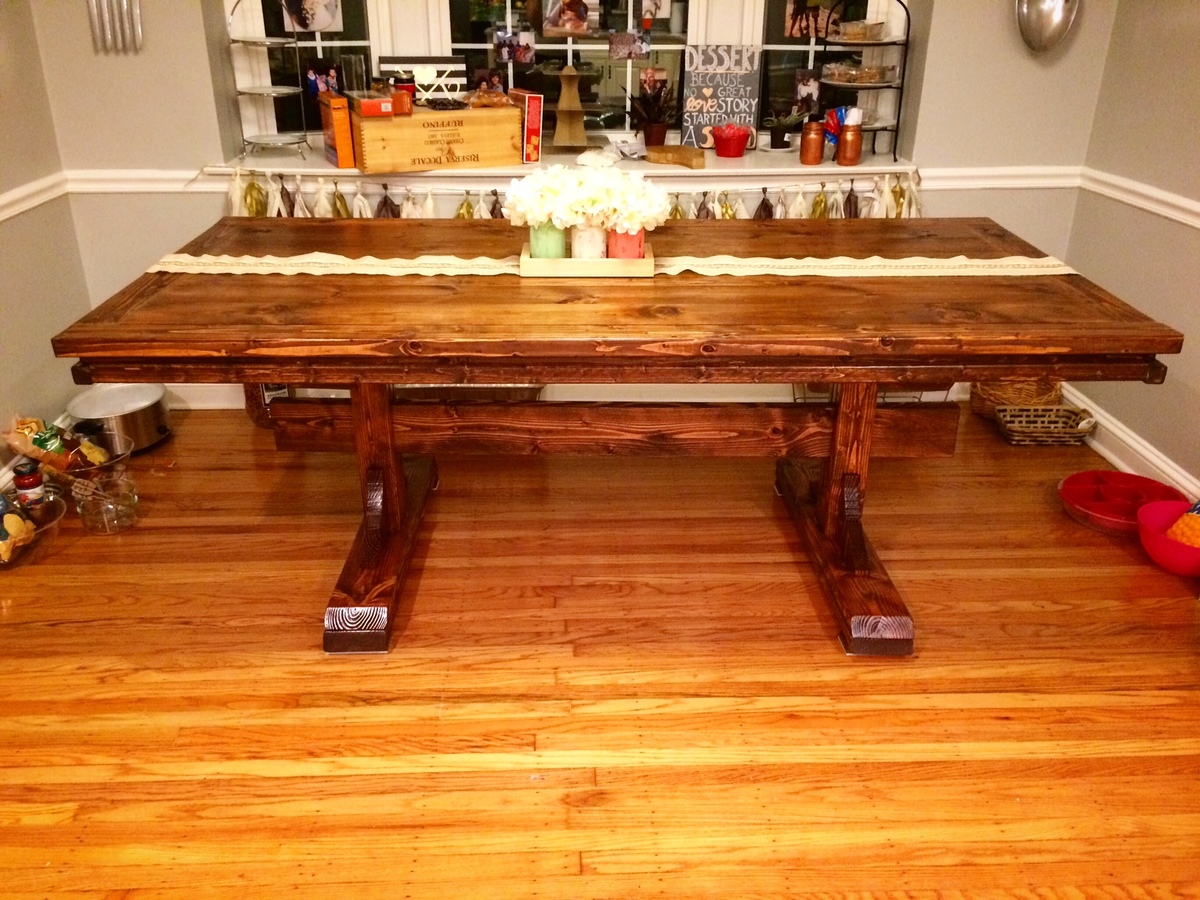
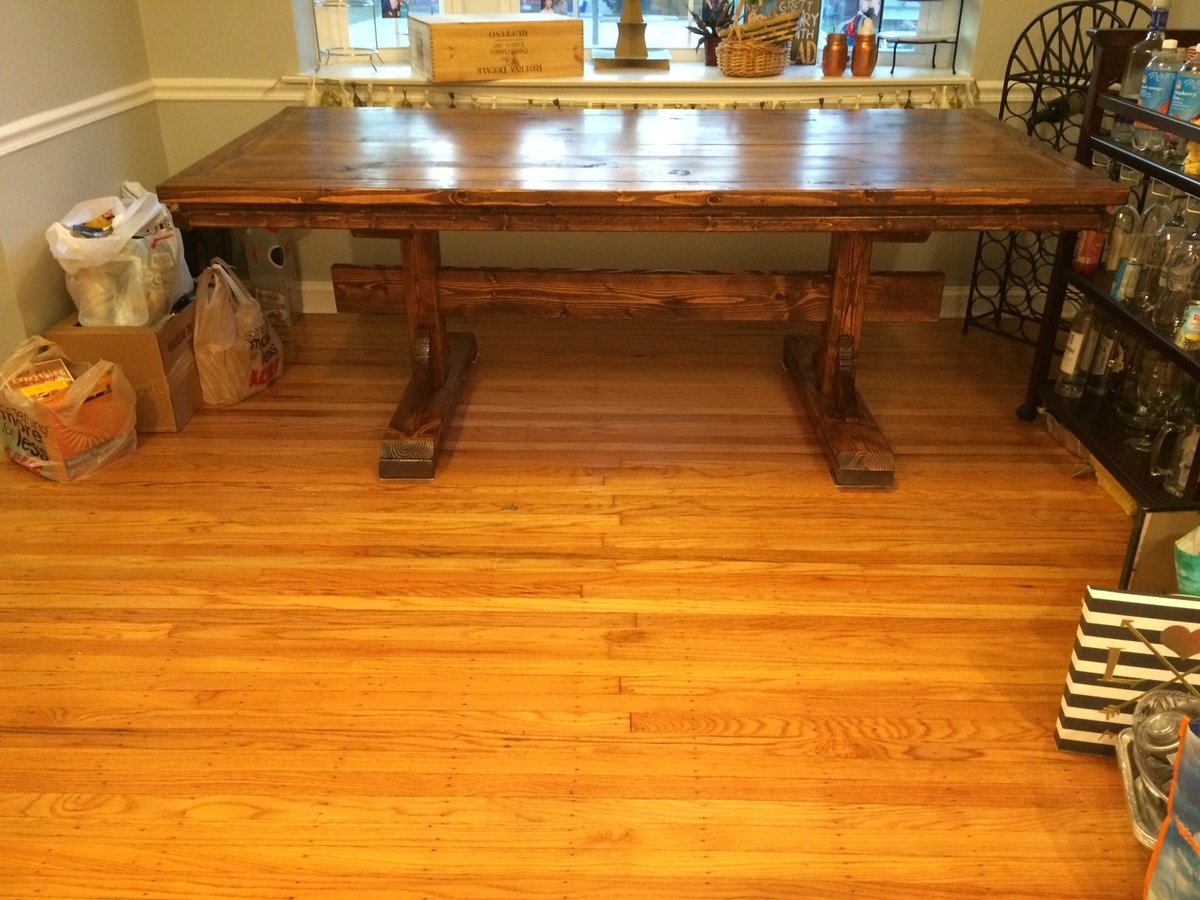
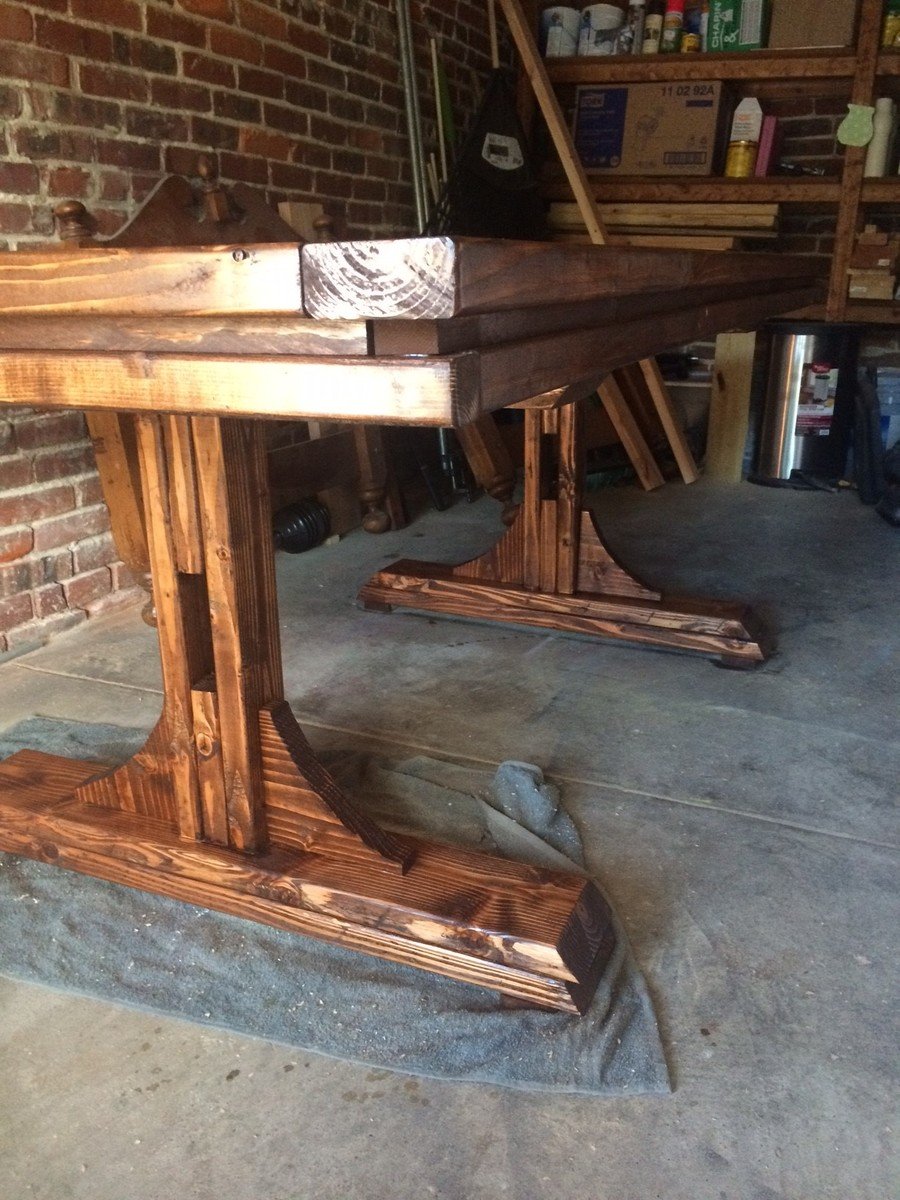
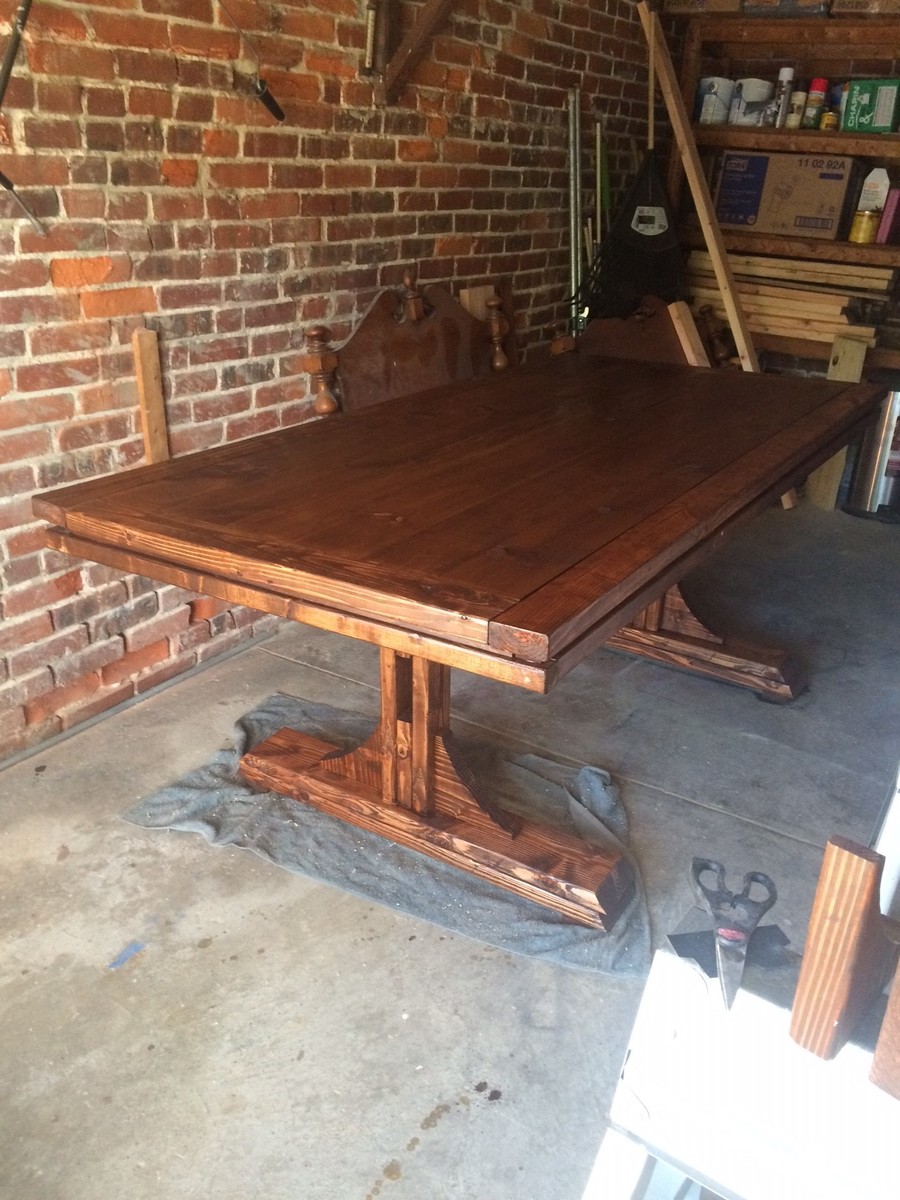
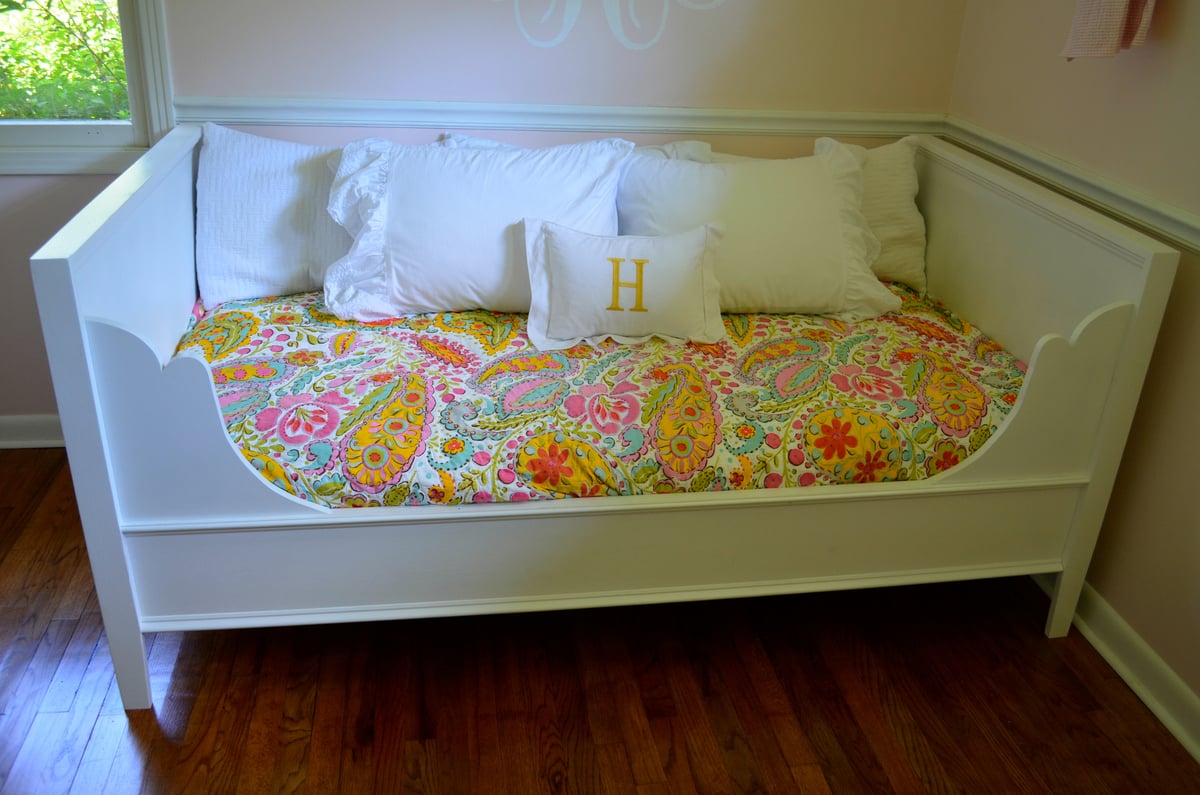
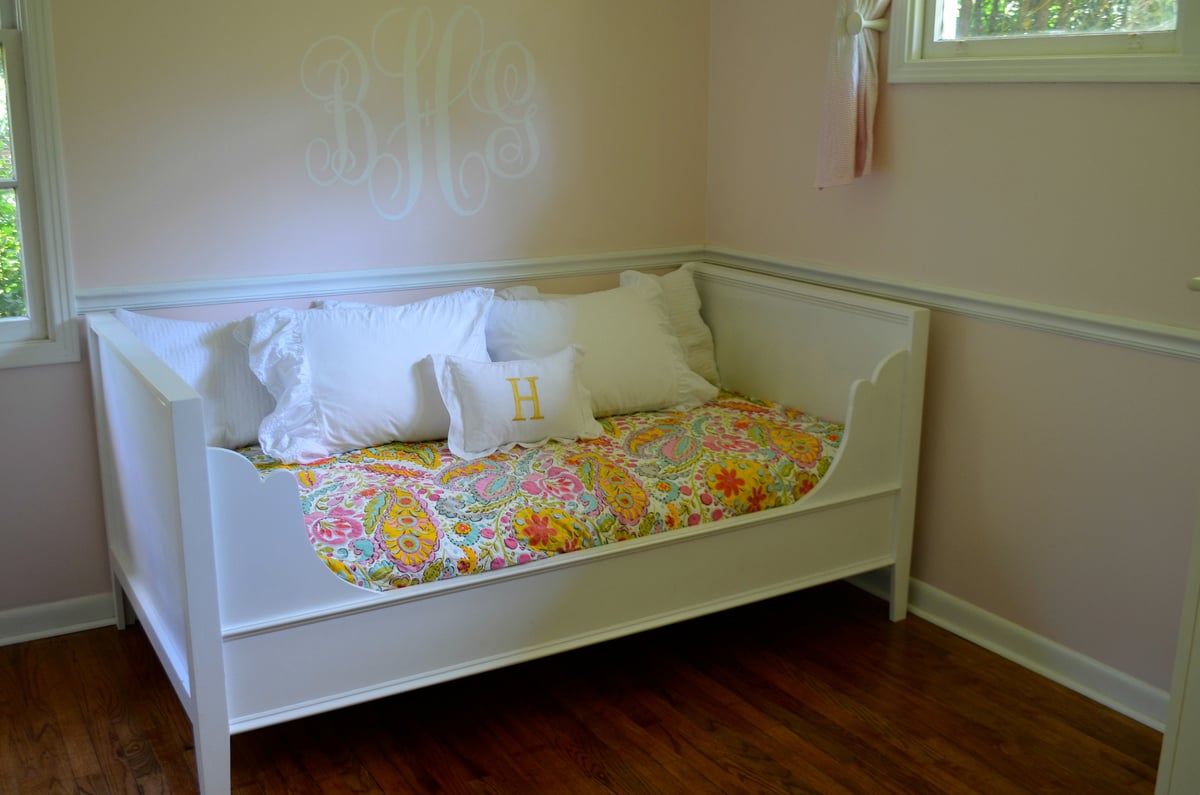
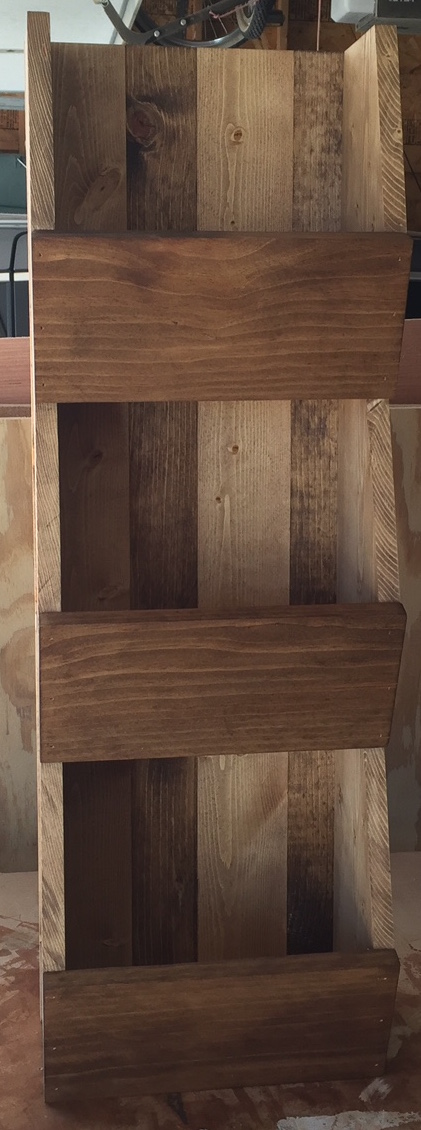
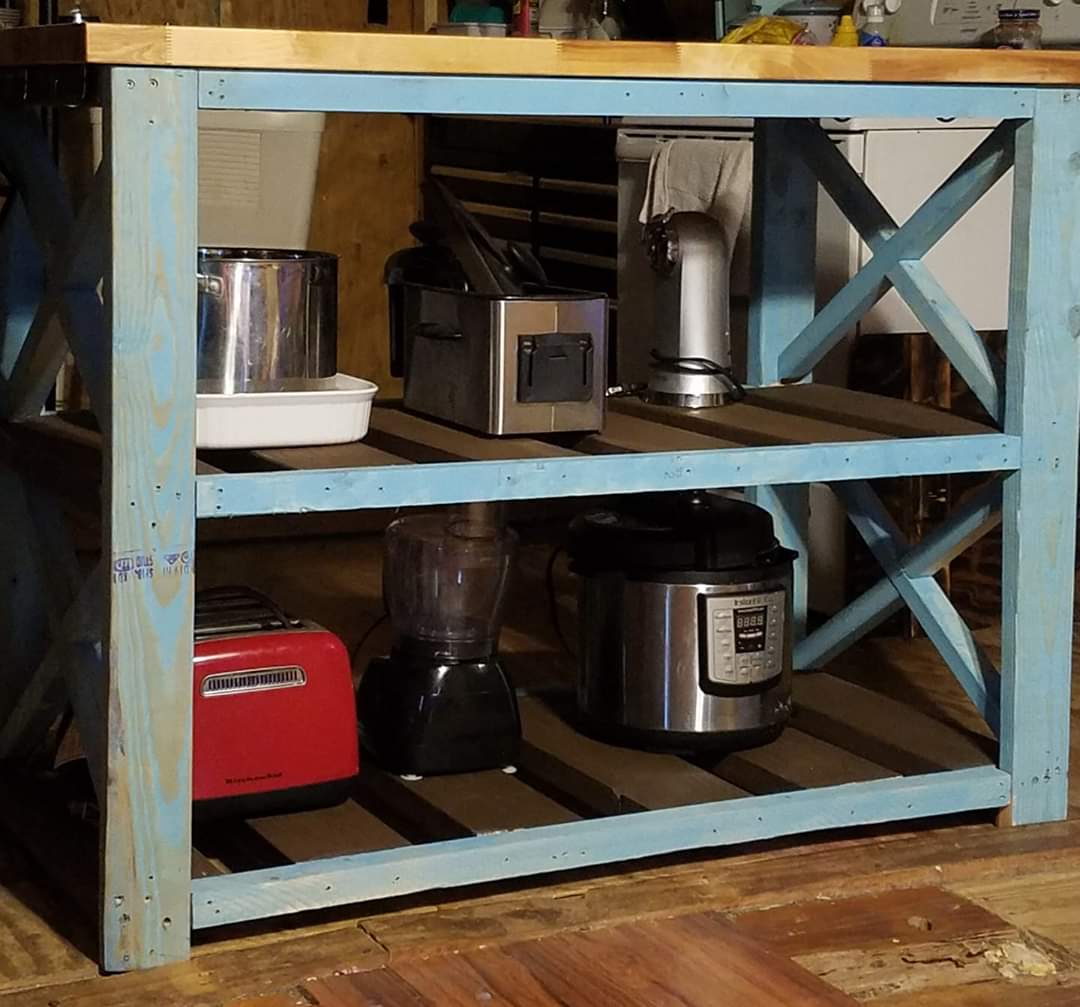
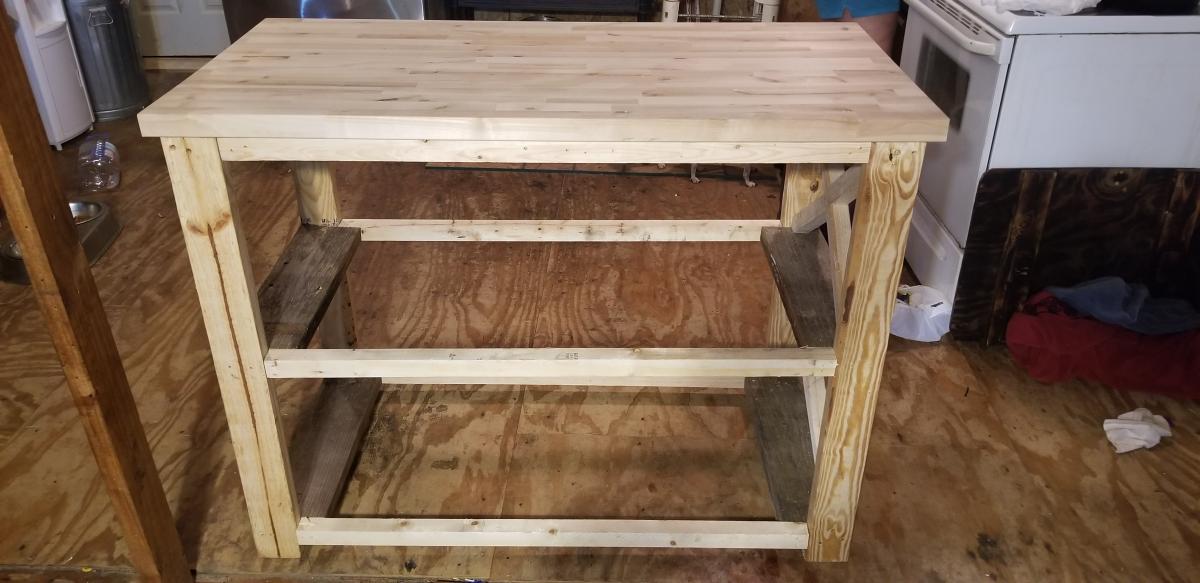
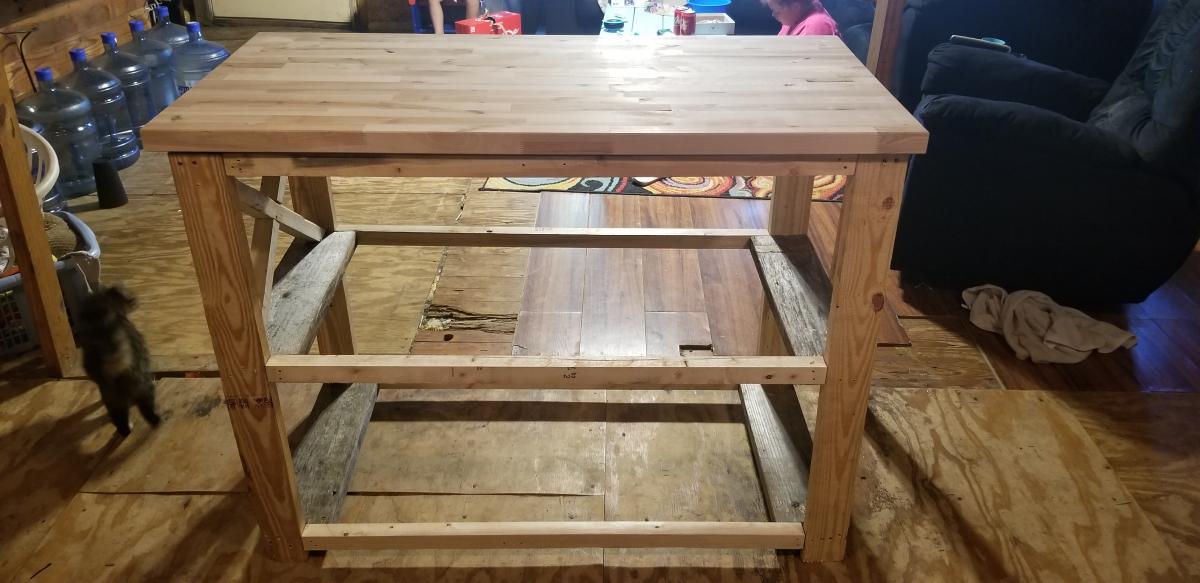
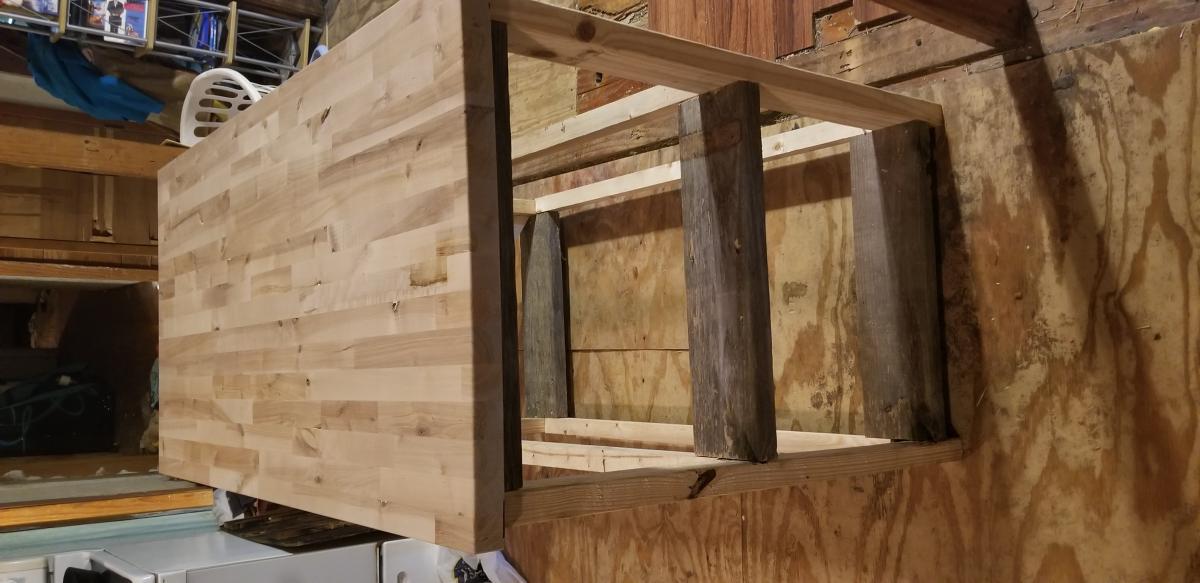
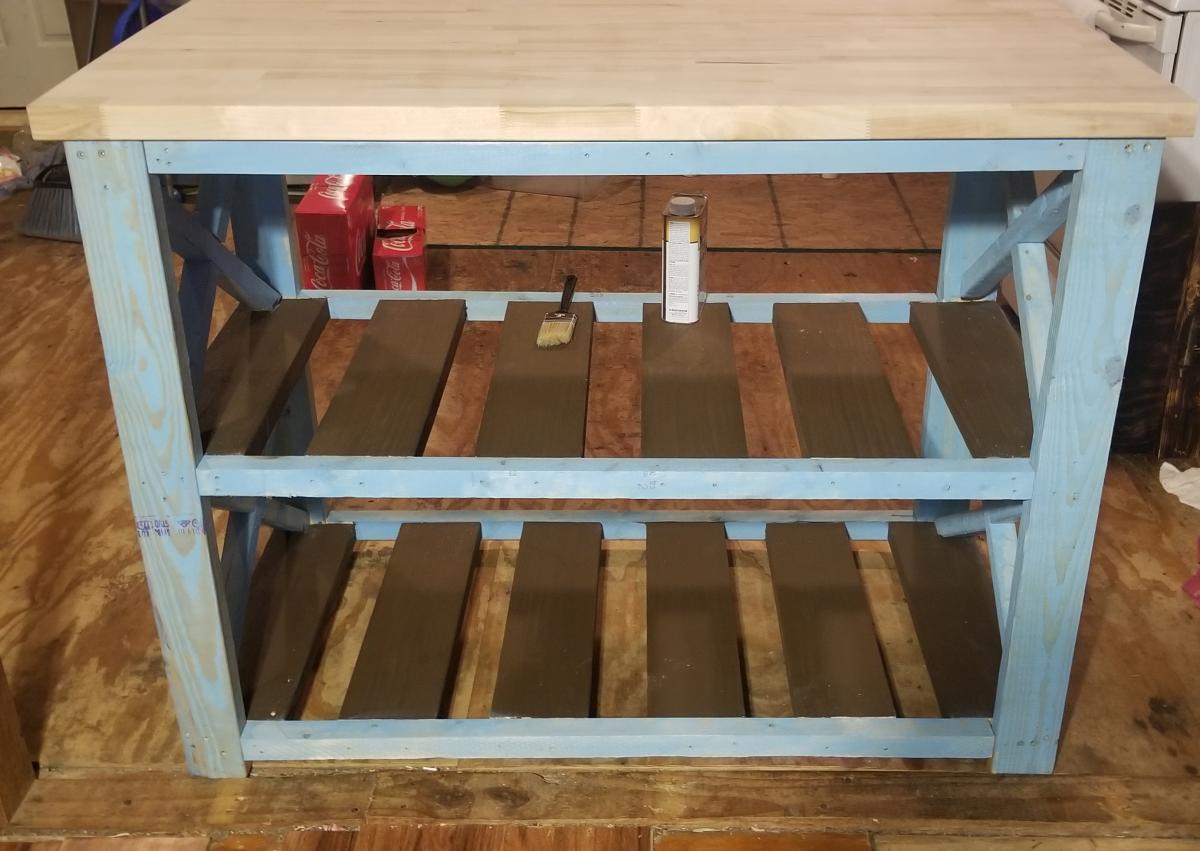
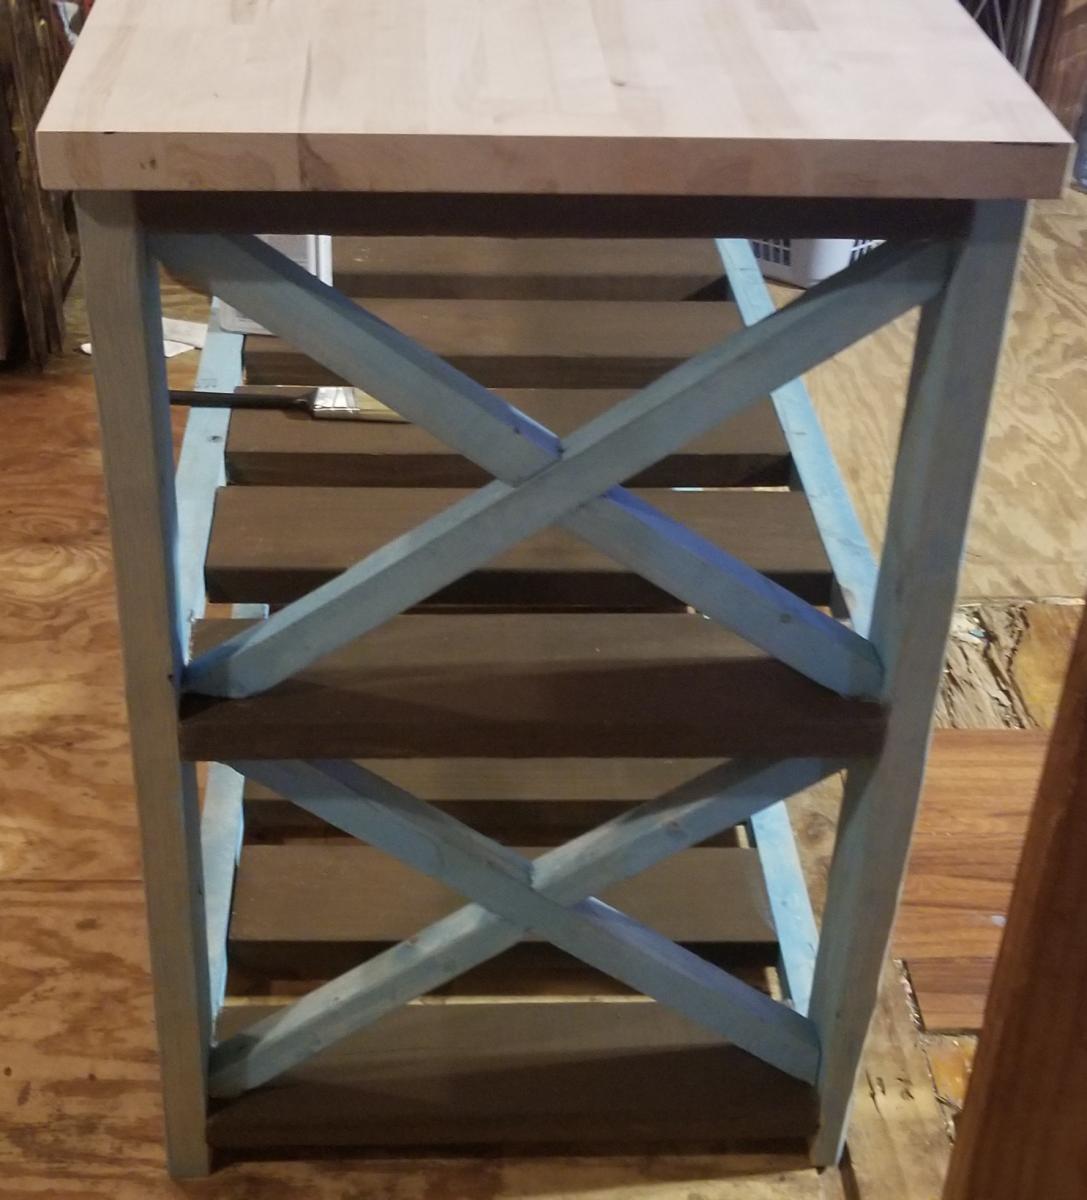
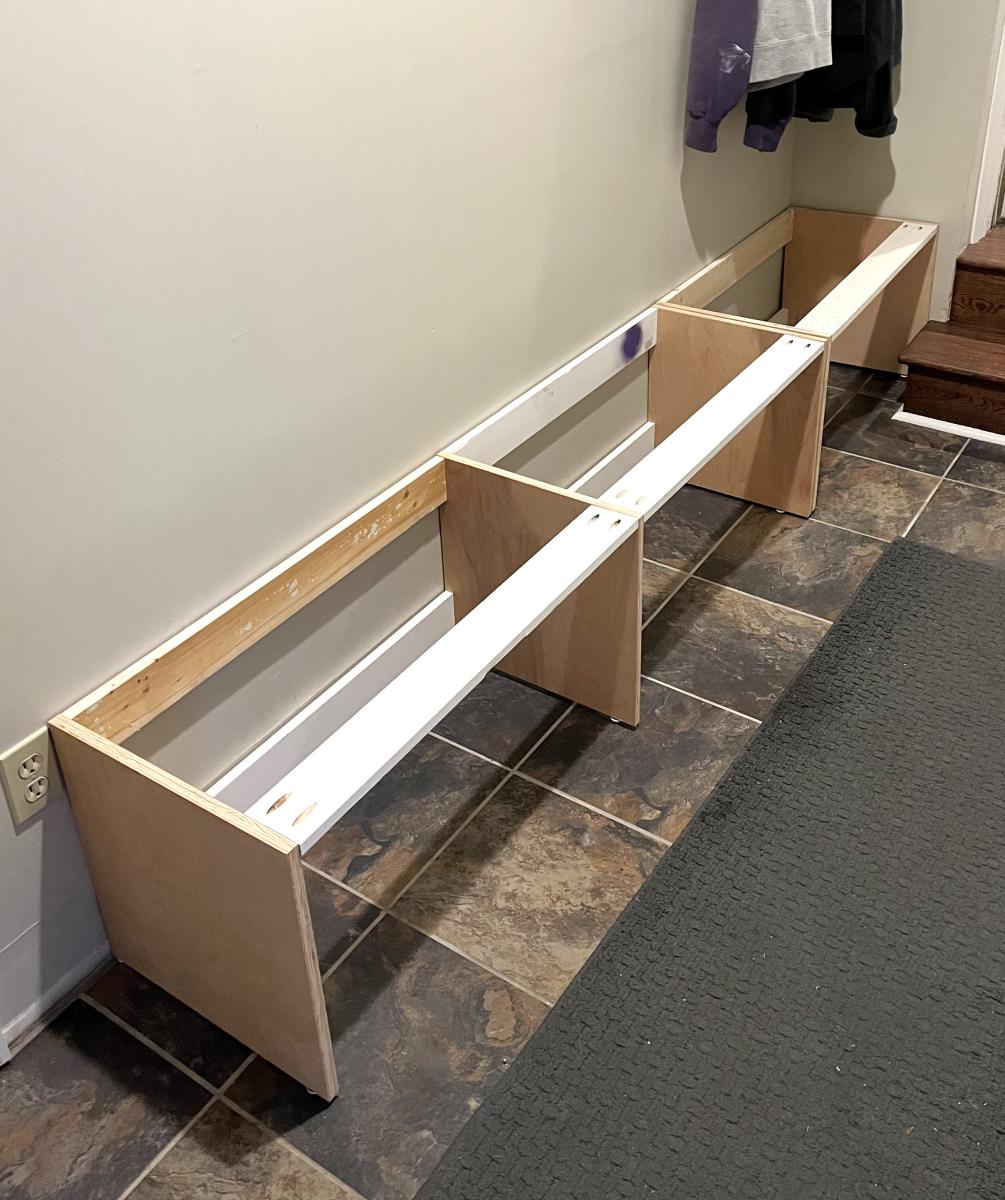
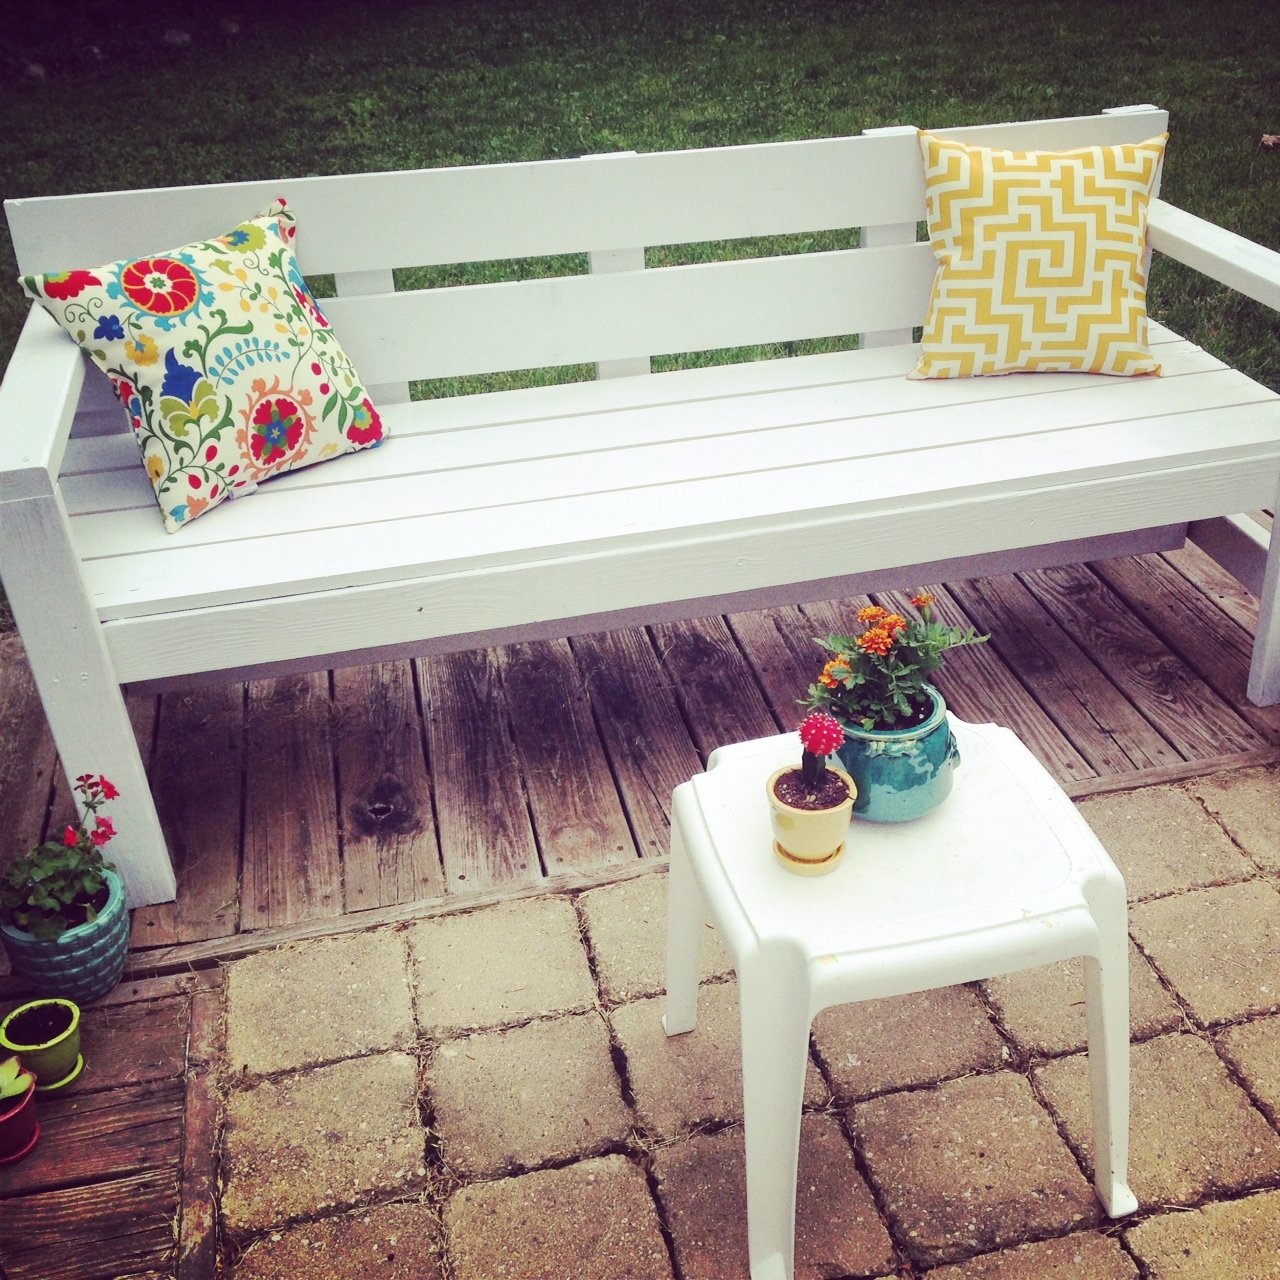
I saw the post and loved the table. I changed the dimensions to fit our couch and living room. The wood for the shelves was reclaimed from two old house that were eventually torn down. The houses were 90+ years old. Great old oak wood!
Built from Plan(s)
Estimated Time Investment
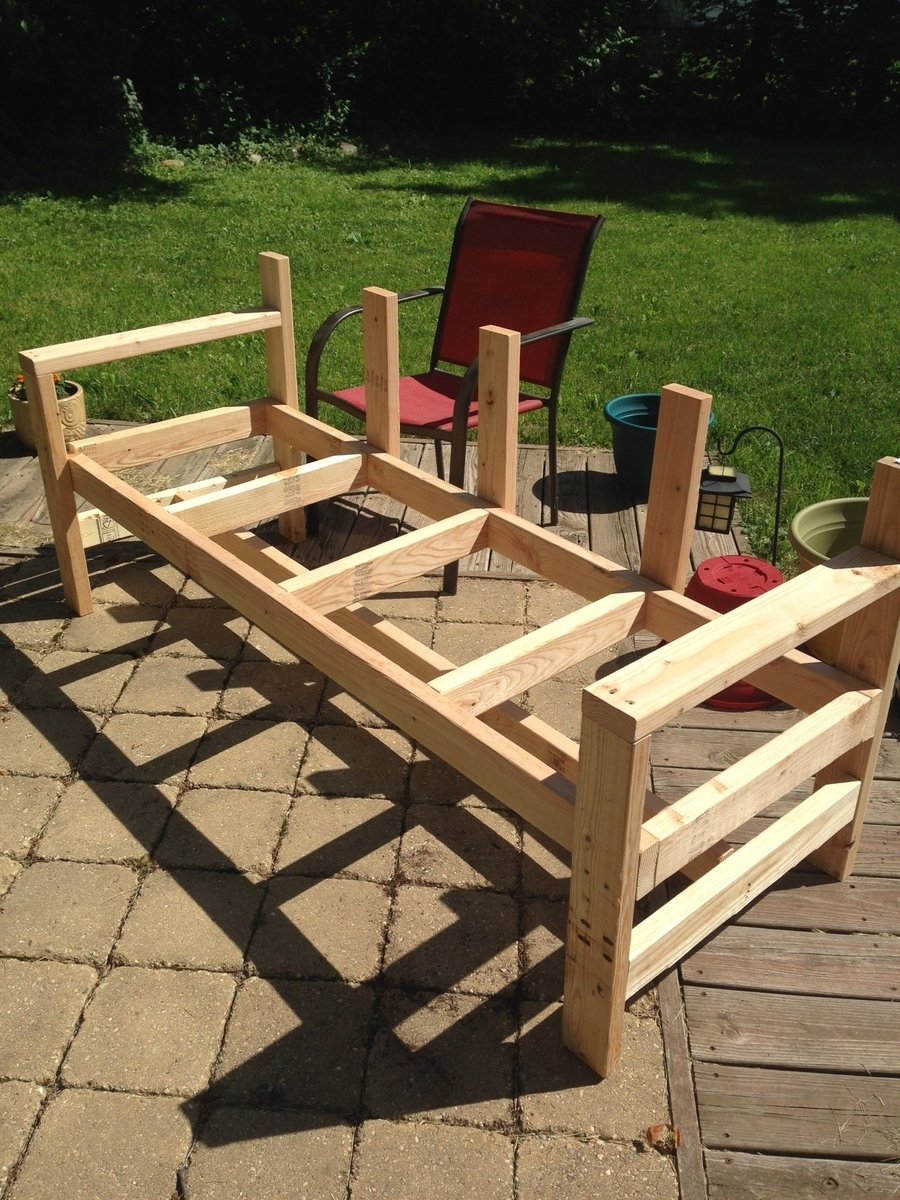
Day Project (6-9 Hours)
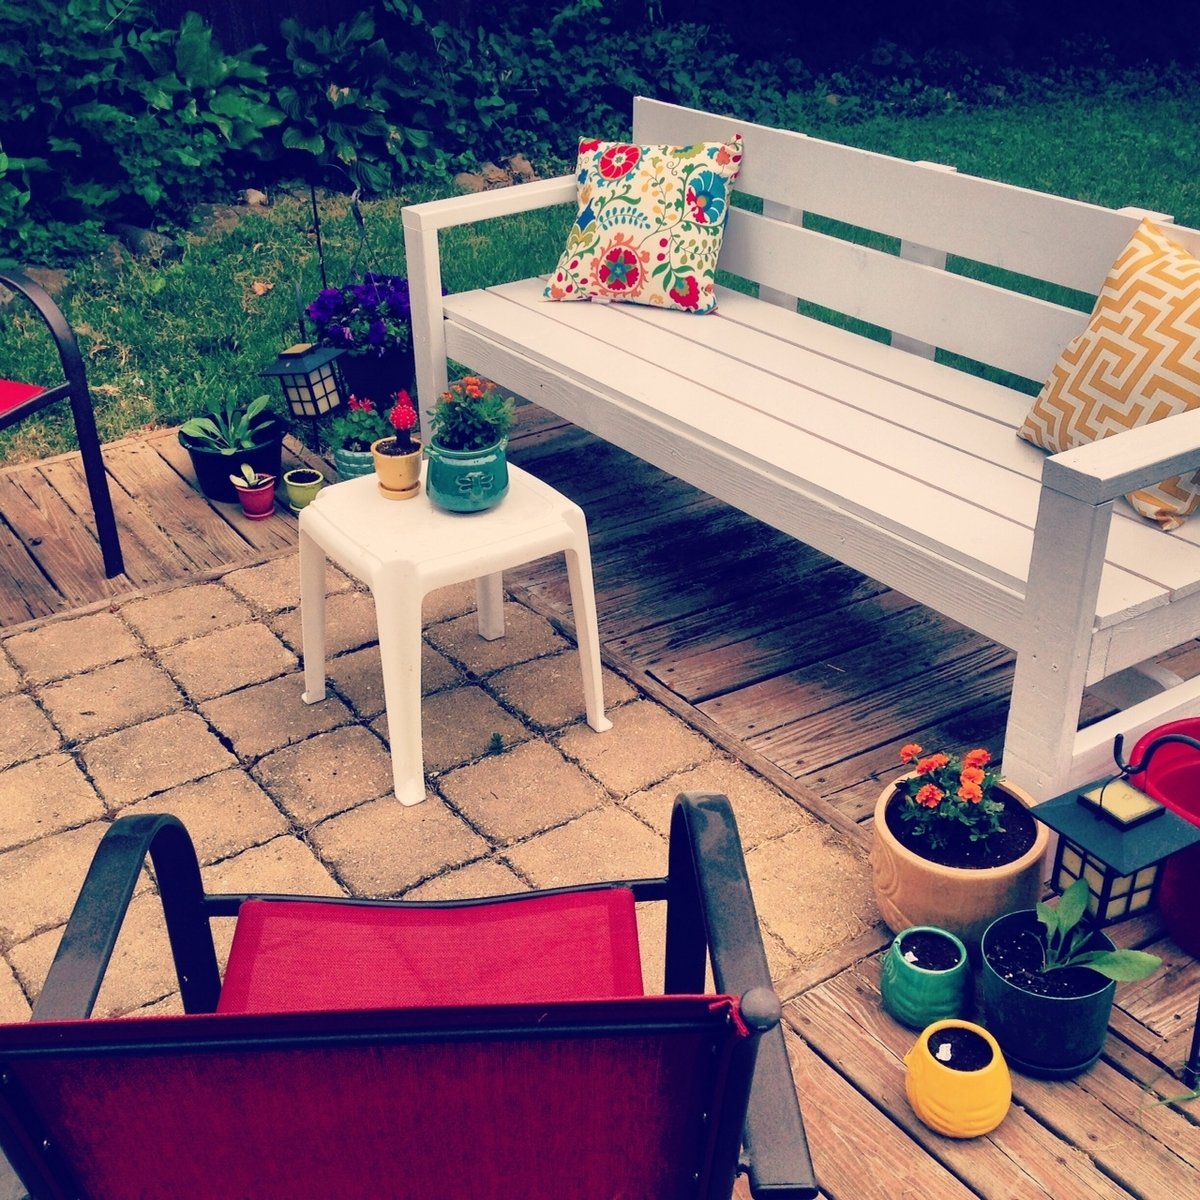
Finish Used
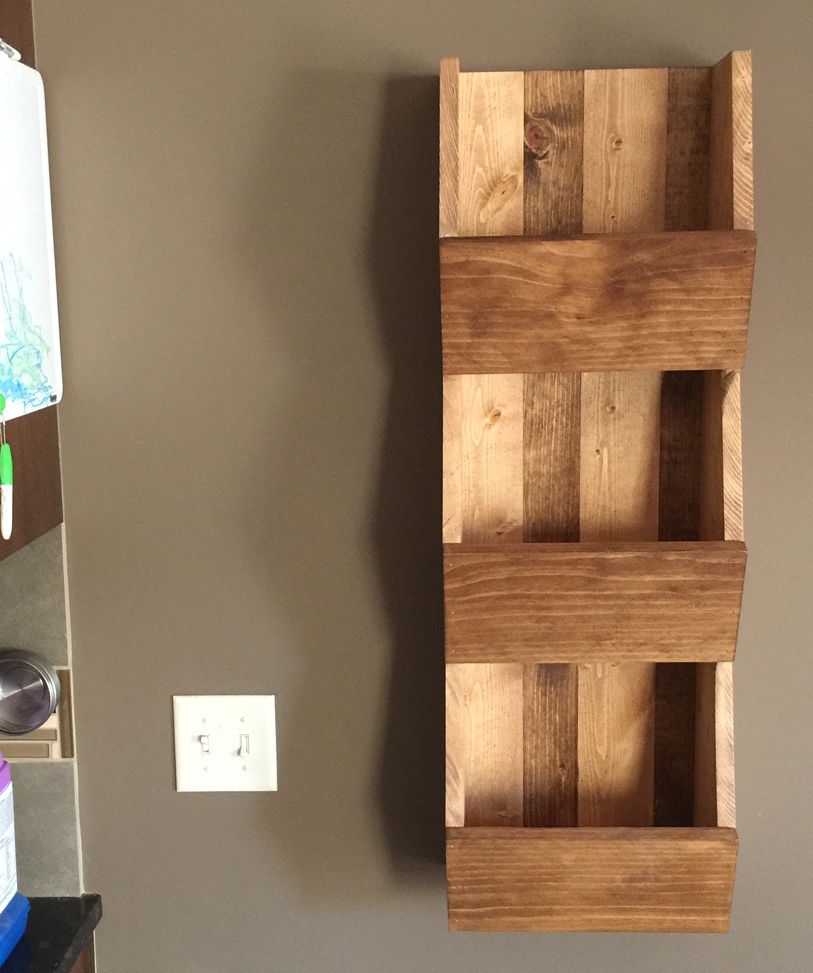
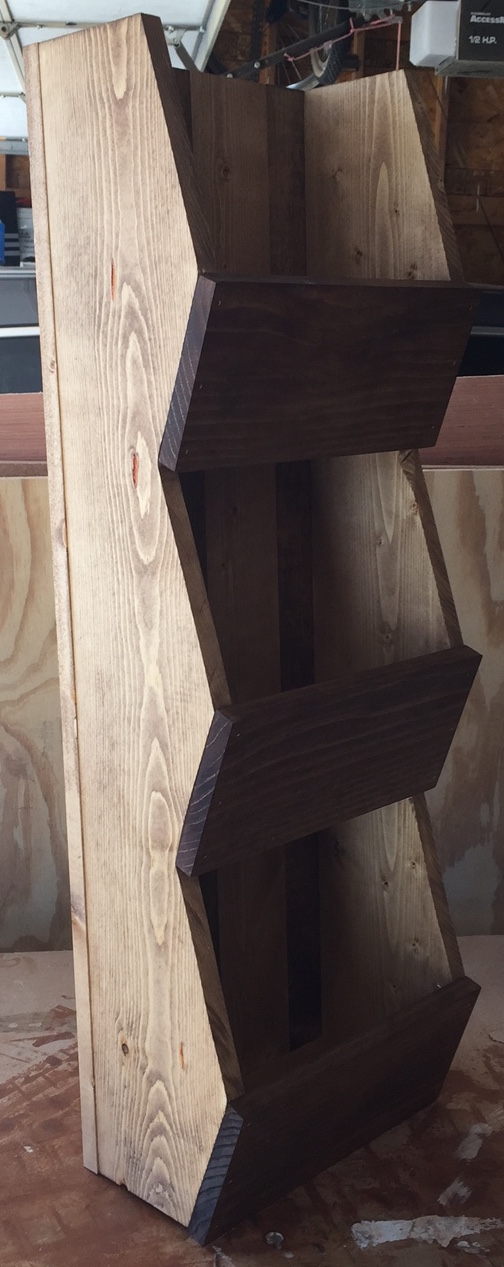
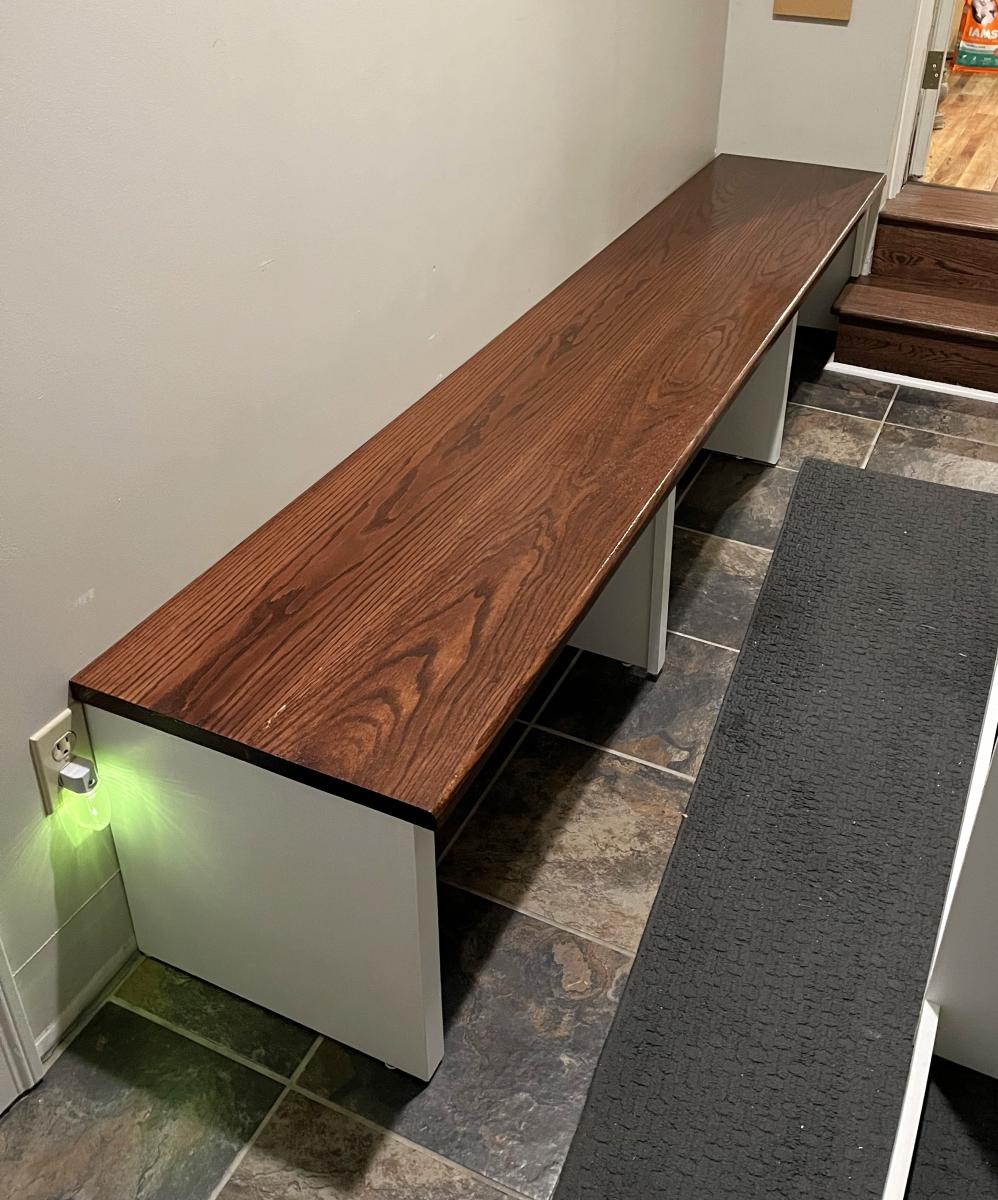
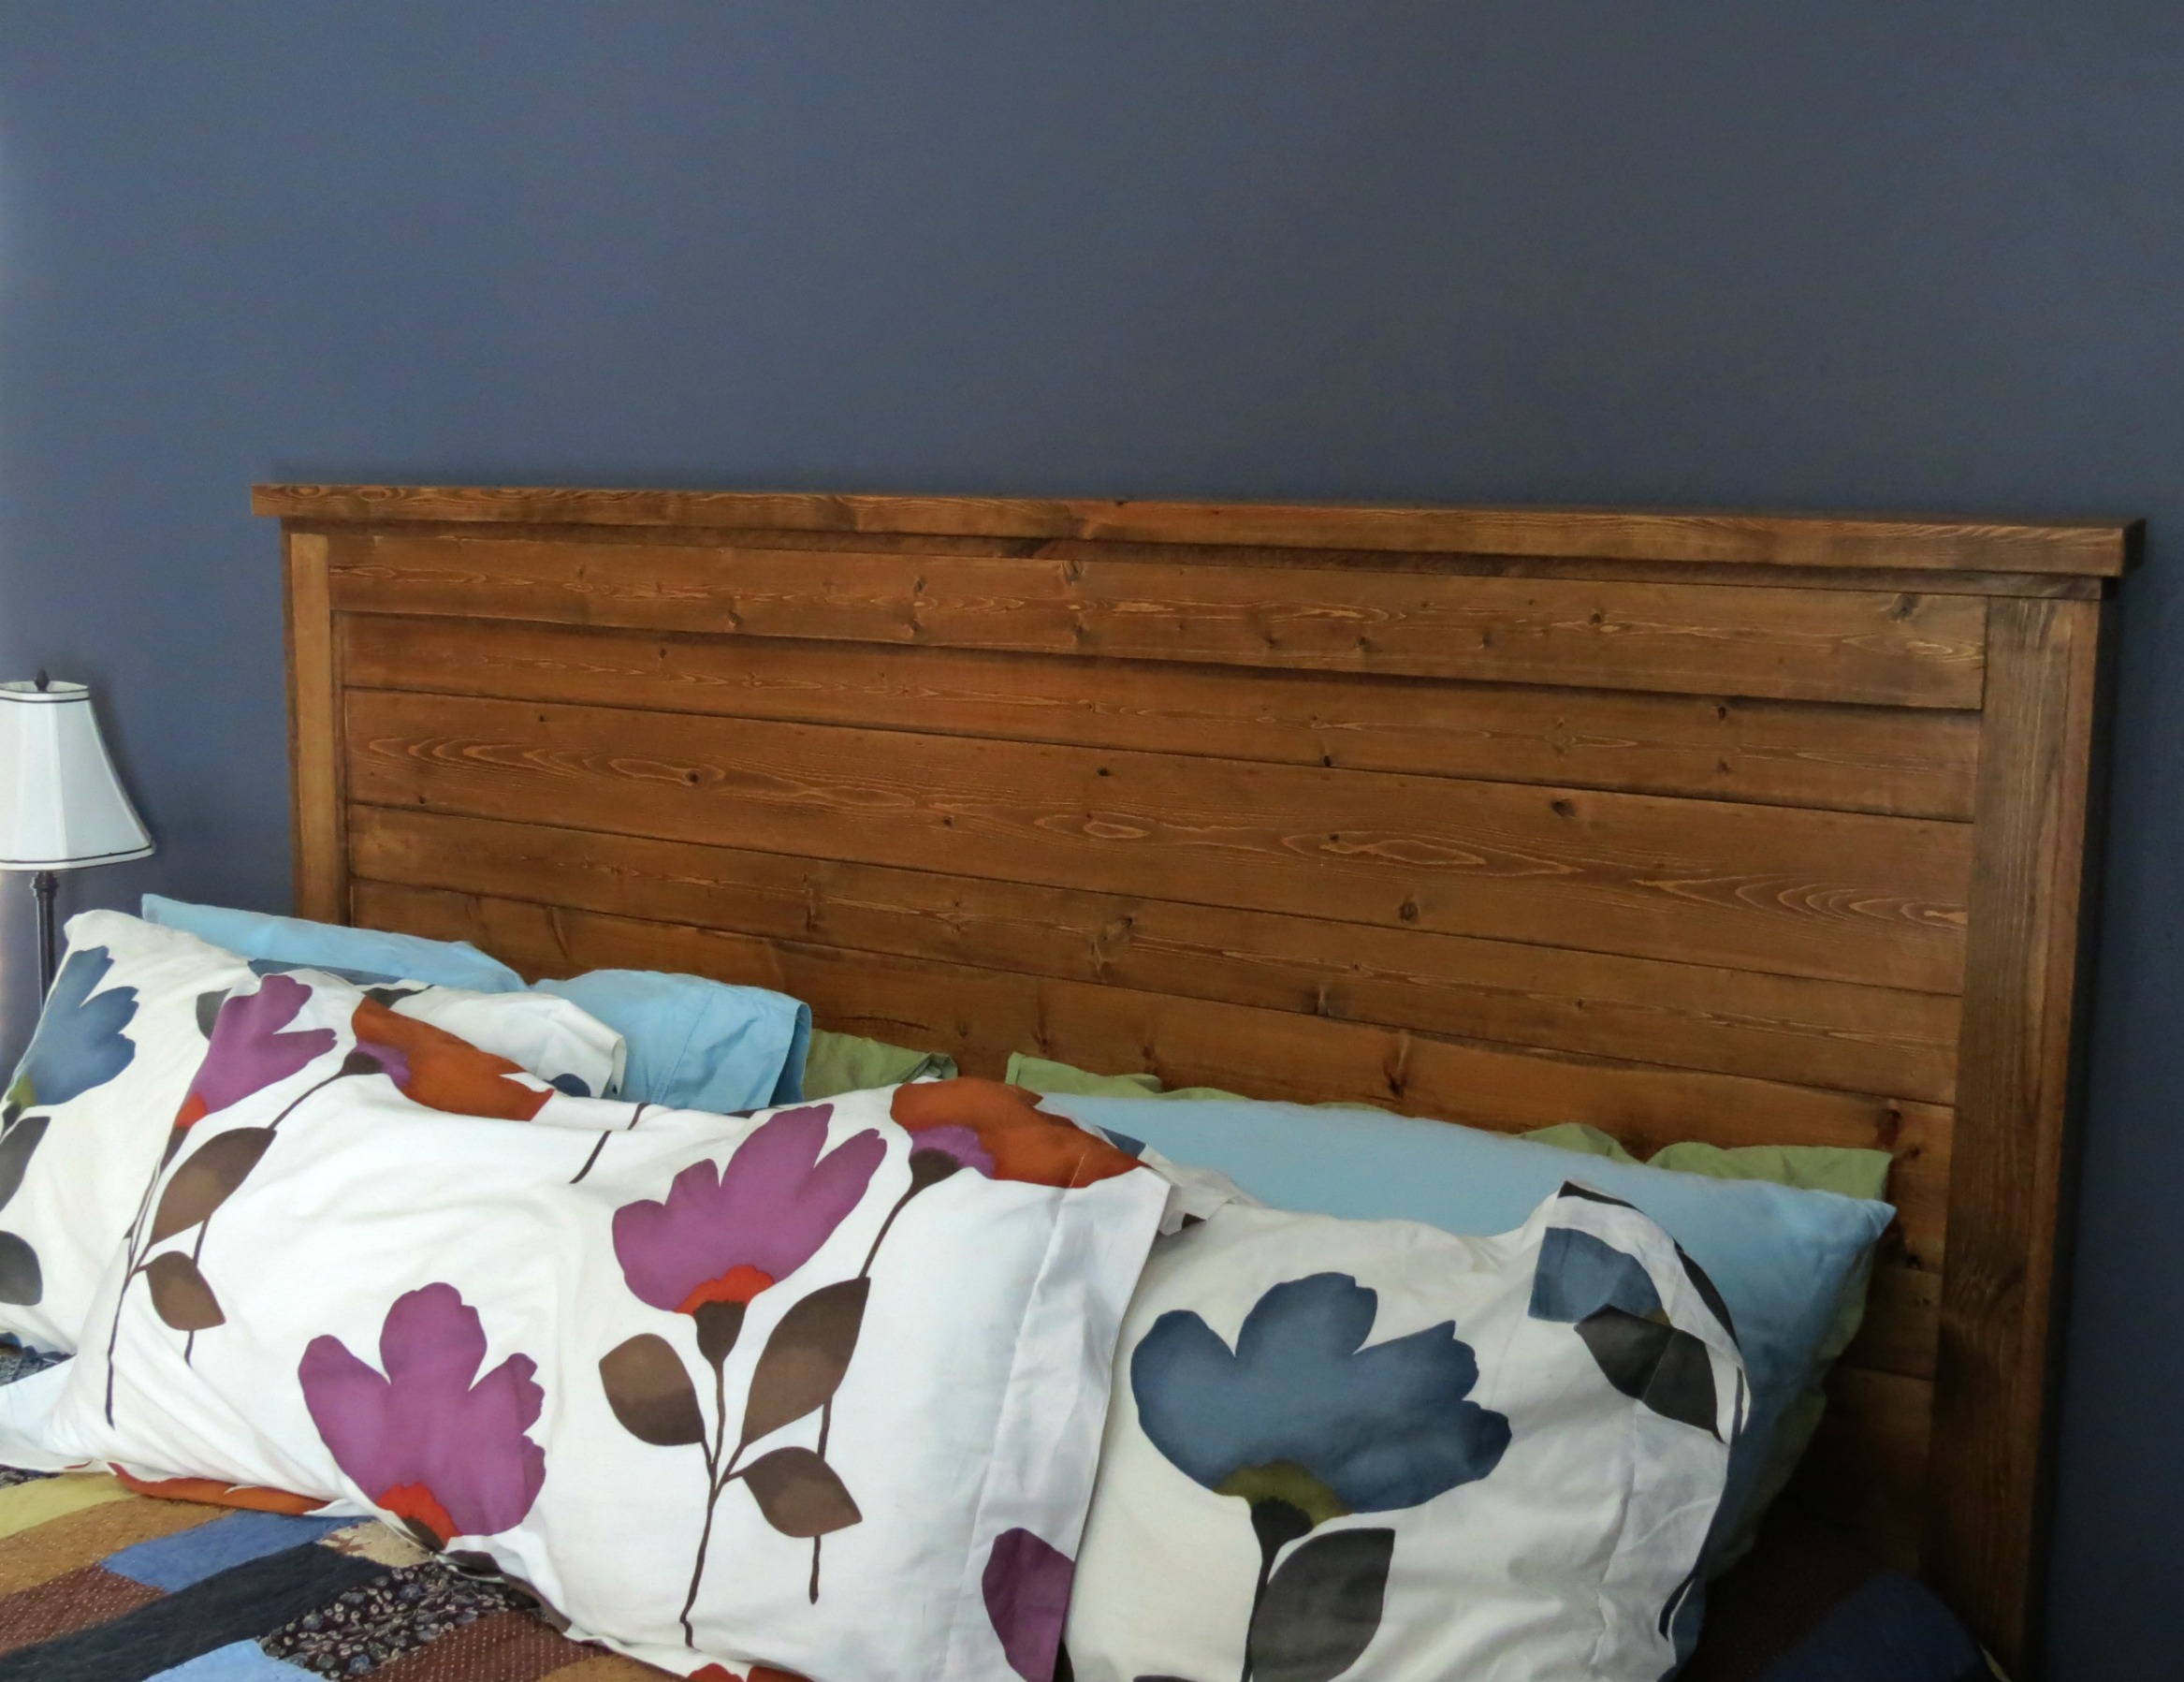
Mimwax Chestnut stain topped with Ebony stain. Minwax polyurethane (semi-gloss)
Recommended Skill Level
Beginner