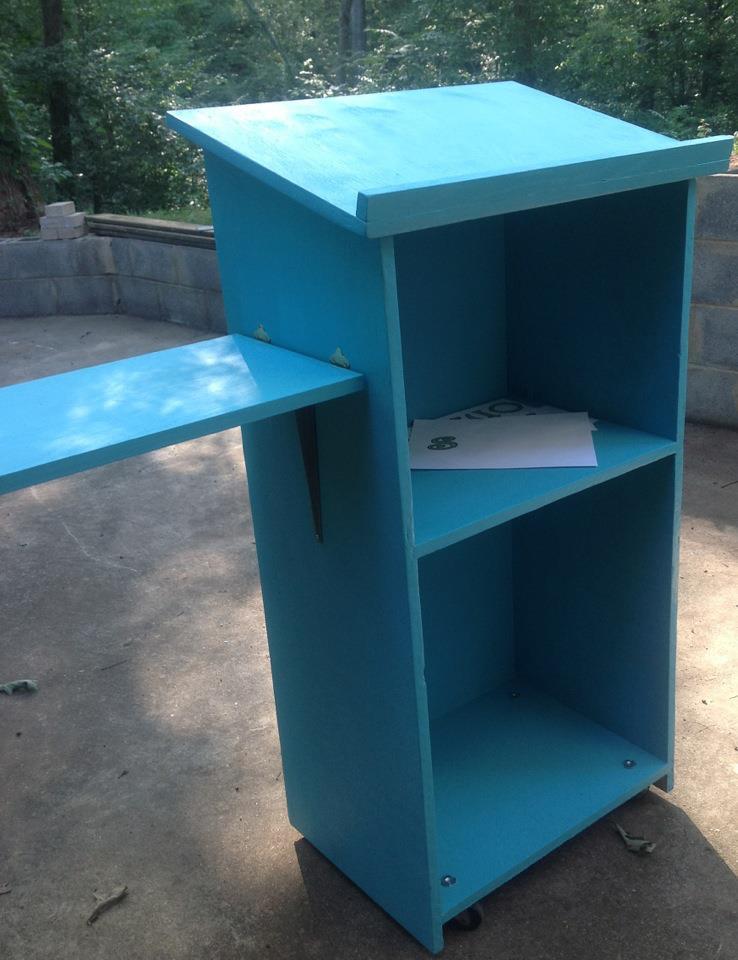
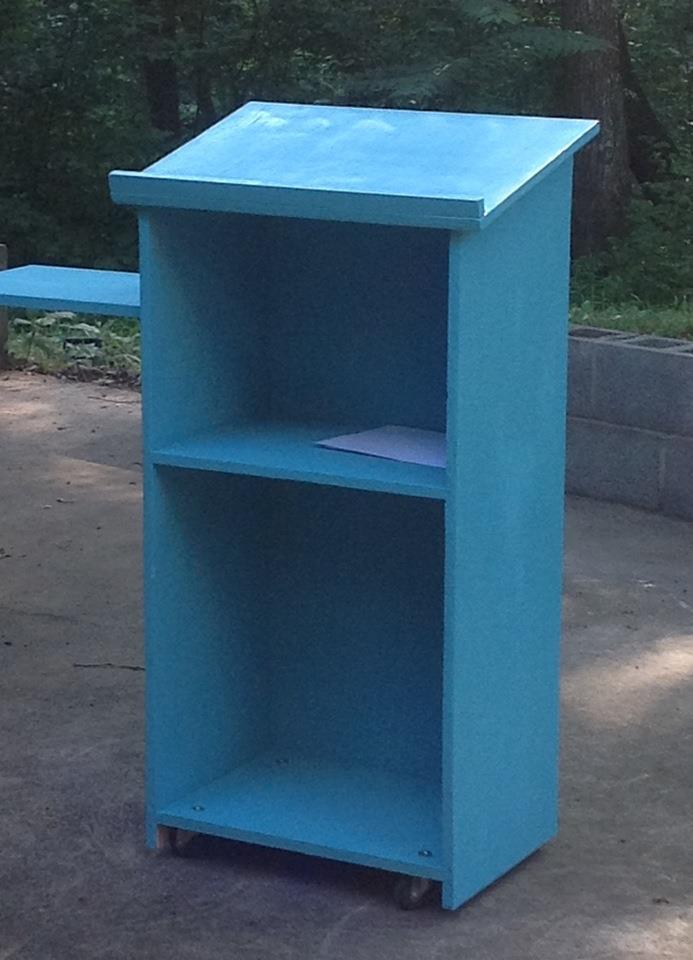
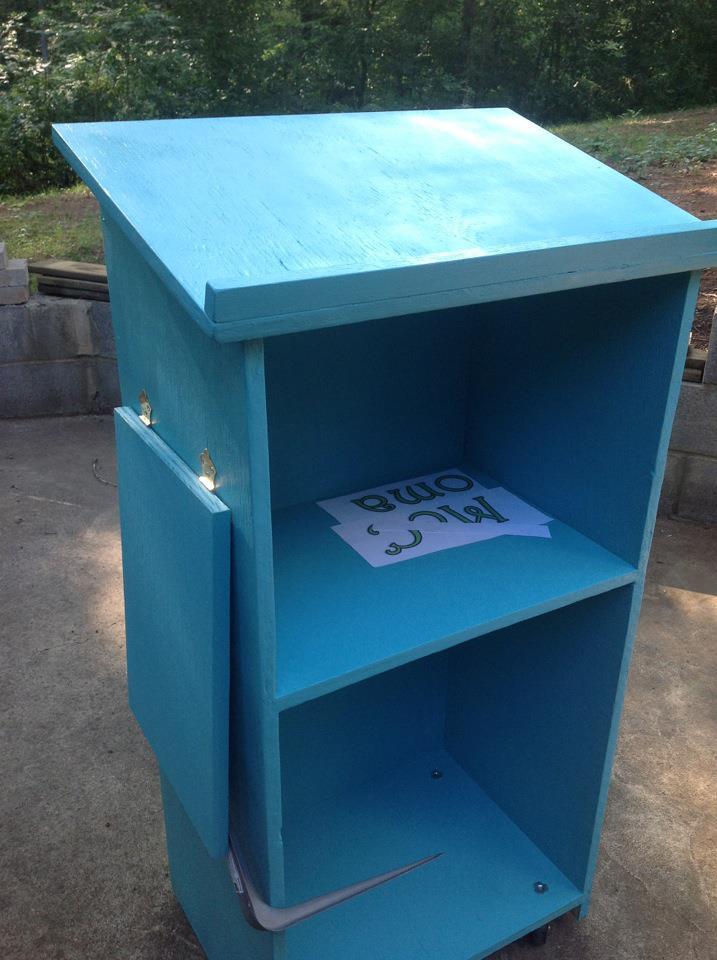
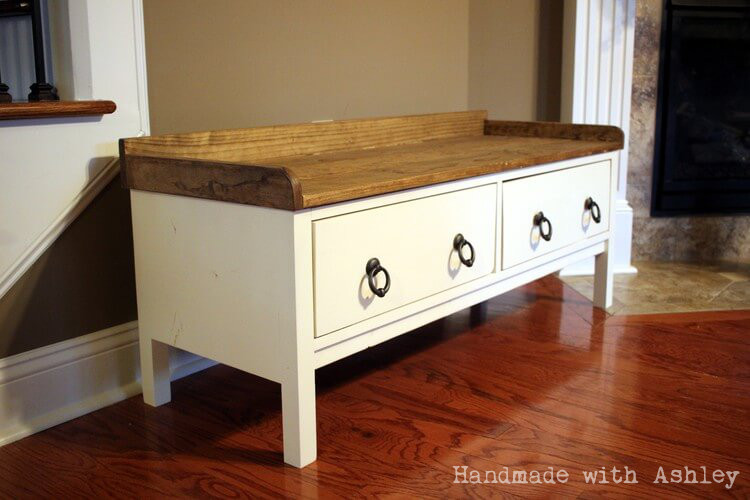
Flatware Caddy
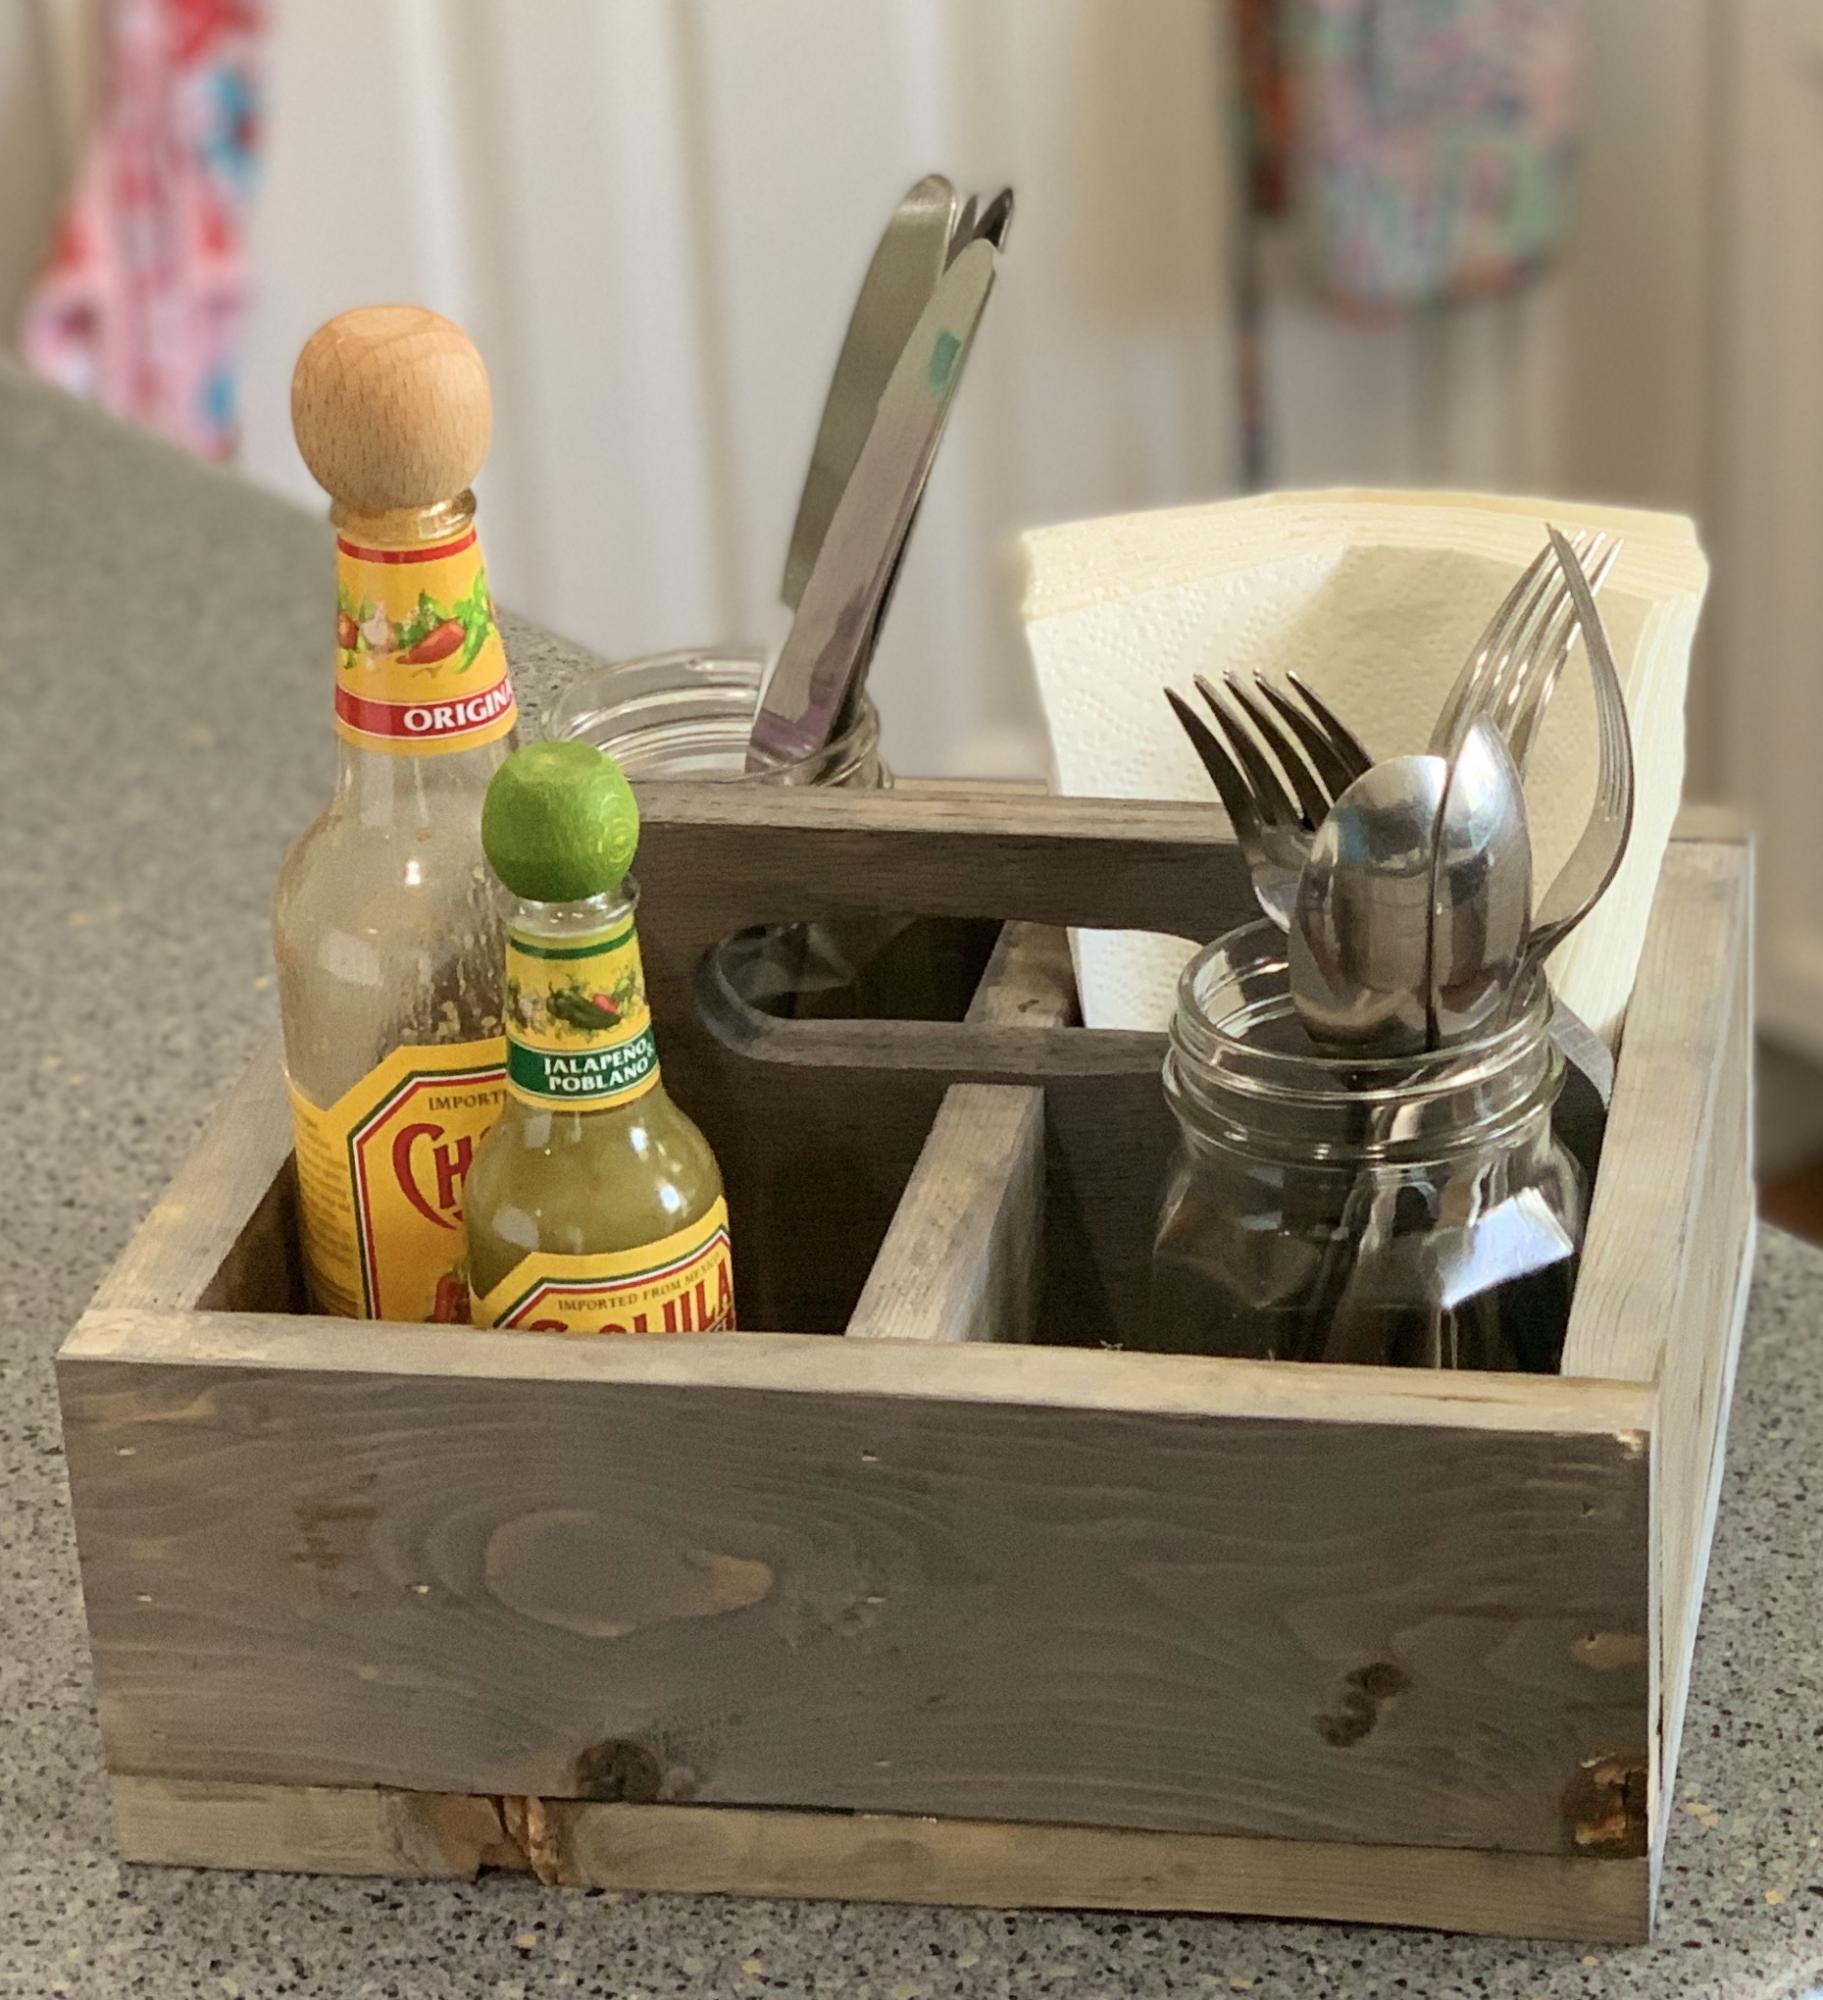
We camp a lot in our travel trailer and until now we’ve always used a coffee mug to move our utensil around and keep them easily accessible; the problem was, that coffee mug was constantly falling over! I saw this and knew I HAD to make one.
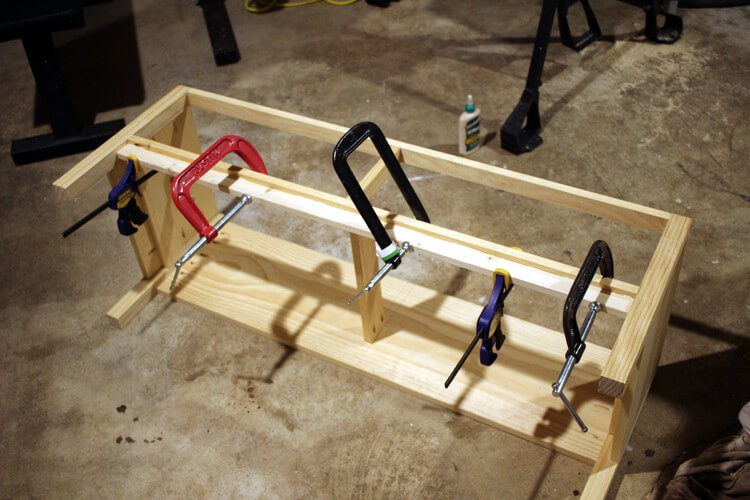
Made this with scrap 2x6 and 2x4 boards which cause the measurements to be a bit different, but the results were still great! Super easy and gonna be very useful!!!
Built from Plan(s)
Estimated Cost
$10
Estimated Time Investment
An Hour or Two (0-2 Hours)
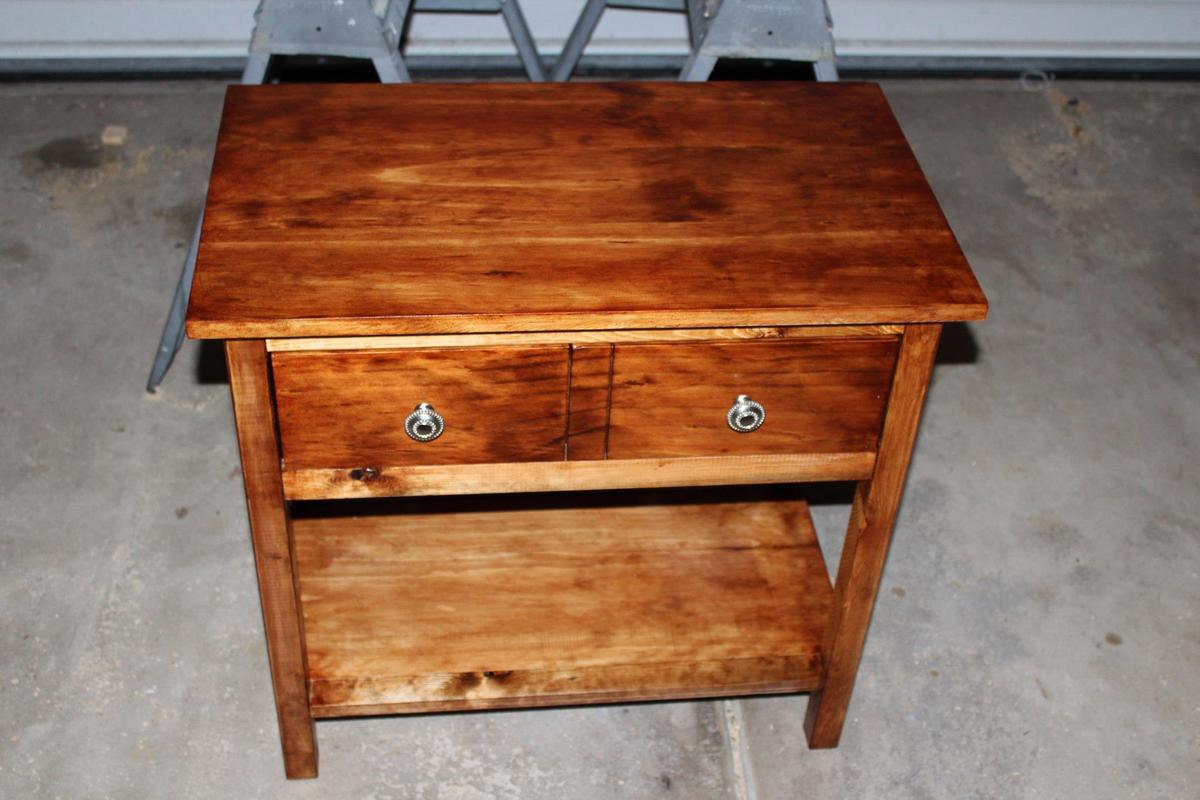
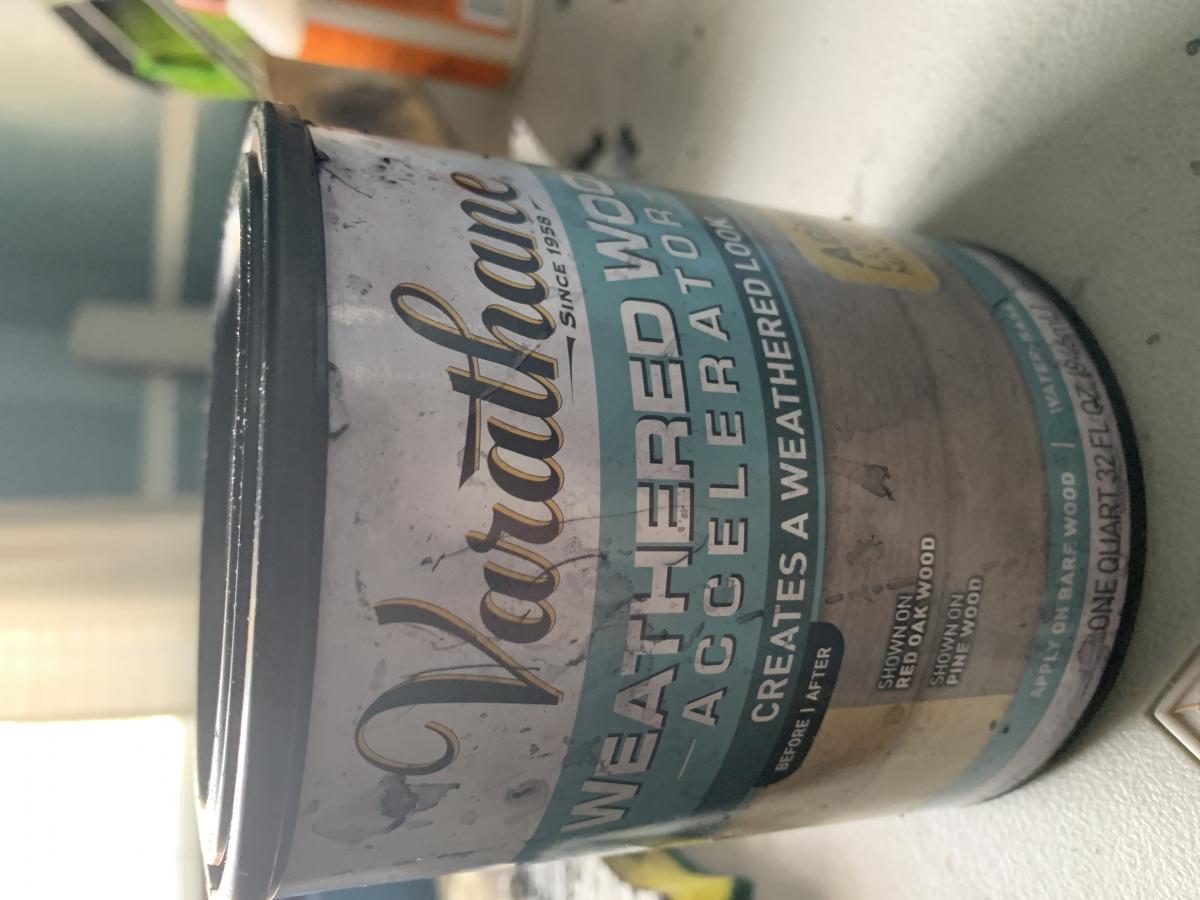
Finish Used
Varathane Weathered Wood Accelerator
Recommended Skill Level
Beginner