Whitewashed Queen Headboard
Built this headboard for my fiancee as her valentines day gift.
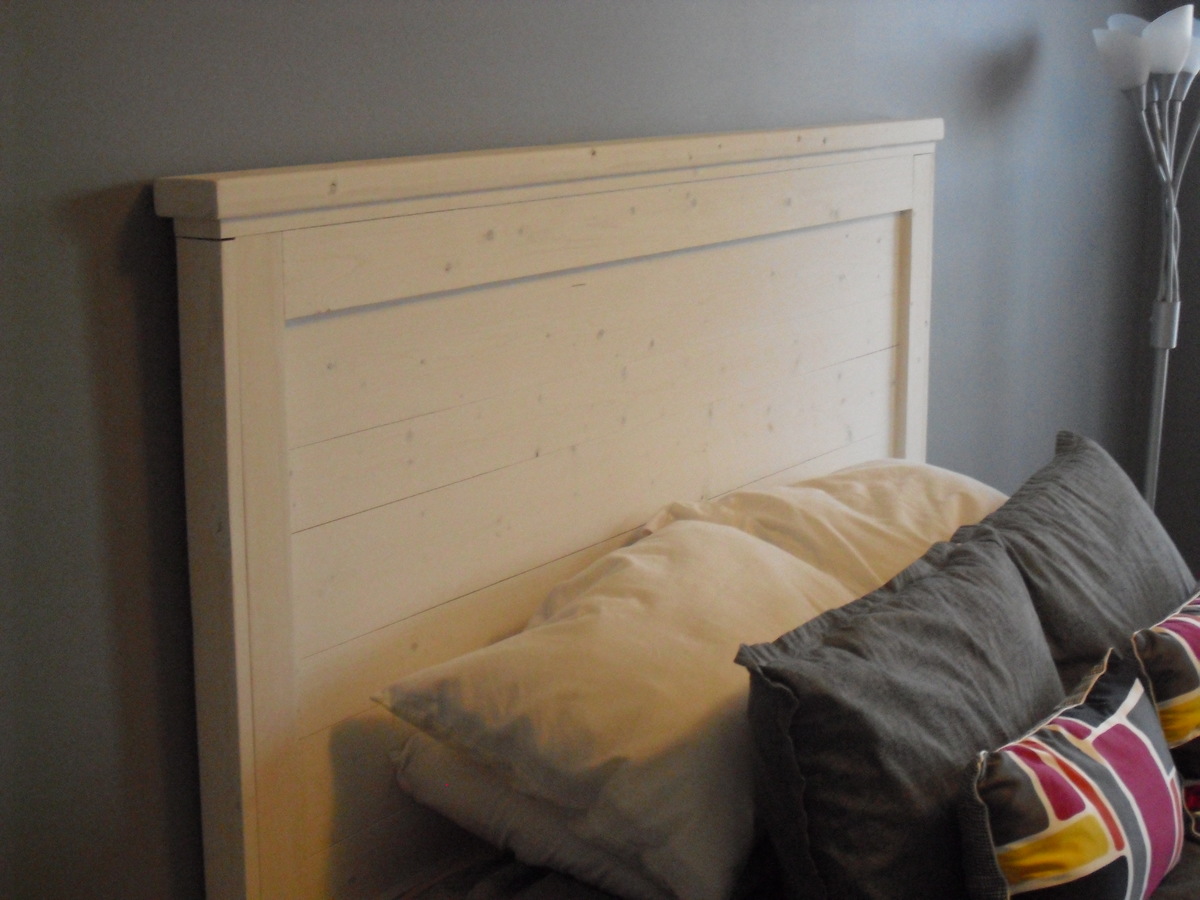
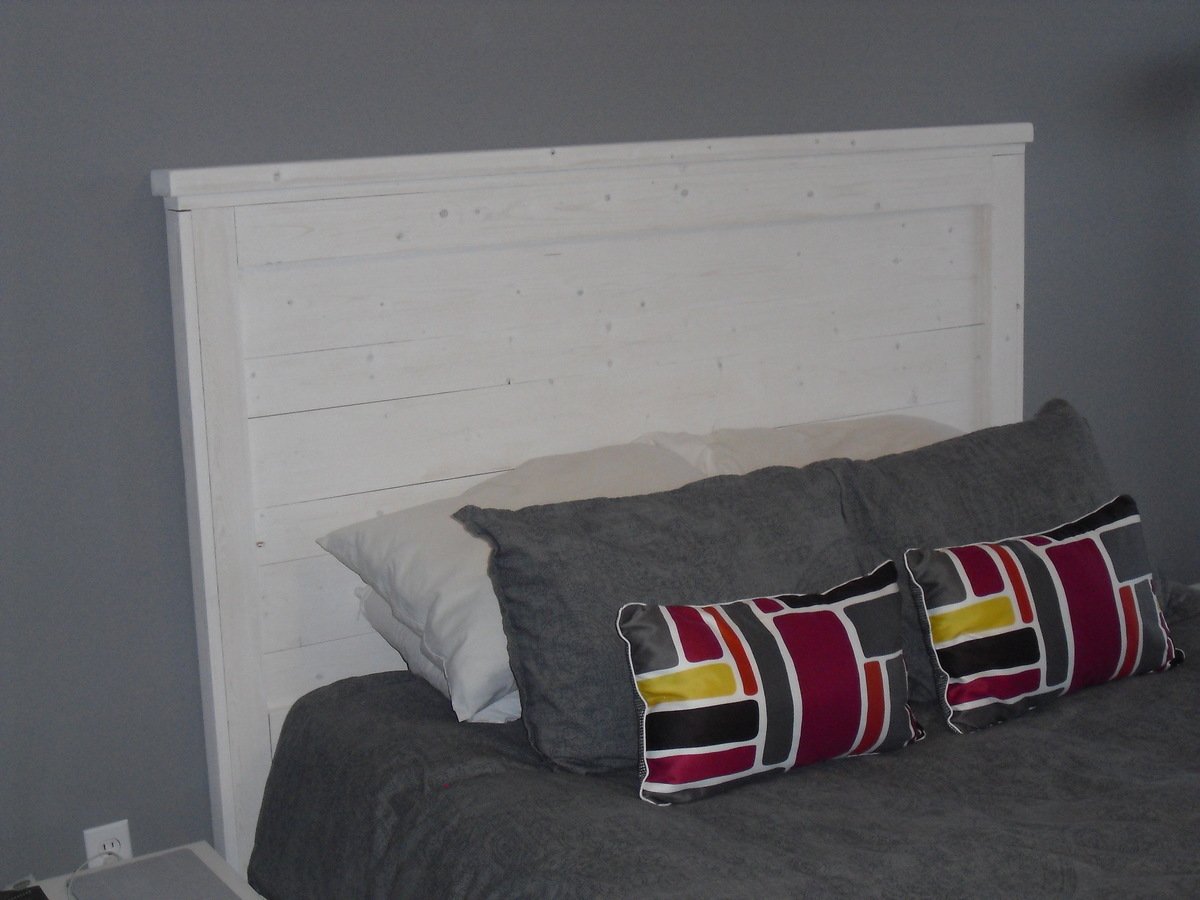
Built this headboard for my fiancee as her valentines day gift.


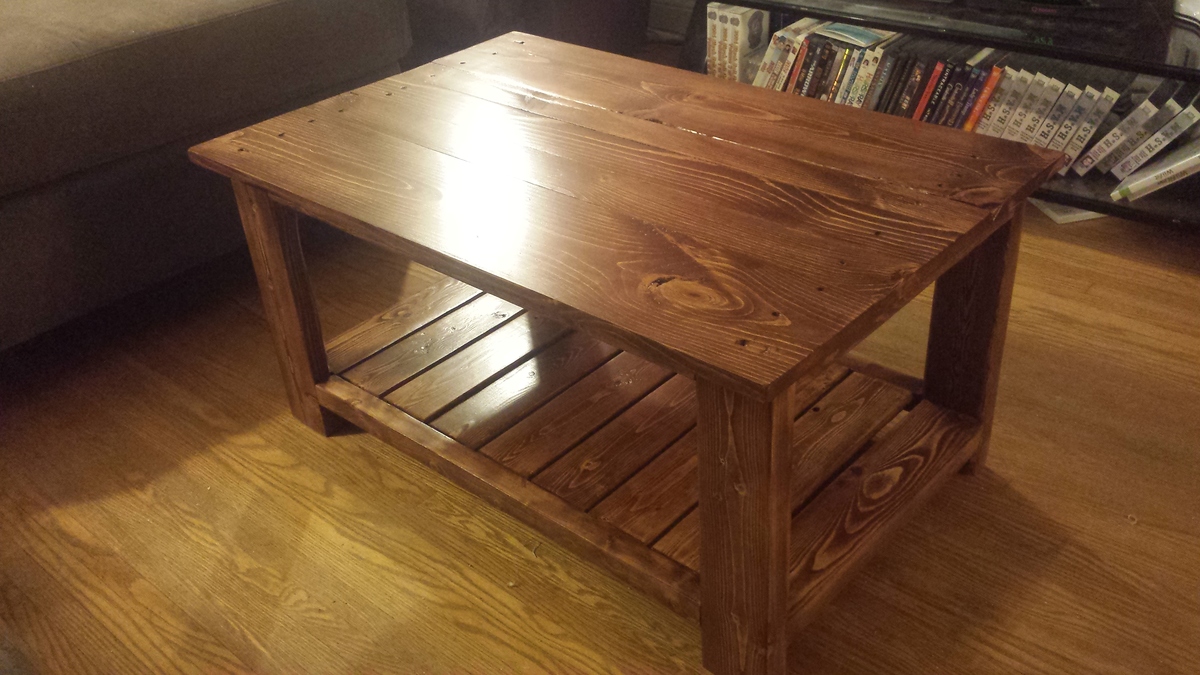
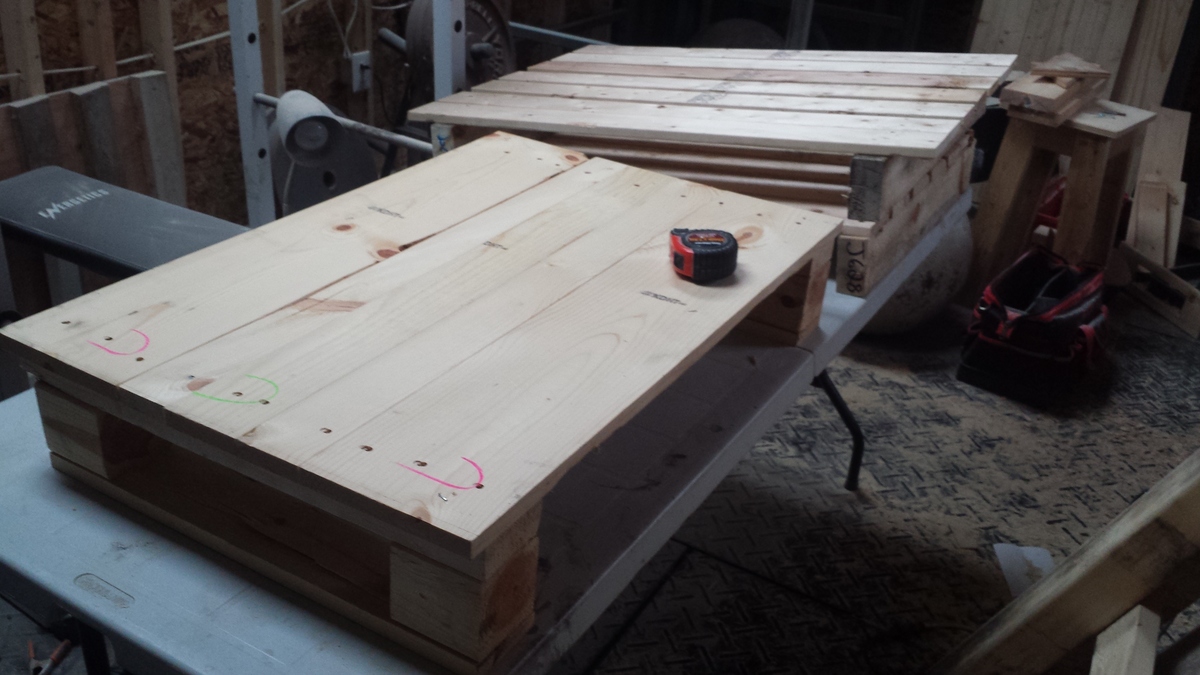
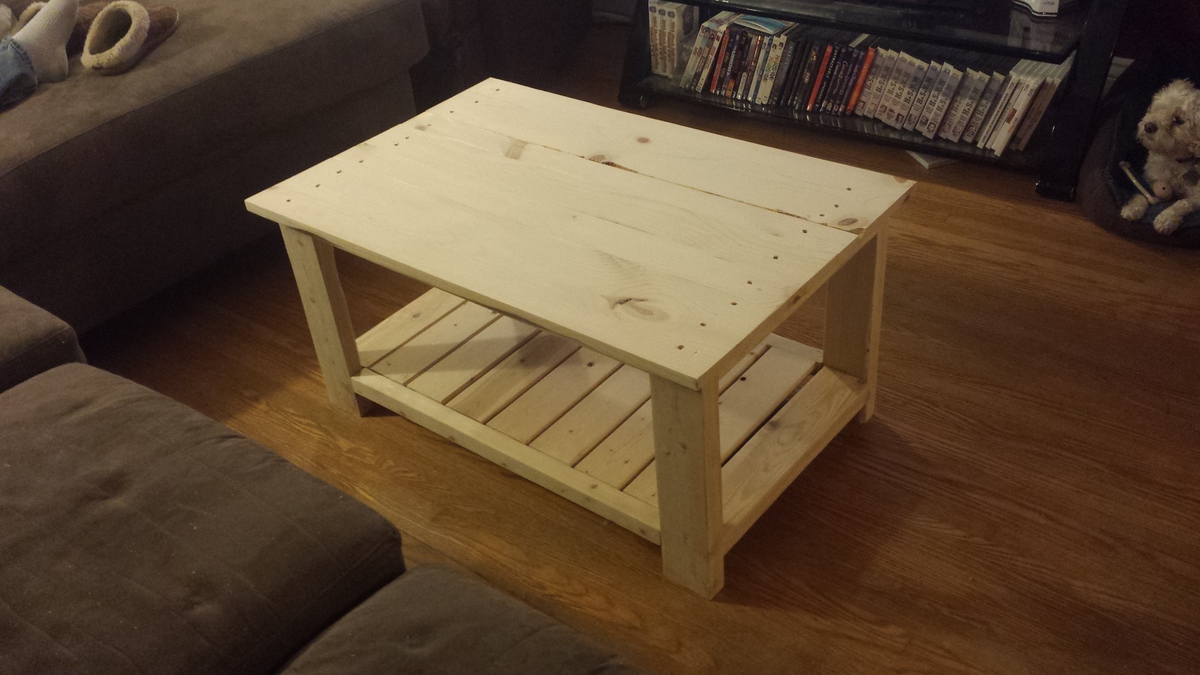
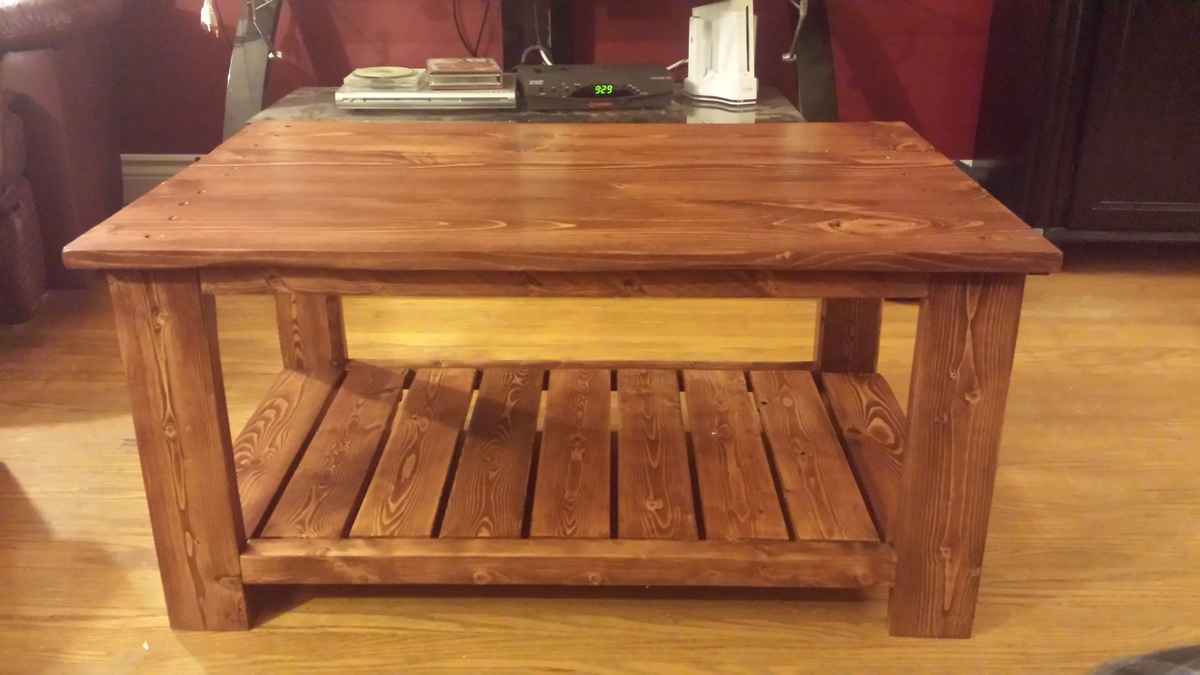
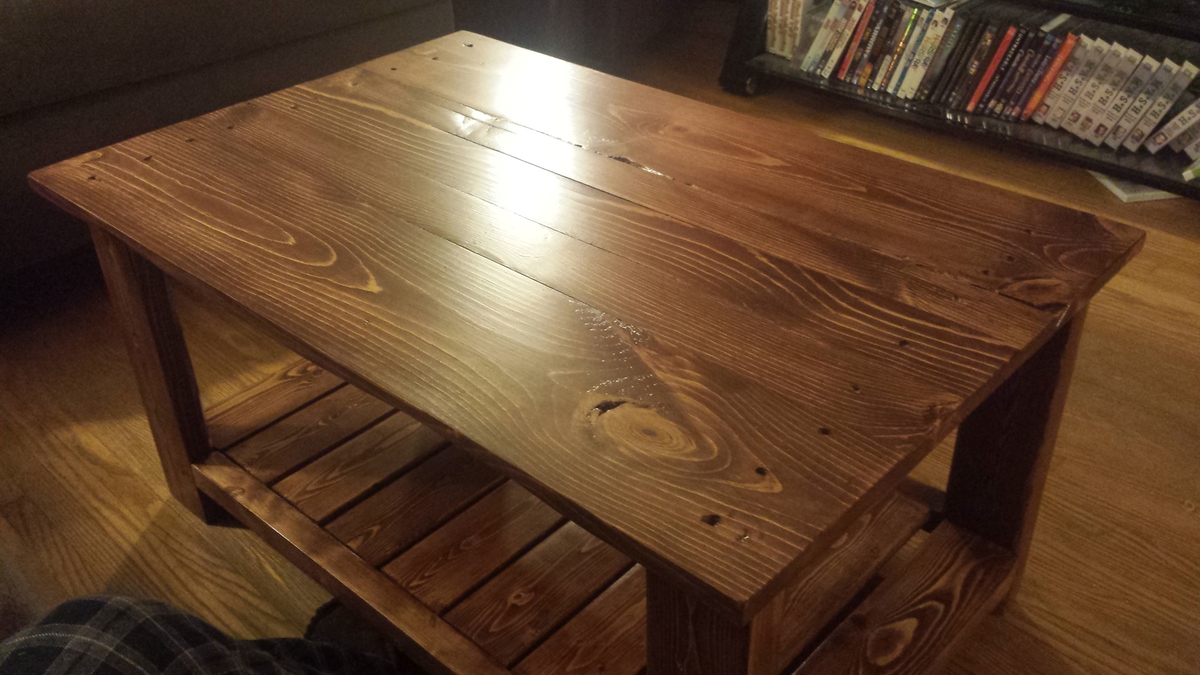
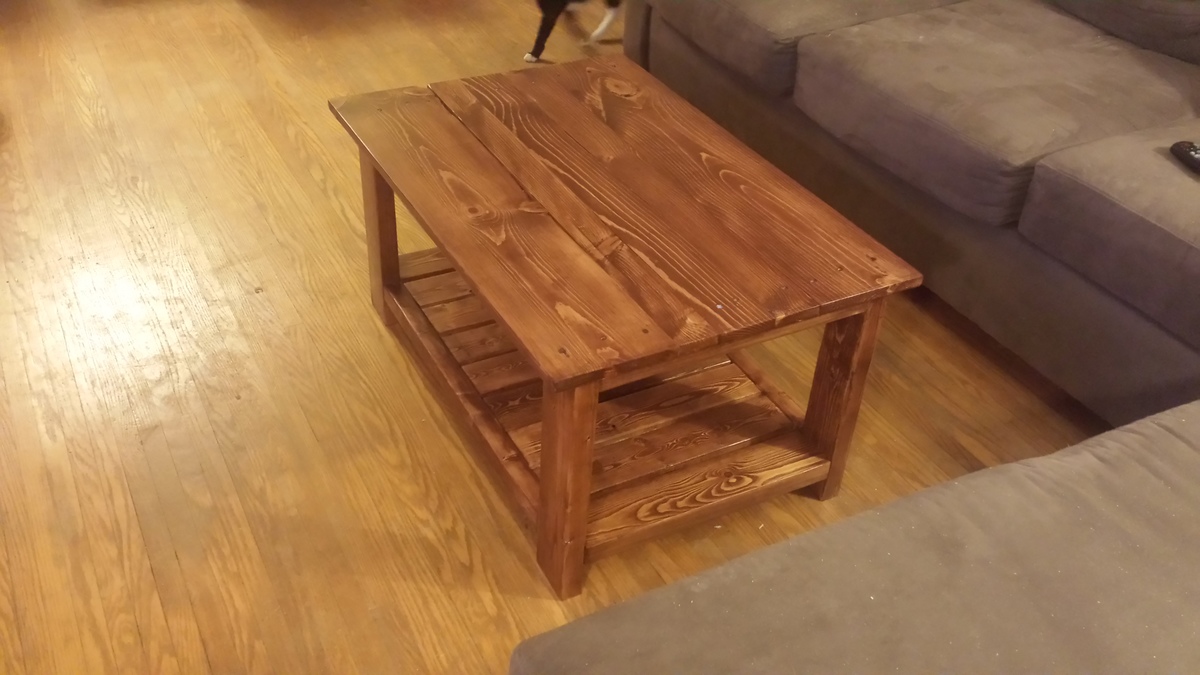
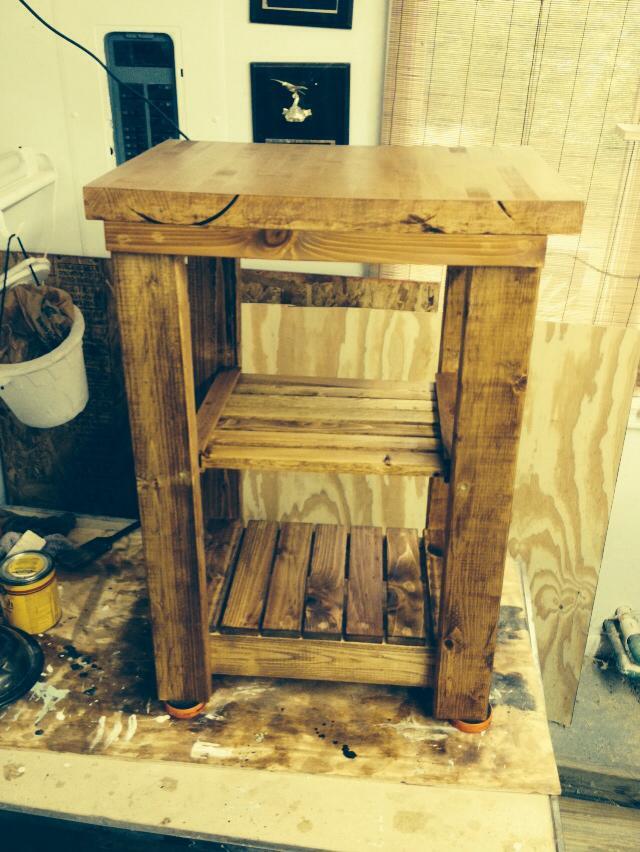
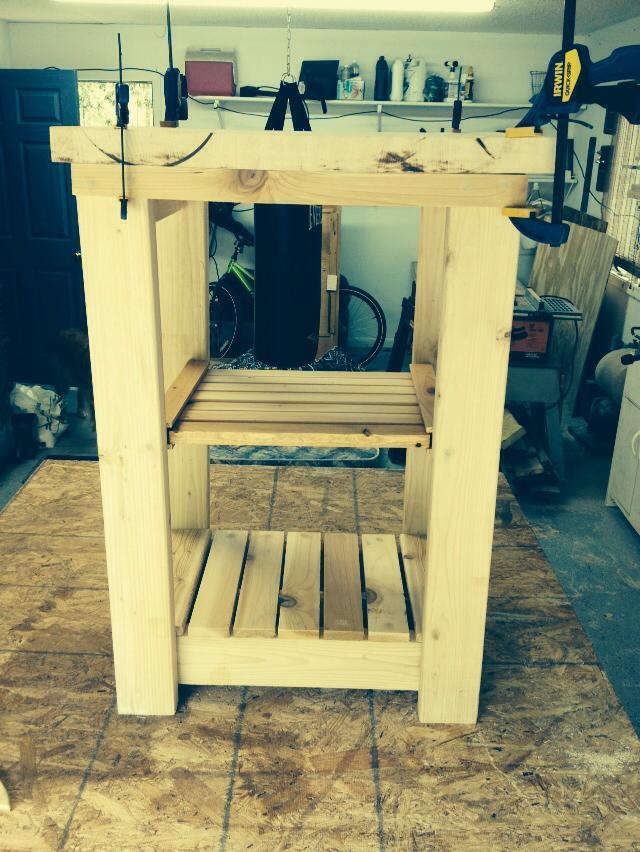
Built this project almost entirely of reclaimed pallets. I was able to keep the one skid almost entirely intact for the top and salvaged to 1x4 boards from the other skid for the bottom shelf. Th 2x4's came from yet another skid. My total investment was about $2. Finished with American Walnut stain and a satin polyurethane.
Wed, 01/28/2015 - 14:54
Looks great !!! I bet if you could make more you could sell them and make a good profit.
Sun, 02/01/2015 - 09:45
Thank you very much! I actually did end up selling this one within a few hours of posting it online.
I find these types of projects to be the most gratifying as the force me to exercise my creativity more than some other projects.

Our Tv veiwing area was a disaster. I found the console plans on ana's website. I had no Idea what a Pocket Hole was until I bought my lumber and a Kreg Jig. This was the result! Had so much fun I made us our first nice coffee table. Great plans, Thanks Ana.

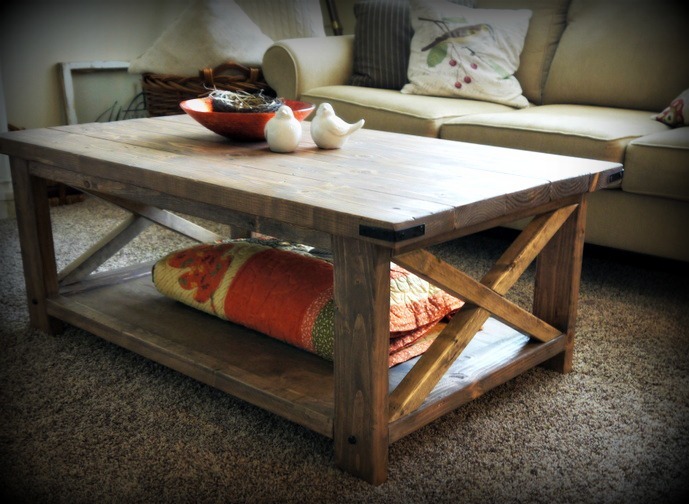
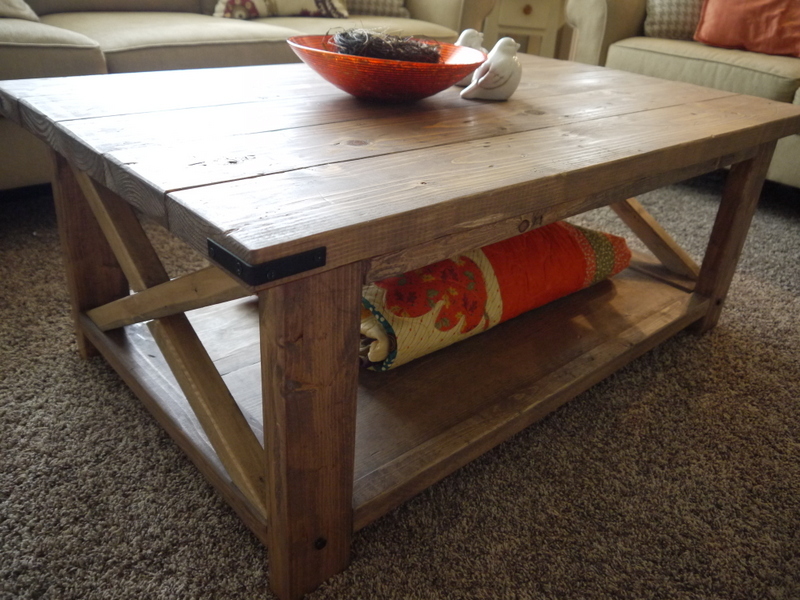
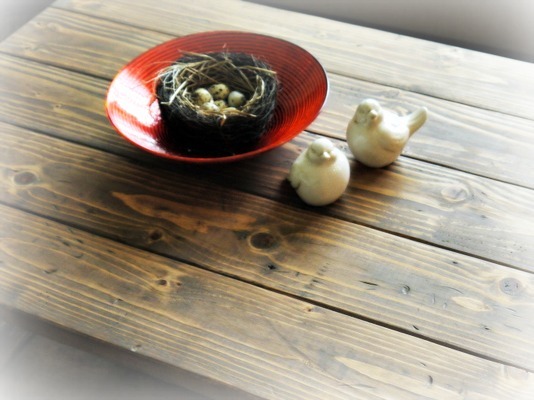
Slightly altered Rustic X Coffee table to make it 46" long. Cutting the X's was tricky; I had to do it by hand with a table saw! I could wish for a miter saw that cut 30 degrees ;-)
Thu, 03/21/2013 - 09:16
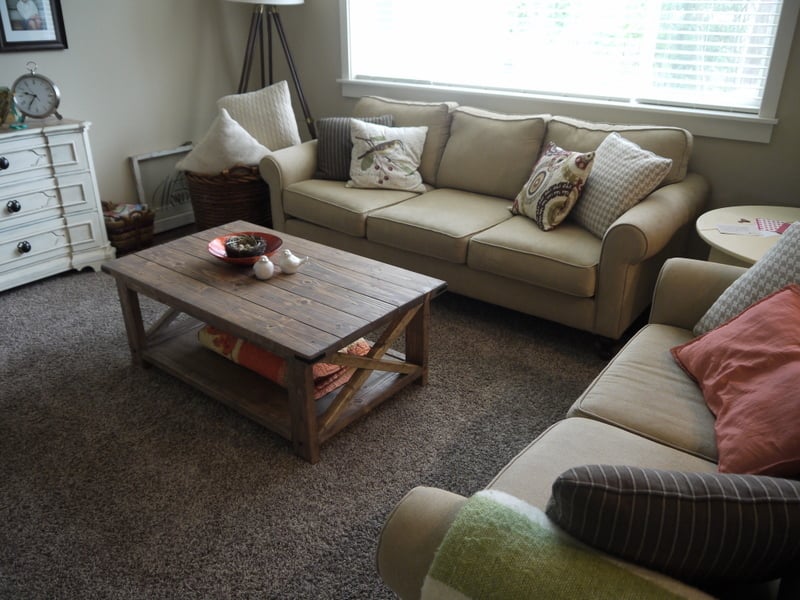
Looks really nice. So does the whole room. Might I ask where you got the table clock sitting on the dresser?

This is a bench my mother and I made from an ana-white.com.
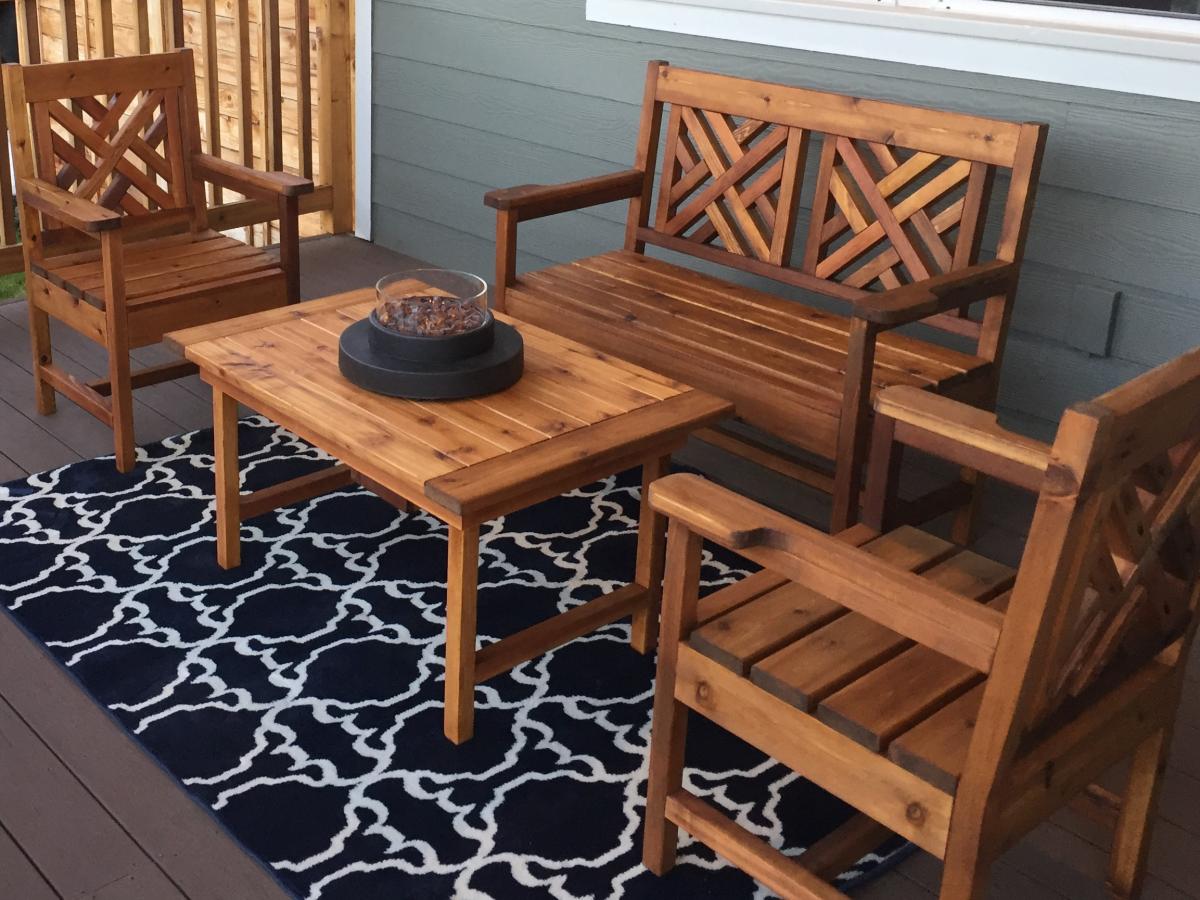
Adapted the woven back bench plan into two chairs. Talk about a ton of pocket holes!
Table with a small propane gas fixture.
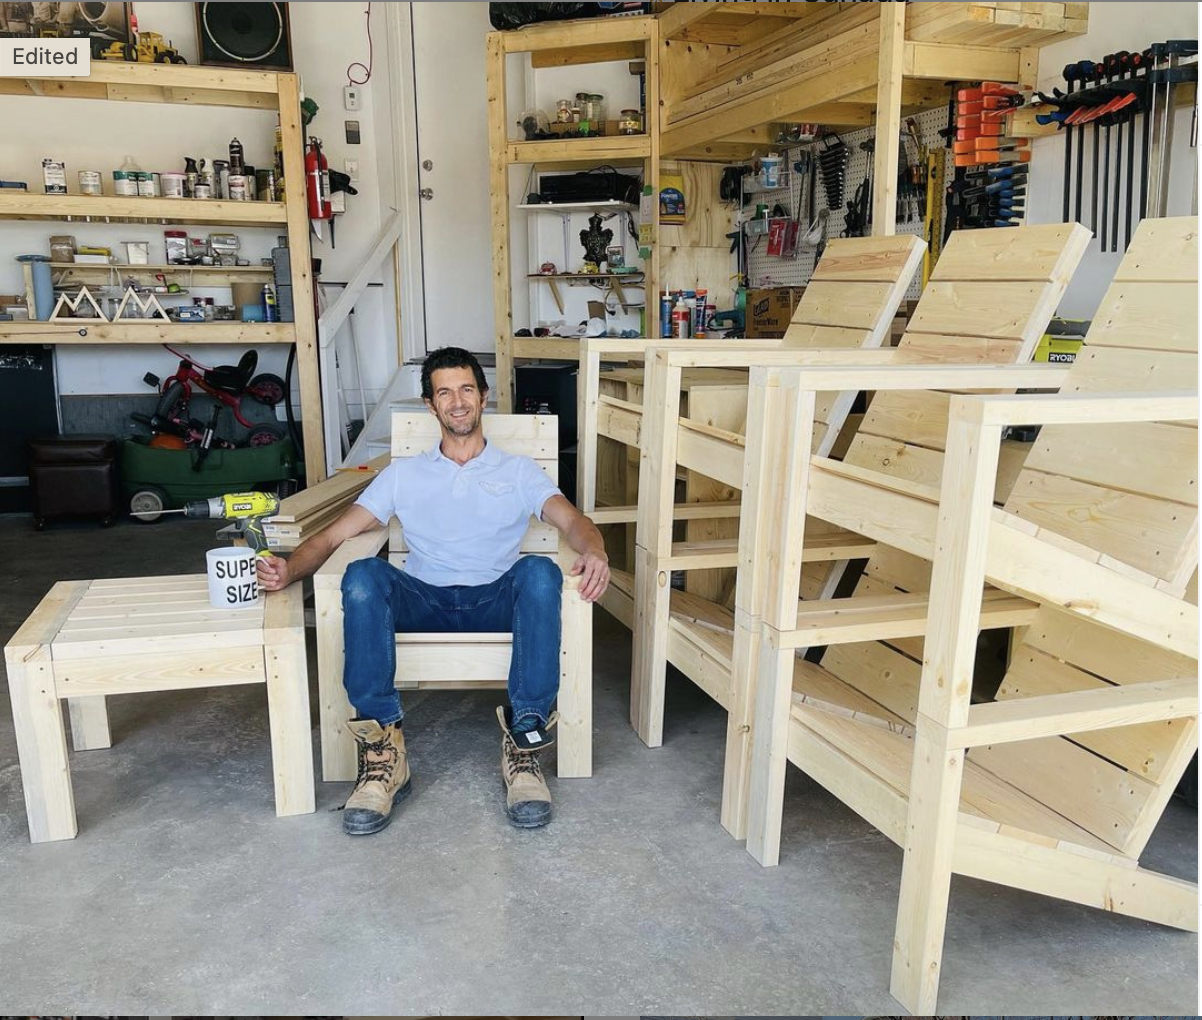
2 X 4 Adirondack Chair Season
I'm so tired but i can't stop doing this chairs.
It's fun and gives me satisfaction when it's done
Here is just part of the orders that i got this week.
I'm taking a break, having coffee and resting a bit. Much more sets to do
Thanks Ana White for this beautiful chair plan
This was my first project, and although large, probably the easiest I have built since. It was really simple, although I do know some things I will do differently next time.

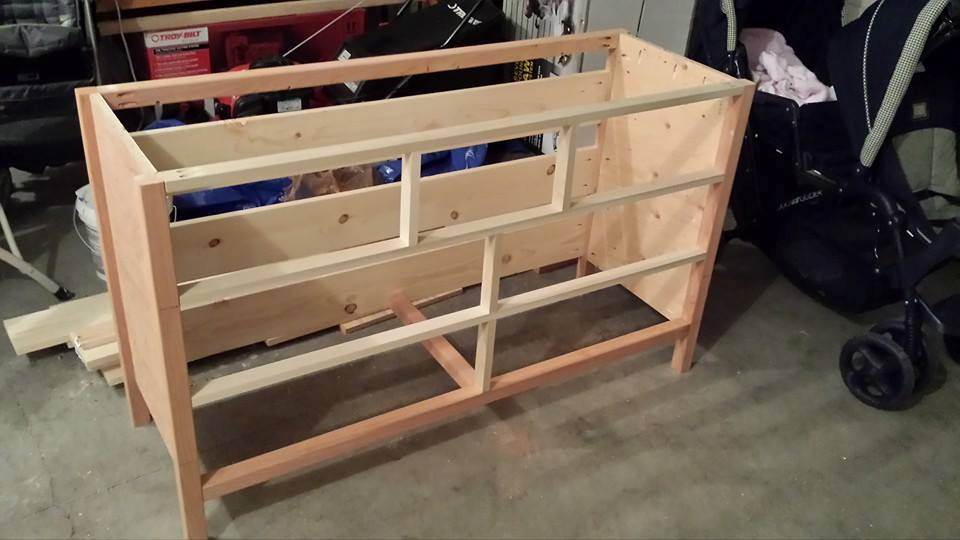
This is the first dresser that I have ever made. There was a learning curve, but not much. It was a lot of fun and I hope you enjoy it!


Tue, 02/16/2016 - 10:40
what kind of wood did you use to build the drawers? i have used 1X6 and 1X8 as per the plan and the drawers dont fit in the frame. sliding doesnt work properly. plewase let me know, thnks
This was my very first woodworking project that didn't involve making a sign or wooden cutout; so very gratifying to see it all come together. I enjoyed adding some simple touches from other users (planked head/footboard) as well as my own (router ogee cut around the head and footboard tops). Very happy with how it turned out and we will see how well it sleeps!
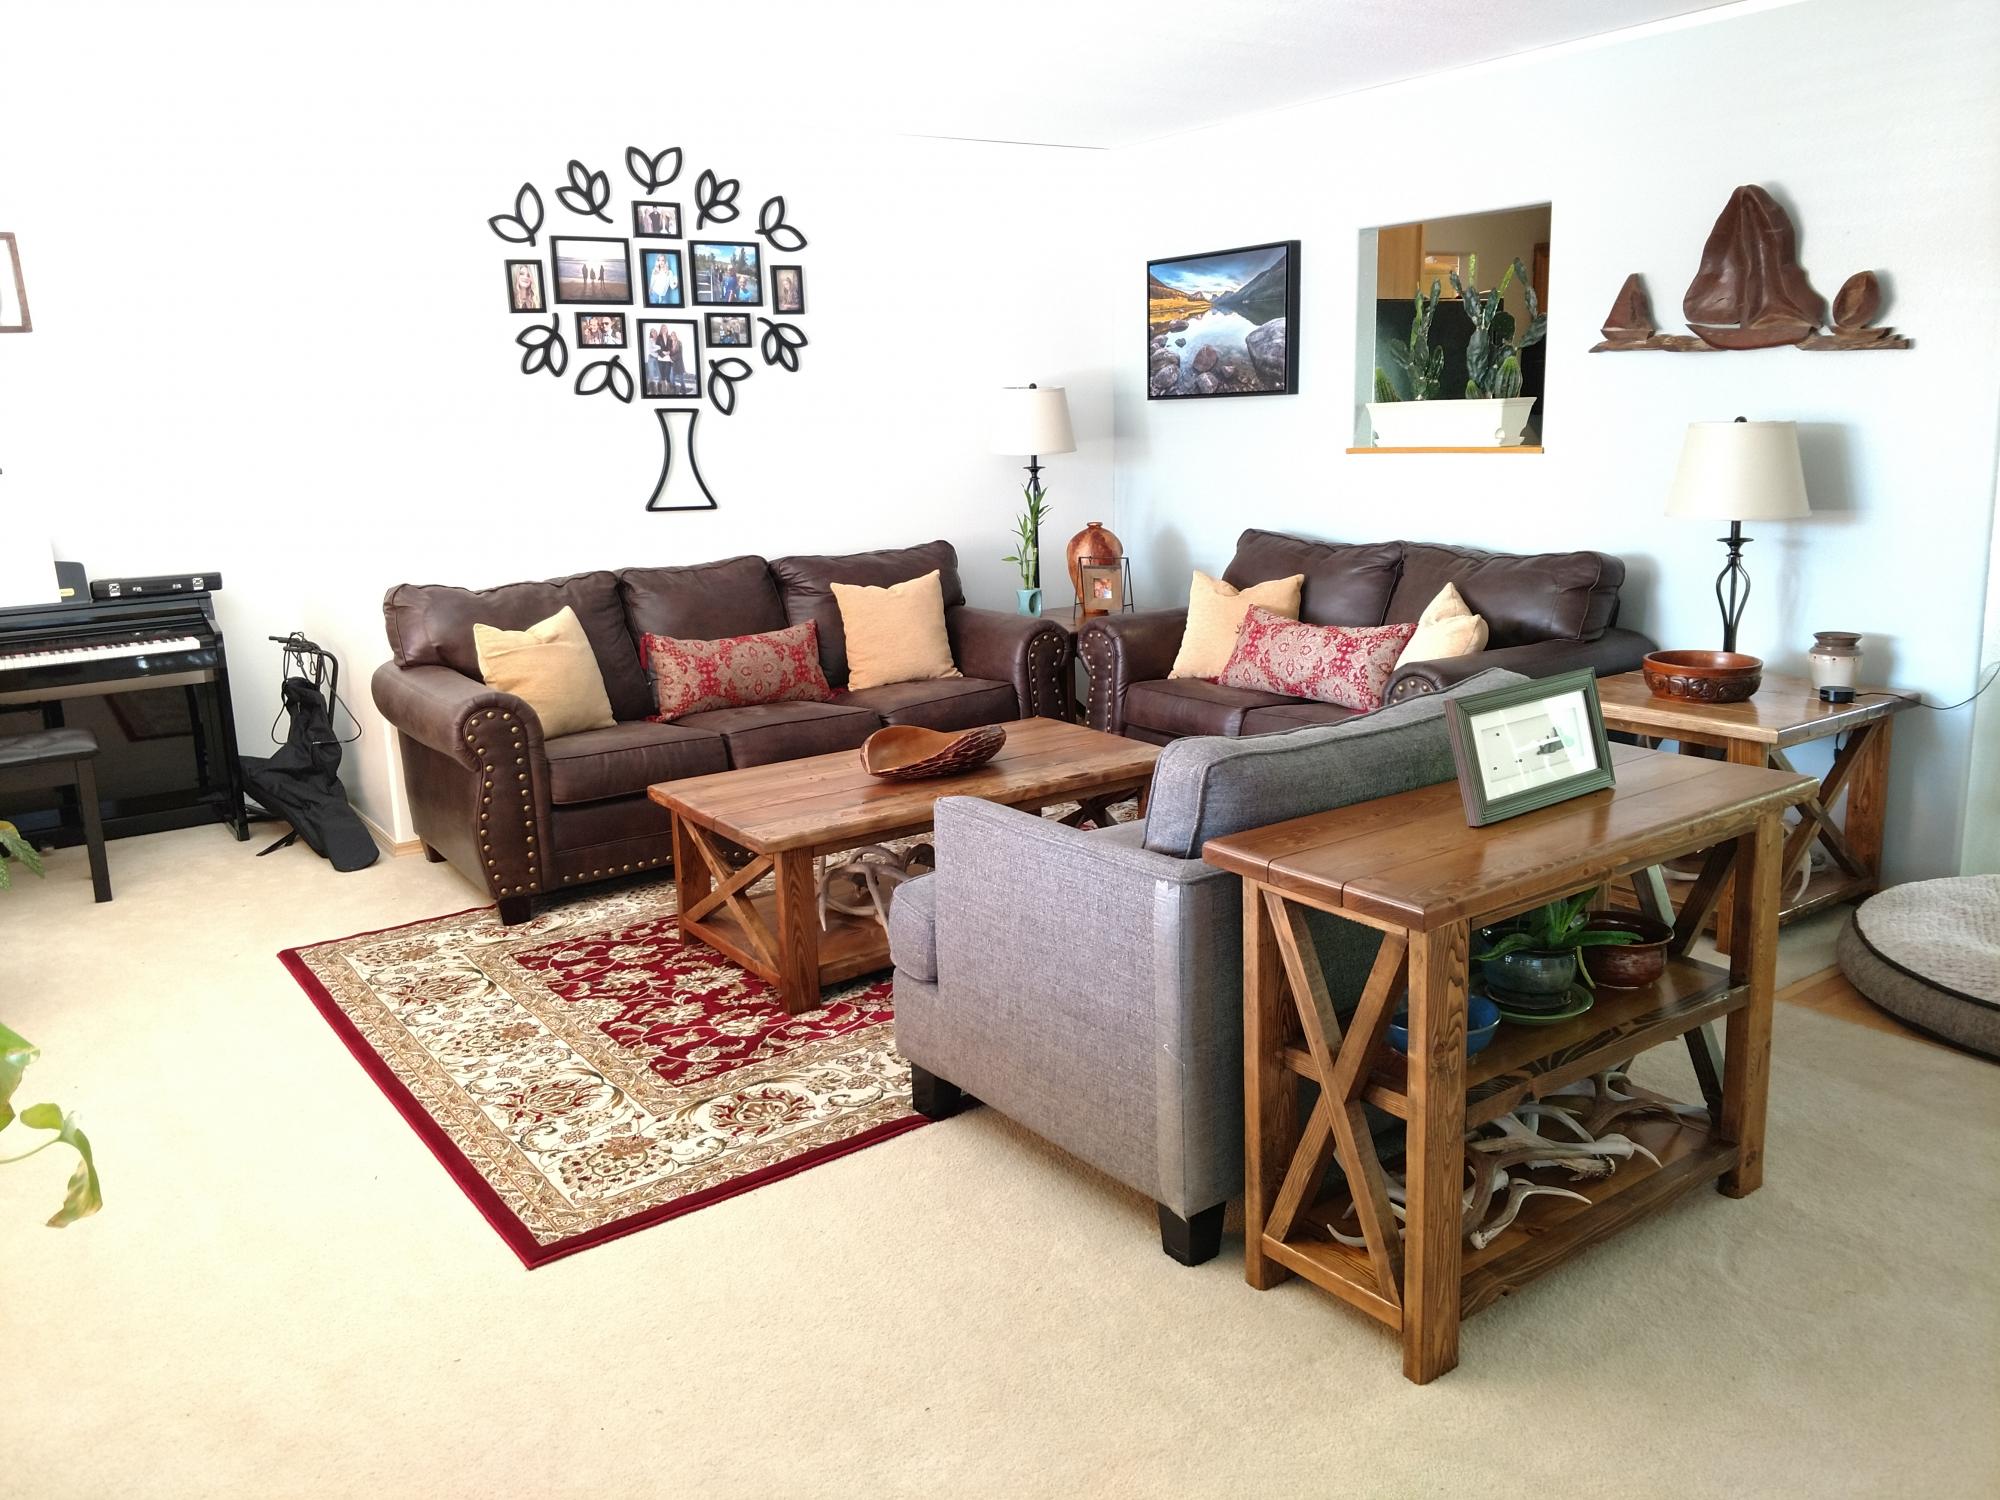
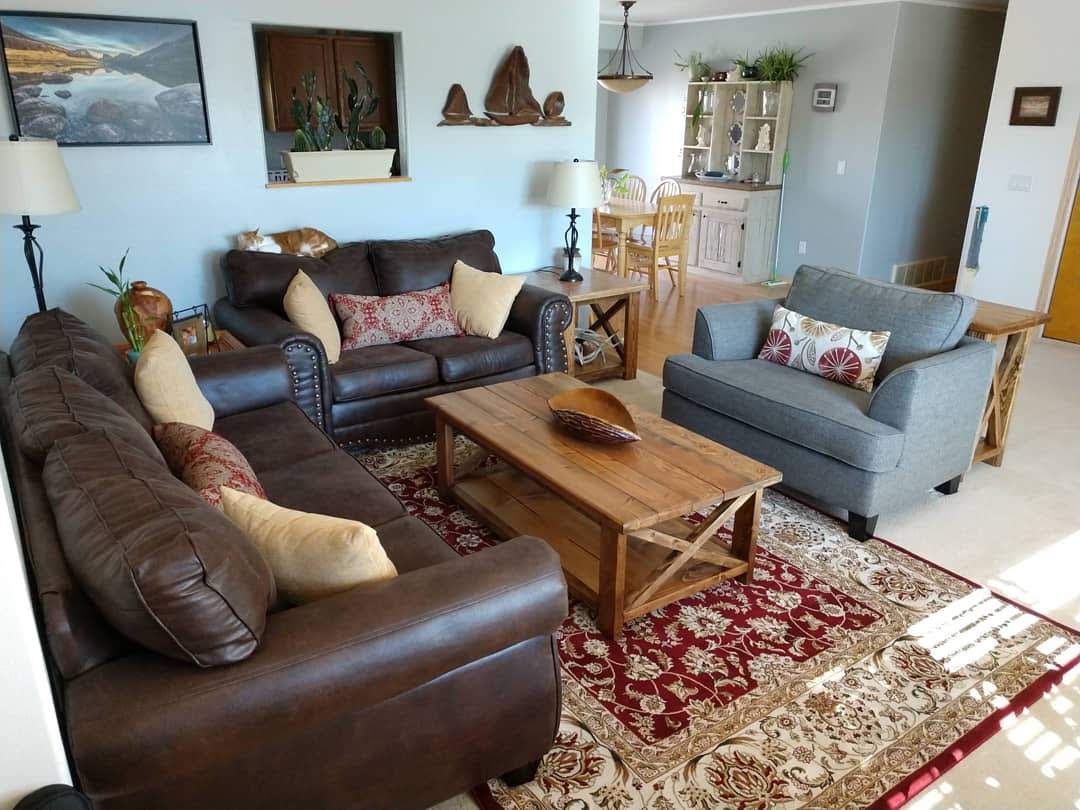
This is the first Ana White project I have done. They are beautiful! I normally use reclaimed lumber, but made an exception and used dimensional lumber for these.
Mon, 04/26/2021 - 11:47
What a beautiful space you've created, thank you for sharing!
This project was inspired due to faulty installations of a standard toilet paper holder. Most builders do no frame behind where the holder will go leaving the hardware installer only drywall to work with. Over time the screws lost their grip allowing me to create this solution.
Using standard white pine and some gas pipe fittings I was able to create this holder and couldn't be happier with the way it turned out.
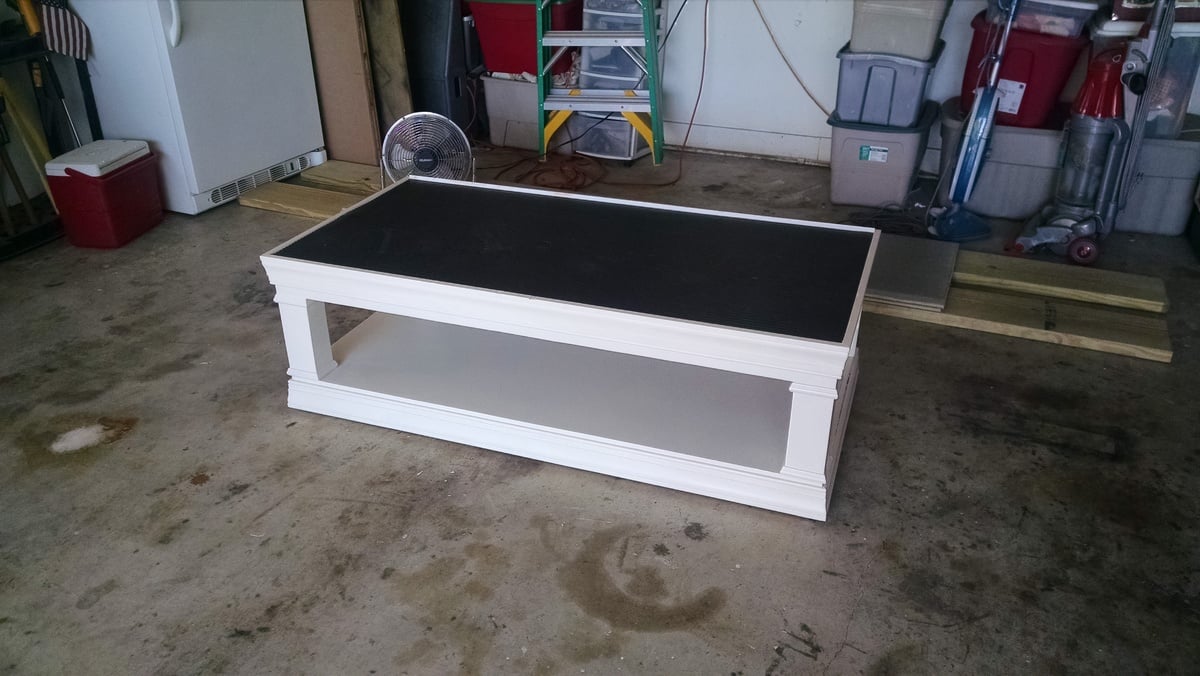
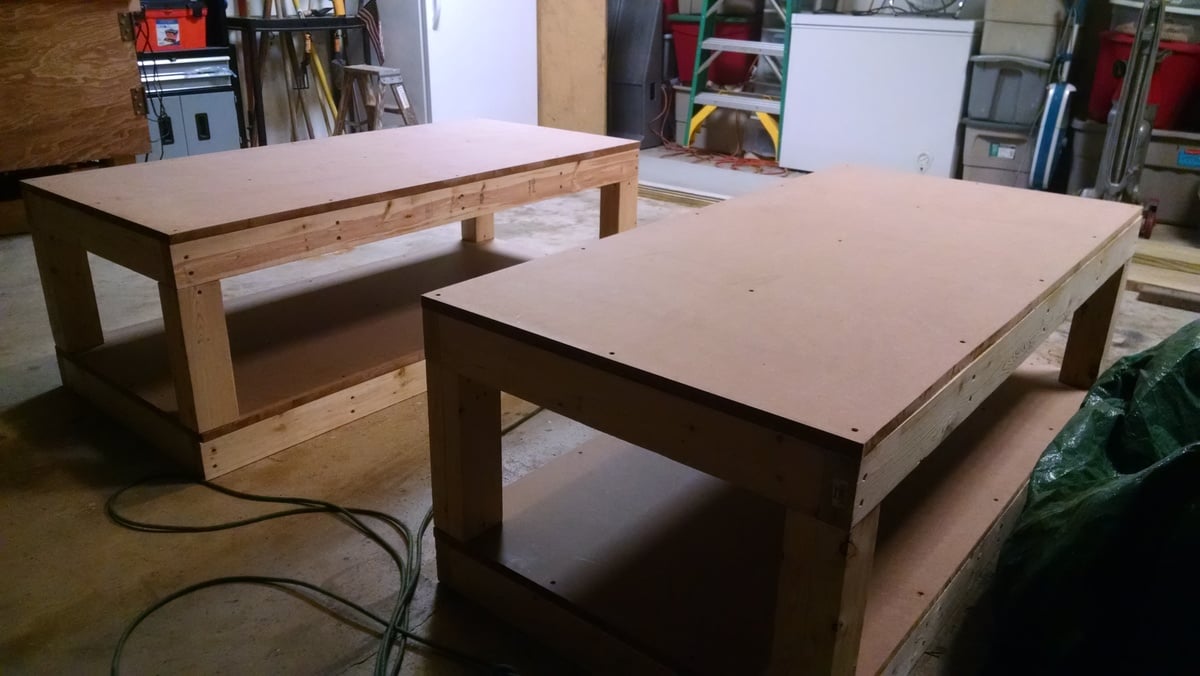
I ended up making three sets of these pedestals this month!
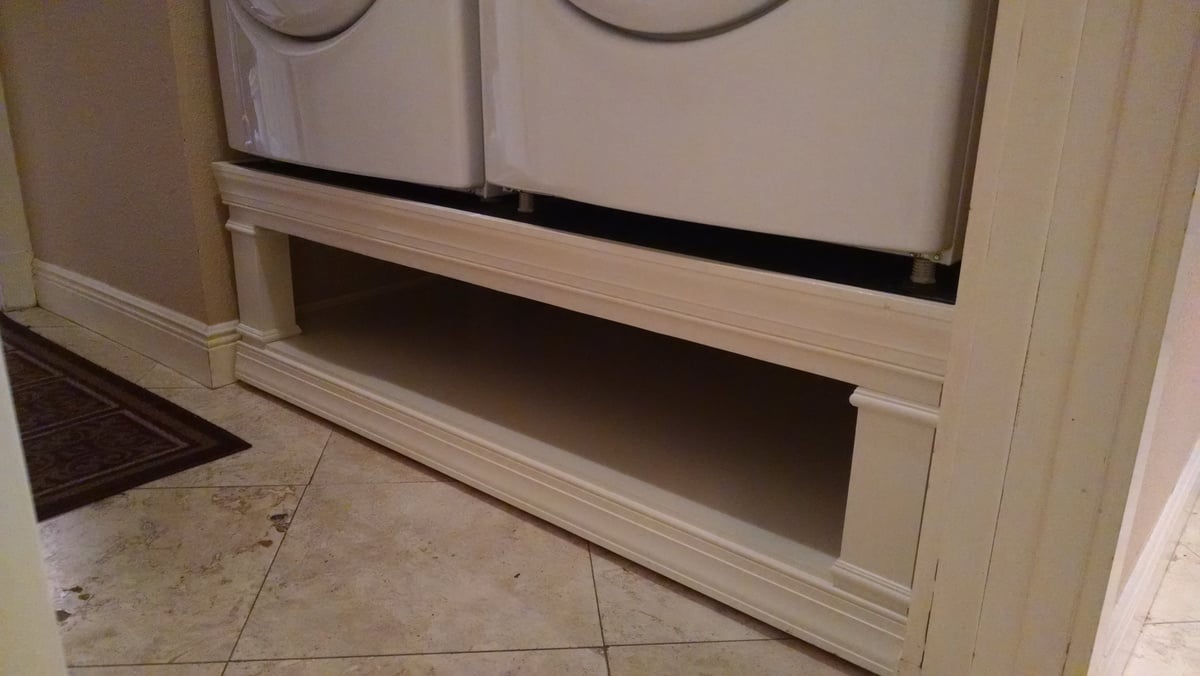
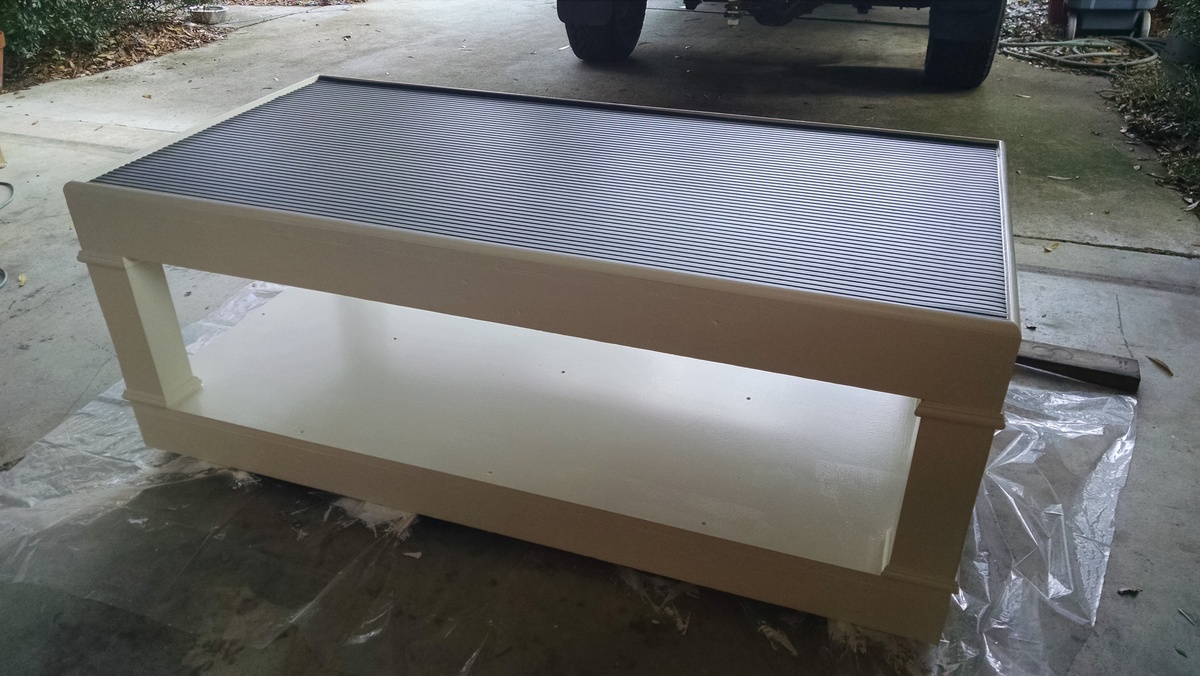
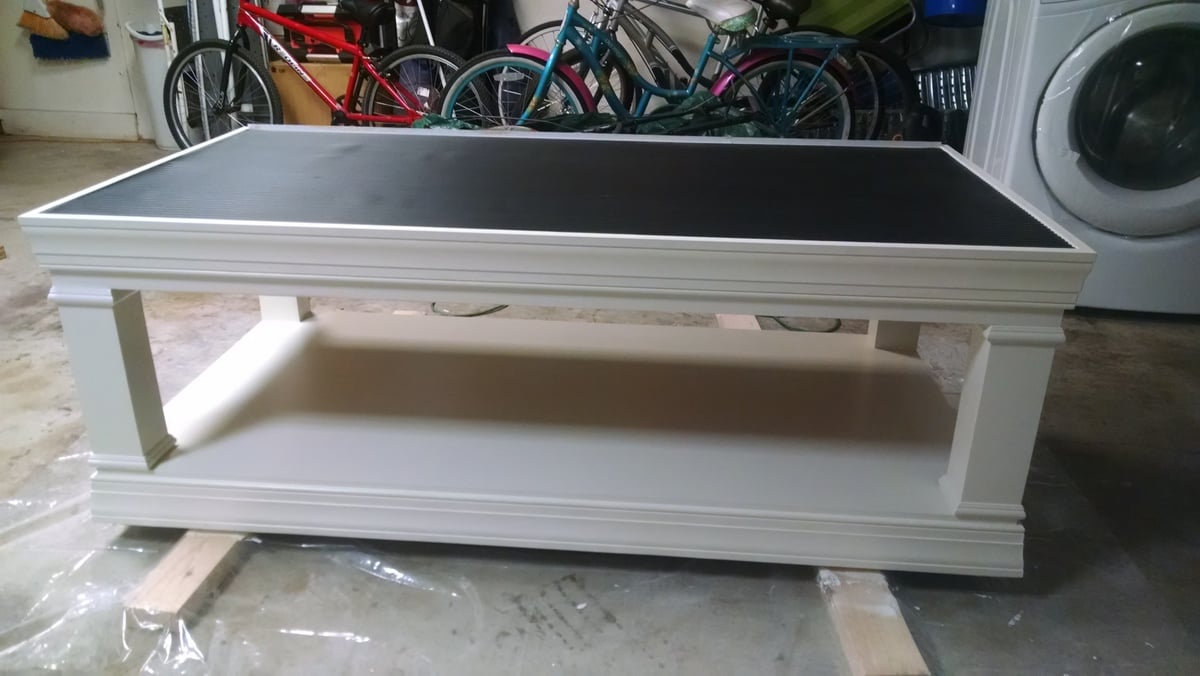
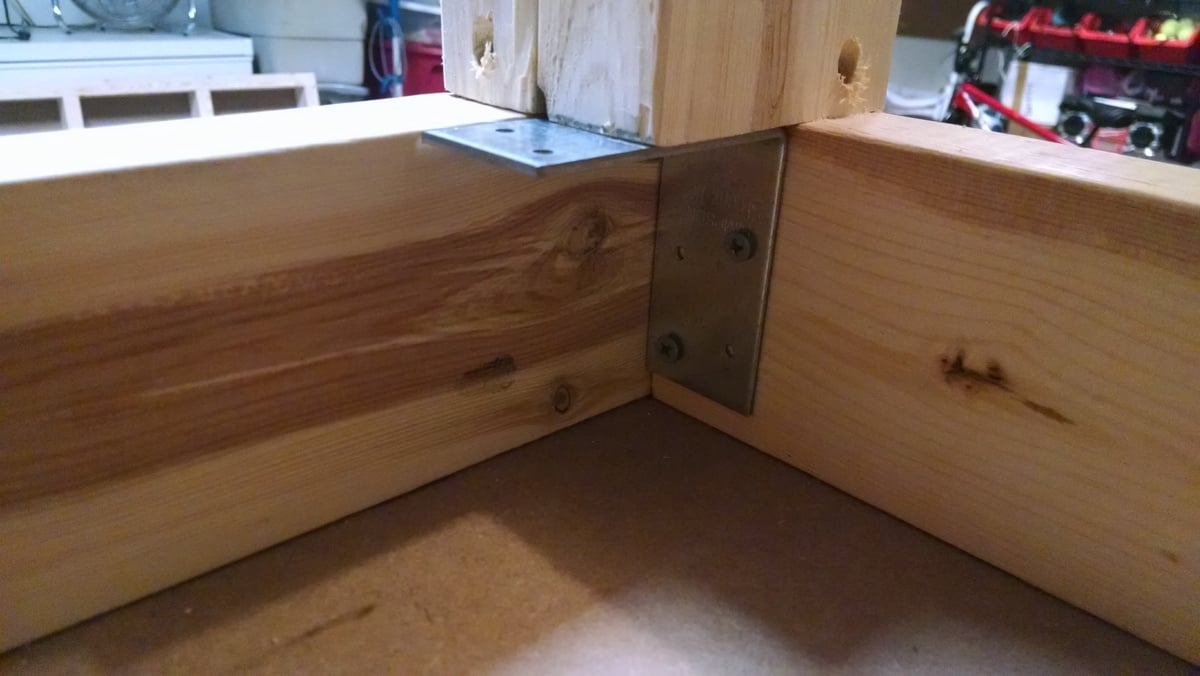
One set was for my In-laws, one for a friend and finally one for us. The two sets I gave away have a 12.5" opening underneath to accomodate two laundry baskets stacked inside each other for a total of six which is pretty good for most households. Our pedestal could only have a 9" opening due to the overhead cabinets in our laundry room so the shelf will not accomodate standard laundry baskets which is kind of a bummer.
I kept one pedestal fairly minimalistic because it's going into a laundry room off an outside patio, I added a bit of quarter round trim all the way around the top edge to act as a guard rail just in case the washer or dryer tries to travel off the platform.
The other two I trimmed out identically they just have different post heights to fit the space they are intended for. I used a little more trim than on the first pedestal, I believe it's window sash trim. Just as on the first pedstal I wanted a guard rail of sorts so I left the window sash trim with about a 1/4" reveal on the three visible sides and used quartter round on the back.
I used a very heavy black rubber runner I found at Home Depot which is sold by the foot on top of each pedestal as an additional water barrier and vibration dampner. I think this finished it off and really works well, I'm very glad I decided to add that.
My version was inspired by Ryans modification of the original plan so thanks to Ryan and Ana for these awesome pedestals, my wife, In-laws and friend love them!
Wed, 06/29/2016 - 14:17
Glad I could help. Yours turned out great. I should have thought of creating more than one while I was doing it. Every time someone sees them, they ask me to make them one. Ain't nobody got time for THAT! :)
Sun, 01/29/2017 - 17:29
Thanks for sharing the detailed information of your builds. It's been a while since you built, have you noticed any sagging? They look solid!
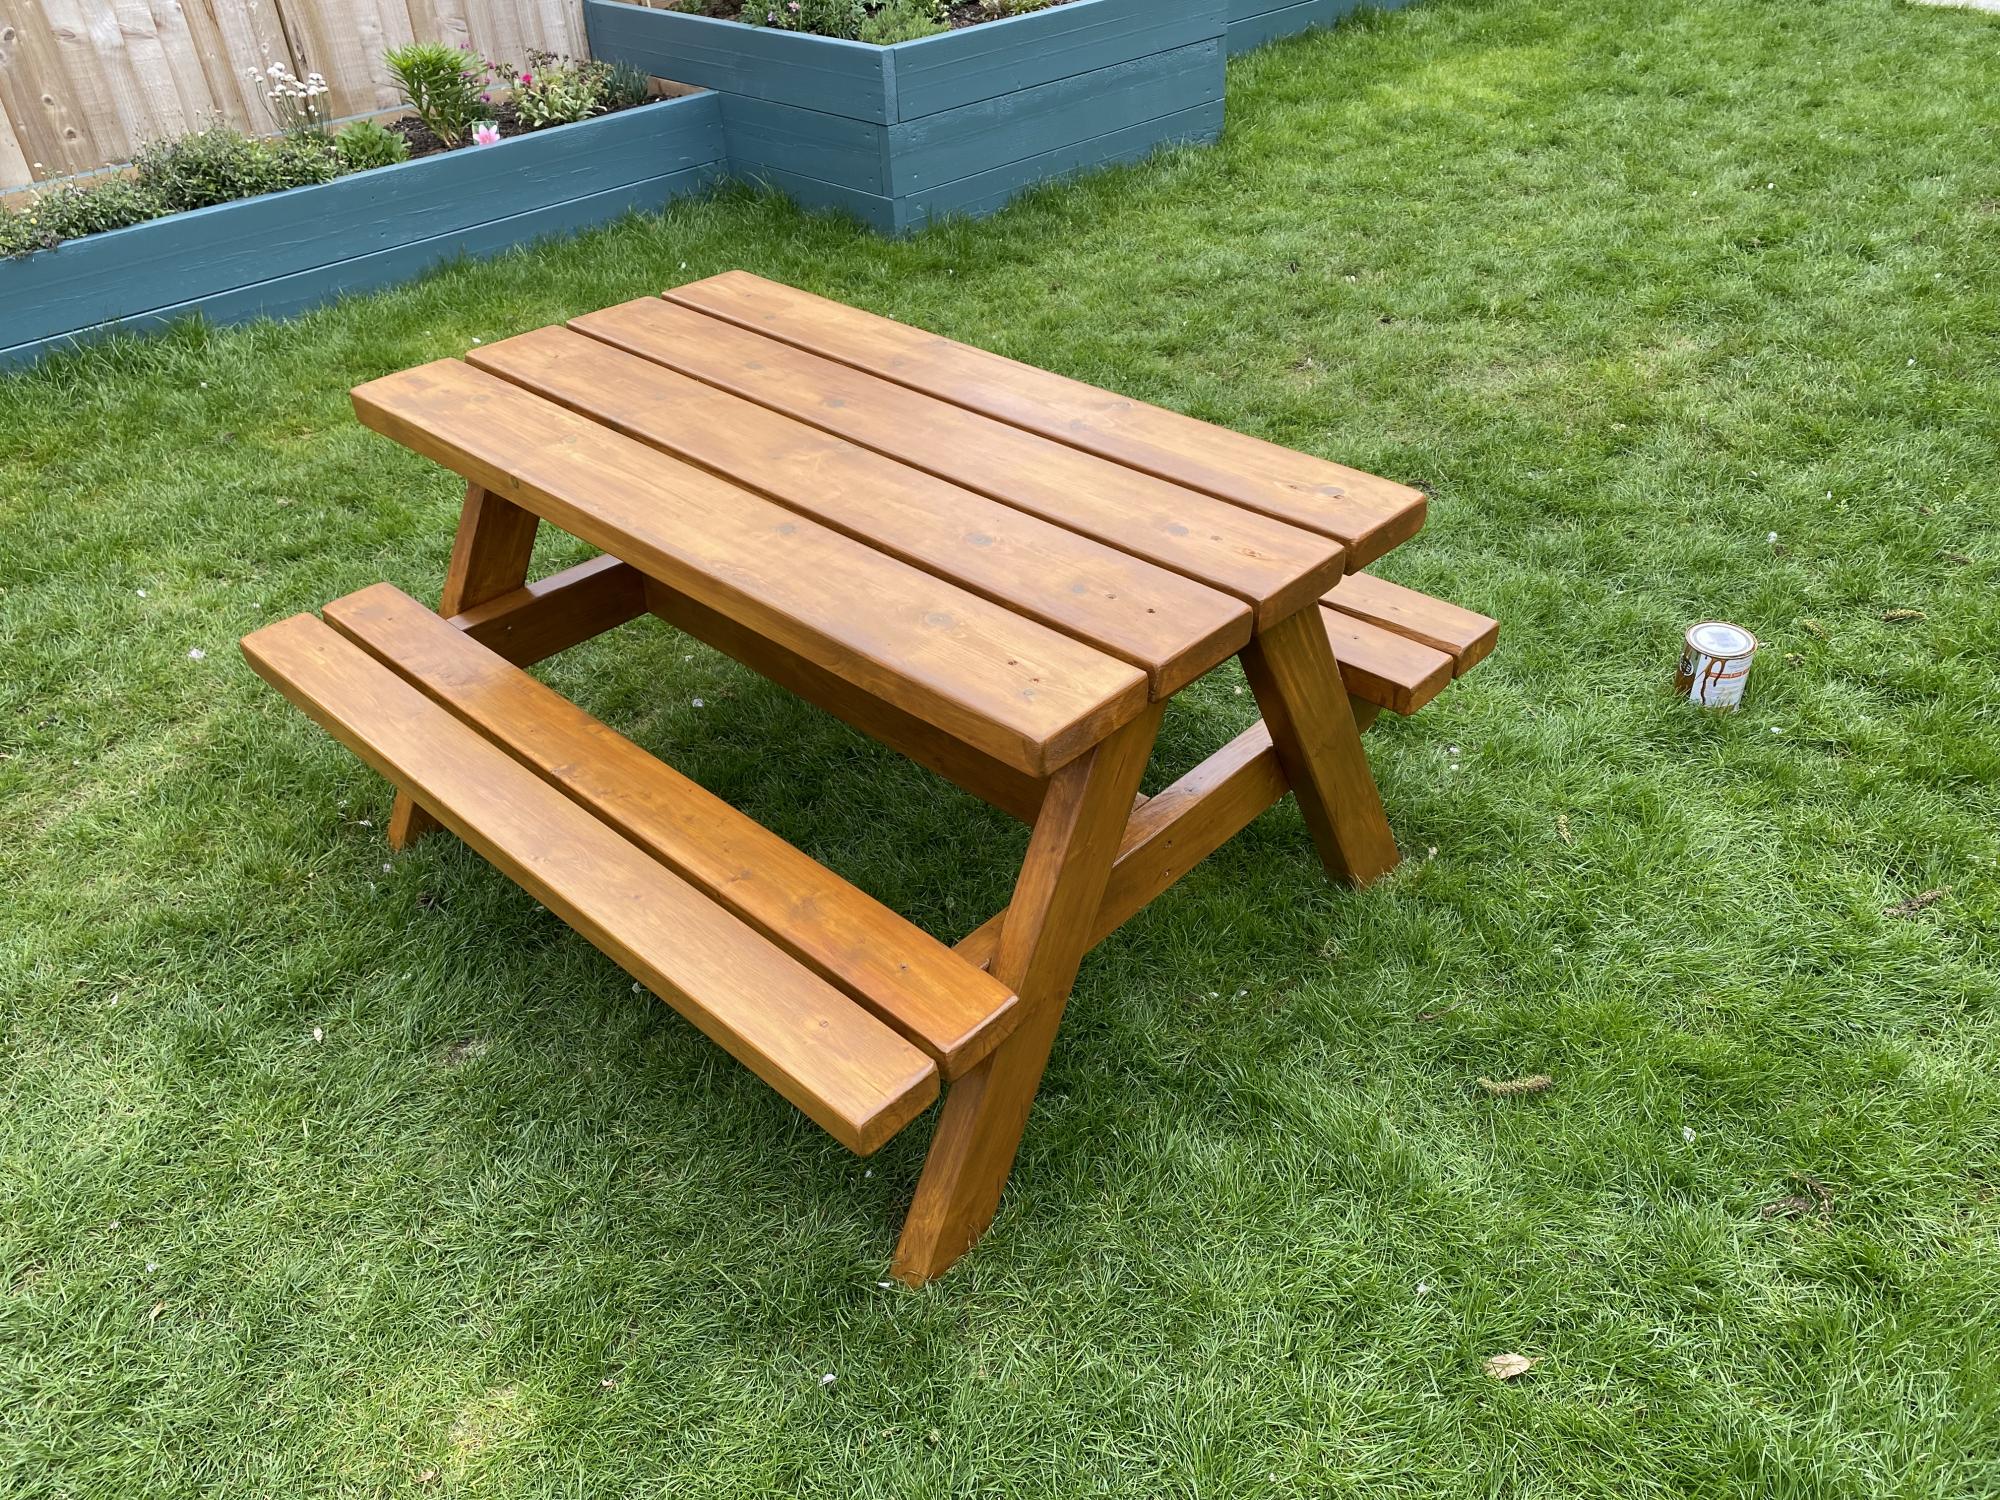
Fancy X Farmhouse bench with pine base and poplar seat. Minwax Honey stain.
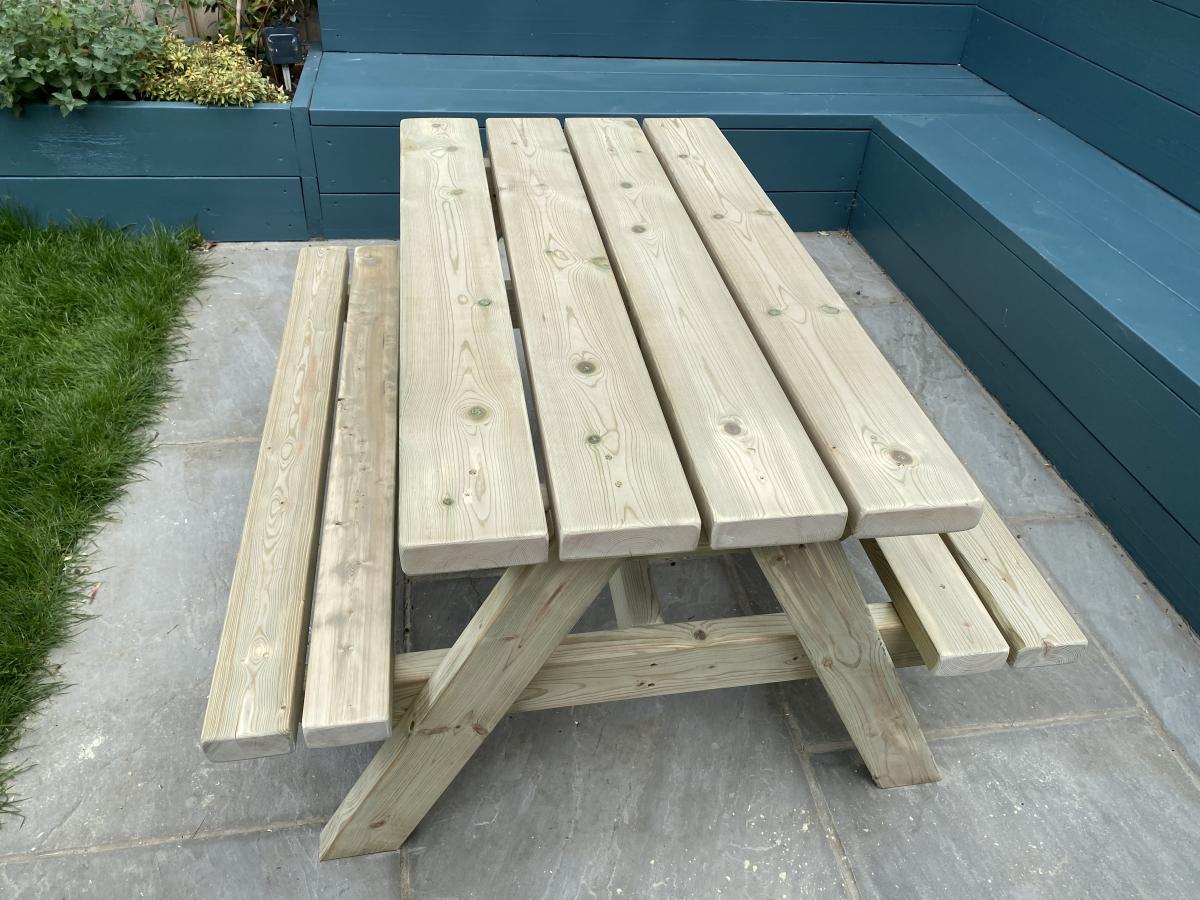
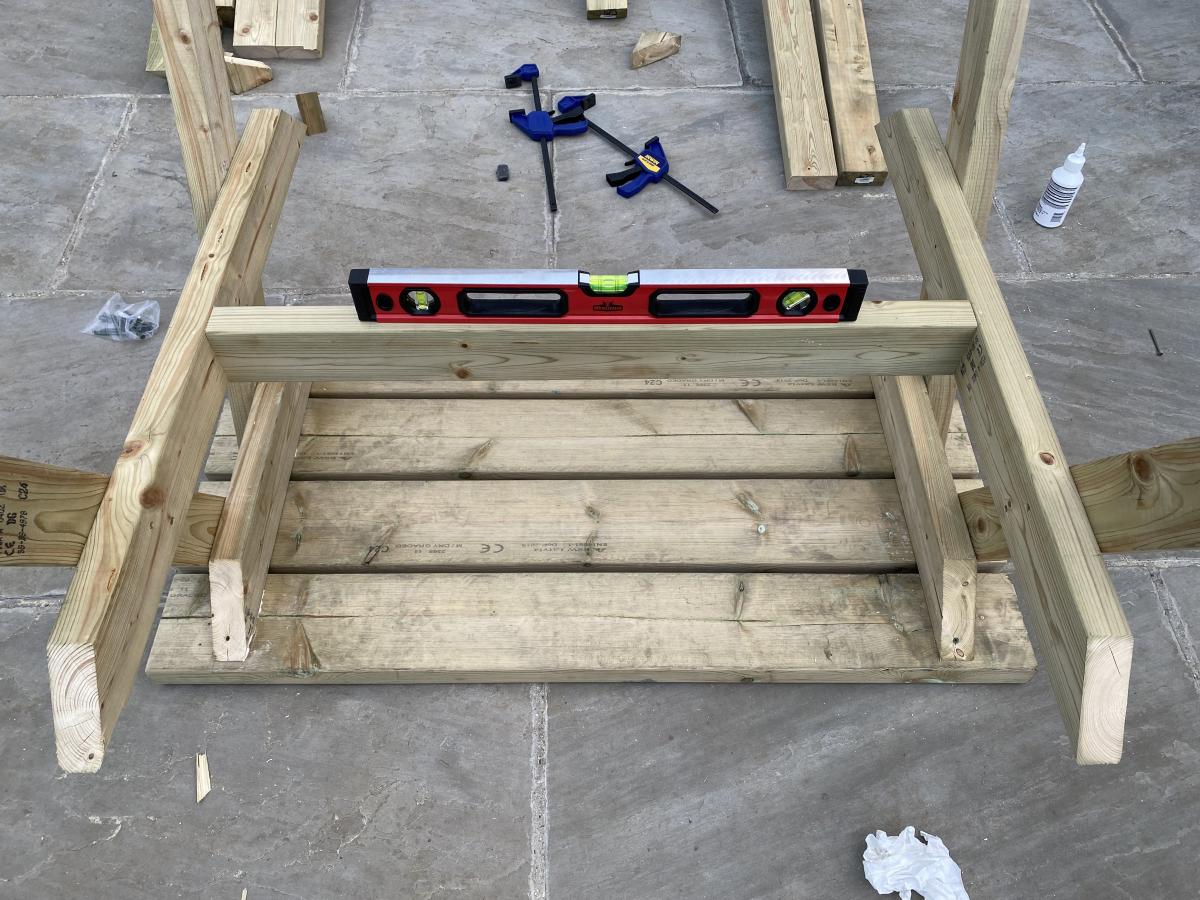
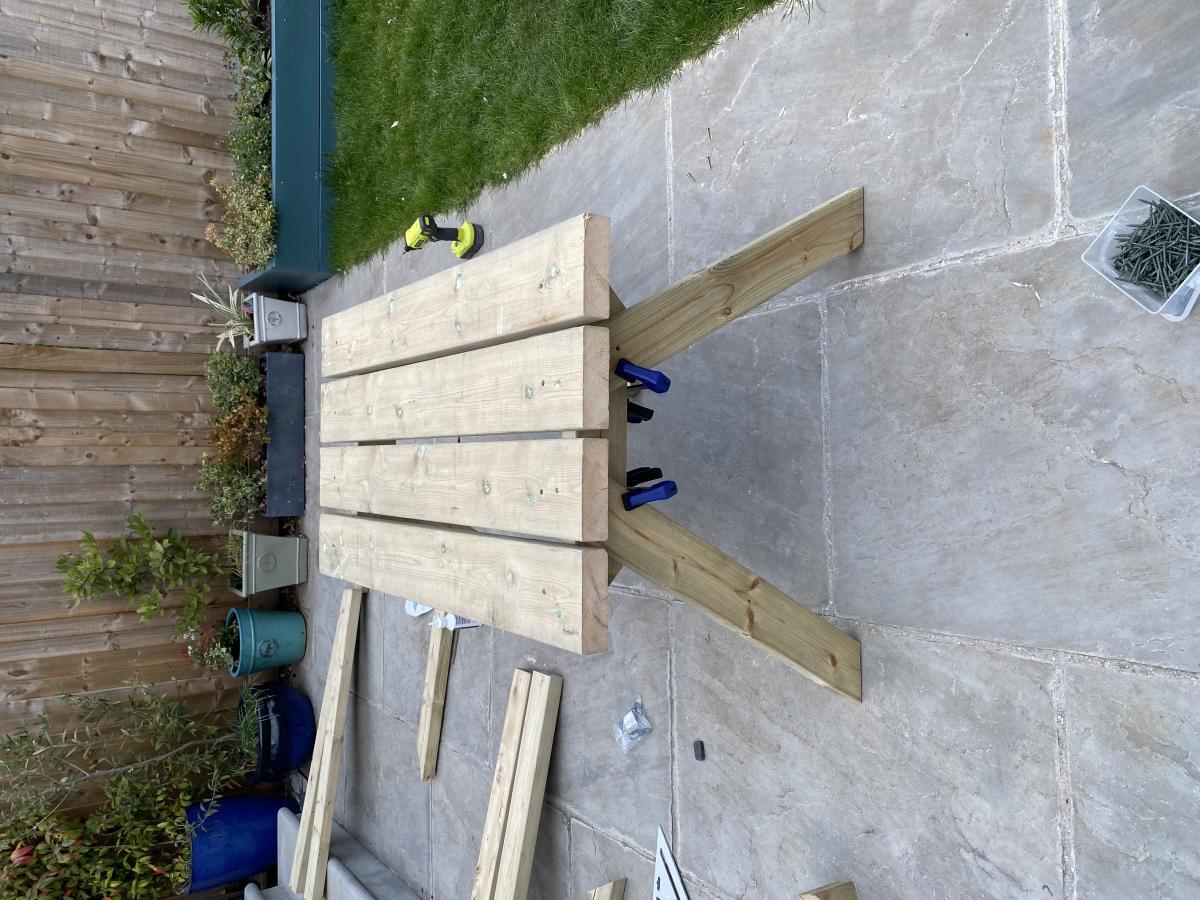
Hello from London, UK.
Used 120grit sandpaper and stained with Ronseal 10 Year Exterior Satin Woodstain 750ml Natural Oak
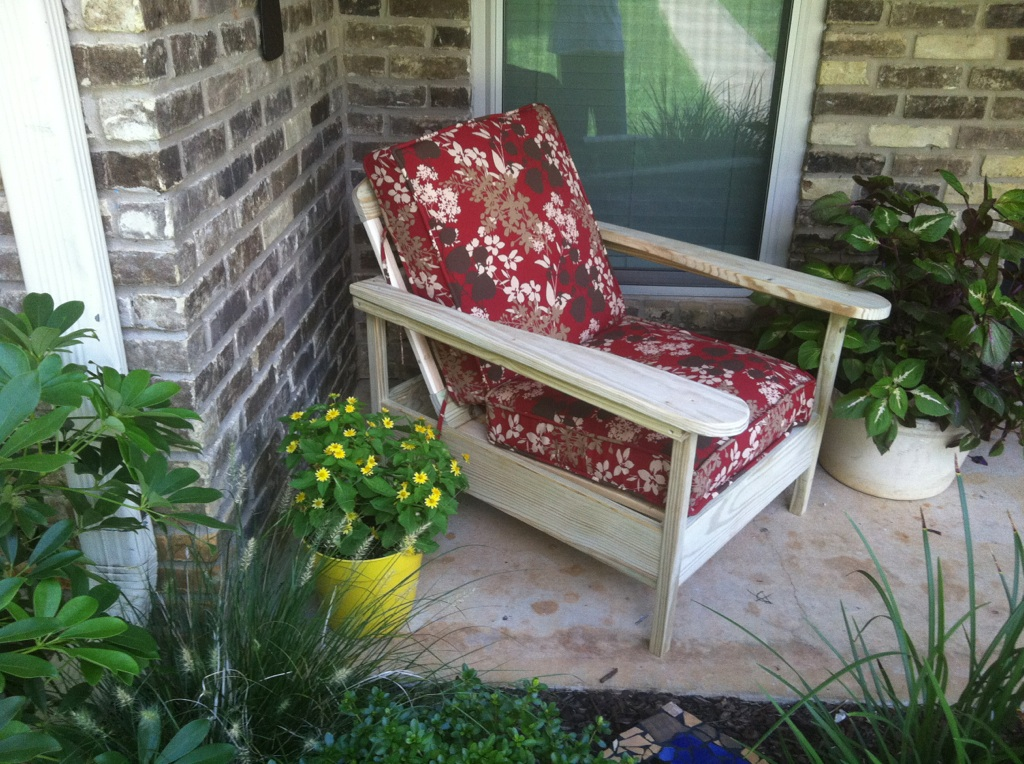
A friend at work was wanting a chair for her front porch. This chair was a perfect fit for the space. I made the arms wider for more comfort. I have build several of these for family and friends. I even built a pair for my parents but made them taller so it would be easier for them to get up. They are so comfortable and very easy to build. I can't wait to build the sofa and love seat!
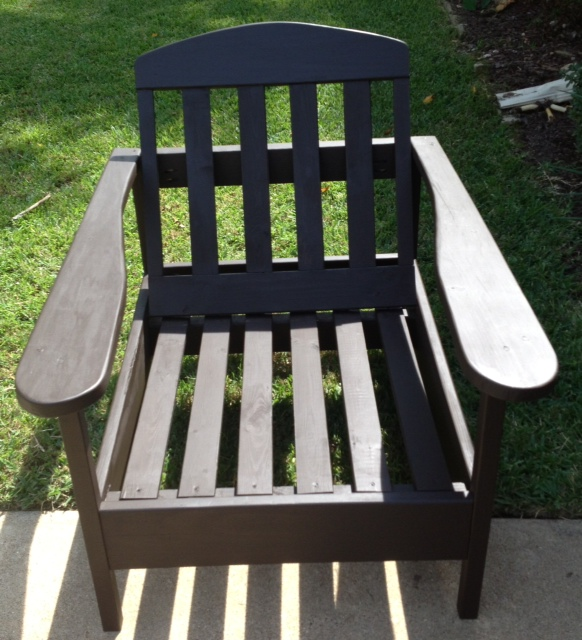
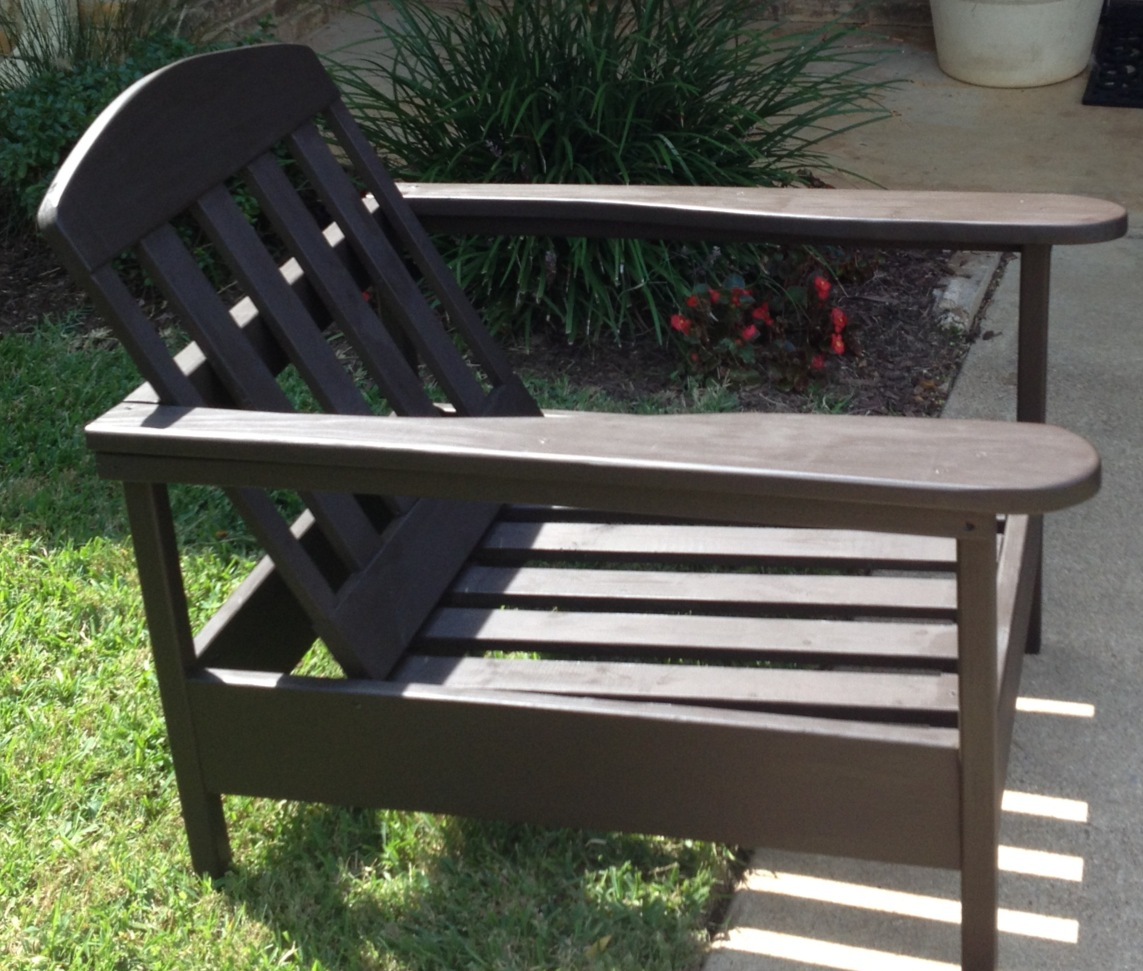
Sat, 03/30/2013 - 19:13
I love this! Your scale is wonderful. Did you just add the wider arms on top of the arms in the plan?
In reply to Very Nice! by sharshar1960
Sat, 03/30/2013 - 23:00
Thank you. I added the 2x2's on the outside instead of going across the top. It made the larger arms very stable.
Mon, 04/08/2013 - 06:42
I love the wider arms. Did you round them by using a jigsaw and did you use the jigsaw on both arms at the same time?
In reply to Great job! by dawnkasotia
Sat, 04/13/2013 - 03:28
Thank you! I did use a jigsaw and i made a template and traced it onto the wood then cut after cutting both arms i clamped together and sanded. The wider arms, I feel, are more comfortable to rest your arm on.
In reply to Paint by dawnkasotia
Sat, 04/13/2013 - 03:31
I used deck stain instead of paint. Holds up better and easier to reaply when needed and doesnt require a clear coat. I cant remember the name of the color, sorry.
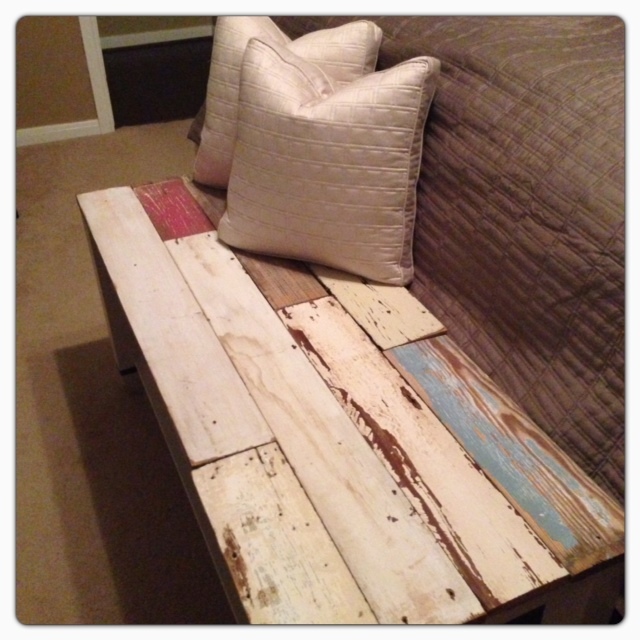
Loved this project! Bench made from old barn wood to put at the foot of your bed for extra storaage.
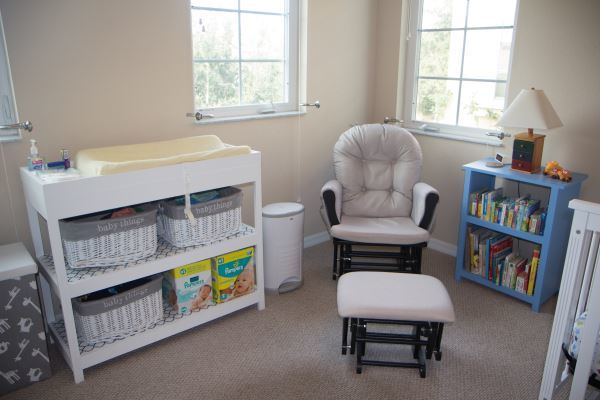
I built this before my son was born to use as a changing table in his room. I used leftover plywood from another project which made it a cheap build. It is super sturdy and has plenty of storage on the top to hold wipes, diapers, and creams. I used shelf lining and bought cute baskets to complete the look.
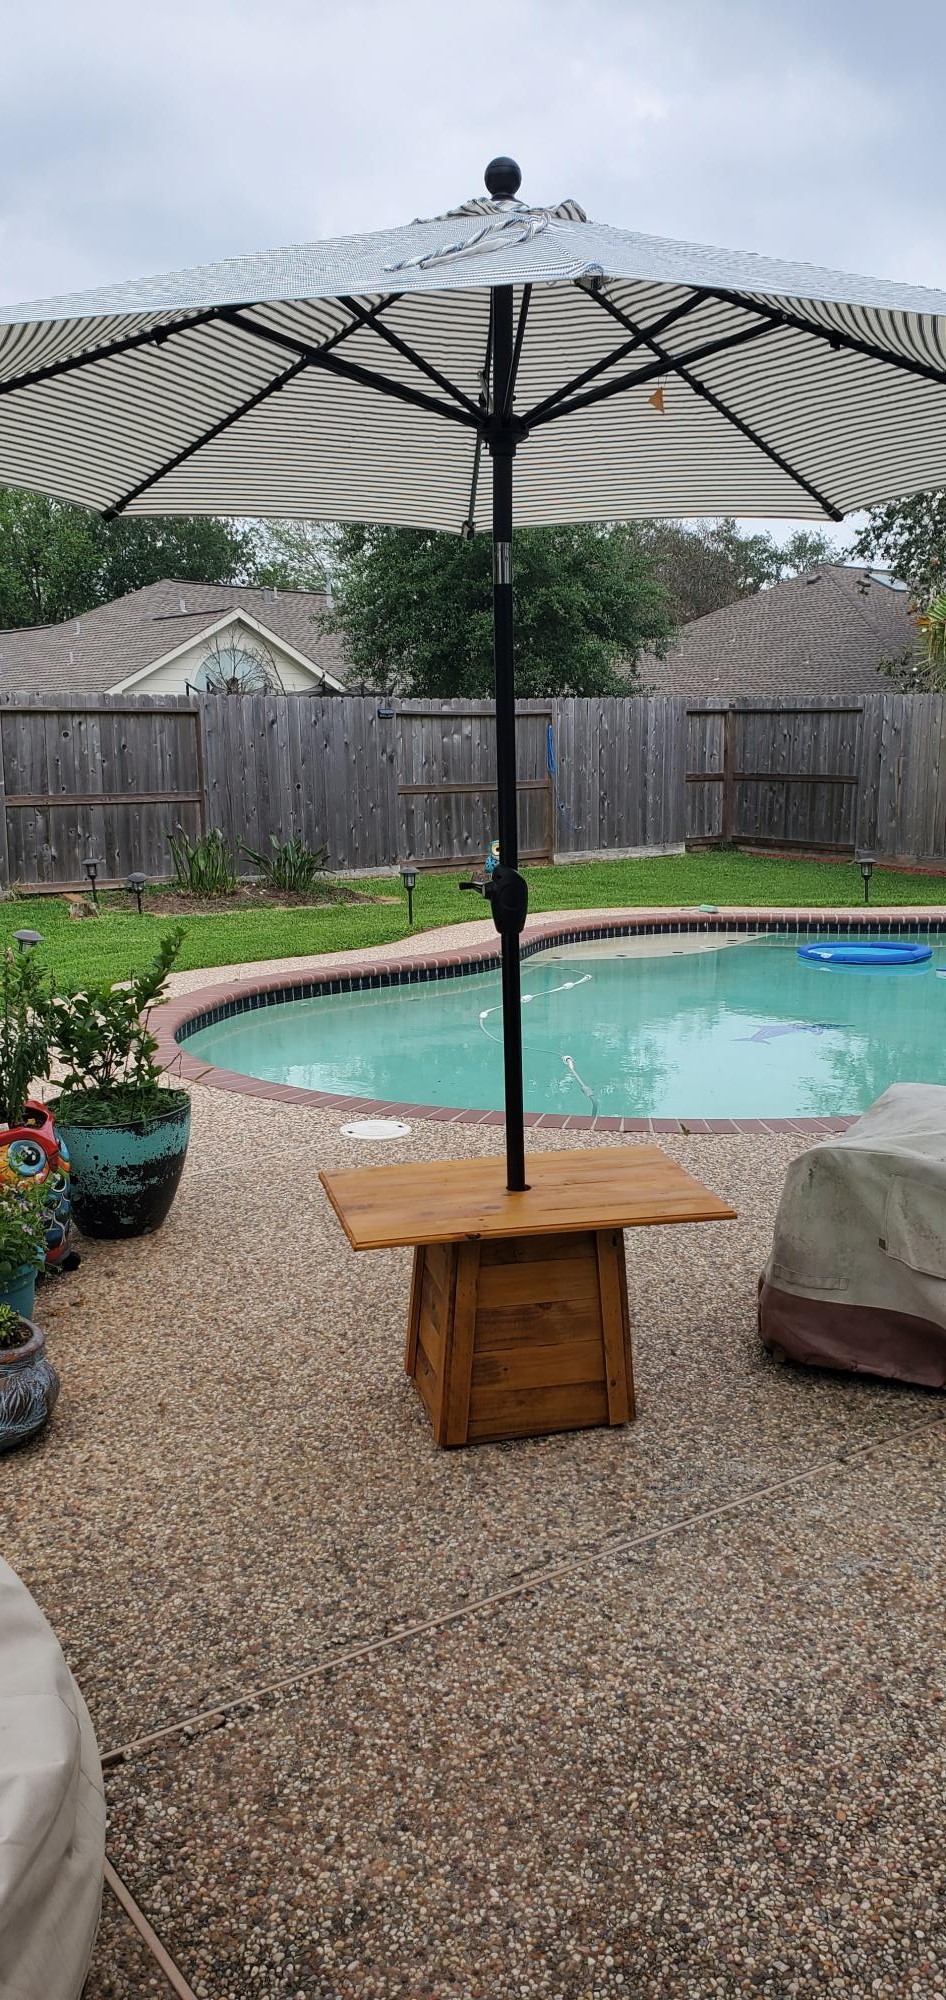
I used the Ana's Cedar Planter plans and flipped it, placed a bucket with cement inside to support umbrella and made a simple table top for drinks. Hope you like it ✌🏾
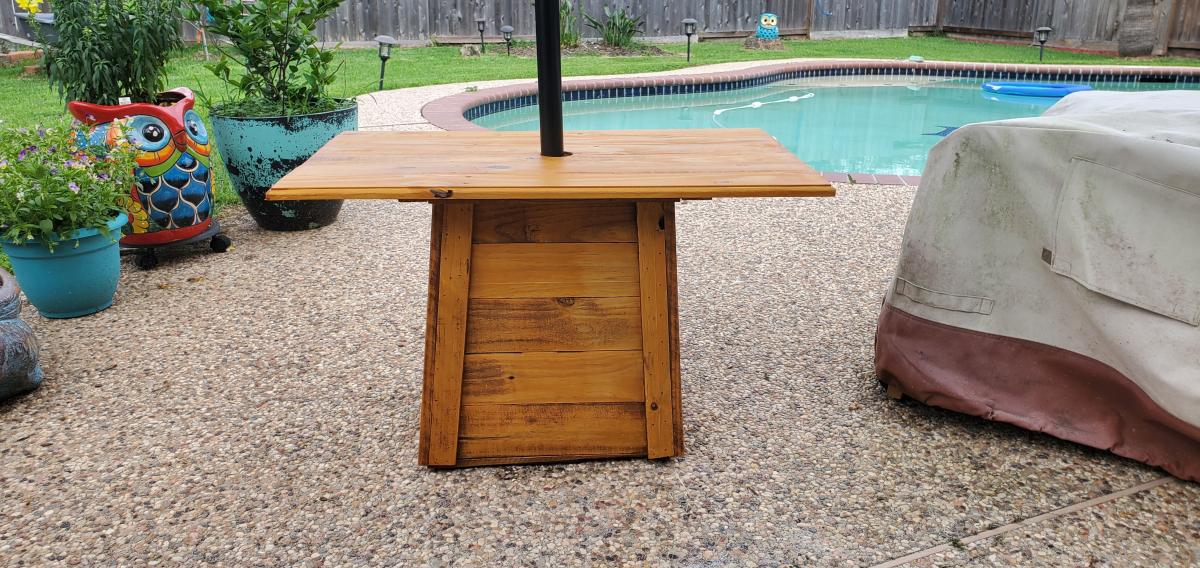
This was my first attempt at building furniture, and I could not be any happier with it. Definitely a learning experience for me and my husband, but totally worth it.
It has it's imperfections (some of the shelves are a little lopsided) but I built it!
We desperately needed a new bookcase, and I have the hardest time picking things out.
We are very happy with the results. I saw a similar concept shelving unit in a store for over $100, and it was smaller!


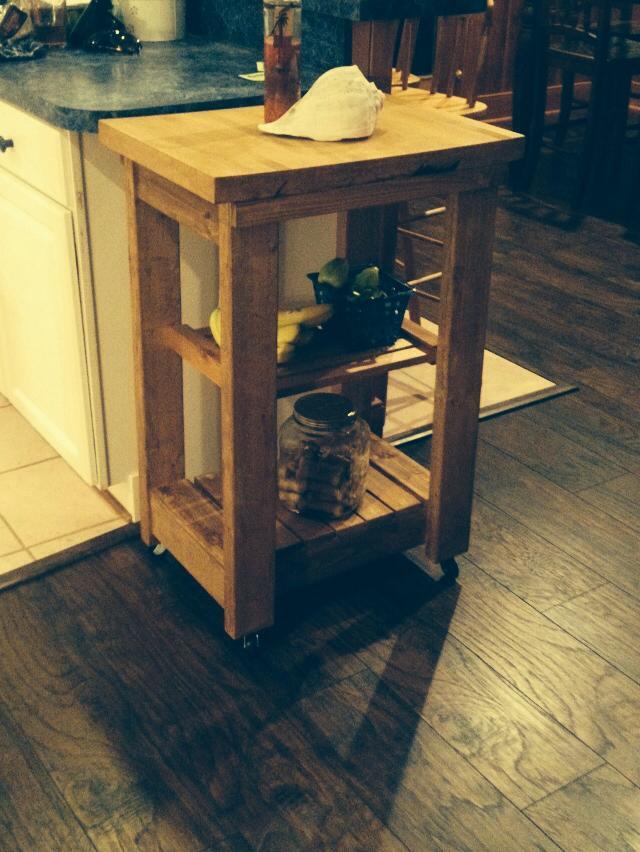
I modified this plan to use wood that I had and also a piece of kitchen counter top that was left over from my daughters new house.
Comments
Pam the Goatherd
Tue, 03/19/2013 - 21:36
The headboard is nice. But
The headboard is nice. But what I want to know is where she got those colorblock pillowcases???